kurtvd19
-
Posts
3,048 -
Joined
-
Last visited
Content Type
Profiles
Forums
Gallery
Events
Everything posted by kurtvd19
-
 "O" Gage RR figures are 1/48 close to your scale. Any RR supplier will have period figures. Kurt
 -
ER: On line works for joining and for purchases. Link to membership = http://www.thenrg.org/join-the-nrg.php The NRG store has a link right from the MSW home page - upper right corner of the tool bar - on some themes it's under "other" As to the lack of disc drives we are checking out USB Flash Drives. Roger: Thanks for pitching in. Kurt
-
The shop notes books are compilations of some of the Shop Notes that were originally published in the Journals. Shop Notes 1 (the original) is from the first 25 years of the Journal. Each Shop Note was previously printed but spread out over 25 years. The Shop Notes 2 is comprised of Shop Notes from 1981 to 2005. There are no duplication between the books. The great thing about the Shop Notes books is the information is in a book and one doesn't have to go looking for each subject covered. If you want to see the Shop Notes on blocks they are all together rather than spread over 25 years worth of Journals. Some consider the Shop Note books to be a must have for all modeler's libraries. If your budget allows I would get the CD's and the SHop Notes. I have them in my library and other than the member discount I paid full price for them - I considered them as essential information. But, please, others pipe up here as this is only my opinion and others should give theirs. Kurt
-
Just a tip about the CD's. The member's discount when buying both sets is significant ($42) and just abut pays for the membership ($50) and you get the next 4 issues of the Journal. You can join and purchase the CD's with a call to the office. Kurt
-
My Favorite Masking Tapes
kurtvd19 replied to P_Budzik's topic in Painting, finishing and weathering products and techniques
Paul: I just got done testing some of the tapes you showed in the video. The FBS K-UTG Gold Tape is my new go to for fine masking. It will replace the 3M Fine Line I have been using. The FBS Autografix tape is great too. It's far better than anything except the K-UTG Gold for routine taping and for taping over the K-UTG Gold for wider coverage - and the low cost is appreciated. The Pro Mask dispenser will be well used on the larger models. Thanks for your fine videos and this one on masking was outstanding. Take care, Kurt -
It's adjustable with a ratchet knob that loosens or tightens. I am sure that the mfg can tell you the max size it will fit. http://www.doneganoptical.com The phone is 913-492-2500. Kurt
-
Go online - eBay has them direct from the mfg for a lot less. Don't waste money on the plastic lenses - get the glass lenses - you will not regret it. Kurt
-
Scratch. The kit materials are not being used. Kurt
-
My Favorite Masking Tapes
kurtvd19 replied to P_Budzik's topic in Painting, finishing and weathering products and techniques
Paul: Another excellent video - with excellent information. Thanks, Kurt -
Griphos: Go to your local library and see if you can get the book through the inter library loan system. Their network of libraries can locate a library that has the book and it's sent to your library for you to check out. They say that sometimes there can be a nominal charge but I have yet to run into a charge. Great way to check out a book before buying it. Kurt
-
Speaking from experience when these GB publishing companies fold and then reorganize they do not recognize their previous loyal subscribers and do not honor the remaining subscriptions. Start all over and then hope you get all you pay for because again history shows they have a very poor record of fulfilling the new subscriptions before they fold again. Kurt
-
Hang in there John - our prayers are with both of you. Kurt
-
HMS TRITON PLANS AVAILABLE AGAIN Some time ago we shut down access to new downloads of the Triton plans due to piracy by the Chinese while we worked to determine a way to keep the plans from being pirated by others. We investigated many options and have devised a method to eliminate, as much as possible, access by those wishing to pirate our plans. The NRG Board came up with a workable method and access to the plans has now been reopened. There is now a $5.00 (US) charge for access to the plans. There are costs incurred with providing the access that we must cover and we are sure anybody who is building either the cross section or the full model will agree that the plans are a bargain for the price. To get access one must go to the NRG Store http://alturl.com/ntqf7 and supply your Model Ship World (MSW) user name and proceed to pay the $5.00 charge. Upon receipt of the payment the NRG Office will notify Chuck to grant access to you. Chuck will permit access and then send you a Private Message (PM) on MSW. Please allow a few days for the PM as Chuck is the only one able to provide access. Once you have access you can access and download the plans at any time – your access is perpetual. We are glad to be able to reopen access and hope to see some new build logs soon. you will know when you have been given access. A previously hidden link in the Group Projects Menu at the top of the forum will suddenly appear and you will have access to them. It is called "The HMS Triton Downloads " I have already given access to three new Triton builders. Remember....you will not be given printed plans.... Five bucks gets you access to the downloads.....as I have already received a few questions on how fast the printed plans will be delivered. There are NO printed plans. You will need to print them on your own for your own personal use ONLY. PLEASE NOTE: Orders will not be accepted to any persons with an address from China or Russia. Kurt

-
Welcome to MSW Vic. Kurt
-
Welcome to MSW Syd Kurt
-
Not in the US for a book still under copyright protection. The AOS books are reprinted at some point - I bought several OOP AOS books for a reasonable cost and less than 6 months later they were all reprinted - at a higher price than I paid but there went my plans to make a profit on ebay. Kurt
-
Check Sea Fever Books in CT - Frank is a NRG Journal advertiser. seafeverbooks@aol.com 860-663-1888. He's got a good stock and just might have this book. Kurt
-
What Would It Take To Build This Interior?
kurtvd19 replied to Julie Mo's topic in RC Kits & Scratch building
The cushions can be made from epoxy or sculpy - painted and until touched you would swear they are leather or fabric - depending on the painting. Kurt -
My belt driven dental engine is one of my most used tools in the shop. I have a micro-chuck with a smaller diameter shaft that can be gripped in the handle that can hold the smallest drill bits as well as the many dental bits I have accumulated. Also have a lot of the explorers in many different end configurations. Some are quite heavy - for scraping teeth - and they can be ground to sharp edges or shapes. An advantage of having a club member who is a dentist. He brings old tools quite often. The dental machine came from another club member who bought them on ebay and reworked them with new bearings, etc. I think mine cost about $80 several years ago. Every dentist had one of these while in school so they are regularly offered on ebay. Kurt
-
Marvin welcome to the NRG/MSW forum. We truly appreciate your becoming a sponsor. I have used Scale Hardware products and I am very happy you took over from Bob so these great miniature parts are still going to be available to us. Kurt
-
Recommendations For A Good Milling Machine
kurtvd19 replied to Thistle17's topic in Modeling tools and Workshop Equipment
In my opinion Sherline is the one to get. Check their web site www.sherline.com and ad at the back of each issue of the Nautical Research Journal. I know mine doesn't weigh anywhere near 100 lbs - the web site says shipping weight of under 50 pounds. Proxxon also makes a good mill. Check the Proxxon banner ad on the MSW web site. I have no personal experience with the Proxxon. Kurt -
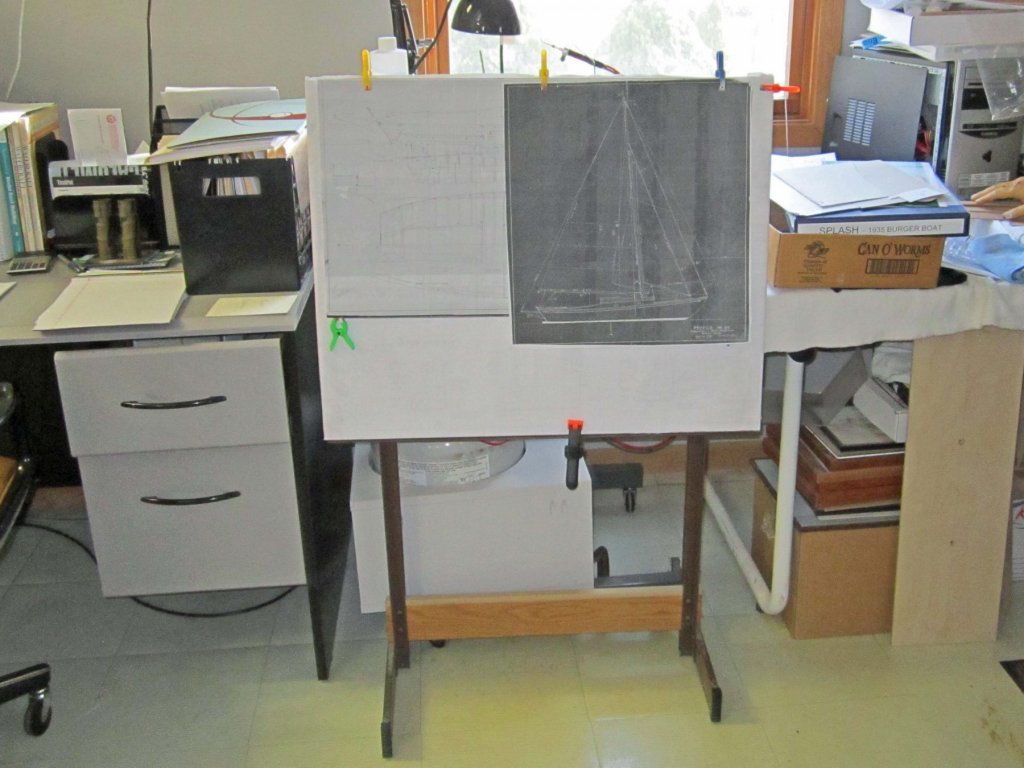
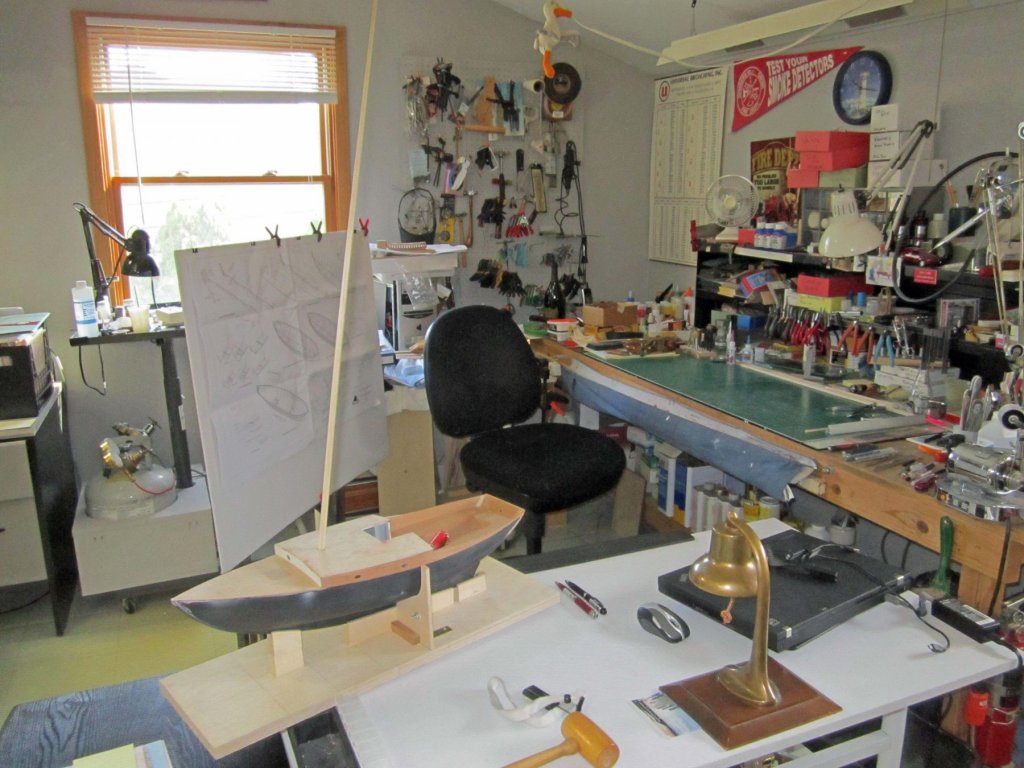
I picked up a cheap and not at all sturdy drafting board with an adjustable top (for the angle-no height adjustment) at a garage sale - but these things are available at any office supply store. I put it in the upright position and depending on the plan size I either attach the plans directly to the top or to a larger piece of foam core. I can keep it right near the workbench and move it as needed. Kurt
-
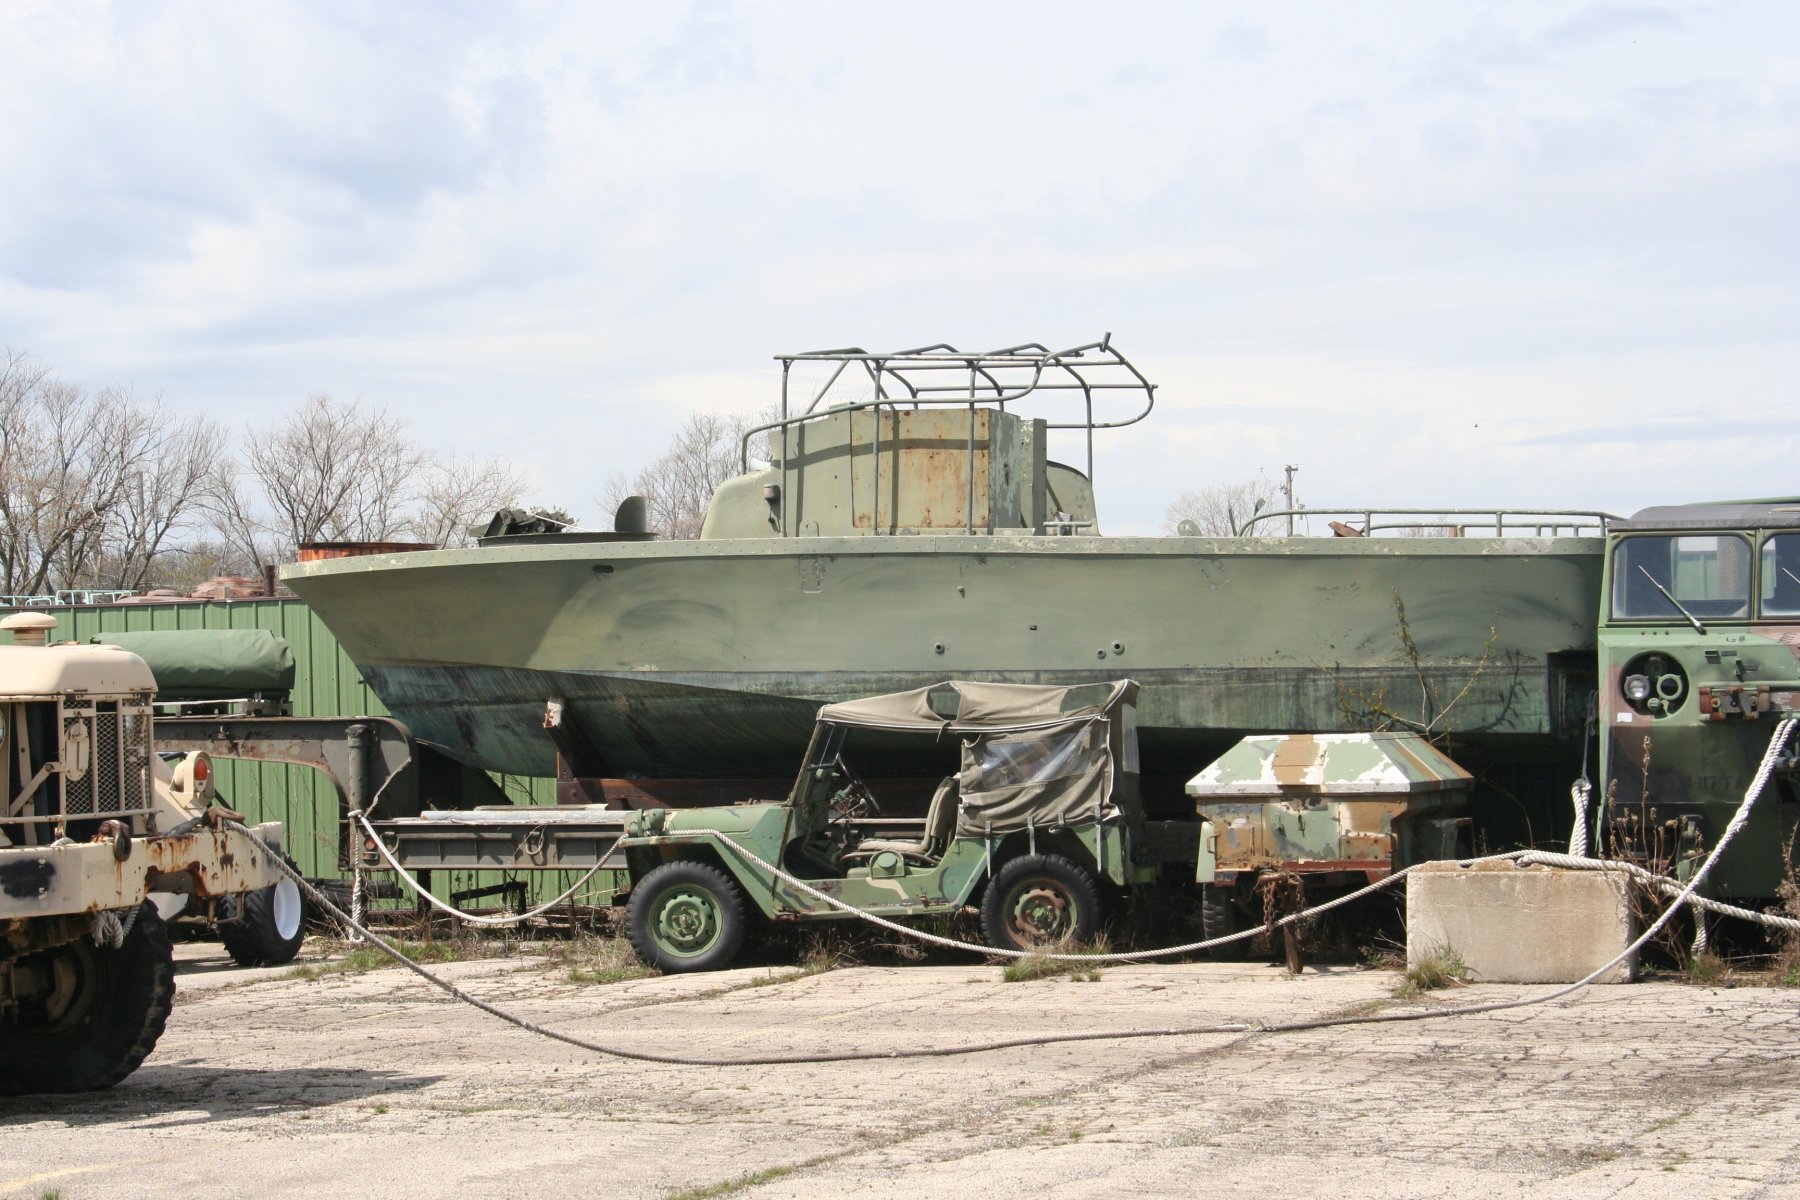
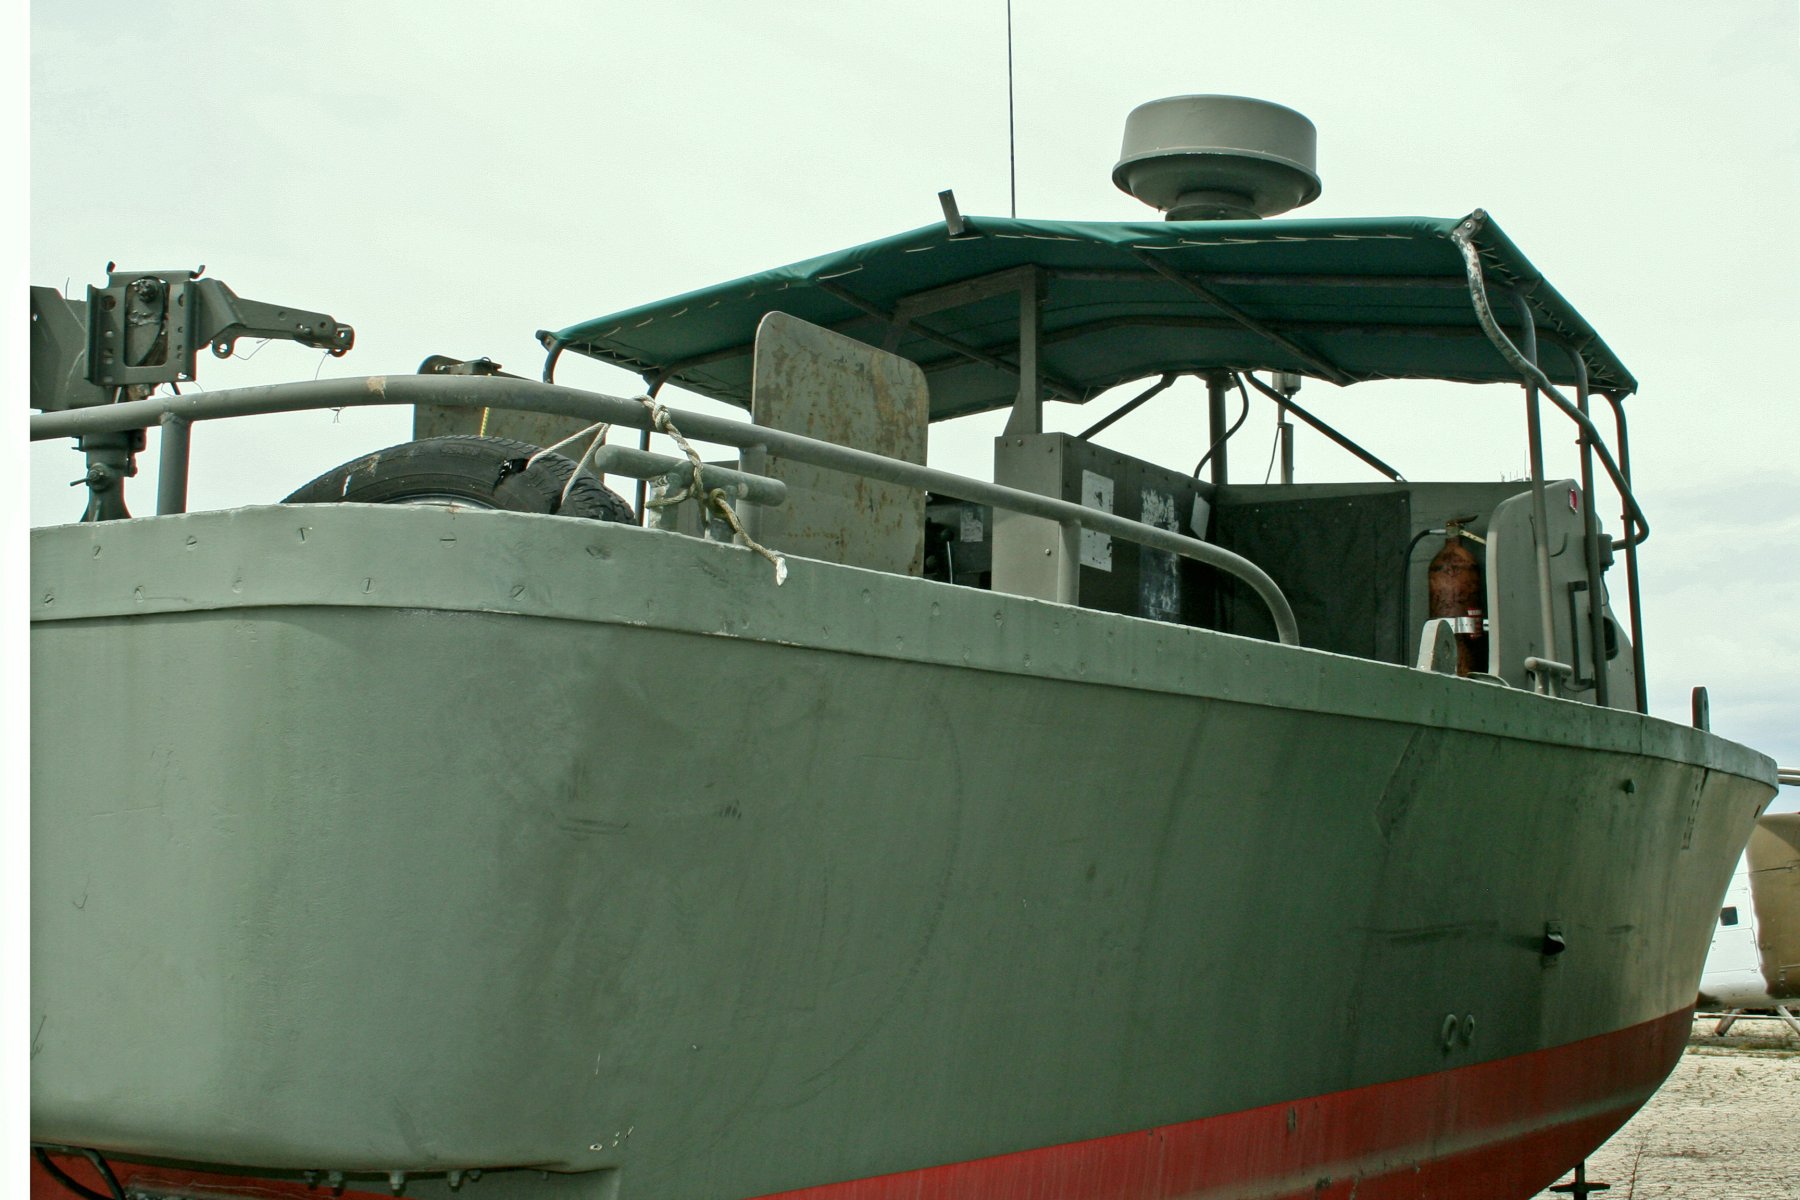
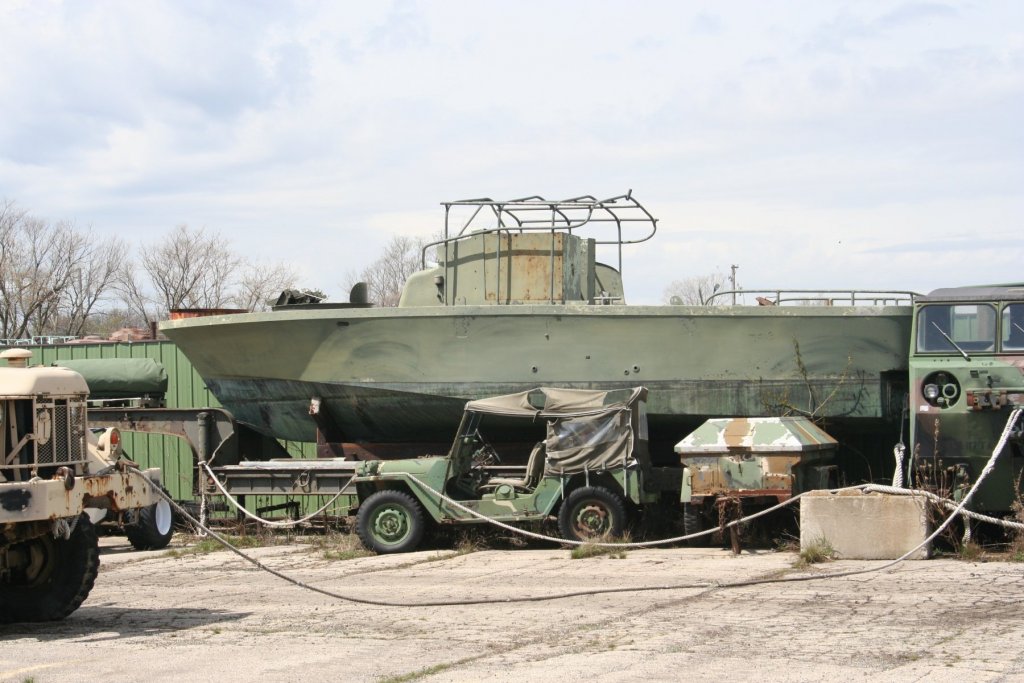
It appears to be a much brighter green than I have seen used on thes boats. Here are two, much weathered, that I know have not been repainted since coming back stateside. Kurt

-
Keith: Go to the links I provided to see the explanation from the NRG talk as well as our MSW resident Botanist Marc. Read the materials and if you have questions I will be happy to discuss them. But it essentially destroys the internal wood structure. Kurt