Check out our new MSW Sponsor Innocraftsman
×


dafi
-
Posts
2,416 -
Joined
-
Last visited
Content Type
Profiles
Forums
Gallery
Events
Everything posted by dafi
-
MORE! XXXDAn
-
Love the "yippppeeeeeee" :-) XXXDAn
-
It is a beast :-) I had the honor and pleasure to see this model in real life and it is simply wonderful! Thanks for raising your colors here! I think she is proving more than worthy :-) Daniel
-

WHAT THE!!! My rope is SQUARE!
dafi replied to von stetina's topic in Rope Making/Ropewalks's Discussions about Rope Making
I had this problem too, when I used Crochet Yarn. Did you try to vary the settings, like pretension, counterweight, revolutions etc? Daniel -
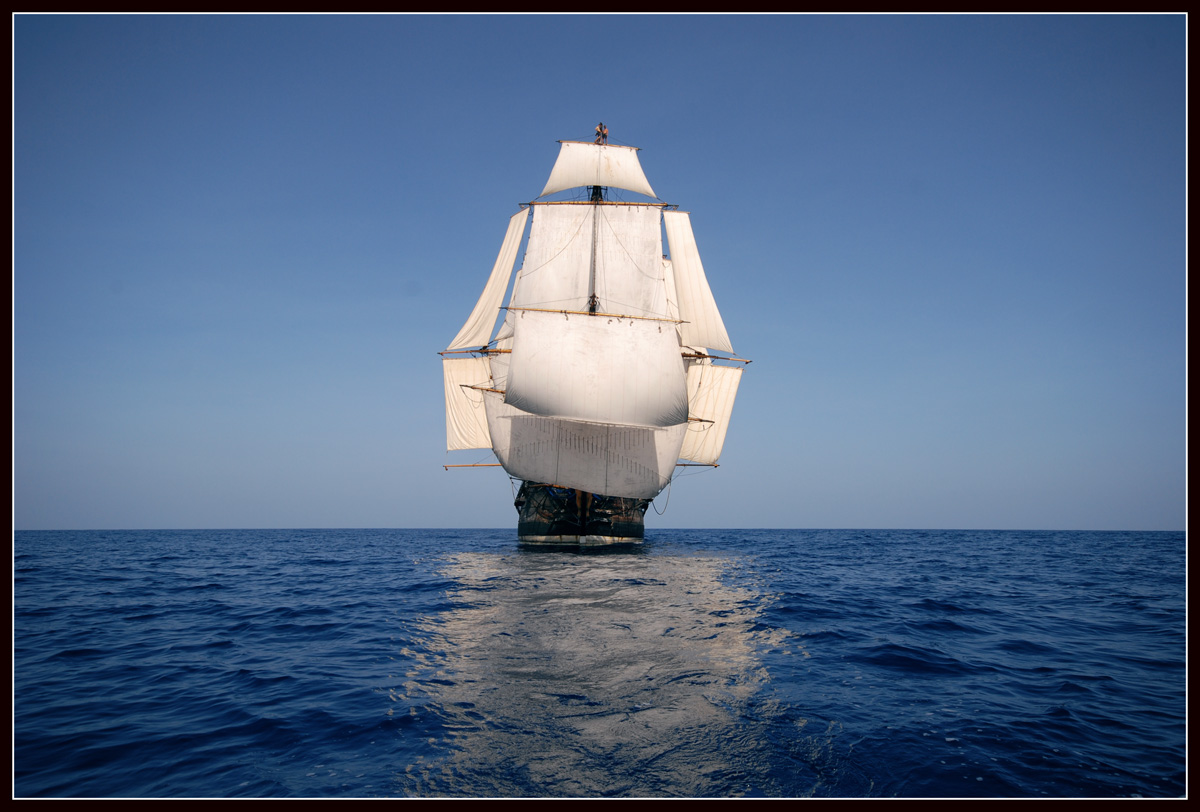
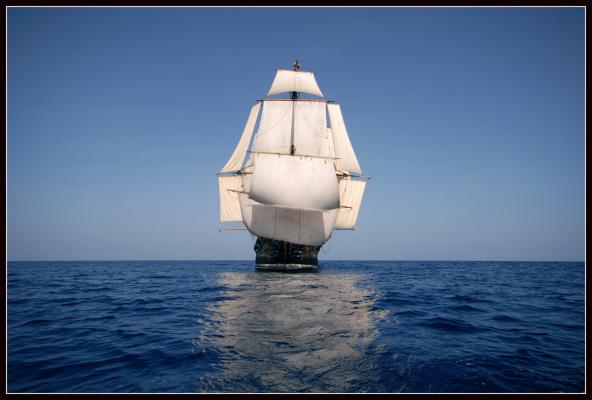
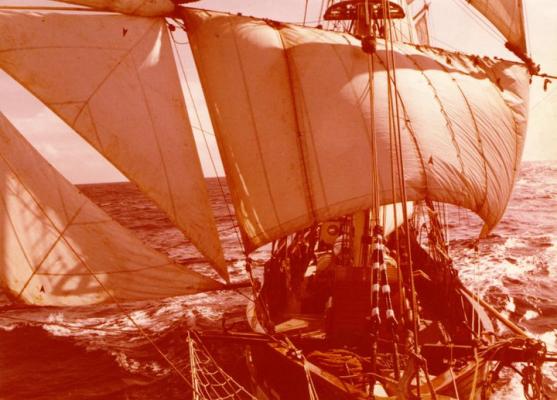
You also see that the fore topsail looks becalmed! Daniel
-
It was always considered an open deck - even though the decks above. Living was one deck lower. That is why there are also no bulkheads front and aft the waist and no gunport lids in this area. Daniel
-
I knew the french did sometimes so. I think the english mostly had the bits on the waist. Also AOTS of the Vic states this. Daniel
-
Hello Kevin, you got me started with the spare spars and the fore stun´ sails .. #344 Daniel
-
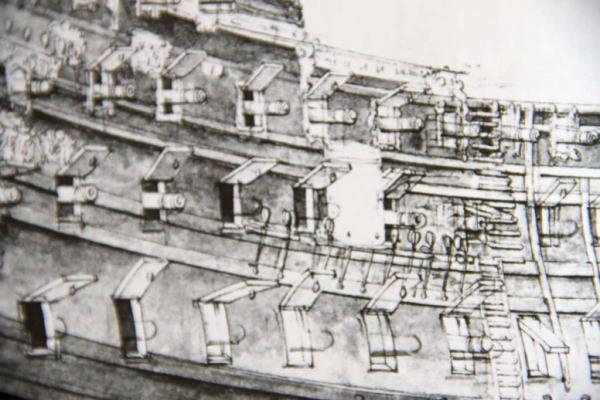
Thank you Sirs, very appreciated, just trying my best, sometimes it works out fine :-) As we had in interesting discussion in Kevins build log, my curiosity was drawn to the storage of the spare spars and the fore stun´ sail booms. #468 So I took my spare Vic to check the spare spar businesses ... Plenty of sources state that the spare spares were stowed over the waist, but what does this mean place wise? Something I always suspected, that those two half rounds in the rail at the front were to support those ... ... but I never really realised the openings in the aft rail. Like this the main and the fore topmasts fit in properly. (Note: the main could be moved back a tiny bit still) According to Goodwin in Nelsons Ships the Vic received spare topmasts and booms in between the 15 and 19th of April 1778 Also to be seen, the main and fore yards on the gangways are far to long. As they were made yards, can it be that they were still taken apart? This also means, that the middle boat most possibly was sitting on the spars. And on the last one I still added the fore stun´ sail booms to check out this length too PS: There still is the smallest boat missing, it would sit port aft. Cheers, DAniel
-
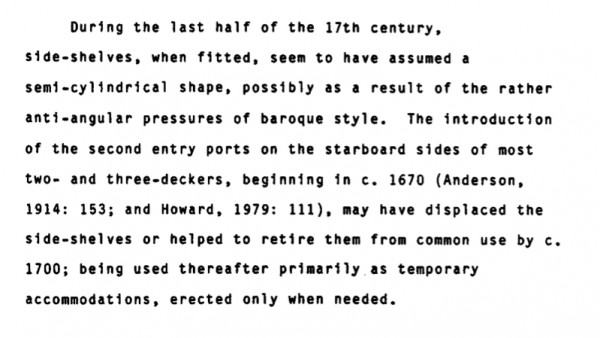
Thank you Mark for ruining my night - so no block-buster TV but reading about potty-stories ;-) Thanks Frankie for your kind words, there still so many exciting corners on those ships waiting to be explored :-) Also Lavery in Arming and Fitting gives nice details about the **** dales and other fittings. According to that source, Admiral and Captain had each both galleries for their personal use, in the wardroom one side was for the first lieutenant and the other side for the remaining officers. The roundhouse had different assignments. First both sides for the junior officers and the commissioned officers who did not have access to the wardroom. Later about 1815 when the sick berth was already placed behind the beakhead bulkhead, the larbord one was for the mates, midshipmen, and warrent officers and the starbord one for the sickbay. The thesis Mark gave mostly just deals with the construction and the timely introduction. Some interesting features were mentioned. http://nautarch.tamu...ts/simmons.html The side shelves (small cabins on or under the main channels: About the numbers of man compared to the amount of people The roundhouses And this one I found the most amusing: Daniel


-
I did not see the hint yet, but apparently one can buy another bed and add to the length. As I have it too, I can tell that the Proxxon 27028 Drill chuck with spindle is a good addition, as it allows to make great centered holes into round materials. Daniel
-
As usual well resaerched and wonderfully explained :-) Thanks Evan! The storage of the stun´ sail boom is interesting, as far as I know, it is believed the Vic had the one on the main channels permanently fixed and the fore was stowed with the spare spars and just hooked in into an eyebolt in between fore channel and cathead if needed. The reasons are the same as Marquardt sttes: the handling of the anchors. I am not sure, but werent the fore stun´ sails the ones that were put out first? Could this be the reason to have this one fitted on the Constitution? All the best, Daniel
-
Great work as ususal :-) Just the irons on the anchor stocks are a little thick, try the 0,25 mm x 1 mm Evergreen or even cardboard :-) Daniel
- 1,319 replies
-
- 1
-

-
- caldercraft
- Victory
- (and 1 more)
-
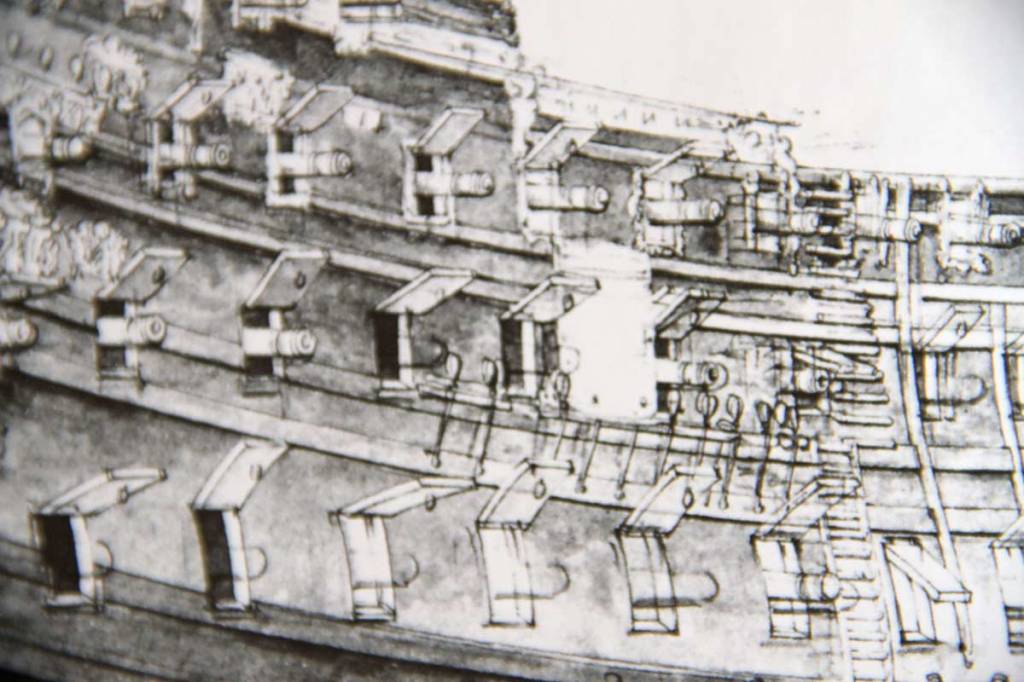
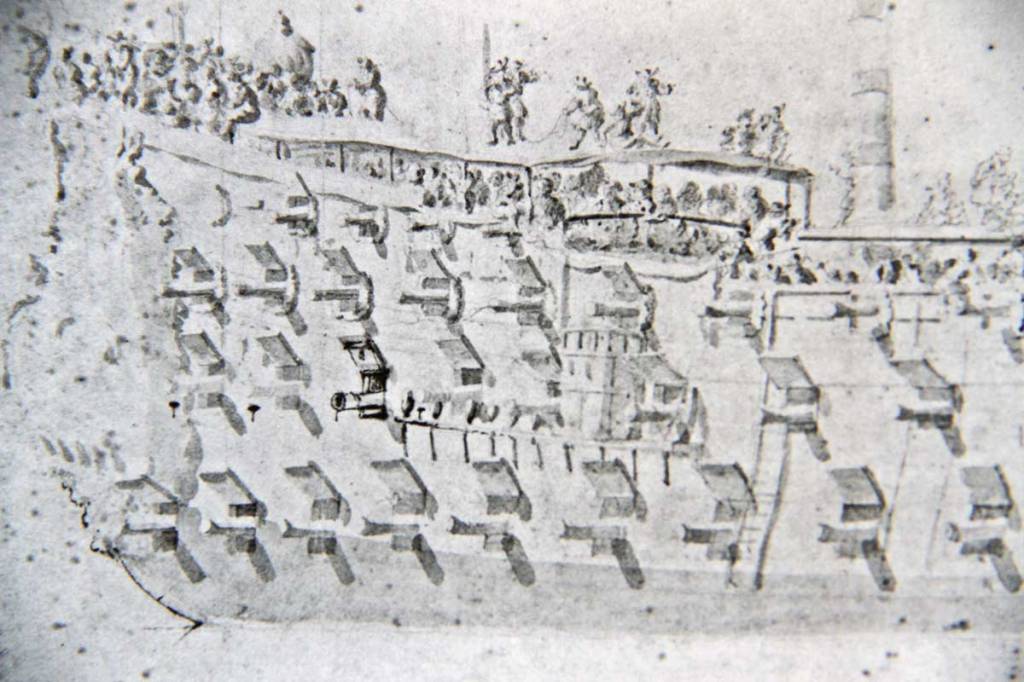
So we are coming closer to my questions: I think it was Cuck showing some tubing on the head of the HMS Winchelsea (1764) The same is seen on a french model (Royal Louis?) Louterbourg did a drawing of Queen Charlotte in the harbour as a sketch for his painting "Glorious first of June" Funny enough, he shows some explicit quite flimsy tubing from the roundhouses downwards, which also ended up on the final drawing. Question 1: As I never saw this before, could this be a harbor fitting, as the cleaning of the waves was missing? (And accidentally ending up on a painting of a high sea action?) Question 2: Which were the ranks to use the roundhouses? Non commissioned officers? Question 3: Were there also ropes trailing the water on the heads for cleaning reasons? Qustion 4: How were the upper seats in the quarter Gallery discharged? Wooden chute or led tubes downwards? Thank you for your attention for a smelly topic of ill reputation, Daniel
-
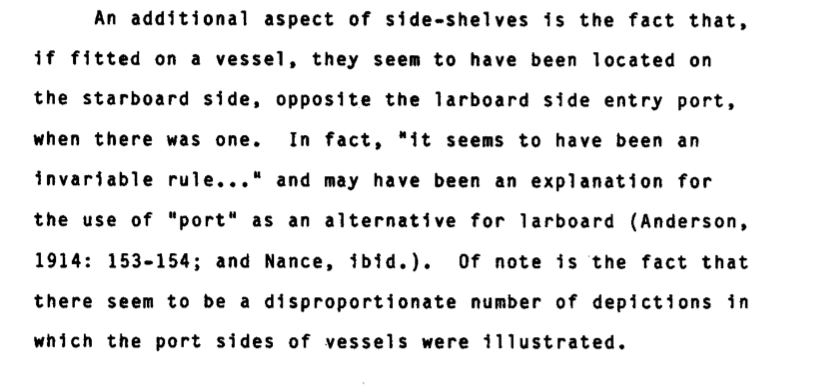
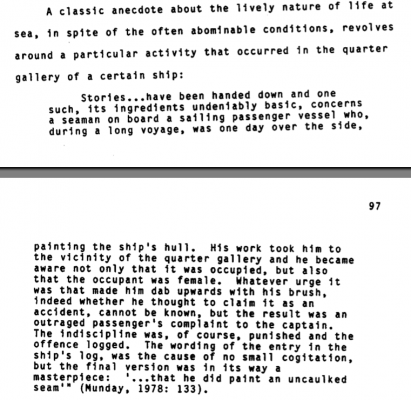
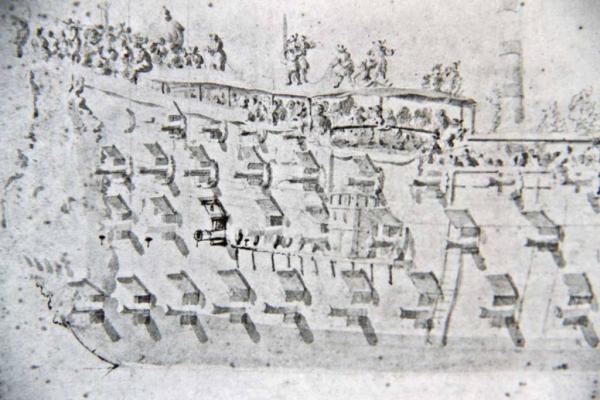
Not included in the calculation are the roundhouses for the lower officers ... ... and the quarter galleries for the higher ranks ... ... and the uncounted amount of buckets all over the decks for days with bad waether - Bucket and chuck-it :-) In the quarter galleries the places were nicely defined who had his own seating place with a view and who had to share. This already showed in the layout of the bulkheads dividing the officers mess. On drawings of the early dutch, plenty of tassels are hanging on different locations on the heads and the galleries: To clean bums and buckets? (Thanx for Pollux for the pics) On the Victory in Portsmouth one still can see an armchair on display with build in potty for the eminences on board. To get all the merde away from the structural parts, there was a small chute or some tubes. Here the slide of my Vic: Also great the build-in waterflushing - every good wave counts ... Also for some time, there were small cabins on the main channels, that I can´t imagin any other reason for.

-
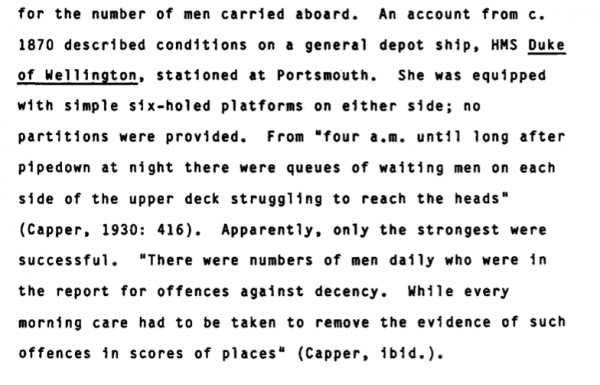
As an introduction to some shxtty questions of mine I would like to recapitulate some thoughts that I already showed in my building report. It started with bringing the seats of ease into the right proportions. In the front the one delivered with the kit, behind some better proportions. Now they are even big enough for two backsides side by side without the danger of being trailed for sodomy ;-) And in summer even with the shade of a cosy mariners walk. This lead me to some small intriguing thoughts ... ... with 800 men crew and 6 seats we get this optimized calculation: 800 men (NCO) / 6 seats gives 133 men/seat In a optimized 24 hours use using all seats we get the following numbers: 24 hours = 1440 minutes 1440 minutes / 133 men = 10,5 minutes/man per day. This means no second wasted and the next user always stand by. If you take account of that not the whole day it is possible to have this steady usage because of time, scedules and weather, the usage time per person sinks dramatically. If I remember well, constipation was widely spread, which leads to longer men mean residence time. So the conclusion is, that the heads, regarding the weather, daytime and service schedule, could possibly be a quite crowded place at certain moments. This account only includes the "big business". There still would be some persons too to be expected at the heads for the "small business", if they are not preferring hanging out in the shrouds (leewards): One hand for the ship and one hand for yourself - now that line is finally understood. A quick research in German Law and regulations indicates the following: Puplic Law of the State of lower Saxony defines that for a leisure event of 800 visitors the calculation should be: 800:100 x 0,8 = 7 seated toilets and 800:100 x 1,2 = 10 urinals (always rounded) The Law of Working Spaces "Arbeitsstätten-Richtlinie, ArbStätt 5.037.1, vom 26. Juni 1976 (ArbSch. 9/1976 S. 322)" defines that for 250 employes one needs 10 seated toilets and 10 urinals, that means more than double for 800 employees. In a converse argument that leads to the conclusion: For a working place the ship should have 5 times more seated toilets and this leads to - that by the number of seats - the ship must be a leisure event - Join the Navy - see the better world! Sehr geehrter Gruß, Ihr treuergebener Diener most sincerely, your humble servant, dafi
-
I I am not mistaken the fore boom is hooked into a ringbolt in between the cathead and the fore channel and is stowed with the spare spars in the waist. Like this you do not interfere the anchors too much. Much more interested where the downholding tackles were fixed. Ringbolt beside a gunport? Gunport itself? XXXDAn
-
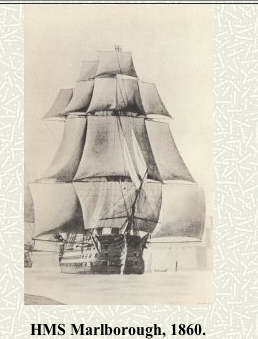
Look at these photographs :-) HMS Marlborough/Göthebourg/Plover with Jibs used as stun´sails :-)
- 1,319 replies
-
- 3
-
-
- caldercraft
- Victory
- (and 1 more)
-
Looking forward to it! And this topic is even something one can get a prize for :-) http://translate.google.de/translate?hl=de&sl=sv&tl=en&u=http%3A%2F%2Fwww.ipmsstockholm.se%2Fhome%2Fmanadens-modellbyggare-februari%2F The winner was: 8. Jonas Dalberg, warship Sword in scale 1/100, 72 points Daniel
-
ROFL!!! THAT is so true!!! Daniel
-
Yes, it was standard procedure to lash up the stun sail booms, as they were in the way http://collections.rmg.co.uk/collections/objects/127895.html XXXDAn


- 1,319 replies
-
- 2
-
-
- caldercraft
- Victory
- (and 1 more)
-
Thank you, the compliment was some 800 excluding officers. But wasn´t it during the day times, when no hammocks were in use? Have to make a rough estimate once home how many hammocks could be provided using this pattern. Daniel
-
Here we go, just fixed the first version of the cranes, nettings and hammocks in my report: #335 As I always see this as a chance to try out things and to use it to verify the results here the thoughts that arose: The thickness of the hammock is orientated onto the films of the US navy of 1915 which should be near the RN-results. The crane has exactly the double of the thickness of the hammock, so this too makes sense respectively the U-shape bending of the hammock. The question that was asked in my german forum is: Is this correct as there is faaaaaar less then 800 hammocks fitting onto the decks. The fo´castle has 35 each side in this version. Where were the other ones stowed? Daniel
-
Thank you Mark, B.E., Robin and Popeye :-) Very appreciated! Yes Popeye, those are the cranes from my own etch part series (some subliminal advertising) :-) These are even not painted but only blackened using the normal Krick blackener. I use this one on all the brass parts (apart from assembly instructions) as it provides a good base for painting and avoids shiny gaps where the color did not end up. All the best, Daniel