rafine
-
Posts
2,932 -
Joined
-
Last visited
Content Type
Profiles
Forums
Gallery
Events
Everything posted by rafine
-

Cutter Cheerful 1806 by rafine - FINISHED
rafine replied to rafine's topic in - Build logs for subjects built 1801 - 1850
Thanks so much Nils, George, Chuck, David, Rusty and Tim for the generous comments and thanks also to the "likes". I appreciate all of your continuing interest. Bob- 525 replies
-
- 5
-

-
- cheerful
- Syren Ship Model Company
- (and 1 more)
-
Cutter Cheerful 1806 by rafine - FINISHED
rafine replied to rafine's topic in - Build logs for subjects built 1801 - 1850
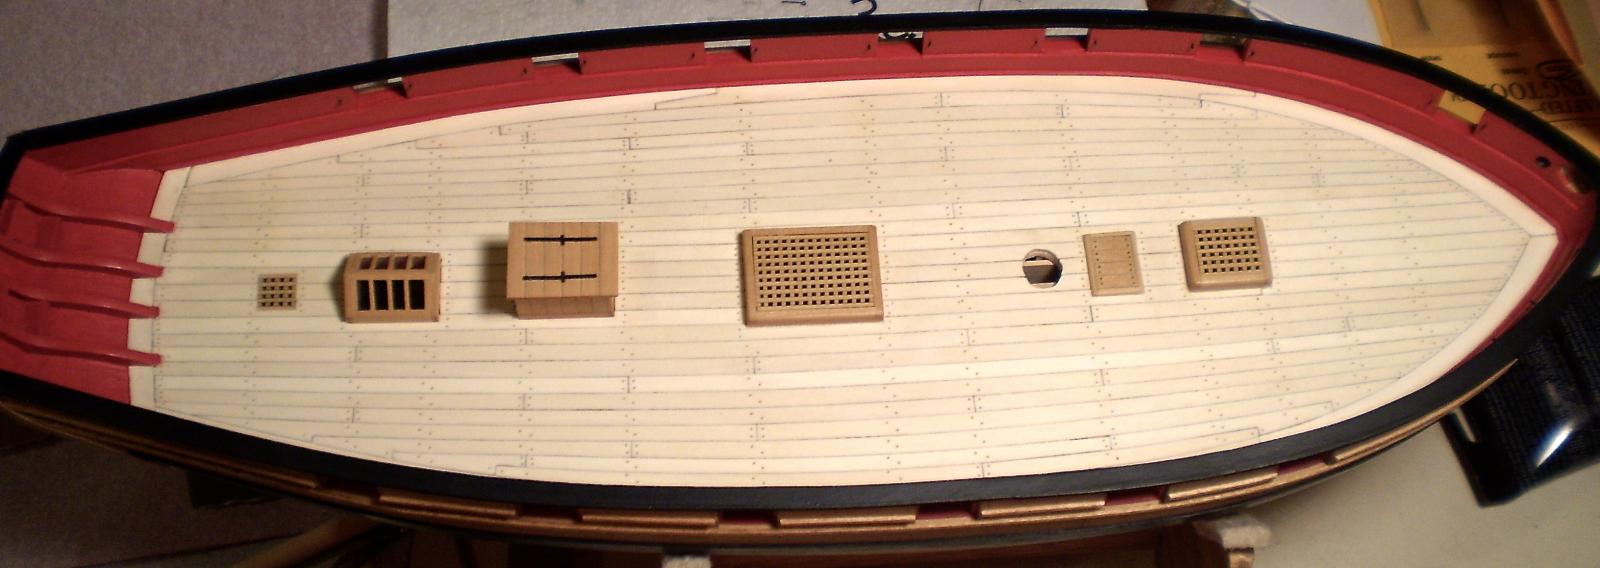
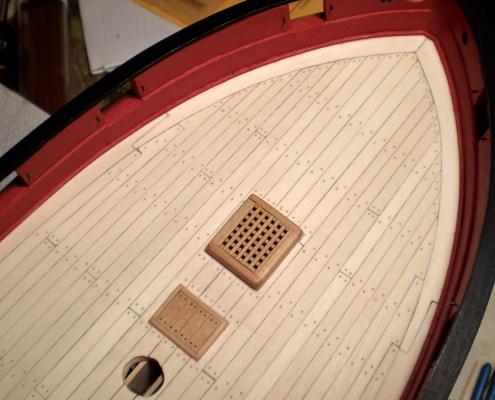
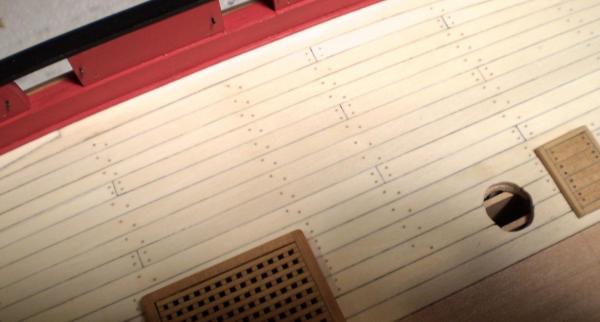
Deck planking is now complete. I've done the starboard side, using the same procedures and materials set out in my prior post on deck planking. After sanding and finishing the planking, I touched up the red interior paint, where needed. To me, this use of curved tapered deck planking was a perfect example of why we should not be afraid to try new things, or do something that may seem too difficult at first glance. Even old dogs can learn some new tricks. Next will be a variety of items on the outer hull. Bob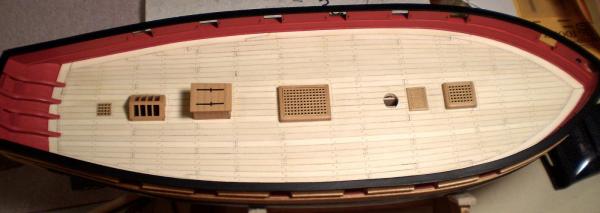
- 525 replies
-
- 35
-
-
- cheerful
- Syren Ship Model Company
- (and 1 more)
-
Cutter Cheerful 1806 by rafine - FINISHED
rafine replied to rafine's topic in - Build logs for subjects built 1801 - 1850
Thanks so much Augie. Hope you're feeling better. Bob- 525 replies
-
- 3
-
-
- cheerful
- Syren Ship Model Company
- (and 1 more)
-
It's nice to see you back on Pegasus, but I will surely miss your work on KWdG while it's on hold. The boat is a beauty. Bob
-
However much frustration, however many redo's, it was well worth it. Simply beautiful Remco. Bob
- 1,215 replies
-
- 4
-
-
- sloop
- kingfisher
- (and 1 more)
-
Cutter Cheerful 1806 by rafine - FINISHED
rafine replied to rafine's topic in - Build logs for subjects built 1801 - 1850
Thanks so much Thomas. Bob- 525 replies
-
- 3
-
-
- cheerful
- Syren Ship Model Company
- (and 1 more)
-
US Brig Syren by Gahm - Model Shipways
rafine replied to Gahm's topic in - Kit build logs for subjects built from 1801 - 1850
"Perfect" is the first word that comes to mind, Thomas. Bob -
Looks absolutely great nils. Bob
- 2,625 replies
-
- 5
-
-
- kaiser wilhelm der grosse
- passenger steamer
- (and 1 more)
-
A wonderful setting for a wonderful model. Congrats. Bob
- 255 replies
-
- 5
-
-
- granado
- bomb ketch
- (and 2 more)
-
Cutter Cheerful 1806 by rafine - FINISHED
rafine replied to rafine's topic in - Build logs for subjects built 1801 - 1850
Thanks so much Grant and Nils for the generous comments. Bob- 525 replies
-
- 4
-
-
- cheerful
- Syren Ship Model Company
- (and 1 more)
-
Cutter Cheerful 1806 by rafine - FINISHED
rafine replied to rafine's topic in - Build logs for subjects built 1801 - 1850
Thanks so much John and Rusty for the nice comments and thanks also to the "likes". Bob- 525 replies
-
- 3
-
-
- cheerful
- Syren Ship Model Company
- (and 1 more)
-
Cutter Cheerful 1806 by rafine - FINISHED
rafine replied to rafine's topic in - Build logs for subjects built 1801 - 1850
Thanks so much Sal, Dirk, George, Ken and the "likes". Appreciated, as always. Bob- 525 replies
-
- 3
-
-
- cheerful
- Syren Ship Model Company
- (and 1 more)
-
Cutter Cheerful 1806 by rafine - FINISHED
rafine replied to rafine's topic in - Build logs for subjects built 1801 - 1850
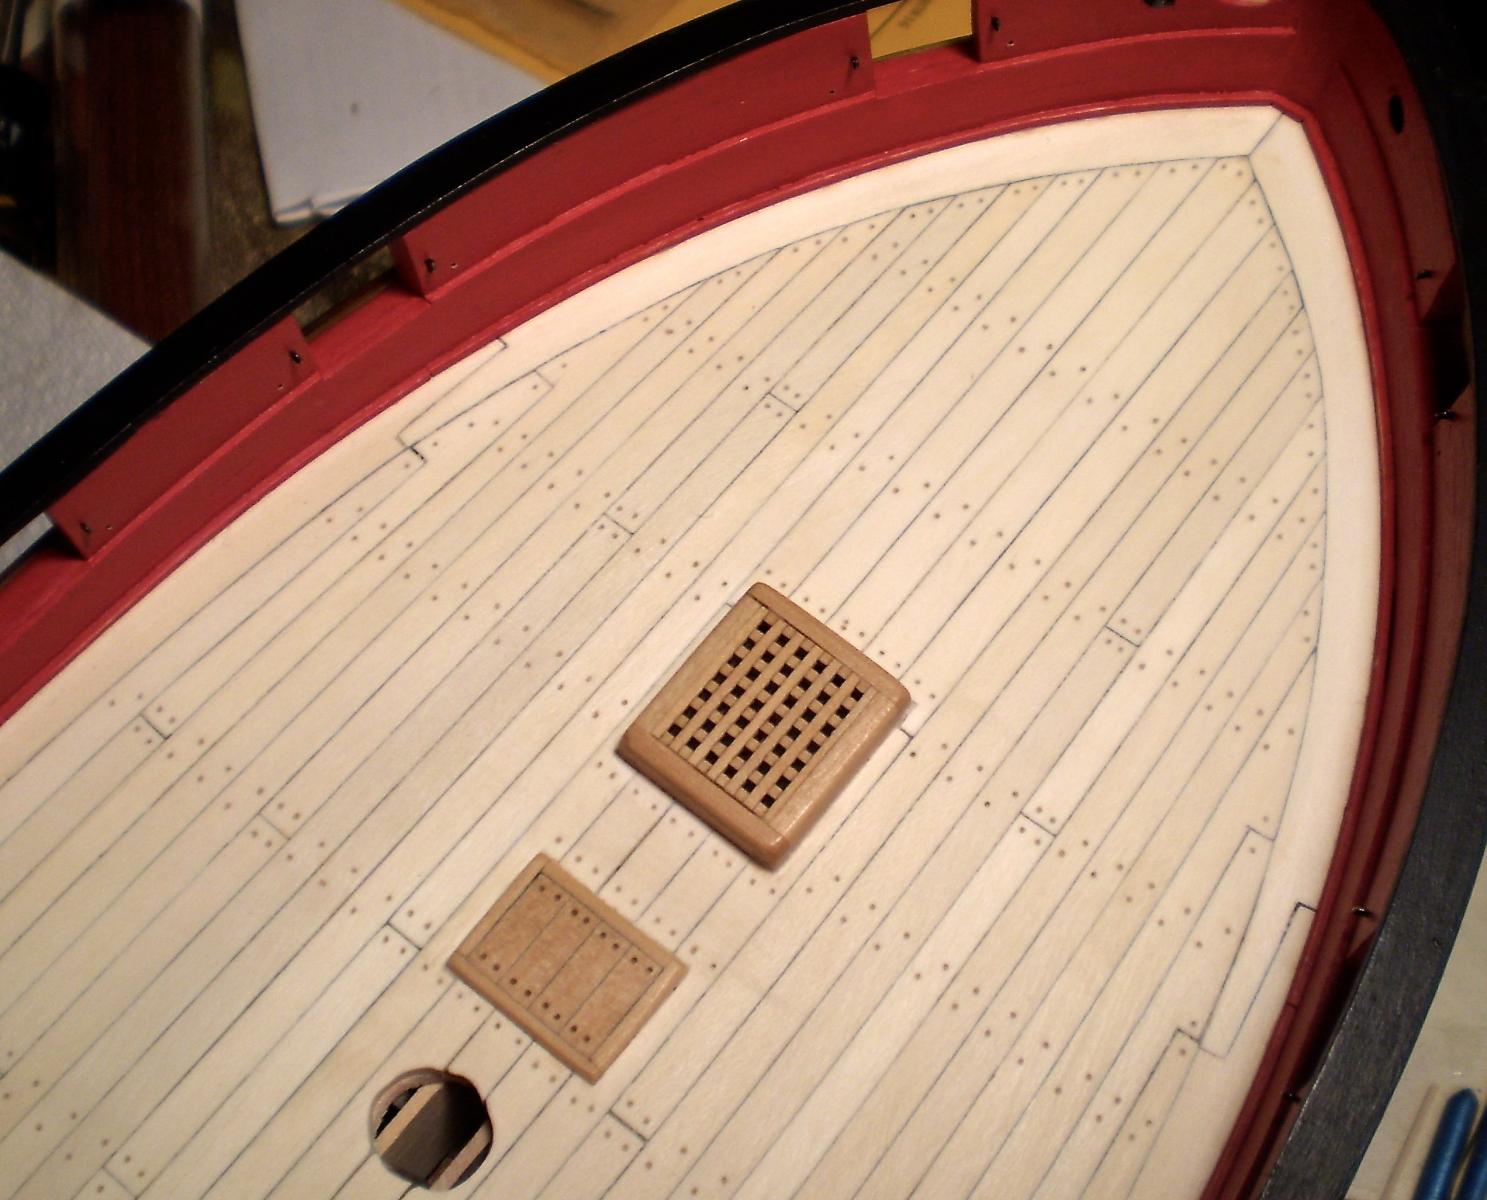
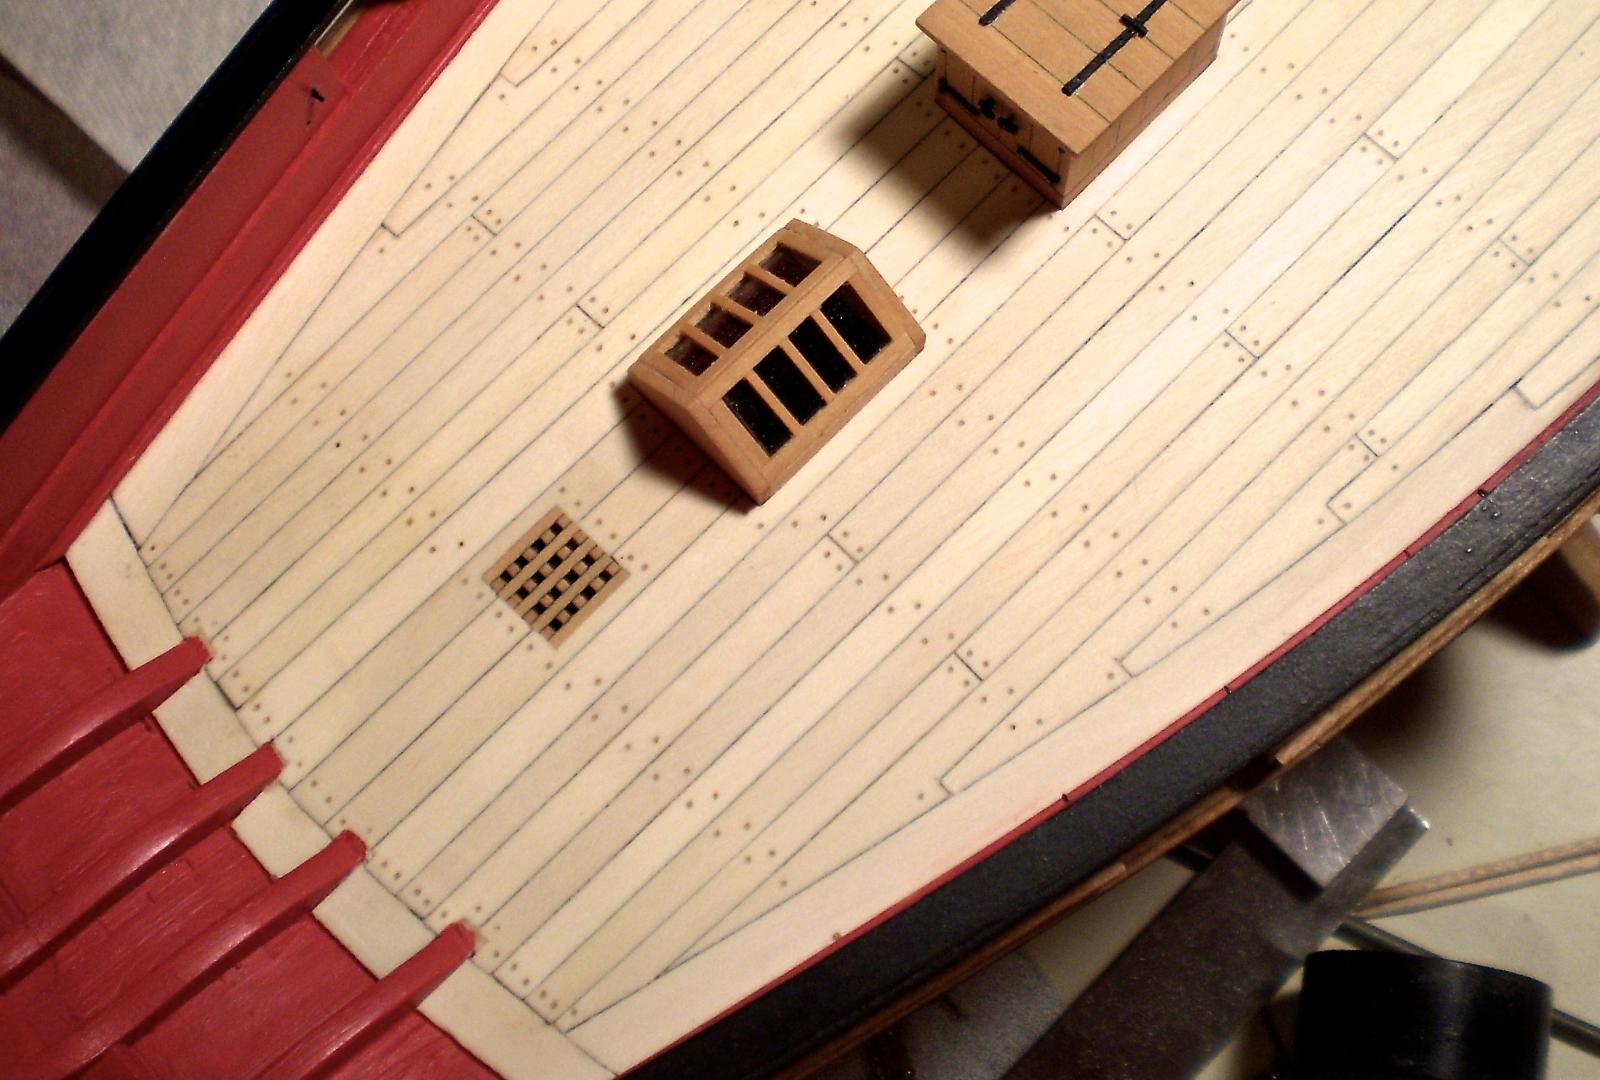
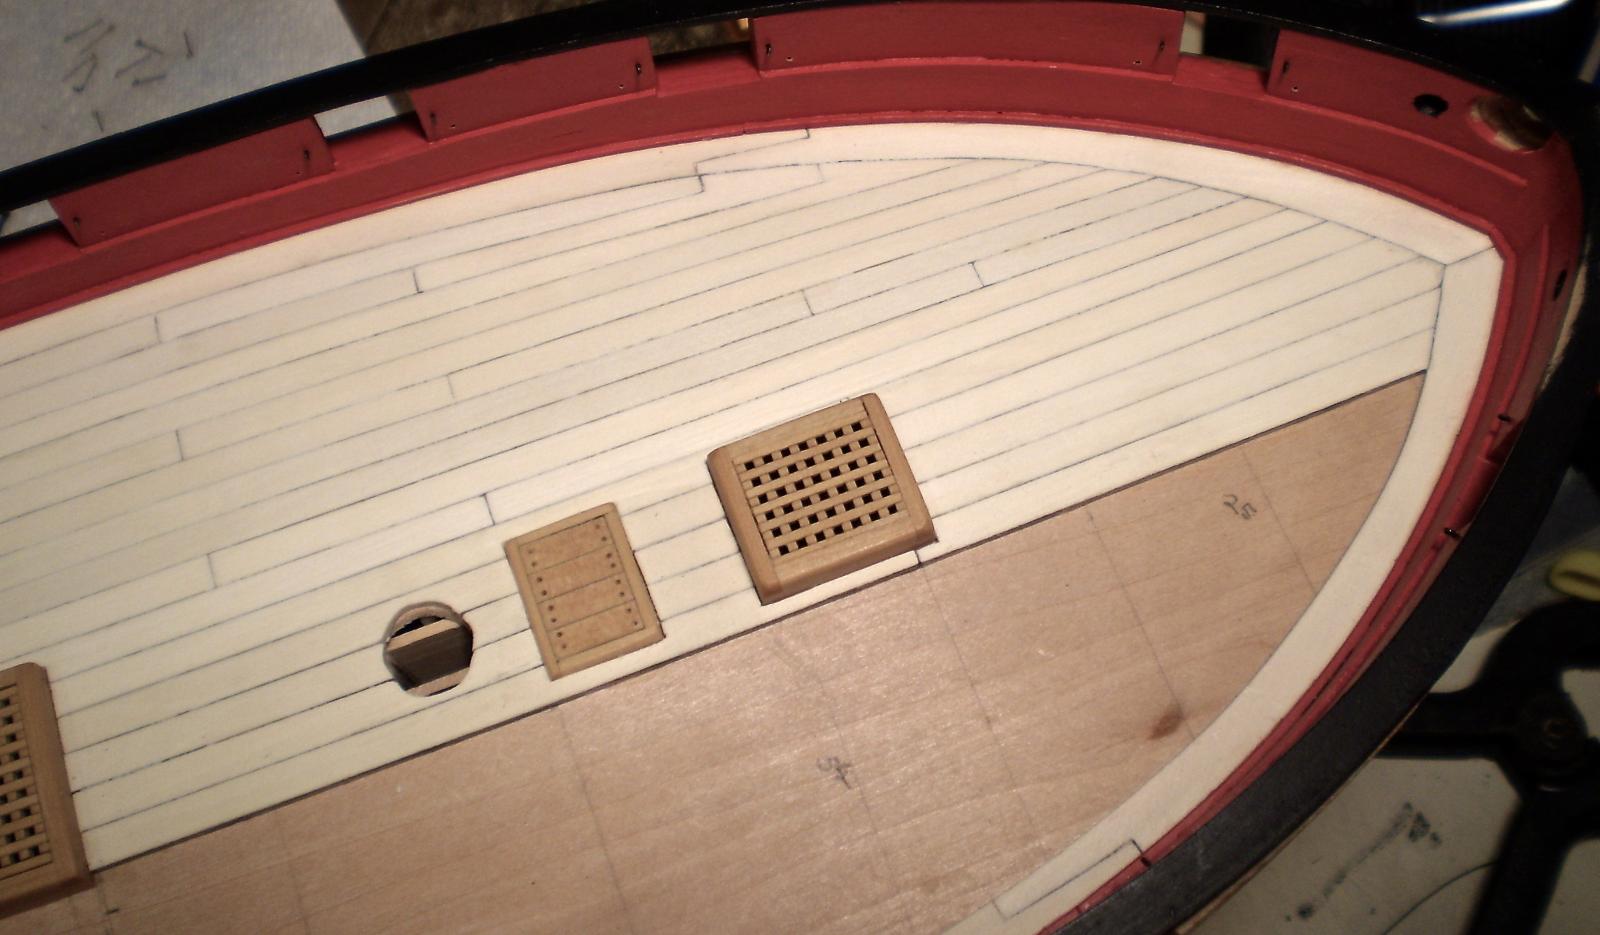
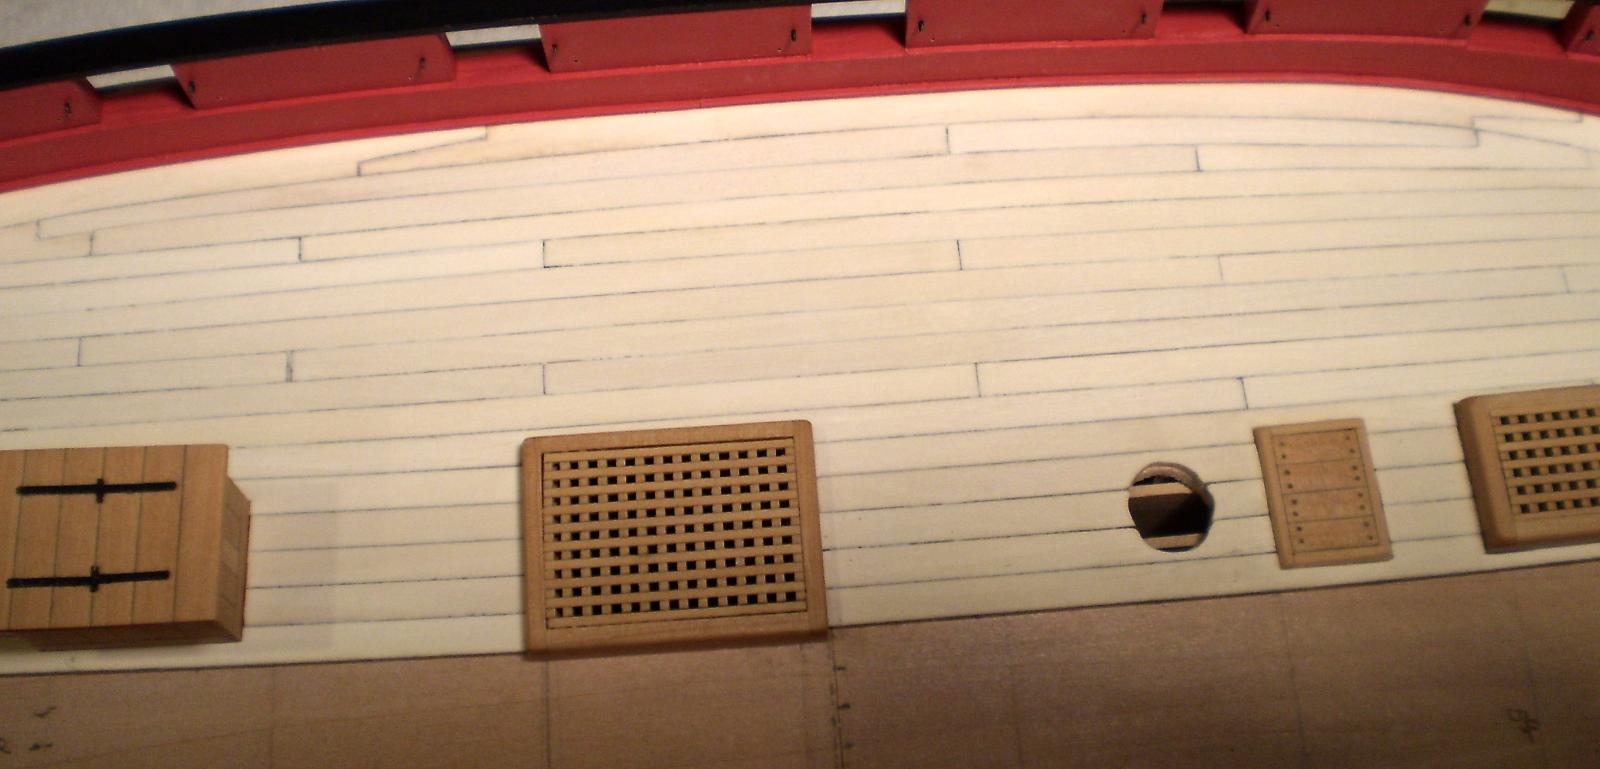
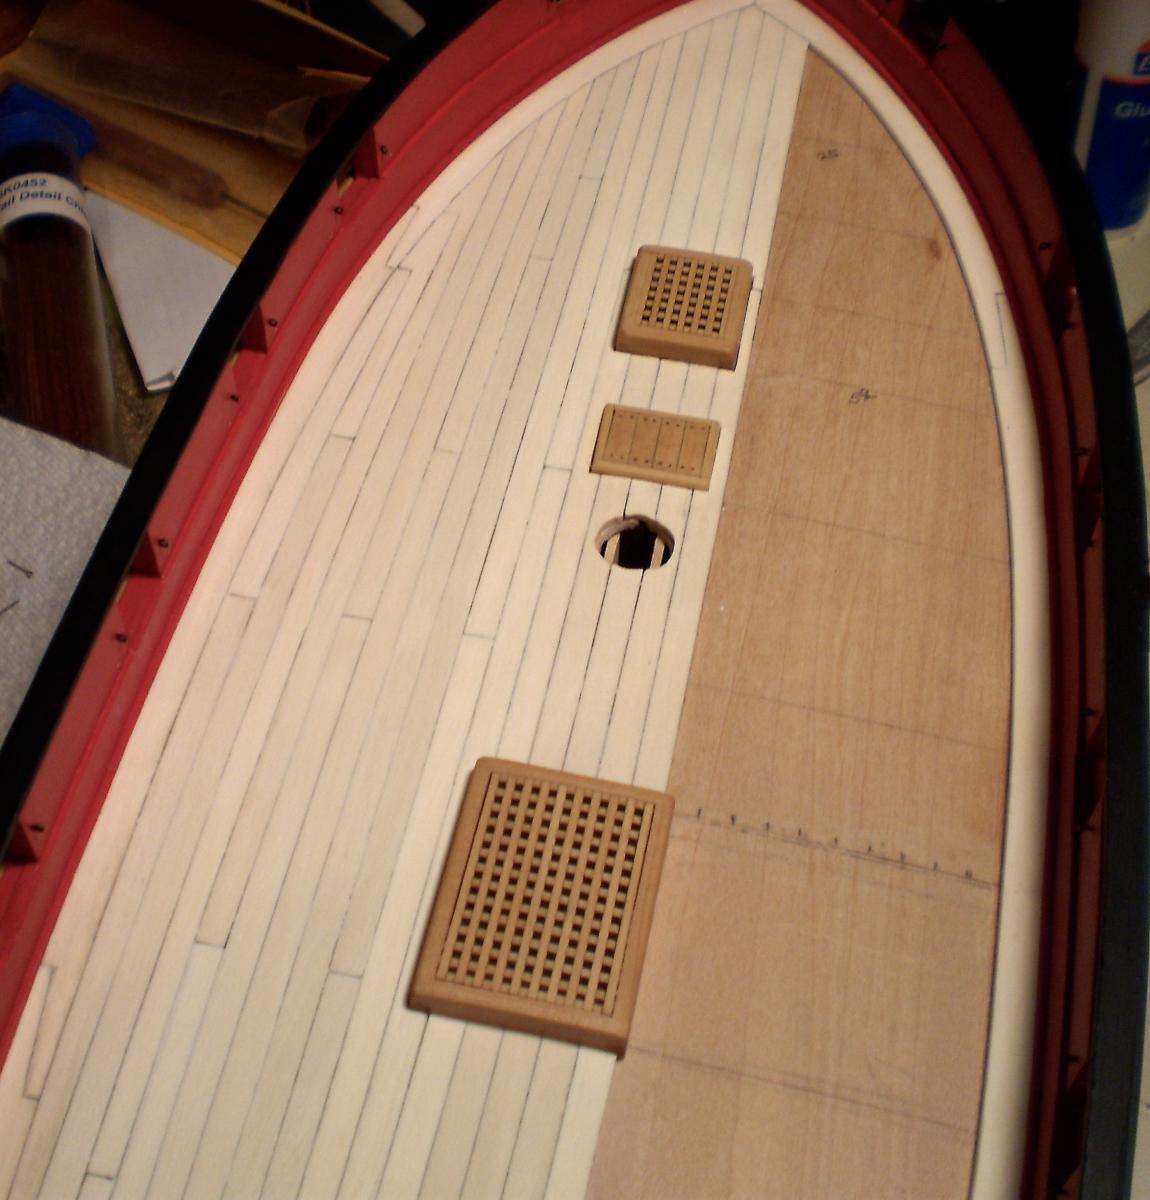
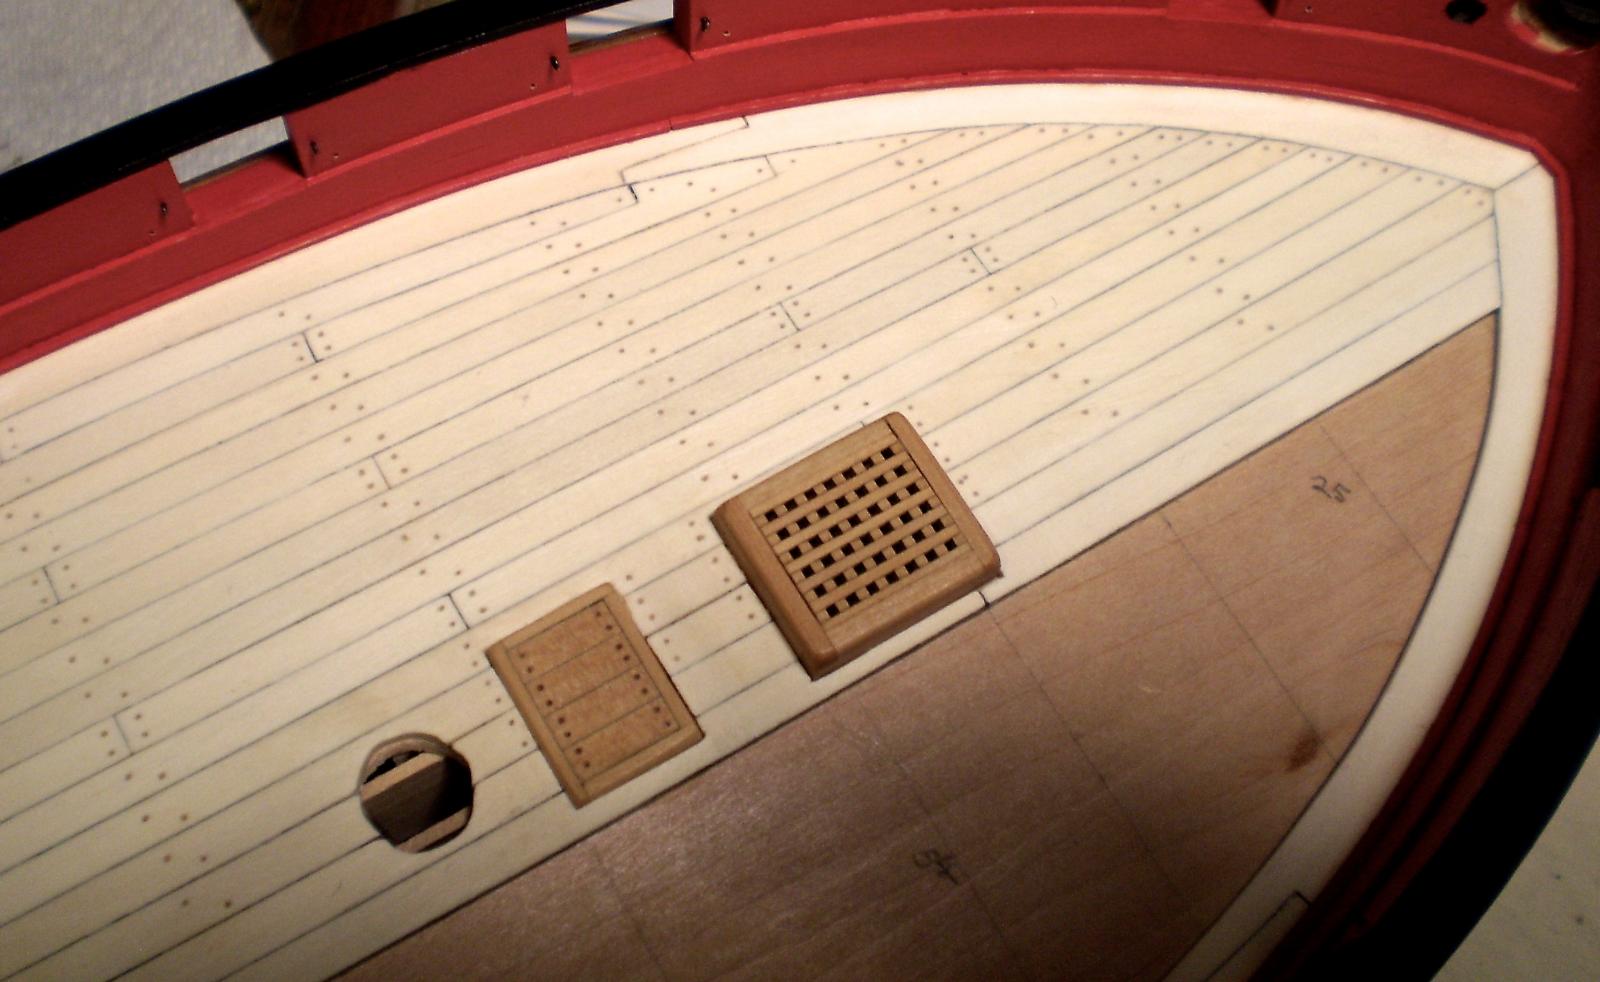
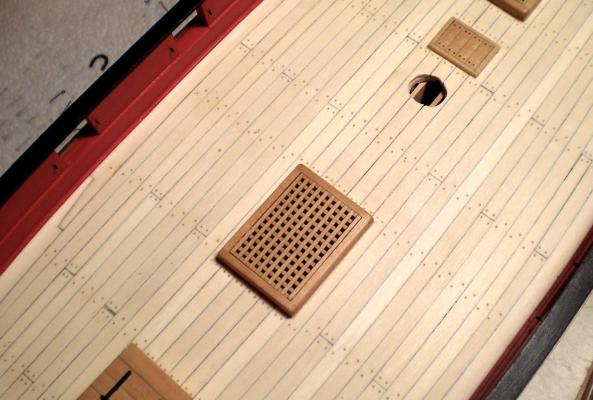
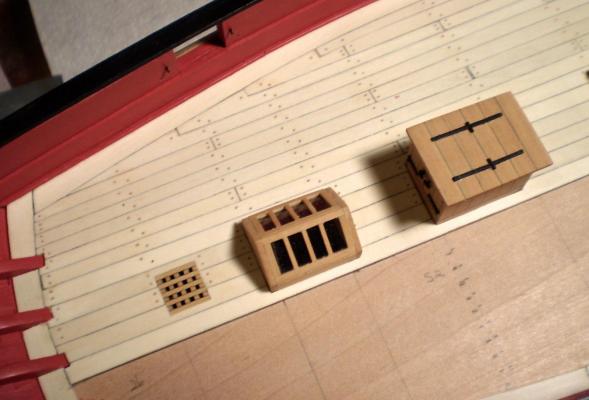
Work on the deck planking is now well underway. I have completed the center and port side portions. After seeing how Chuck did the curved and tapered planking, I knew that I had to give that a try. I had considerable fear that it would be very difficult and turn out badly. To my surprise, it turned out to be much easier than I had feared. My deck planking is holly, using 3/16" and 1/4" strips from Crown. The center portion is done, as is Chuck's, with straight pieces between the deck items (hatches, companionway etc.). The procedure for the curved planks was as follows: take a long strip and edge bend it (the holly bends quite easily); after bending, taper the strip to meet the dimensions that I had measured out at various points using tick strips; when the strip was bent and tapered, cut it into planks to meet the butt joint pattern; use a pencil to imitate the causing on one side and end of each plank; glue the individual planks into position. Like Chuck, I used two hooked scarfs at the bow and three at the stern. These were made using the wider strips. After completing this area of the planking, I chose, for two reasons, to to do the tree nailing on it before going on to do the starboard side. I like to break up the tree nailing, and I was eager to see what finished planking would look like. I chose to use a golden oak filler, that was lighter in color than the filler that I had used on the boxwood outer hull planking. After tree nailing, I applied Wipe-on Poly as a sealer and finish. I'm generally pleased with the result. Now it's on to the starboard side. Bob


- 525 replies
-
- 32
-
-
- cheerful
- Syren Ship Model Company
- (and 1 more)
-
Cutter Cheerful 1806 by rafine - FINISHED
rafine replied to rafine's topic in - Build logs for subjects built 1801 - 1850
Thanks so much John. Glad to have you back on board. Bob- 525 replies
-
- 3
-
-
- cheerful
- Syren Ship Model Company
- (and 1 more)
-
Wonderful Nils. You always make me wish that I had the room to do a project like this -- or more importantly -- the skills to carry it out the way that you are doing. Bob
- 2,625 replies
-
- 6
-
-
- kaiser wilhelm der grosse
- passenger steamer
- (and 1 more)
-
Cutter Cheerful 1806 by rafine - FINISHED
rafine replied to rafine's topic in - Build logs for subjects built 1801 - 1850
Thanks so much Thomas and the "likes". Greatly appreciated. Bob- 525 replies
-
- 3
-
-
- cheerful
- Syren Ship Model Company
- (and 1 more)
-
Cutter Cheerful 1806 by rafine - FINISHED
rafine replied to rafine's topic in - Build logs for subjects built 1801 - 1850
Thanks so much George and the "likes". Bob- 525 replies
-
- 3
-
-
- cheerful
- Syren Ship Model Company
- (and 1 more)
-
Cutter Cheerful 1806 by rafine - FINISHED
rafine replied to rafine's topic in - Build logs for subjects built 1801 - 1850
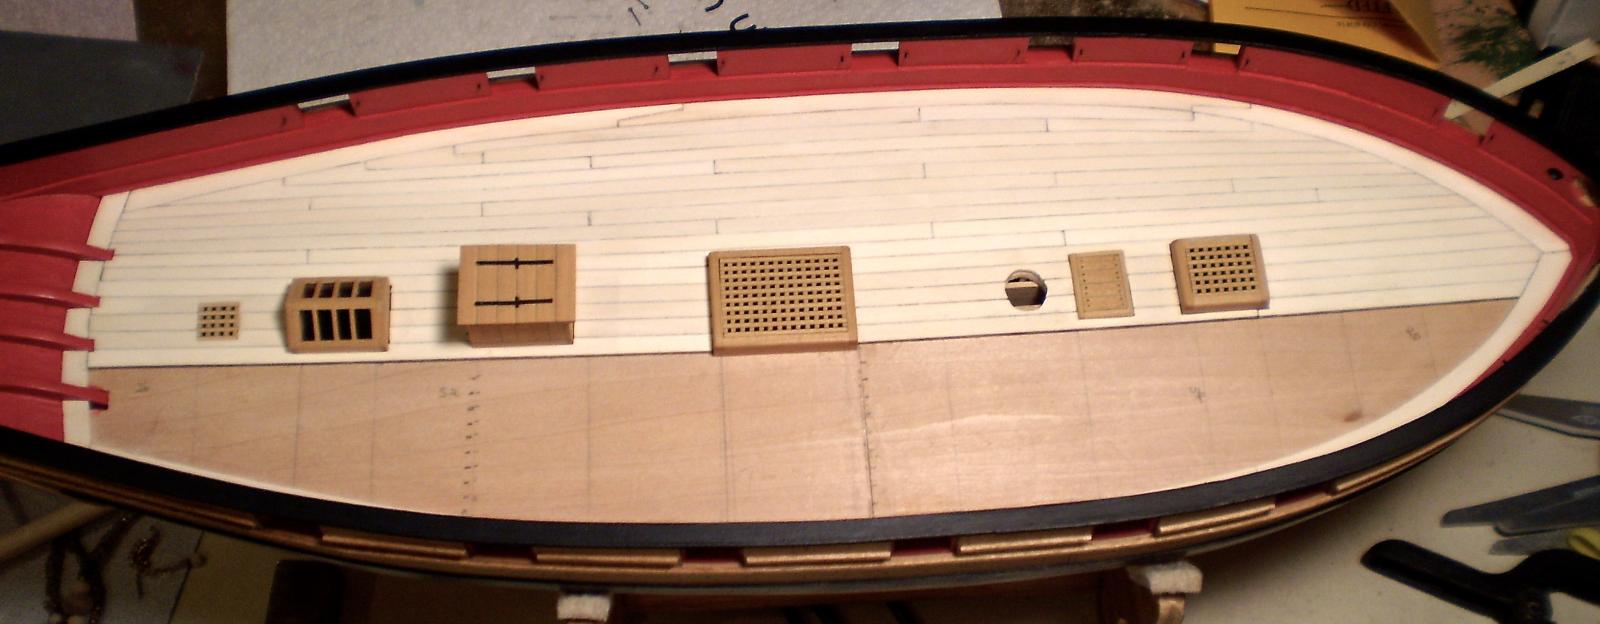
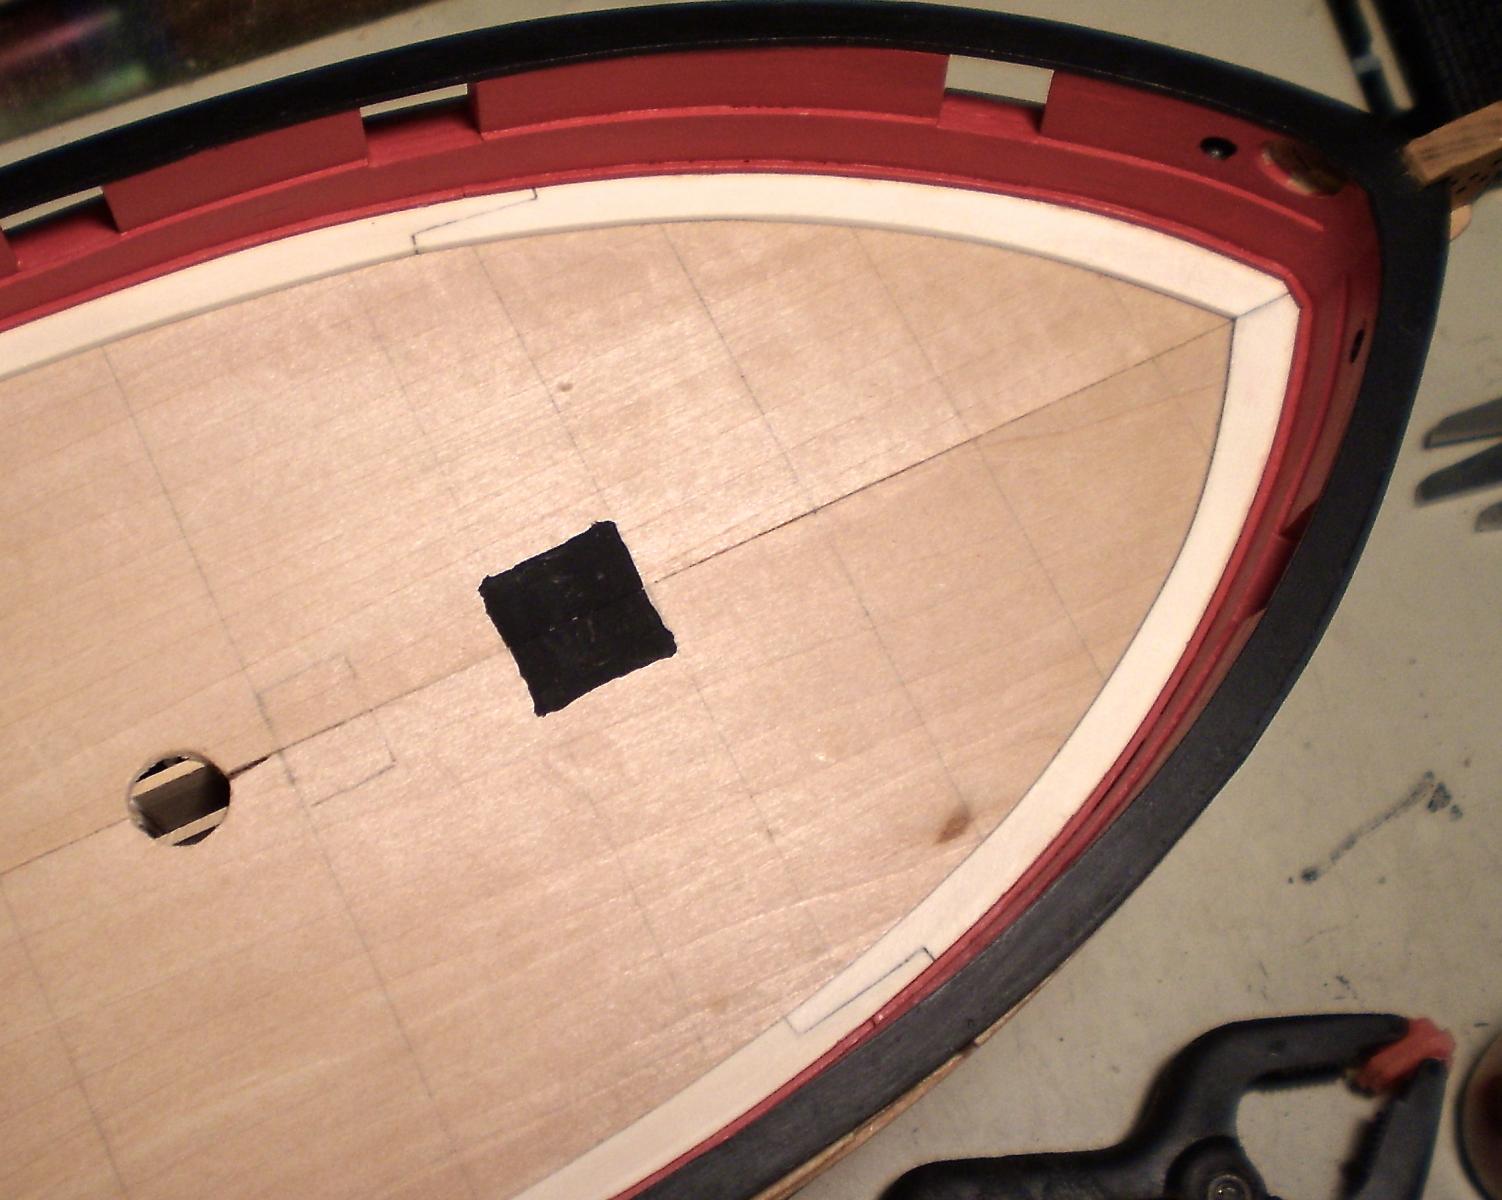
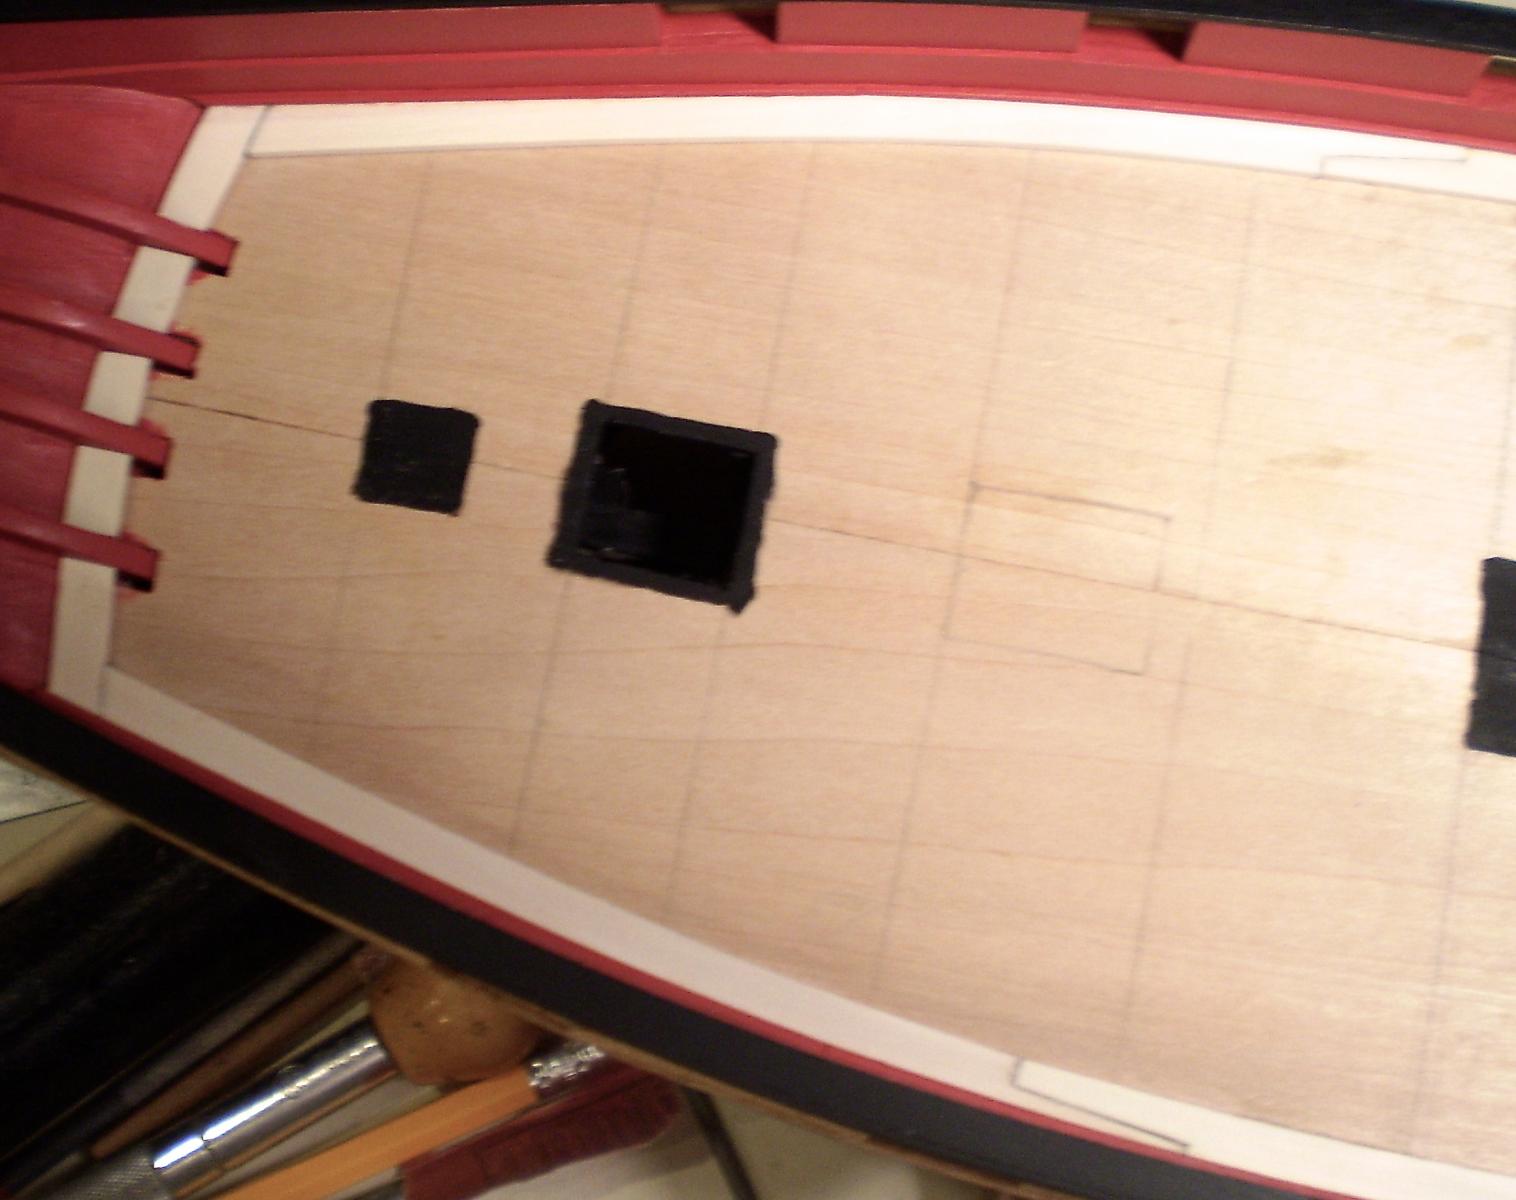
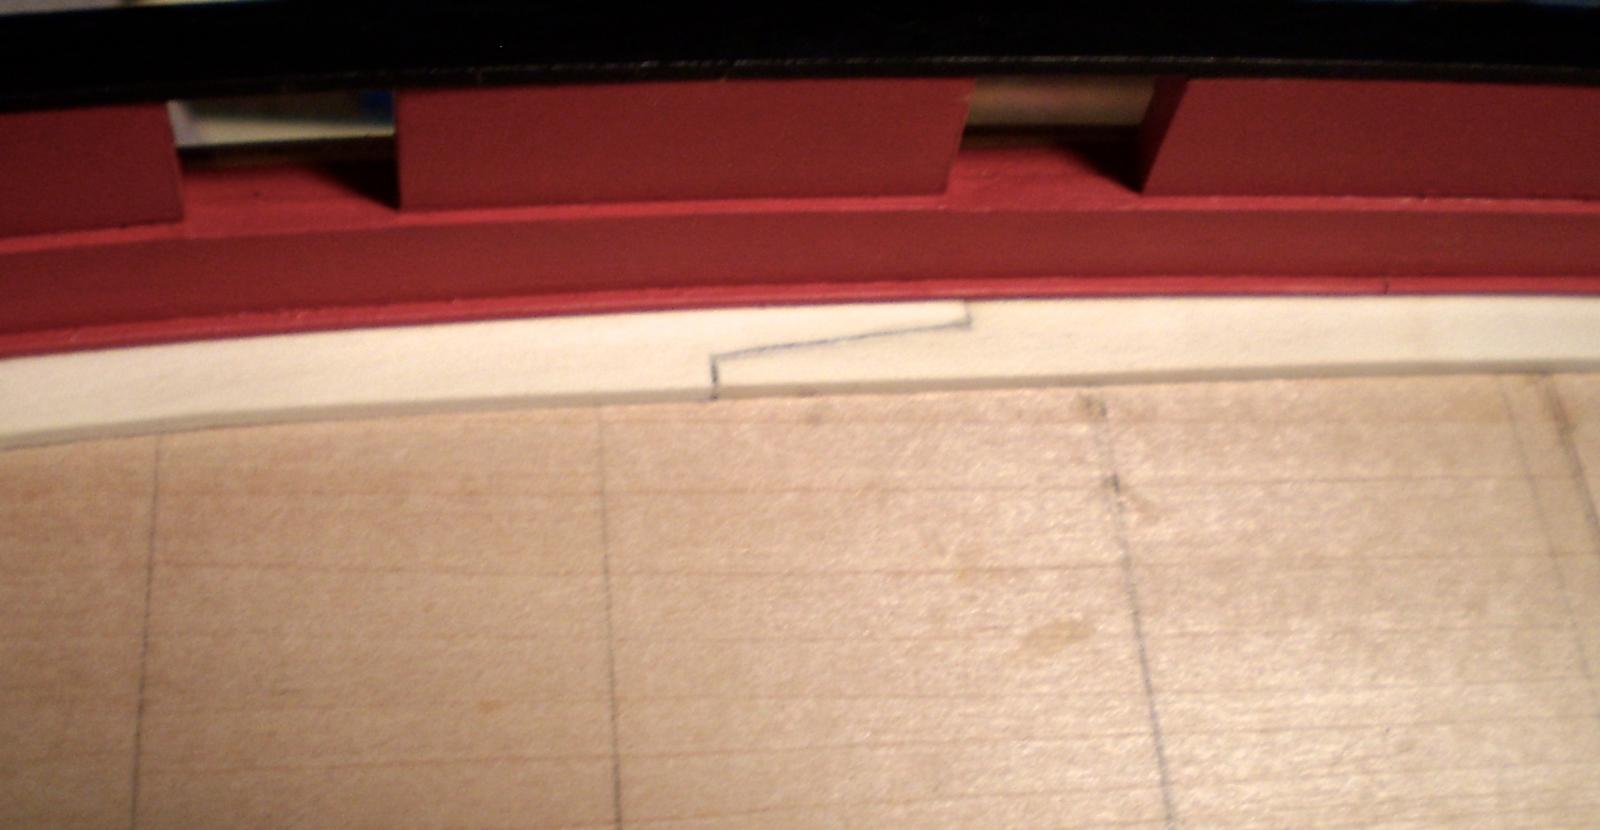
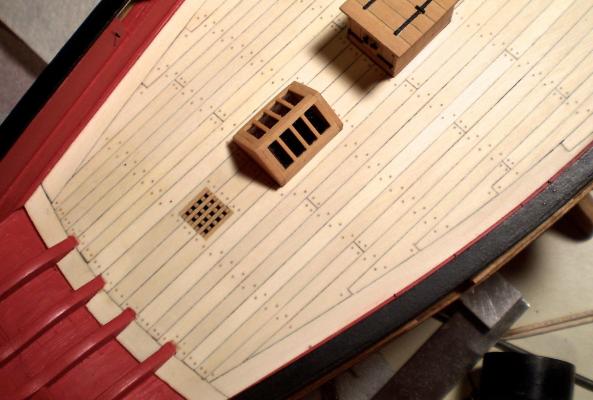
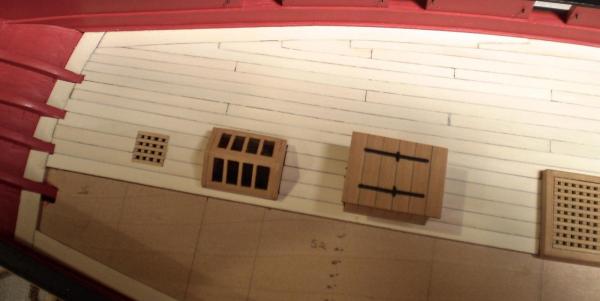
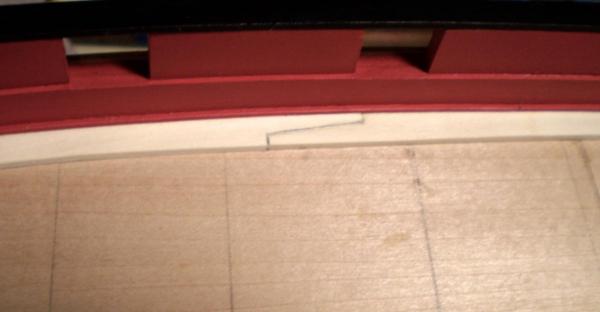
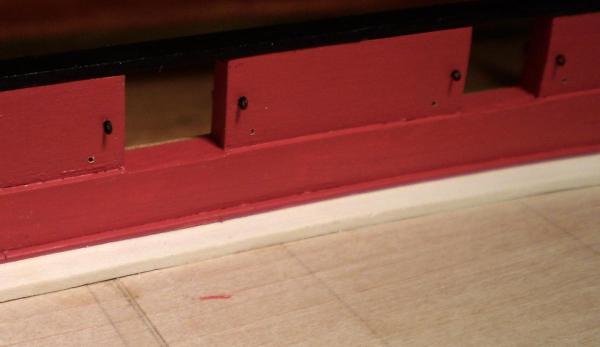
I've taken the first step in the deck planking process. I made and installed the margin planks and waterway. I am doing the deck planking in holly, so the the margin planks were done with holly sheet and strip. The bow sections were cut from holly sheet, using card templates. The remaining sections were done by edge bending holly strip. The small pieces at the stern were shaped and beveled to fit. The waterway was made from 1/32" square strip that was rounded and painted red before installation. I also painted black the areas under the gratings and skylight. Finally, before moving on to the deck planking itself, I drilled holes for the bulwark eyebolts and ringbolts. This was done now to avoid interference during drilling from the deck structures that will be installed prior to deck planking. The eyebolts were installed now. The ringbolts will be done at the time that the guns are installed and rigged. Bob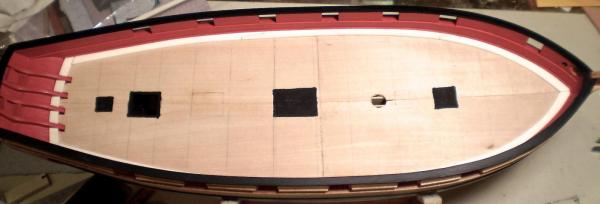


- 525 replies
-
- 33
-
-
- cheerful
- Syren Ship Model Company
- (and 1 more)
-
Cutter Cheerful 1806 by rafine - FINISHED
rafine replied to rafine's topic in - Build logs for subjects built 1801 - 1850
Thanks so much David and the "likes". I brush paint only David, and the Modelflex did not work well for that. Bob- 525 replies
-
- 3
-
-
- cheerful
- Syren Ship Model Company
- (and 1 more)