HOLIDAY DONATION DRIVE - SUPPORT MSW - DO YOUR PART TO KEEP THIS GREAT FORUM GOING! (Only 51 donations so far out of 49,000 members - C'mon guys!)
×


paulsutcliffe
-
Posts
974 -
Joined
-
Last visited
Content Type
Profiles
Forums
Gallery
Events
Everything posted by paulsutcliffe
-
I would add another stiffener in the centre at the front to hold the first three bulkheads, they get the majority of the fairing to shape the bow properly for the planks Hope that helps Regards Paul
- 25 replies
-
- 1
-

-
- 18th century longboat
- model shipways
- (and 1 more)
-
Don't worry everybody breaks that bit off
-
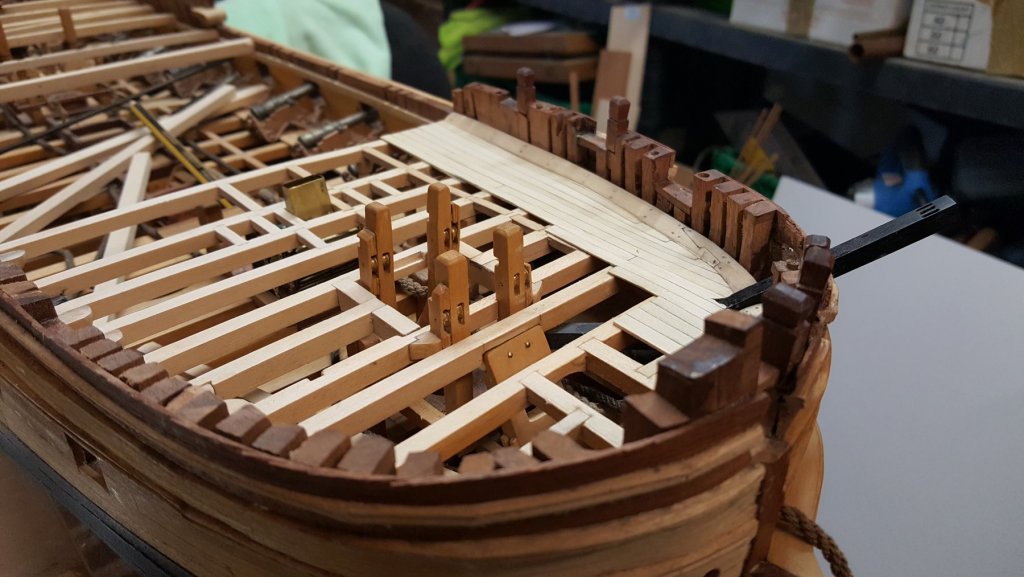
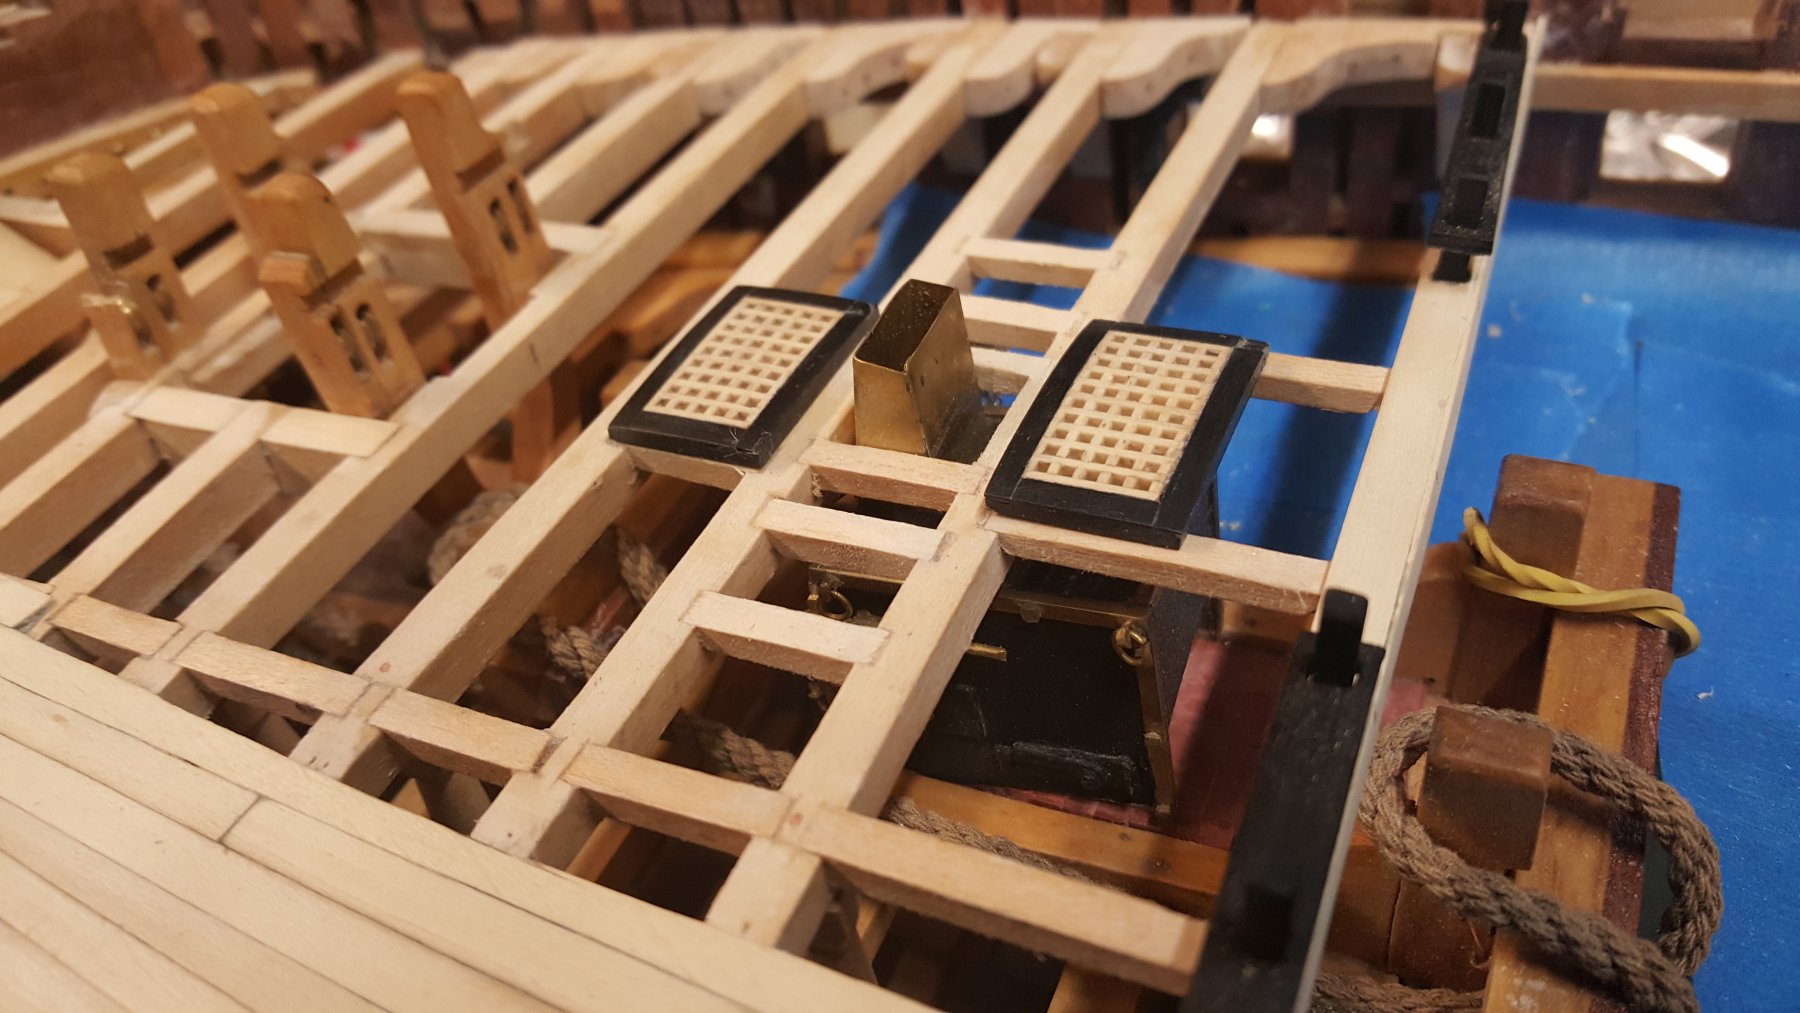
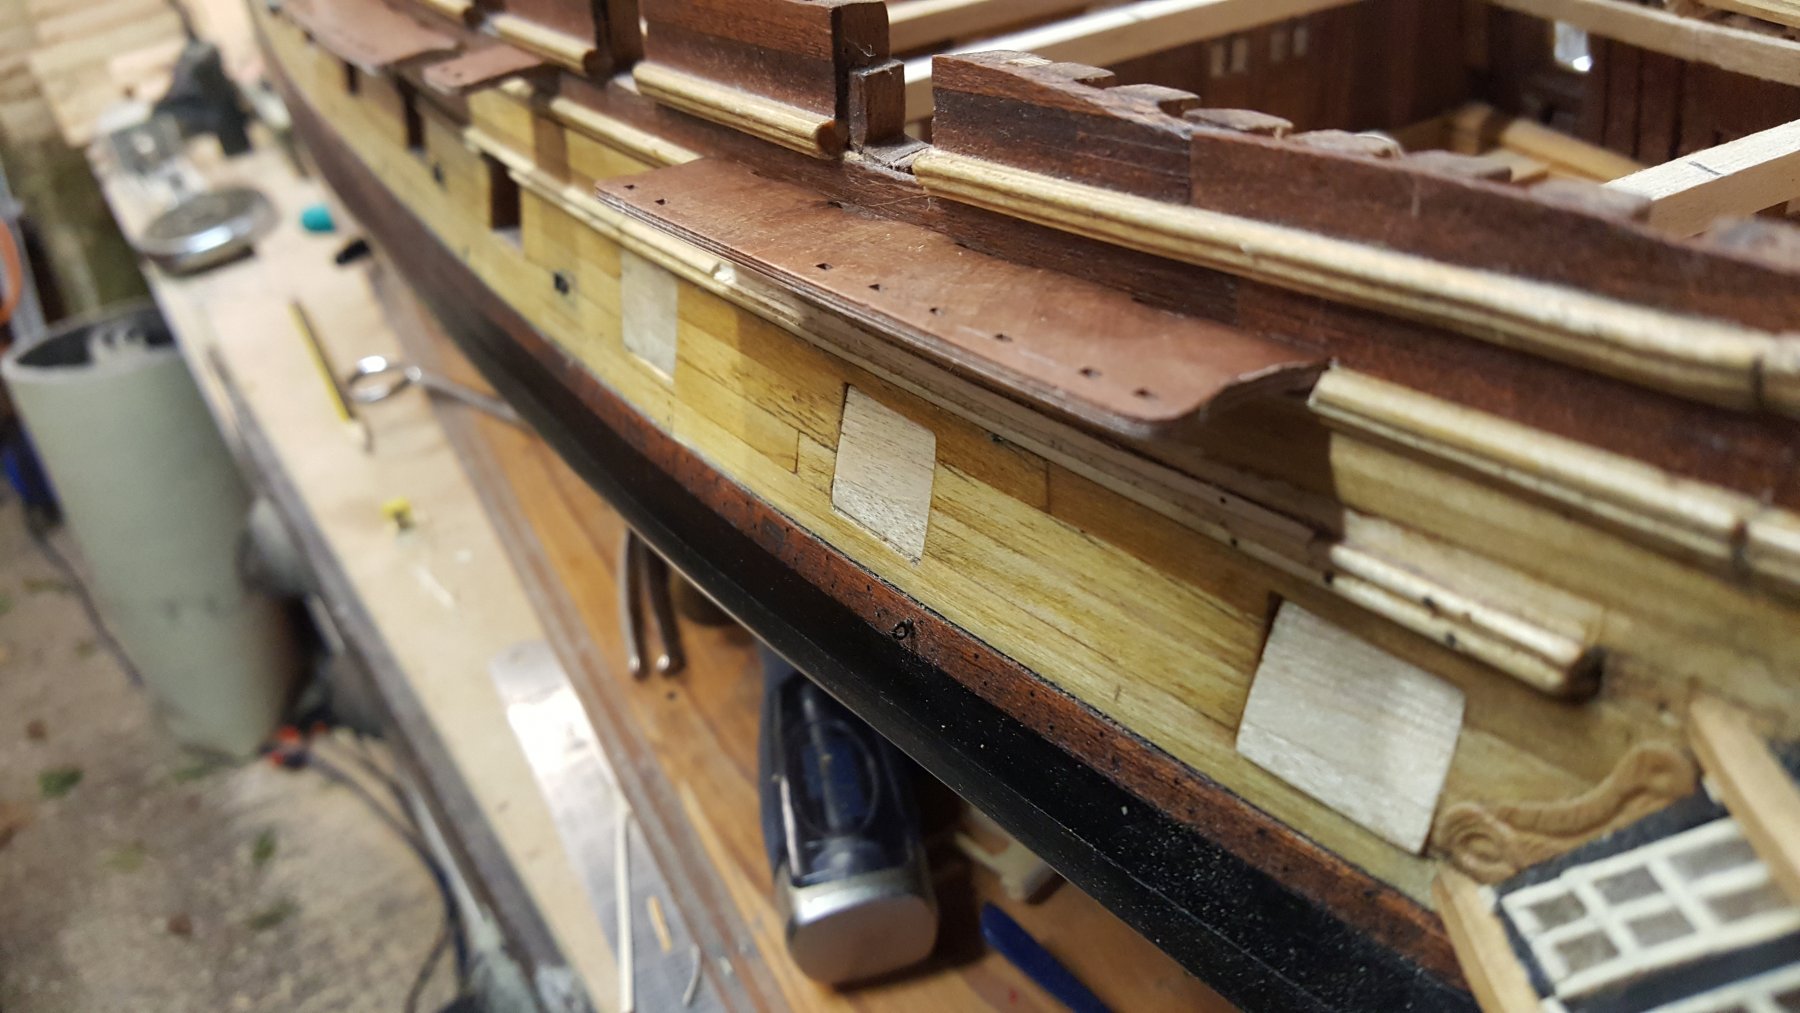
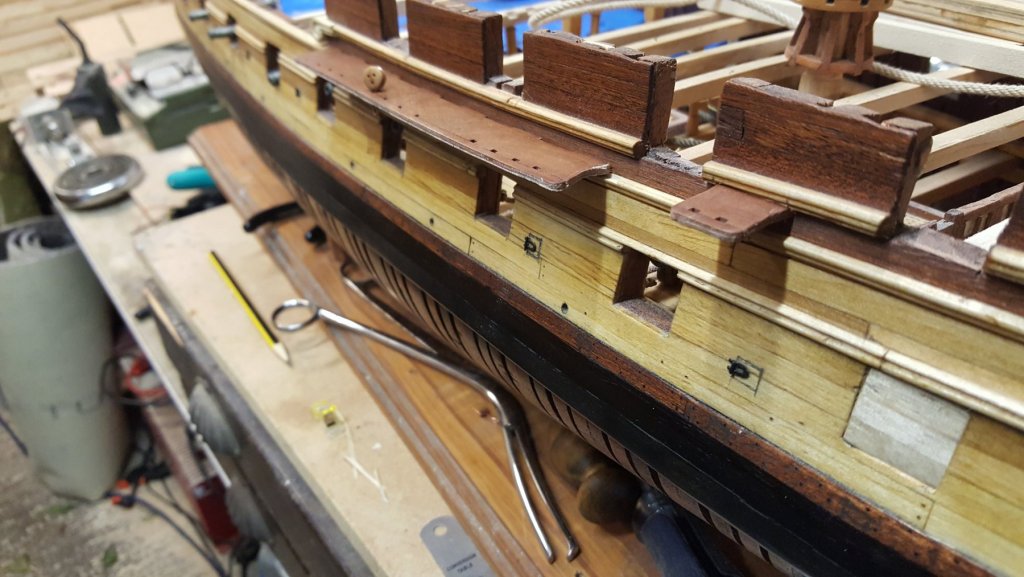
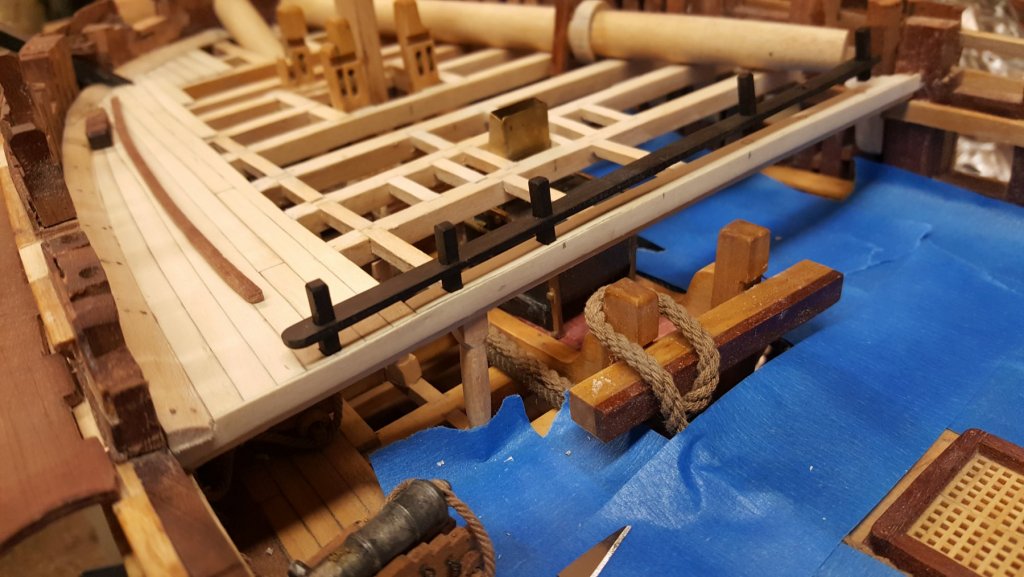
Holly strips are glued up and ready to go, meanwhile I made the two steam gratings for the forecastle Coamings are ebony and boxwood grating, cambered to match the deck planking, knees on starboard also finished and bolted, work on the waterway has also started with its lovely curved scarph Regards Paul

-
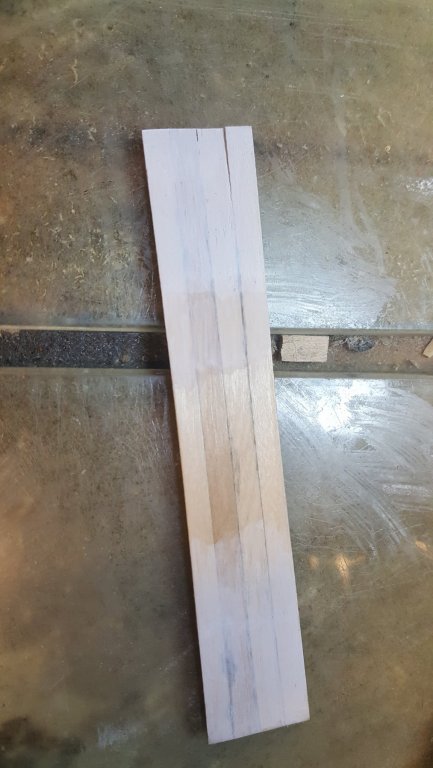
Of course you are correct Druxey, I didn't think the wood would matter as seemed to be something to do with the glue, however I will do again tomorrow with some holly strips Thanks
-
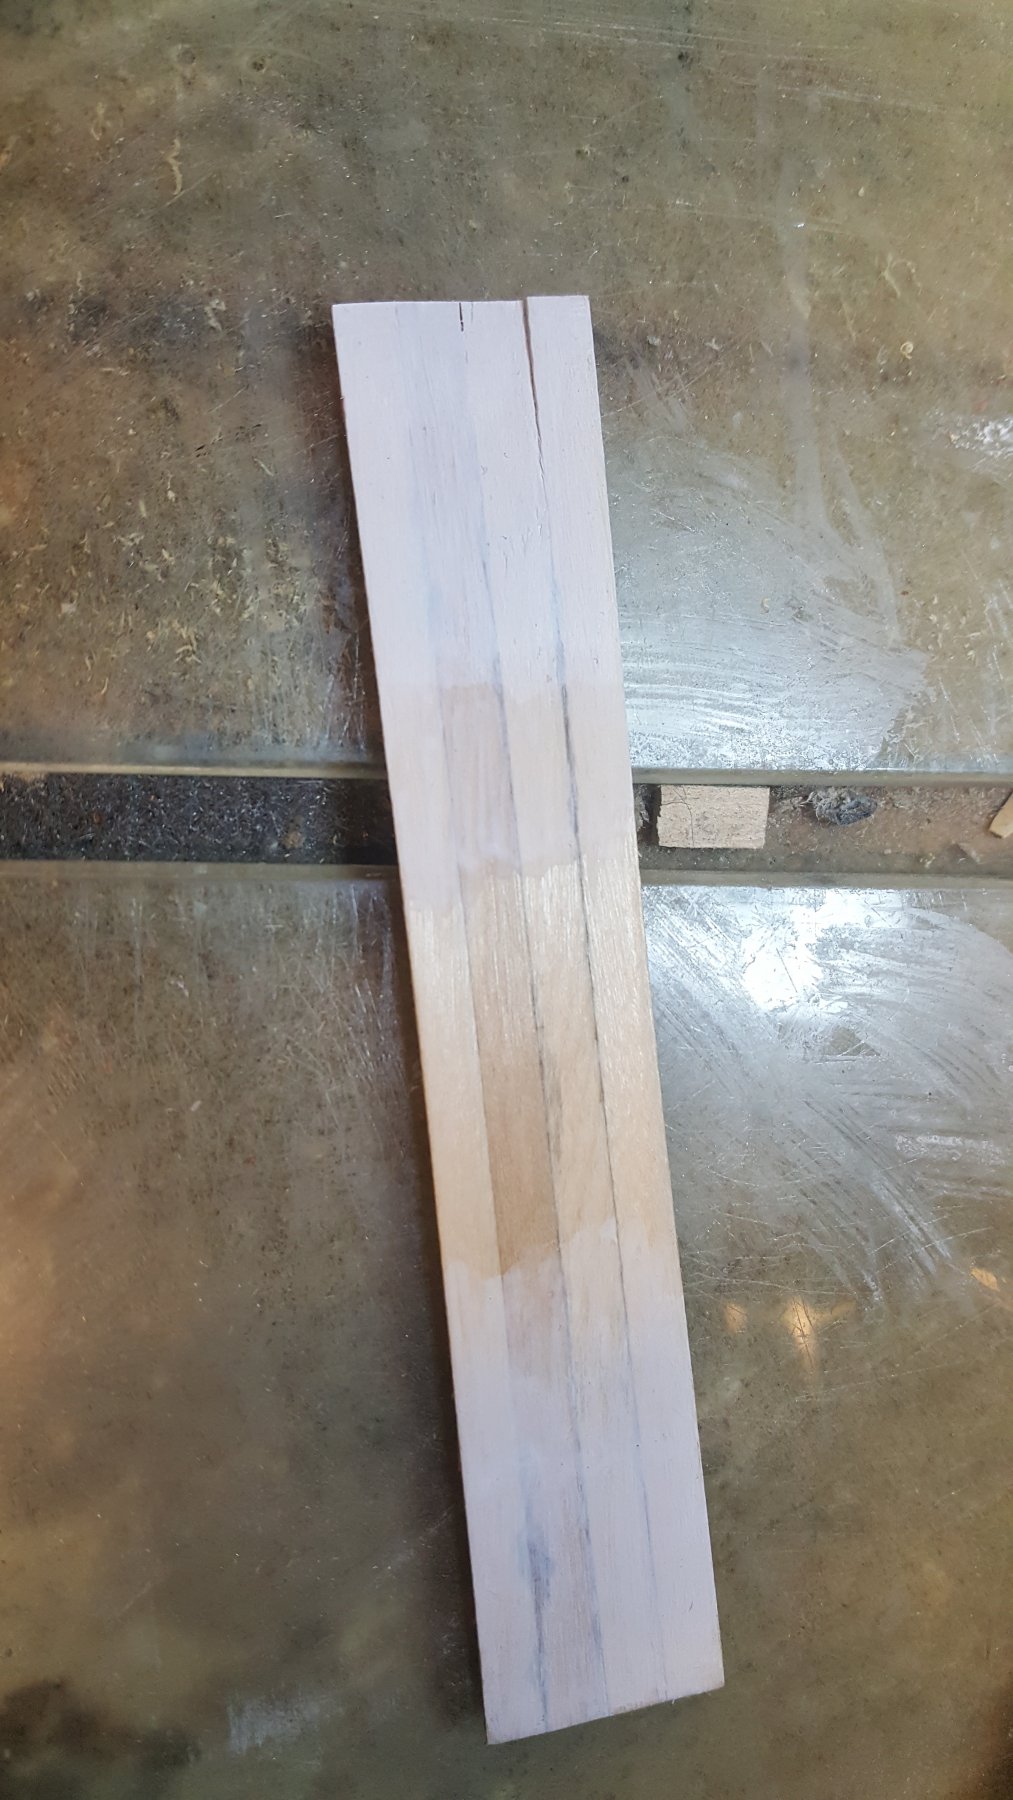
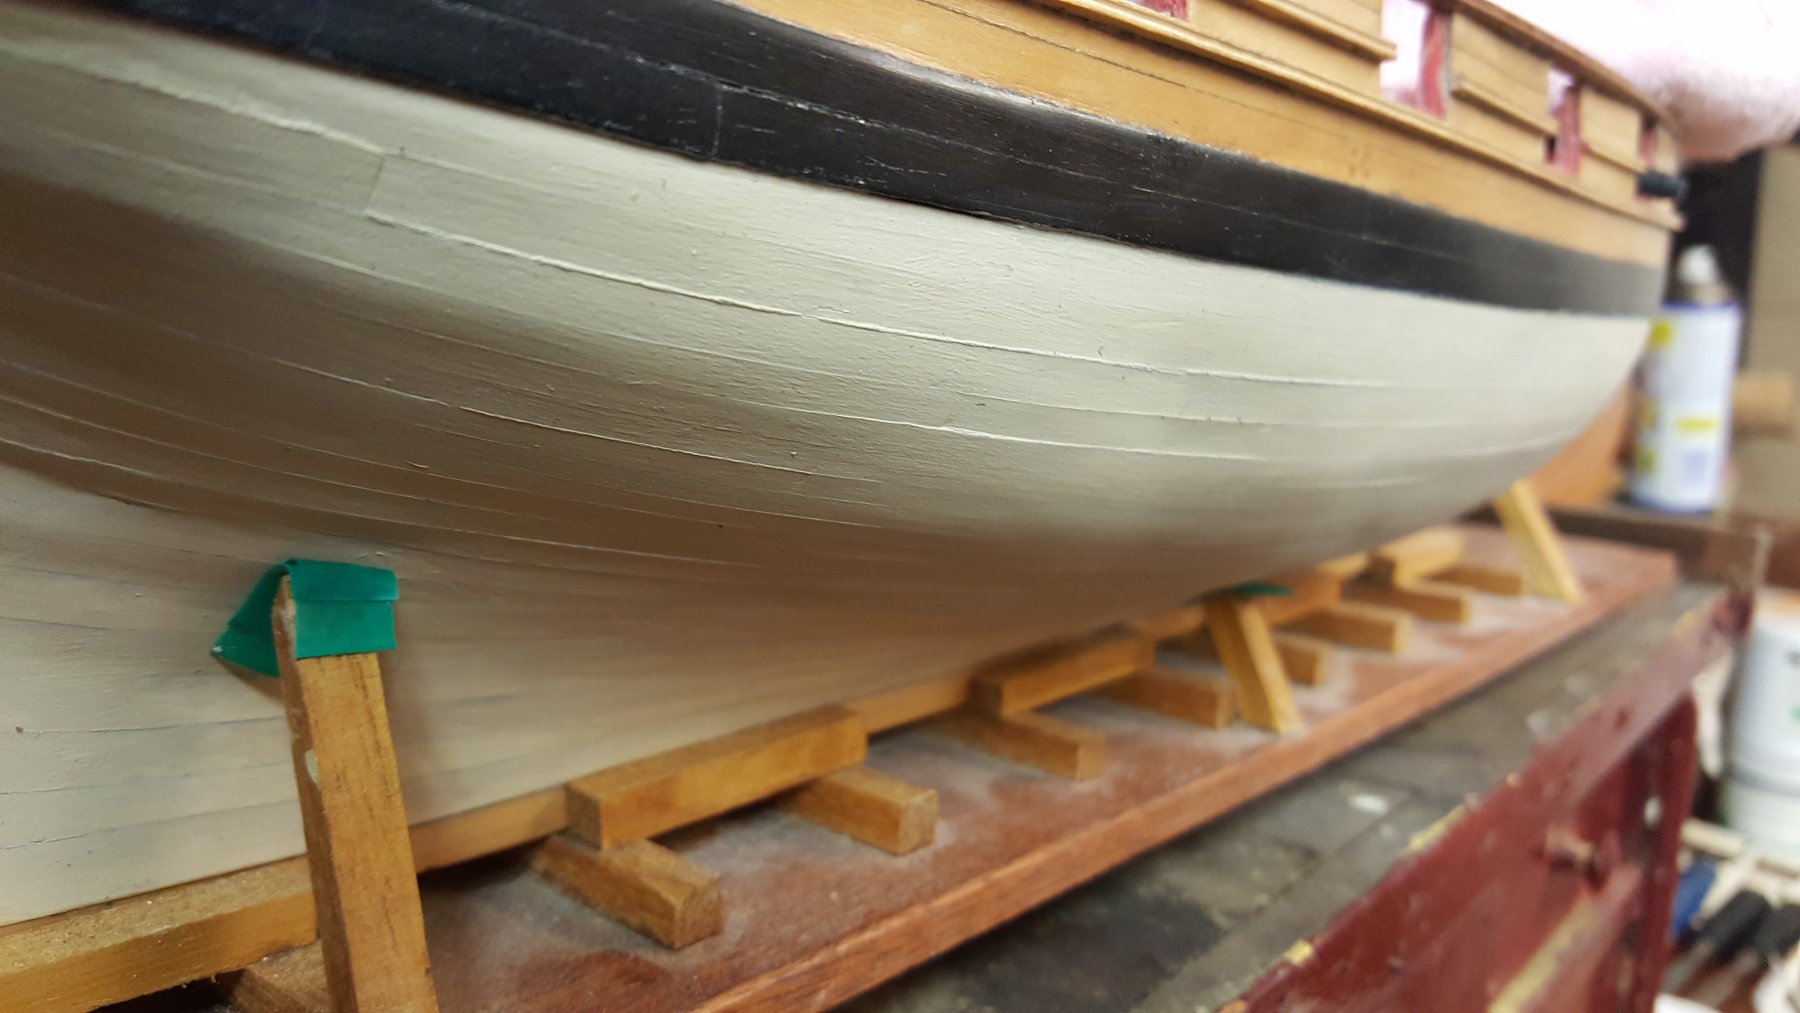
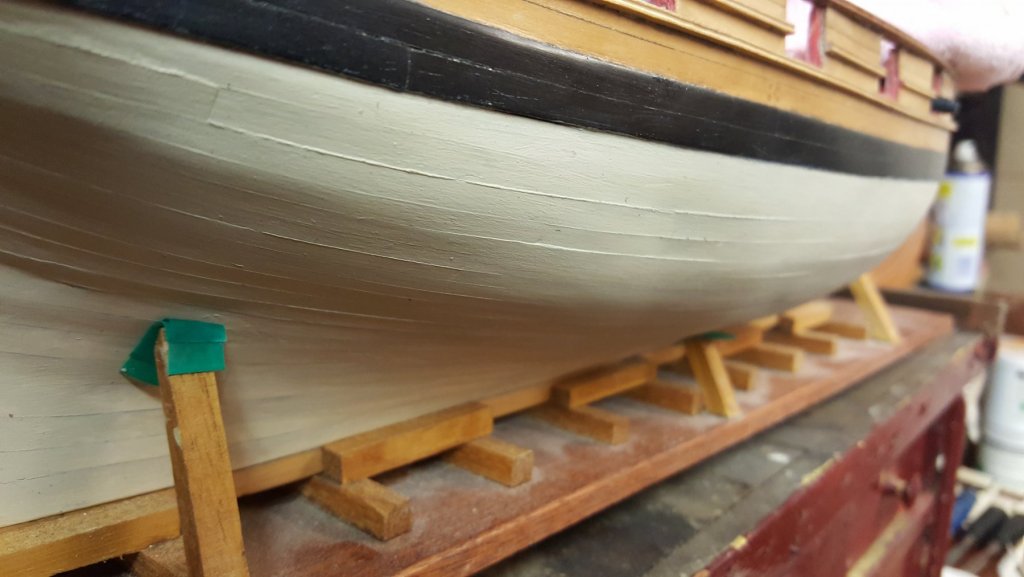
Experiment to try and recreate the caulking lines as per the Cheerful, four beech planks all have had three coats of sanding sealer smoothed inbetween Right hand side(bottom) also had some oil rubbed in and then painted on top, I'm sure the colour doesn't matter as its still acrylic Left hand side is straight paint well watered down as per landrottens suggestion As yet no reaction like my cheerful Hull, only difference is this is beech and the Hull is holly, could that have anything to do with it??? And still needs a few more coats of paint Regards Paul
-
Hi Chris Whilst I agree about frigates and probably the earlier ones with more decoration which everybody likes, I'm not sure about the nineteenth century statement, the Duke of wellington was launched as a first rate 131 gun ship then converted to steam, imagine the victory with a funnel and propeller awesome but probably far to large for most people especially at 1/64 Would you not be able to produce/sell your 1/64 victory or is that owned by amati now, I know lots of people on here would certainly be interested in that, certainly I would. Regards Paul
-
Swan class 3D model in progress
paulsutcliffe replied to dvm27's topic in CAD and 3D Modelling/Drafting Plans with Software
Wow!!! Fantastic work Regards Paul- 141 replies
-
- 1
-
-
- pof swan series
- swan
- (and 1 more)
-
Hi Ed I have to agree with Dave above, that second to last photo looks like its taken on a/the real ship, awesome And again thanks for the arrows Regards Paul
- 3,618 replies
-
- 1
-
-
- young america
- clipper
- (and 1 more)
-
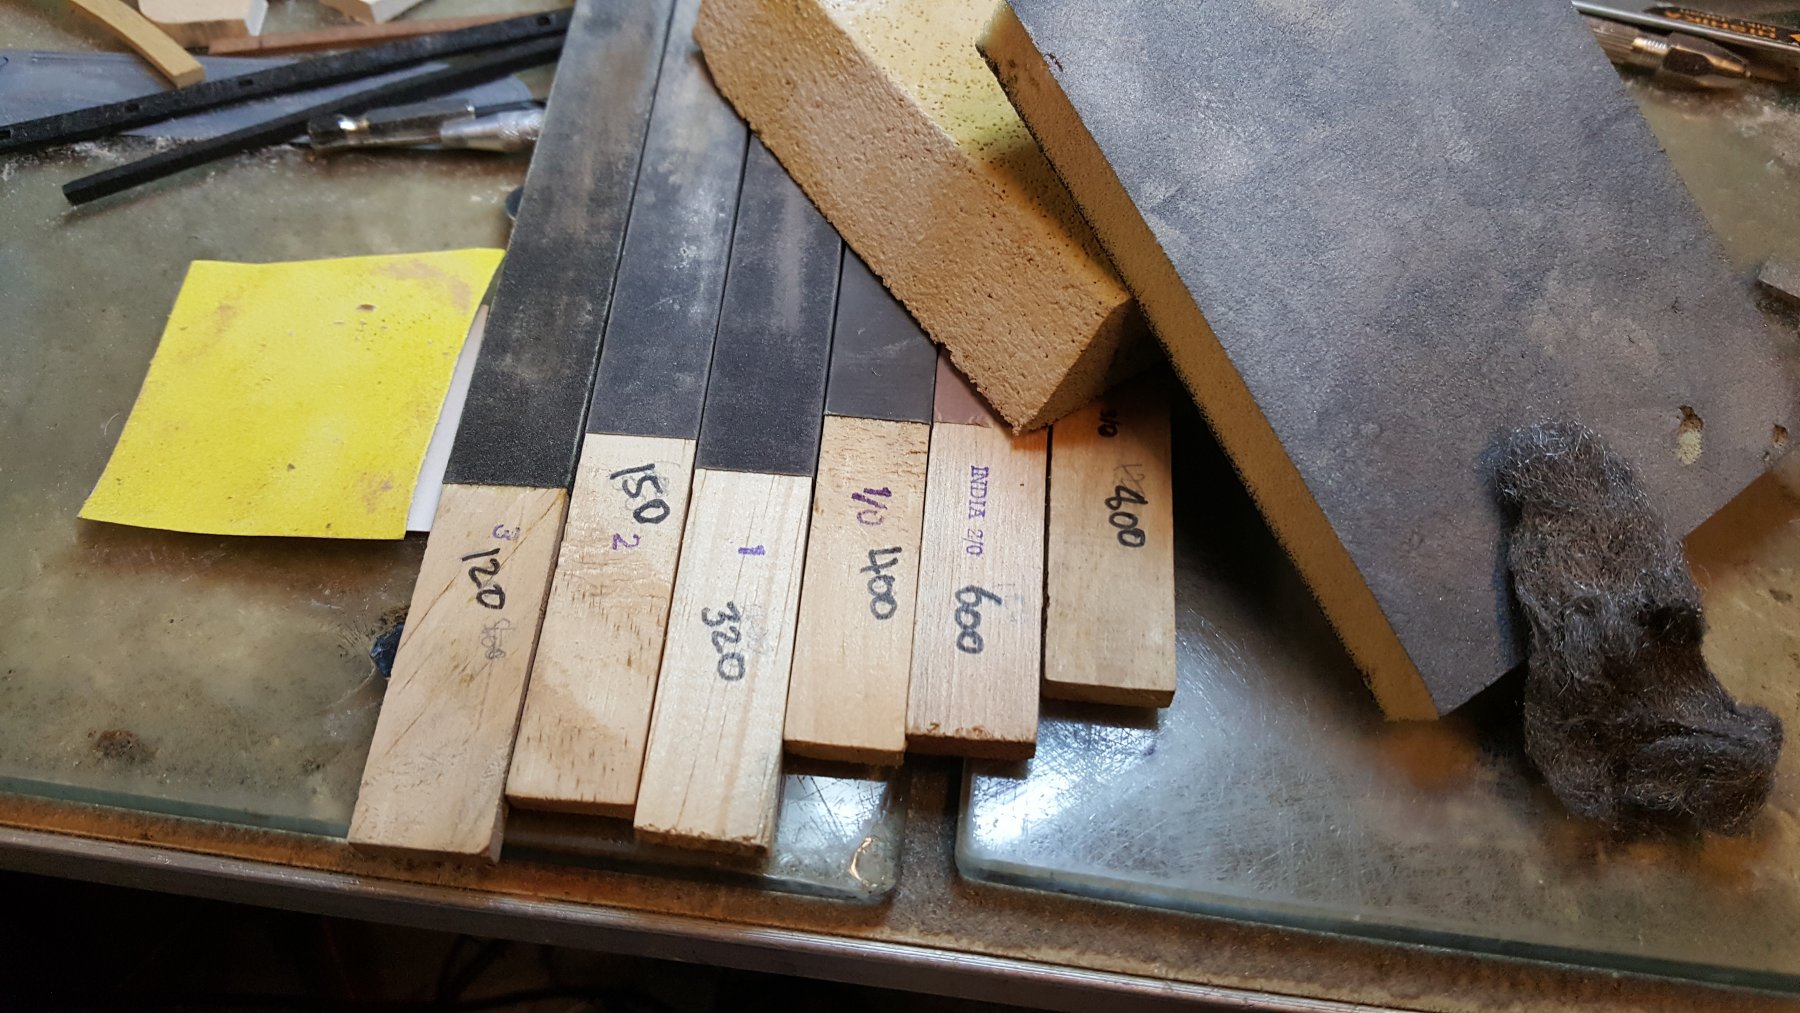
Its amazing now the addition of a few pieces makes it all start to look like a ship and it starts to come together, all starboard channels are now made and have bolts nothing glued as yet as I have to work out how to make the supporters From the bow Mizzen Main and stool Fore And a little test with a boxwood deadeye, I noticed some scratches on the fore channel and removed it to refinish, this is what I'm using for polishing up the pear to a smooth shine from left to right finishing with 0000 wire wool Regards Paul


-
Well said Ed, fantastic work as usual ( don't forget the arrows ha!!) seriously though what you are doing is awesome and a pleasure to read/watch along Regards Paul
- 3,618 replies
-
- 1
-
-
- young america
- clipper
- (and 1 more)
-
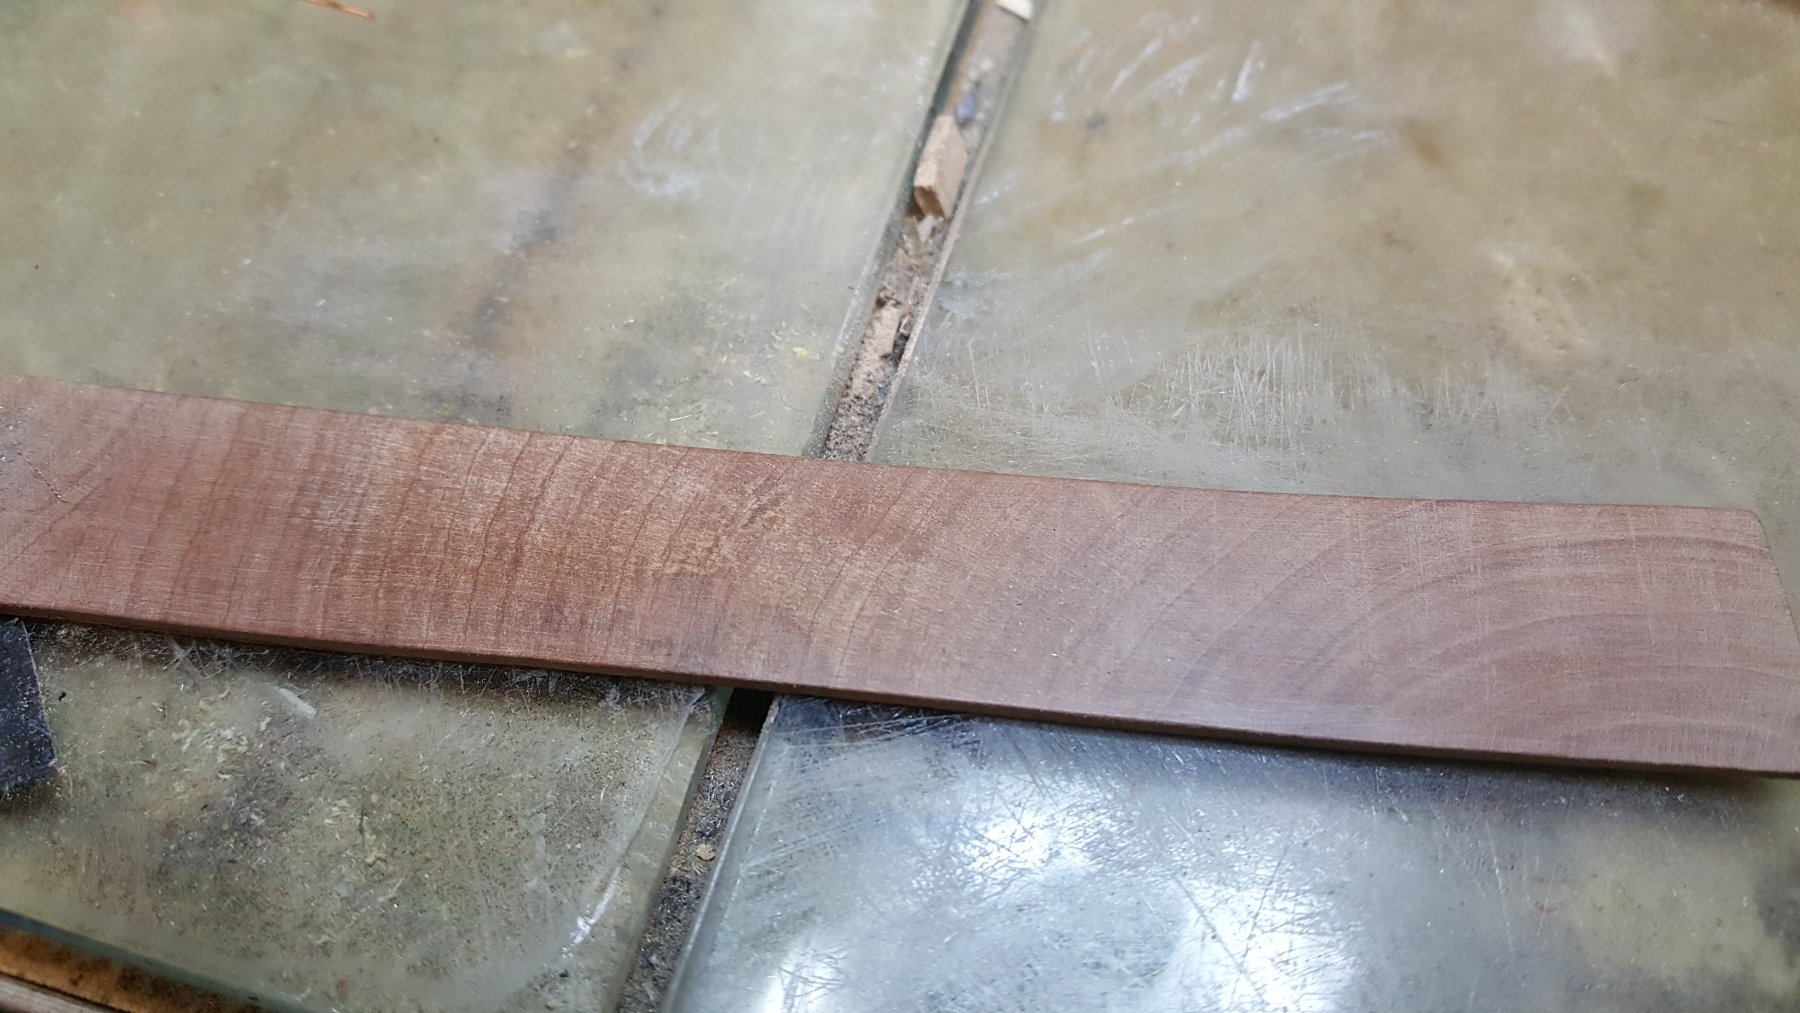
I also started on the main channel using cross cut pear same as the fore channel, look at the grain beautiful isn't it Regards Paul

-
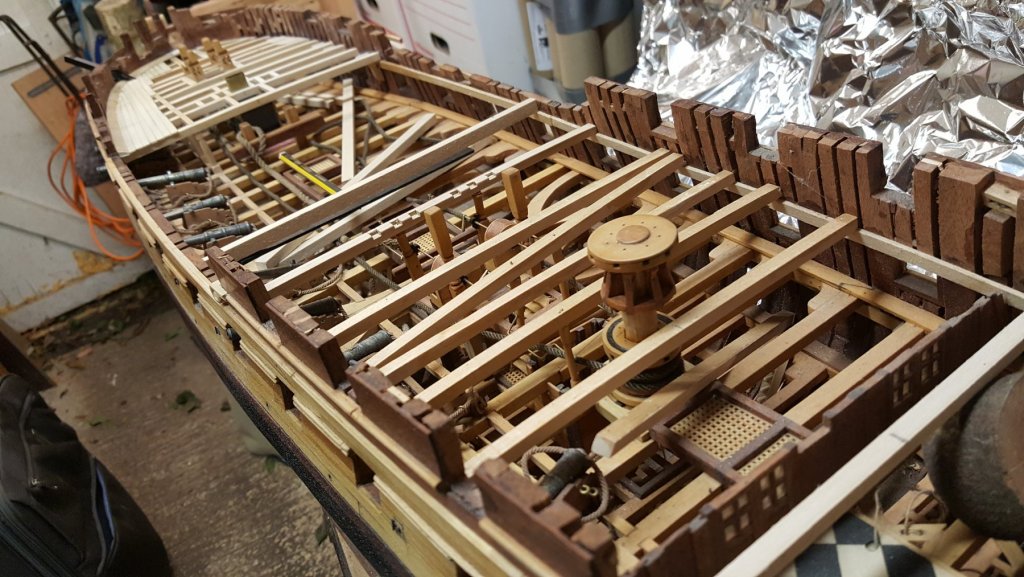
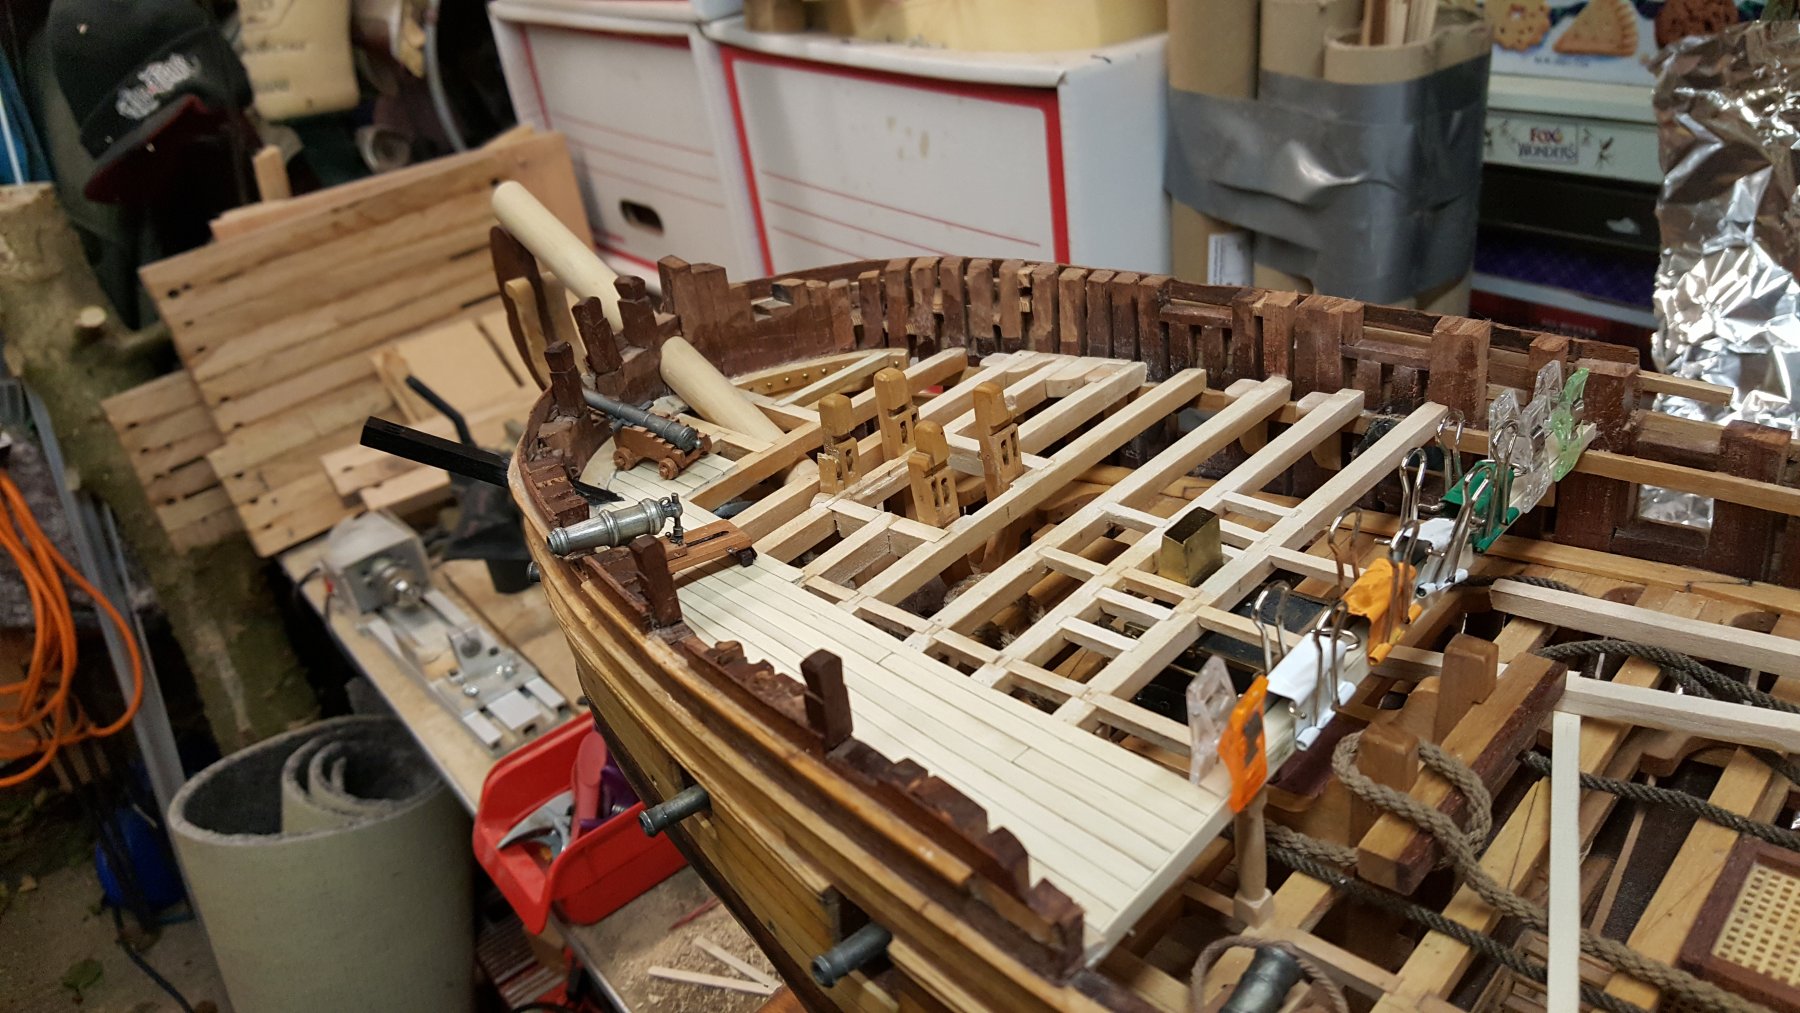
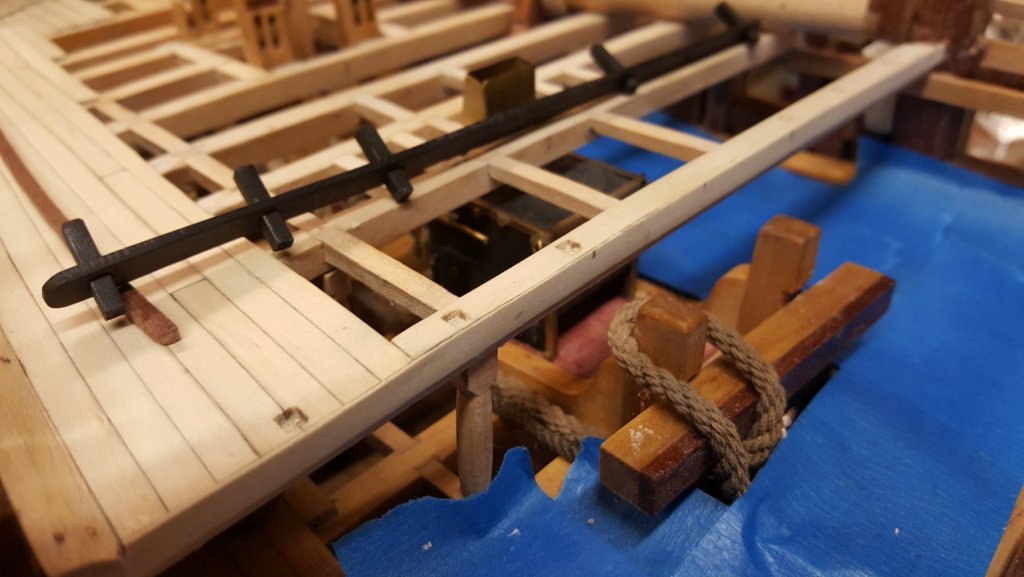
Cutting the mortices in the breast beam for the stanchions The cross piece will be cut in half making the two sides but I'm keeping whole until all mortices etc are cut to keep the spacing Port Side morticed in starboard still ti cut in, After dropping two stanchion down into the depths I thought I had better cover the gun deck before i lose it Regards Paul
-
Air gaps have been sanded into the back, drilled for fixing bolts, test fitted to the side Regard Paul PS thanks all for the likes
-
Thanks Druxey, I'm thinking the same, I might stick some plank together and see if I can recreate the problem Regards Paul
-
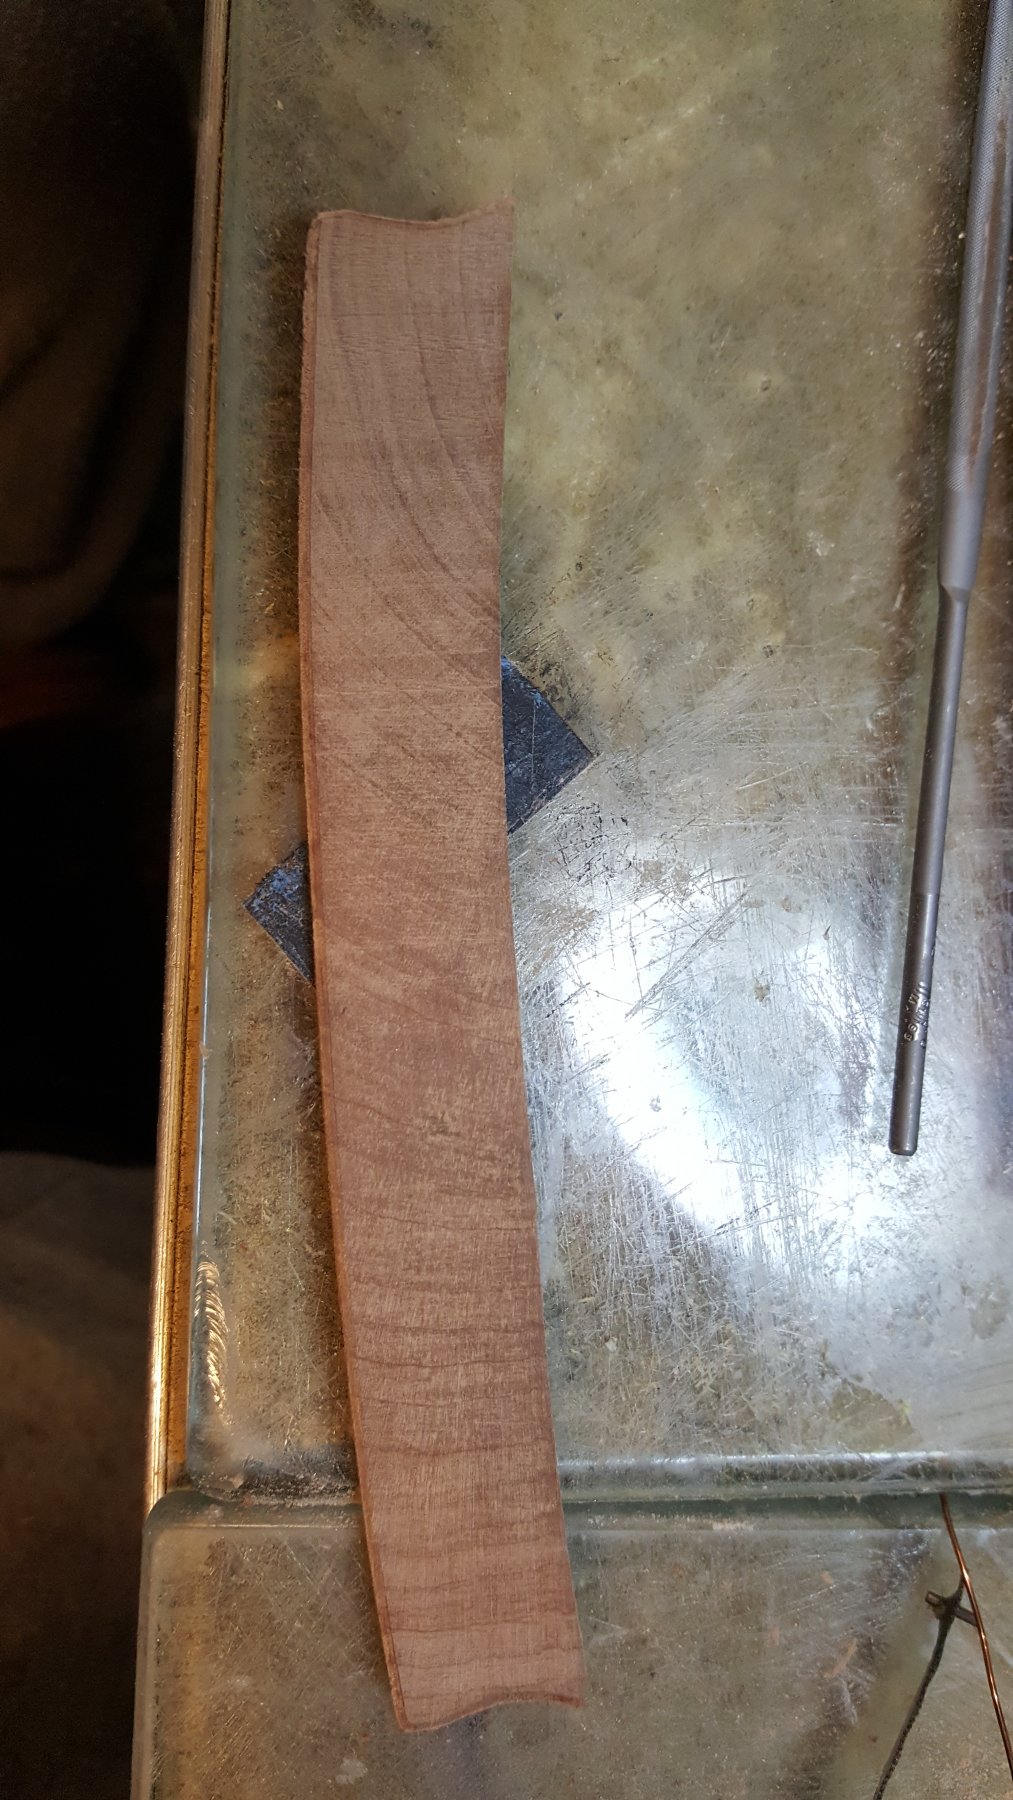
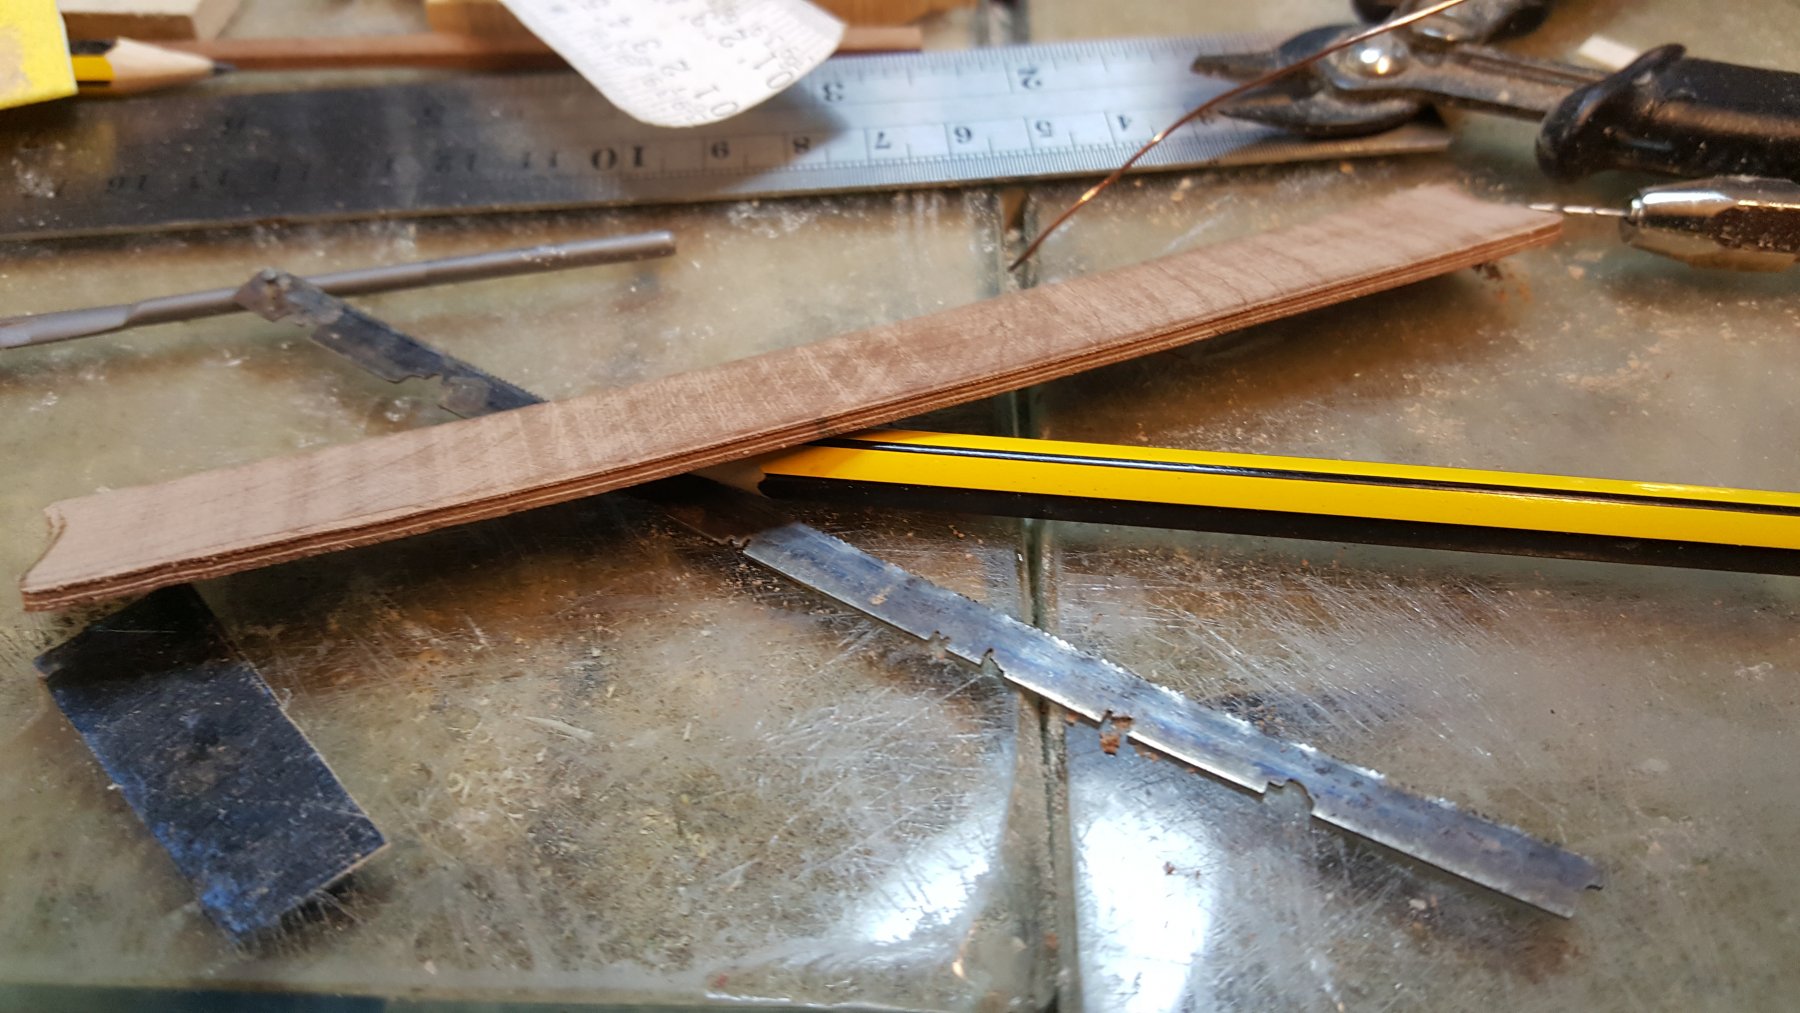
After one coat of sanding sealer I cut the pearwood both ways with the grain and as this one across, from a strength point of view I should be using the other piece but the grain on this looks awesome and as I'm not going to be doing rigging on the model should be strong enough, I'm going to cut the edge off and file in the rebates for the chains Regards Paul

-
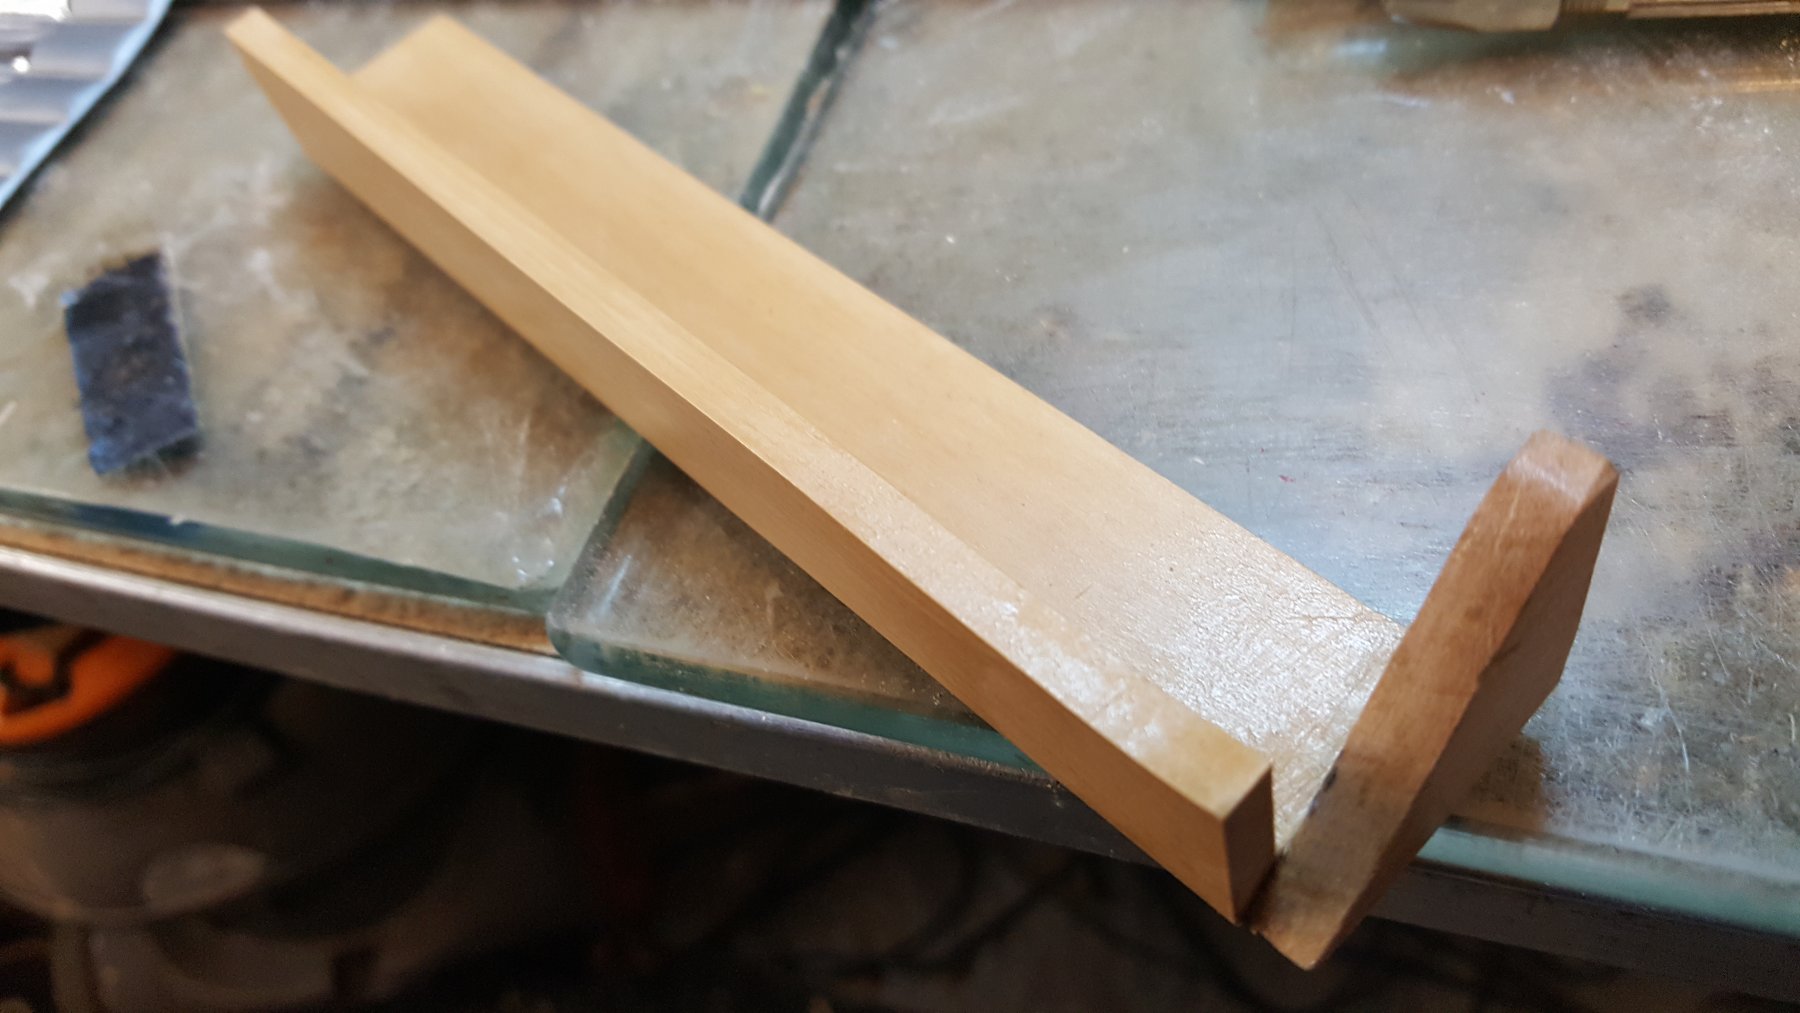
Decided it was time to start the channels as I am working around the ship, cutting the rebate into the waist rail in situ as I hadn't done them when building the Hull as a bit perilious but going slowly I managed Fore channel being shaped from a piece of pear And having the edge scraped Regards Paul


-
100% chance of rain all day today guess where I will be all day Made a centering marker out of some pieces if boxwood I had in the stash after reading on another log somewhere about them Also found a use for the spare handle I made for the wife Regards Paul

-
Hi Ed, I'm not sure either, I'm using Liberon sealer which is a spirit sanding sealer containing ethanol, resin acids and rosin acids?? Hi landrotten I don't think there was enough water in the paint to make the planks swell and shrunk but could be wrong, personally I think its something to do with the sealer as Ed said, but again not sure It is quite a nice look though however it came about and actually looks like I caulked the seams properly !! Thanks all for the likes and comments
-
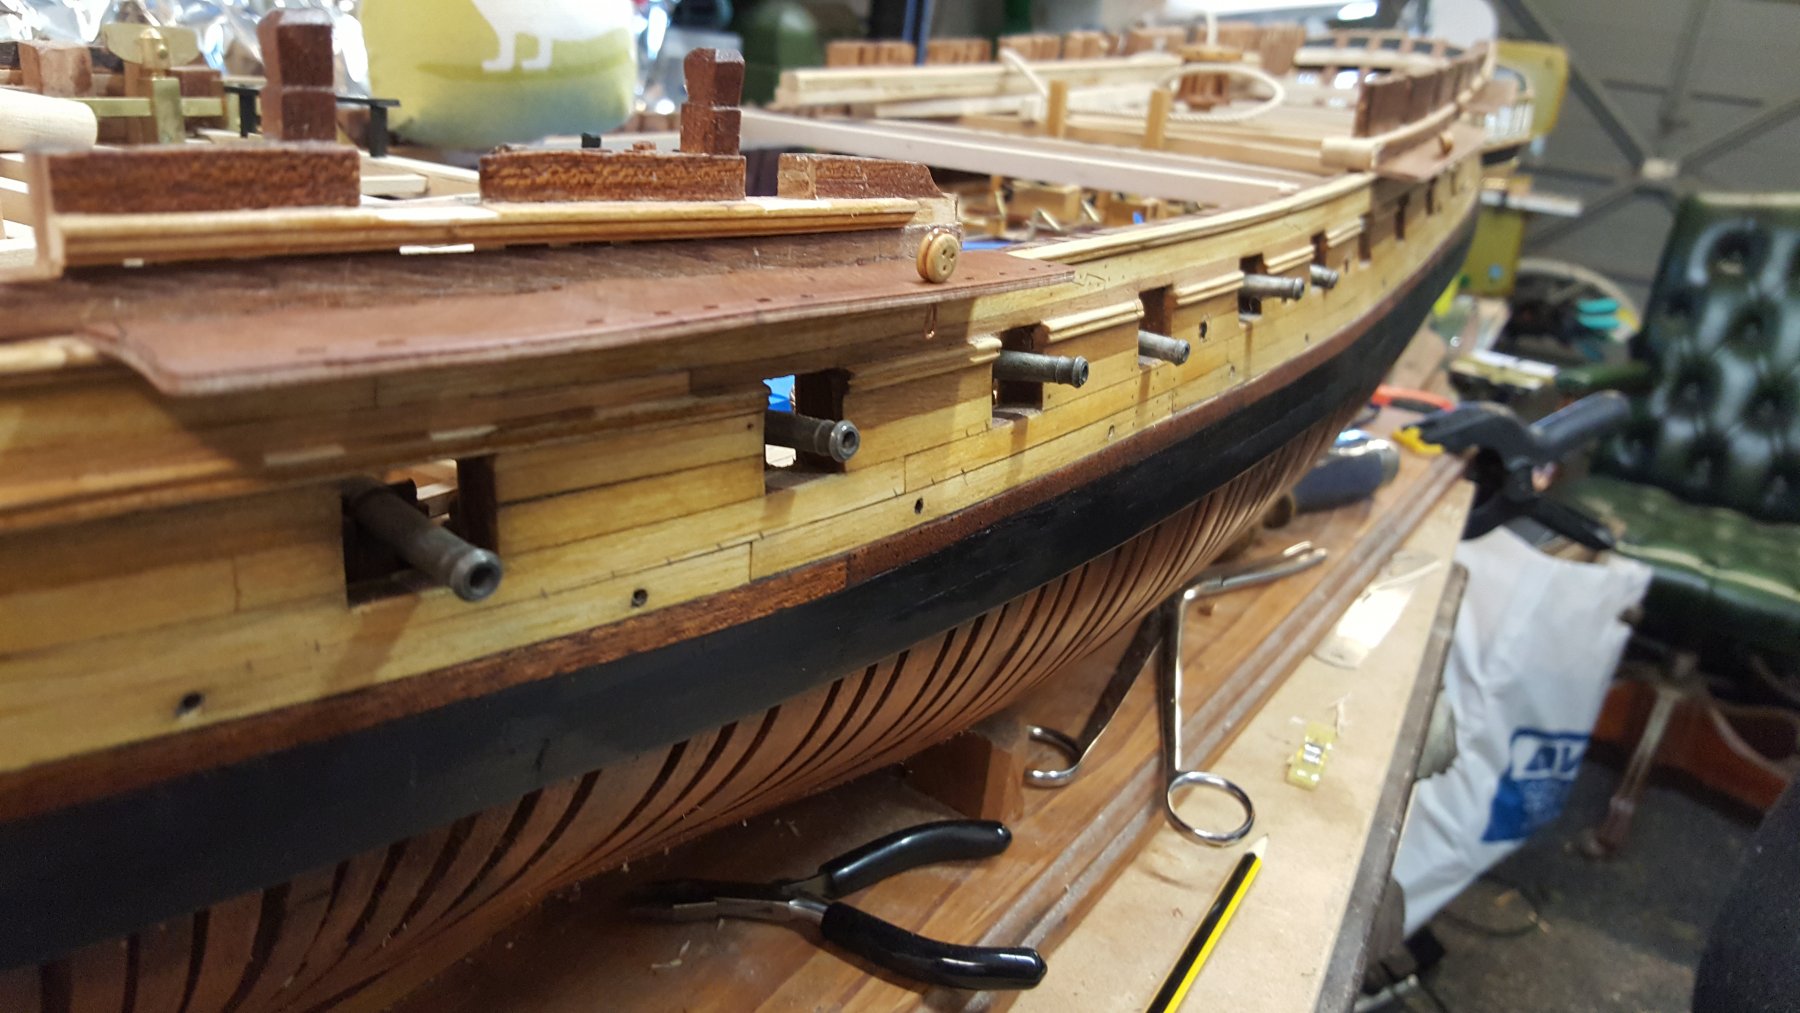
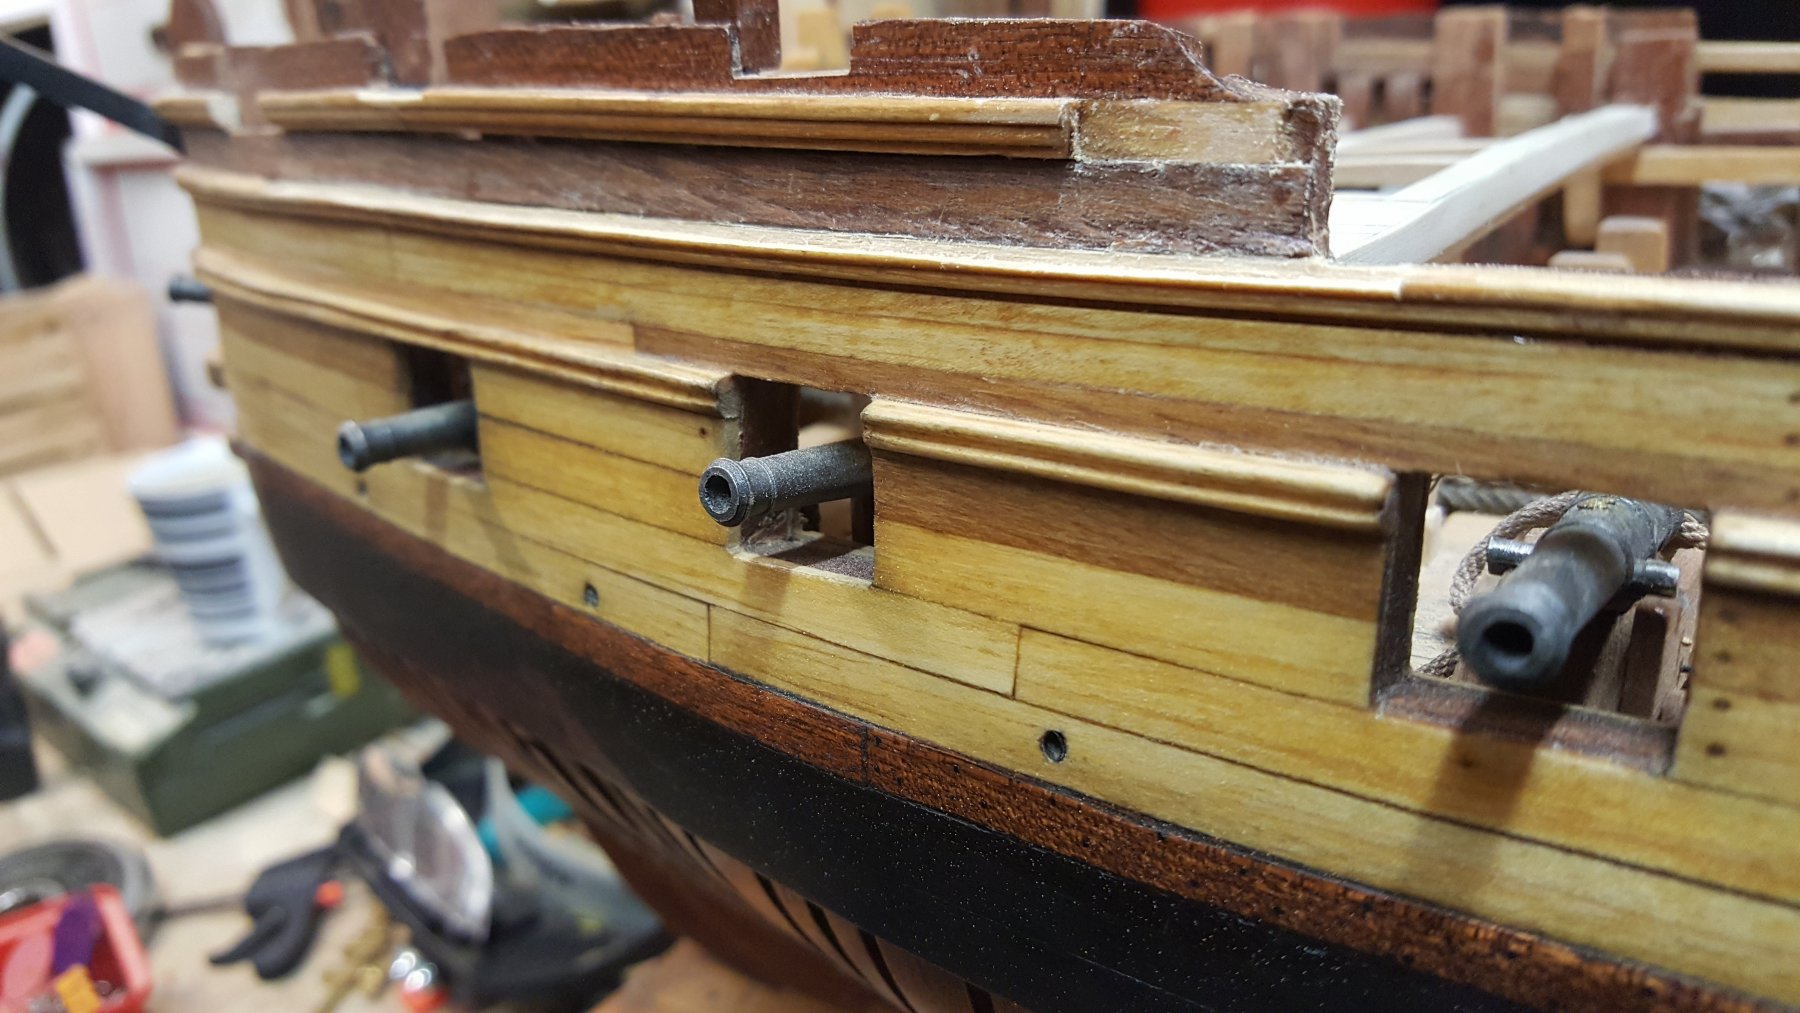
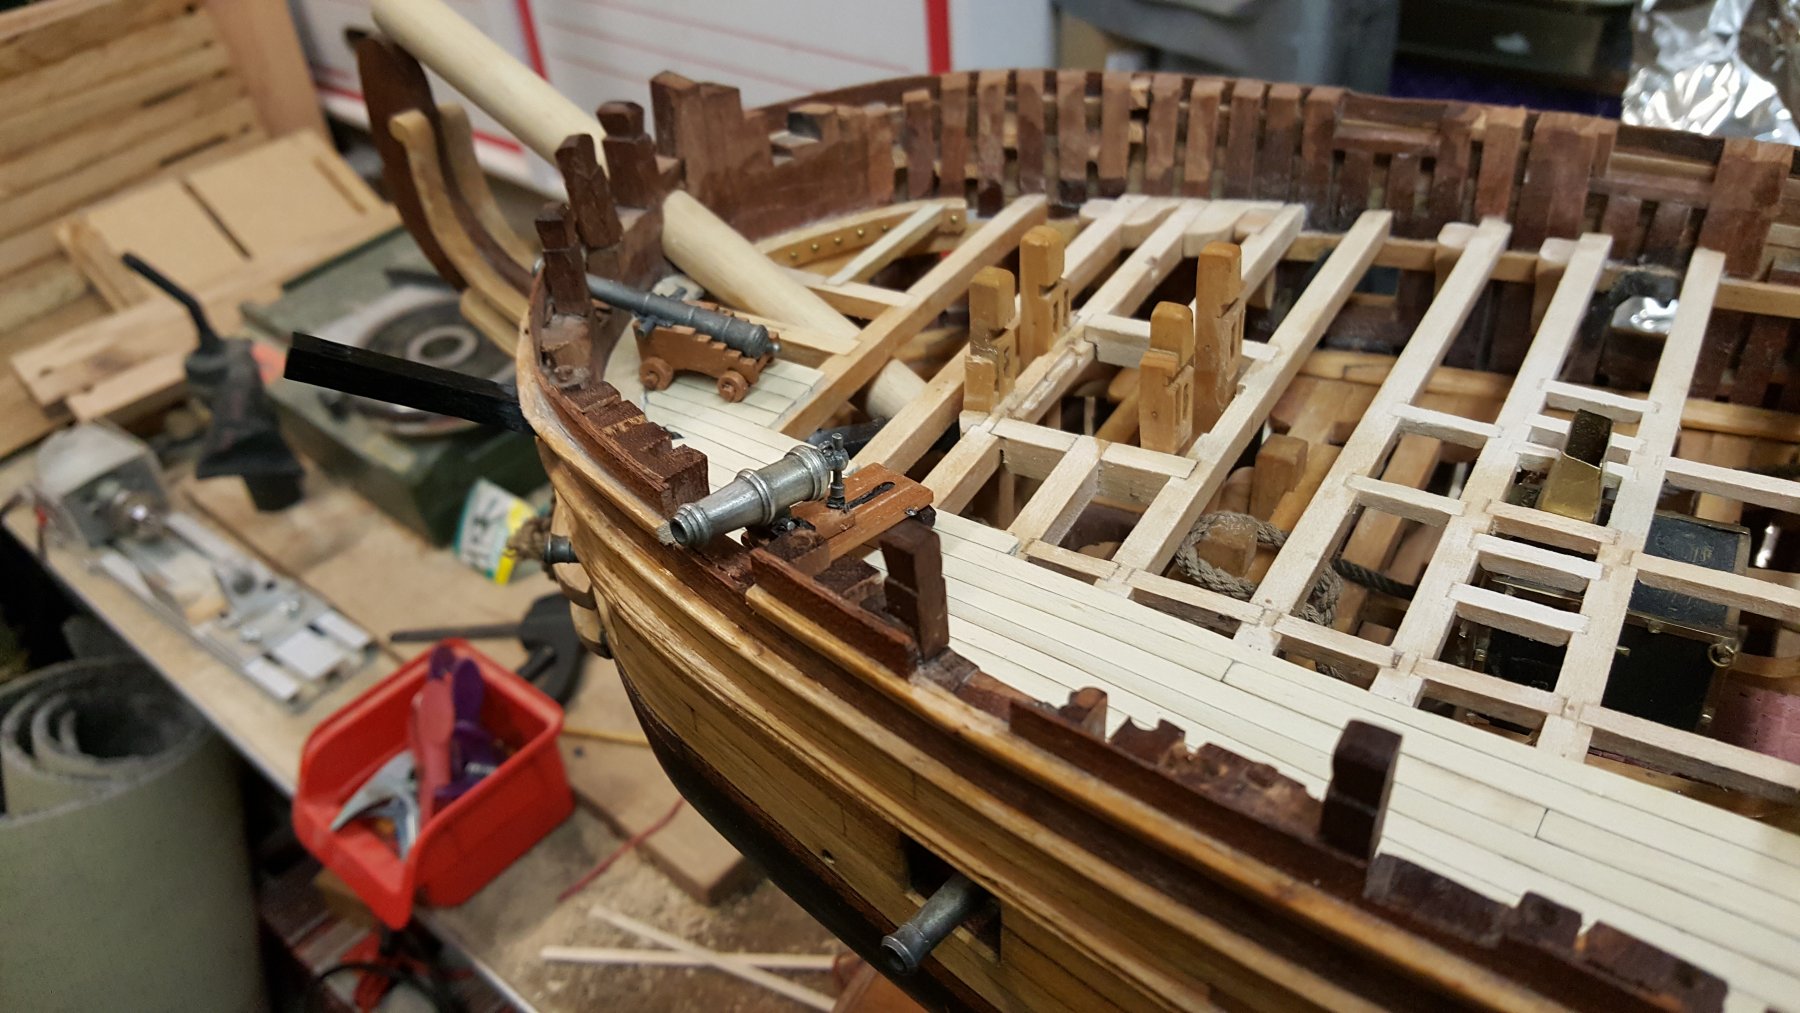
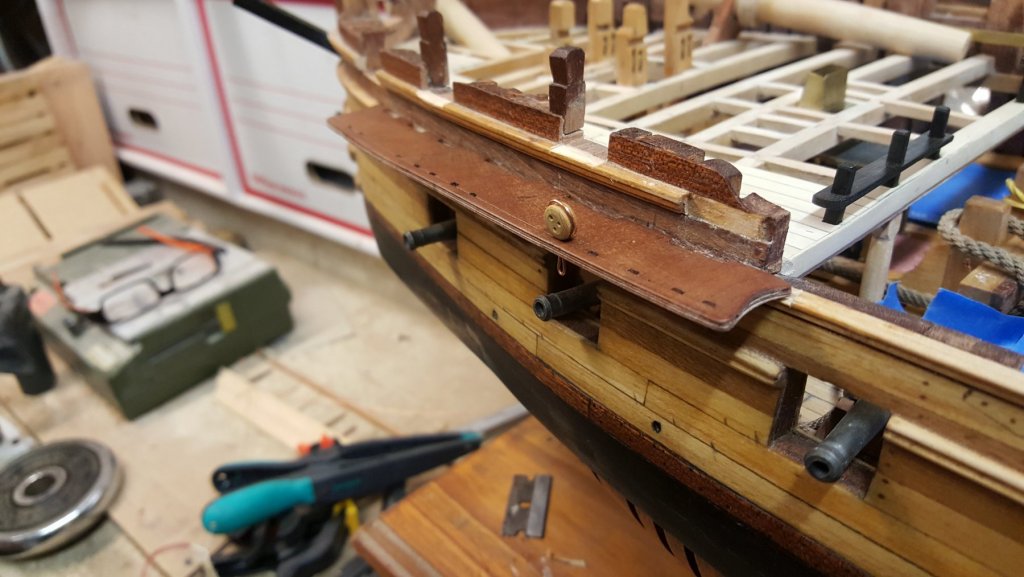
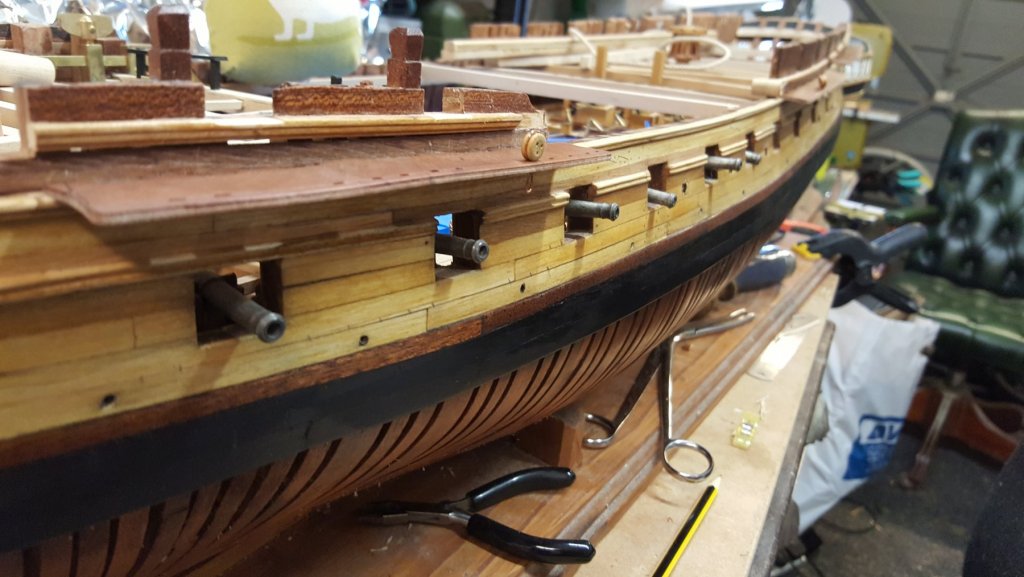
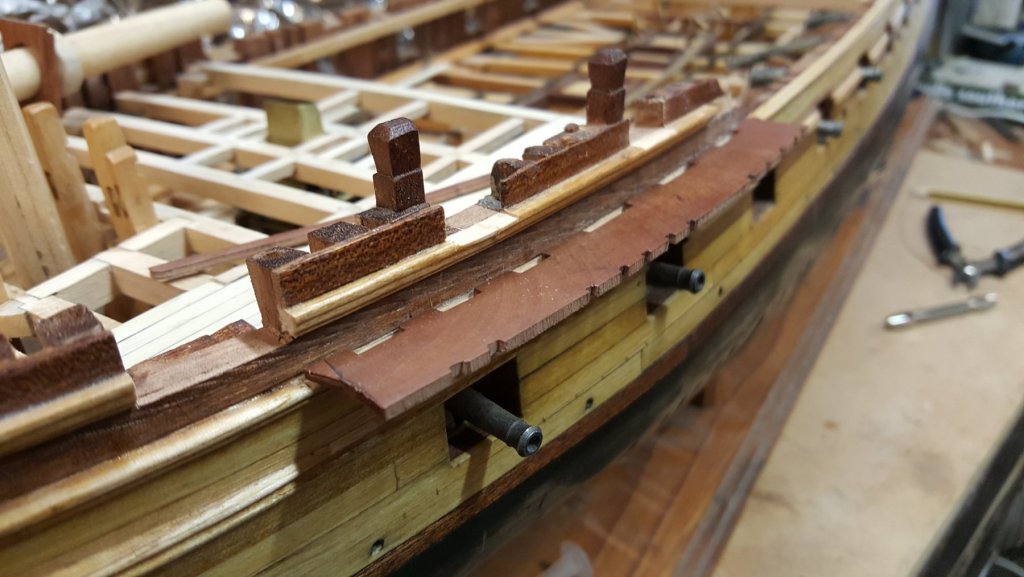
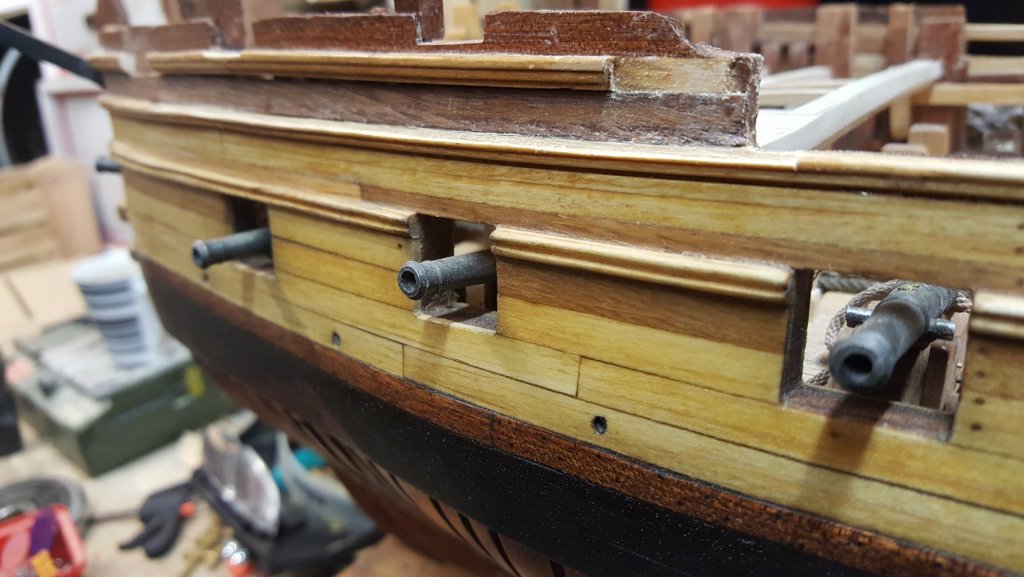
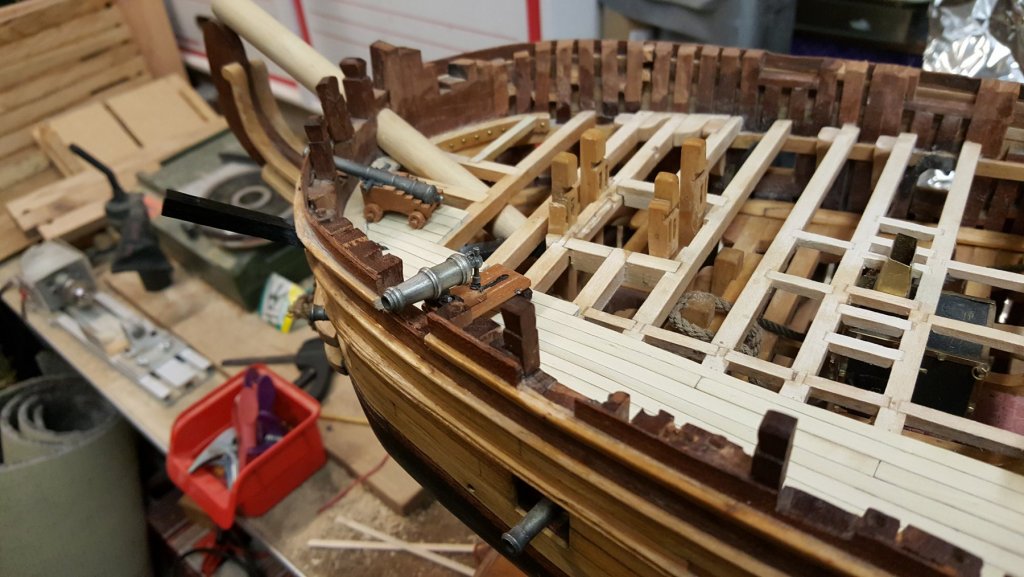
The chase port needed cutting out, still needs the sill adding in and filing square, tested with 9lb gun and carriage At this time I believe the carronades were fitted on the inside principle so I have made the 6"x6" blocks to use as spacers ready for when bulwarks are built up I have added a piece across the rear beam to infill ready for the balustrade which I'm going to try and do in ebony, hence the clips holding the front finishing piece Regards Paul

-
Hi Titebond 2 dark wood glue between the planks etc, sanded smooth, sanding sealer and then Windsor and Newton acrylic paint thinned with water and about six coats if not more Thanks Paul
-
I noticed a little anomaly on the cheerful photo earlier and went to have a look at the Hull sitting in ordinary awaiting further work There seems to be some sort of reaction going on along the seams, the whole Hull was flattened with five or six coats of sanding sealer, I used dark glue between the planks as I was going to leave natural at the time but then decided to paint using acrylic, the seam lines have risen since then??? Whilst I like the look, I'm not sure how or why its occurred Regards Paul
-
Forecastle planking completed, I had to go a bit further than I wanted and the wife wanted as I want to show the 9lb chase gun All has had three coats of sanding sealer scraped with a blade between each coat