HOLIDAY DONATION DRIVE - SUPPORT MSW - DO YOUR PART TO KEEP THIS GREAT FORUM GOING! (Only 51 donations so far out of 49,000 members - C'mon guys!)
×


paulsutcliffe
-
Posts
974 -
Joined
-
Last visited
Content Type
Profiles
Forums
Gallery
Events
Everything posted by paulsutcliffe
-
Beautiful, I just reread from the beginning to see how you did the caulking on the deck and deckhouse and its not mentioned, how did you get those lovely caulking black lines - paper?? Regards Paul
-
Another interesting thing for me on both of those pictures you have shown above is the chains made from straight bits of brass not wire rings shaped and soldered as generally shown now and the way the anchor linings are portrayed Regards Paul
-
Wow Doris, that furniture looks fantastic Regards Paul And happy new year to you too
- 1,035 replies
-
- 7
-

-
- royal katherine
- ship of the line
- (and 1 more)
-
Looking fantastic Rob, beautiful sails Regards Paul
- 1,208 replies
-
- 3
-
-
- great republic
- clipper
- (and 1 more)
-
They stripped back all of the paint and took samples from Trafalgar era, tested under microscope etc and came up with the new colour as being accurate for the period according to a programme on the BBC some time ago Regards Paul
-
Merry Christmas and a prosperous new year to all, thanks for following along and the helpful comments and Instruction over the last year and of course the many likes/reacted which seems to drive you on and help keep up the enthusiasm at times of desperation Kind Regards Paul
-
Cutty Sark by Cuda1949
paulsutcliffe replied to Cuda1949's topic in - Build logs for subjects built 1851 - 1900
Hi Al It depends on whether you want to do it as per the real boat or not, each yard had a metal truss of different shapes and slings to hold up, the different similar trusses can be seen in Ed t's young America log and there are pictures for most of the yards in Longridges Cutty Sark vol 2 Or of course you can do it like Mark said with a pin or glue, the amount of metalwork required for the sarks yards is quite incredible as can be seen in eds log, remember also that originally the sark's yards were iron and had considerably less bands than a wooden yard Hope that helps Regards Paul -
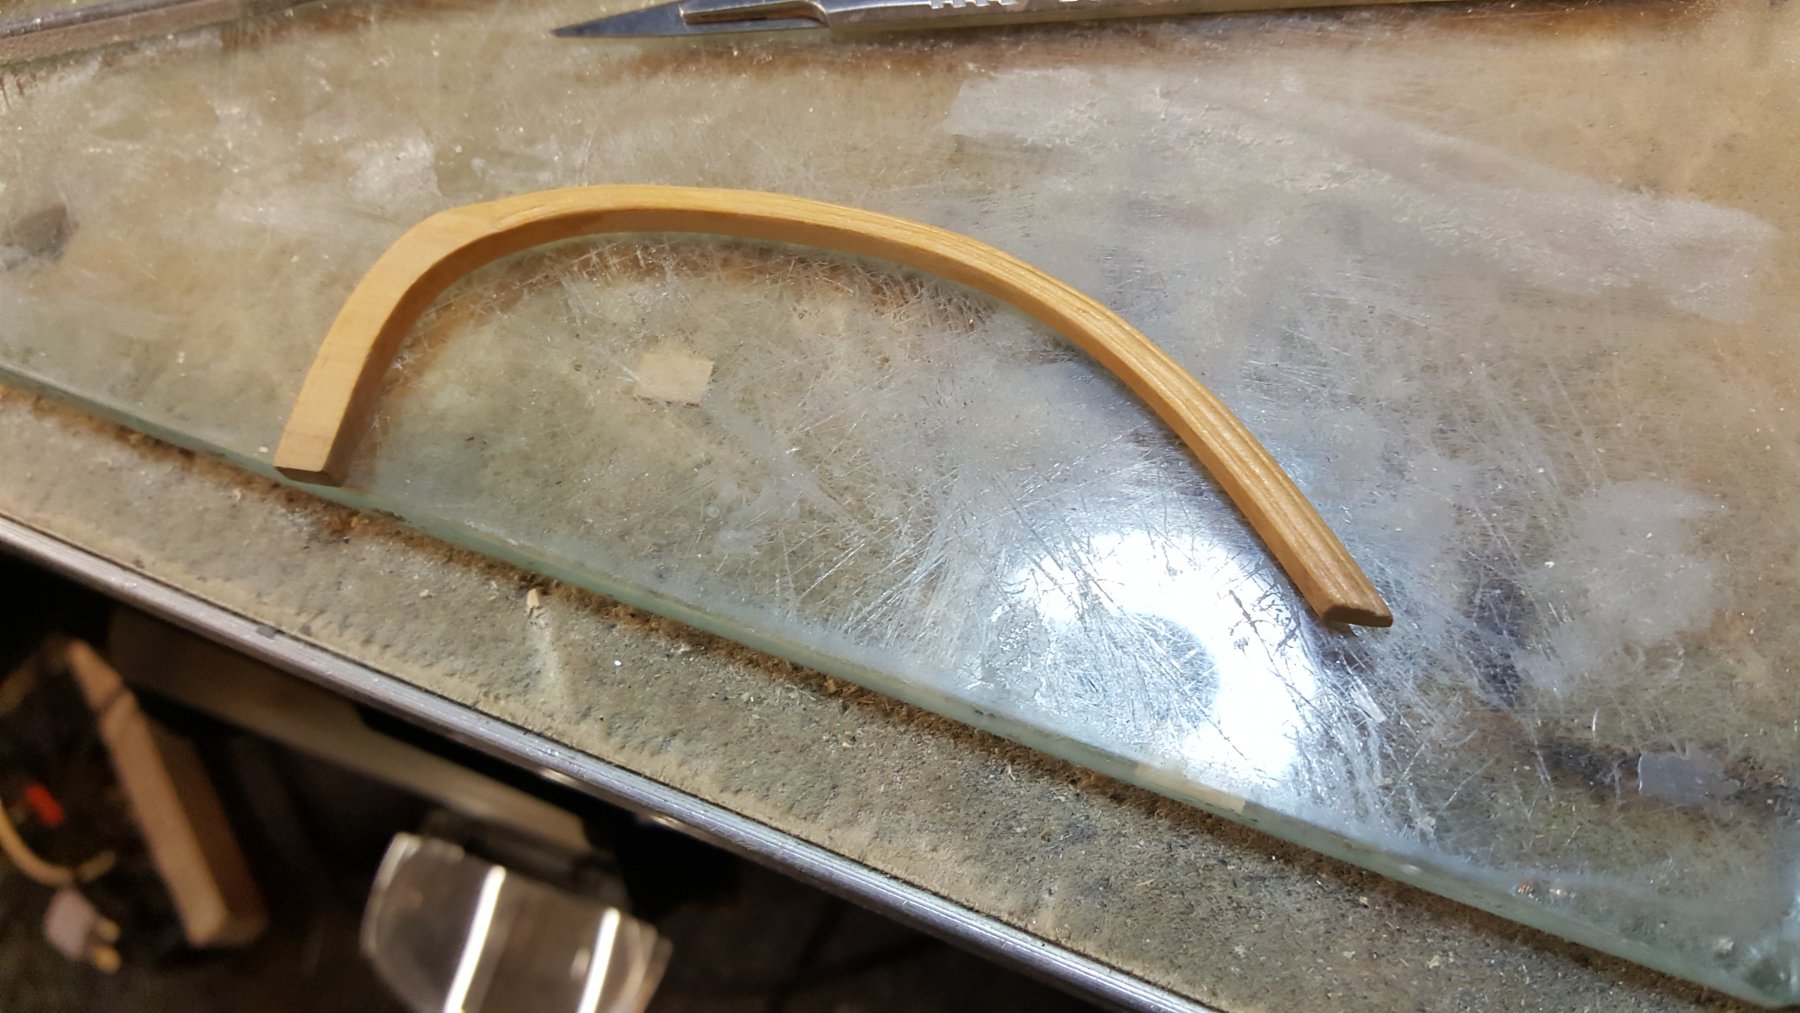
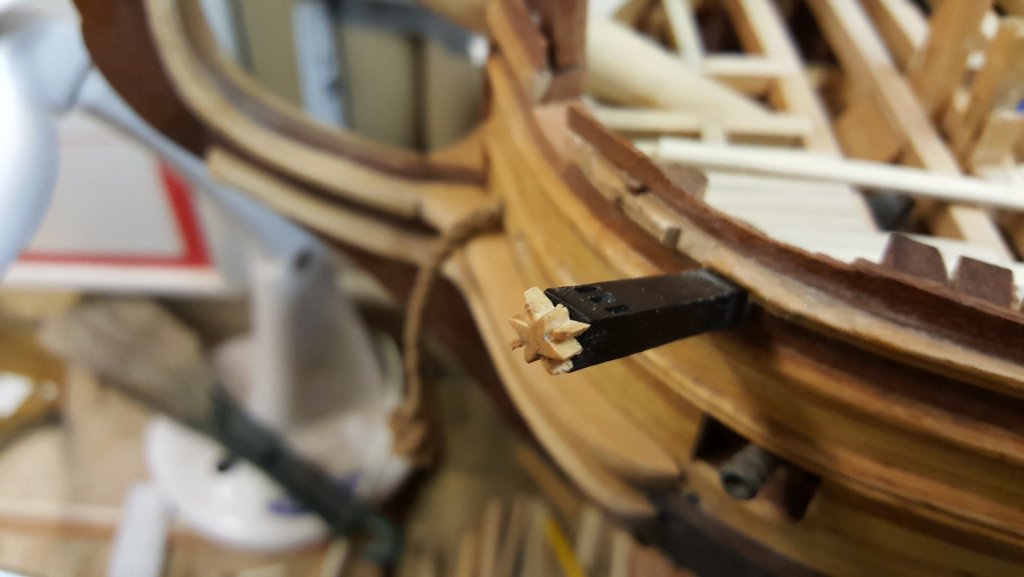
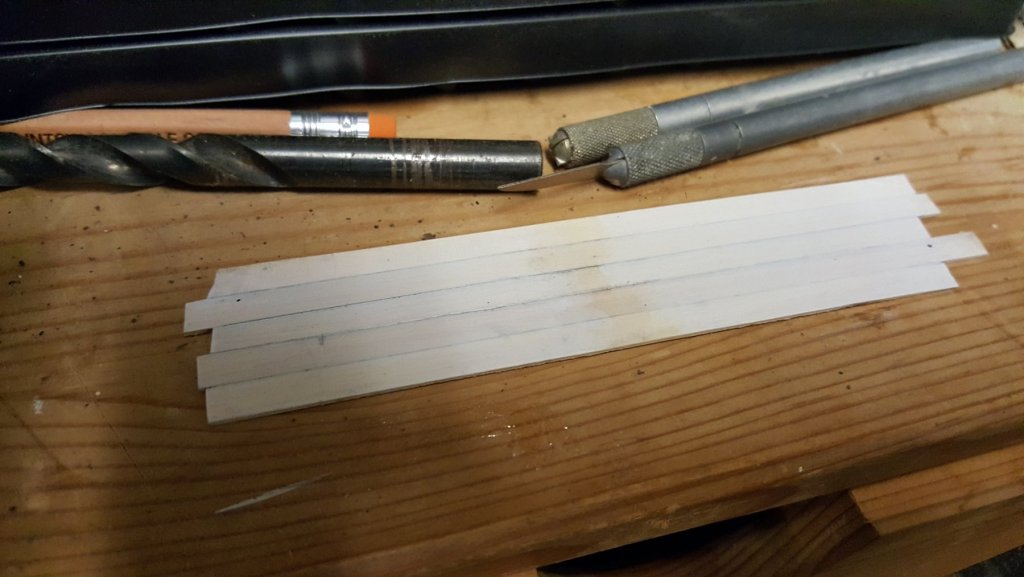
So carrying on working towards the front of the boat, I made a little star for the cathead, had to be this is the Sirius after all, and then started kn the head works main rail first The star is a bit thick its only tacked on to check the sizing Regards Paul

-
HMS VICTORY 1765 by albert - 1/48
paulsutcliffe replied to albert's topic in - Build logs for subjects built 1751 - 1800
Lovely work Albert, Great start, its going to be enormous at 1/48 Regards Paul -
I'm not sure the boats would have been covered at all in that era, that's a more modern thing but I could be wrong of course, would be interested to know for sure as well Regards Paul
-
Hi Patrick, that's some superb work at that scale well done I'm sure if you had enough money to buy that boat you would have a bit more taste in furnishing and decoration than what you are showing !!!(😀😀 only joking, I love it Regards Paul
-
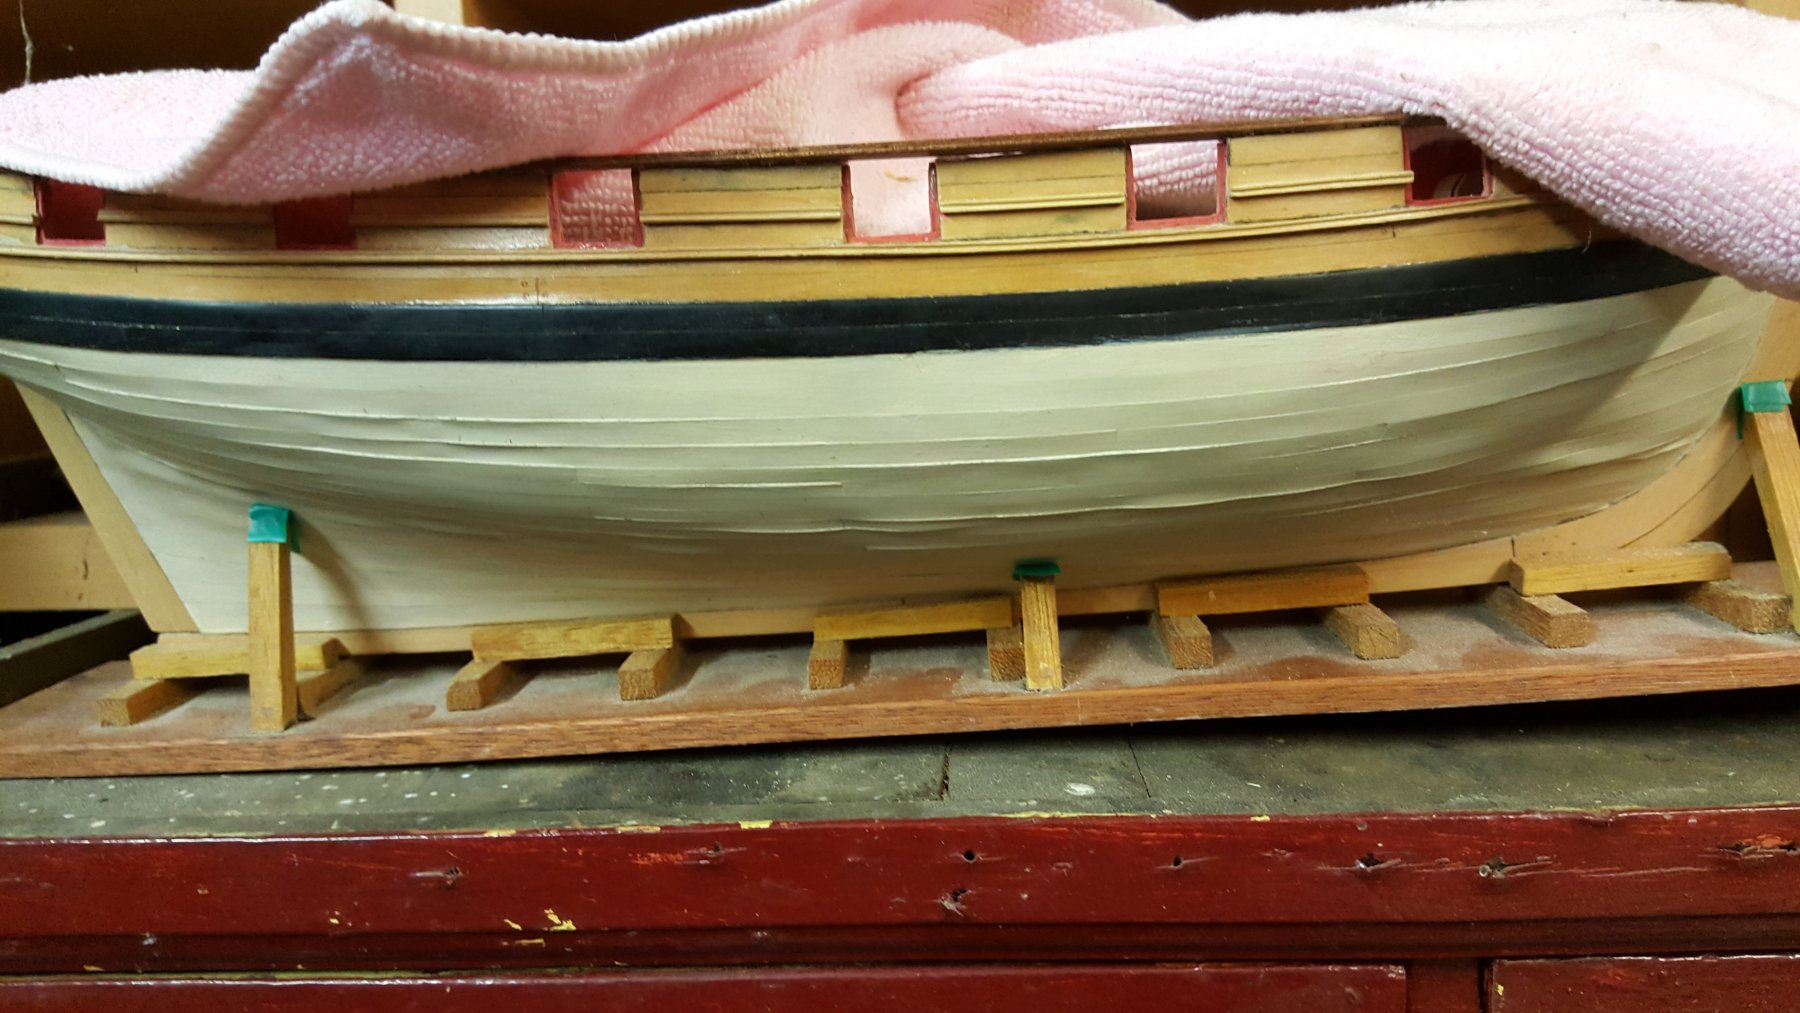
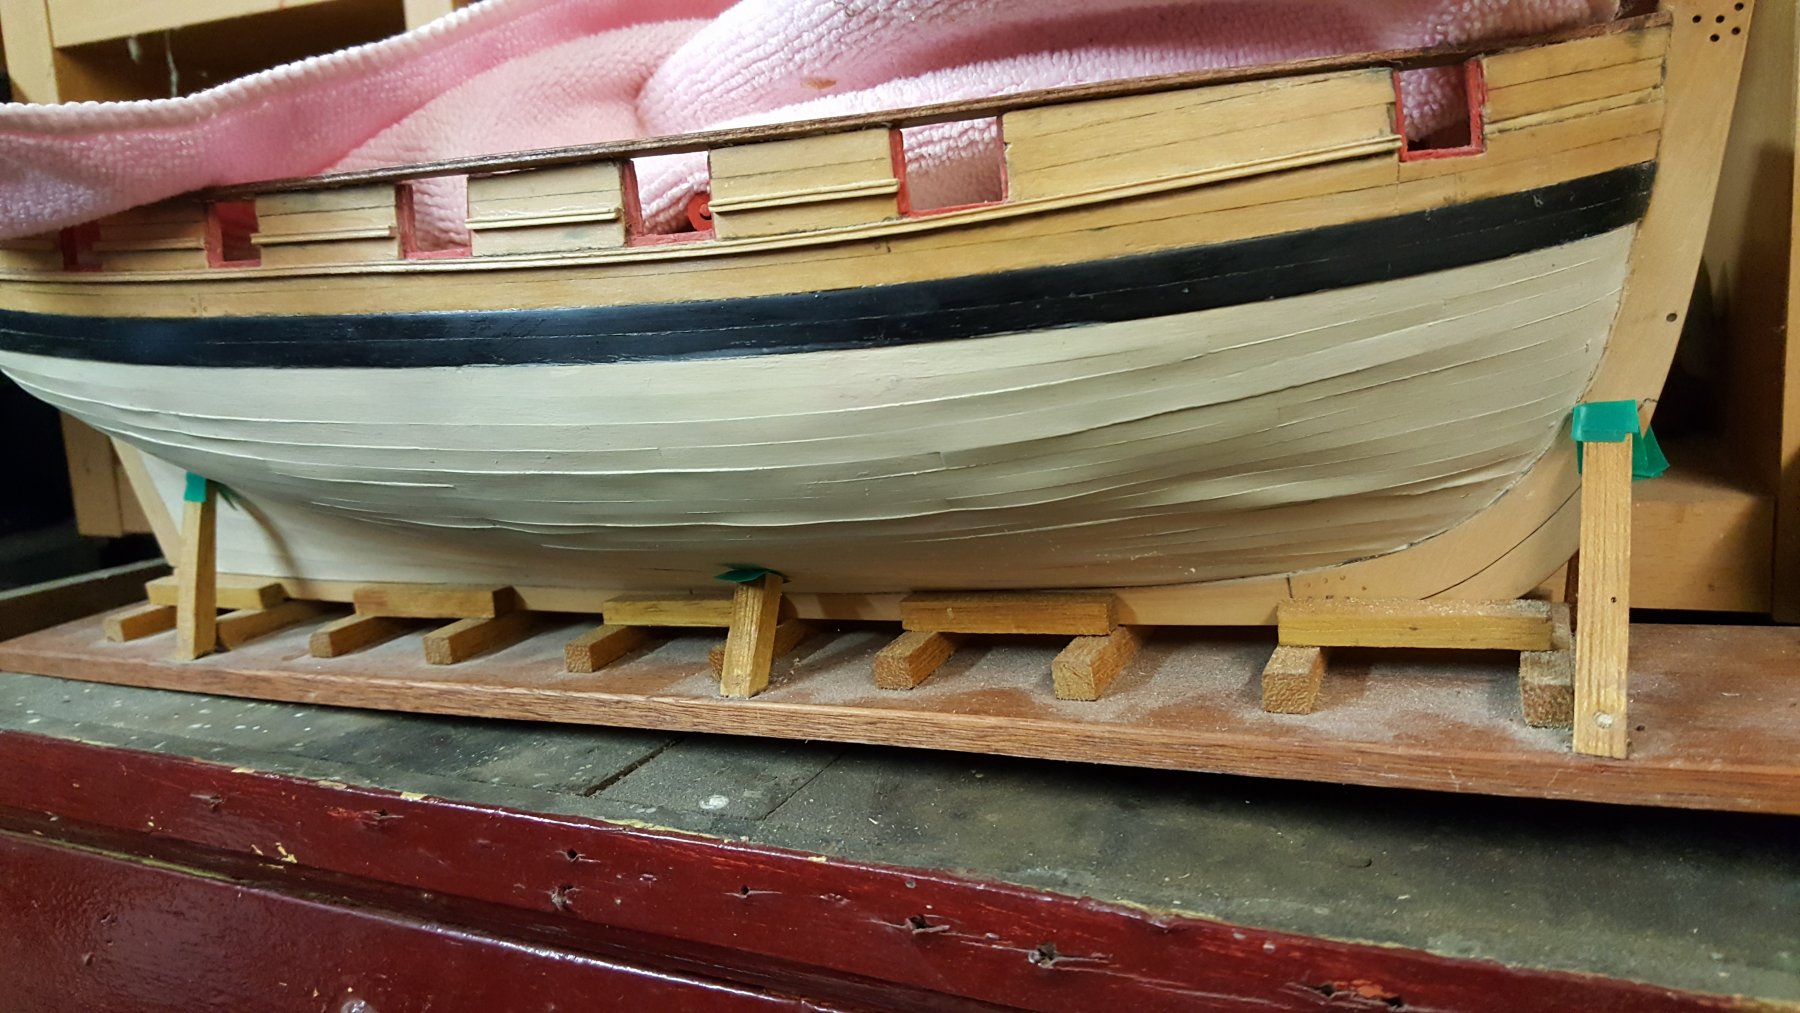
Thanks guys for the likes and comments Druxey, I never really thought there was much difference here in humidity as we have rain rain rain as you know, however this summer has been one of the hottest on record going back to the 70's apparently, my shipyard is in the garage and it was like an oven in there at times The planks are all holly and were about 1/16 thick from wood that has been in the garage for over four years, cut into slices half inch thick to season. Ed, yes I used a hot air gun as has been discussed on other logs as the best way to go and no boiling, I did do the planking earlier in the year and then it has sat all through the summer in the hot garage, I heated them up bent around a former and then glued on, the planks are glued to the frames and to each other whereas the experimental piece is not under any pressure from behind or sideways Vossie, no I wasn't to impressed when I lifted the cover up, I had originally quite liked the lines between the planks as it looked like real caulking but now its gone a bit to far with the warping, I think it was around may/june when I did the planking which was quite warm and then its sat covered up awaiting my return, the wife bought the kit from chuck as my 60th birthday present in march Thanks all Regards Paul
-
With regards to the previous conversation about my cheerful hull and the lines that had appeared the experimental piece to try and repeat the effect has shown nothing however the hull which has been covered up in ordinary, through one of our hottest summers and now a cold wet winter isn't happy at all The lines have gotten bigger and the planks are warped out of shape in places, I'm thinking landrotten @Landrotten Highlander was right and it was more to do with expansion than the sealer etc, I guess when I get back to it they will all have to come off


-
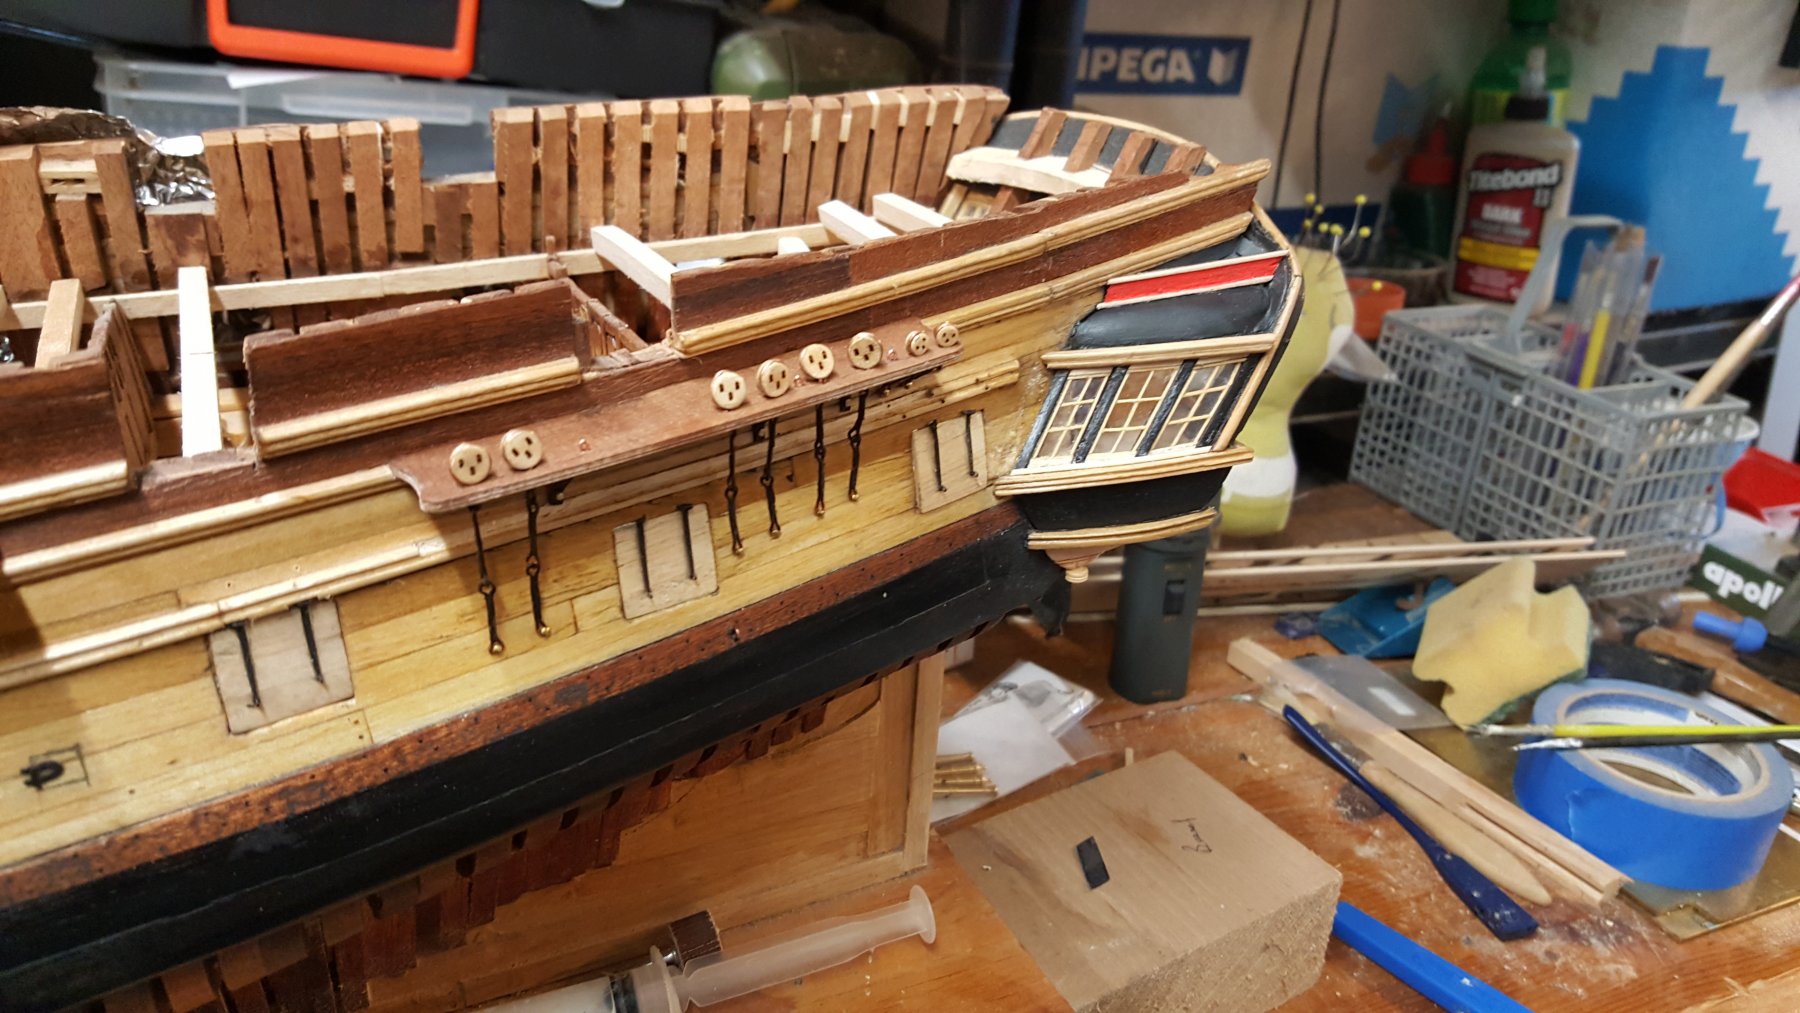
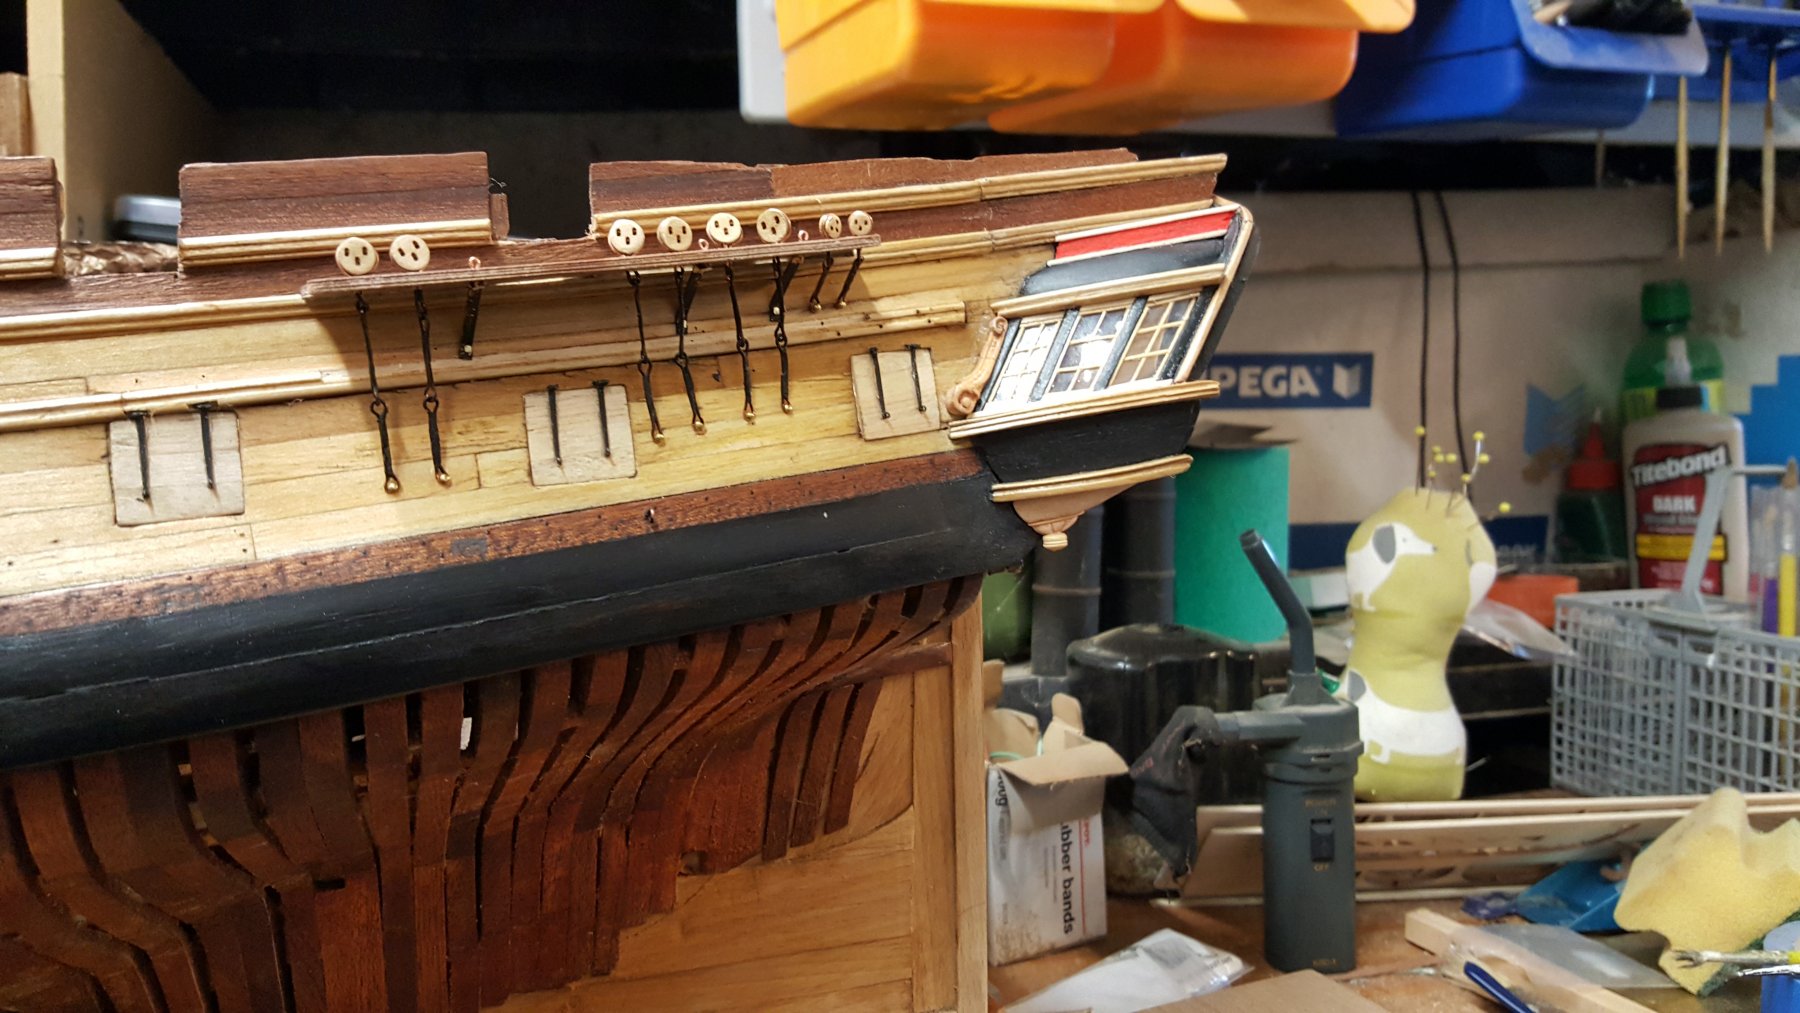
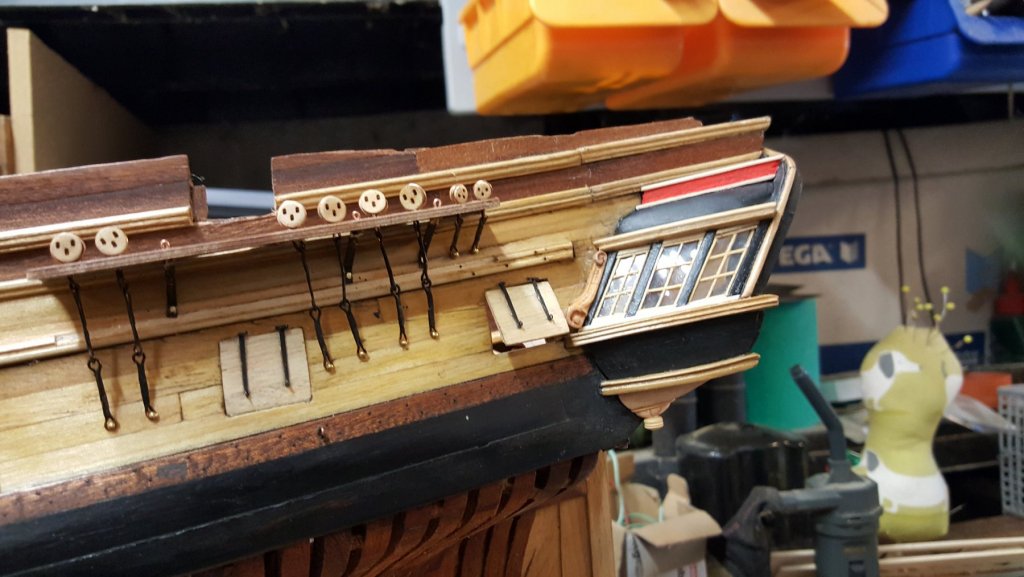
So all redone on the port side And one with the port open Regards Paul

-
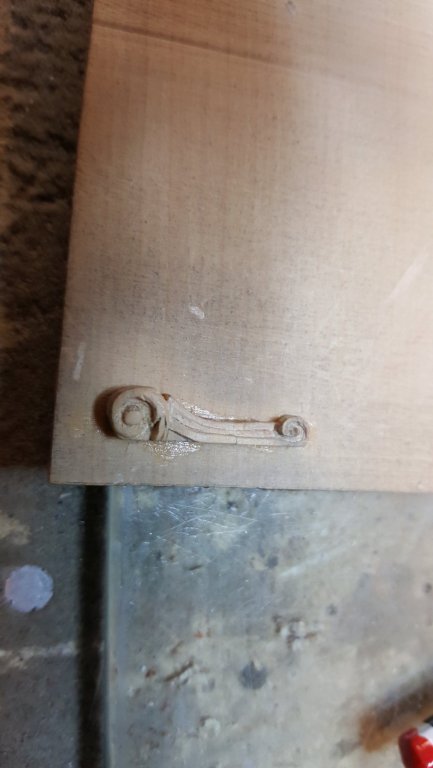
I also made the bottom part of the galleries with the little ball on the end, the bottom is drilled for the poop shoot While in the mood for redos I resanded the gallery top sealed and repainted so a lot smoother, repainted the reservoir front piece and then thought I would replace the fashion piece as well I always thought the gallery fashion piece were some sort of mythical sea creature but studying the plans they look like an acanthus leaf at the bottom

-
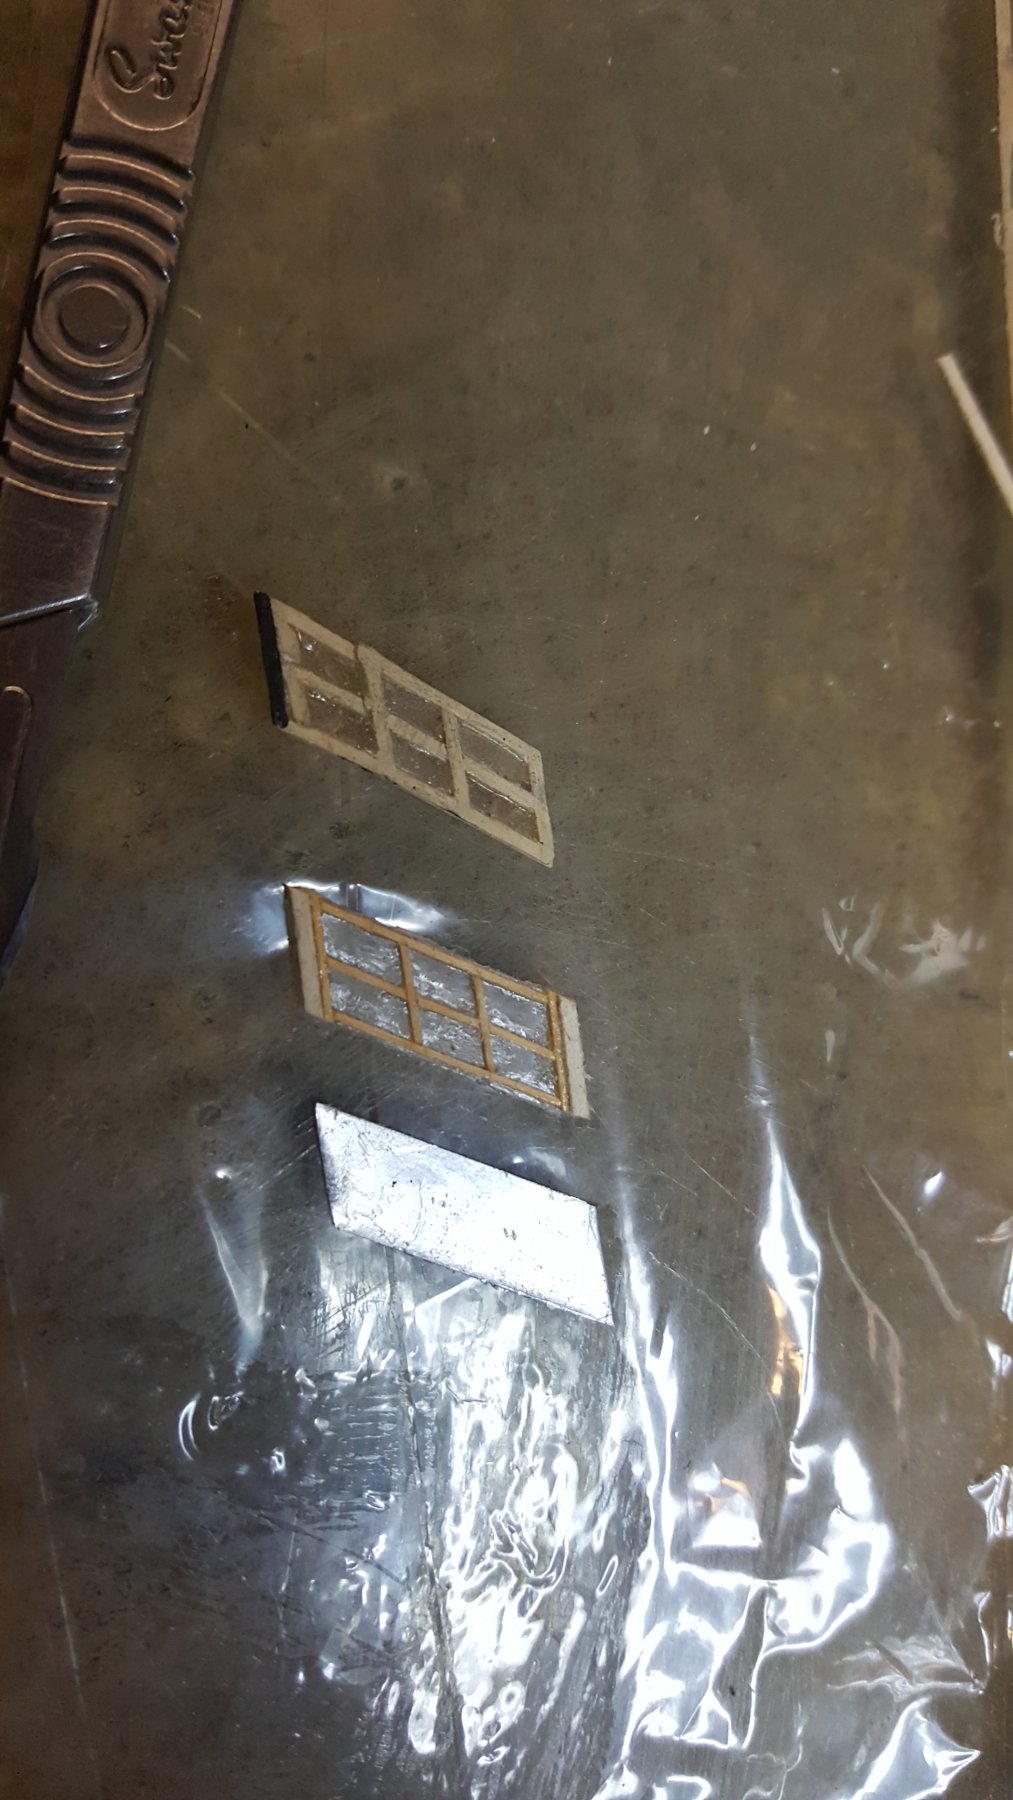
So all windows have been replaced, for some reason the middle one wasn't happy and I wouldn't fit, I remade it and it broke during fitting so this is the third try

-
On the plan that chuck has shown there, it looks as if the seats are extended upwards and are on the same level as the caprail, or am I misreading it? They would have taken some sitting on in a wind😀😀 And have you noticed the second cathead further back on the starboard side
- 574 replies
-
- 1
-
-
- cheerful
- Syren Ship Model Company
- (and 1 more)
-
Hi BE I read somewhere that there was only one seat and the other side was a locker as in a longboat, I can't remember where though, I suppose your model so you can do as you like I guess, Nice work as usual Regards Paul
- 574 replies
-
- 3
-
-
- cheerful
- Syren Ship Model Company
- (and 1 more)
-
Hi Eberhard I have just read your log through from the beginning, fantastic work especially the milling and metalwork, looking forward to more updates Regards Paul
-
So as I said above I have started on re-doing the windows, First one below, old one at the top new one in the middle, just in case you can't tell the difference and the tin template I made originally