MORE HANDBOOKS ARE ON THEIR WAY! We will let you know when they get here.
×


Remcohe
-
Posts
610 -
Joined
-
Last visited
Content Type
Profiles
Forums
Gallery
Events
Everything posted by Remcohe
-
 You should Sjors, their is nothing scary on this side Remco
 -
Thanks guys. I agree with Ben, who agreed with Grant, who agreed with Bob, who agreed with Chris It should be very subtle but now it's too subtle, Druxey is usually right so I'll be patient. Alan I guess Druxey answers your question. Greg, I used box treenails the end grain has almost the same color as pear. On my test piece I used one coat of fieblings and subtle sanding afterwards. This left the treenails a little darker and showed the color of the pear a bit, quite pleasing. But as staining the large area became blotchy I had to apply more coats of stain resulting in a very even tone. Good for fieblings as it really stains through and through, can't go wrong with that stuff if you need a nice even finish. As most would like staining leather I presume Remco
- 1,207 replies
-
- 3
-

-
- sloop
- kingfisher
- (and 1 more)
-
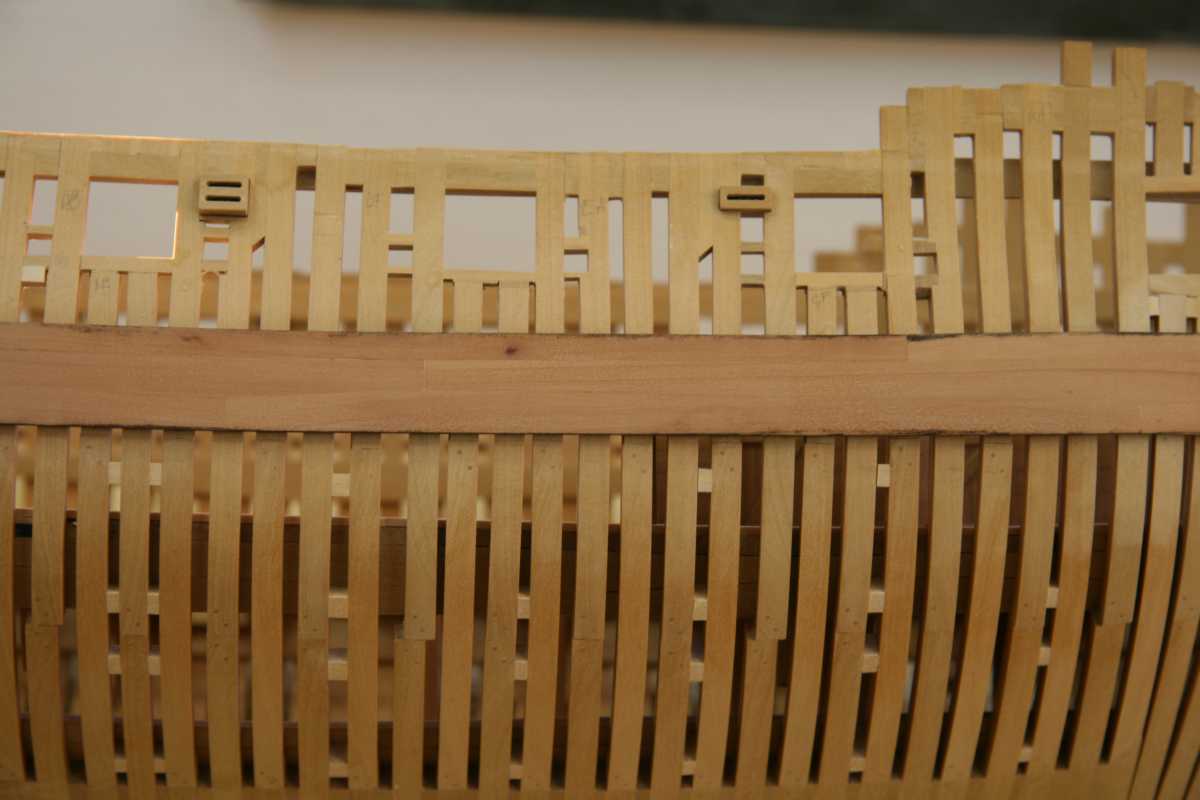
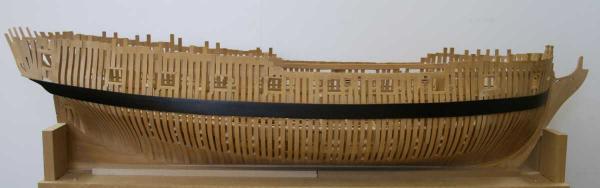
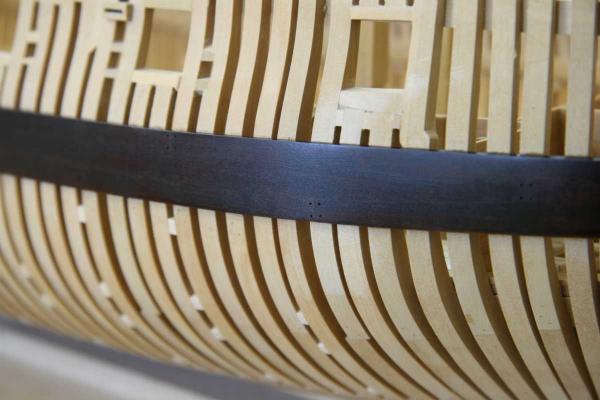
Take a breath folks. I finished applying the finish.... The good, it turned out nice dark brown (not as black as on the pictures) and the structure of the wood is still a bit visible. The joints of the planks appear slightly visible so it does not look like one big plank. The bad, I made 400 treenails disappear, only when the light hits at a certain angle they are barely visible and the stain is a bit blotchy, applying more coats made it better but also made the treenails less visible. Only one run out at a spot I didn't want, under the strern I also applied the finish (tung oil) it's still drying hence the glossy look at the moment. That will disappear once dry and a quick while with a Scotch pad. Then I can add bolts at the plank ends. Remco
- 1,207 replies
-
- 26
-
-
- sloop
- kingfisher
- (and 1 more)
-
Really nice Ed. And thanks for the occasional hand in the pictures, it keeps reminding me how small everything actually is, it's easy to think you're working on a bigger scale but you're not. Remco
- 3,618 replies
-
- 1
-
-
- young america
- clipper
- (and 1 more)
-
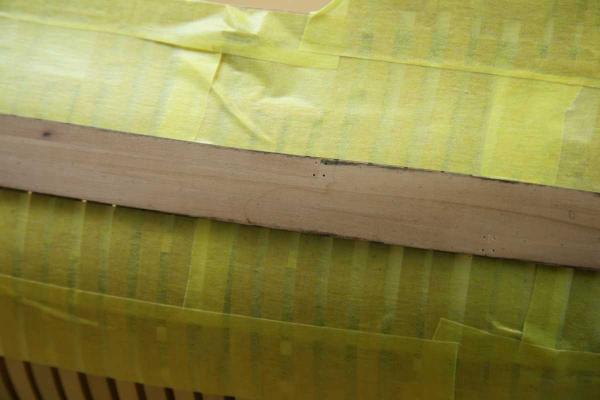
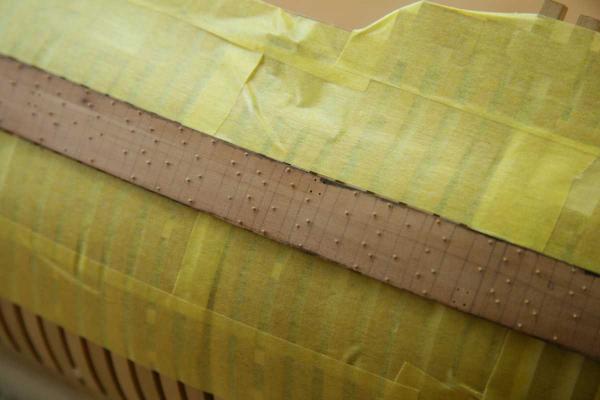
Thanks guys! Daniel, the whale is 3 strakes of planks. The row butting to the stained whale will not be glued on the edge. Mike, the wax and oil have pro's and cons, build up of wax can easily be removed build up of oil not and will give a glossy finish. But oil encapsulates the remains of sanding dust which otherwise stand out like white traces in the grain of the wood and joints. I still ran a bit more to oil because of the latter. Whipe on poly (semi gloss) gives a gloss finish (of course) and I really done like that on models. You could also use sanding sealer as a finish, dead flat but a bit harder to apply on large area's. It's also a matter of taste. All parts are treated with finish like the bed and the closet, and always as a last step as glue does not stick very well to surfaces with a finis applied. So the whale continues. I hope the treenails will stand out enough after the wood is stained. Being end grain it was darker on the test pieces, but the treenails will be hard to see. Same will be for the joints between the planks. Tomorrow I'll apply the stain, I'm a bit scared about this step and hope there will be no stain flowing to the parts thad need no stain. I scored the wood with a scalpel where the whale touches the frames. Here the treenails are sanded flush with the whale and almost invisible Remco

- 1,207 replies
-
- 20
-
-
- sloop
- kingfisher
- (and 1 more)
-
Great what a tiny boat. I really appreciate the way you're approaching this miniature boats. Remco
-
You carvings are really great. If you look for more once done, my Kingfisher has a whole lot of it you can do for me Remco
-
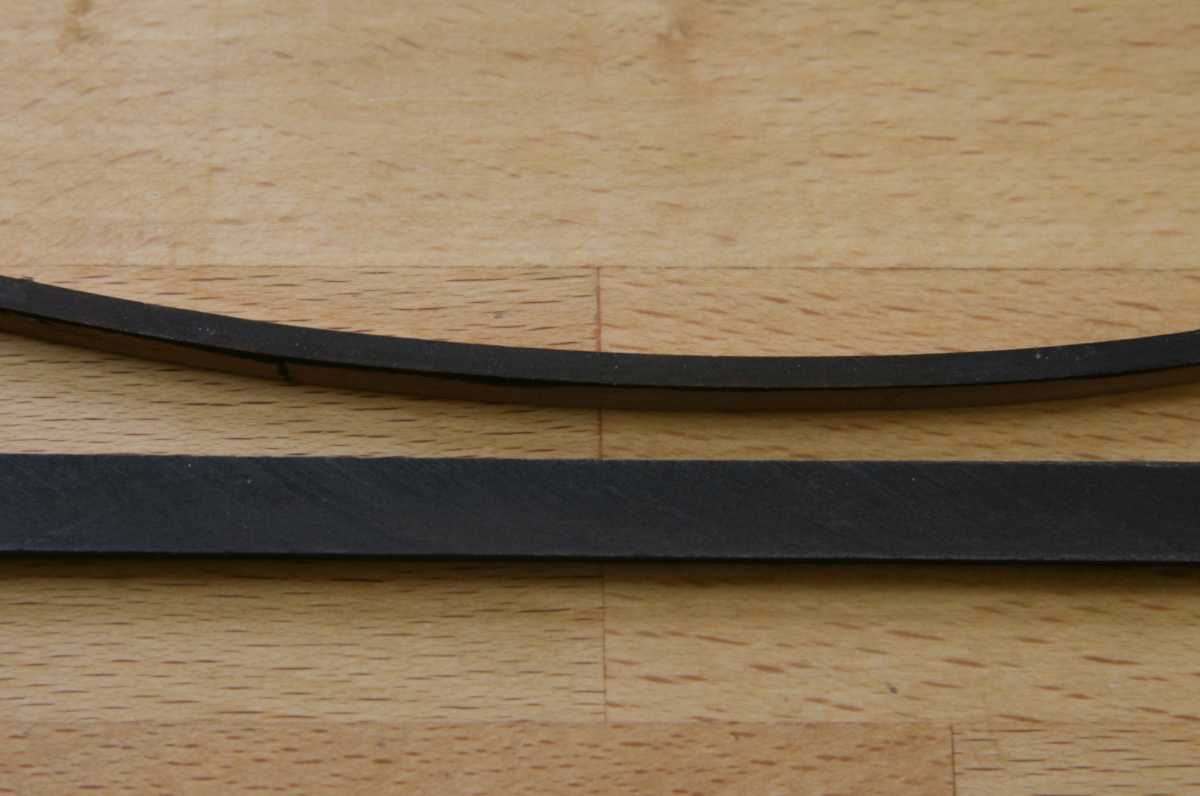
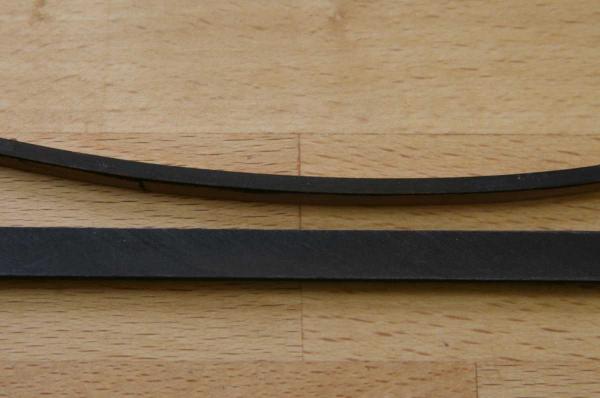
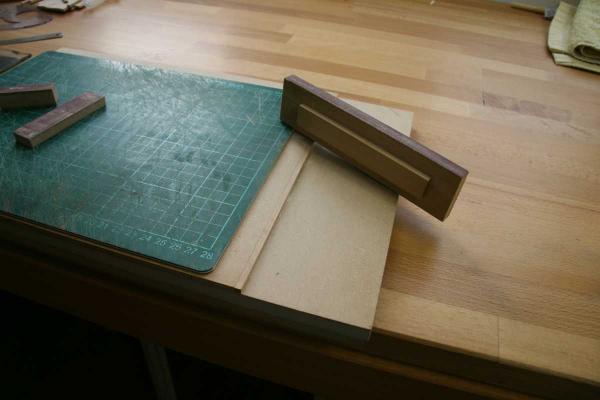
Alan, I'll plank her on one side from the whole up. Piet, yes it's fun to make your own tools, but there is a risk of wanting more tools, my mini late isn't really up to the task to use as a mill for bigger parts. shallow cuts and a lot of patience was needed and even then it chattered. Please Santa can I have a bigger mill??? Mark, yes it works well up until now. Better keep the stain well away from any parts I don't want to stain. Here's a discarded plank with the edge already stained next to a real ebony plank Remco
- 1,207 replies
-
- 9
-
-
- sloop
- kingfisher
- (and 1 more)
-
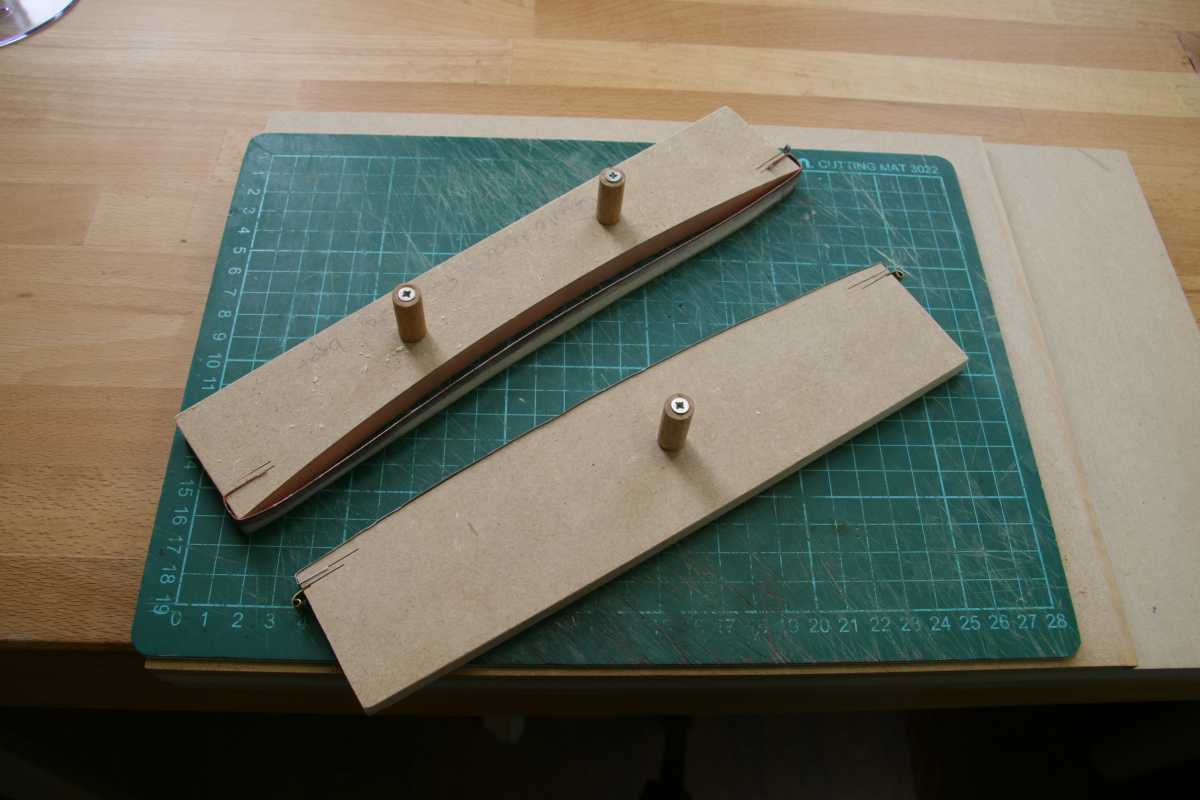
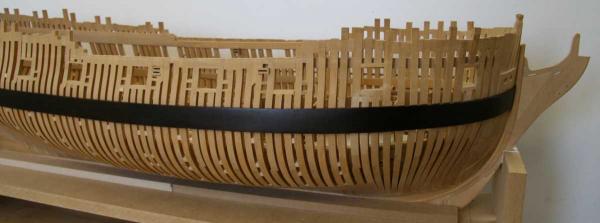
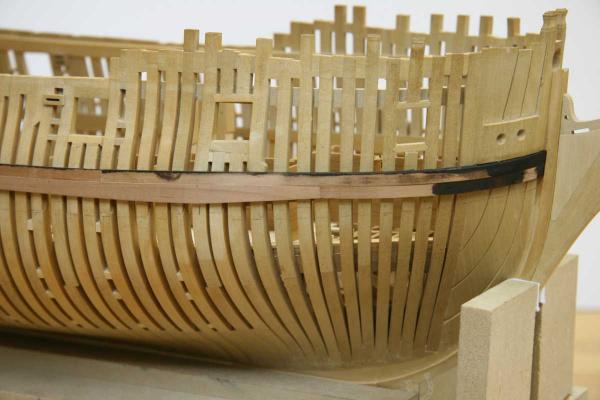
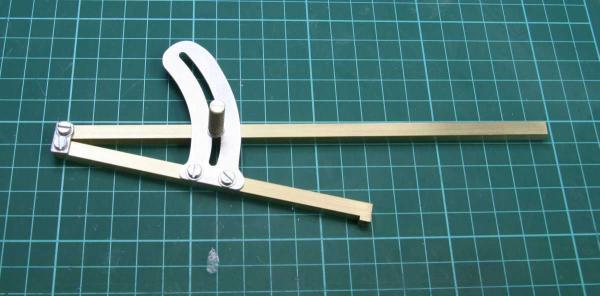
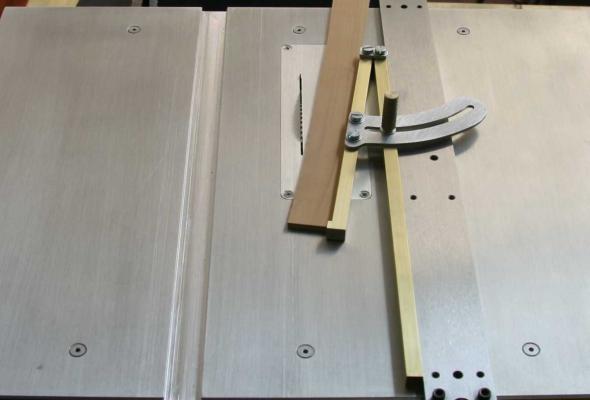
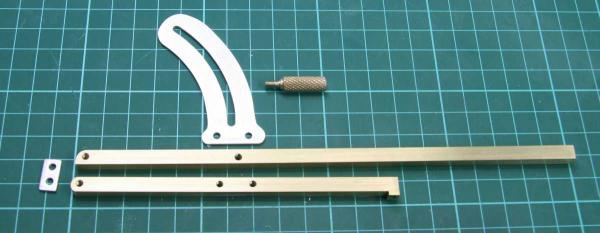
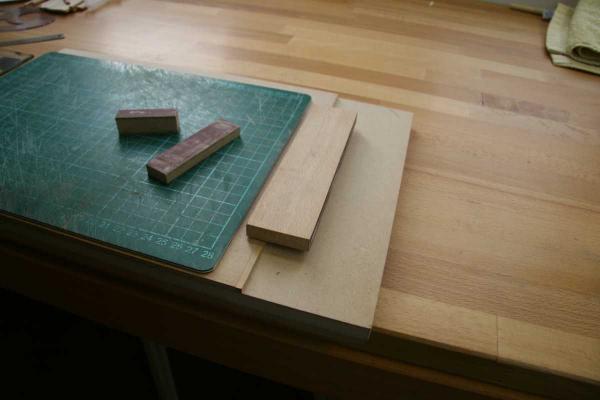
A little progress on the whales, but first tool time. I should have bought the rip taper jig from Jim when I ordered my table saw. Unsure why I didn't at the time. I made my own version. A few brass bars, aluminum plate & bolts assembled in the right way makes a very useful tool. The whales are made from pear tinted with Fieblings (mahogany and black 6:1) The edges are pre painted as if fear for the paint running into places it shouldn't the sides will first be sanded flush before I can paint it. All planks are pre bend using a steam iron and the admiral's hair dryer All looks a bit messy at this point Remco

- 1,207 replies
-
- 27
-
-
- sloop
- kingfisher
- (and 1 more)
-
Wow Piet what a great display of miniature hardware. When bending the tube for the thimble, did you insert a rod into the tube to prevent it from 'collapsing'? Or did you bend it around a small shave... Remco
-
I'd shape it off the model too. Remco Re. CA, don't
-
Very good advise Druxey, I also make a habit of forming the planks as best as possible before gluing, but I still use clamps to let the glue set properly. I always try to avoid any stress in the planks. Although sometimes when I struggle with a difficult shaped/formed plank its hard to resist the urge to pick up a bottle of CA and a big clamp to get the job done but I never surender to that! Remco
-
I used small commercial clamps, but then again I had more space between the timbers. Maybe a small homemade clamp could work? Remco
-
Sorry Grant I have been away from your log wayyyy to long. She's looking spectacular! And I see your collection of fine tools has grown too Remco
-
Upside down she looks equally stunning, lovely lines Remco
-
The pulley is looking very realistic. Thank you for sharing how you assembled the little marvel, sometimes a picture does not tell the whole story what tricks you need to employ to get the job done. Remco
-
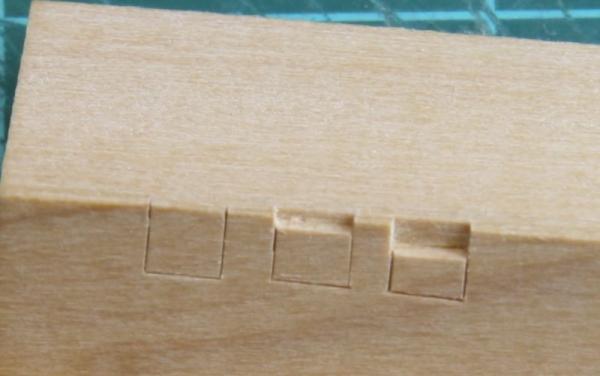
Mike, Thank you for your intrest and no I don't mind all the questions The basic tools I use are (very) sharp chisels and surgical blades, files and sometimes a plane. All finishing is done with quality sandpaper and the trick is to always glue the sandpaper to a hard surface. I incorporated my own version of a 'true sander' in a small work surface that I can easily slide out of the way (together with all the tools scattered around it) so I can pull the hull close by to work on the hull. A glass plate with different grades of paper to flatten or thin down parts and small sanding sticks, I make different ones for different purposes like the ones to sand the deck beams. The joints for the deck beams are marked and cut with a chisel, usually on the bench and never in situ except when I did http://modelshipworl...1385926869.jpeg but that was just me being dumb. For finish I used tungoil until, but now I'm switching to microcrystalline wax as it's less glossy. I prefer a flat finish so it's hard to see in the pictures where the finish is applied and where not. Remco


- 1,207 replies
-
- 13
-
-
- sloop
- kingfisher
- (and 1 more)
-
Congratulations Rusty, a really beautiful model. Remco
- 421 replies
-
- 1
-
-
- granado
- bomb ketch
- (and 2 more)
-
Very nice planking job Sir. Do you use small pieces of carton to prevent the nails marring the wood when holding the planks down (picture Amarante646.jpg)? Remco
-
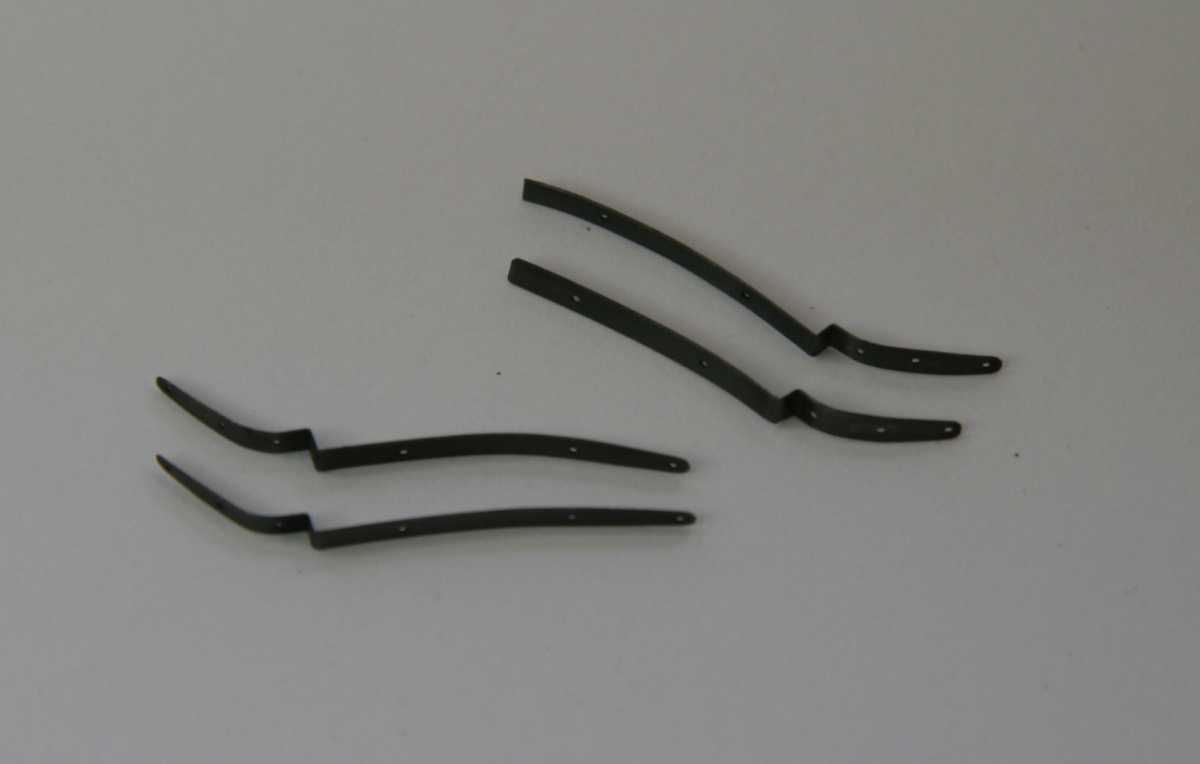
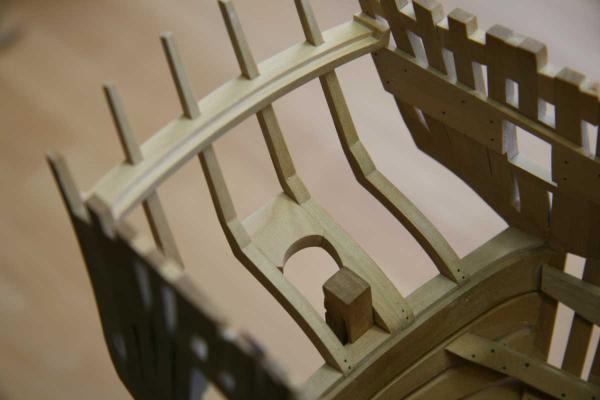
Thanks for the likes and compliments. Maury, Michael, the brass was hard bent off the model. Although 0.2 mm bends quite easily, making 90 degree bends was done on my hold and fold. the other shaping was done with round nosed pliers. Final adjustments were done on the model. Meanwhile the lower counter is planked but not yet faired. Remco
- 1,207 replies
-
- 37
-
-
- sloop
- kingfisher
- (and 1 more)
-
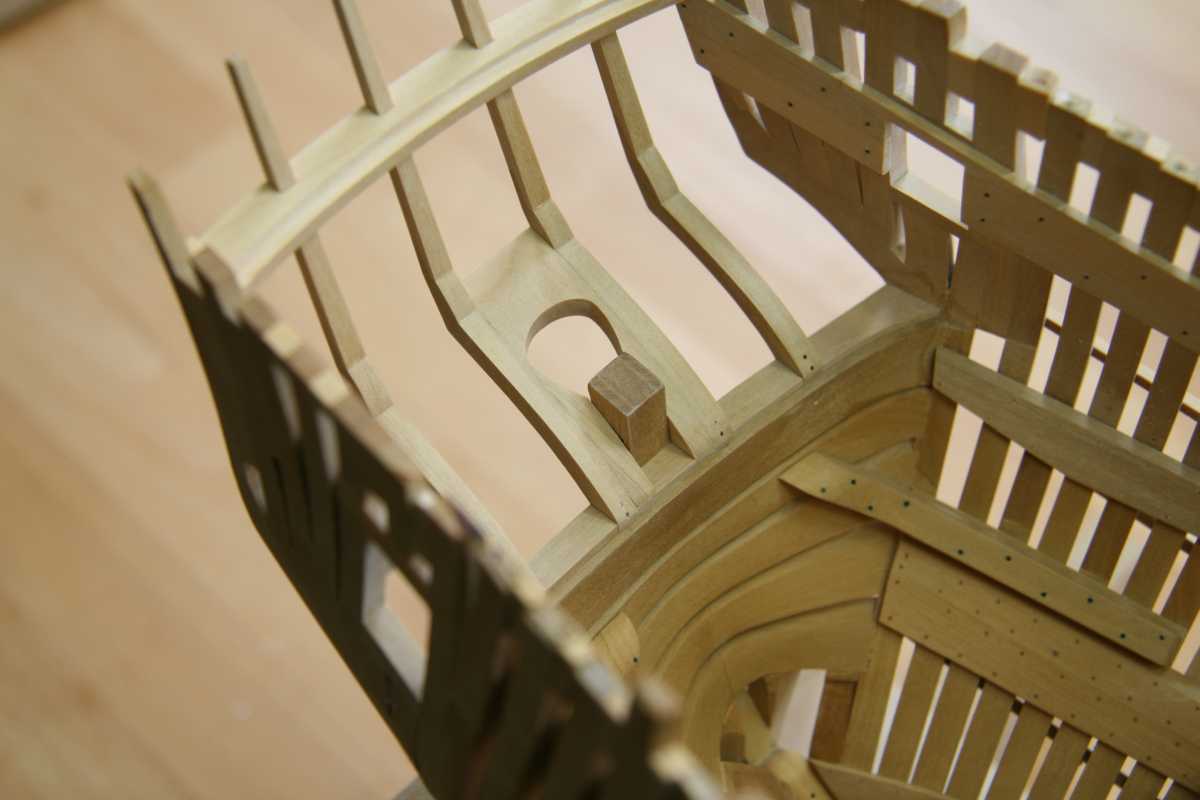
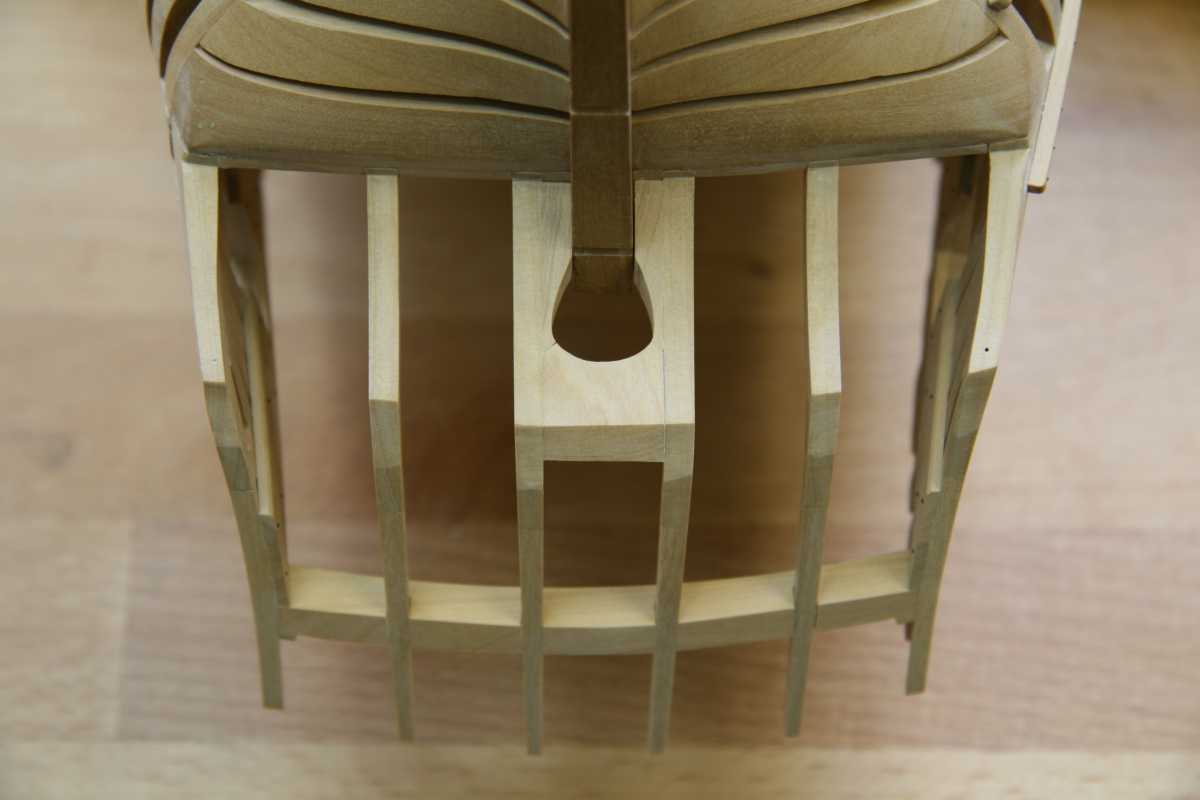
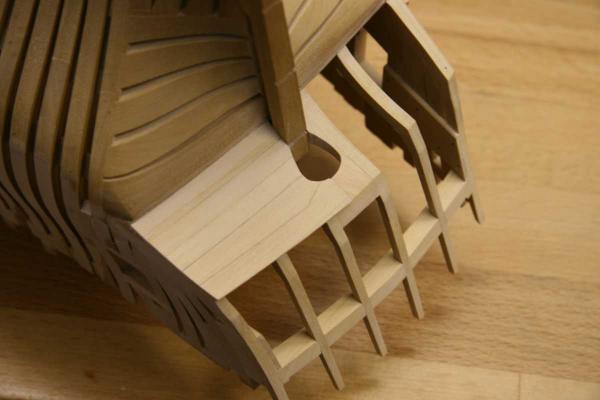
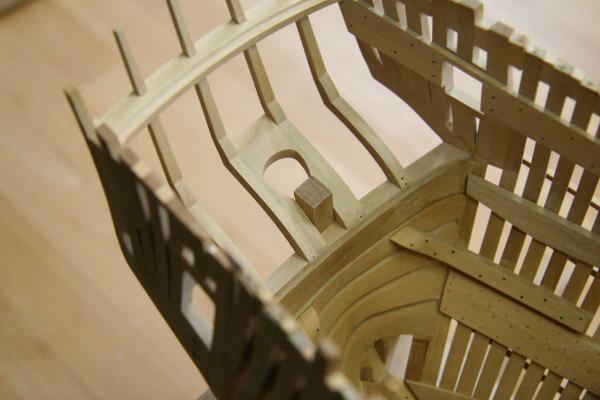
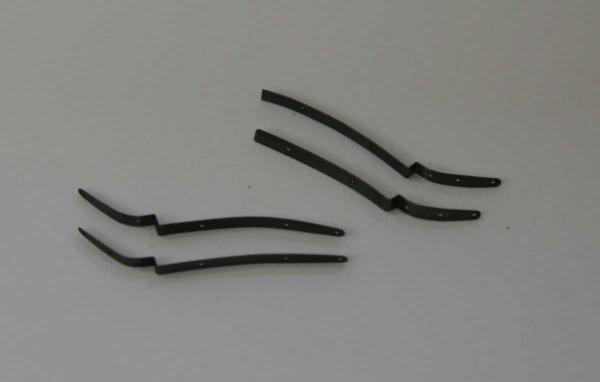
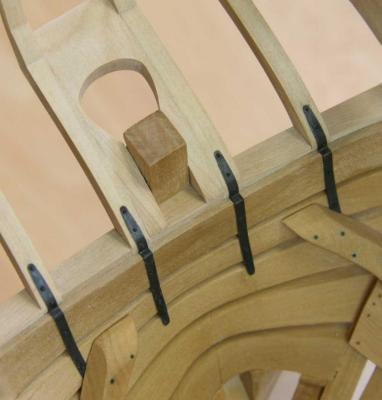
Thanks all. Yes Mark the rabbet was cut using chisels, as it curves in two directions no way I could do it on a mill. The parts that make up the helmport are an interesting exercise in testfitting to get them right The straps to the counter timbers were cut from 0.2 mm brass sheet and bend to shape, 0.4 mm brass bolts (actually a bit oversized) were used to glue the strips down Remco


- 1,207 replies
-
- 33
-
-
- sloop
- kingfisher
- (and 1 more)
-
HMS Naiad 1797 by albert - FINISHED - 1/48
Remcohe replied to albert's topic in - Build logs for subjects built 1751 - 1800
Congratulations Albert a milestone and so beautifully executed. Naiad is on my wishlist but the number of frames does make me doubt. Remco