Remcohe
-
Posts
612 -
Joined
-
Last visited
Content Type
Profiles
Forums
Gallery
Events
Everything posted by Remcohe
-
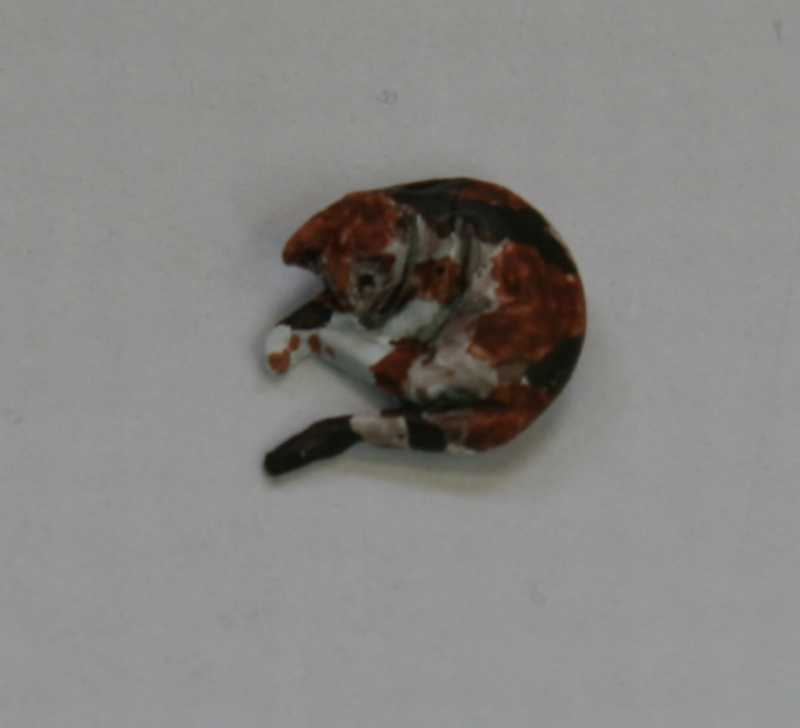
 Thanks guys. Hlipplaa, sorry I must have missed your question, I used holy for planking and castello for the other details for the cutter and the longboat. So here's how the story goes, the officer of the marines chased off the annoying rat that has been lurking in my ship's hold for the past years. Meanwhile Paddy the calico ship's cat indulged himself on the remaining mice on the ship and fell asleep on the marine offices bed place. Remco
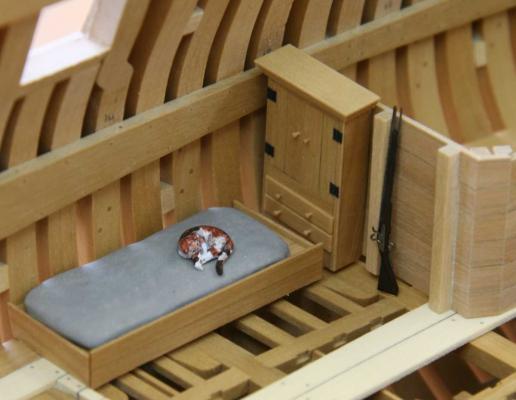

- 1,215 replies
-
- 35
-

-
- sloop
- kingfisher
- (and 1 more)
-
Piet the piping looks great, I hope the internal plumbing will be fixed soon too. Remco
-
HMS Druid by Krug - FINISHED - 1:48 - Hahn
Remcohe replied to kruginmi's topic in - Build logs for subjects built 1751 - 1800
Congratulations Mark, you have made a beautiful model. Remco -
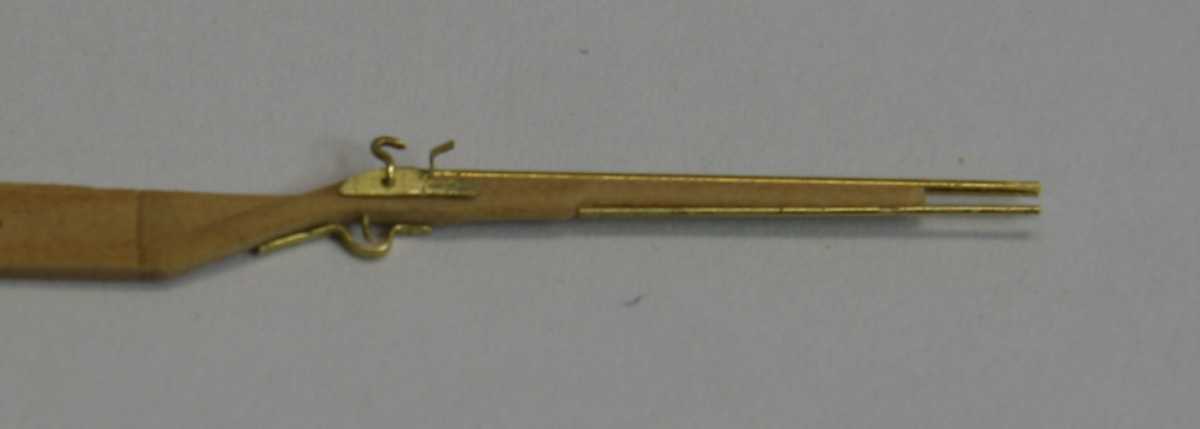
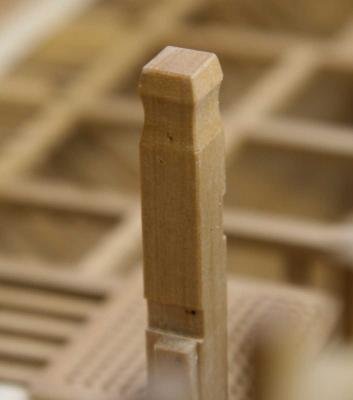
I tried to fix the bite mark with some water Druxey, but unfortunately it's to deep and wide. I can fix it with some colored wax or, we make up a good story how the musket was discharged and hit the riding bitt. I'm with Mark here let's blame the rat Piet one's enough! So here's all painted, blackened and assembled. The wood turned out a little darker than I would have liked, but it will go nicely with all the other mini projects like the wicker basket, cutlery, etc to show off the model. Remco

- 1,215 replies
-
- 30
-
-
- sloop
- kingfisher
- (and 1 more)
-
Piet I really enjoy watching how you are doing this. Your next project could be a fully brass build steam locomotive Remco
-
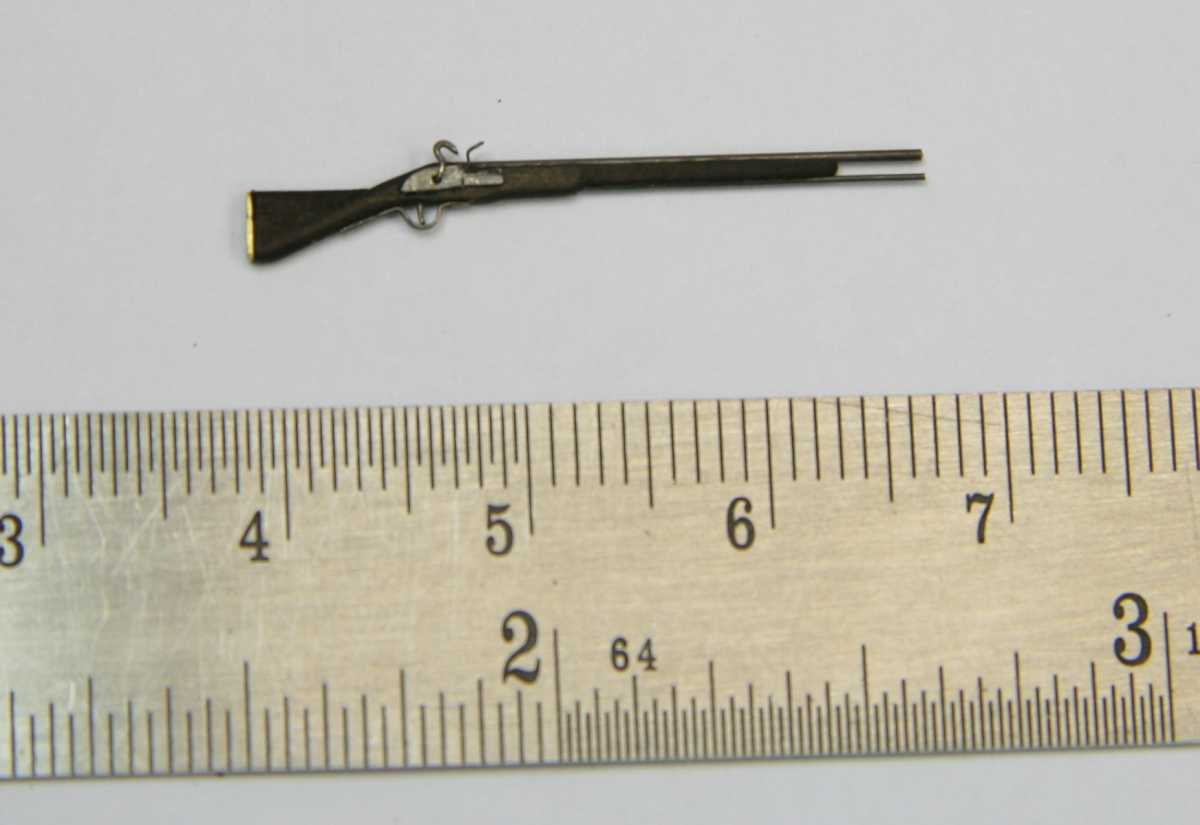
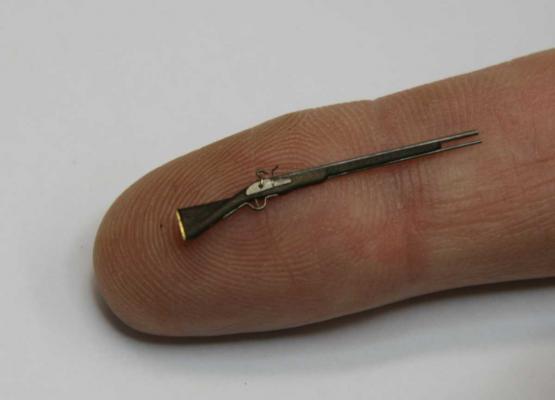
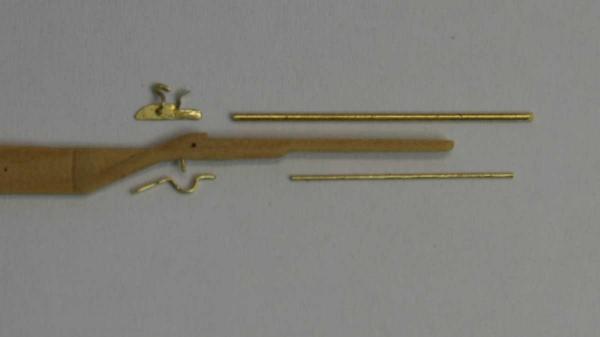
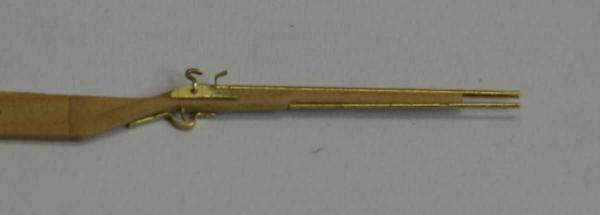
Thank you guys. Yes Druxey that is a good trick for dents, unfortunately her little fangs cut the fibers so I nee to fill the gap or go for Greg's story. Might as well throw in the musket as well....... It's a Brown Bess Sea Service Pattern 53.5 inch long musket, making it just over an inch long to match my model. Only dry fitted, brass will blackened and the boxwood darkened with mahogany stain. Remco
- 1,215 replies
-
- 22
-
-
- sloop
- kingfisher
- (and 1 more)
-
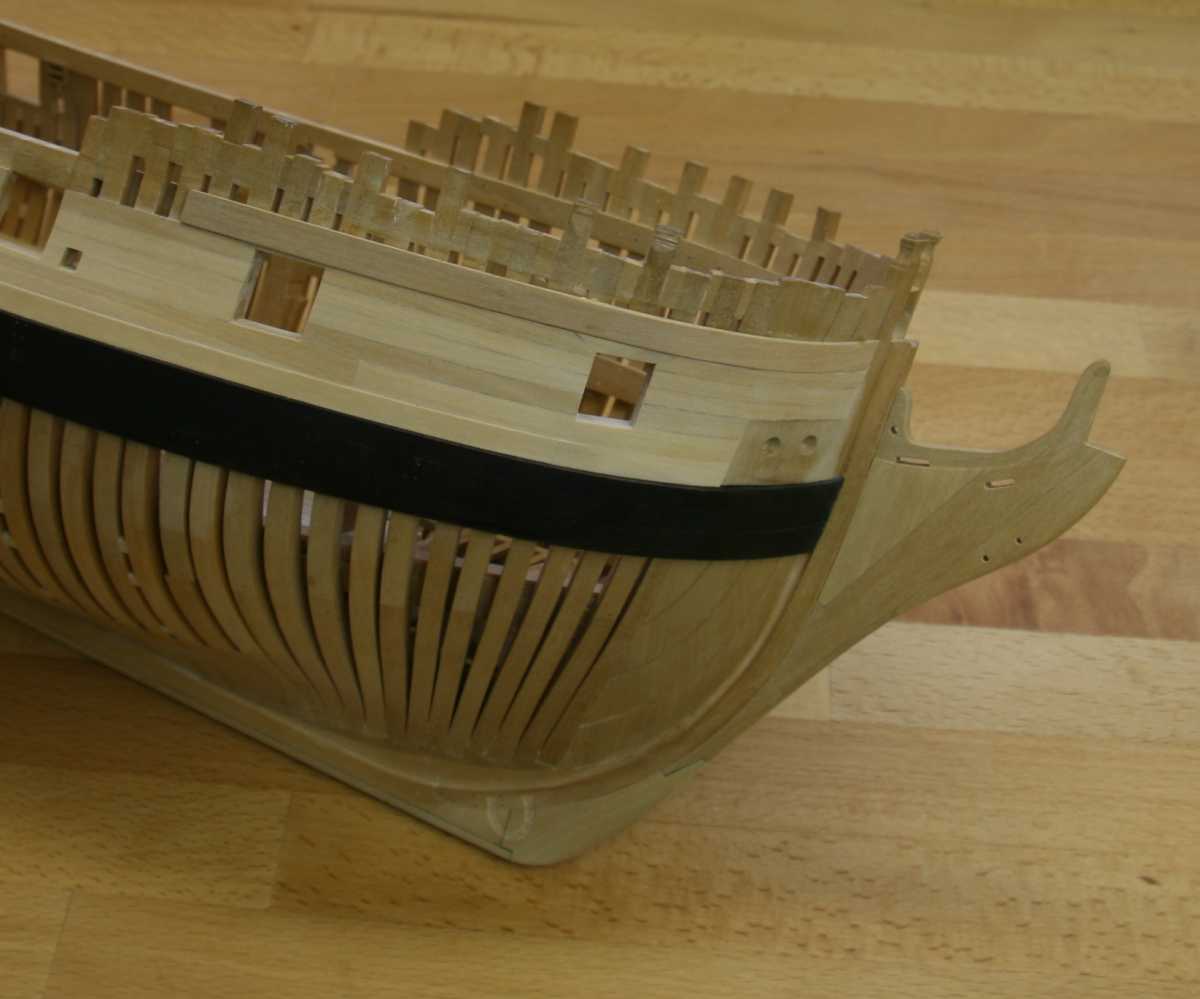
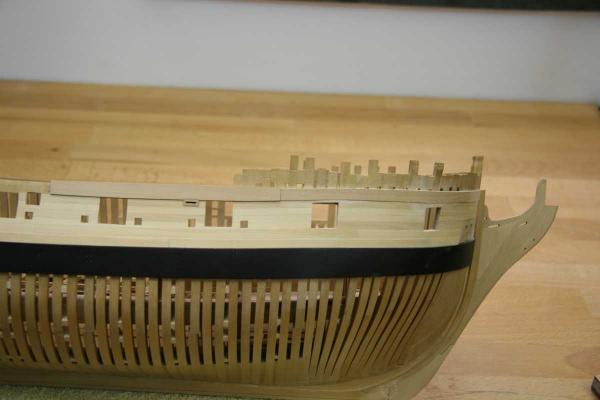
Finally I got around to do the redo, and guys I'm mortal too and with the rest of you doing my fair share of redo's every once and a while.... I had a few set backs like the new plank snapping when I was heat bending it, resulting in taking some leave from the shipyard. Tonight I got back and fixed the sheer plank. Eagle-eye Druxey I measured it up and the upper sill is correct, but the run of the planking creates the illusion of the still sitting too low, with the sheer strake corrected it still looks wrong so I'll make some adjustment to make it look optically okay too. My Kingfisher also suffered her first battle damage, it took some small arms fire on the riding bitt's Actually Pebbles took a bite at it while I was not paying attention The bitt cannot be replaced without mayor surgery, so I'll keep her signature om my KF From now on the shipyard will be off limits for my little furry shipmate...... Remco

- 1,215 replies
-
- 13
-
-
- sloop
- kingfisher
- (and 1 more)
-
You make it look like easy peasy Piet. Looking at the picture of the real thing I see you can still make a kazillion parts if you feel like it Remco
-
HMS Druid by Krug - FINISHED - 1:48 - Hahn
Remcohe replied to kruginmi's topic in - Build logs for subjects built 1751 - 1800
Mark, she looks great. At first I had to get used to the angled base you choose but now I real like it. Remco -
Indeed a tricky set of parts, but they came out really nice. Remco
-
Looking good Piet, I can't wait to see the launch tubes finished, but I'll be patient Remco
-
Very nice Toni, tricky but fun to make right? Remco
-
Good to see you back in the shop Piet. Wow you installed ball bearings right? Remco
-
Nice! I'll save that picture for the moment when I put my KF up for display and the admiral starts complaining Remco
-
Thanks. The sweeps were easier than I thought, but the sheer plank not. A pesky little plank to shape as it widens over the gun ports. And when I glued it in place I noticed that it does not run in a fair line over the first gunport (second port from the bow) The last row of planks below it are the source of the problem, so this needs to come off and I'll call for a redo...... Remco
- 1,215 replies
-
- 18
-
-
- sloop
- kingfisher
- (and 1 more)
-
That is really neat to have a cross section of a long boat on your cross section. Remco
- 662 replies
-
- 1
-
-
- bonhomme richard
- frigate
- (and 1 more)
-
The pinnace looks insanely good You'll find clinker planking not as difficult as it looks, do you have the cutter practicum from David Antscherl? Remco
-
That is some very sweet planking Bob. I bet trimming the edges at the ports was tricky with the sides already painted red. I'd say option 1. Remco
-
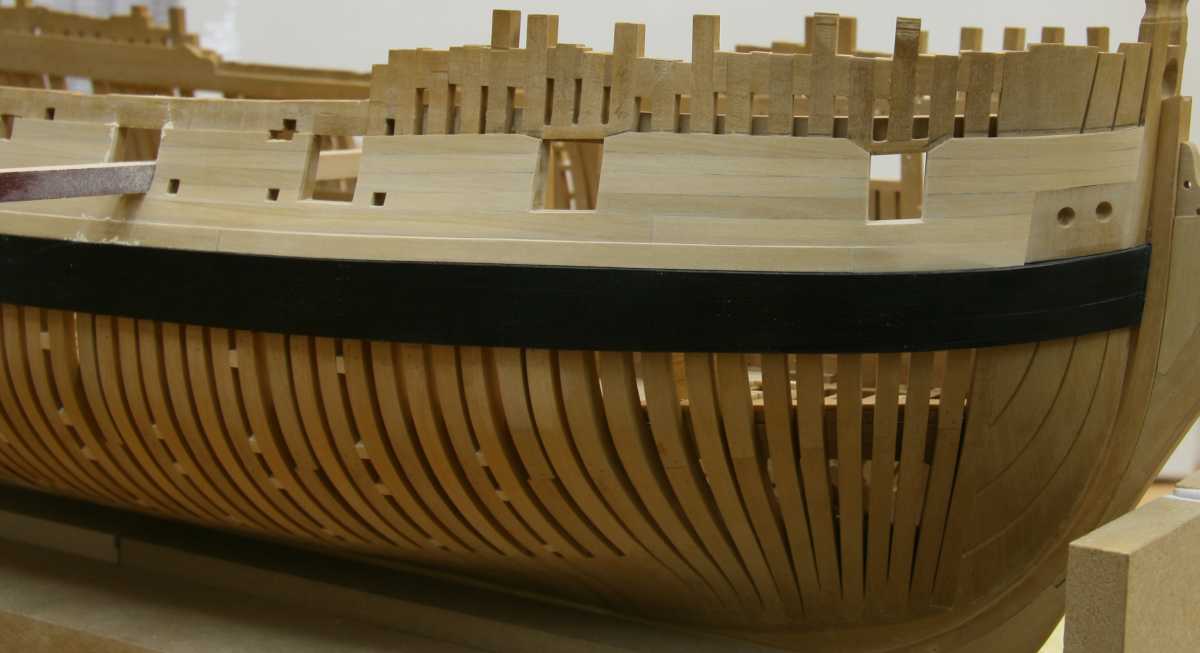
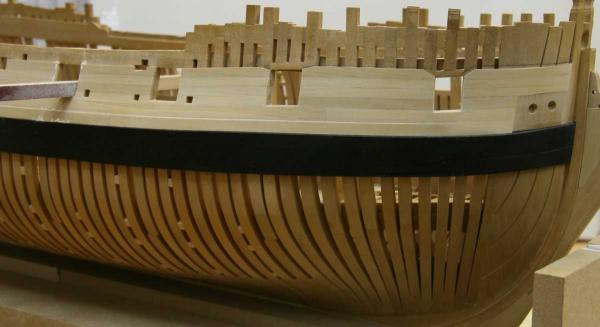
So back on the real topic, I sanded the planking and now I'm in the process of cutting out the gun ports. A piece of sanding paper on a stick makes the process a little easier. The sweep ports will be a different challenge.... Remco

- 1,215 replies
-
- 27
-
-
- sloop
- kingfisher
- (and 1 more)
-
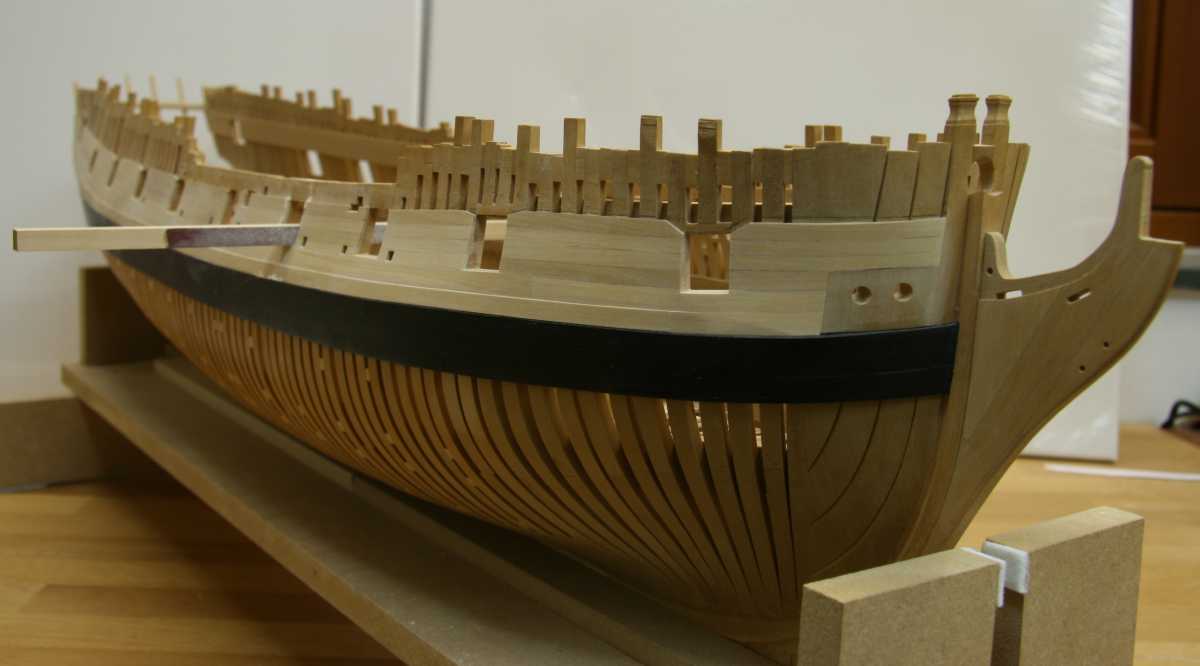
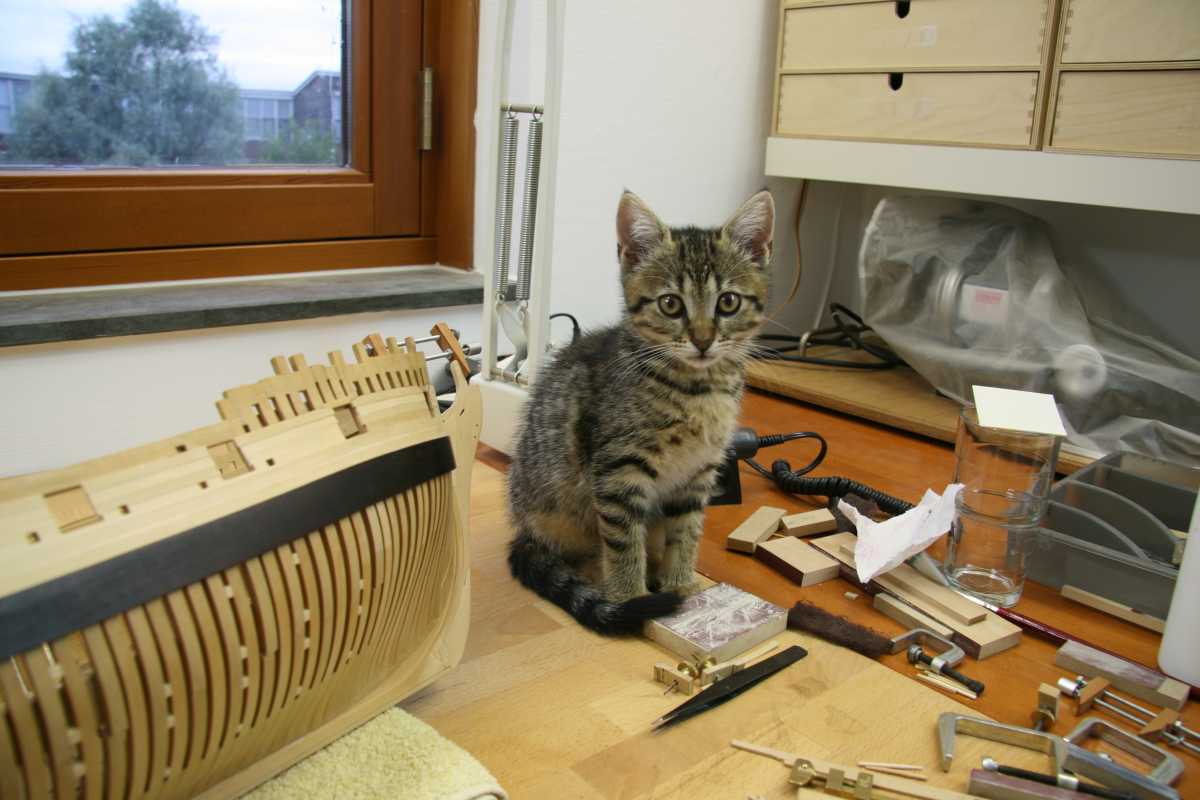
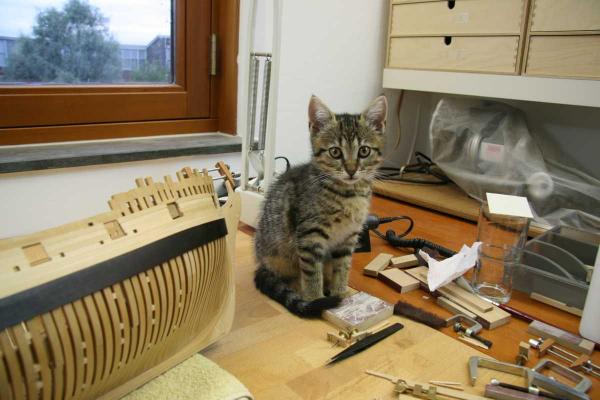
Thanks for the likes and compliments. Piet I will take an order from you, but be aware I will do the assembly on site only So I have a new apprentice in the shop, 9 weeks old Pebbles is taking a real intrest in ship building. She's already very skilled in making small parts disappear, I think that is a sign of a great shipwright in the making In the background you can see progress of planking above the wale. They will be sanded before I add the sheer strake. Remco
- 1,215 replies
-
- 27
-
-
- sloop
- kingfisher
- (and 1 more)
-
Magnificent! Remco
-
Piet, Jan is right if you look at the drawings, she was designed with 3 blades. Of course it could look like 4 if you think it's 4. So no domkop or strike two here if you ask me just lucky as you only need to make 6 blades Remco