HOLIDAY DONATION DRIVE - SUPPORT MSW - DO YOUR PART TO KEEP THIS GREAT FORUM GOING! (Only 20 donations so far - C'mon guys!)
×


michael mott
-
Posts
5,197 -
Joined
-
Last visited
Content Type
Profiles
Forums
Gallery
Events
Everything posted by michael mott
-
Steve that looks very nice, definitely start a build log so we can follow along Cat boats have very nice lines and rigs. Michael
-
 Hi Keith, looking at the stanchions will you be changing the thickened portions to the bulbous shapes after you have drilled the cross holes?. Stanchions are a b@%%er to make. I remember what a difficult task it was on the Albertic. Nice work on the cowl Michael
 -
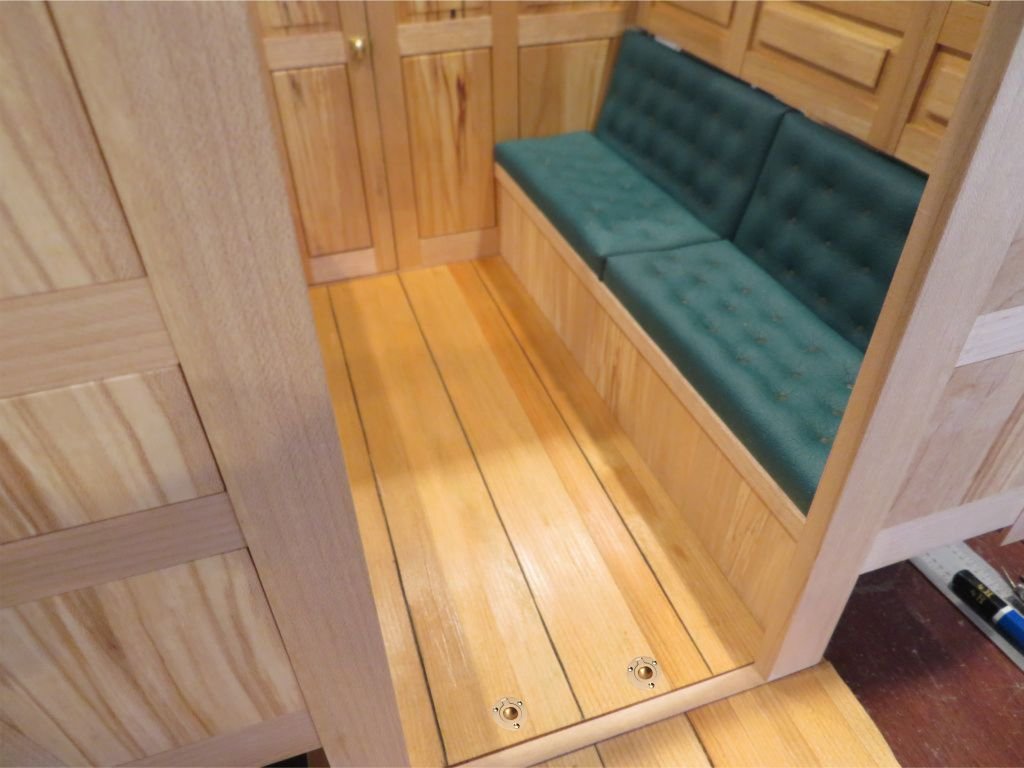
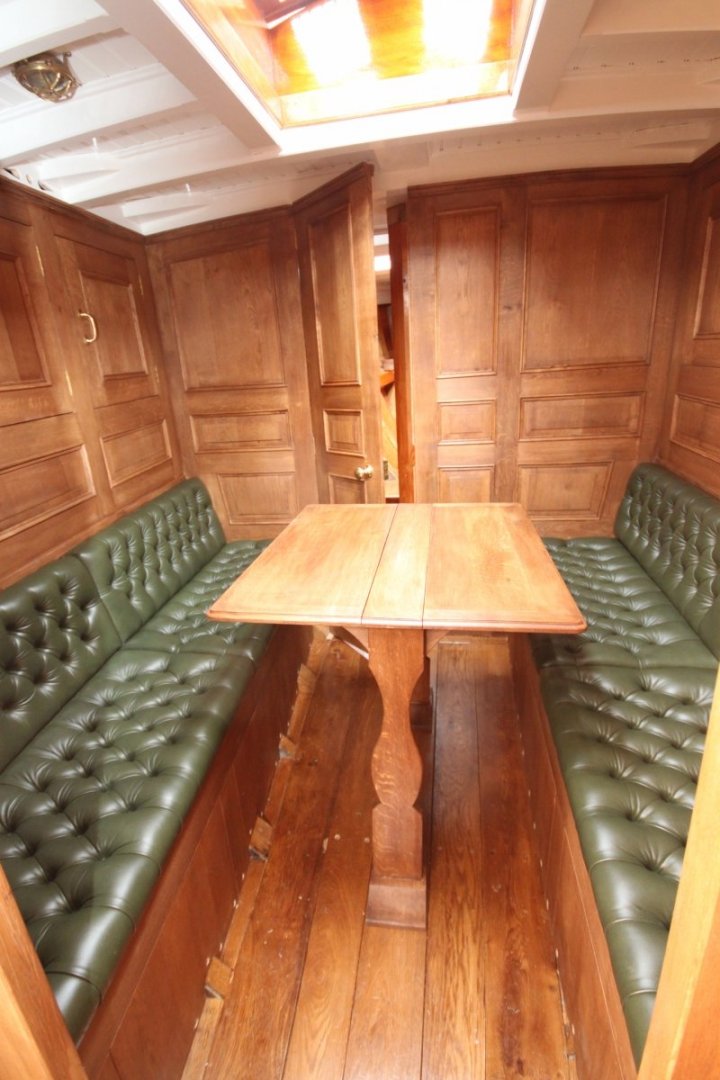
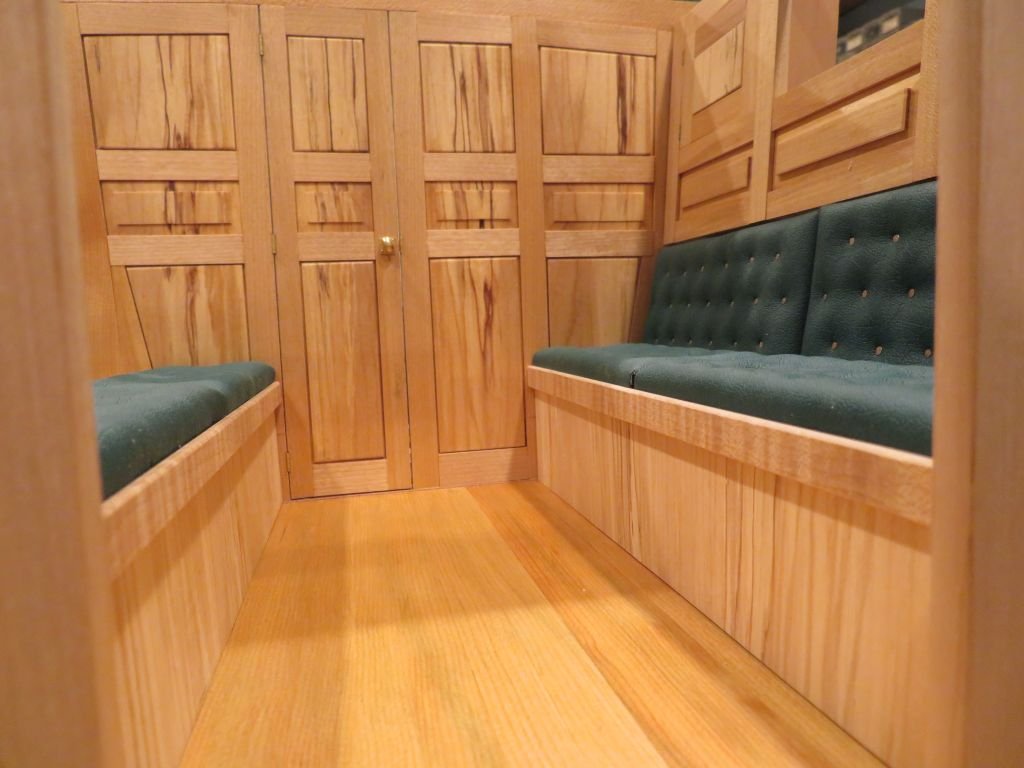
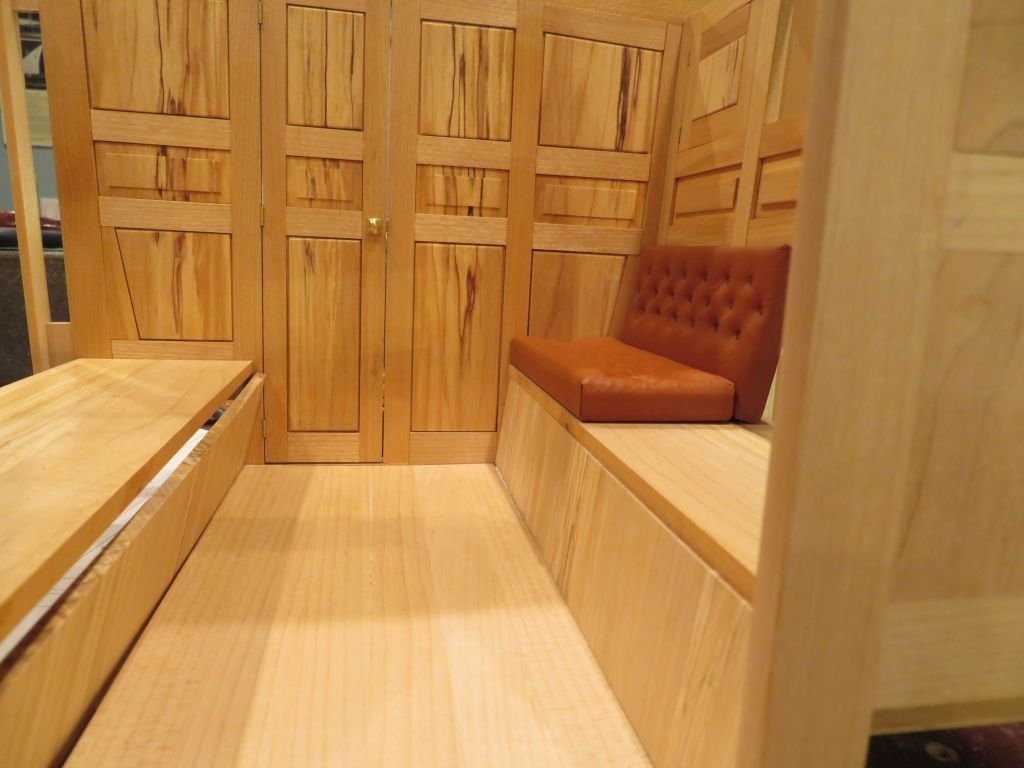
Wow! Such great feedback, So I spent today doing some remedial work, Covered off the two big issues. The picture shows the seats set against a narrower lip with a cleat underneath to ensure the cushion doesn't slide off the platform. Some demarcation of the floor boards that can be lifted with some graphic representation of the flush lifting rings, These will be 2 inch ones (1/4") . These will be easy to spin up out of some 1/4 diameter brass. Michael
-
Hi Tom tomorrow I will show a little experiment. Michael
-
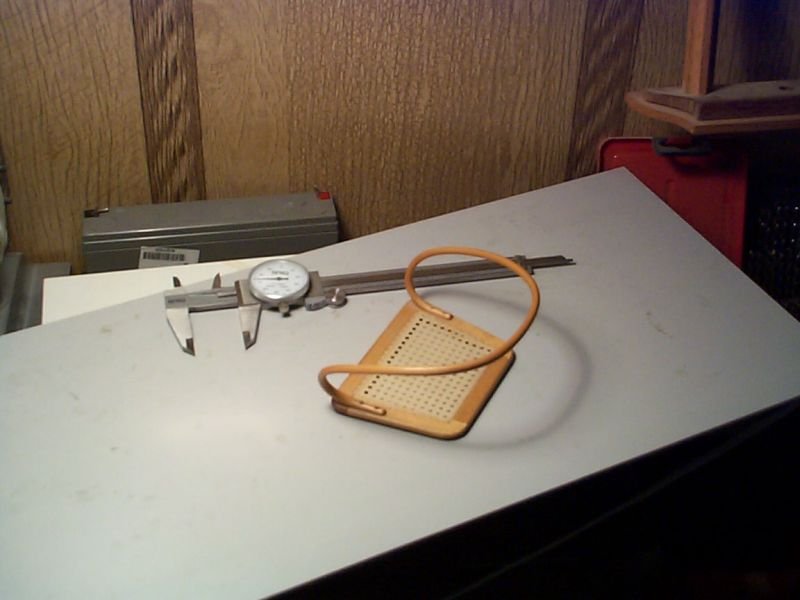
Hi Tom The cockpit is coming along nicely. A long time ago (40 years at least) I needed to make a bent wood seat for a model of the bleriot monoplane. I tried soaking and bending bamboo and a variety of other woods but they kept breaking. Then I thought that if I could bend a strip of metal into the basic shaped a piece of 1/4 inch by 1/16 stainless I had on had did the job. The logic was that if I could bend the metal then a strip of thin veneer would bend as well. I used some birch veneer, and laminated about a dozen layers wrapping each one with a liberal coat of white glue. I let the lot sit for a week to cure. I slipped the laminated wood off the metal and then sanded it to a round cross section. Sorry I dont have any pictures of the bent piece when I was gluing it up but the results were better than I expected The veneers took on the appearance of the grain of the wood as if it were actually a bent piece of round. The caning was woven with a small needle it was made from strips of a beige Bally's plastic shoe bag. sort of like miniature raffia, I had to start over twice before I got the pattern correct. I am sure that you could bend a bit of flat brass to the curve you need and then lay up some very thin veneers of mahogany or what ever wood you need to create a corner piece. The straight pieces of corner round can be shaped on the edge of a wider strip then sliced off with the micro saw or a jewelers saw. Michael
-
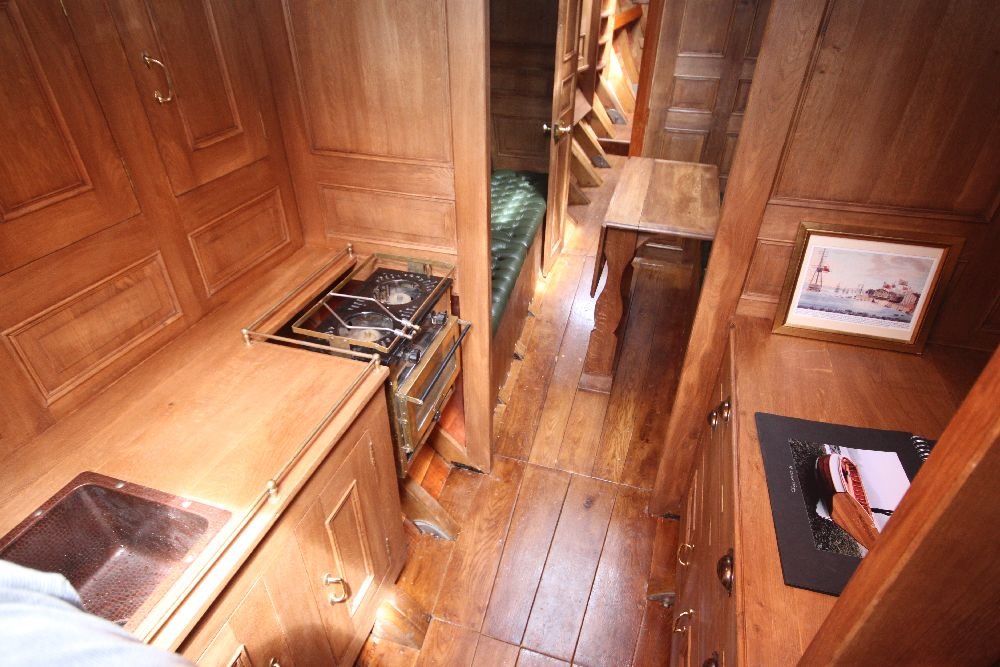
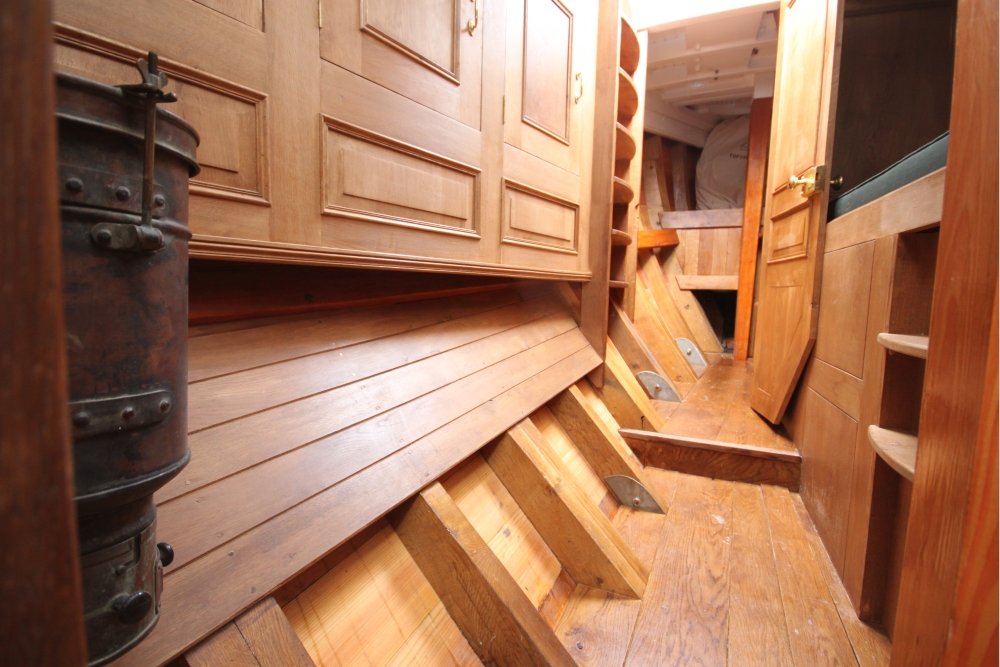
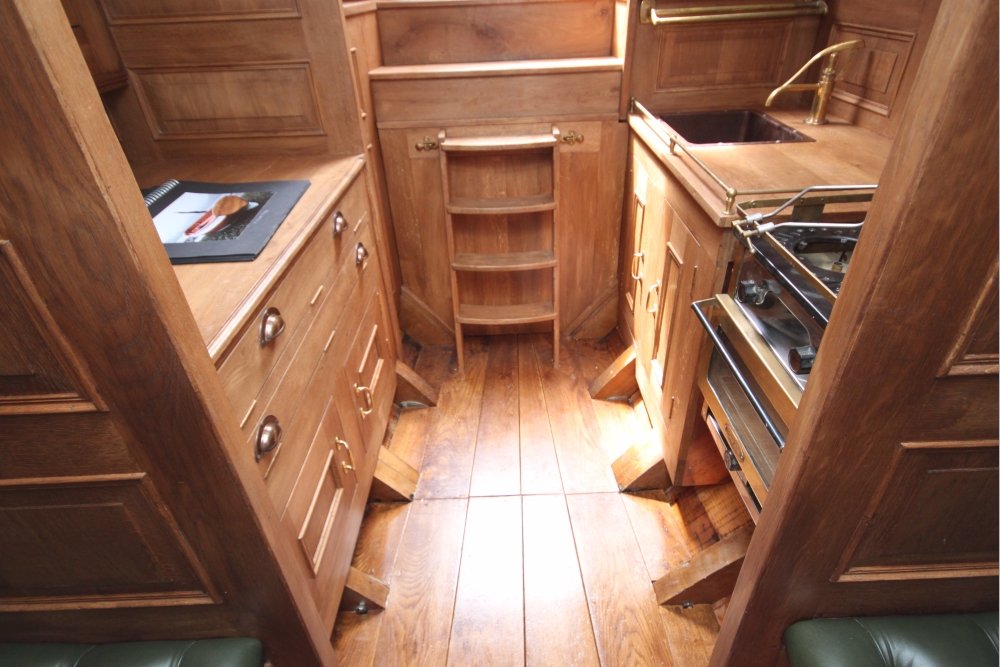
Hi Bob Thanks for your comments Please whenever something that I make seems to be in error of simply flat out wrong let me know. Having sailed in a small boat I know just how important it is to be able to clean out those deep difficult to reach places. As you know I have been using Stirling and Sons yacht "Integrity" for inspiration. The interior is so well fitted that it completely missed my attention that of course access to the bilges would have been accounted for. They just did such a good job of being subtle about it that it slipped to the back of the deep recess of my brain. These few pictures from the web a few years ago that were used in a sales pitch by a yacht broker show what I mean, I have searched for the attribution for them but cannot find it so if there is a problem with them let me know and I will remove them. Fortunately because all the interior components of my interior can be removed so that I can add the 100 lbs of lead when it finally goes for a free sail. I will make some changes to the whole floor so as to make it look as if the floor has some loose planks. But for the integrity of making the cabin interior relatively easy to assemble and hold together inside I will keep it as a single piece. Again Bob don't hesitate to give me critical insights and information to enable me to learn and improve things. This cut was just freehand with the jewelers saw, I had to come from both ends because the throat of the saw was not deep enough, I followed a pencil line. Michael
-
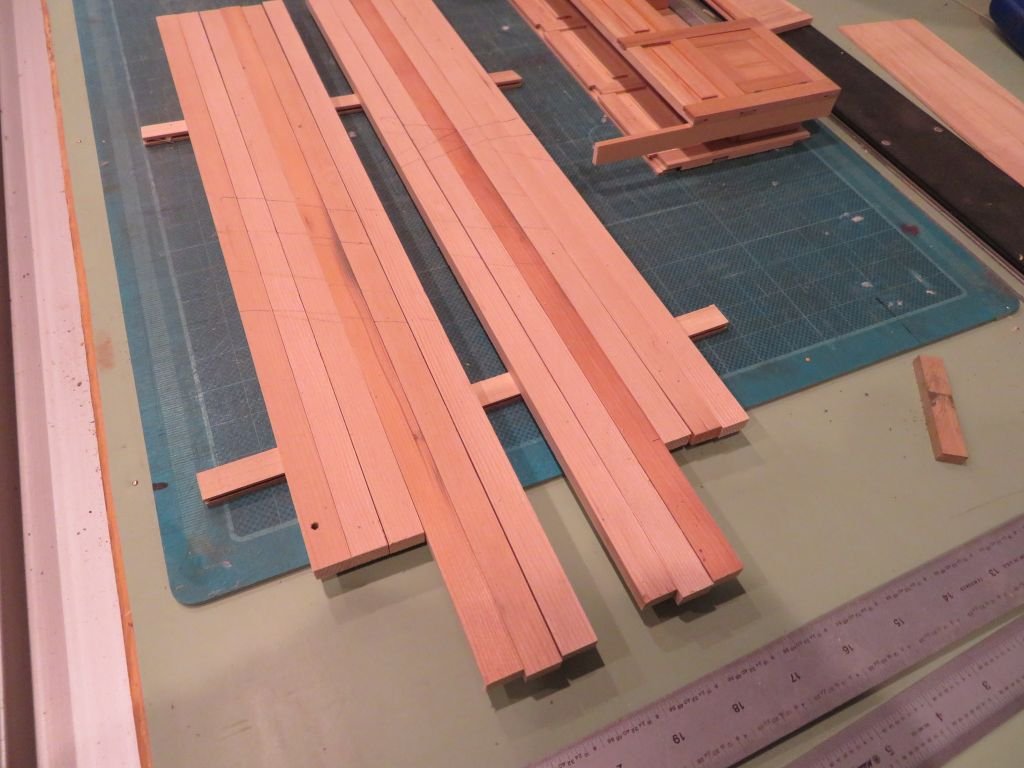
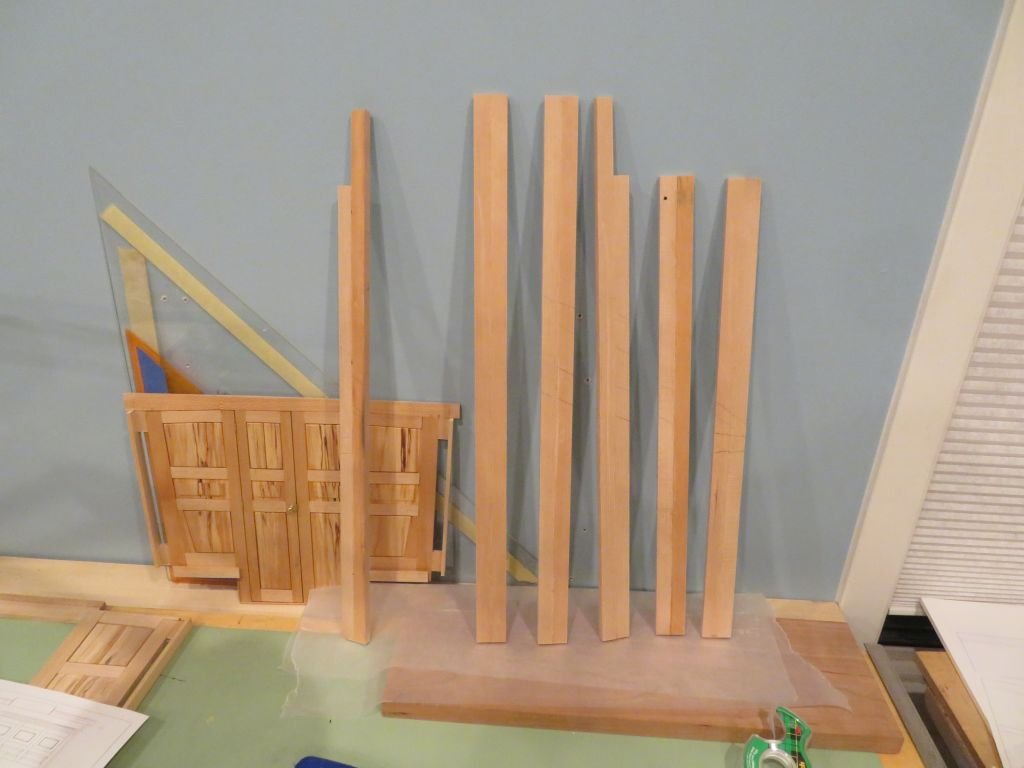
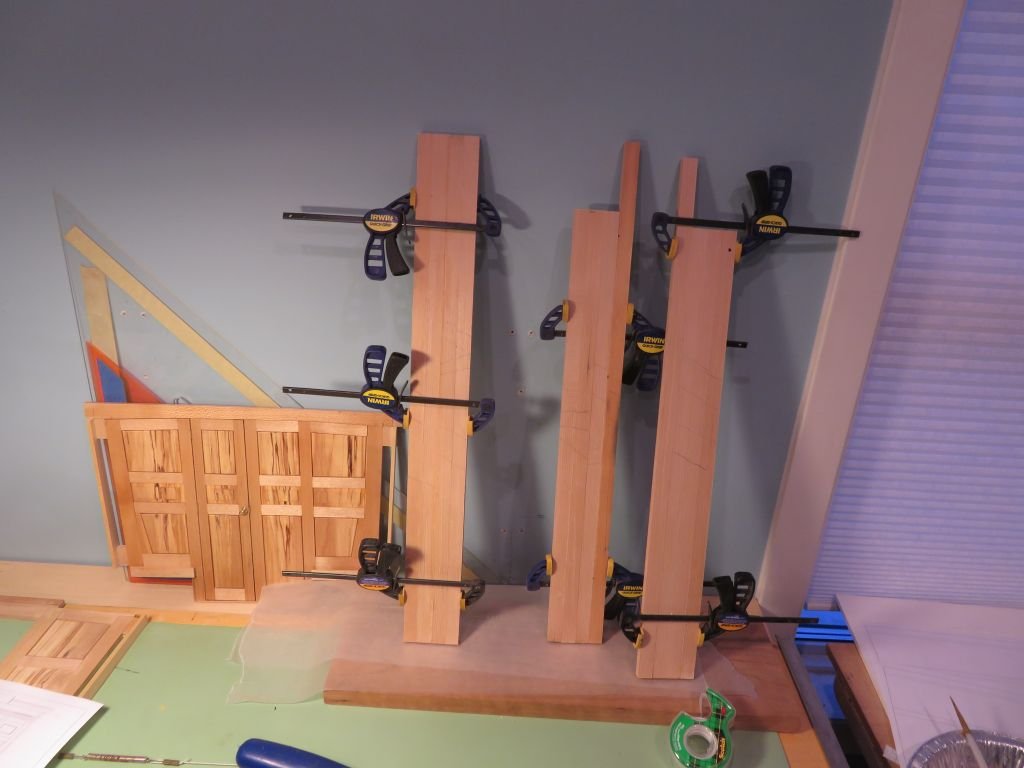
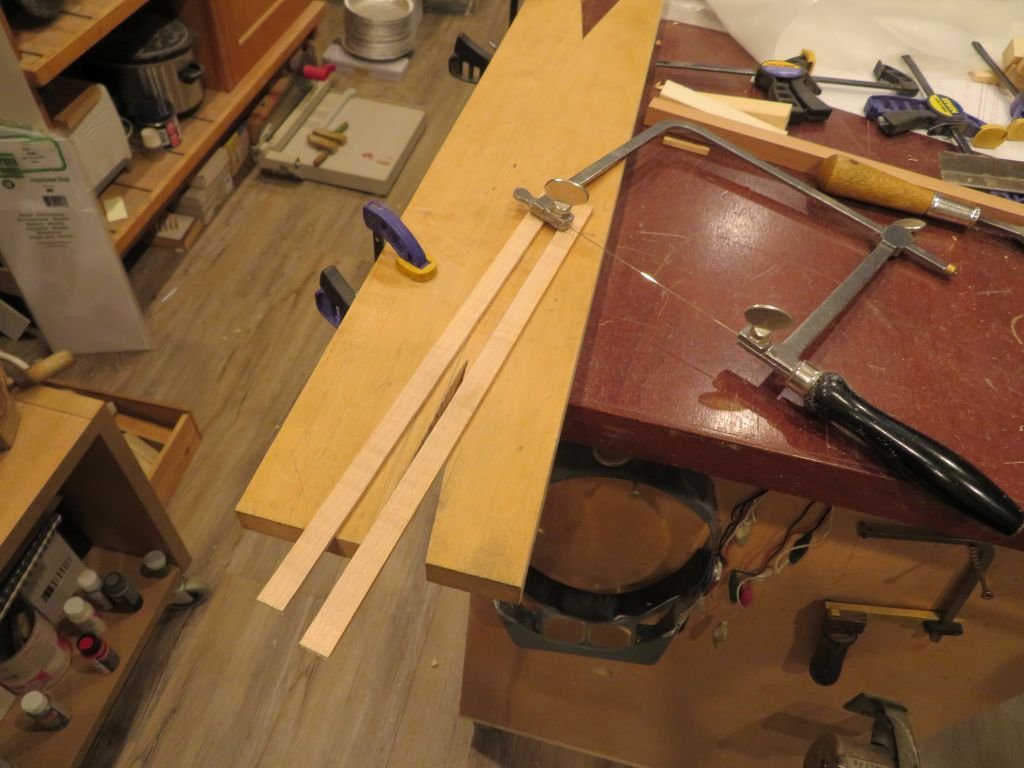
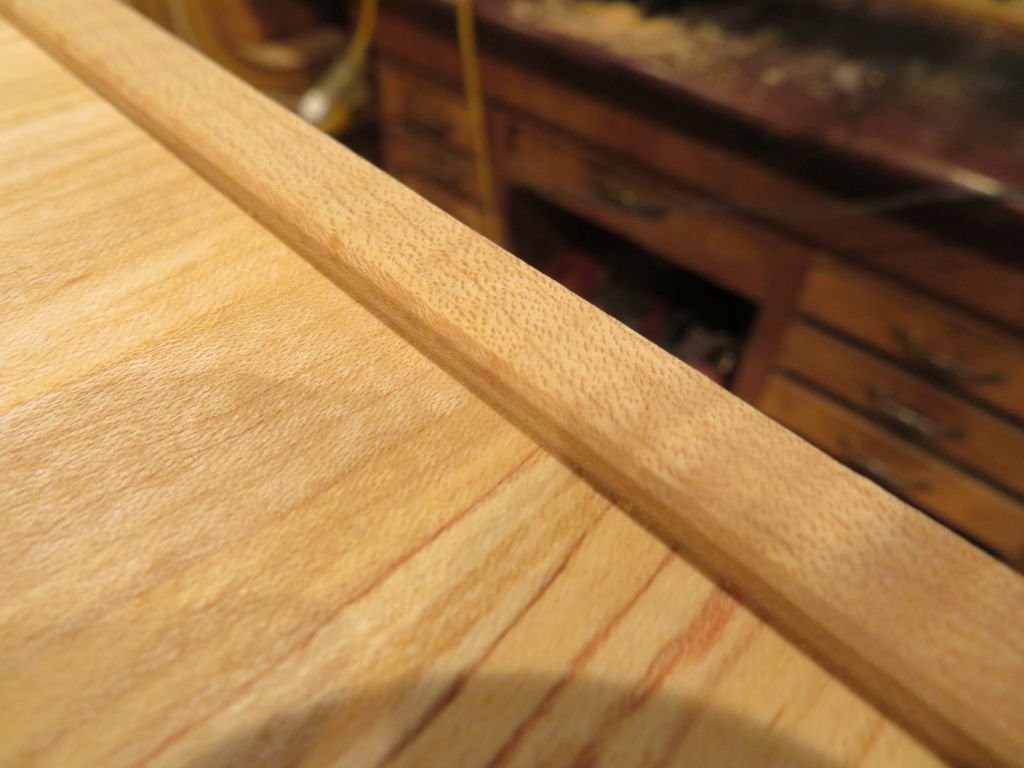
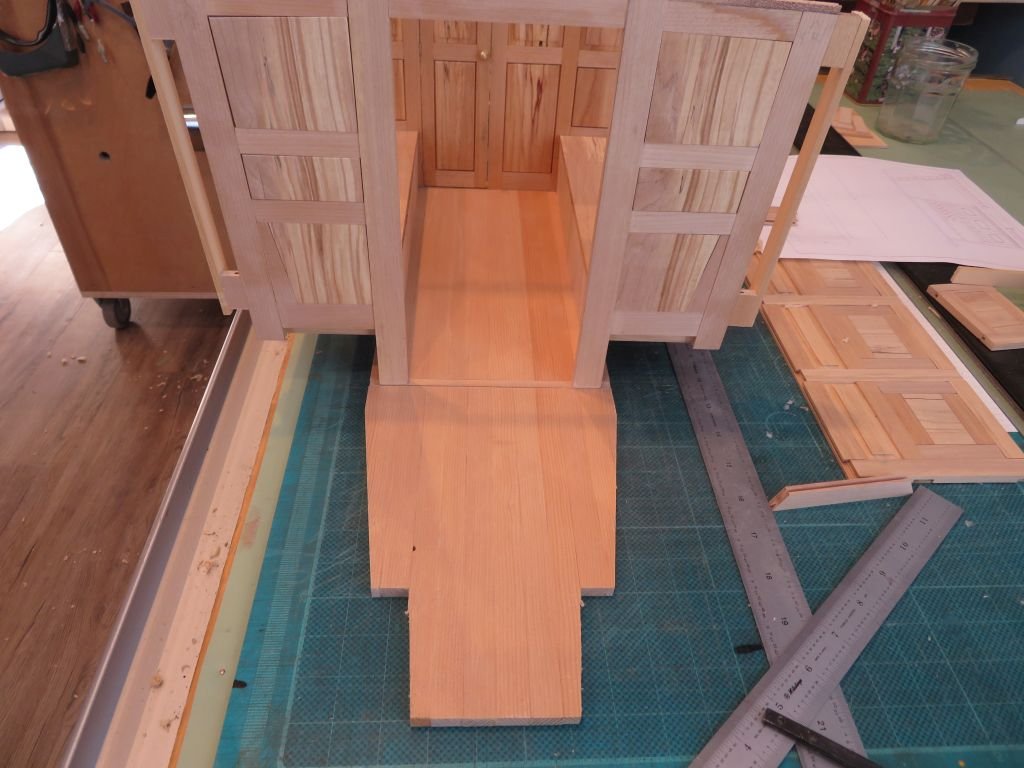
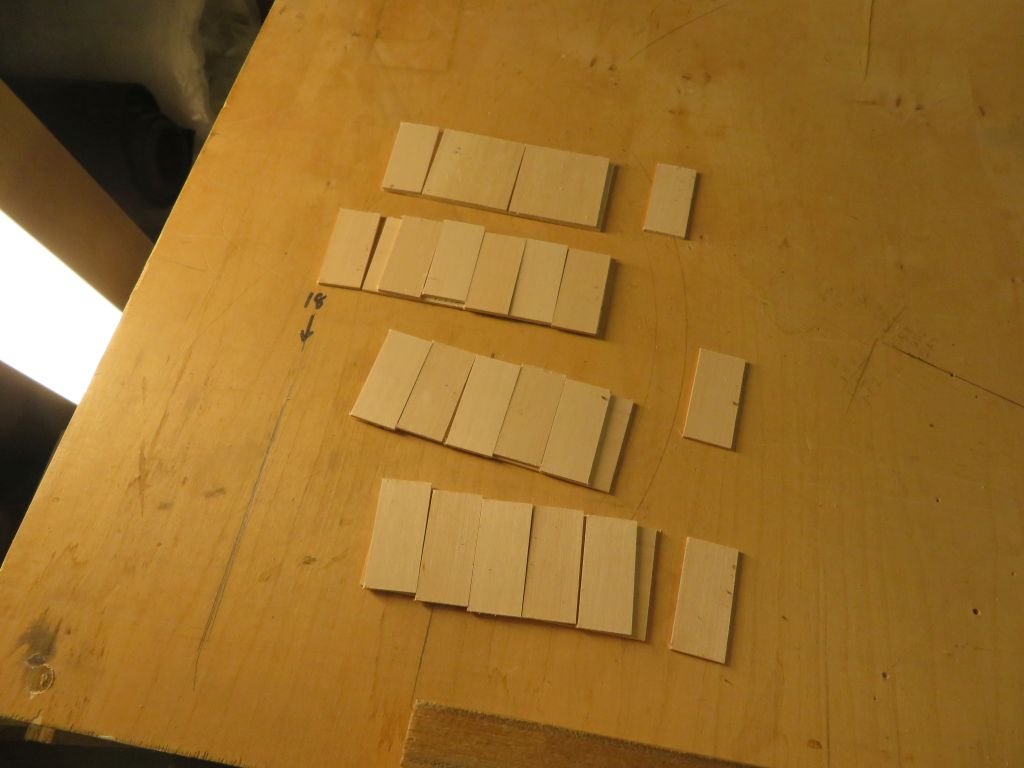
Here is the new floor. step one was to re-saw the piece of fir into some 4 inch planks Next the wood was set up so the the grain was flipped end for end to create the opposite cupping like this the planks were glued up in pairs first Then the six pairs were glued up in pairs again Then the three pieces were glued together and given a final clean up with the bench plane and shaped to fit into the hull. After the fitting it was taken back to the bench to finish fitting the seat platforms with the maple edge. The seat edge was cut from a lovely piece of fiddle back figured maple and I only had a small piece, so I used the jewelers saw to split it down the middle. Before gluing the piece to the seat bottom I put a small chamfer on the bottom edge the top was done after it had been glued to the bottom, this gave it the rigidity and stability. The floor was given a couple of coats of Teak oil and now to finish the port side back panels Michael

-
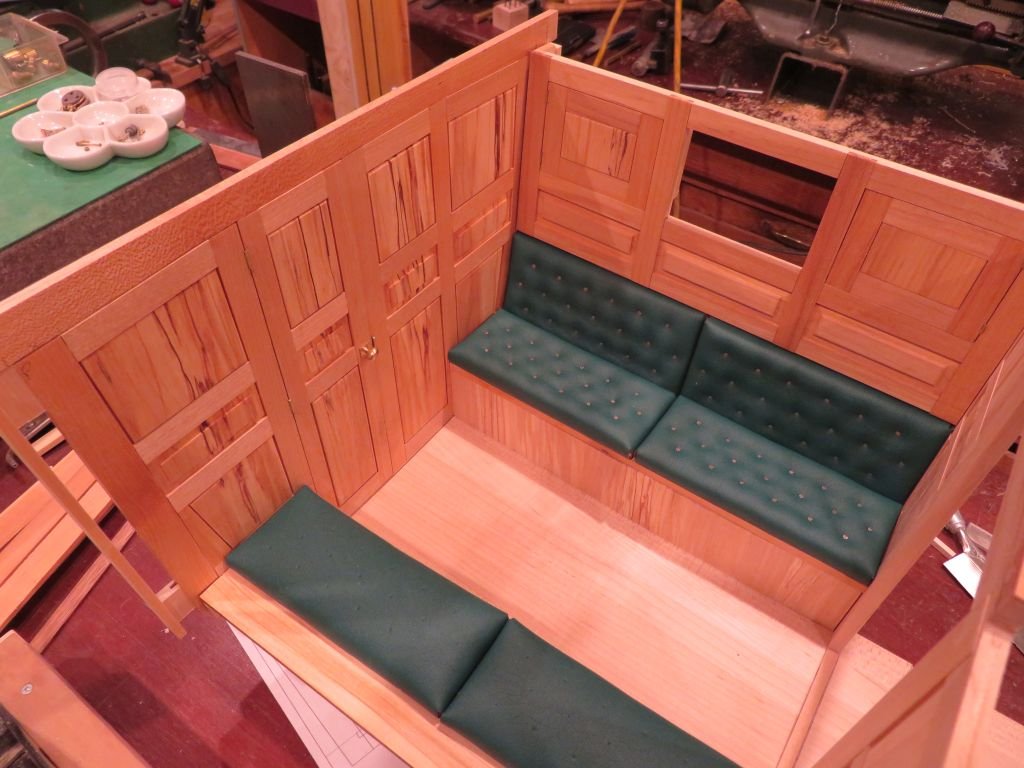
Pat, Rob, and Eberhard, Thanks for you comments and condolences. All the cushions are done now they just need the paint on the buttons. I am also in the process of remaking the floor of the cabin because it has cupped across its width. I also made it narrow enough to lift straight up out of the opening on the deck. I needed to add a little bit to the width of the floor in order to set the vertical panels properly. So instead of incremental fixes I am making a whole new floor which is actually easier . This will also take care of the slot that needed to be filled. I had a piece of nice close grained Clear fir which is the same material that the deck is made of, so have chosen to use it. Michael
-
That is very nice, it add a detail that is sometimes overlooked, and now you will be able to explain what the black canvas looking part is for. Well done! Michael
- 950 replies
-
- 2
-

-
- syren
- model shipways
- (and 1 more)
-
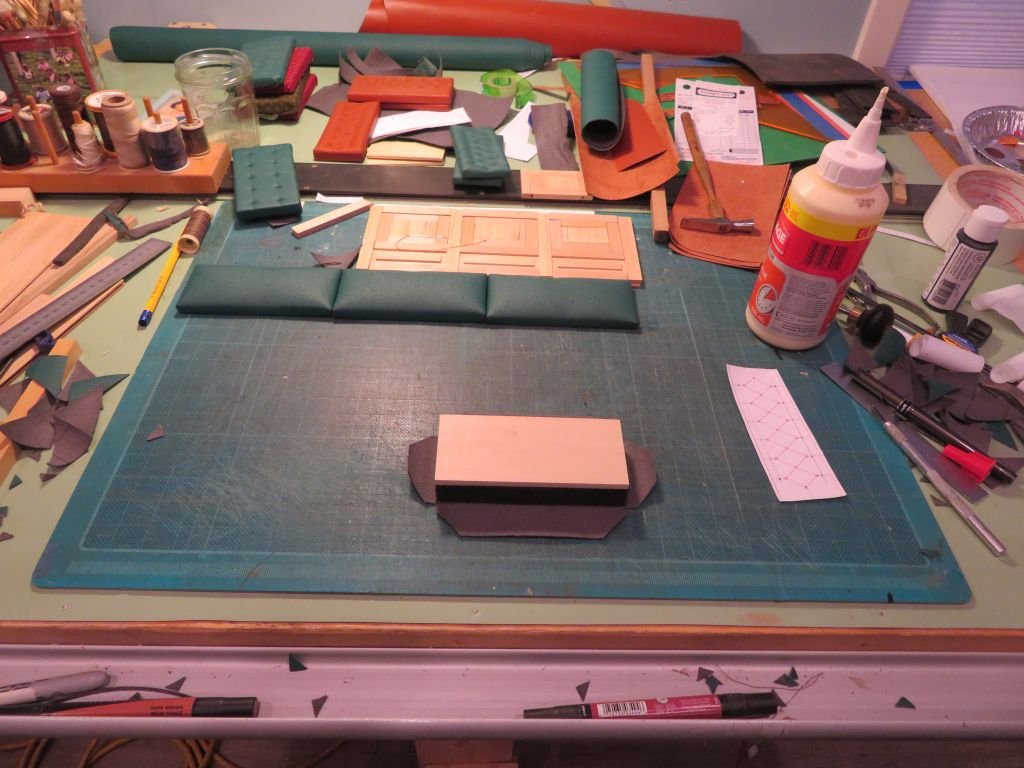
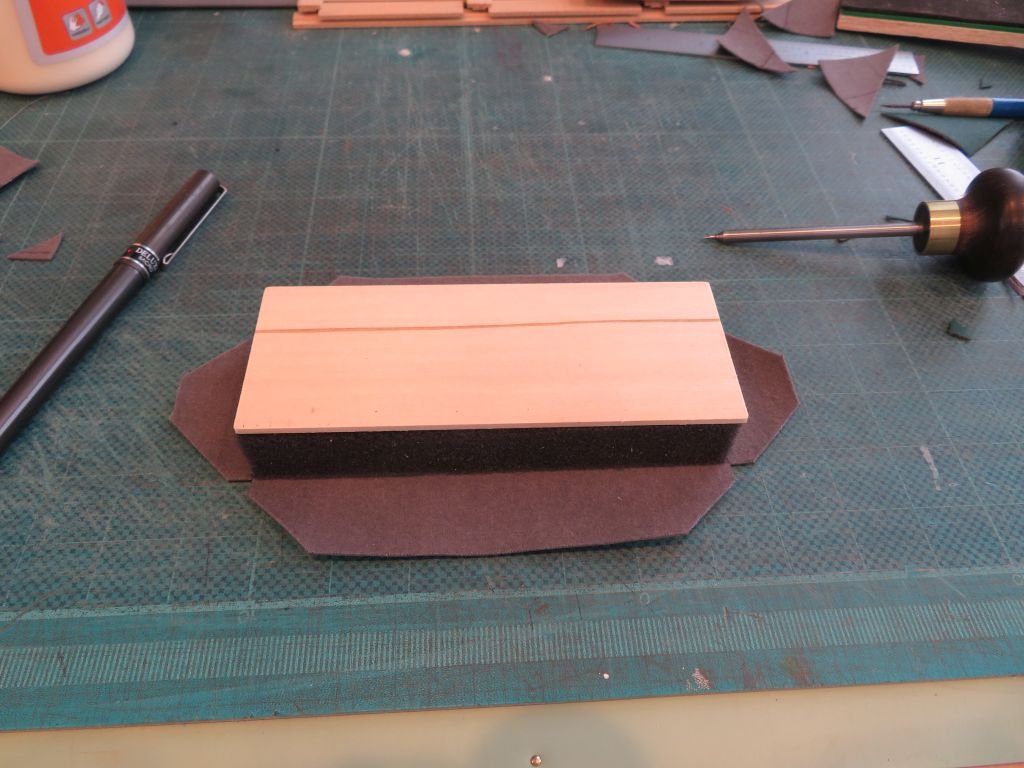
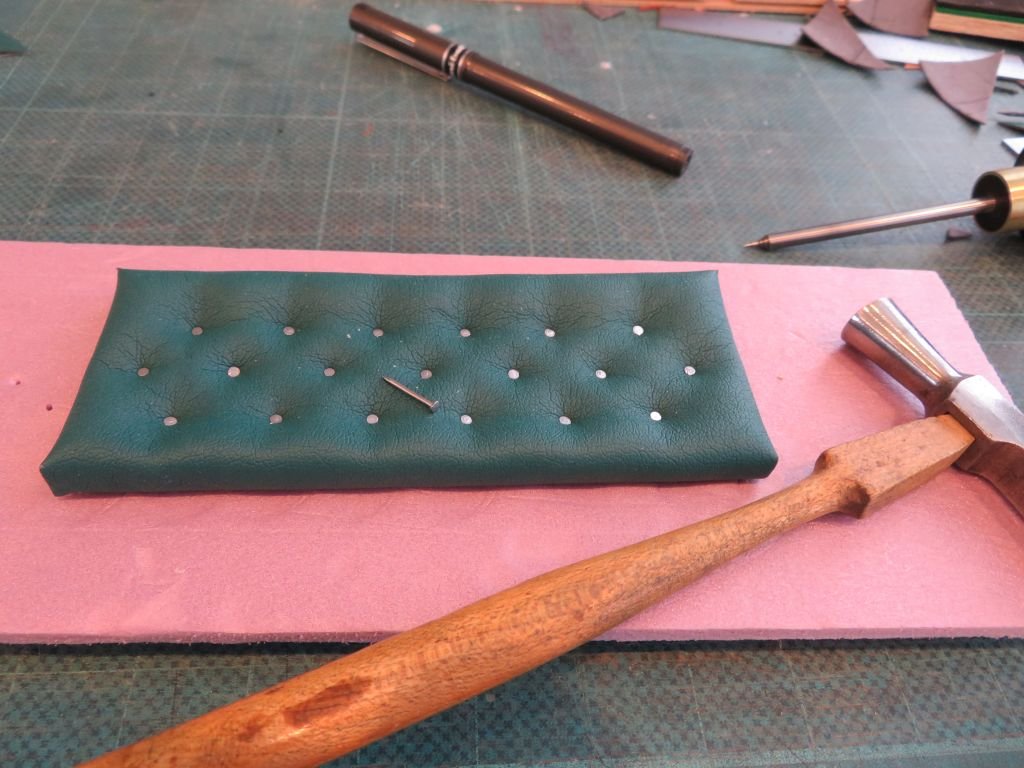
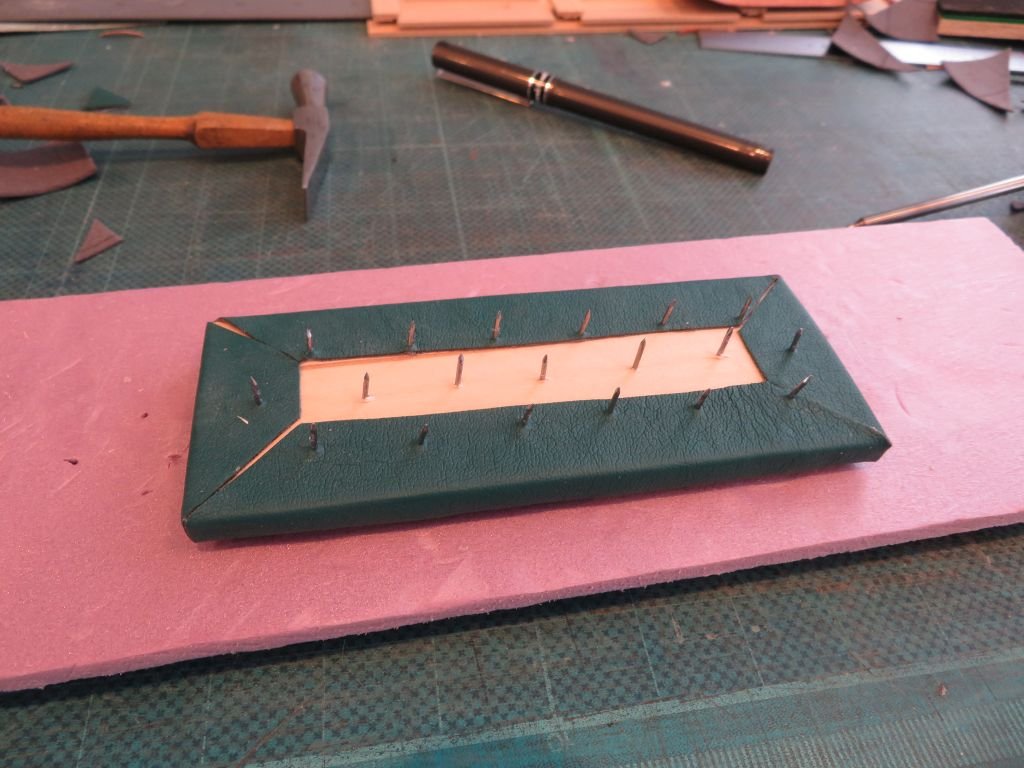
Again thanks to you for all your kindness. Today I was able to get back to doing a little work. I feel like my apprenticeship in the upholstery department has moved me forward enough to make the final set of cushions The first picture shows the production of the seats, with all the learning steps piled up in the background. The fabric was marked and punched for the pins and then that will be done all at the same time. I used a steel plate to initially act as a stop for the pins then set up a 1/16th set of spacers to set the pins a little lower. after that the pins were snipped off the backside and then reset to dull the snipped ends and to ensure that all were the same depth. The starboard side cushions are ready for the coloring, the port cushions will be pinned tomorrow. Michael
-
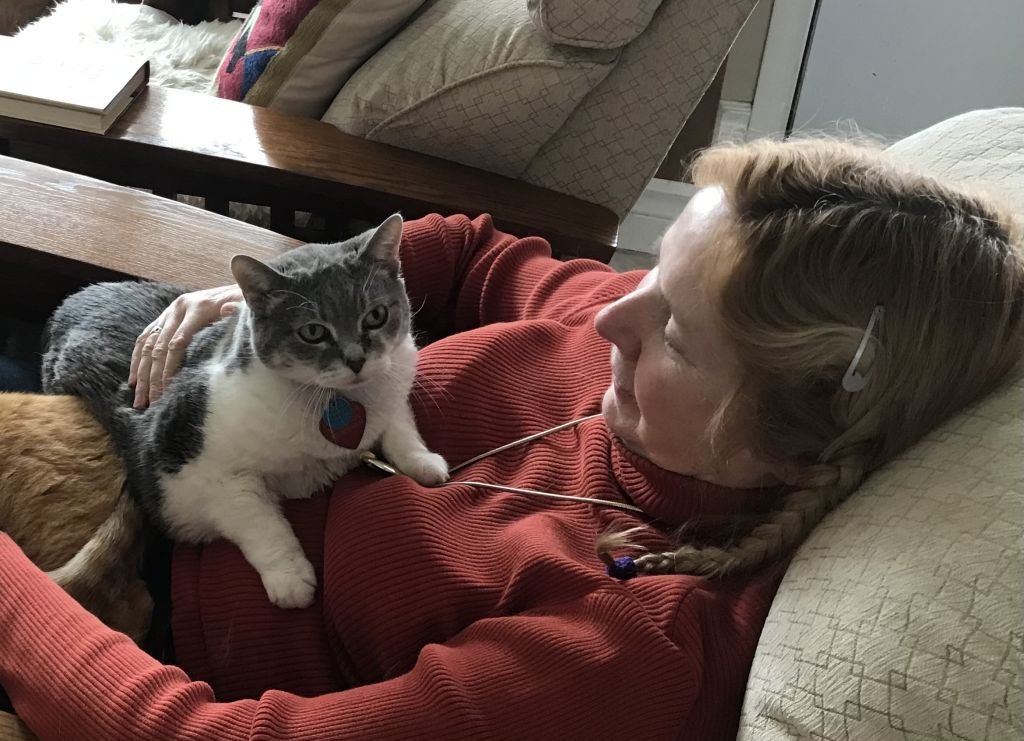
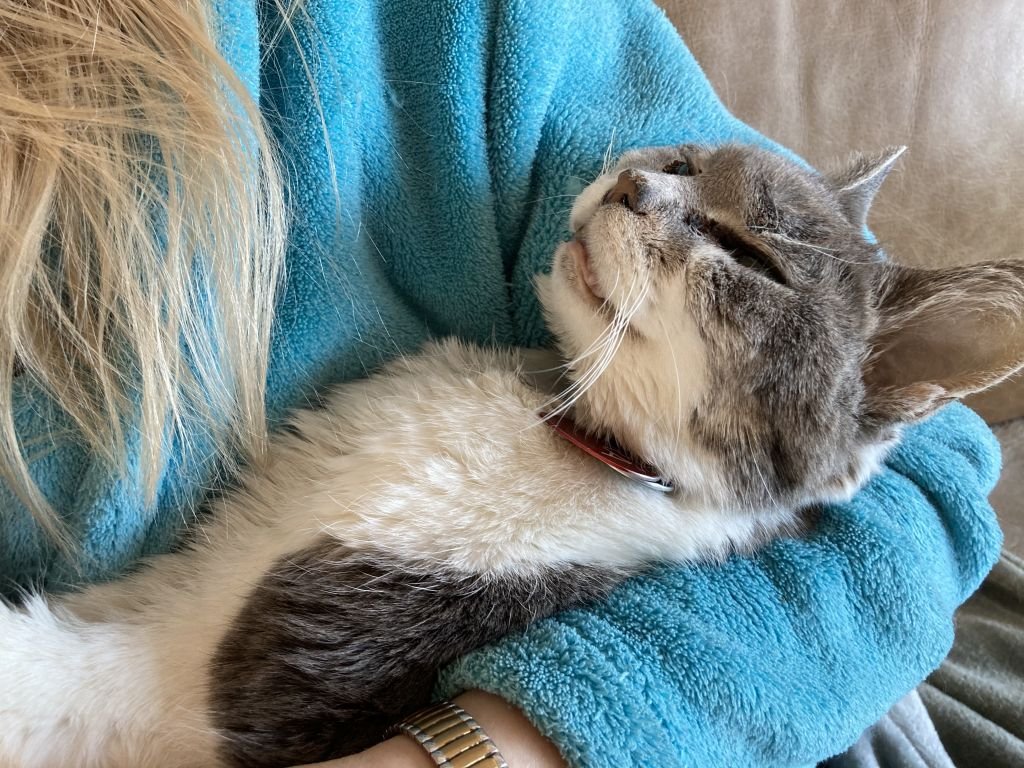
Thank you all for your very thoughtful condolences, it helps soften the pain that welled up yesterday, even though we new her time was drawing to a close. here a couple of picture from earlier in September 2019 and March 2020 To the moderators, I know this is a build log so thank you for your compassion, Had I had my wits about me I would have posted the earlier picture in the Shore leave, so thank you. Michael

-
A difficult day today! Our beloved 20 year pet Tyra died in Judy's arms this morning, she was not in any pain and died naturally. Michael
-
A nice job on the mast coat here is a similar one to yours. Michael
- 950 replies
-
- 3
-
-
- syren
- model shipways
- (and 1 more)
-
Perhaps yours would be the only one following actual practice then. Michael
- 950 replies
-
- 3
-
-
- syren
- model shipways
- (and 1 more)
-
Would it not be in order to pack the gap with small wedges of wood like this. here are a lot of examples of wedges Michael
- 950 replies
-
- 1
-
-
- syren
- model shipways
- (and 1 more)
-
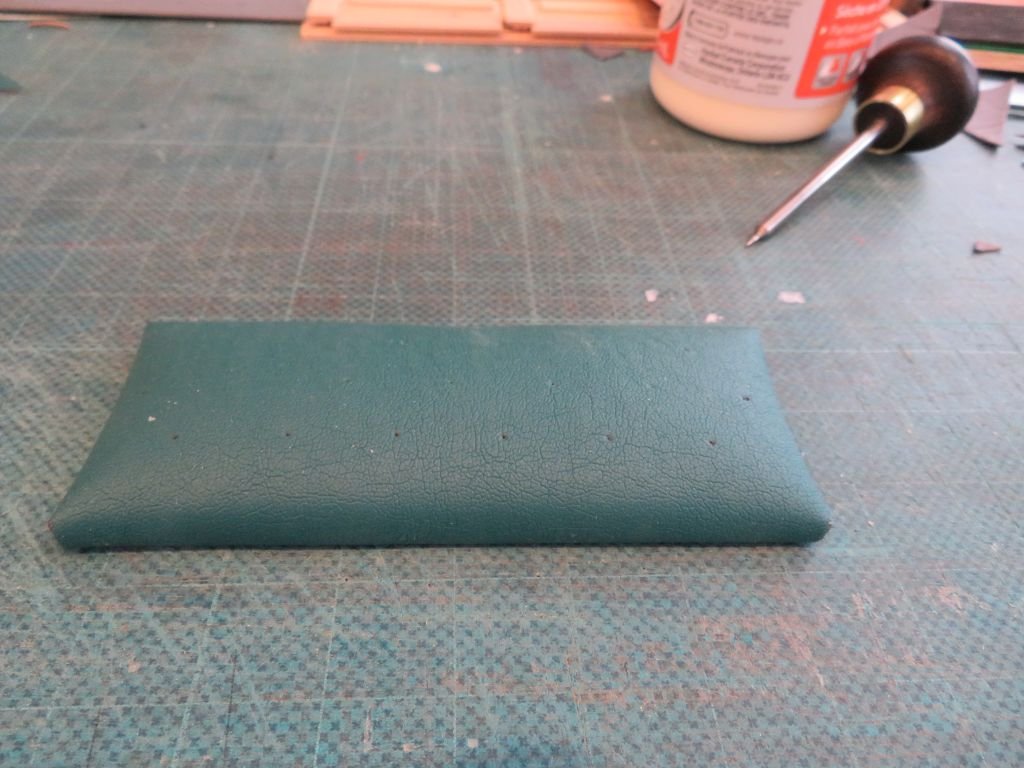
Hi Tom yes they will be, I still have a couple of niggling problems to solve now. The new foam gives a better softness to the cushions, however because I only used a single layer of 3/32 the tension on the foam and backer board hs a slight curl or cupping which can be seen in the last picture. Tomorrow morning I will glue up some backer boards with a cross laminate to prevent that from happening. There will also be a bit more "meat for the small nails. I can see the end of this particular tunnel now. Michael
-
Absolutely brilliant Keith... I was a little saddened by your confession though. Michael
-
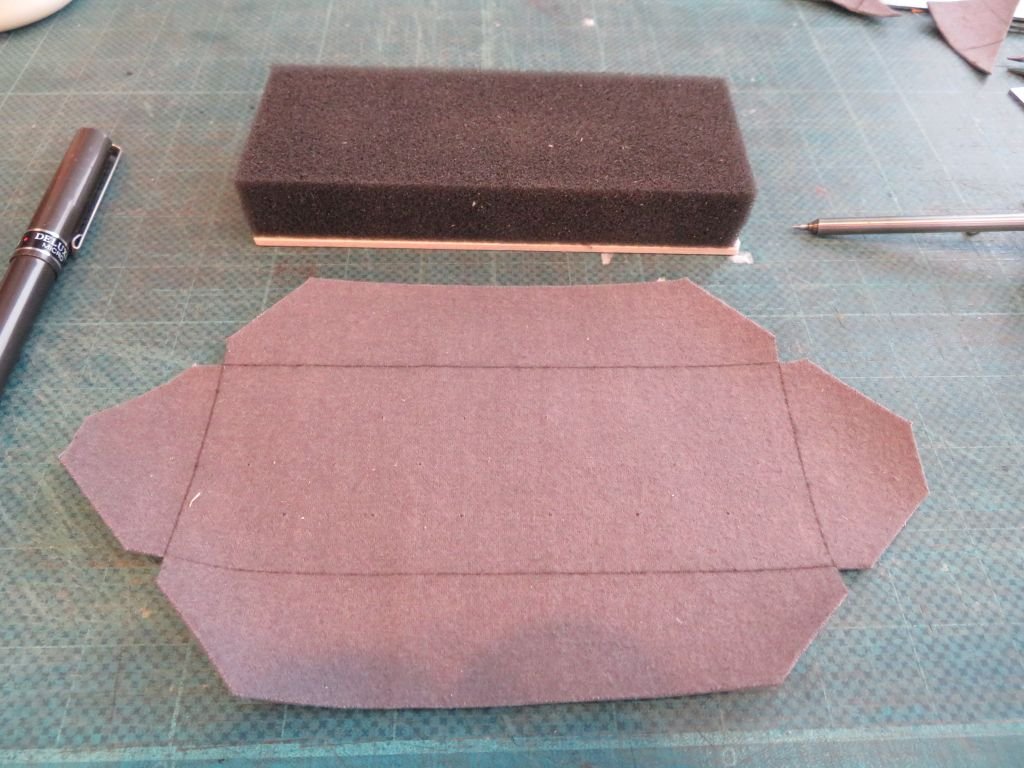
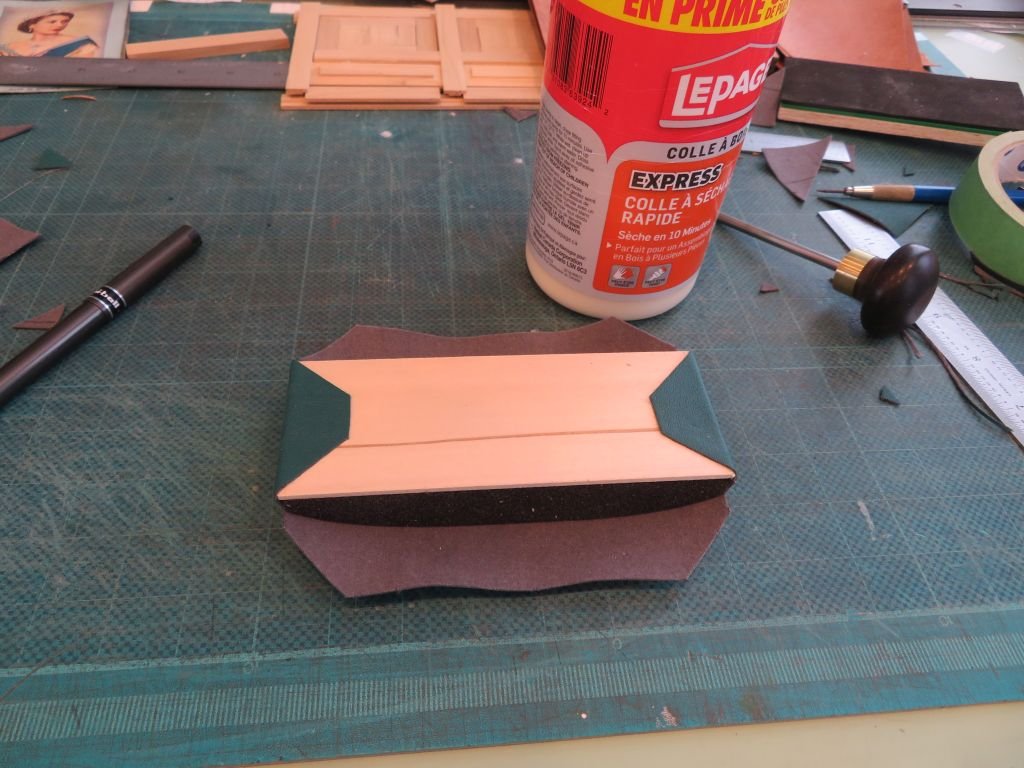
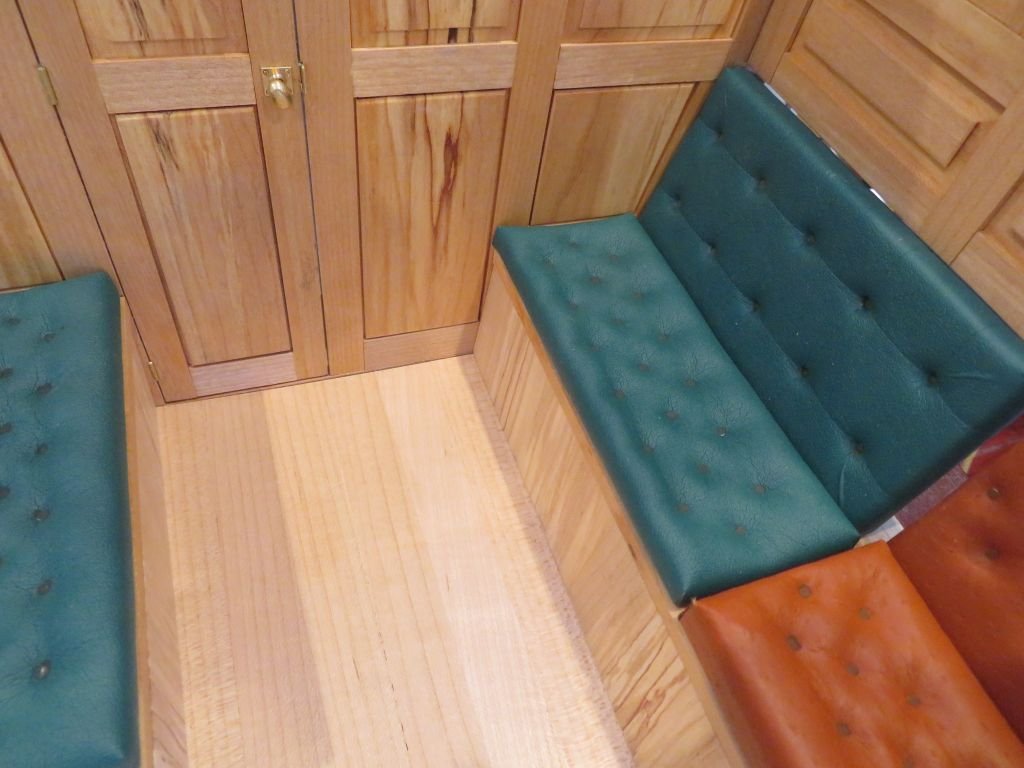
Thanks for all the positive feedback..... after sleeping on the decisions about the cushions this morning I tried a new approach with some differedt foam and backing boards. The next series of pictures are self explanatory. And yes I am switching to the green because it is softer and more forgiving , The last picture shows the seat and back cushions as different patterns the backs will be the same as the new seats. Michael
-
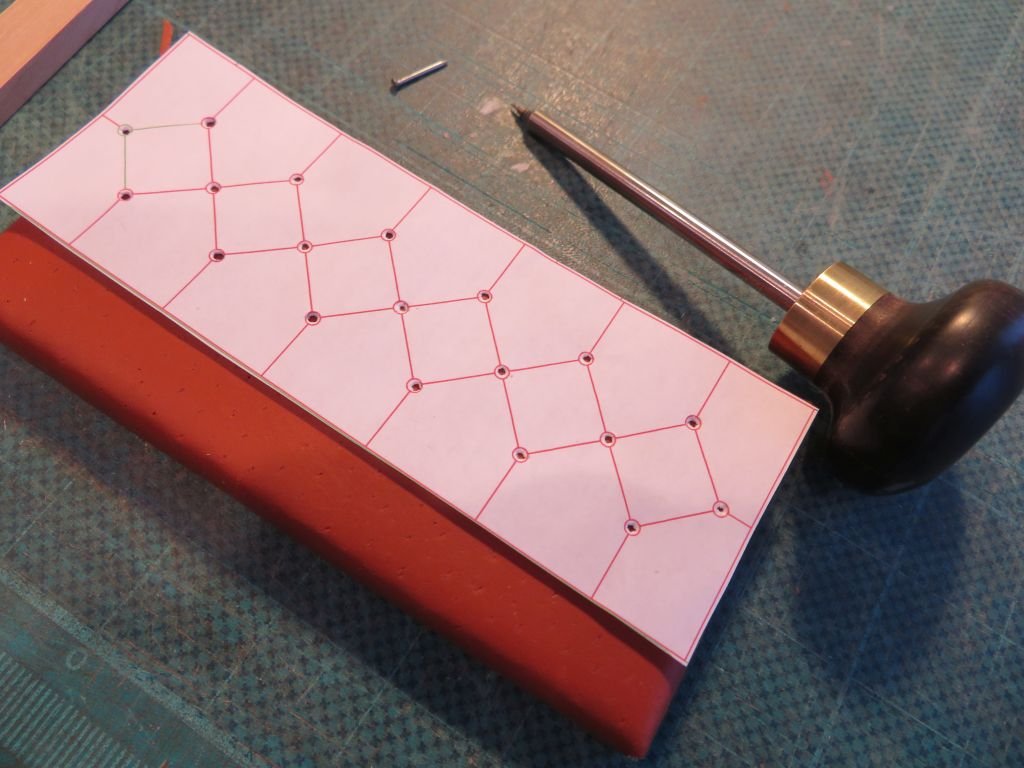
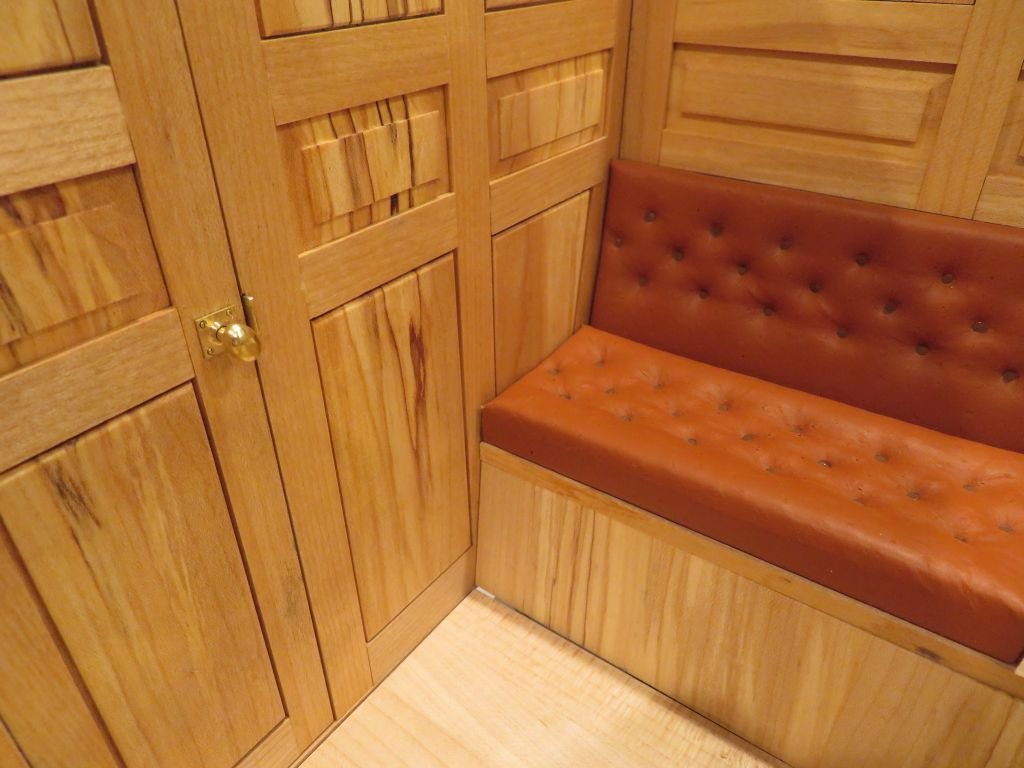
Well thanks for all the feedback, I have decided that the pigskin is my preferred choice, and have refined the button pattern it is a bit less busy than the one in Integrity, I can live with that. Only 6 more to go. Actually Tom it does not take much time at all at this stage of the game. It will get more complex down the road though. Michael
-
Thanks for your thoughts on this, As I am not building a working cutter of the period but one that has been converted to a recreational yacht, I think that the wet oilskins won't be such an issue. I like the pigskin color better than the green so will continue to experiment with it to get the right proportions for the buttons and seams. Michael
-
I only cut about 3/4 of an inch off the length of the piece for the gift. I will put together a display that will give it the visual attention to show the piece to advantage, I like the ideal of including the artwork as well perhaps a note about the treenail and their use. Michael
- 3,560 replies
-
- 1
-
-
- clipper
- hull model
- (and 2 more)
-
Hi Tony, What a journey so far! My goodness all the redo s, but as you have discovered sometimes it takes a lot of solid determination to get things right after following a wrong path. What a beautiful job on a difficult task regarding the hull planking. Michael
-
Eberhard are you suggesting that you prefer the fabric with the pattern over the leather? Michael