HOLIDAY DONATION DRIVE - SUPPORT MSW - DO YOUR PART TO KEEP THIS GREAT FORUM GOING! (Only 44 donations so far out of 49,000 members - C'mon guys!)
×


michael mott
-
Posts
5,198 -
Joined
-
Last visited
Content Type
Profiles
Forums
Gallery
Events
Everything posted by michael mott
-
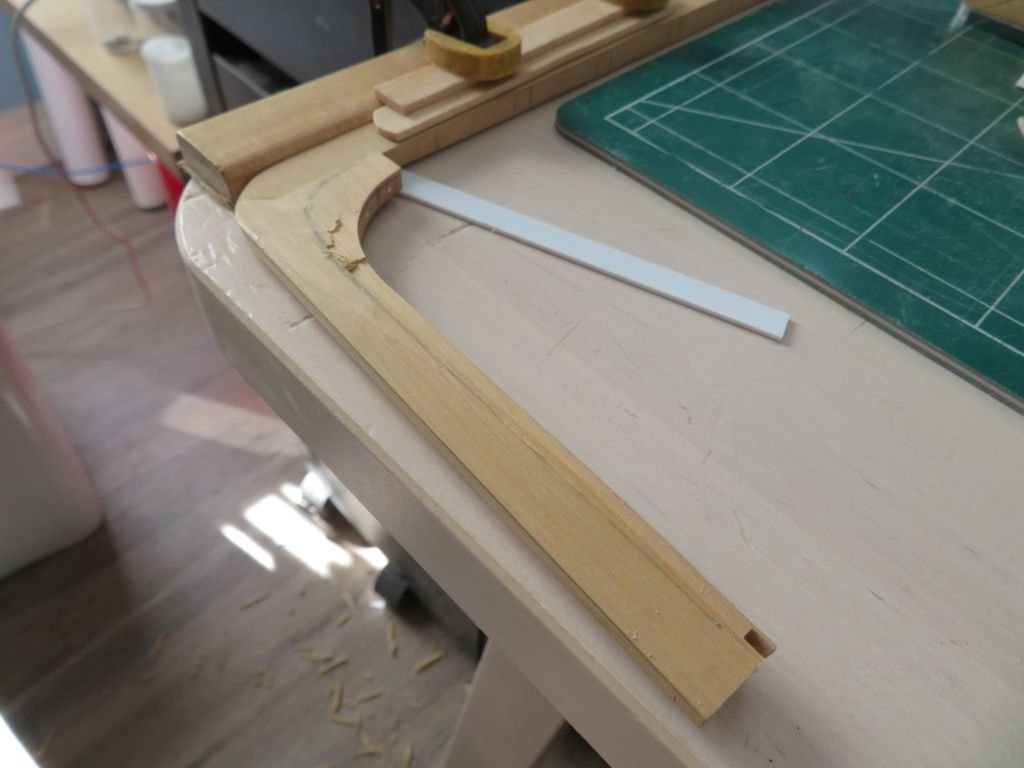
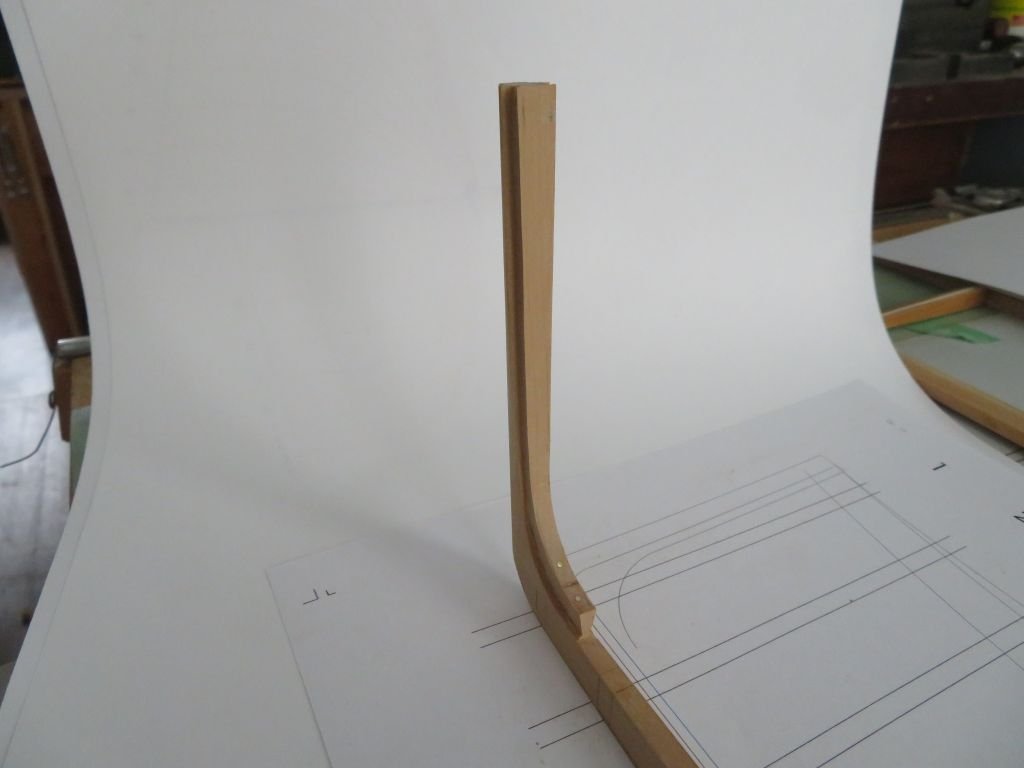
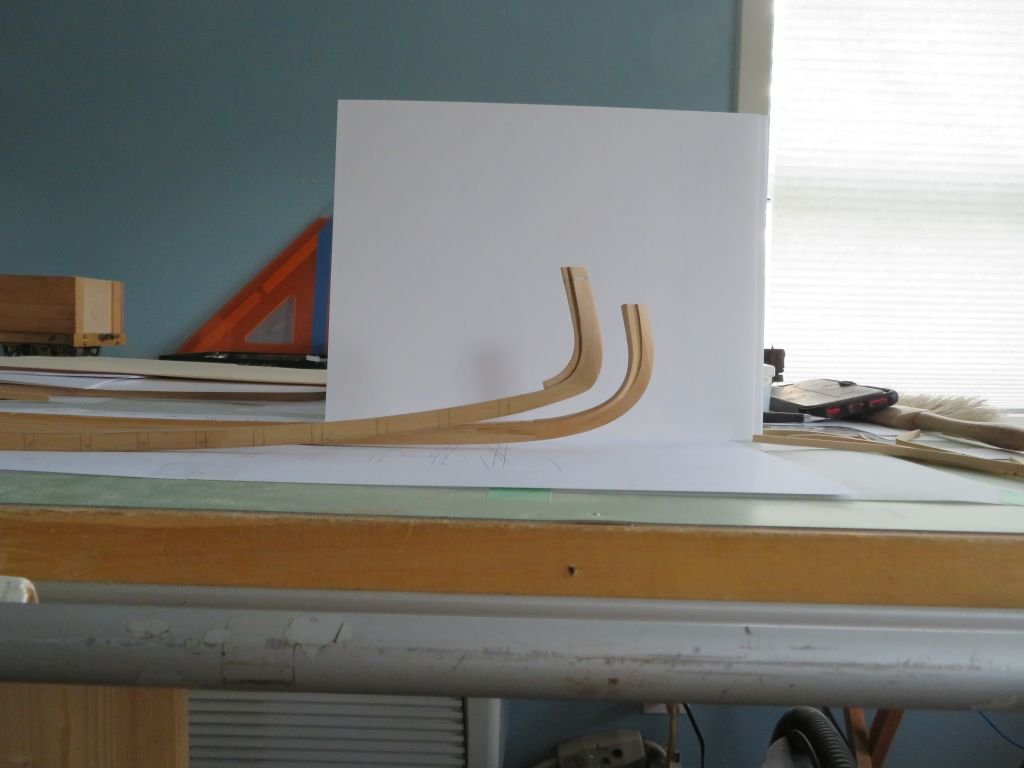
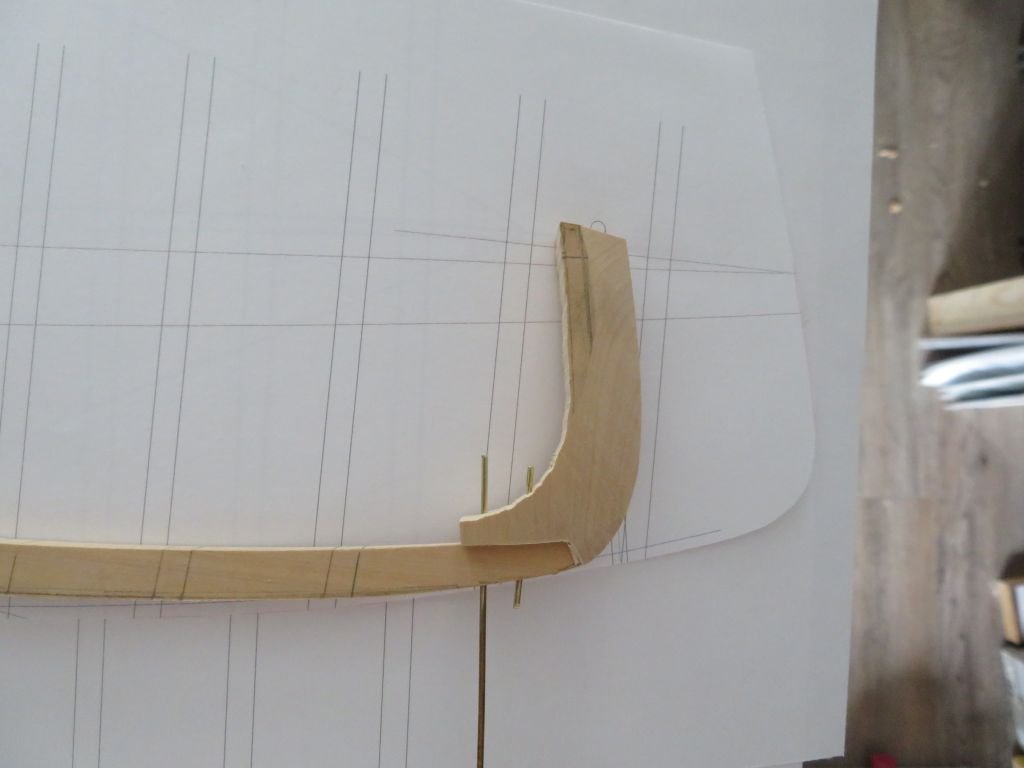
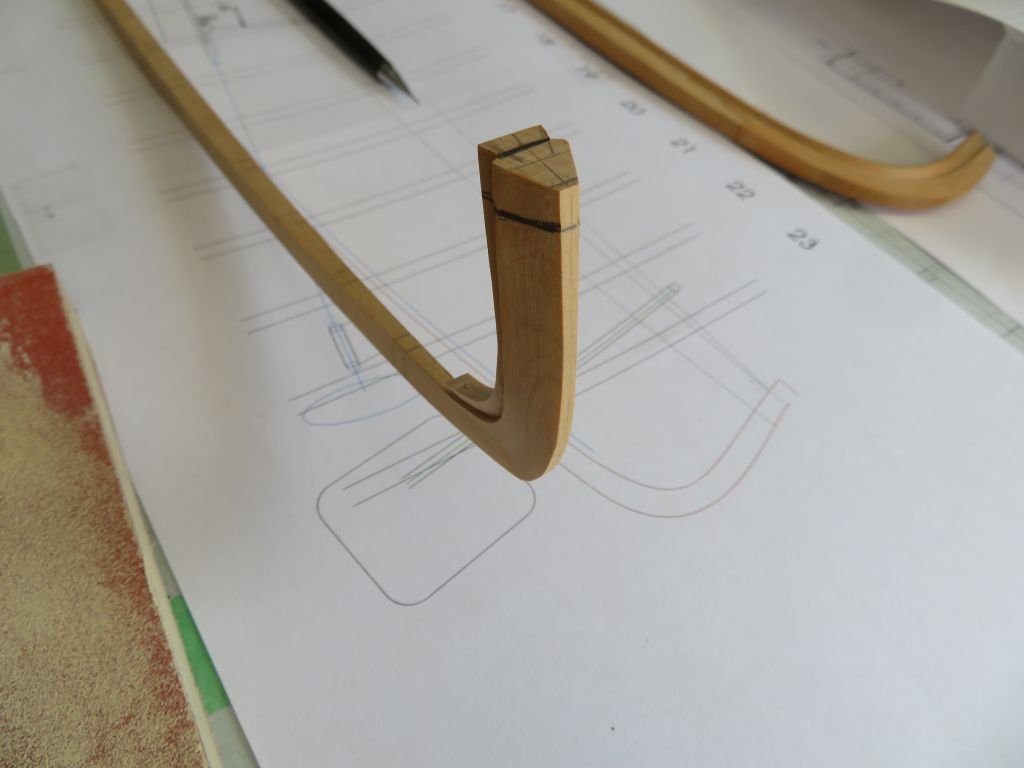
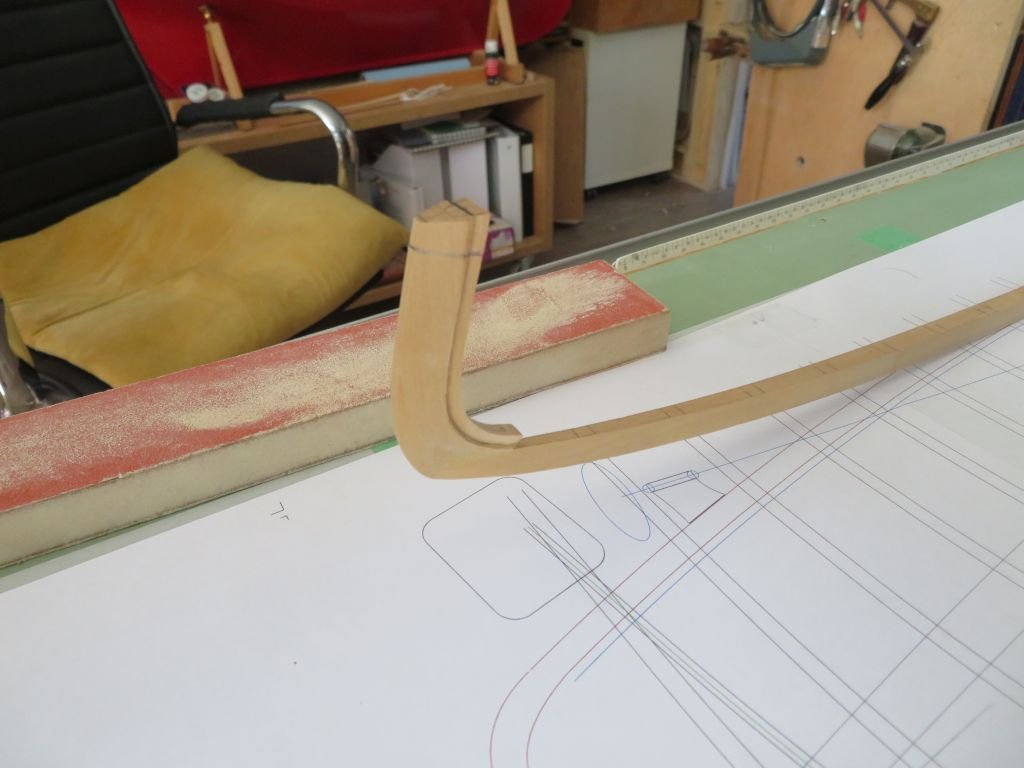
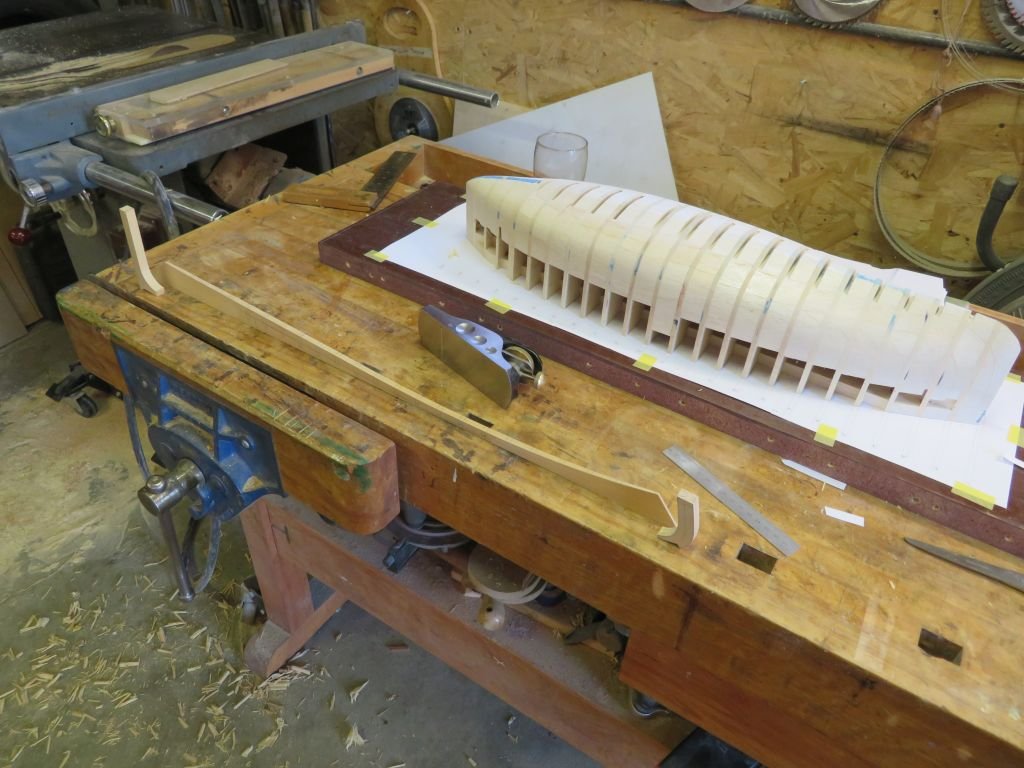
 I am so glad that my little model shop is air conditioned, it was 31C here today and anything above 20-22C I find uncomfortable. Finished rough shaping the stem today so now I can concentrate on the frames and floors. I am quite happy with it Her is a comparison between the first keel and stern and the new one, Although I do like the overall shape of the first Perhaps I can build a freelance model on it at some later date or lifetime.😉 Michael
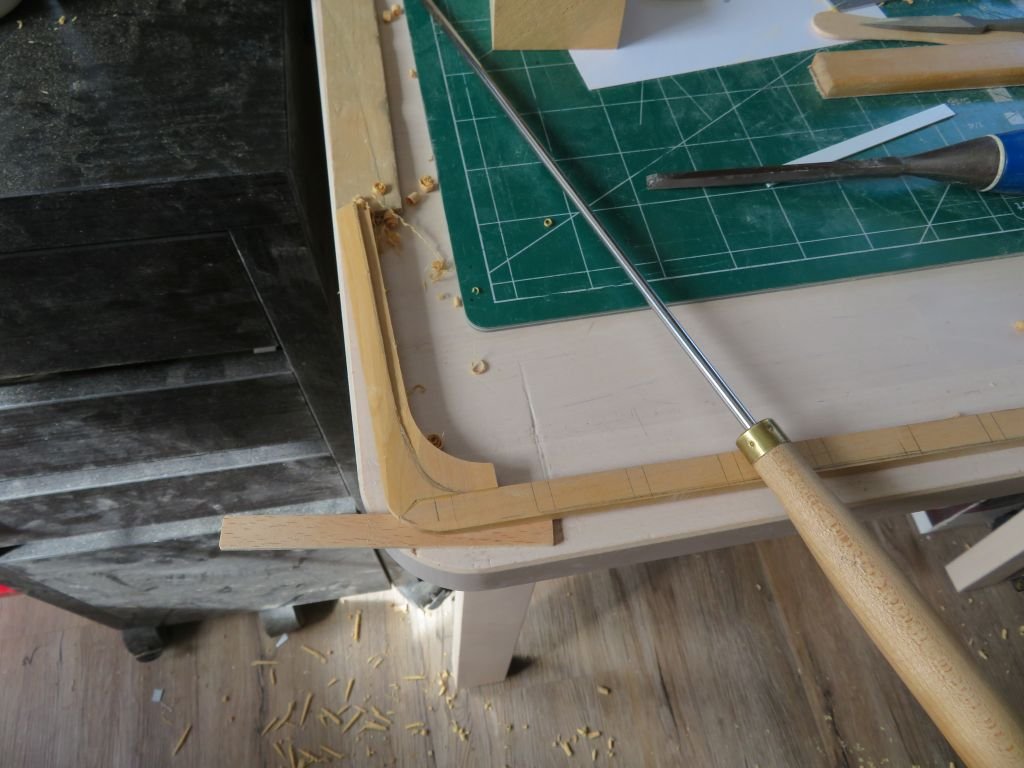
-
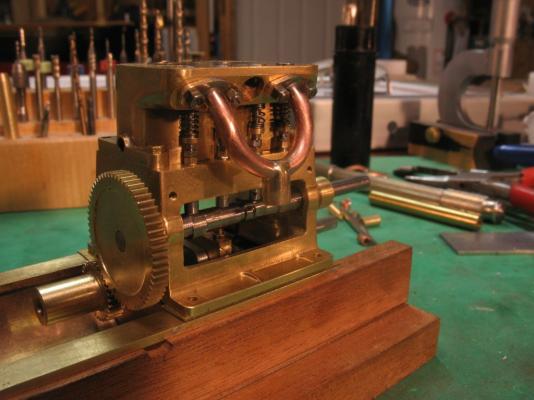
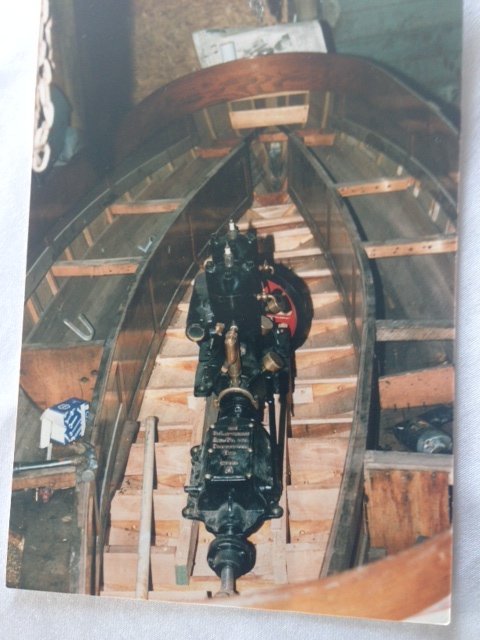
Eberhard, Yes the engine is mostly built there is quite a lot about it earlier. here is a teaser image. Michael
-
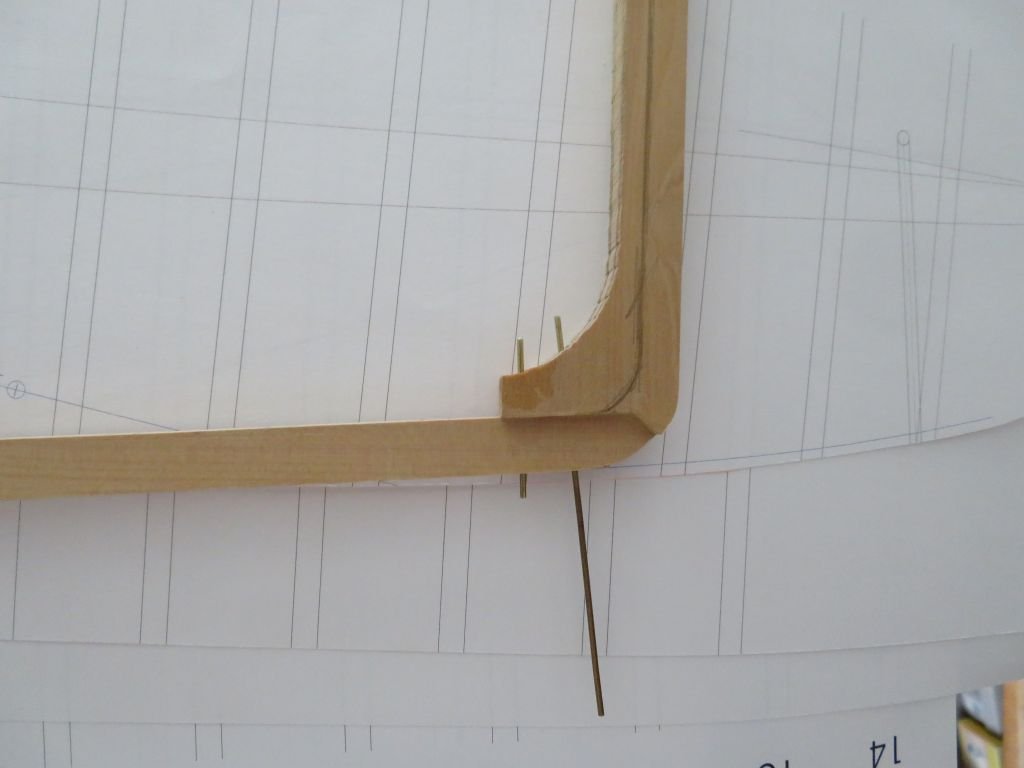
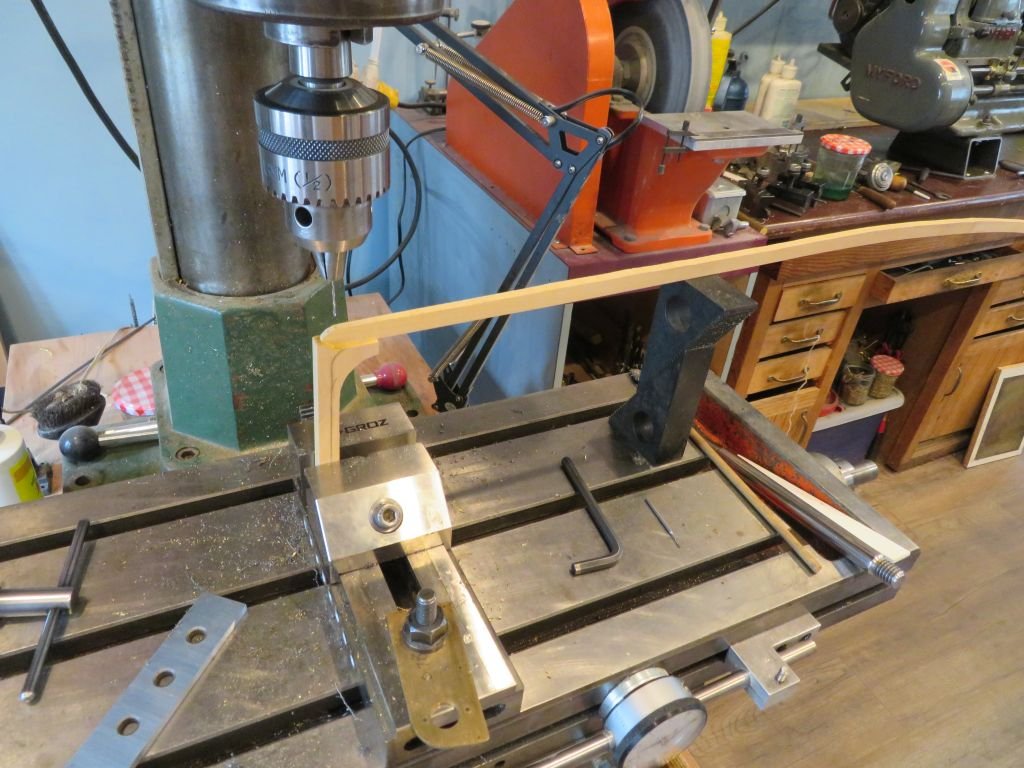
Worked on a bit of carving the stern today. first I set up to add the (bronze drift bolts) brass .046" dowels these were angled differently from each other, similar to a dovetail Then using riflers to rough shape, along with some careful #11 exacto work the stern is done far enough for the moment. Tomorrow the stem. And as an aside I was able to book my second Covid Vaccine for Friday the 5th June, this afternoon, when I logged onto the AHS site there were only 21,000 ahead of me with a wait time of 26 minutes till it was my turn to book. Michael
-
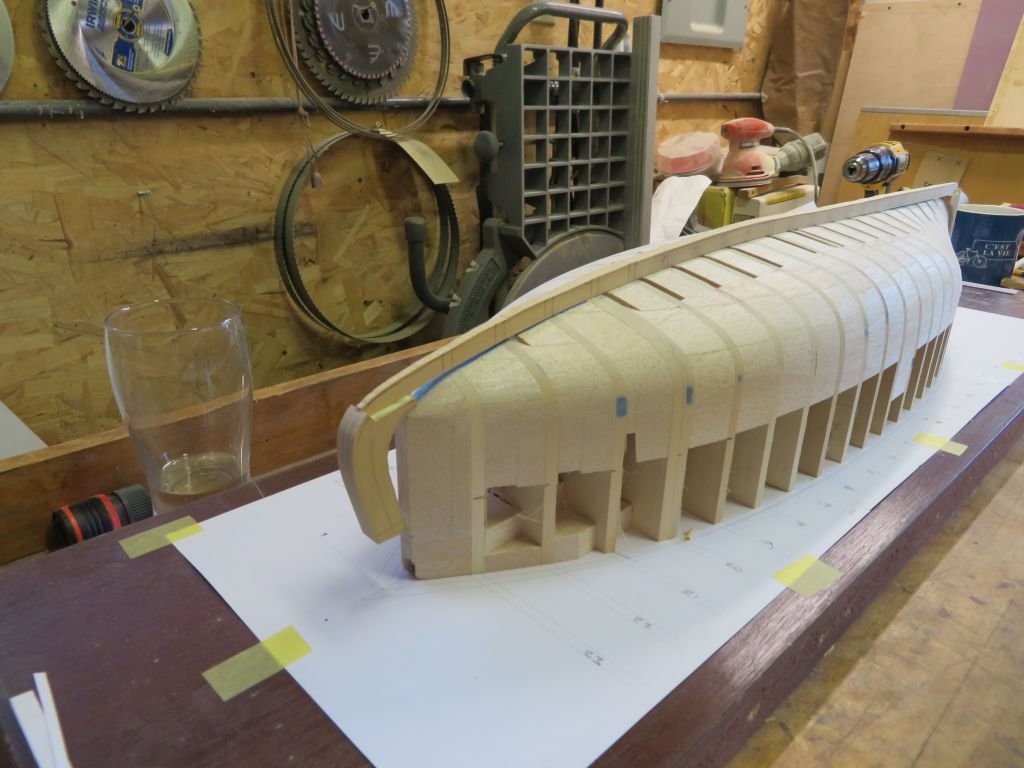
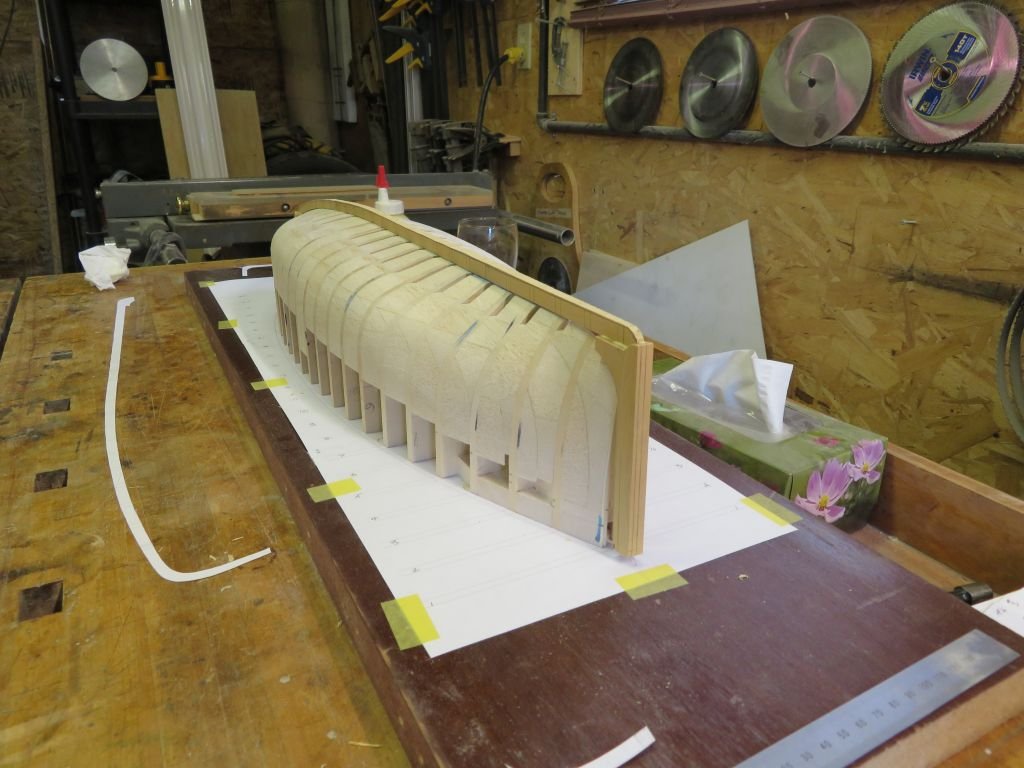
Steve, yes I plan on setting up the floors prior to planking, The floors are also quite extensive regarding the open cockpit area see this shot from a reconstruction photo. Michael
-
Thank you for sharing this work, what a delight to find out that it is a music box. Exquisite looking work. Michael
-
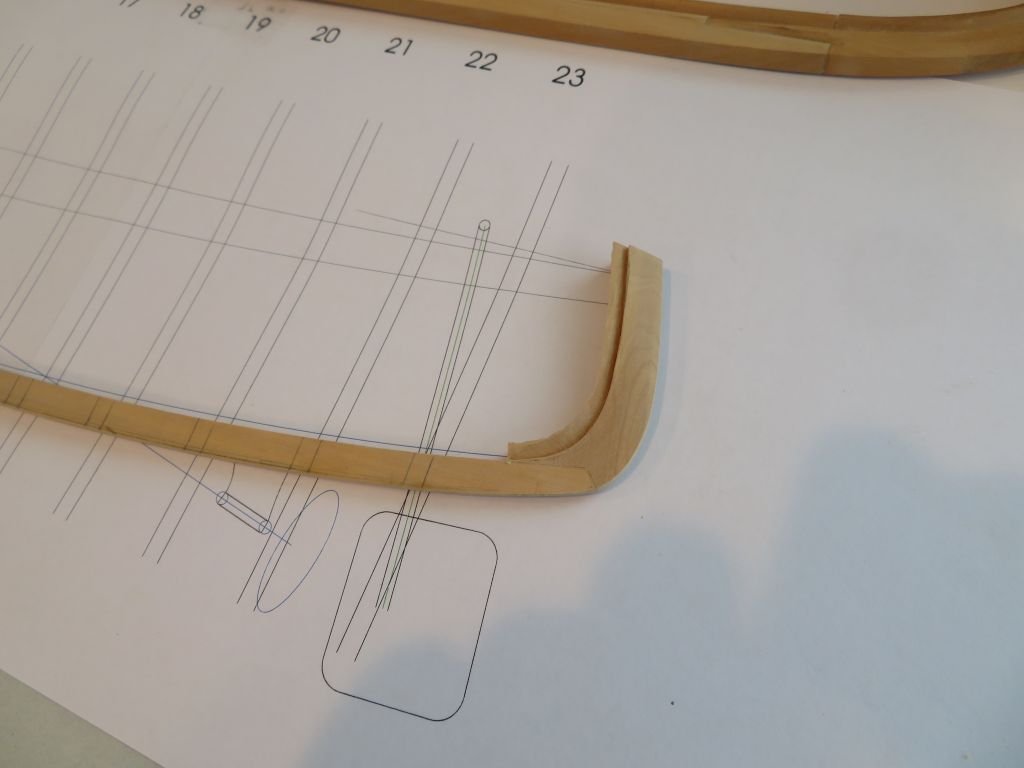
Thank you all for the visit and appreciation. The vast amount of Sanding was an overstatement to be clear. It turned out to be far less work than anticipated. After checking that the shape was in the ball park. I worked on tapering the fore and aft portions of the keel ready for the stem and stern timbers. Some thicker blocks were roughed out to profiles and glued to the keel tomorrow when the glue has properly set I will add some 1/16th dowels to reinforce the joints before shaping them. That's about it for today. Michael
-
Thank you for you kind words. There is a place on this forum for showing other work that is not ship related like this post I also enjoy other forms of model work,so there is a place for you to show us you other work. regards Michael
- 257 replies
-
- 4
-

-
- young america
- Finished
- (and 1 more)
-
Bitao, Thank yo again for sharing your work with us. Not only are you skills well refined but also you have speed and stamina to boot. My question is what to you do with the completed work do you have a place to display them, and if so can you show us other work you have completed? regards Michael
- 257 replies
-
- 5
-
-
- young america
- Finished
- (and 1 more)
-
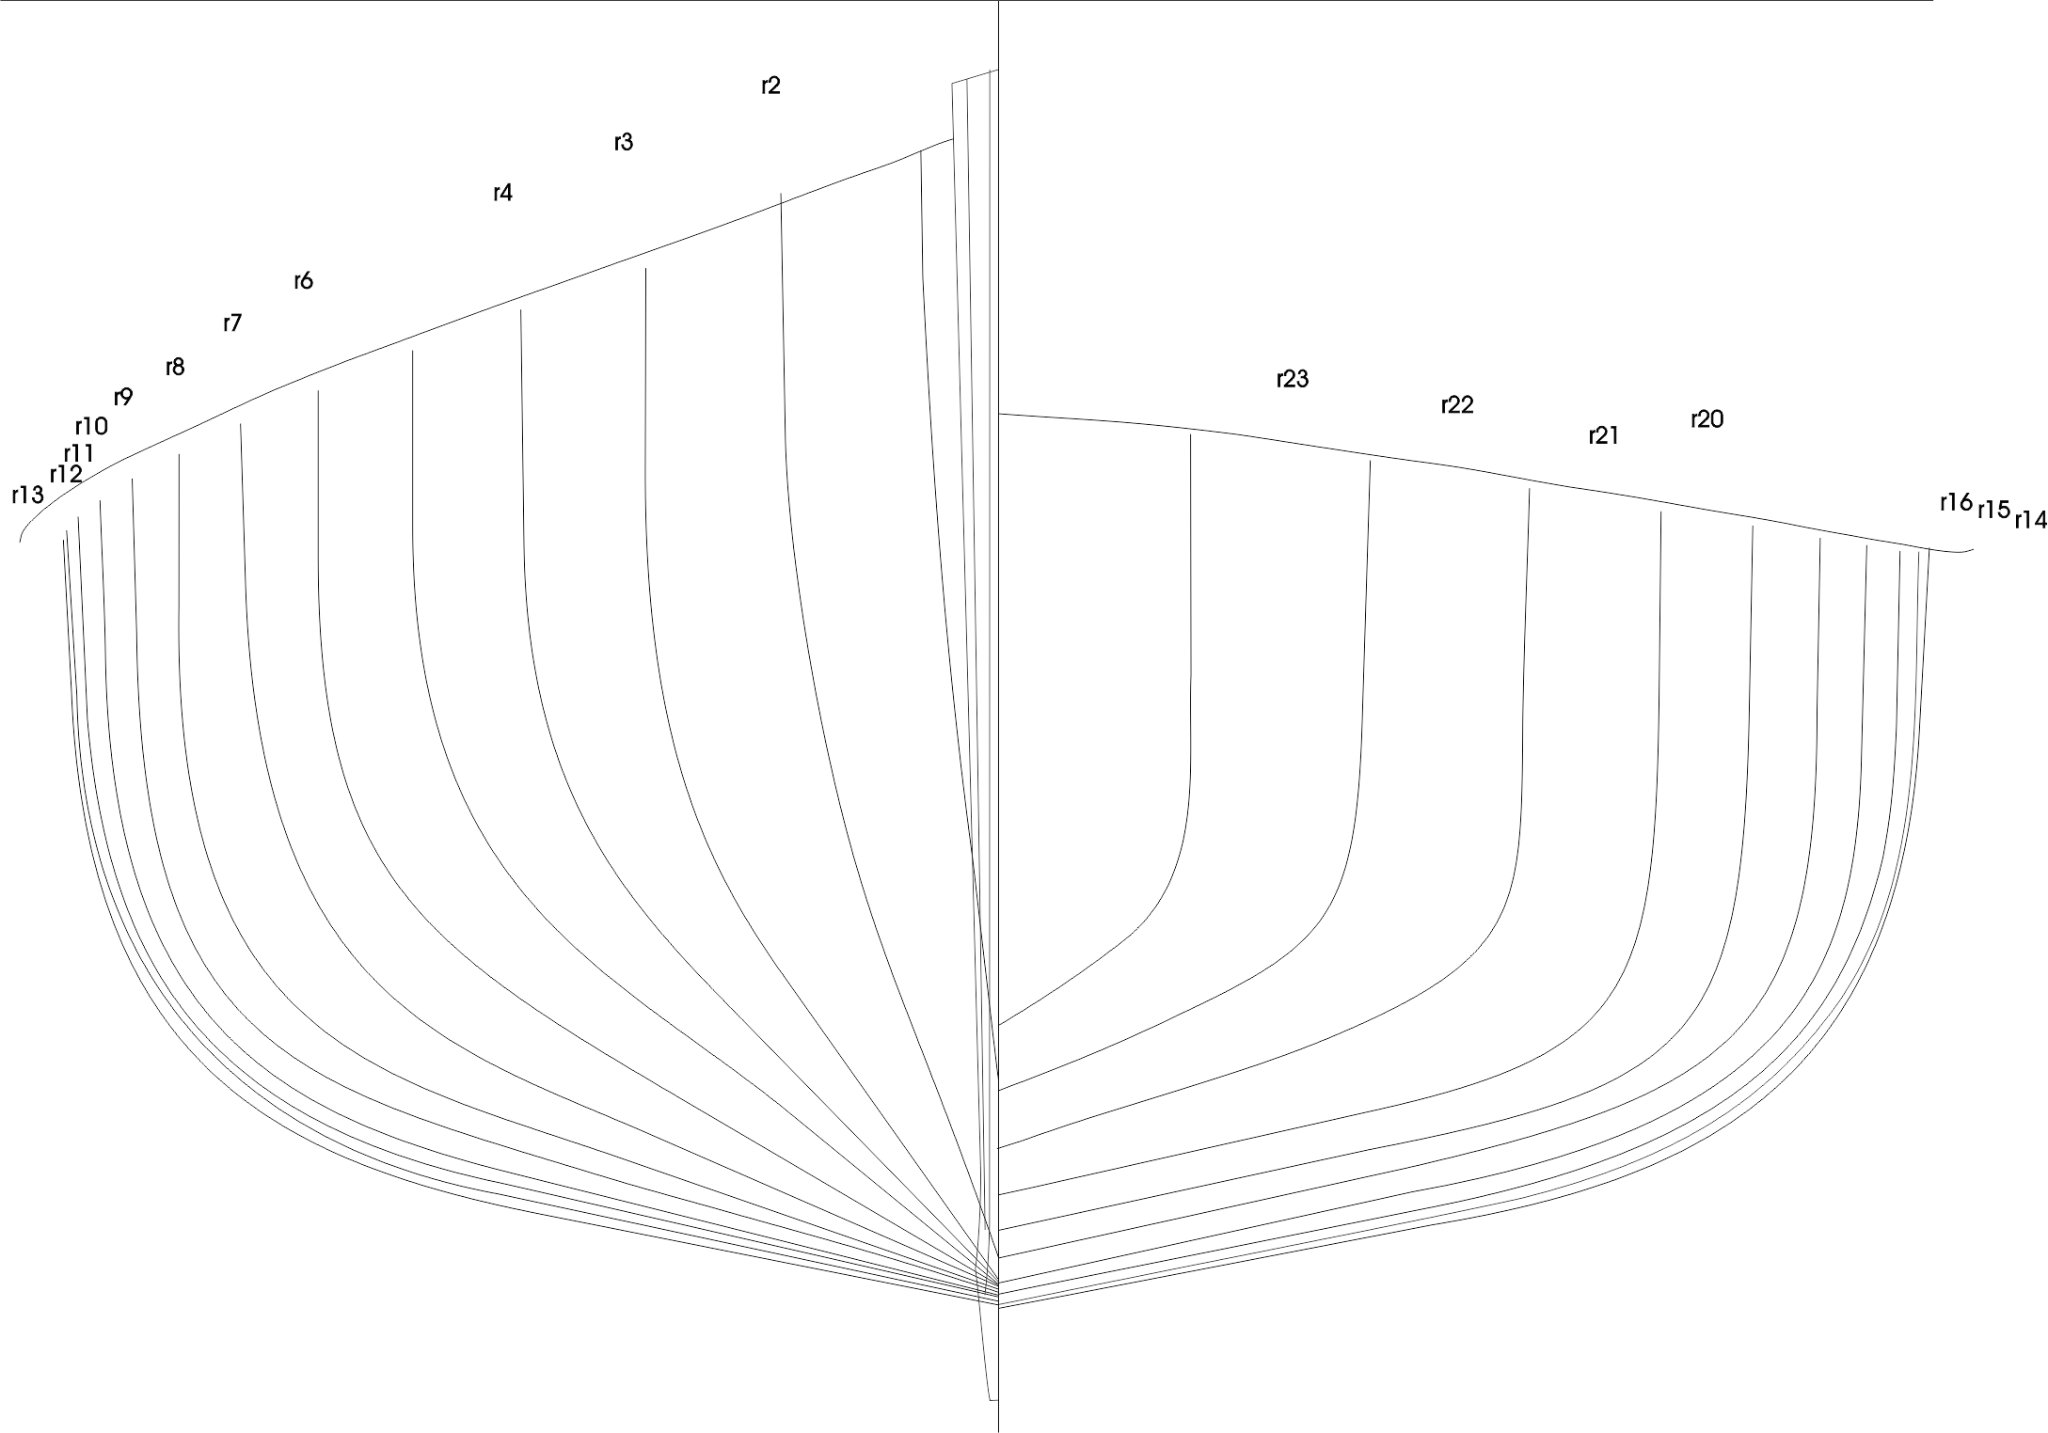
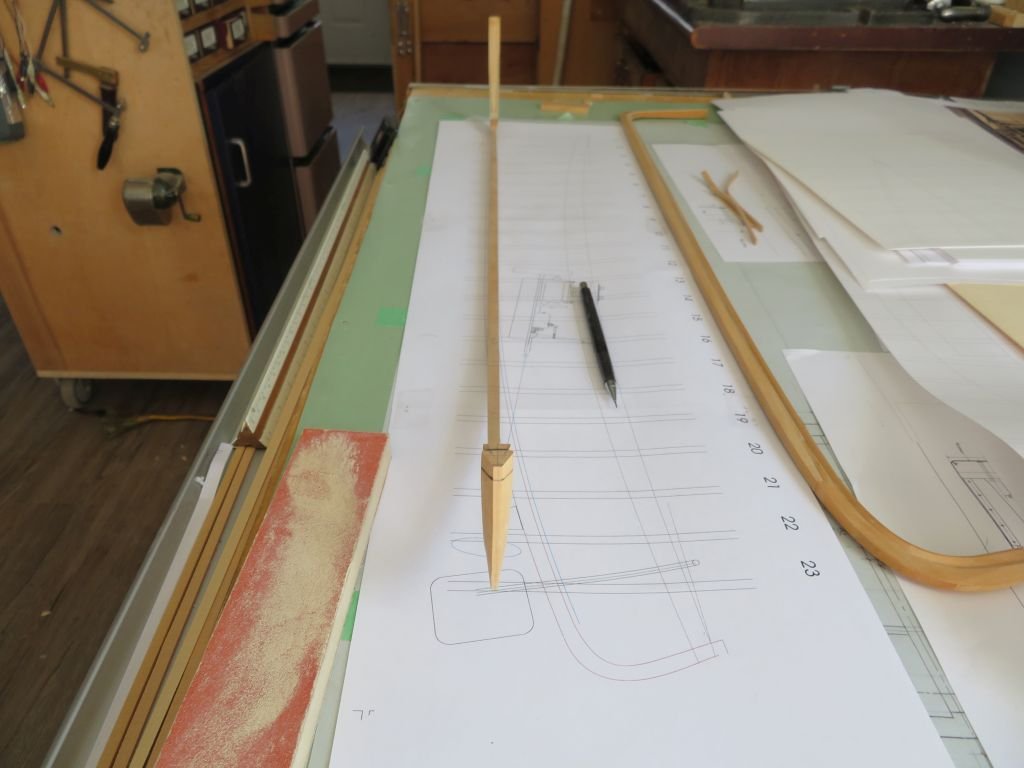
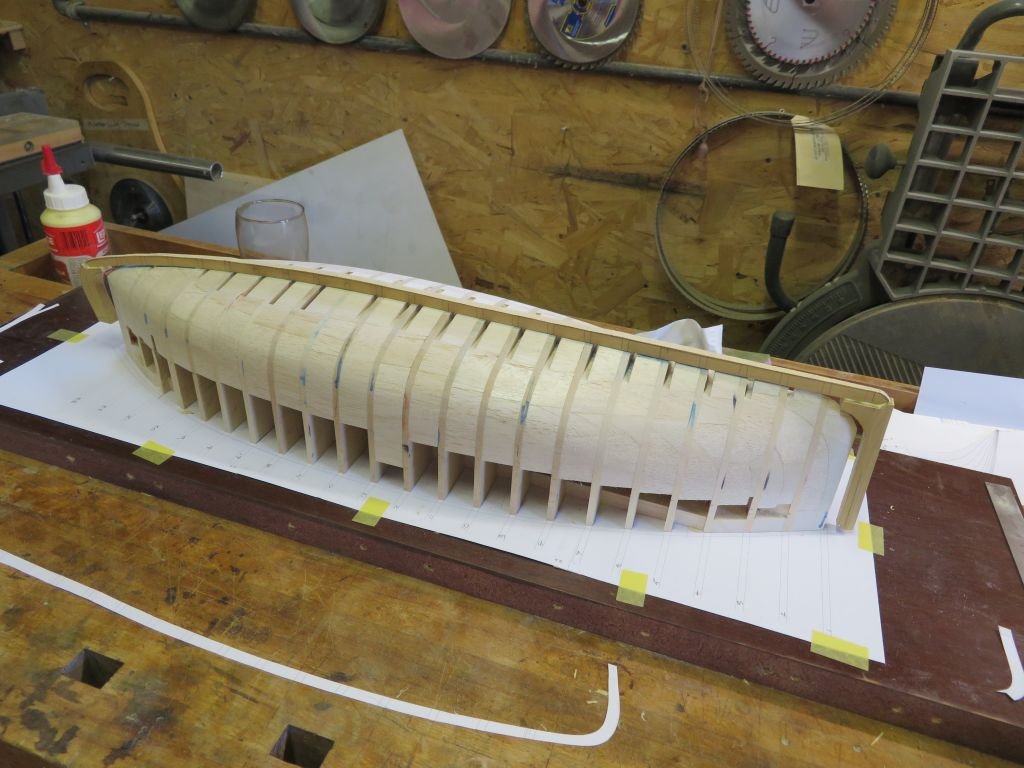
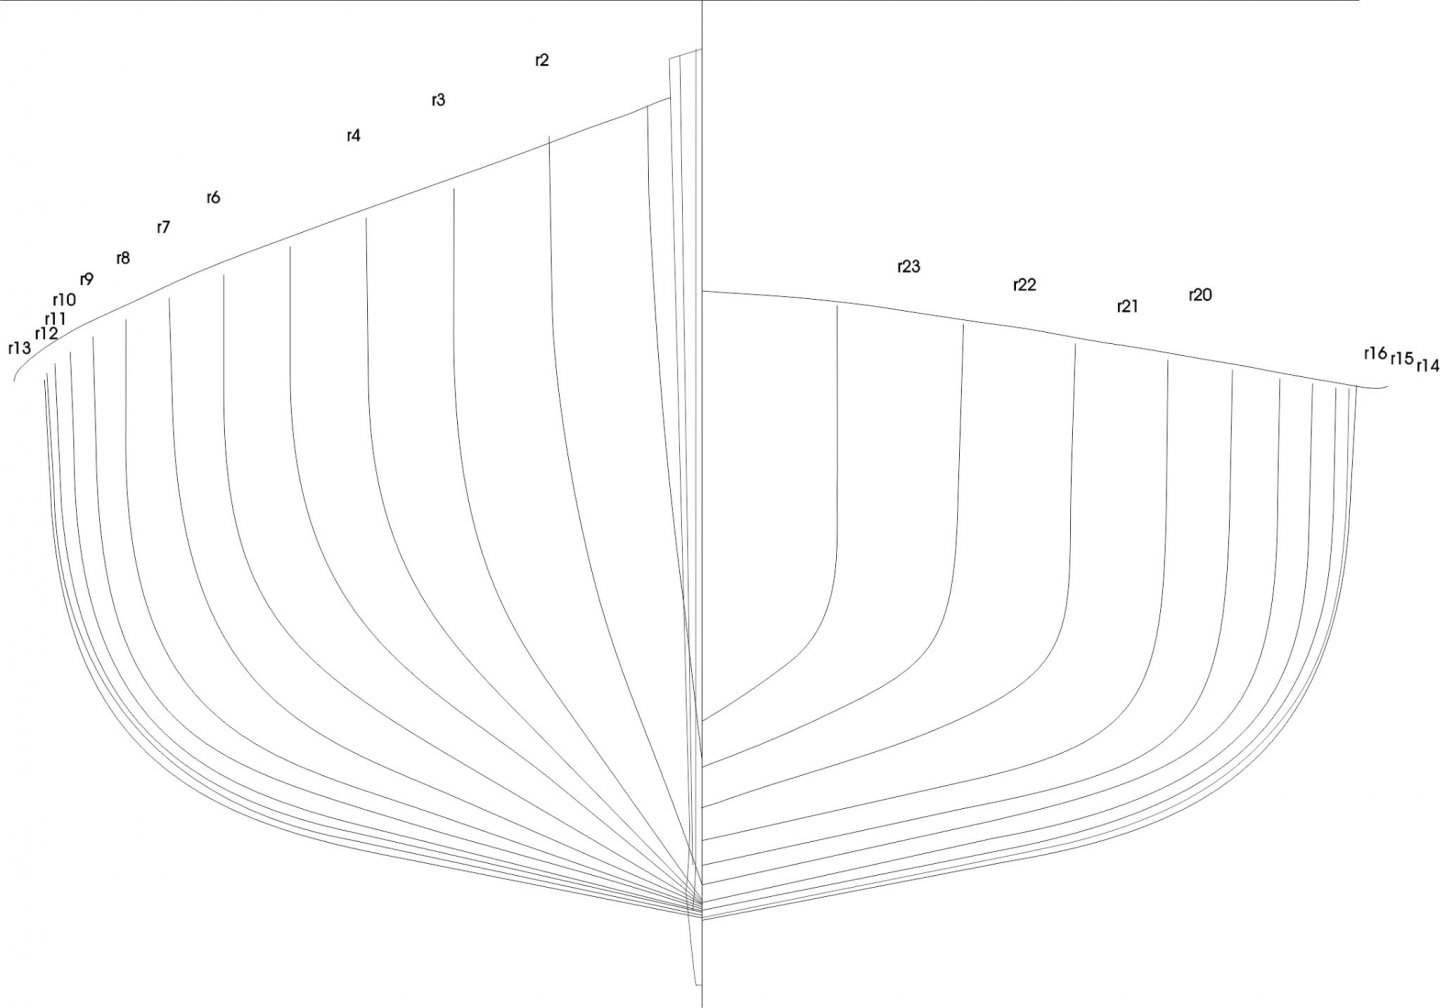
So the last couple of days have been part of my usual dance one step forward three back, I call it "the shipbuilder's waltz" Basically what I realized was that with some of the changes to the lines and the body lines and plan needed to be redrawn accurately for the subtraction of the thickness of the ribs and planks. Unlike Druxey I did not have the confidence to set in the frames or ribs into the form and I also needed to refine it a little here and there. Lots of work redoing sets of templates because now it is all of a block. here are the results, of the drawing. Tomorrow feels like a big sanding day. Michael
-
Druxey, I'm guessing that you have the back of the chisel set to a mirror finish so that you can facilitate vertical cuts with ease, by looking at the lined up reflected image. Michael
- 433 replies
-
- 6
-
-
- open boat
- small boat
- (and 1 more)
-
Just checking in Roger, the plating is coming along rather well I would say. I agree with the notion of not showing the rivets. The term stand off scale comes to mind. Michael
-
I have spent a few hours today reorganizing all the photographs and drawings and notes that I have compiled and put in different places over the last 8 years and now have them all in one location with a back up set. So now I can set to work, again. Michael
-
Thank you Greg, Druxey and Roger for you comments and patience. Cleaned up some space, model is off the shelf, a bit of dusting is in order than an hour or so catching up in my head. Michael

-
It has been a while but after chatting with Druxey yesterday I am thinking that I might have to do some work on this model. One of my problems is with such a long interval between the last work on both the engine and the hull and my ham fisted approaches to model boat building at time mostly because I am not primarily a model boat builder but more a generalist. Each discipline has all sorts of methods and procedures that are time honored, and not knowing or understanding many of these is one of my reasons for shifting to a different type of model when some challenges rear up. I feel a bit like a coward sometimes and put off the needed work to solve the challenge. Eventually I come to the realization that the best way forward it to jump in with both feet. I have just reread this build to bring myself back up to speed with what I was doing and what I was thinking. It does not change the challenges though. So where to go today.... a coffee and breakfast first, then bring the hull back down off the top shelf and decide on the next move. Michael
-
Druxey, thanks for directing me to your build during our chat this afternoon. The planking at .015"thick really is a wonderful bit of modelbuilding. I think I wore out the like button on my laptop this evening. you have given me a number of clues for proceeding on my model of Skipjack, and I am going to switch wood for the frames. The photographs really give the impression that this is a much larger model that it is, and having seen it in your hands puts it all into perspective. now that I am caught up I can follow along, with your beautiful work and tutorial. Michael
- 433 replies
-
- 6
-
-
- open boat
- small boat
- (and 1 more)
-
Just catching up, I have to agree with all the previous comments about what a fantastic job you are doing on this model. The rigging certainly does look like a herculean job and not for the feint of heart, well done! Michael
- 950 replies
-
- 1
-

-
- syren
- model shipways
- (and 1 more)
-
Hi Keith doing a bit of catching up myself. As much as I enjoy the pictures of the amazing brass-work, I also like the drawings and the way you sort out how to make these tiny pieces on paper with a pencil. Michael
-
Lovely work so far Maury, nice work with the chisel. Druxey is right properly sharp chisels, in fact any cutting tools are a joy to use. Looks like a nice project to follow along. Michael
-
Very nice Keith, sometimes it is easy to forget how small a lot of these details are, because you have executed them so well. Michael
-
Thank you Craig for your kindness in thinking of me. What a lovely image, looks like it might be starting to liven up a bit judging by the water. Michael
-
Looks like a nice day for a sail Michael. I have to say that I miss sailing the full size models, I am hoping that I get invited out for a sail this summer at the lake that I used to live at. Michael
- 81 replies
-
- 1
-
-
- Bluejacket Shipcrafters
- Yankee Hero
- (and 1 more)
-
I found this to be an enjoyable read, lots of pictures of a modern take on a classic design. Michael
-
Just finished going through the entire build what a great looking model, I smiled at the school of fish on the deck. Good job you got then into the hold on ice before they started smelling. A love the details and the clean workmanship inside the cabin. Michael
-
A lovely job Steve she is looking very sharp indeed, I'm sure your daughter is watching in spirit and enjoying the progress as much as we are. Michael