HOLIDAY DONATION DRIVE - SUPPORT MSW - DO YOUR PART TO KEEP THIS GREAT FORUM GOING! (Only 69 donations so far out of 49,000 members - Can we at least get 100? C'mon guys!)
×


michael mott
-
Posts
5,200 -
Joined
-
Last visited
Content Type
Profiles
Forums
Gallery
Events
Everything posted by michael mott
-
 I only cut about 3/4 of an inch off the length of the piece for the gift. I will put together a display that will give it the visual attention to show the piece to advantage, I like the ideal of including the artwork as well perhaps a note about the treenail and their use. Michael
- 3,560 replies
-
- 1
-

-
- clipper
- hull model
- (and 2 more)
-
Hi Tony, What a journey so far! My goodness all the redo s, but as you have discovered sometimes it takes a lot of solid determination to get things right after following a wrong path. What a beautiful job on a difficult task regarding the hull planking. Michael
-
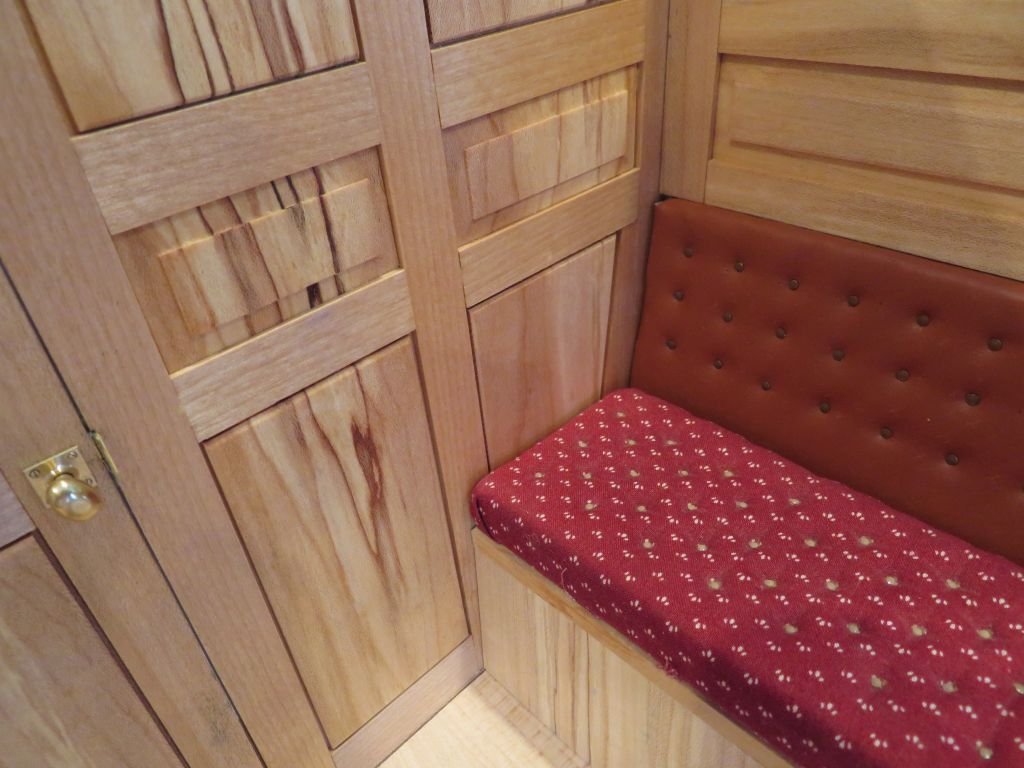
Eberhard are you suggesting that you prefer the fabric with the pattern over the leather? Michael
-
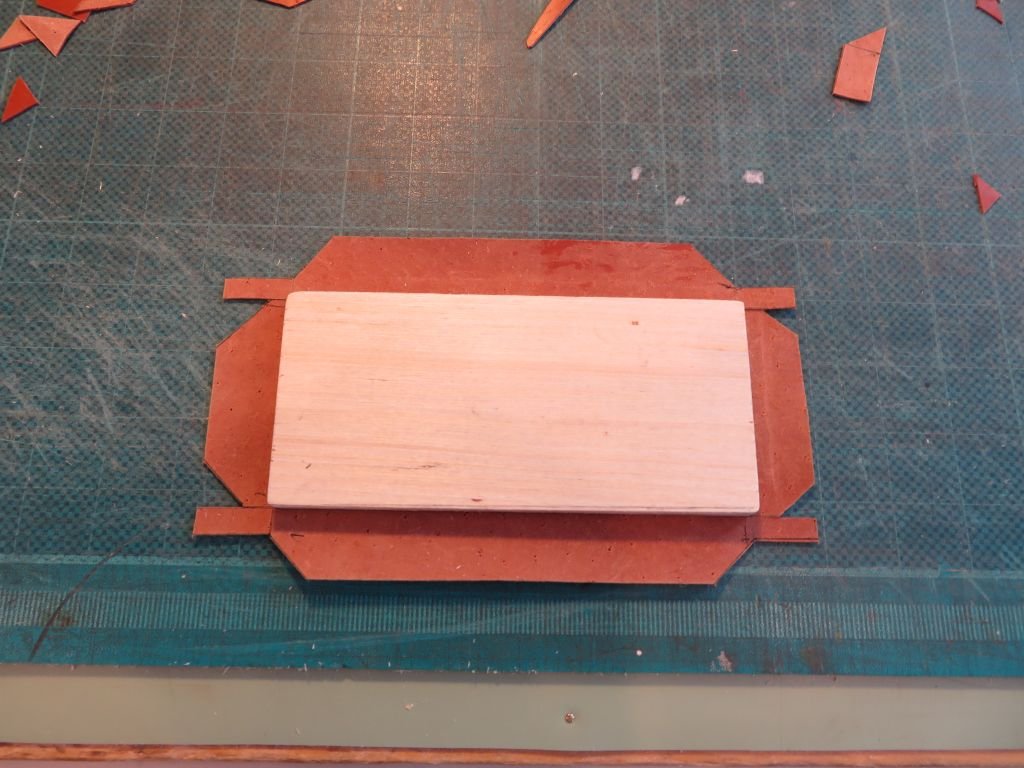
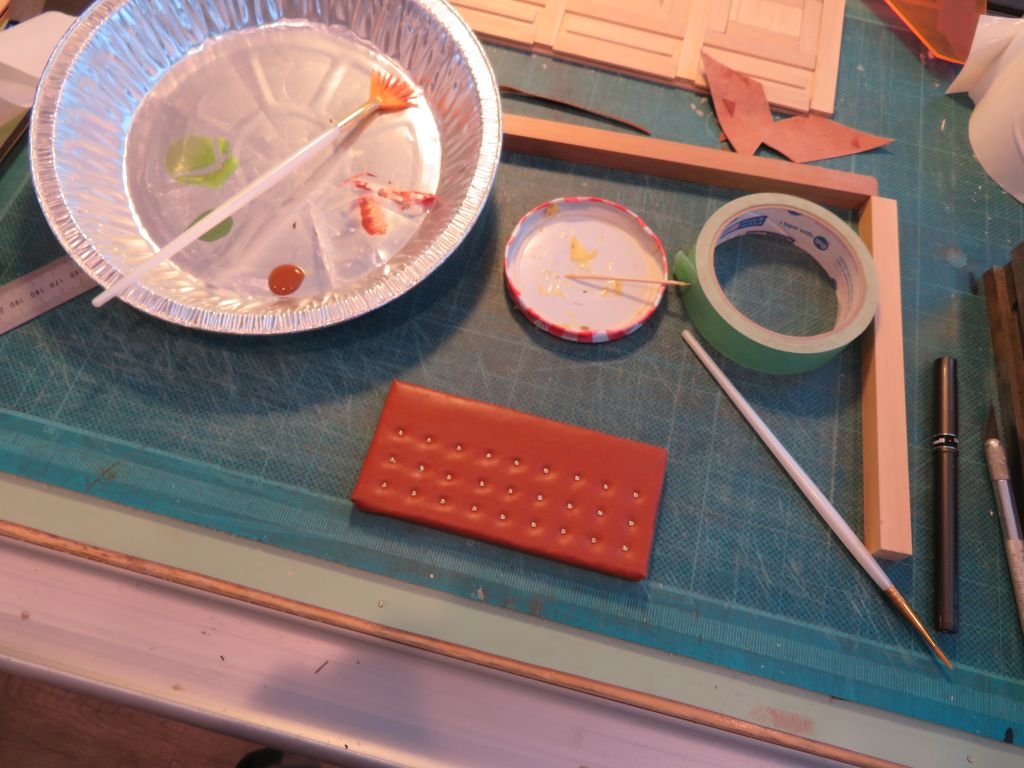
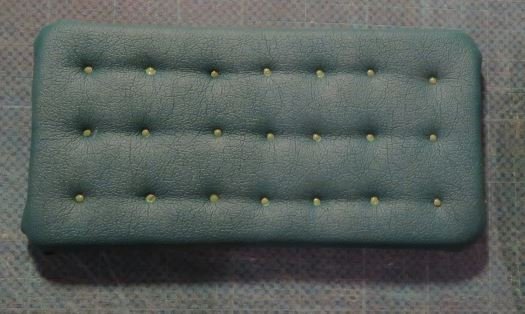
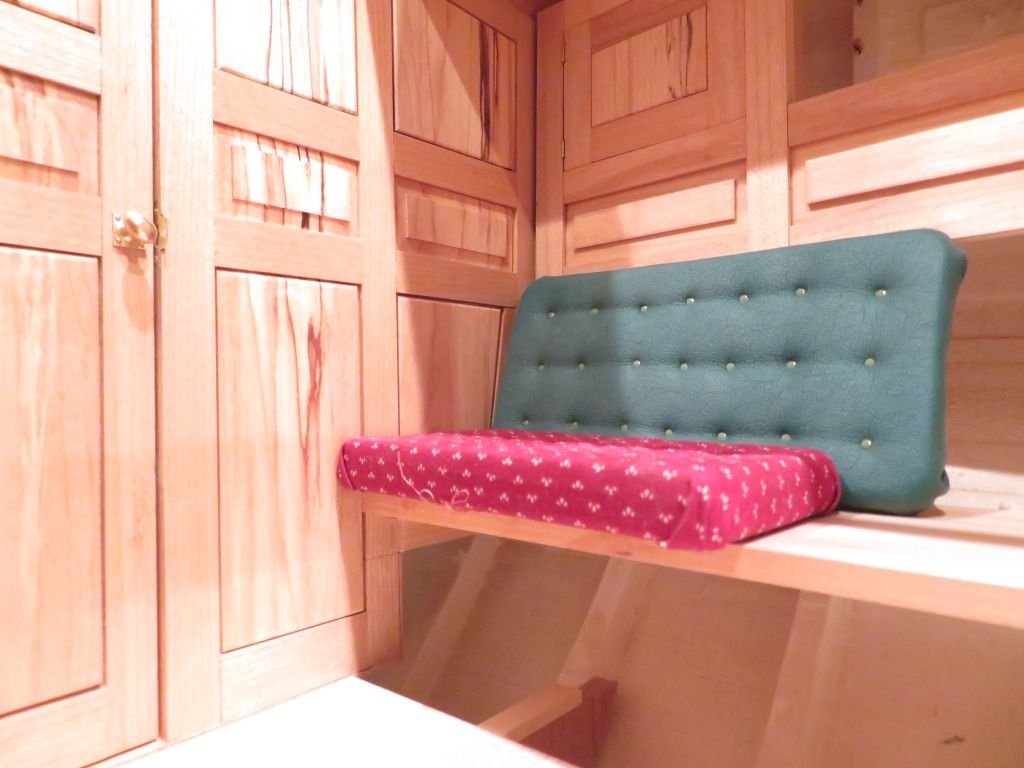
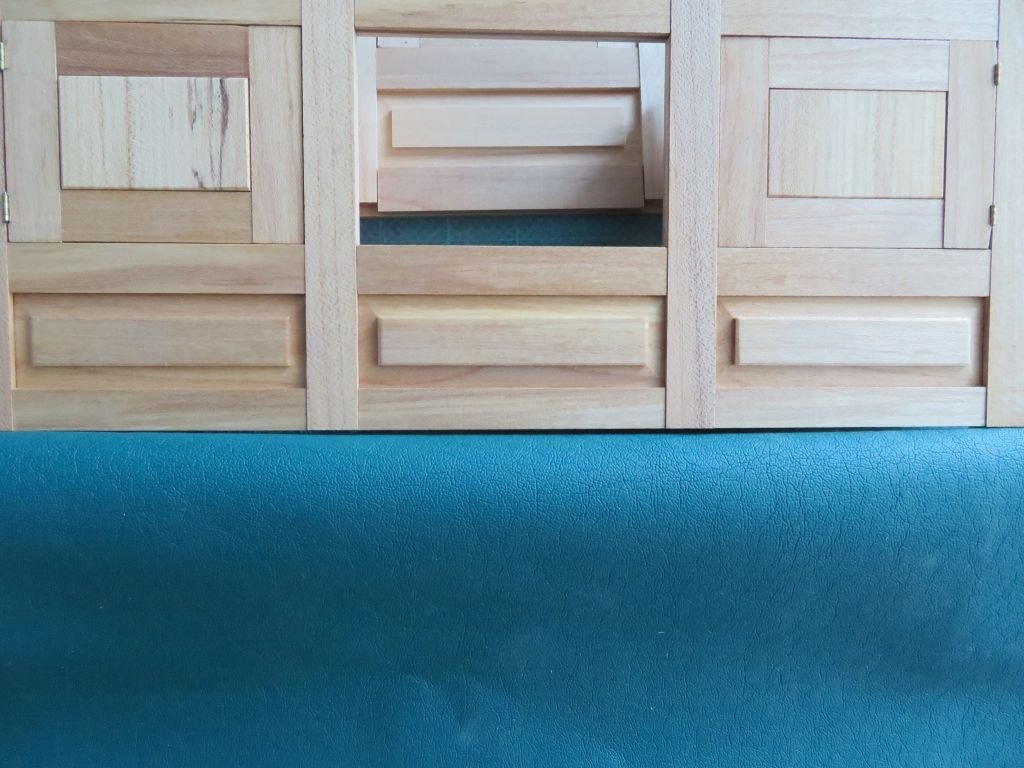
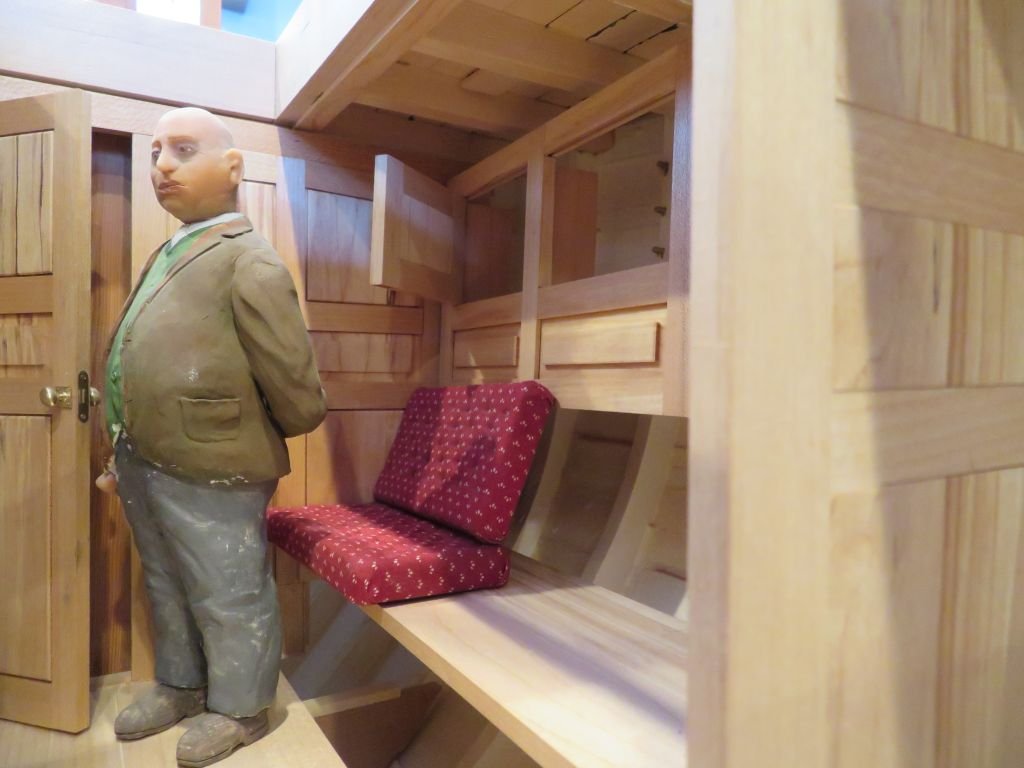
Today i covered a base with the pigskin. I am now doing some of the work outside the hull because I now know that it will fit back in without any problems. The panel under the seats is just a solid one. The pigskin is mor difficult to work with and so I had to use a slightly different approach. once the leather was glued I flipped it over and inserted the pins then dabbed a drop of brown paint on the buttons set up inside with the green cushion and the fabric one so as to lower the contrast. Michael.

-
I had not thought about that so now I will do something to protect it and put a small information label with it. The peg does indeed look to be a treenail it does go right through and is mangled on the other side. I am really enjoying your journey of discovery and research Rob on the Glory of the seas. Michael
- 3,560 replies
-
- 3
-
-
- clipper
- hull model
- (and 2 more)
-
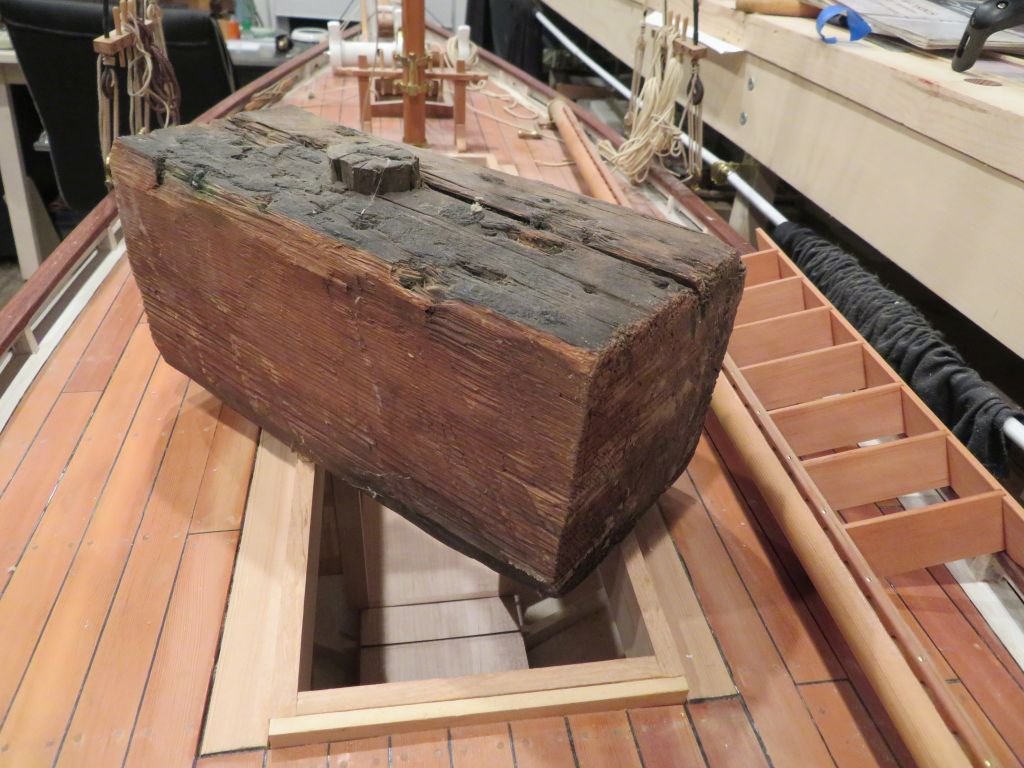
About 42 years ago I made a small commission for a chap who was giving a gift to an owner of a swan yacht, it was a small brass bracket with a chunk of the deck of the clipper ship the Lightning which sank at Geelong. In payment for the work I asked for the balance of the piece of the deck. it was granted, here is the piece that I have. Michael


- 3,560 replies
-
- 6
-
-
- clipper
- hull model
- (and 2 more)
-
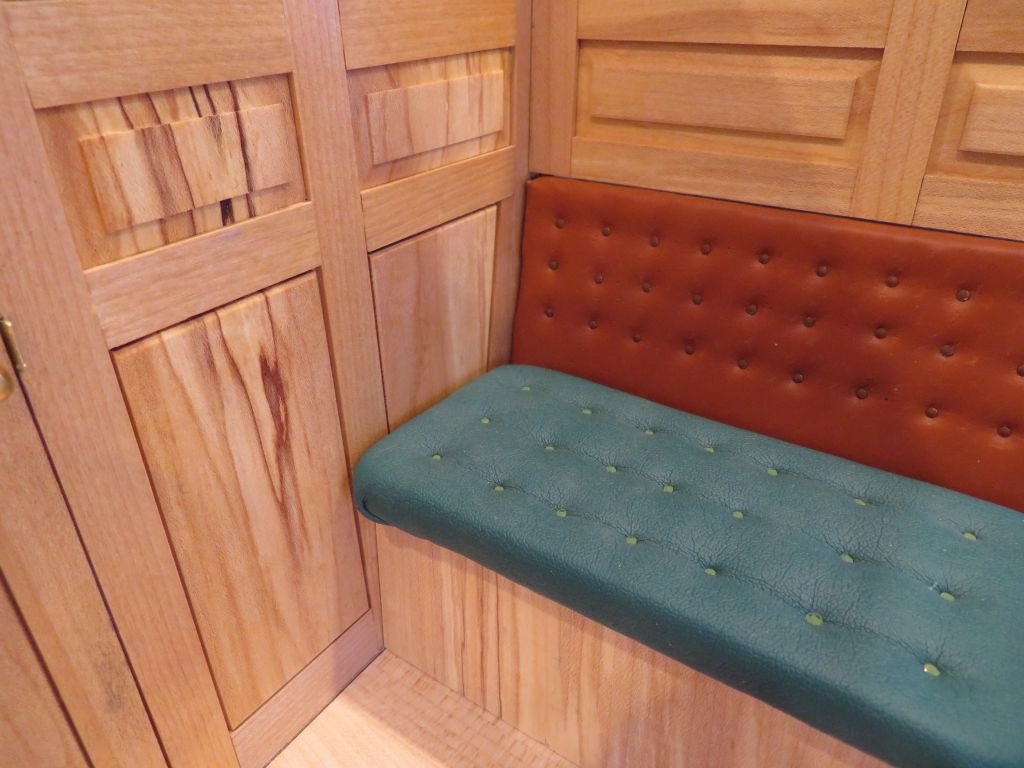
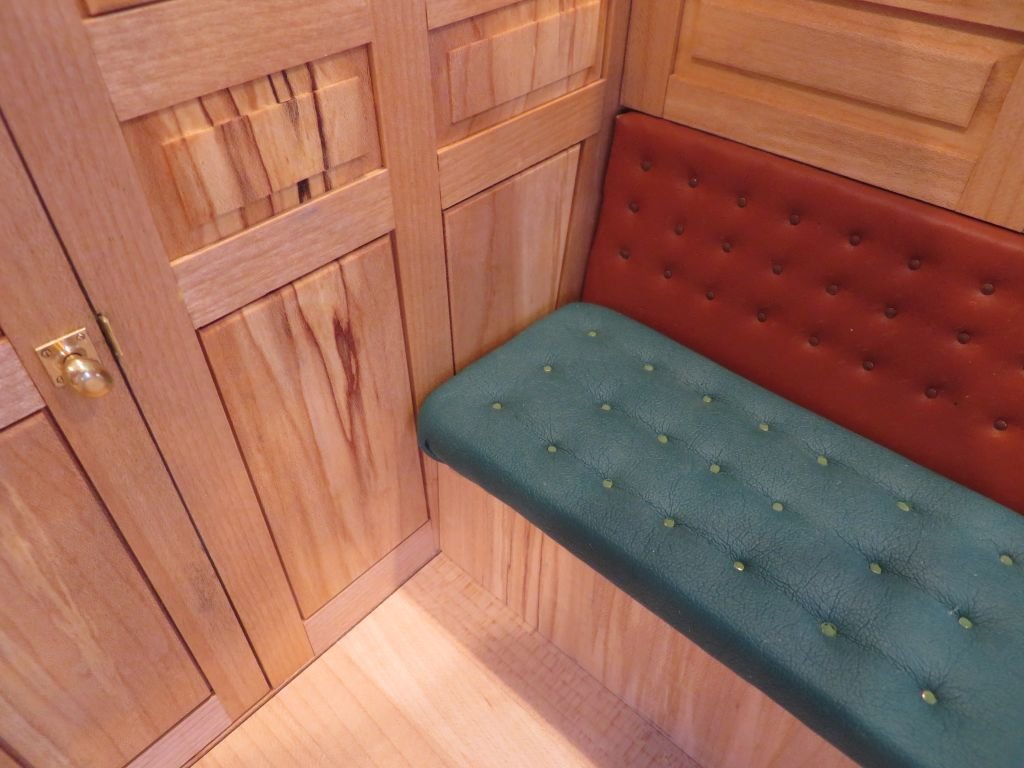
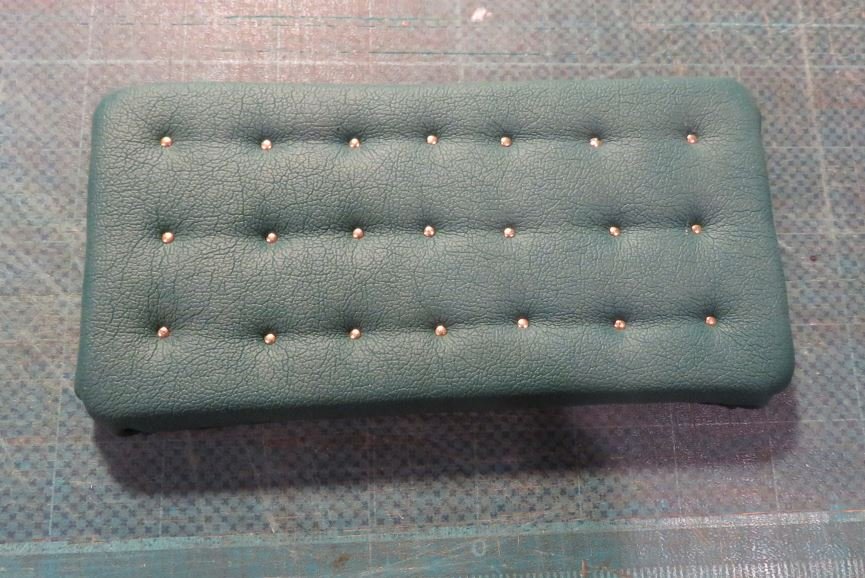
A quick and dirty yest to see how the vinyl looks as a buttoned cushion. a couple of layers of the thin craft foam sheets from Michaels carpet taped to a bit of 1/4 inch thick plywood then the vinyl stapled to the wood on the bottom, and some brass coated estuchions pins hammered in to a rough pattern to represent the buttons. A dab of green craft paint on the pins and see it in situ The green vinyl might just work, tomorrow I will look at a test with the pigskin. Michael
-
Hi Tom its a through the wall air conditioning and heating unit like this one but an Armana It keeps the shop nice and warm in the winter and cool in the summer, I keep the temp at 66f I have a couple of choices for the seat cushions the green is a forest greenish vinyl and the other is a, nice reddish brown pig skin. The pig skin is a little thinner than the vinyl the computer screen is making the green look a little bluish and is toning down the red of the pigskin a bit. I like both but am having a difficult time choosing. Michael
-
A bit nippy out there this morning -31c with a windchill of -47c it seems so weird having to put on a parka and gloves going from the back door to the workshop which is only about 20 feet, but fumbling with the key and very cold door handles is not pleasant. Michael
-
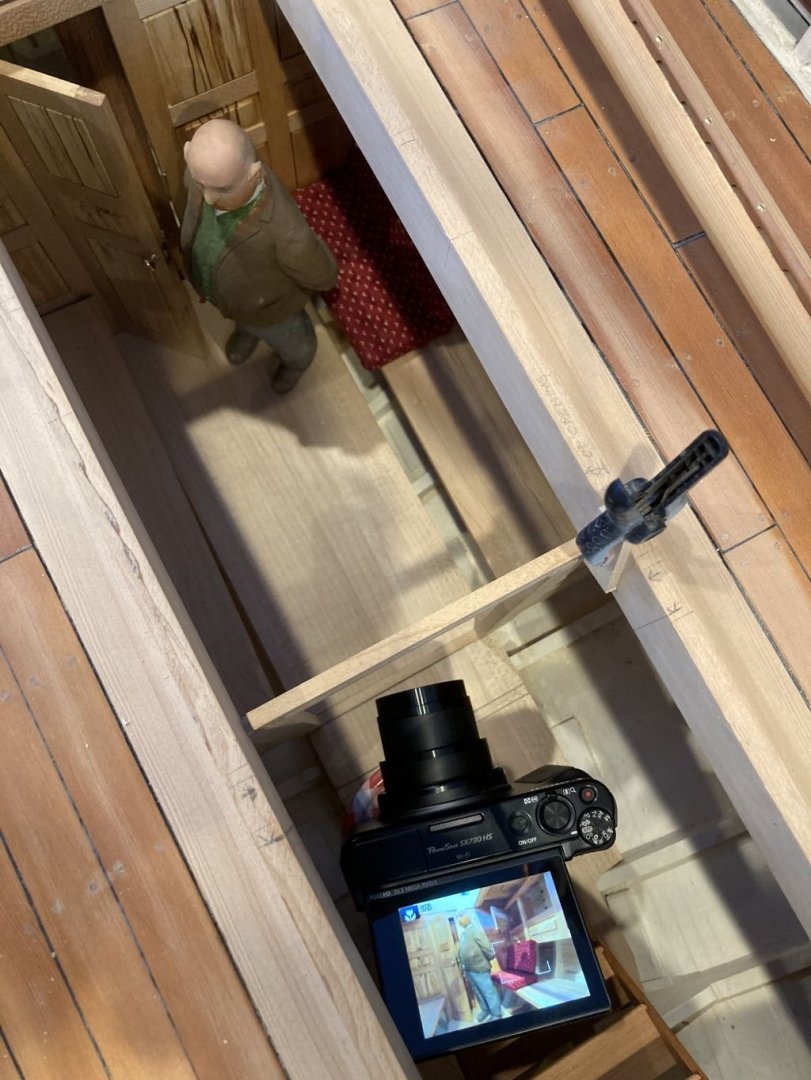
Hi Druxey no he is actually Montague,s Gardener come Jack of all trades, a bit more portly than me unfortunately, here he is taking Mars for a drive Michael
-
Very nice clean work, The model looks super with all the added care and attention to detail. I notice that you are in Alberta, one of the cities or in the country? Michael
- 950 replies
-
- 1
-
-
- syren
- model shipways
- (and 1 more)
-
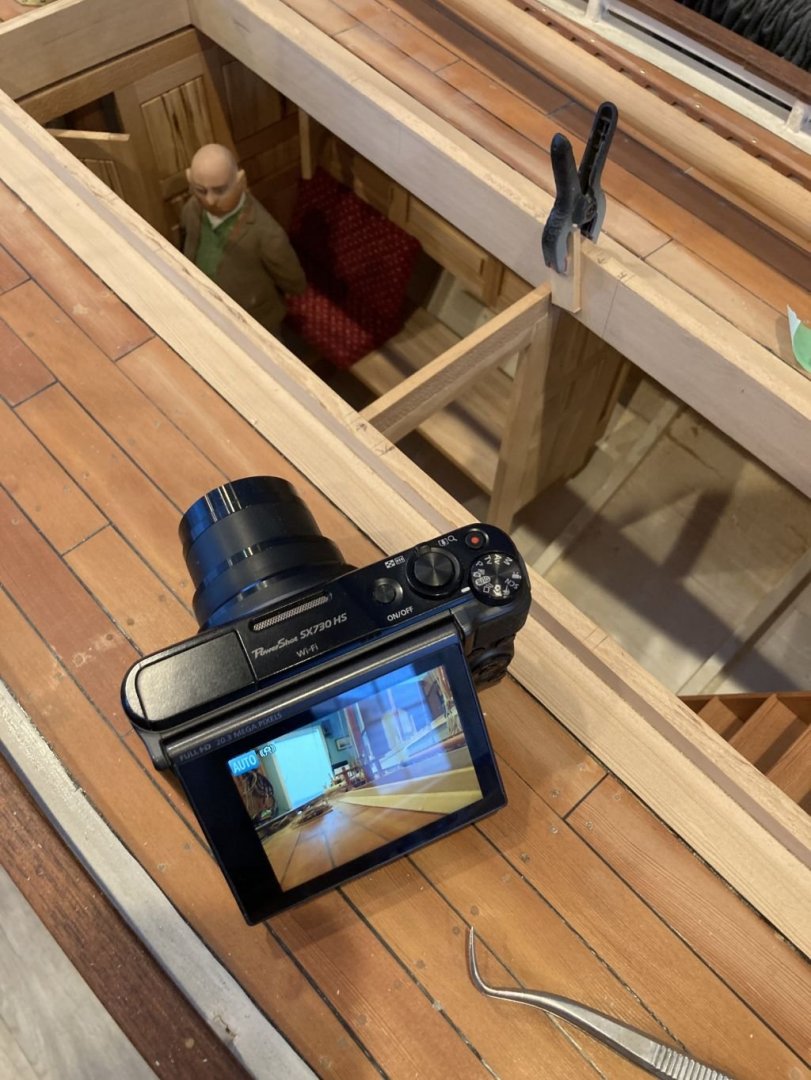
Hi WalrusGuy? I am using a fairly small Canon SX730HS and it has a flip mirror screen I just sat i on a block of wood or in this case a jam jar. I like the flip screen and have used the timer and then just held it in my hand as well Michael
-
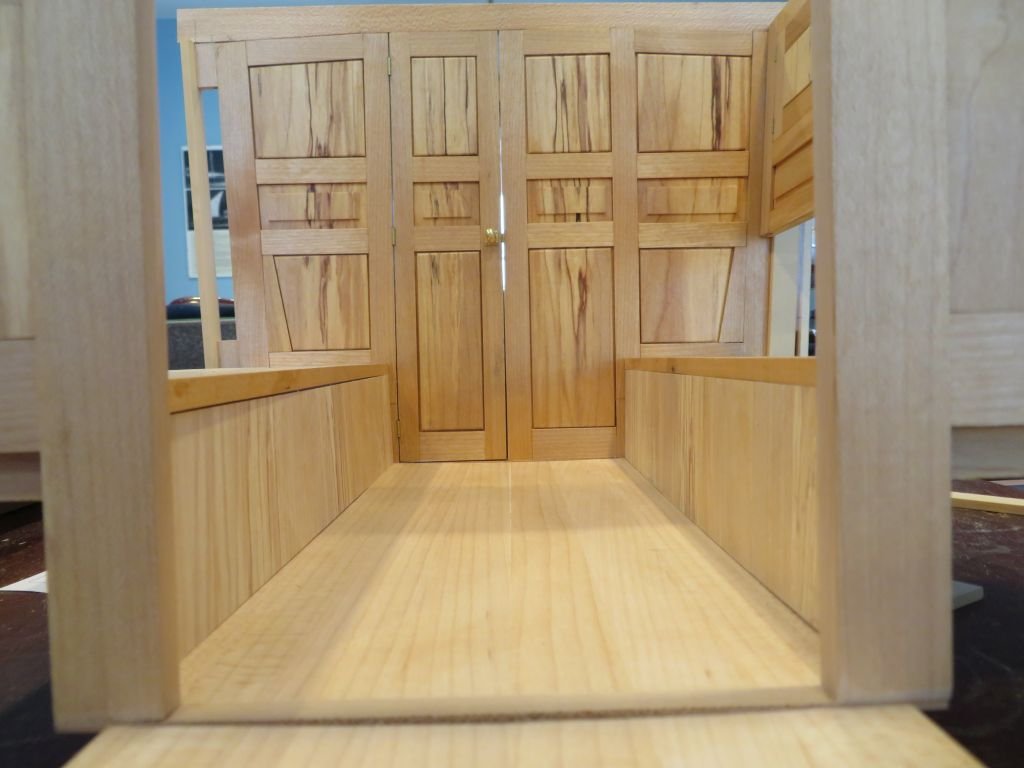
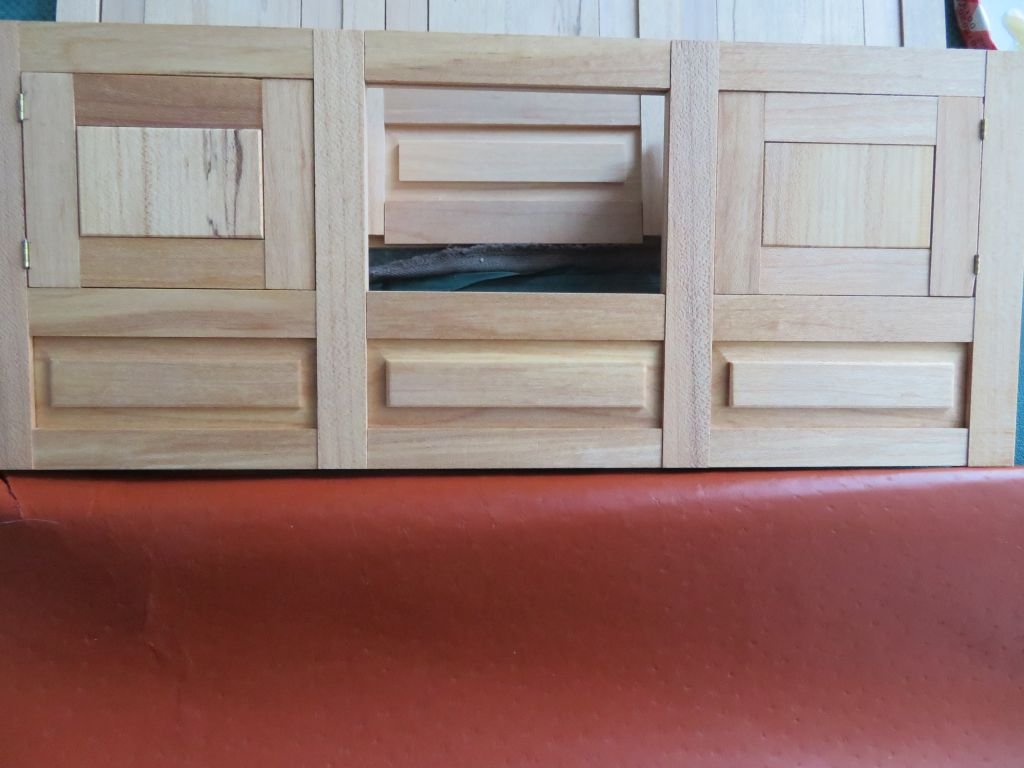
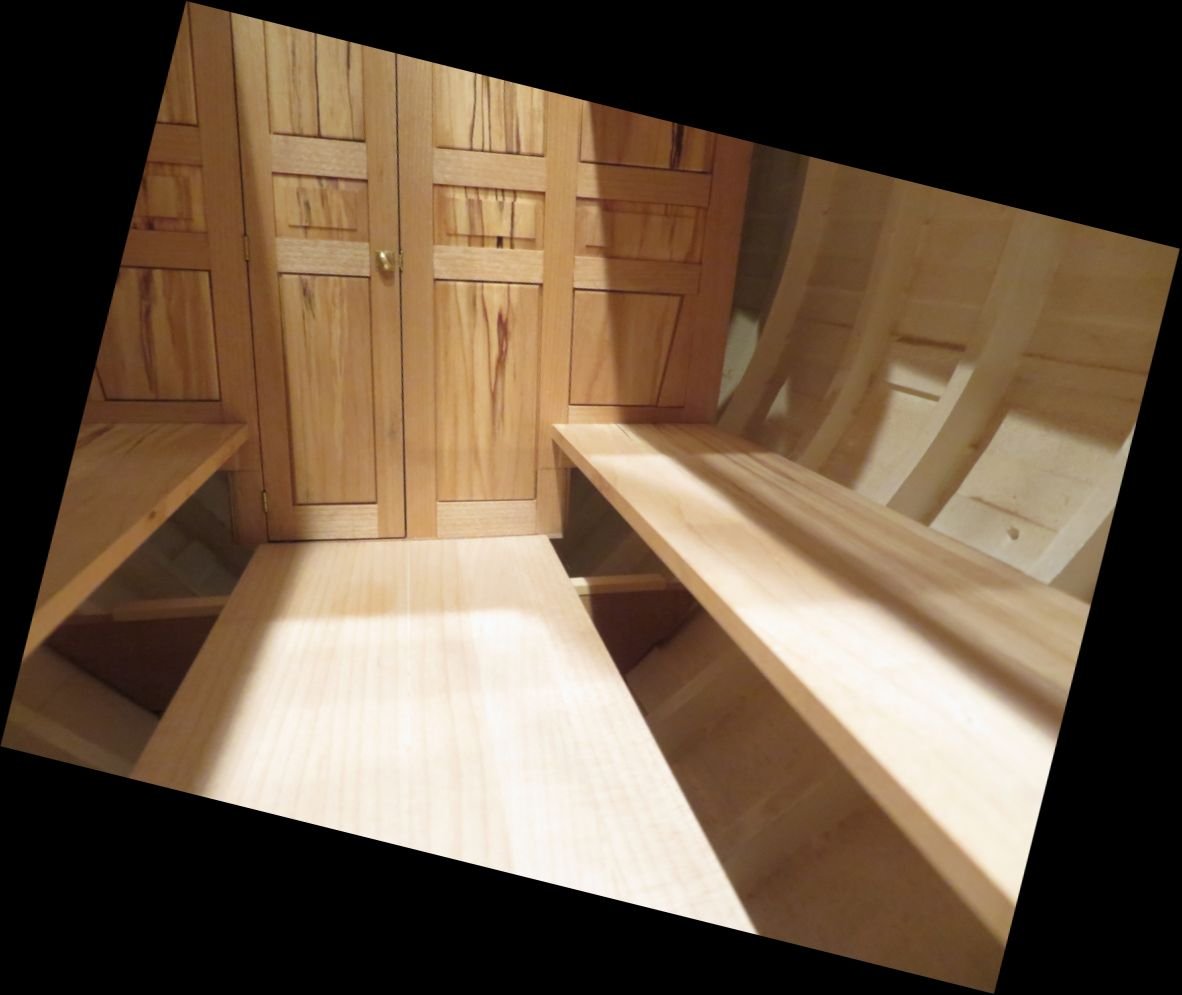
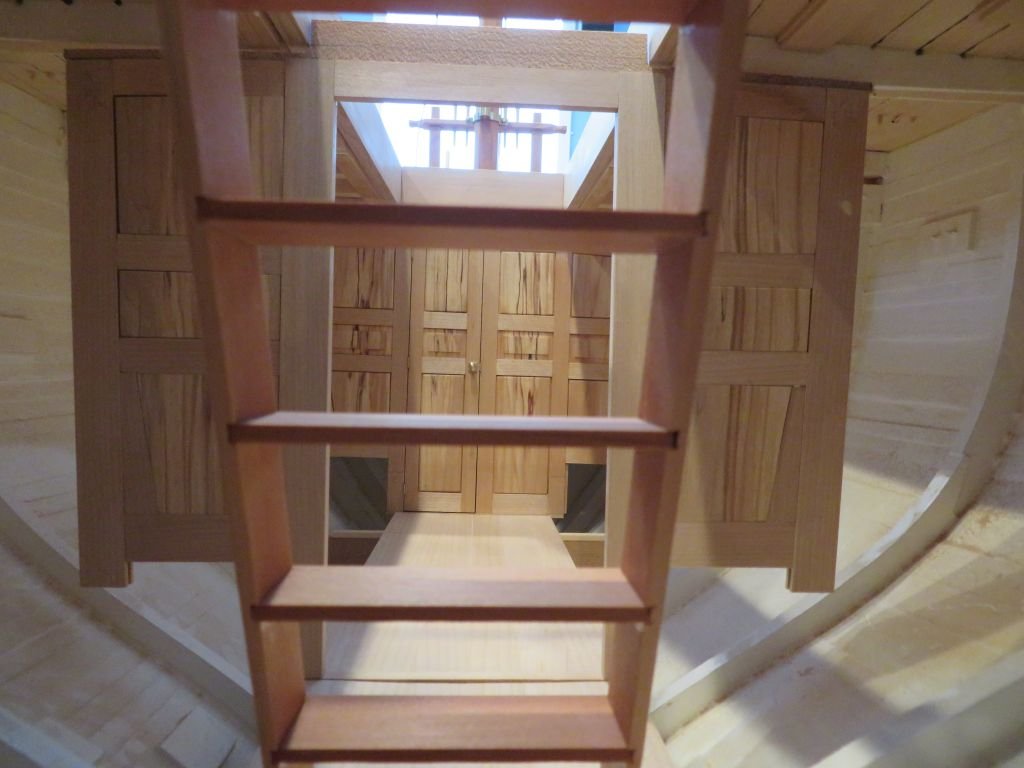
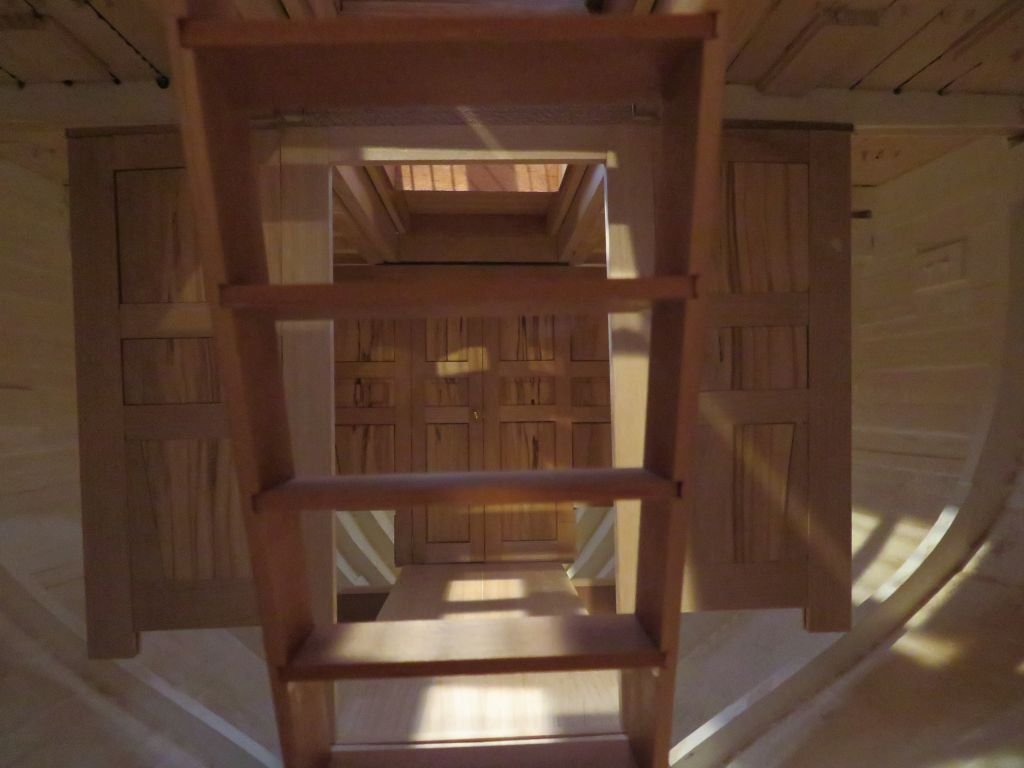
Tom, Rob and Ed, Thank you for your kind words. I do find them encouraging, especially when one discovers that the reason one is having troubles with fitting this or that, that these are generally the result of an oversight or an error that was unavoidable. It turns out that the aft bulkhead was tight because i was trying to fit it a foot aft of where it was supposed to be. This I discovered this morning while setting up to install the side paneling.... Hmmmm the distance seems wider than the panel. After cutting a new slot in the floor and moving the bulkhead forward chopping an 1 1/2" off the length of the seat bottoms it all came together. I shall insert a strip across where the earlier slot was cut no doubt the interior cabinet workers and shipwrights had a reason to the inset wood. Access perhaps.. Angus was reasonably happy , mentioned that leather would be a better choice for the cushions. I told him I would see what we had in stock. Michael

-
Hello Nils, A couple of hours this morning going through this fine build, What a delight to see more of your clever ways to make things that are complex. you Seem to have a great skill at breaking things down into their smaller parts. I also like the peek a boo ways that you show the interior parts. Hope all is well with you during these challenging times and that you and your family are healthy. Take care Michael
-
It was nice to revisit this wonderful model Nils. so many neat and interesting details and neat little tricks. Michael
- 113 replies
-
- 1
-
-
- heinrich kayser
- steamship
- (and 1 more)
-
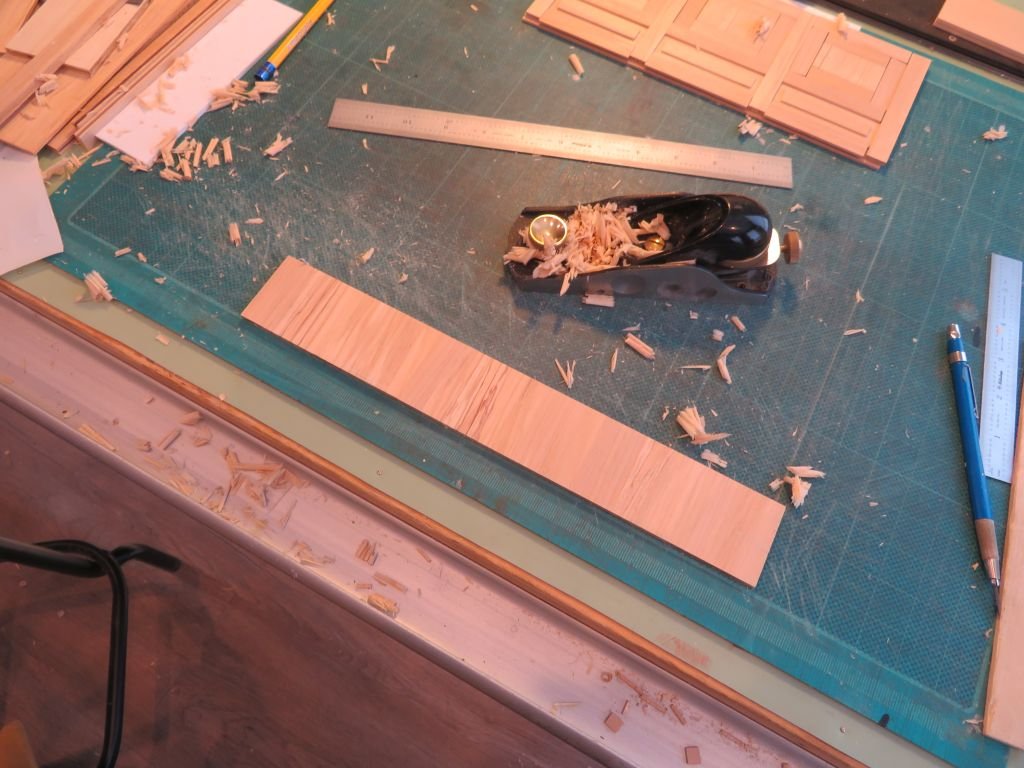
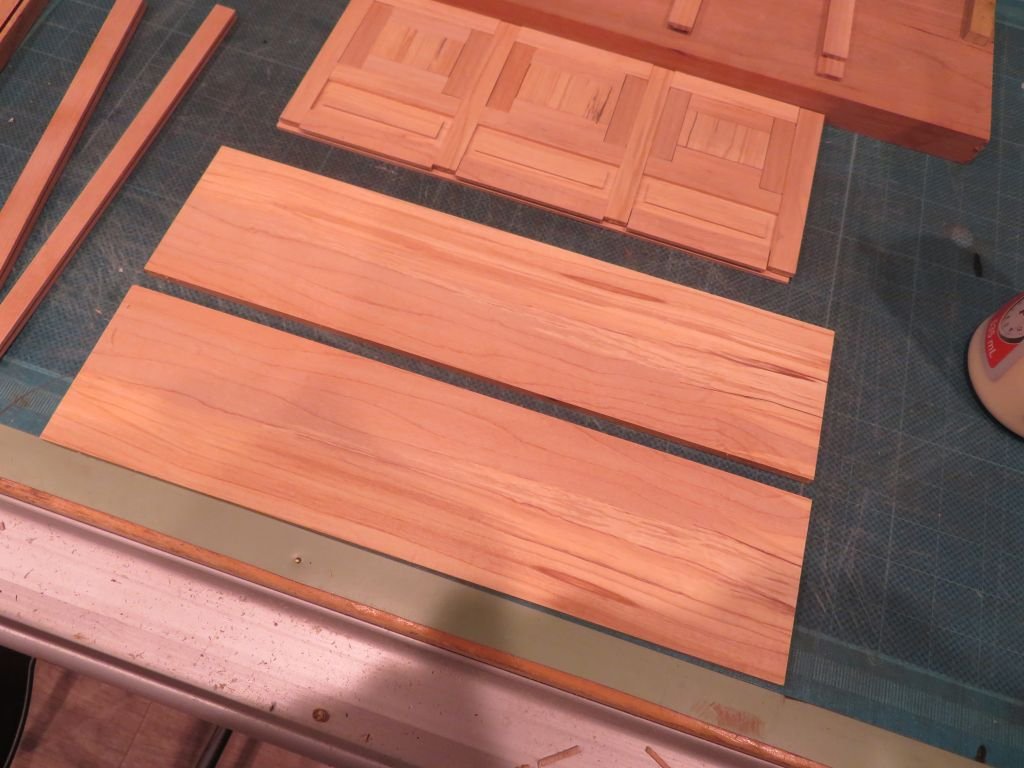
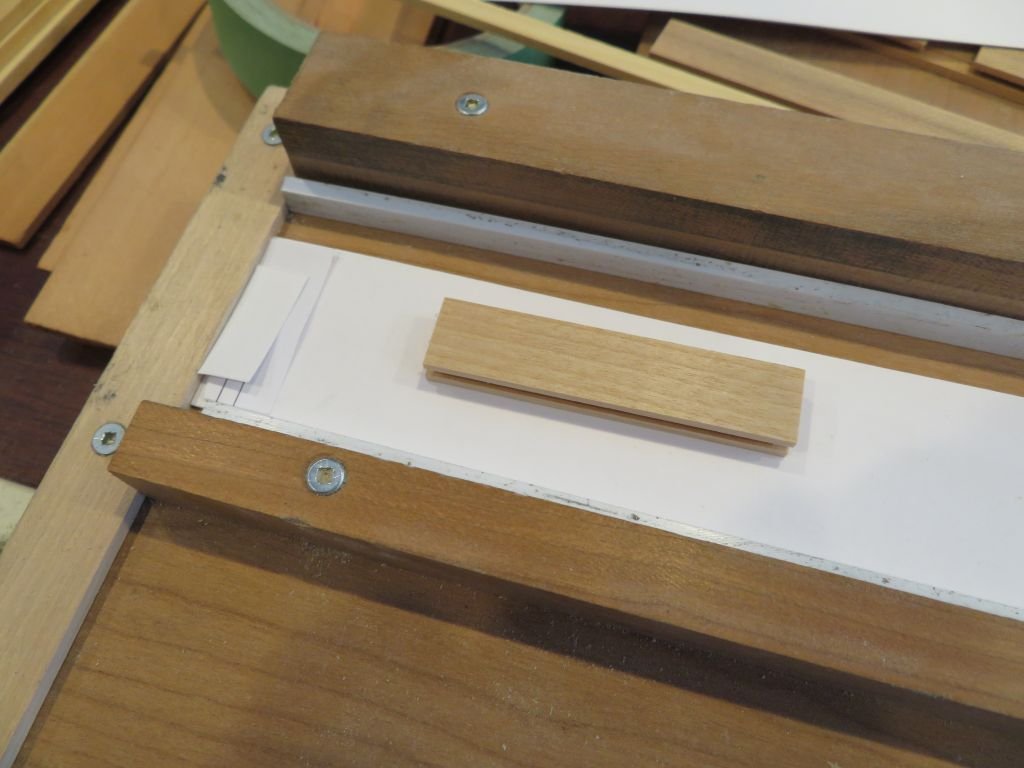
Thanks for all the comments and likes. There is something intrinsically satisfying about being able to prepare ones own materials from the raw tree. The maple that I am using in this model is from a log of maple that was 24 inches in diameter and 6 feet long that was cut in Nova Scotia in 1973 and was given to me by a students grandfather. It was about 7 years later that I cut a 3 inch slab from the center of the log with a hand held chainsaw and then hand planed that into a top for a coffee table. Because the log had sat upright on a concrete floor for a couple of years before laying out the back of my model shop the log had started to get some spalting, which can produce some pretty figure. The rest was cut into various slabs of 1/4 sawn pieces and set up in the rafters of the model shop when I was running my model building business. Over the years since I have resawn various bits into 1/4 inch thick book matched panels and stacked then for later use. Today I used a couple of 1/4 by 3 1/2 sheets that were 14 inches long that were still in the raw bandsawn state and decided that they would represent some figured plywood for the bottoms of the seat cushions. Hand planing the air dried maple was a joy soft paper thin shavings curing out of my benck plane. The planks are resting on some rebated cleats. I will add some cross pieces that when finished will hook into the rebates. Michael
-
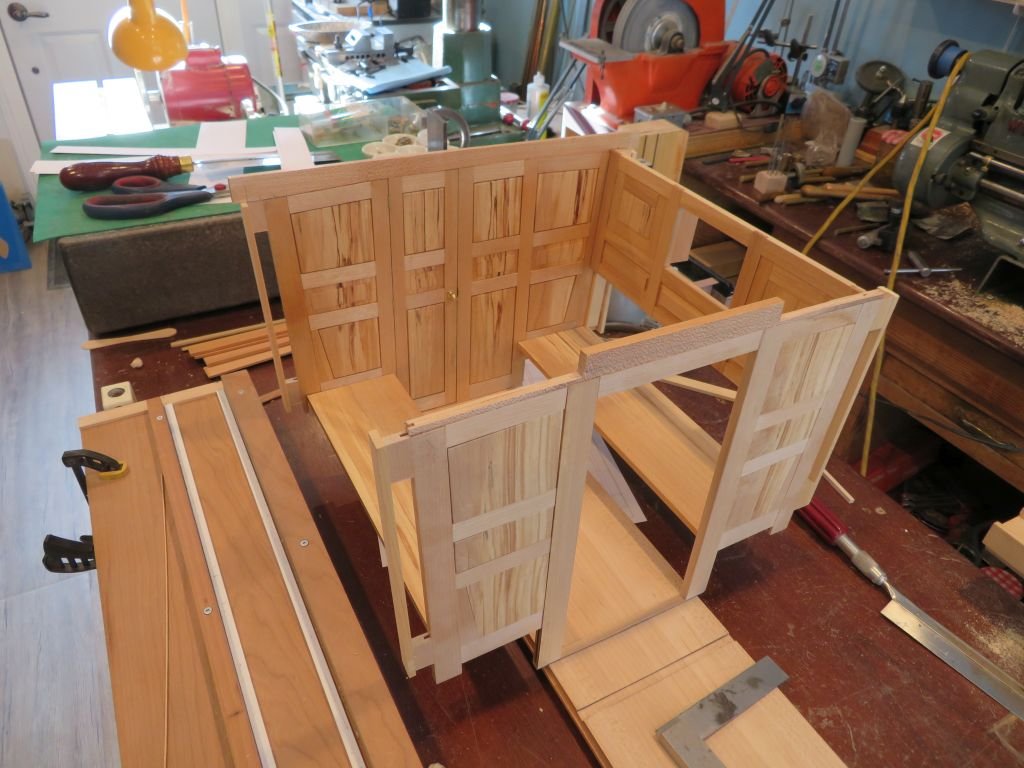
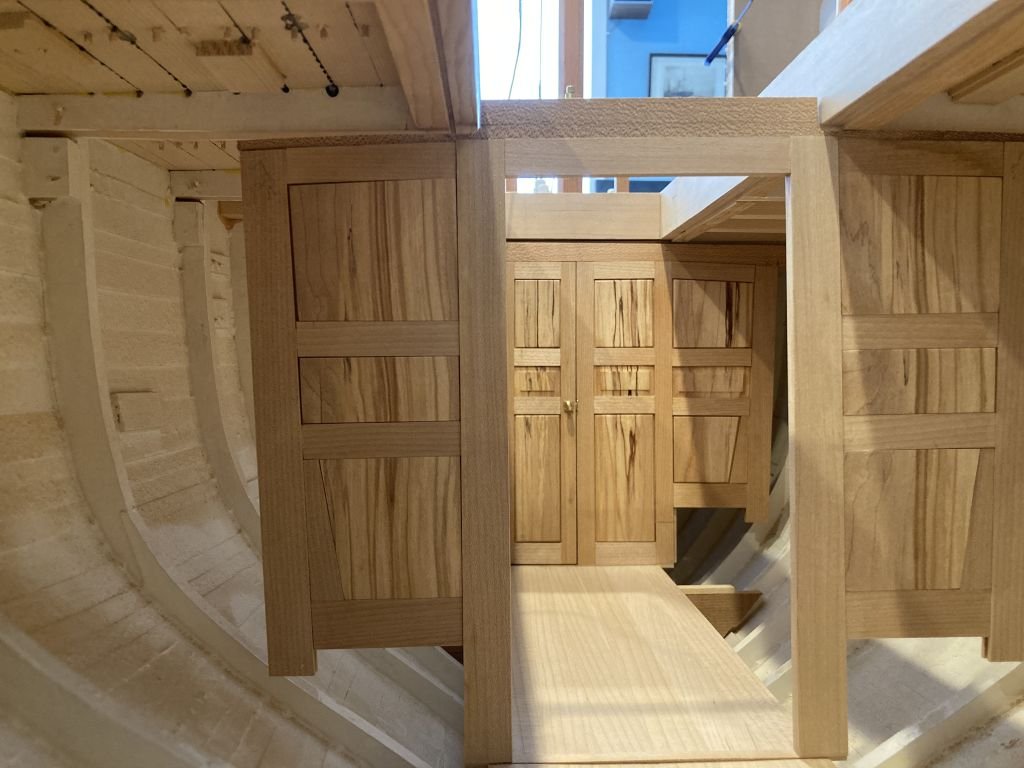
A bit of a struggle this morning fitting the aft panel section I had trouble getting it to fit in the correct position so kept removing material from the top edge so that it would rotate onto place. Then did a check only to fin out that the floor was not seated properly. The it all fell into place. From under the cockpit looking forward. then with the skylights replaced Now the real fun begins getting the side panels to hook into position and lock the whole works together. lunchtime Michael
-
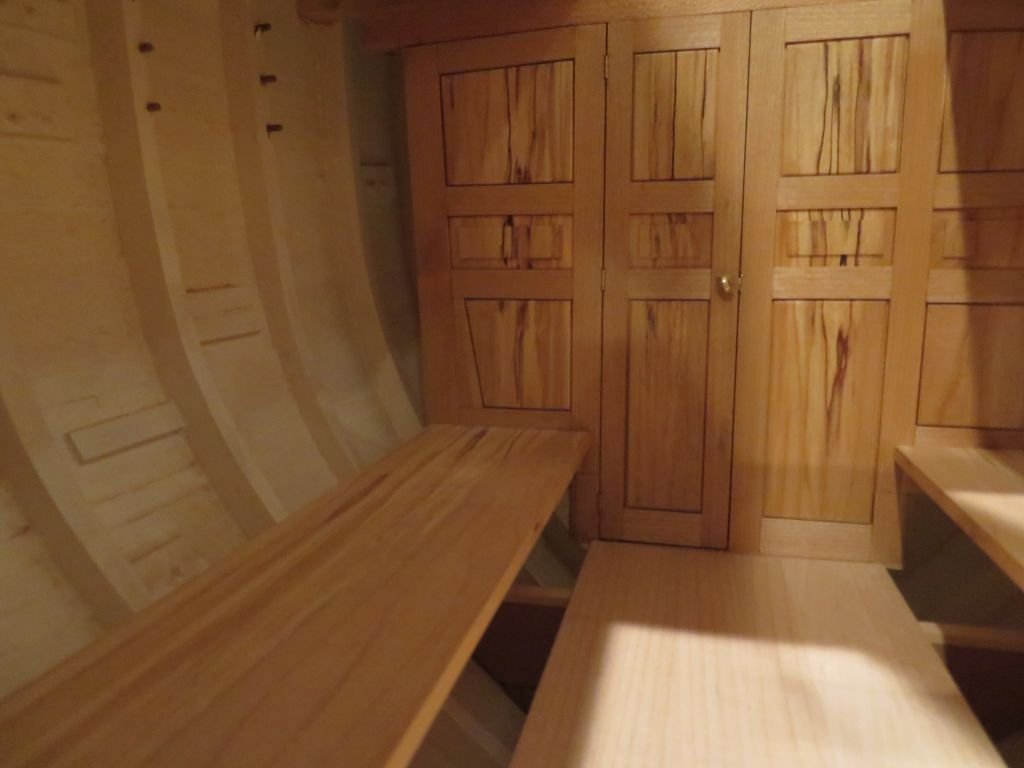
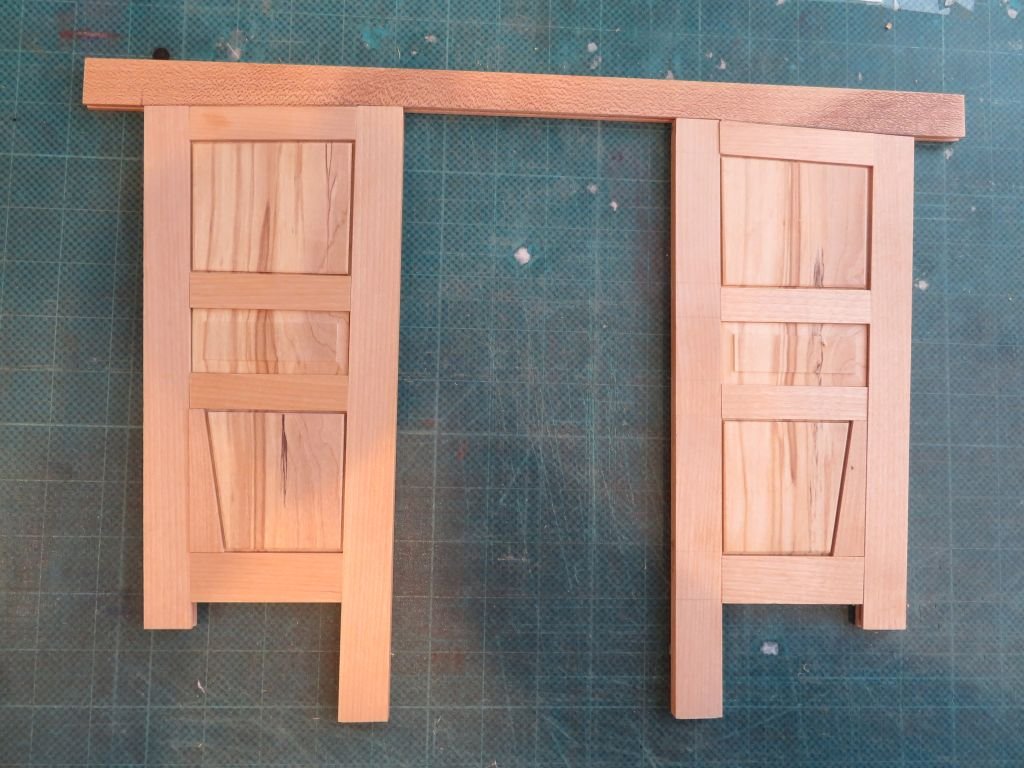
Tom... Sextant that's complicated! Gary, Thanks I appreciate it. The aft panels for the main cabin are now ready to be glued up, but lunch and a nap are in order first. In order to get the paneling as clean as possible without sanding I love using my little block plane and the thickness planing jig. I needed to creat slight taper from one end of the horizontal pieces so that the surfaces mated smoothly so after getting to the main thickness , I added a couple of slivers of paper to create the difference from end to end. All the parts are now interlocked with mortices and tenons and the panels are fitting with some ability to move. Michael


-
Following up with the paper strip comments, I needed to do just that today but I also needed a slight taper so I added a small bit of paper to the end that needed to be thinner. So there are many useful tricks with this little jig Michael
-
Hello Jack the jig looks good , a neat trick is to use multiple layers of card or paper under the work being planed once it reaches the amount of material that can be removed because of the side supports, if you need to remove a "smidgen" more place a piece of paper under the wood, and take another pass with the plane. I find this very useful. and also you can have special plates that you can pop in when working with different know thicknesses. Hope this is helpful. Regards Michael
-
Hi Ryland just finished going through your build very nice work on the planking by the way. I like the ropework as well. Looks like you are close to finishing, I enjoyed visiting with you on the Zoom meeting. it is nice to be able to put name and voices and faces together. Michael
- 263 replies
-
- 2
-
-
- Medway Longboat
- Syren Ship Model Company
- (and 1 more)
-
Tom the paneling is definitely a bit of a jigsaw puzzle, It will all work out and look interesting when done. I am looking forward to the gimbal stove and the chart table with some maritime instruments like these ones parallel rule and compasses . Michael
-
Ken, look more closely, I'm not sure what baccy he is using though😉 Michael