CDW
-
Posts
7,755 -
Joined
-
Last visited
Content Type
Profiles
Forums
Gallery
Events
Everything posted by CDW
-

1931 Cadillac by CDW - FINISHED - JoHan - 1:25 Scale - PLASTIC
CDW replied to CDW's topic in Non-ship/categorised builds
This is the best article/photos I could find on the original Cadillac V-16. A very good article. https://www.hagerty.com/articles-videos/articles/2019/06/11/sweet-sixteen-cadillac-v-16-engine -
Wow, she looks like she grew a light beard, with all that menagerie hanging off her hull. You did a great job capturing that look on your model.
-
1931 Cadillac by CDW - FINISHED - JoHan - 1:25 Scale - PLASTIC
CDW replied to CDW's topic in Non-ship/categorised builds
In the mid sixties, I was an elementary school student when the JoHan Chrysler Turbine car model came out. It had a lot of working features and of course, the incredible turbine engine. It's still a vivid memory taking the finished model to class to discuss modern ideas and inventions for our science session one day. Drag racing was a big part of my childhood, too, so I loved those models as well. -
1931 Cadillac by CDW - FINISHED - JoHan - 1:25 Scale - PLASTIC
CDW replied to CDW's topic in Non-ship/categorised builds
Just a PSA on Vallejo Putty. Well worth your time to watch. -
1931 Cadillac by CDW - FINISHED - JoHan - 1:25 Scale - PLASTIC
CDW replied to CDW's topic in Non-ship/categorised builds
Thanks. Beautiful paint on those cars/engine. When I was a young teen, my dad gave me my grandpa's car after he passed away, a '51 Chevy. My grandpa was a very big man, about 400 pounds or maybe more. The Chevy leaned to the driver's side from grandpa's weight that had affected the springs. And the car needed new paint. One day my dad took me to a friend who painted cars to see about repainting my '51 Chevy. To my dismay, noticed the old man had no compressor or spray guns at his shop so asked how he was going to paint the car. The old fella spoke in a heavy German accent and told me he would paint it with a brush. He came from the old country and had been painting cars from WAY back in Germany. Dad told me don't worry about a thing, the man would do a beautiful job. He did. He brush painted it with lacquer, wet sanding between coats until the last coat where he polished and buffed it. It was the most amazing beautiful paint I had seen. Totally shocked. Apparently, this is the way they did it in the old days. Taught me a valuable lesson about trusting my dad. No doubt, the Fisher body company probably painted these old Cadillacs that way too, but I had no idea.- 175 replies
-
- 10
-

-
1931 Cadillac by CDW - FINISHED - JoHan - 1:25 Scale - PLASTIC
CDW replied to CDW's topic in Non-ship/categorised builds
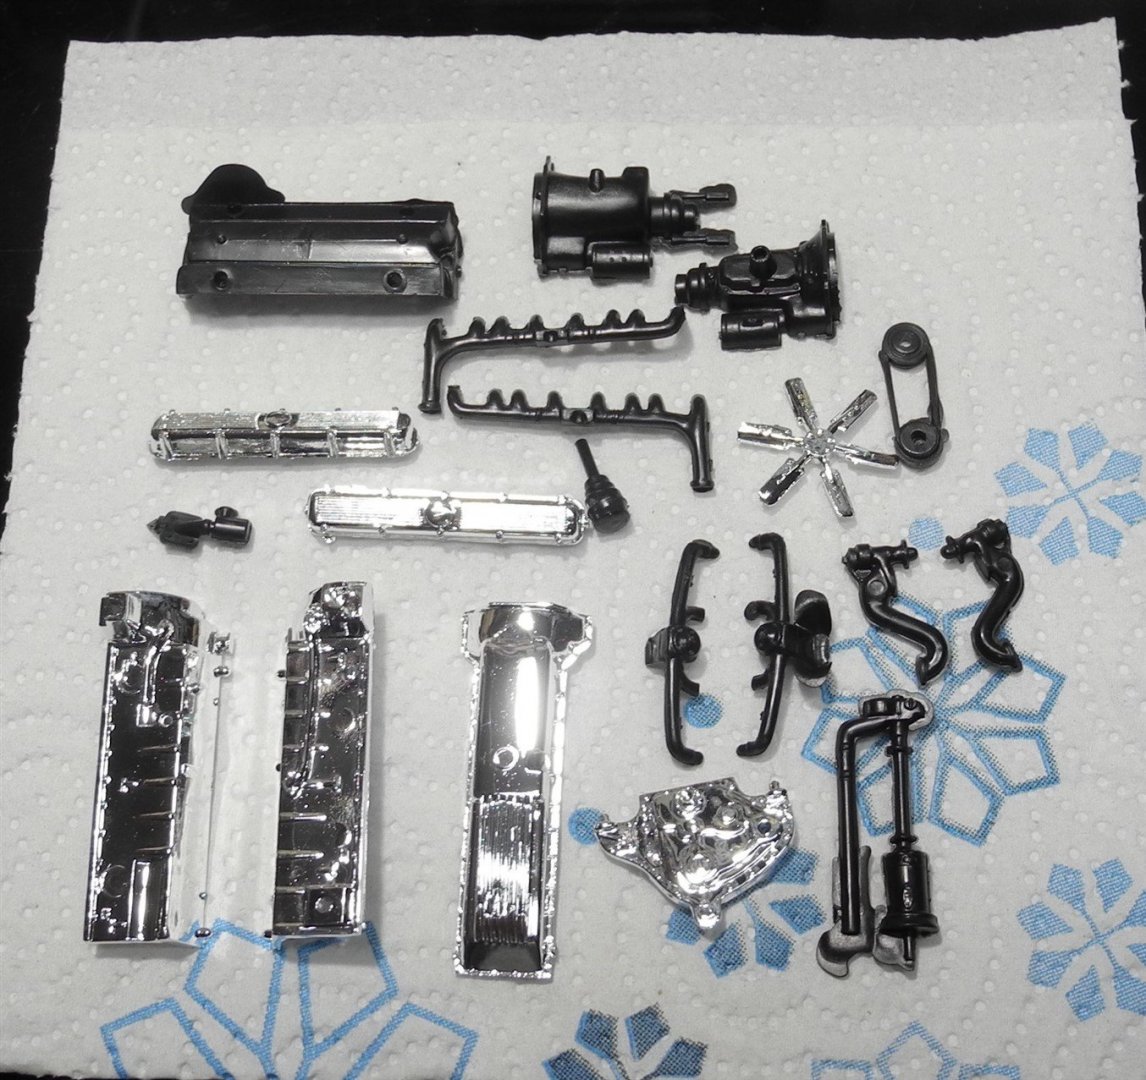
Not sure, but I doubt they came like this from the factory. These sites/photos show the engines having chrome. One has black chrome. Going to do more research. Interesting, the one article says the spark plugs and wiring was all neatly tucked away out of sight. The Cadillac way. https://heacockclassic.com/articles/when-v-16-cadillacs-roamed-the-earth/ https://hymanltd.com/vehicles/5790-1931-cadillac-v-16-all-weather-phaeton/ https://en.wikipedia.org/wiki/Cadillac_V16_engine#/media/File:Cadillac452engine.jpg -
If you think about it, businesses like WalMart could be considered critical infrastructure due to the critical role they play in distribution of life sustaining goods to the public. Short of that, it would have to be nationalized in a time of emergency and run by military forces or the like. A tough position to be in, but I had to do that (work 24-7 in declared emergencies) for a lot of years before I retired. Given all the certificates I have in emergency management, I wouldn't be surprised if they couldn't press me into service even though I am retired.
-
1931 Cadillac by CDW - FINISHED - JoHan - 1:25 Scale - PLASTIC
CDW replied to CDW's topic in Non-ship/categorised builds
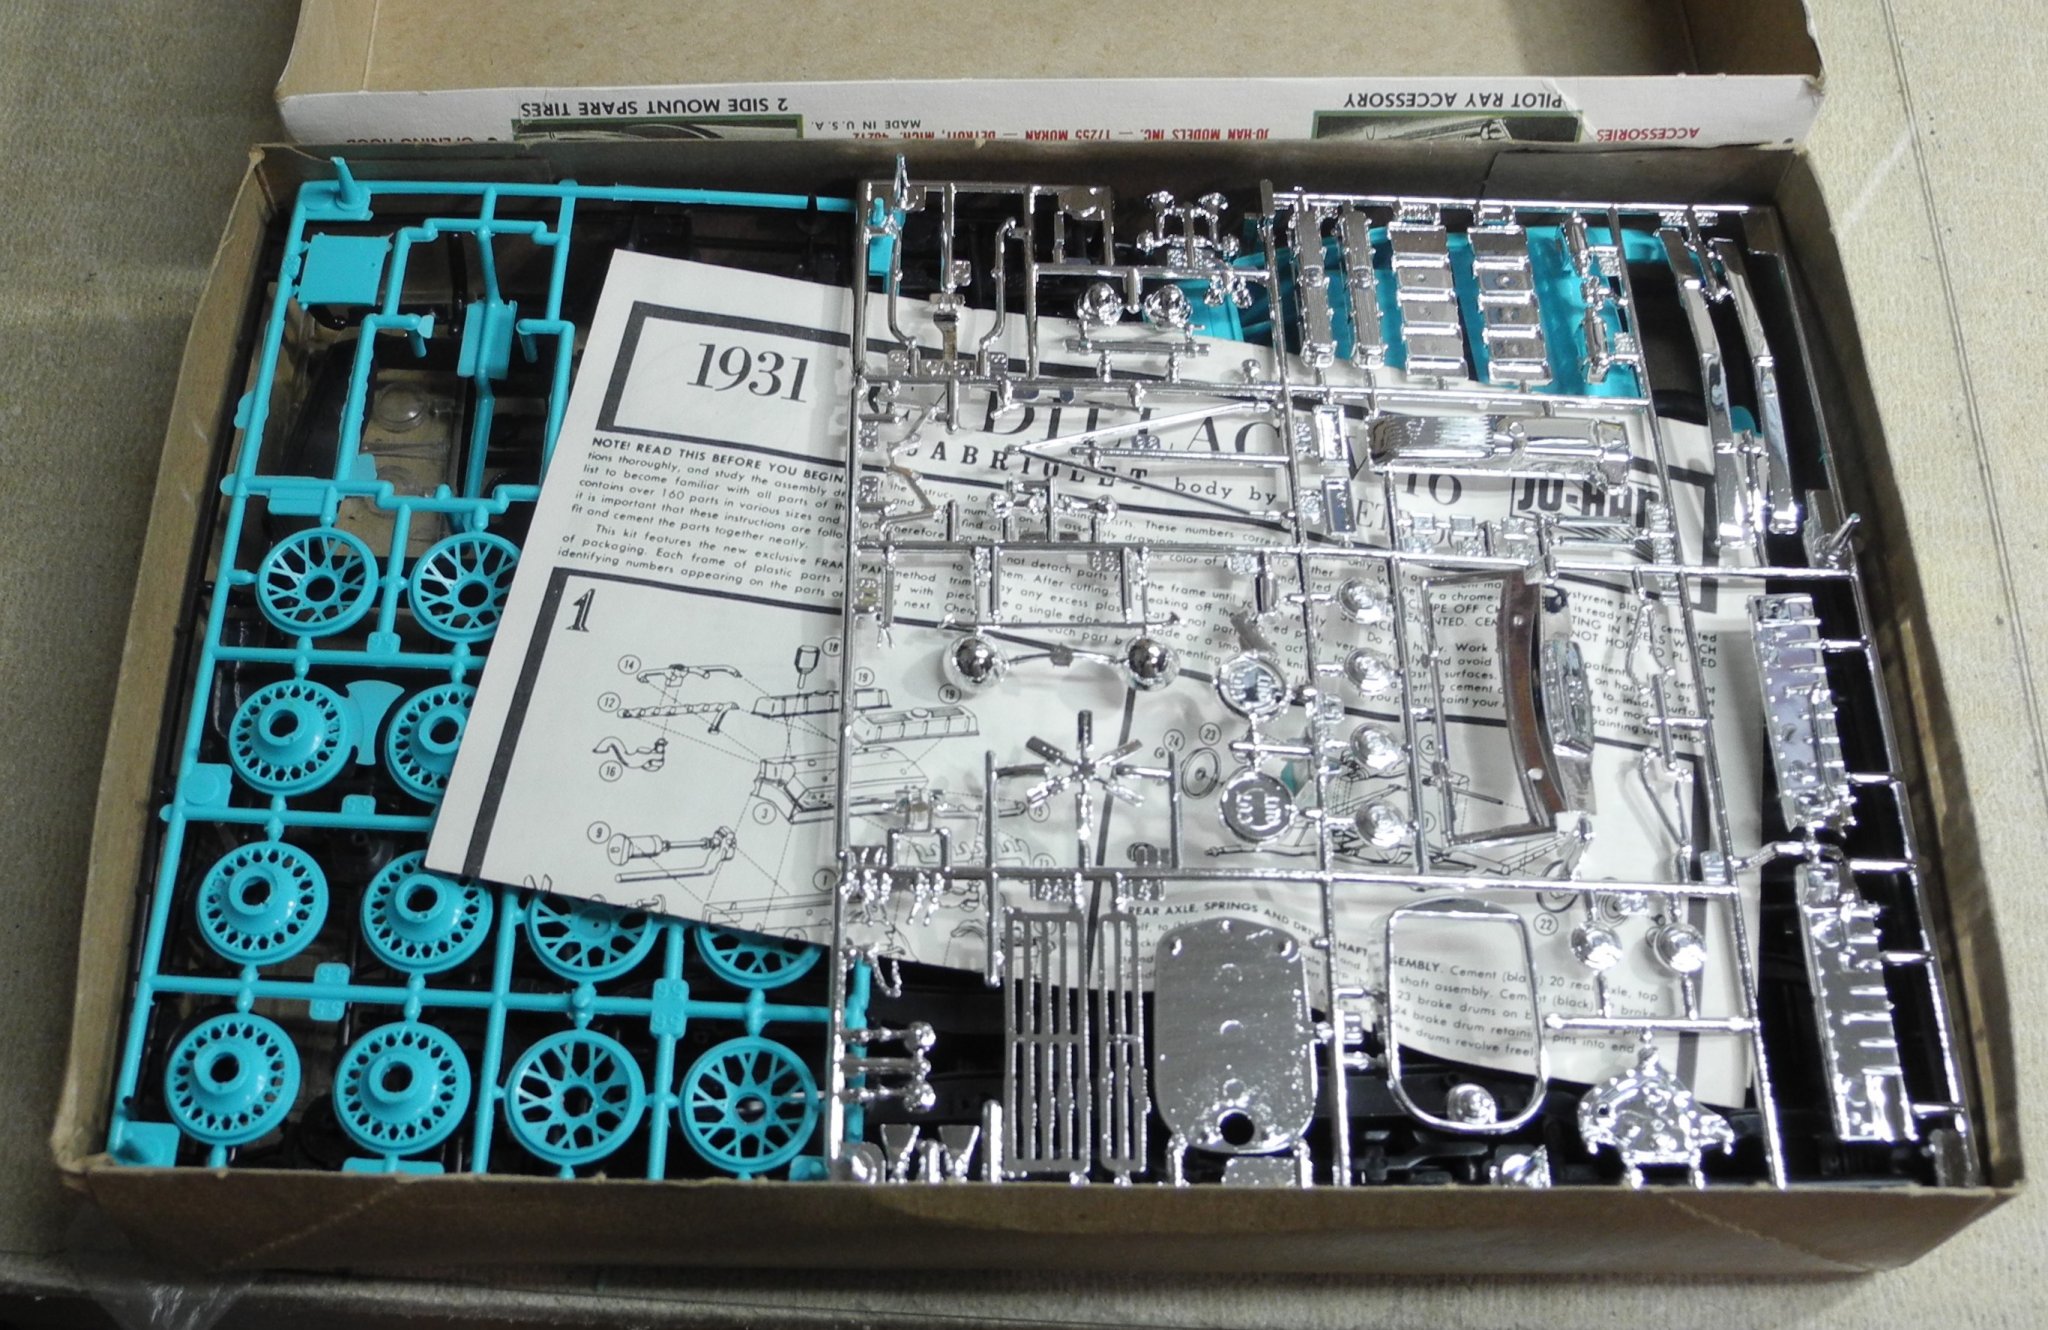
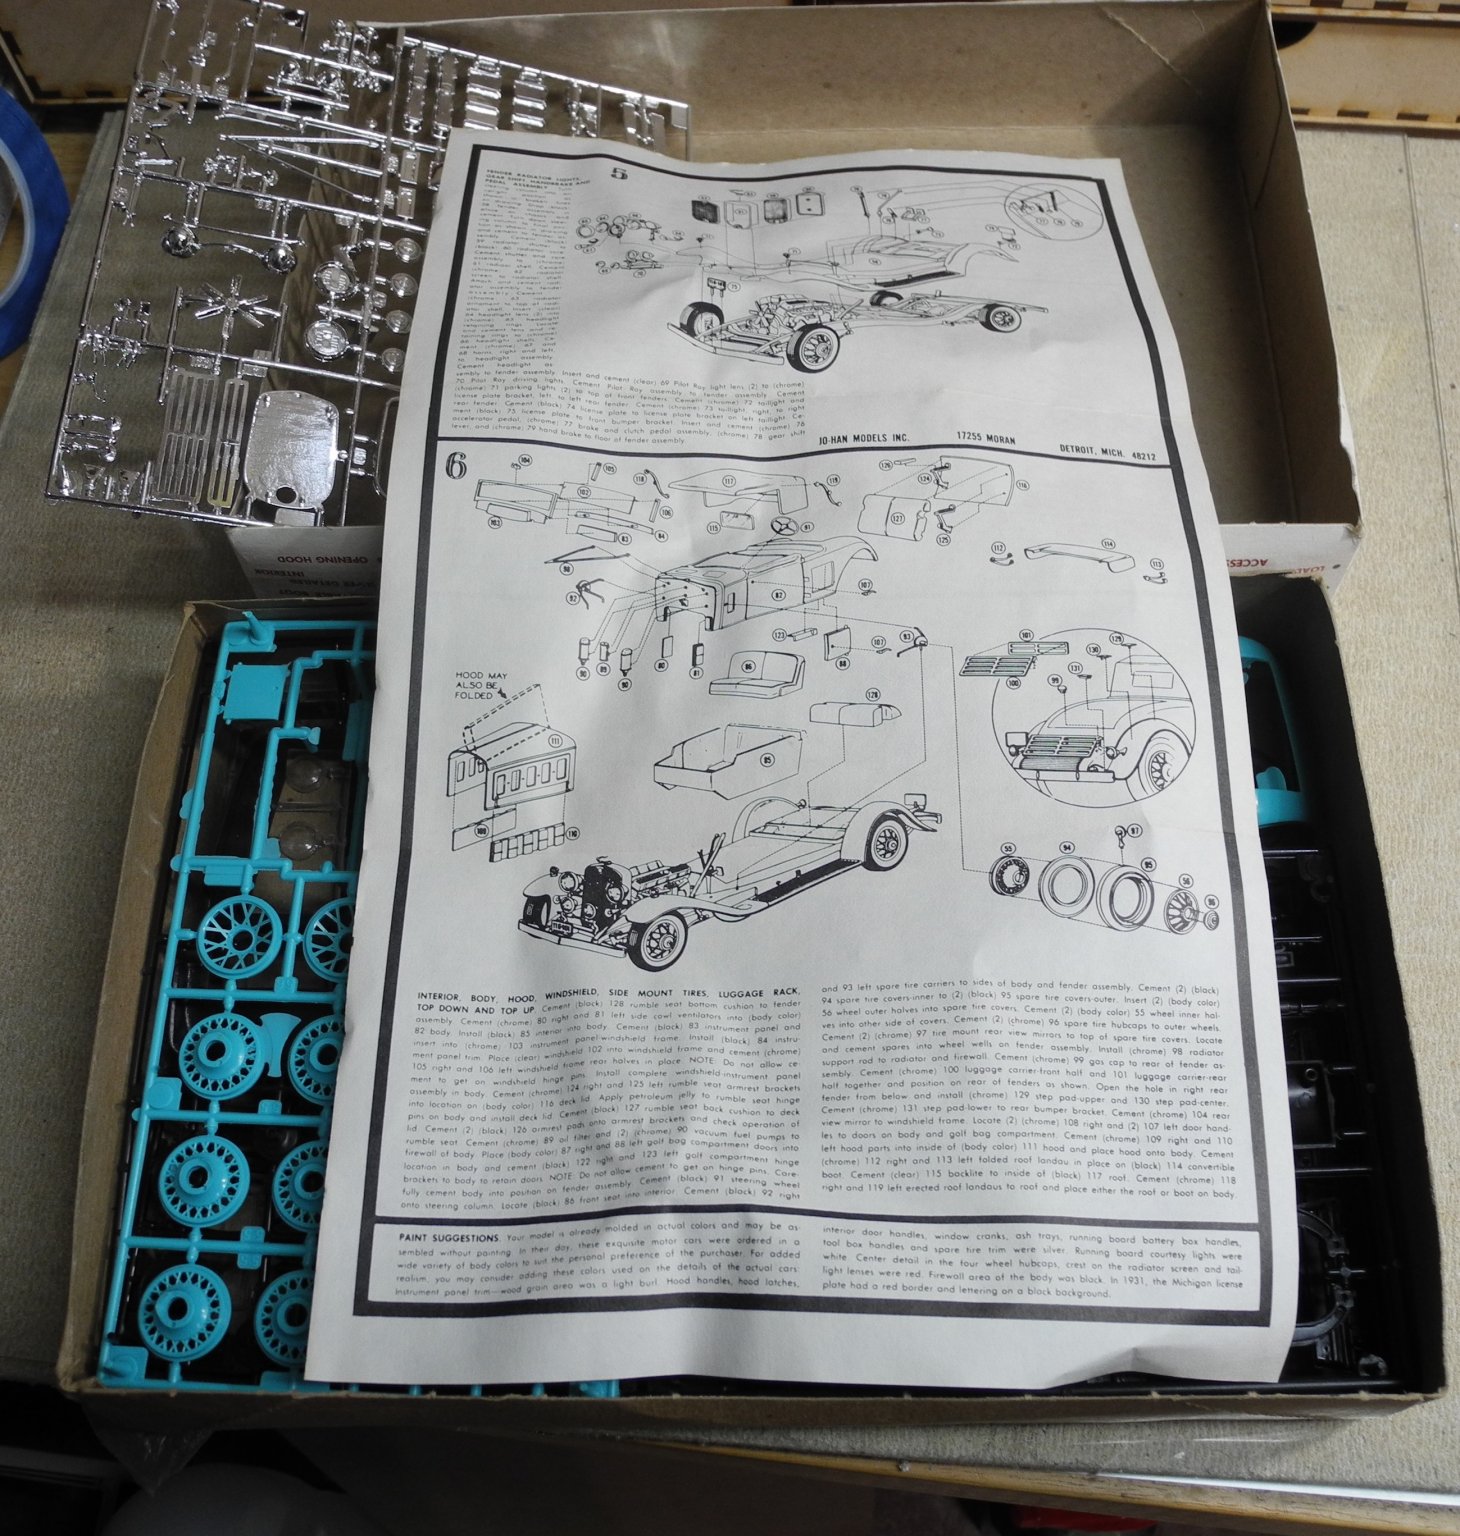
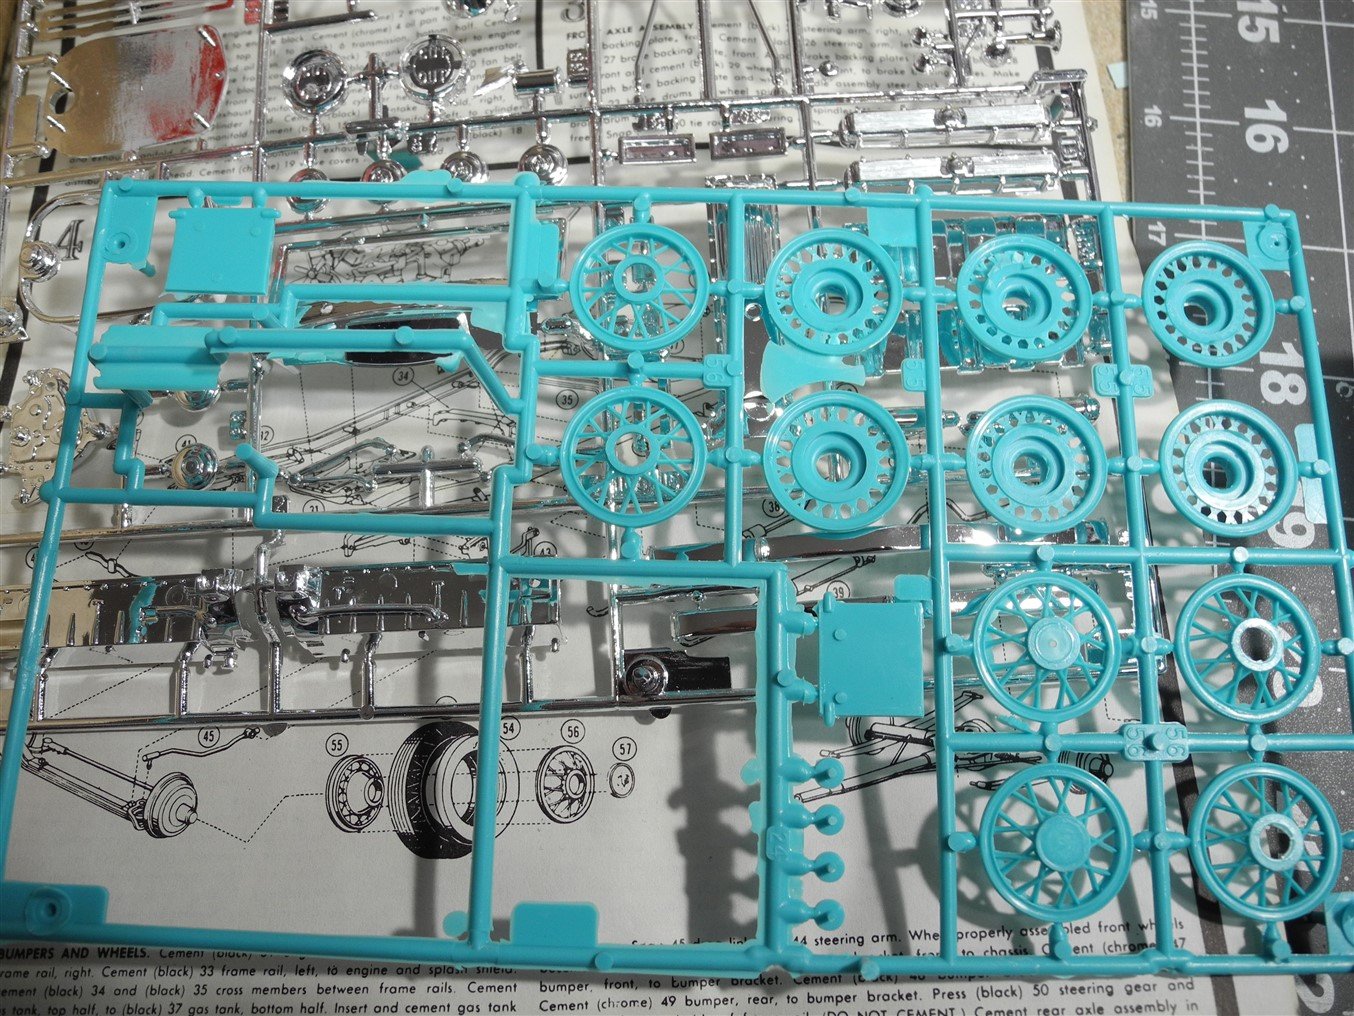
I looked through my stash and found another '31 Caddy, this one is a phaeton but has the same wheels as the cabriolet I'm building. So I borrowed the whitewalls from that kit. As you can see, the Caddy tires are much taller than the more modern AMT 15" tires. The whitewalls also have the Firestone brand molded on. The wire wheels...I might break these down, remove the plastic spokes, then lace the wheels/hub with wire (actually monofilament) as they should be. It would look so much better, I just need to convince myself to build the jig and do it. Here are the parts to build the big V-16 engine. Lots of cleanup, flash removal, and chrome stripping to do first.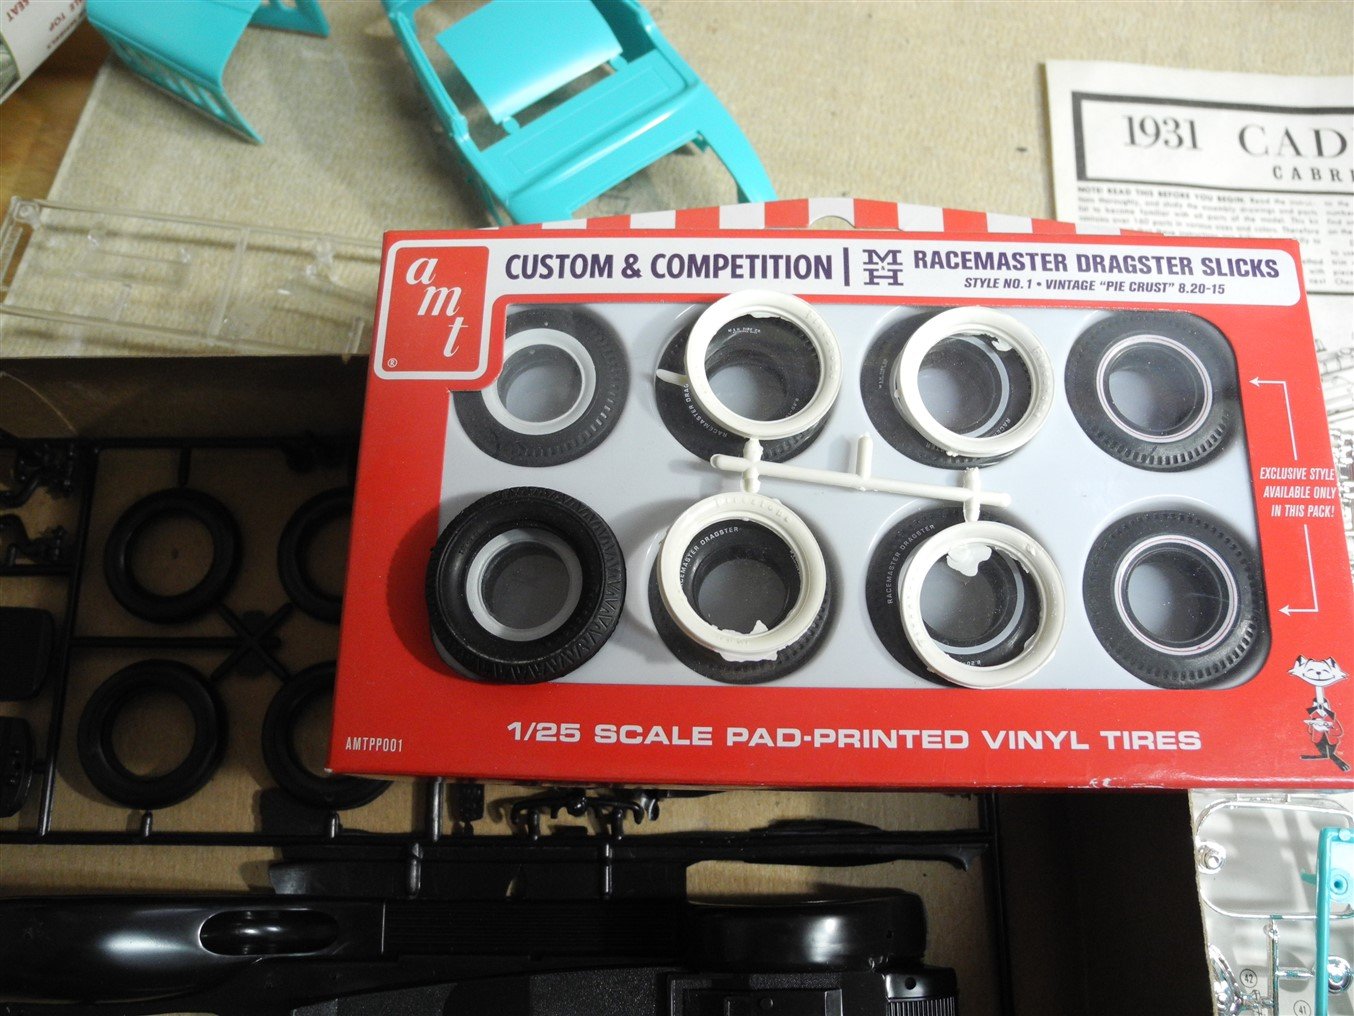
- 175 replies
-
- 14
-
-
Hey Jack, I really enjoyed seeing all your armor models. Great collection. PS: Interesting the British named their tank "Al Capone". Pretty cool.
-
1931 Cadillac by CDW - FINISHED - JoHan - 1:25 Scale - PLASTIC
CDW replied to CDW's topic in Non-ship/categorised builds
I have some packs of the white wall tires. Those are scaled to 15" tire size, whereas the '31 Caddy had taller skinny tires. The wire wheels are way too big to fit those tires. I will borrow a set of whitewalls from another JoHan kit I've got until I can replace them. -
1931 Cadillac by CDW - FINISHED - JoHan - 1:25 Scale - PLASTIC
CDW replied to CDW's topic in Non-ship/categorised builds
Thanks for those links, Lou. Look closely at the photos and you will see the rings are not a flat ring. Price is not too bad on either of those kits. -
1931 Cadillac by CDW - FINISHED - JoHan - 1:25 Scale - PLASTIC
CDW replied to CDW's topic in Non-ship/categorised builds
Negative. They are not a flat ring of plastic. I have another JoHan kit of a classic Mercedes and assuming the inserts are the same for both kits, they are definitely not a simple flat ring. I should be able to use the Mercedes insert to cast a mold then make a new set of four, so that is some consolation. -
1931 Cadillac by CDW - FINISHED - JoHan - 1:25 Scale - PLASTIC
CDW replied to CDW's topic in Non-ship/categorised builds
Fiddlesticks! I was just going through the kit contents and realized the whitewall inserts are missing. Will have to rob them from another kit because you can't get by without them. This really hacks me off right now. -
Very realistic. An awesome job on the details Yves. Along with everything else, the magazines and pictures on the walls add so much realism to the room.
-
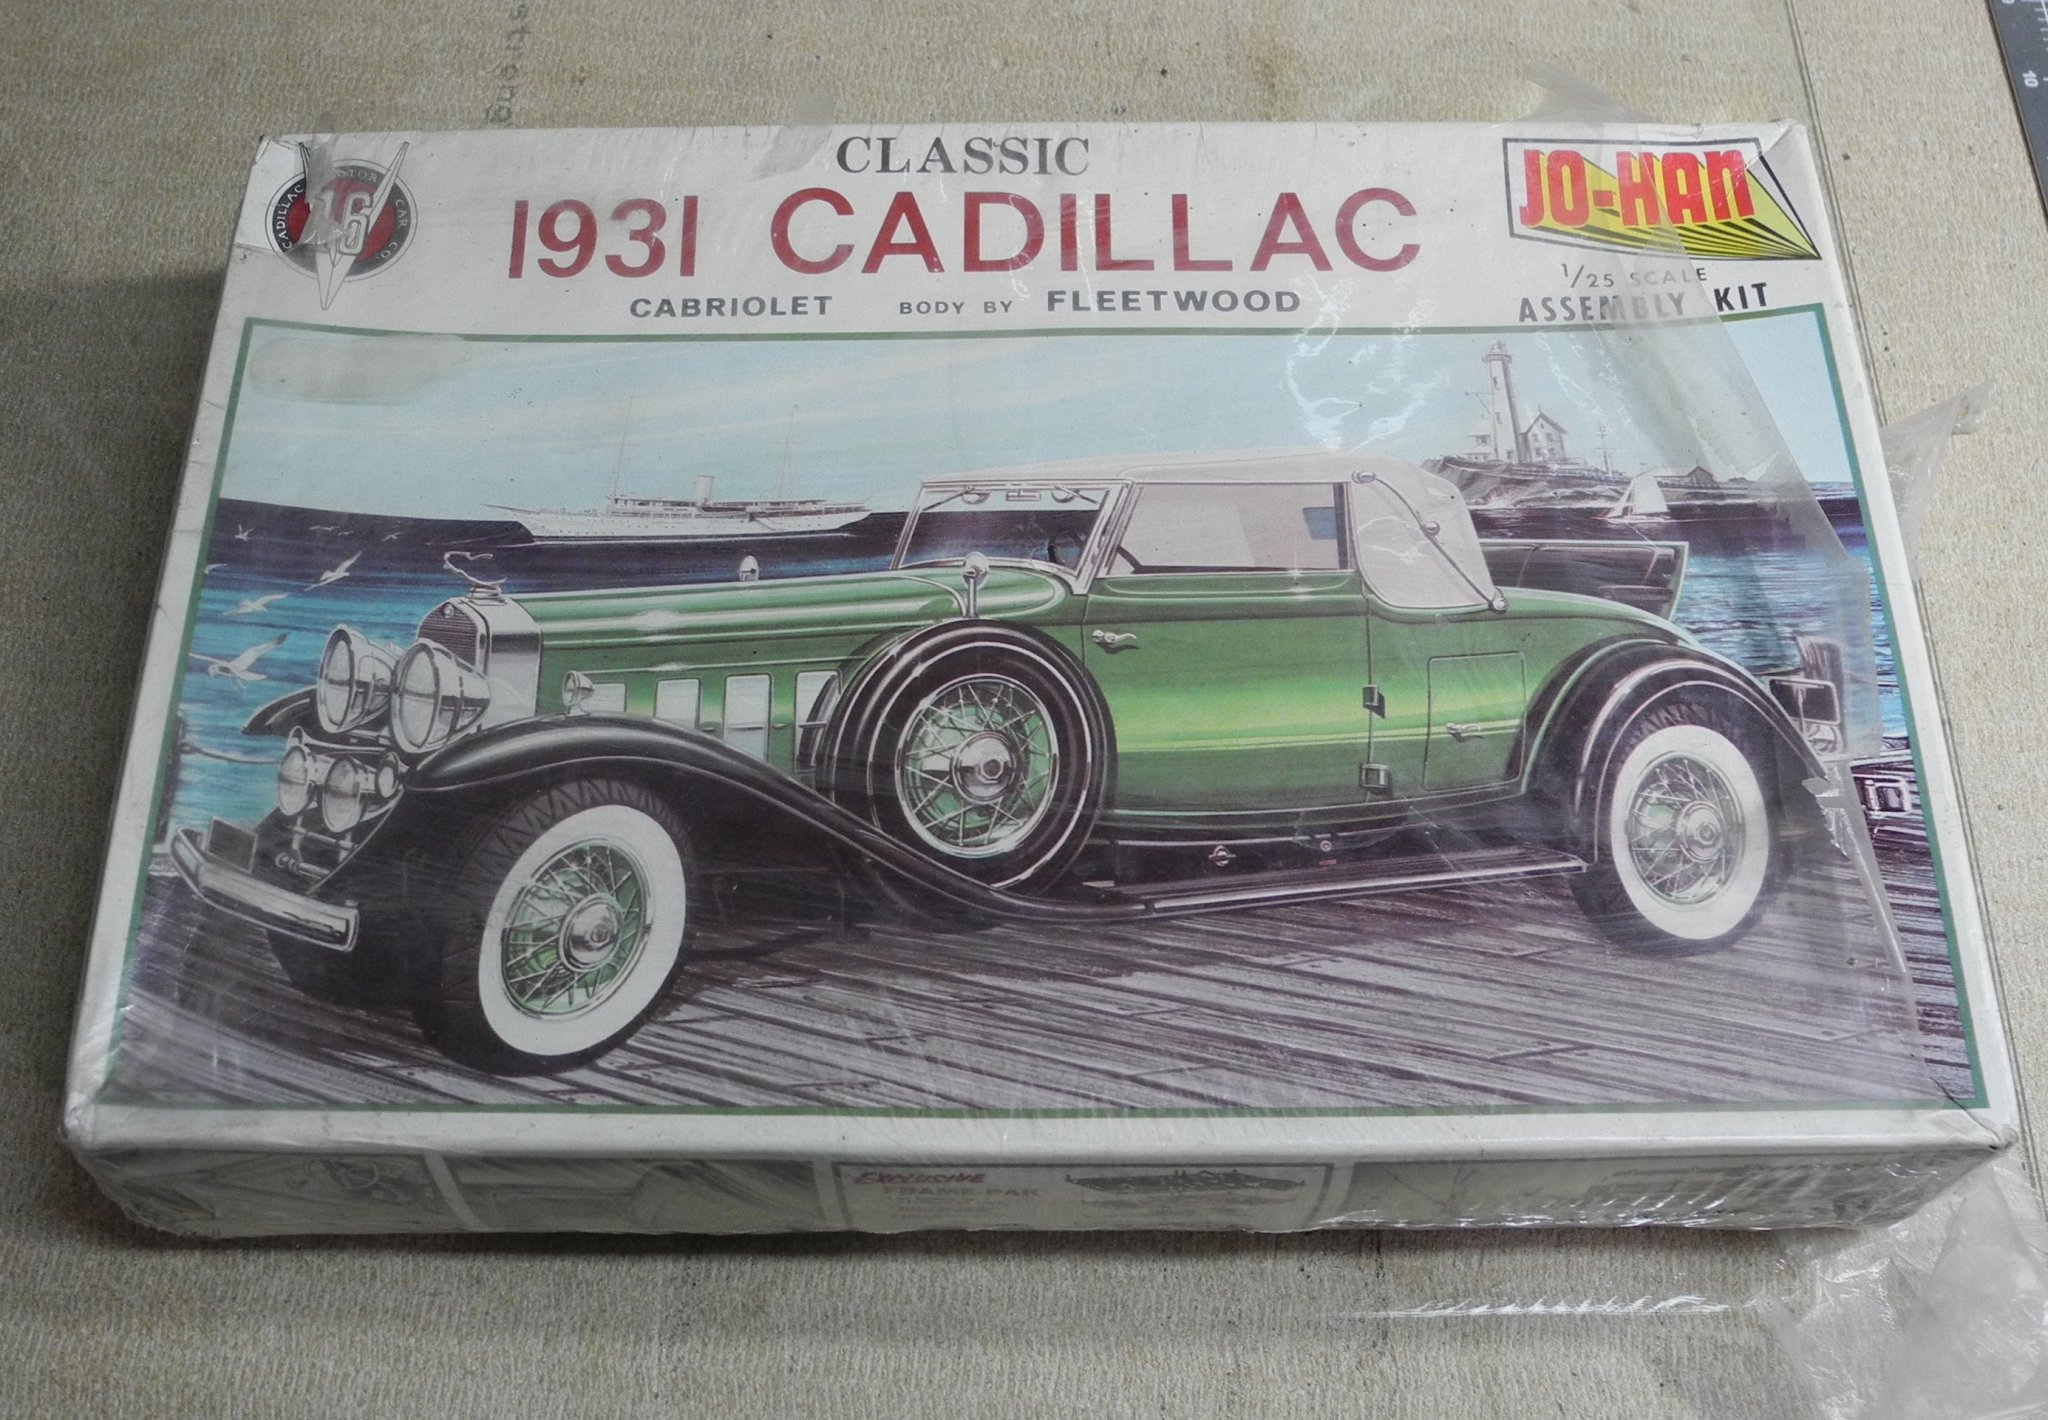
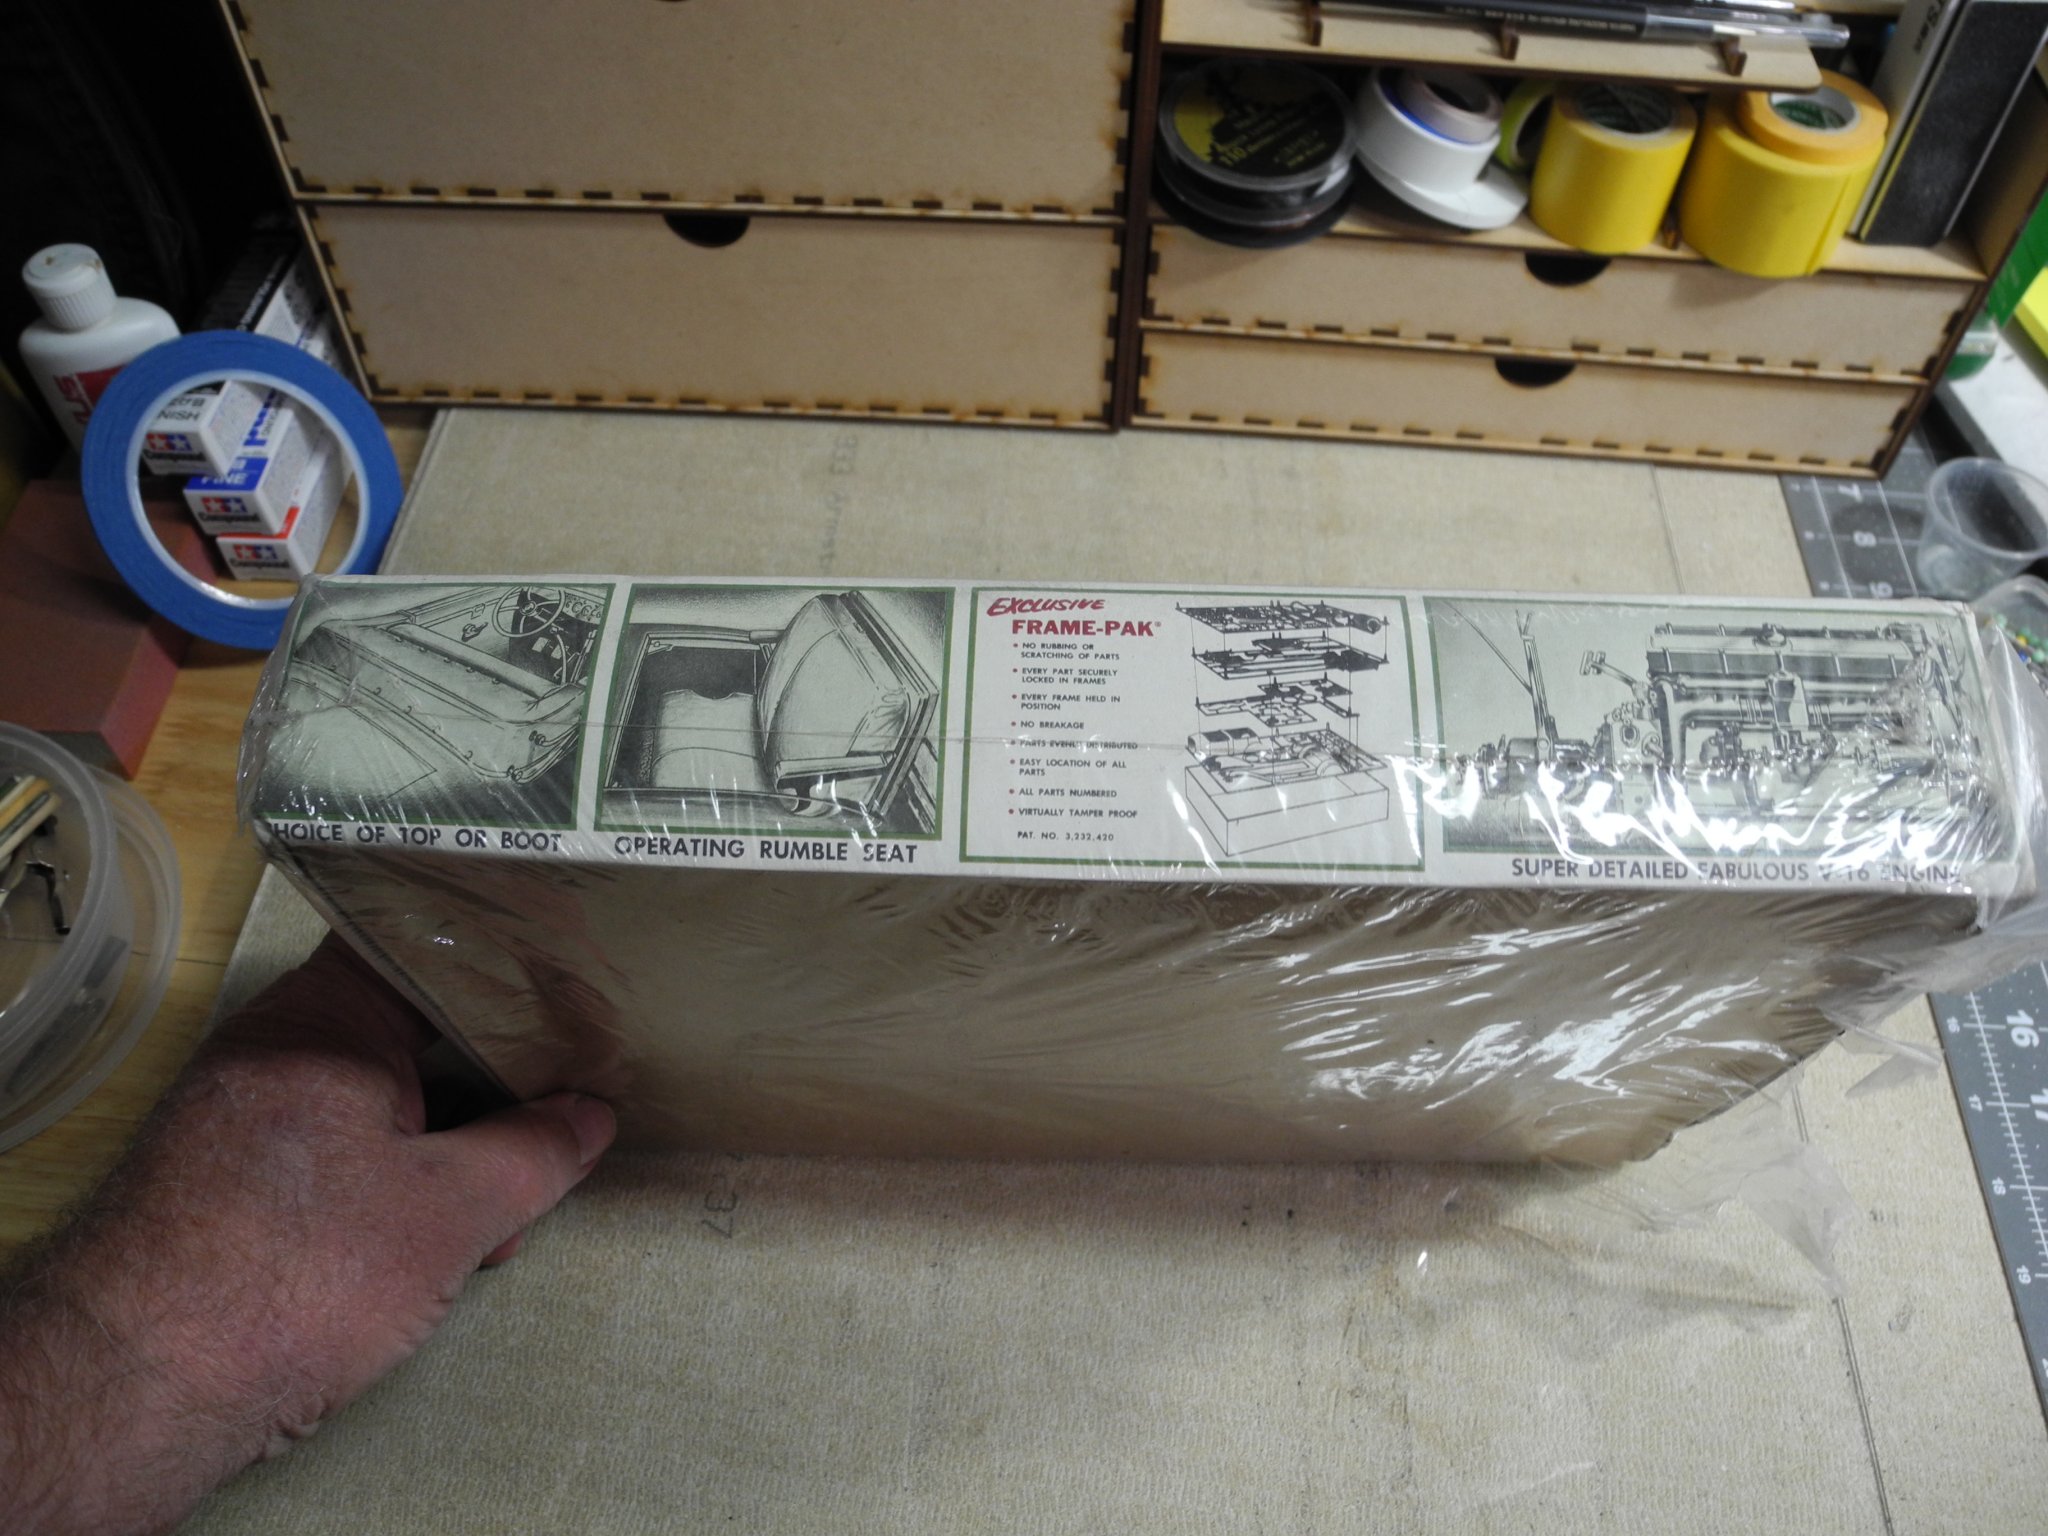
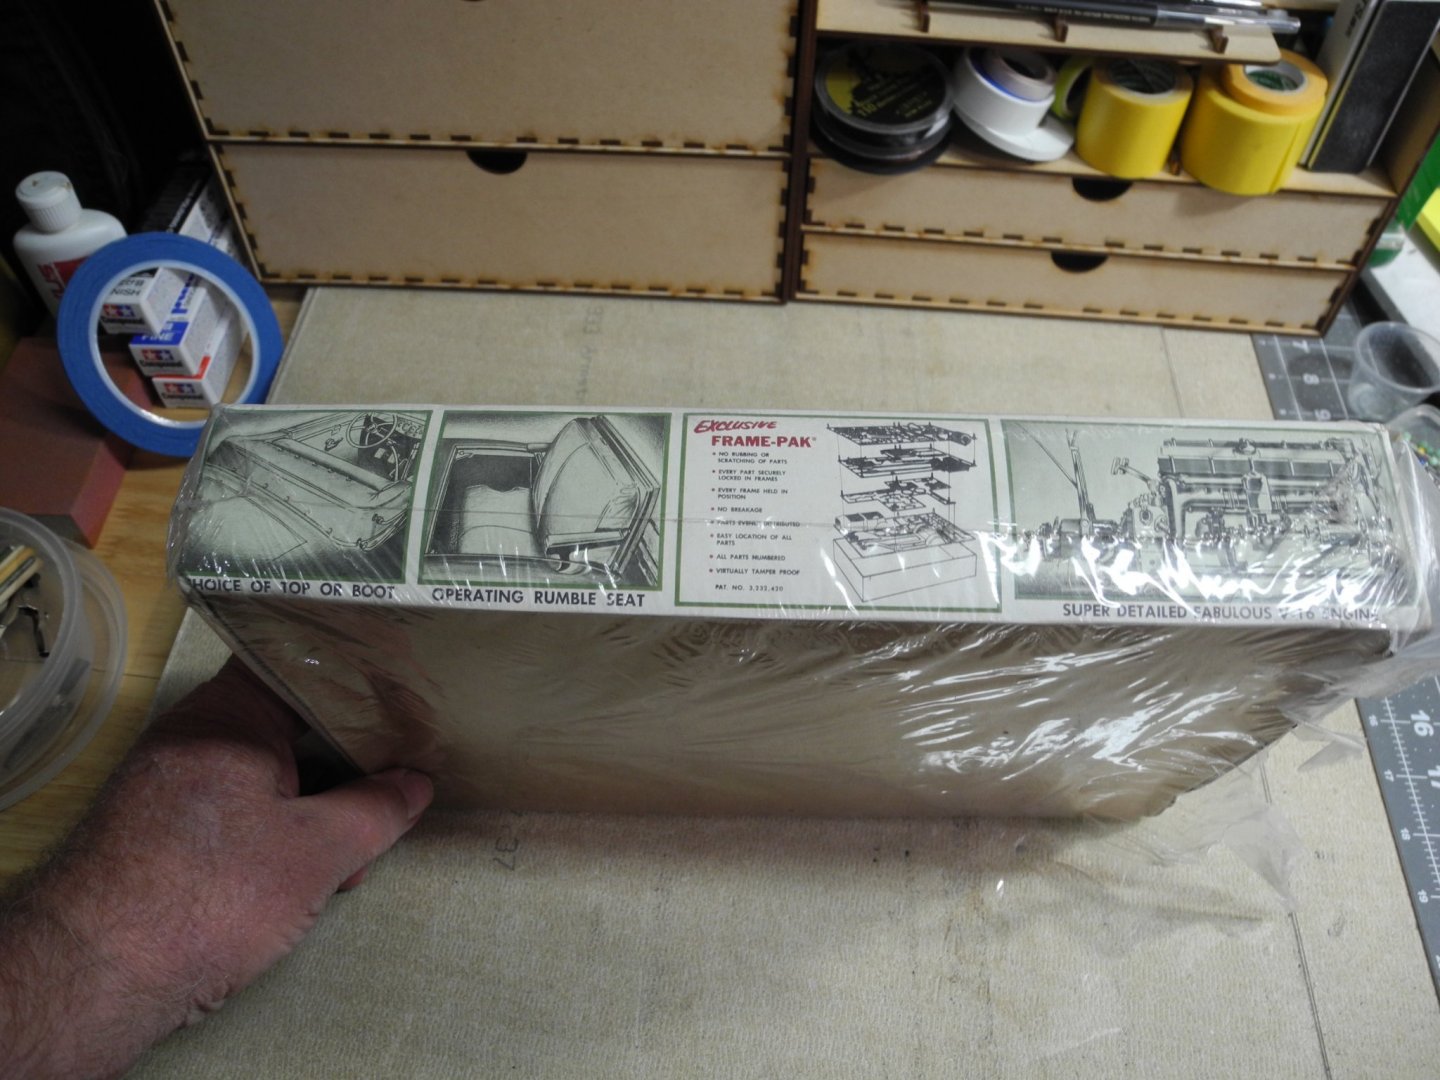
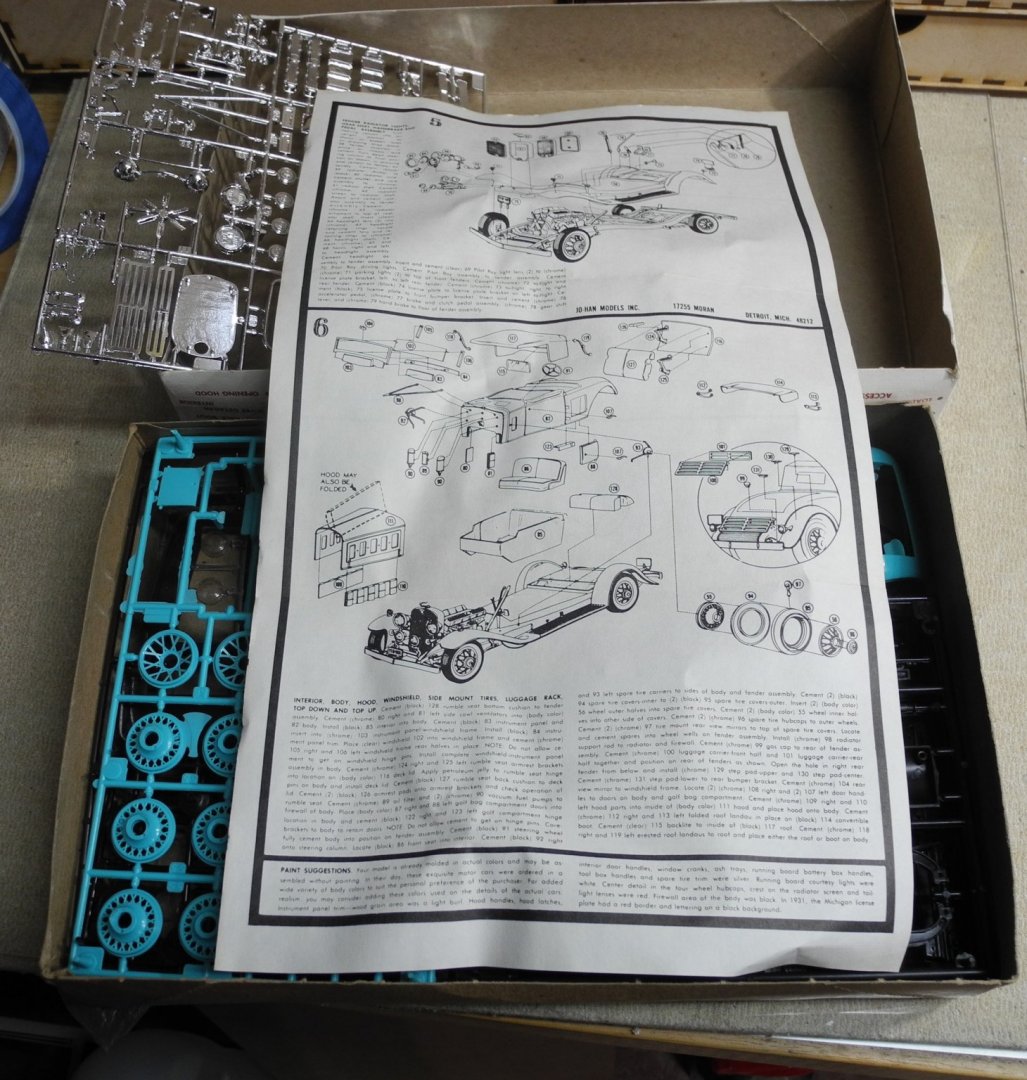
Removed some old kits from my garage, this 1:25 JoHan 1931 Cadillac was one of them. This kit has been around for a very long time. As seen in the photo, it was still sealed in plastic before I opened it. You will see it in it's original state once it's opened for the first time in more than 50 years. Johan kits were made in the USA, Detroit Michigan to be specific. This one is from the 1960's. Johan made some great classic car models.


- 175 replies
-
- 19
-
-
SBD-3 Dauntless 1:48 Hasegawa - Edwardkenway-FINISHED
CDW replied to Edwardkenway's topic in Non-ship/categorised builds
Great looking cockpit Edward! -
Nice! I like it Jack. Reminds me of the scenes in the movie, Saving Private Ryan.
-
I like those 75mm guns, they look real nice. Much nicer IMO than the built up guns such as Pontos. Those came from Russia?
-
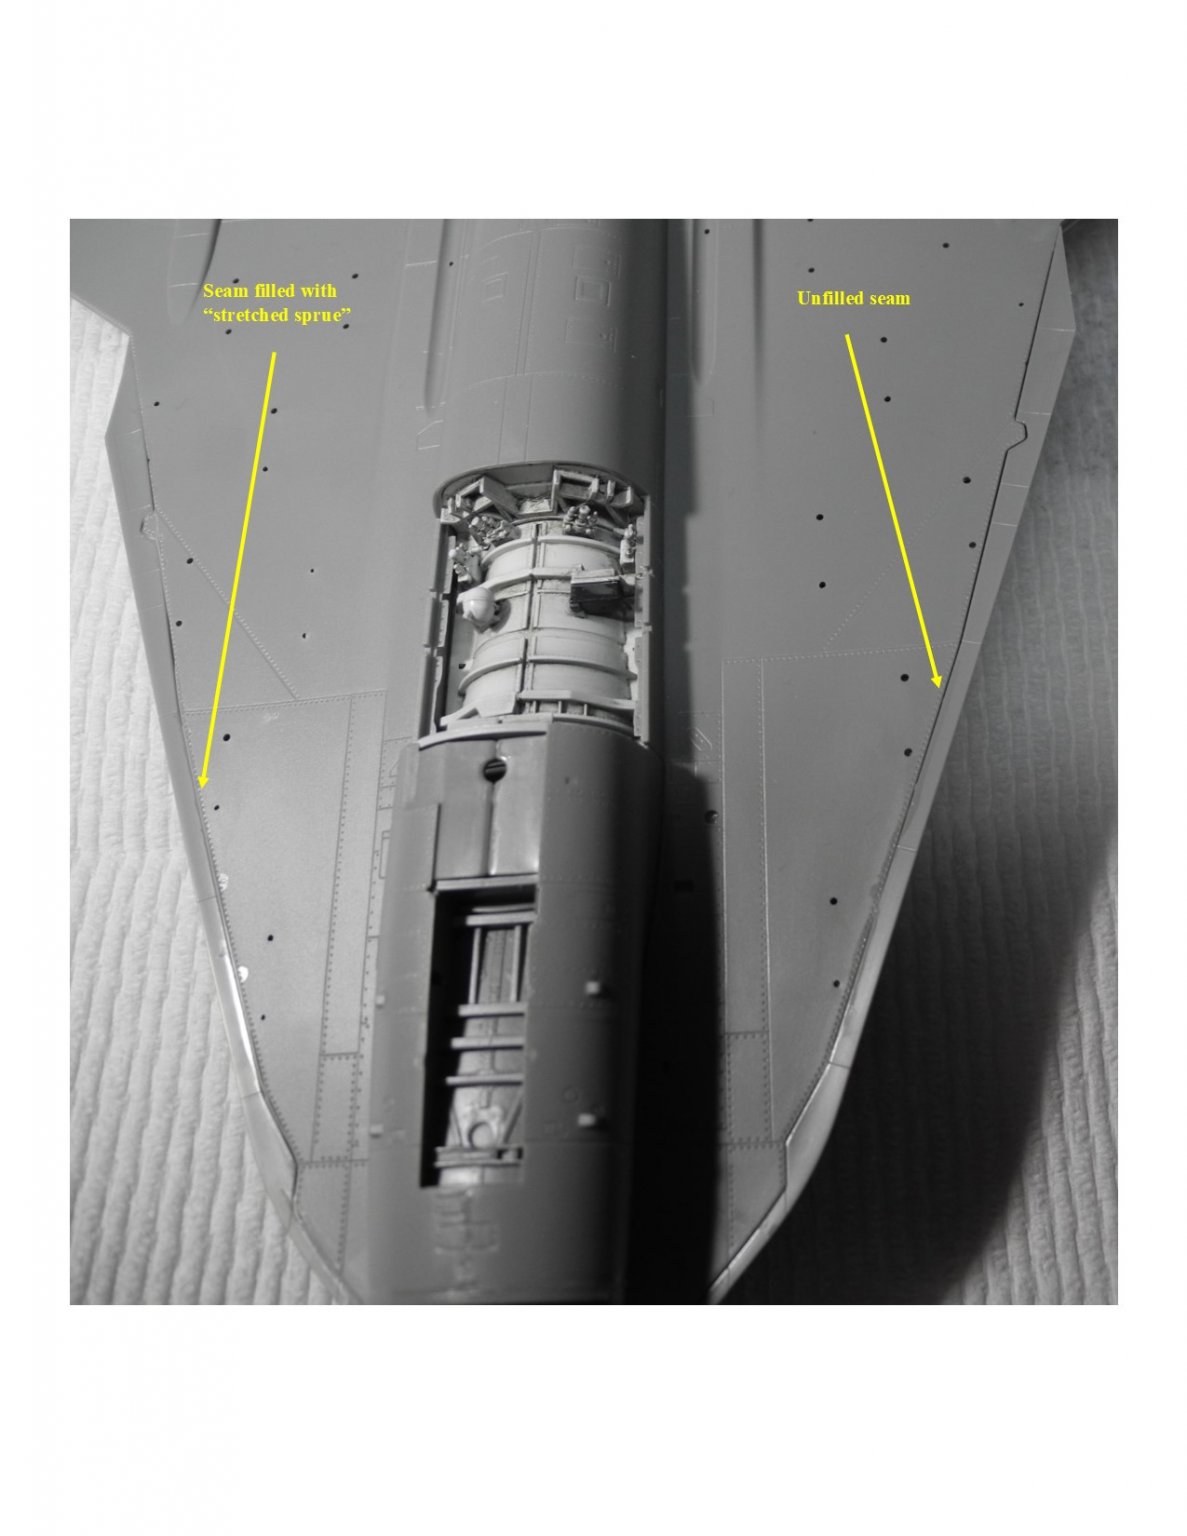
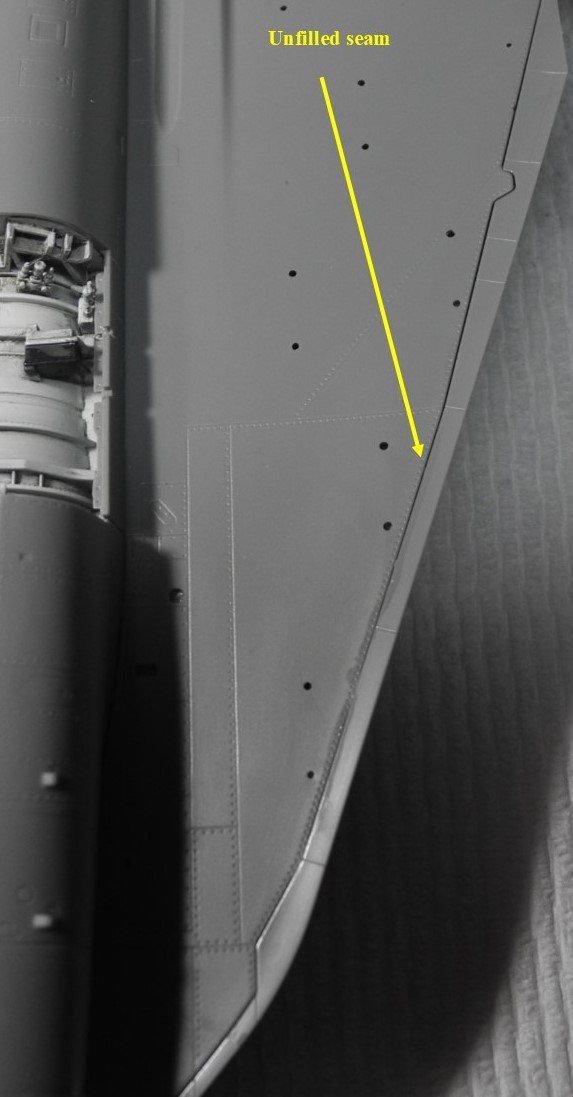
Many times (most times), the problem with fillers are two-fold; they shrink/crack over time, and they are difficult to level without destroying or covering up surrounding detail. With the stretched sprue method, you will eliminate the shrinking/cracking problem and what little filler you may need on top of the stretched sprue can be applied so lightly, it will not harm surrounding detail. That Vallejo filler seen in Lou's video can be smoothed out with a damp paint brush or q-tip, leaving little to no excess that needs sanding. Same is true with the Mr. Surfacer, but smooth it down with a paint brush or q-tip dampened with a solvent based thinner to remove excess.
-
Ammo humpers are/were thankful for that.
-
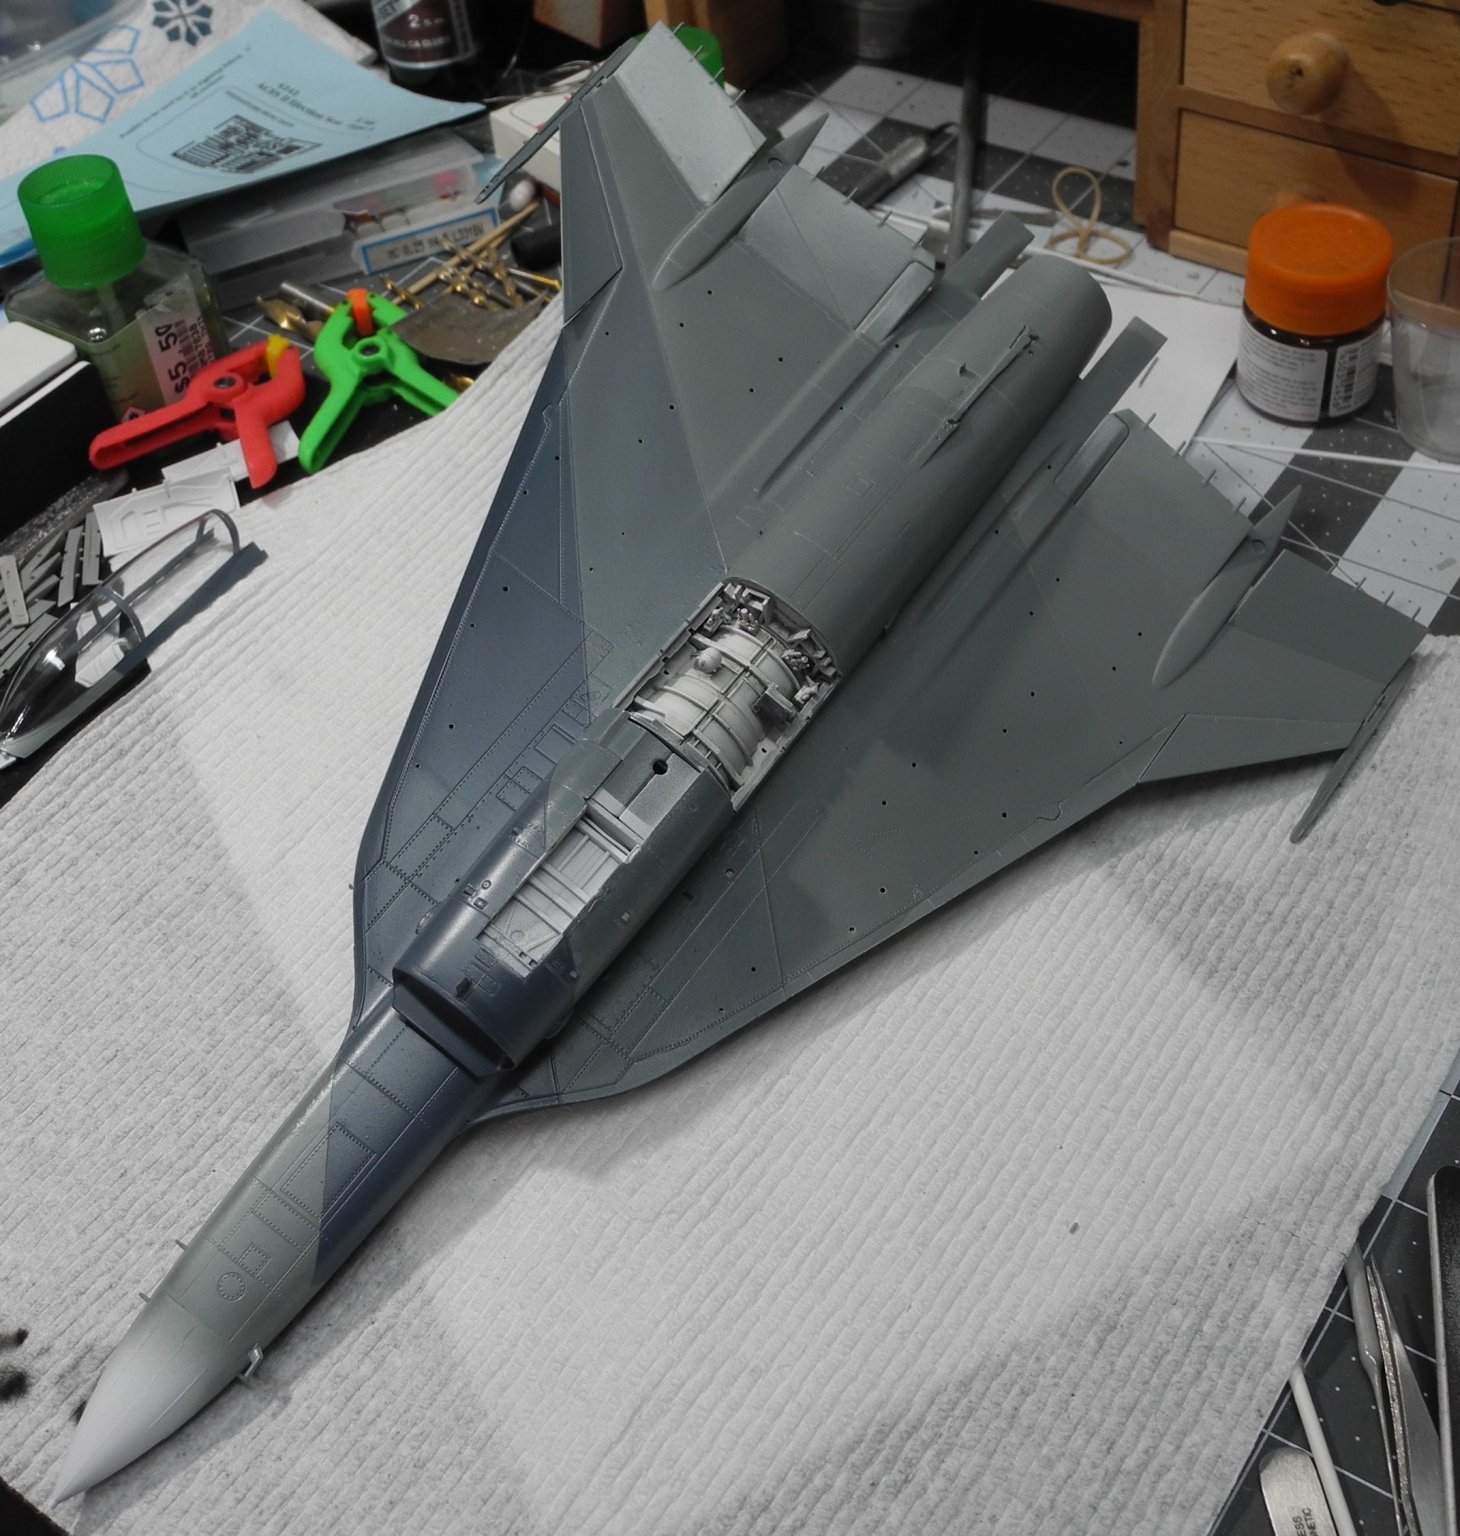
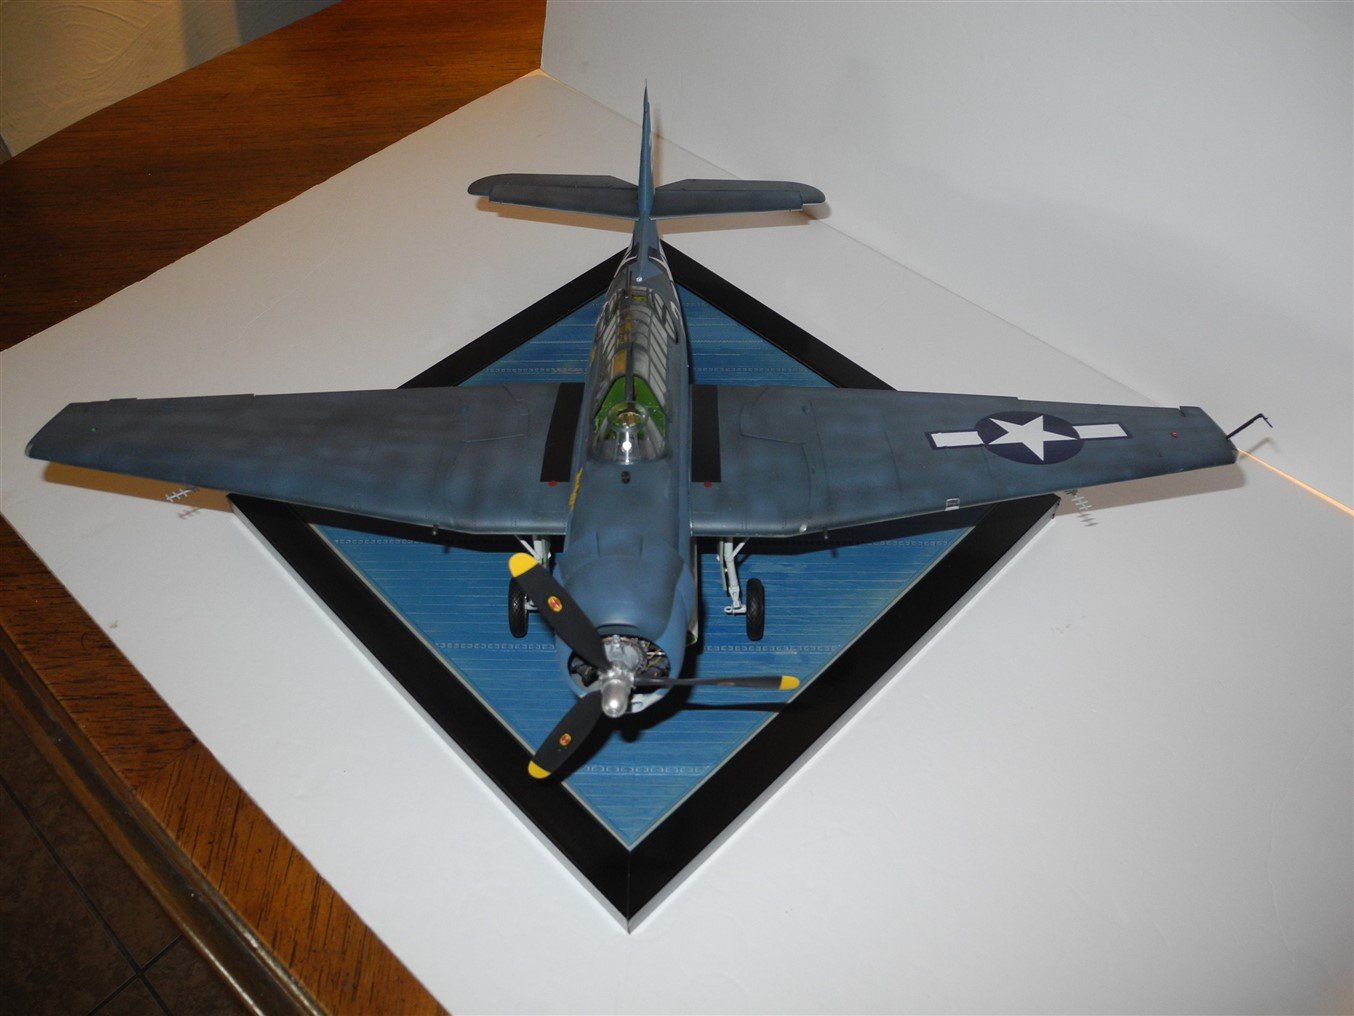
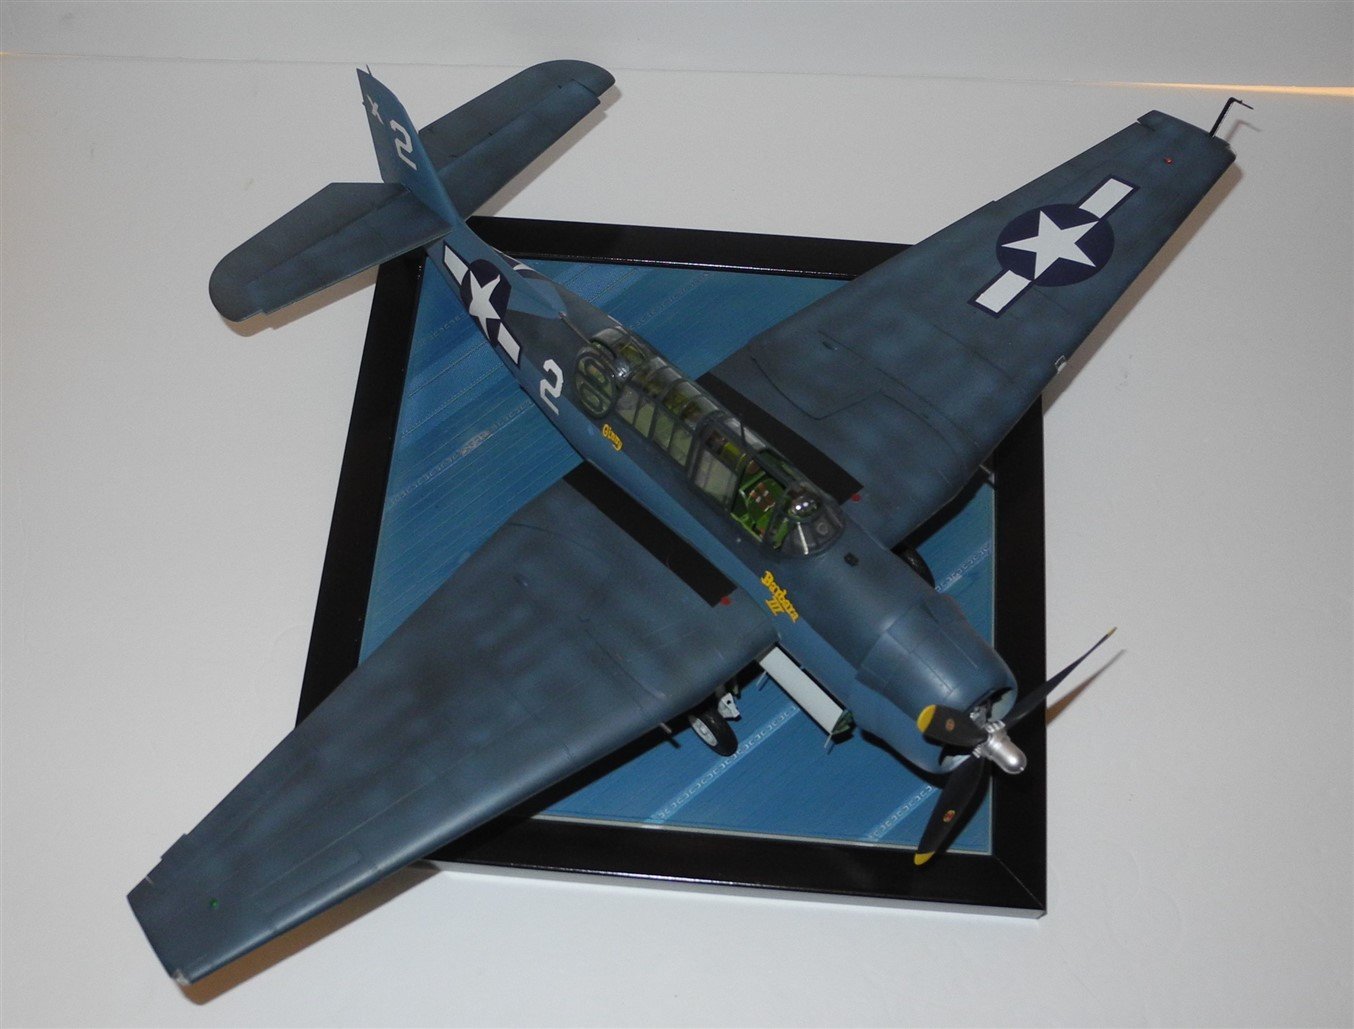
Here are some photos of one of my models where stretch sprue was used to fill a gap. There was detail on either side that I didn't want to destroy.
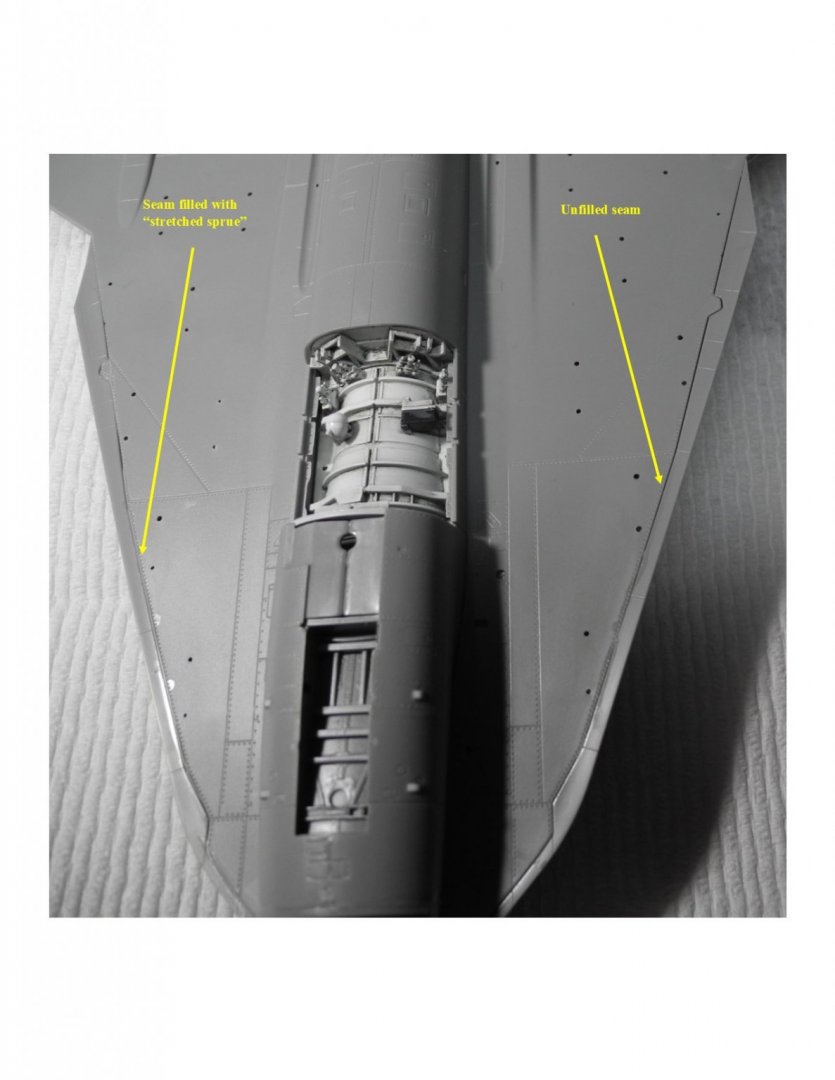
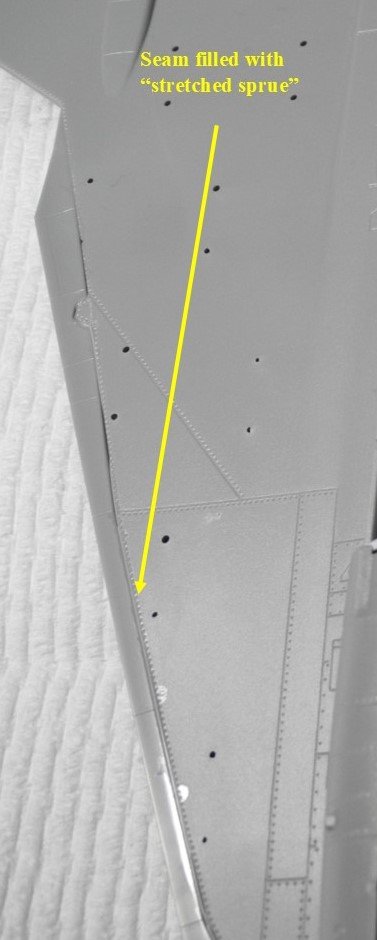


-
heat-stretch some sprue, then use that to fill the gap. Use Tamiya extra thin liquid cement to bond the stretched sprue in the gap. This will not impact the surrounding detail and if you're careful to stretch the sprue to the correct diameter to fit the gap, you will not need to sand it, either.
-
I may live by the saying that goes, "less is more". Don't want to get too carried away scraping up the deck. What do you think?


- 267 replies
-
- 21
-
-

-
Hmmmm...never knew about the Glencoe SS United States. Not sure how I missed seeing this model at some point or another. Great project! Glad to be able to follow along with you on it.
- 10 replies
-
- 2
-
-
- united states
- glencoe
- (and 2 more)