


Ian_Grant
-
Posts
2,028 -
Joined
-
Last visited
Content Type
Profiles
Forums
Gallery
Events
Posts posted by Ian_Grant
-
-
Speaking of overlooked polar ships, what of "Fram"? I have fond memories of seeing her, and the viking ships, when in Oslo.
- KeithAug, Keith Black, gak1965 and 2 others
-
 5
5
-
-
Another beautiful model! Congrats Steven!
- mtaylor, Louie da fly and Glen McGuire
-
2
-
 1
1
-
Seems to me like a representation of the sliding truss for the upper topsail yard in its lowered position, with a wire to glue into a hole in the yard. But it's awfully close to the mast cap, where the lower topsail yard's pivoting truss would be located. At any rate, perhaps the builder only got around to adding the first such truss.
- Keith Black and KeithAug
-
2
-
Those videos with Malinois dogs literally running up walls and trees to get the suspect are awesome!
-
7 hours ago, KeithAug said:
She is probably a bit reluctant to travel given the threat of amputation.
No no, it's the helmsman whose arms will need amputating!
I received an update that my Polish girl will be with me by Sept 6th. 👍
-
-
-
Painting coming along. I ordered two figures via Etsy; the helmsman who will need his arms amputated and reattached should be here by the end of the month, but the girl I ordered from Poland might not be here until October.😕 HaHa.......
I want a lot more stuff for aesthetics: anchor, cleats, bollards, dinghy and outboard, yellow pinstriping tape, lettering to put name on transom, liferings, wheel, maybe even stanchions and grabrails. After looking at prices I will be making the dinghy and whatever else I can using the library's 3d printers and laser cutters.
Can't detail the cockpit until my people are here unfortunately. The mast step is screwed down.
- yvesvidal and GrandpaPhil
-
2
-
They do look great Eric.....could you possibly submit a pic with a ruler in view so we can appreciate the scale? 🙂
-
-
Very clean, neat job! Shaping up to be a great model...
- Ronald-V, Greg Davis and Bill Morrison
-
2
-
1
-
3 hours ago, Glen McGuire said:
"Twigged the shape"?? WTH does that mean? I thought y'all talked normal up there, but I guess I gotta go get me a book on how to speak Canadian as well as 'strine! 😃
It's more a British-ism, many of which I picked up from my parents (remember the Scots slang words from an earlier post in some log or other?). 😉
- Glen McGuire, mtaylor, FriedClams and 2 others
-
5
-
No, we're very lucky in that our local library has 3d printers and laser cutters freely available once you take a little orientation course.
For 3d printing, you pay for the plastic you use up. Laser cutting costs nothing if you bring your own material.
I made extensive use of both for my Roman galley. 👍
-
Oh, it's Texas! I hadn't twigged the shape. Now I see. Very creative Glen!
- Glen McGuire, Keith Black, mtaylor and 3 others
-
2
-
 4
4
-
Looks like a theatre stage. Maybe for a production of "Showboat", one of my favourites.
- Canute, Glen McGuire, Keith Black and 2 others
-
2
-
3
-
-
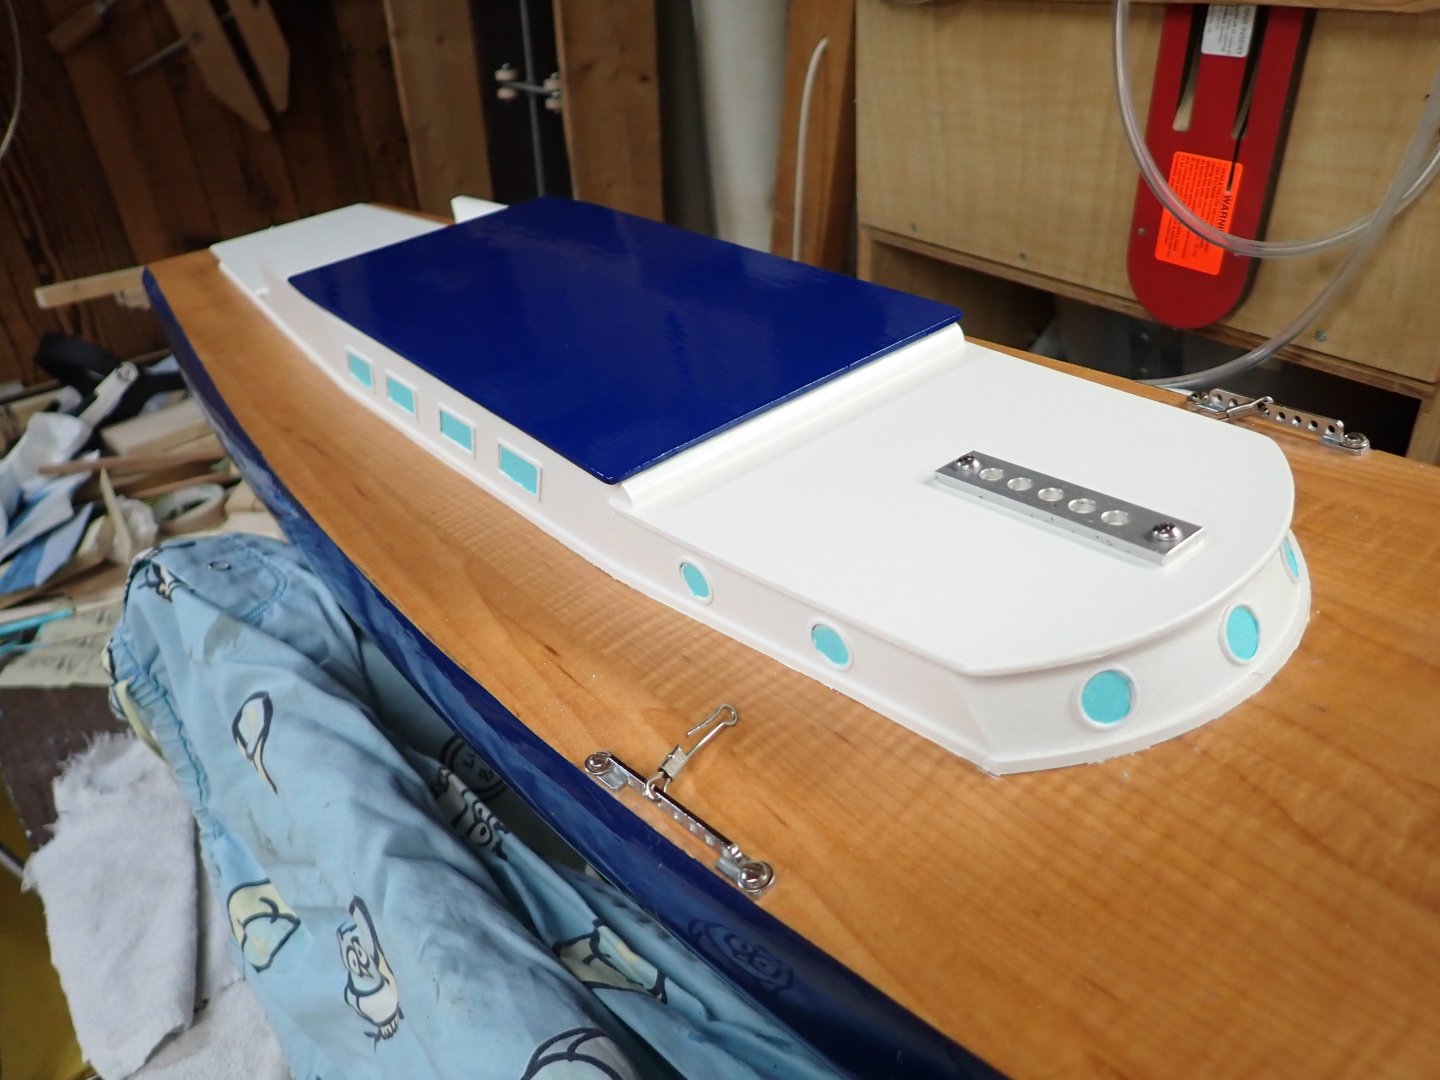
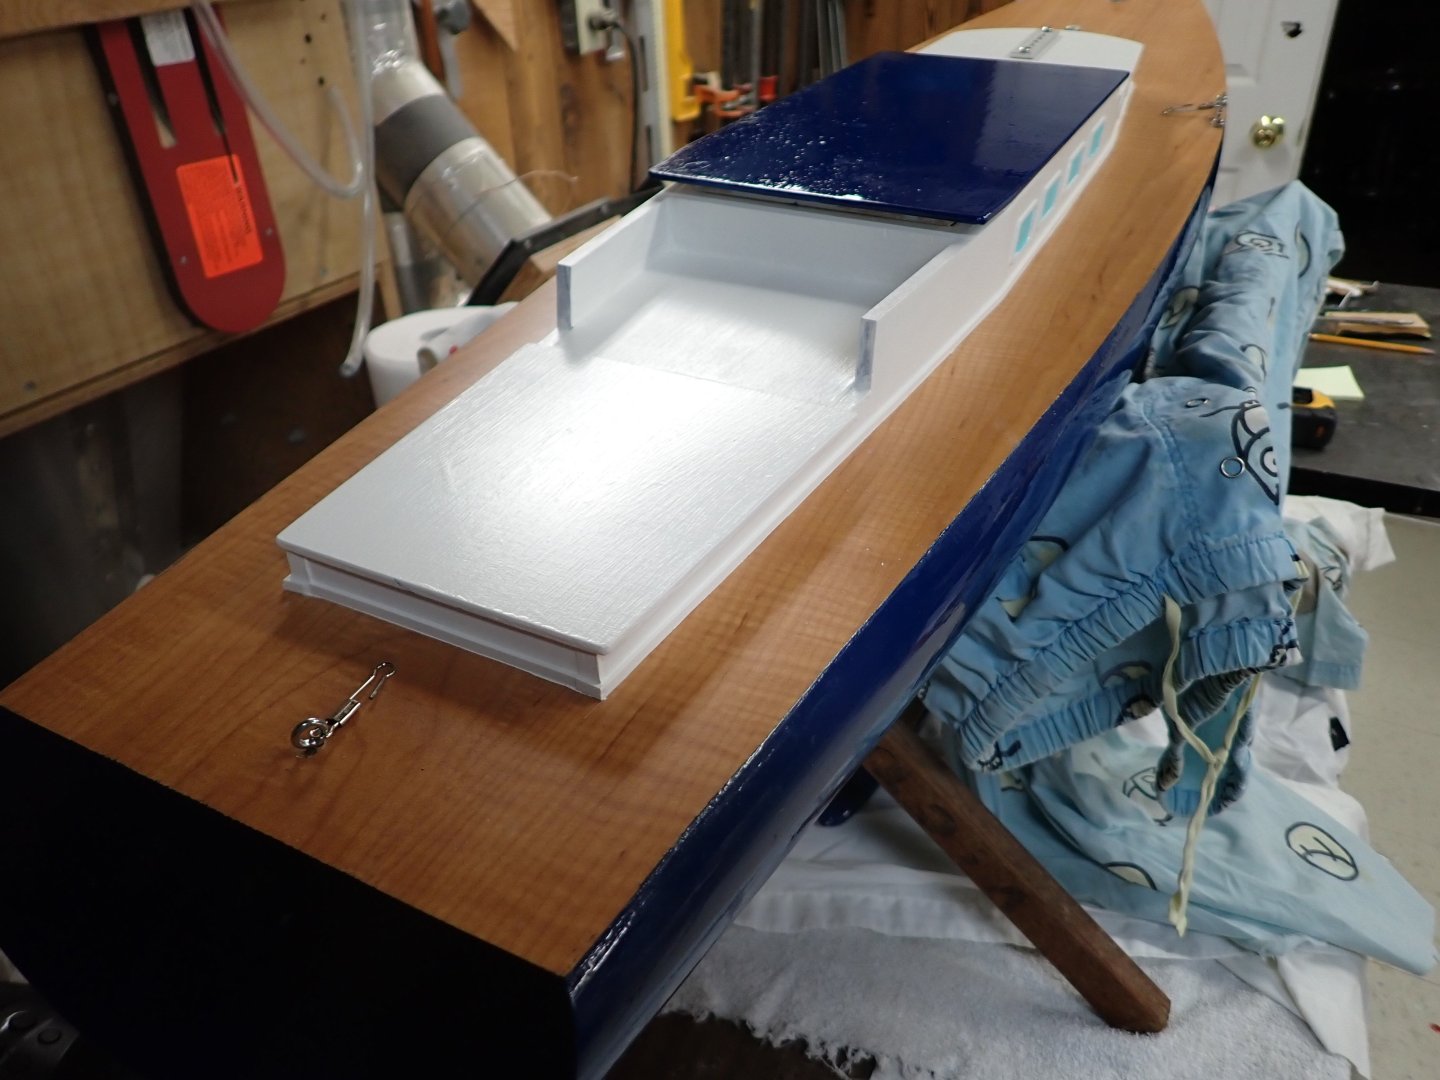
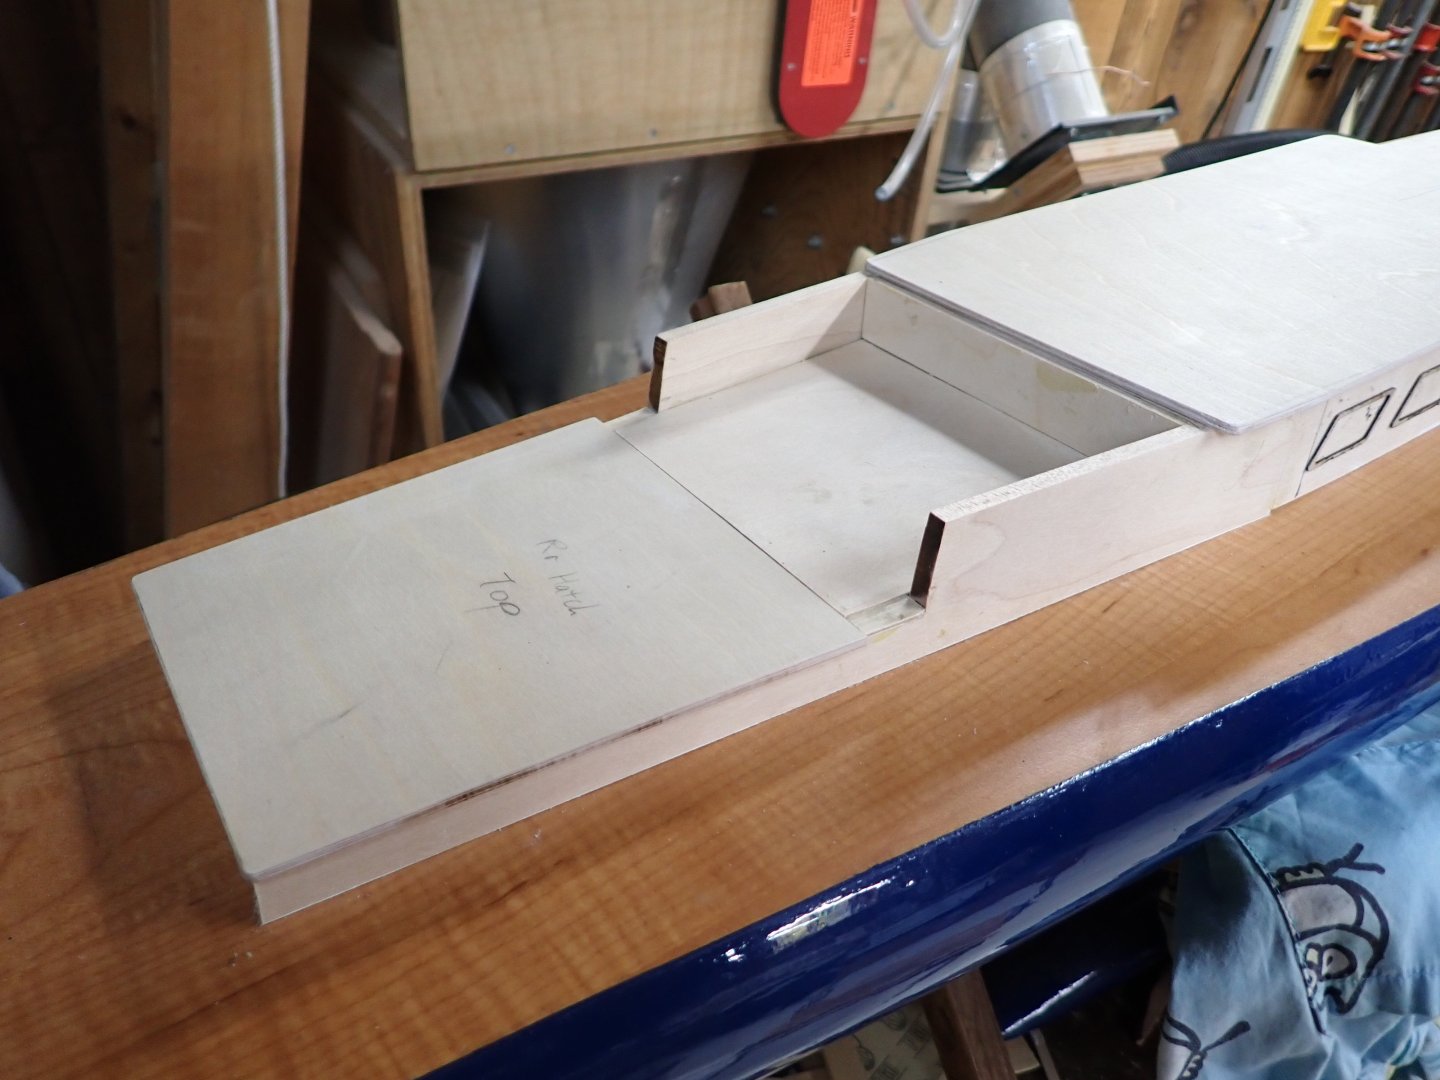
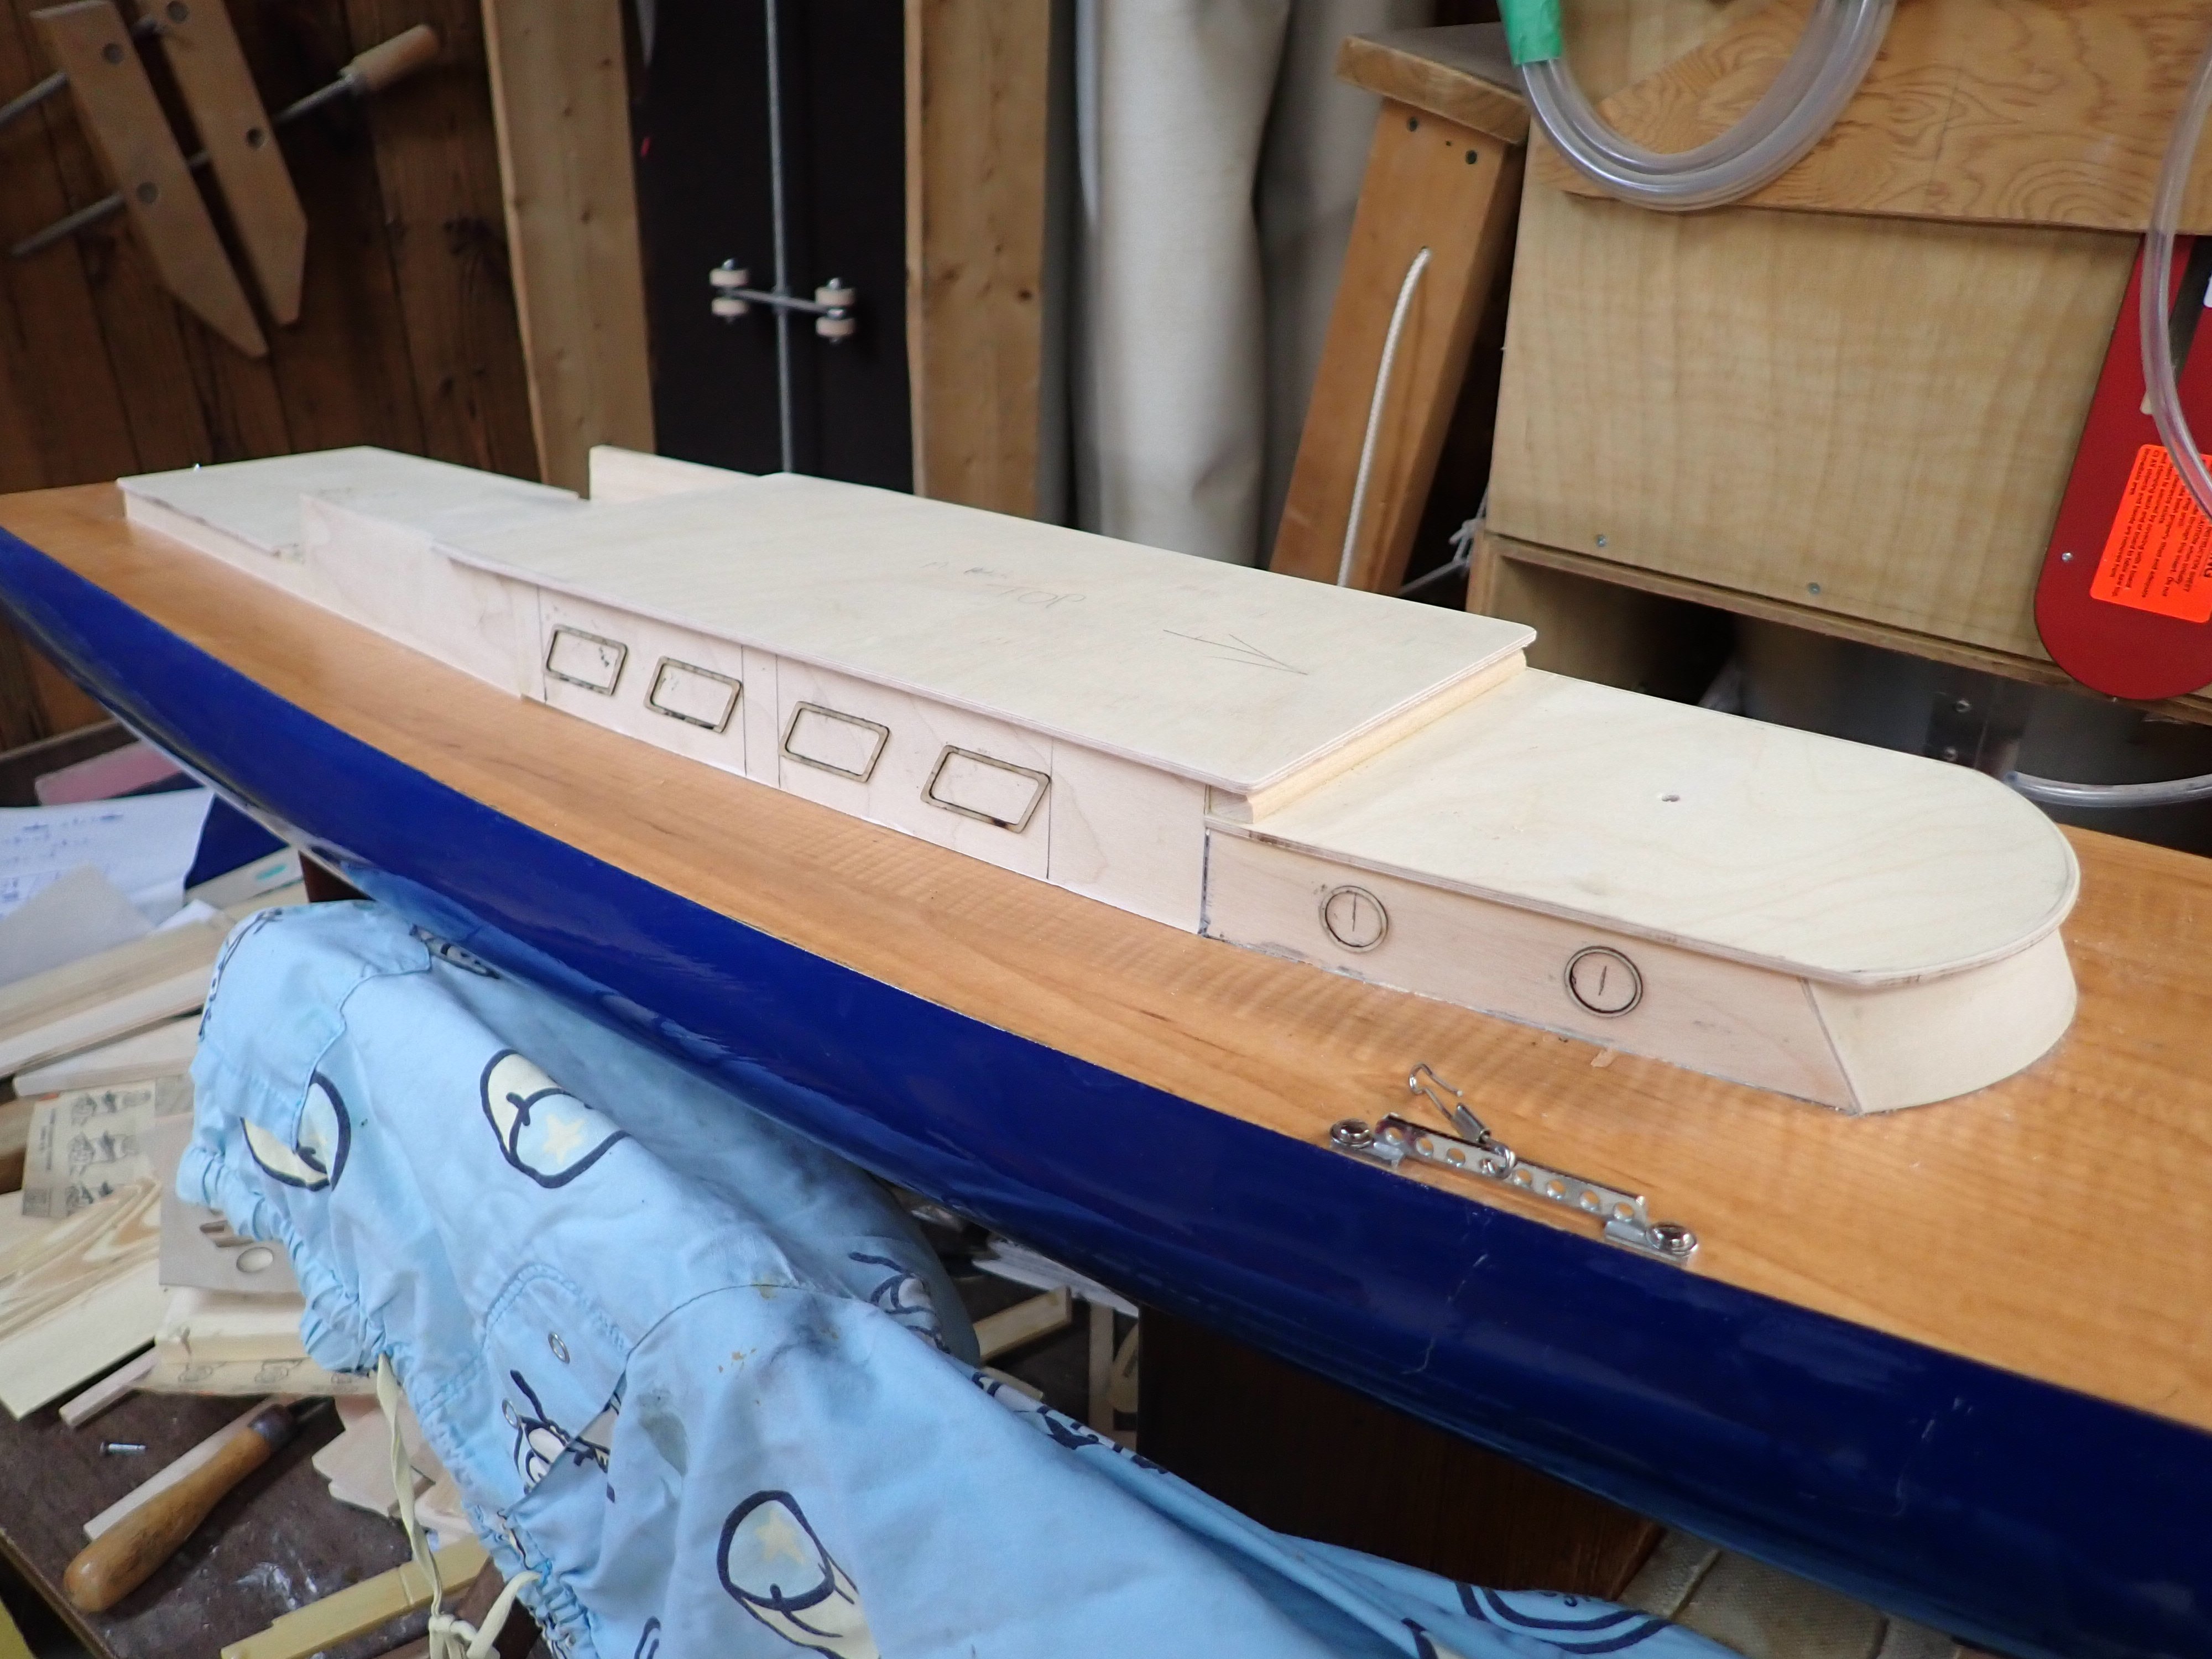
Cabin taking shape, with laser-cut window frames. Main access is via large cabin roof which will be held down by rubber-bands. Rudder area access via rear hatch which will be screwed down.
Mast will be stepped on top of the forward part of the structure. Plan is to have an inflatable dinghy tied down on the aft platform. Cockpit layout and finishing will have to wait until I have figures in hand. Still no luck finding a helmsman although G-scale girls are relatively plentiful. They're pricey. I need to tour some toy shops looking for ideas.

-
5 hours ago, Kevin-the-lubber said:
Ian, left field, pragmatist thought - add a little hidden motor and prop at the stern, just to overcome the limitations of scale? Probably not what you want to do, but to a very great extent I think you've already achieved a lot and shown what's possible (and less possible) with oar power alone.
That's what my engineering student daughter said the first time I had it in the pool. Sigh. 😐
There are a couple of videos of other galleys moving effortlessly through the water. I have often wondered if they have prop assist. One of them I think must have because the oar motion seemingly does not justify the speed.
It would be quite a major job to bash a prop shaft hole through the stern given the embedded lead ballast. 🙄
-
Thanks Bedford.....As always in this log your comments are insightful and got me thinking something might be done.
Now that the heat wave has broken I will try some experiments in the pool - skeg, LARGE rudders, software changes.
Ian
- mtaylor, Keith Black and Glen McGuire
-
3
-
Thanks Richard. Yes, that's what I was doing before fitting the (ineffective) rudders. I backstroked on the inside which completely stopped the boat while it swivelled on its centre point but I can't do that every few seconds. I'm not sure it would even turn with oars stopped on the inside with my hull bilges; need to try some stuff before our pool closes.
Love your Olympias!
-
-
Richard, you have a far better understanding of the underlying physics than I. Have you any ideas of what I could try? I can think of (1) a midships skeg (which Javelin does not think will work), (2) huge rudders, (3) internal water pumps which could act as thrusters by sucking water in on one side of the bow/stern and pushing it out of the other via nozzles hidden u/w, (4) modify software to shorten oar stroke on inside of turn.
I can find 6V water pumps for RC, self priming, but don't know what force they'd generate at 1 liter per minute.
I now regret my simple flat-bottomed hull design. Experiments are required but I just can't find the motivation right now. I've moved on to restoring my old 70's Marblehead yacht just to get something in the water this season.
At least yours went in a straight line! Mine always curves one way or the other.
Thanks for any suggestions you may have!
Ian
- Glen McGuire, Keith Black and mtaylor
-
3
-
Looks great Glen! So you just apply those products (with a brush? a popsicle stick?) and they blob up of their own accord? Or do you need to do some rough sculpting on application?
Thinking of my future Soleil Royale as a waterline model since the Heller u/w hull is so implausible........
- Knocklouder, Canute and mtaylor
-
3


Herzogin Cecilie 1902 by Jim Lad - Four Masted Barque
in - Build logs for subjects built 1901 - Present Day
Posted
Love it! For some reason well deck gangways really enhance the looks of a ship, to me.
Access to mast bases was an issue on my Preussen too, especially the jigger mast which is completely surrounded by the aft well deck gangway, the aftmost boat skid, and the hen coop aft of it. With the insane number of backstays blocking side access I ended up belaying all the running rigging at bitts and belaying rails and will rig all of it in reverse. Preussen has been on pause for two years; back to it this winter.