Baker
-
Posts
4,302 -
Joined
-
Last visited
Content Type
Profiles
Forums
Gallery
Events
Everything posted by Baker
-
Great models. And
-
 I remember from my Vasa build these were not so easy to shape them properly. fitting a lot and not cutting away too much at once is the best way.
 -
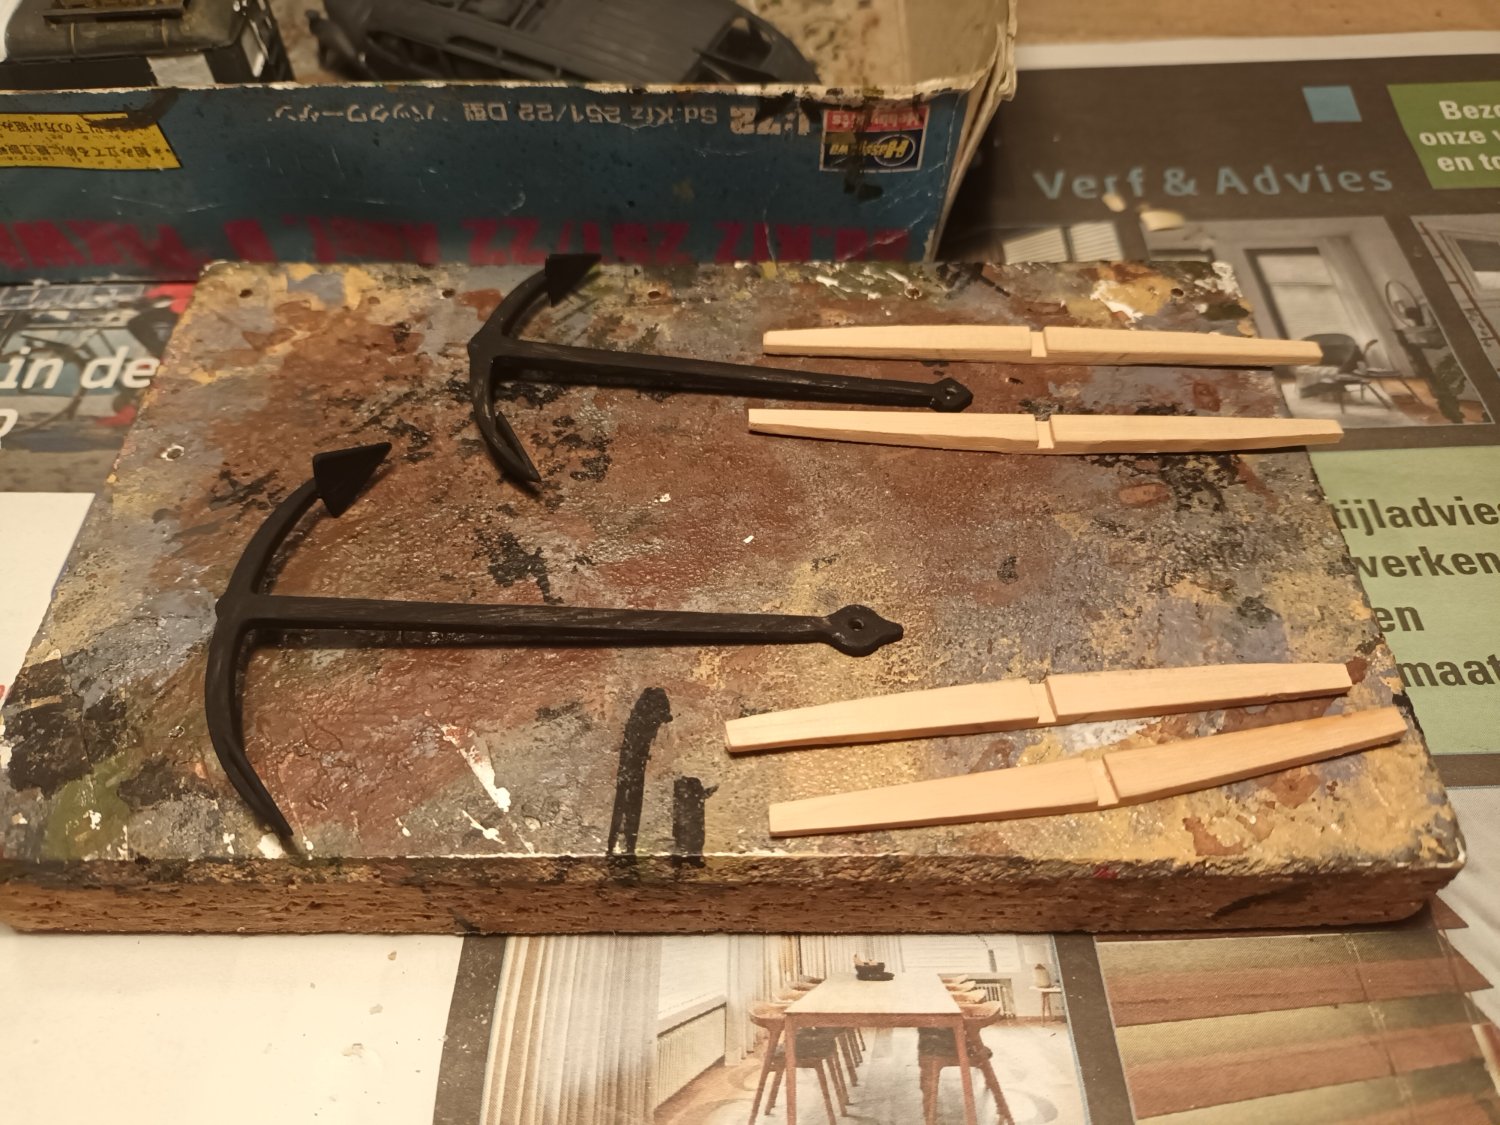
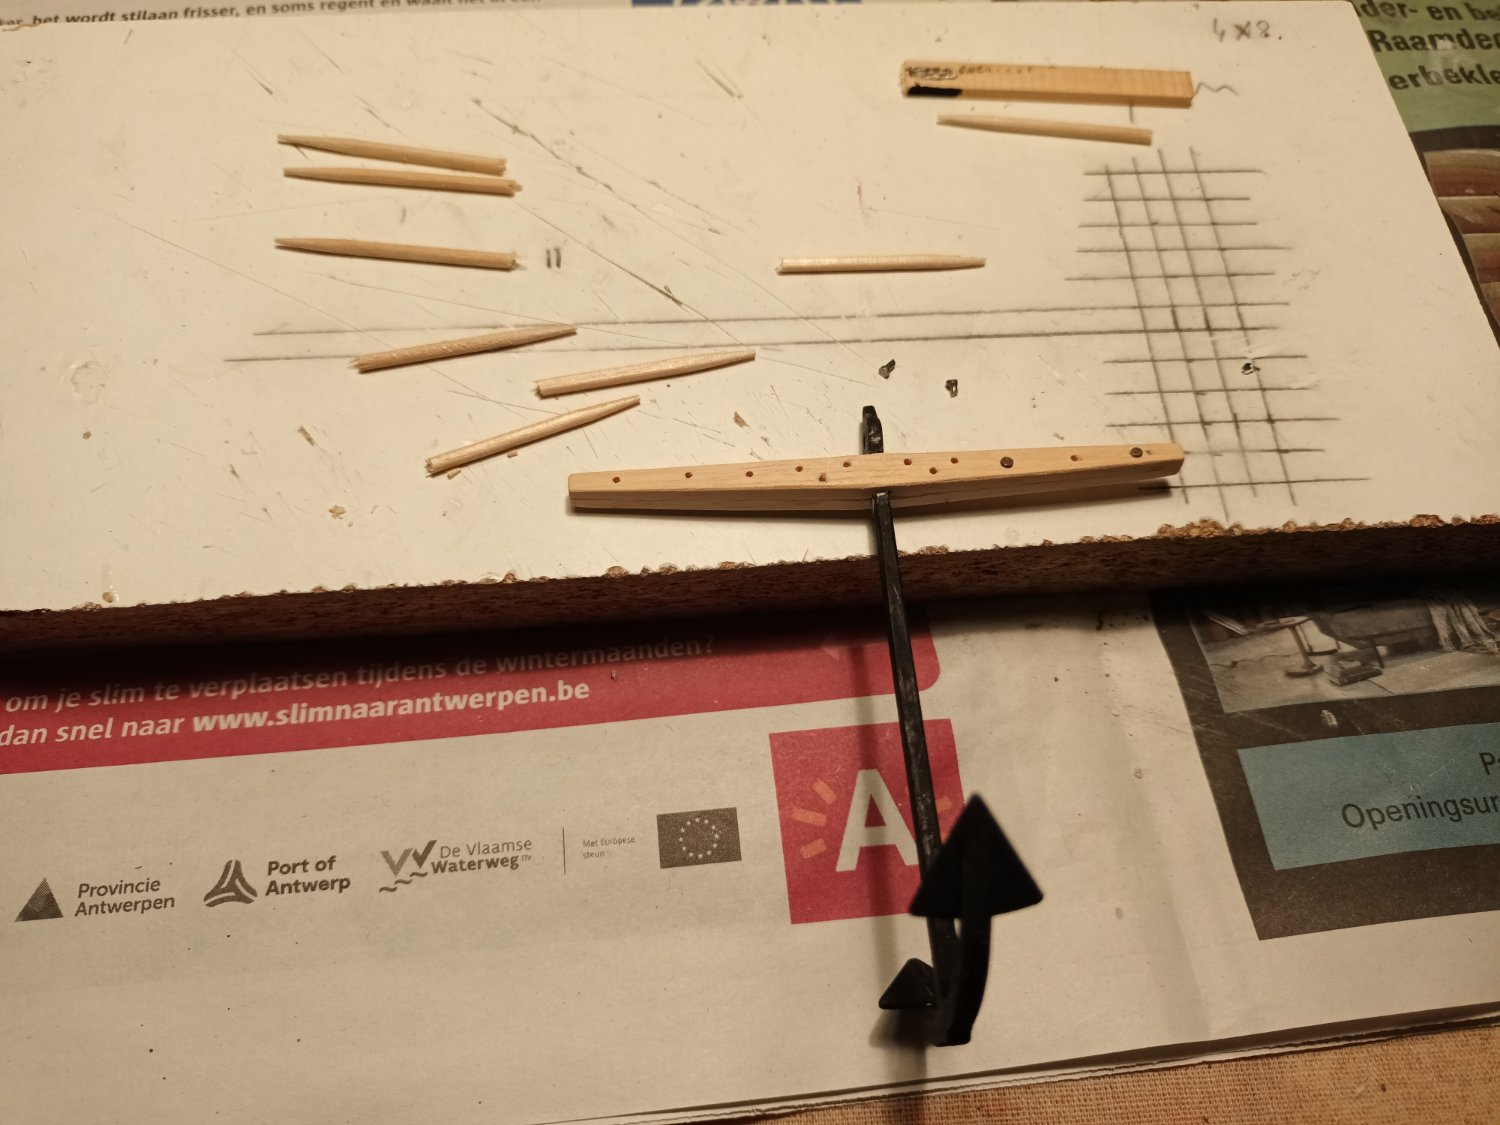
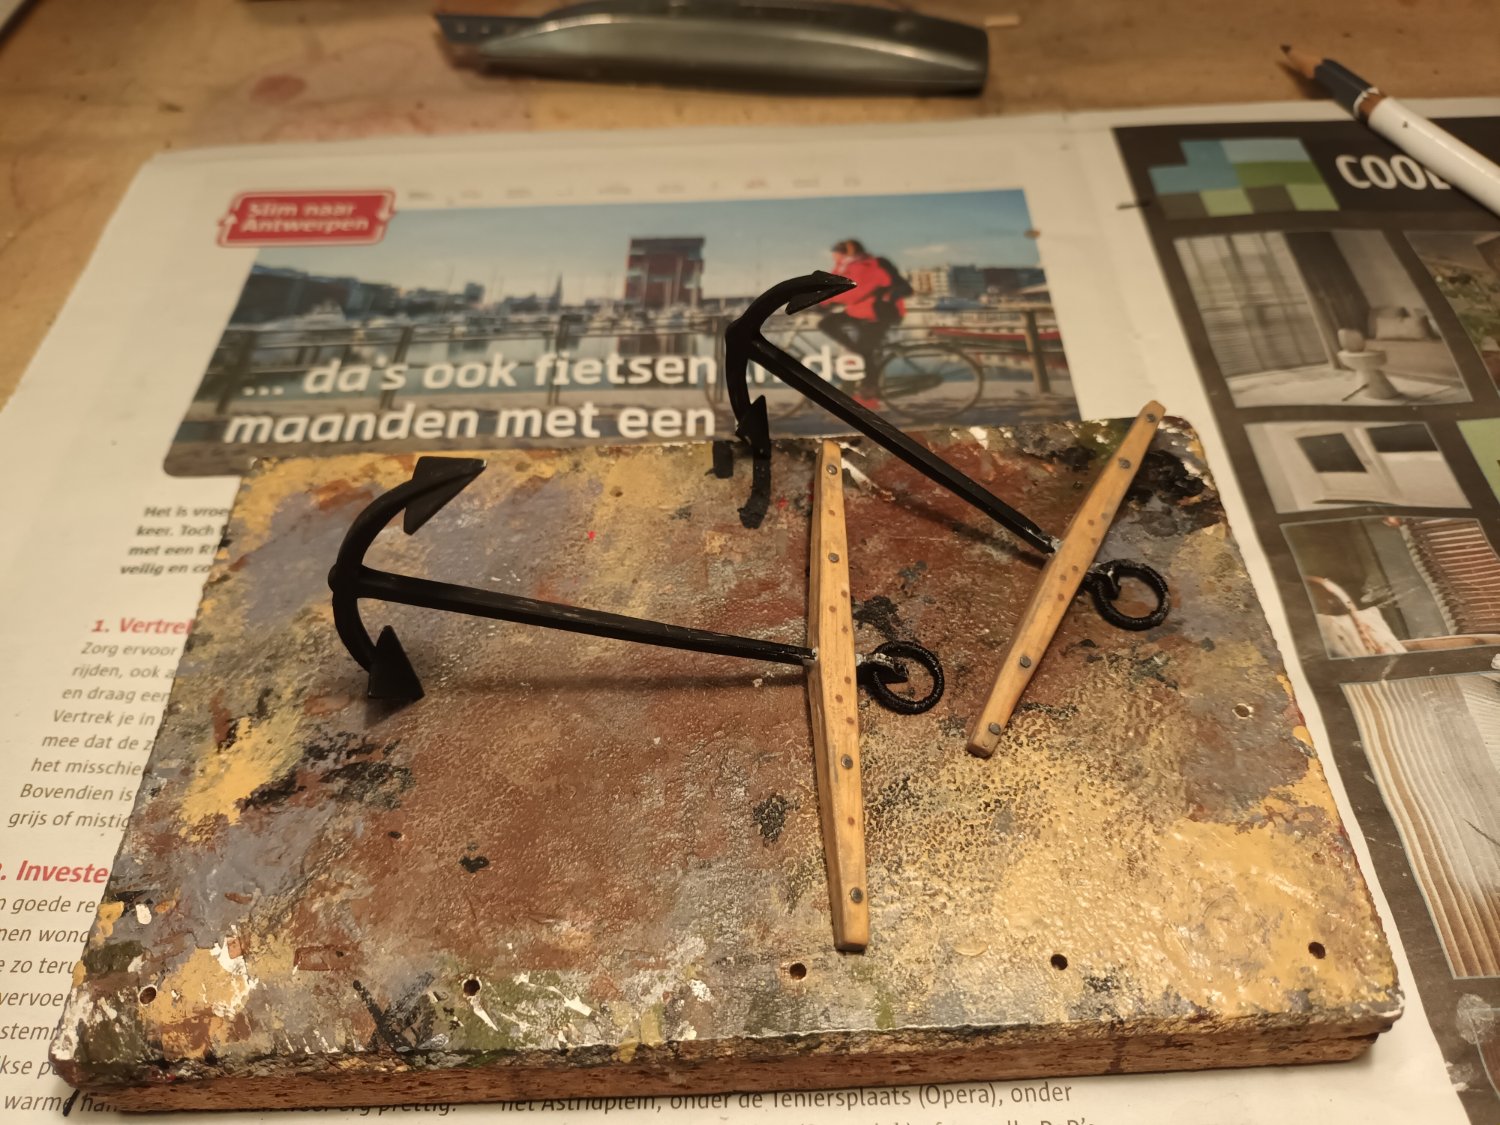
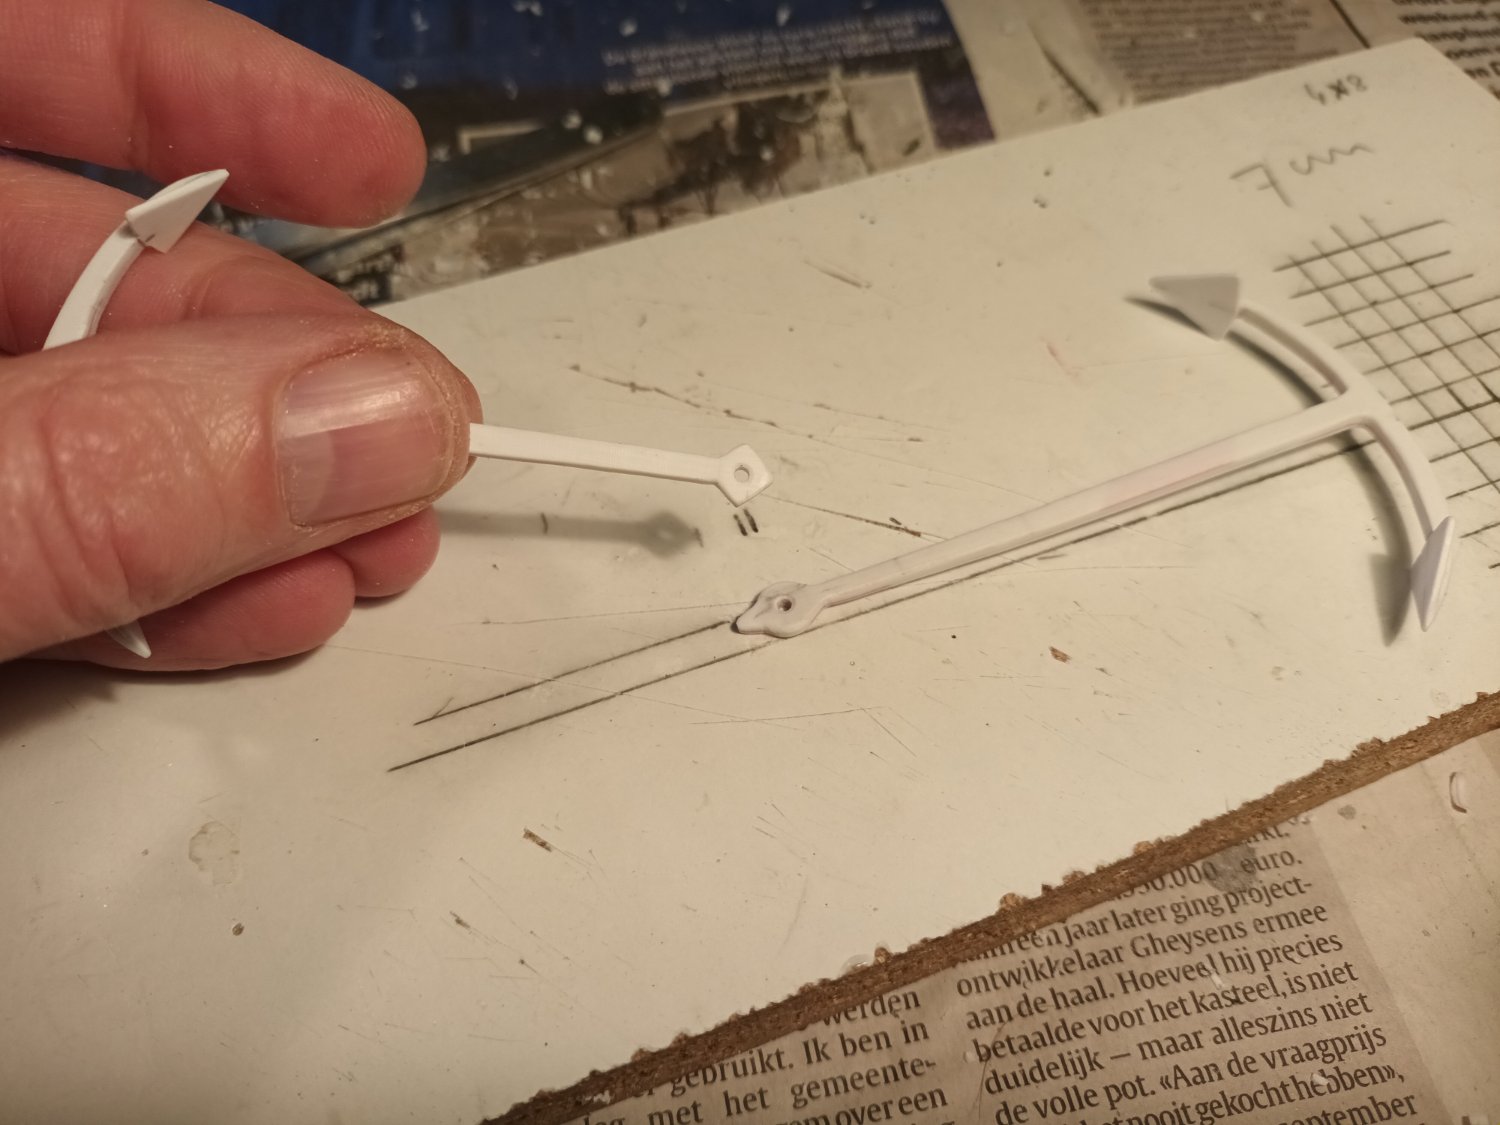
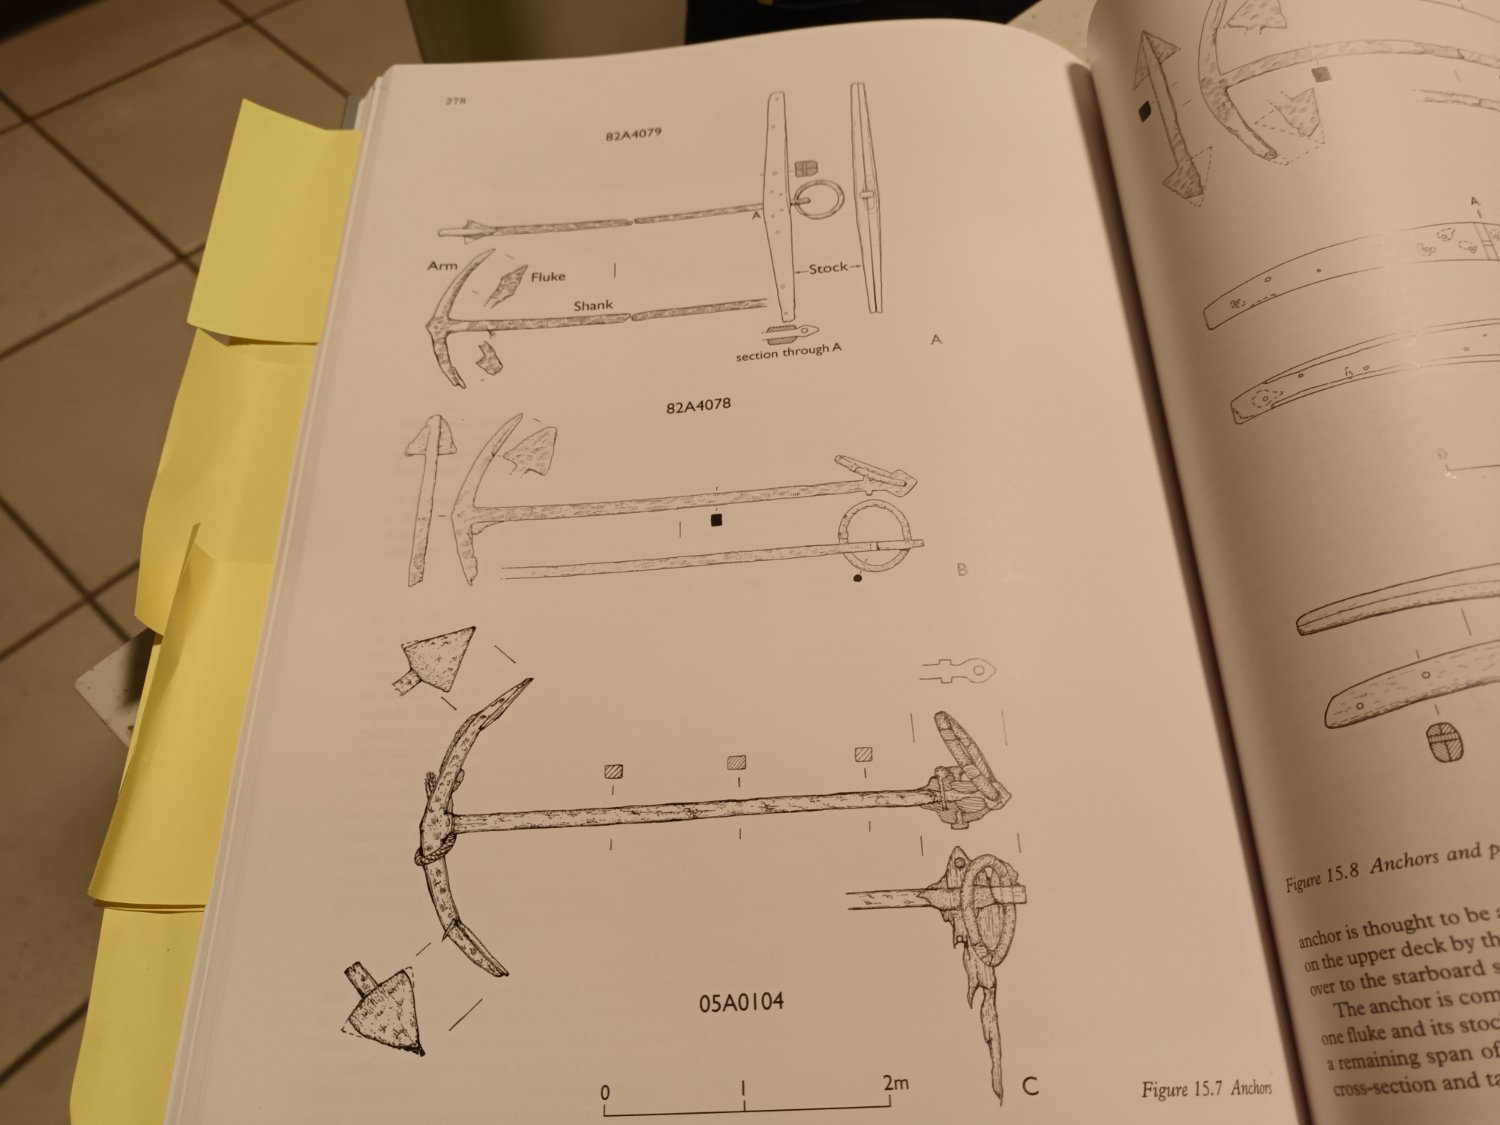
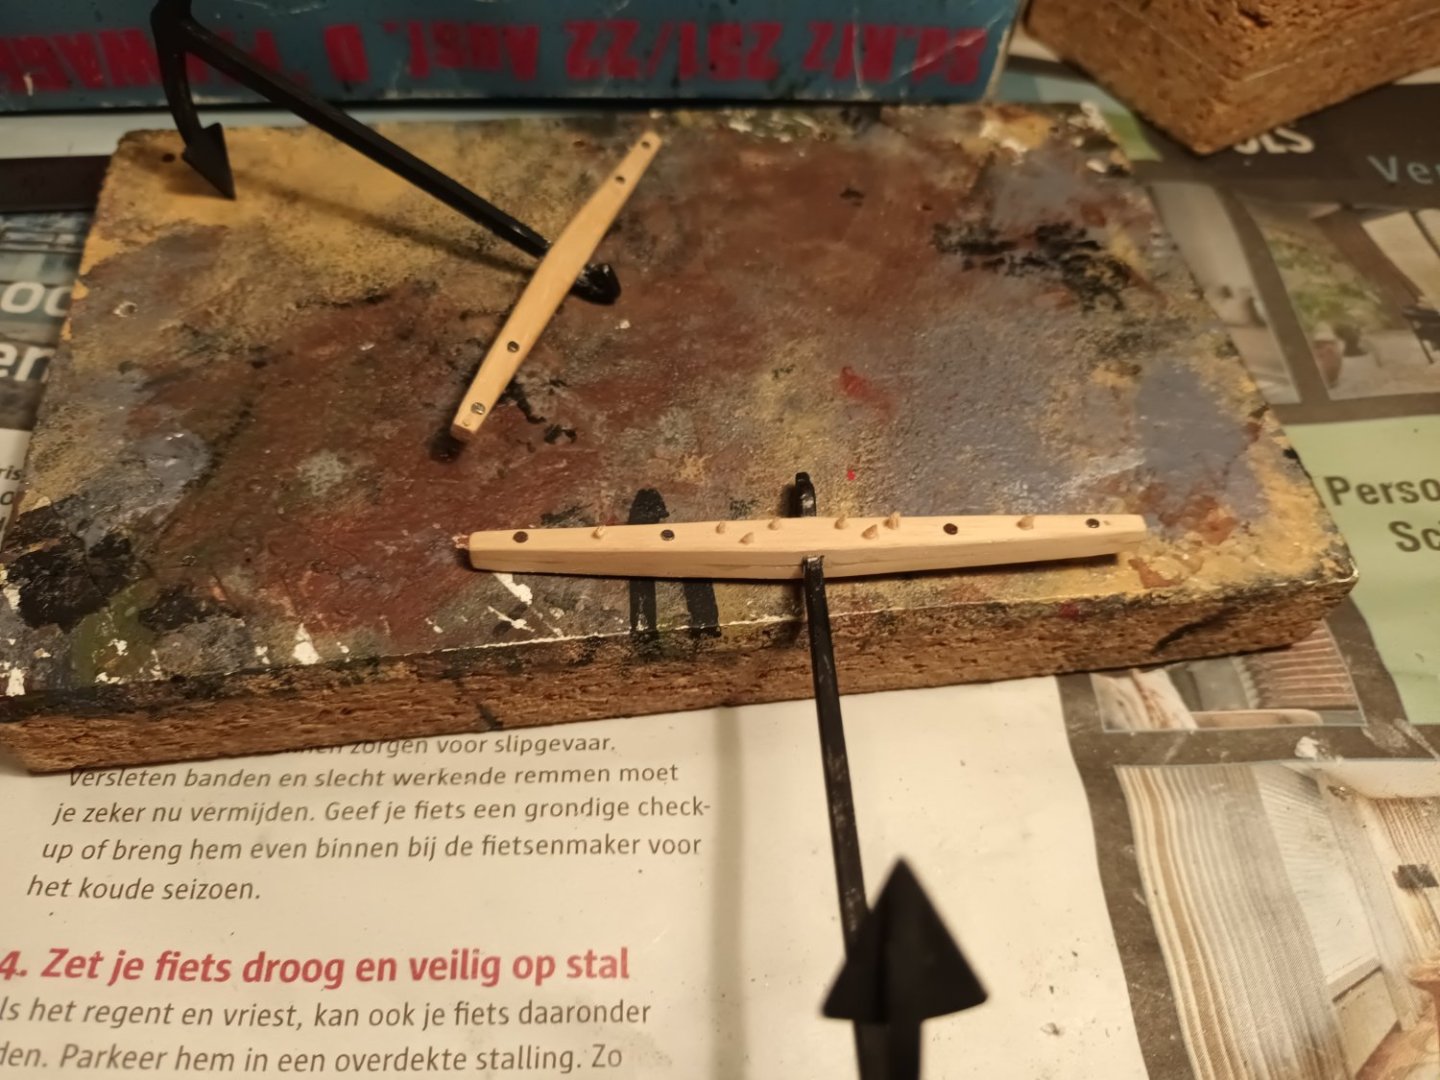
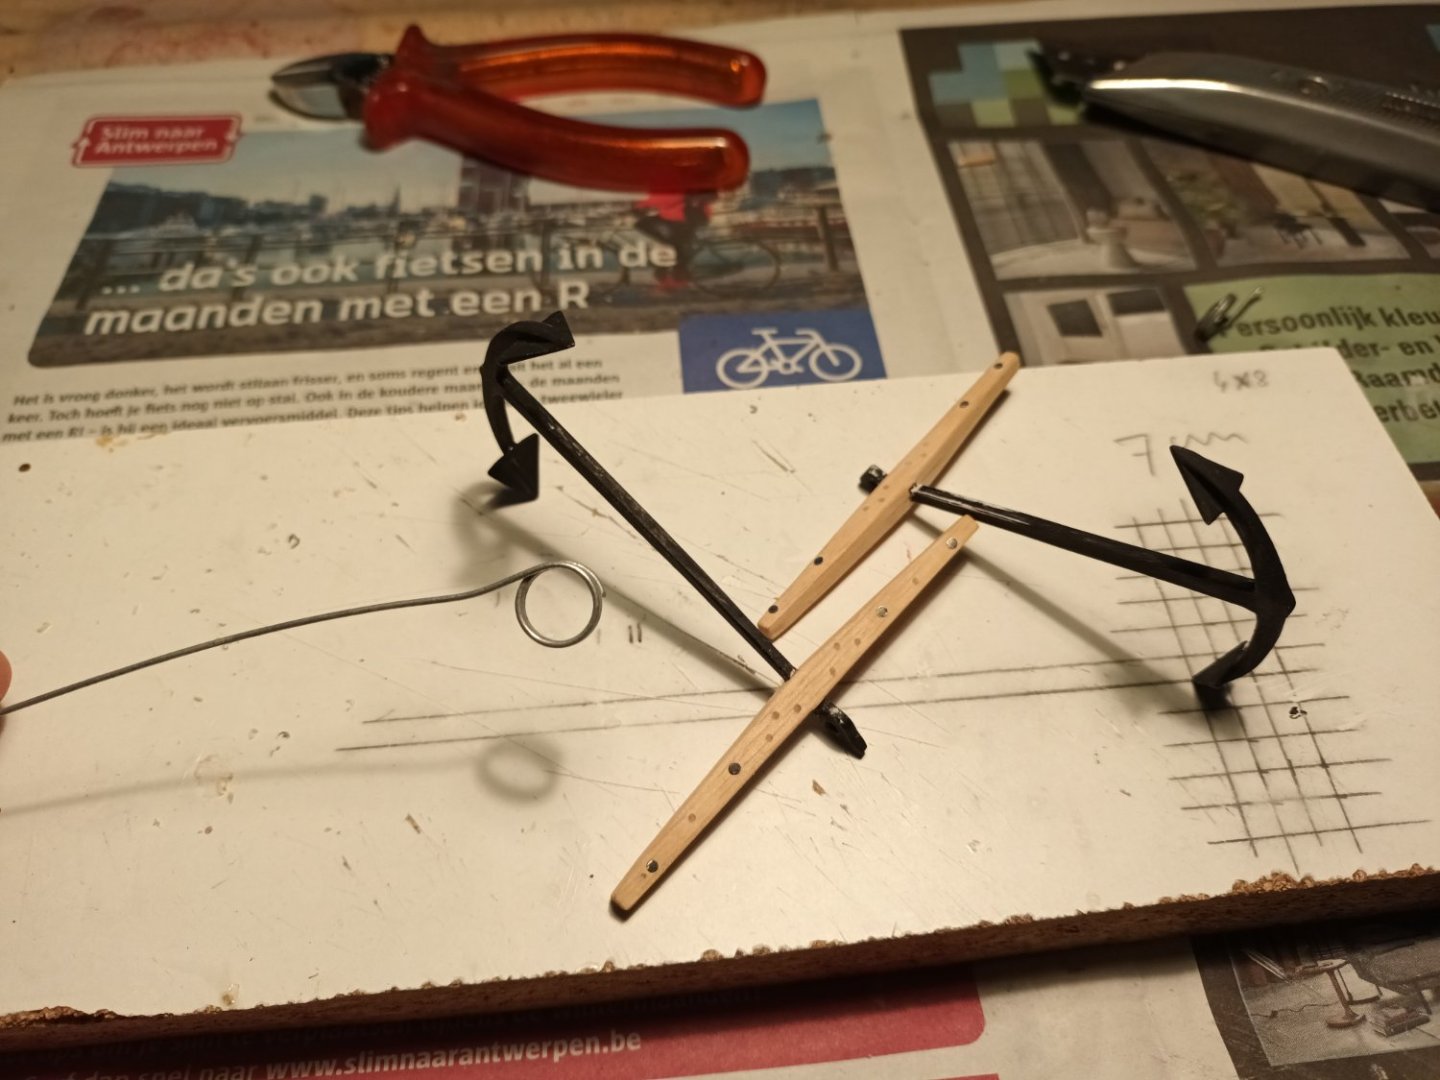
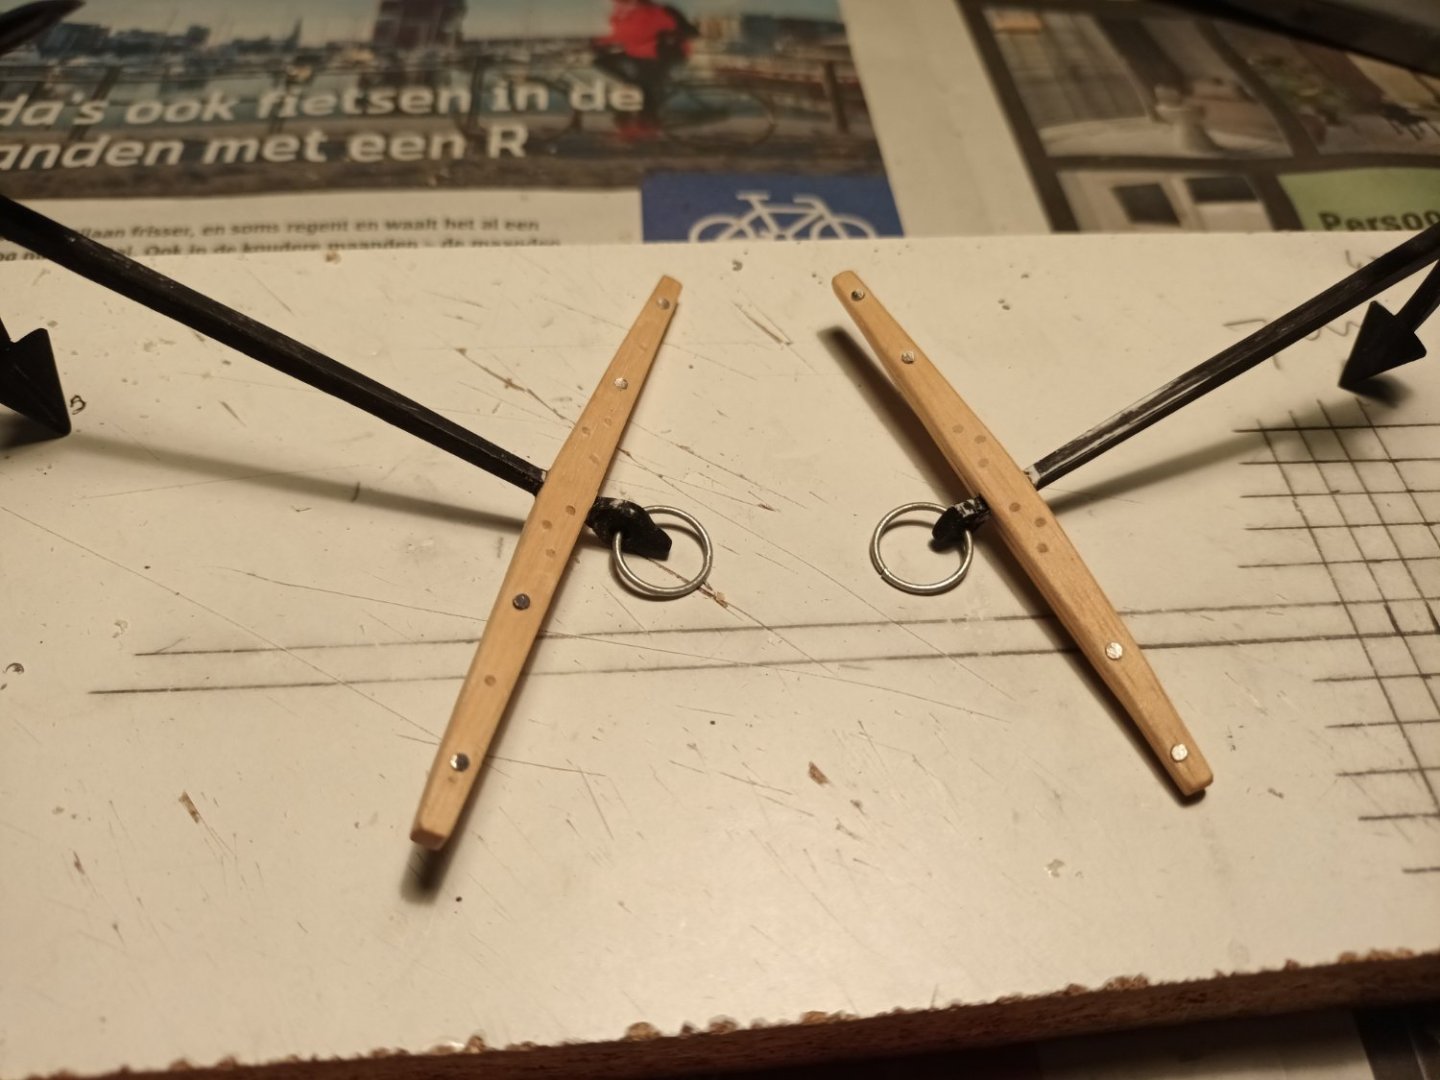
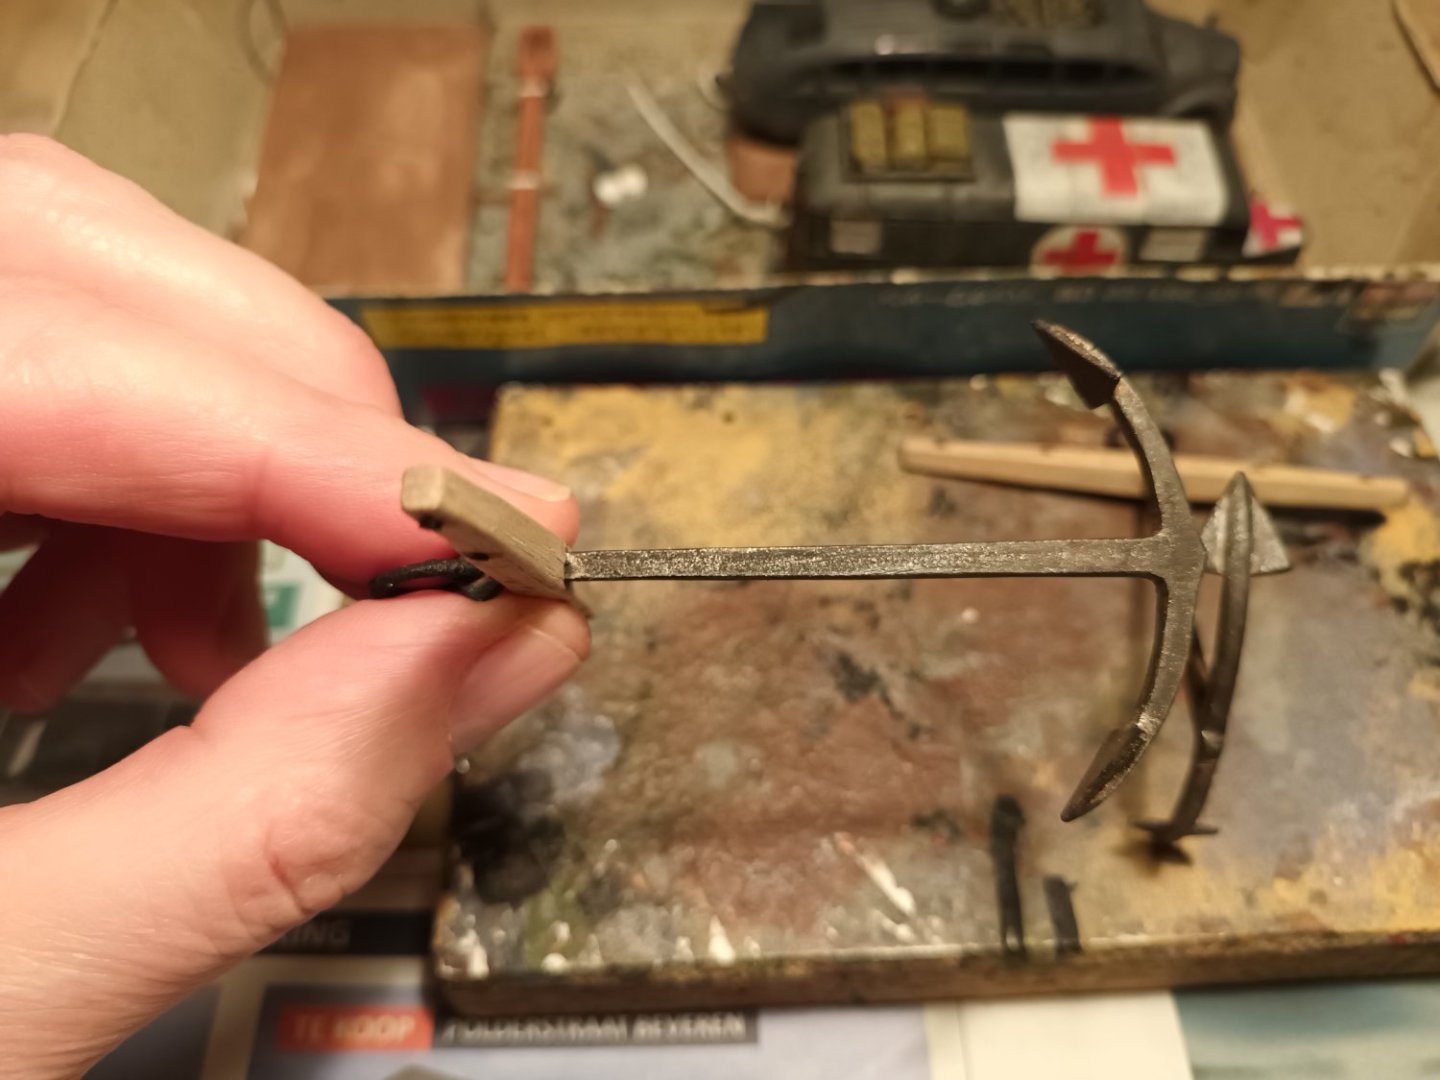
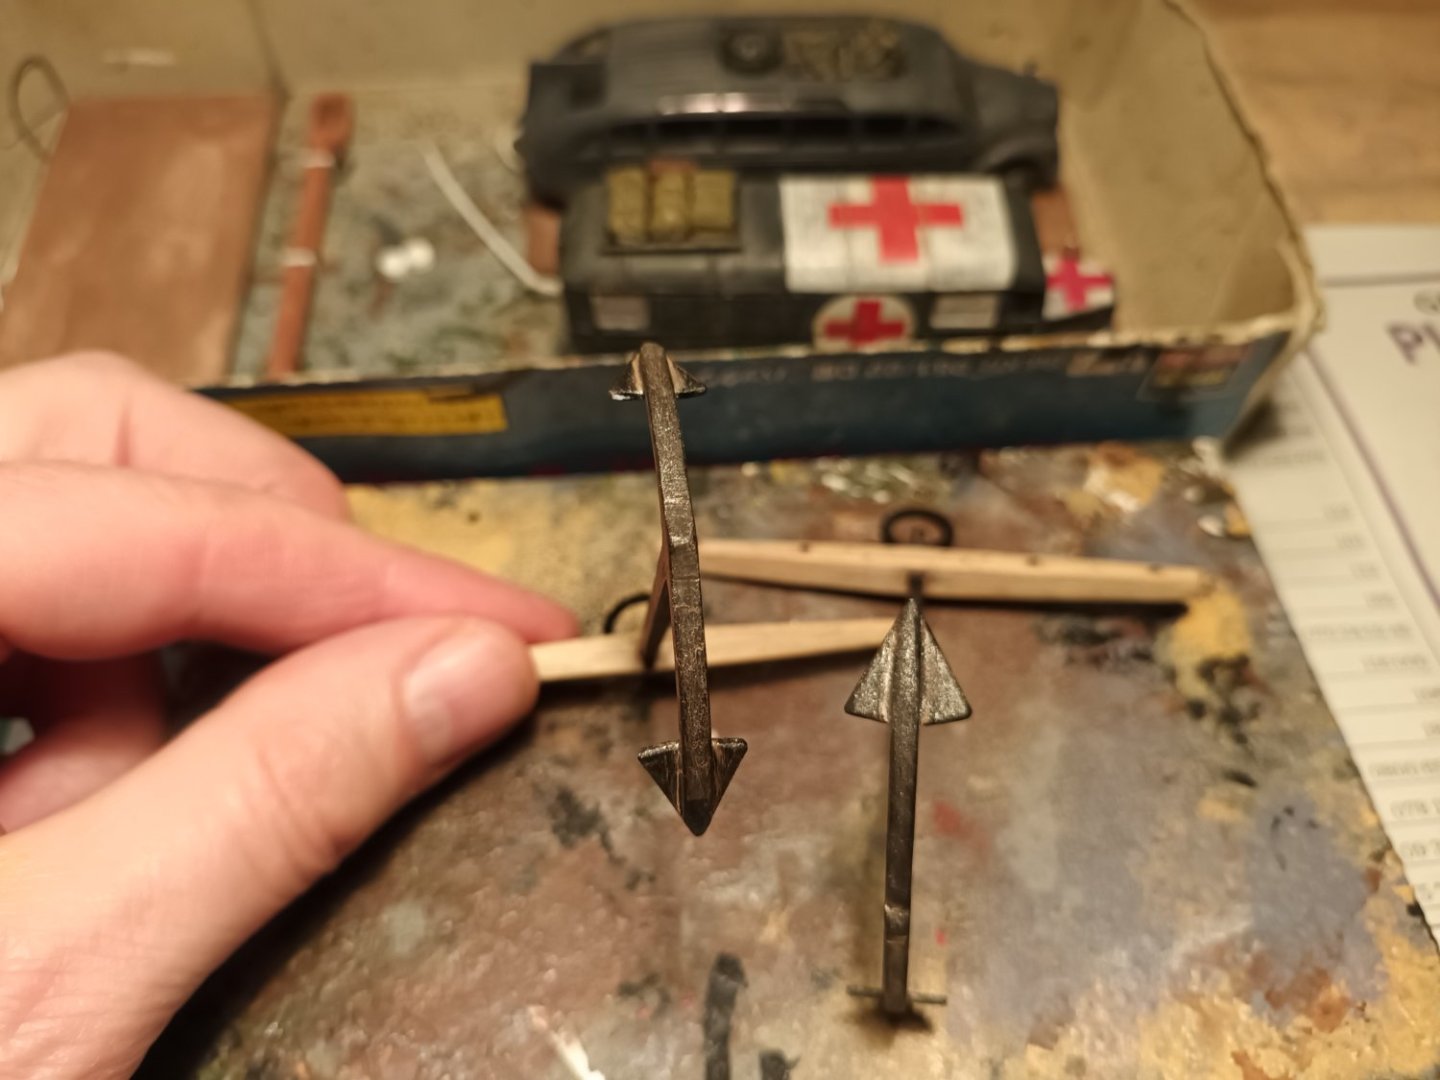
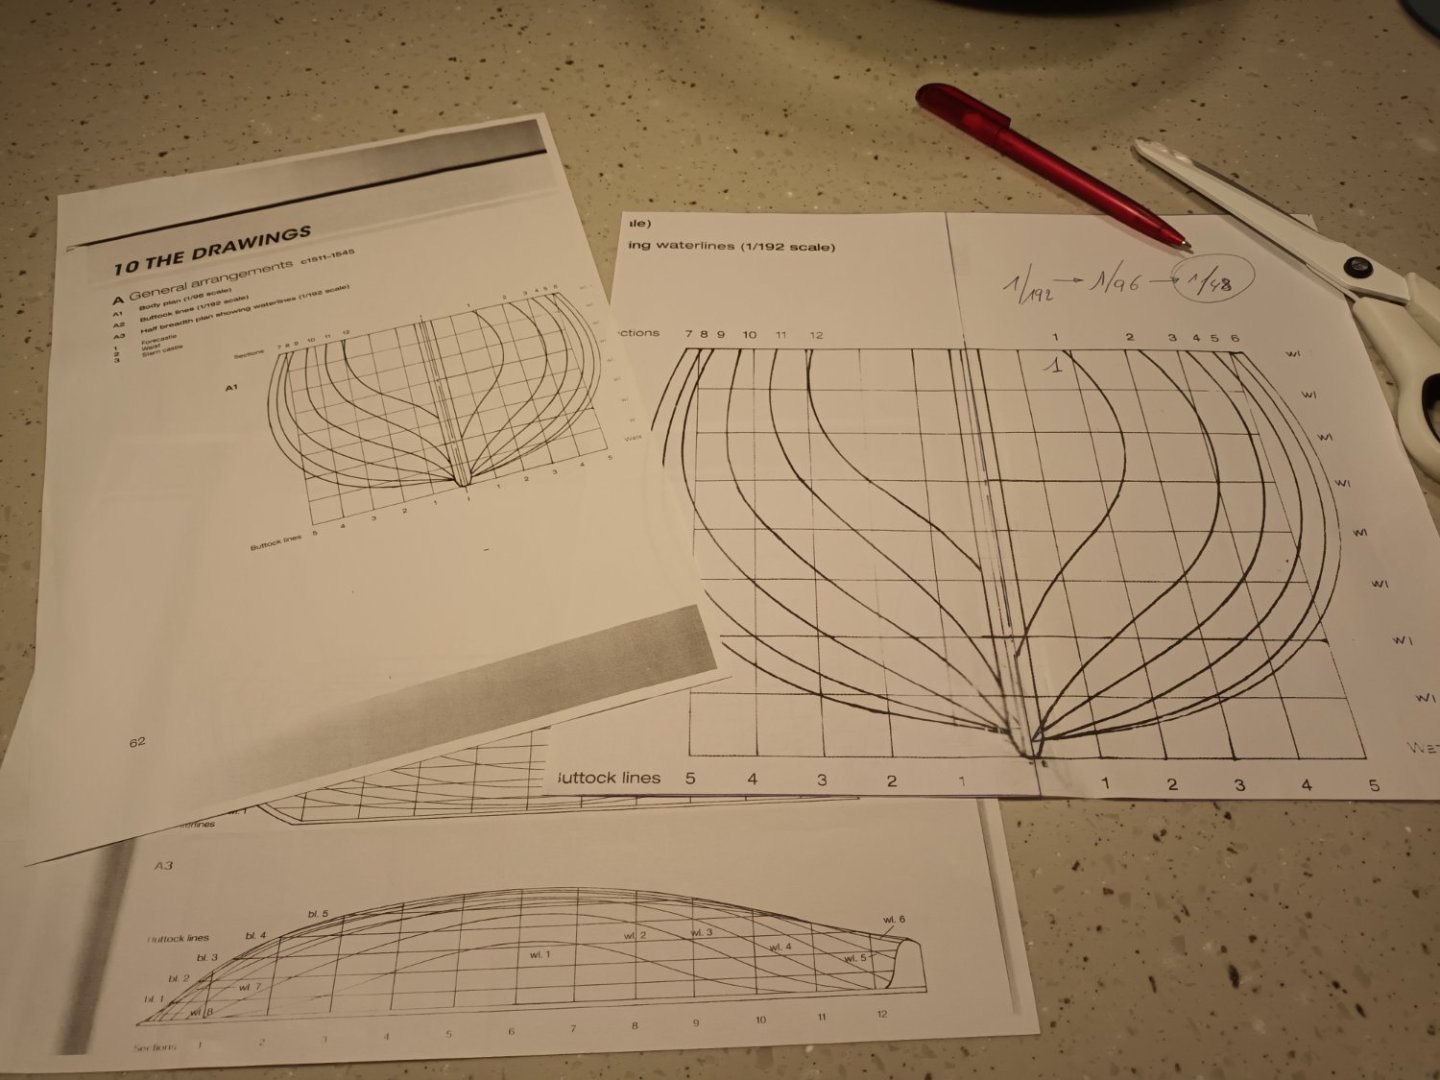
Thanks for the nice comments. Finishing the anchors. With the anchors of the Mary Rose as an example. The stock is always slightly shorter than the anchor The stock has been sanded to the correct shape. And there is a combination of tree nails and bolts make the rings. This is not soldered, the risk of melting plastic is too great. The rings are wrapped with black thread Painted. the wood is collored with thinned light grey and polished. The metal (plastic) is first painted in black, then a wash met thinned metal paint. And last a wash with rust color And, finally decided. The next project will be the Mary Rose scale 1/48 Thanks for following


- 756 replies
-
- 14
-

-

-
- galleon
- golden hind
- (and 2 more)
-
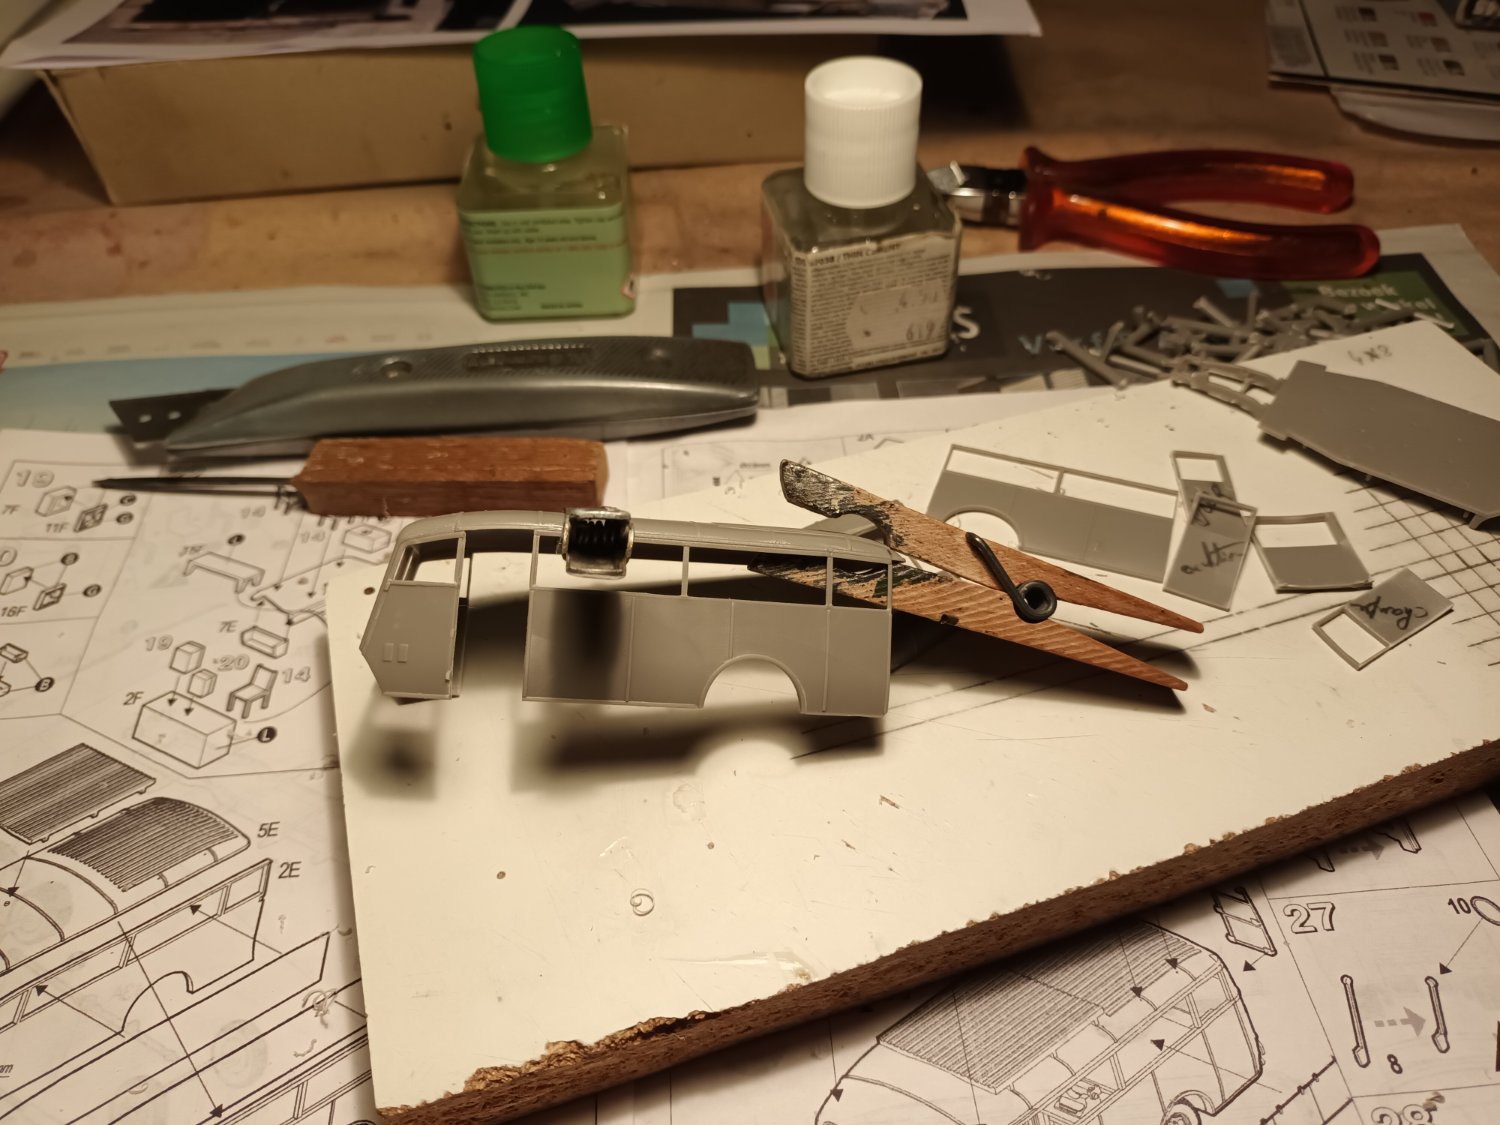
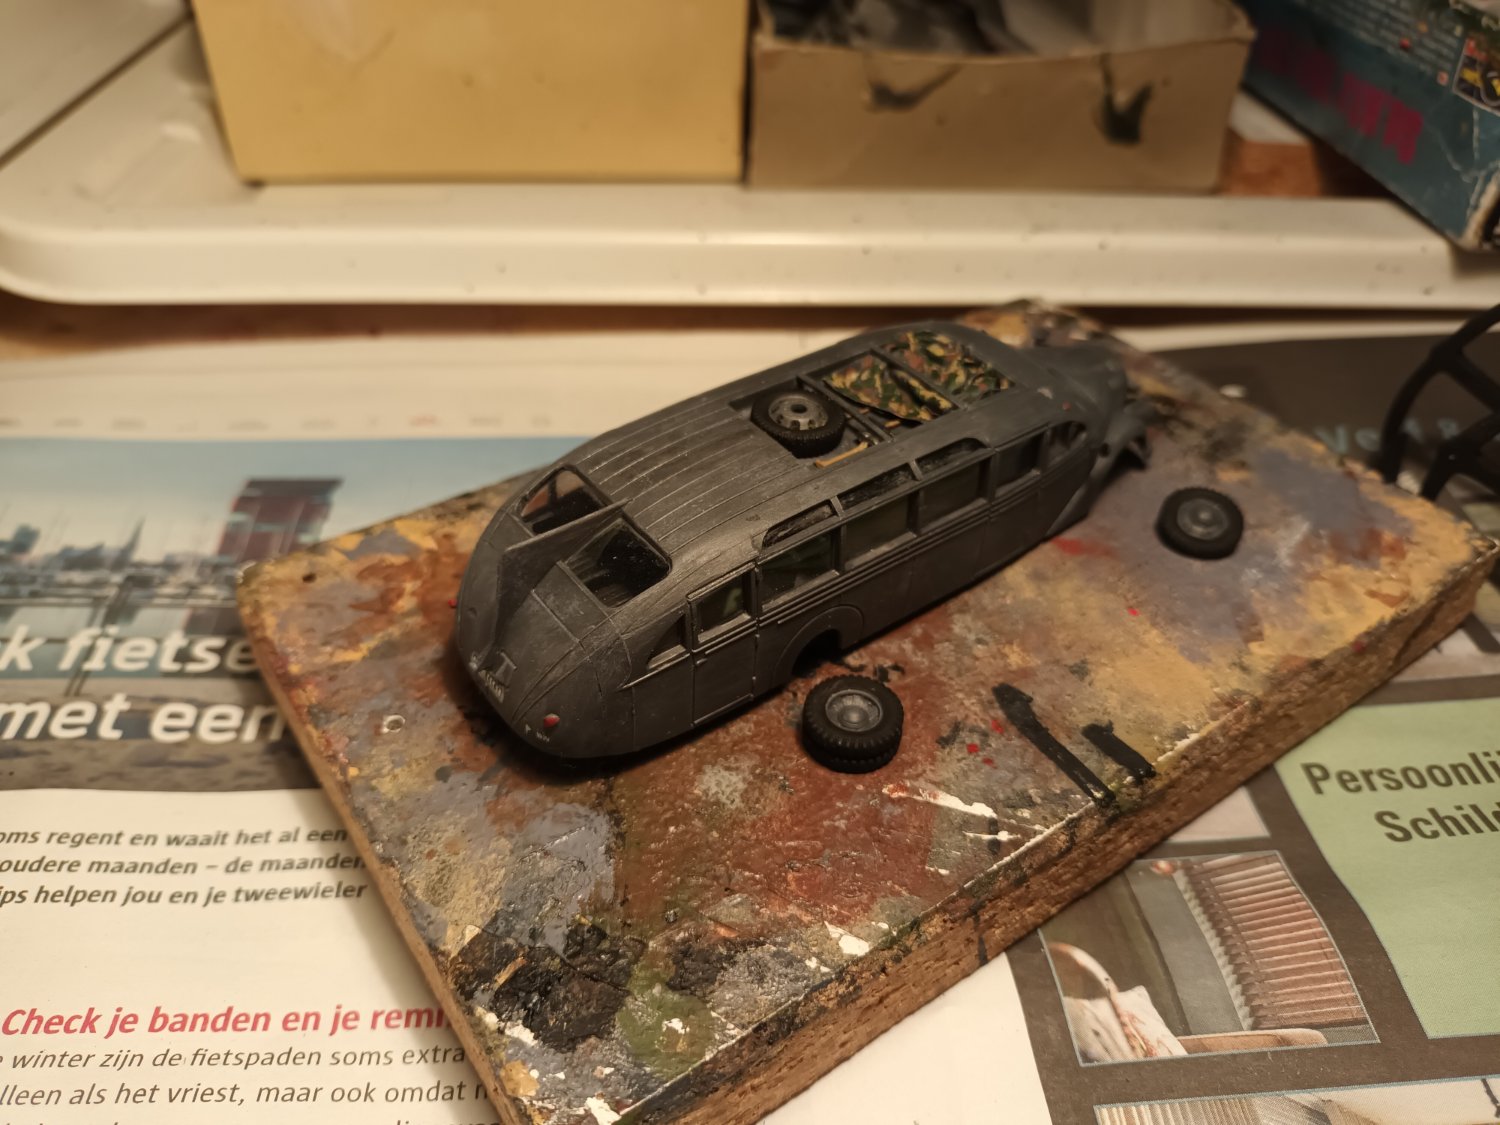
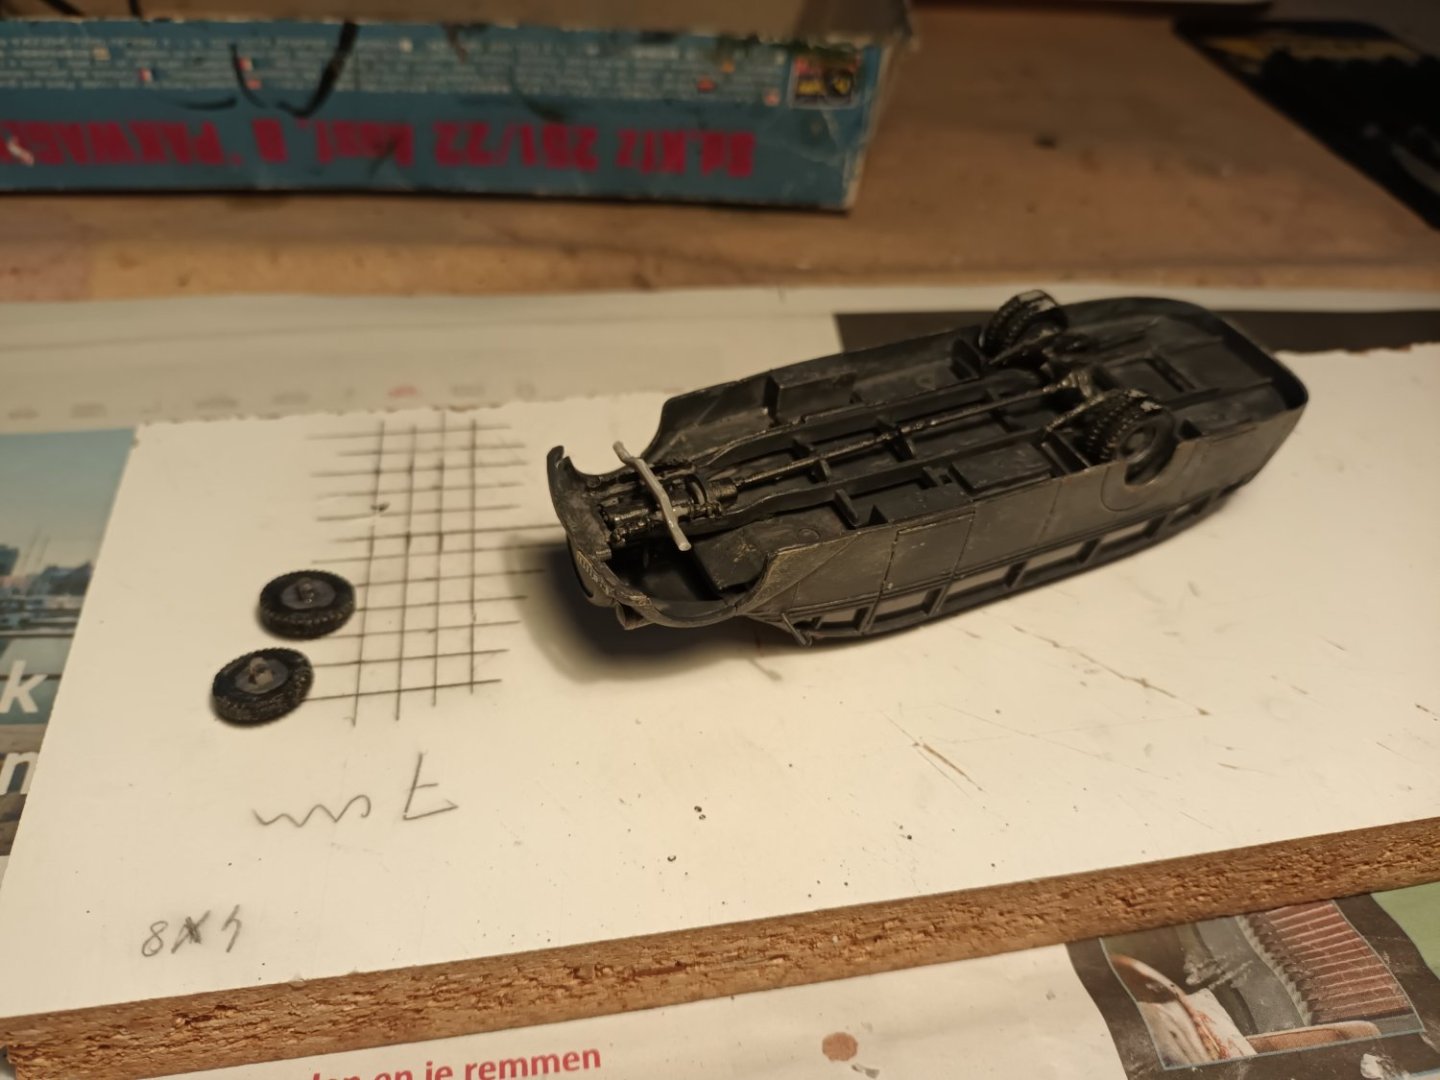
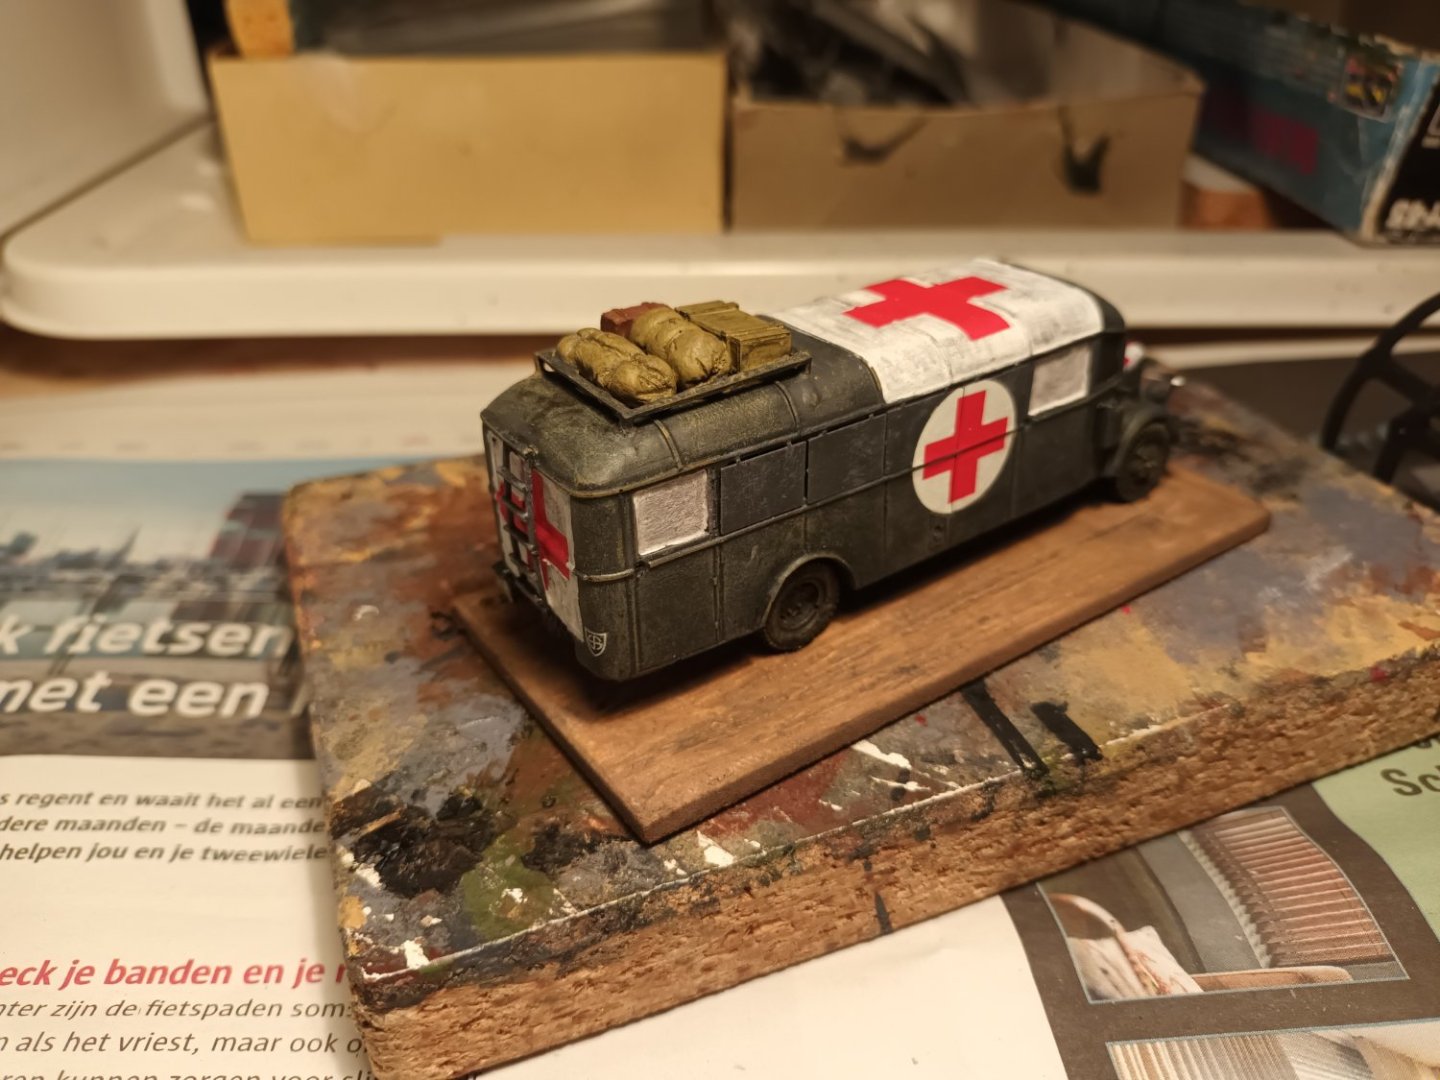
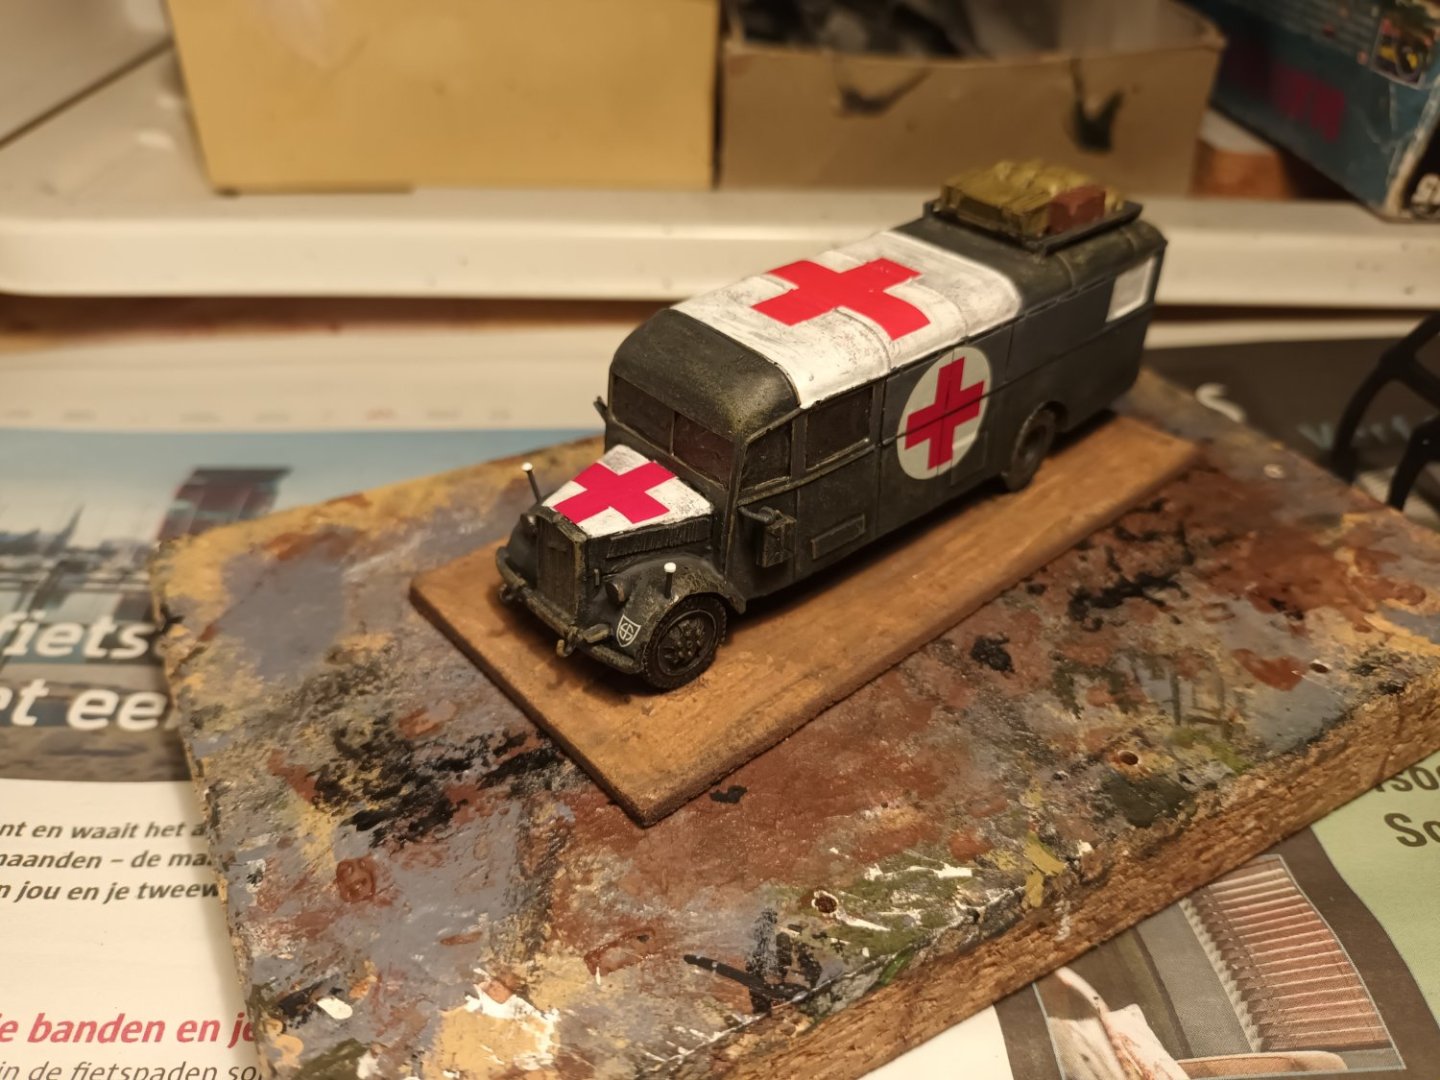
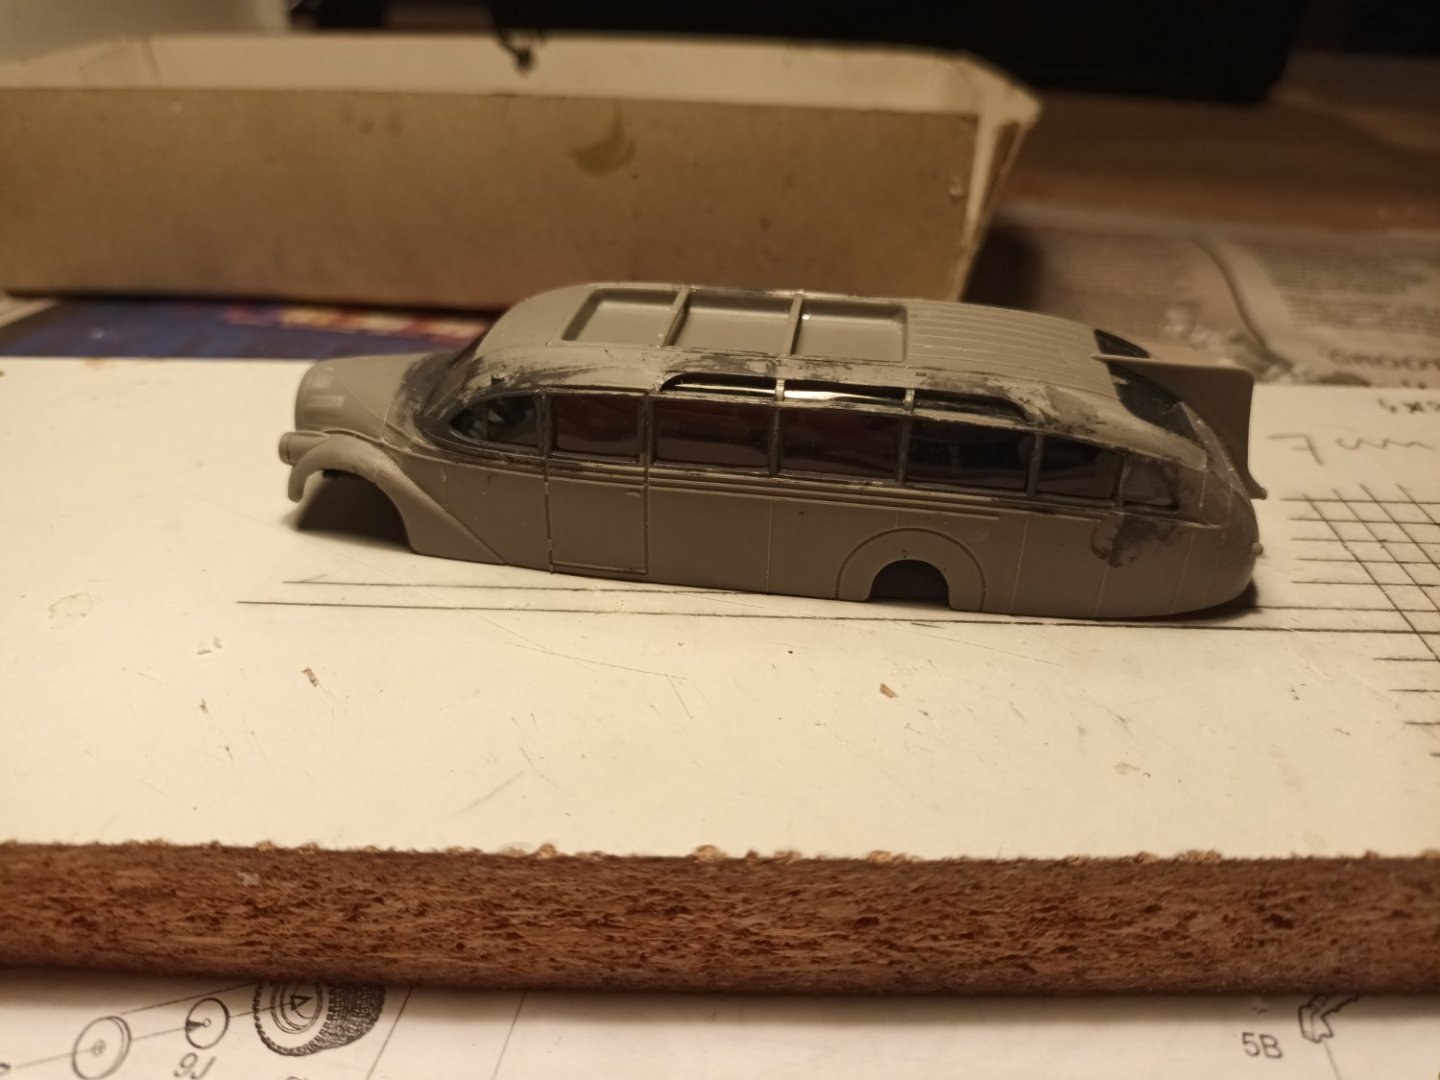
I did hear my father tell of an abandoned German truck (September 44) Once it was certain that the Germans were not coming back, the truck was quickly looted... My mother told me about big planes flying overhead. And little planes that kept flying around the big ones... And then empty casings (.50 ammo) fell from the sky And retreating Germans (Sept. 44) closely followed by Polish soldiers. And a few V1s fell nearby later in the war. Back to the buses The reworked ambulance is ready Had some problems with the front axle of the omnibus. This has been replaced by one from the parts box. 2 ready and bumber 3 started This bus is equipped with an interior. That is why I came up with the idea of working with open doors. Hopefully this idea will work


- 46 replies
-
- 12
-
-
Welcome back 😉 Very nice work Michael
-
If the owner of a build log has created an index (usually in the first post) you will find shortcuts there. This way I can find something in my own log 😉
-
Great models
-
Thanks for the comments. Are there currently restored opels? presumably yes. Have I ever seen such an Opel bus myself, no. In WW, 2 my parents maybe. In belgium we have busses from the company Vanhool.
-
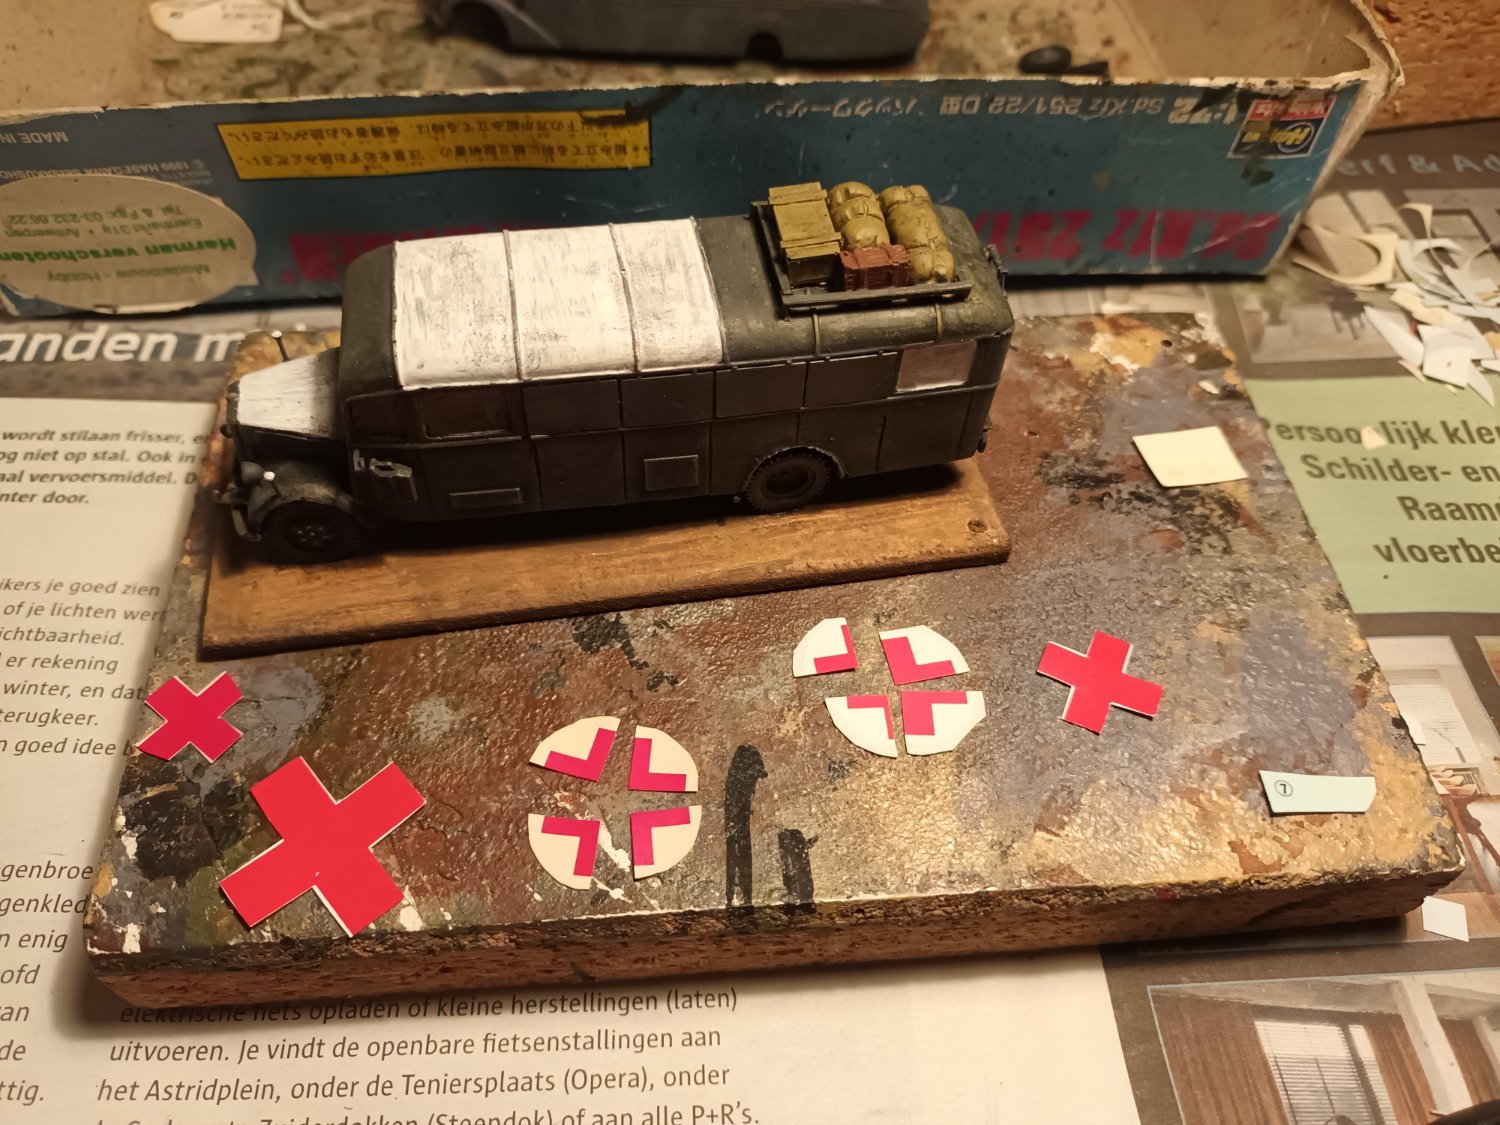
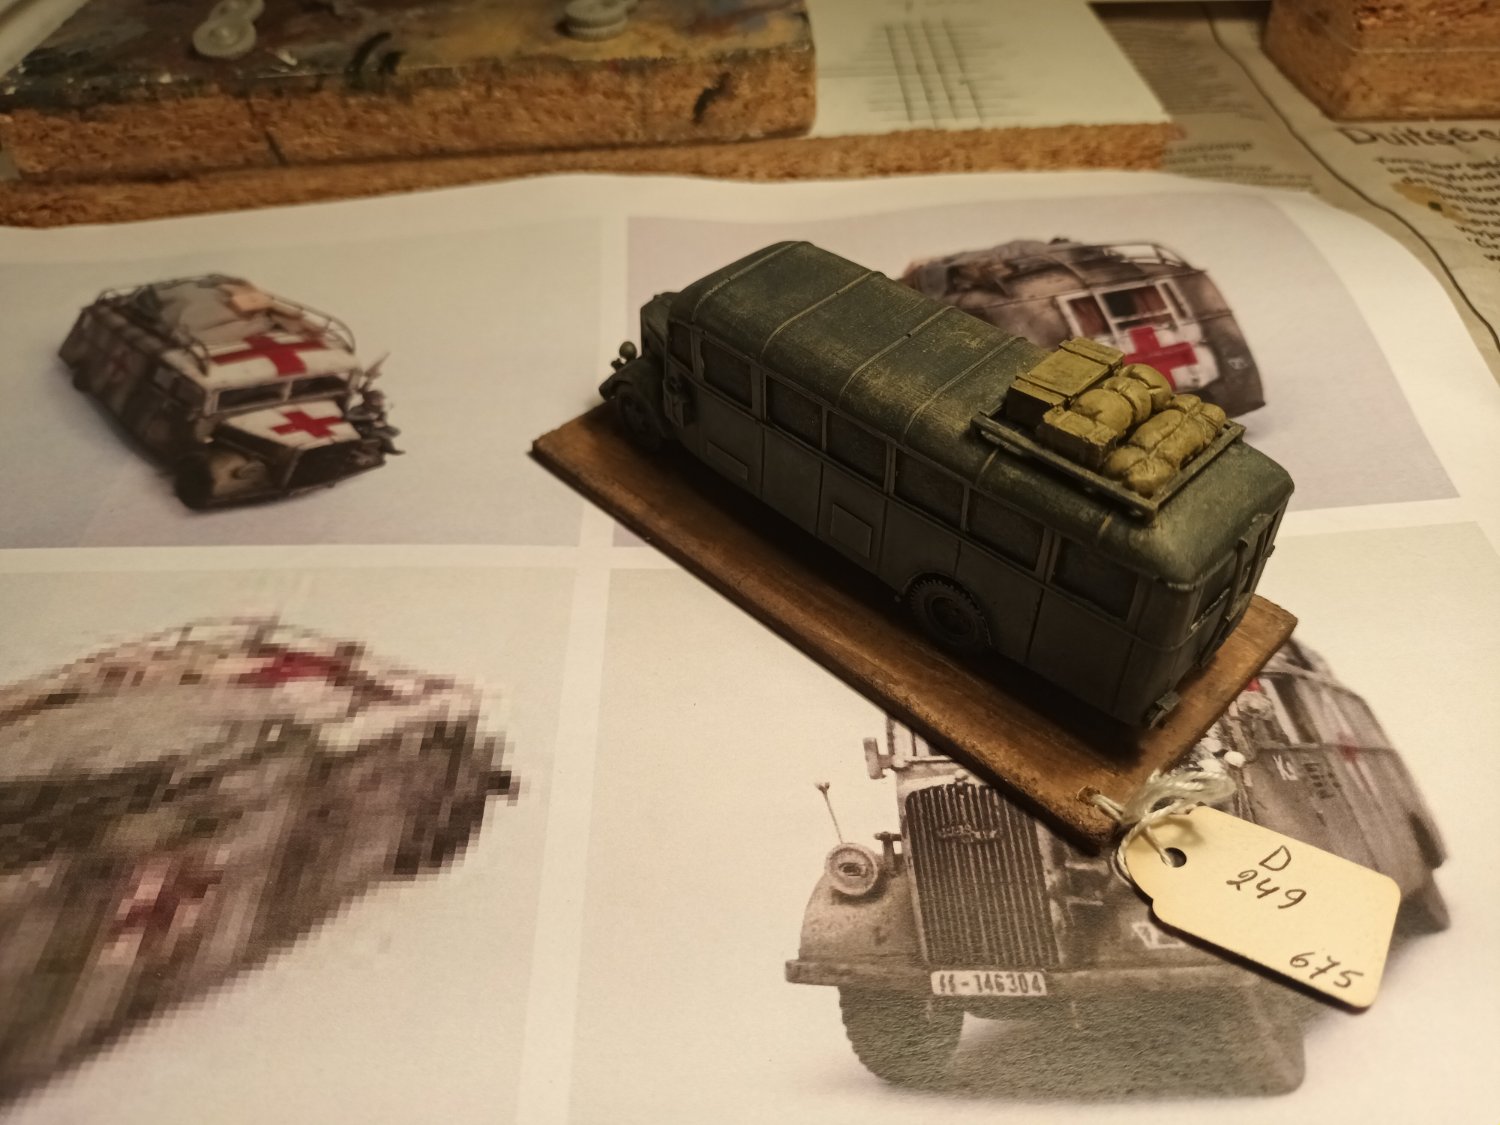
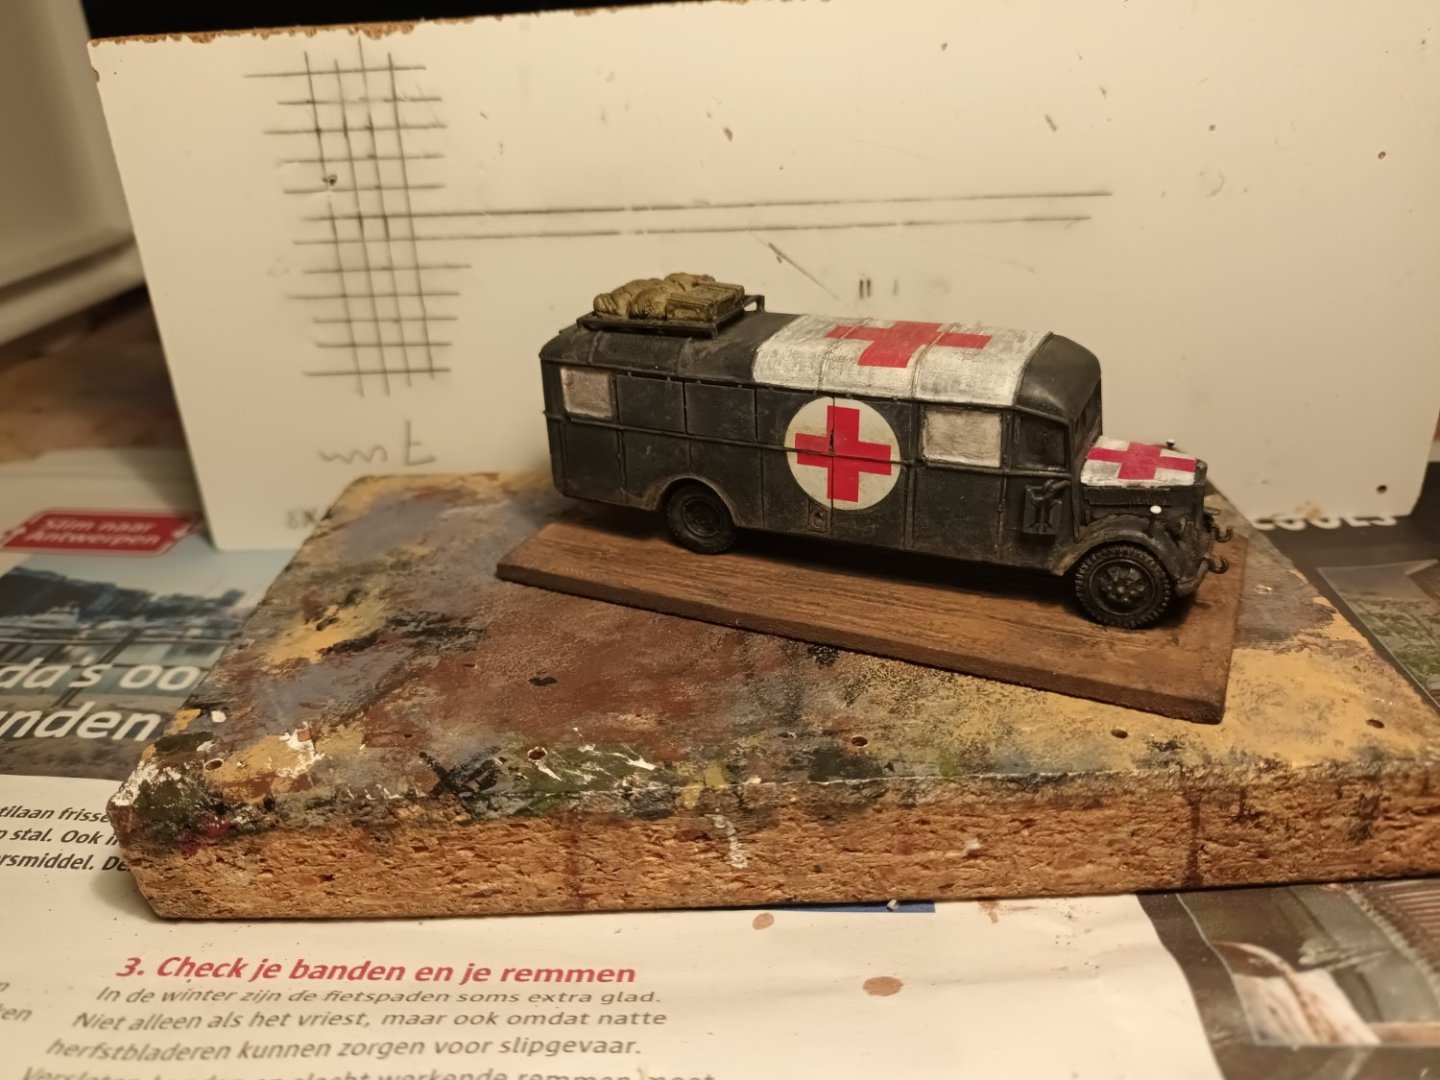
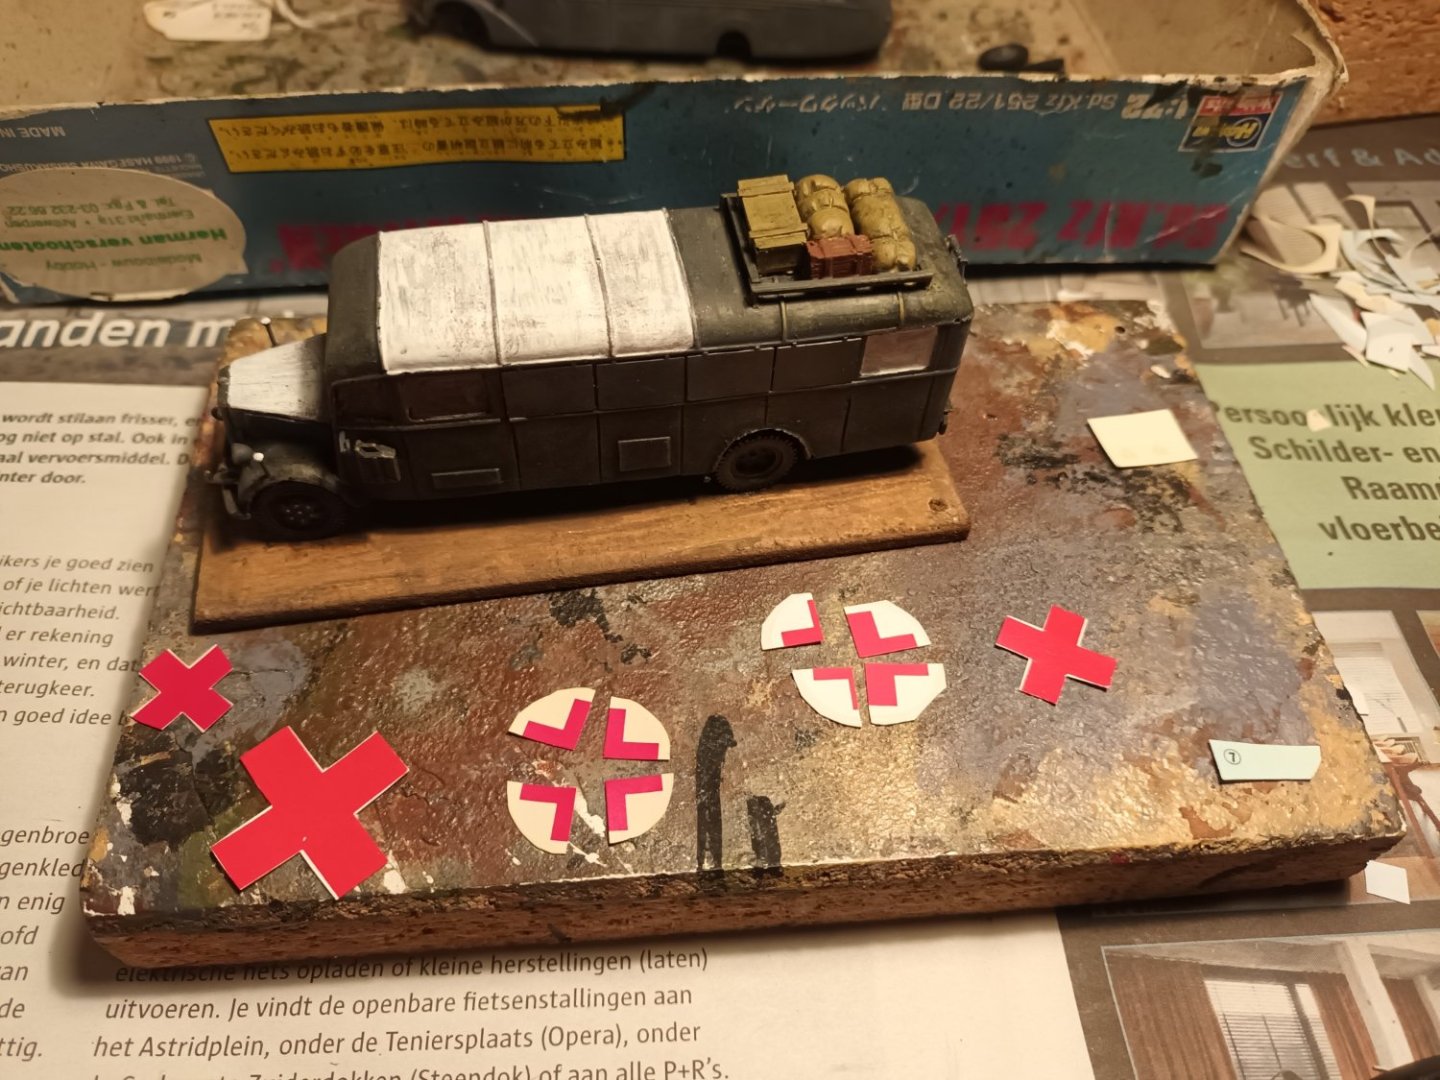
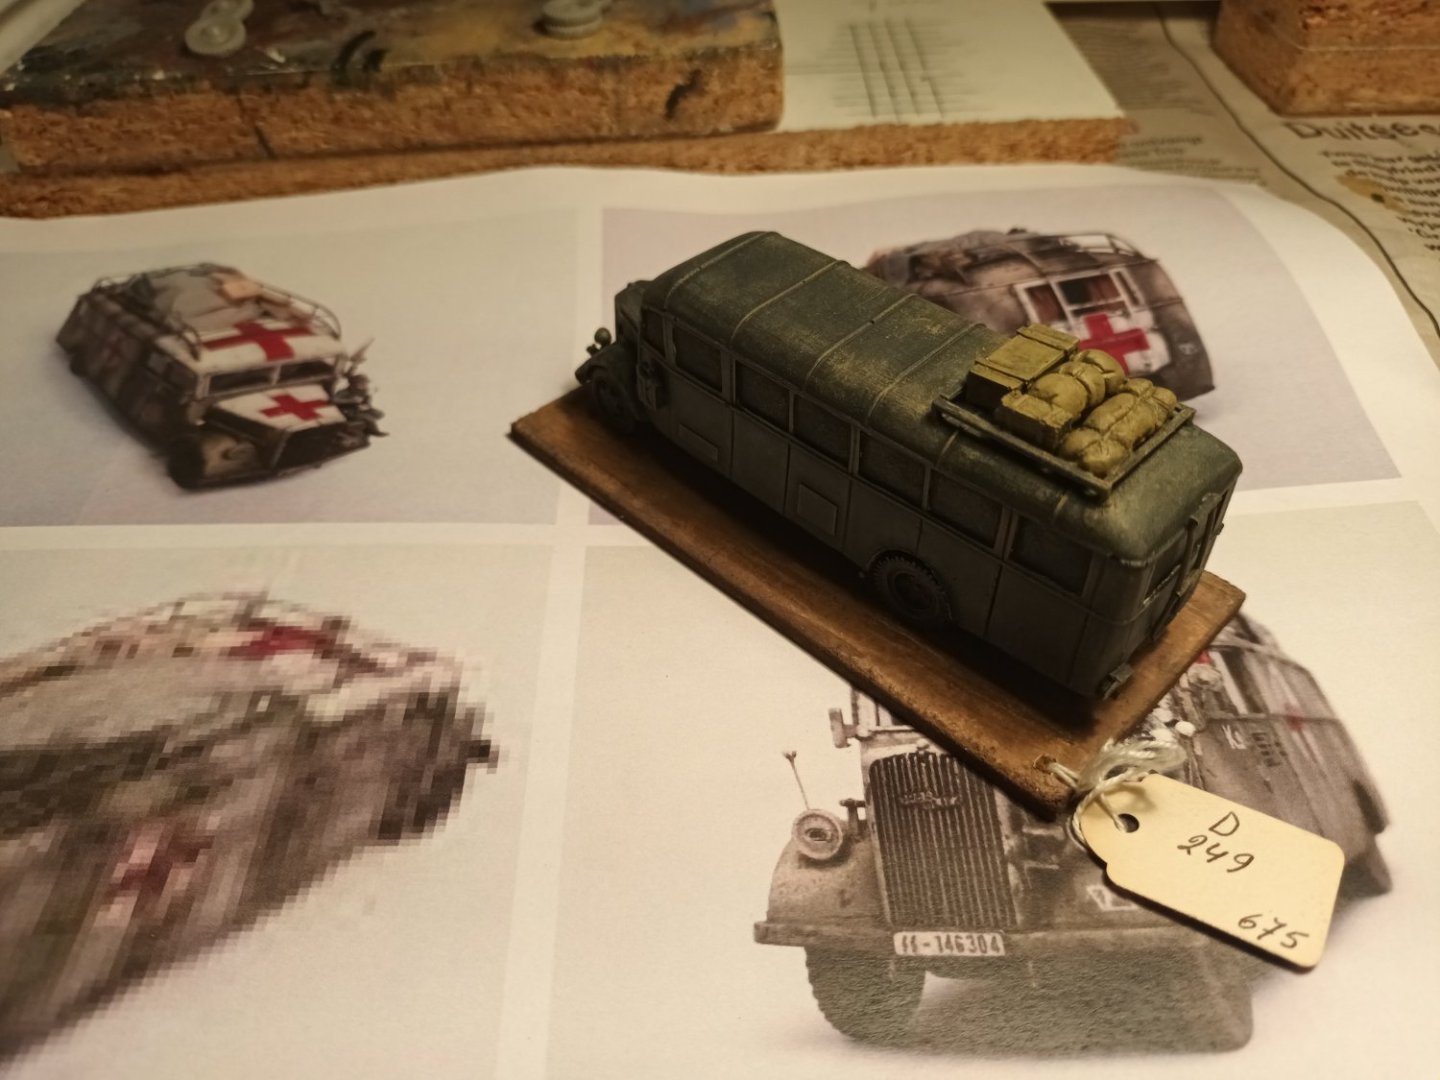
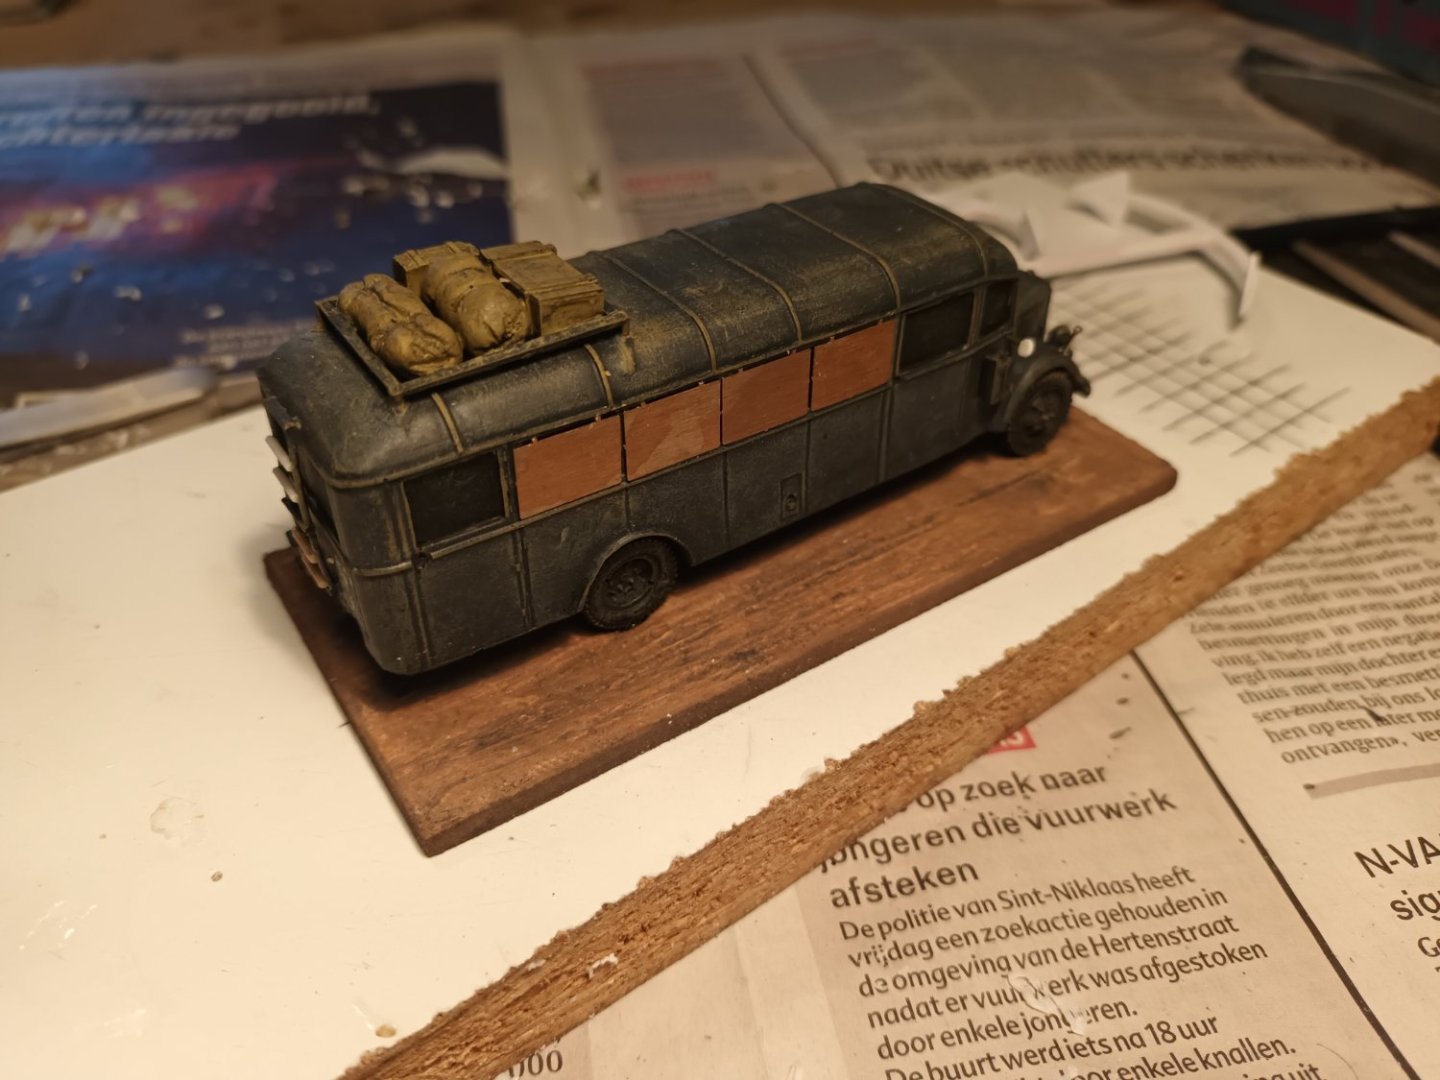
The omnibus is painted, dry brushed and ready for further assembly The reworked ambulance bus has been painted and the decals (parts box) are cut to size. and in place 5th SS Division Wiking summer 1942, somewhere in the Caucasus (hopefully they had an Opel amulance bus in that division 😇) Thanks for folowing, comments and likes


- 46 replies
-
- 11
-
-
-
Greetings from North Carolina
Baker replied to PostCaptainAubrey's topic in New member Introductions
-
-
Nice models and
-
Nice model
-
No fishing... This painting is about the armada. When it turned out that the planned invasion of England was not going to happen. The horses needed for the land war became obsolete. The solution was to throw the horses overboard... cruel time, the 16th century...
-
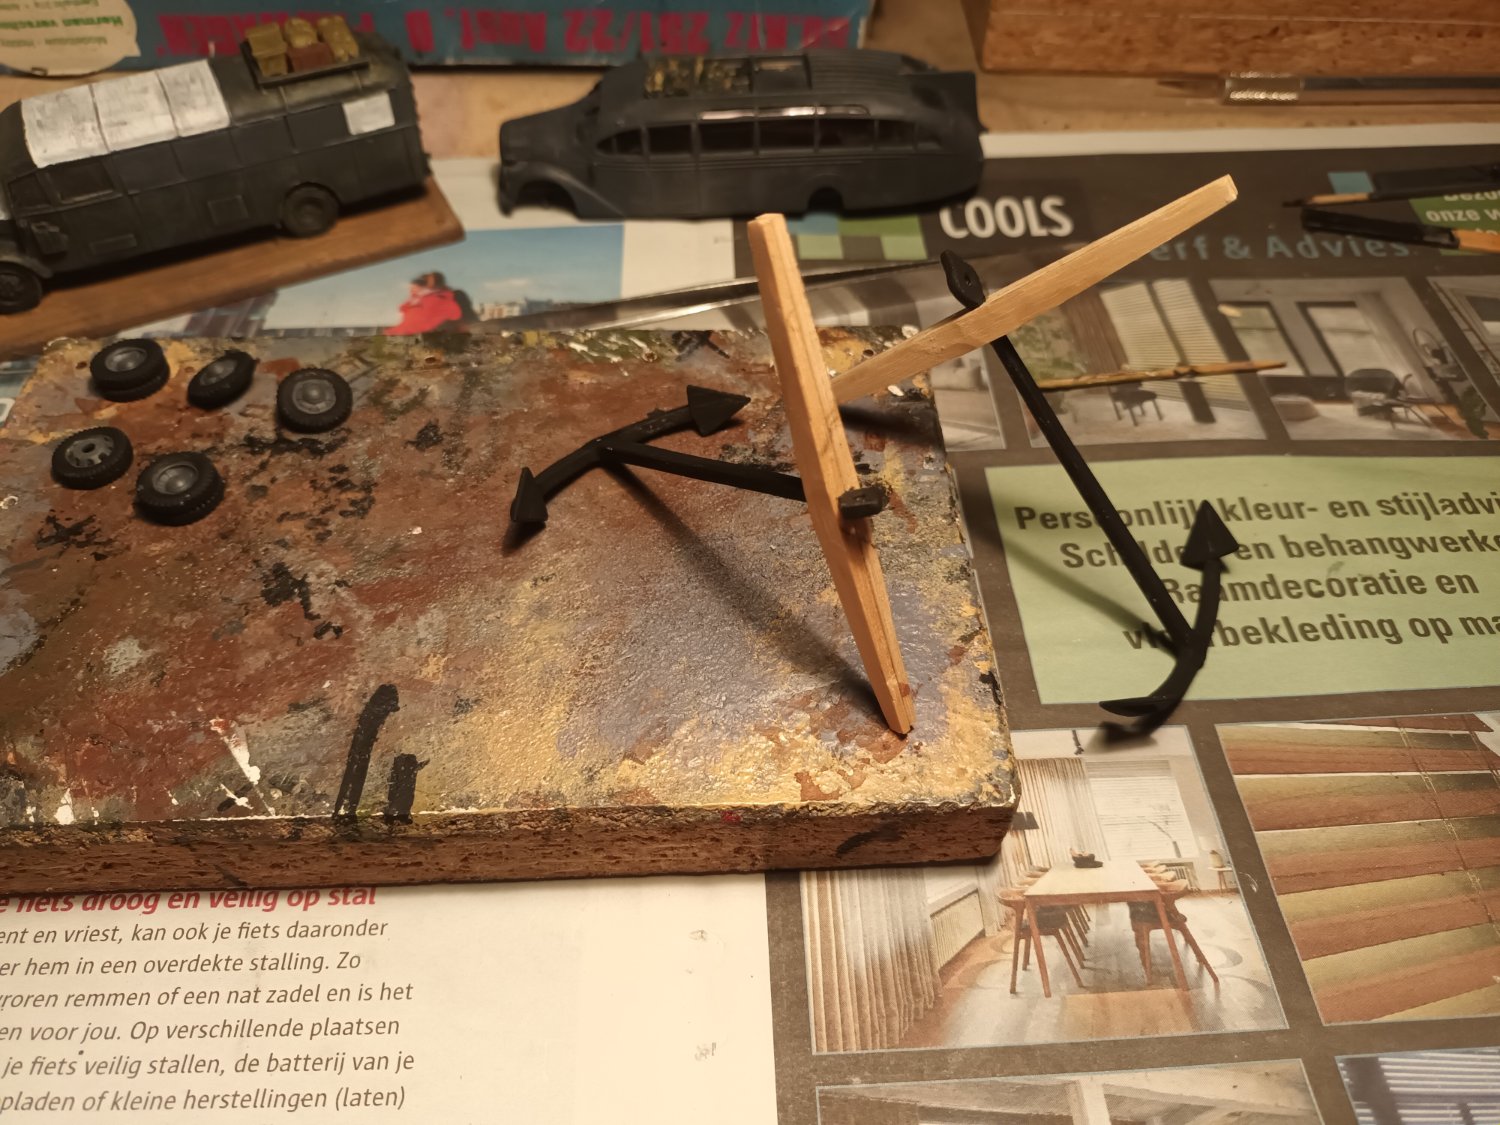
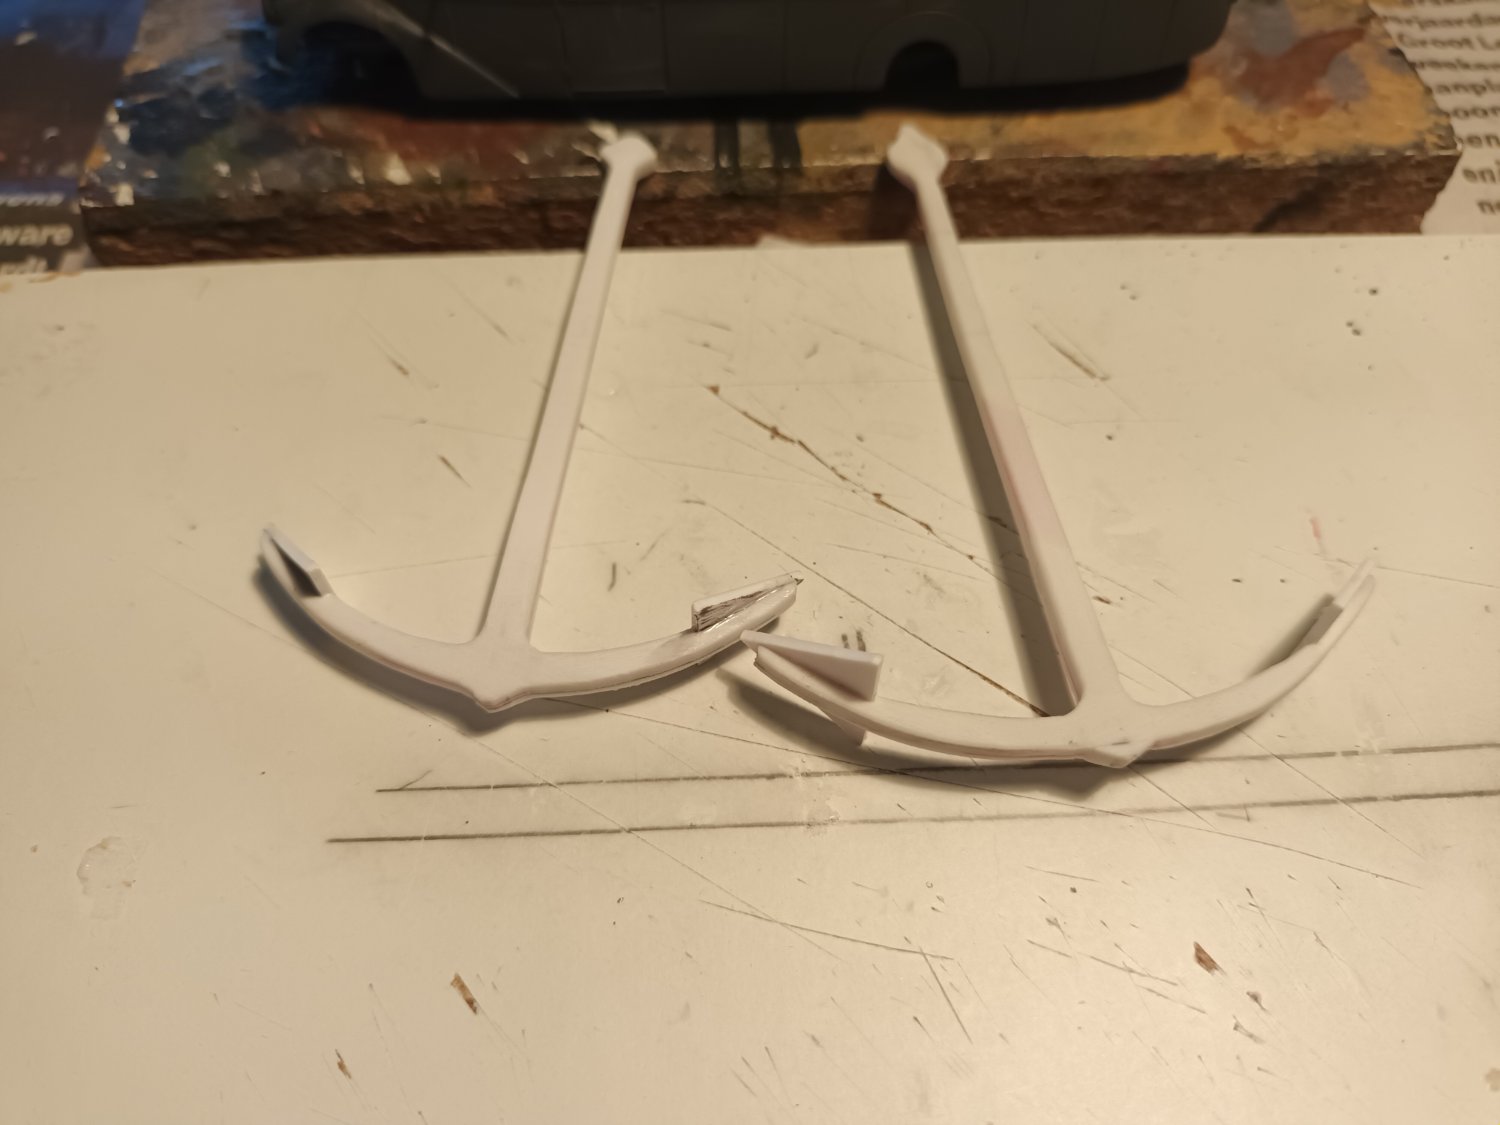
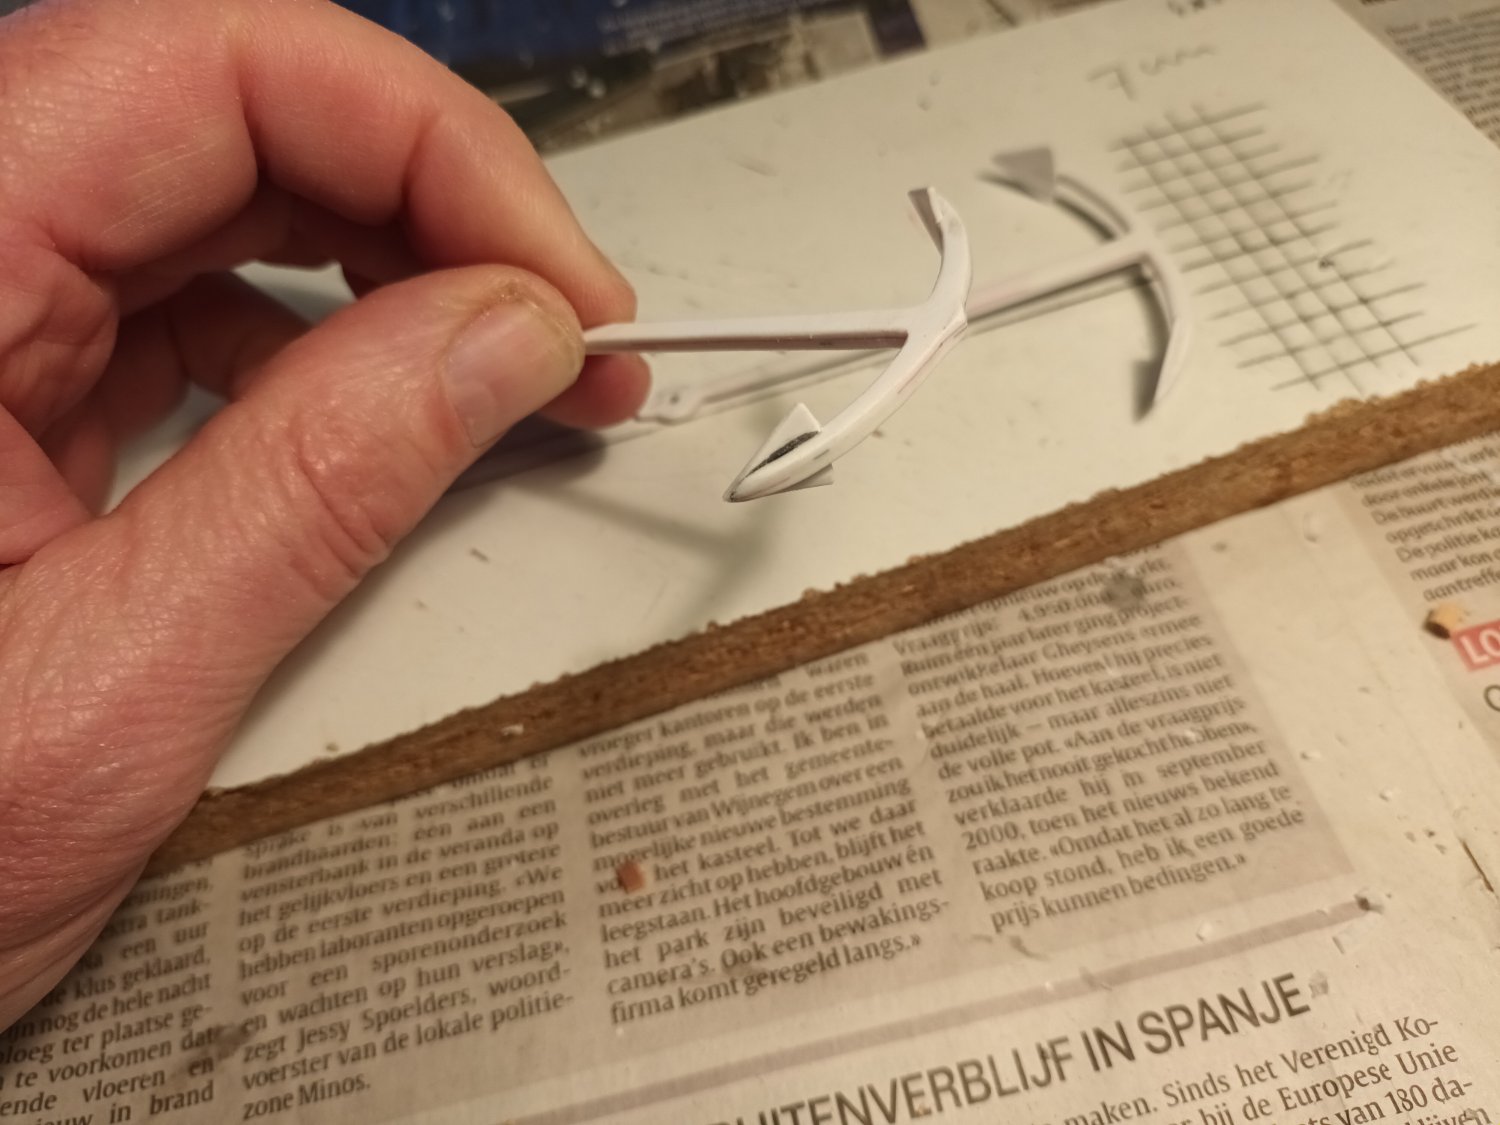
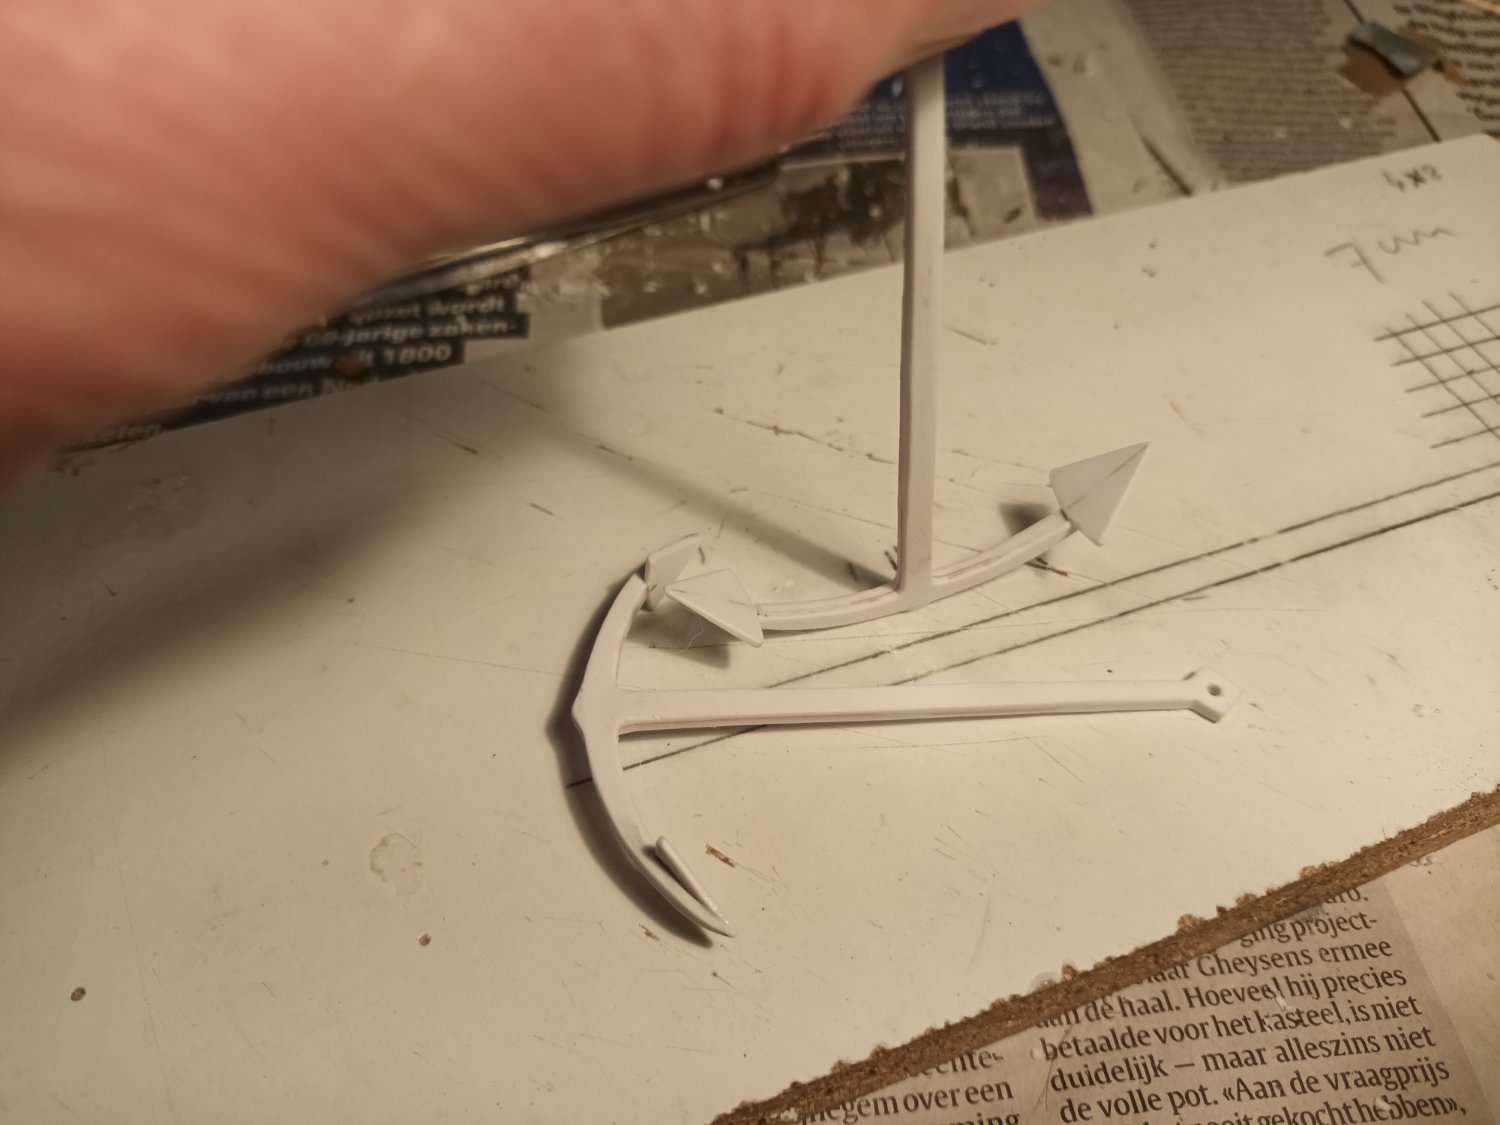
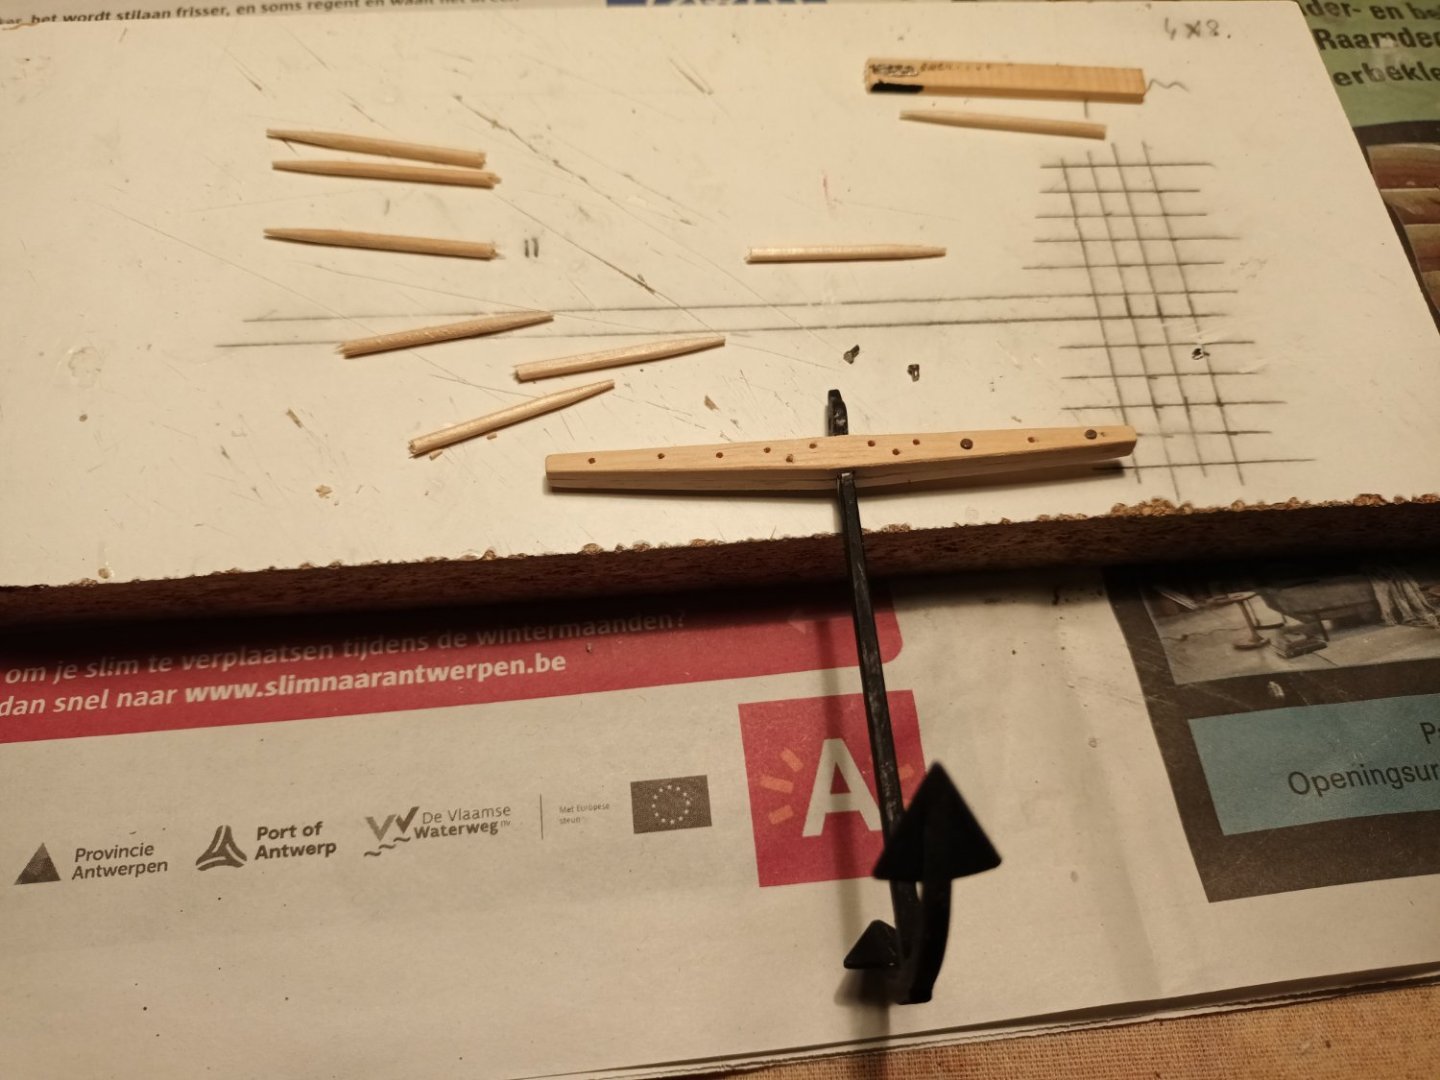
Small update Glued the "flukes" (triangles) And after lots of careful filing and sanding i have this result It looks pretty much the same as in the book


- 756 replies
-
- 9
-
-
- galleon
- golden hind
- (and 2 more)
-
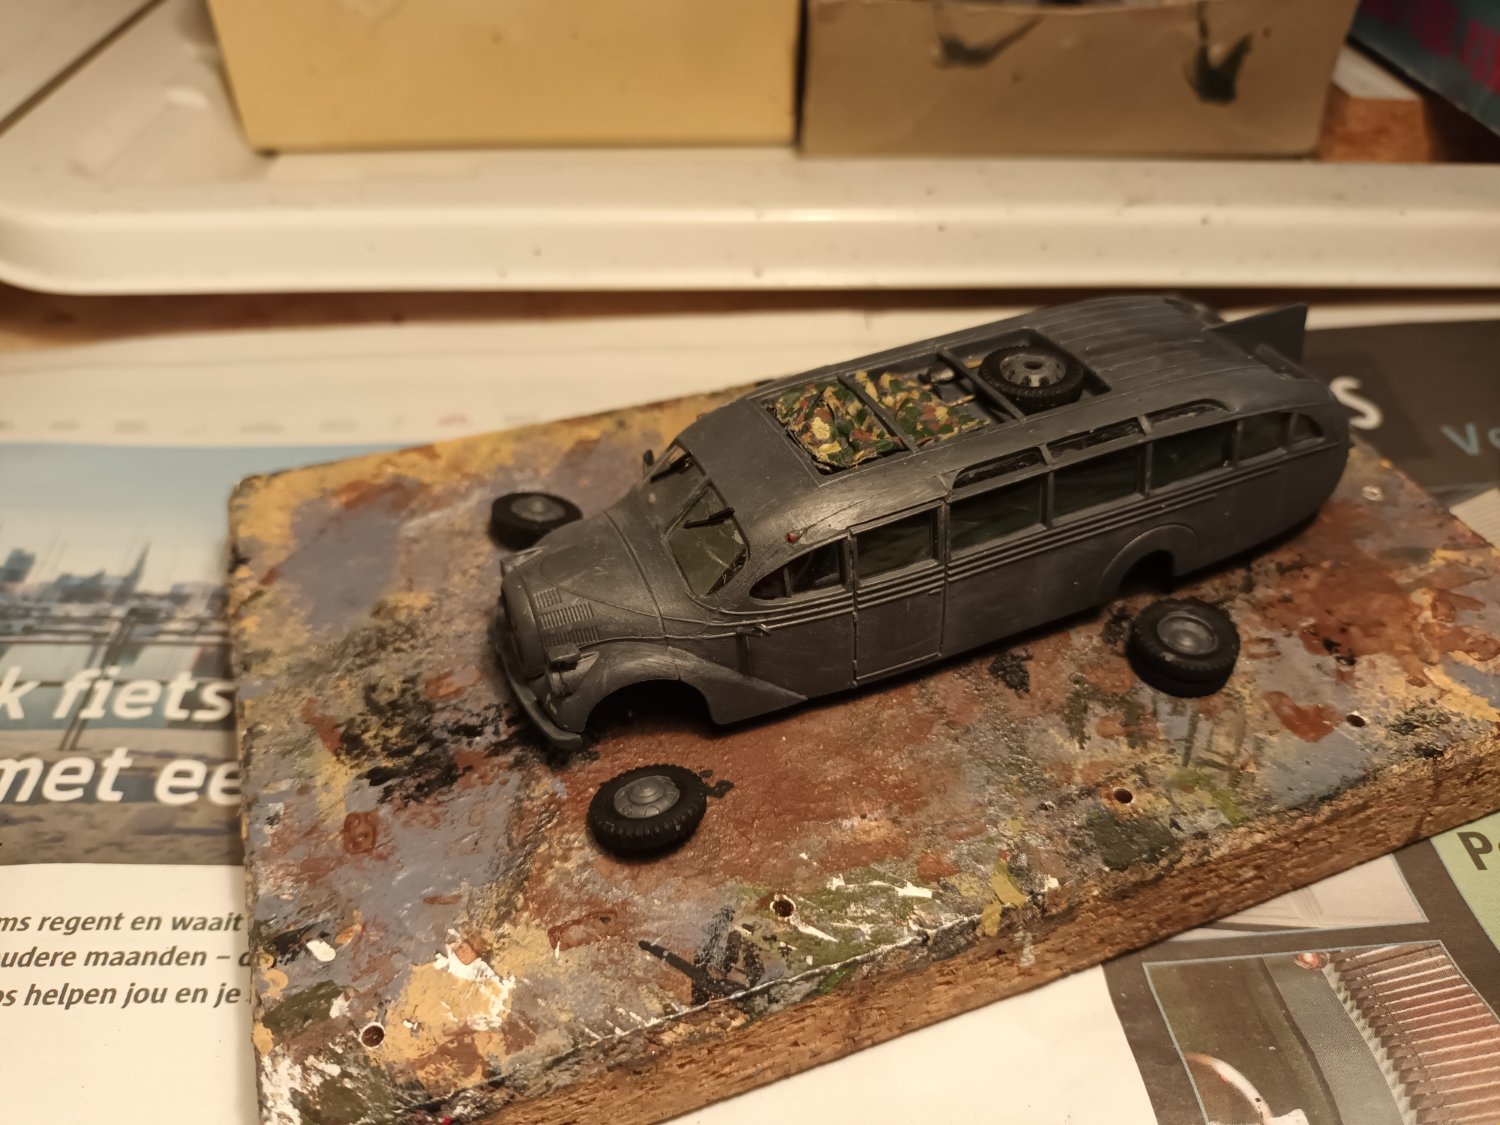
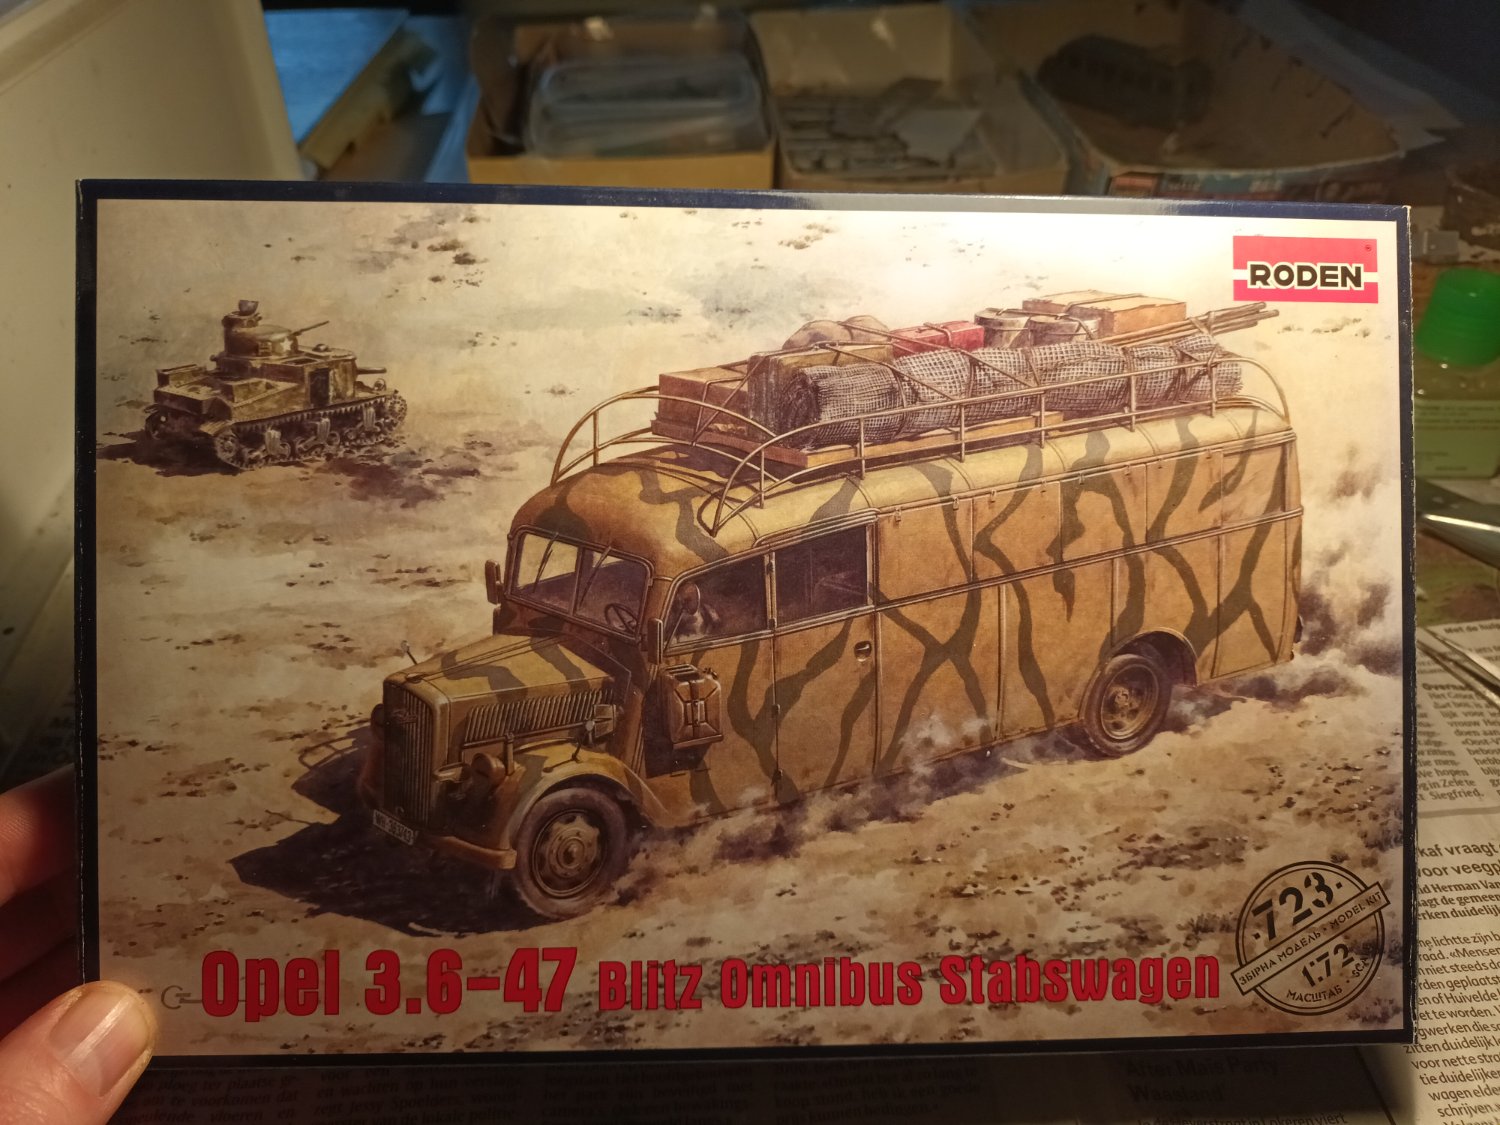
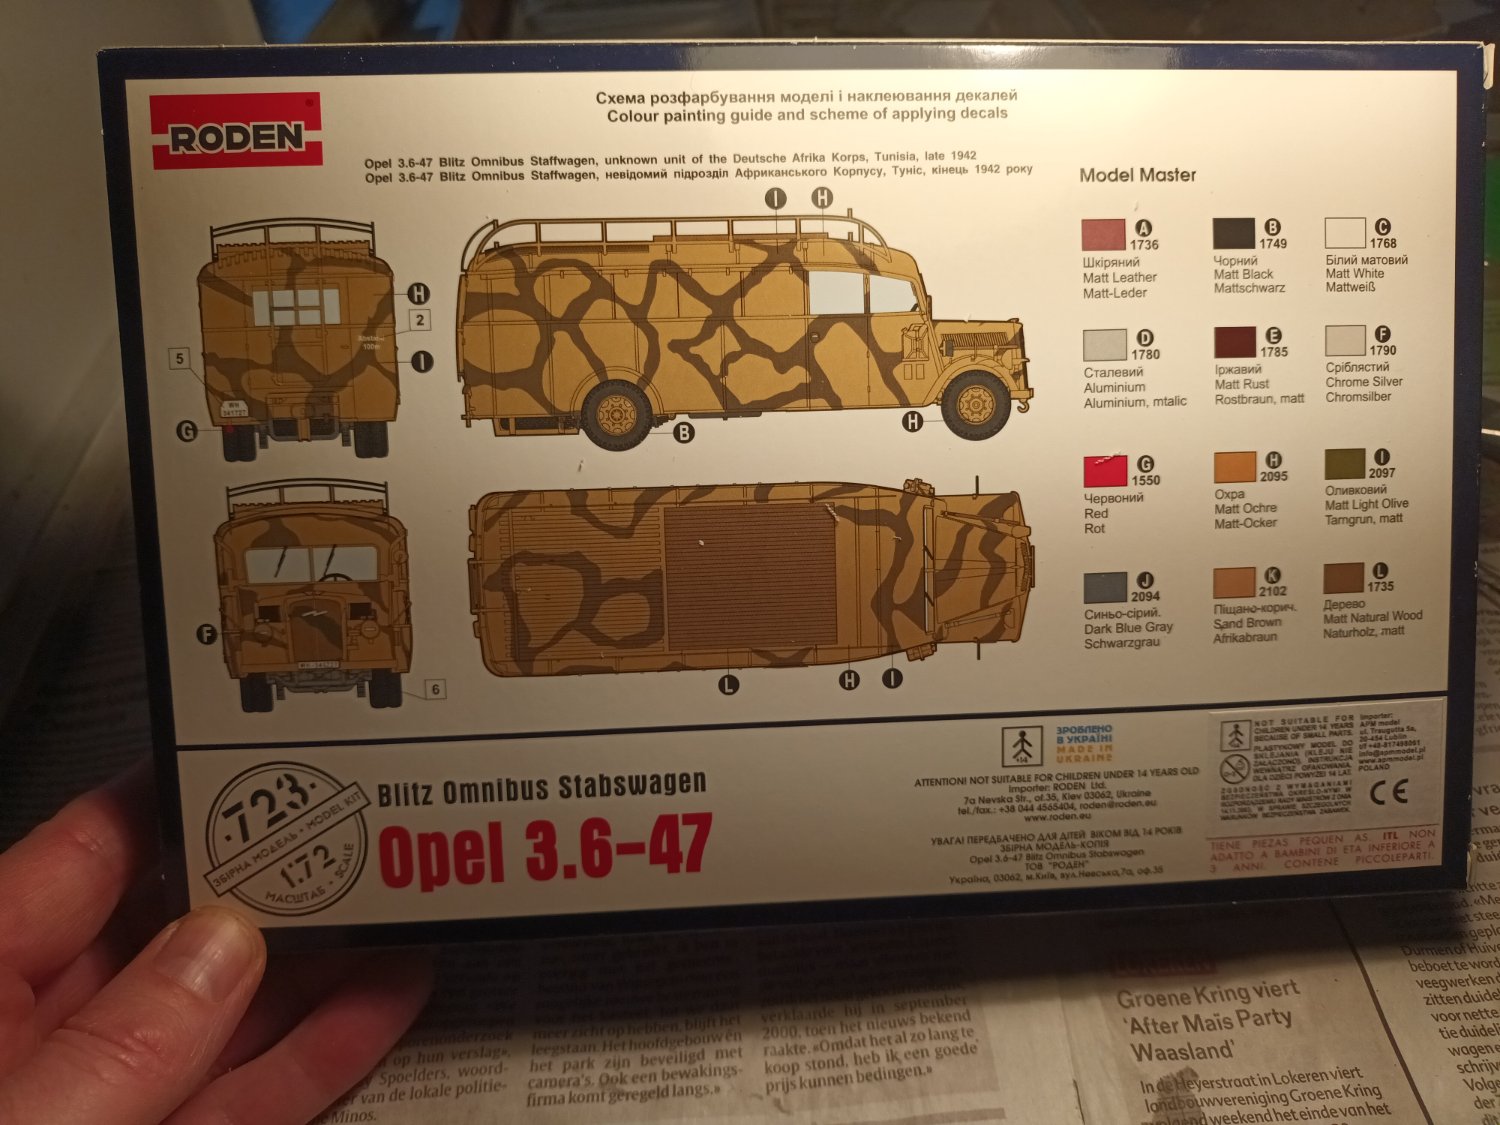
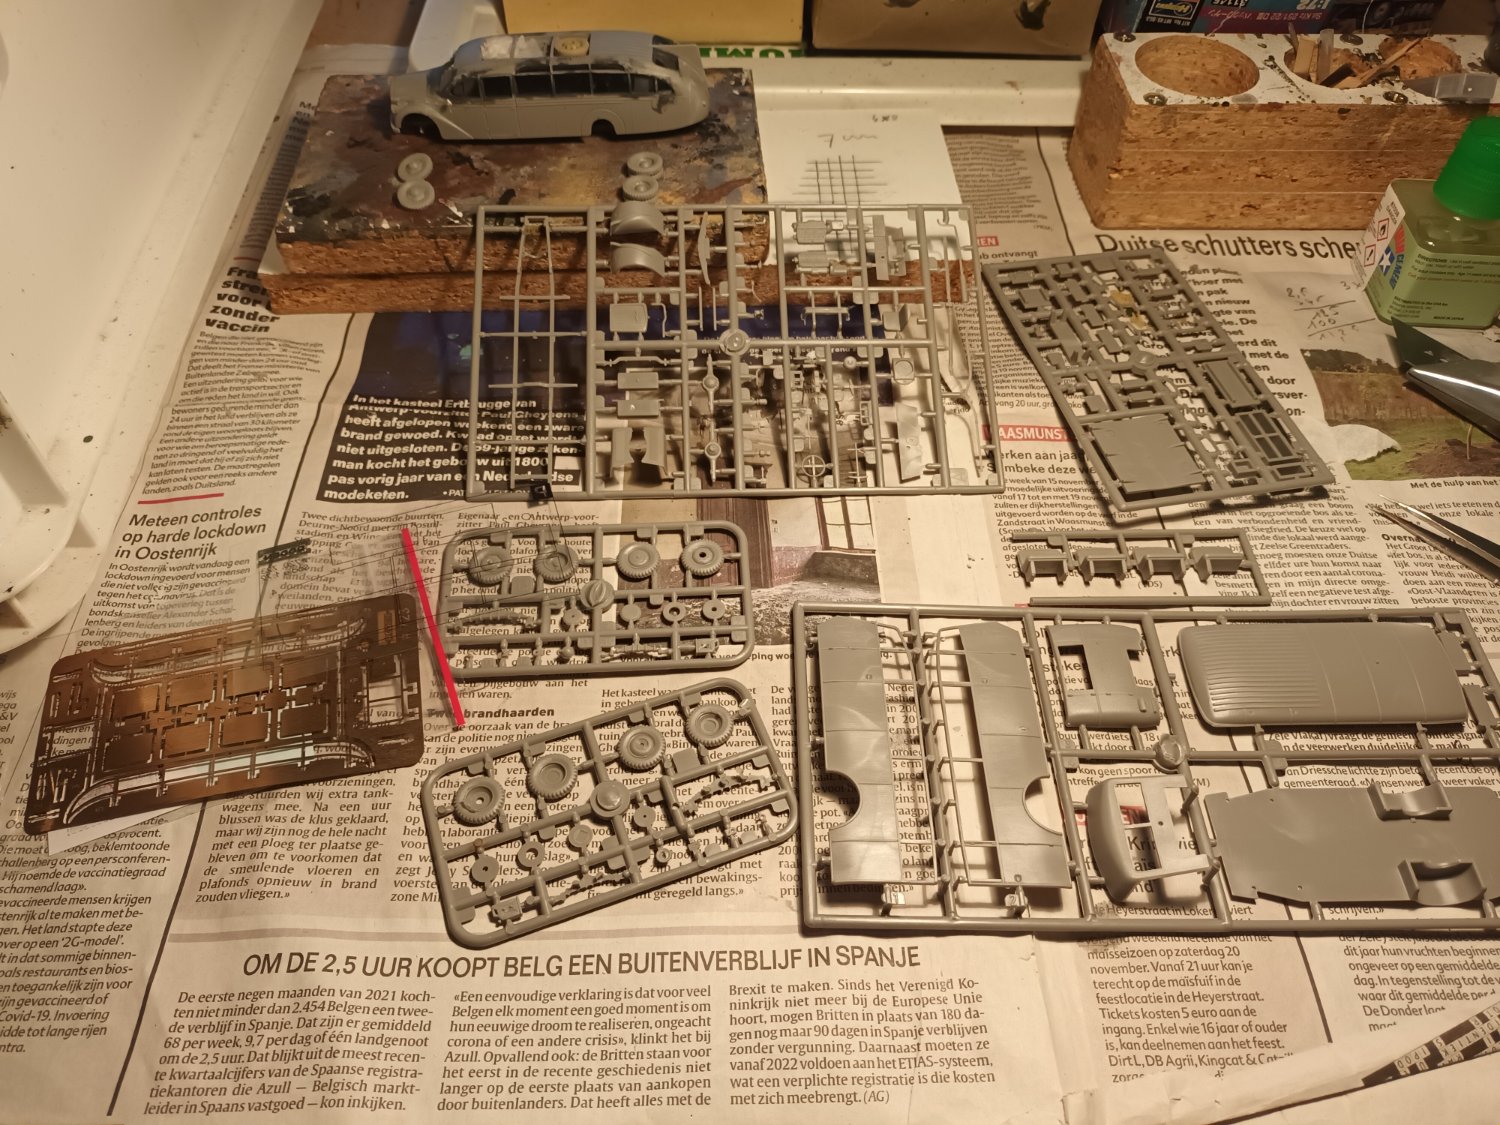
Time to think about the next Opelbus. Box and content. And, i almost forgot that I already had an Opel bus 😇. A model from the company Archer in resin. Judging by the numbering, it must have been built about 25 years ago. This model was made of a single block of resin and 4 wheels. This one gets a small update and becomes an amulance bus


- 46 replies
-
- 10
-
-
I am now building an English galleon. post 1 contains an index. maybe you can find some info there. see link in signature And you have a pm 👍
-
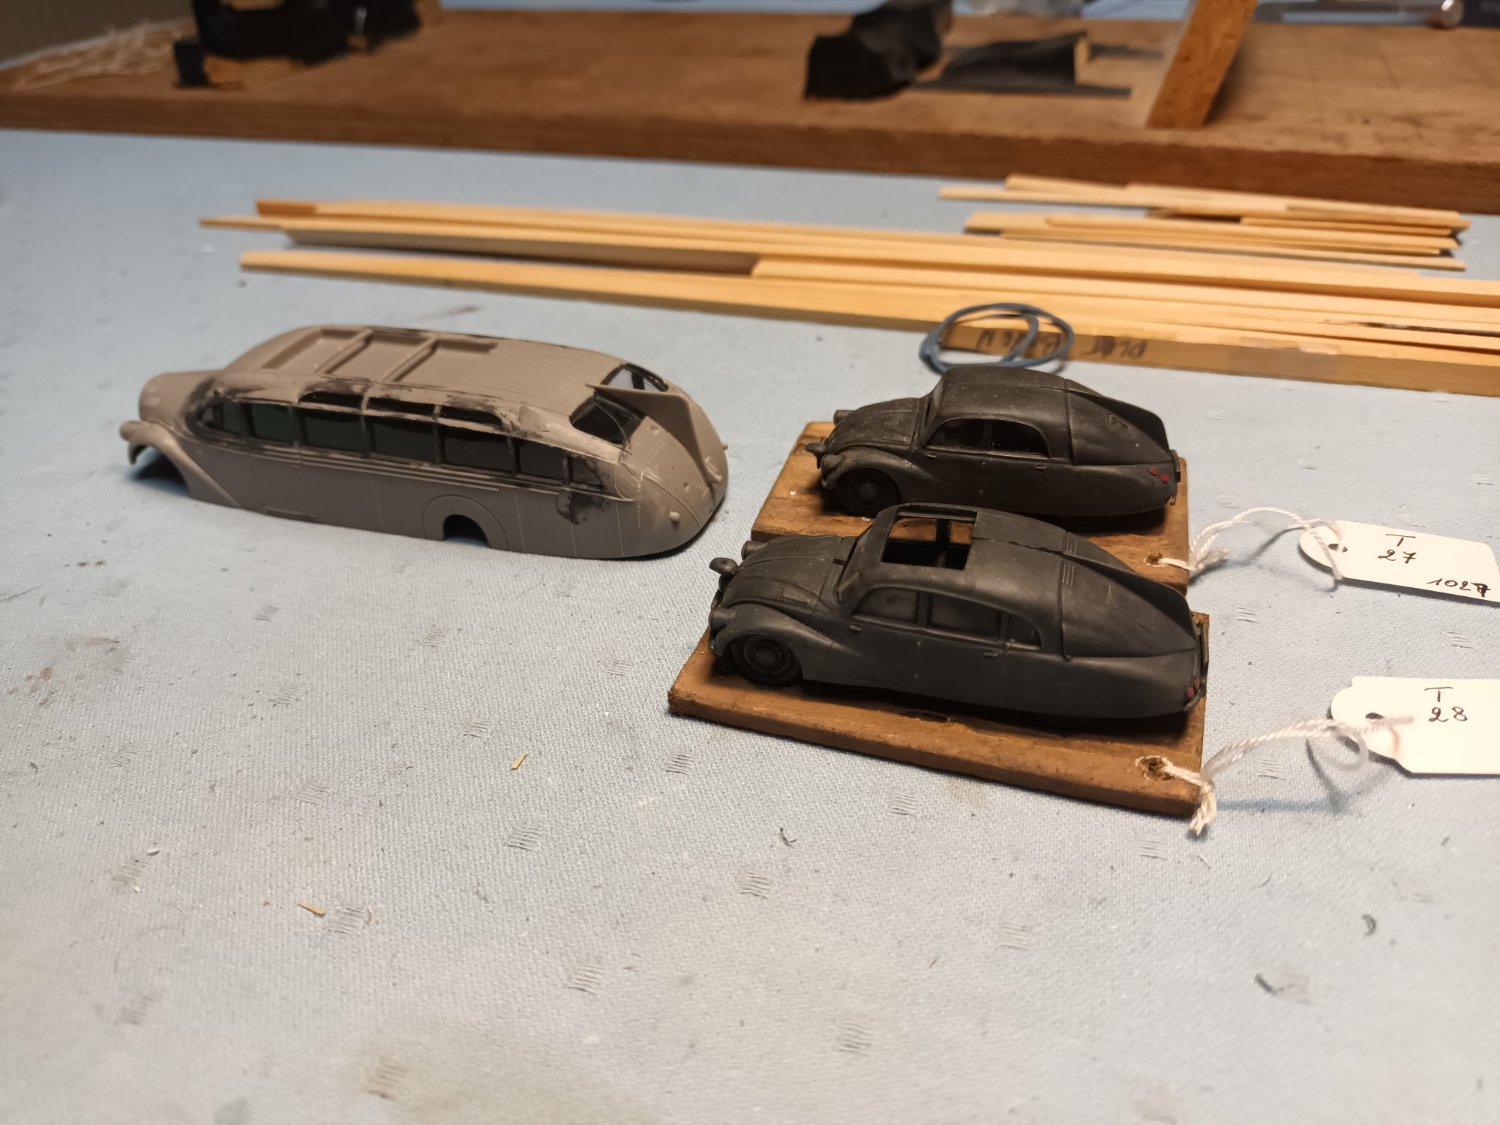
I think these Tatras are designed befor this opel bus. and a time before the German invasion of Czechoslovakia. Their technical knowledge was highly regarded (Tatra : cars, trucks Skoda : tanks). Maybe the opel bus is influenced by the Tatra design.
-
Nice work. I can find some info in my books.
-
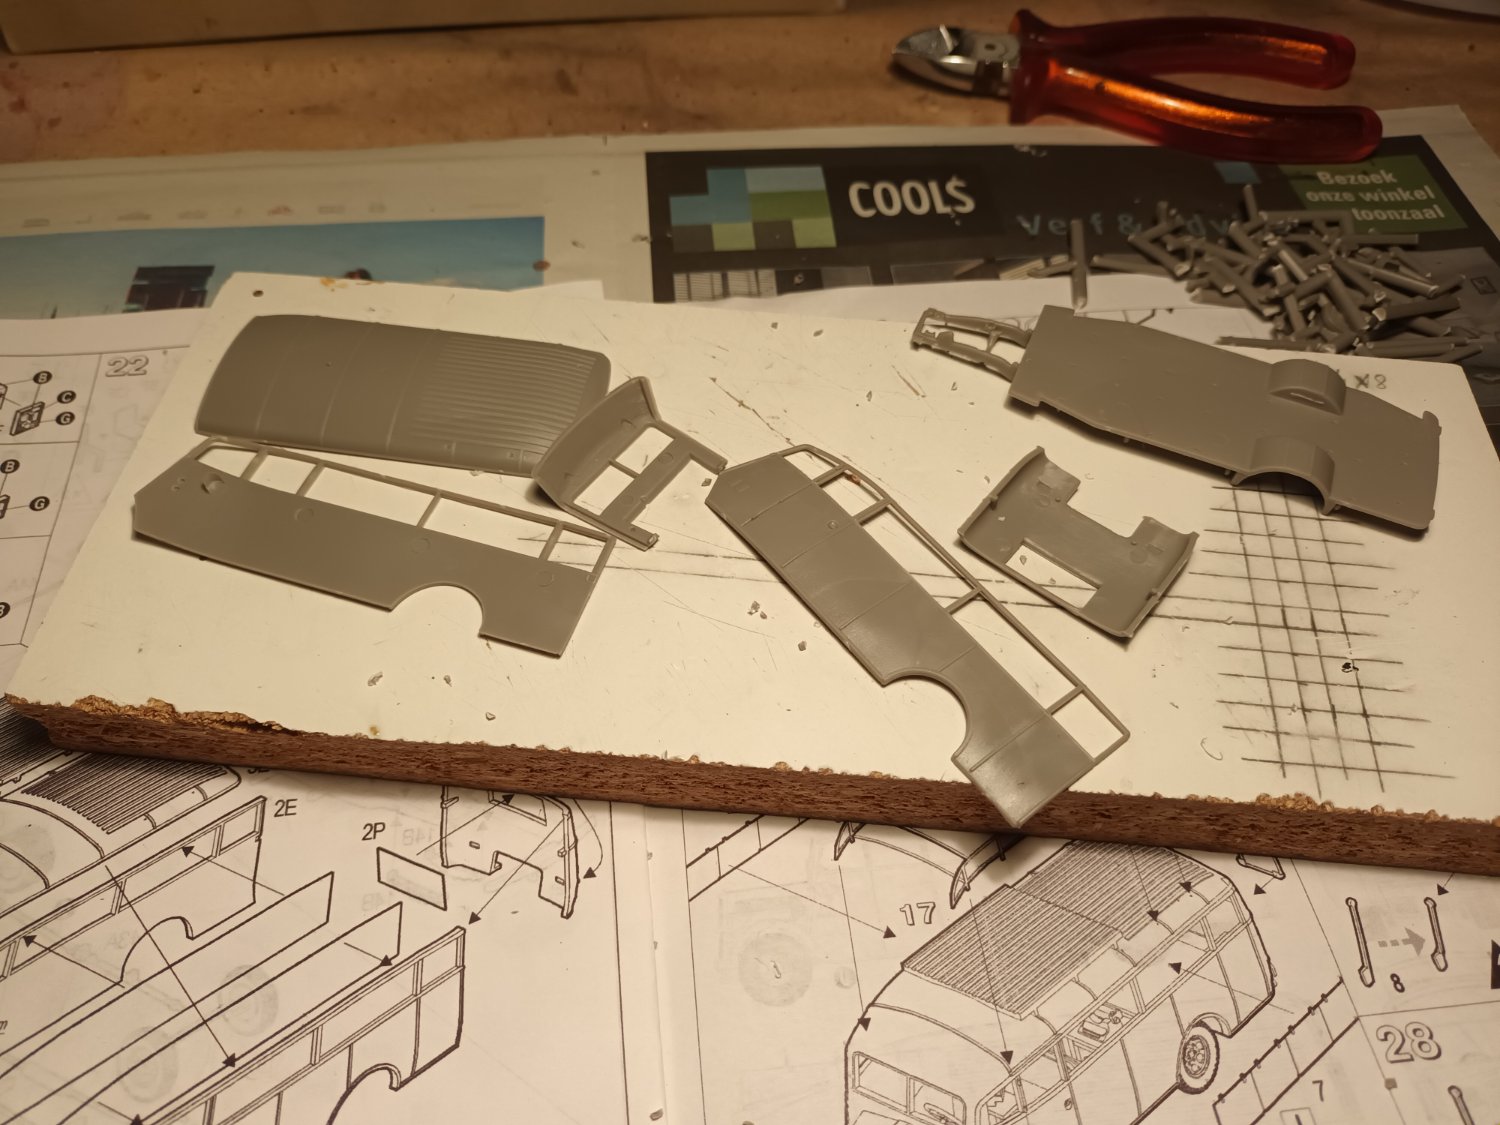
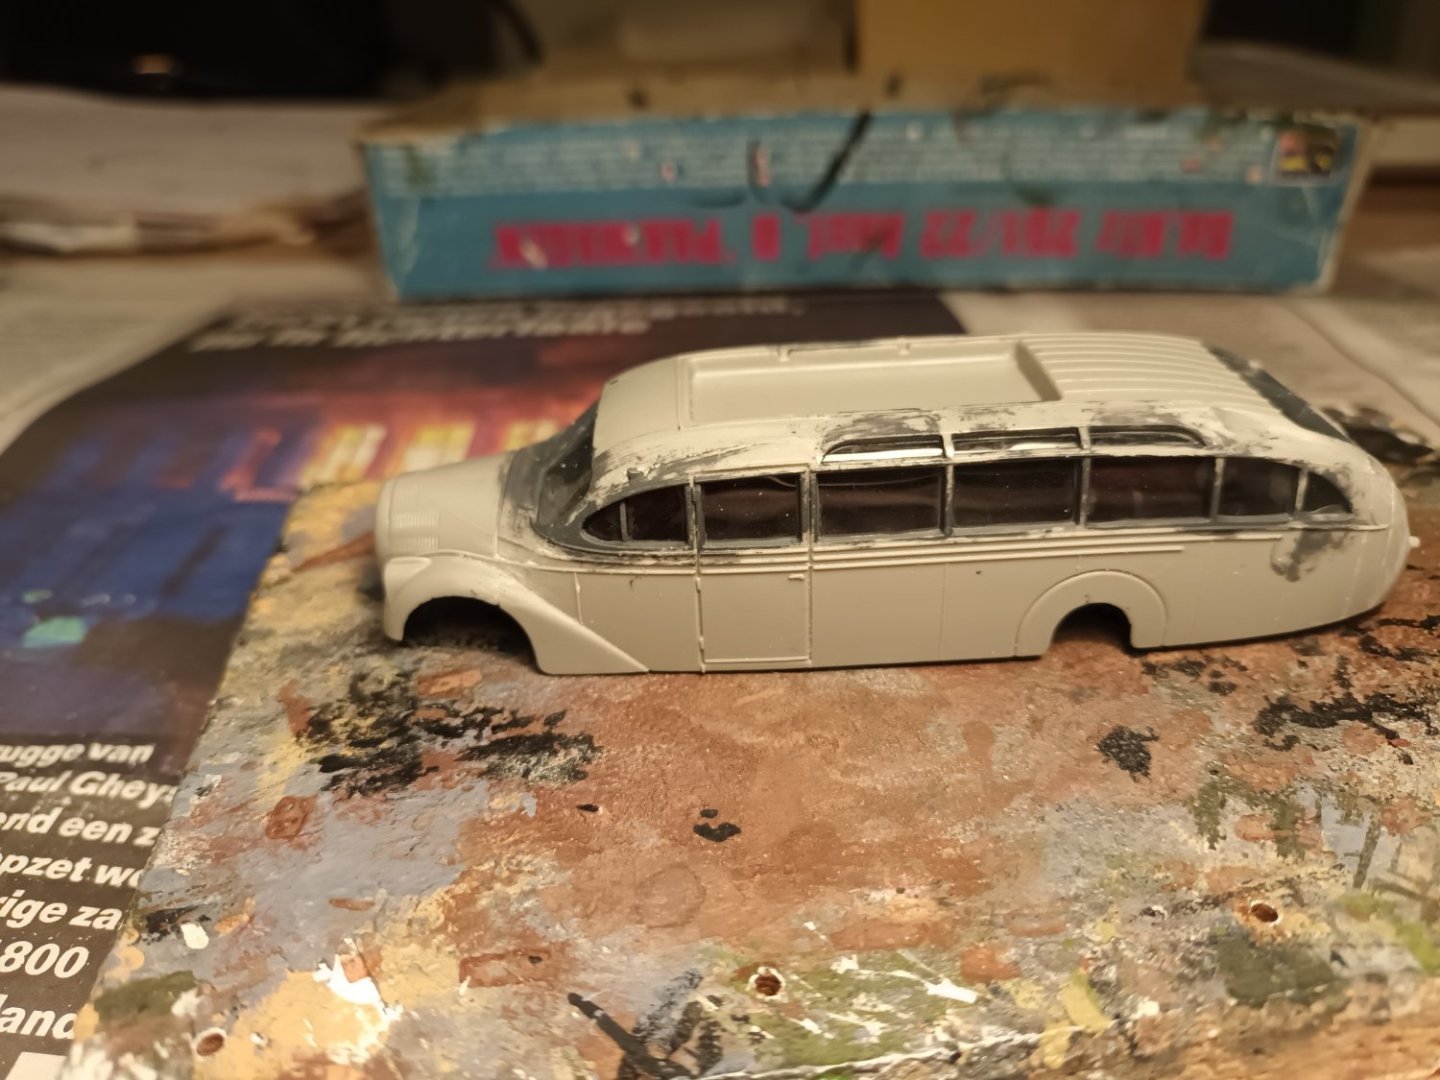
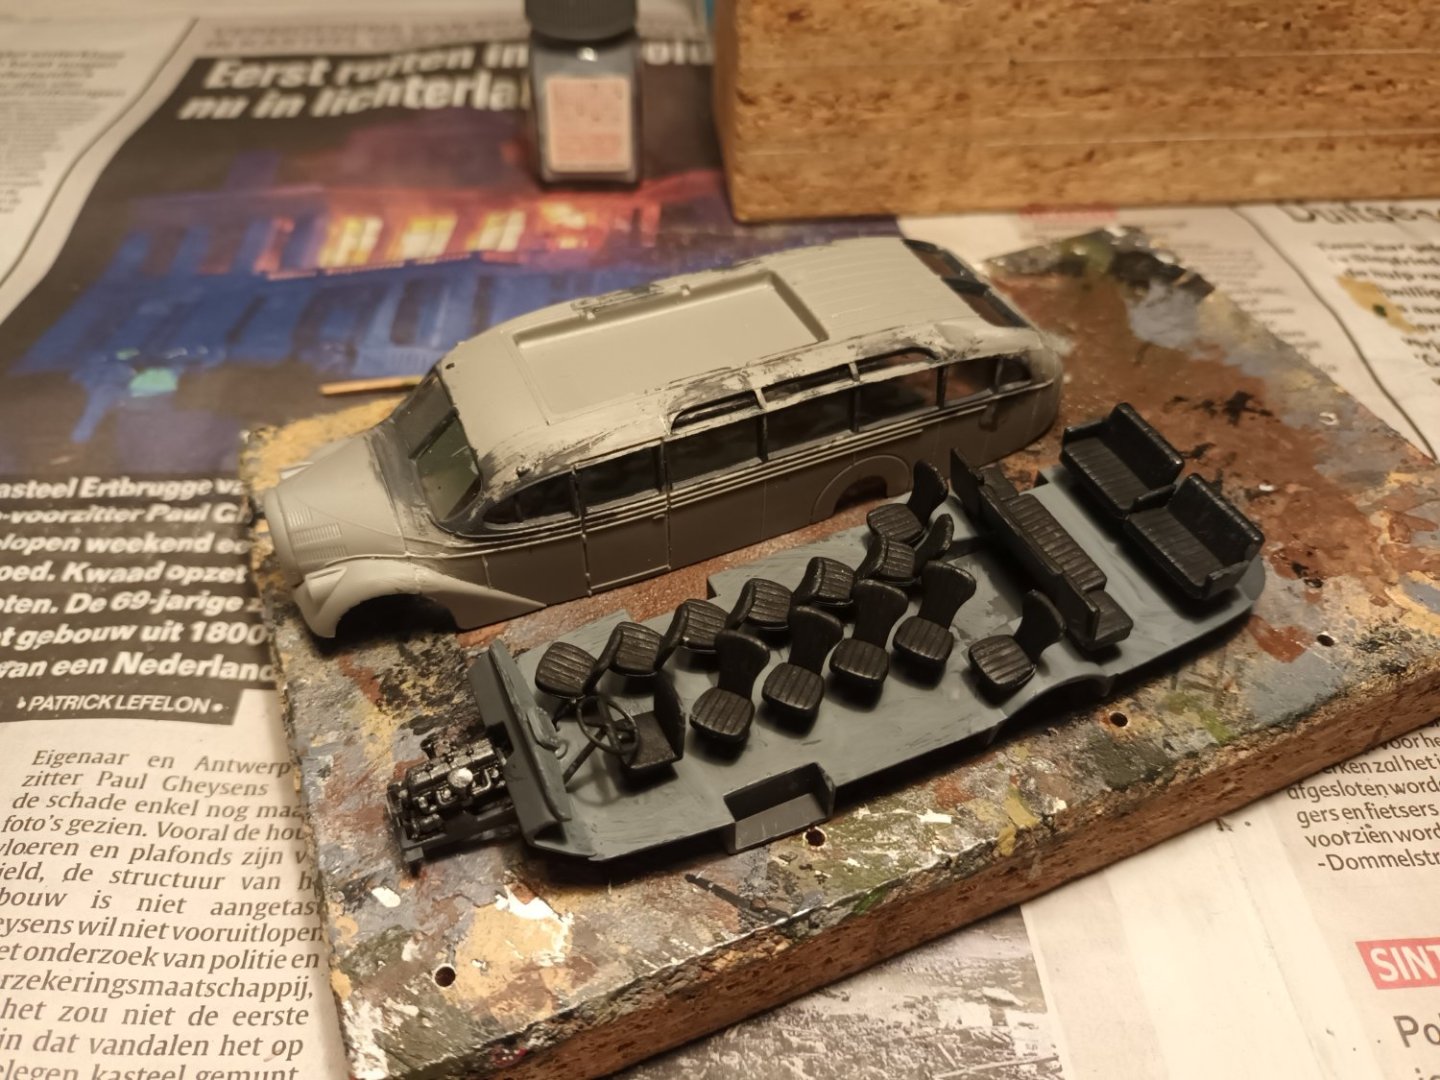
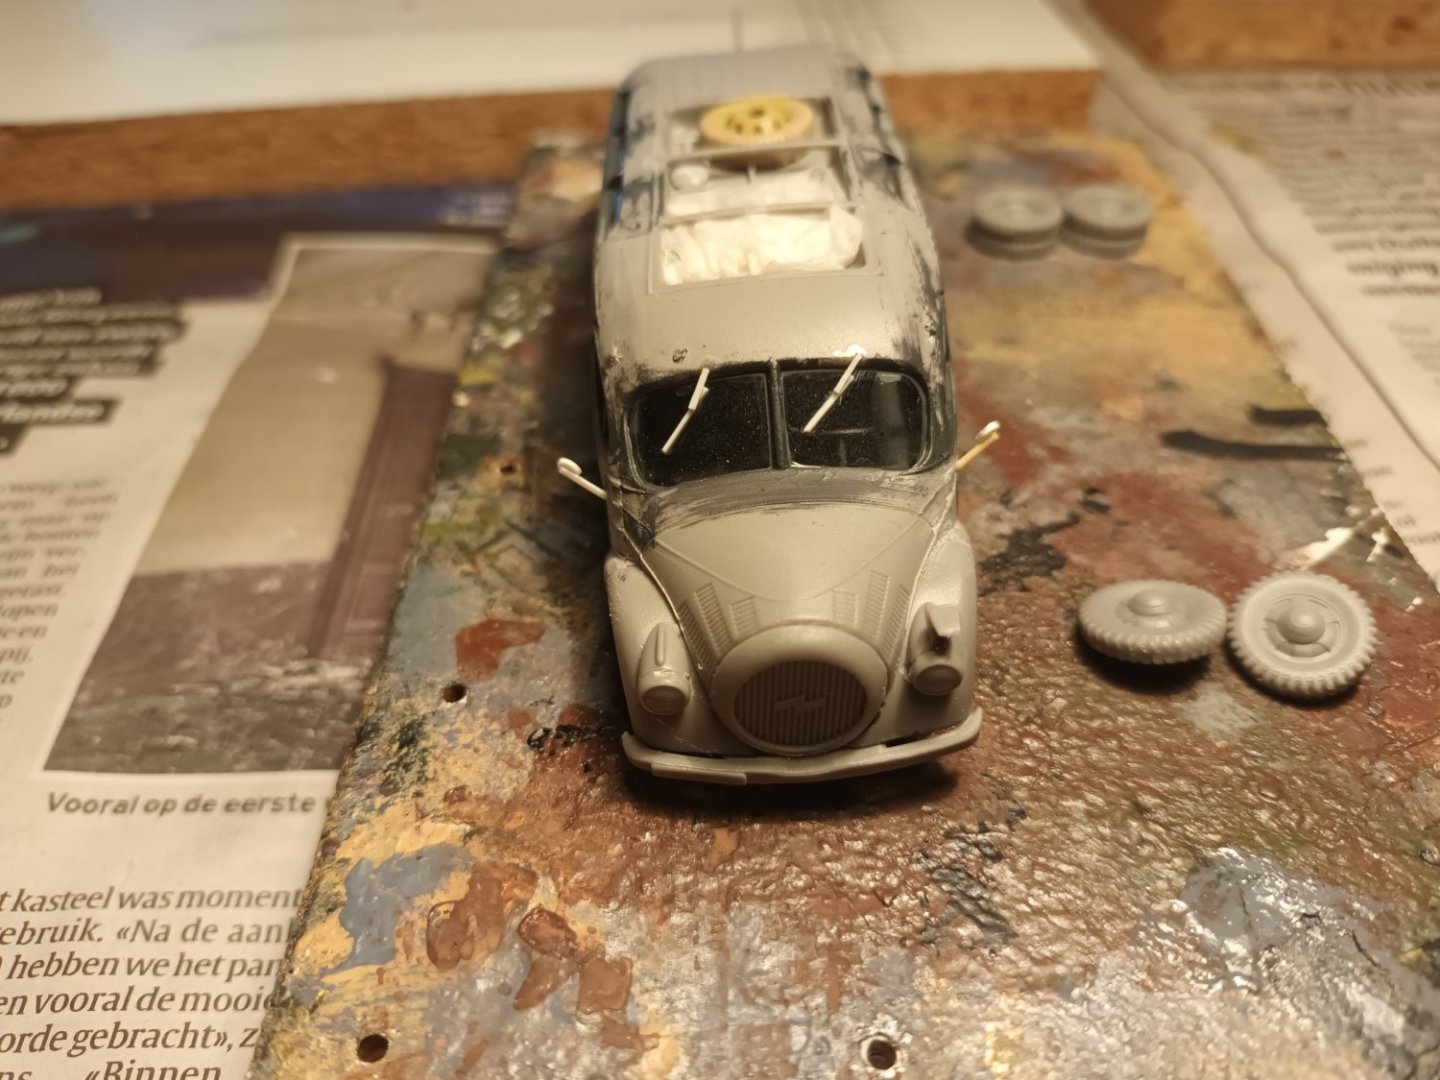
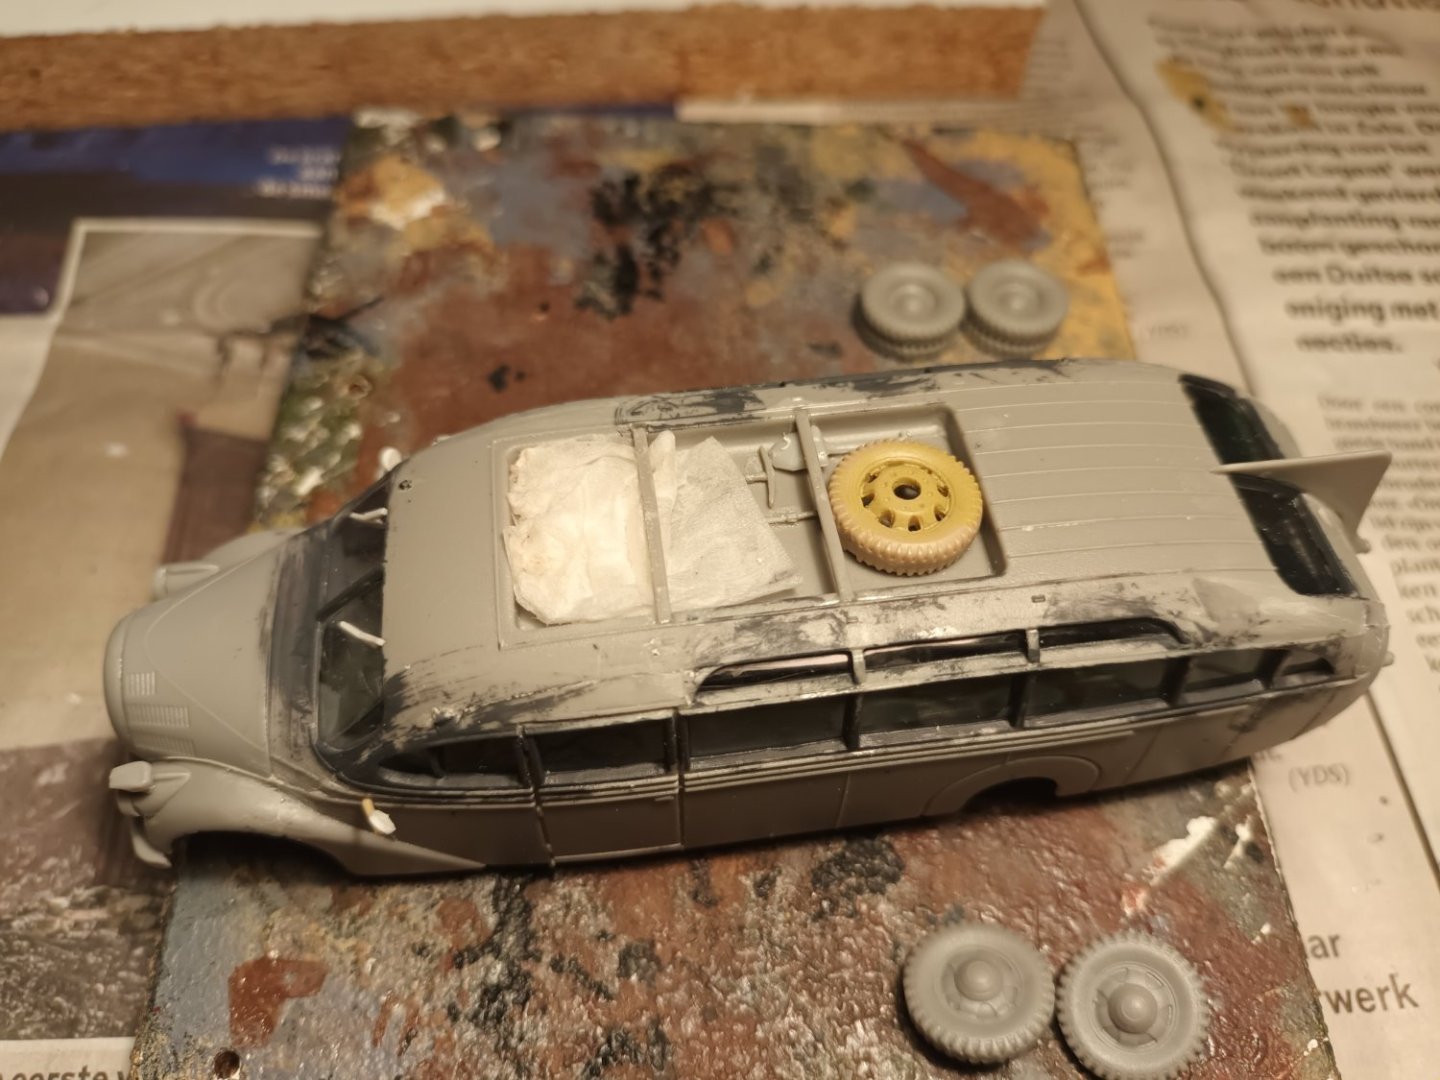
The windows are in place The interior is painted The chassis and body are glued together Added some extra details. Wipers, rear-view mirrors and some extras on the roof. The model is ready for painting

- 46 replies
-
- 13
-
-
Well seen. The opel bus could well be related to Tatra. But I do not think they where family 😉

- 46 replies
-
- 10
-