


RGL
-
Posts
5,115 -
Joined
-
Last visited
Content Type
Profiles
Forums
Gallery
Events
Posts posted by RGL
-
-
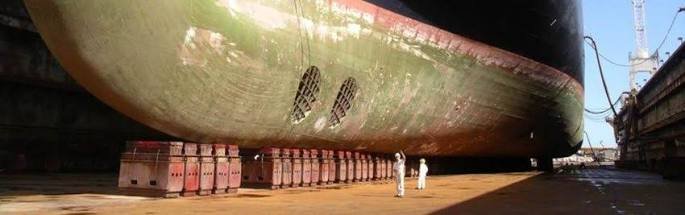
Um, yes, it was a photo I found of alge on a ships hull. It was supposed to support what decoyman said about growth on a ships hull.
I dont intend tend to take it that far on mine.
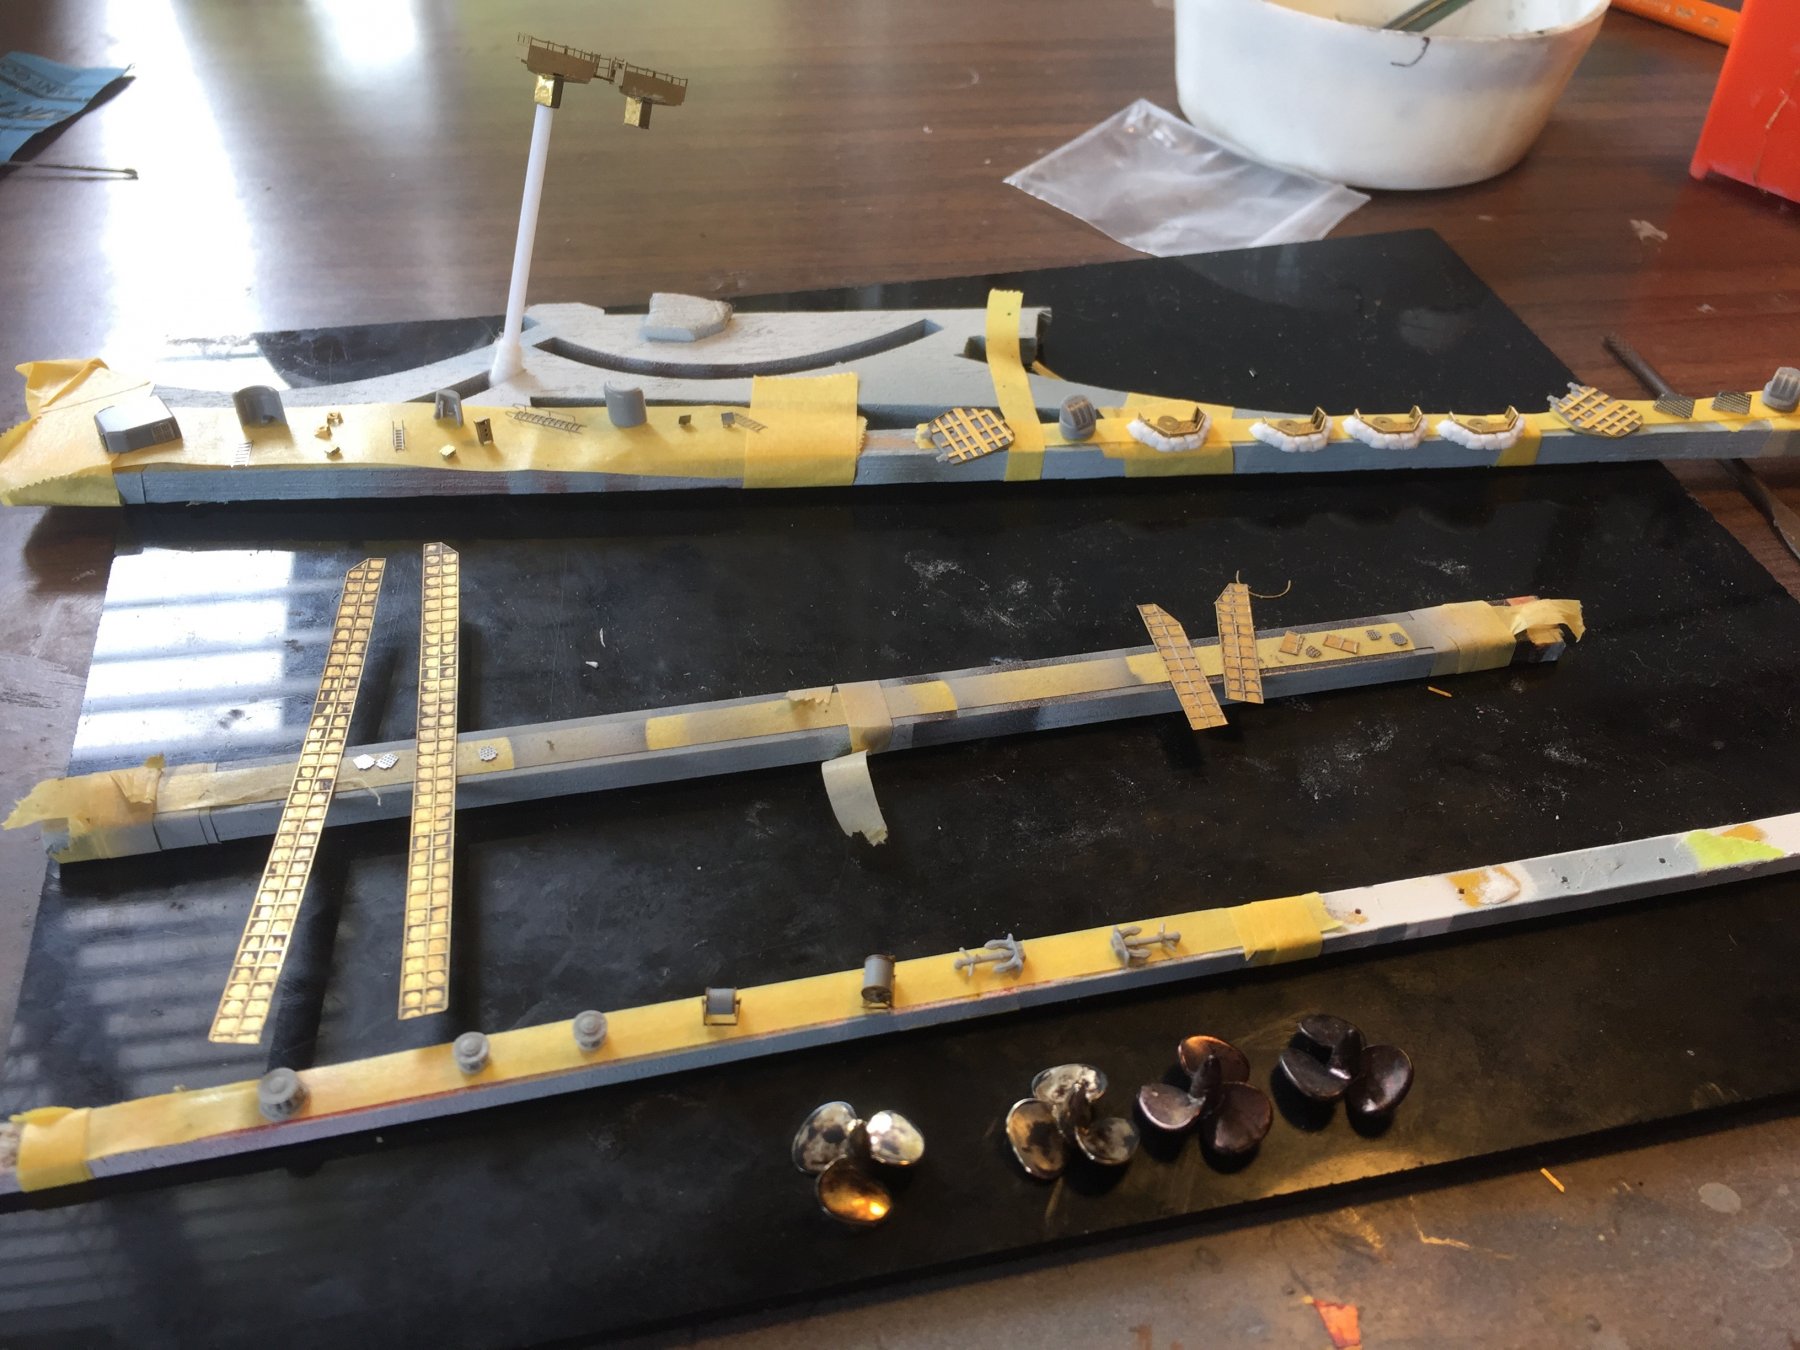
After a weeks work I have almost completed all the ships guns, and will post on that later. 12 x 12.7cm guns, 24 triple turrets, and the list goes on.
-
You're probably right, but at least I got something right!!!!
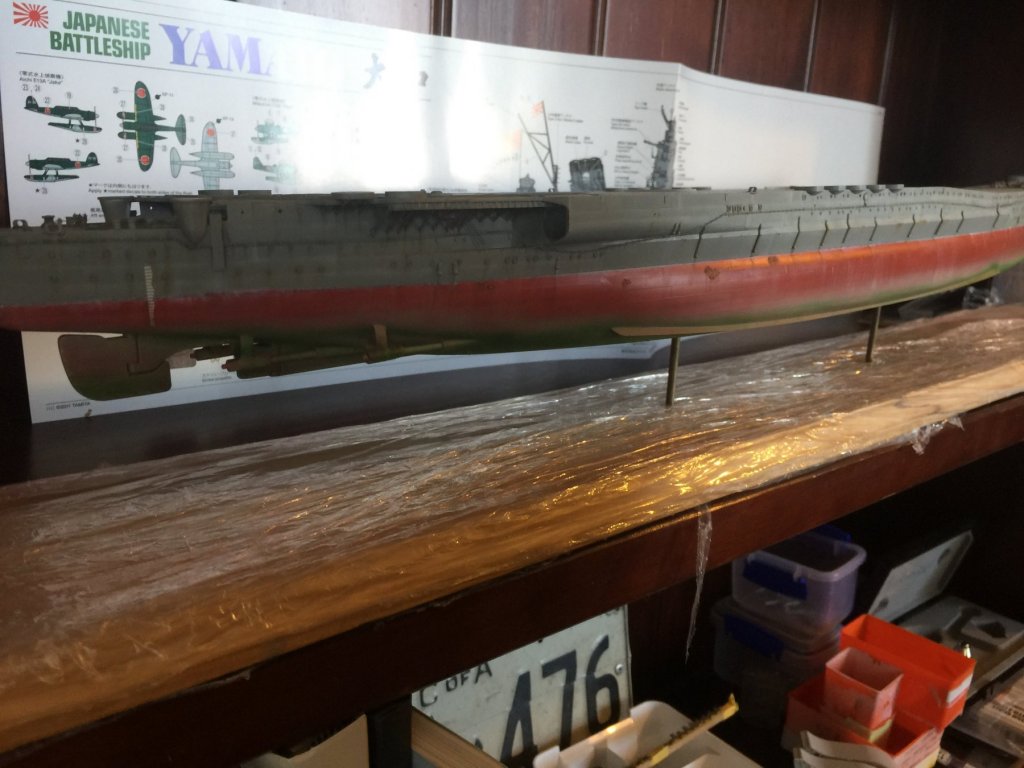
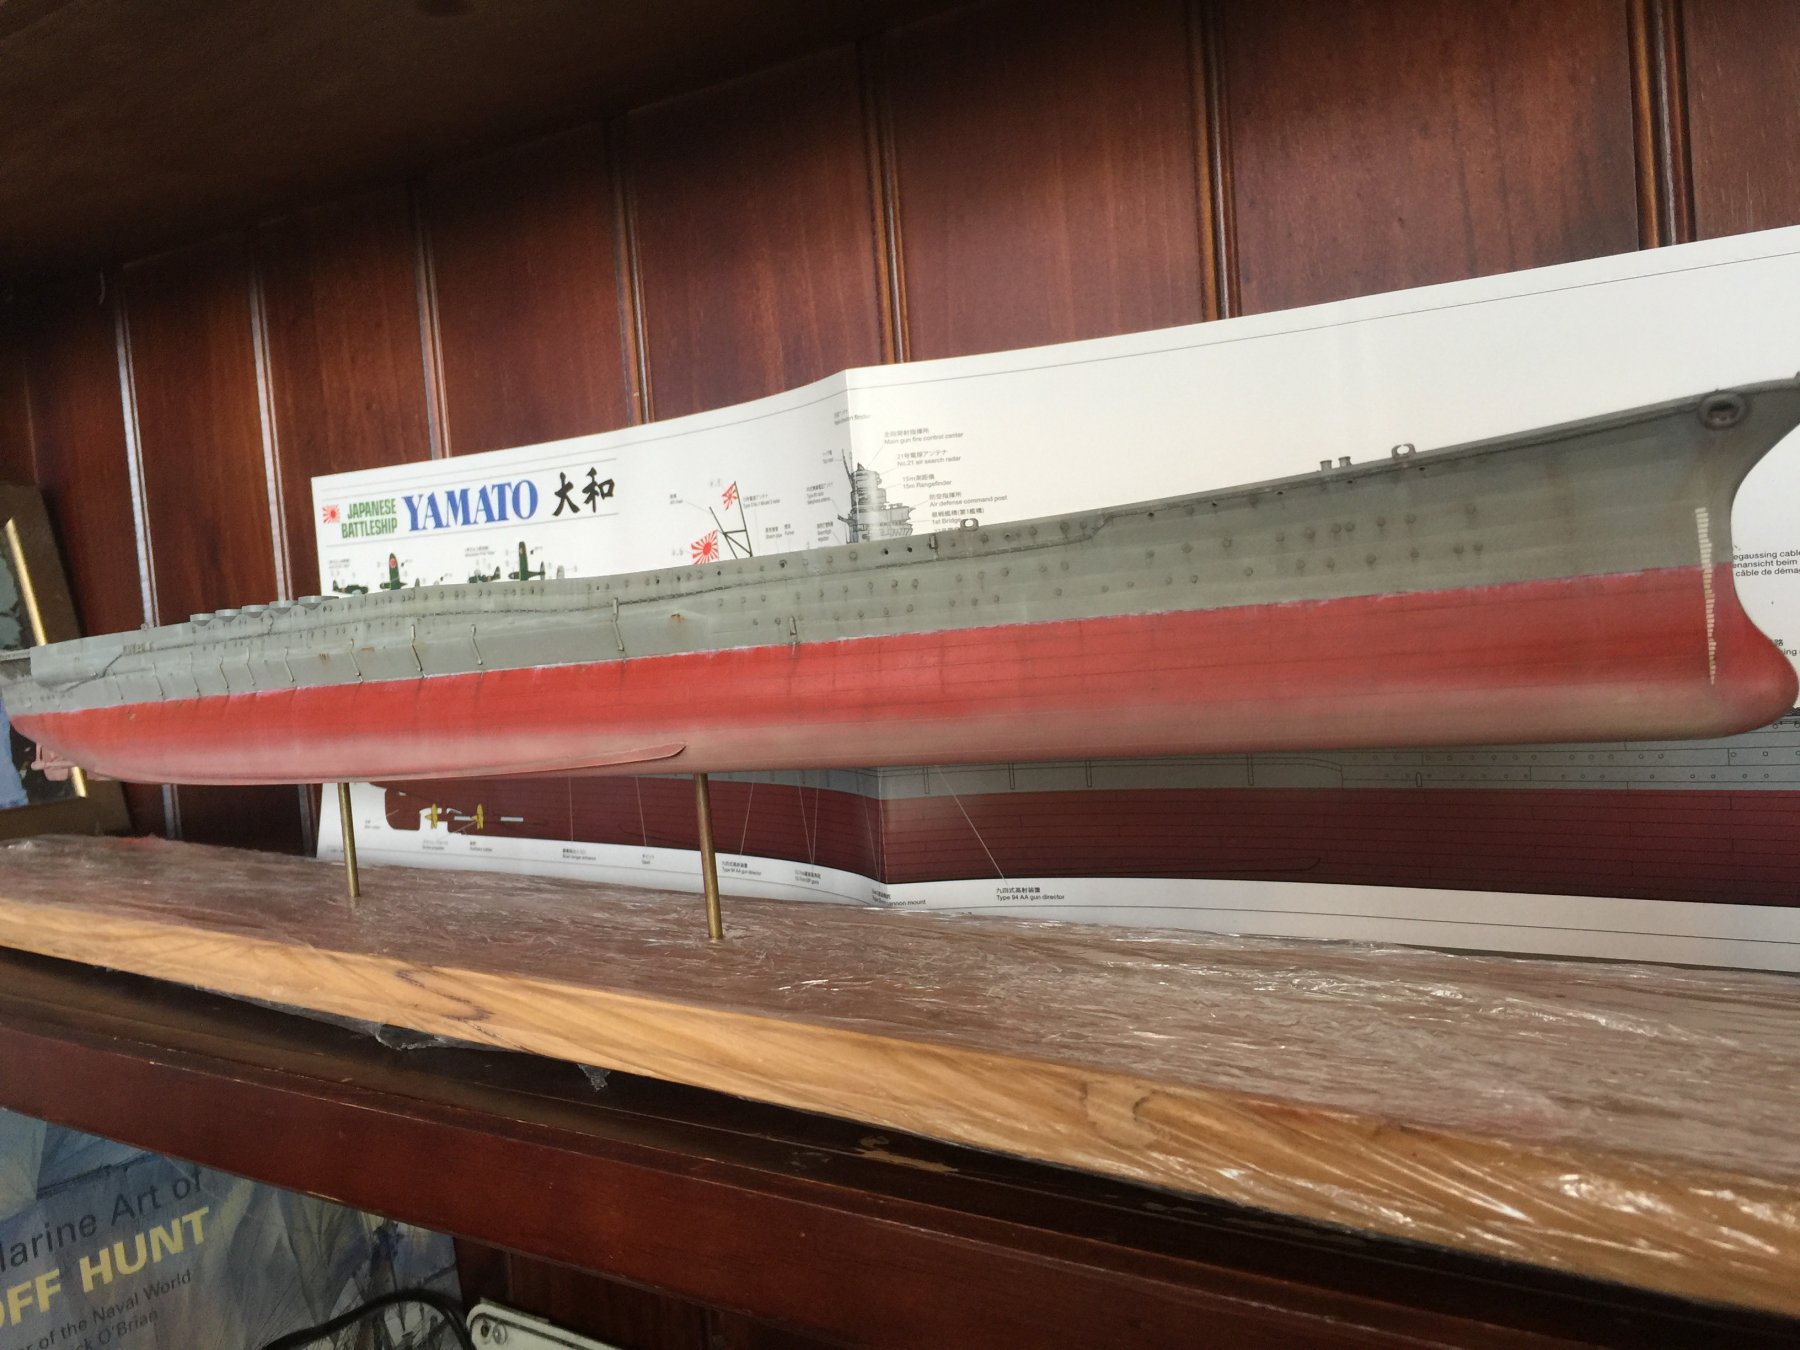
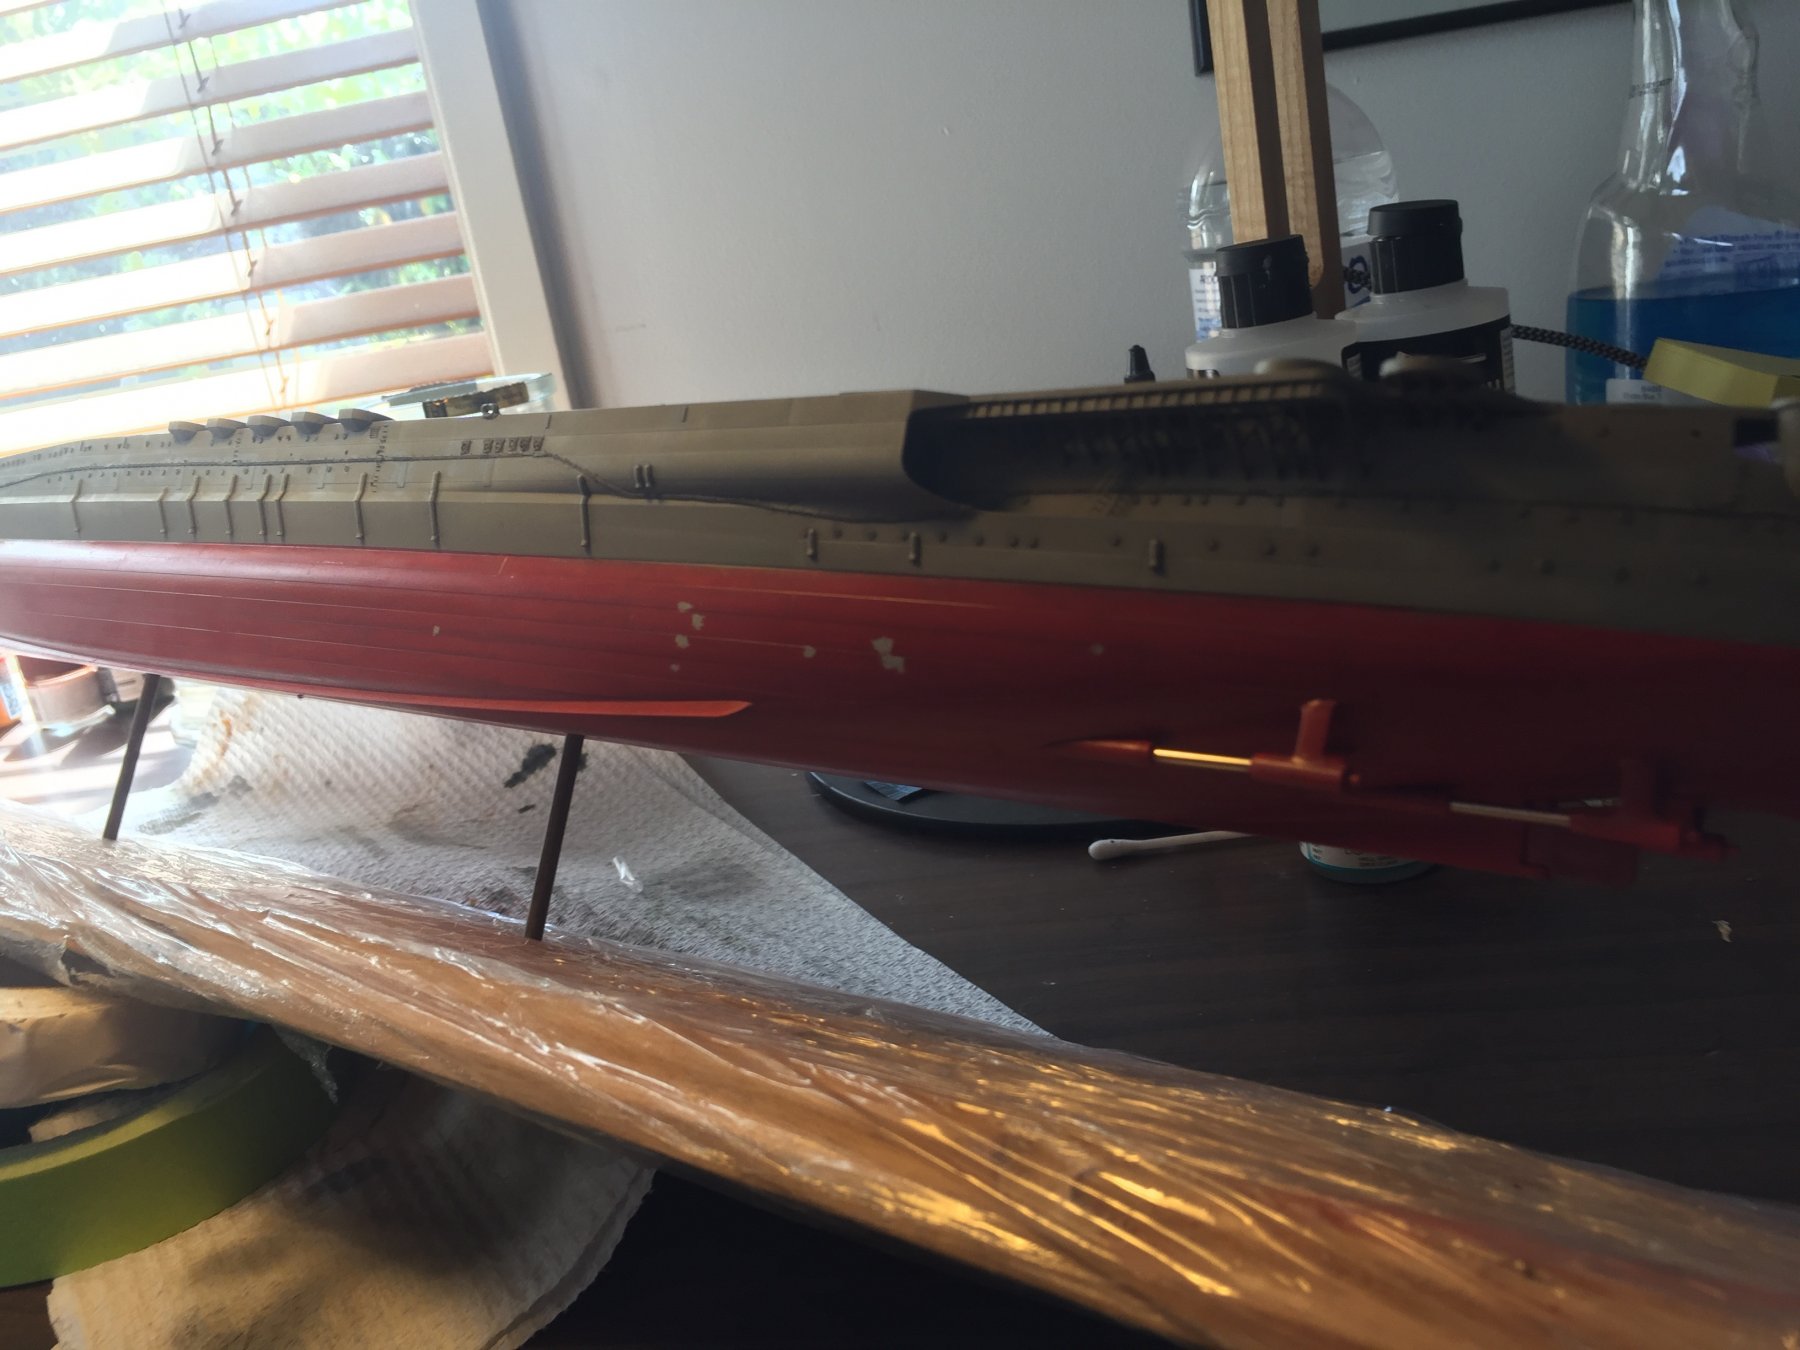
The hull will will sit very low on the base when completed as I have not done much work at all on the bottom of the ship.
I suppose there here is no limit to how much I can gunk it up, but I think this will have to do.
As she was in port a lot I imagine there was a fair bit of gunk on her,
-
-
-
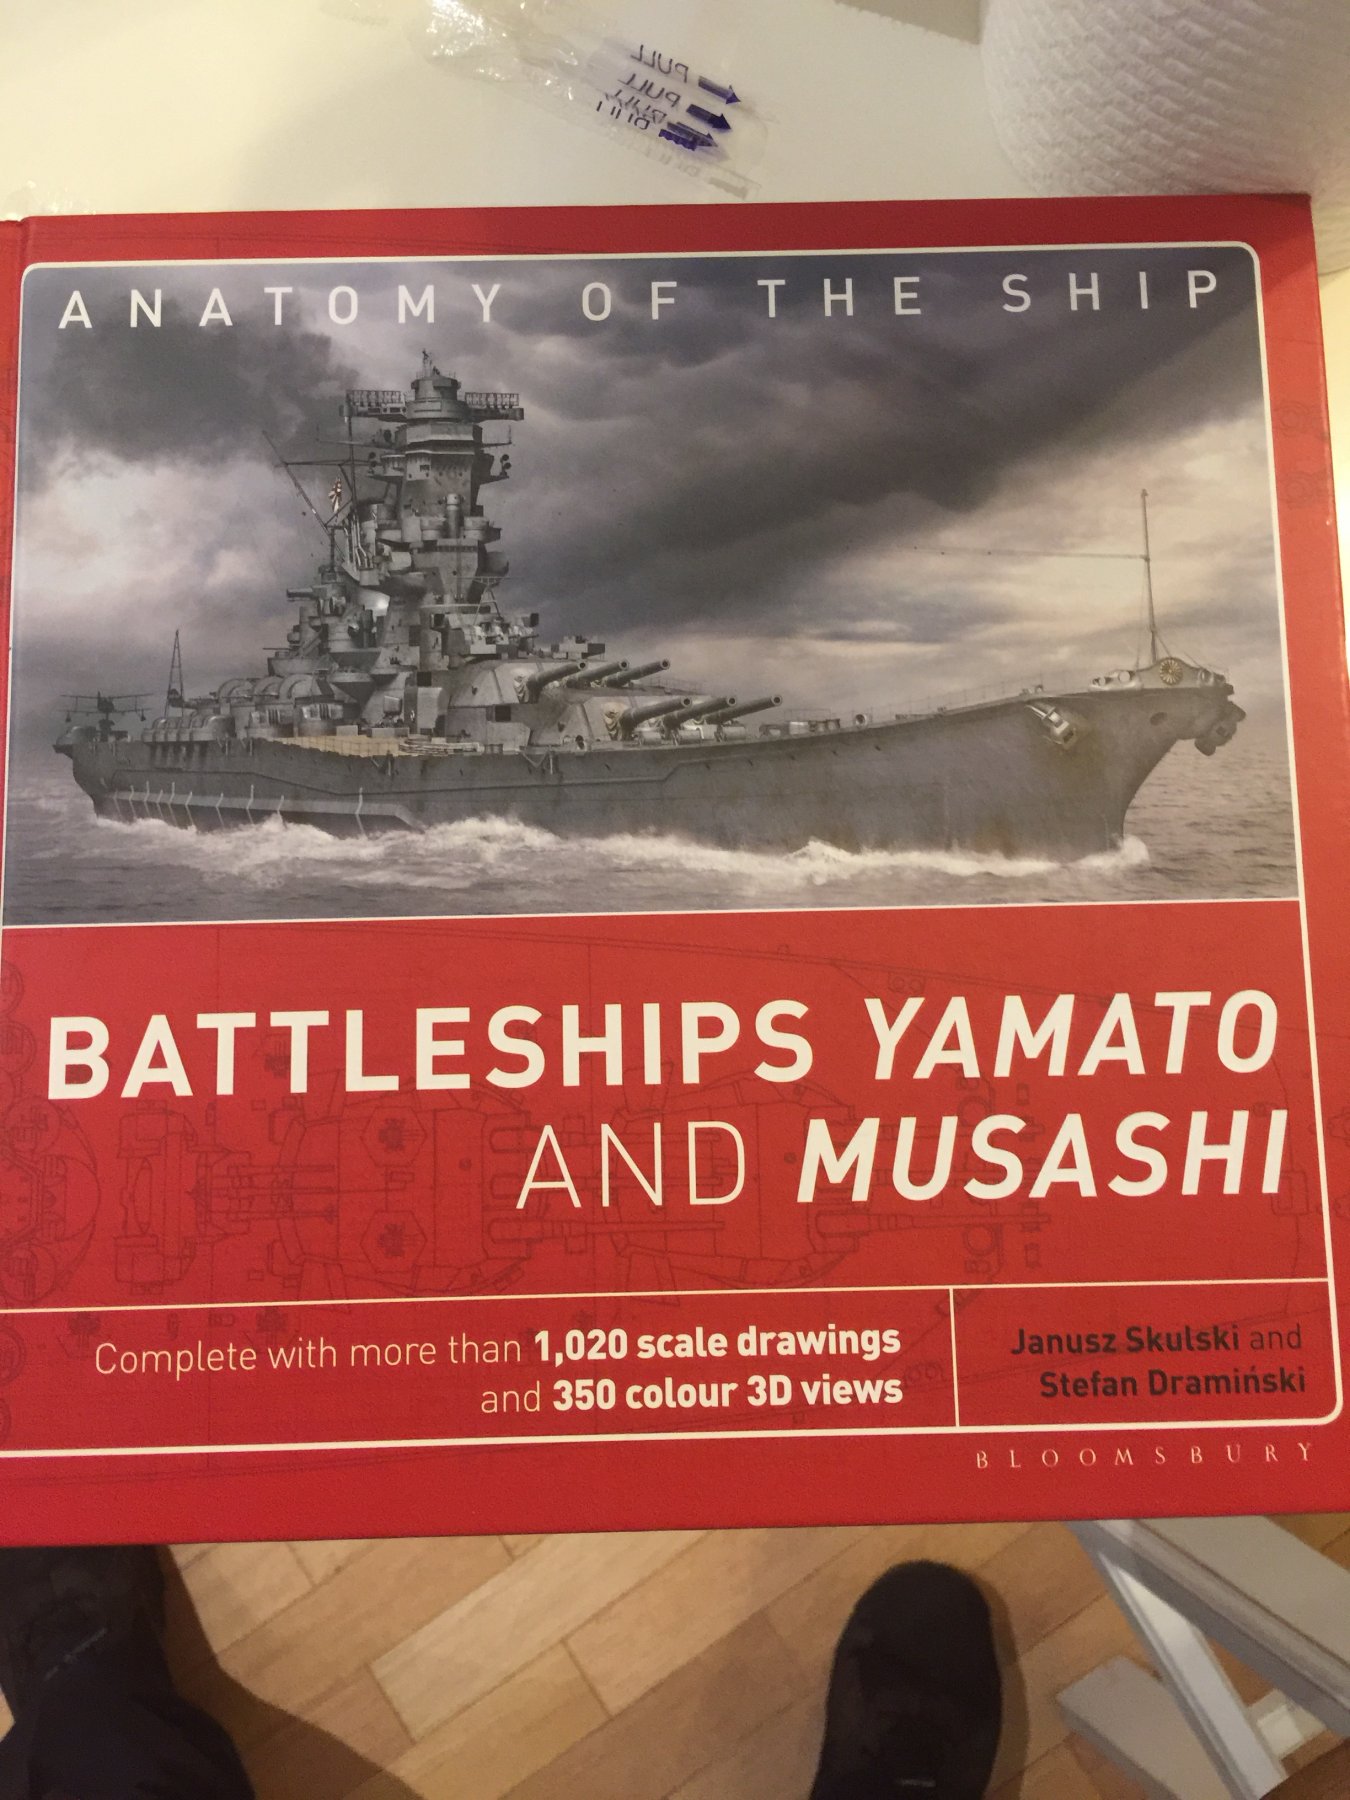
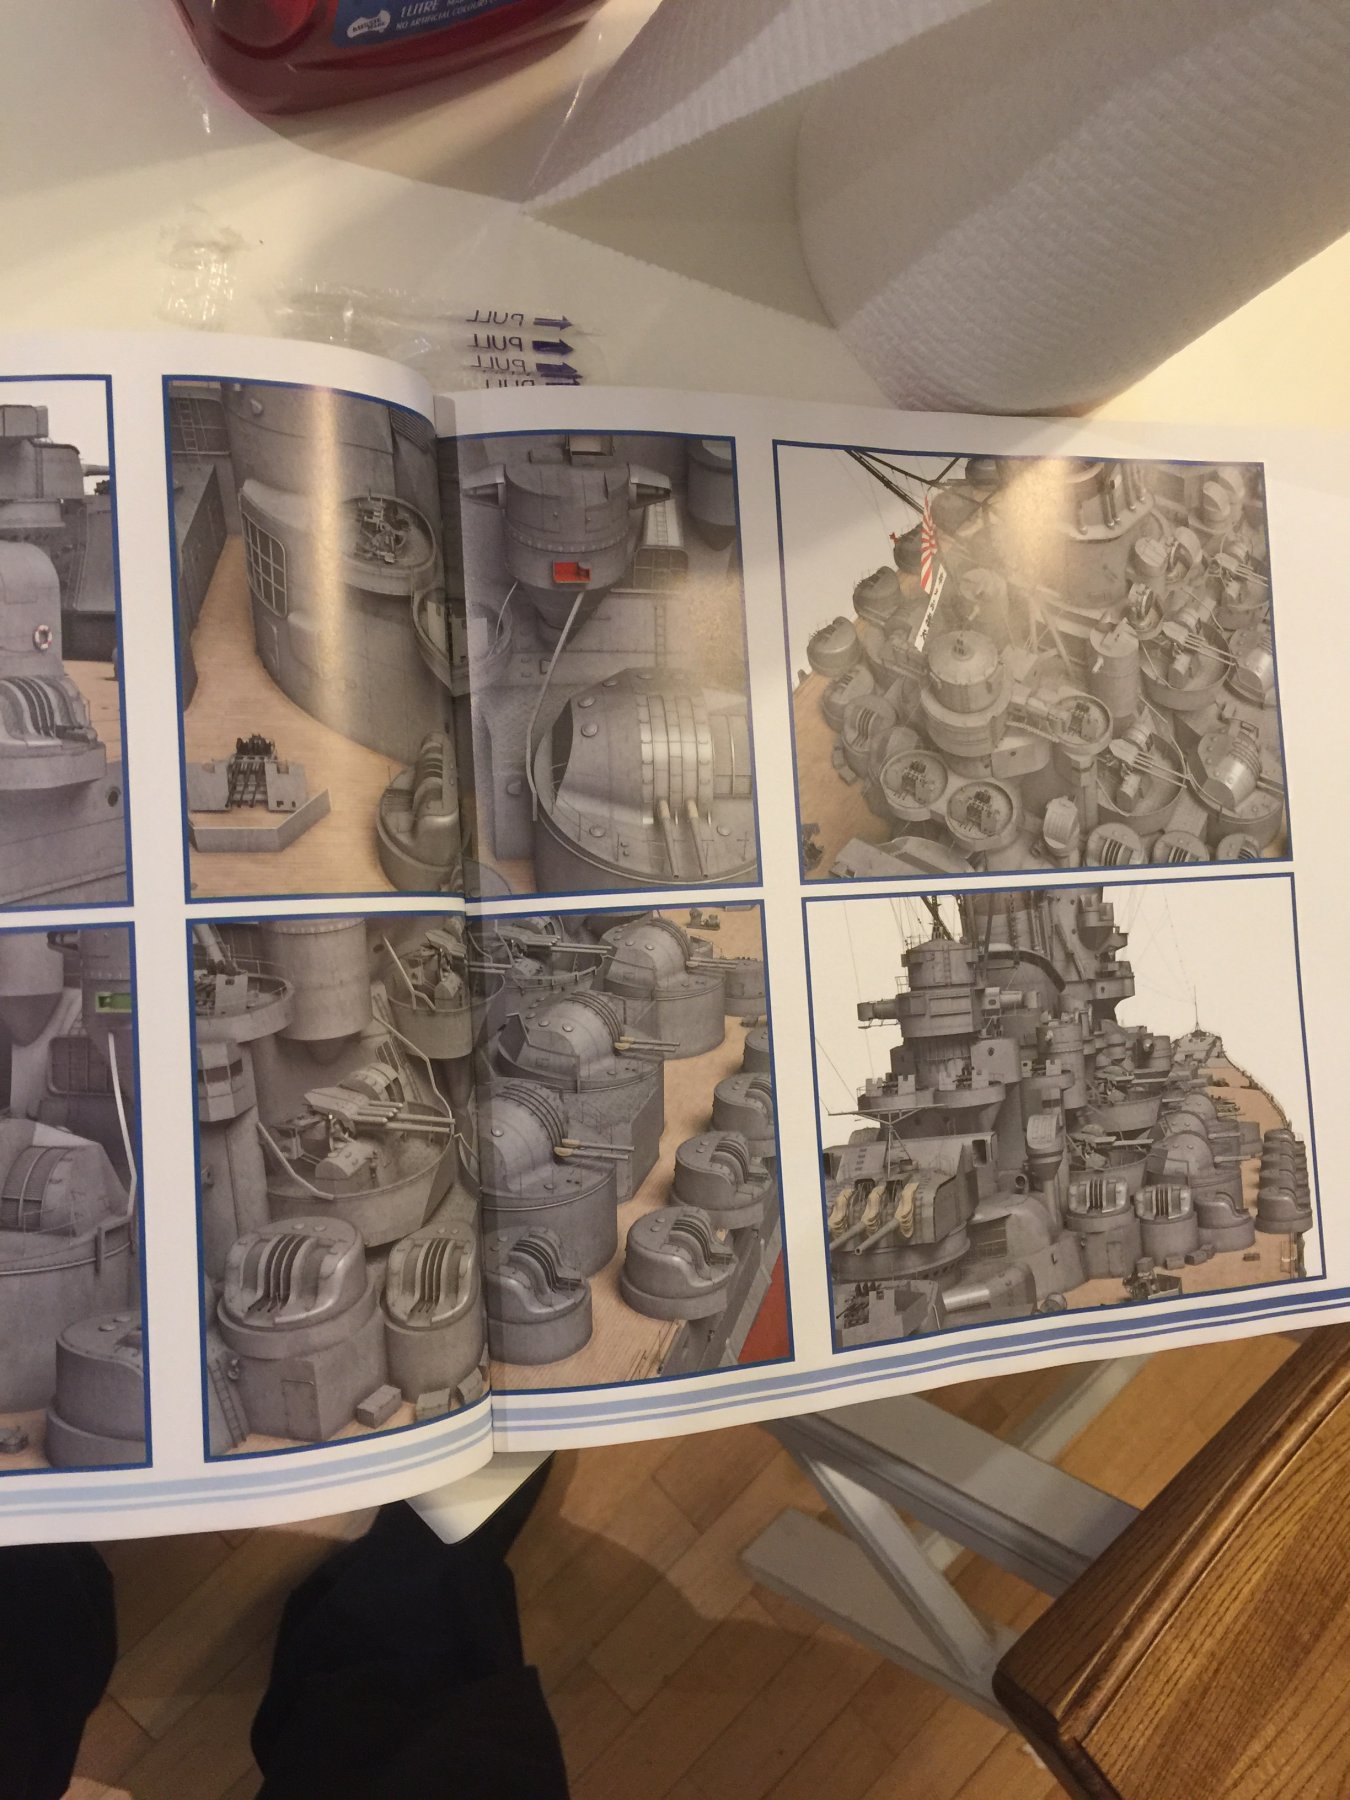
Seriously amazing detail even compared to the first edition. I think if you are going to have a proper go at this beast you can't do it without this. 335 pages long!
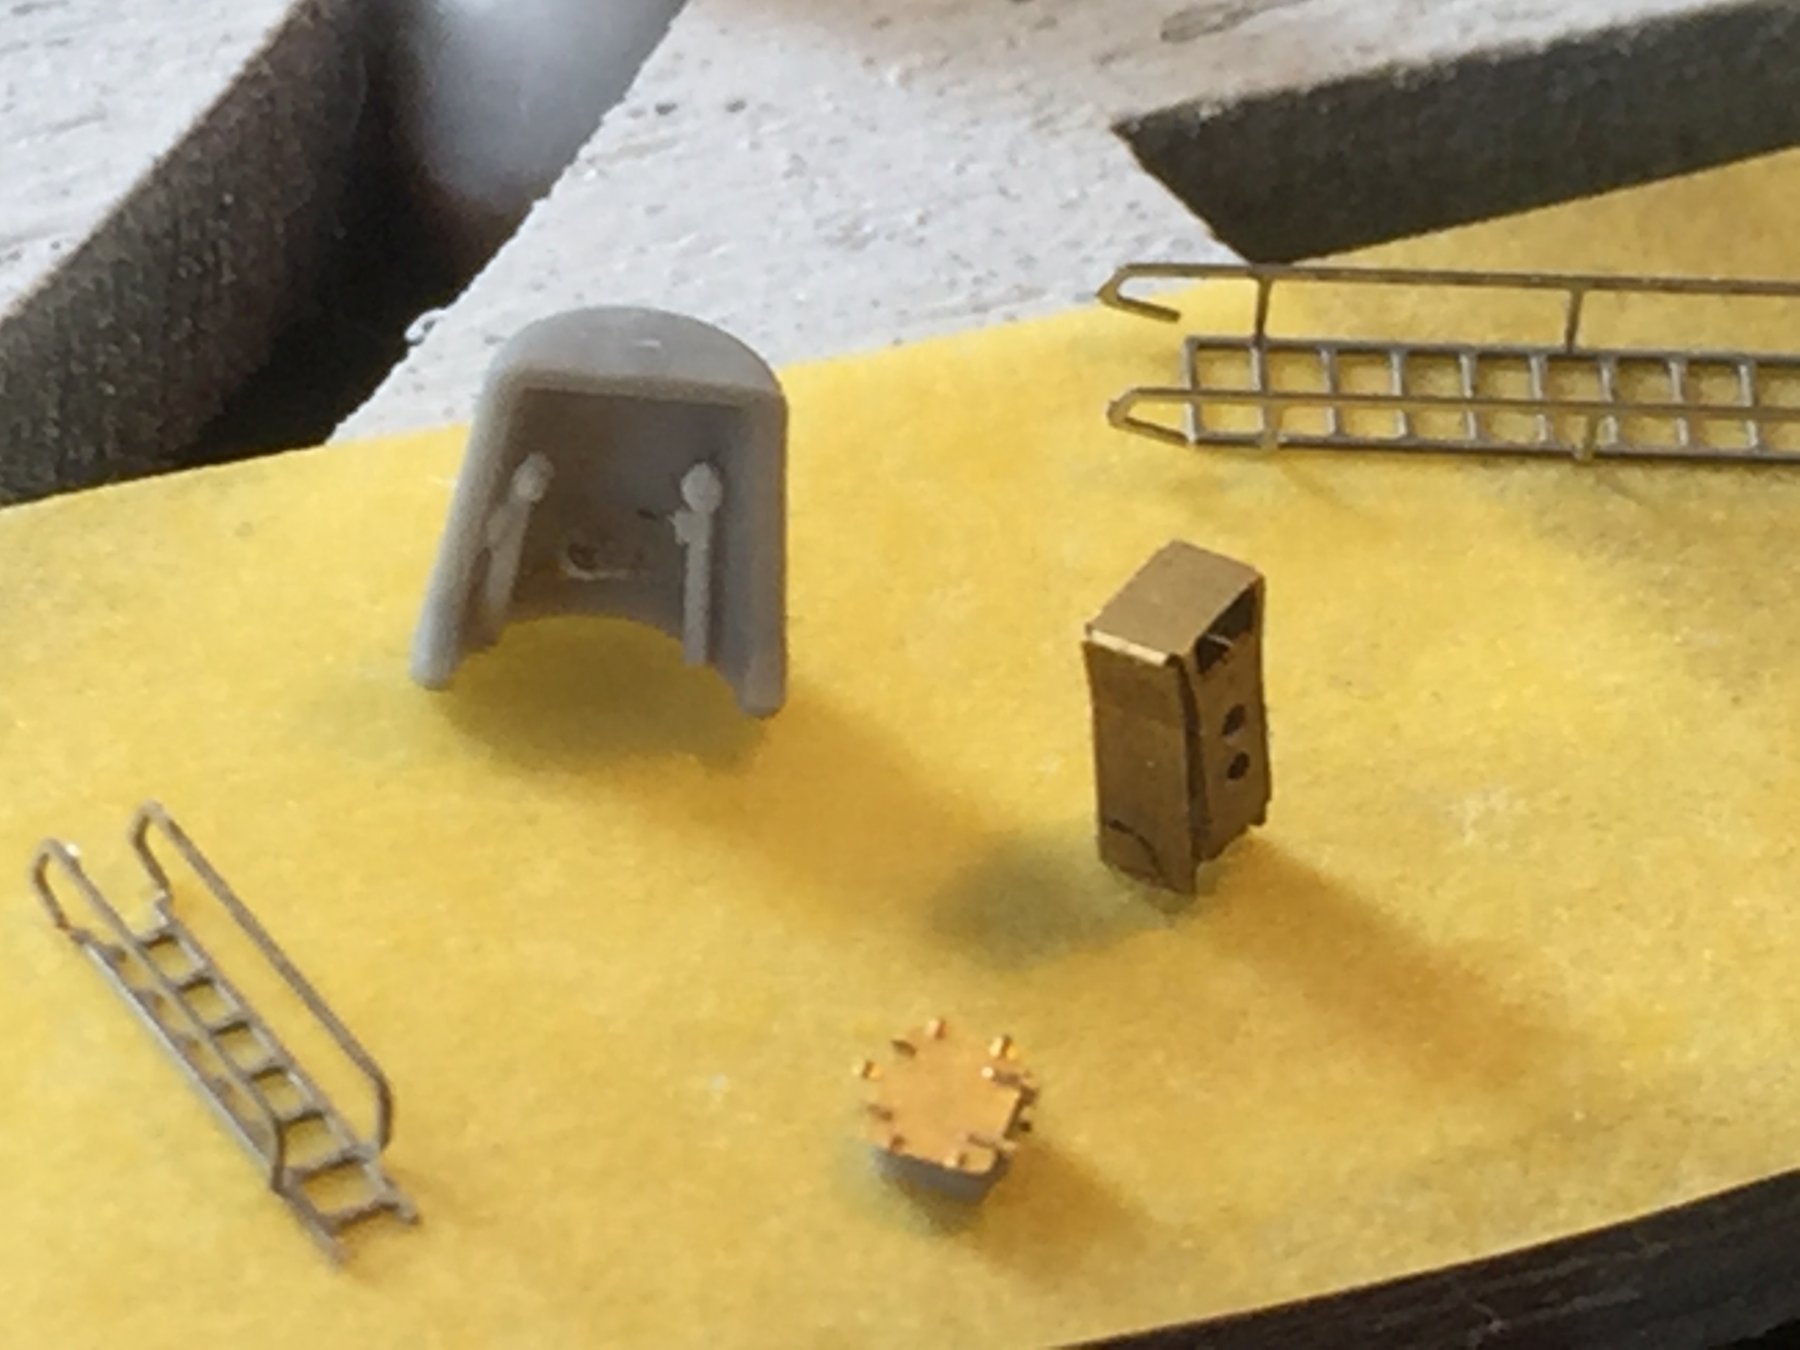
im currently doing up the 24 MG turrets at the moment and struggling with the PE, and have decided to strip them down and start again. Sloppy is lazy.
-
-
-
-
-
Cog, mine's in the mail, but it's got a bit further to go.
The new new kit has separate bower anchors but North star models has some if you want to fix them
greg
-
-
I'm really not going to get much done over the next few weeks due to work and kids sport, but!!!! Amazon UK has now released and posted the new AOTS Yamato book to me here in Oz, so, the drum roll begins as to what is now wrong with the kit.
I have also also ordered some more aftermarket PE, being Davits for the side of the hull as I just don't like the kit ones.
I am putting off doing belaying points points for rigging on the superstructure as I want to see if there is something more difinative.
-
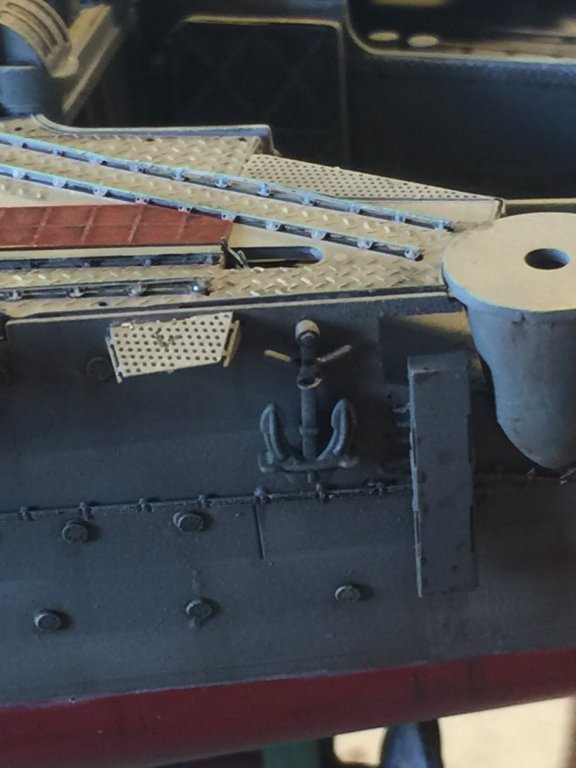
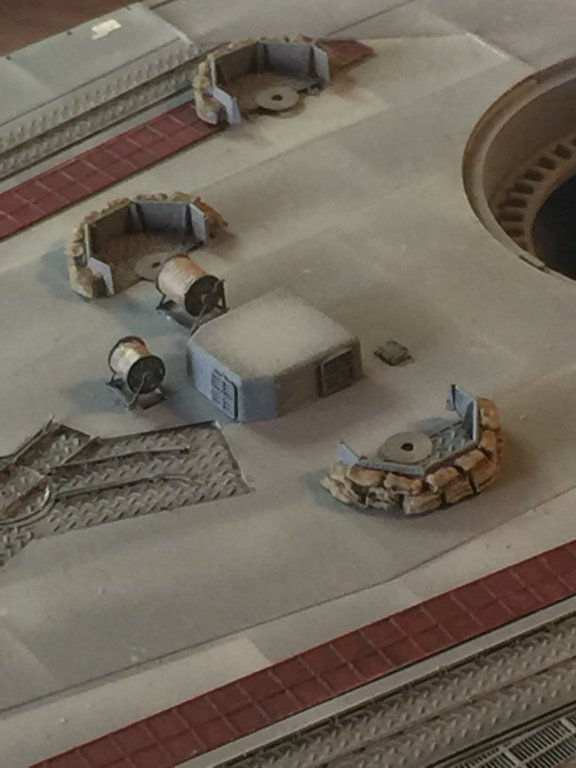
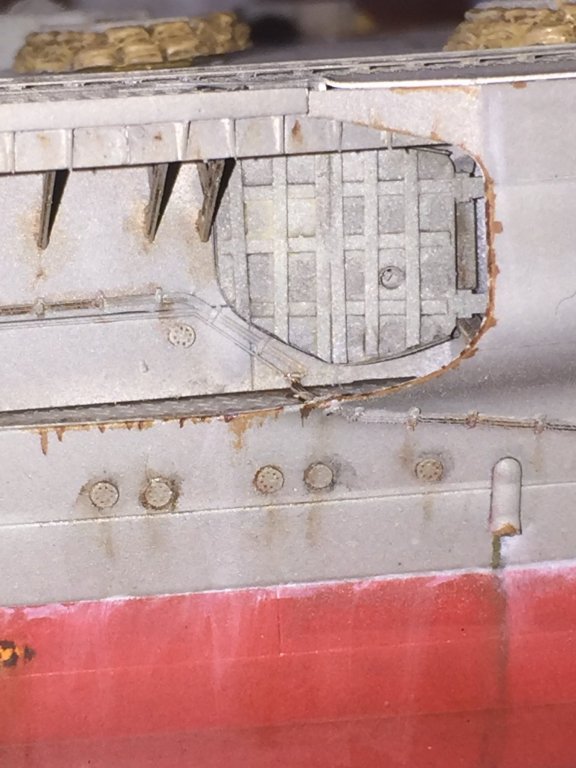
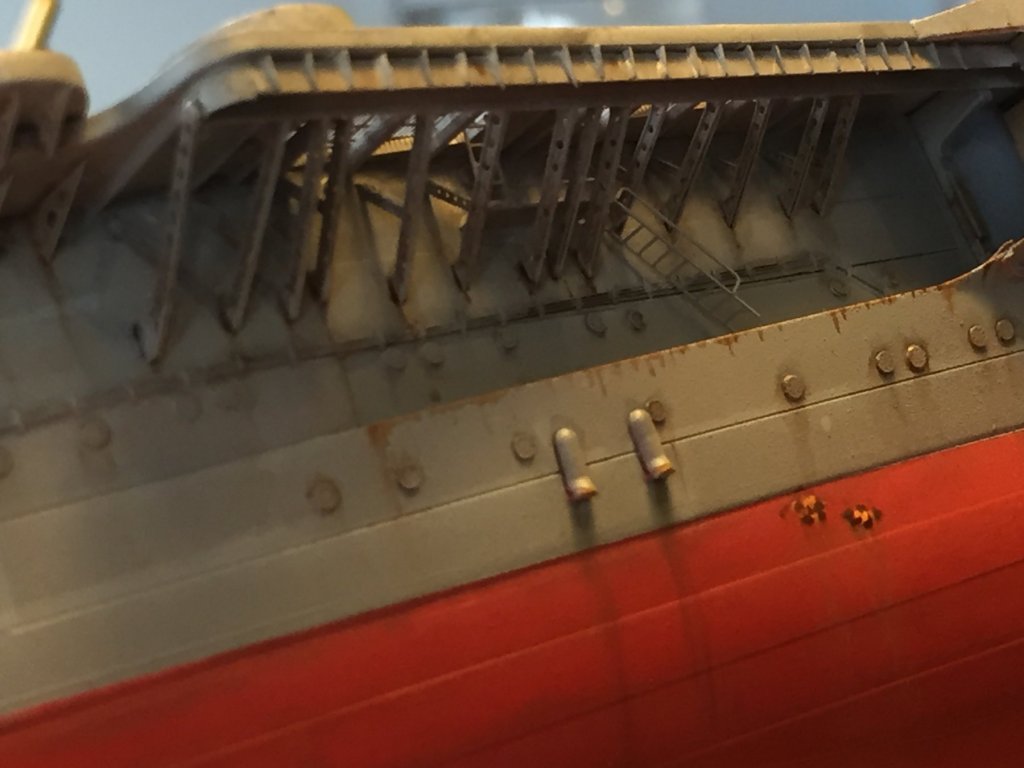
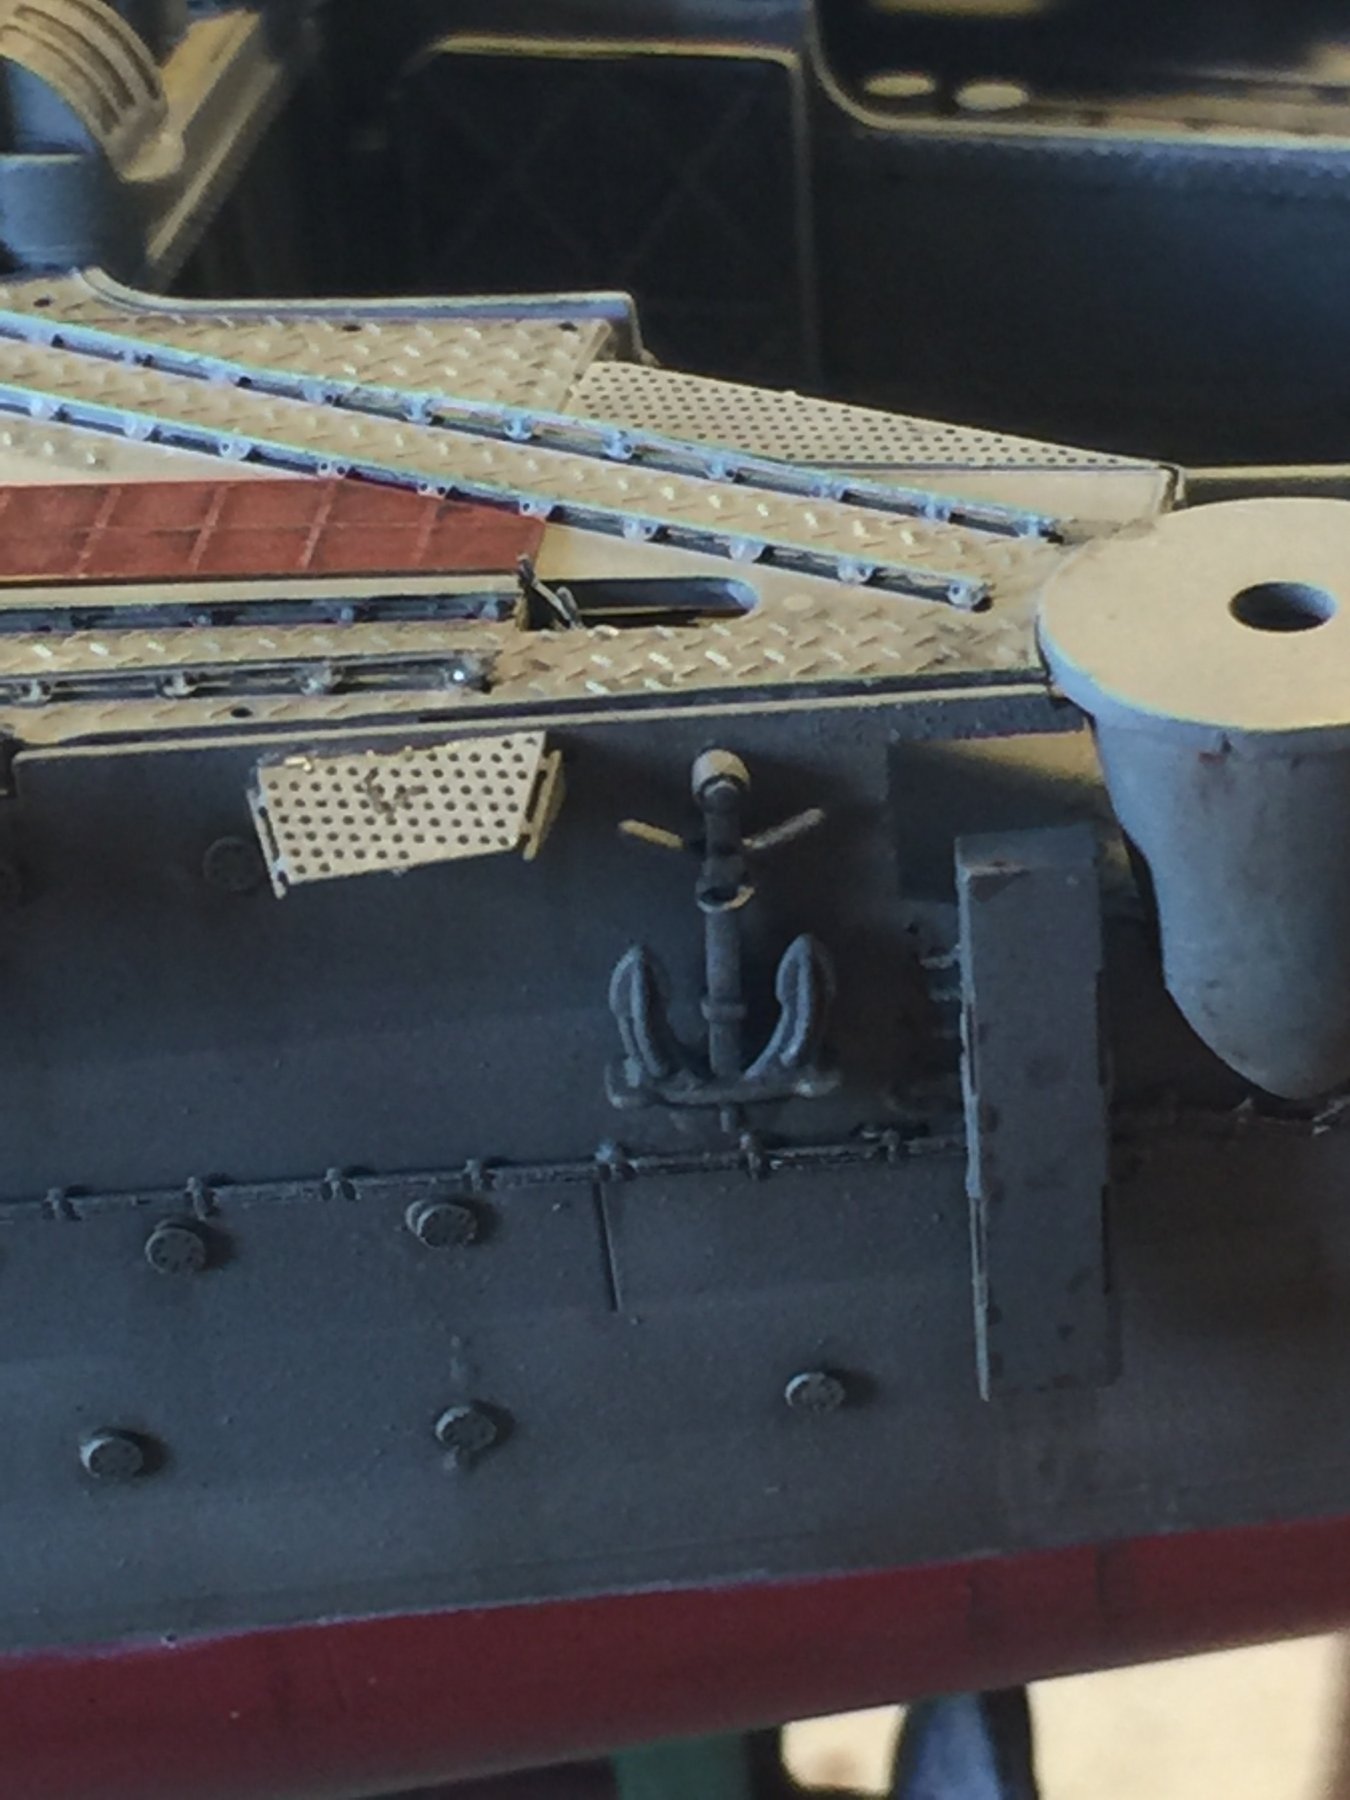
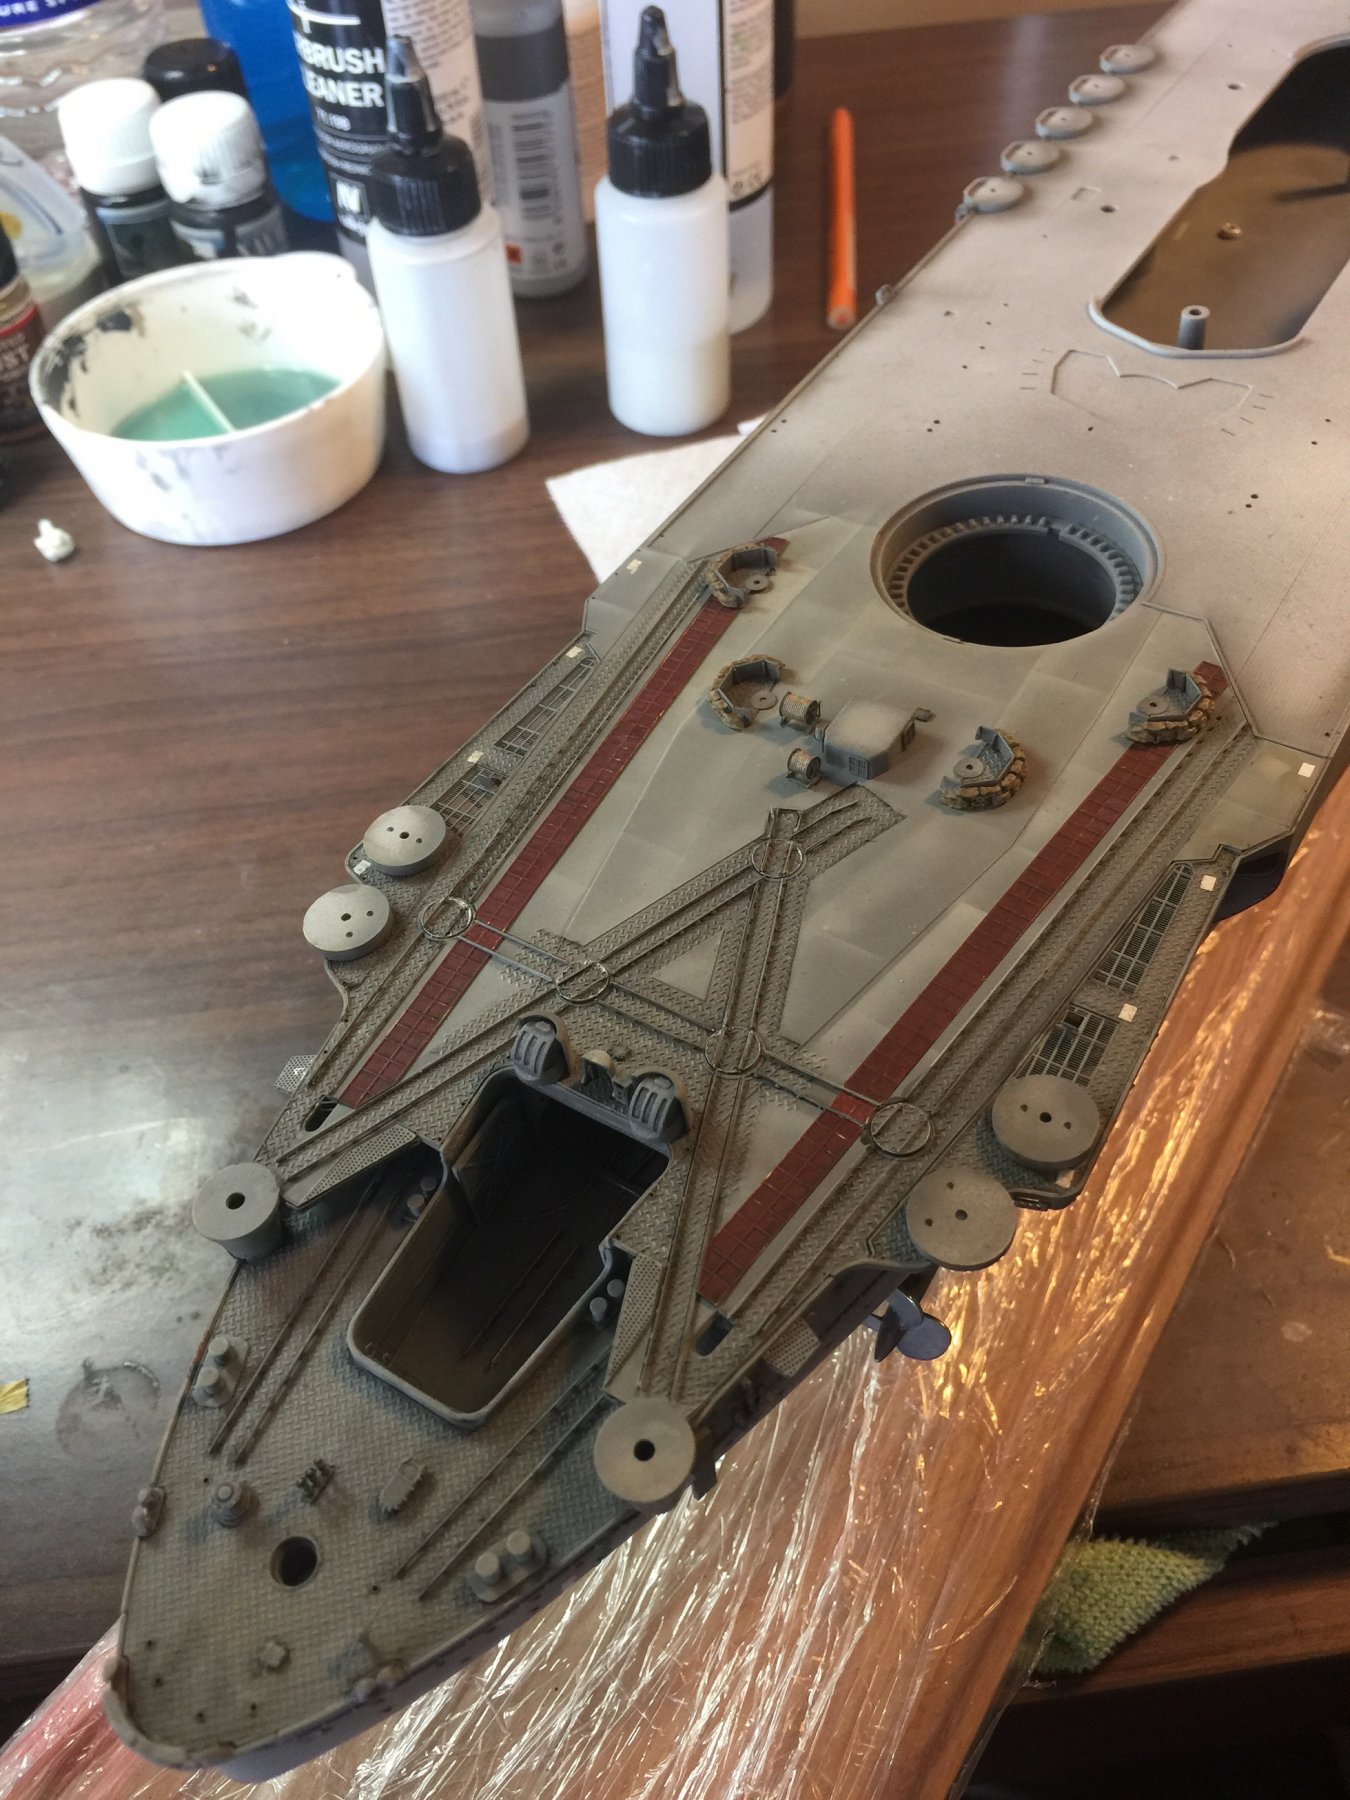
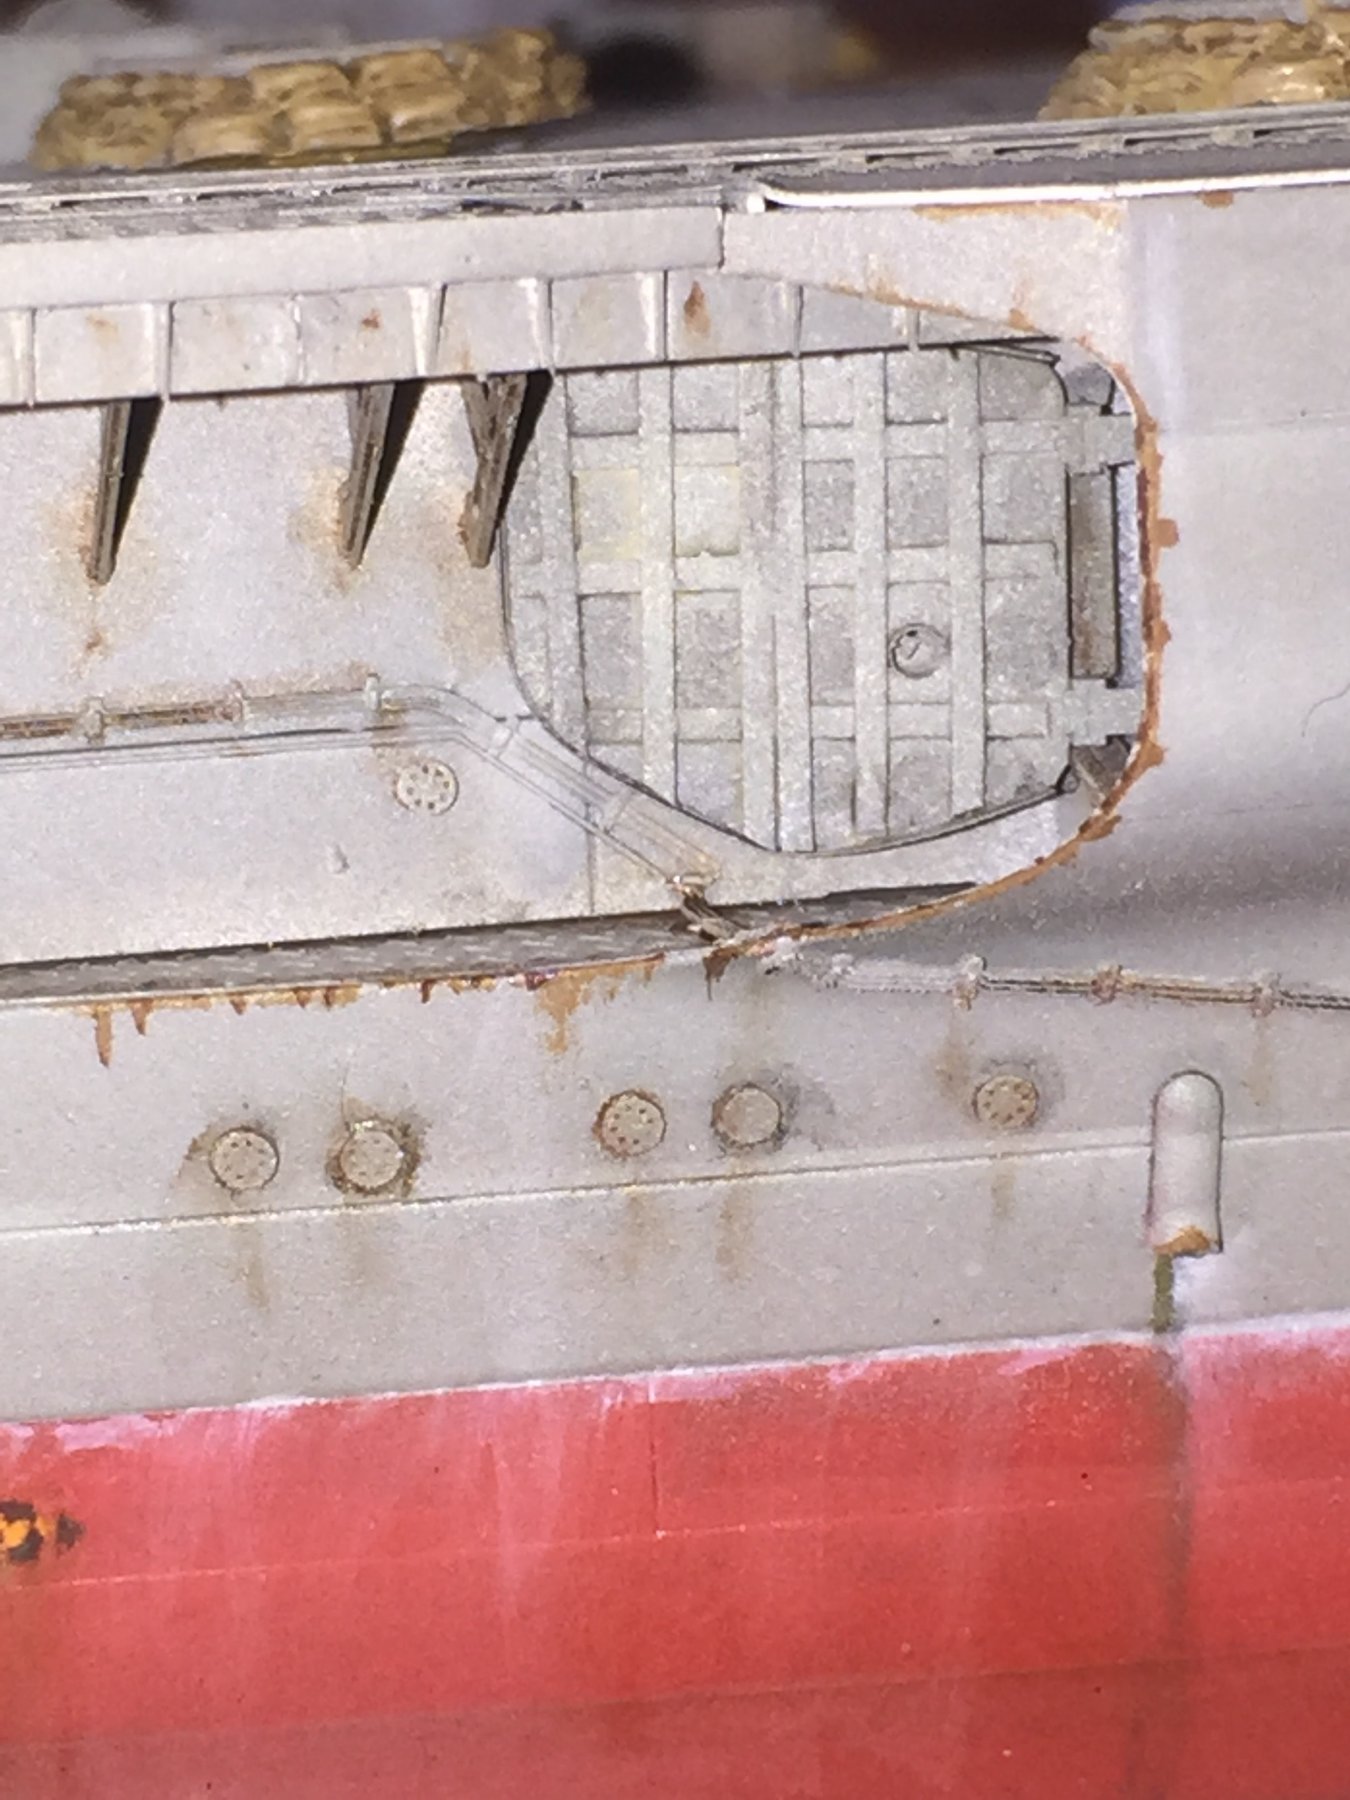
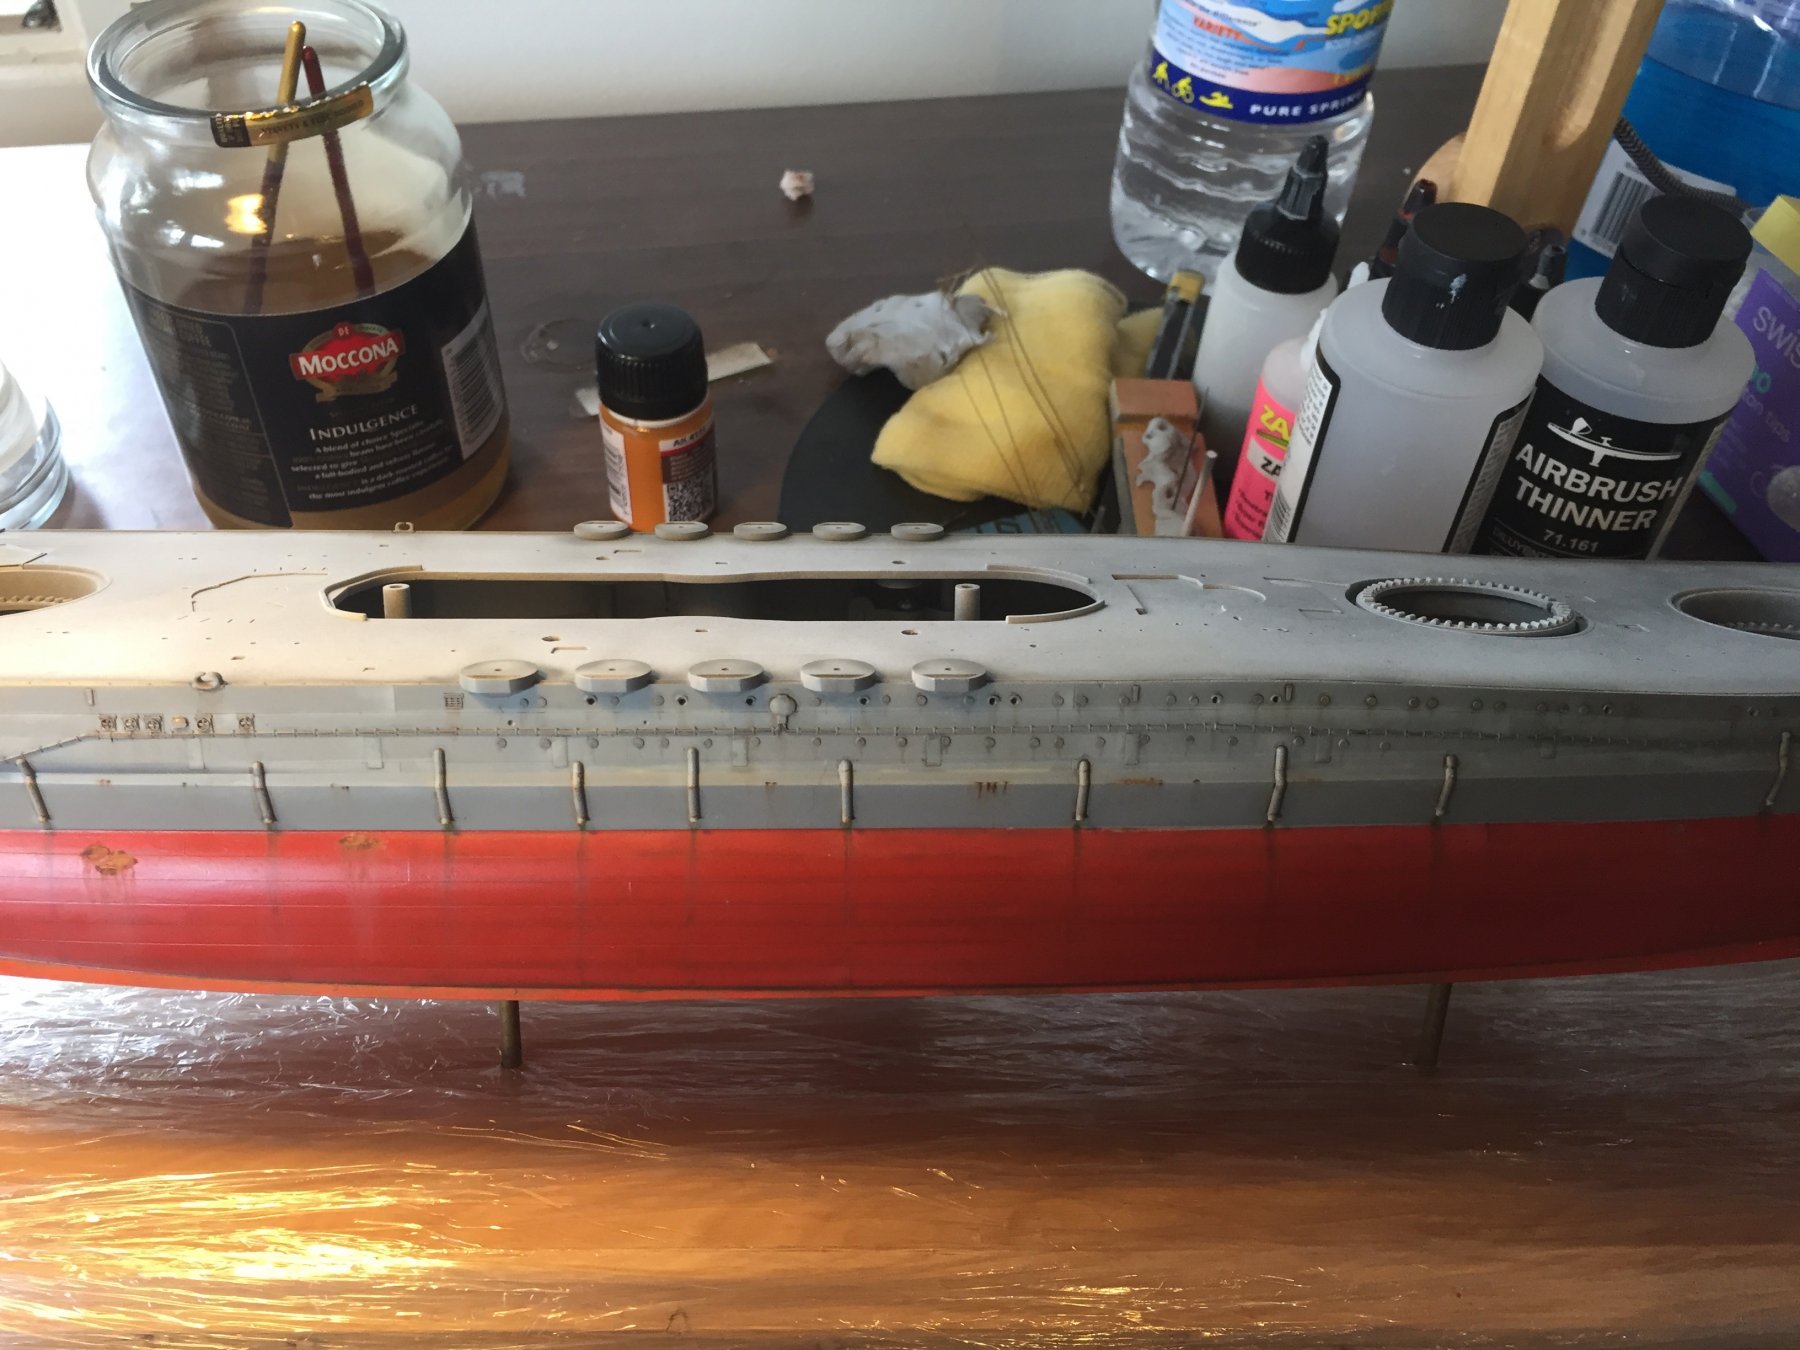
Now the rear aircraft deck with machine gun controllers, anchors, and the lino strips used for the aircraft and the gun pits. Once weathered, I will sand back the brass strips that hold back the lino. Also the boat hangar door with some added strips.


- Captain Slog, Canute, coxswain and 16 others
-
 19
19
-
-
-
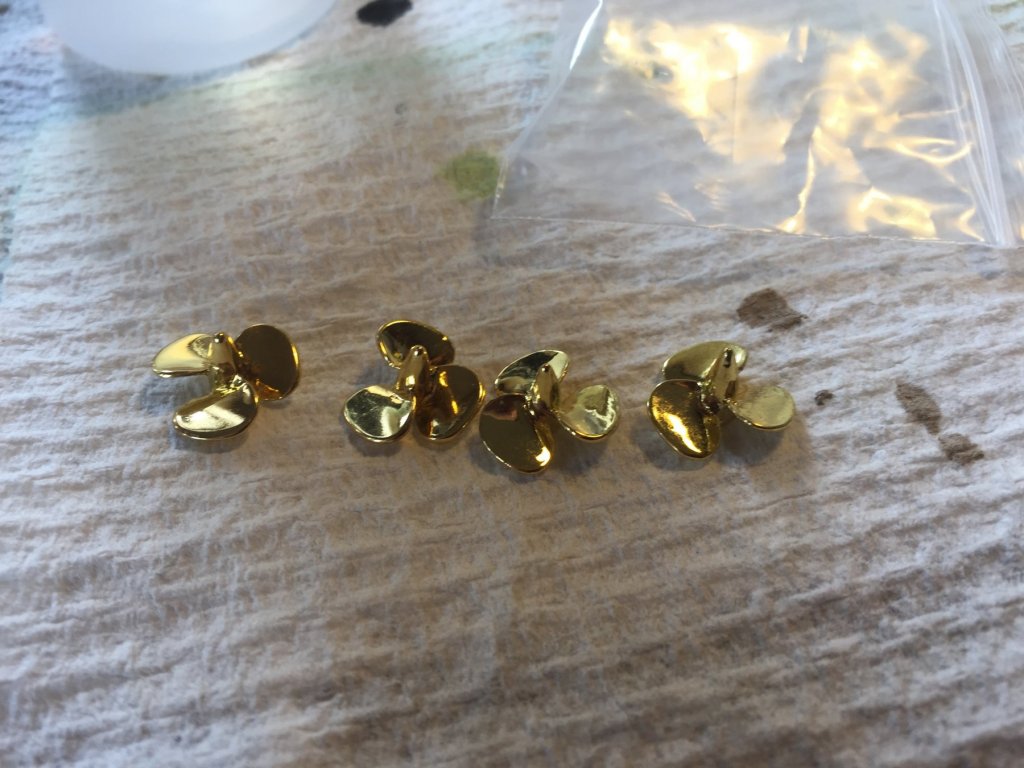
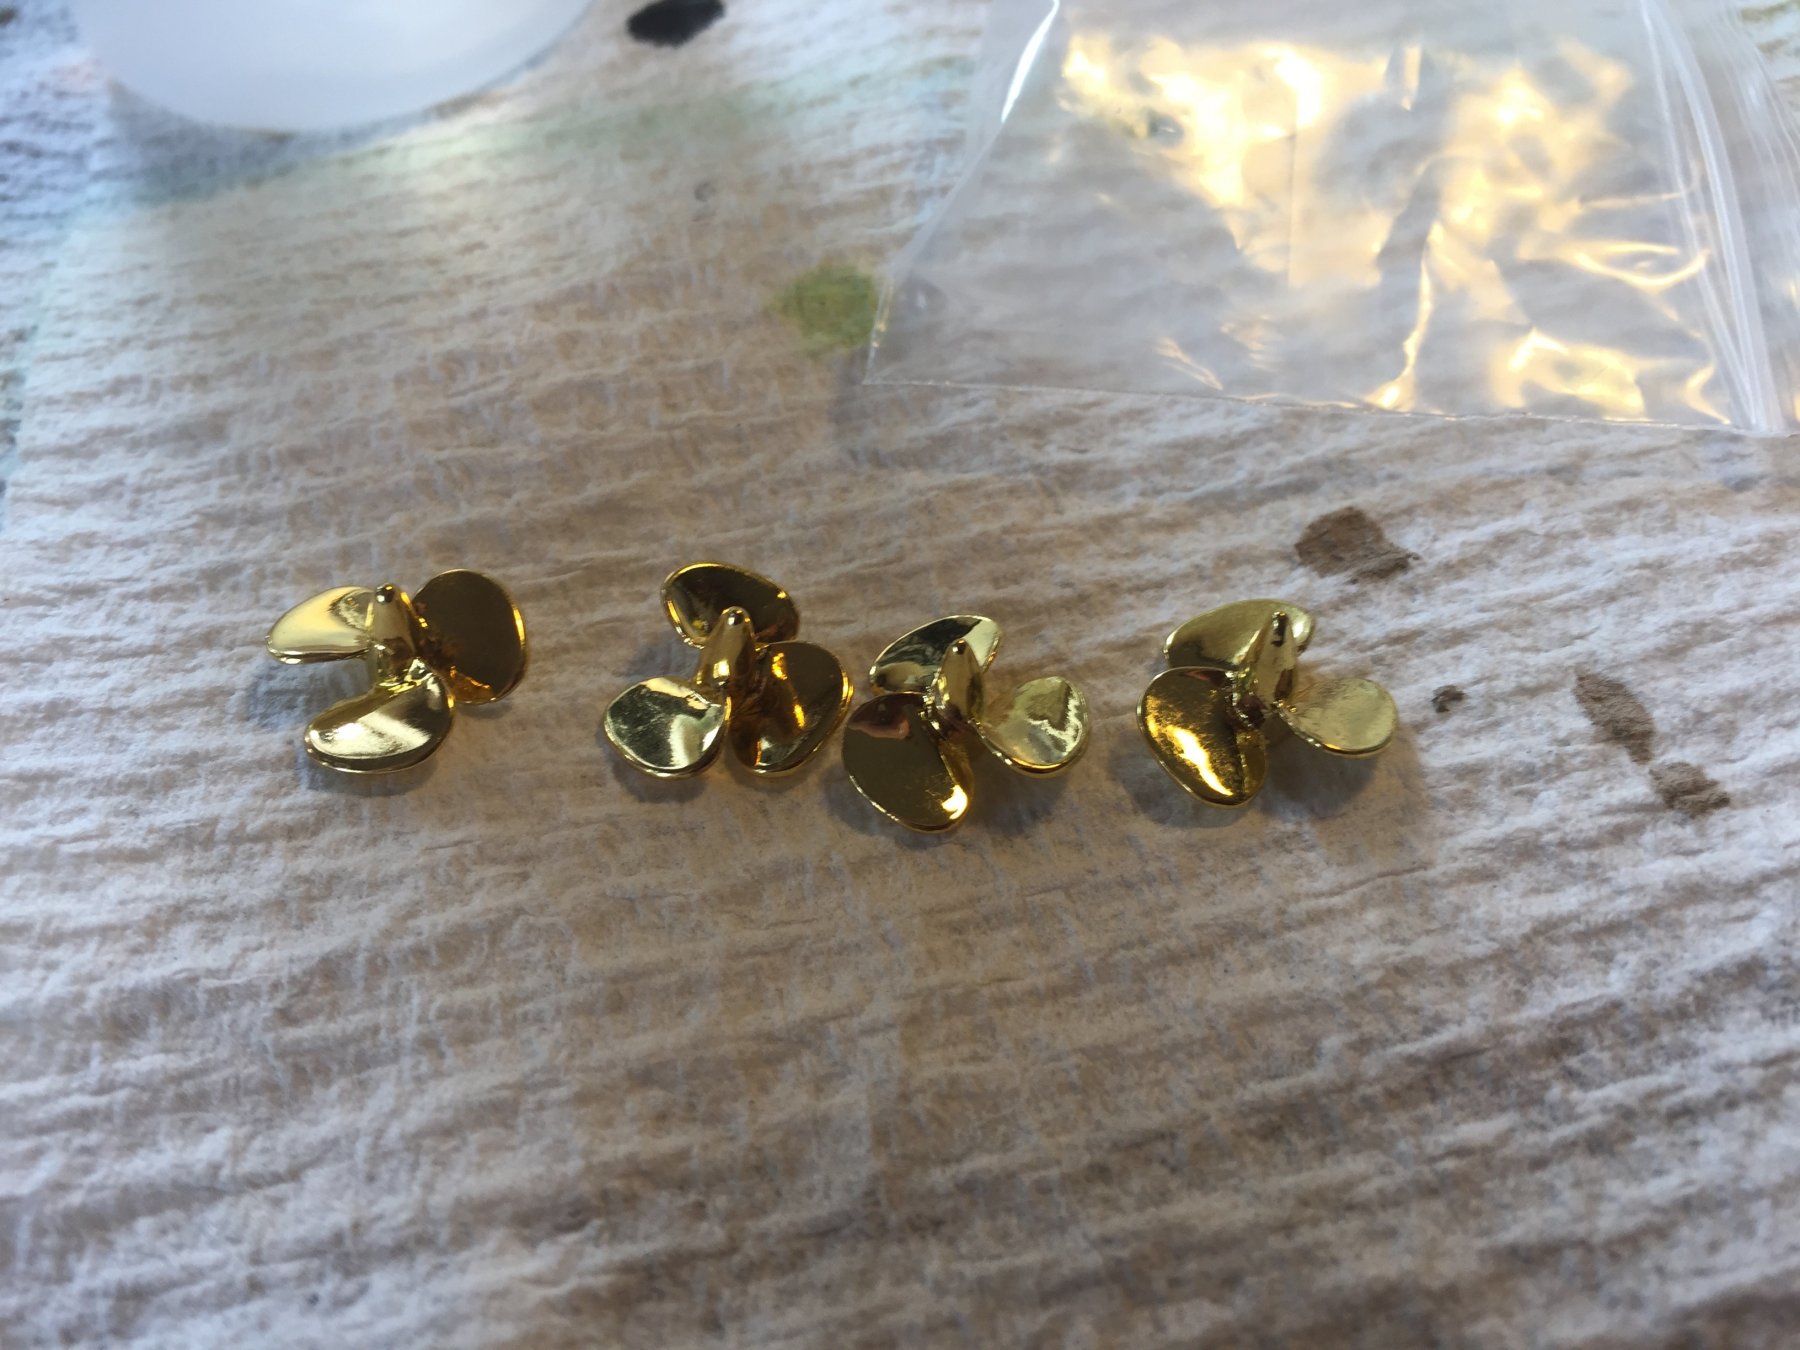
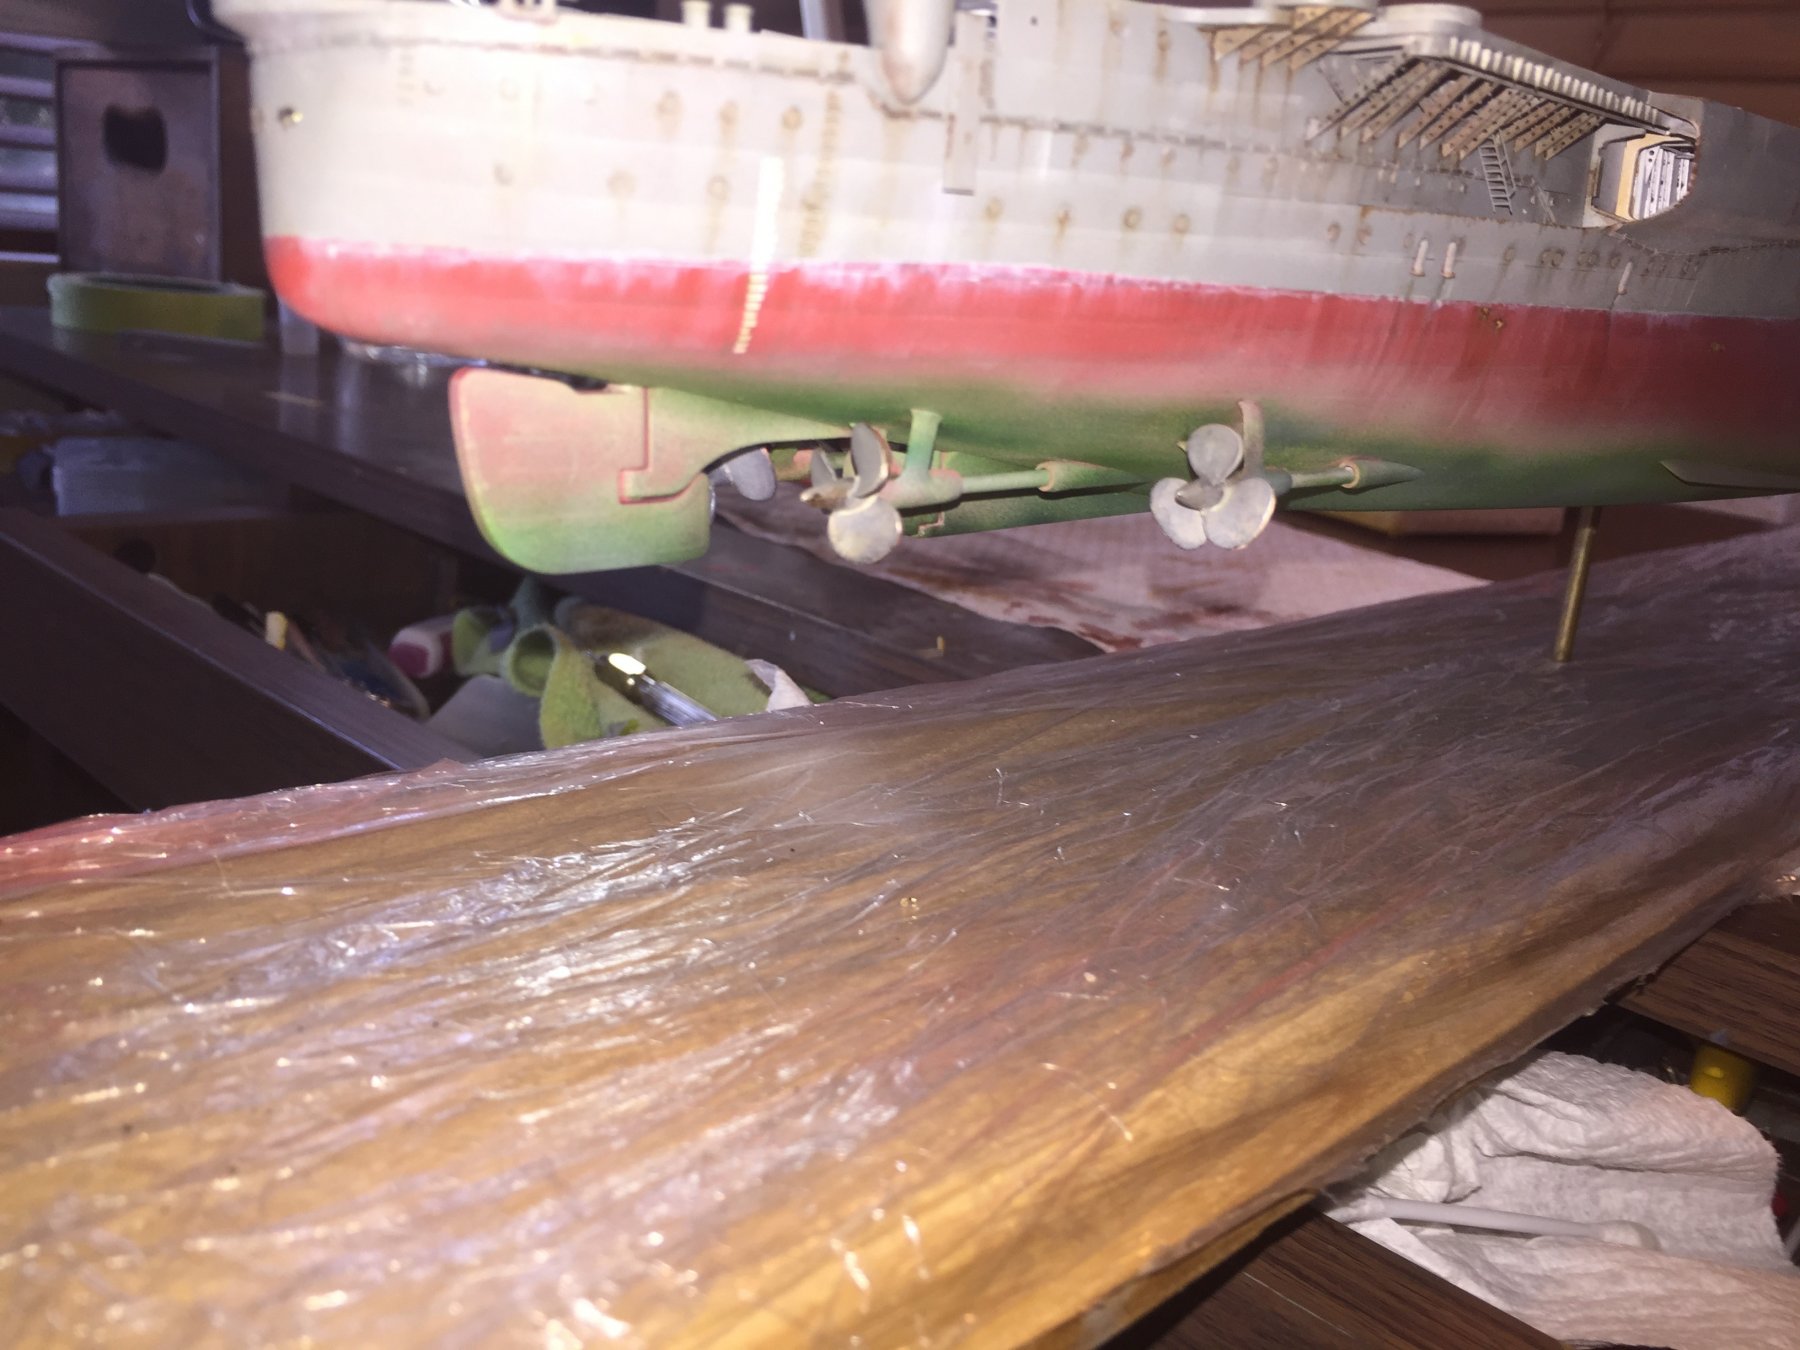
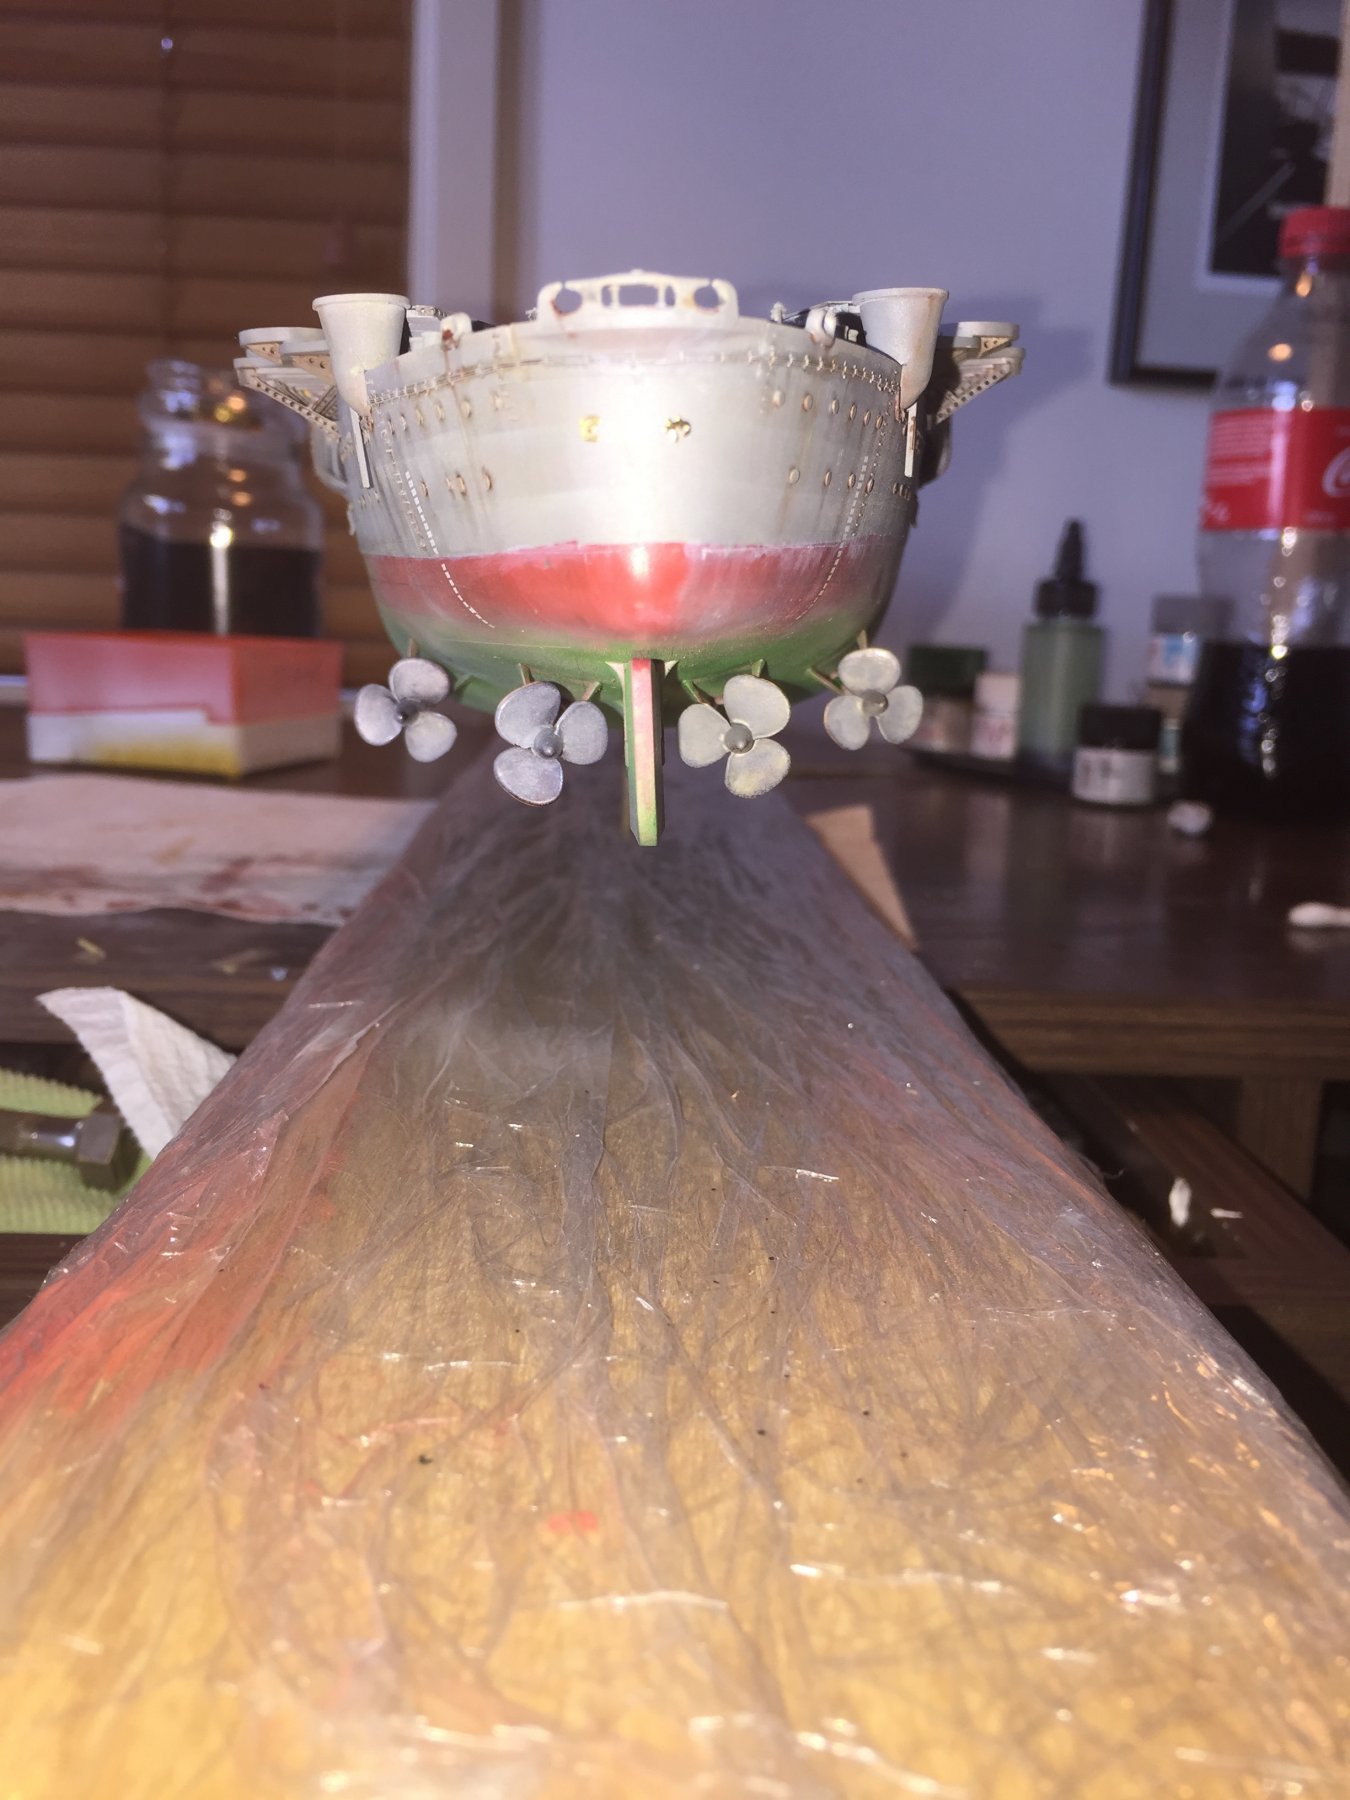
I dulled down the green a tad, the the shiny brass props which would look a bit silly glowing under the grunge, so I used some blacken it and a light grey overspray.


- CDW, Ryland Craze, coxswain and 14 others
-
17
-
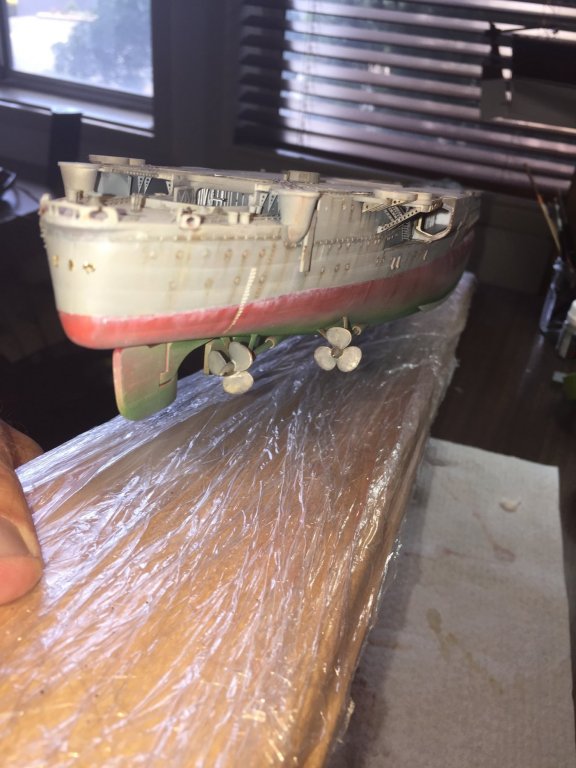
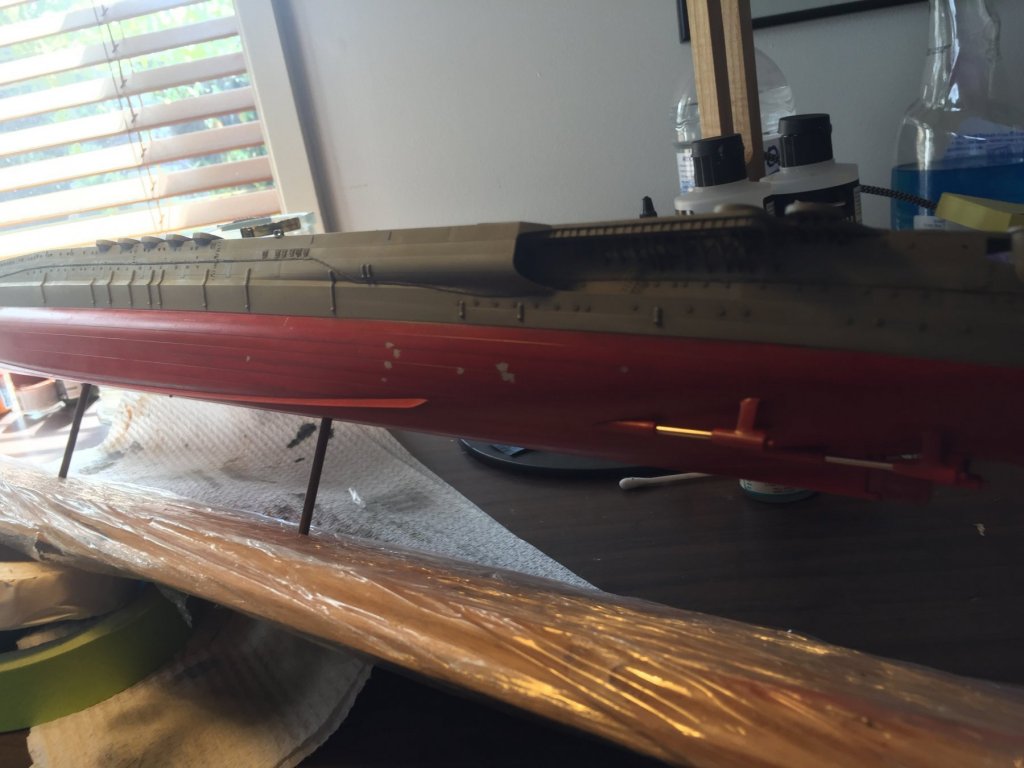
Green grunge next, using Tamiya clear green oversprayed. I will given it a diluted black wash to dull it down and add some texture. The final step will be putting the 4 propellers into some blackening agent to dull them down as well. When I finally put the model on its' base I will cut the brass rods right down so it will sit about an inch off the base so the underside will not be so obvious.
Yes Mr Rabbit the kit is huge. Painting these large areas is challenging to say the least, as you never know how much to put in the airbrush. It also makes it hard to photograph.
I'm somewhat satisfied with my first attempt at weathering to date.
-
-
-
OK, I'll reduce the salt by about 50%, comes off very easily with white spirit.
- BANYAN, mtaylor, semorebutts and 1 other
-
4
-
Thanks Pat.
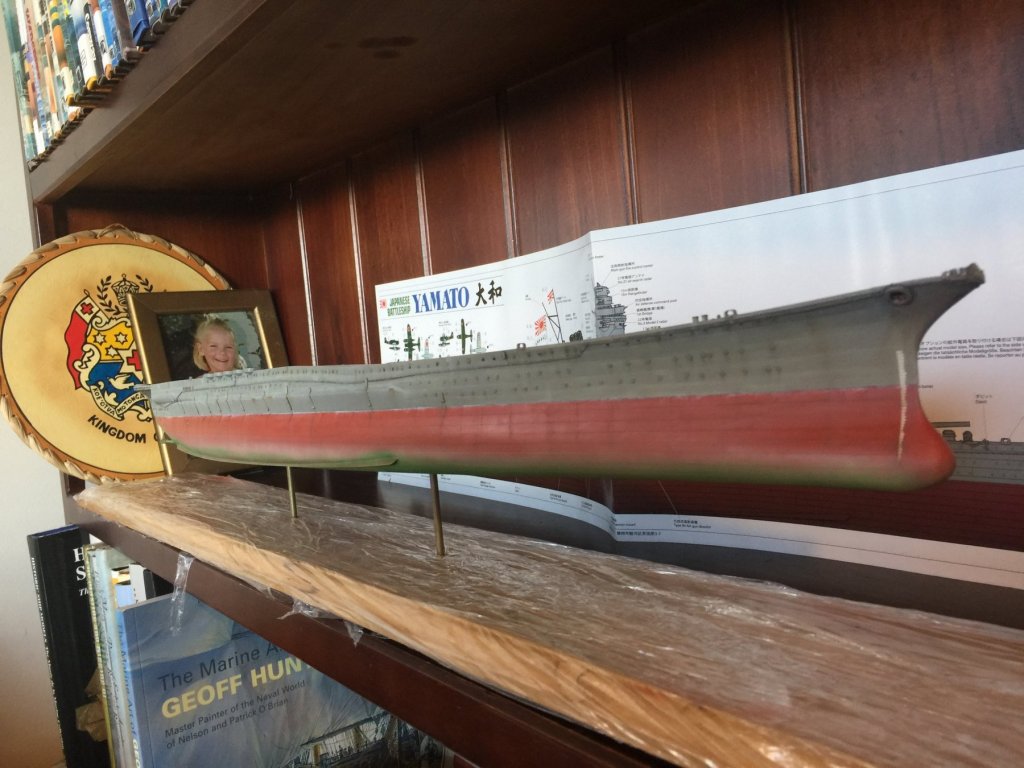
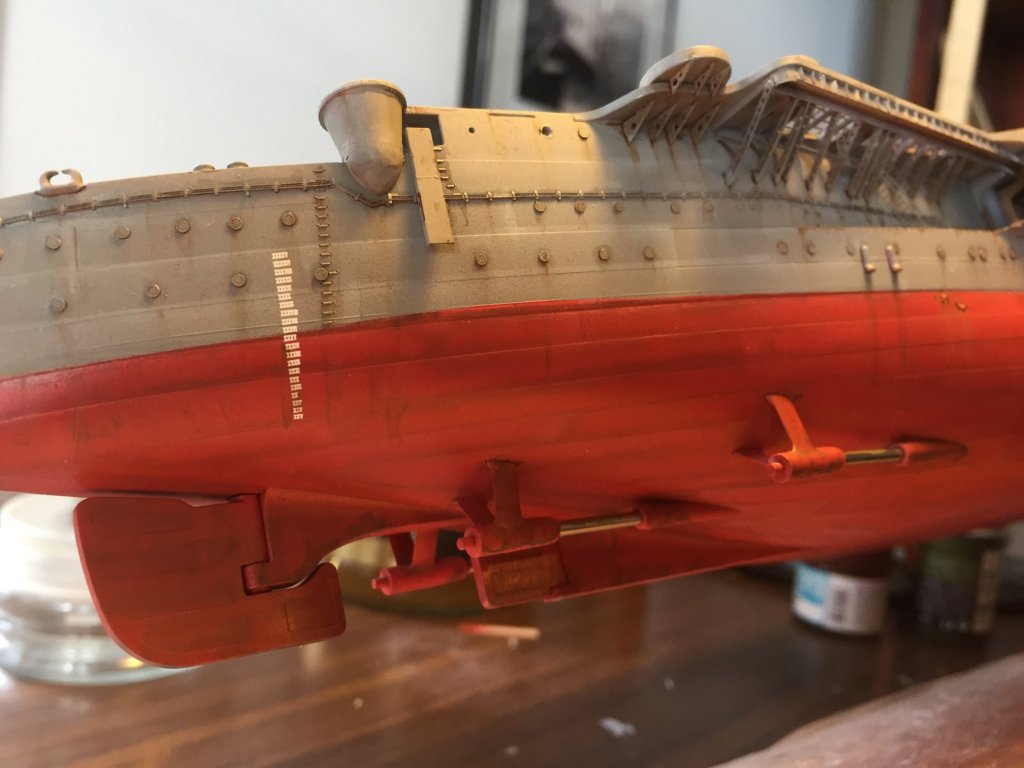
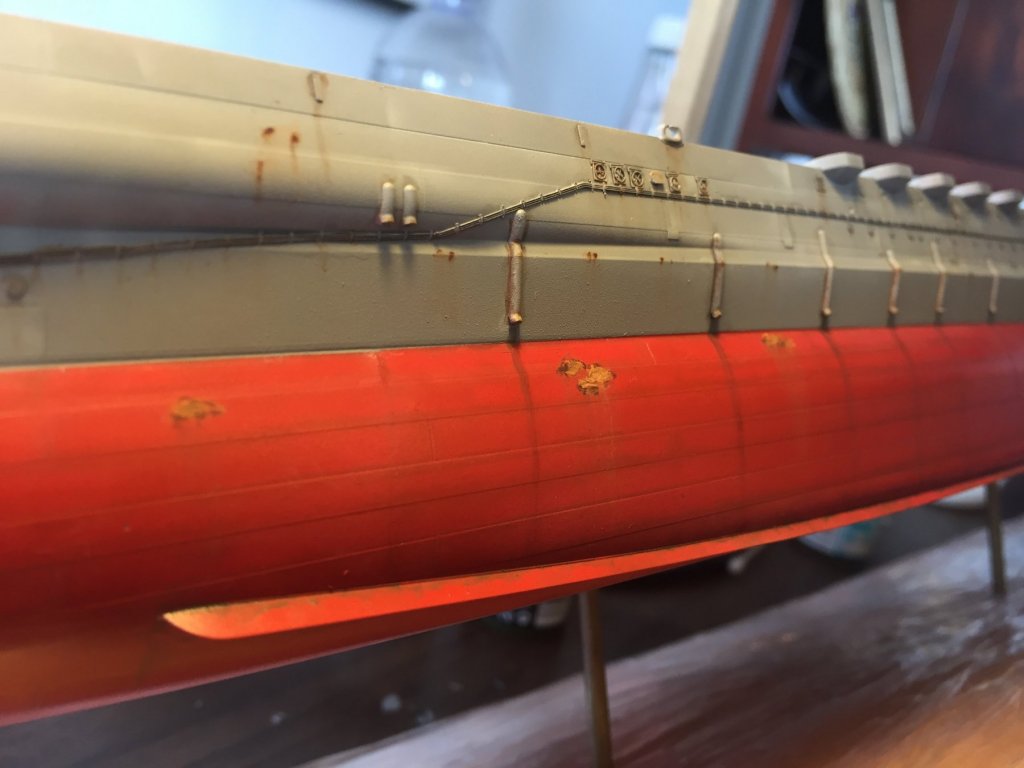
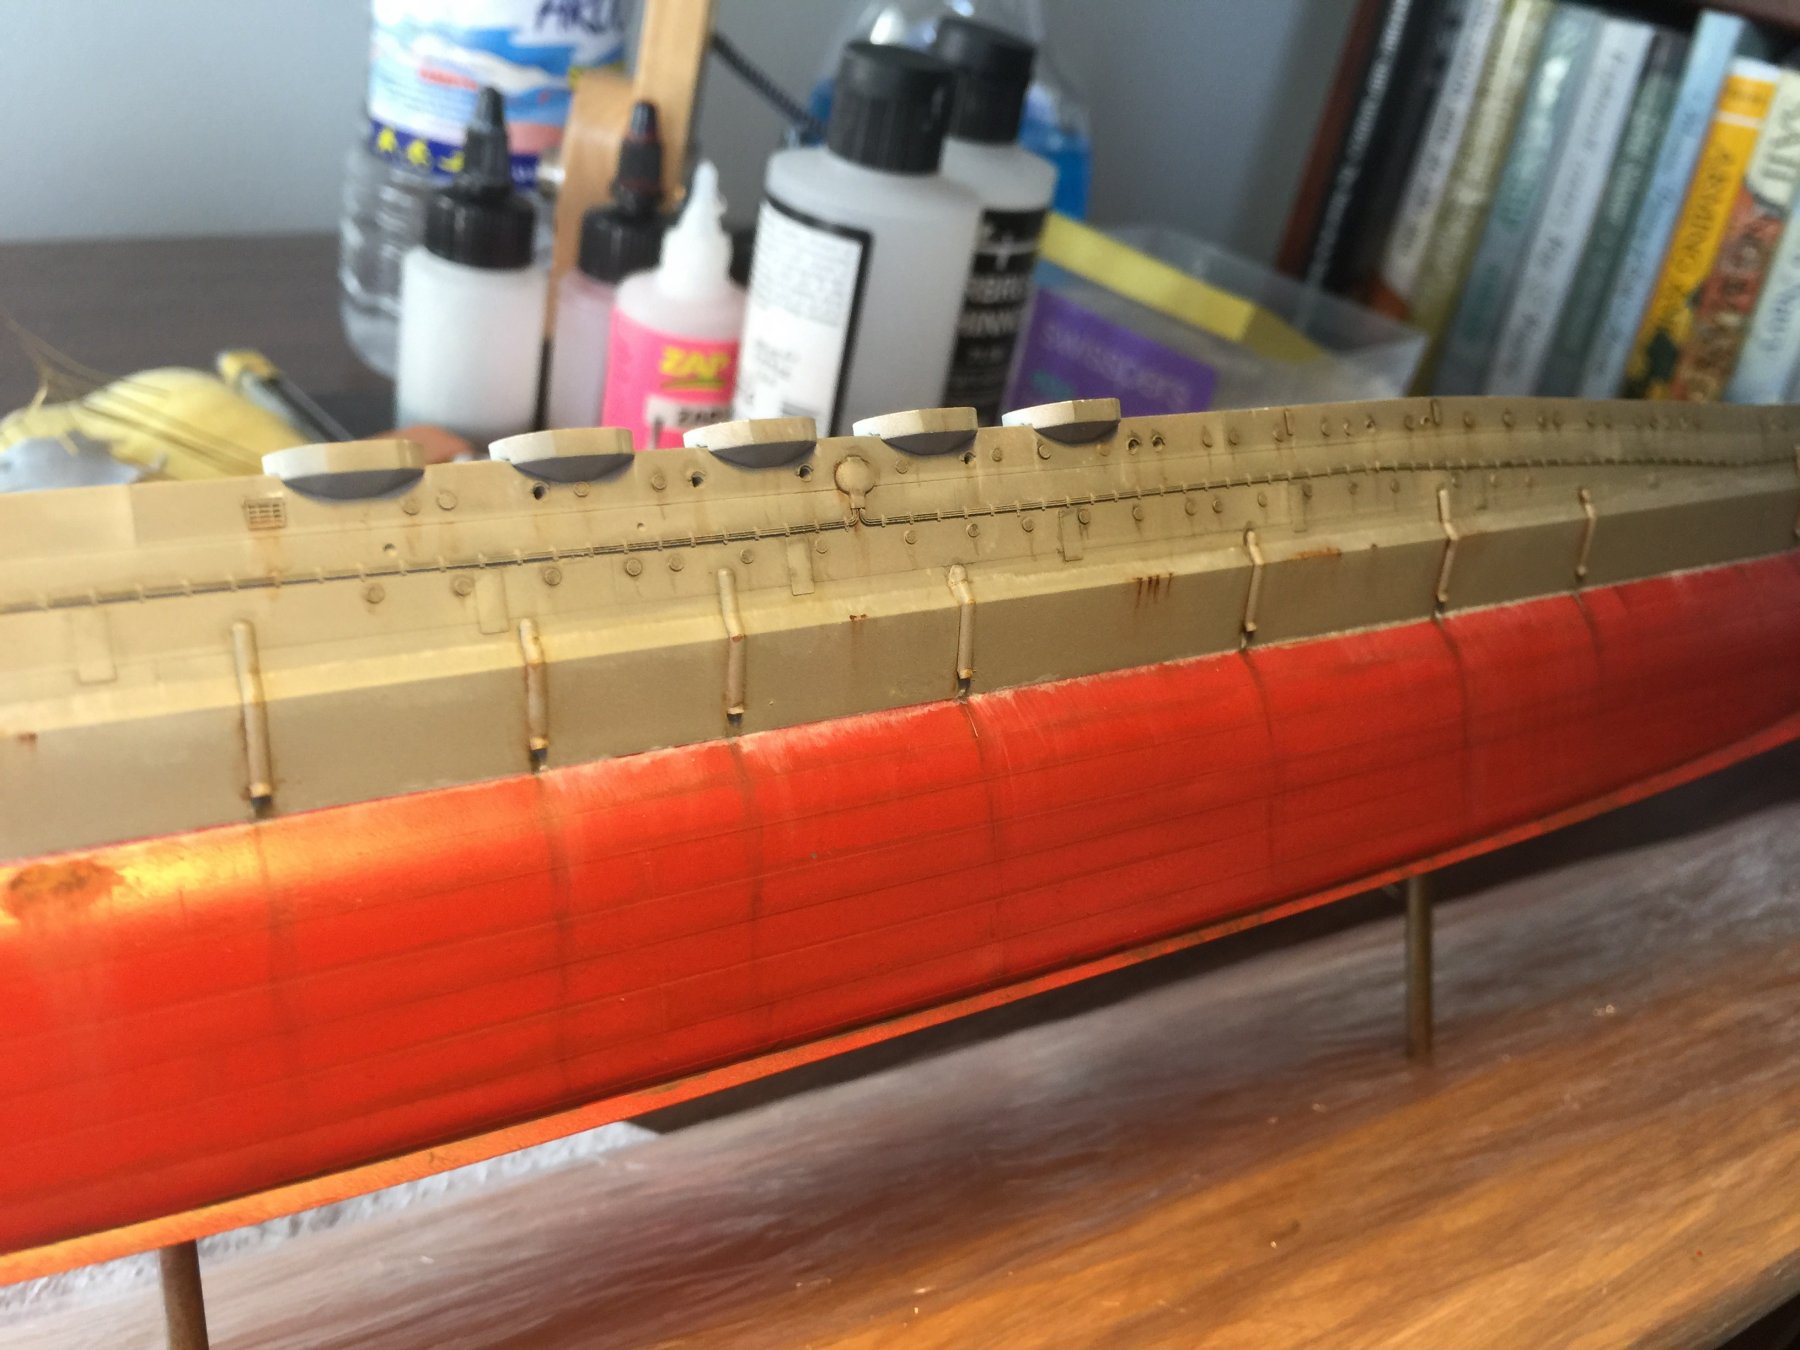
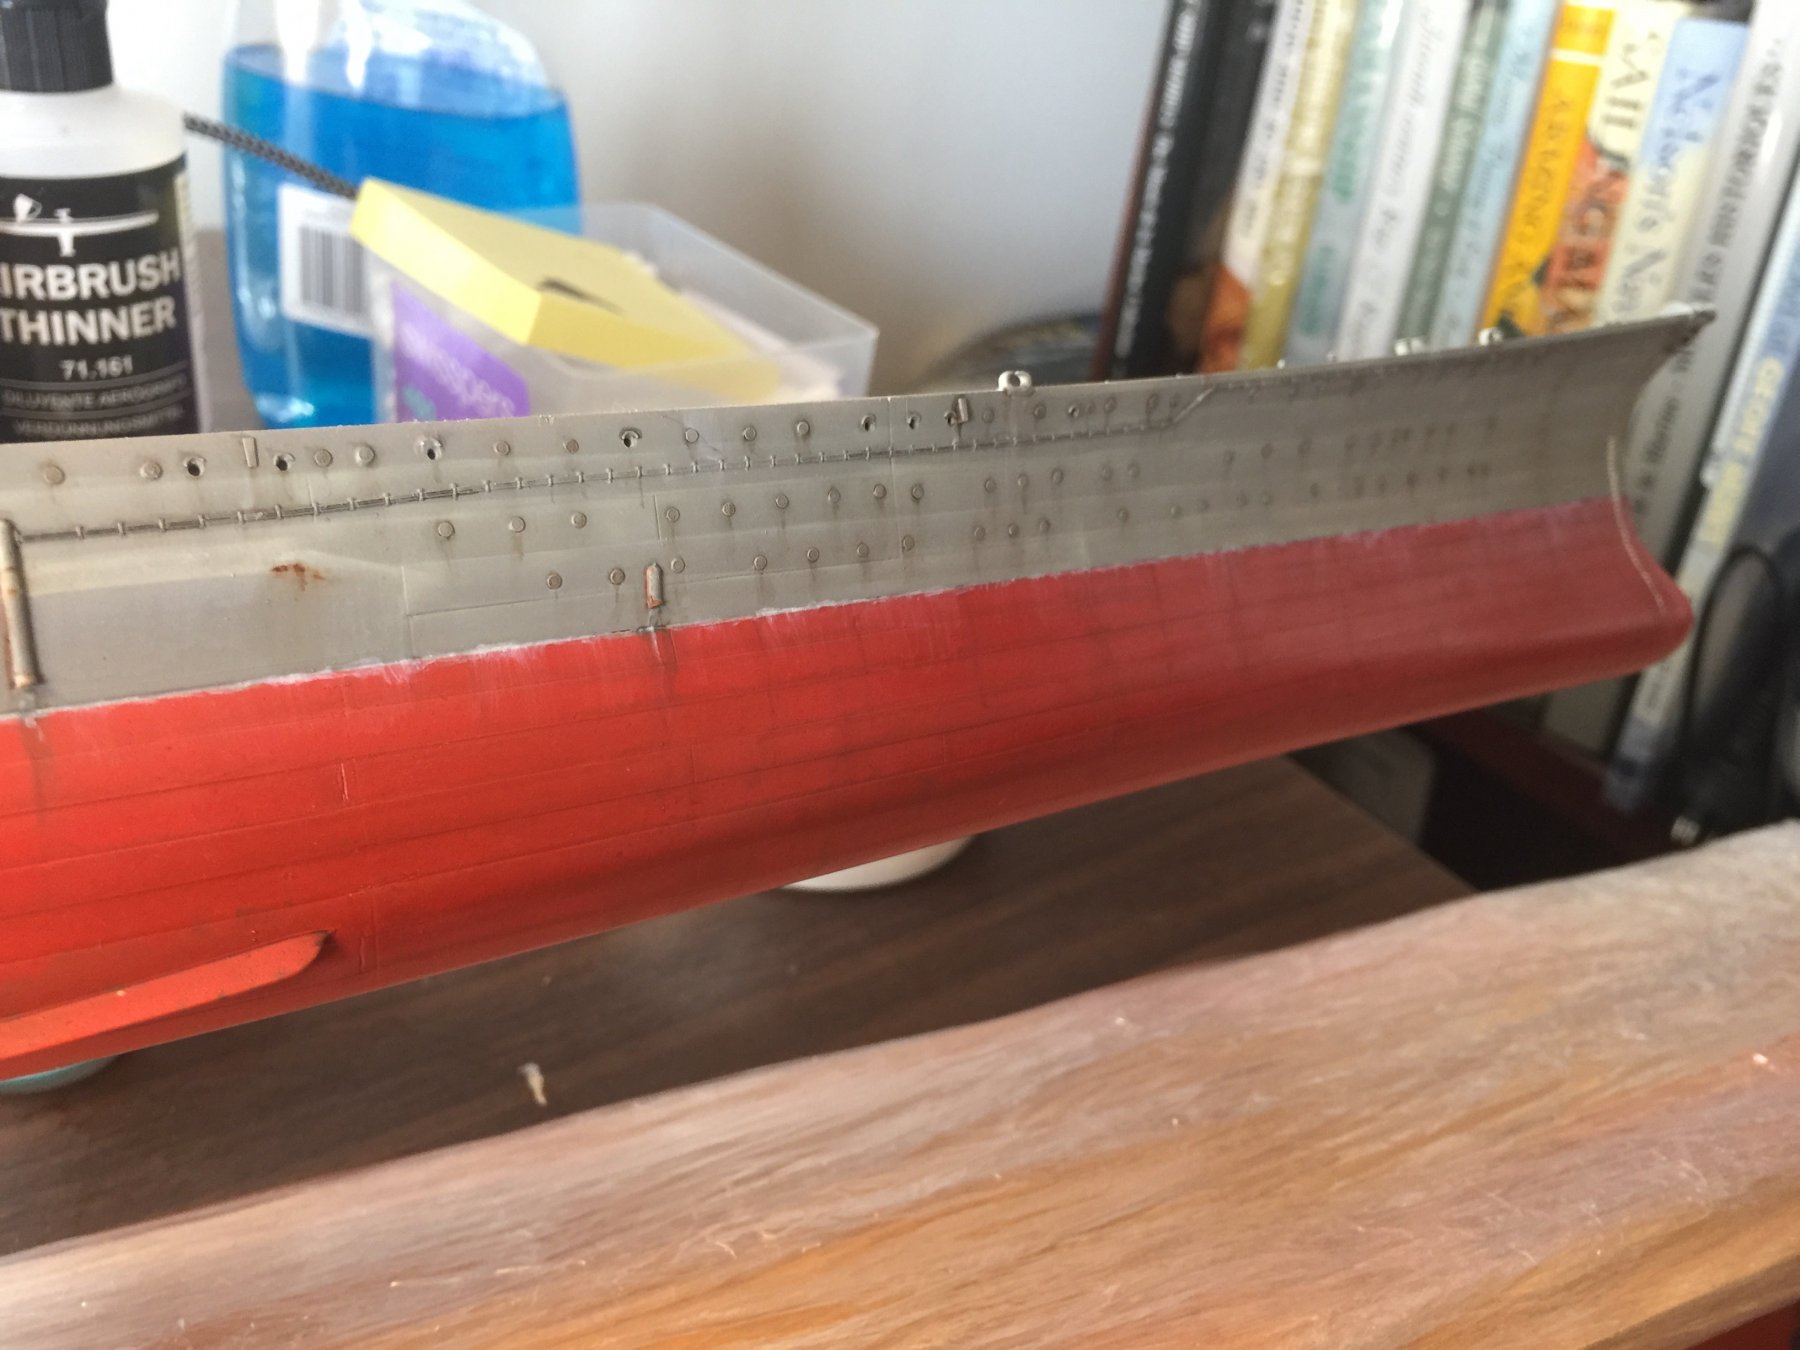
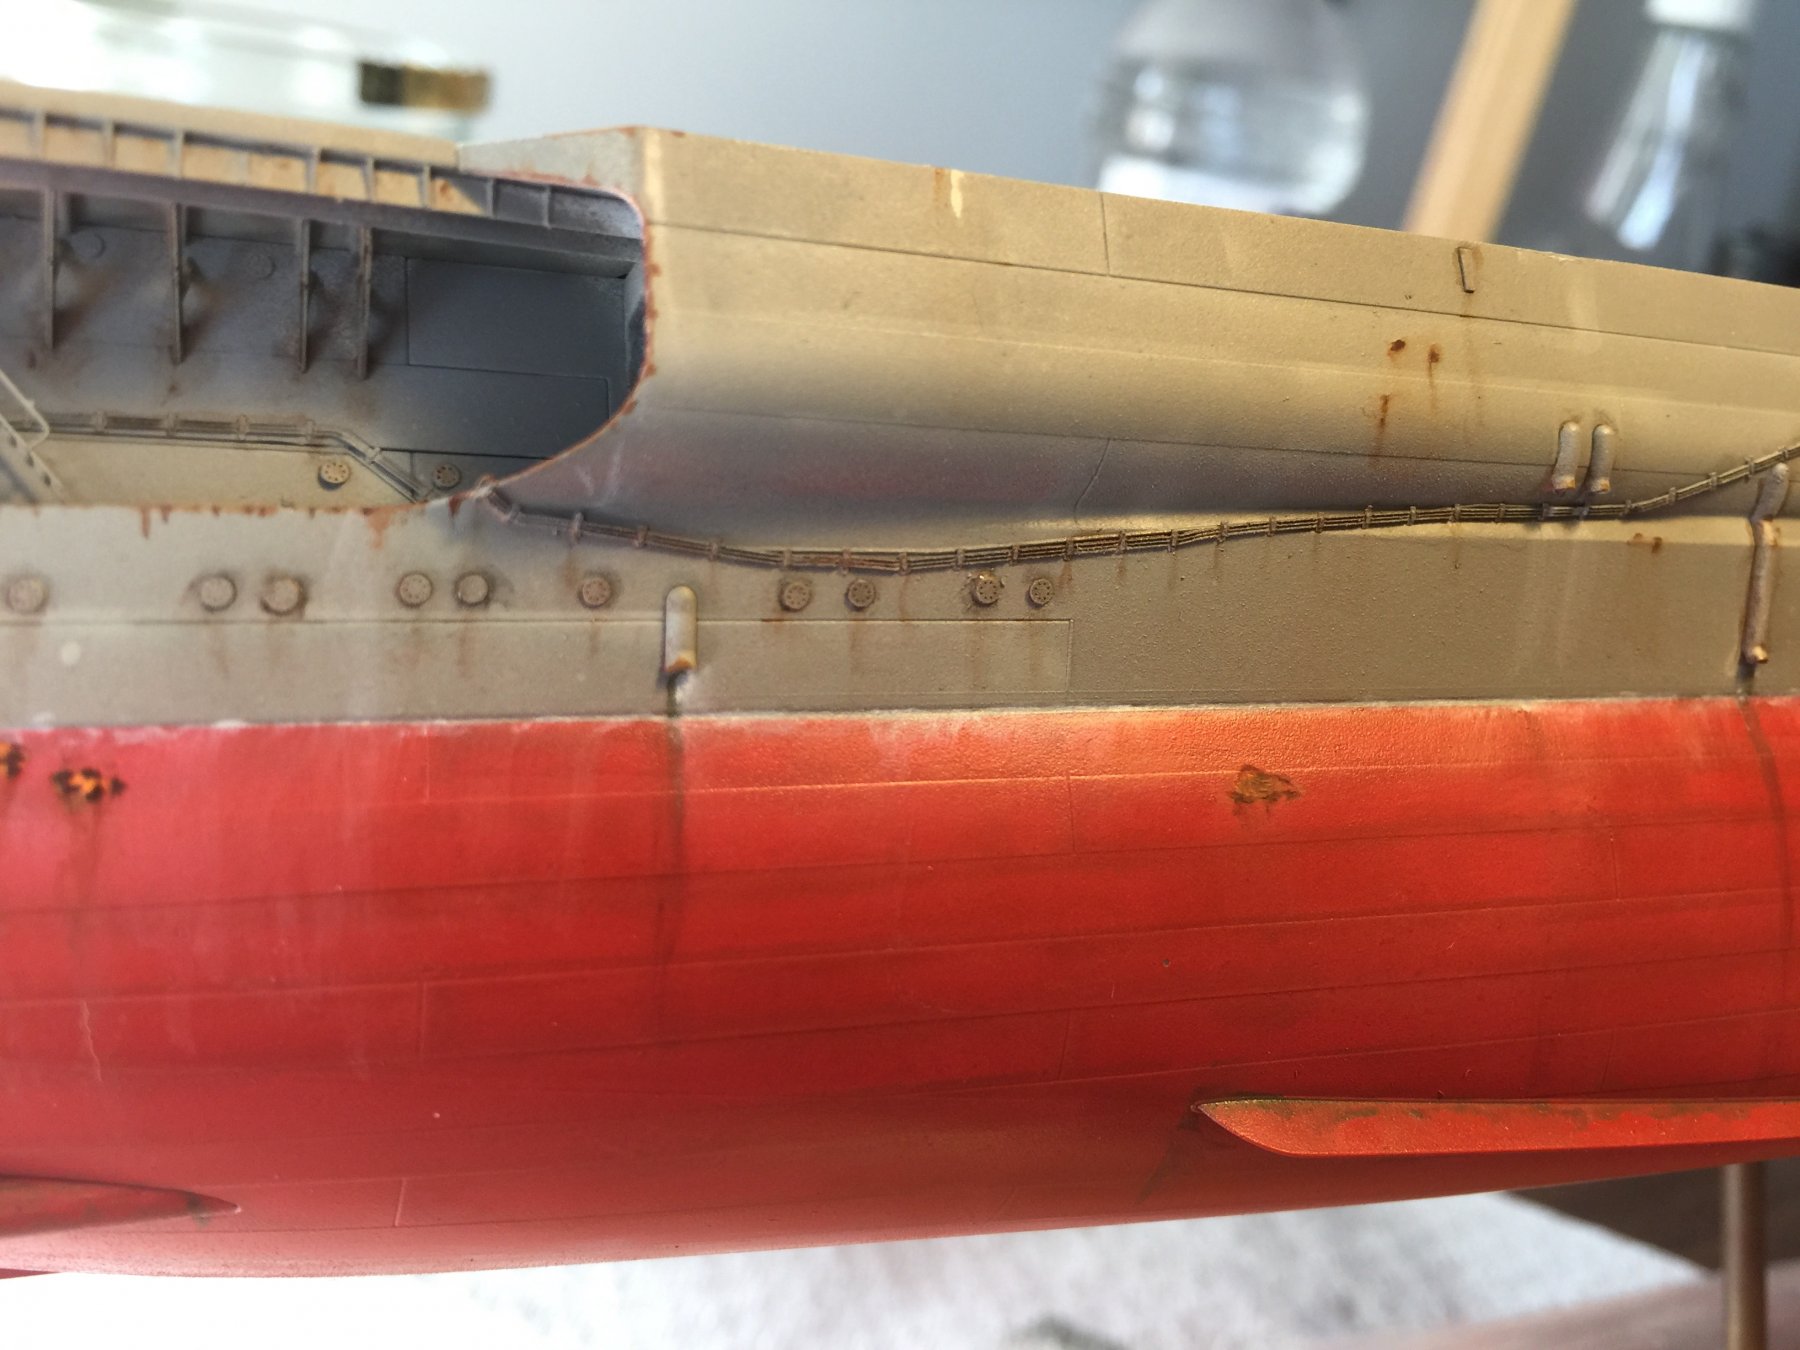
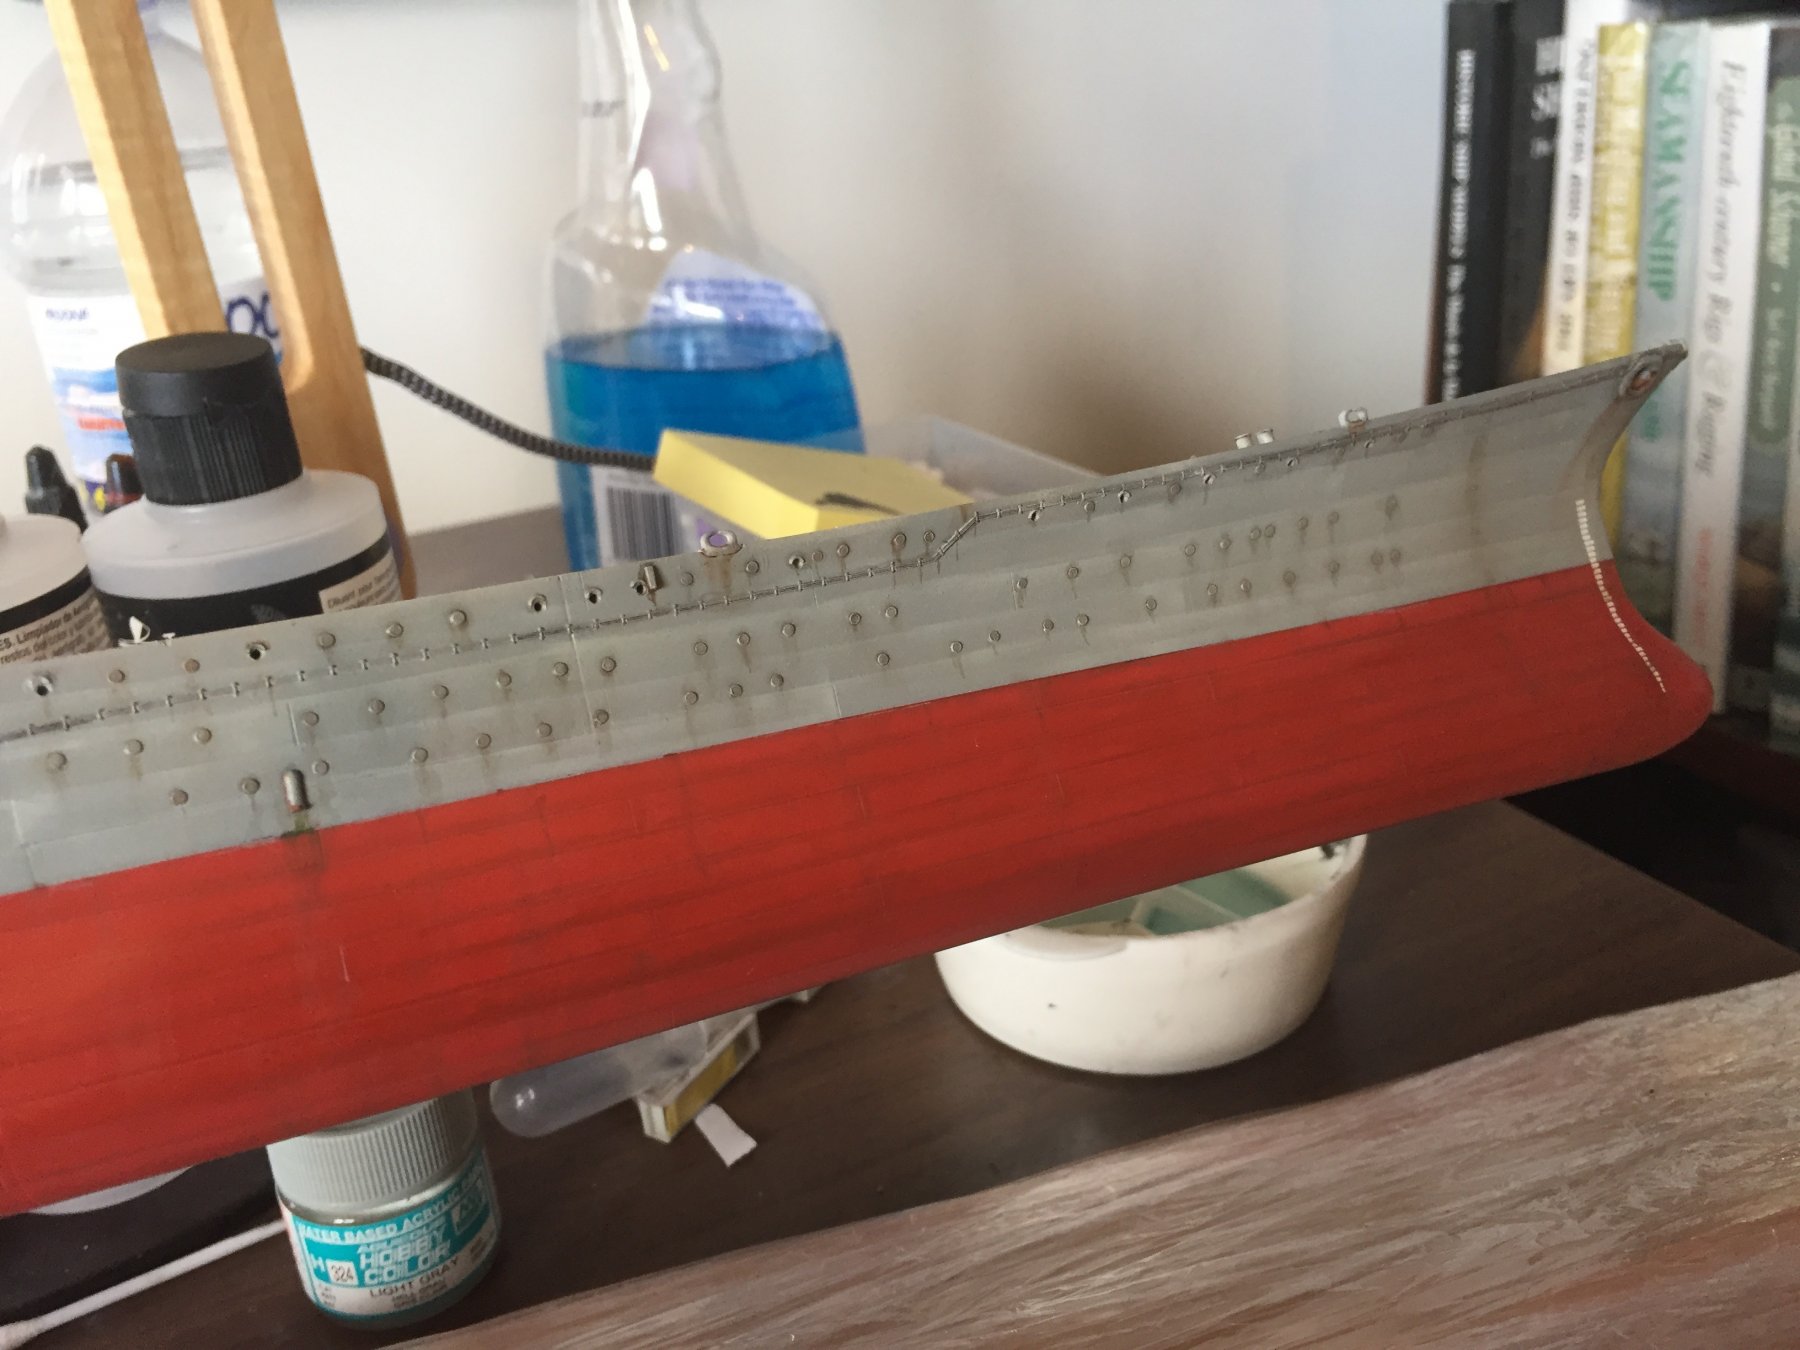
The second last step on the hull base is salt. I have done a salt line on the waterline, as well as from the scuppers and beneath the hawsers and along the centre armour belt. The Starboard side is not done, next is the Port side which I won't get to till next week. Thoughts for improvements?


Once that is done back to the airbrush.
- cog, Captain Slog, coxswain and 11 others
-
14
-
-
-
Weathering time! I've never tried this before, and as there is so much detail on the hull, I want to get the hull weathering done first so I can airbrush a grunge coat on the bottom then leave it on the stand to work on.
I have used (so far) rust/green slime, with salt then a grunge coat underneath. Half the hull done after a full day. You can see the bits where the paint came off as I removed the tape an I have used a light and a dark rust product.


IJN Yamato by RGL - FINISHED - Tamiya - 1/350 - PLASTIC
in - Kit build logs for subjects built from 1901 - Present Day
Posted
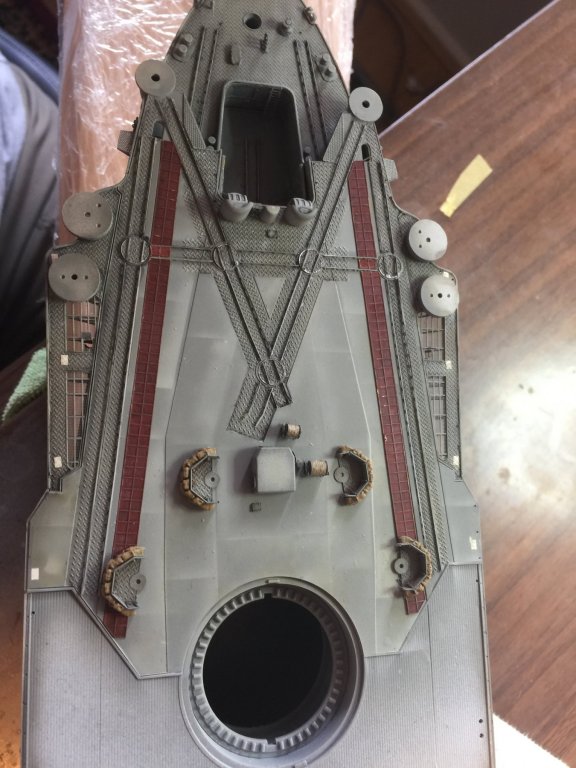
OK, moving on, the AA guns.
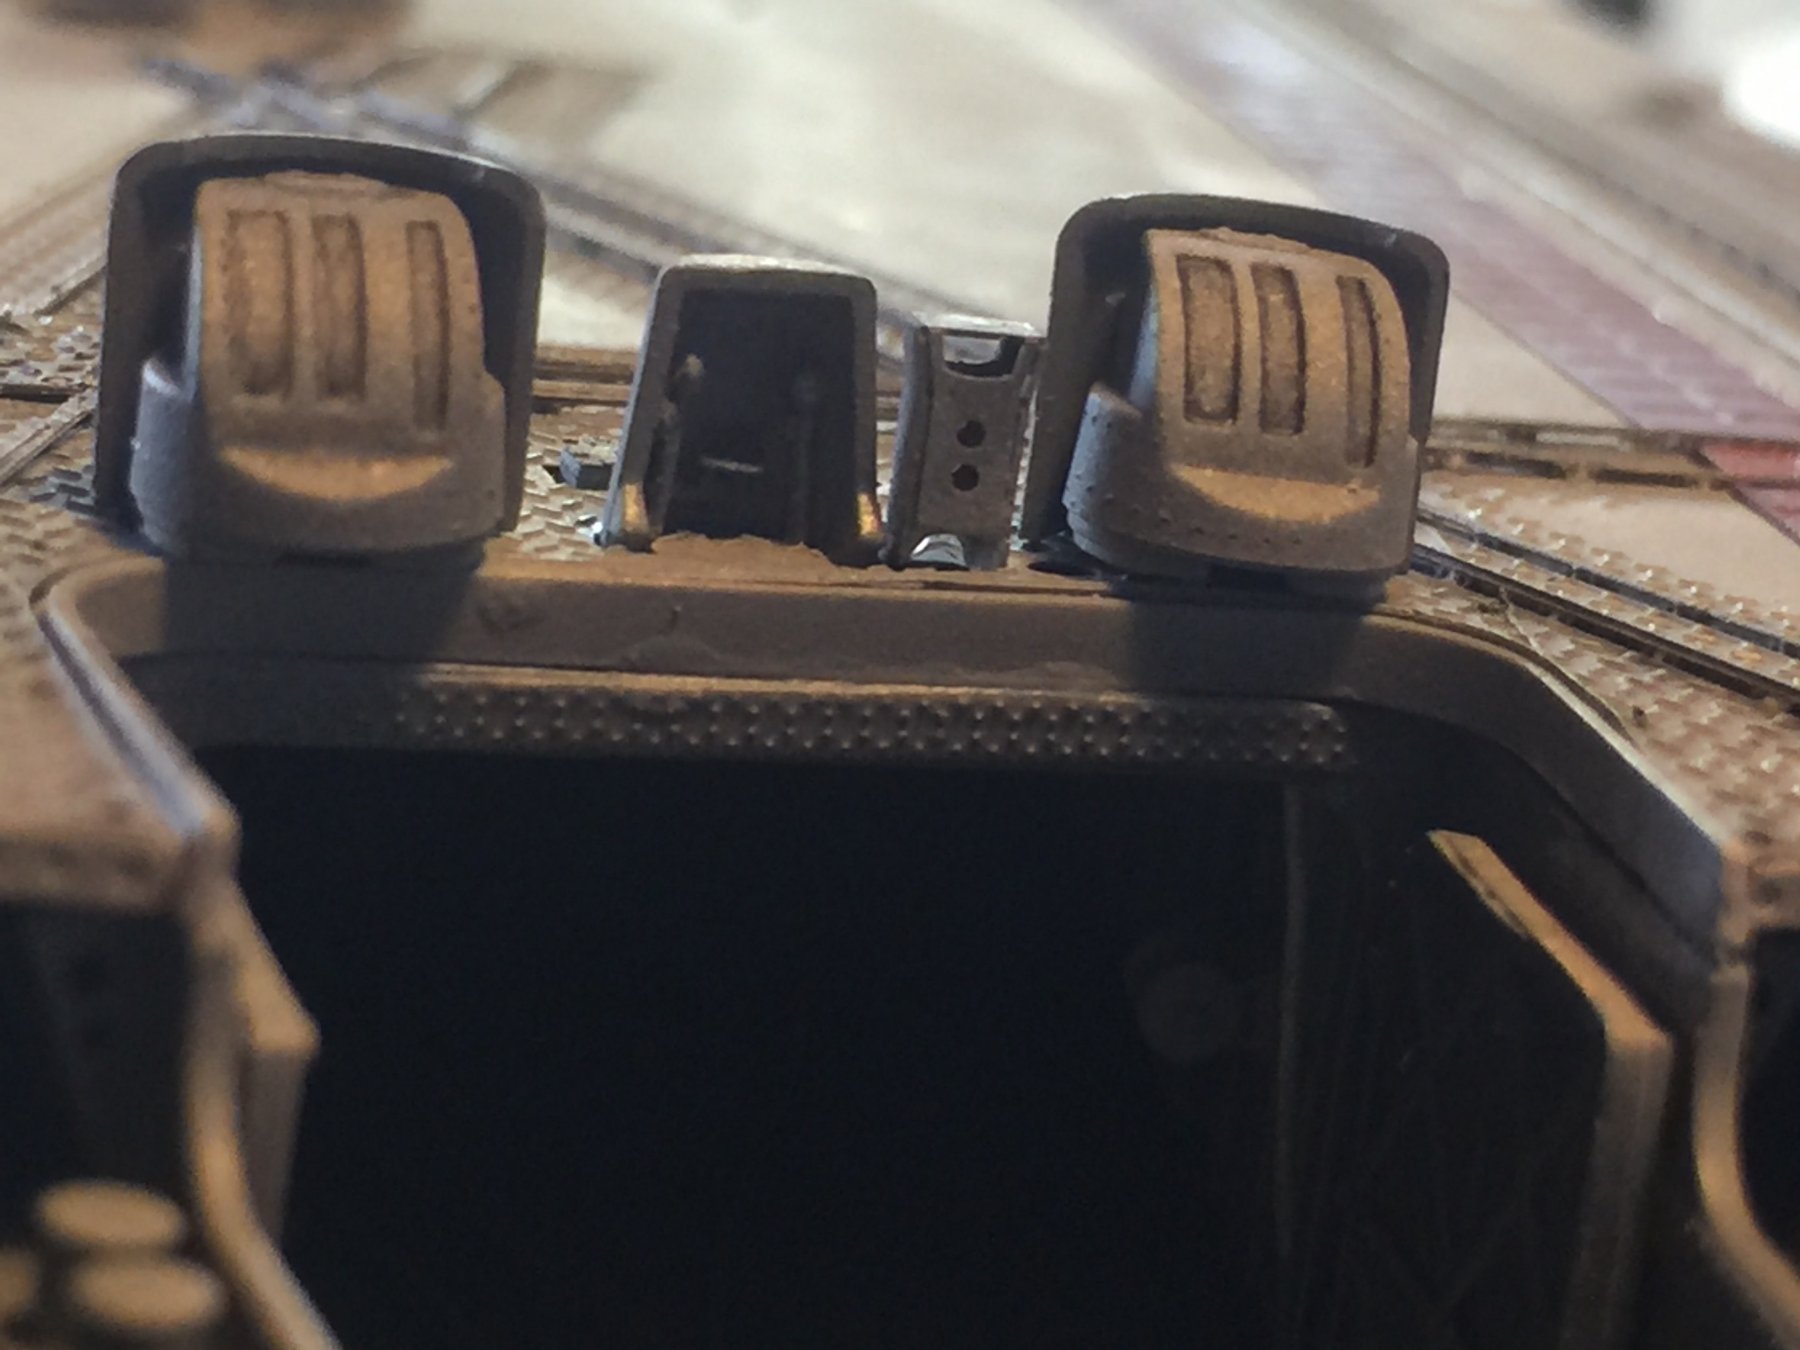
Firstly the high angle turrets, you can see the base Tamiya offering (photo 3), Pontos provides the barrels and sandbags plus railings which I don't like. The ventilator covers and stanchions are replaced, but I cannot replicate the handholds, so be it.