


RGL
-
Posts
5,115 -
Joined
-
Last visited
Content Type
Profiles
Forums
Gallery
Events
Posts posted by RGL
-
-
-
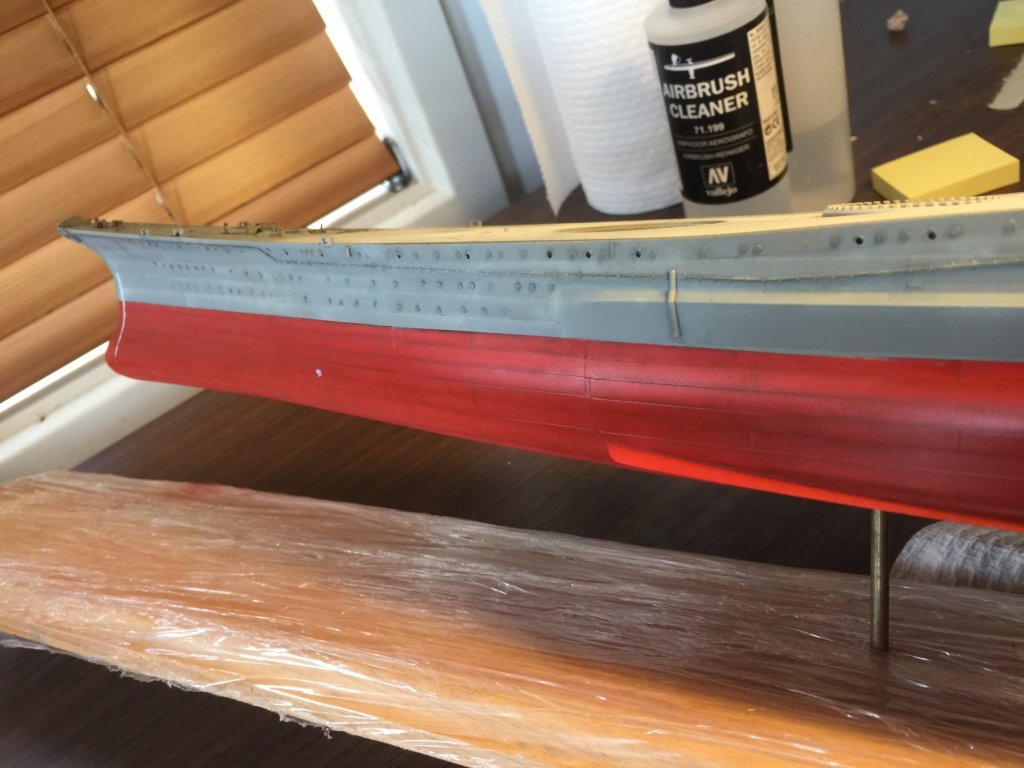
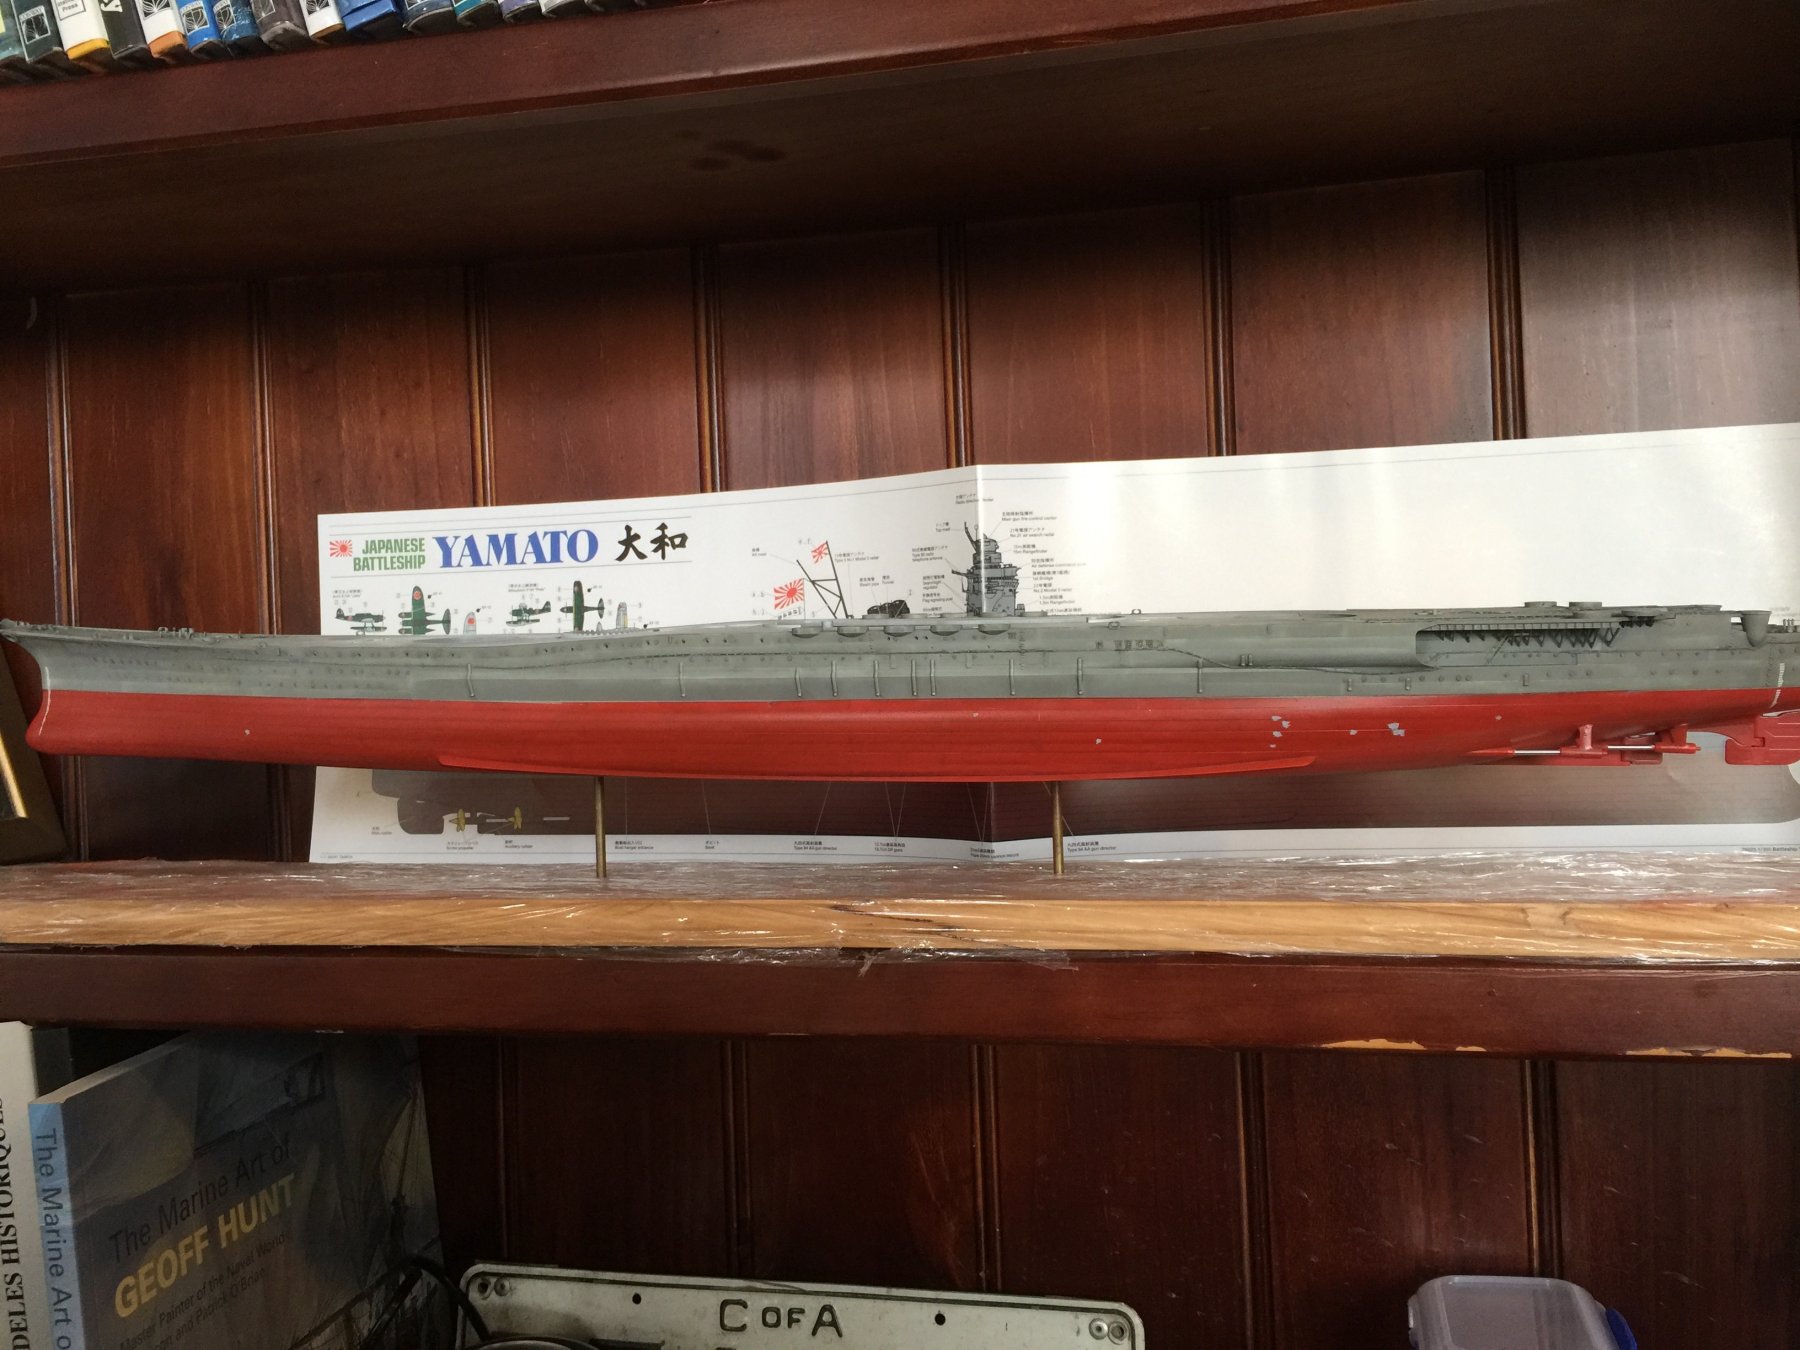
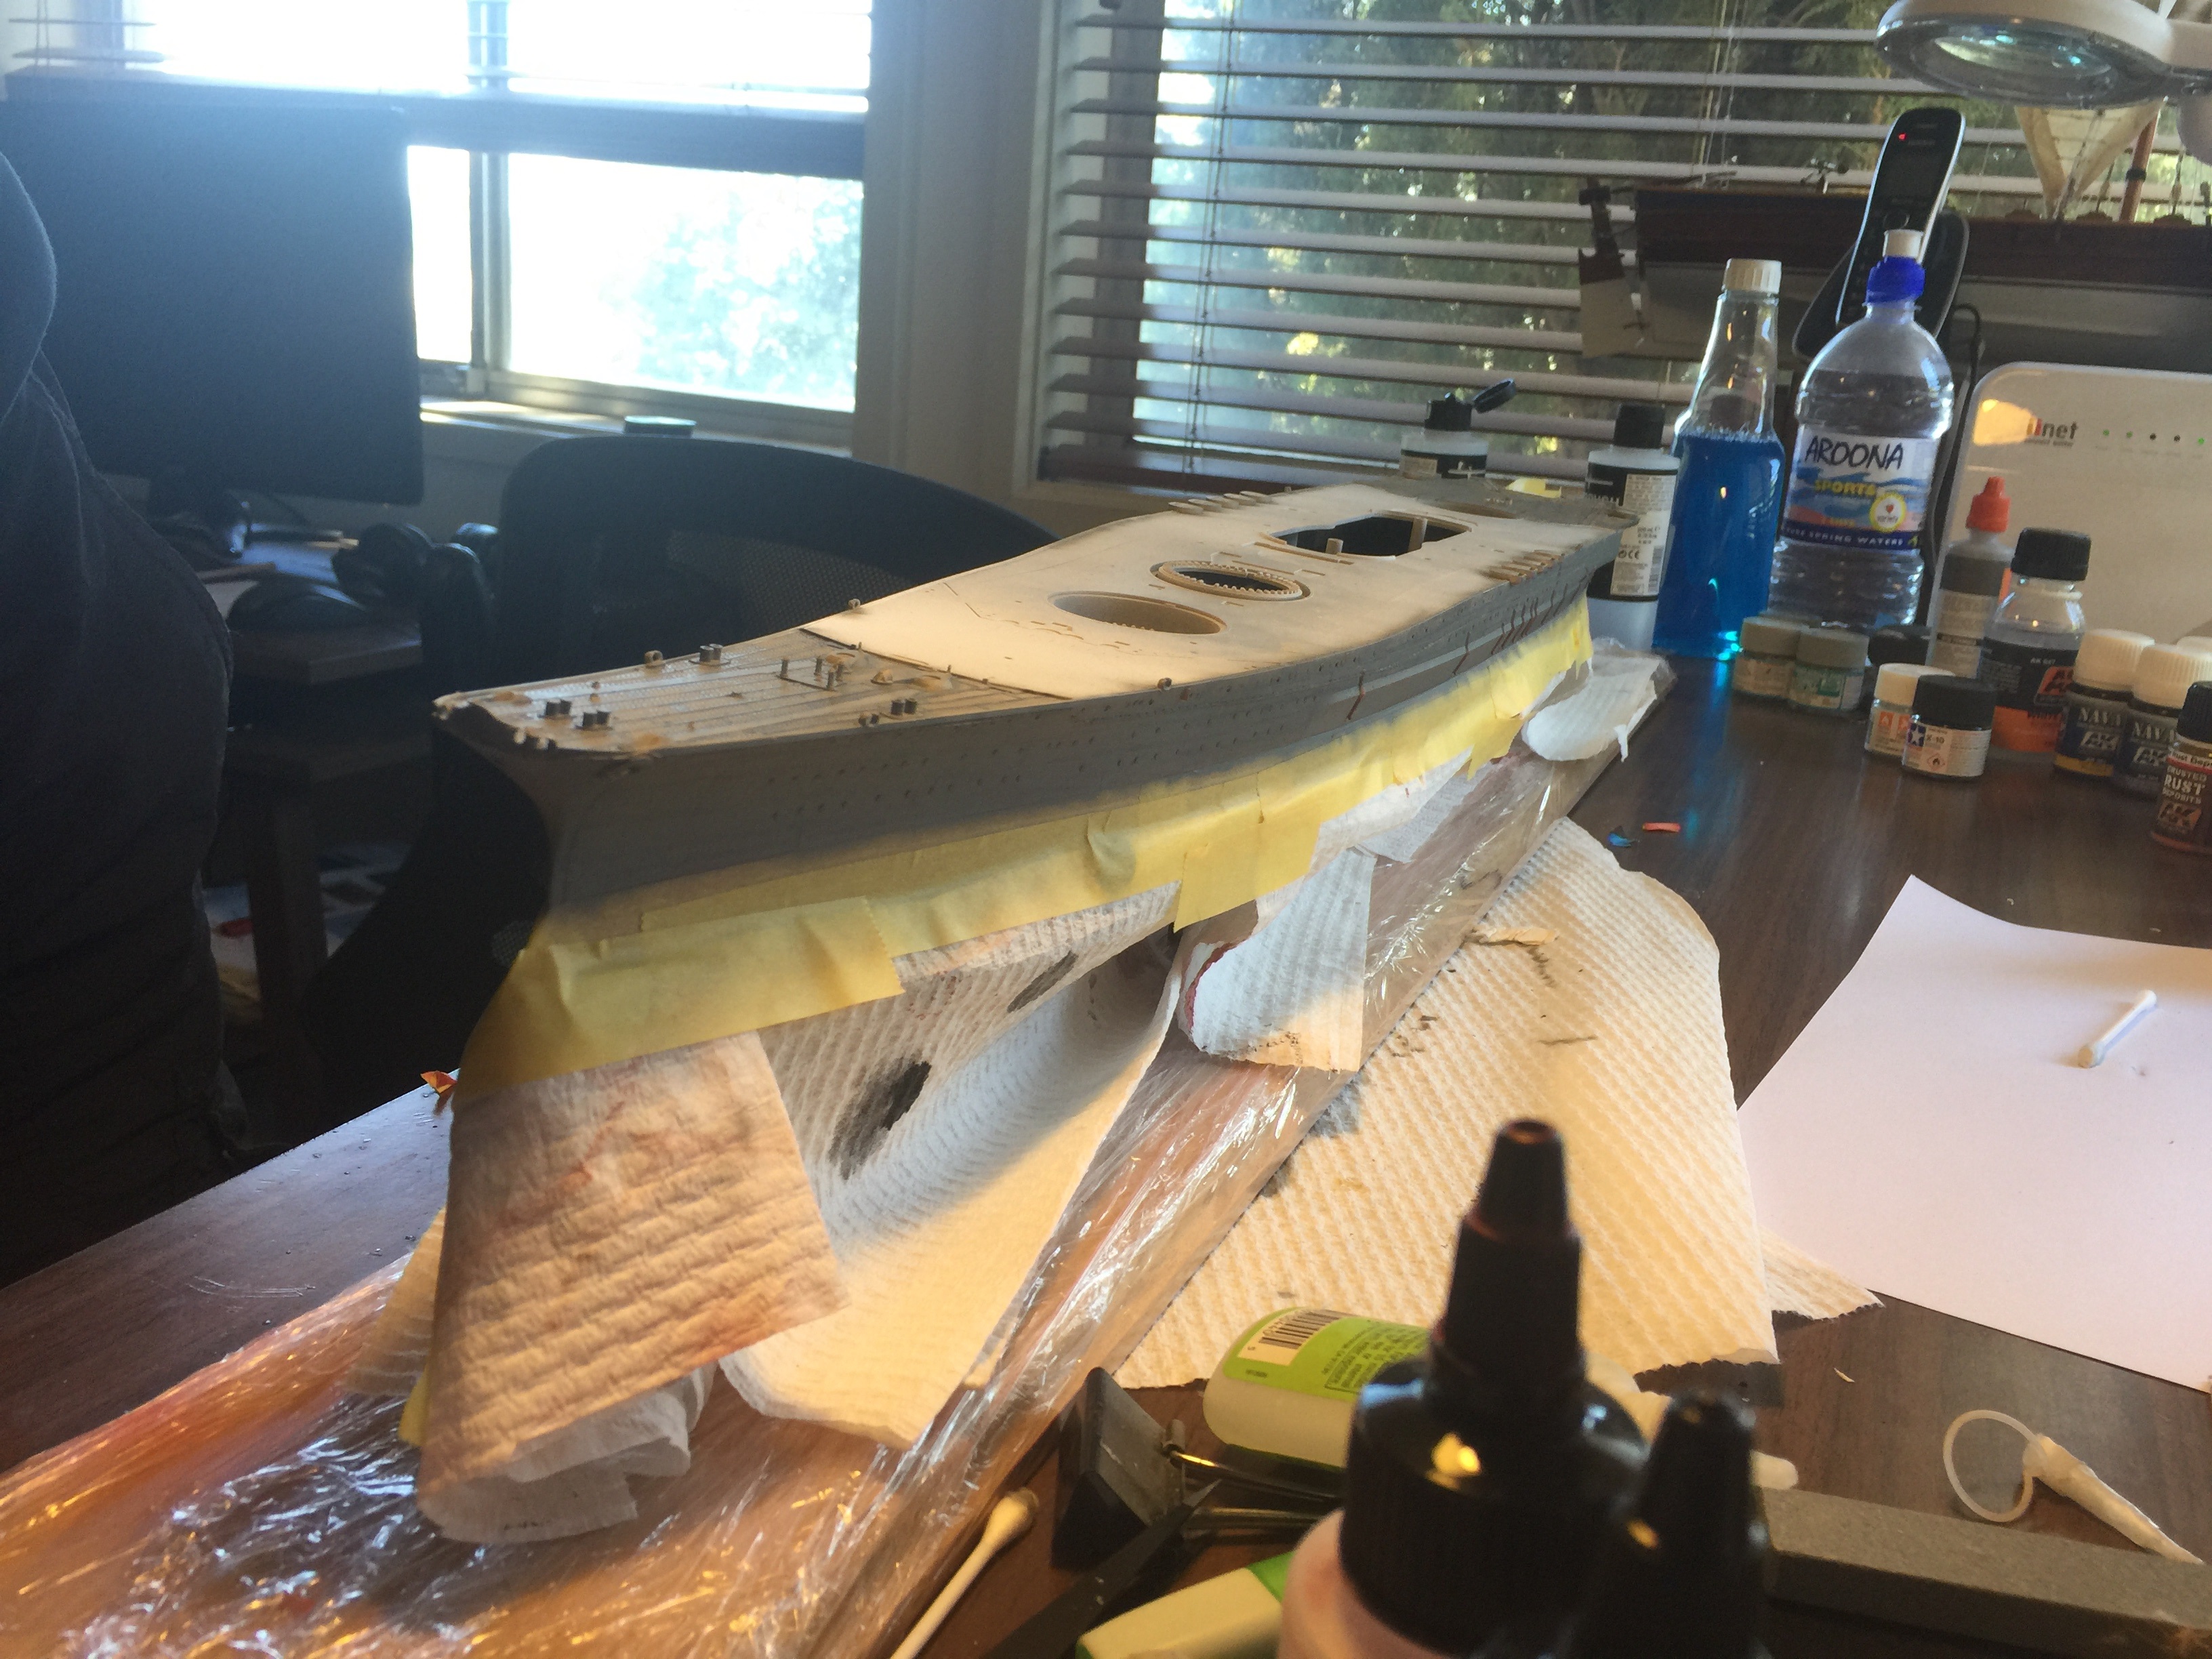
To make the hull a little less bland, I have started the washes, covering the degausing cable and deadlights. I intend to drybrush over the next to bring out the detail.

- Canute, popeye the sailor, davec and 10 others
-
 13
13
-
-
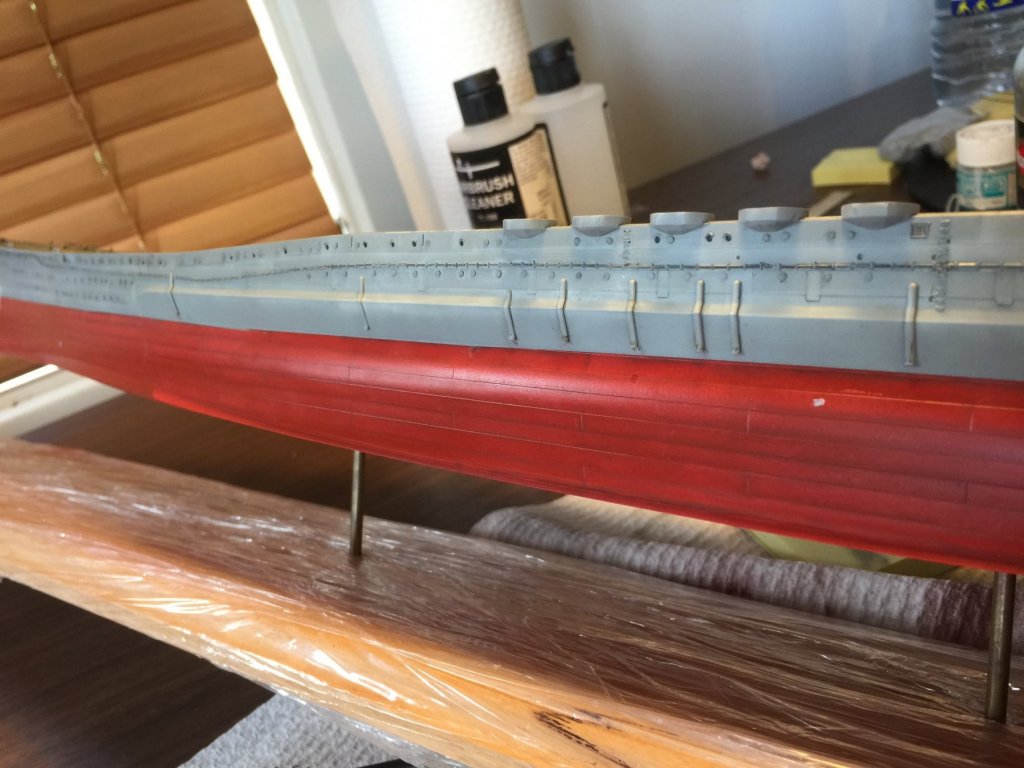
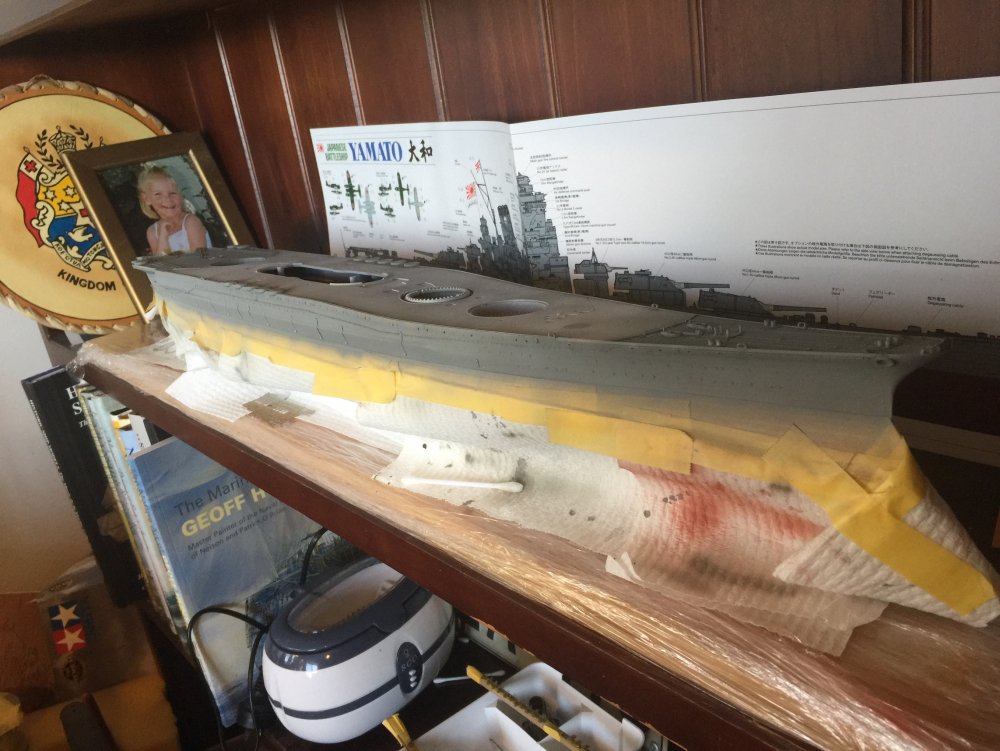
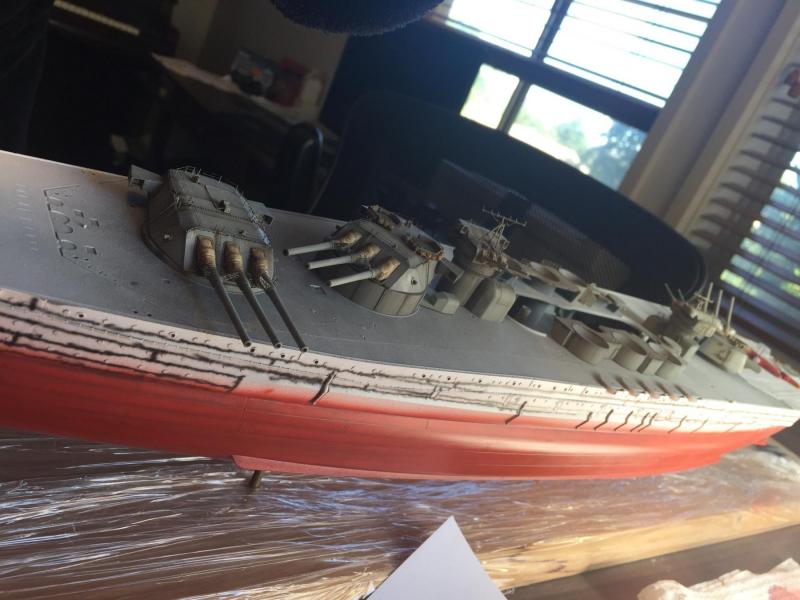
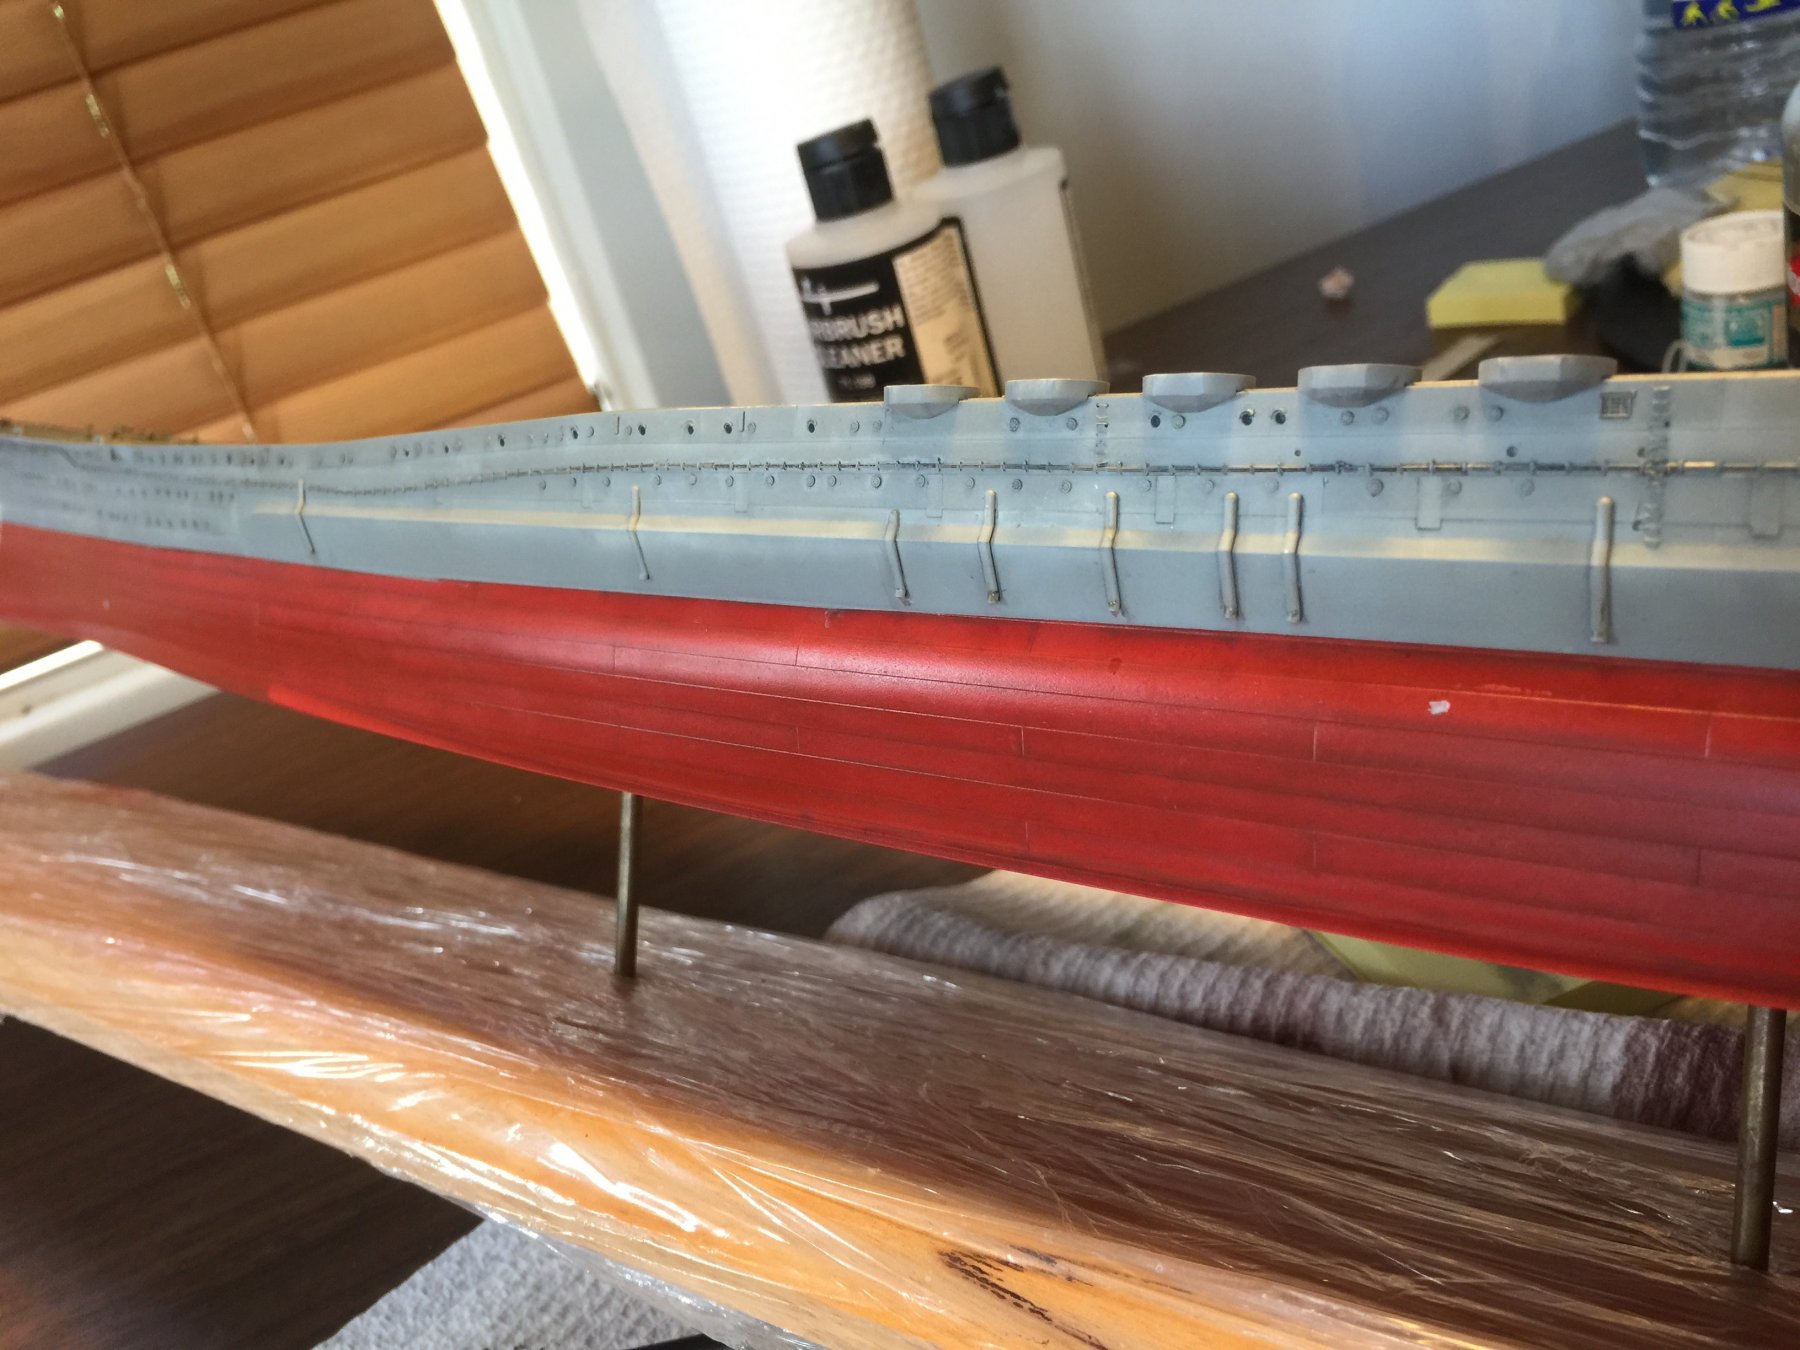
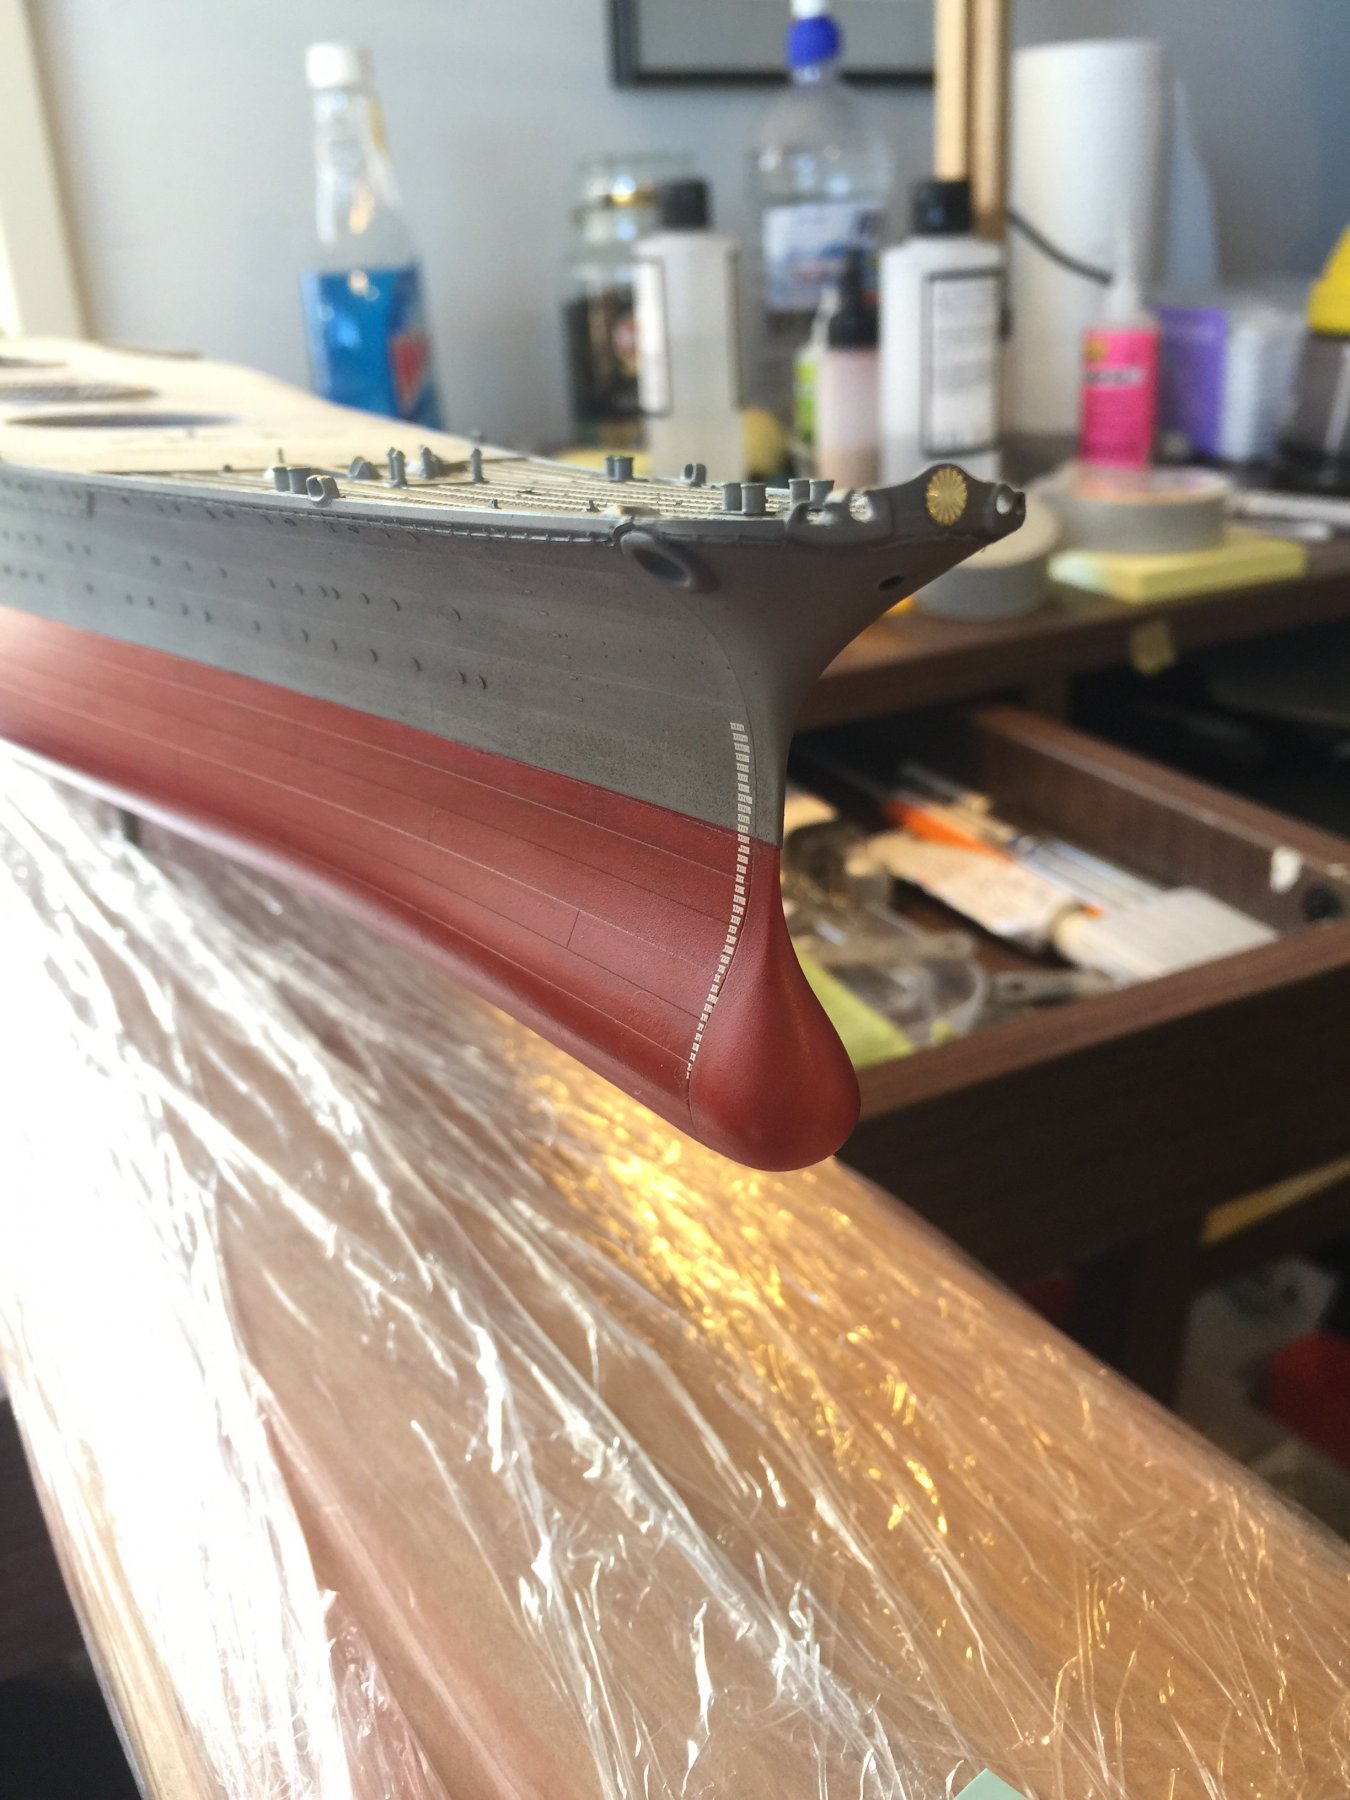
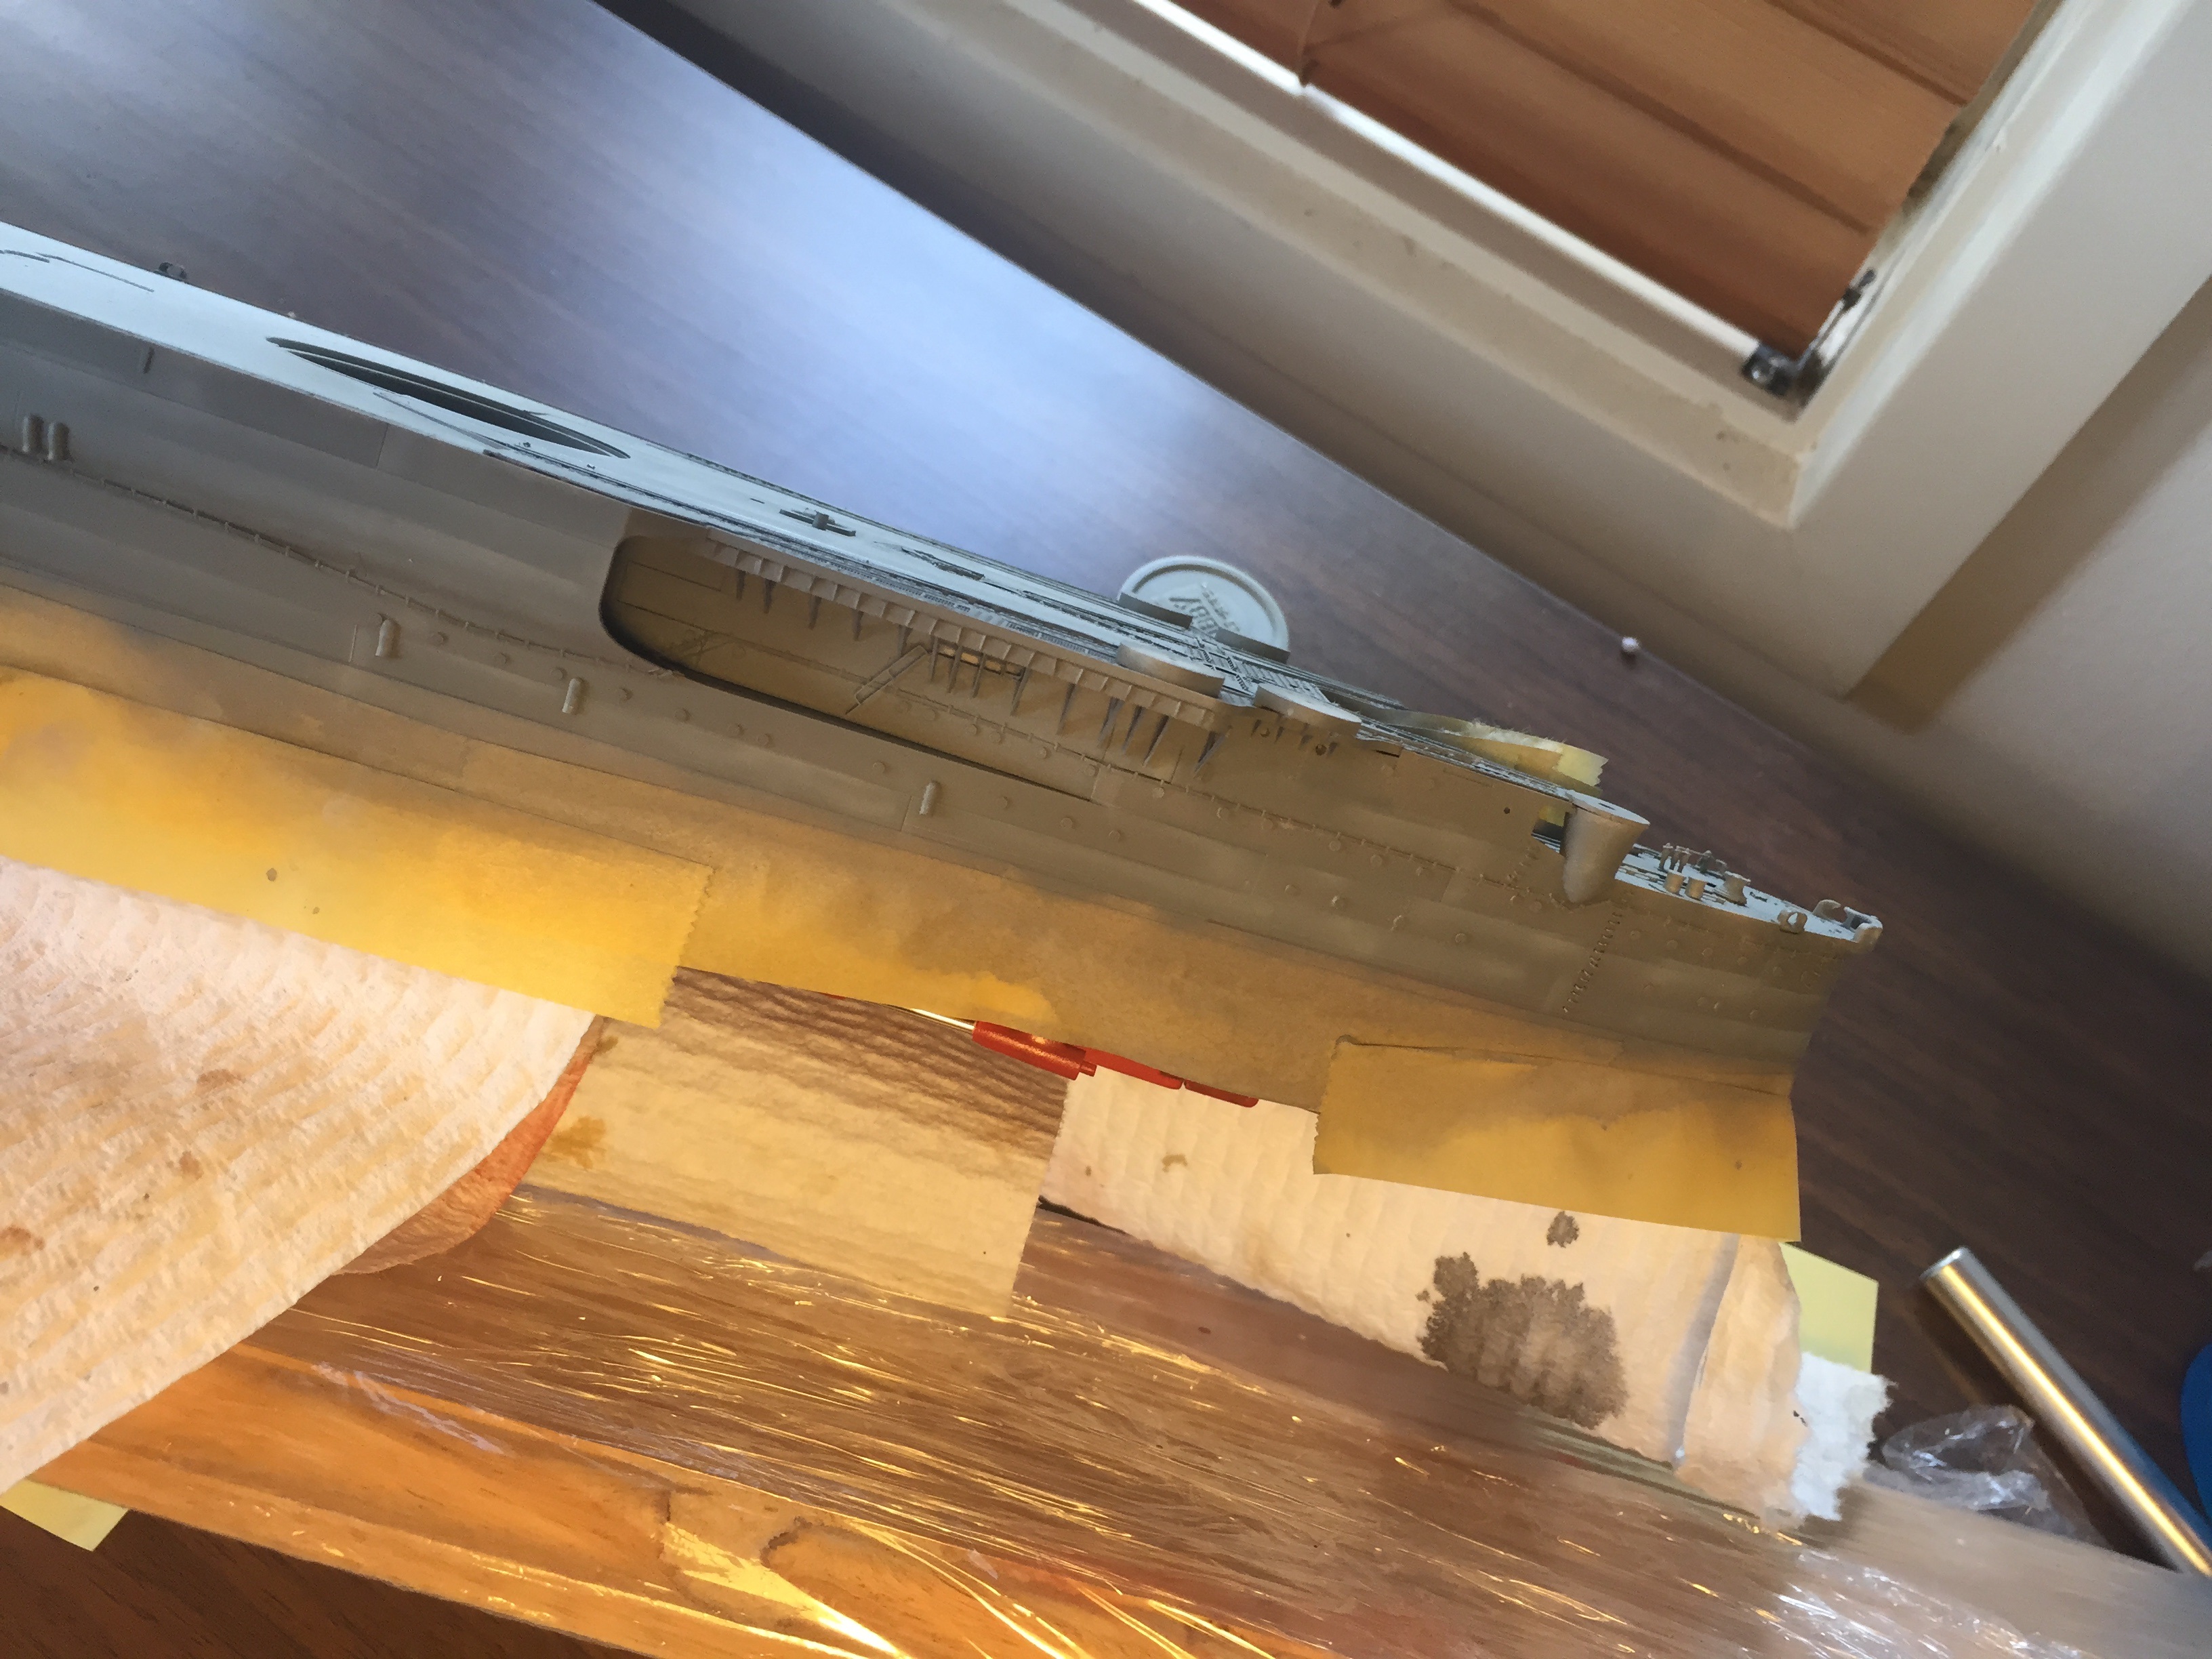
The base colour is done! I removed the masking tape and have a few chips on the lower hull, but I intend to make them rust spots anyway. I have added the hull depth markers and the ships name and crest on the bow.

Next will be to paint the scuppers then start the weathering. I'm not sure if I'm happy with the paintwork yet on the upper hull, but I'm expecting the weathering and washes to bring it to life.
- Captain Slog, mtaylor, CDW and 16 others
-
19
-
Well done on the tripod mast, it's a lot of eye strain and fiddly work, looks very strait.
- popeye the sailor, CDW, src and 5 others
-
8
-
-
I'm getting better at it slowly, still can't do a strait horizontal line, vertical is fine. So much work to go.
- Old Collingwood, cog, Canute and 3 others
-
6
-
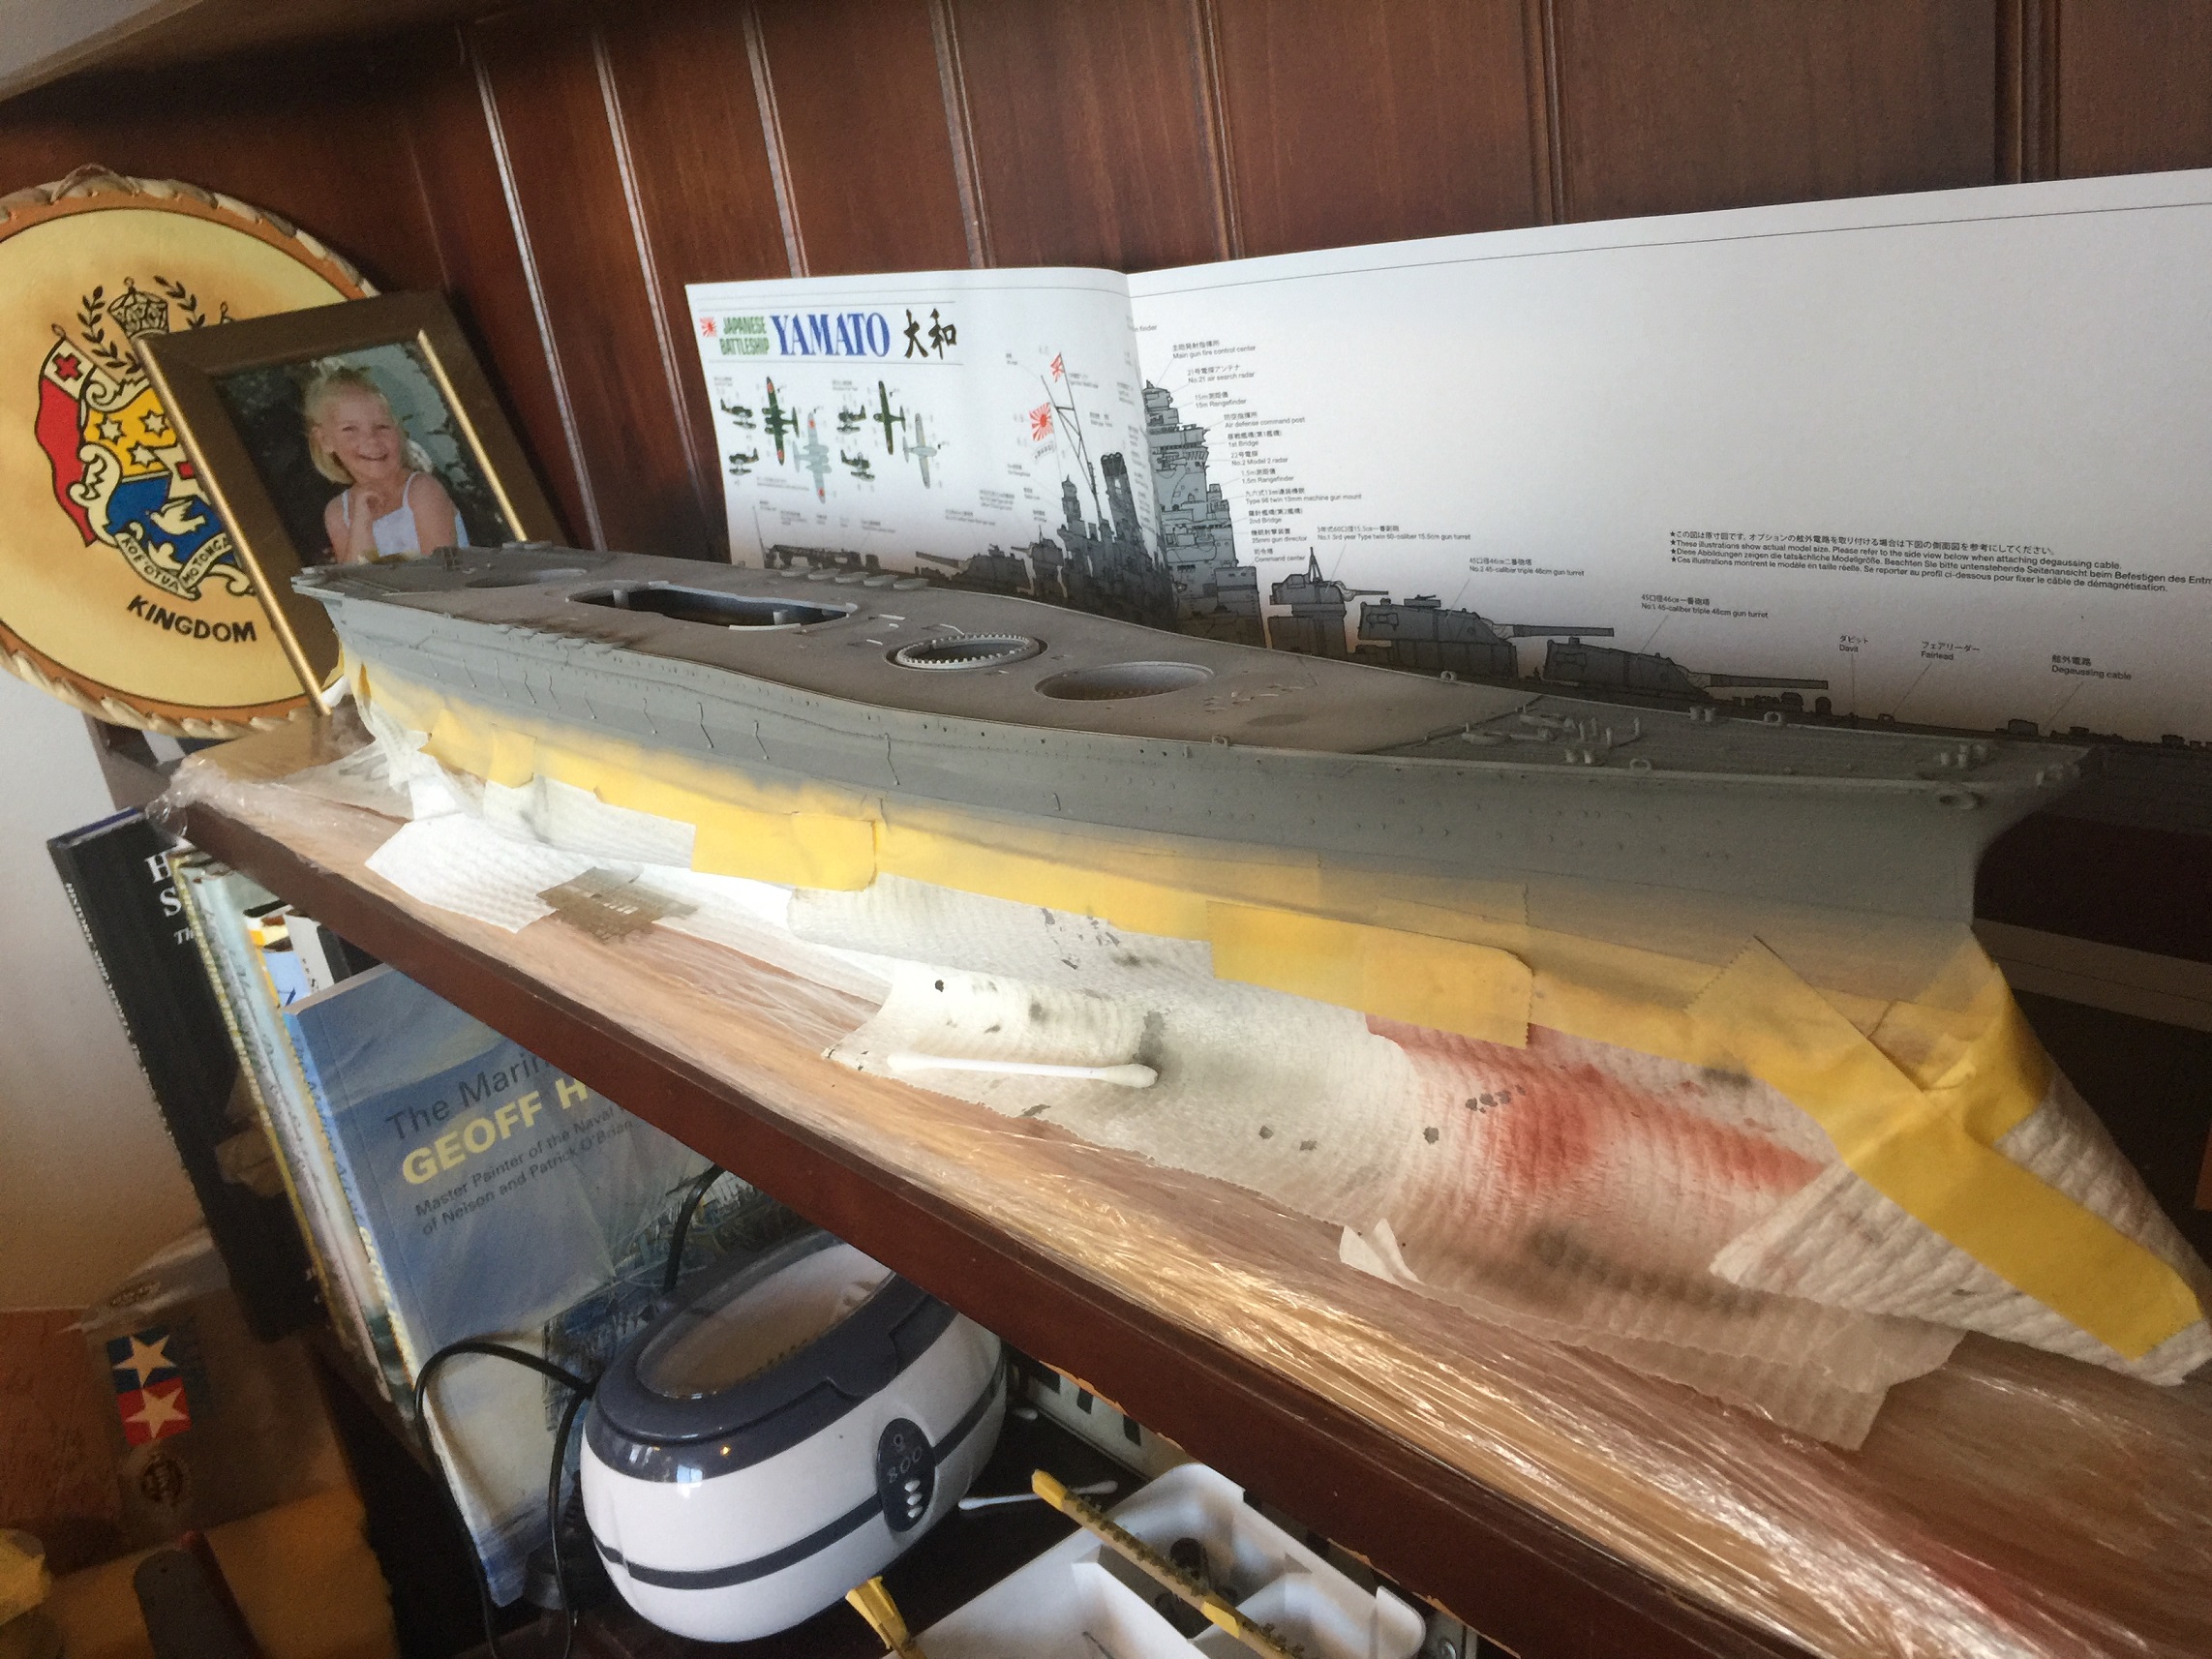
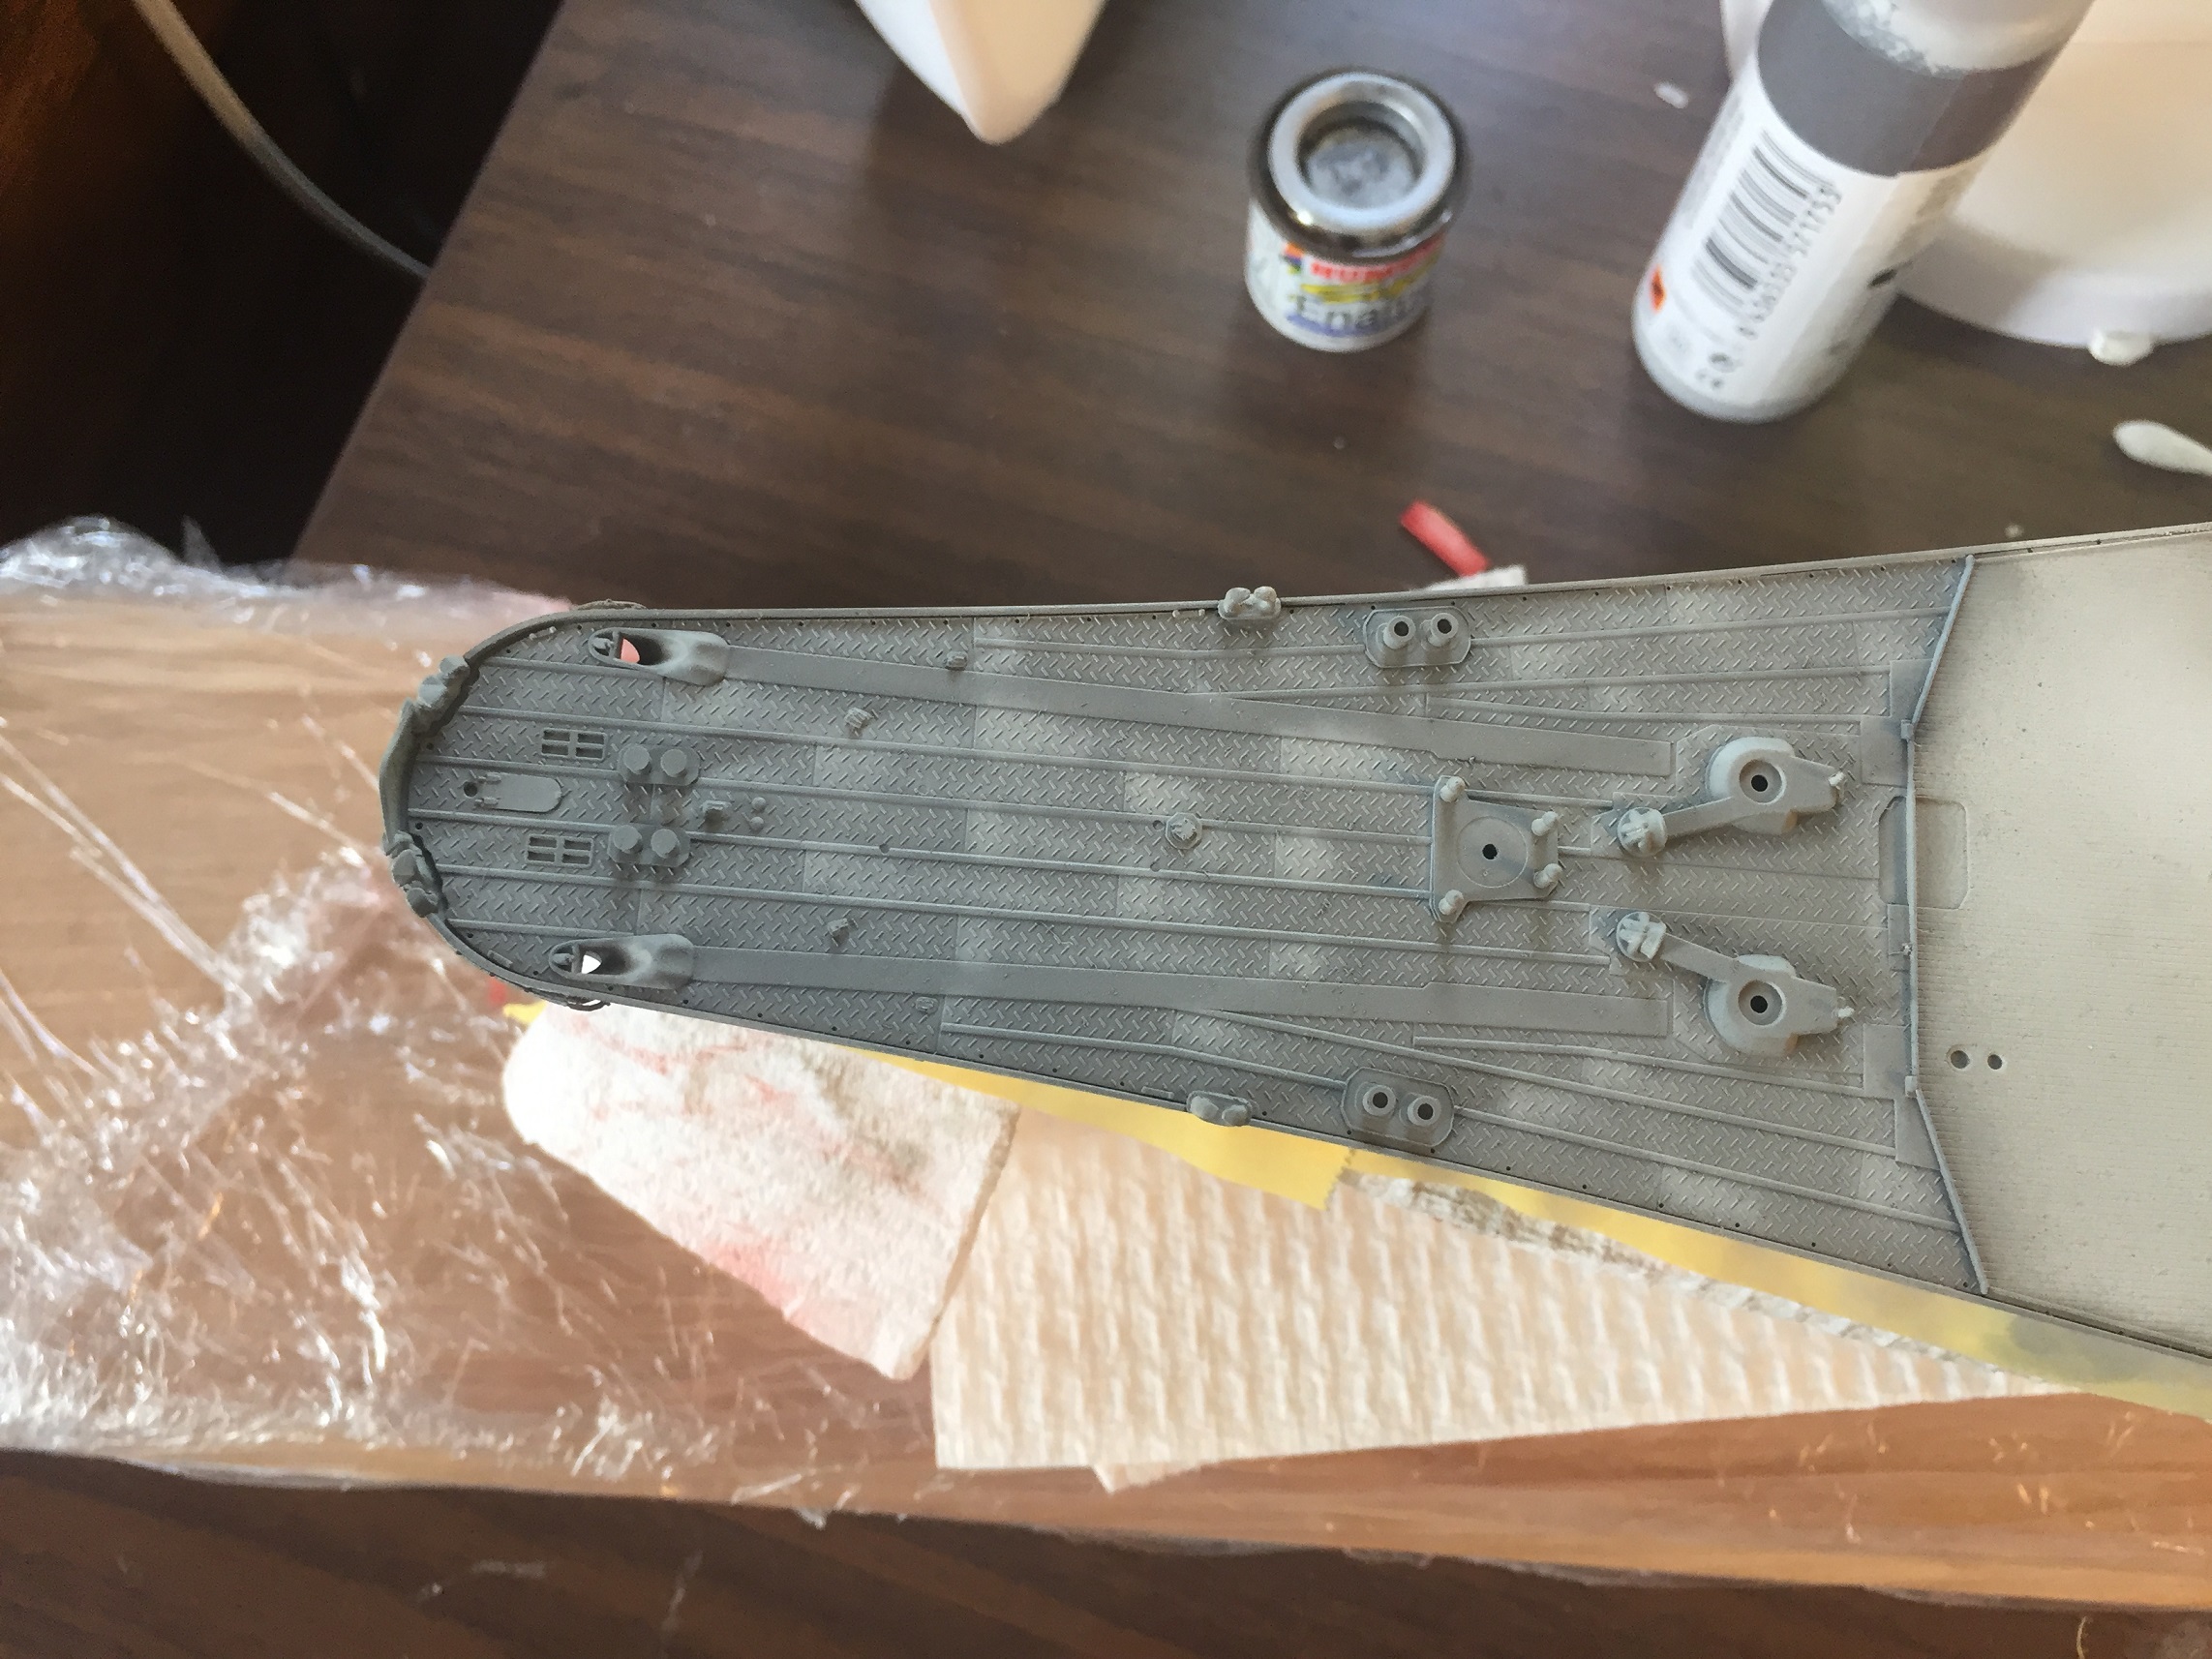
Moving on with the hull, preshading, base grey, lighter grey along the plate lines, the rear flight deck which was concrete. I have subsequently done a 90% diluted overspray with The same light grey which is a 50/50 white grey mix to take off the sharp edges and diffuse the colour. I won't get back to her till next week now when I will add a grey filter. Once that sets I will remove the masking skirts and add the depth marker decals. Then the weathering begins.


-
-
-
-
-
-
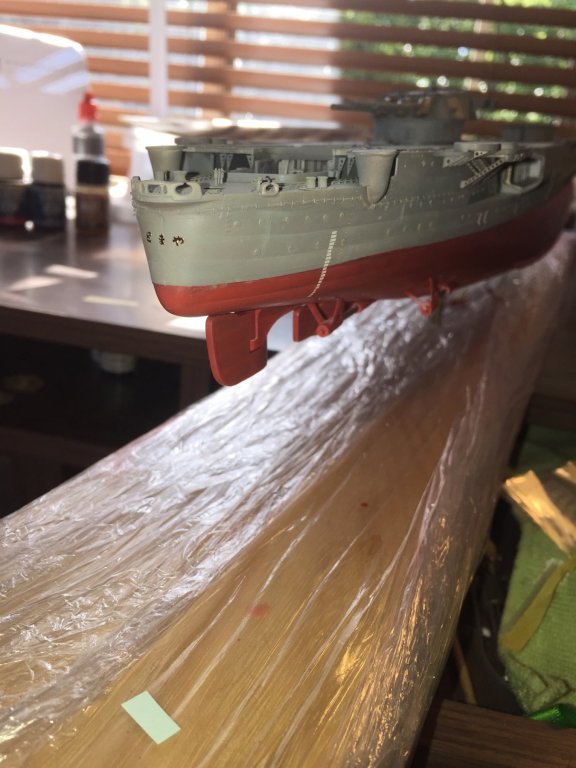
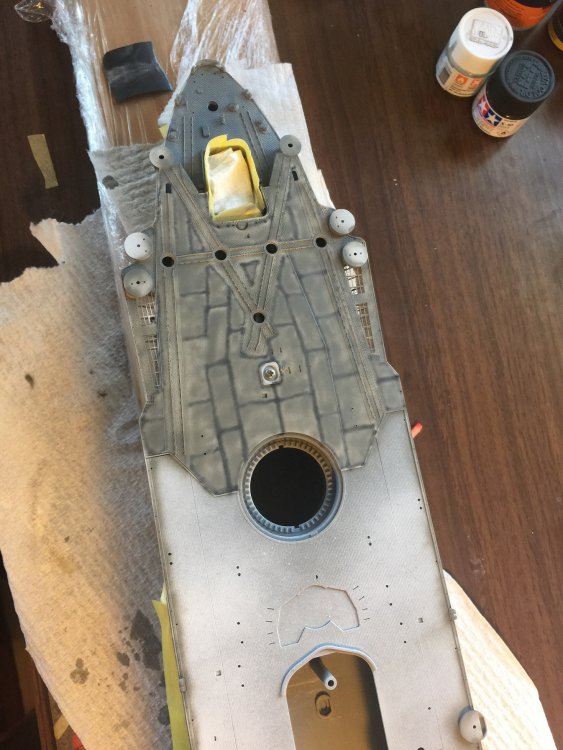
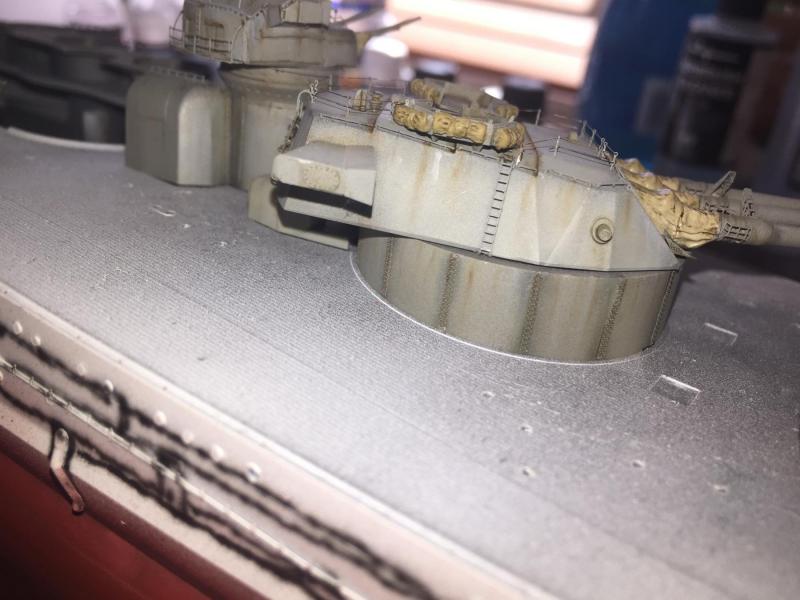
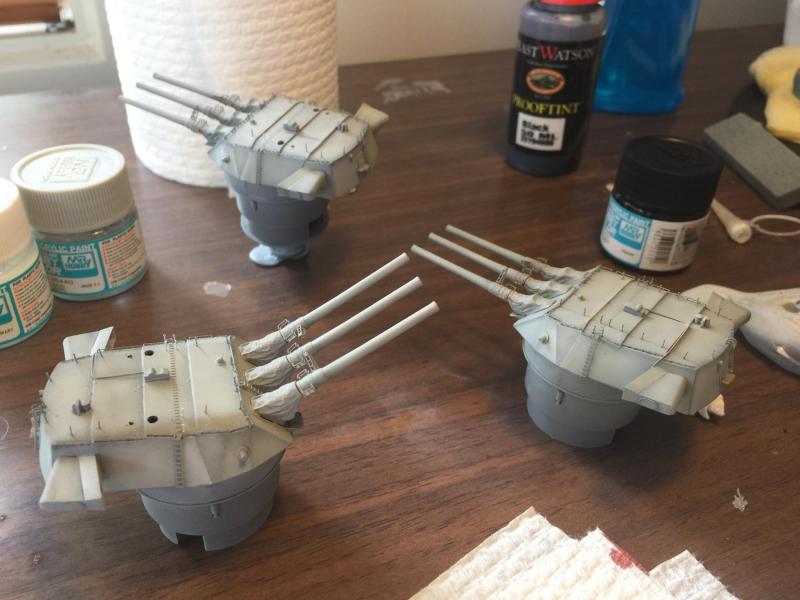
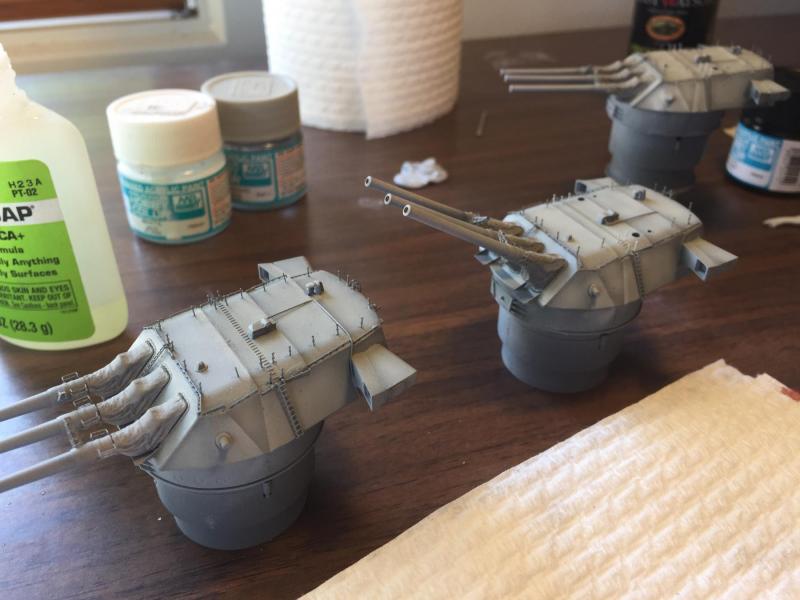
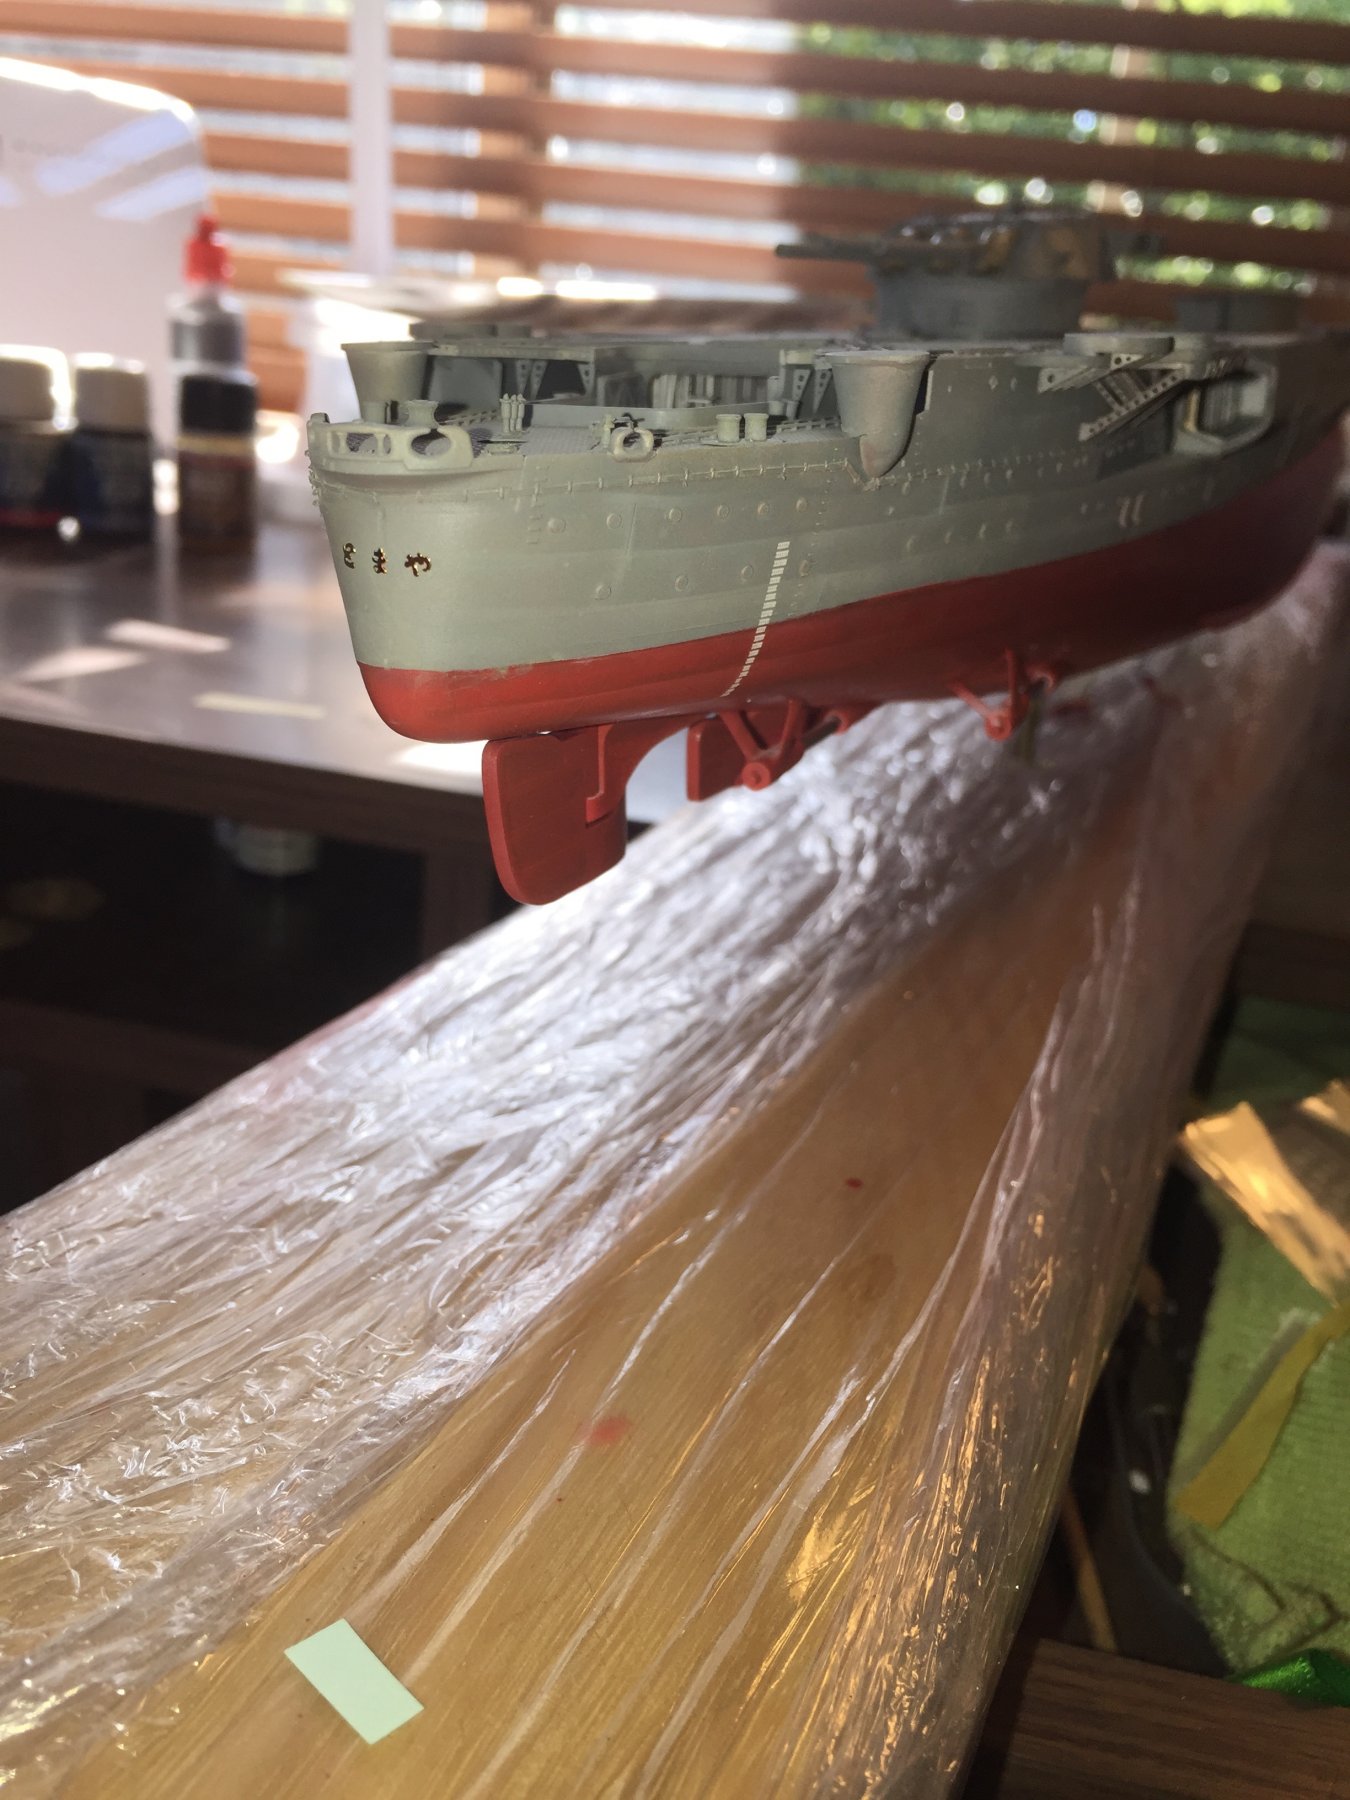
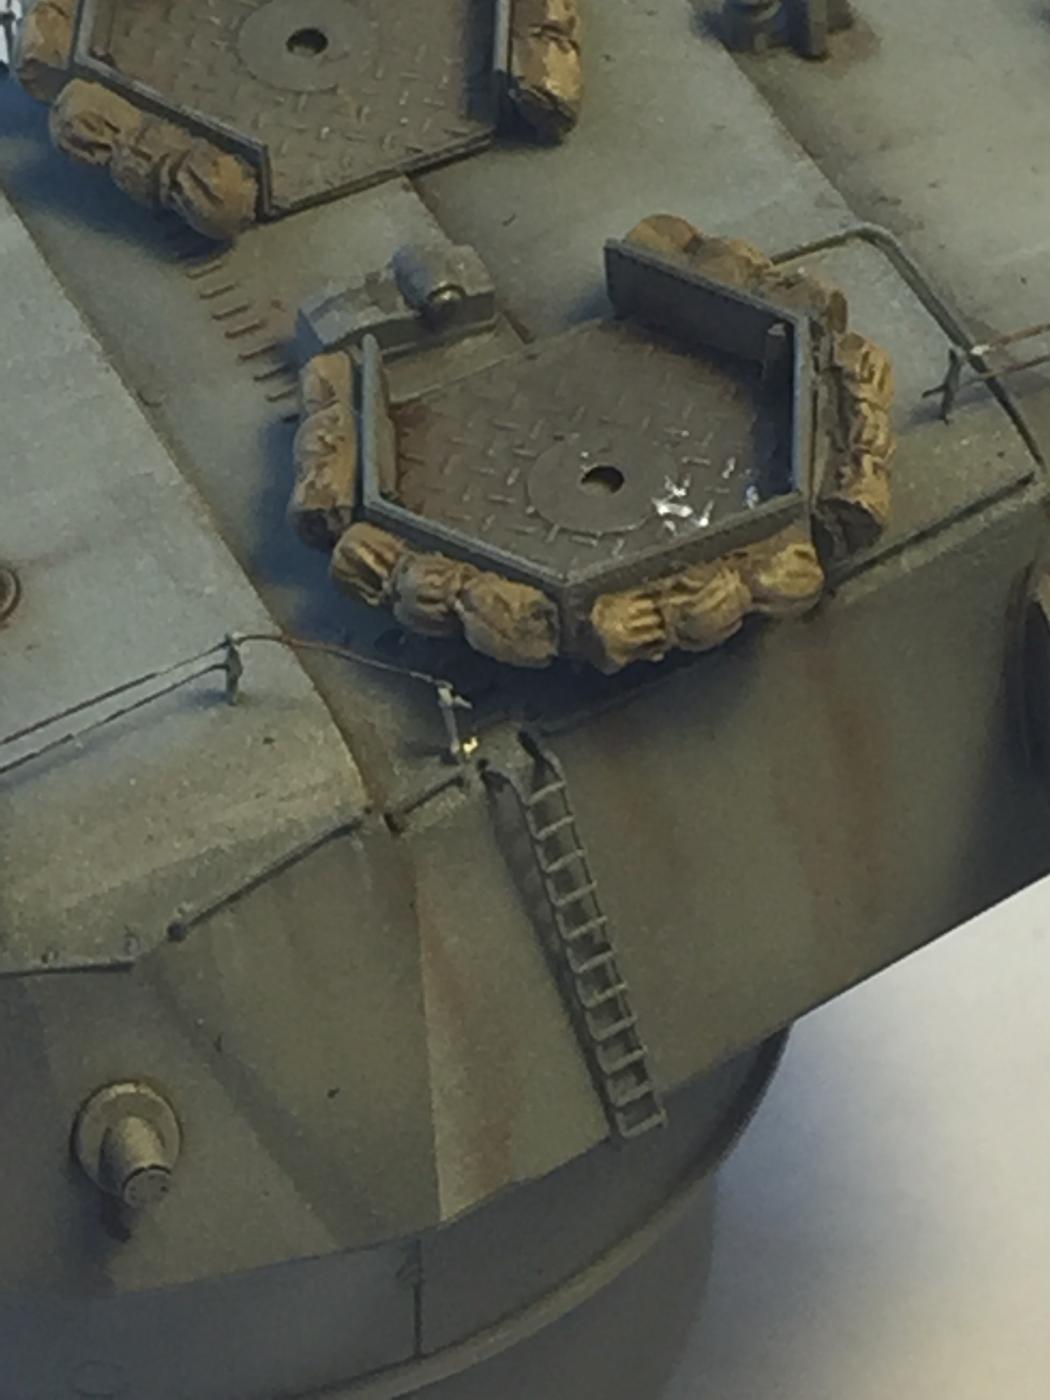
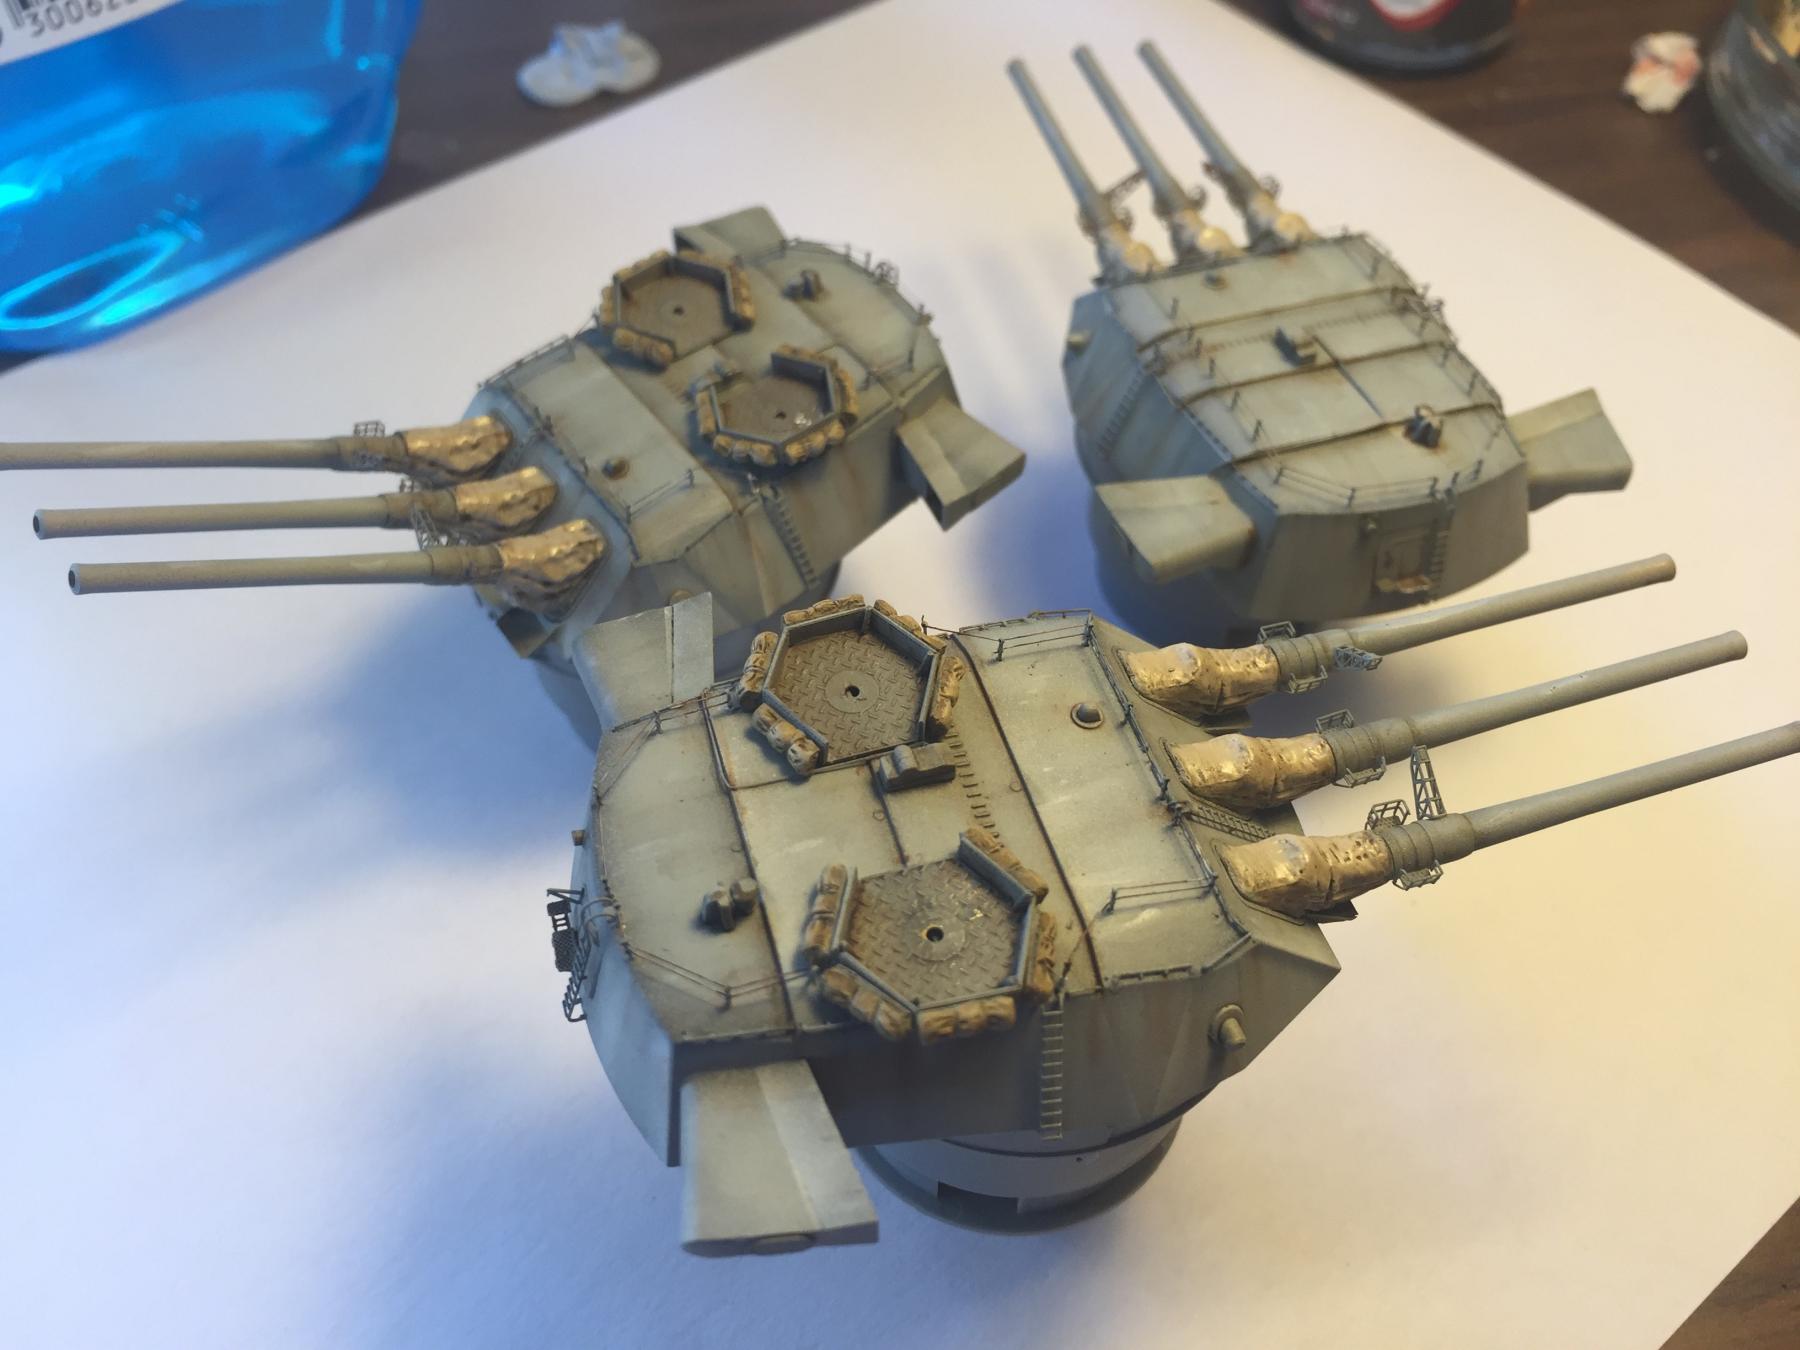
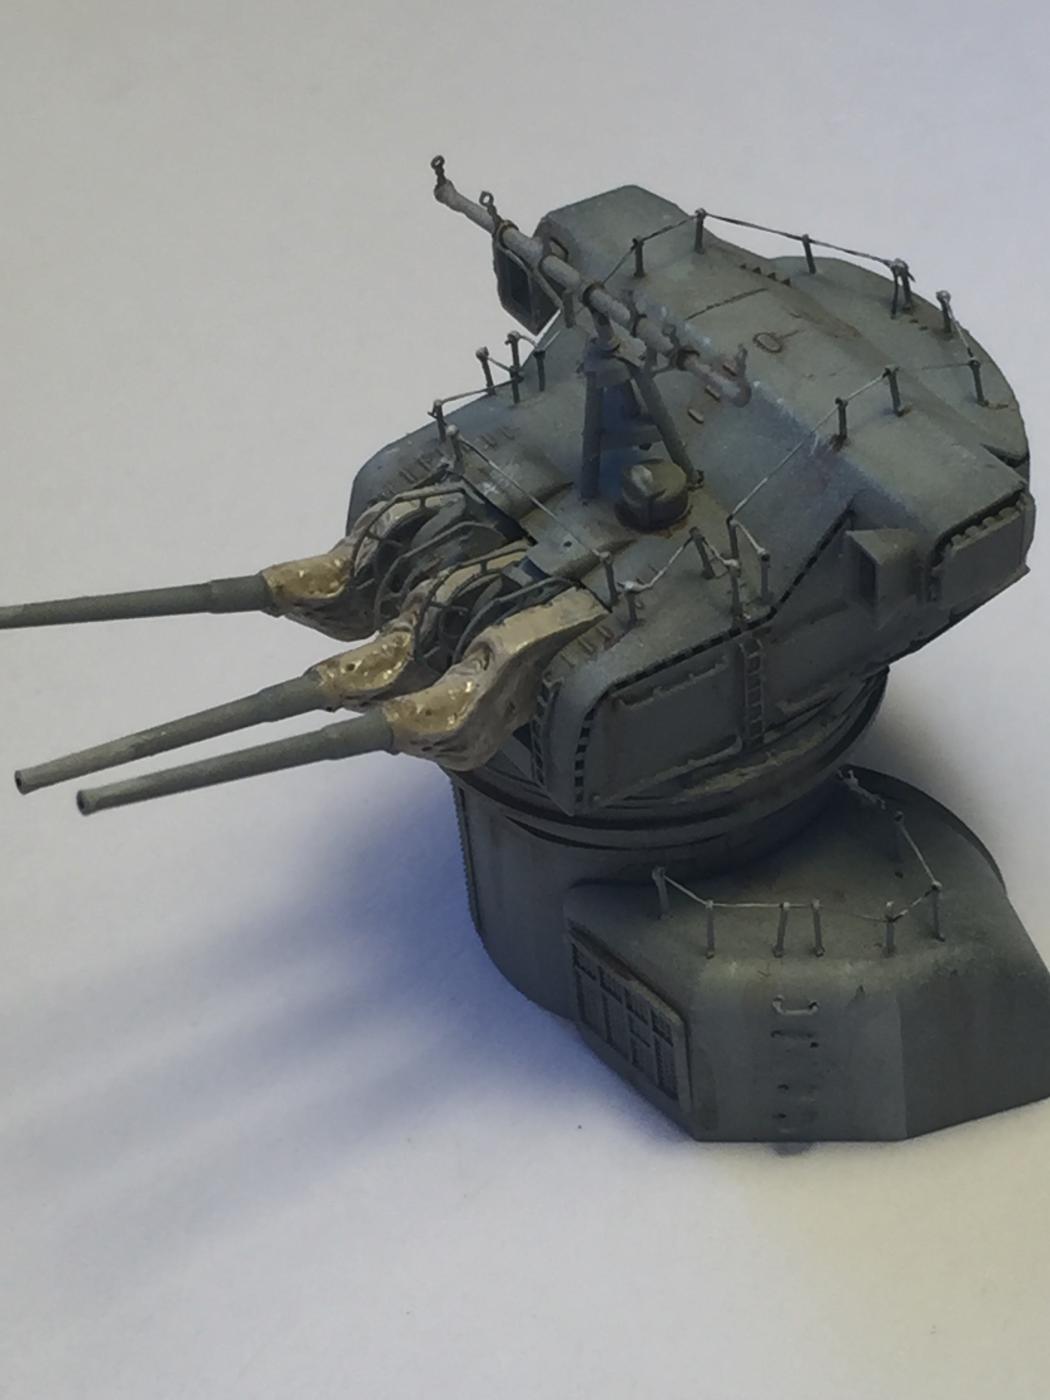
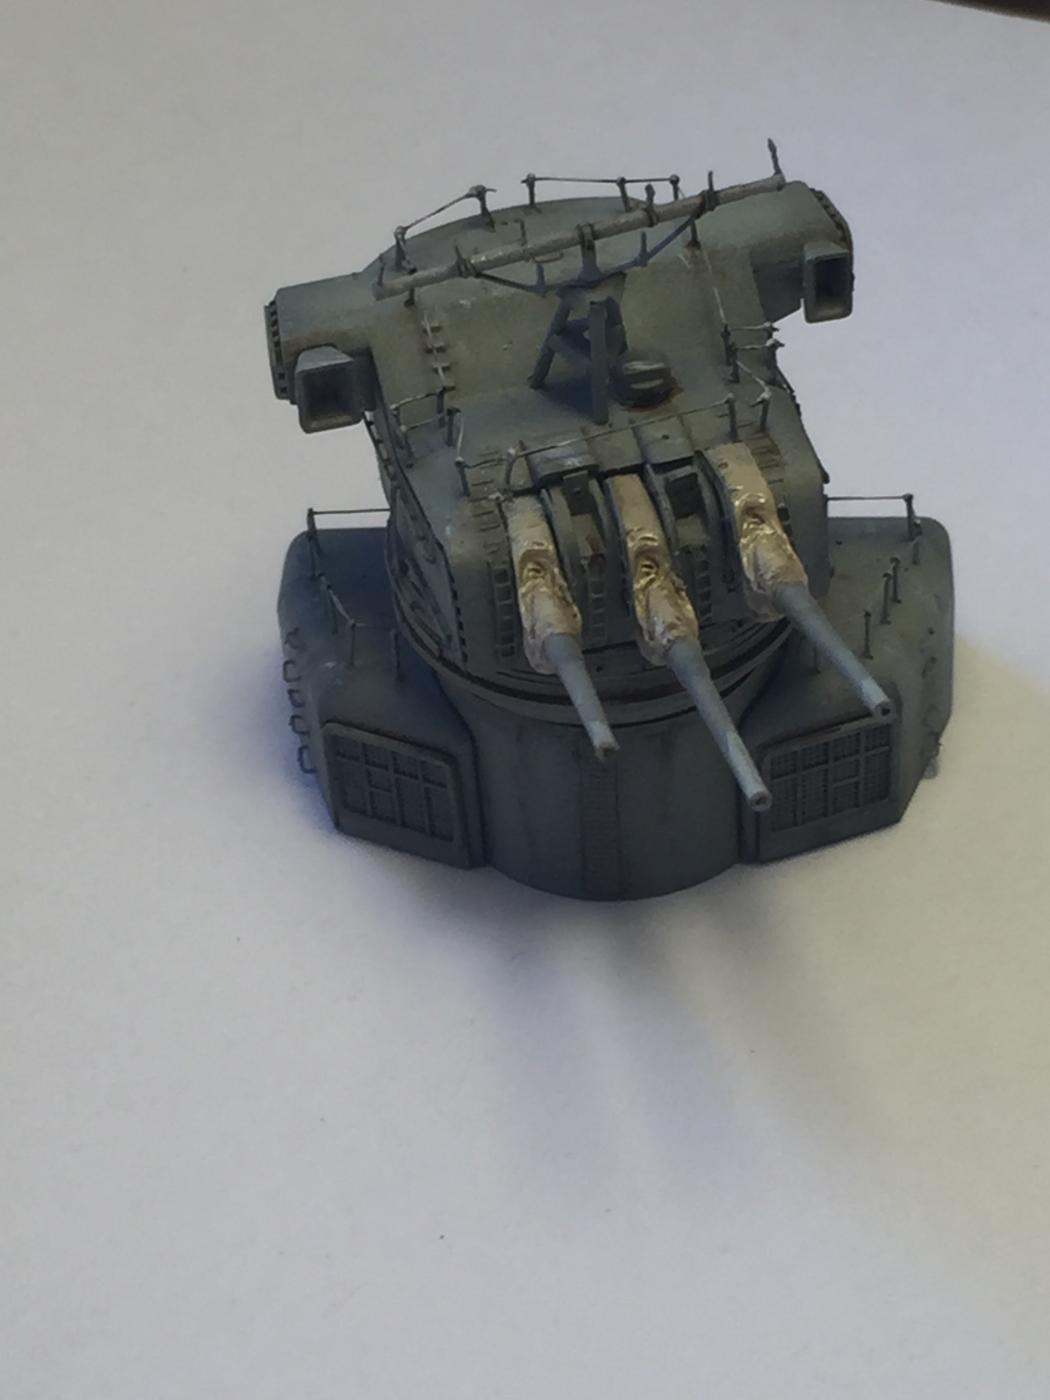
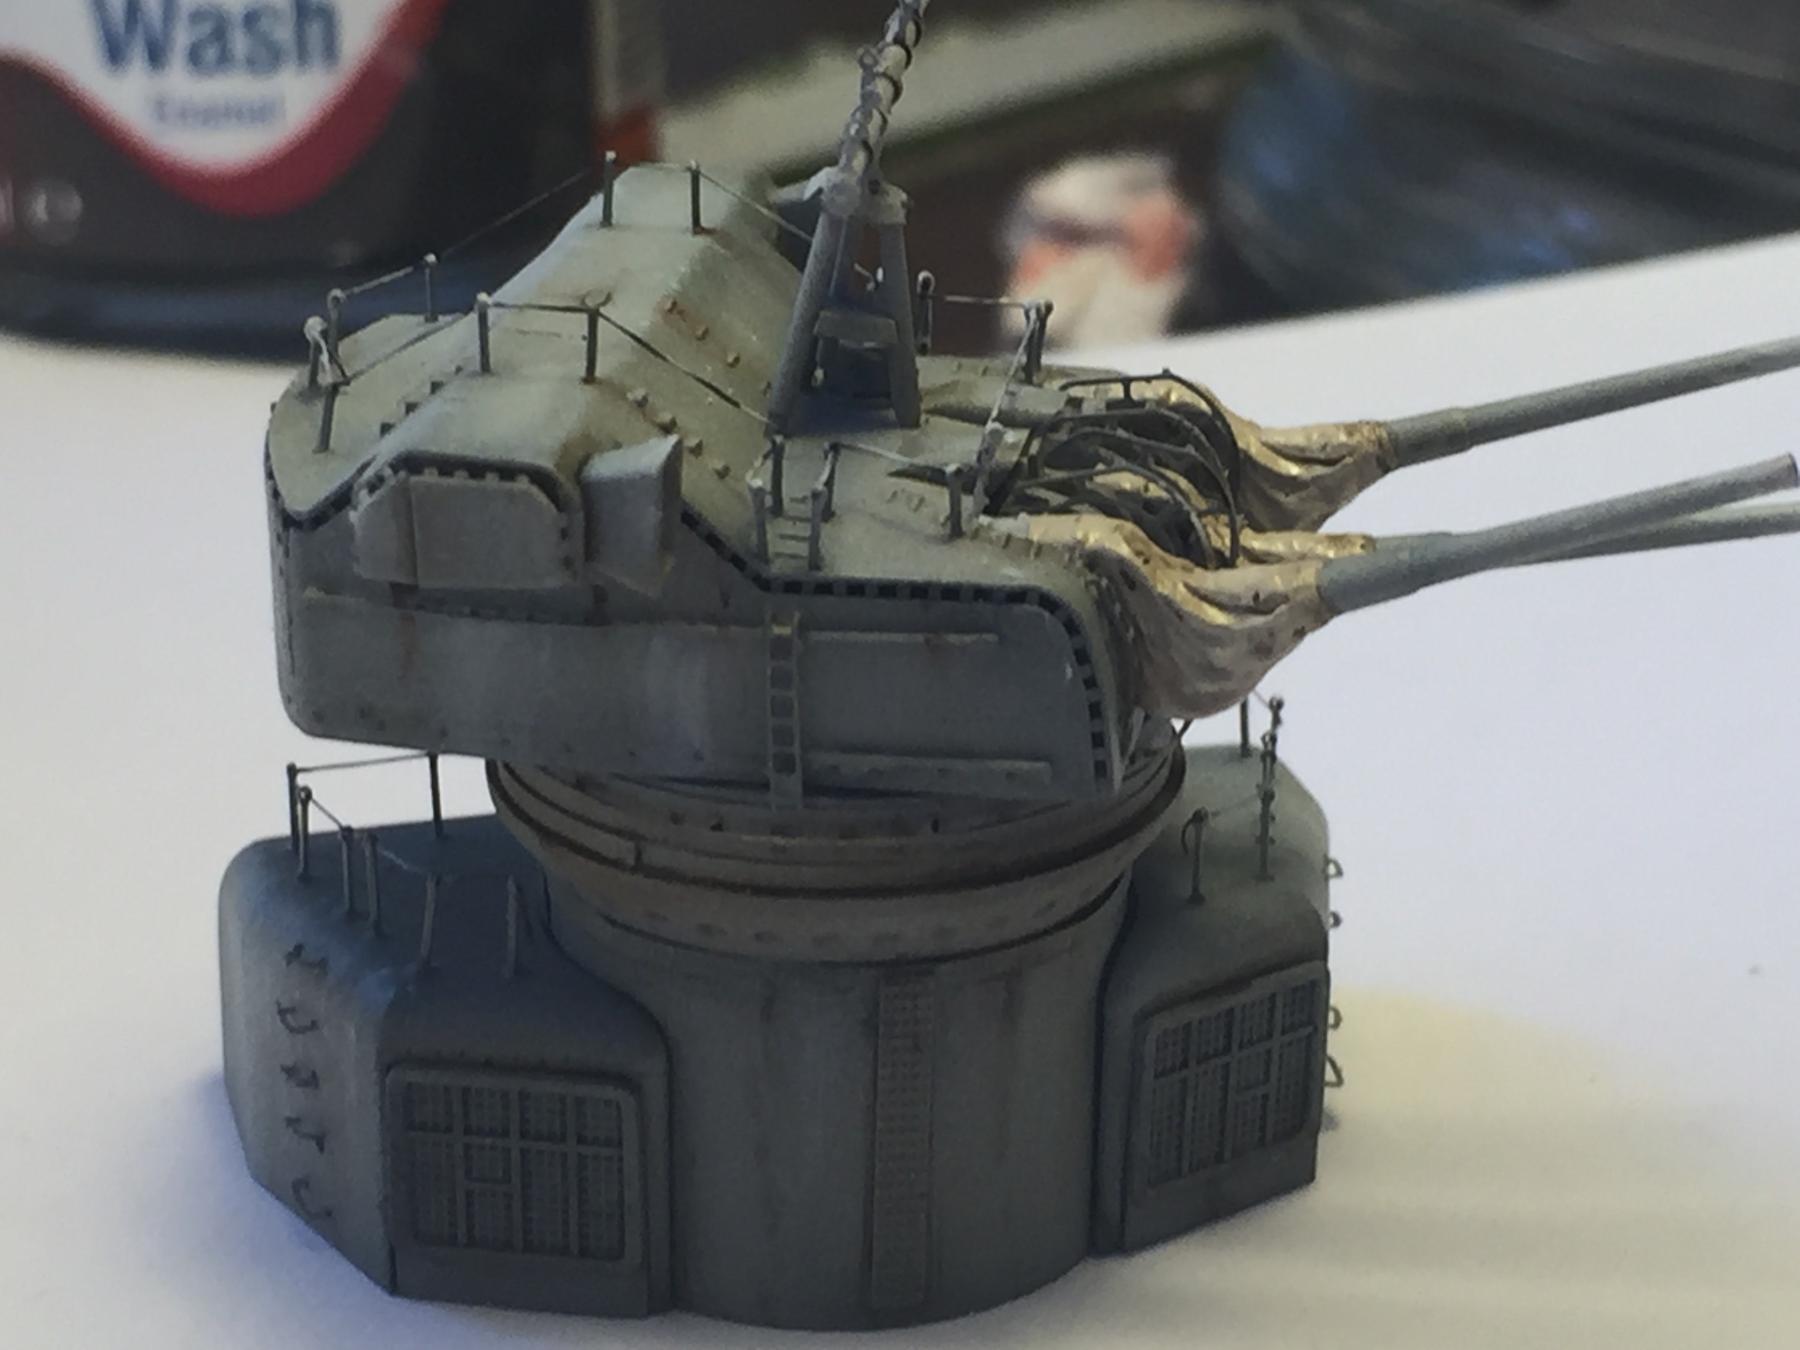
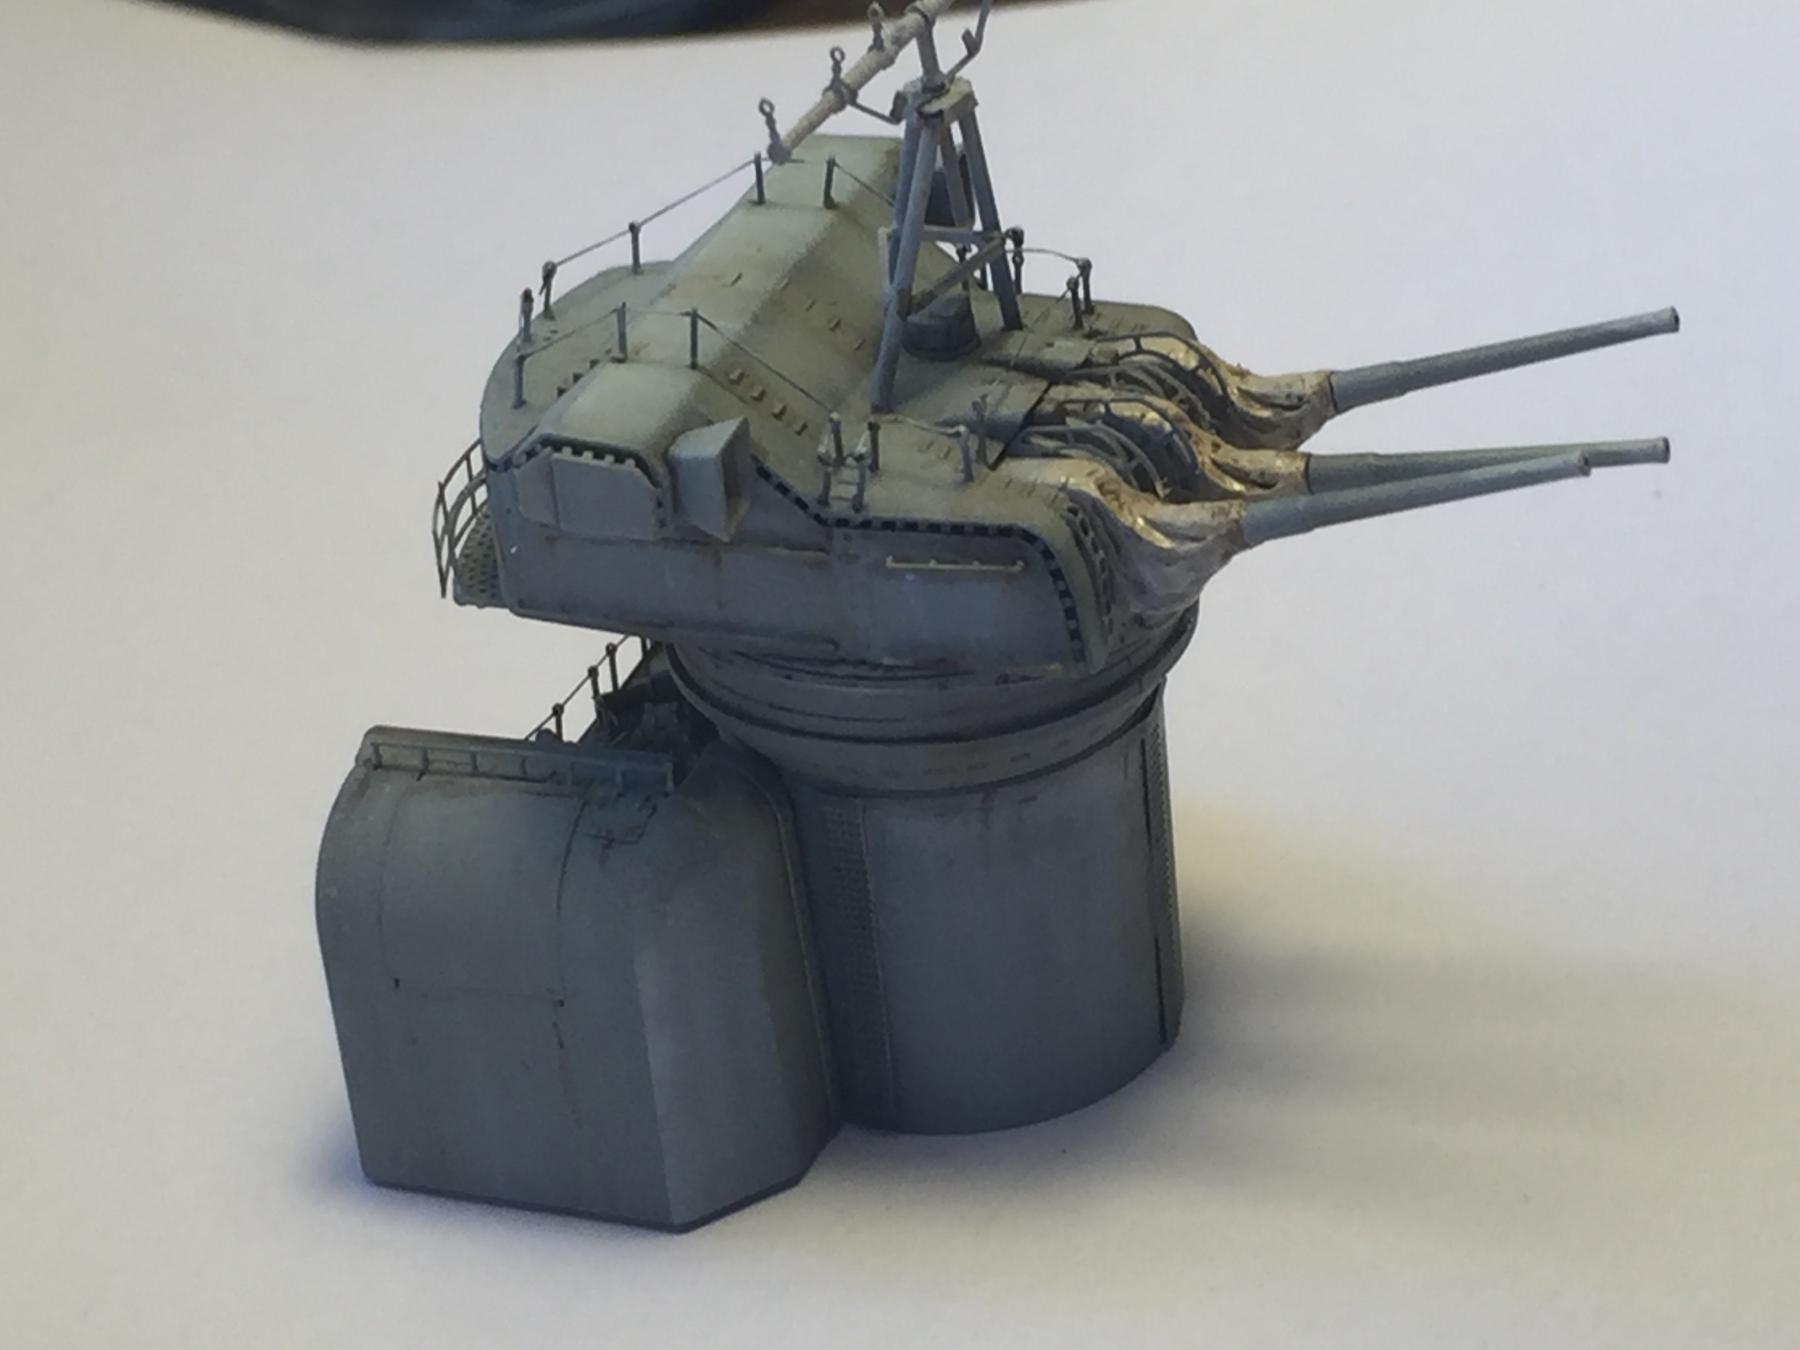
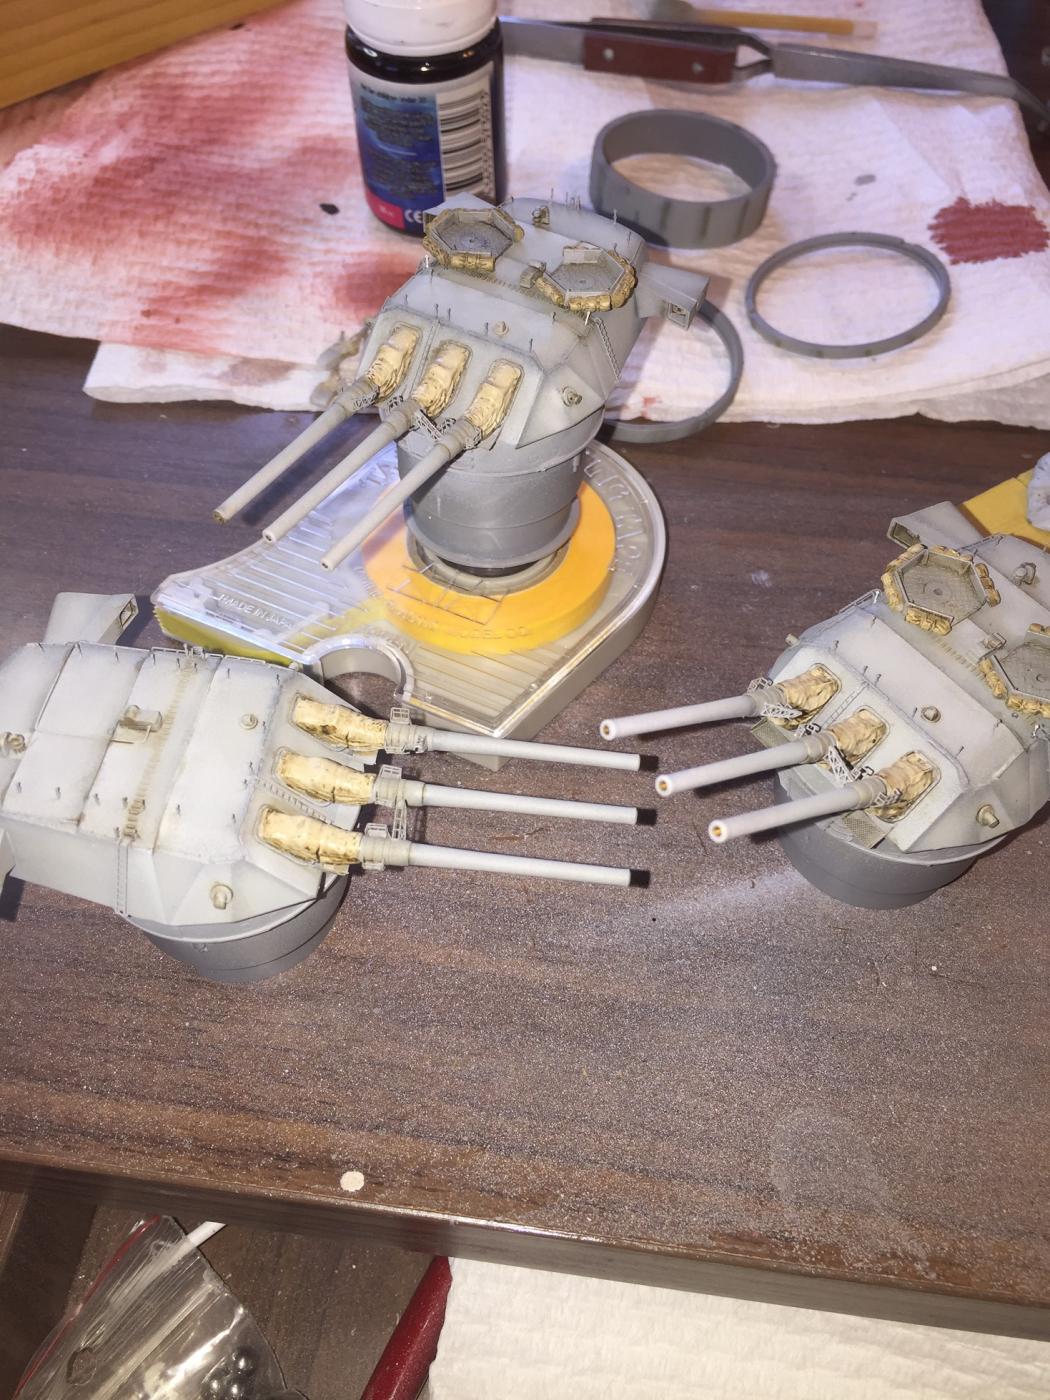
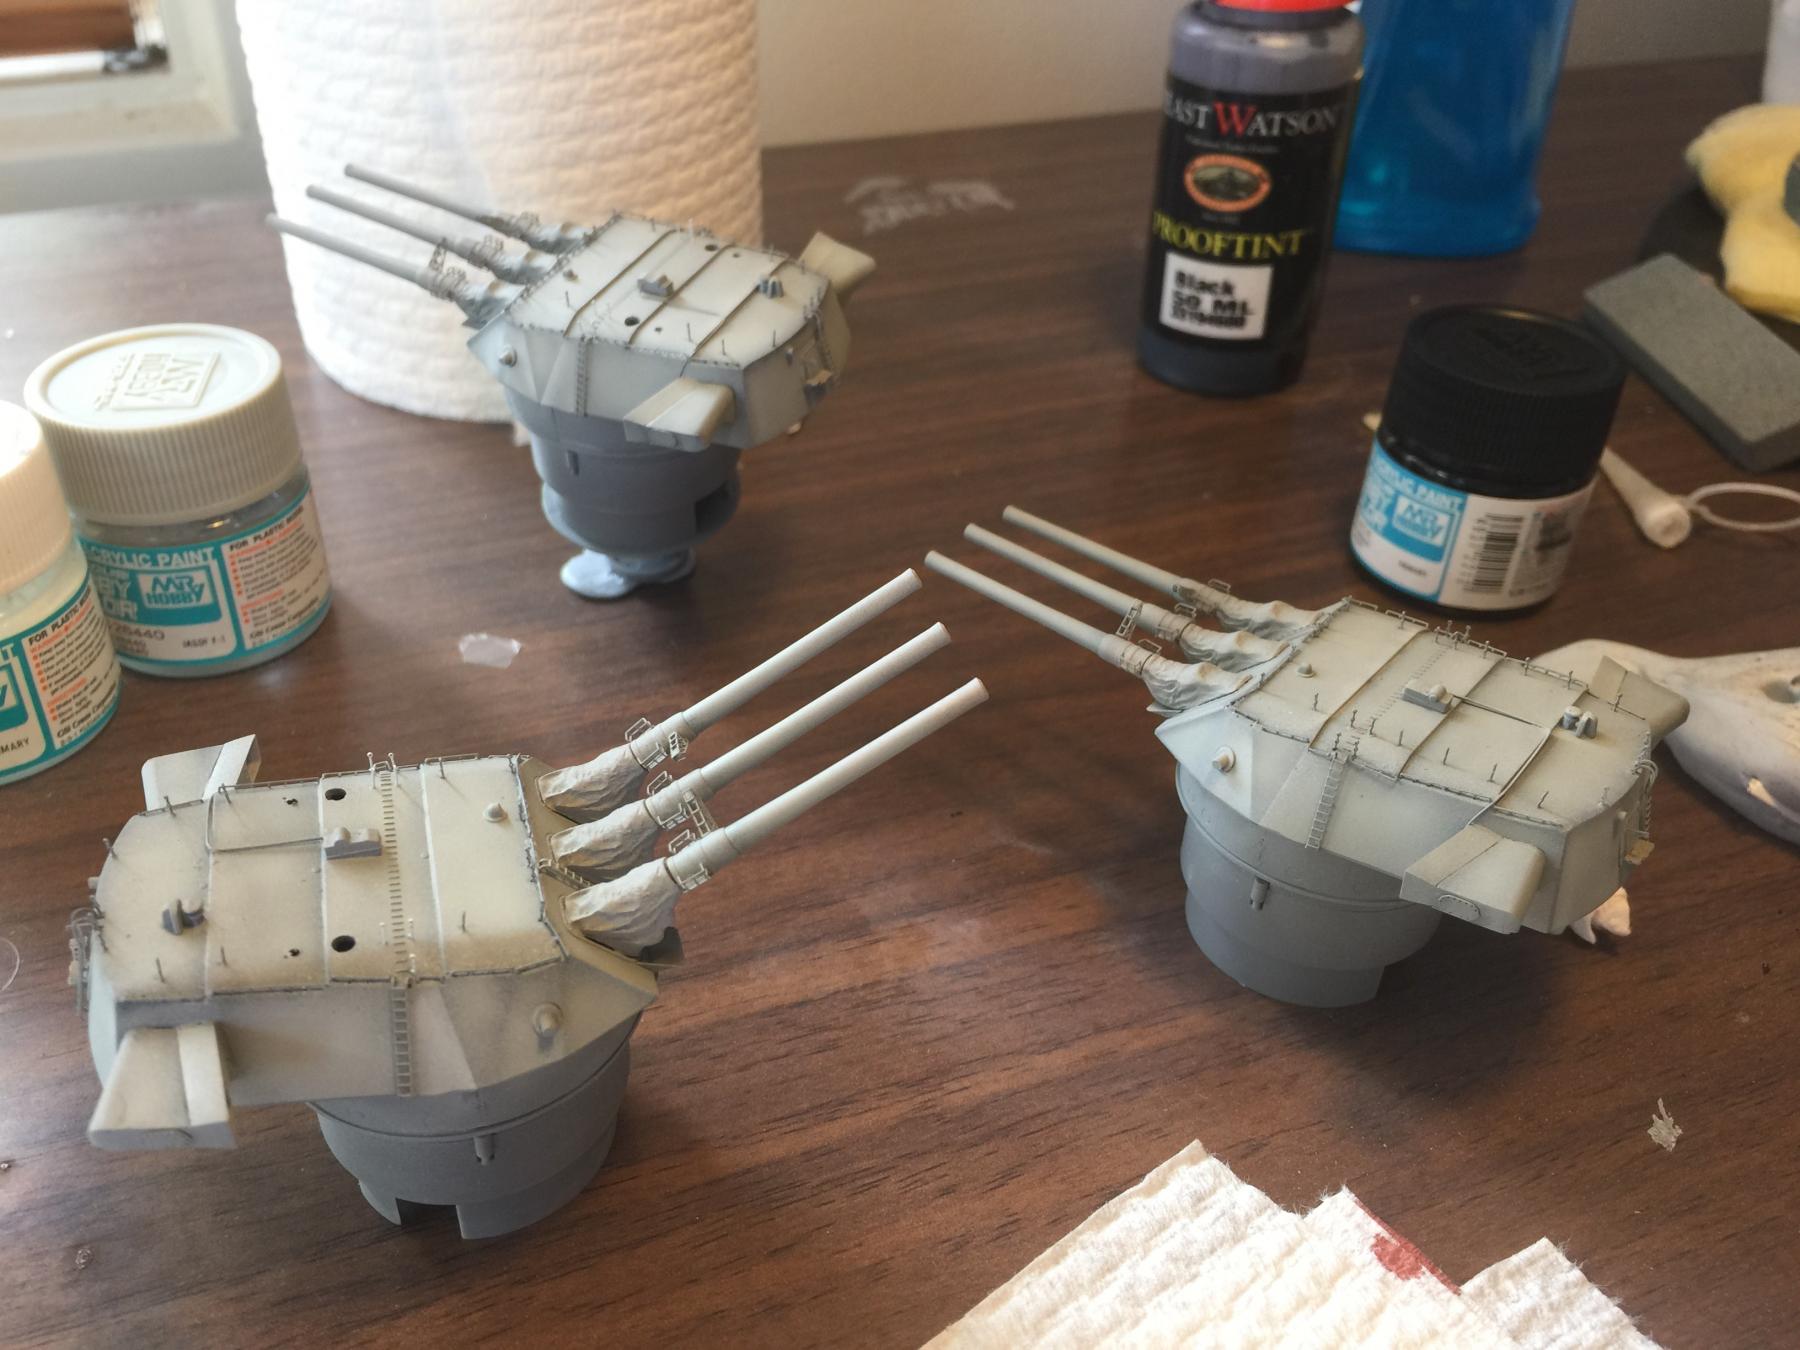
Next, completing the main guns. It took me 2 days to rig the railings which I lightly painted with grey and rust.

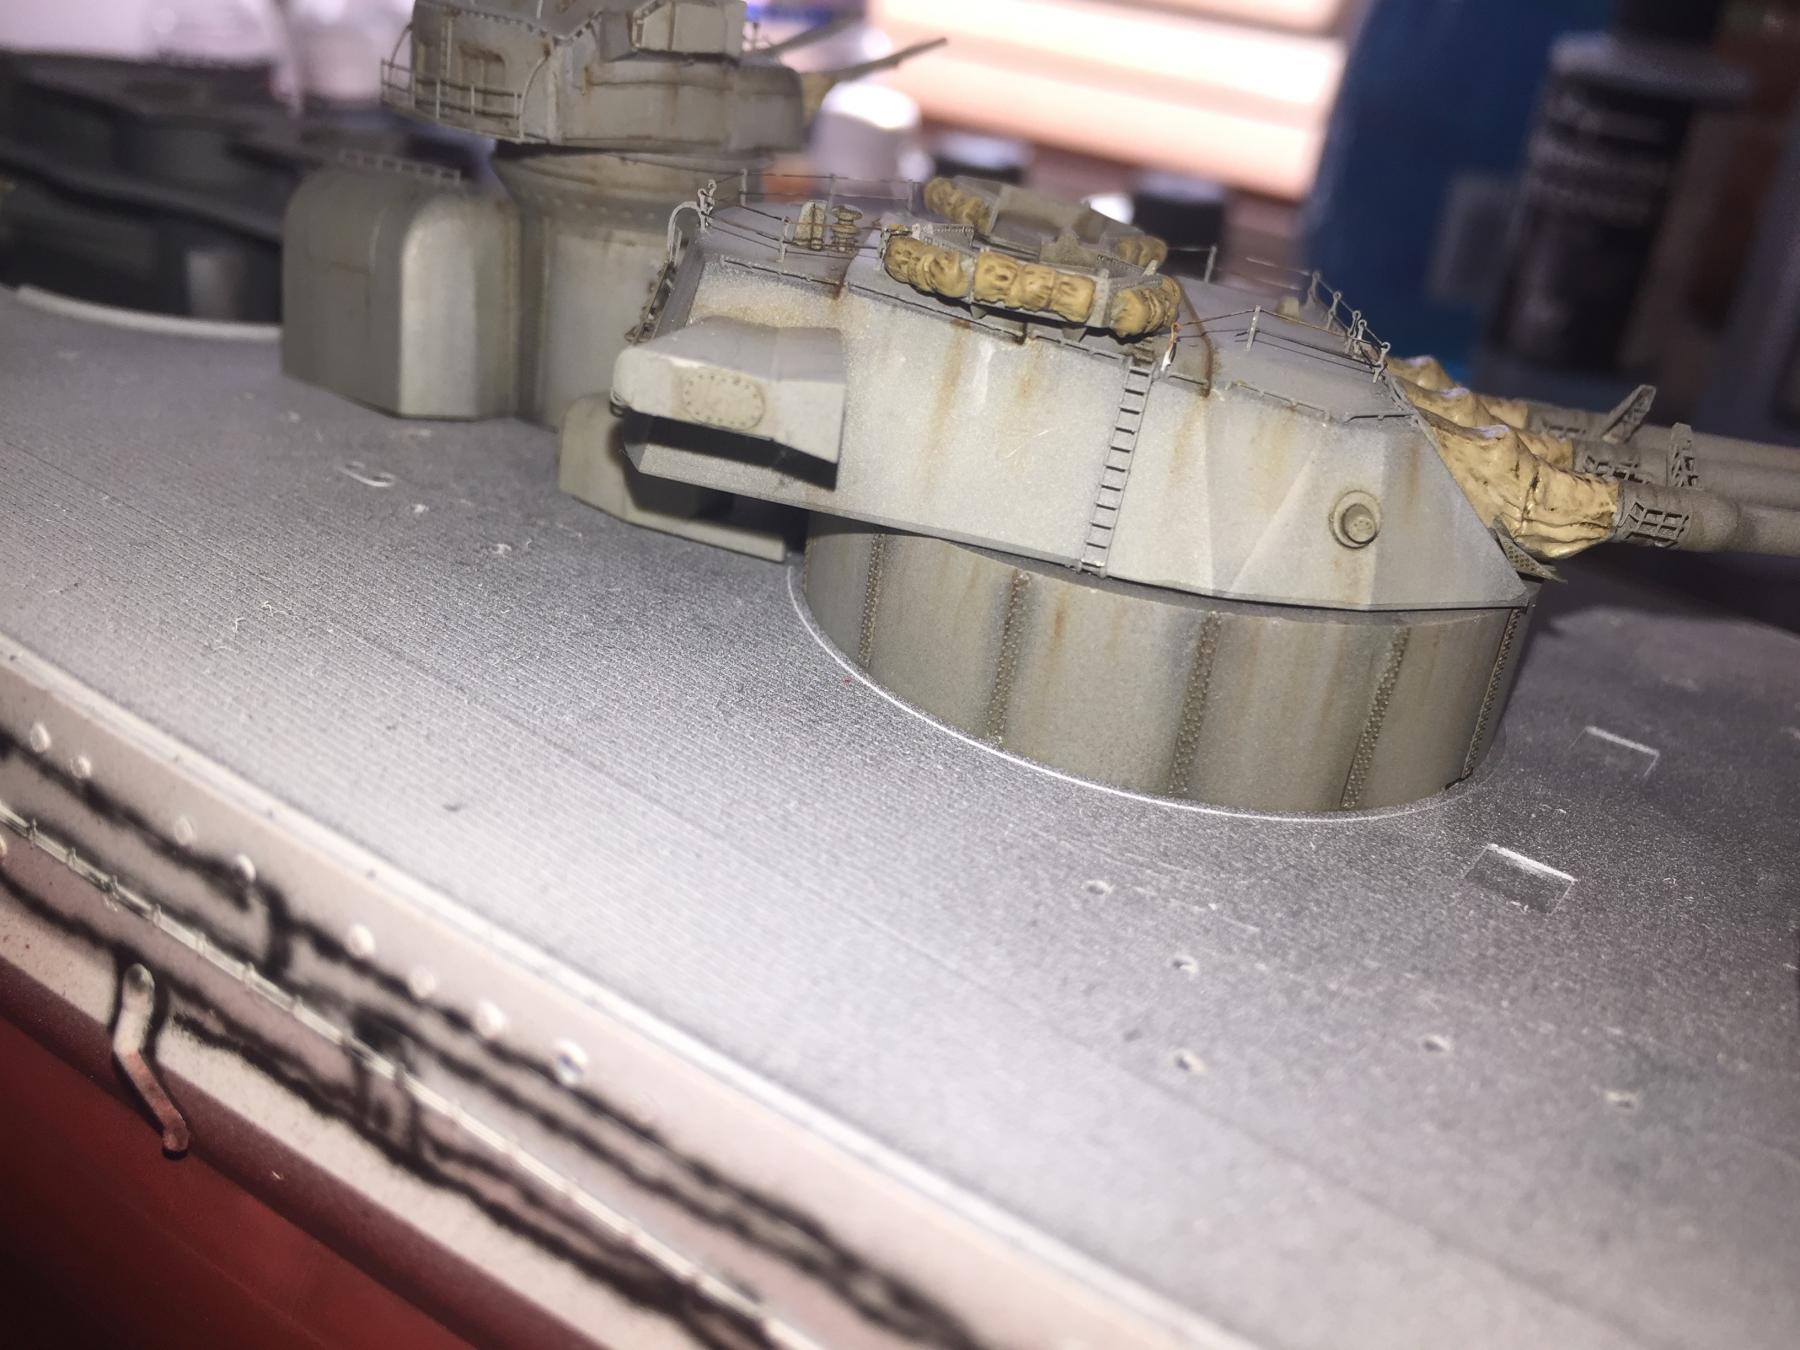
I have added rust, grime and salt streaks to each gun.

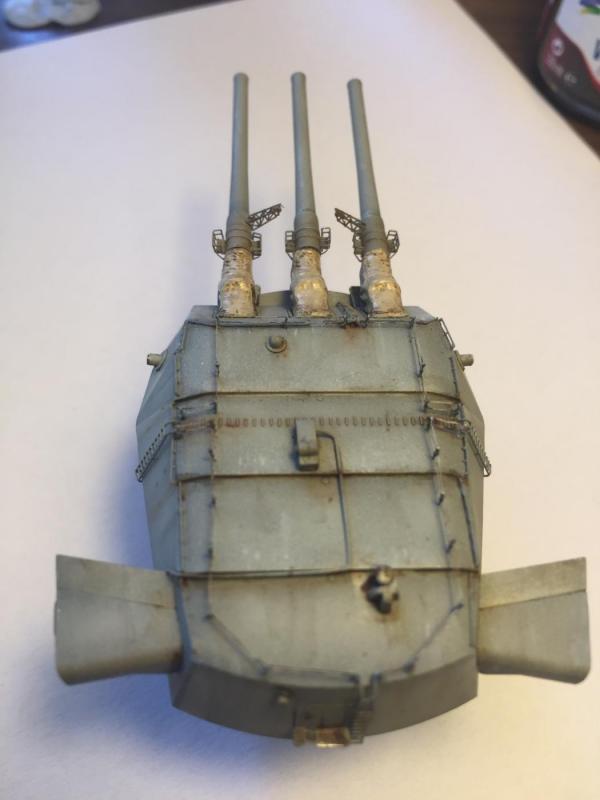

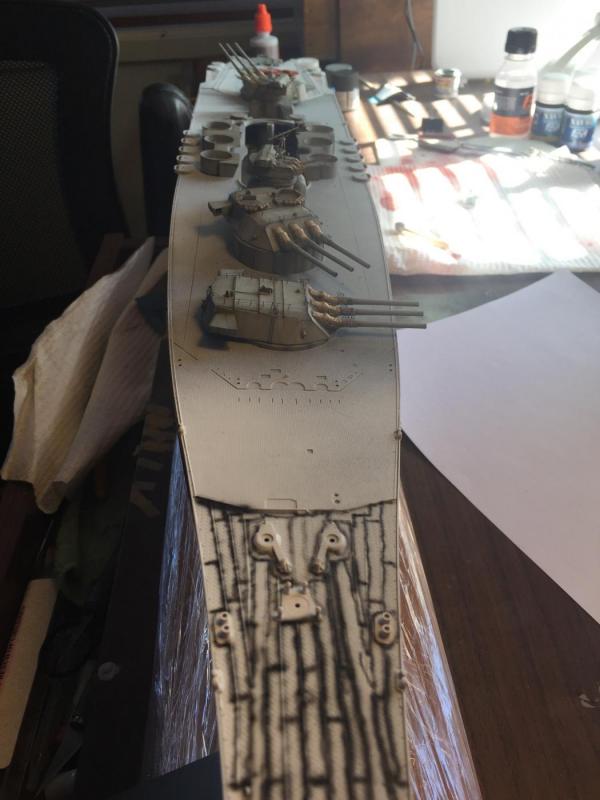
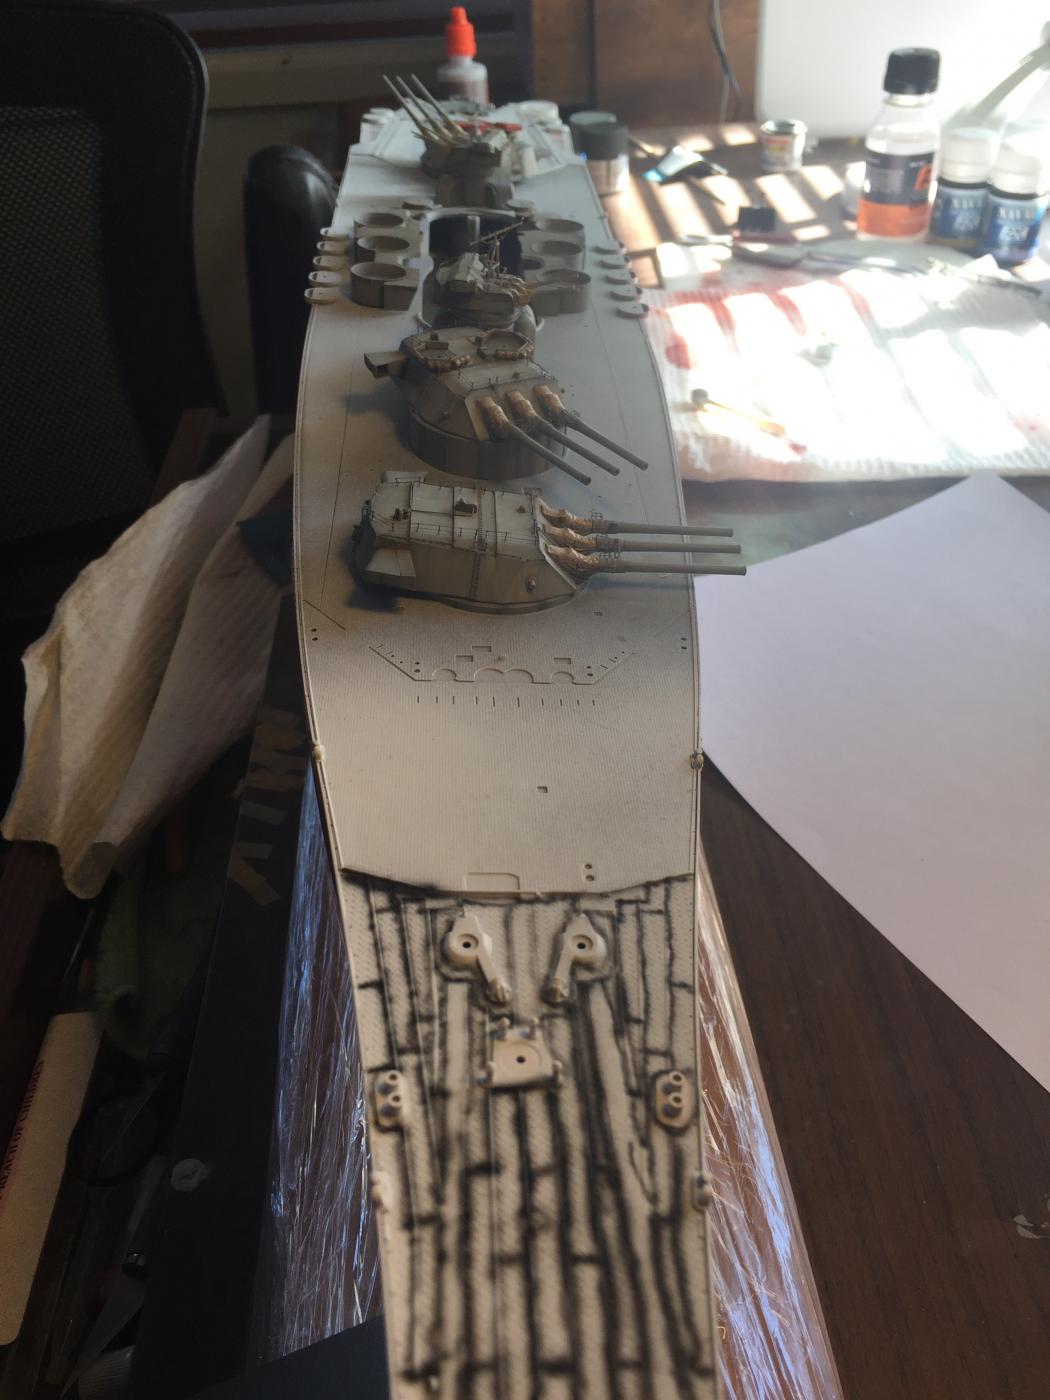
Then a dry fit to the hull, looks a bit stark but I'm happy.
- Dubz, Old Collingwood, hof00 and 12 others
-
15
-
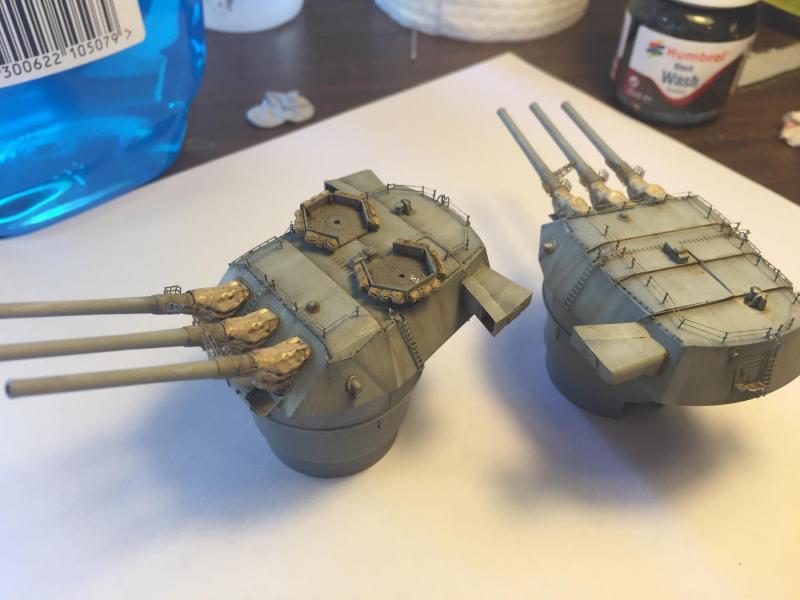
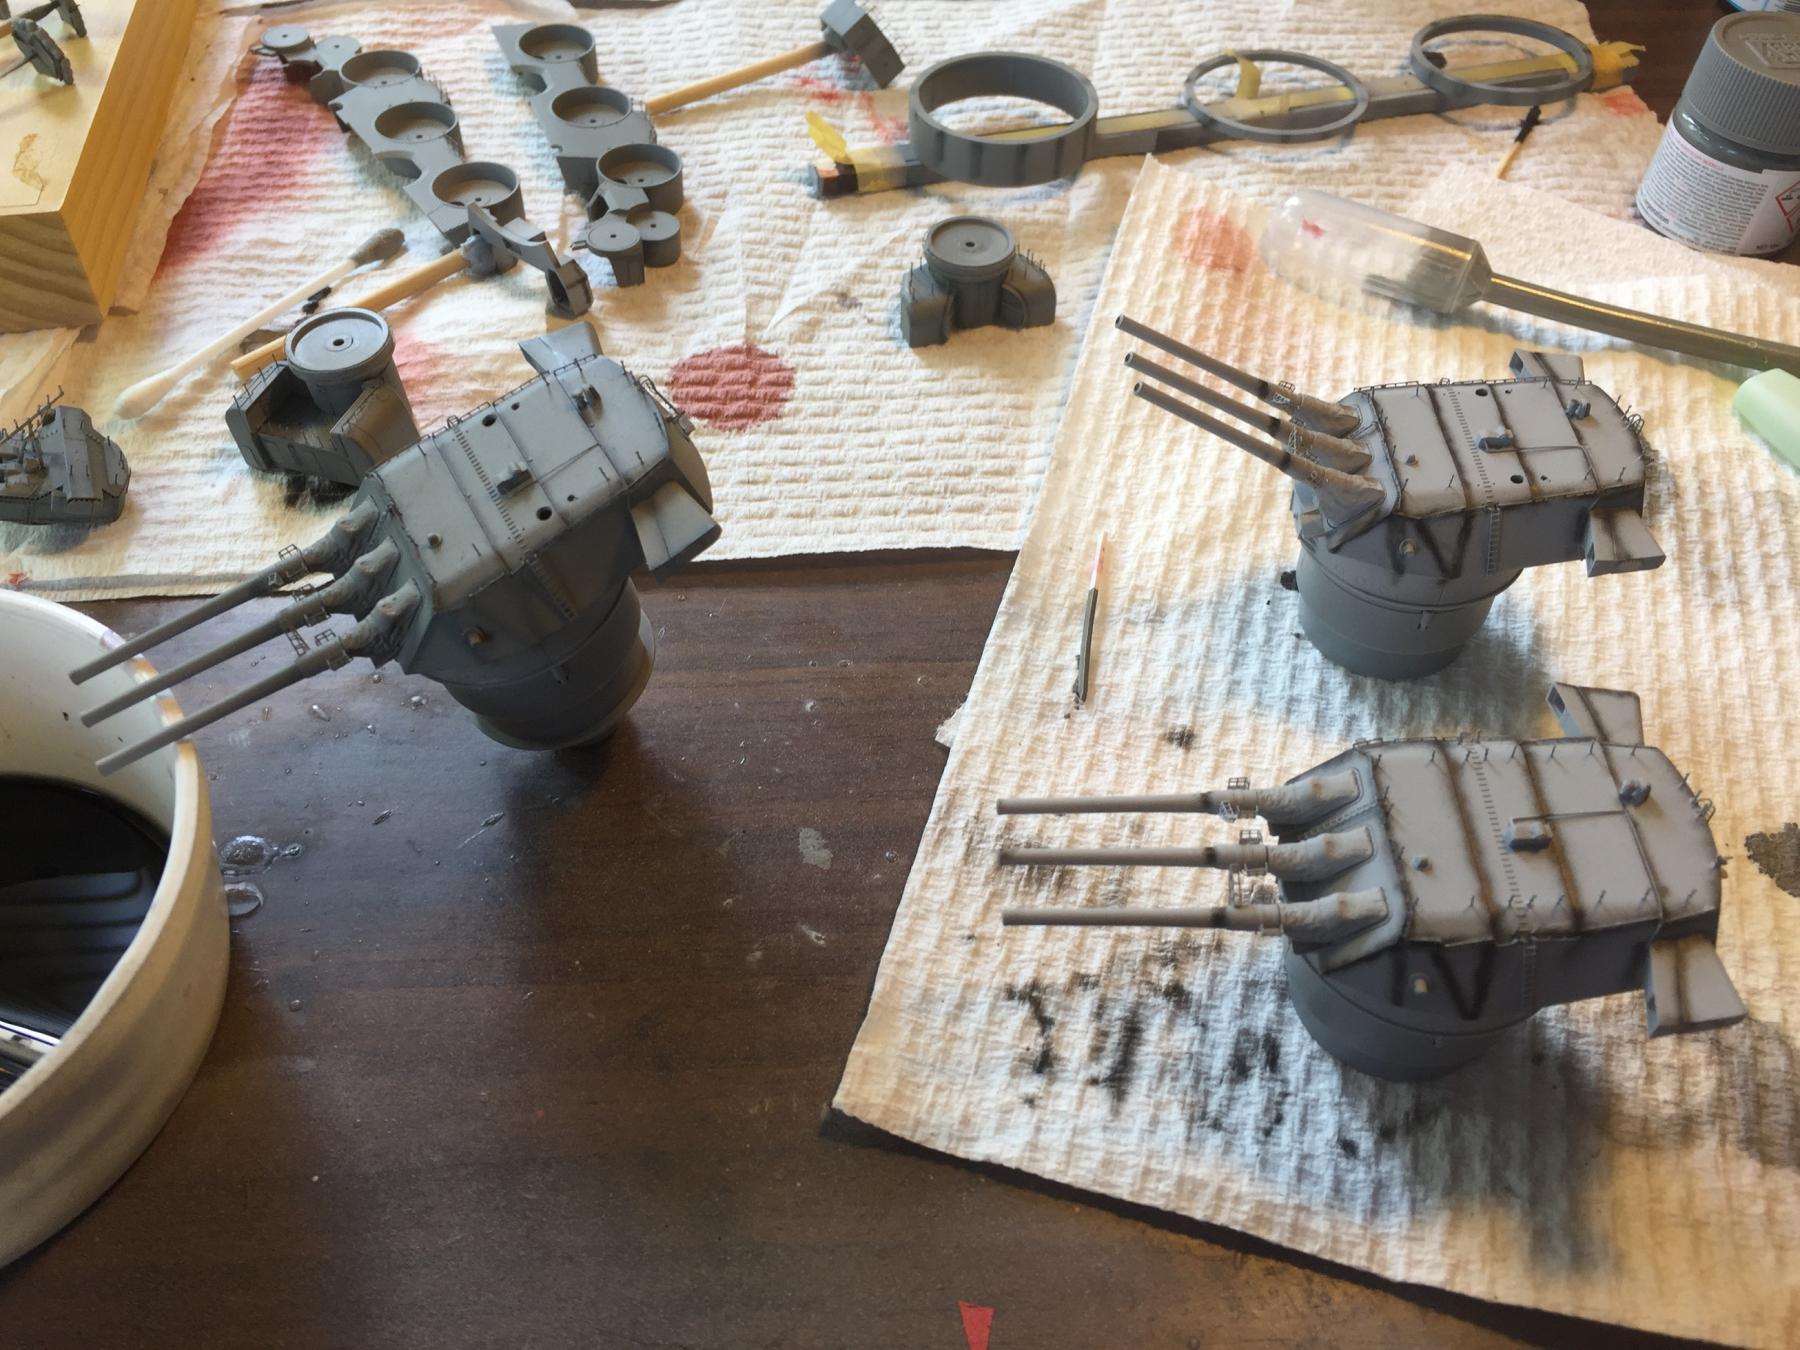
As previously stated, whilst waiting on the lower hull to set, I've done up the secondary and main guns. This mean doing up the railings using ezline and adding rust, grime and salt streaks.


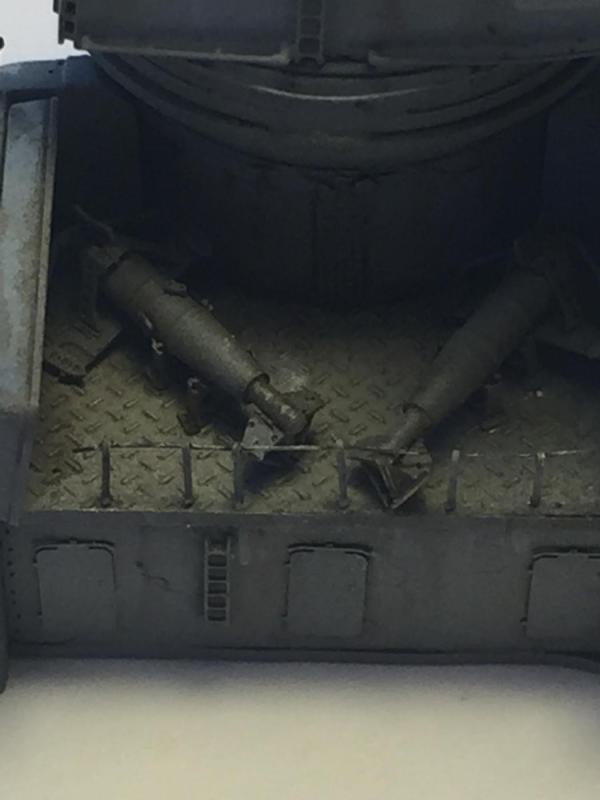
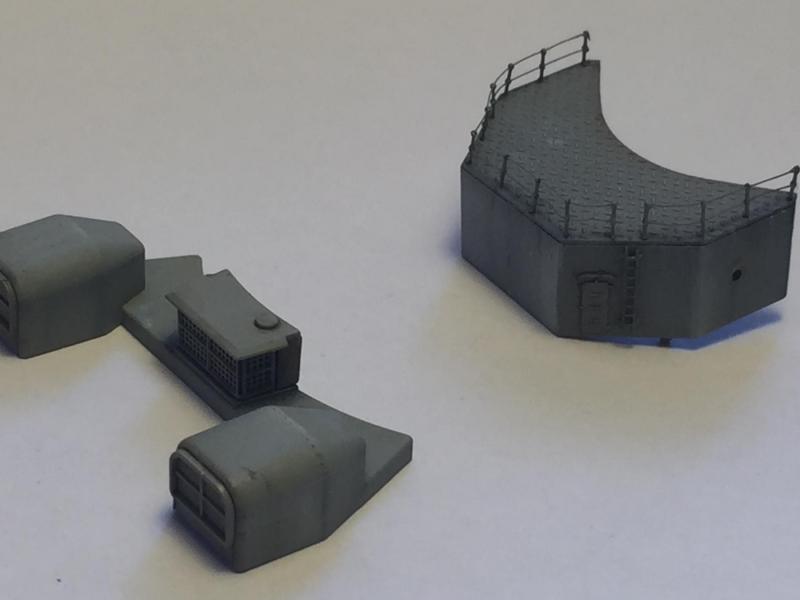
Behind the forward turret are two paravanes, and the reference material is a bit vague here as some say there are paravanes n the aft secondary turret as well, but they don't fit so I have omitted them and may place them on the deck later.

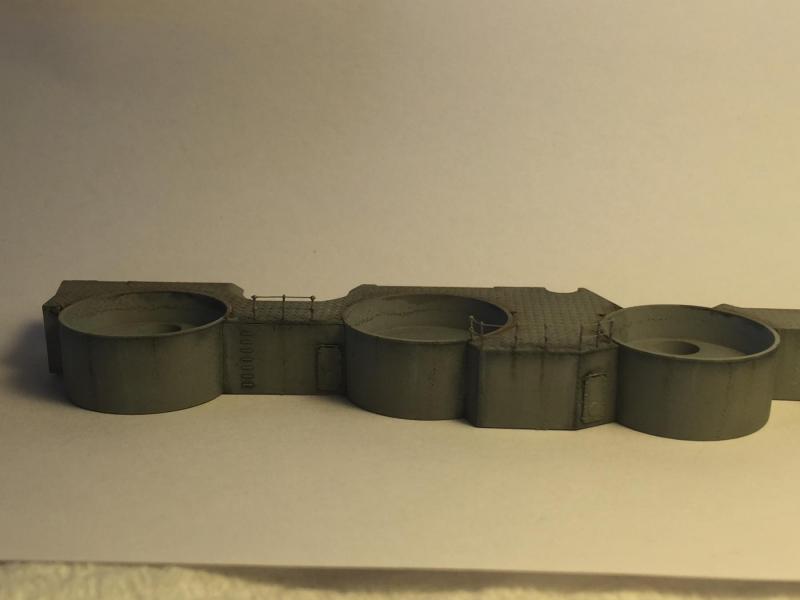
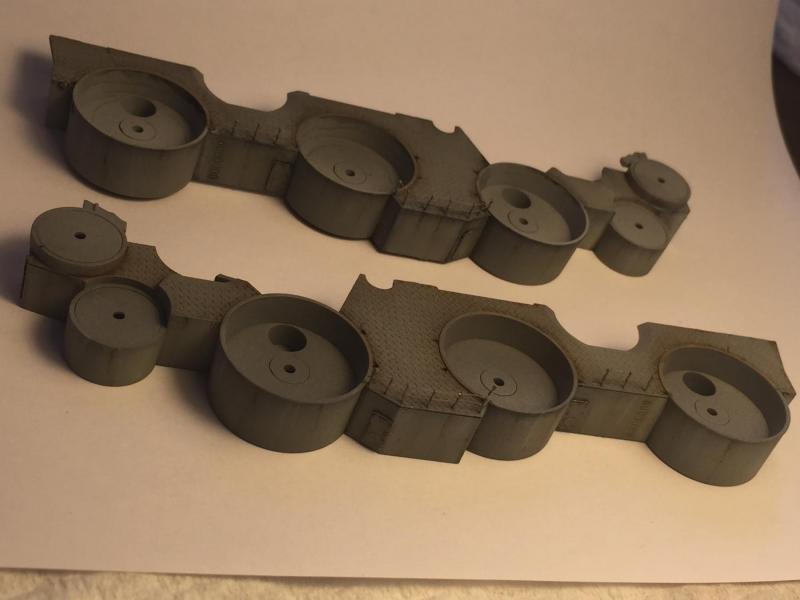
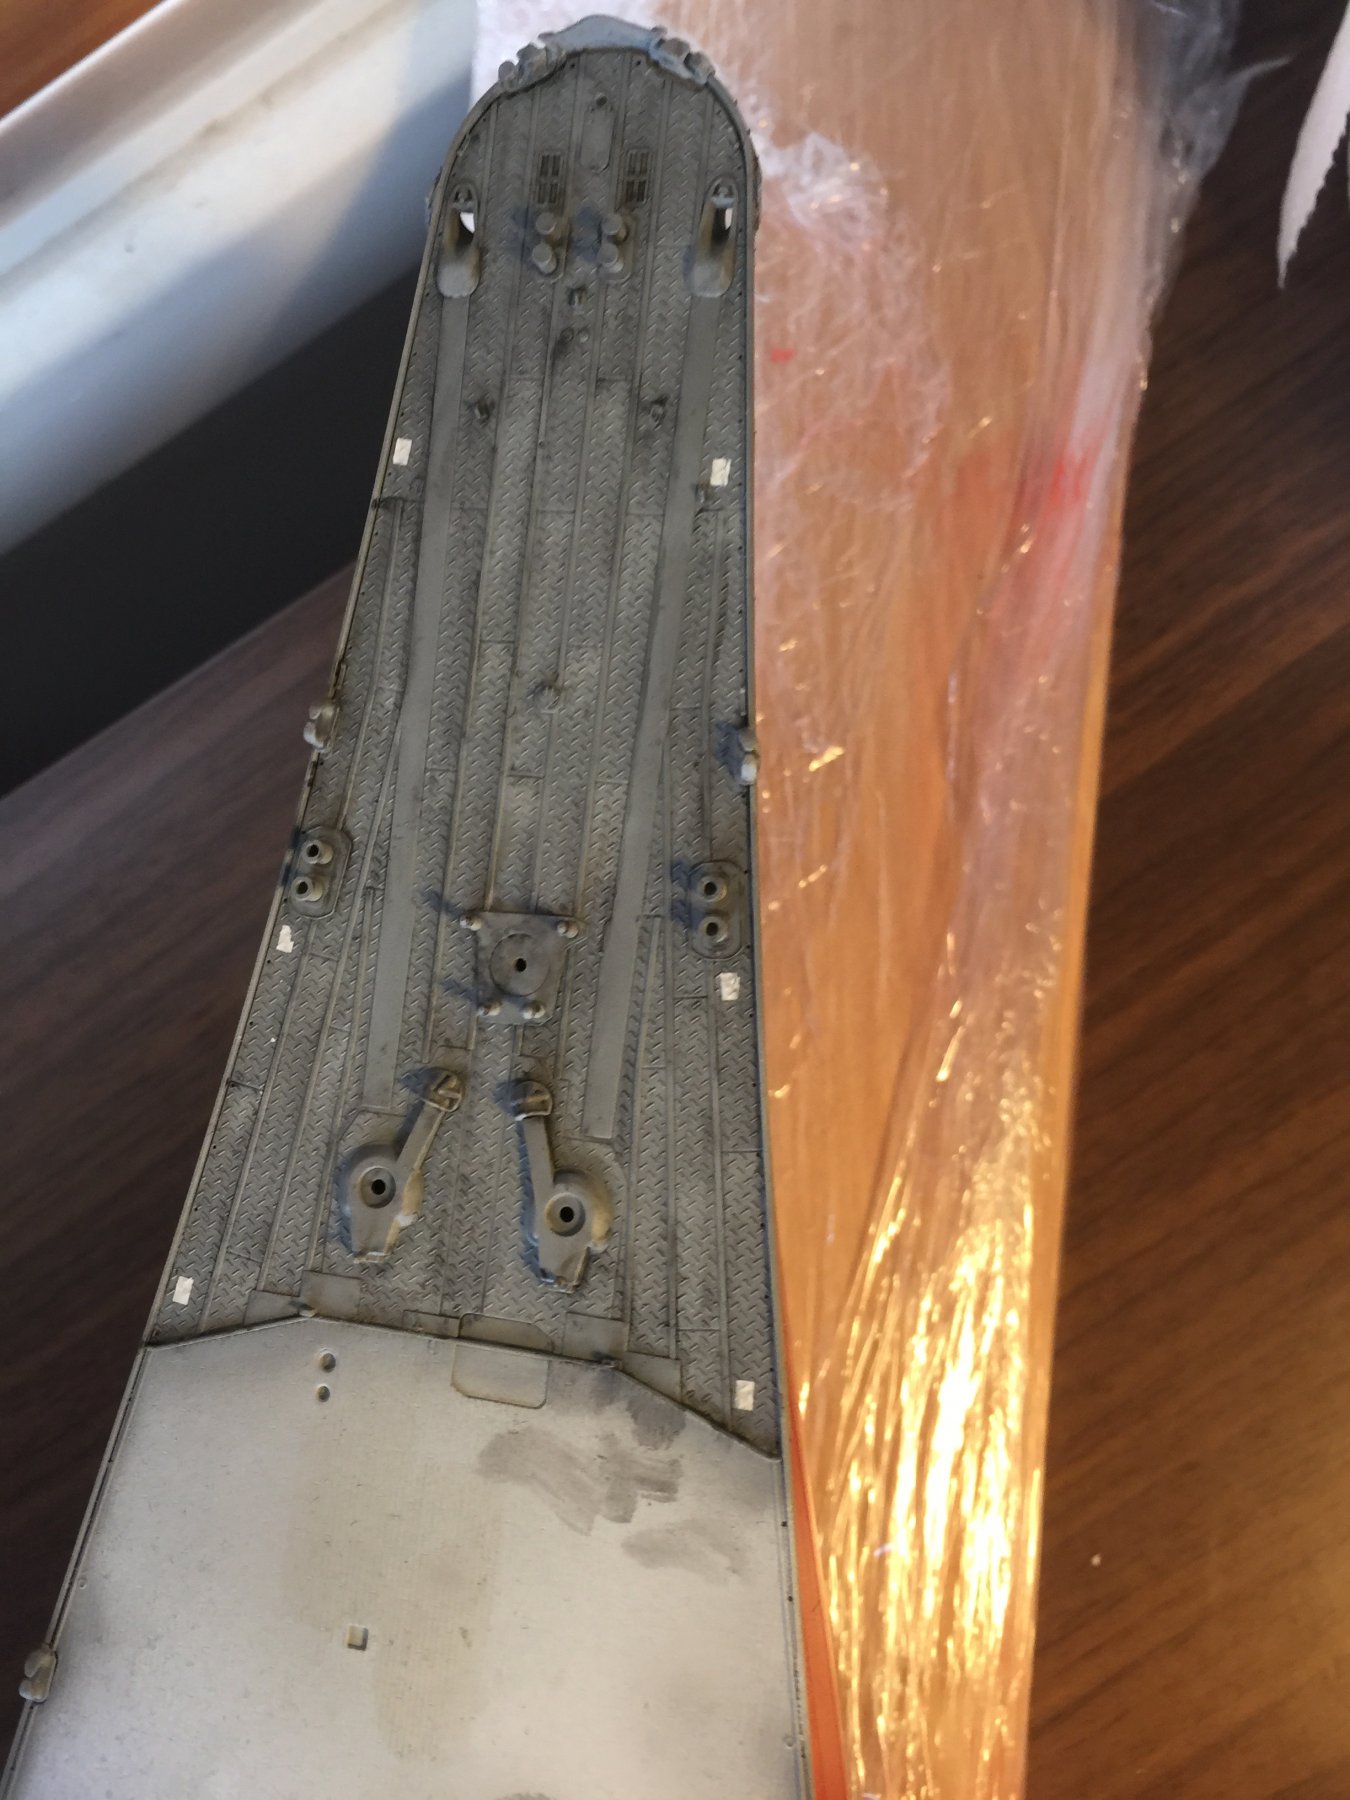
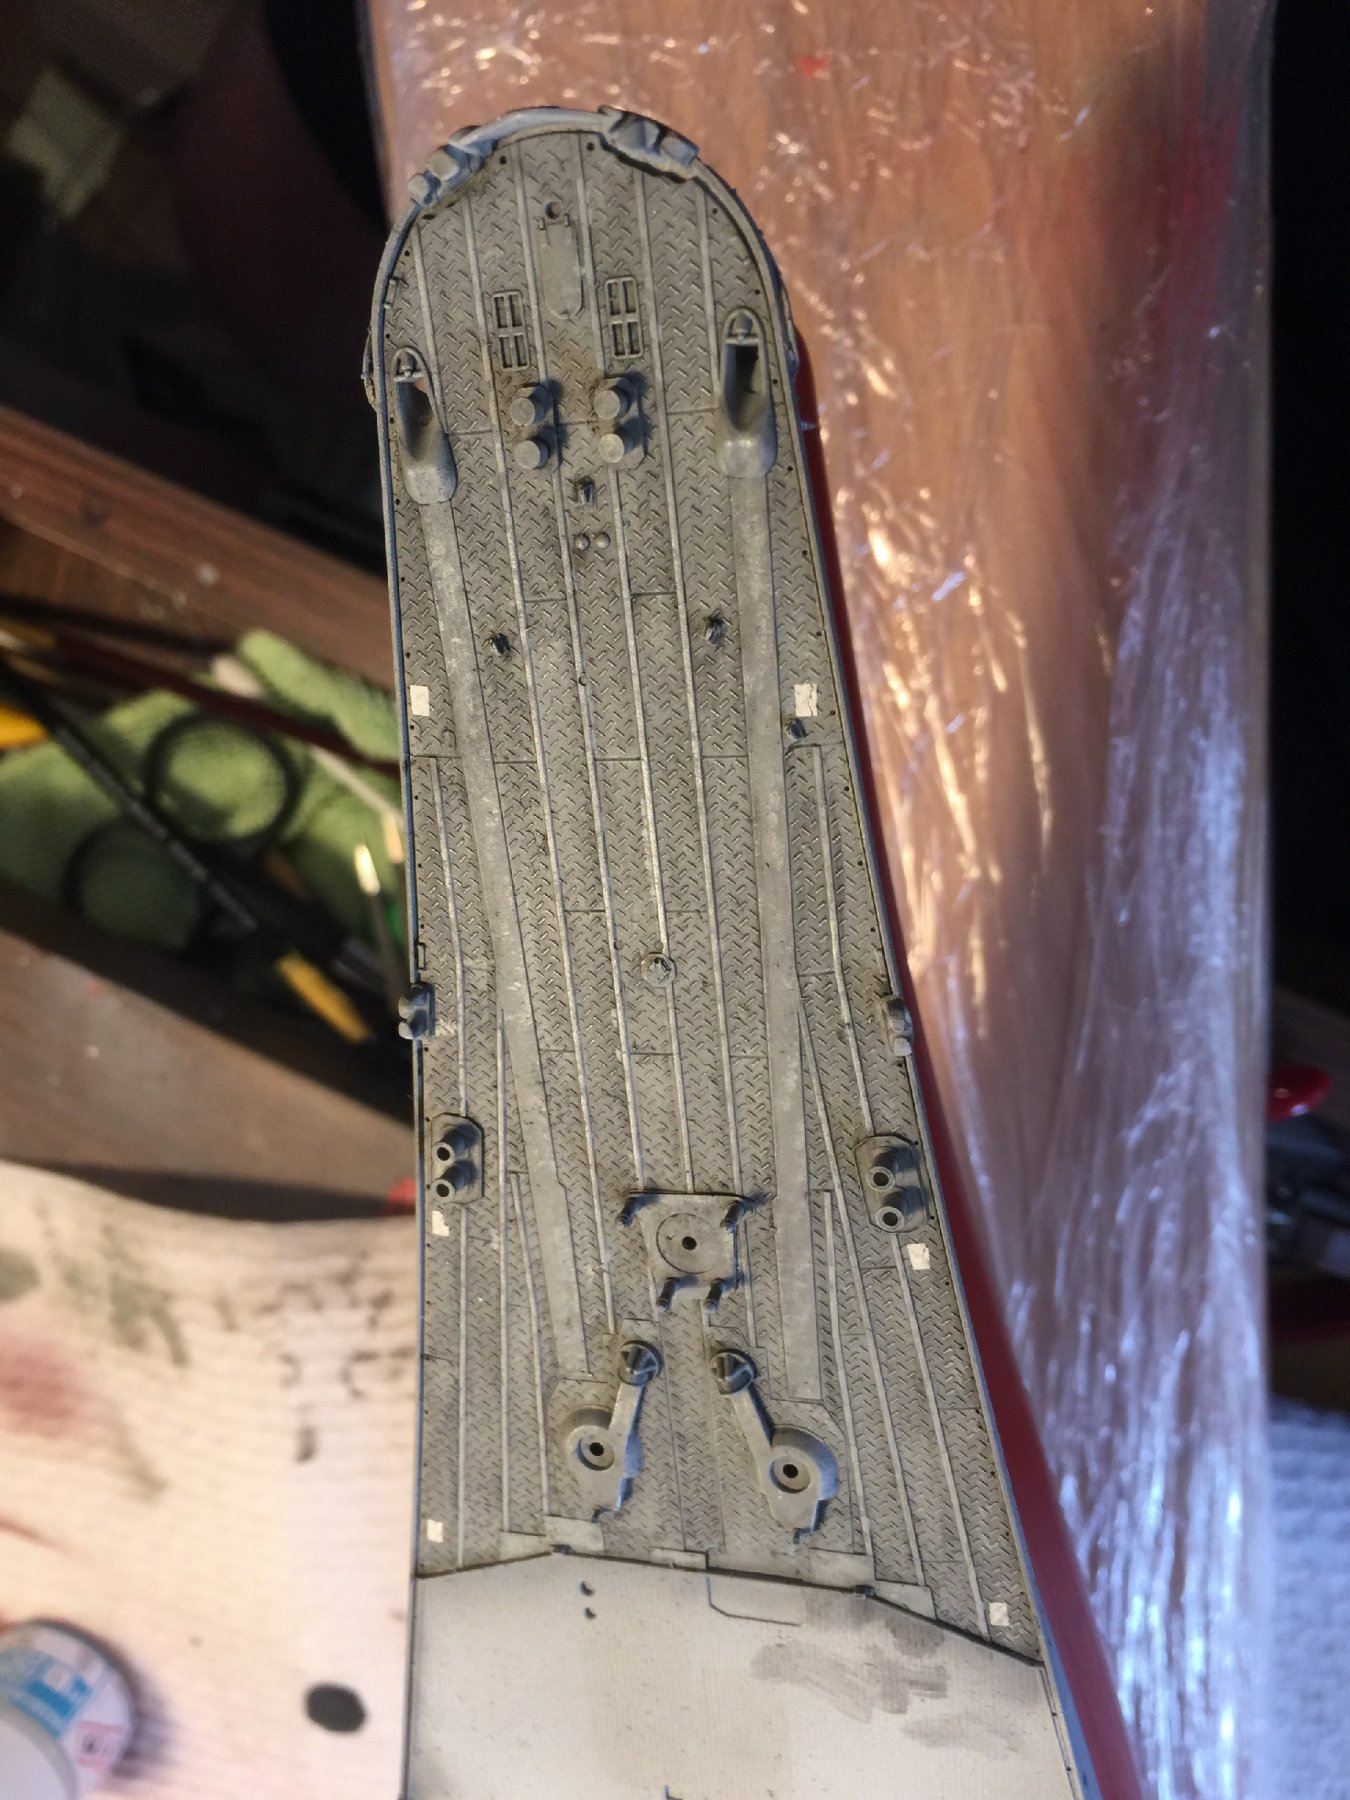
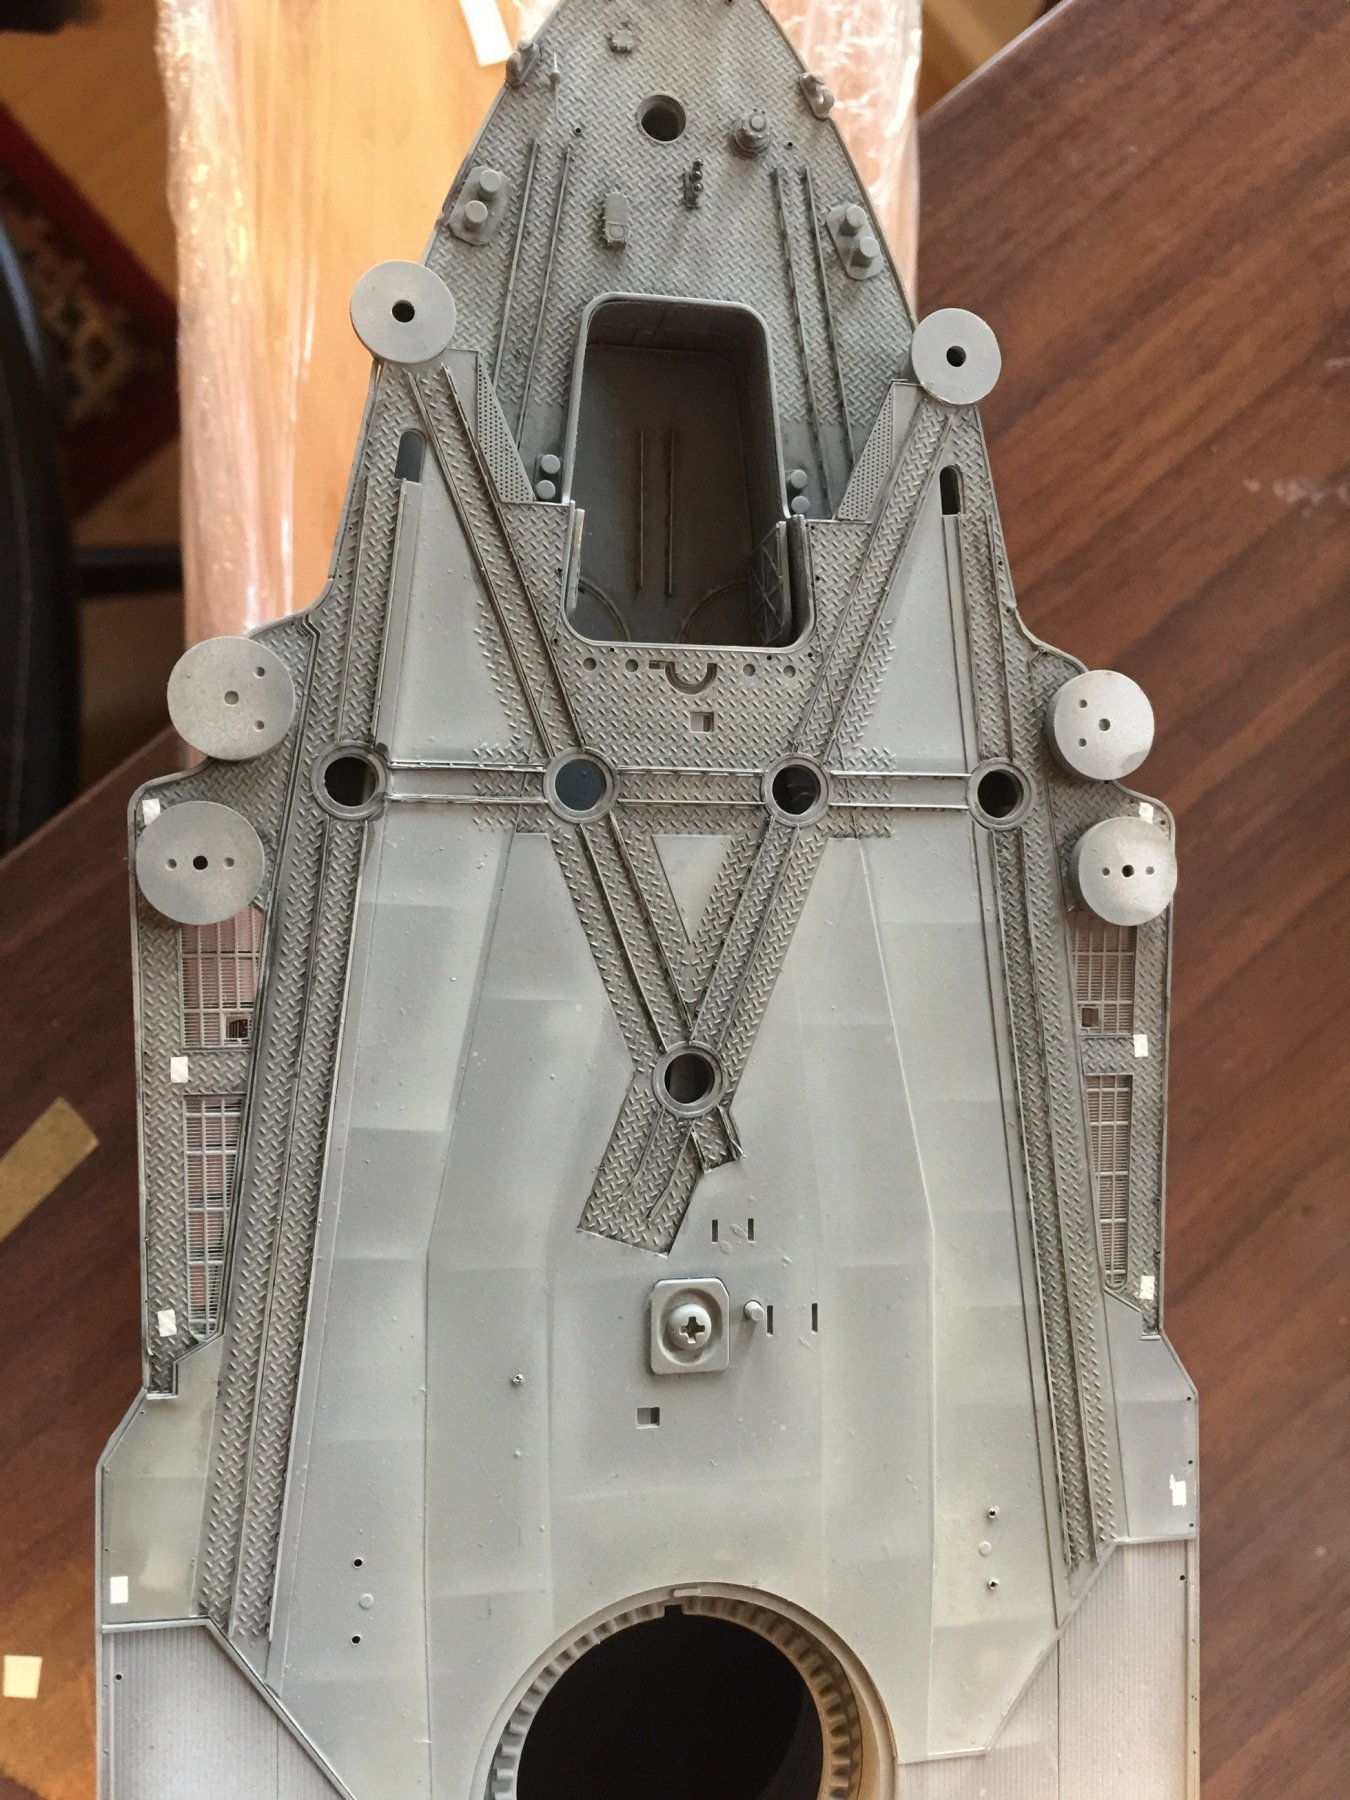
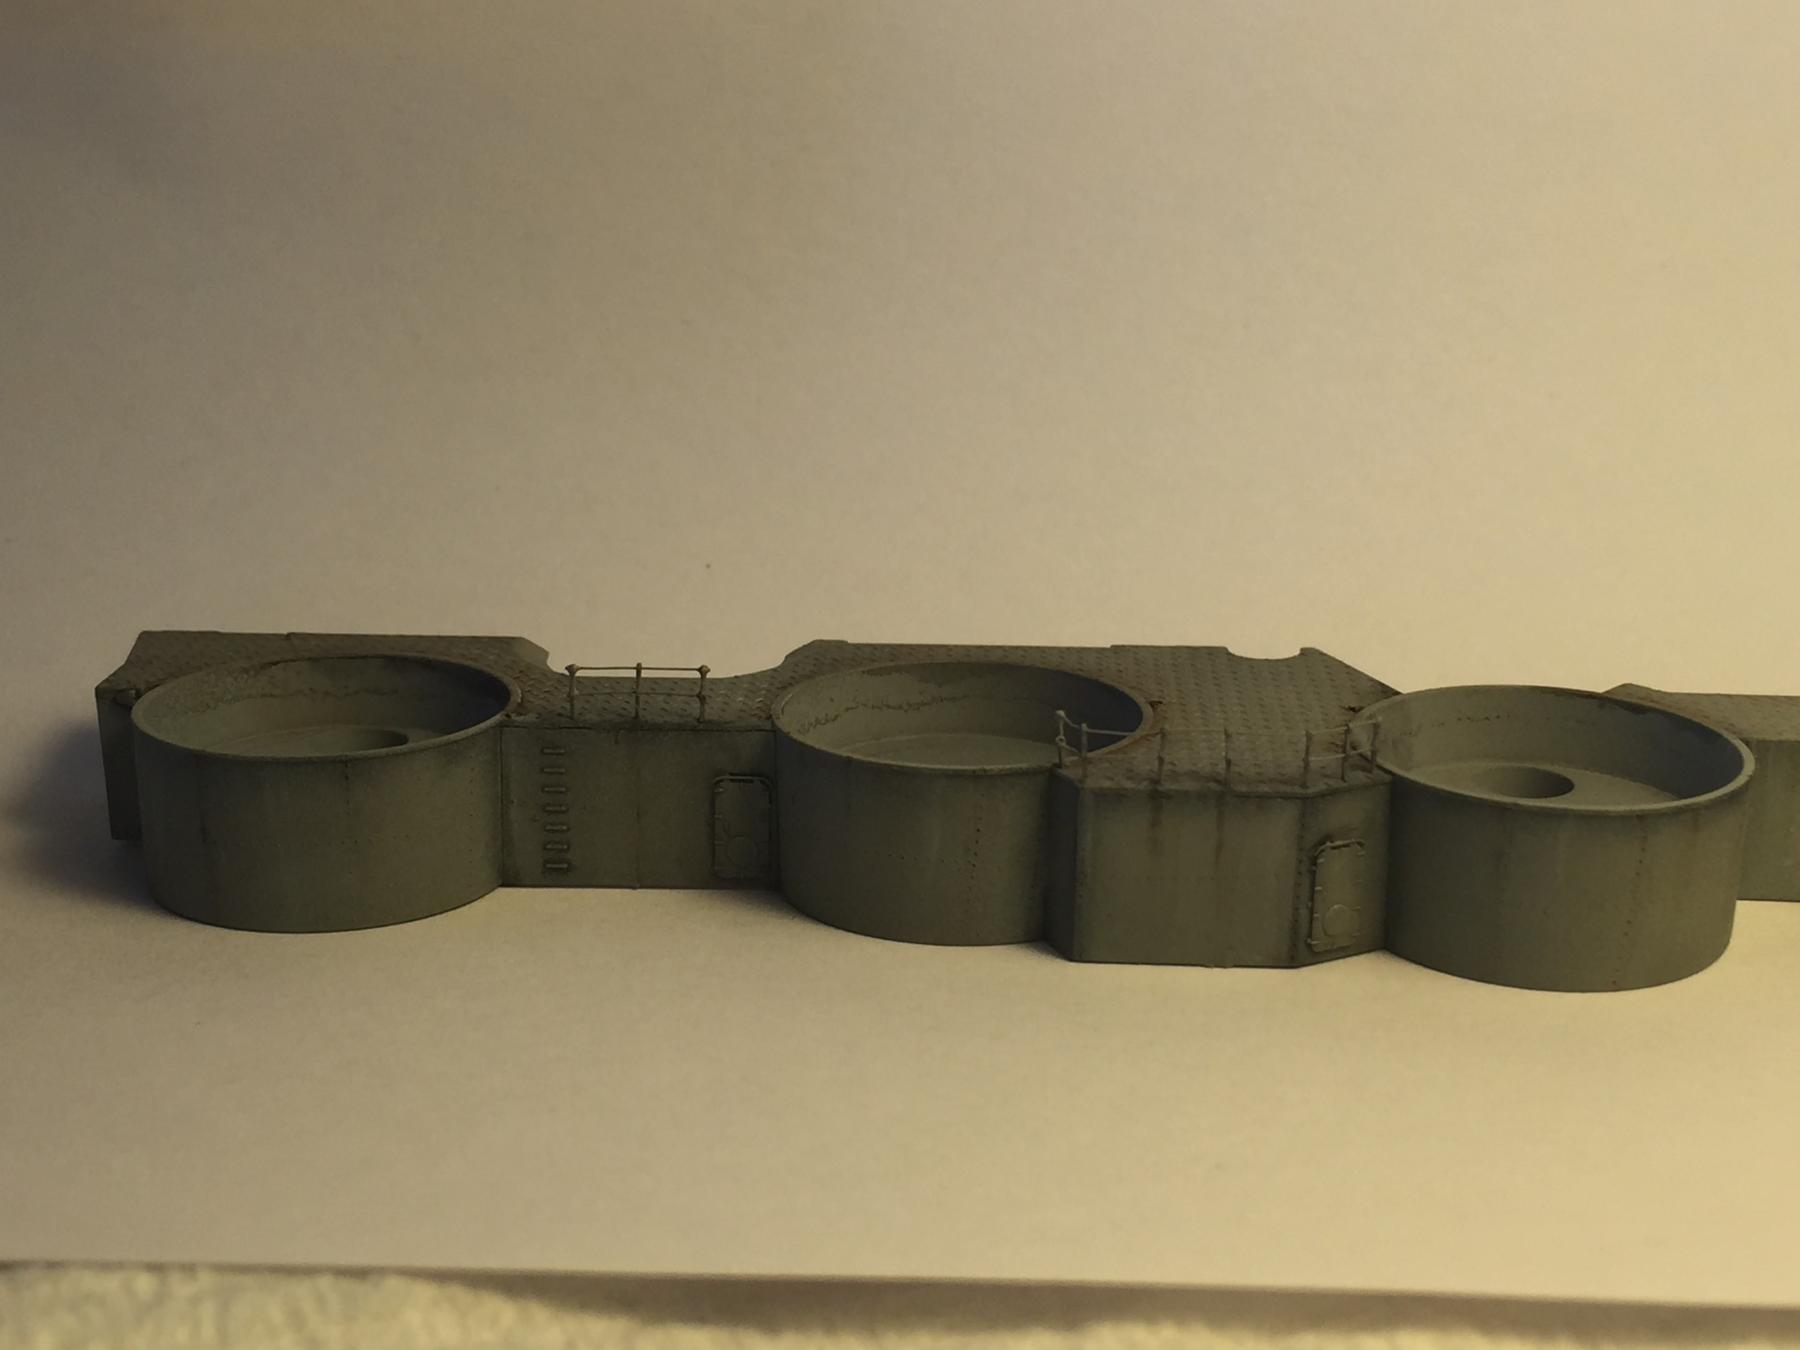
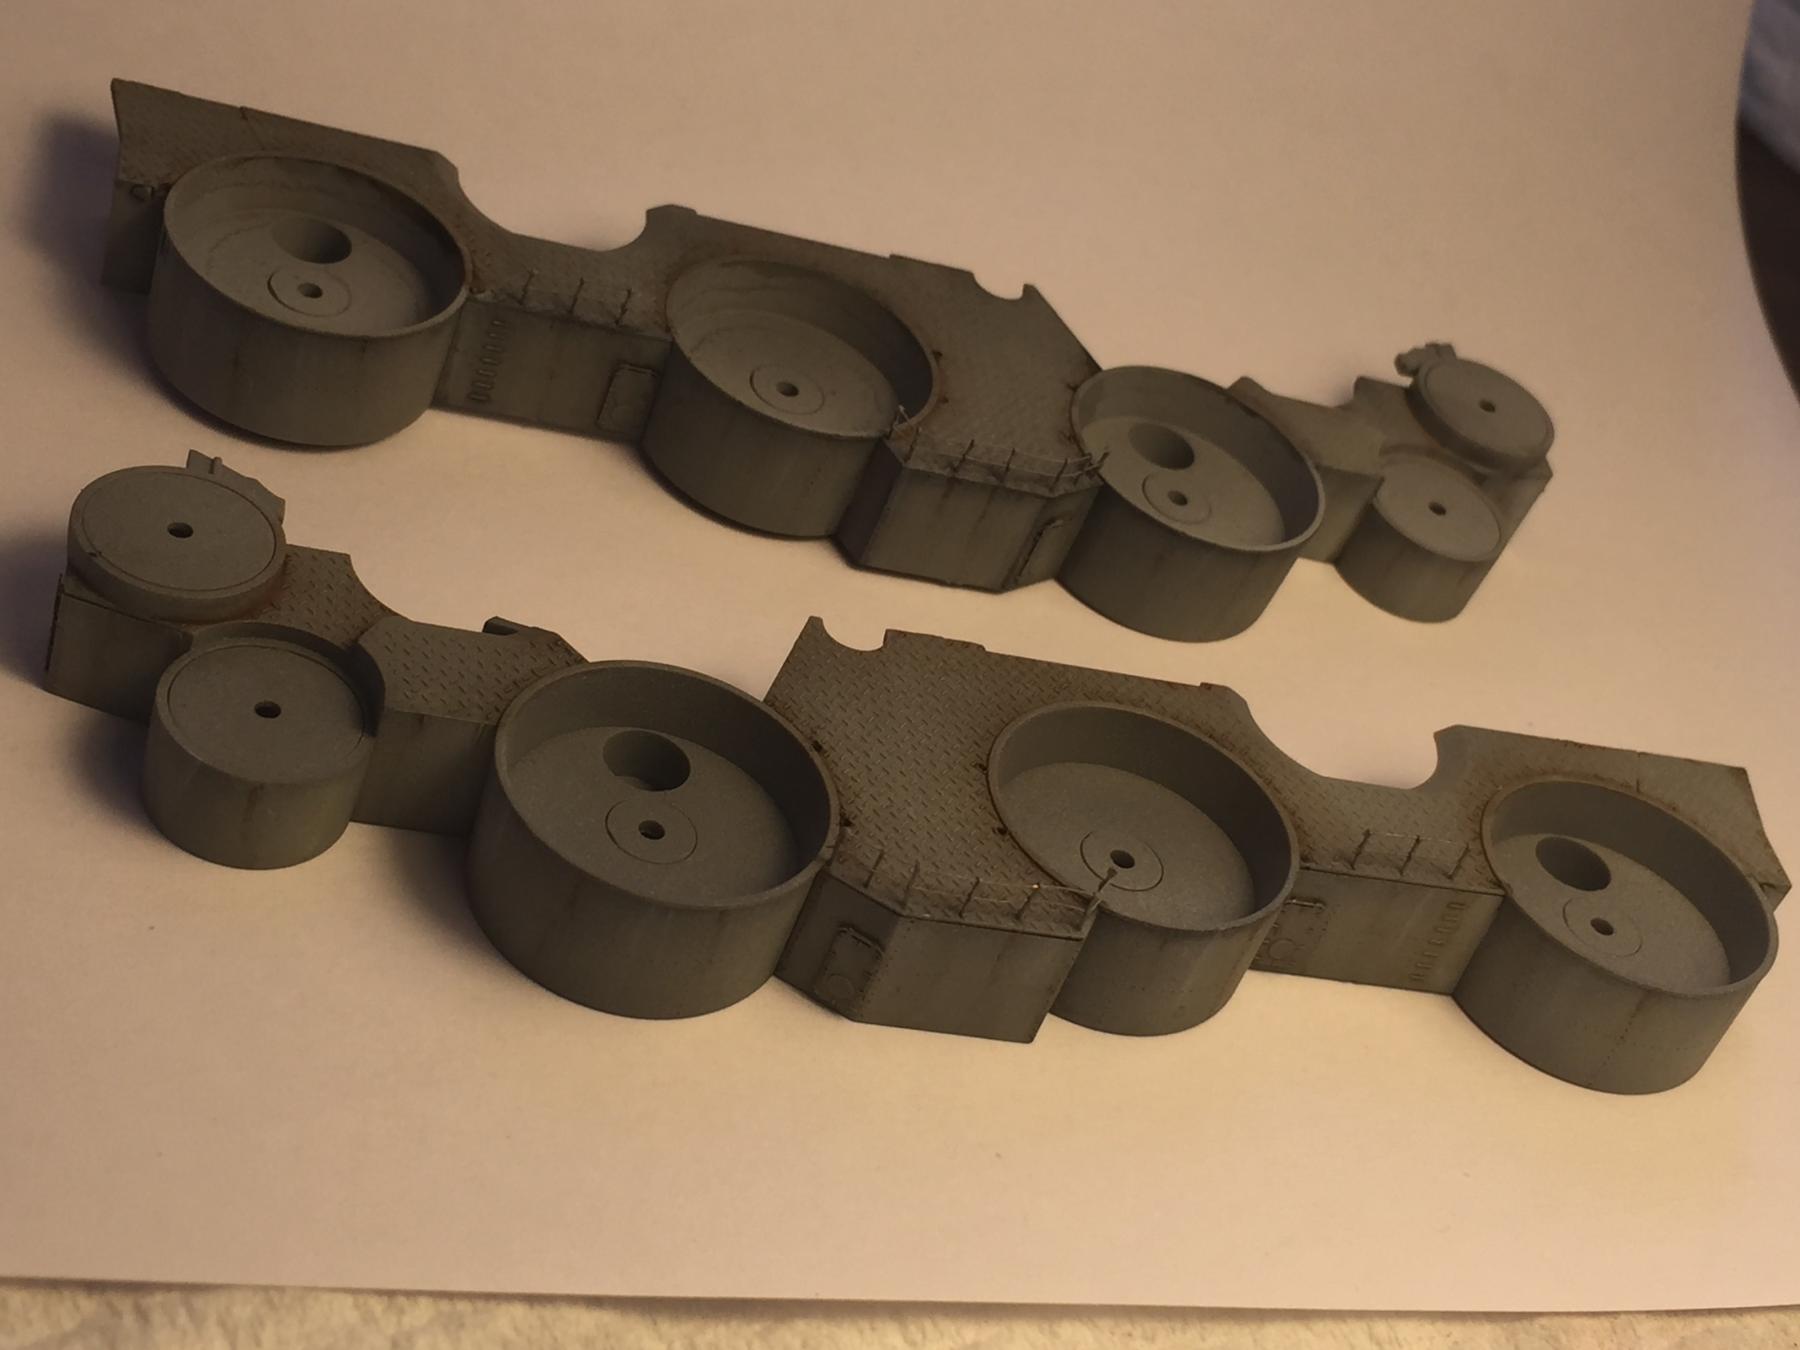
The next pieces are the sides for the main superstructure, the vents that go behind main turret two and a platform that will sit behind the main bridge superstructure.
-
Nice work mate, that's a lot of bending and folding
- Piet, cog, Old Collingwood and 2 others
-
5
-
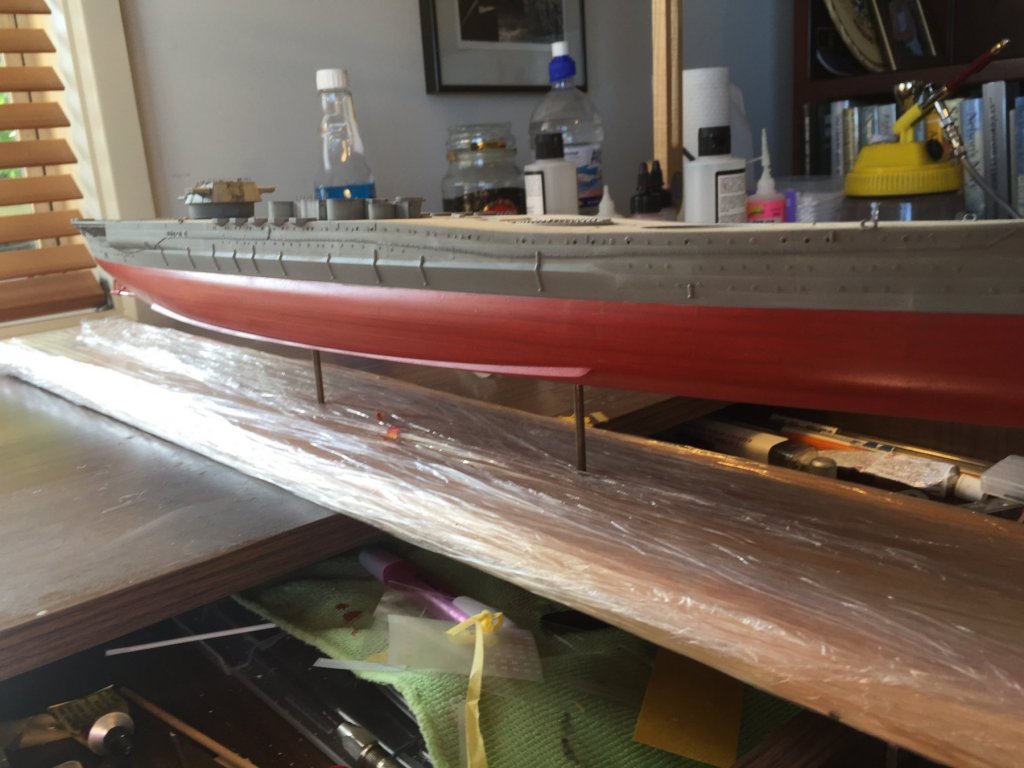
Banyan, only used a light wash so far, grime and rust then salt to go. Once that's done I can add the railings then park them. I'm working on the secondary guns at the same time plus a few other bits and pieces. Your advice on the airbrush has been invaluable to me. It's such a big kit, it takes a lot of paint. My trigger application has improved a lot, bit like my normal work tools, gentle application with the centre of the index finger gets the most accurate results without flinching.
- popeye the sailor, docidle, Canute and 5 others
-
8
-
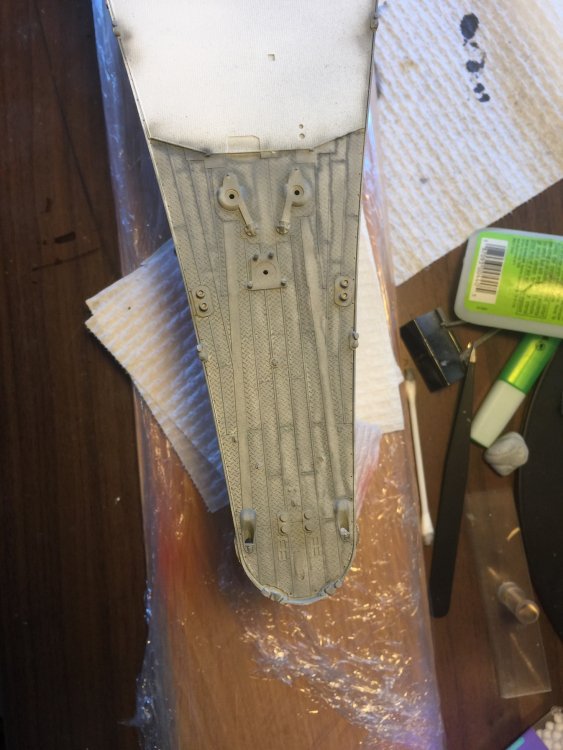
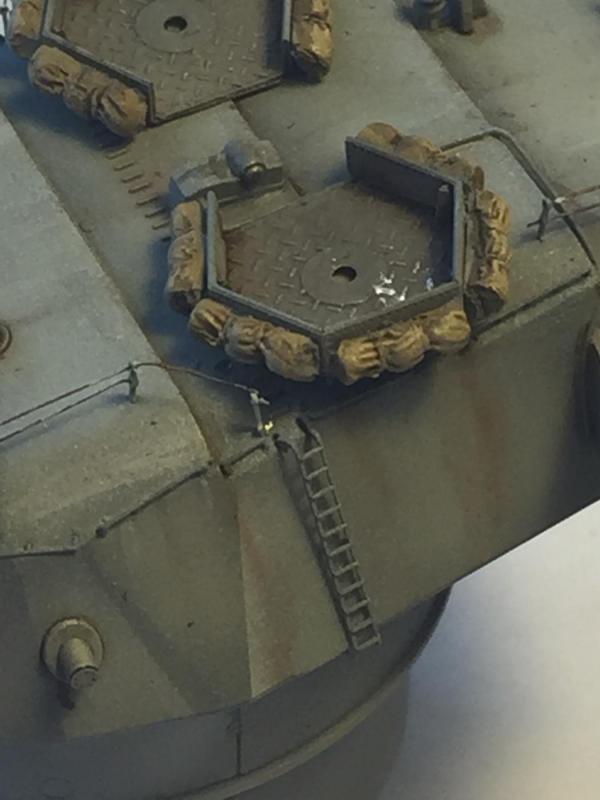
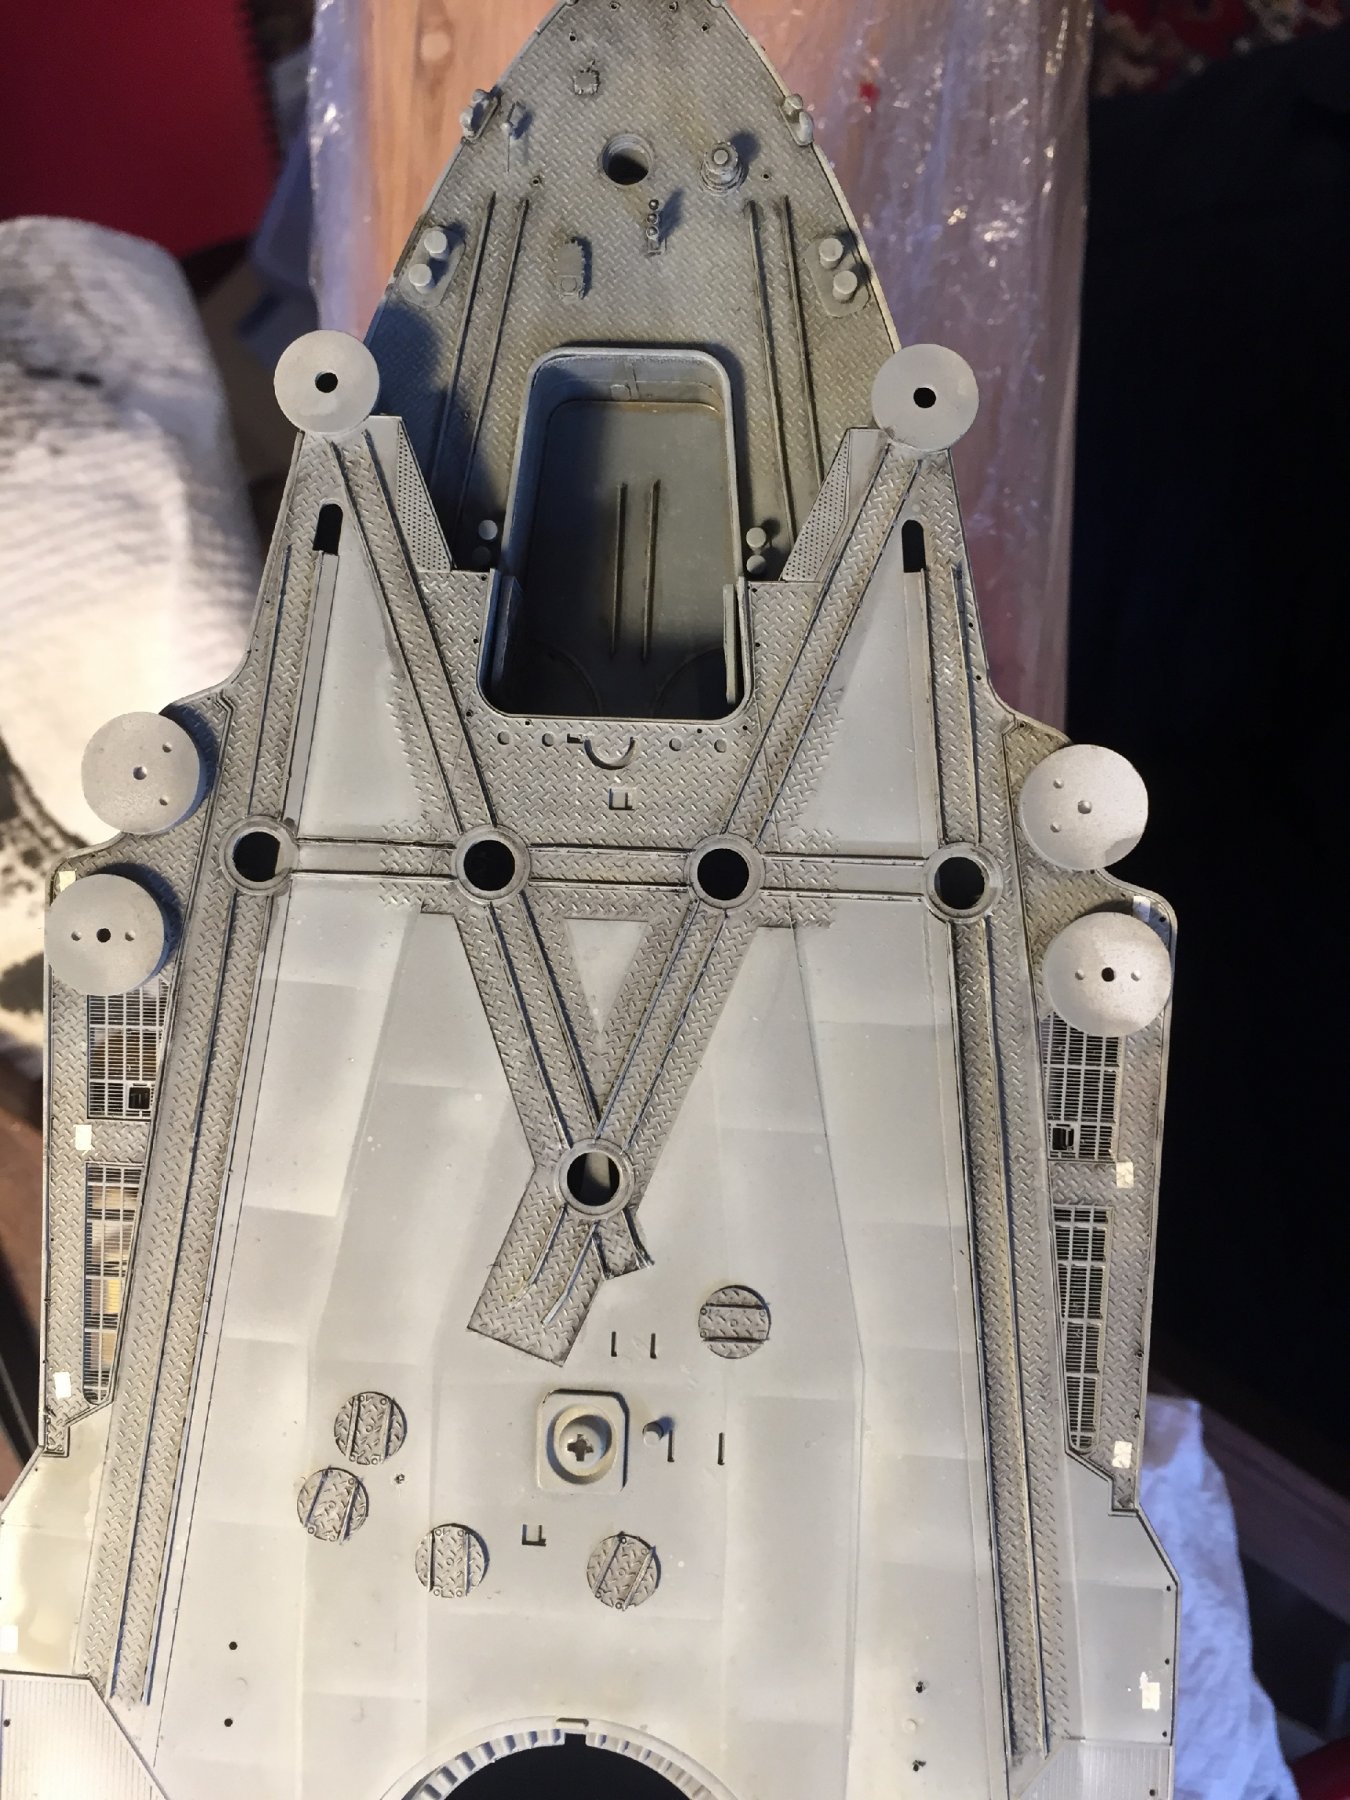
I've read some they are some type of measuring instruments
- Canute, mtaylor and Old Collingwood
-
3
-
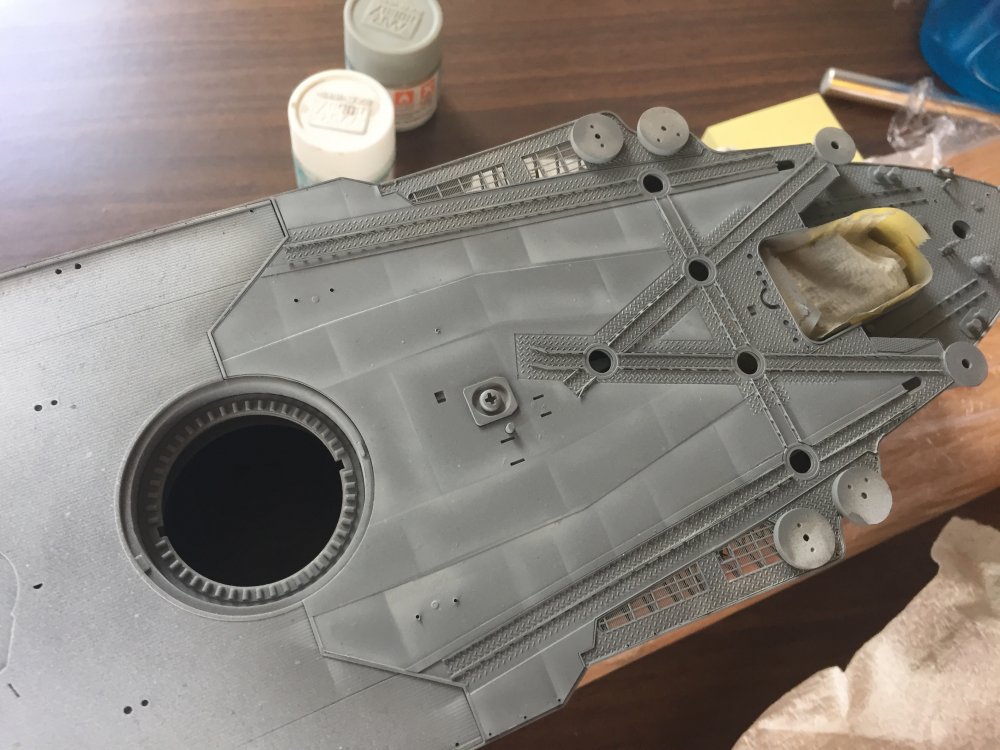
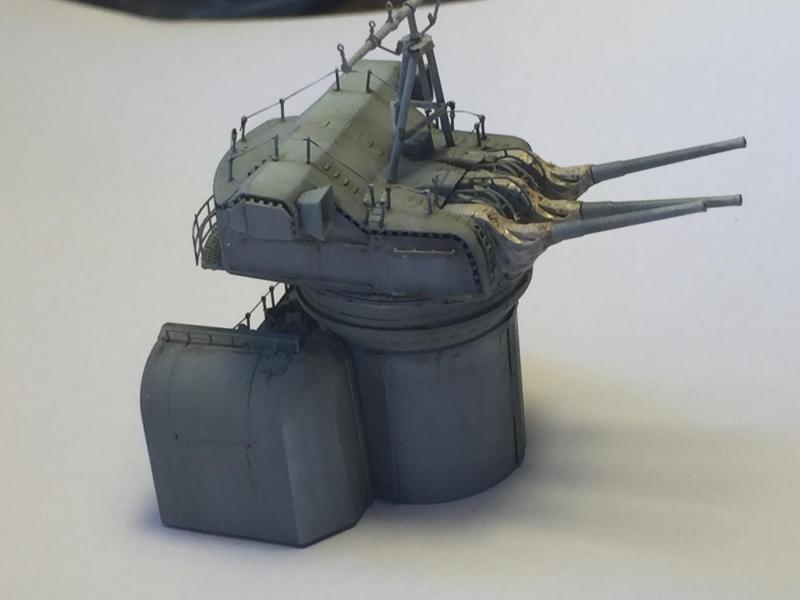
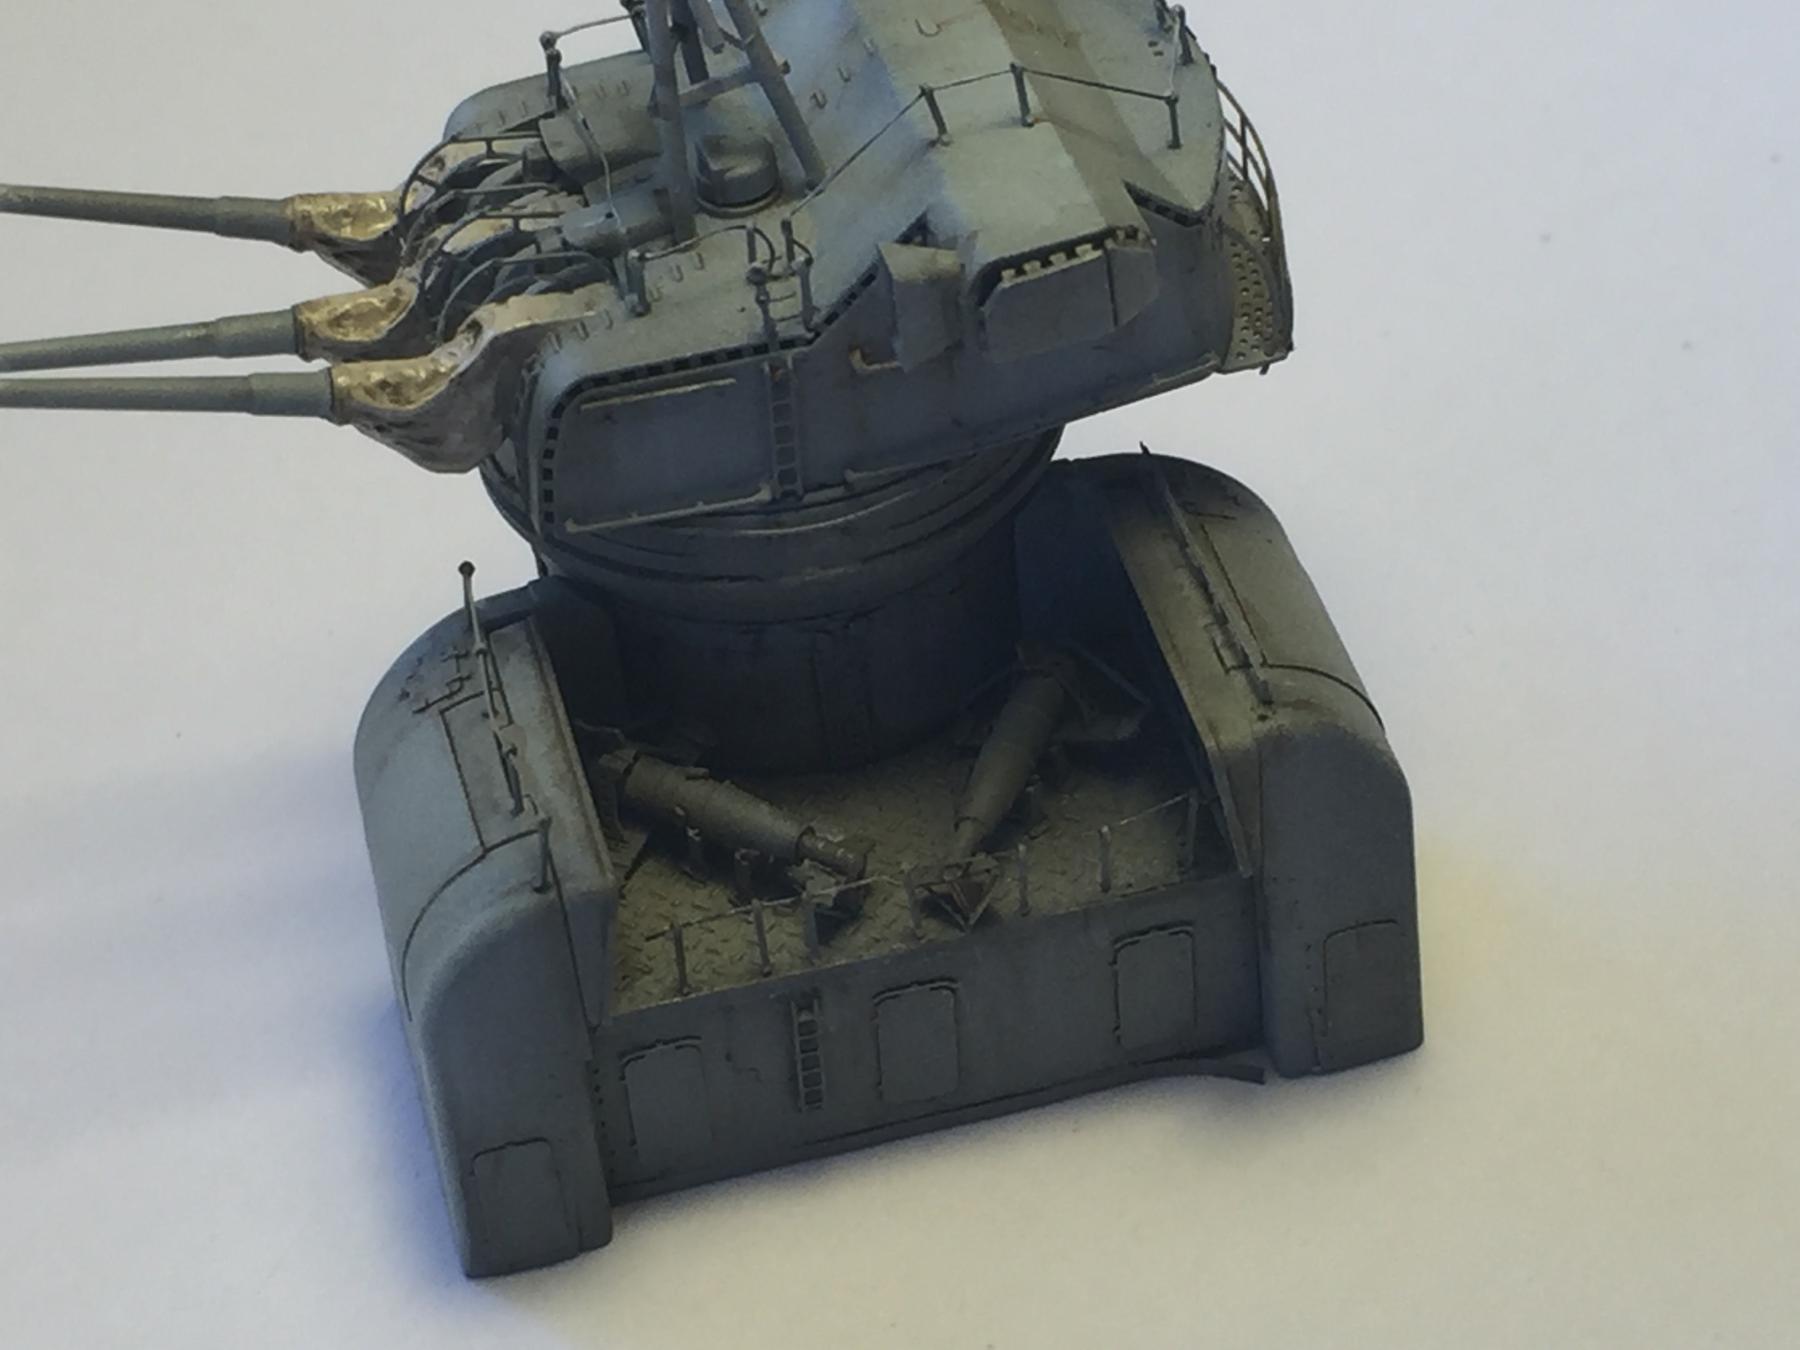
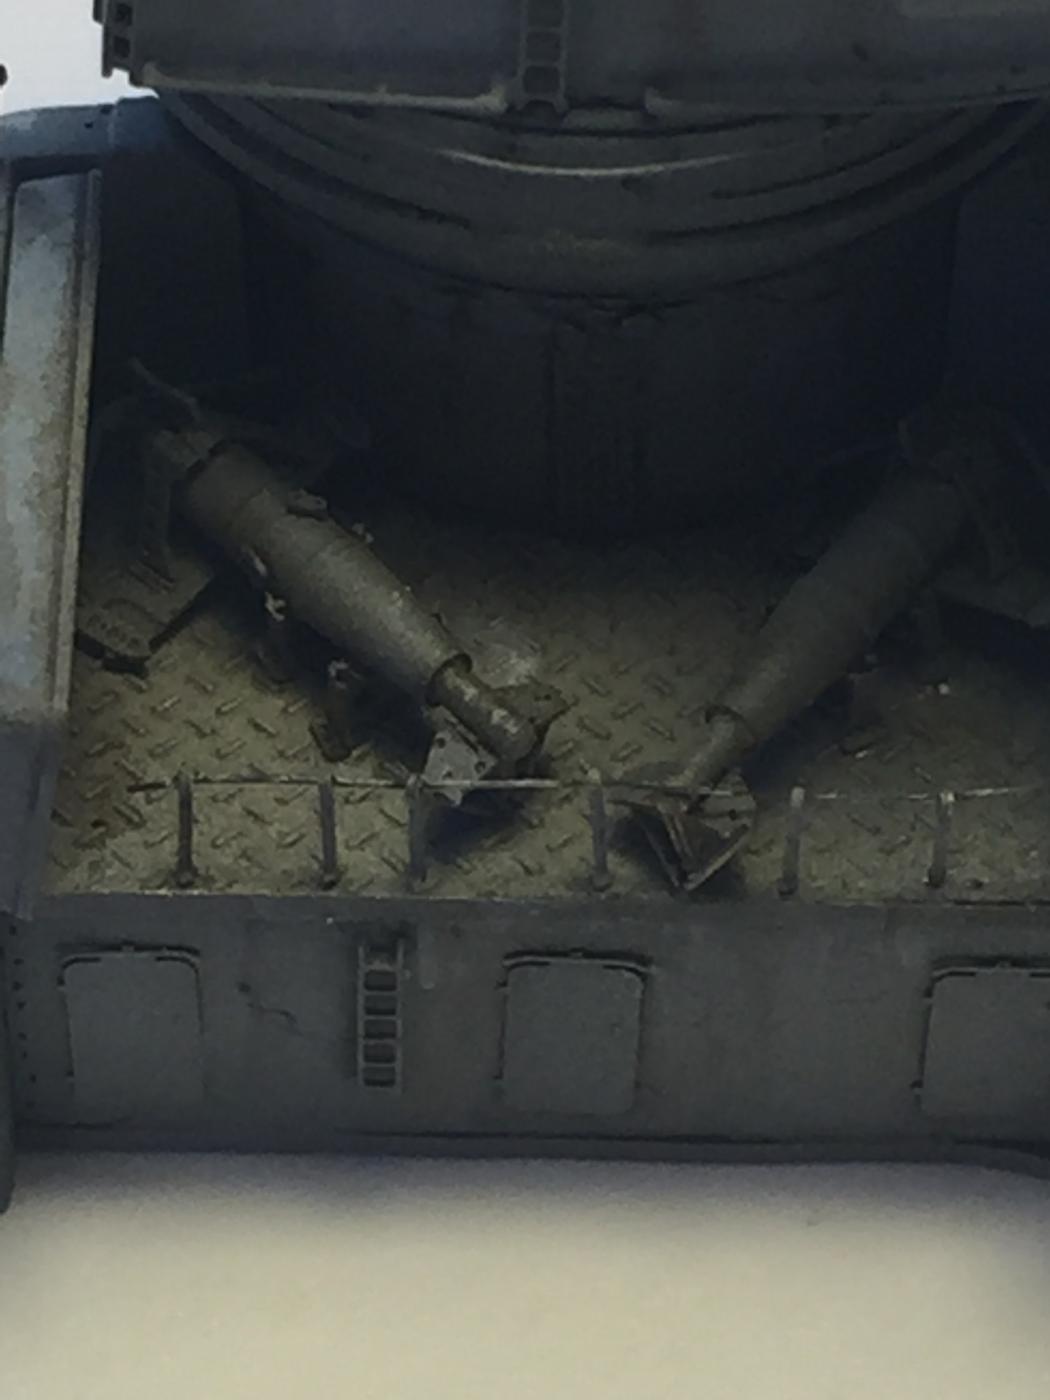
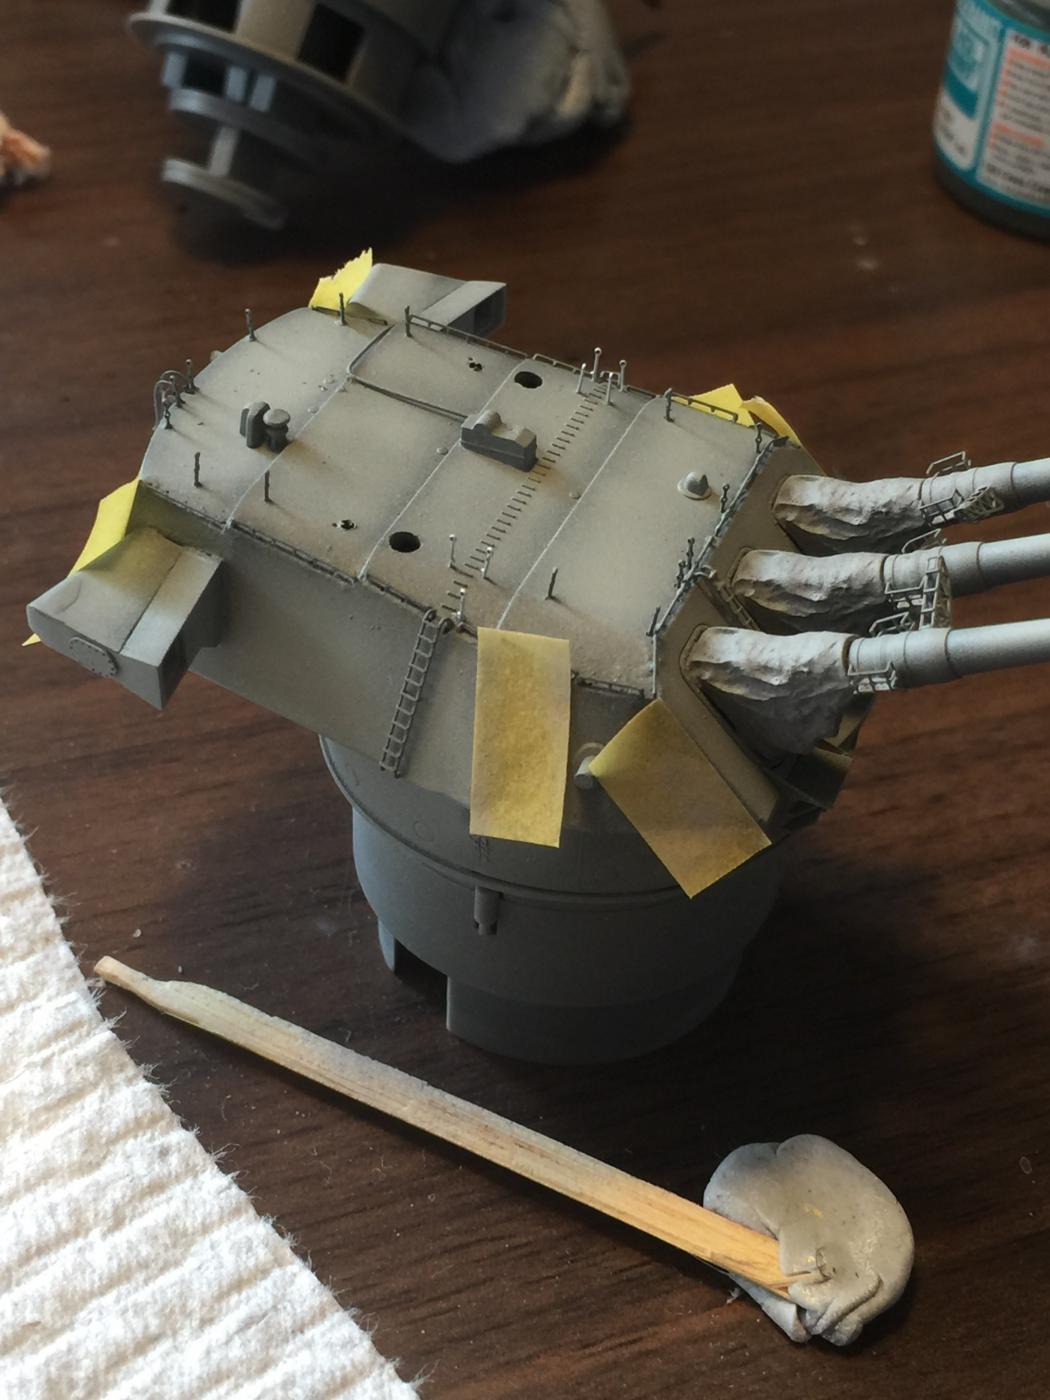
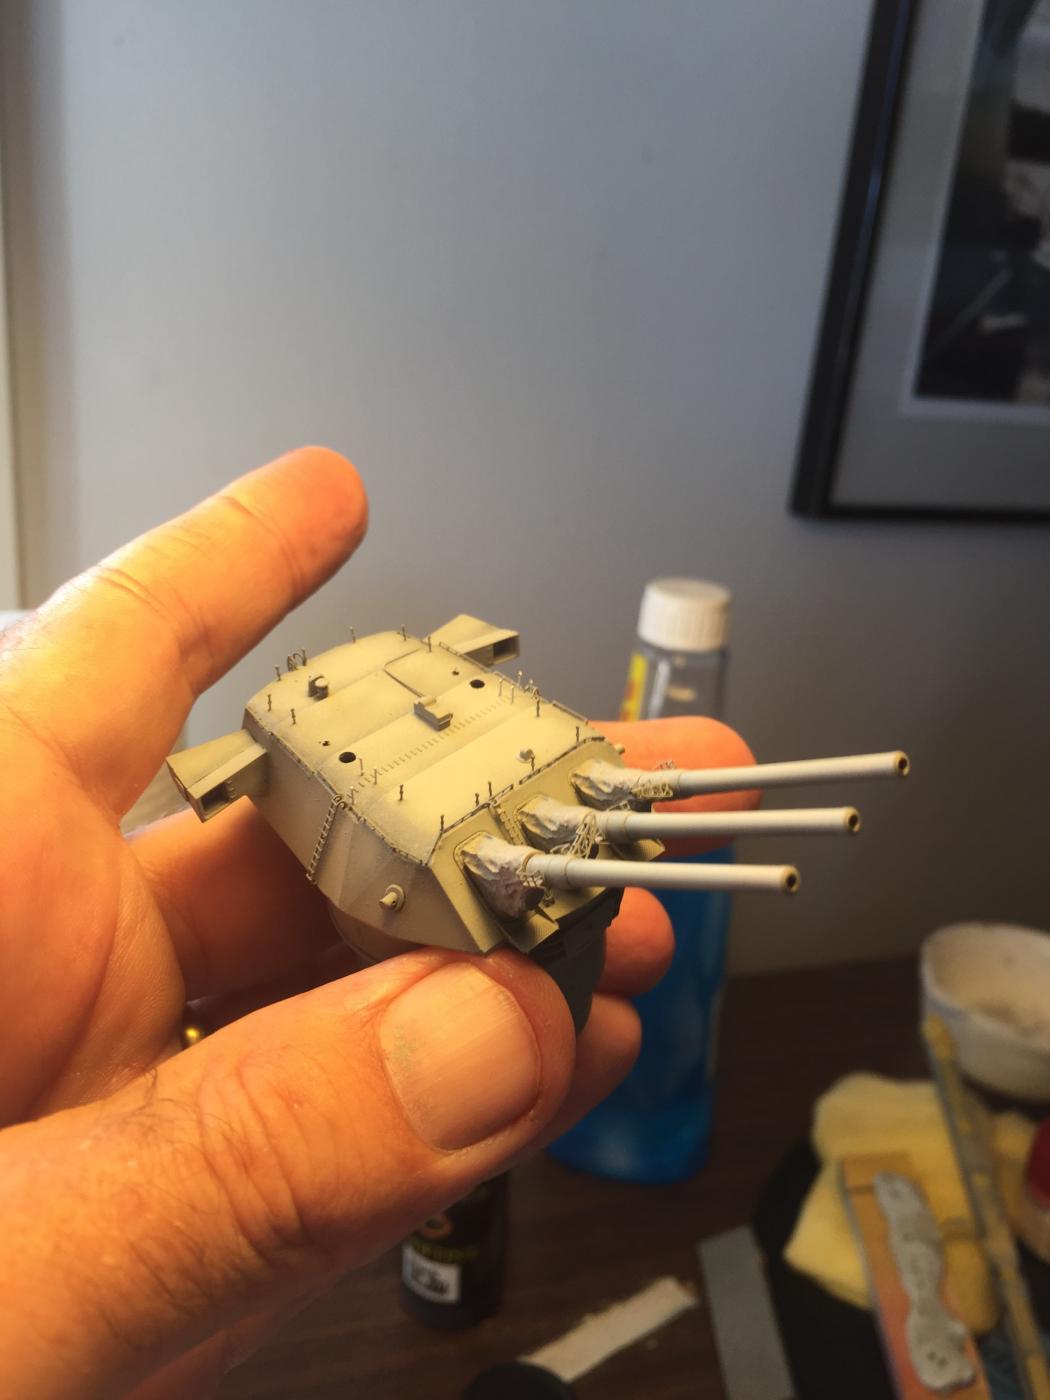
A little more work on the main guns, the blast bags completed and painted, the gun tubs added and the first wash applied to bring out detail before weathering.


-
-
-
Moving on with the mains guns whilst the hull sets, after the primer coat, some pre shading then filling it in and overspraying.

Then a lighter highlight

Then masking to bring up sharp edges with 50/50 mix of light grey and white


Finally a grey filter added to tone it down.
next will be the blast bags and gun tubs, then washes and weathering.
-
-
I did think about that, and it took several hours with a piece of paper and the airbrush, but it creates a shadow effect which I'm after. I will eventually add grunge to the base of the hull, rust, grime, salt and slime lines as well for weathering so a lot to go yet to dull it down.
I'm loving the H&S airbrush at the moment as it's a bit of a scalpel and with the thinned paint it dries quickly and you don't lose any detail. The handrails on top of the guns did not even have their eyelets clogged which a rattle can will do.
- cog, popeye the sailor, src and 6 others
-
9


IJN Yamato by RGL - FINISHED - Tamiya - 1/350 - PLASTIC
in - Kit build logs for subjects built from 1901 - Present Day
Posted
No idea Cog, I've just gone off some other models and the old AOTS, so too late for me now I suppose as I won't get the new AOTS till April. I'm happy with the progress to date.