


RGL
-
Posts
5,116 -
Joined
-
Last visited
Content Type
Profiles
Forums
Gallery
Events
Posts posted by RGL
-
-
-
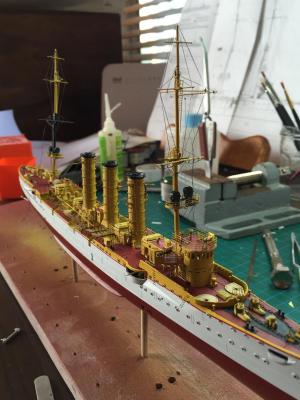
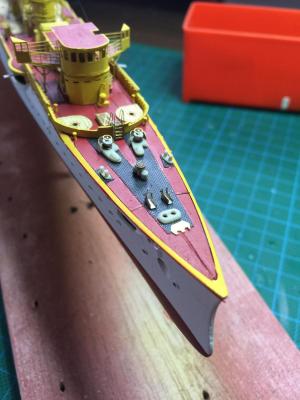
The bridge is fairly much done, just have to add the flybridge which won't come till very late in the piece as they stick out a fair bit. The binnacle, search light controls, voice tubes and flag locker added, as well as 5 scratch built pinrails.No, the pinrails are not that good but they'll have to do as they will have rigging belayed to them.
At this macro there are lots of touch ups to go, but given the stays have to go in yet, there is not much point starting that till the end of the build to hunt and patch mistakes.
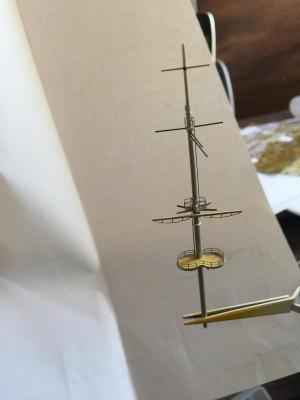
The Masts upper rigging is complete and all done off kit. At the moment they are just dry fitted and once stuck on, I will work inboard to outboard deck to topmast on the rigging.
I reckon I'm about 2/3rd of the way there now.

-
-
-
Search lights added and time to start rigging.


- David Lester, amateur, mtaylor and 9 others
-
 12
12
-
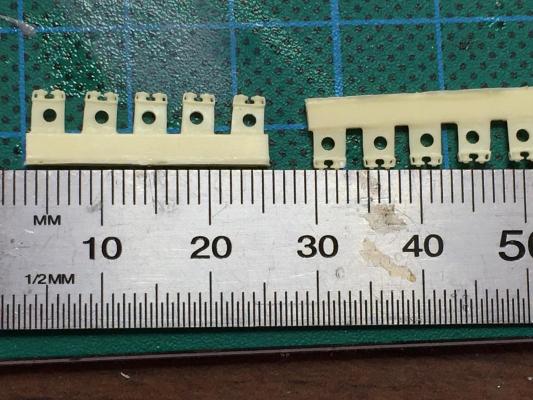
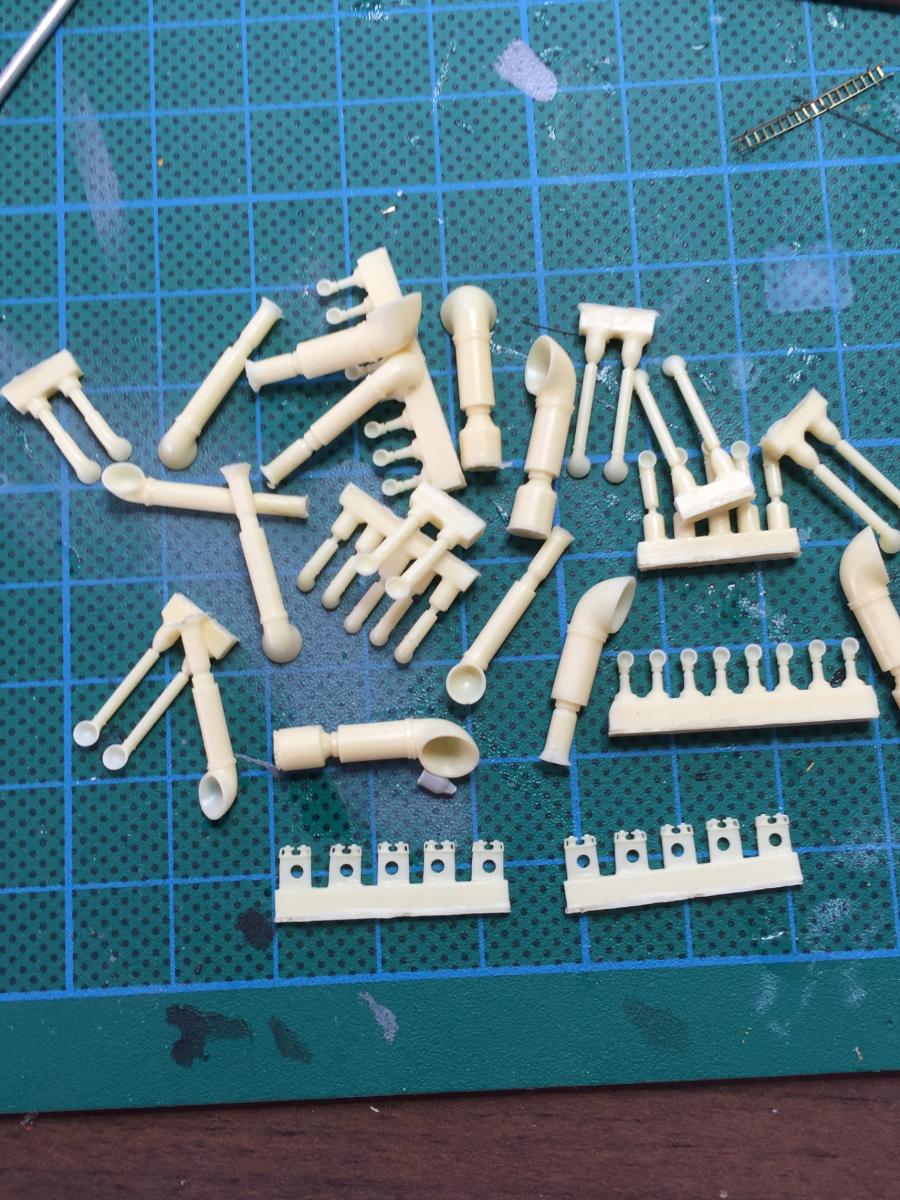
Now a word about customer service. After I finished my Varyag, I was in love with their fittings that are just not available commercially. I e-mailed Artwox with a photo of the Varyag I built (it was their kit) and asked if I could purchase some of their fairleads and a couple of small funnels for the Emden. The deck plans have 6 fairleads and if you look at the photo they are 2mm and I just could not replicate them.
In the mail today I received the items in the attached photo. I just had to pay for postage from China.
That, my friends is customer service. Eduard, take note.

- mtaylor, Captain Slog, Altduck and 3 others
-
6
-
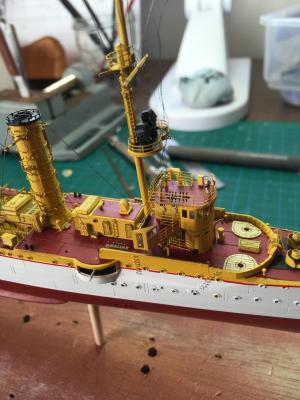
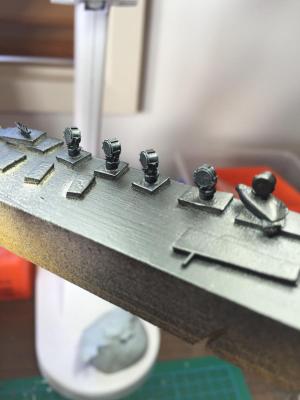
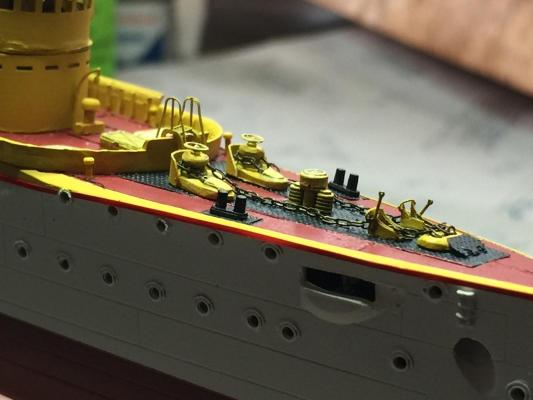
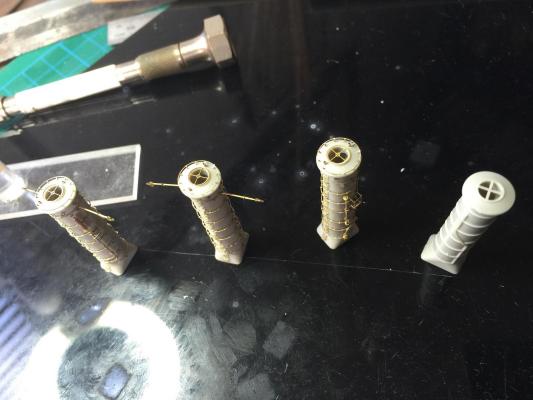
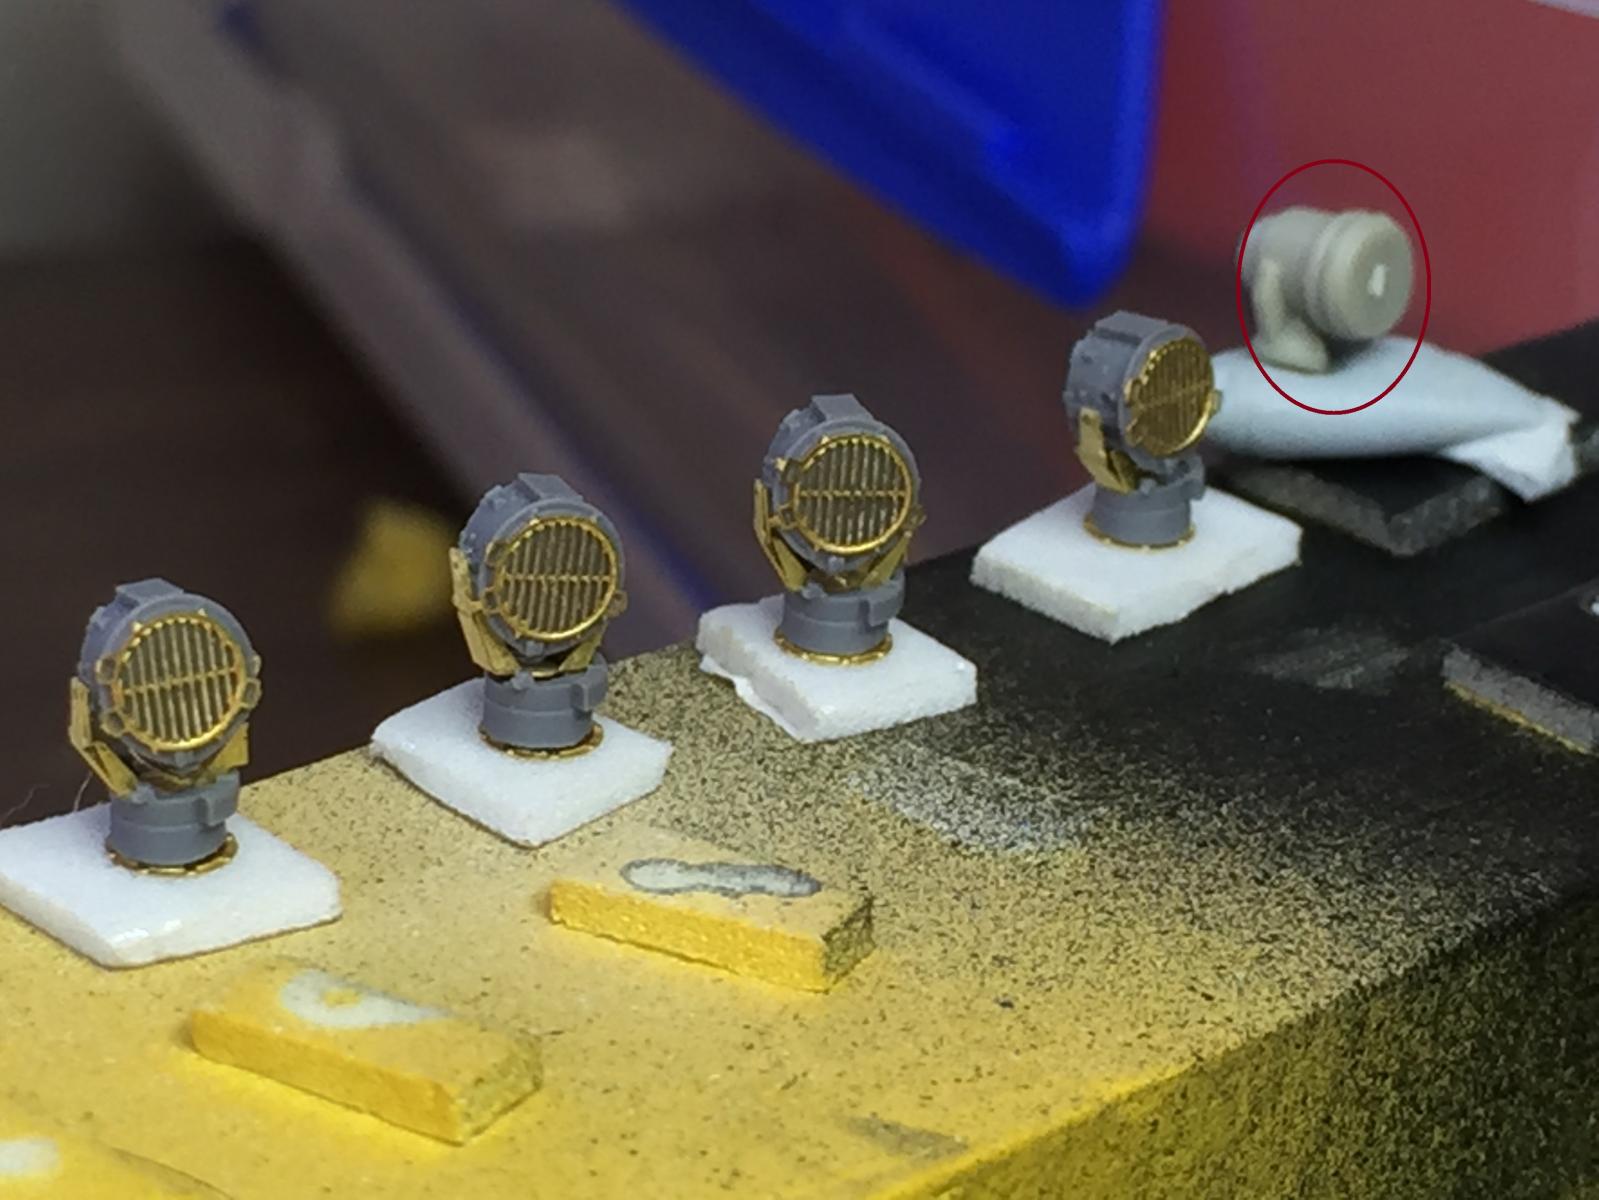
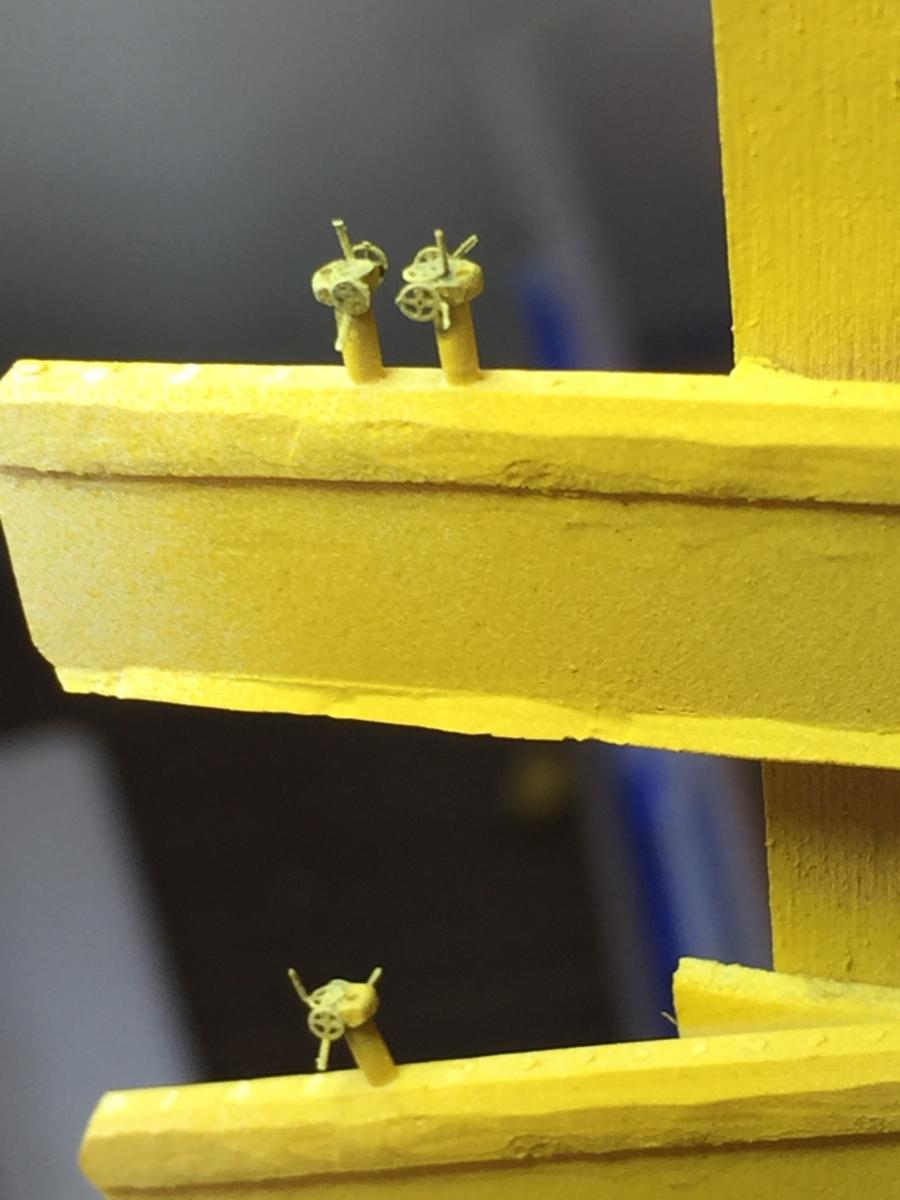
Now, the searchlights and their controllers, the circled blob is the revell search light, the aftermarket ones are as close as I could get to the plans. I made the control boxes out of a resin funnel vent filed down with the addition of 3 flywheels. I will run a small piece of ezyline up to the base of the search light to represent the control rod. You can just make out the scratch built pin rails, I made 4 from wood or the deck and 3 smaller ones for the bridge in plastic.


- Captain Slog, ianmajor, BANYAN and 7 others
-
10
-
-
I love those blocks, all the hard work is done for you. I'm think once you use them everything else looks like wooden off cuts (except for Chuck's blocks of course). If you don't have the machinery to scratch build your own it's the way to go, considering how many you need to use, it's a time is money argument
-
Do you ever have one of those days when your shoulders just camp up from too much time at the table?
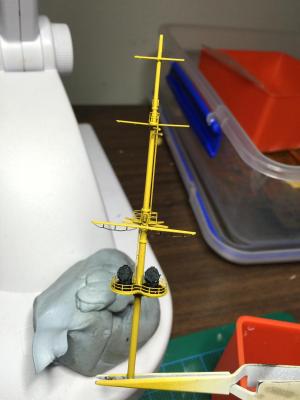
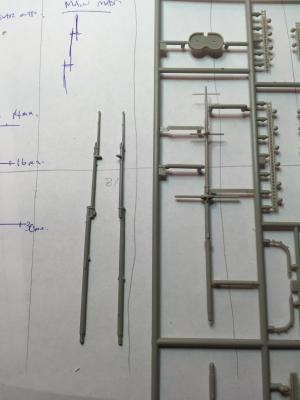
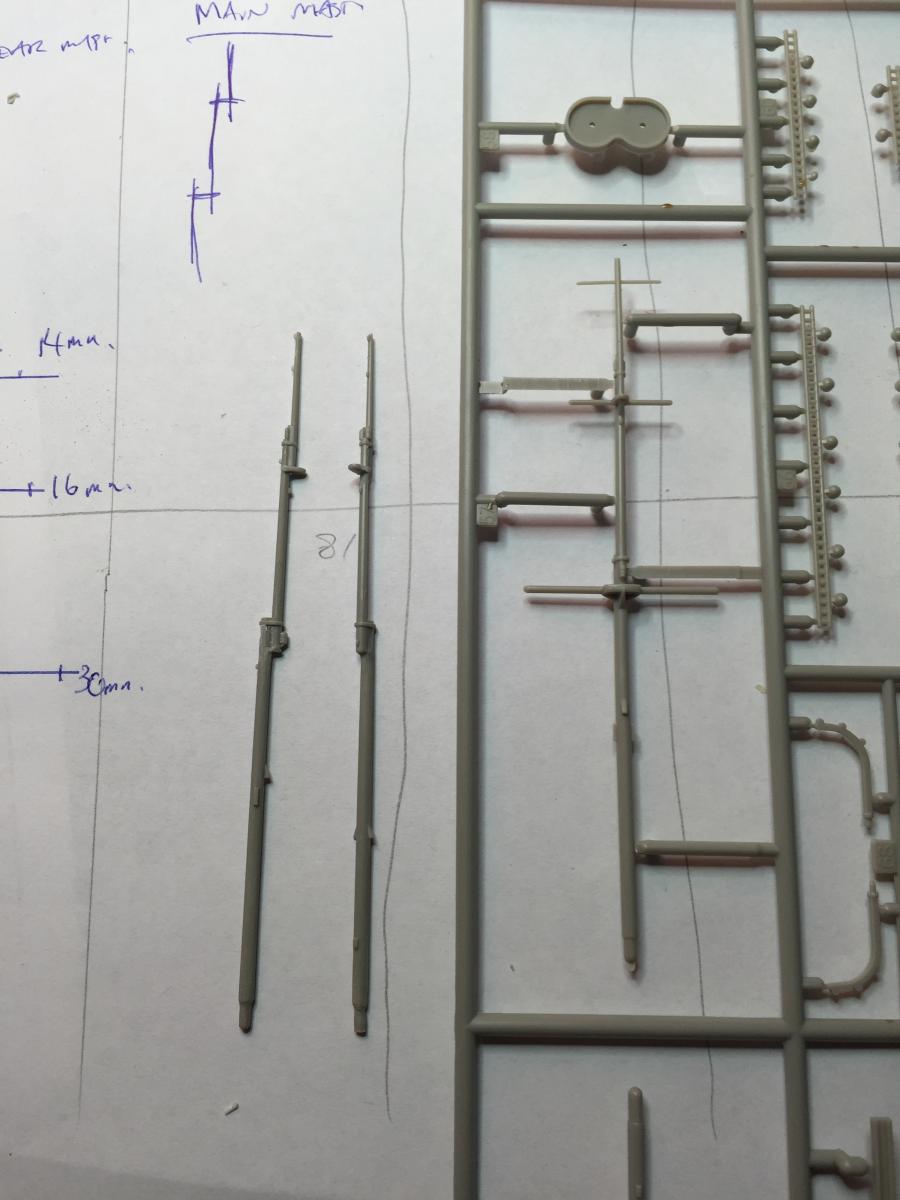
Moving onto the masts, I was going to use brass and redo the entirety of both Masts from scratch. The kit ones are just not that bad, they just have no detail.
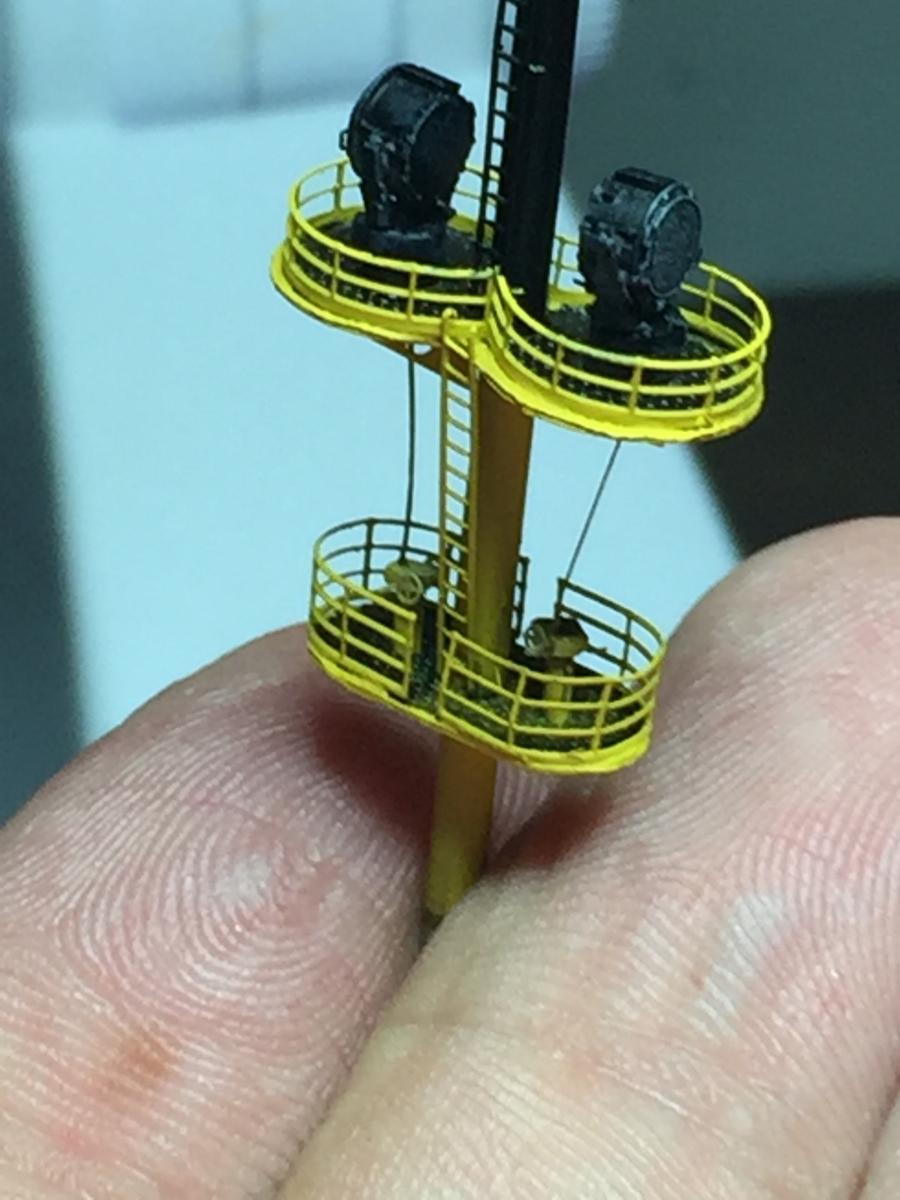
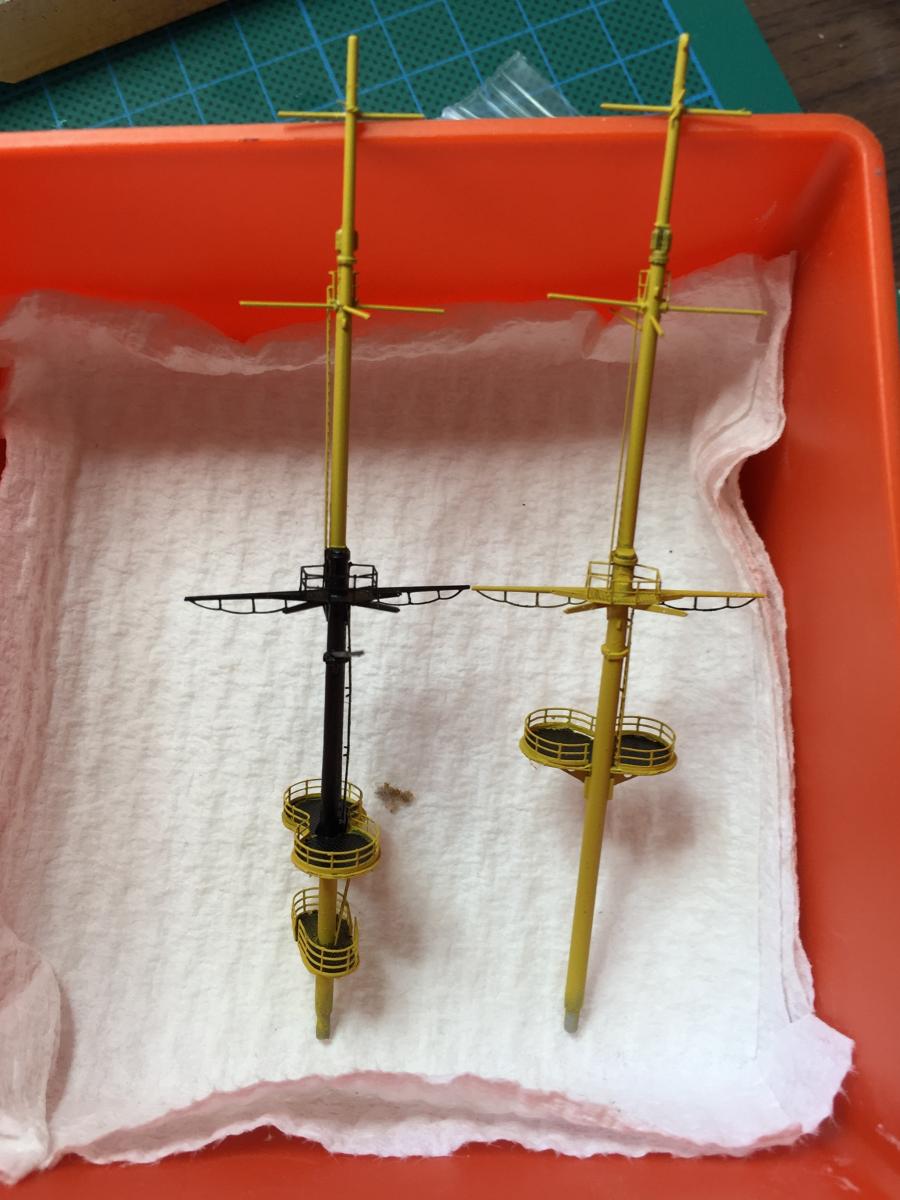
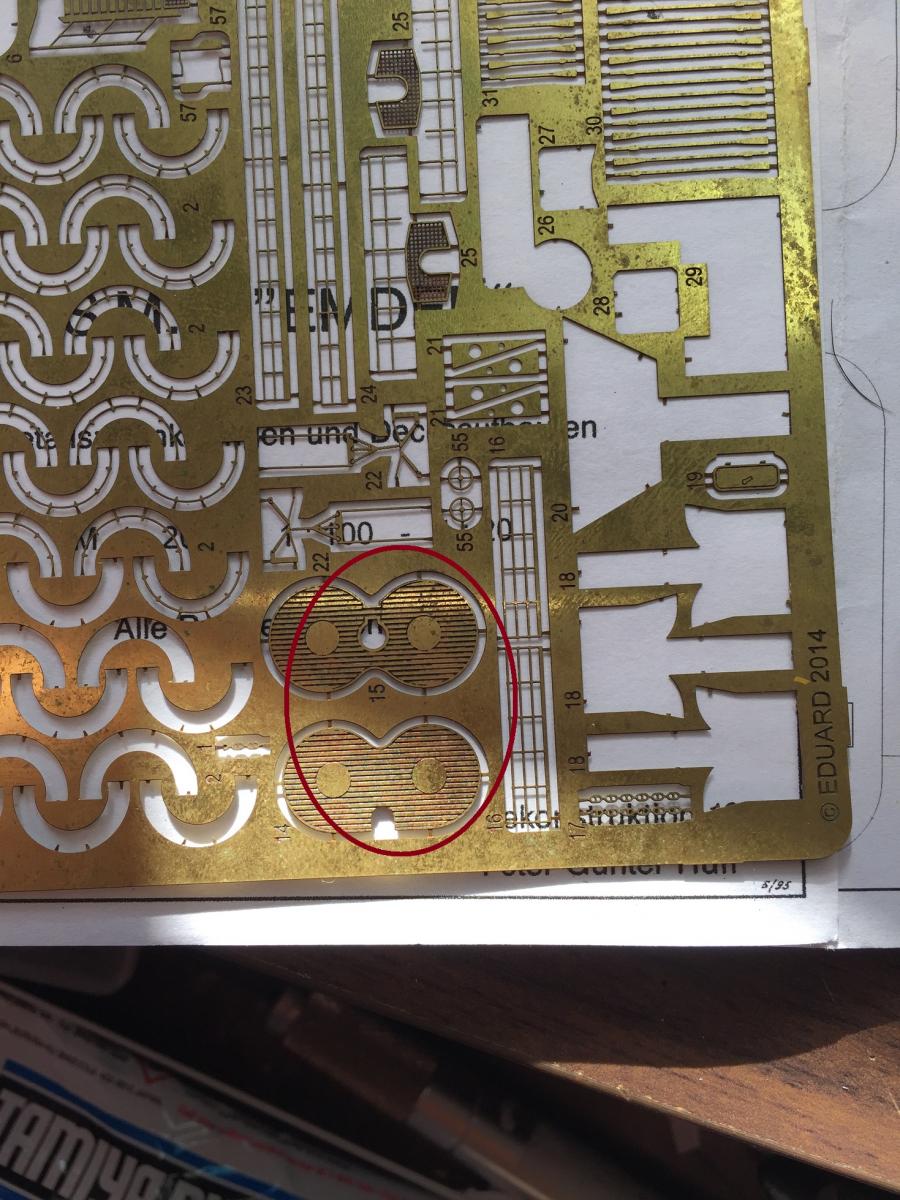
I trimmed off the yardarms, and started with them at bare poles. At this scale, this is where the sore shoulders began. As you can see the photo of the photo etch, the platforms for the searchlights are planked, but Huff says they were metal plate, so I just glued some on top and filed it down.
Using some spare yardarms from my Varyag build, I added proper yardarms and signal rods, plus the other etched platforms required. Rigging this stuff will be a nightmare. I still have to add the 4 lights which are aftermarket as the kit ones are blobs of plastic. I also have to add the searchlight control boxes which sit below them which I'll fabricate from resin.


-
-
-
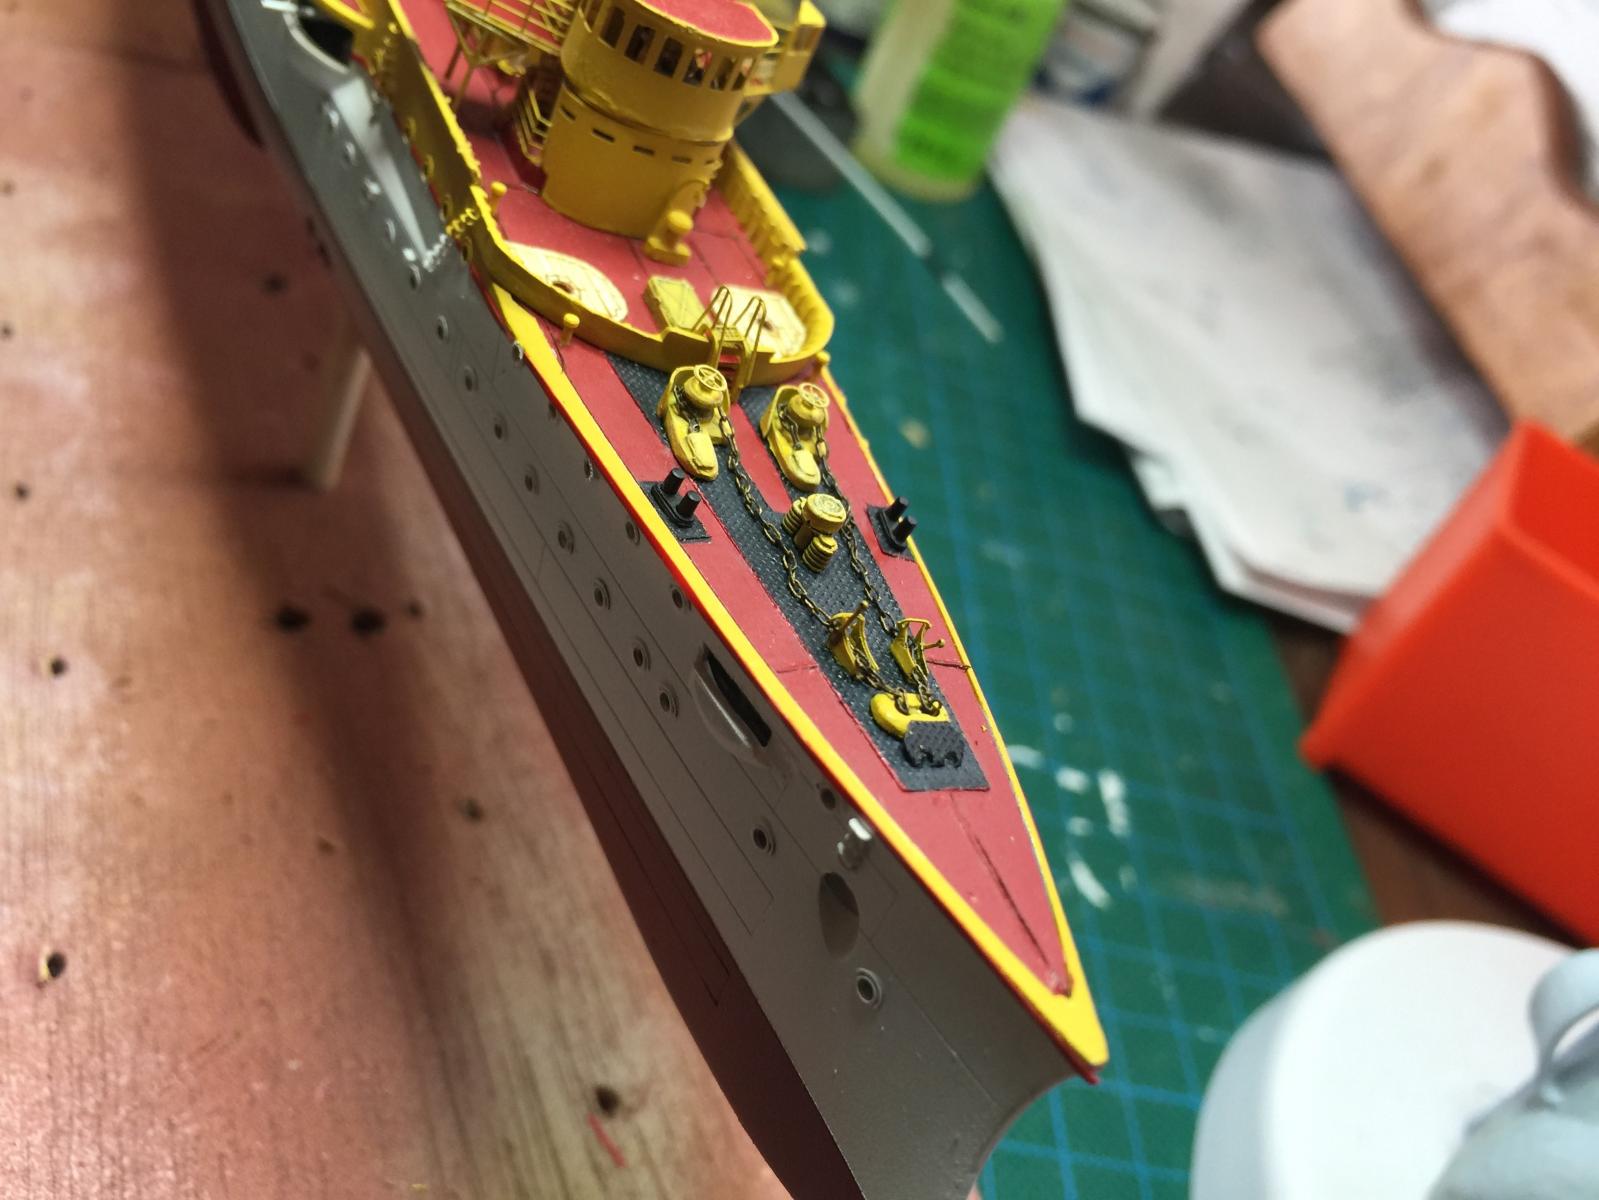
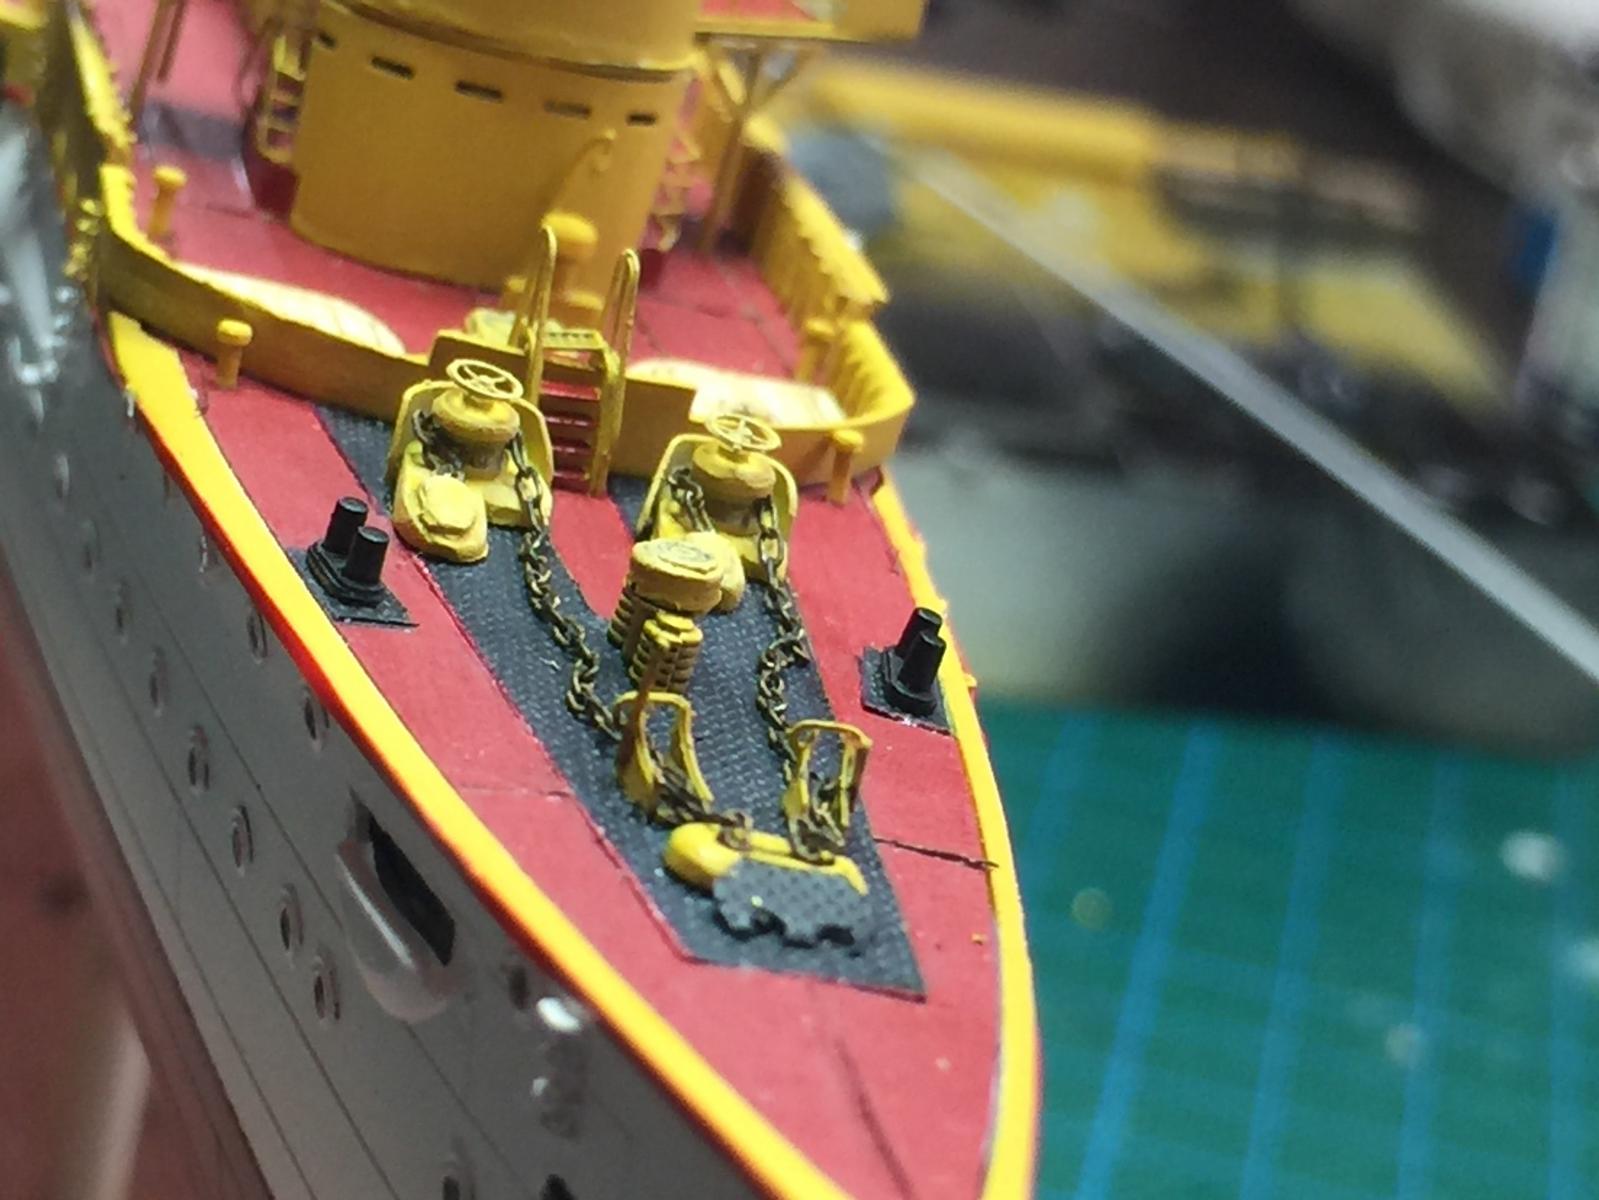
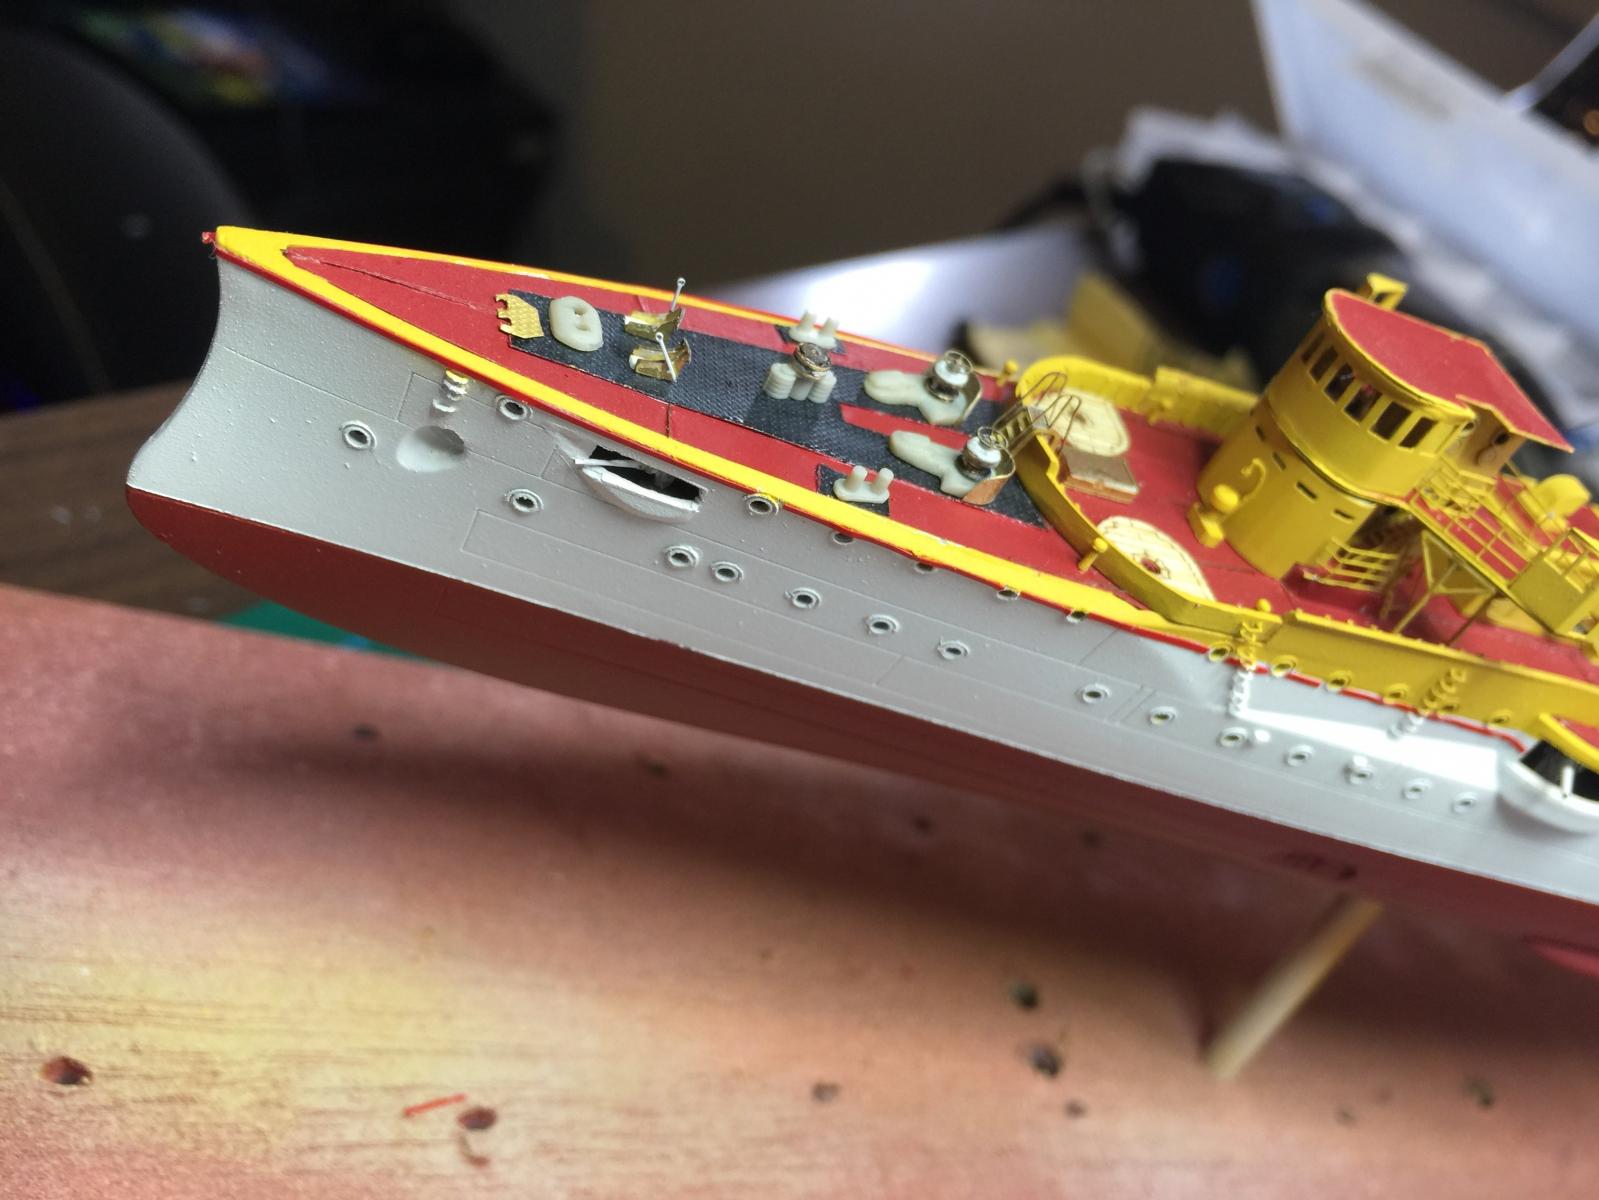
Bit of paint and weathering, comes up OK, added some Artwox Chain (Park from Artwox is sending me some Fairleads which are not included). I have not even started on the spare anchor or its' fish davit, nor railings. Long way off. As you can see it is a very small area and adding more tackle will just look too busy. You may notice I have added an ammunition elevator, winch, vents and a hatch mentioned no where else but in the Huff plans.
Its a 21 year old kit, so it's getting old in the tooth.


-
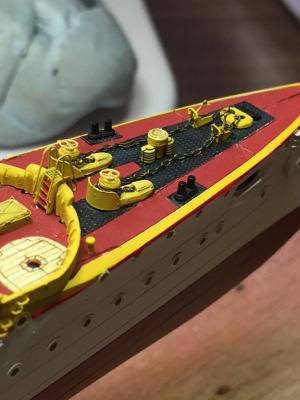
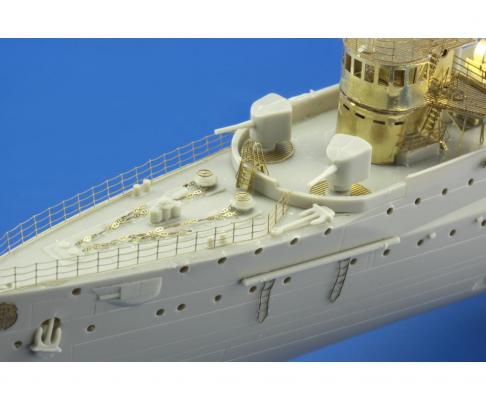
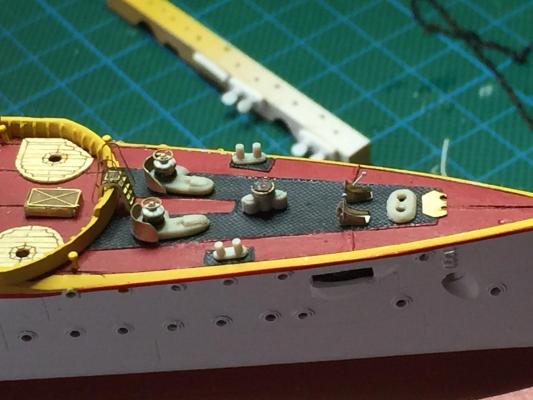
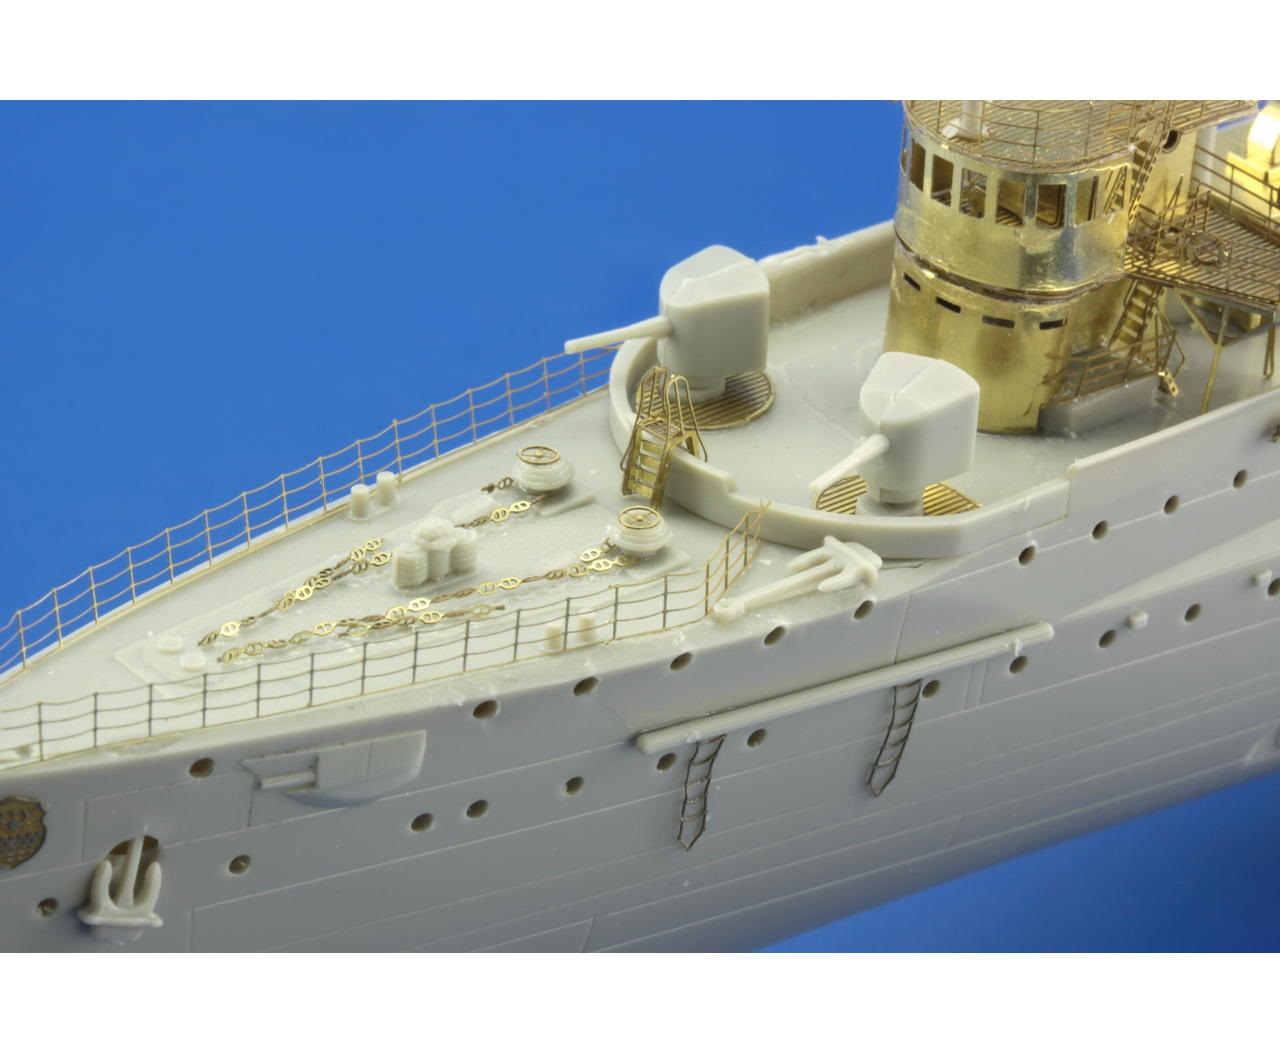
Moving back to the front of the bus, this has probably been the most labor intensive part for such a small area. Cutting off the bollards and re shaping the capstans etc, scratch building the anchor chain brakes, adding the metal deck, it is so bloody small it has become a case of less is more as adding any extra tackle will just look messy. I have added an open source photo from Eduard how it is supposed to look if you just use the Eduard stuff.

- robin b, mtaylor, Captain Slog and 5 others
-
8
-
Looks just like a bought one Dave, some of us had to work at Easter tho! I got today in and will post when the daughter gets off the computer.
-
-
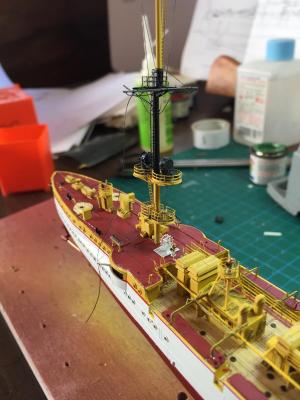
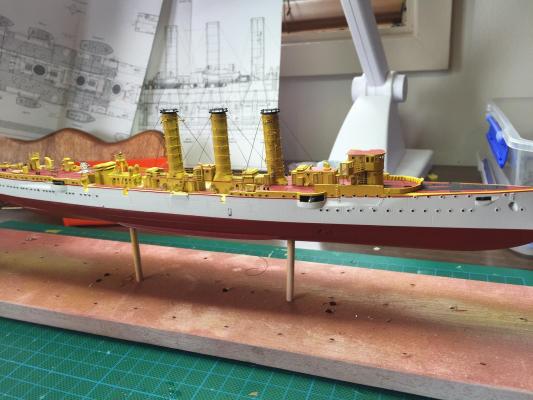
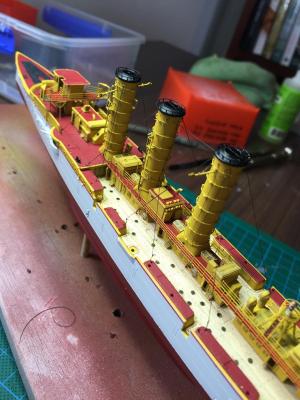
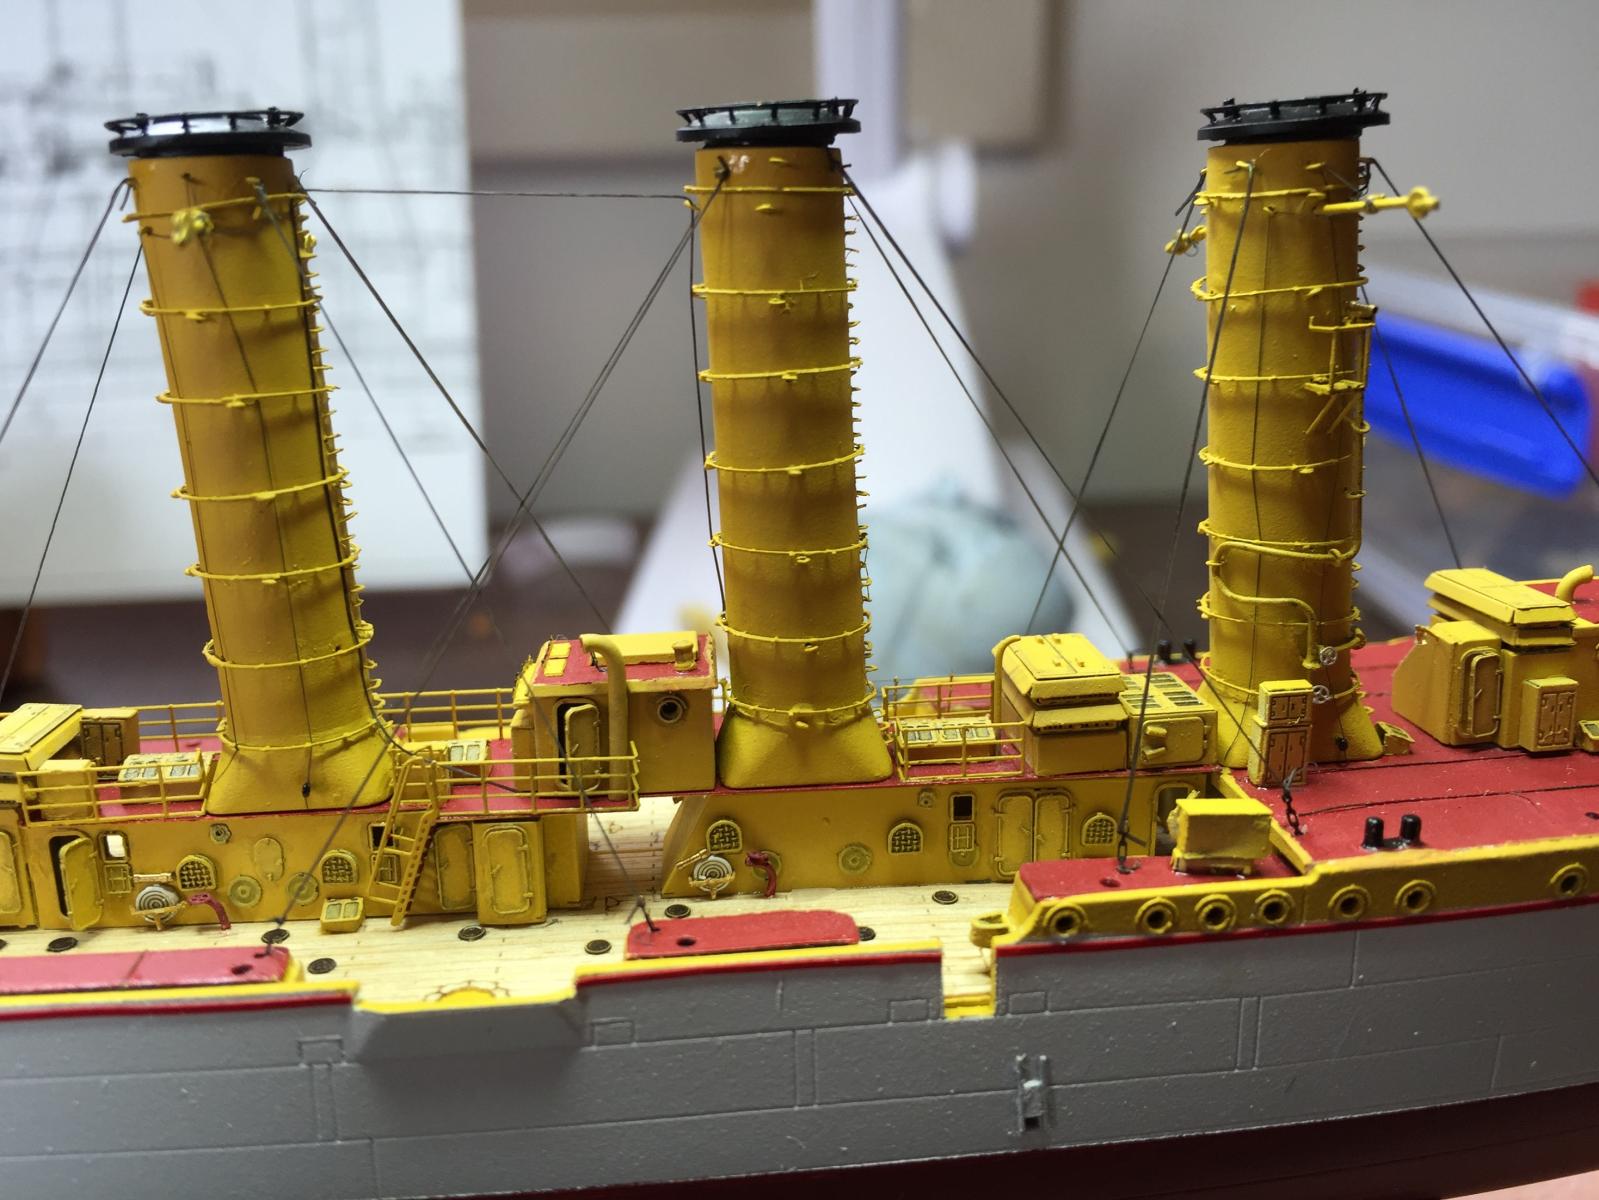
Funnels rigged and added. I can now add the final deck fittings, the anchor chains etc, then start on the masts, finish up the railings then some side details. The last bit will be the guns.

- hof00, Captain Slog, robin b and 9 others
-
12
-
-
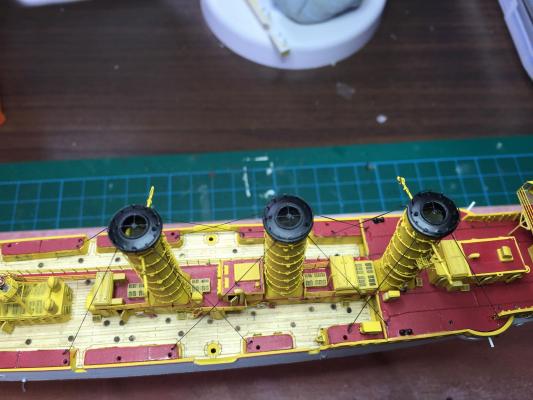
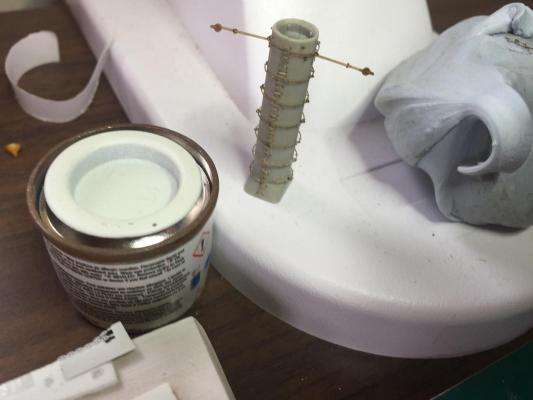
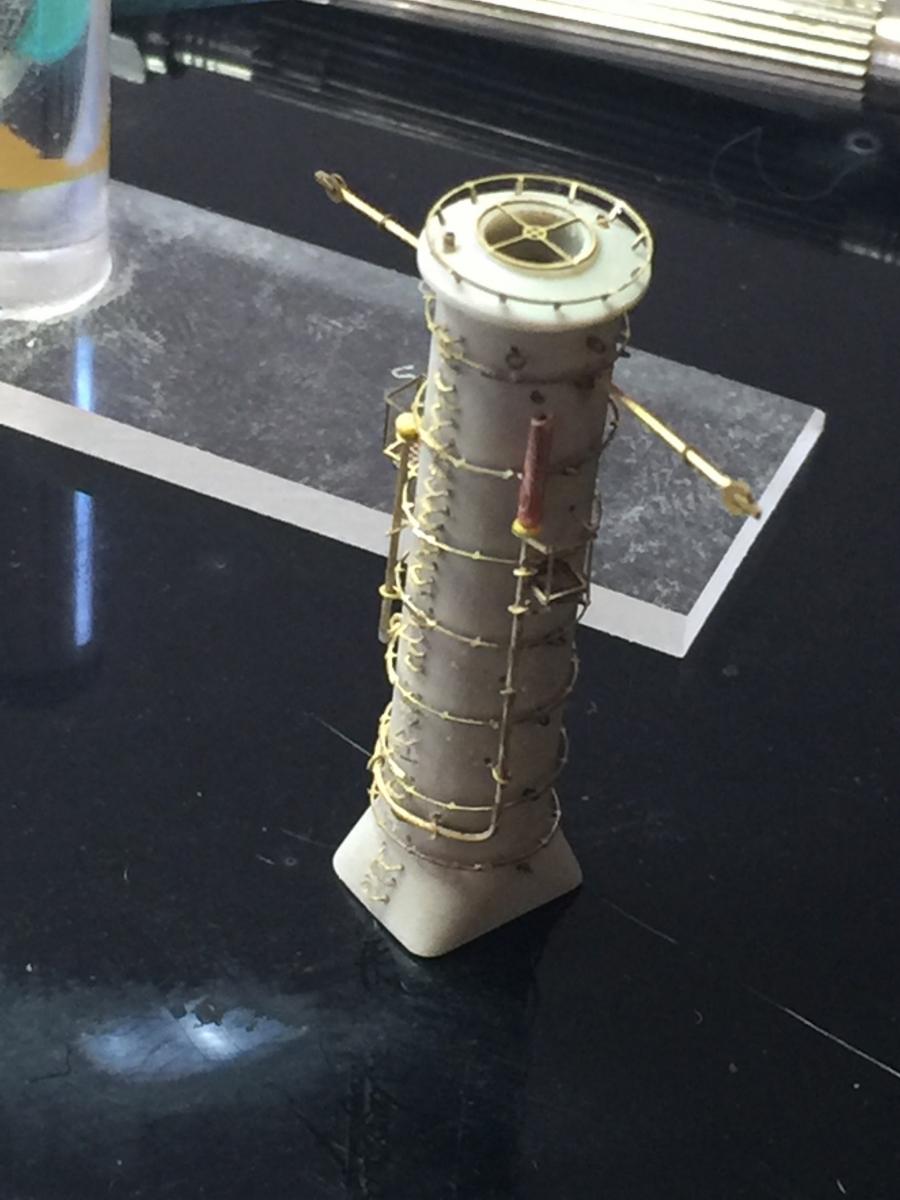
Nearly there with the funnels, just have to align and plonk them on and put on the guy wires. Now they are painted I have added the small brass horns and the small fly wheels, and the rigging for the bits that stick off the fore and aft funnels which i still am unable to find out what they are. they don't look that great on macro but when looked at compared to my hand size they have come out OK.
-
The whole etch thing just seems to take forever at times! Because of the scale you say to yourself where did it go? 2 days work and I can't see it anymore! As long as you know that's all that matters old boy, I'm still trying to rig funnels.
- mtaylor, Old Collingwood, Canute and 1 other
-
4
-
-
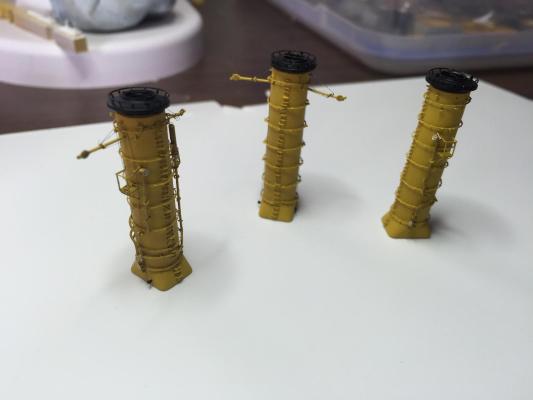
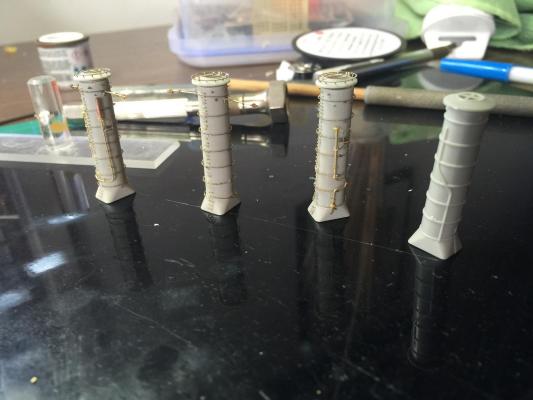
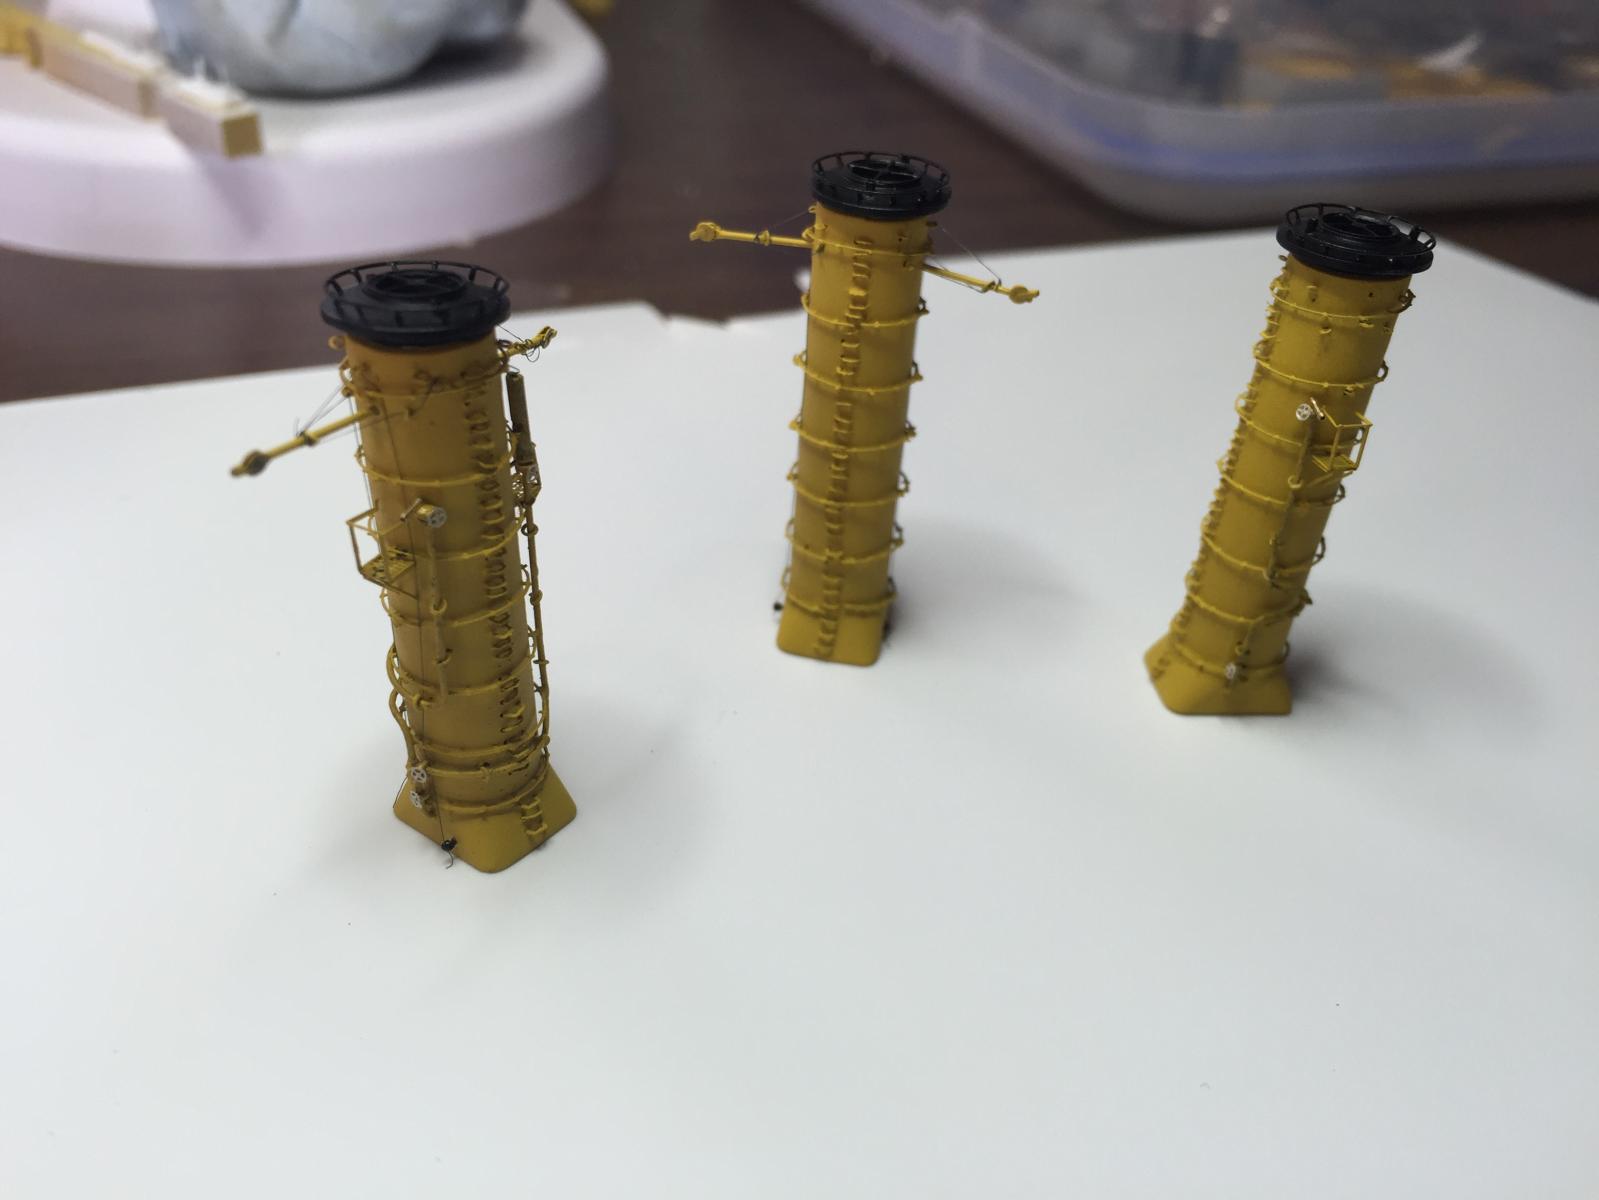
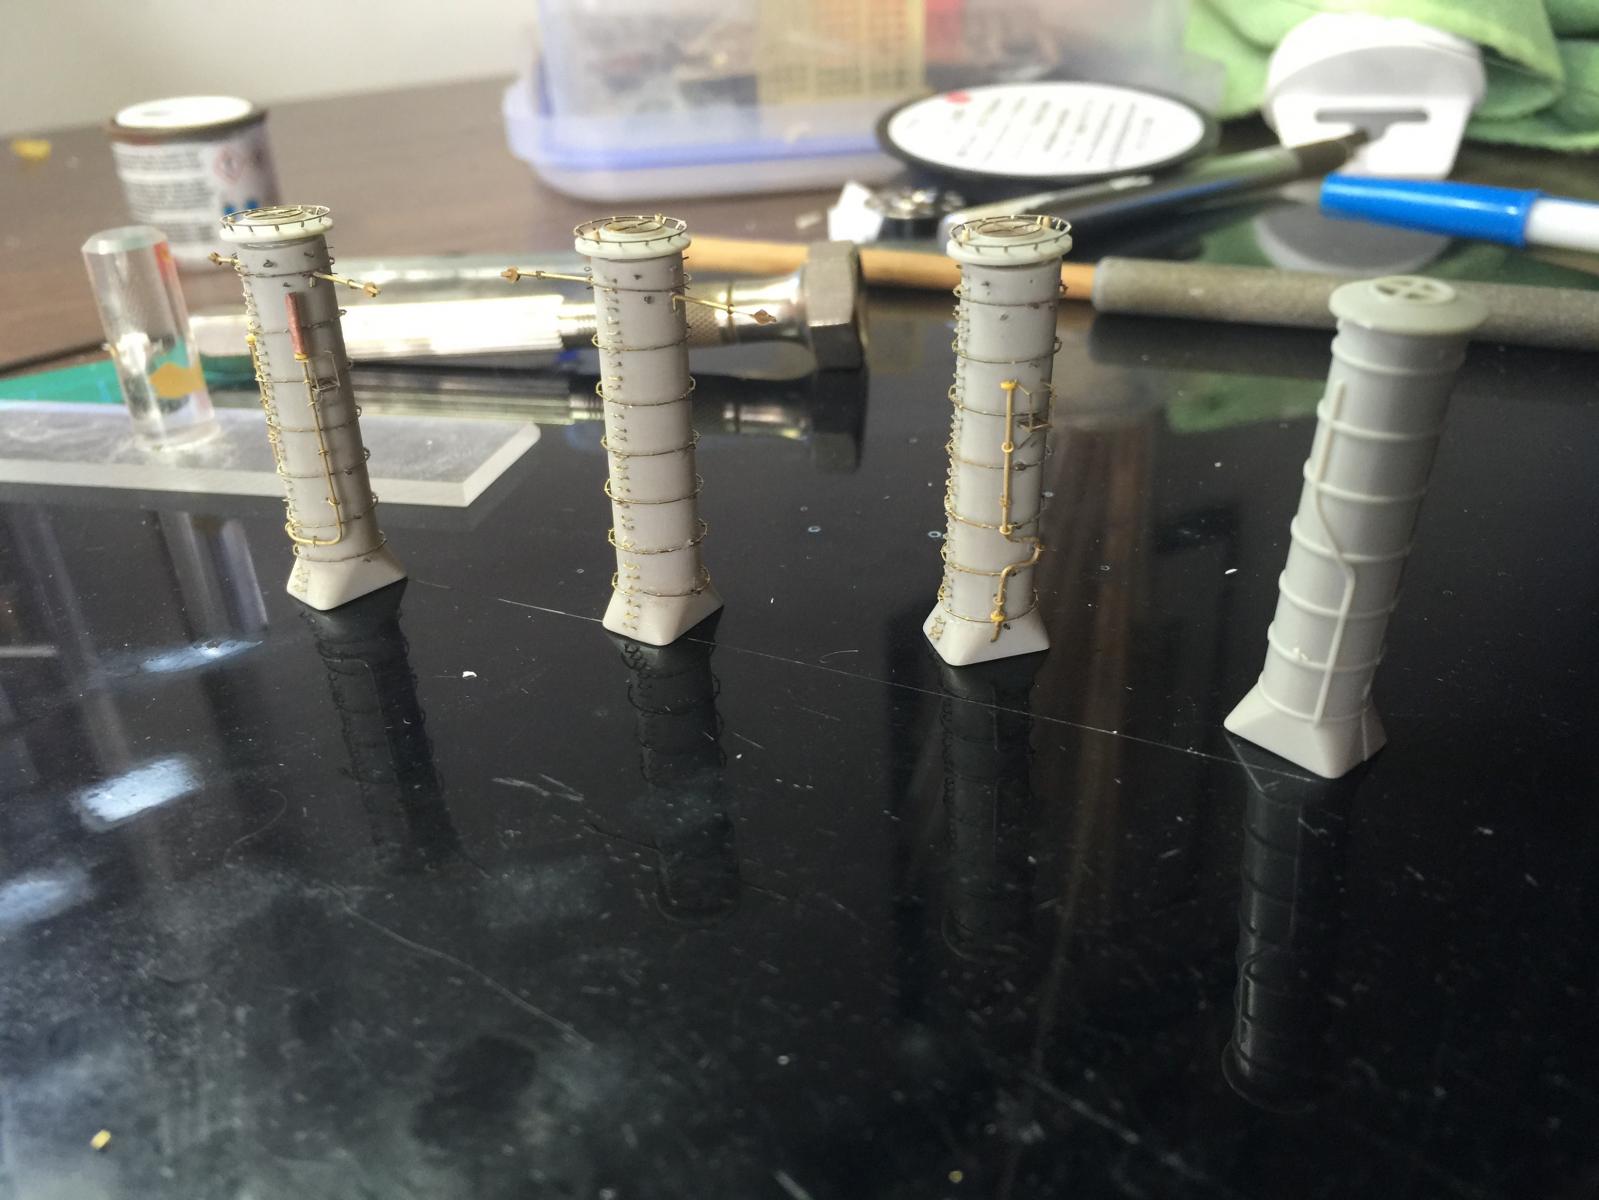
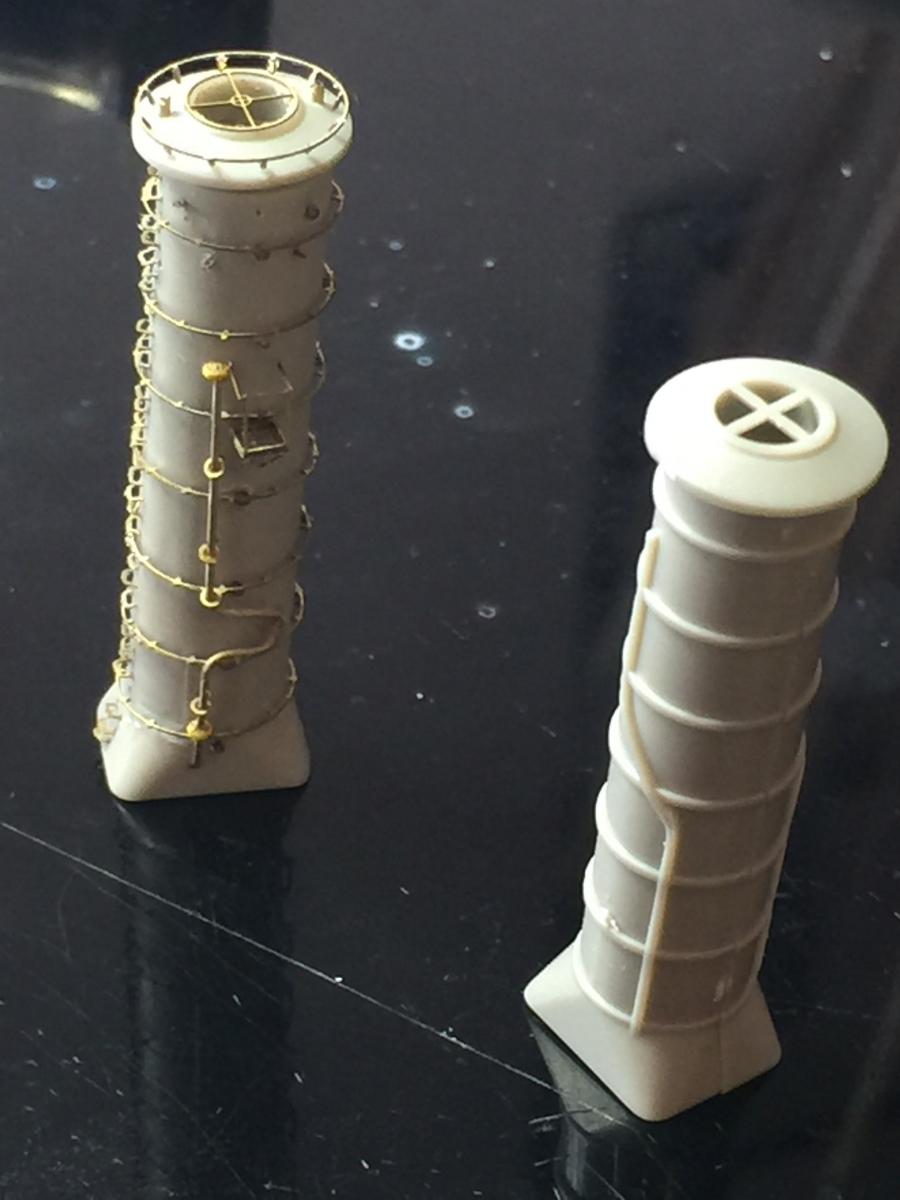
Nearly done with the funnels. A primer coat, fix the gaps that show up, top coat and add some brass horns. I scratch built the pipes on the sides, and added some vents to the top as described in the plans. It's amazing how far we've come since the 1995 kit with aftermarket and bloodymindedness. You can compare what the kit gives you to the possibilities.


- BANYAN, schooner, Captain Slog and 8 others
-
11
-
-
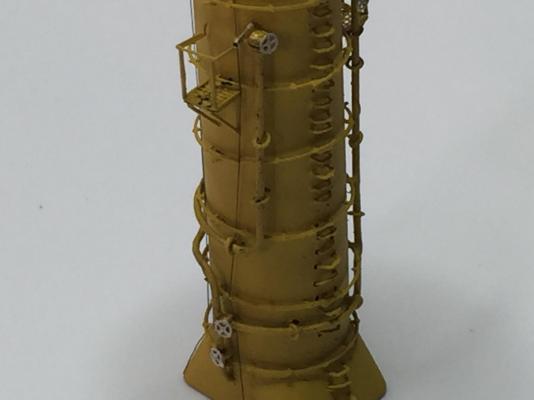
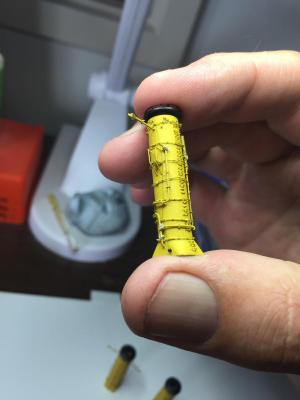
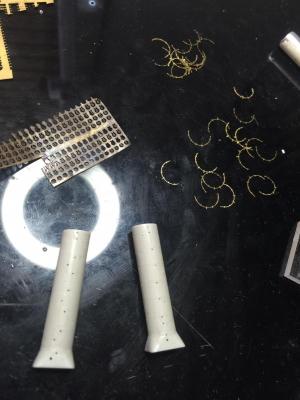
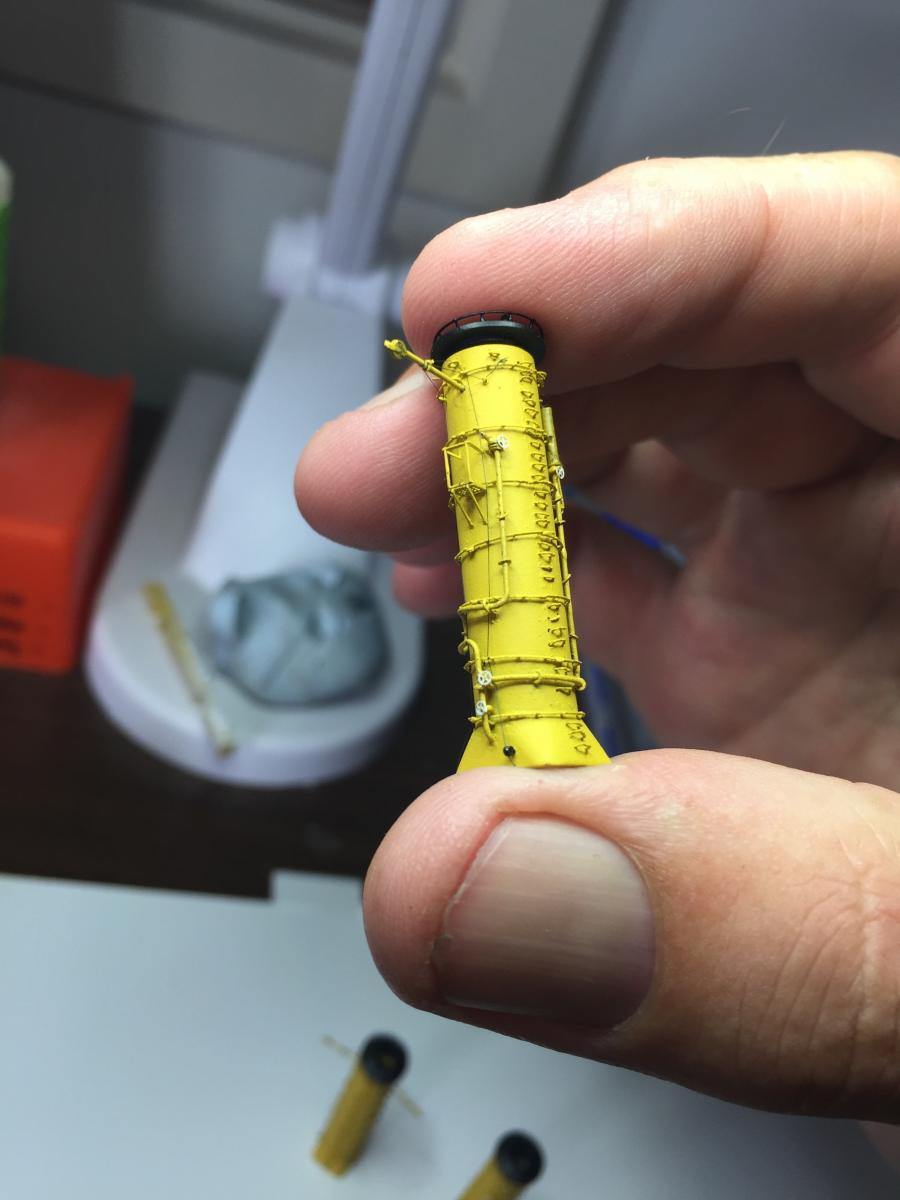
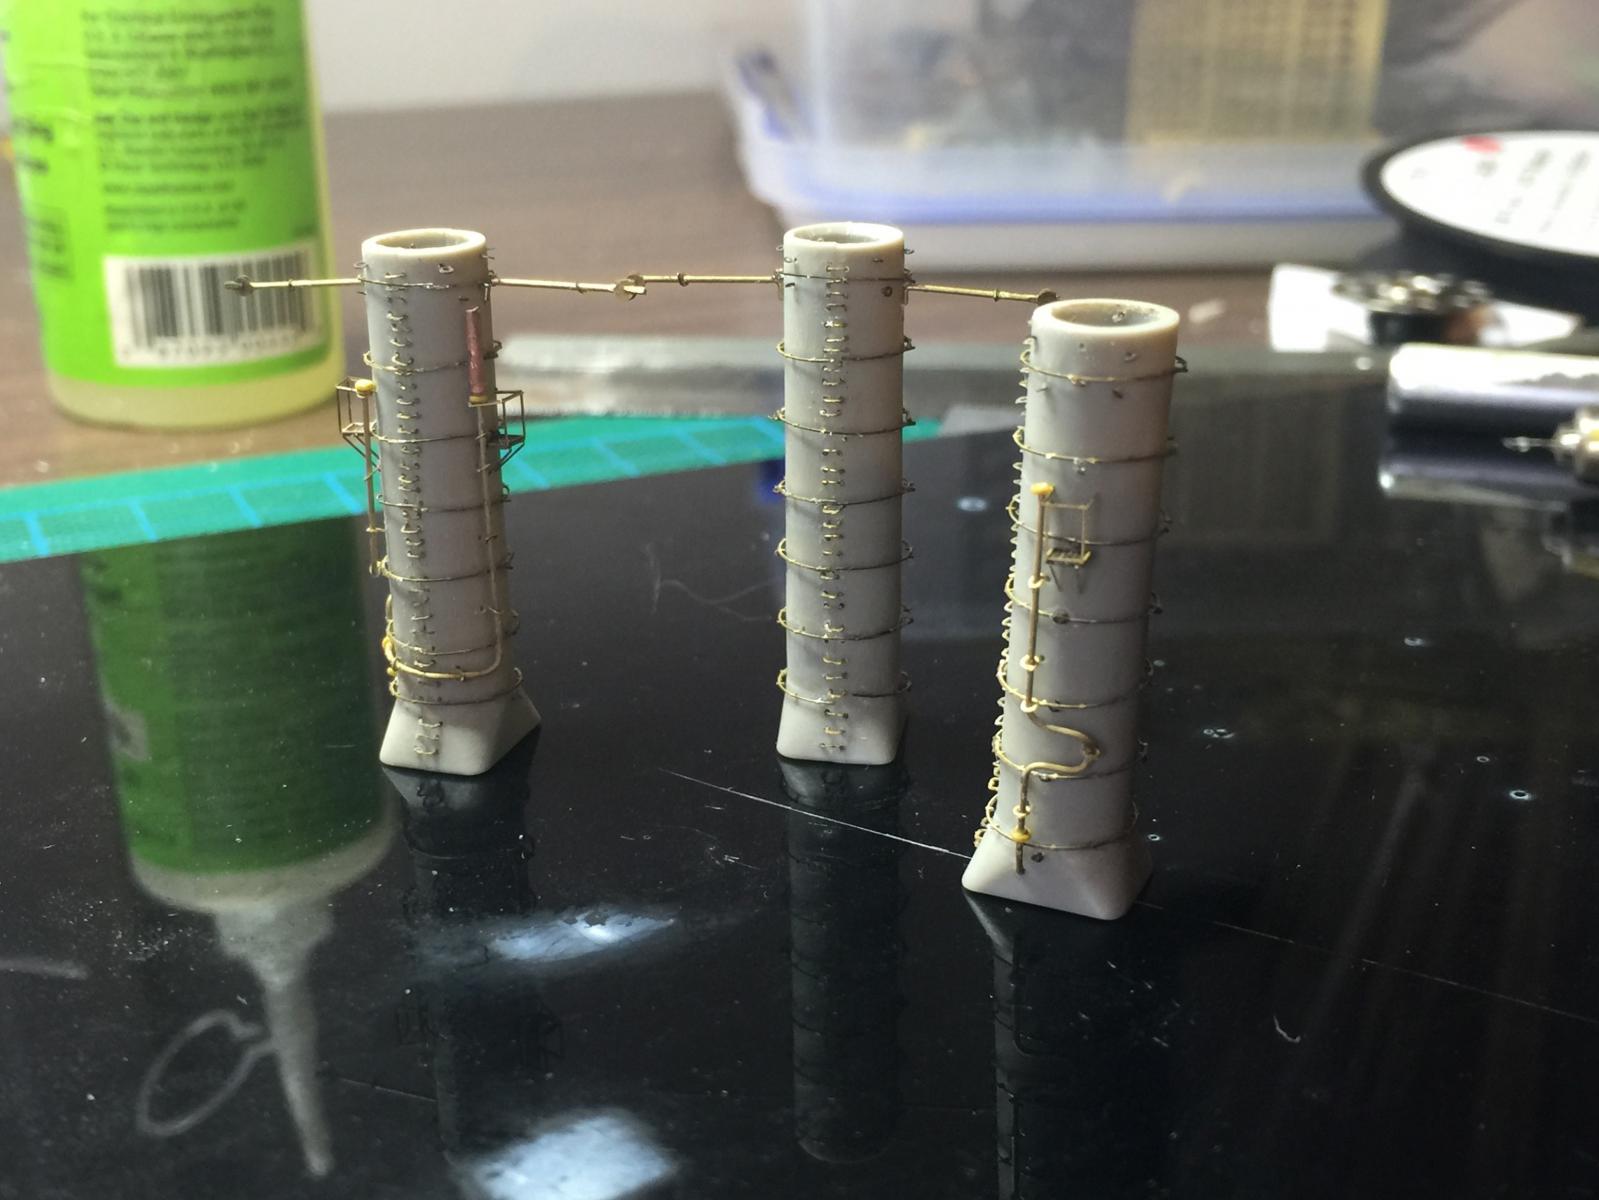
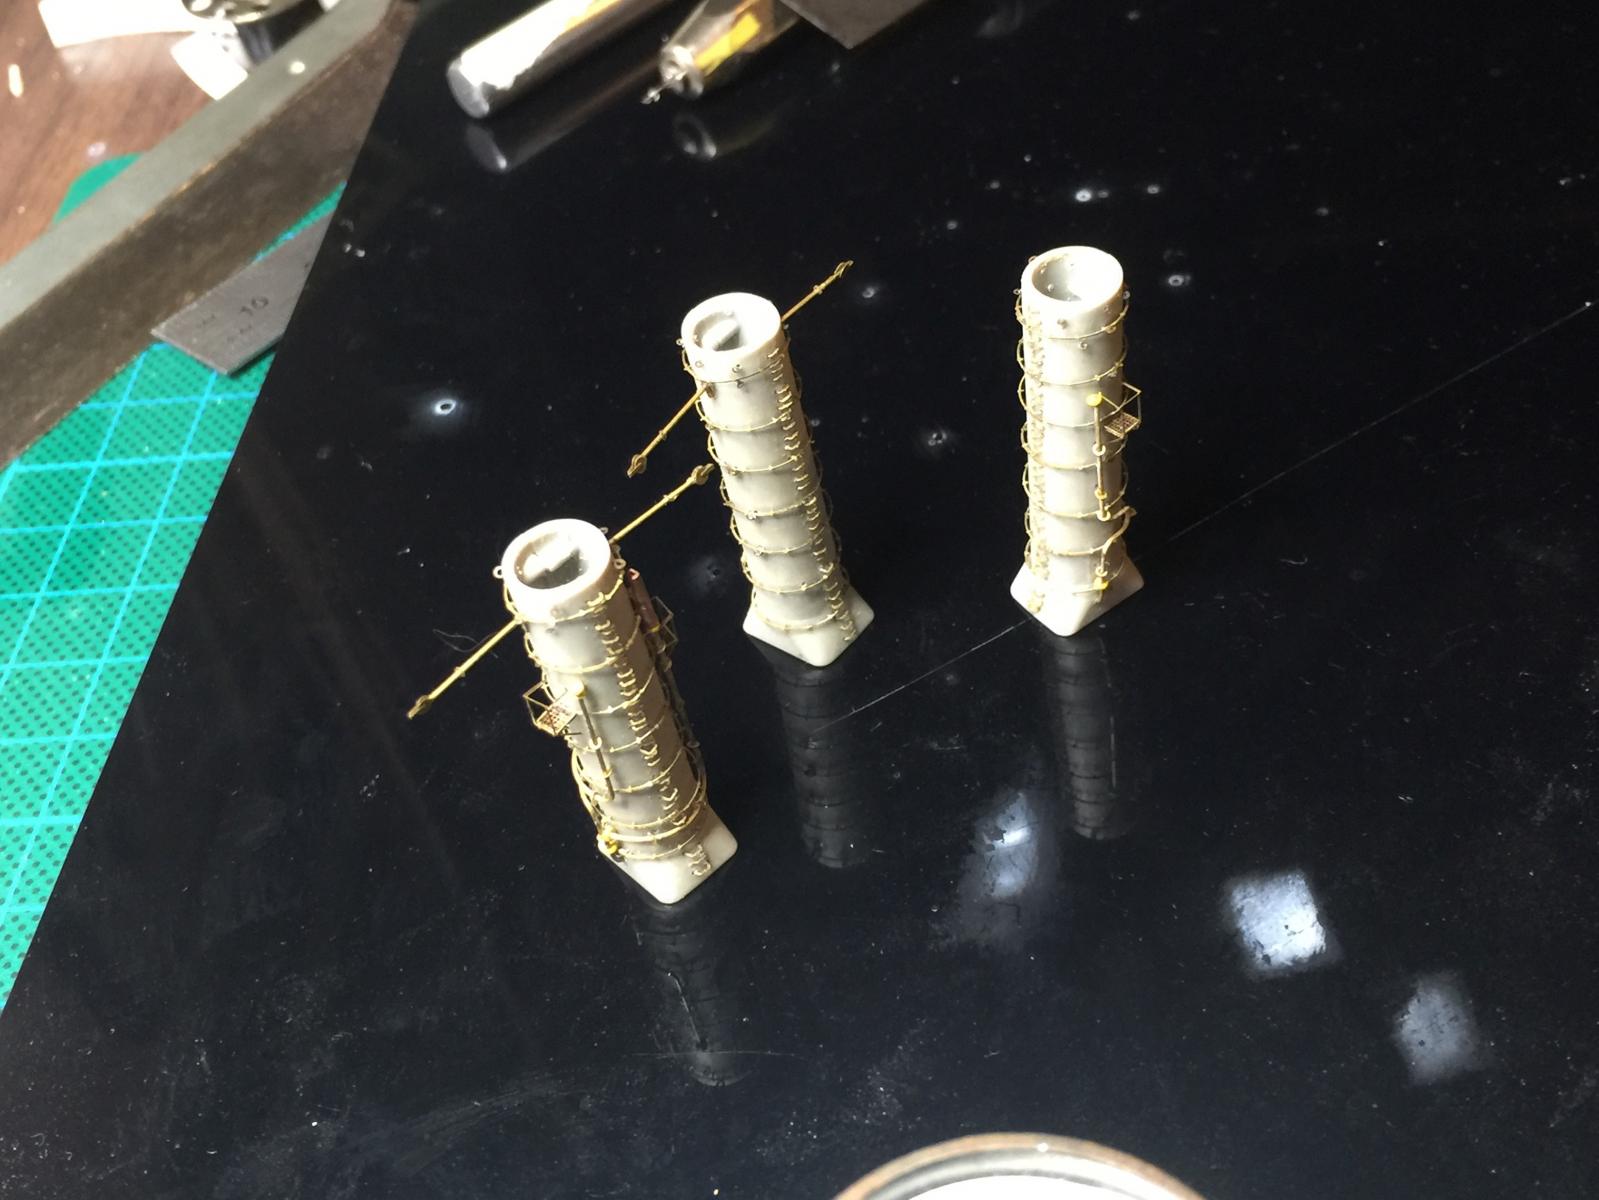
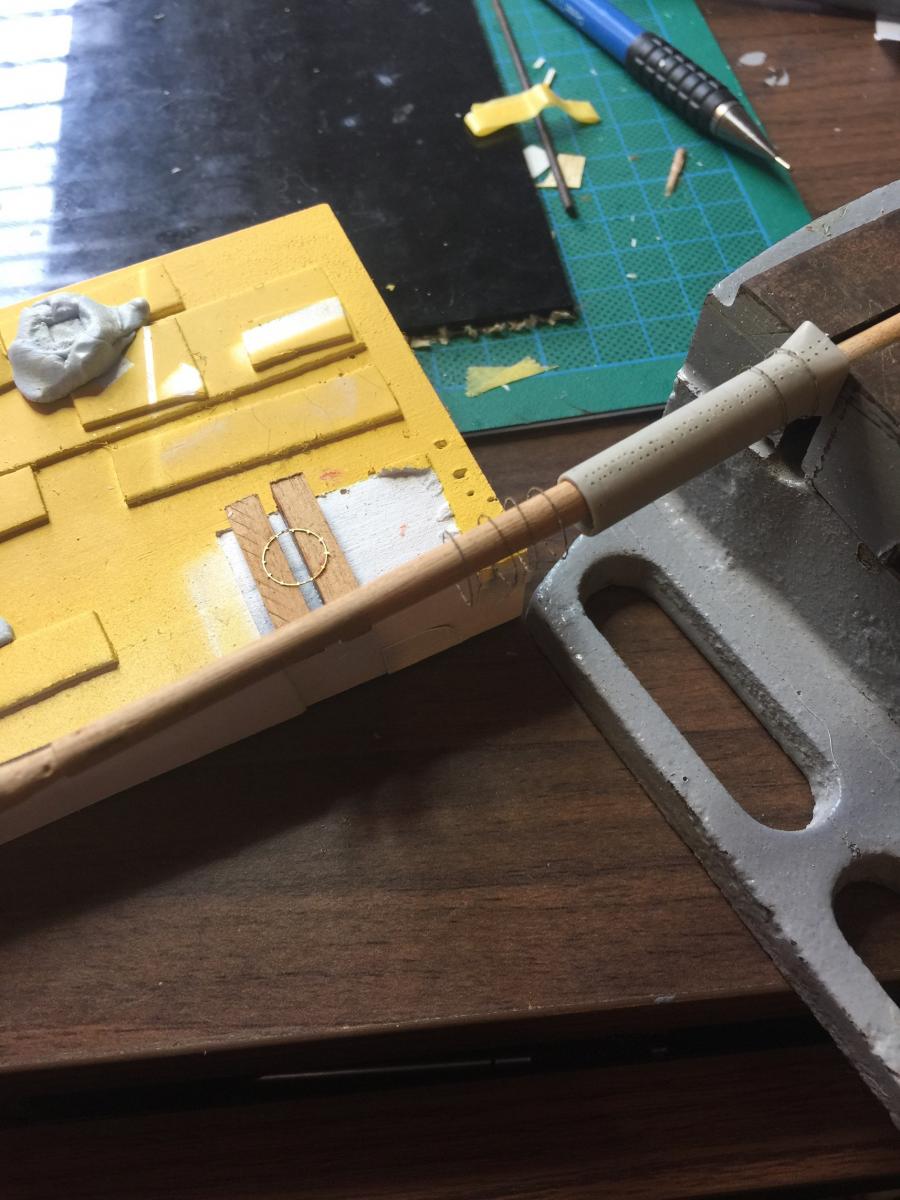
Moving on and thanks for the likes and comments. The Eduard fret has rings designed for the rims that that placed on the funnels. As such I needed to make mantles for them to sit on. This requires the rings to be made into a circle as they come in 2 halves.
As you can see I used to little piece of wood so I can CA them together, then run them onto the funnel which is secured on a dowel then sliding them on piece by piece after using some tiny flue rings for them to sit. This has taken me a couple of days to perfect as I started over a few times to get them to run parallel.
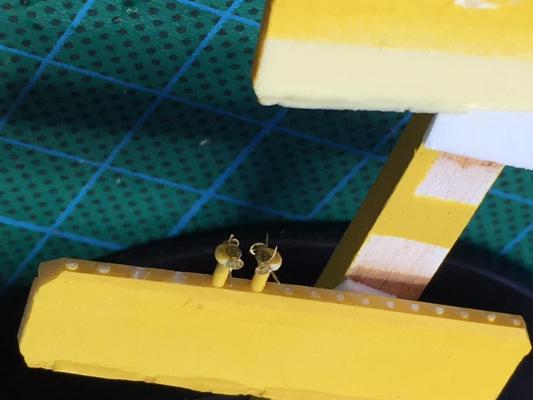
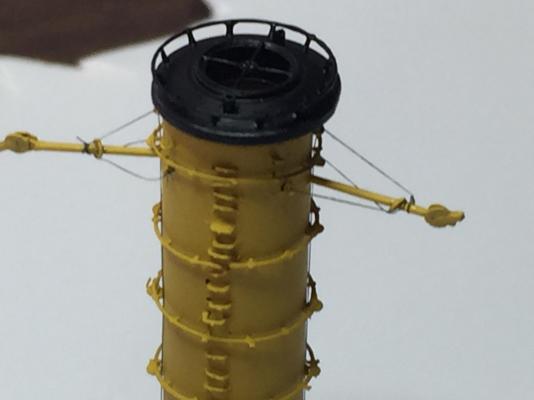
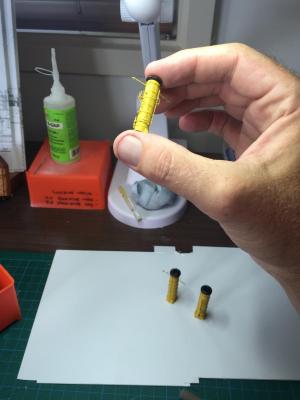
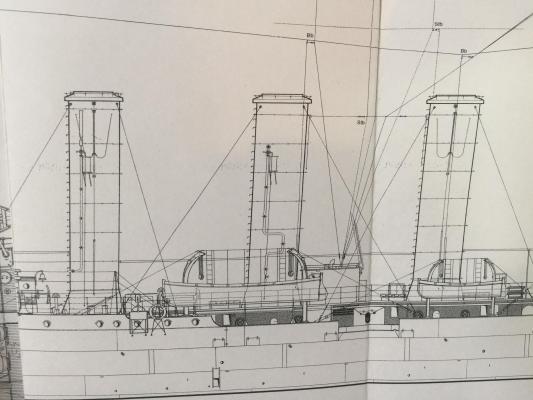
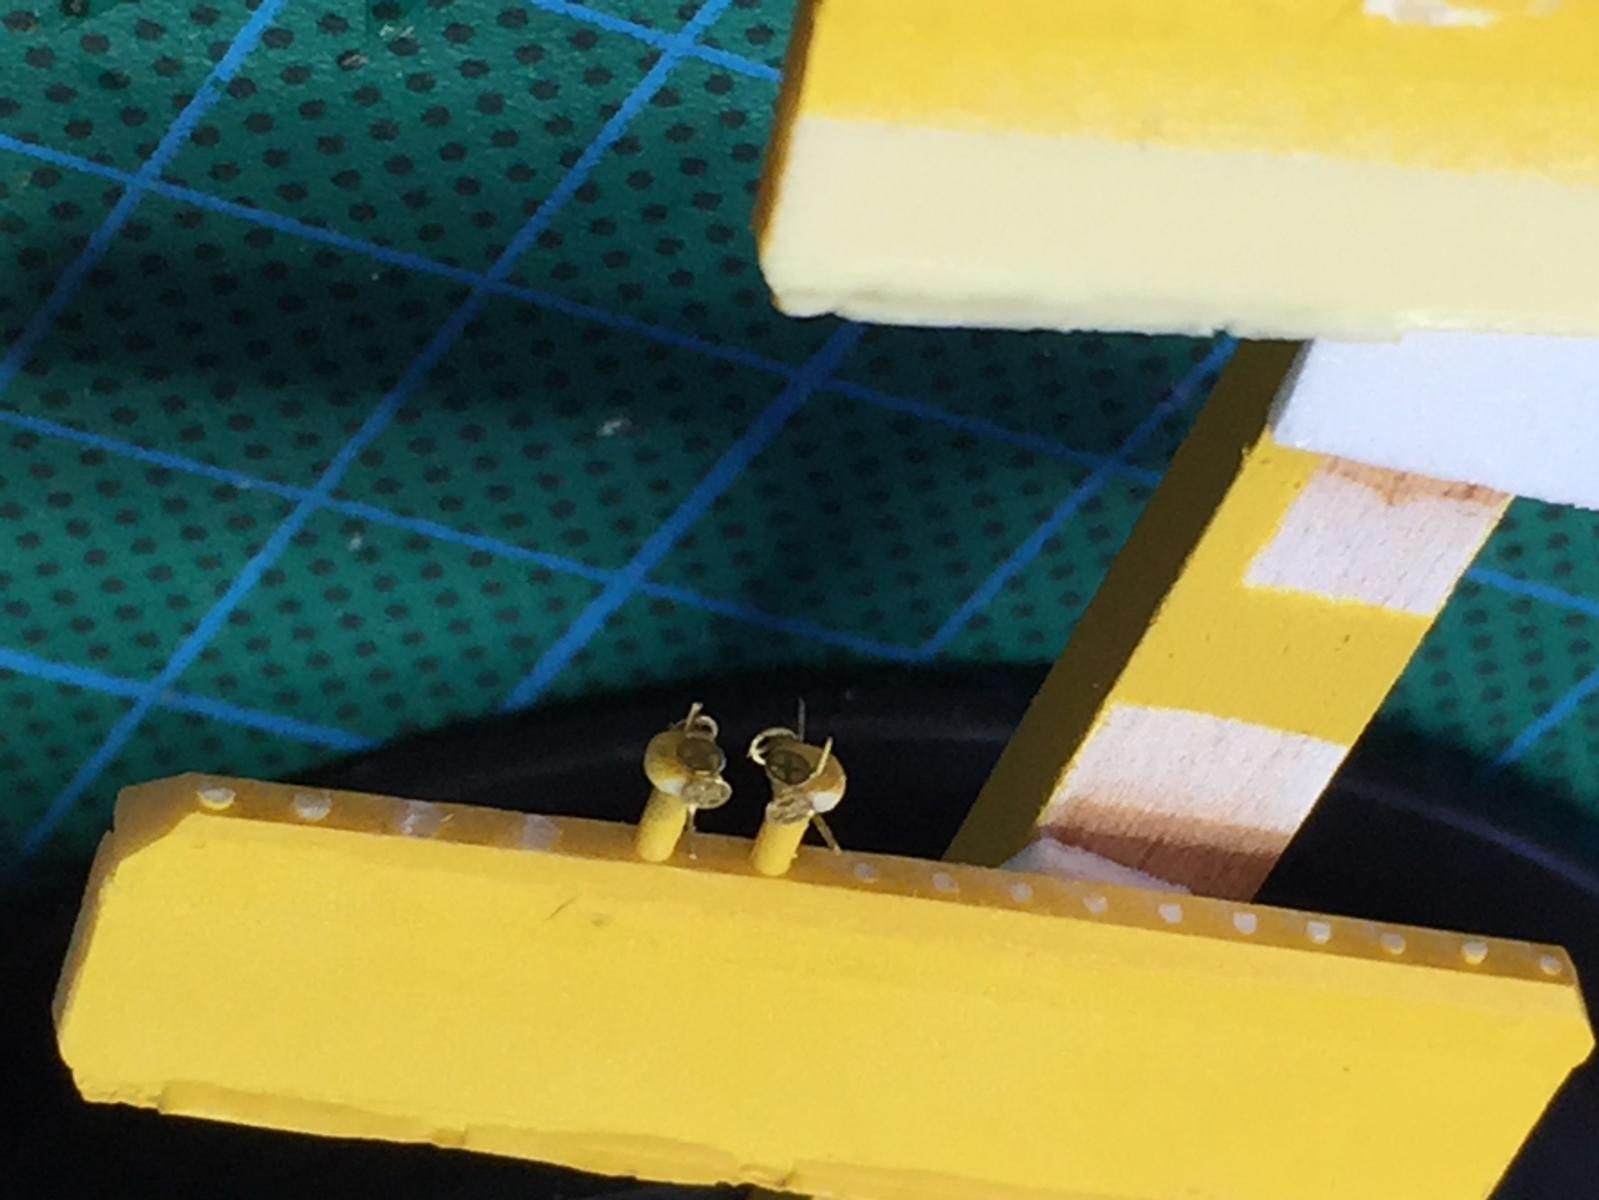
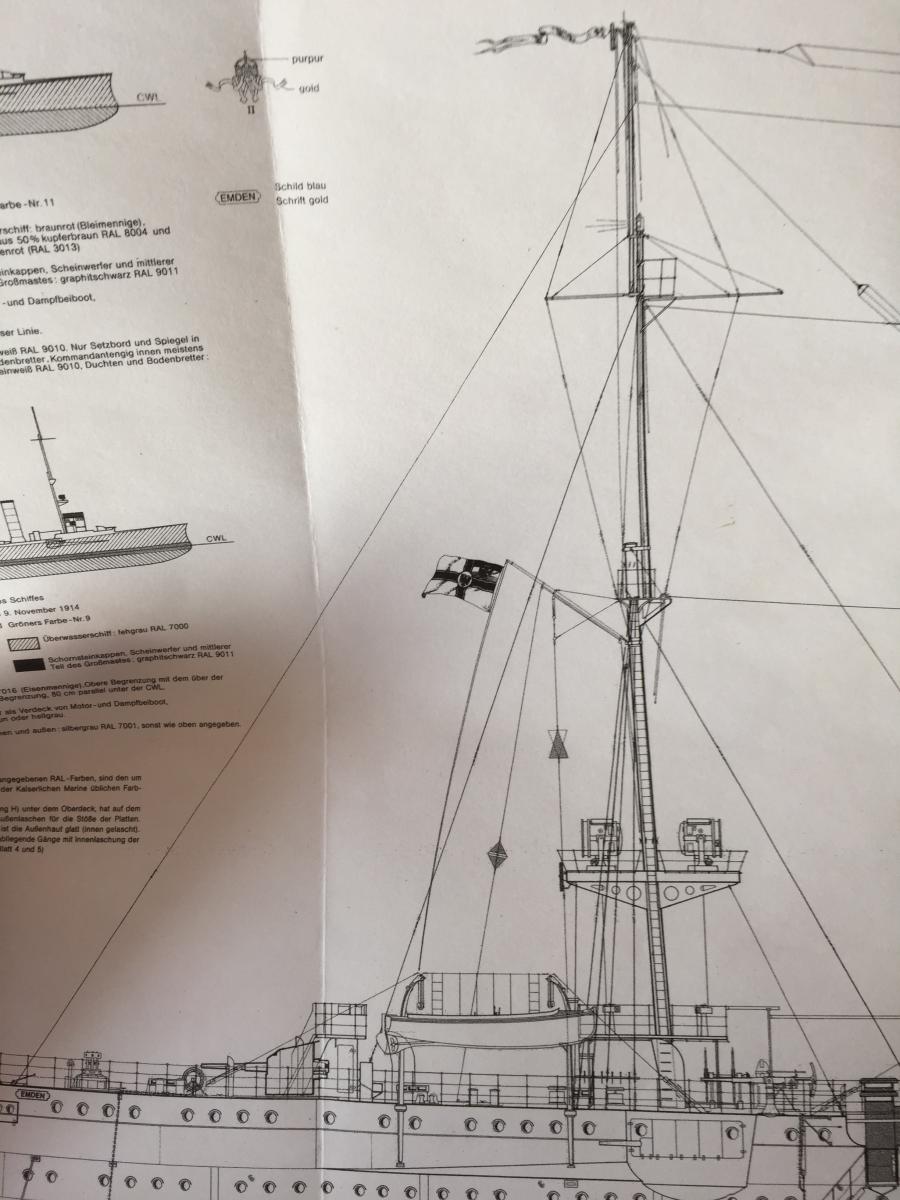
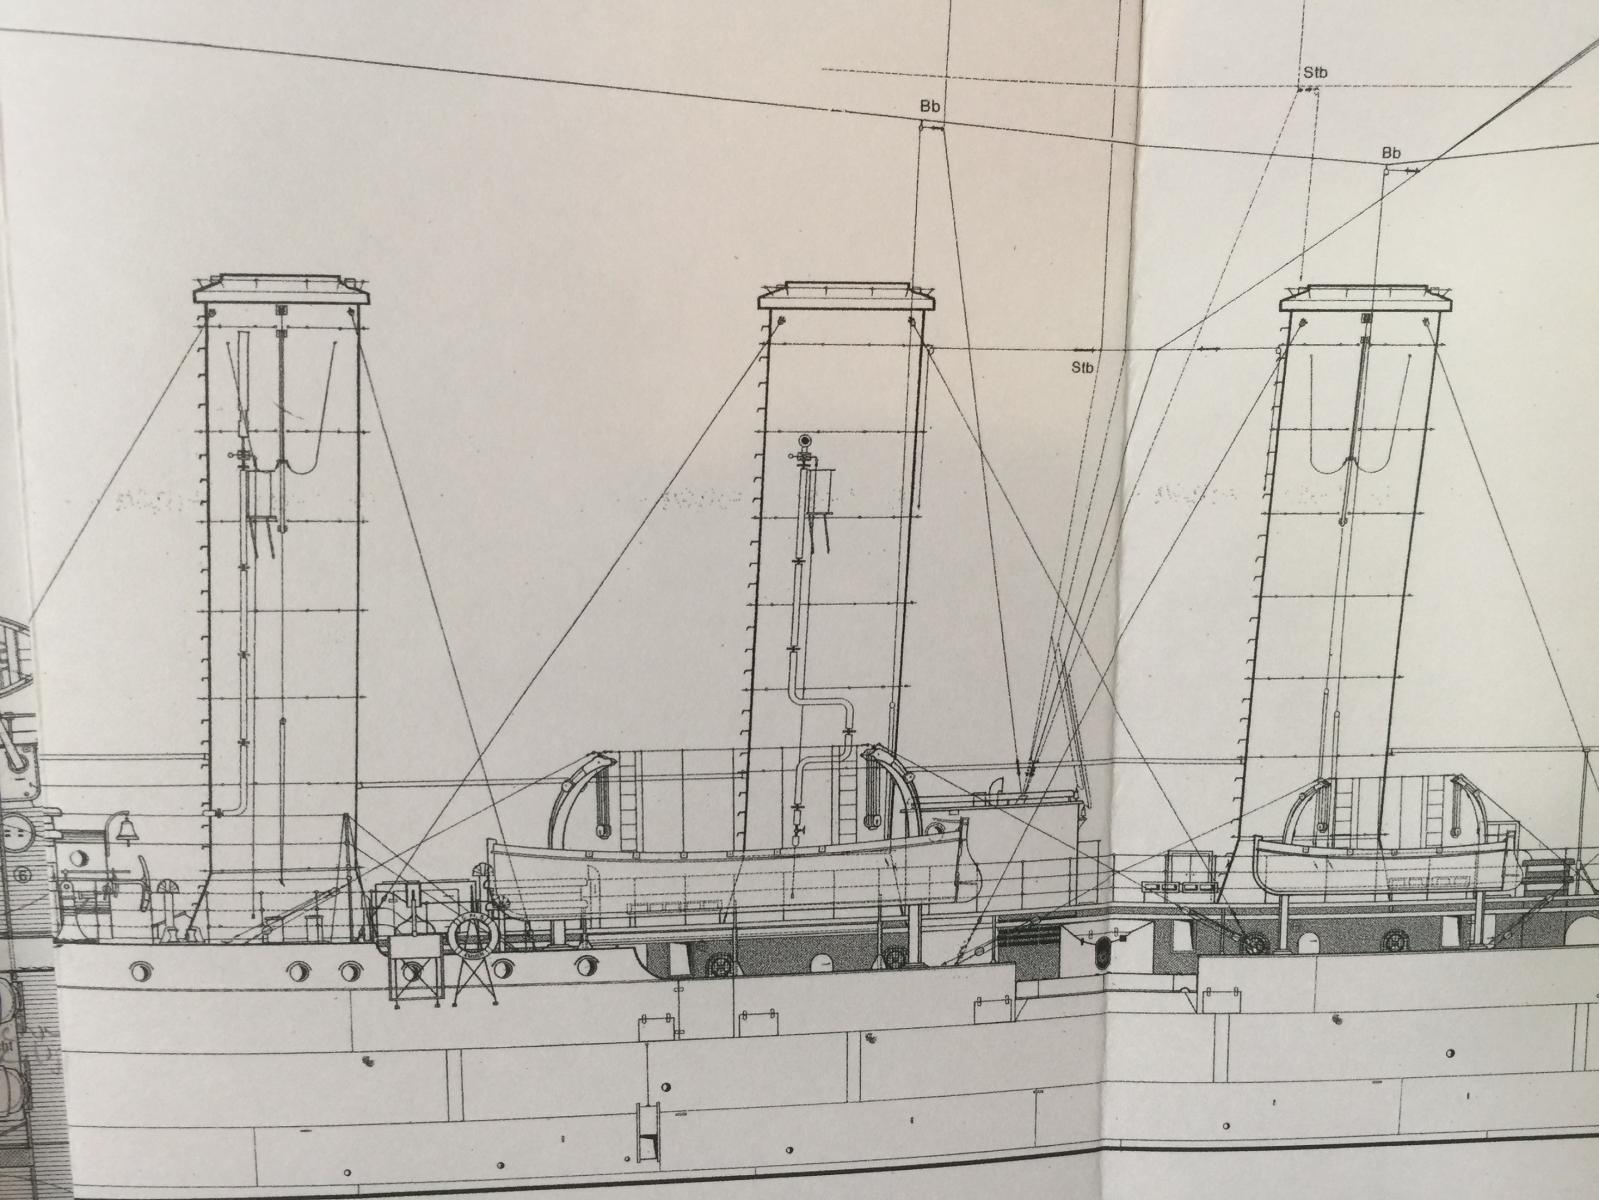
There are 4 little pieces which sit on the fore and aft funnel. I have no Idea what they are. Anyone? they look like little pulley system which i wonder are used on coaling the ship. The Eduard fret provides a tiny little crows foot which does no correspond with the Huff plans for the attached photo of his model at 1/100 (Which would be a scale far more friendly on my eyes and shaking fingers after coffee.
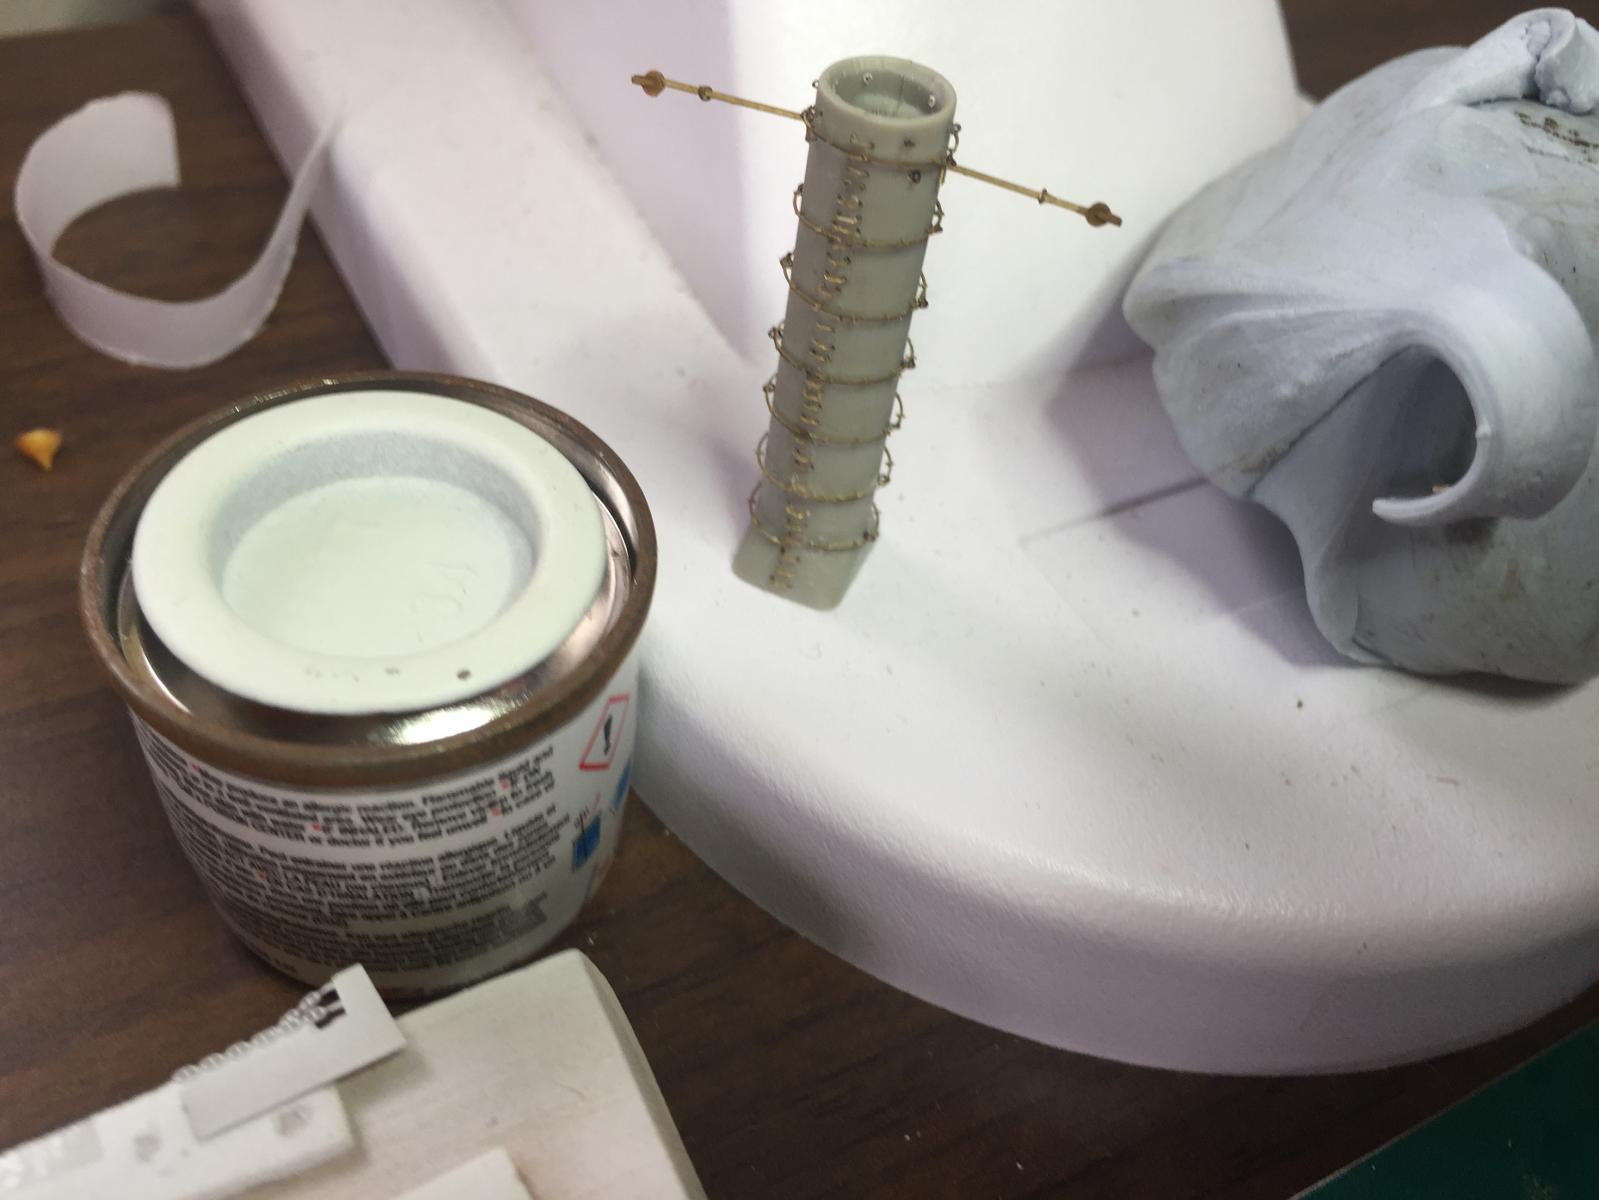
I scratch built some using some tiny brass rod with a pulley at the end and a ring 1/3 from the end which i will attach rigging after I have painted it.
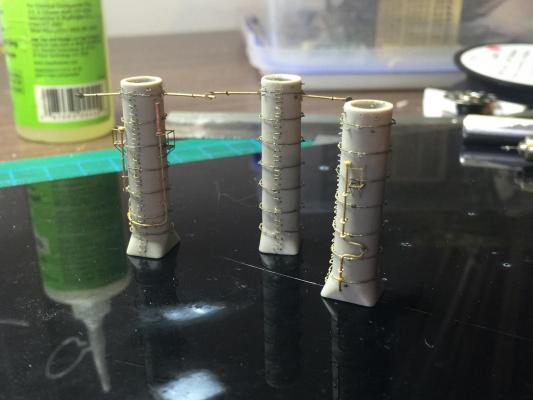
I did the aft funnel first to get some dimensions so I could figure out the clearance needed for the steam pipe / Ships horns on the outside.
Each funnels also has about 30 individual steps which run up the front of them to the caps (Which I will do after I finish the funnels.


SMS Emden by RGL - FINISHED - Revell - 1/350 - PLASTIC
in - Kit build logs for subjects built from 1901 - Present Day
Posted
Mate you'll be fine, the problem at this scale is rigging, it's hard to belay, pulleys and blocks are too small, and you have to come up with a representation of what it should look like. I e spent 6 hours today doing shrouds and signal ropes. All my plans were for nought as to what I wanted to do as its too small. On a wooden ship I can belay and place stays, at this scale there is no rope on earth I can use, so I use EZ line, which sometimes does what it wants. Rigging my Endeavour was fun and logical, this is not.