


RGL
-
Posts
5,388 -
Joined
-
Last visited
Content Type
Profiles
Forums
Gallery
Events
Posts posted by RGL
-
-
Thank you all, I may have started tinkering with the new kit, getting my head around the old argument of the chicken and the egg as to construction and how I can complete with some of the other builds (there are a lot).
I will weather it, but that's like being a little bit pregnant as to how far I go. My first 3 builds were shipyard models so it was kept to highlighting features only. I recently watched the Japanese movie about the last days of the Yamato and I am of the firm belief that their nature would have everything accessible clean as possible.
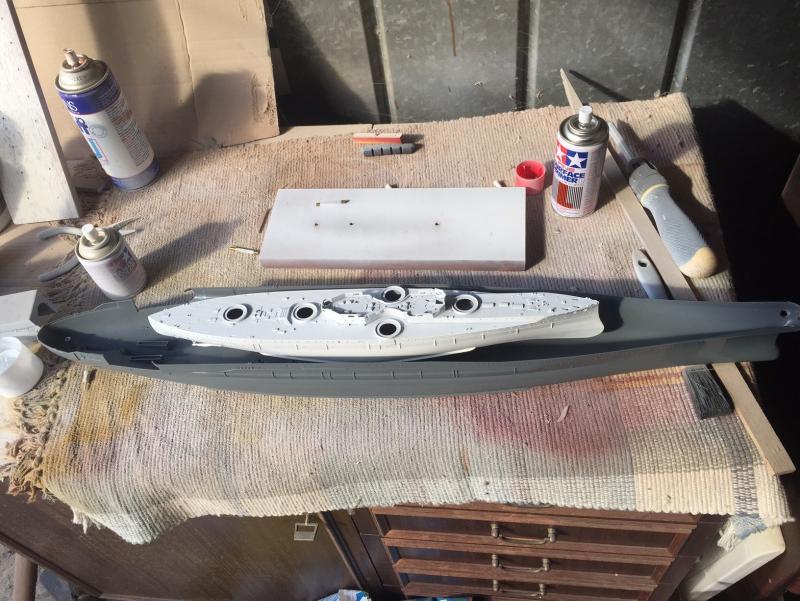
I have decided on an airbrush but I think I will do a LOT of pre construction first (I have to convince the wife why I am spending so much on a toy), but I can put that purchase off for a while as this is a very big elephant to eat.
-
-
Wet sail to the finish line now
- ggrieco, popeye the sailor, mtaylor and 1 other
-
 4
4
-
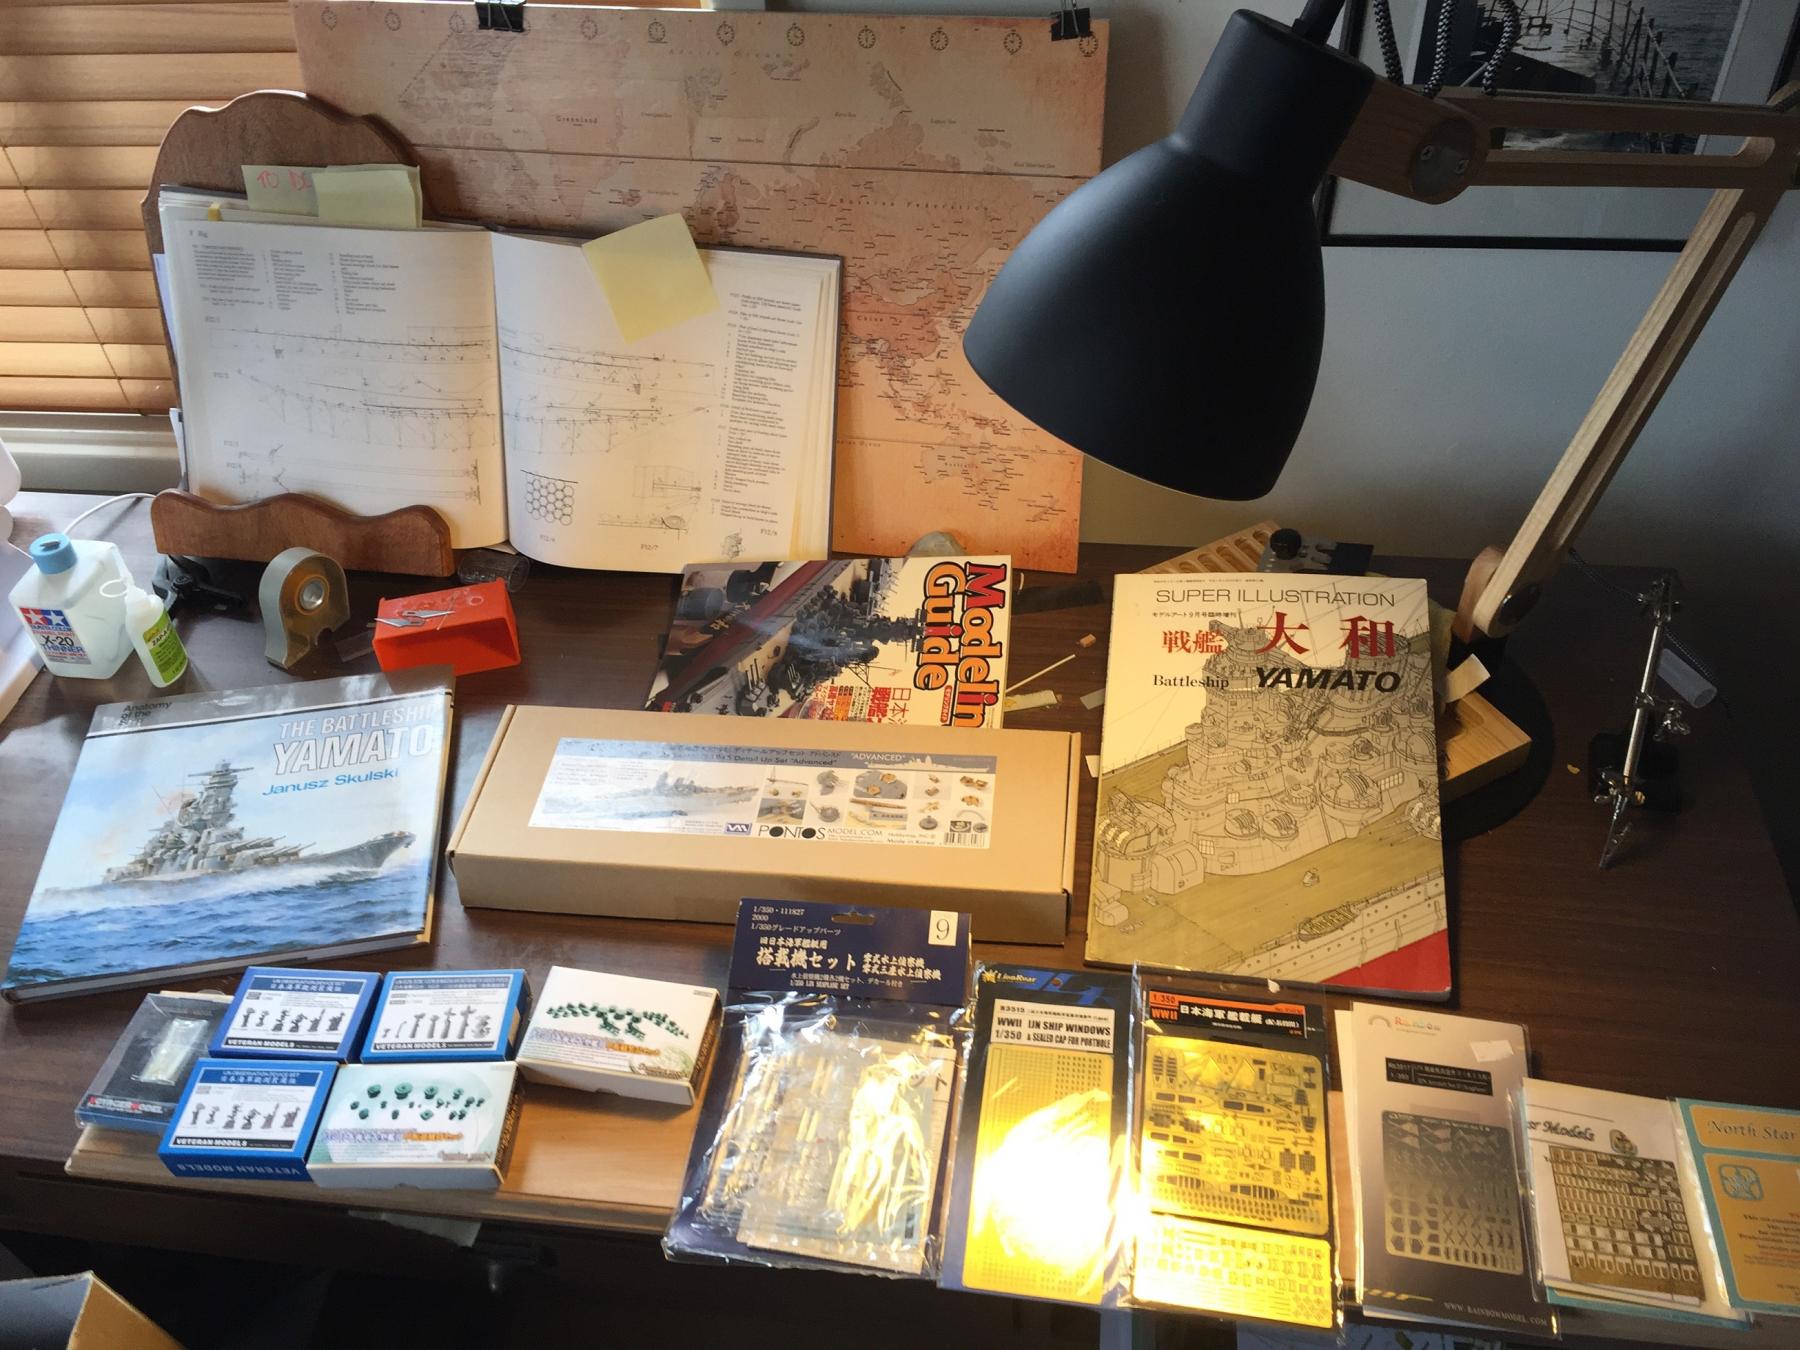
Mike, I constantly have to clean up around myself and put a little tea towel near my lap. I seem to look up and see myself surrounded by "things" as my workspace gets smaller and smaller. This was a very simple kit after the Varyag and the very bashed Emden. Everything went together very simply. I am in the process of research for the Yamato at the moment and it is daunting as it is a very non linear kit.
- mtaylor, Canute, Old Collingwood and 4 others
-
7
-
Now, a few months off perhaps, school holidays and a garden to tend.
Next will be the HMS Victory of Battleships. I've done a bit of internet shopping for a few upgrades as well.
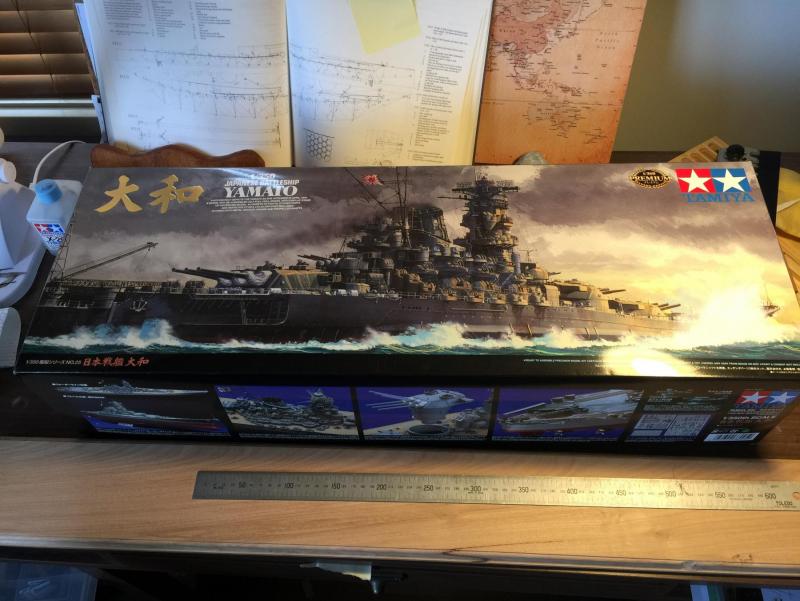
I bough a cheap first version off ebay for a bit of practice months ago, and you can see the hull sizes differ somewhat to the Dreadnought.
Thanks for all the likes and follows.
Greg
-
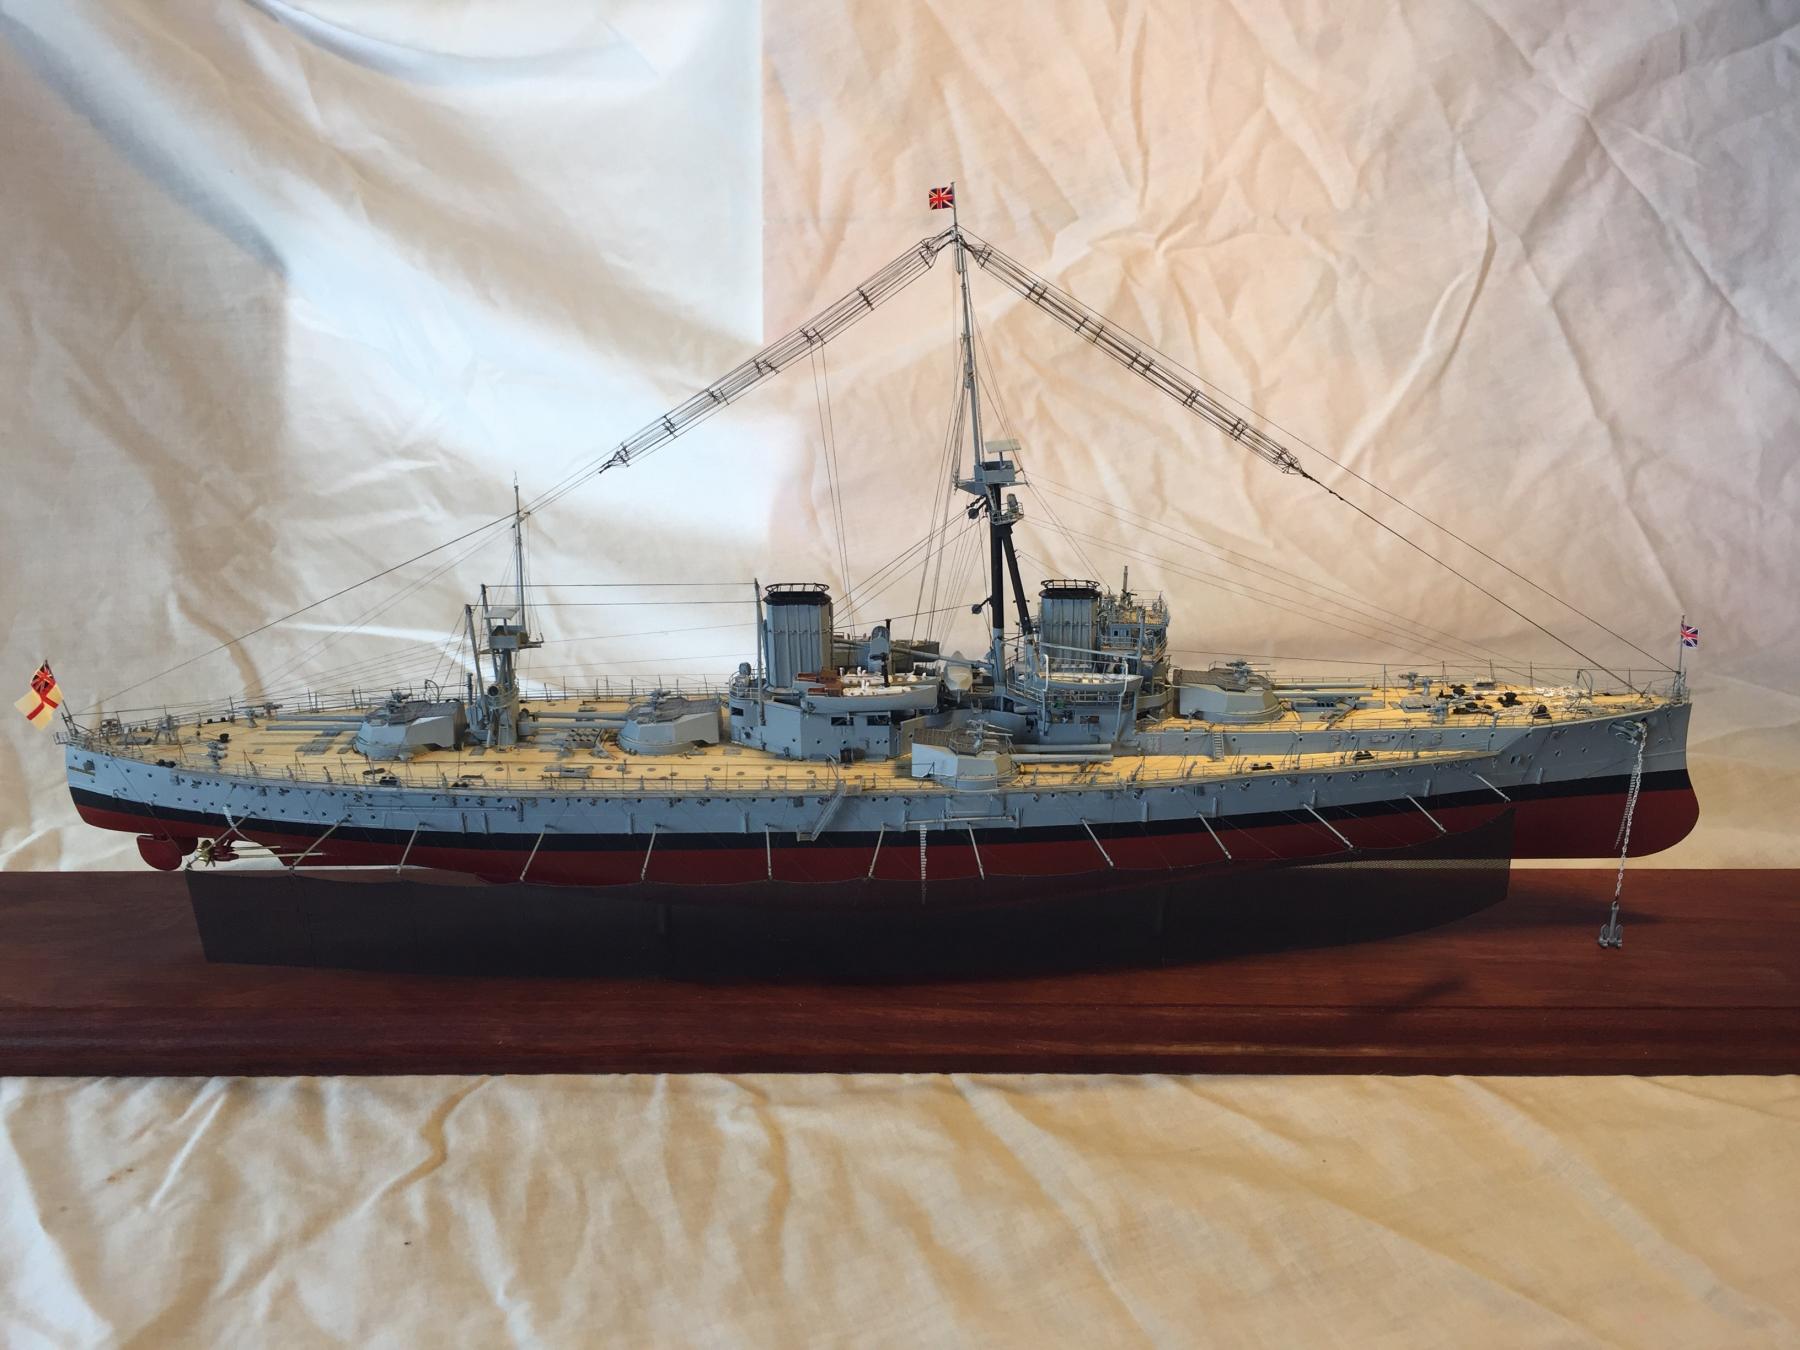
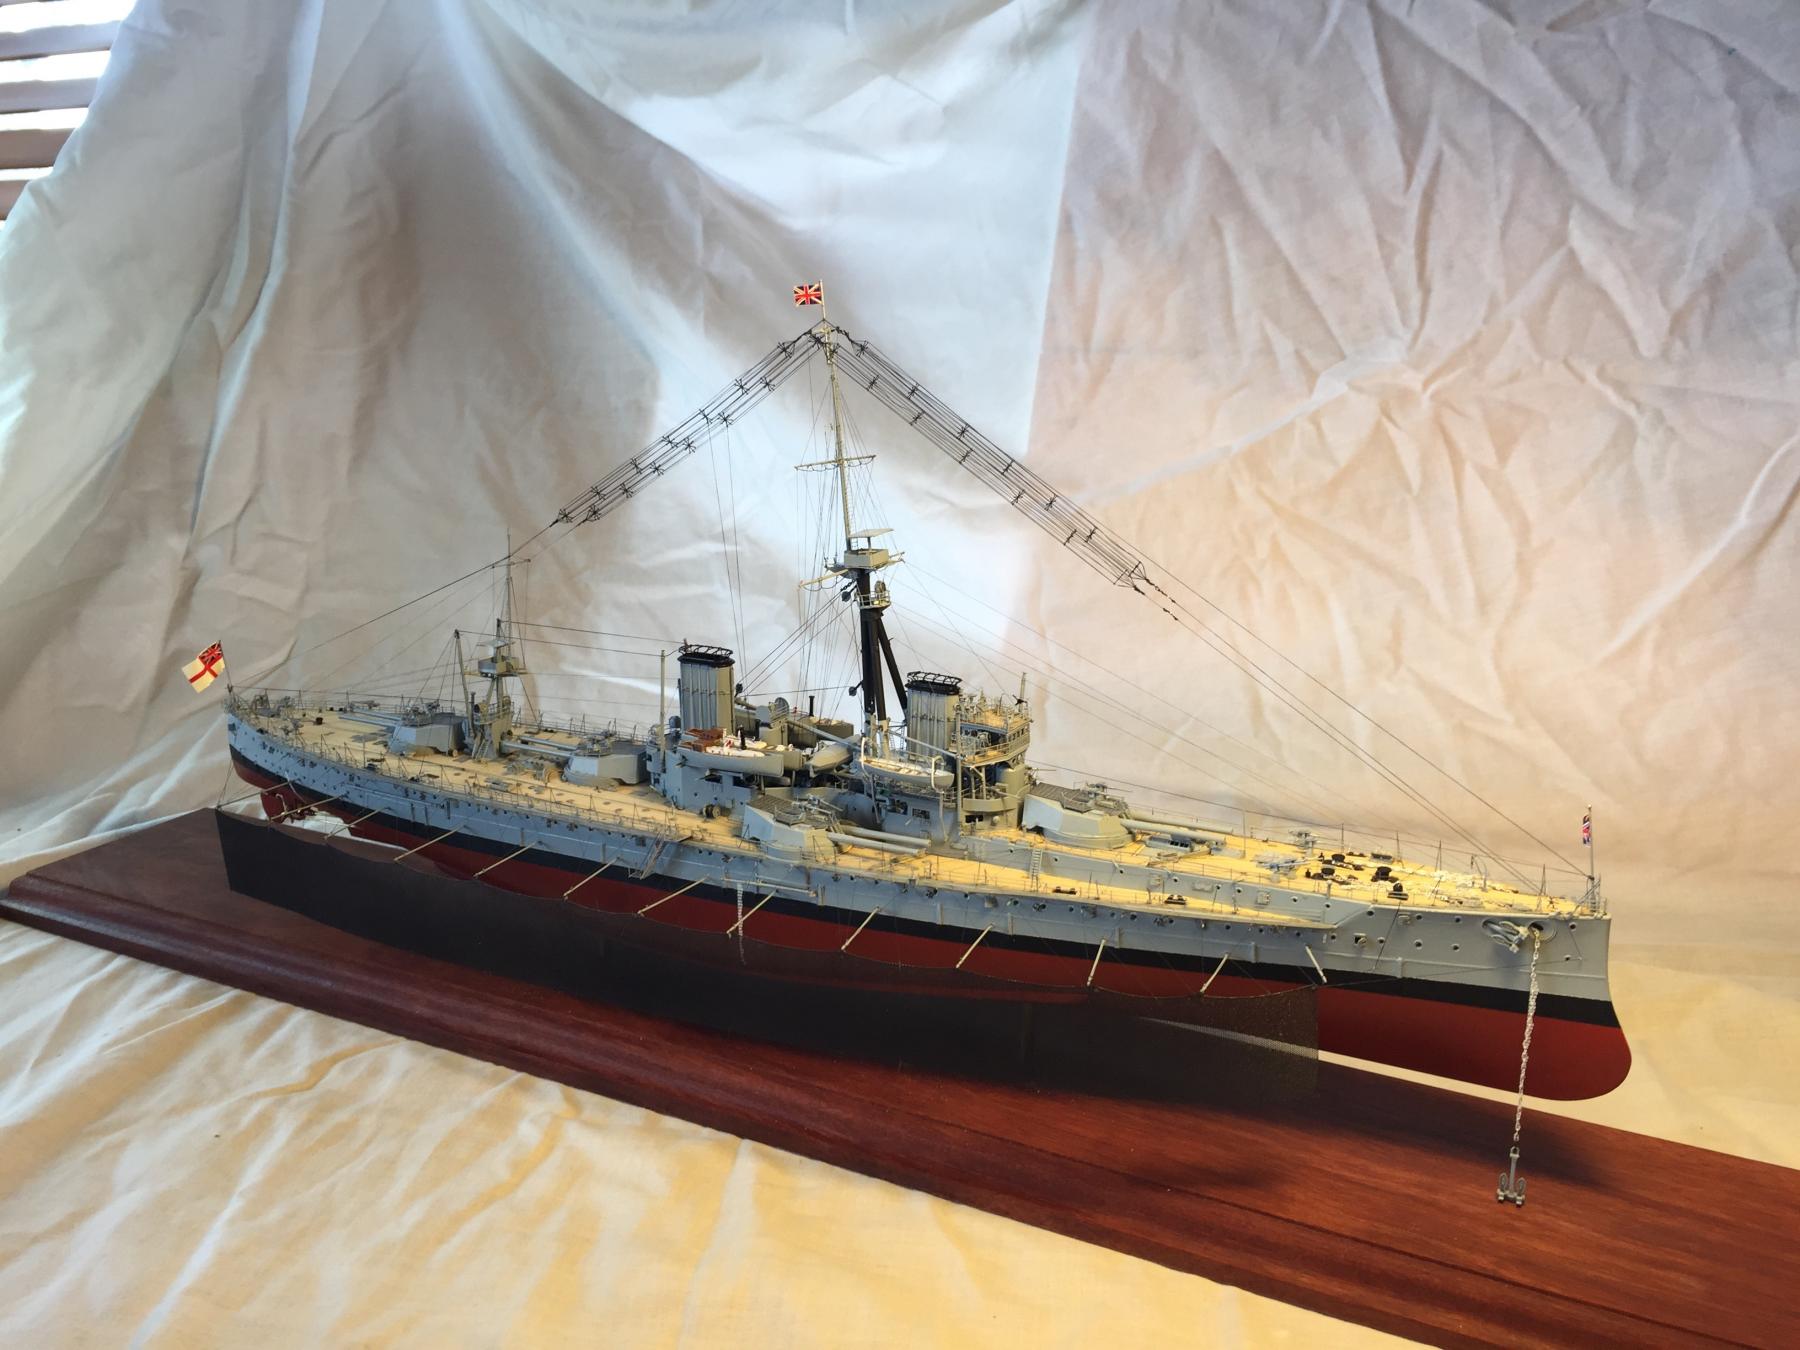
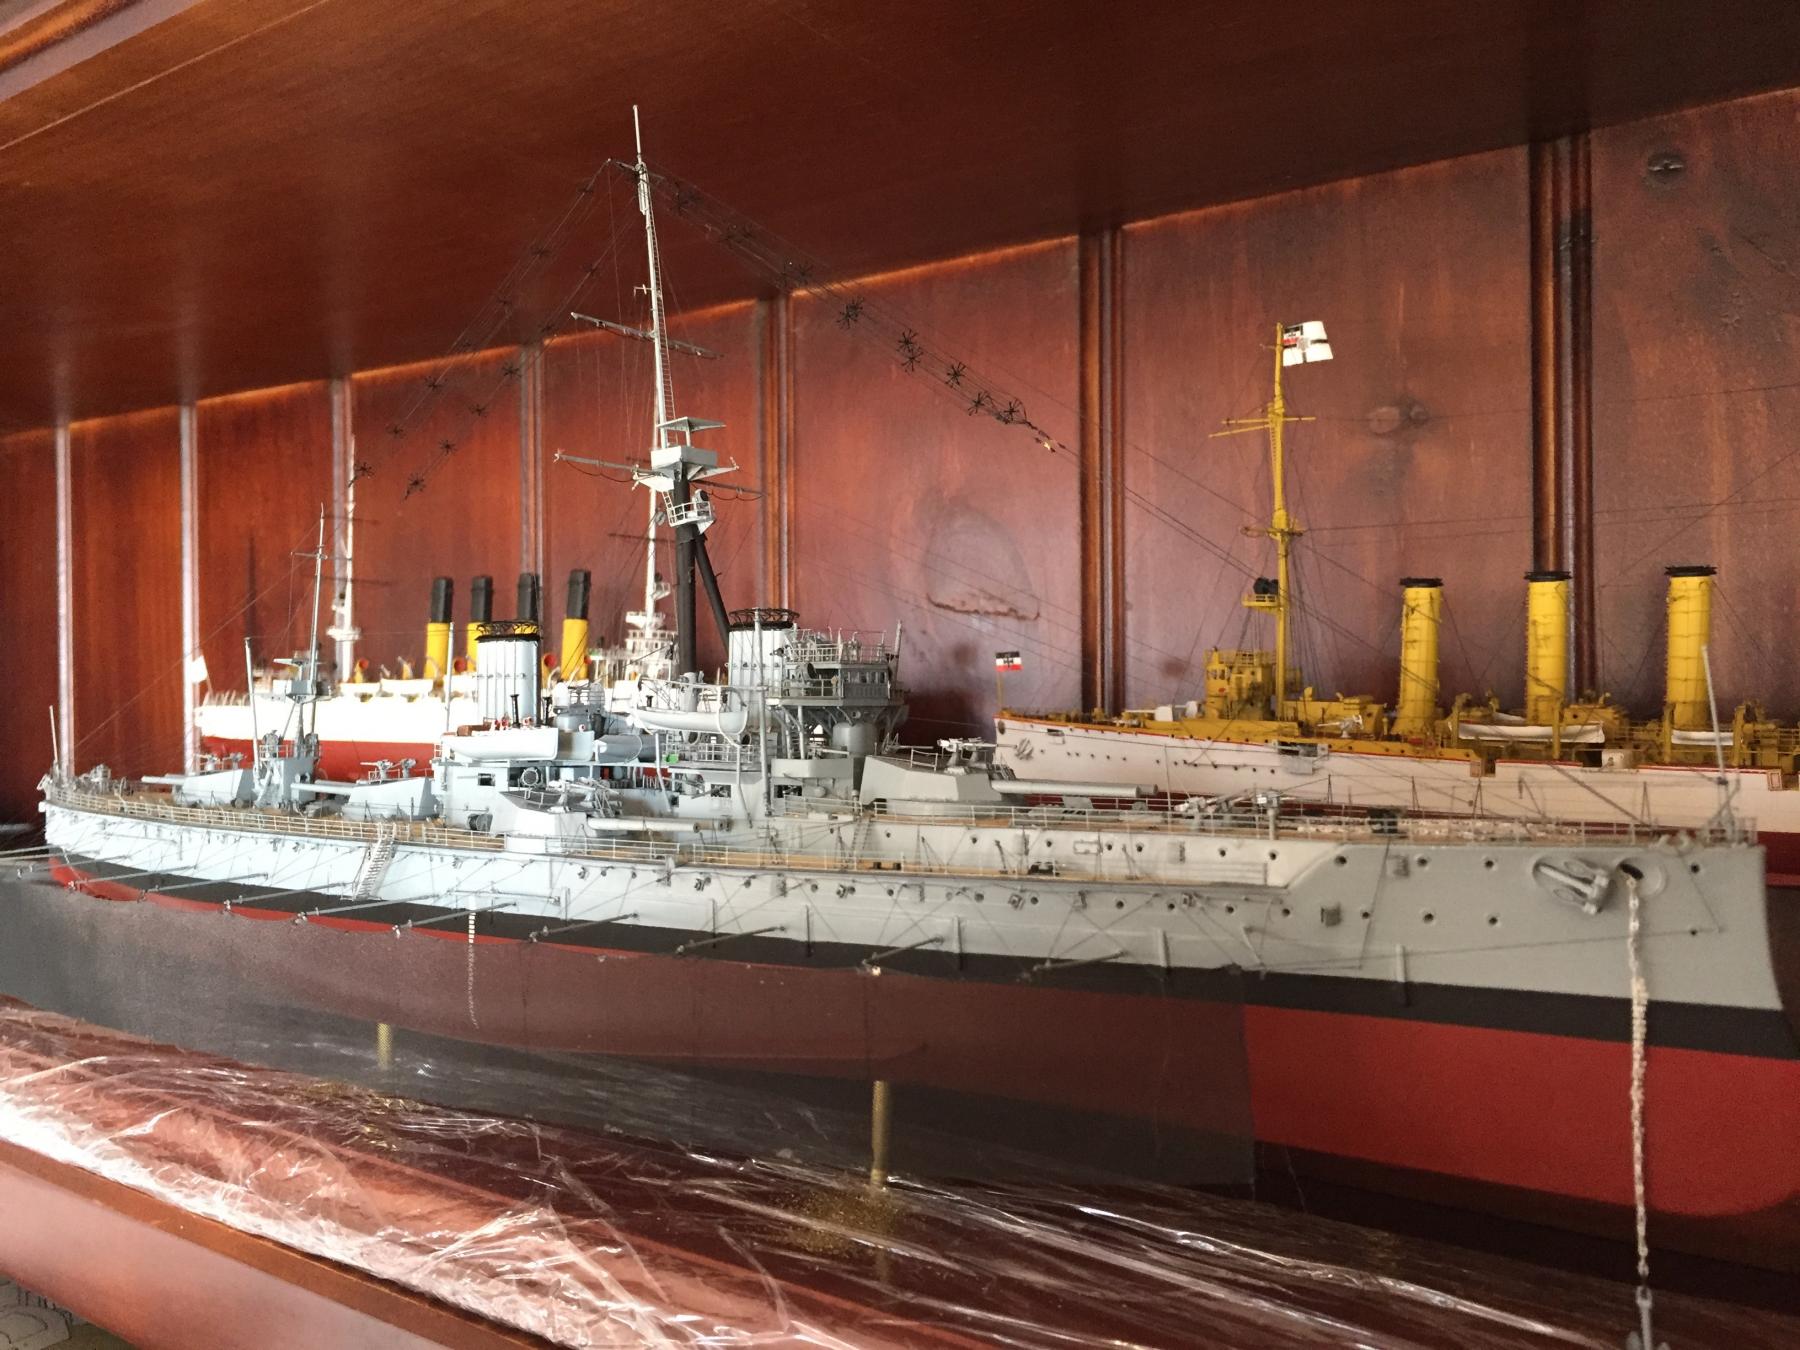
Well, final net added and the flags, came up OK,


 .
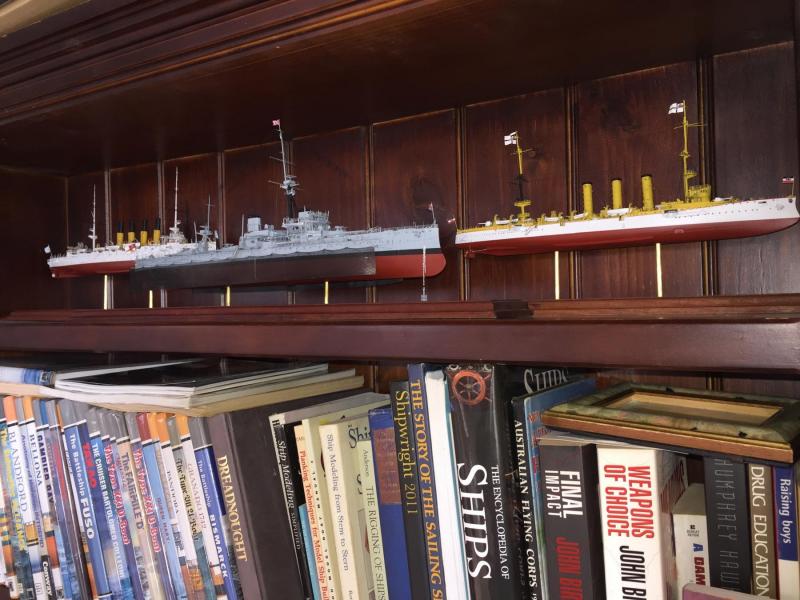
.Amazing what a difference is in size, the Varyag from 1899, the Emden from 1906;

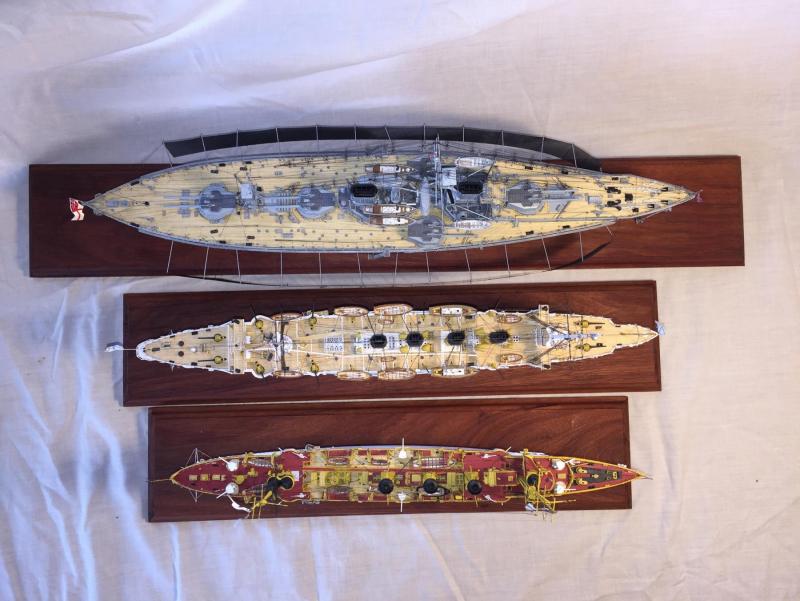

Finally parked in the shed
- gjdale, shipcarpenter, Haliburton and 29 others
-
32
-
-
Here in Australia we also have lawyers who specialise in "Family law", (divorce), who will clean you out and have you paying for multiple cats that you will never see until you die.
-
-
-
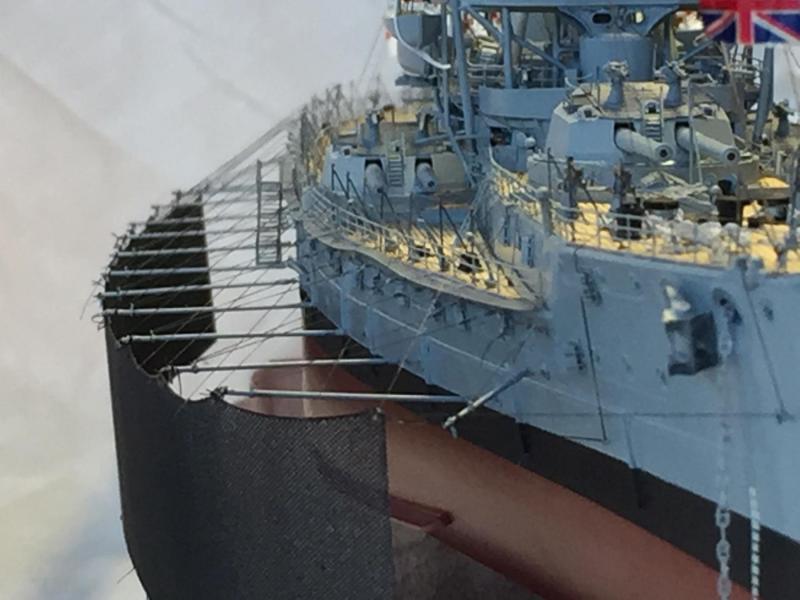
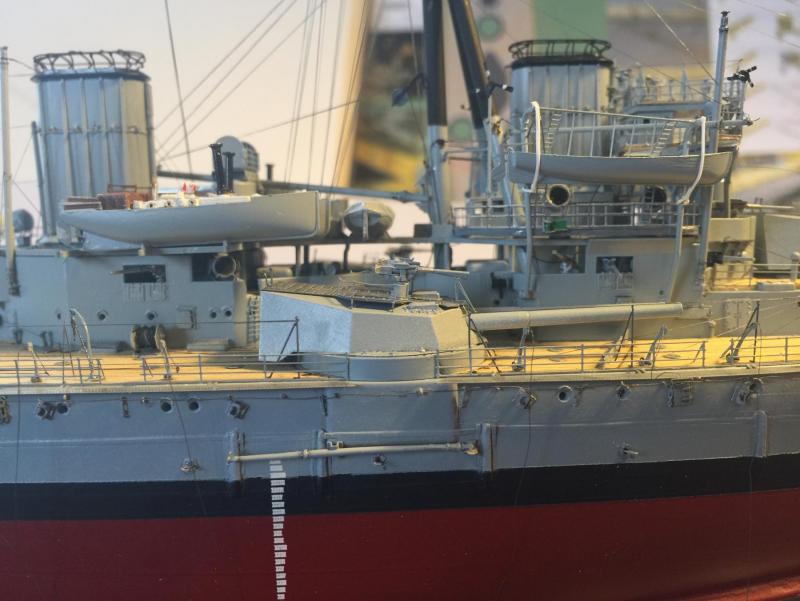
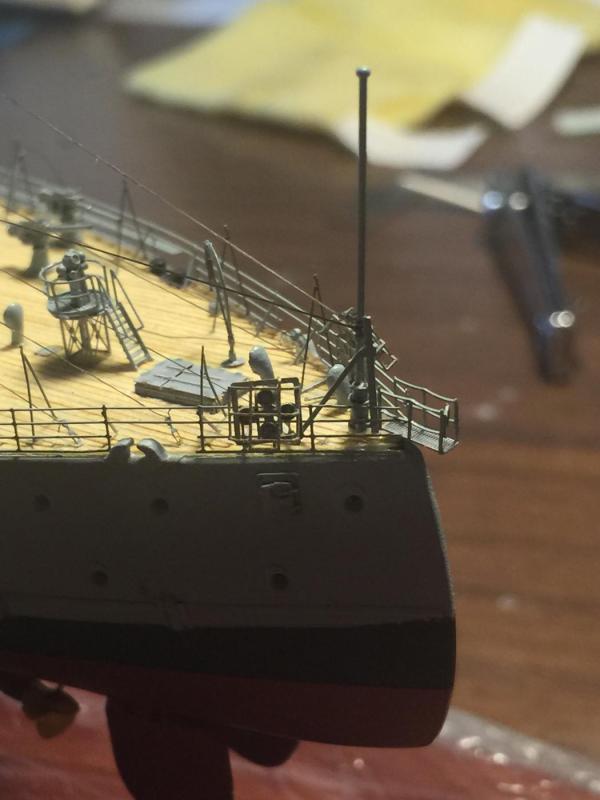
It's gets very busy up there when the rigging begins, making up a little jig with two pins, then three layers of battens will help you get them uniform is shape and size, and helps with alignment and getting those little bends at the end. I always make an extra for the inevitable breakage or loss.
-
In my signature block
-
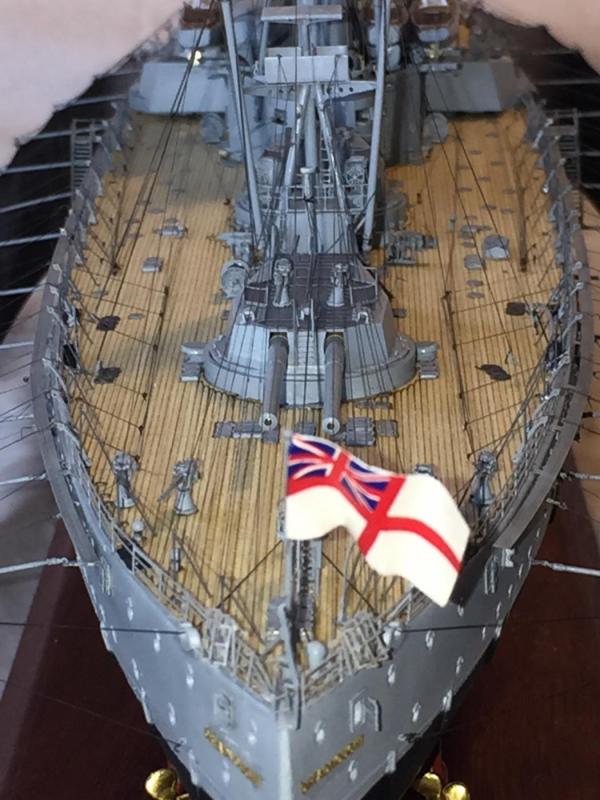
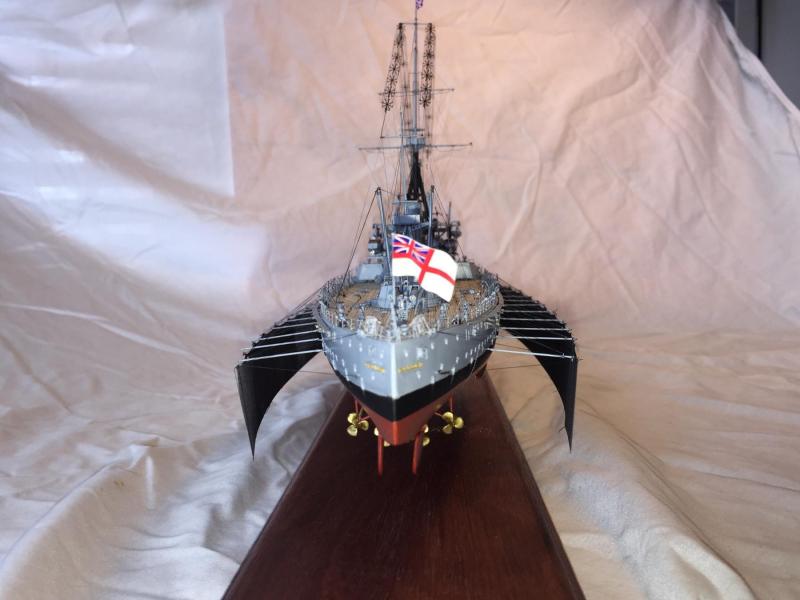
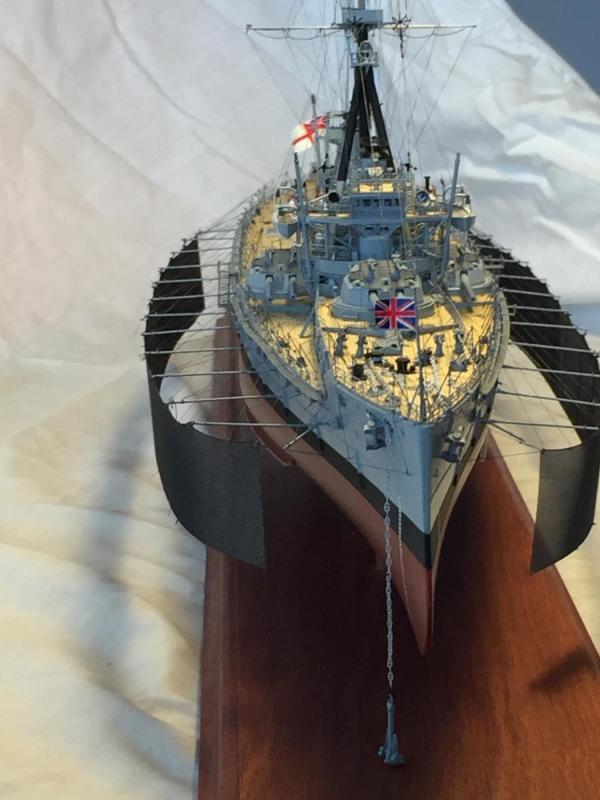
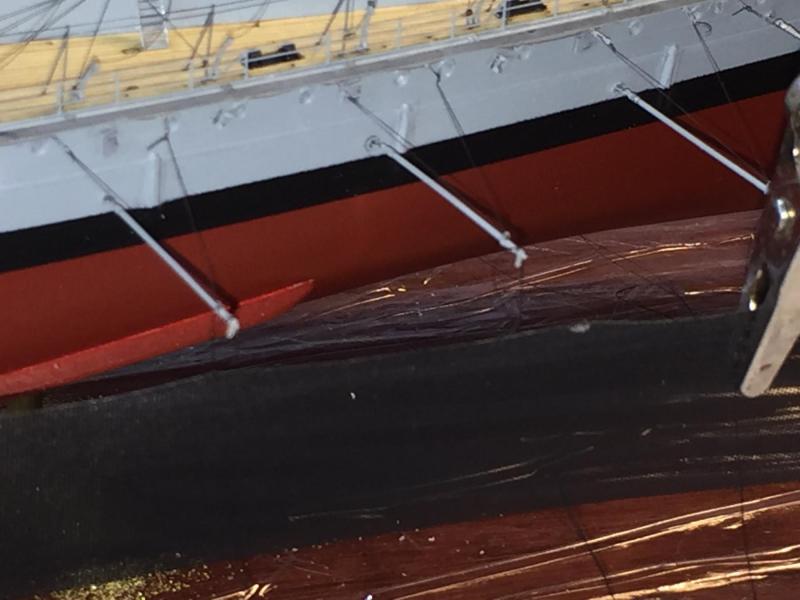
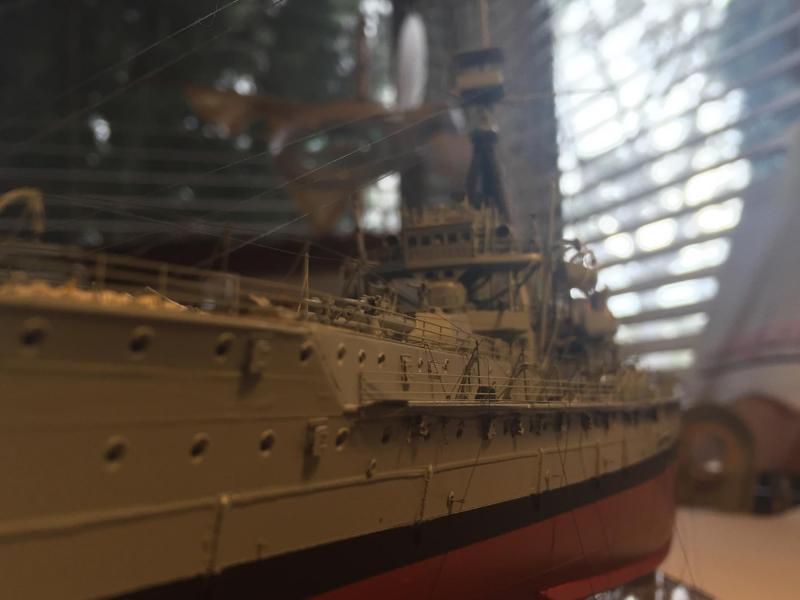
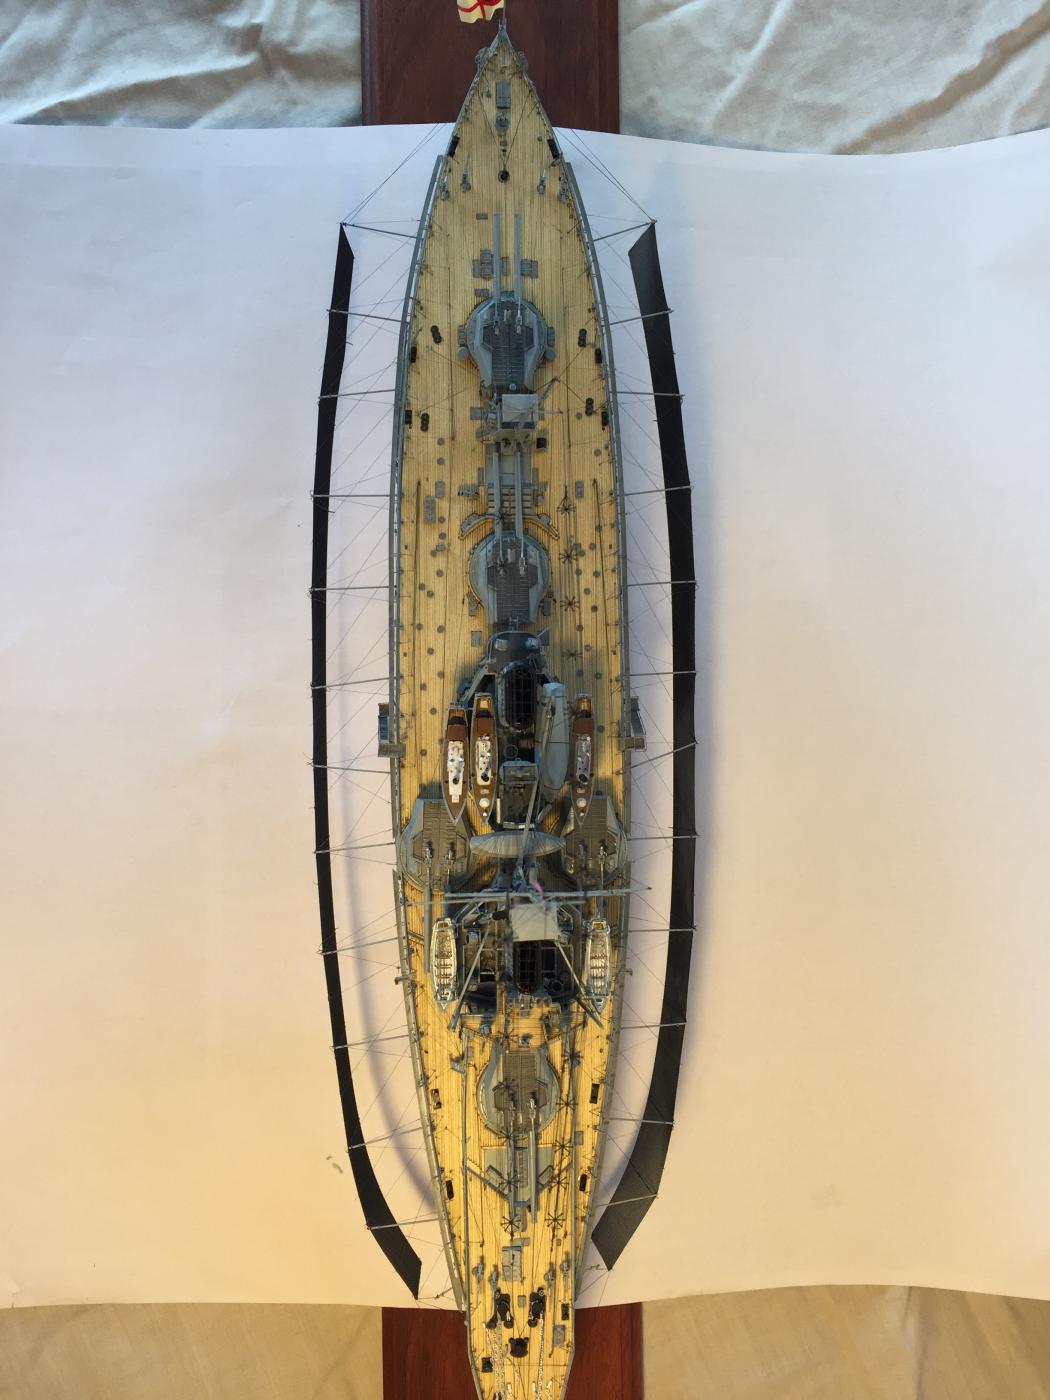
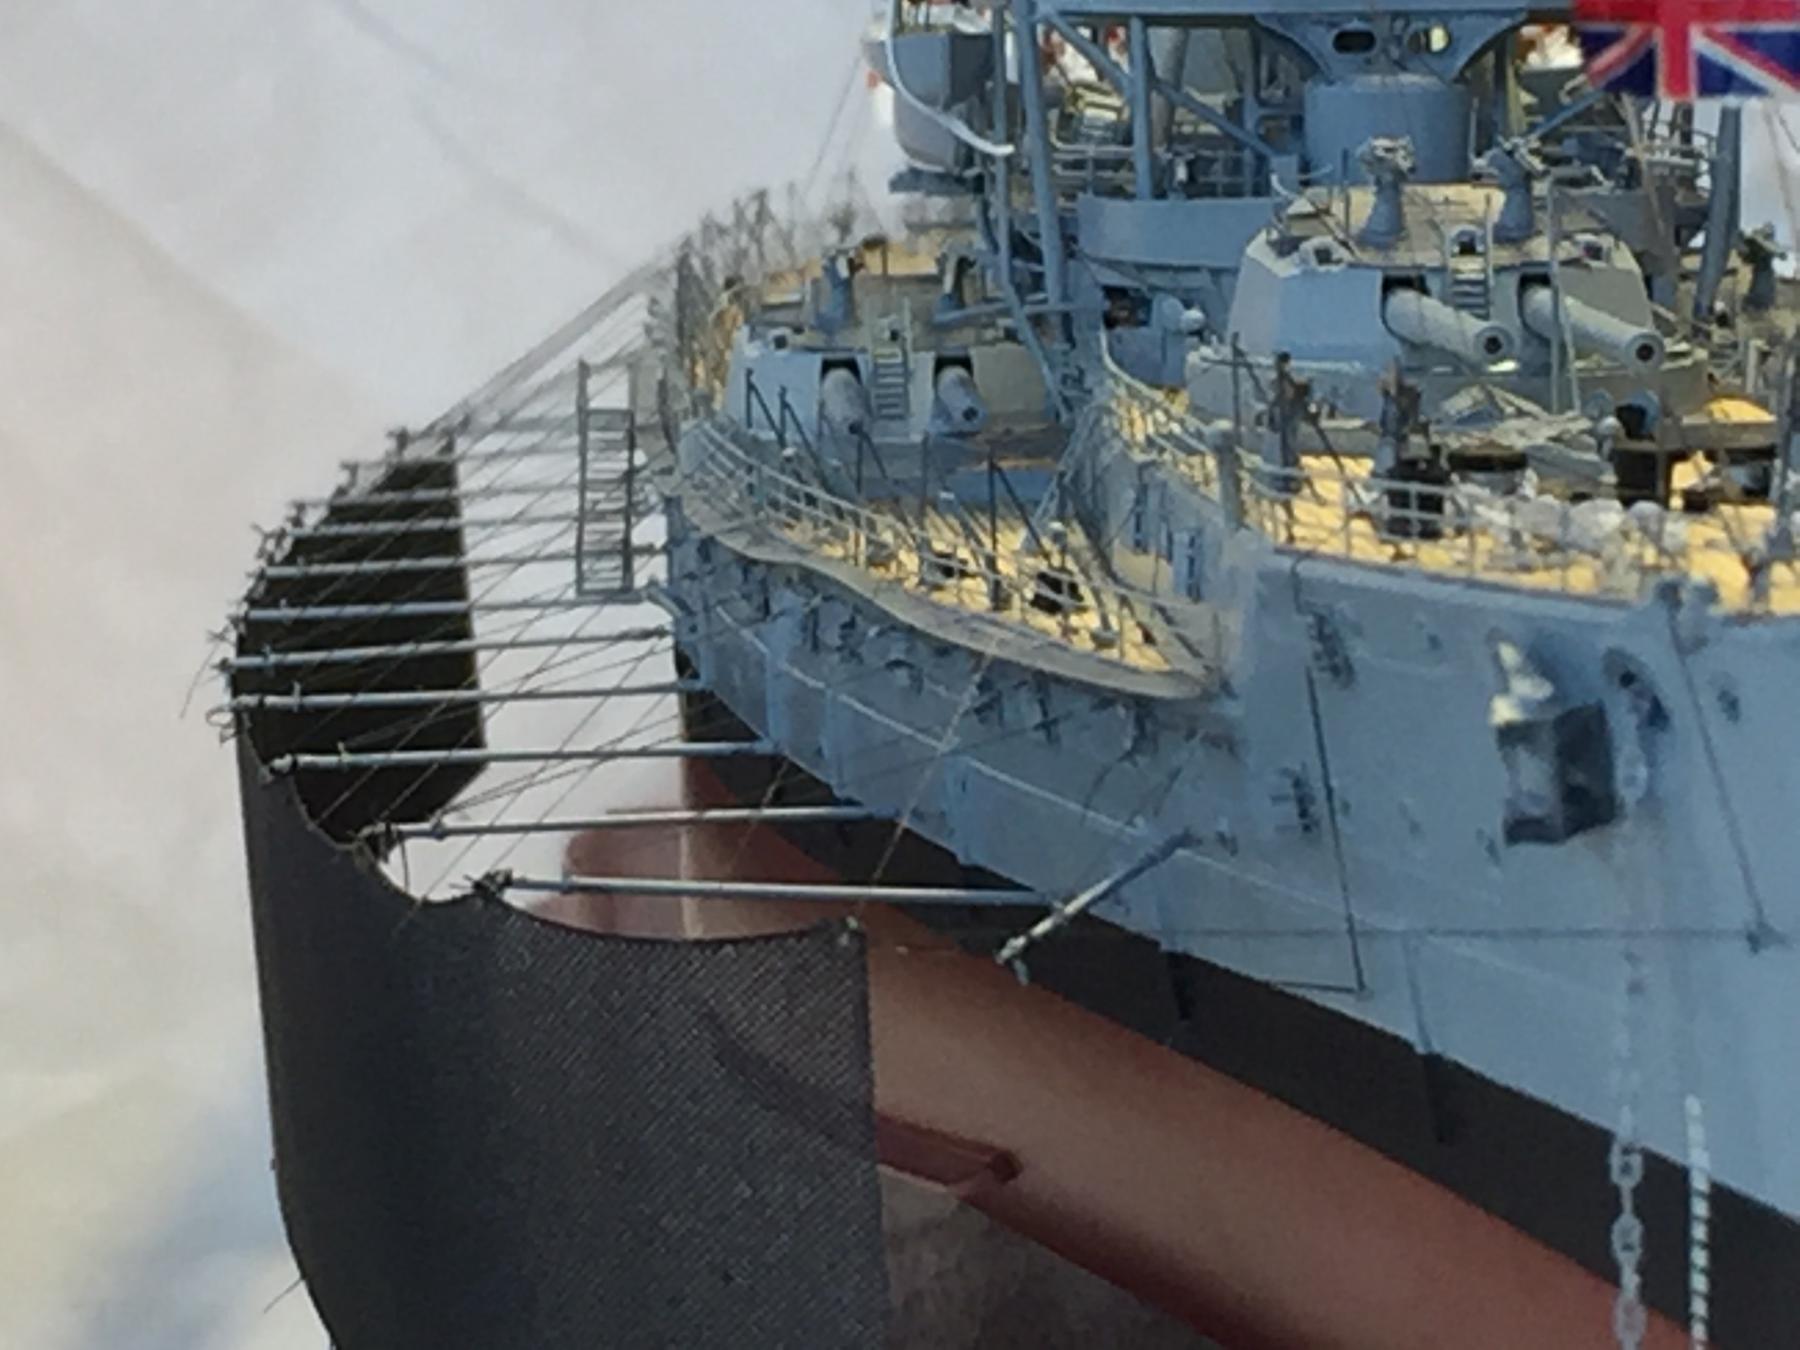
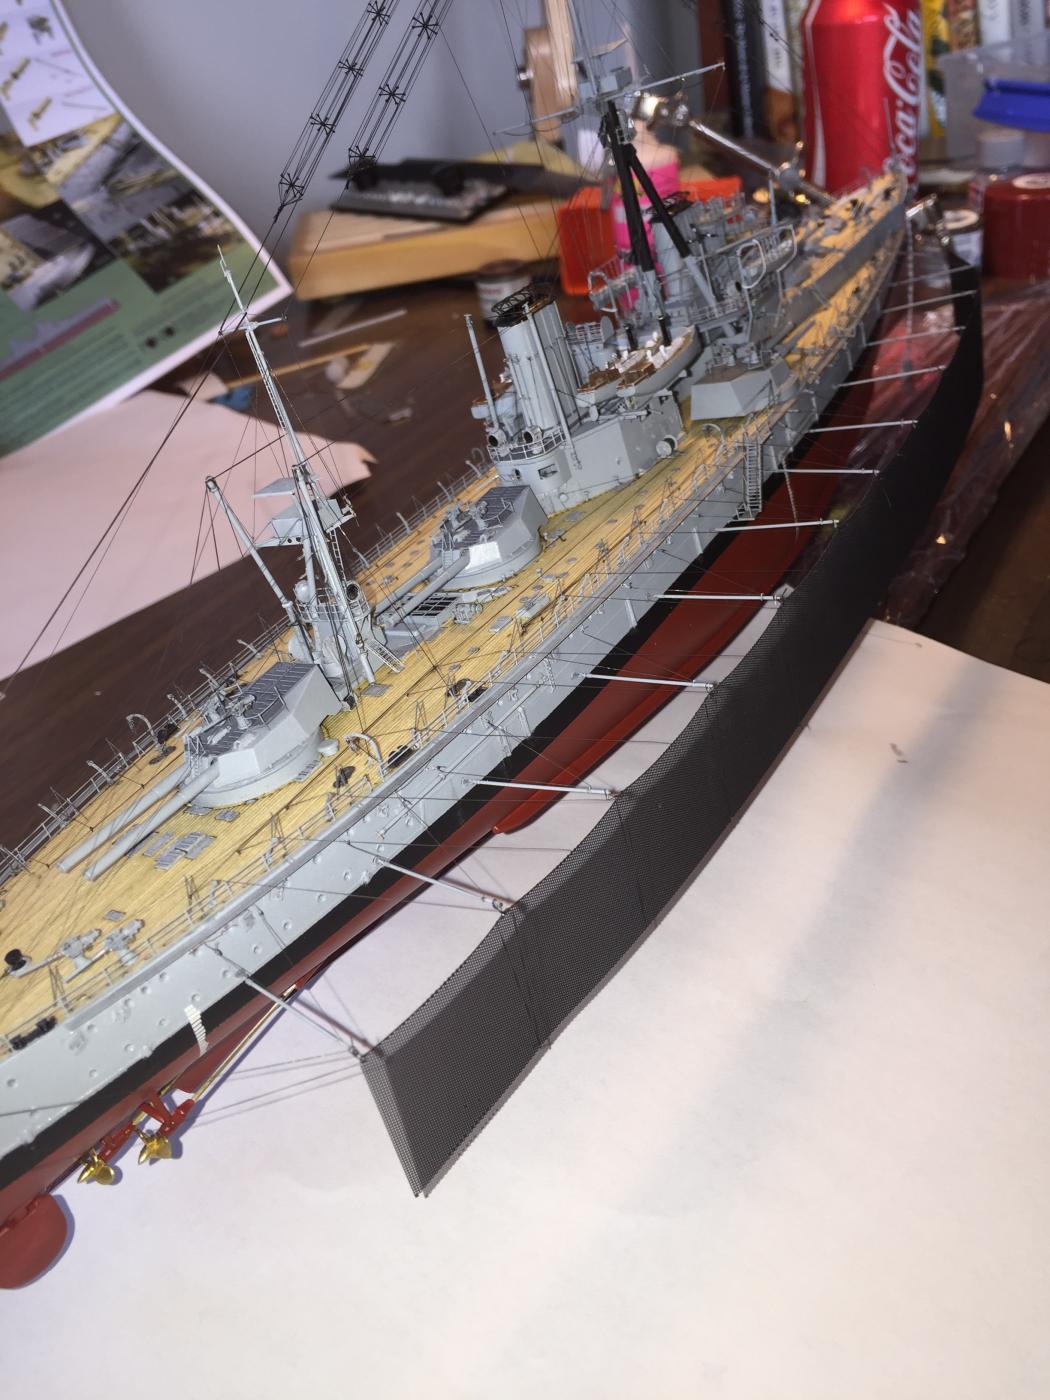
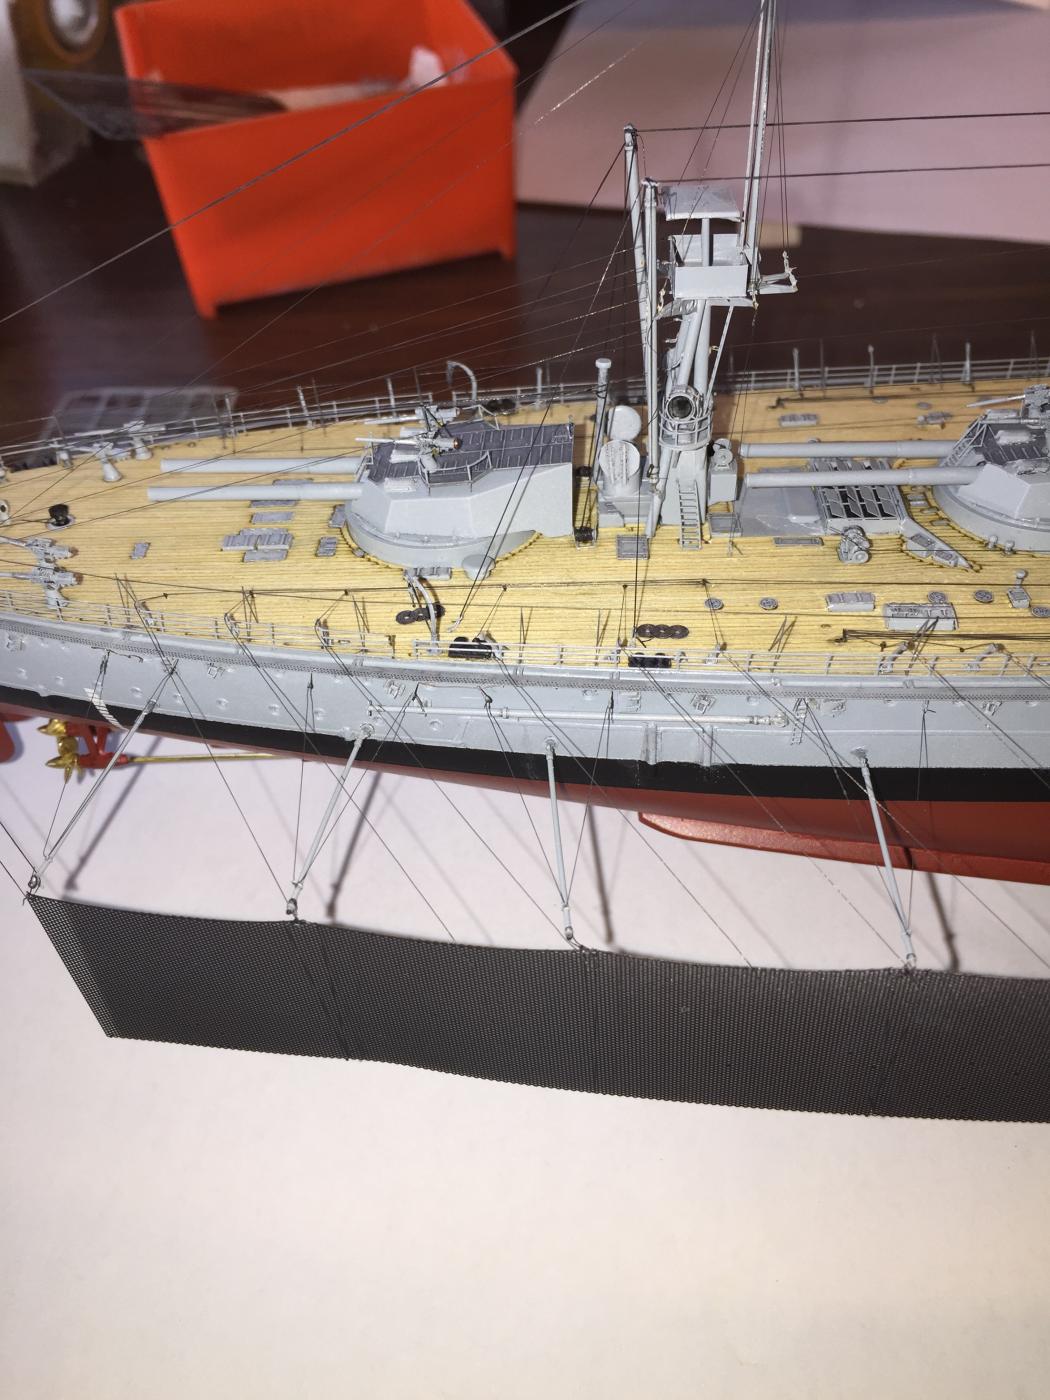
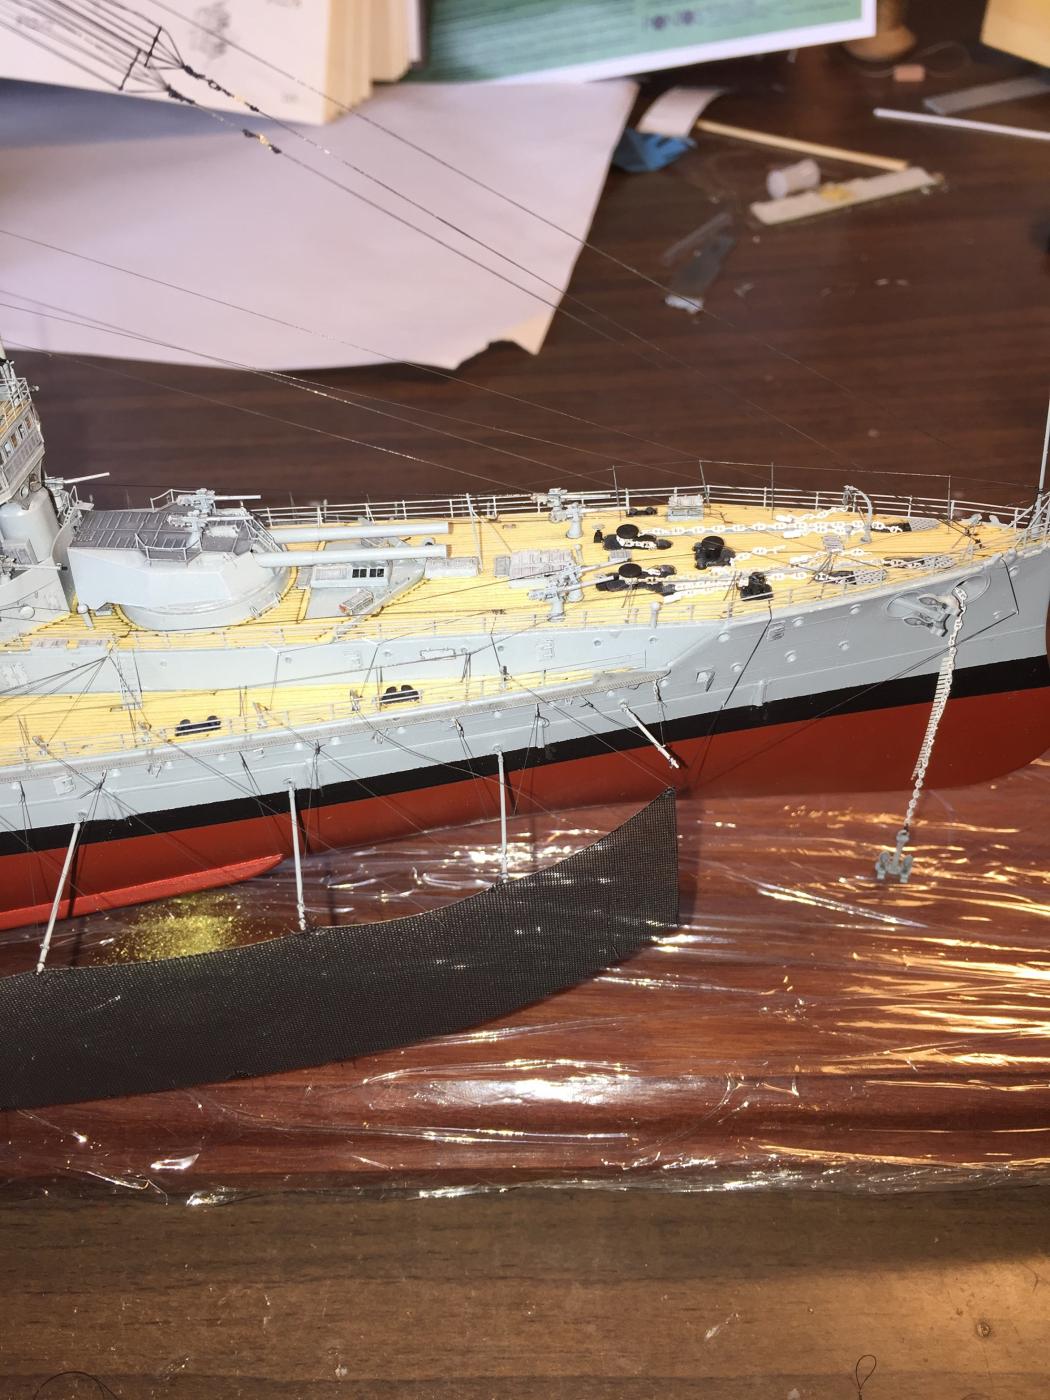
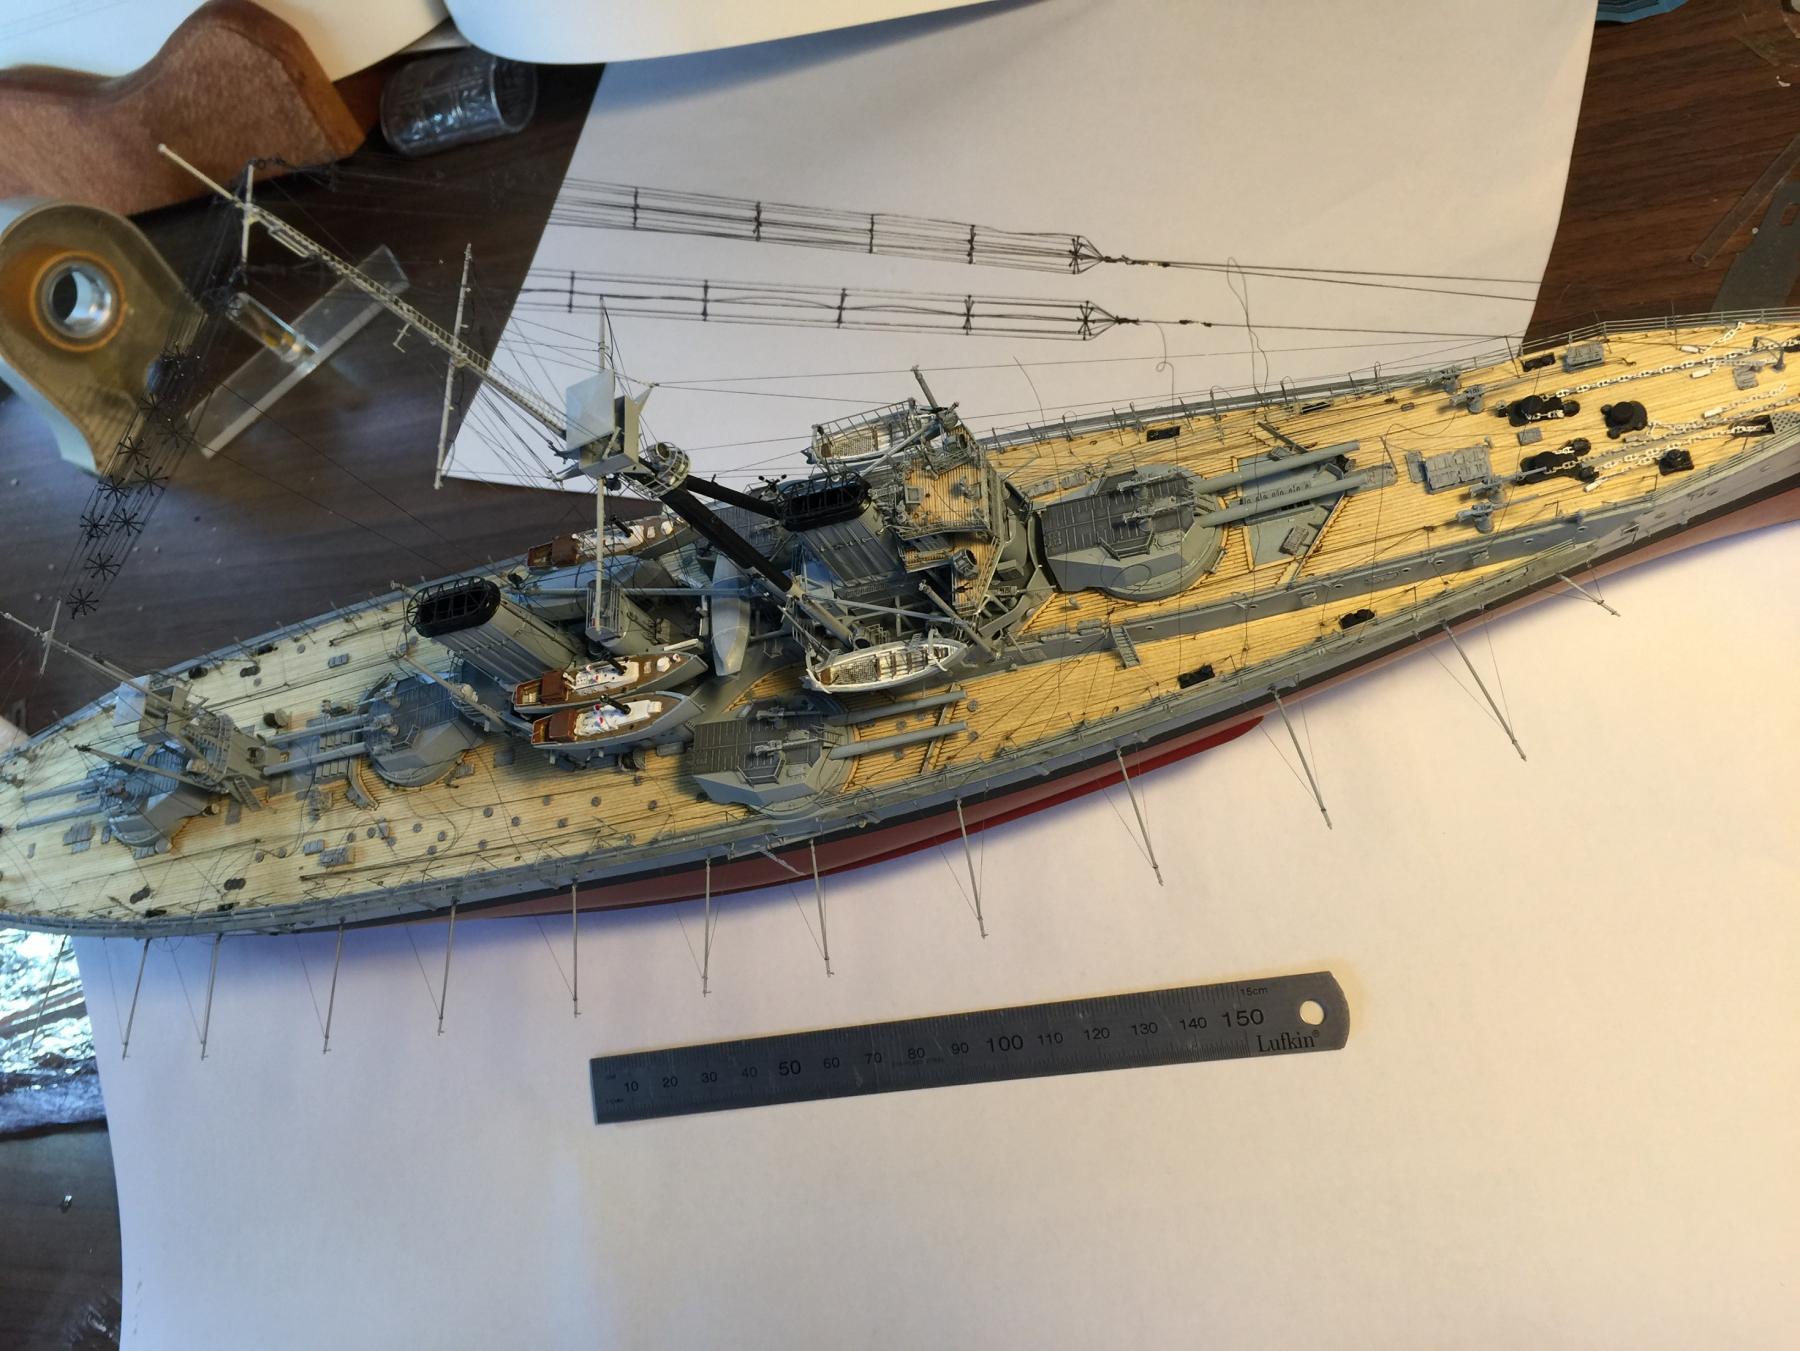
In an exercise of supreme pointlessness, I have completed the starboard side torpedo nets.
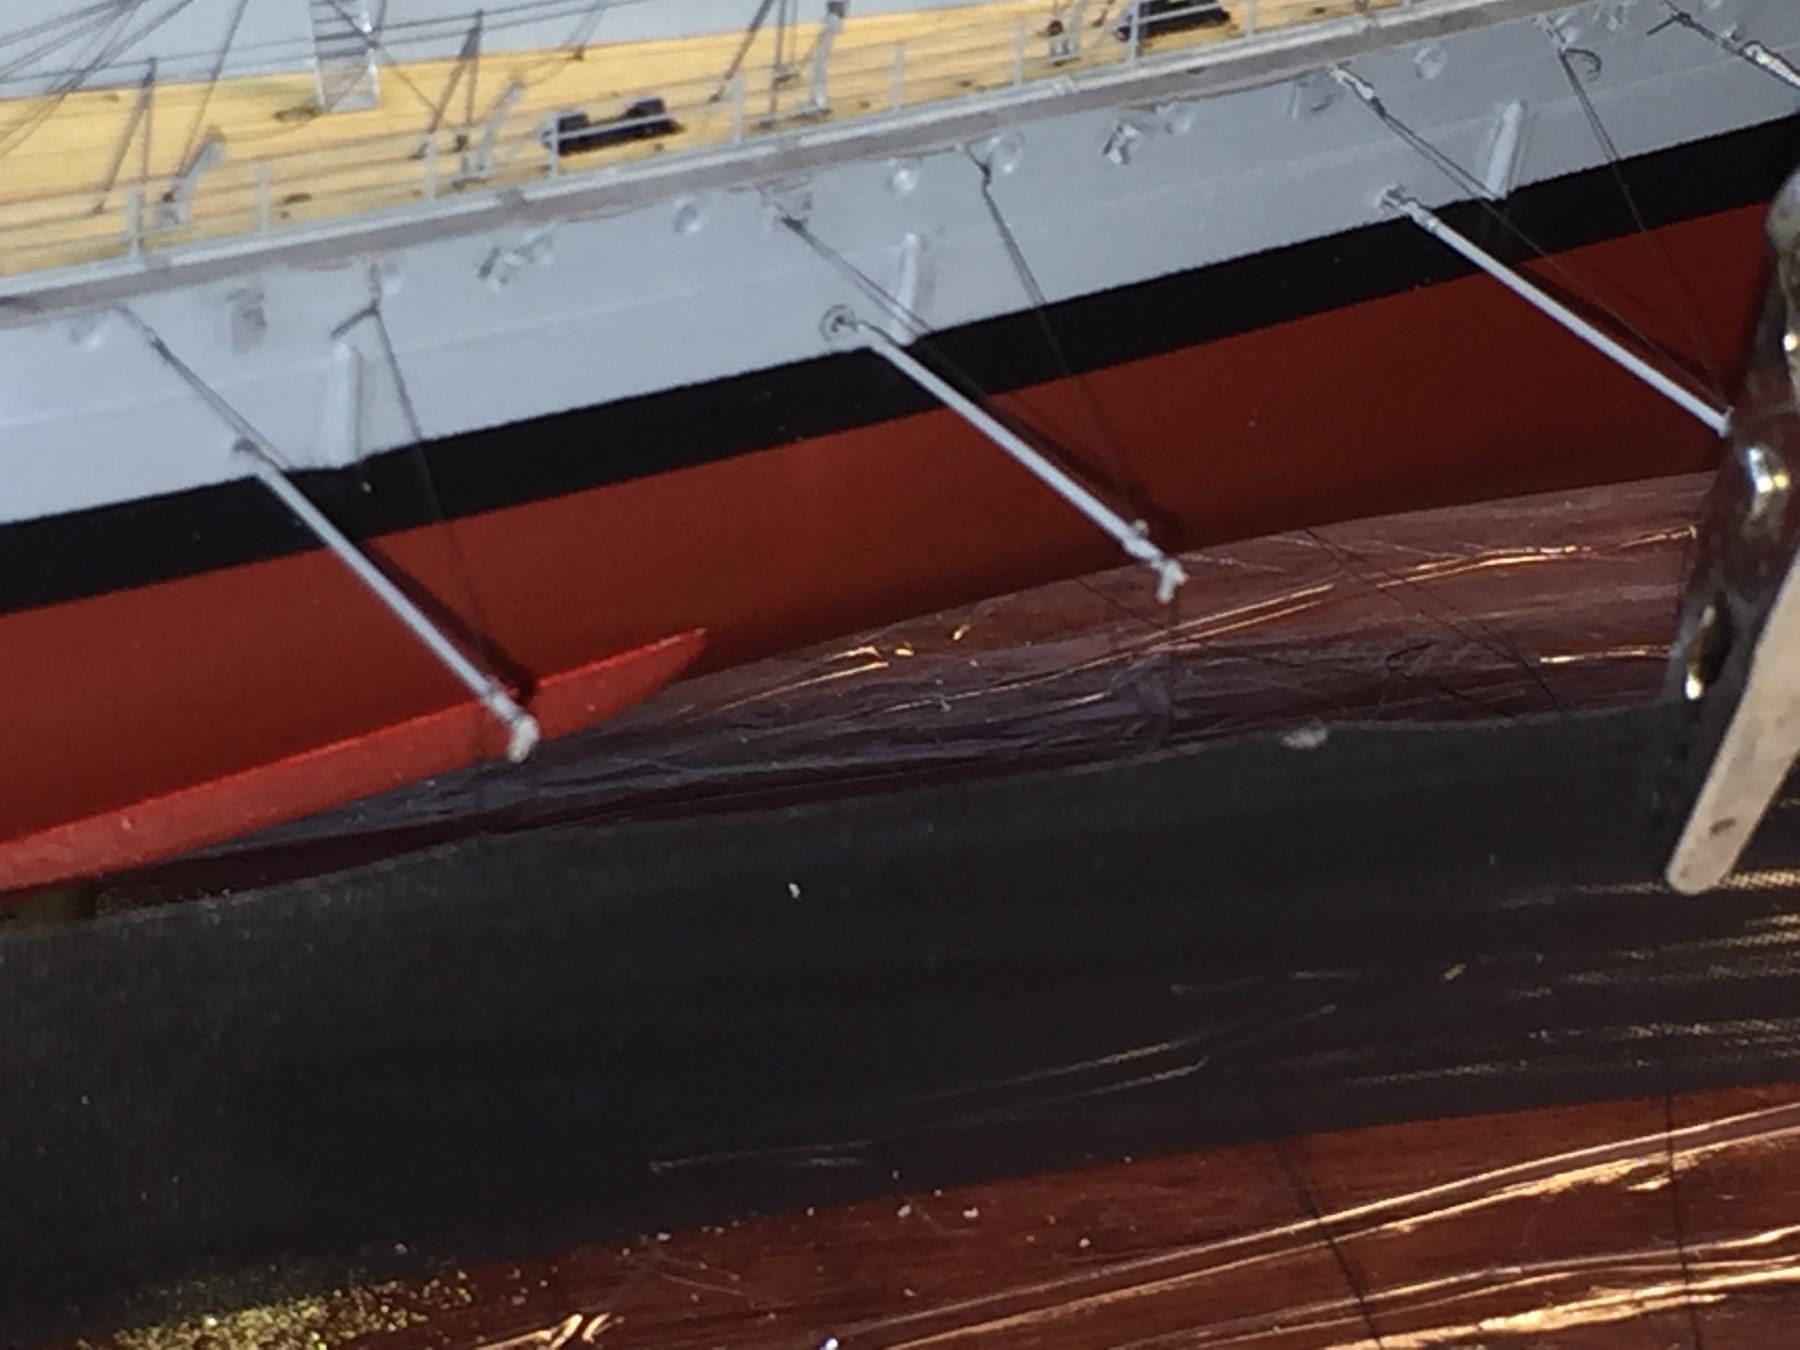
Attaching the nets is somewhat of a nightmare, as the nets do not align to the boom, so I slung them under the booms, which is technically correct anyway. I used some helping hands to align then together and tied them up.
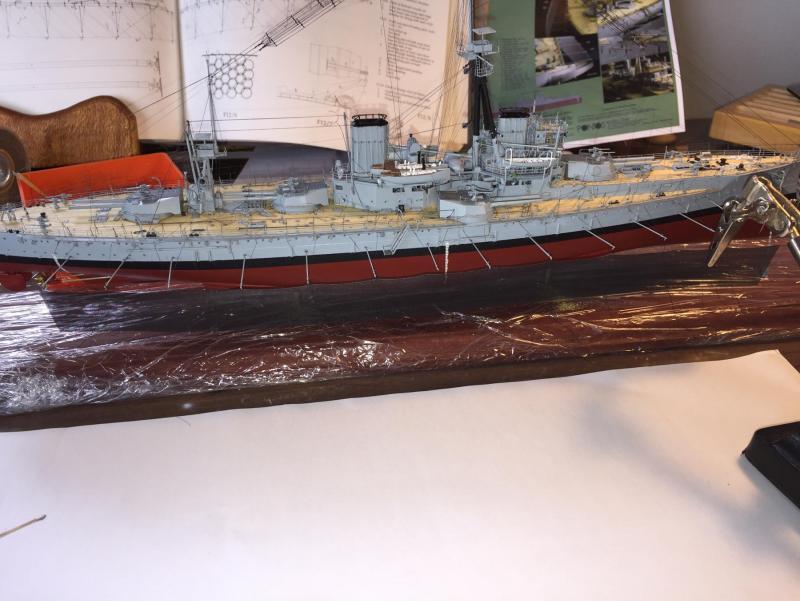
Then the rigging, all those brails finally have some balance and use.


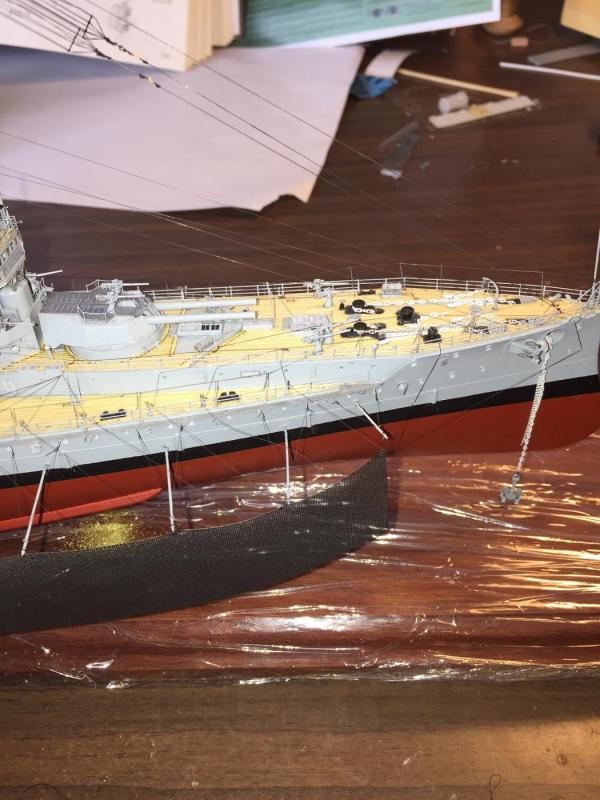
Finally parked up for a while beside her sisters until I get a few more days off to finish the Port side. Then just add some flags and pull the plastic off the base and consign her to the digital graveyard.

- mrshanks, Captain Slog, cog and 14 others
-
17
-
-
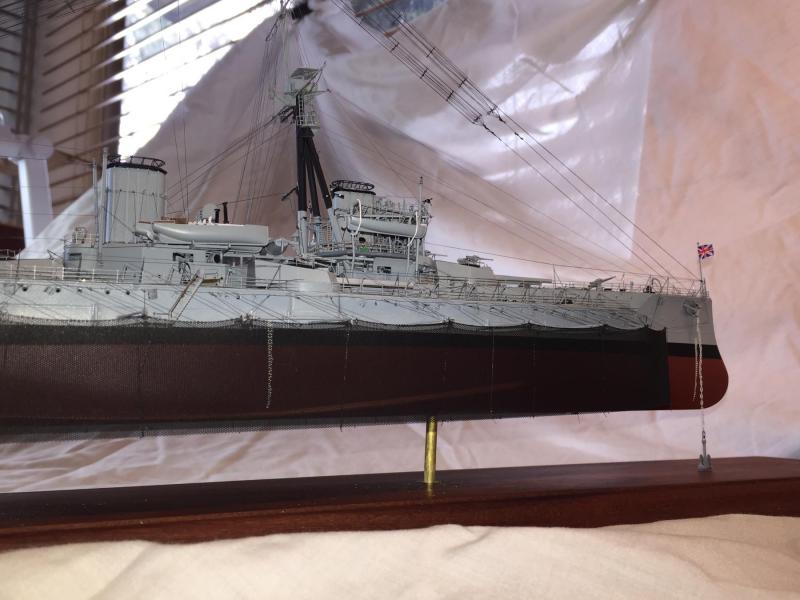
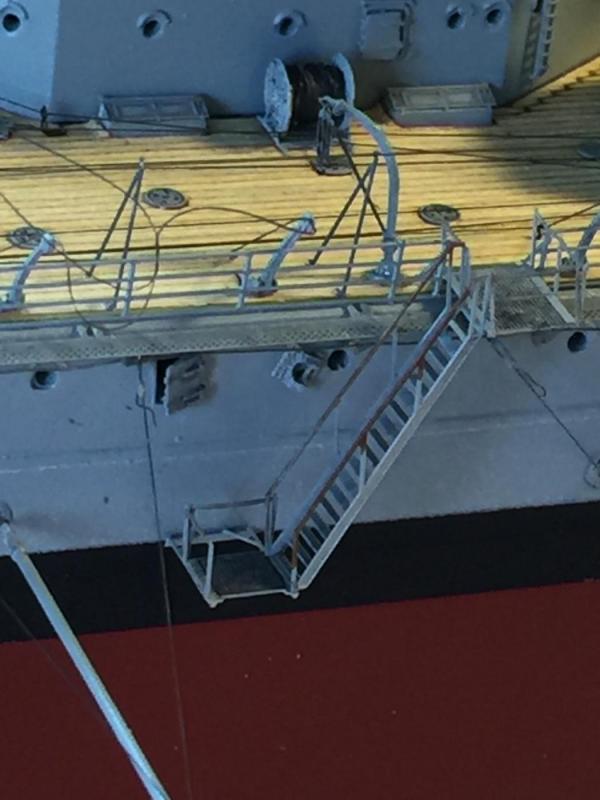
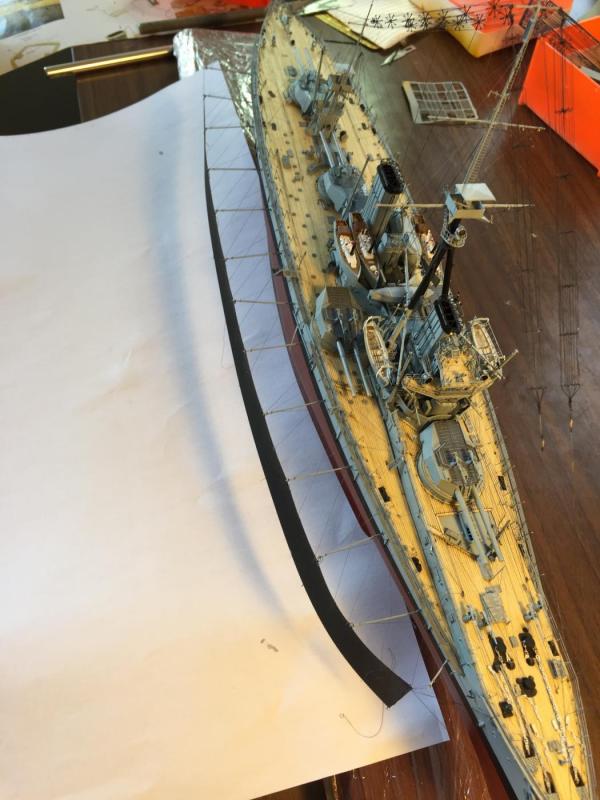
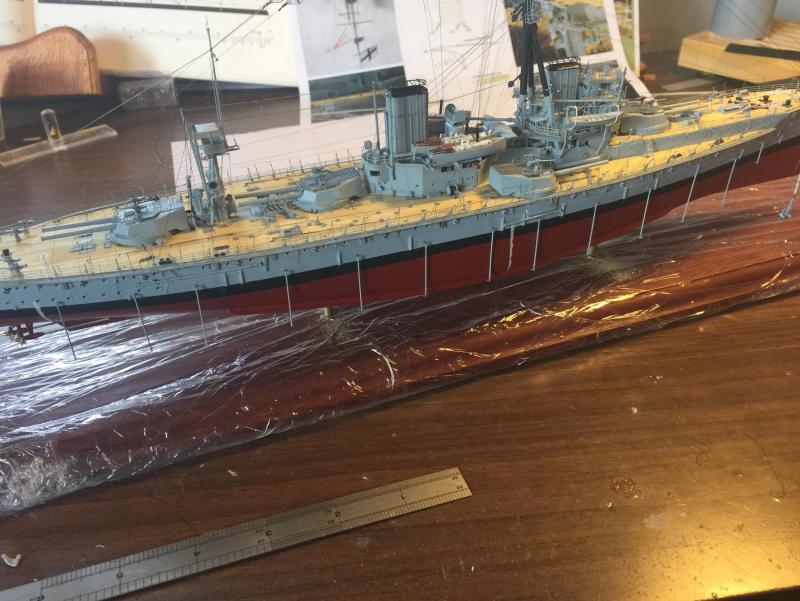
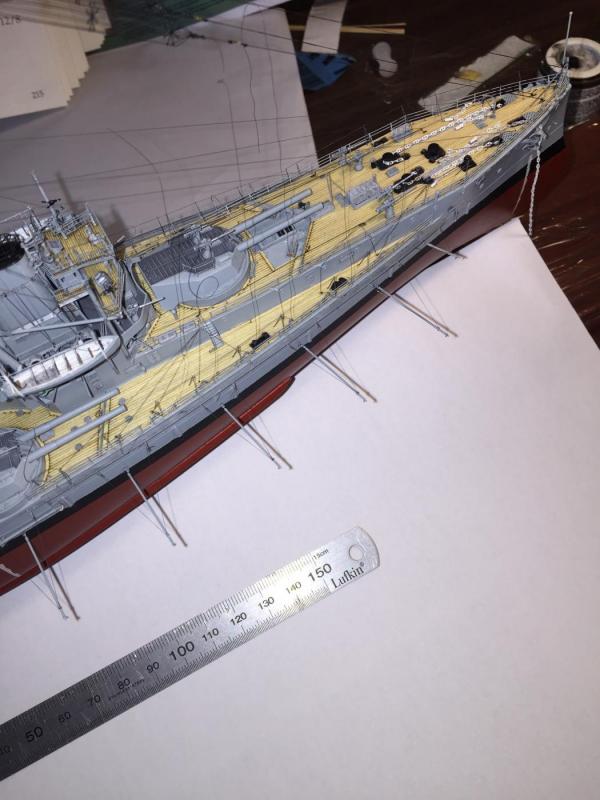
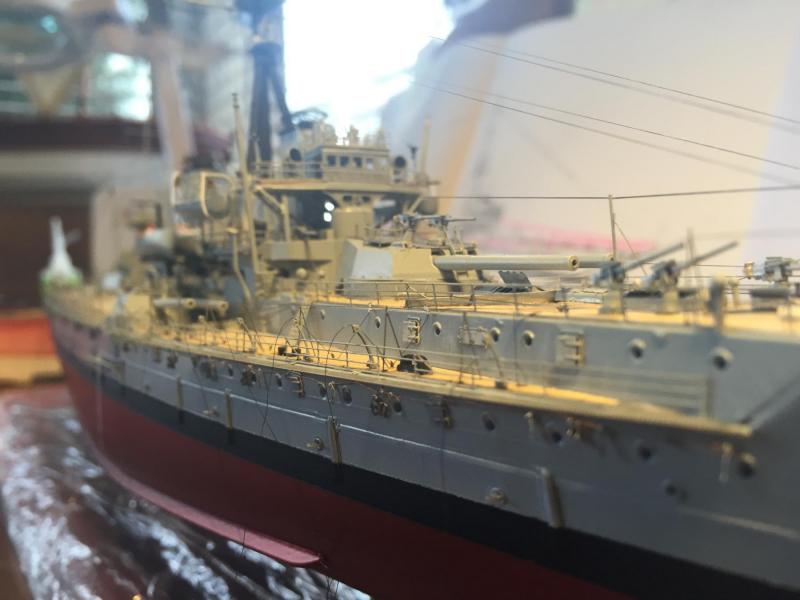
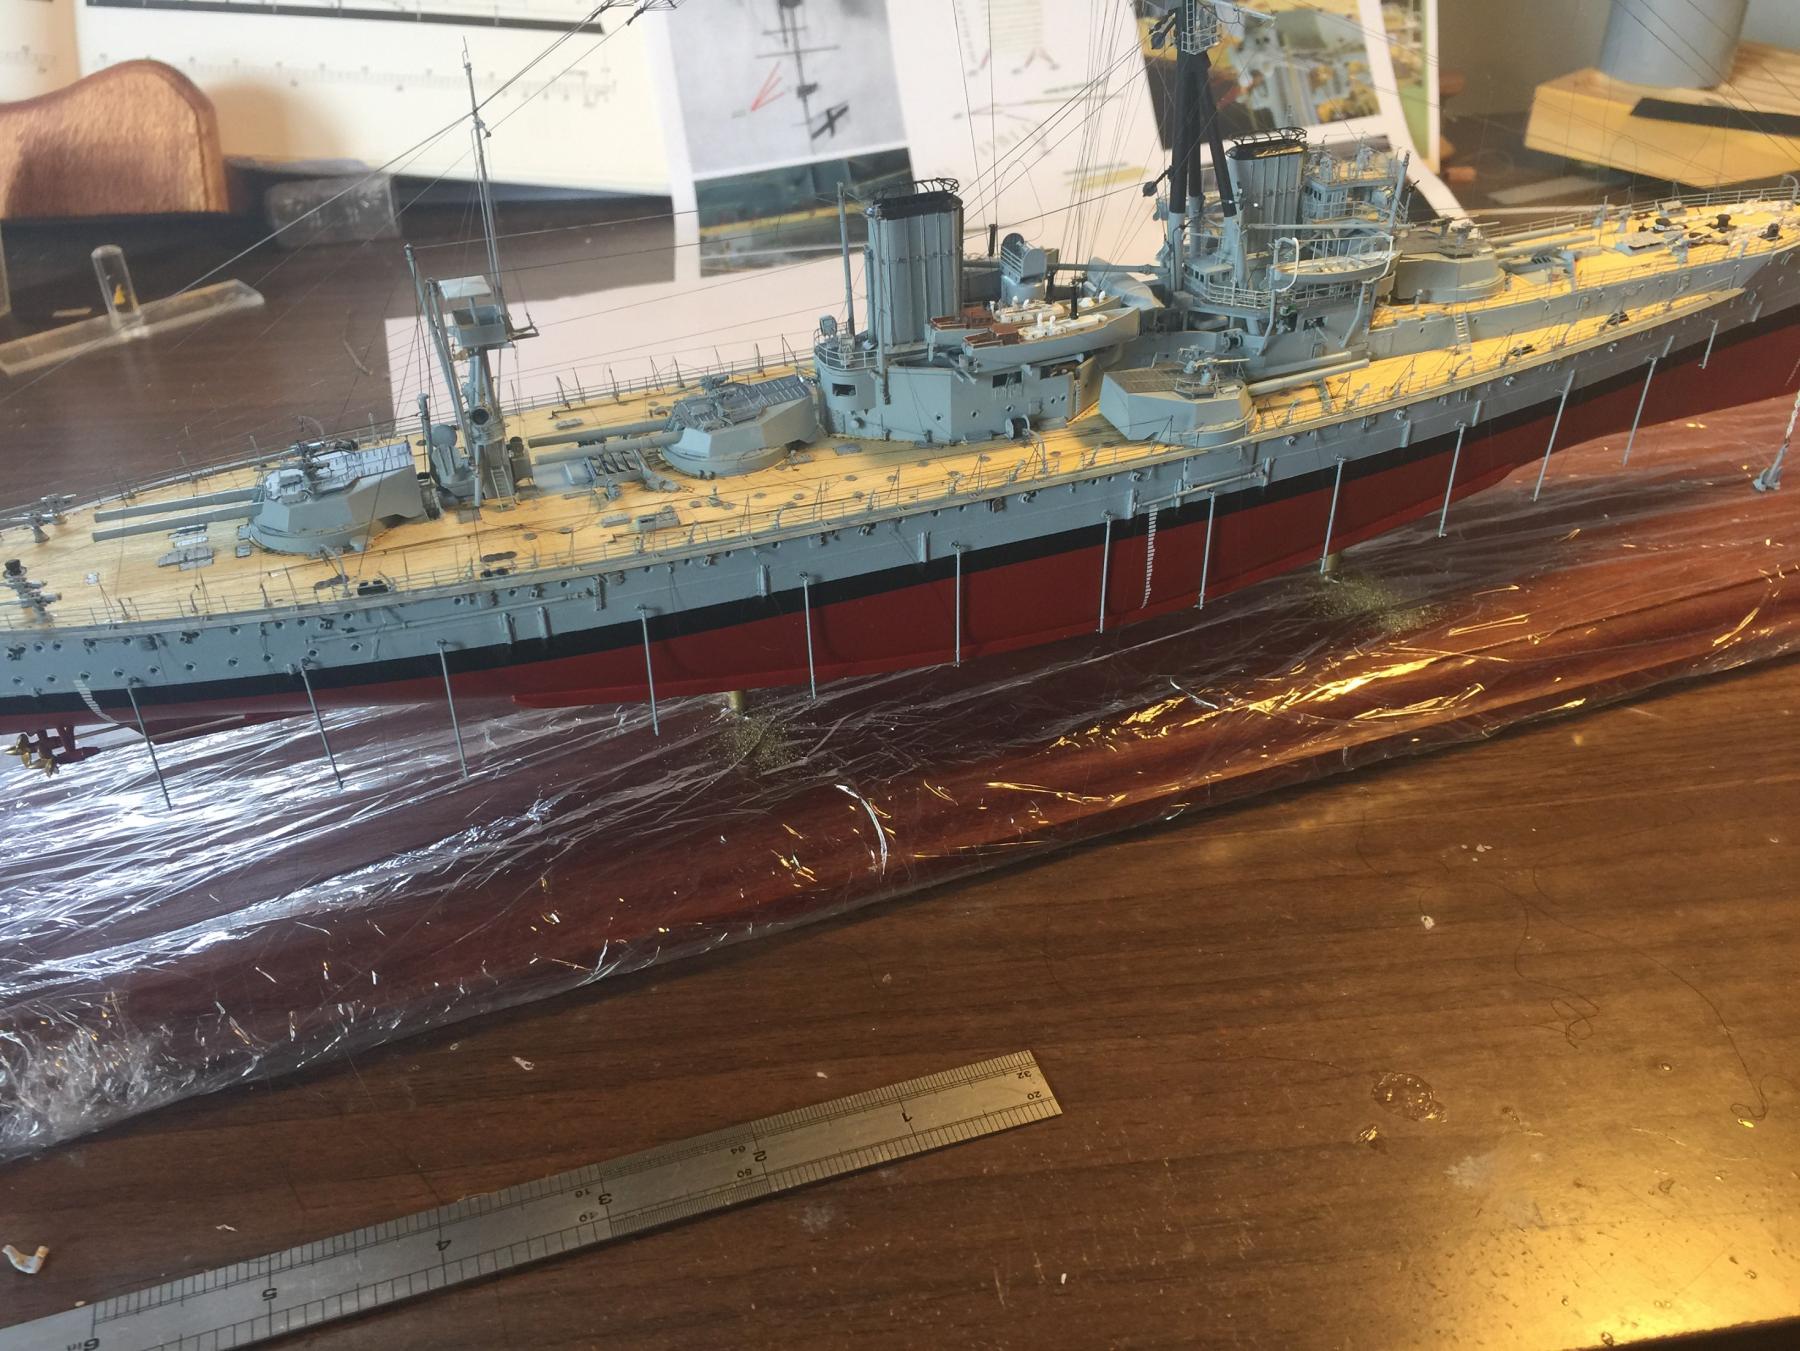
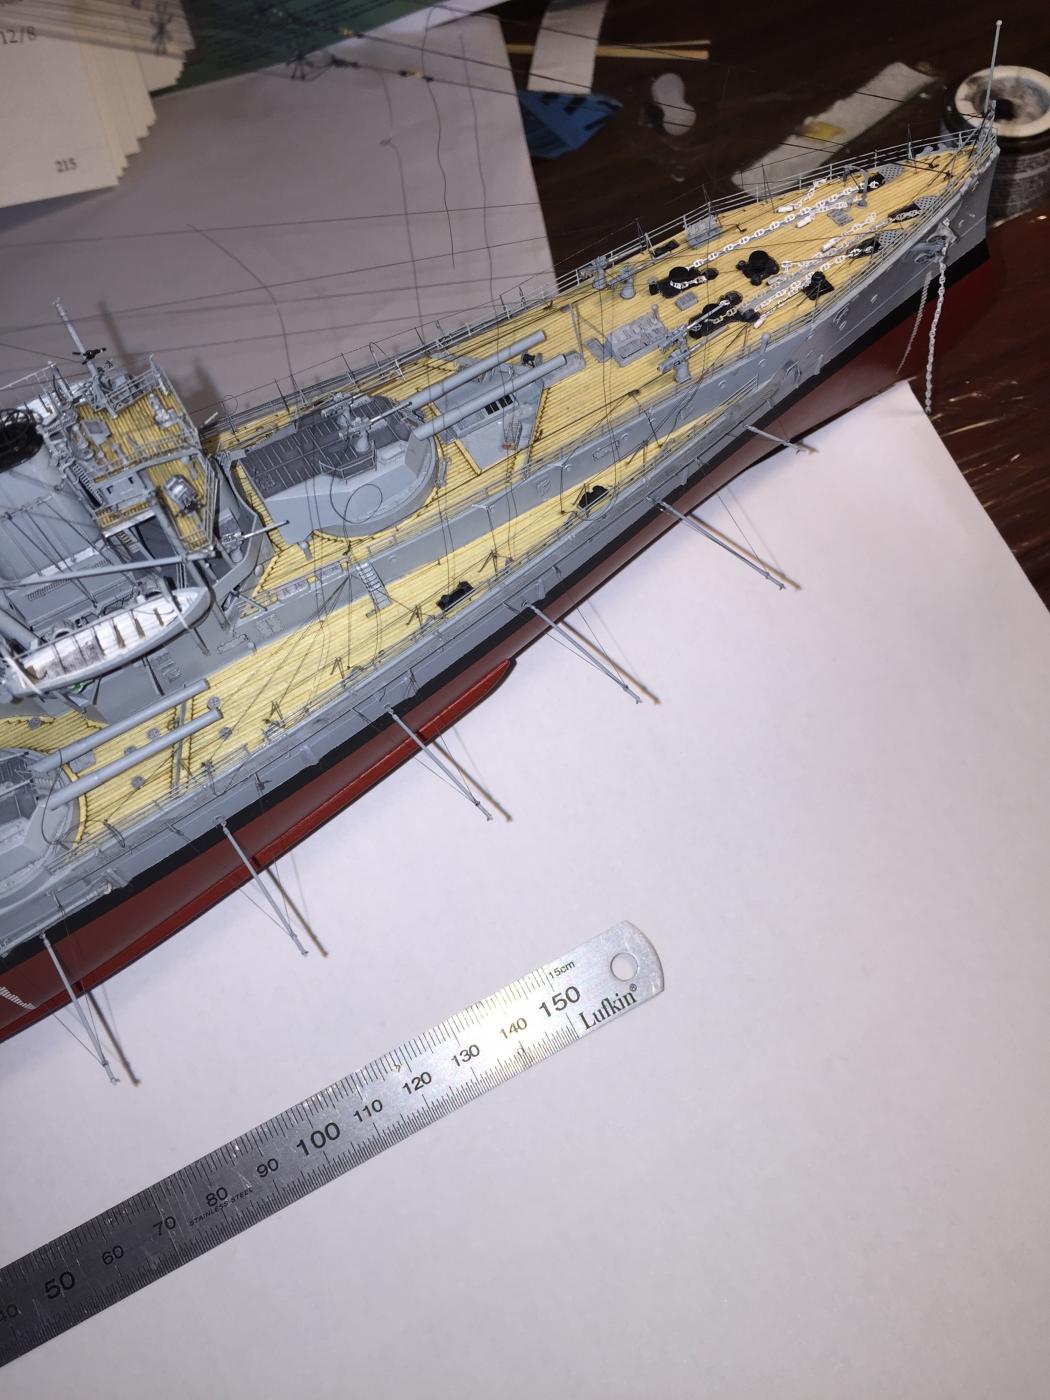
Now for the next nerve racking adventure, the torpedo net booms. They have 1mm hooks which need to be glued into the hull points, then rigged up. I have only done the starboard side so far and it appears to have gone to plan, but I will have to add the gangways before I can add the net itself which I am still experimenting with for colour. There are brails which also need to be run but I done think I will as they will not be that visible, or maybe I will. It will get very fragile from here on in.

- Captain Slog, WackoWolf, Canute and 15 others
-
18
-
The colours on the deck are amazing, that is no easy task.
- Old Collingwood, Canute, WackoWolf and 3 others
-
6
-
-
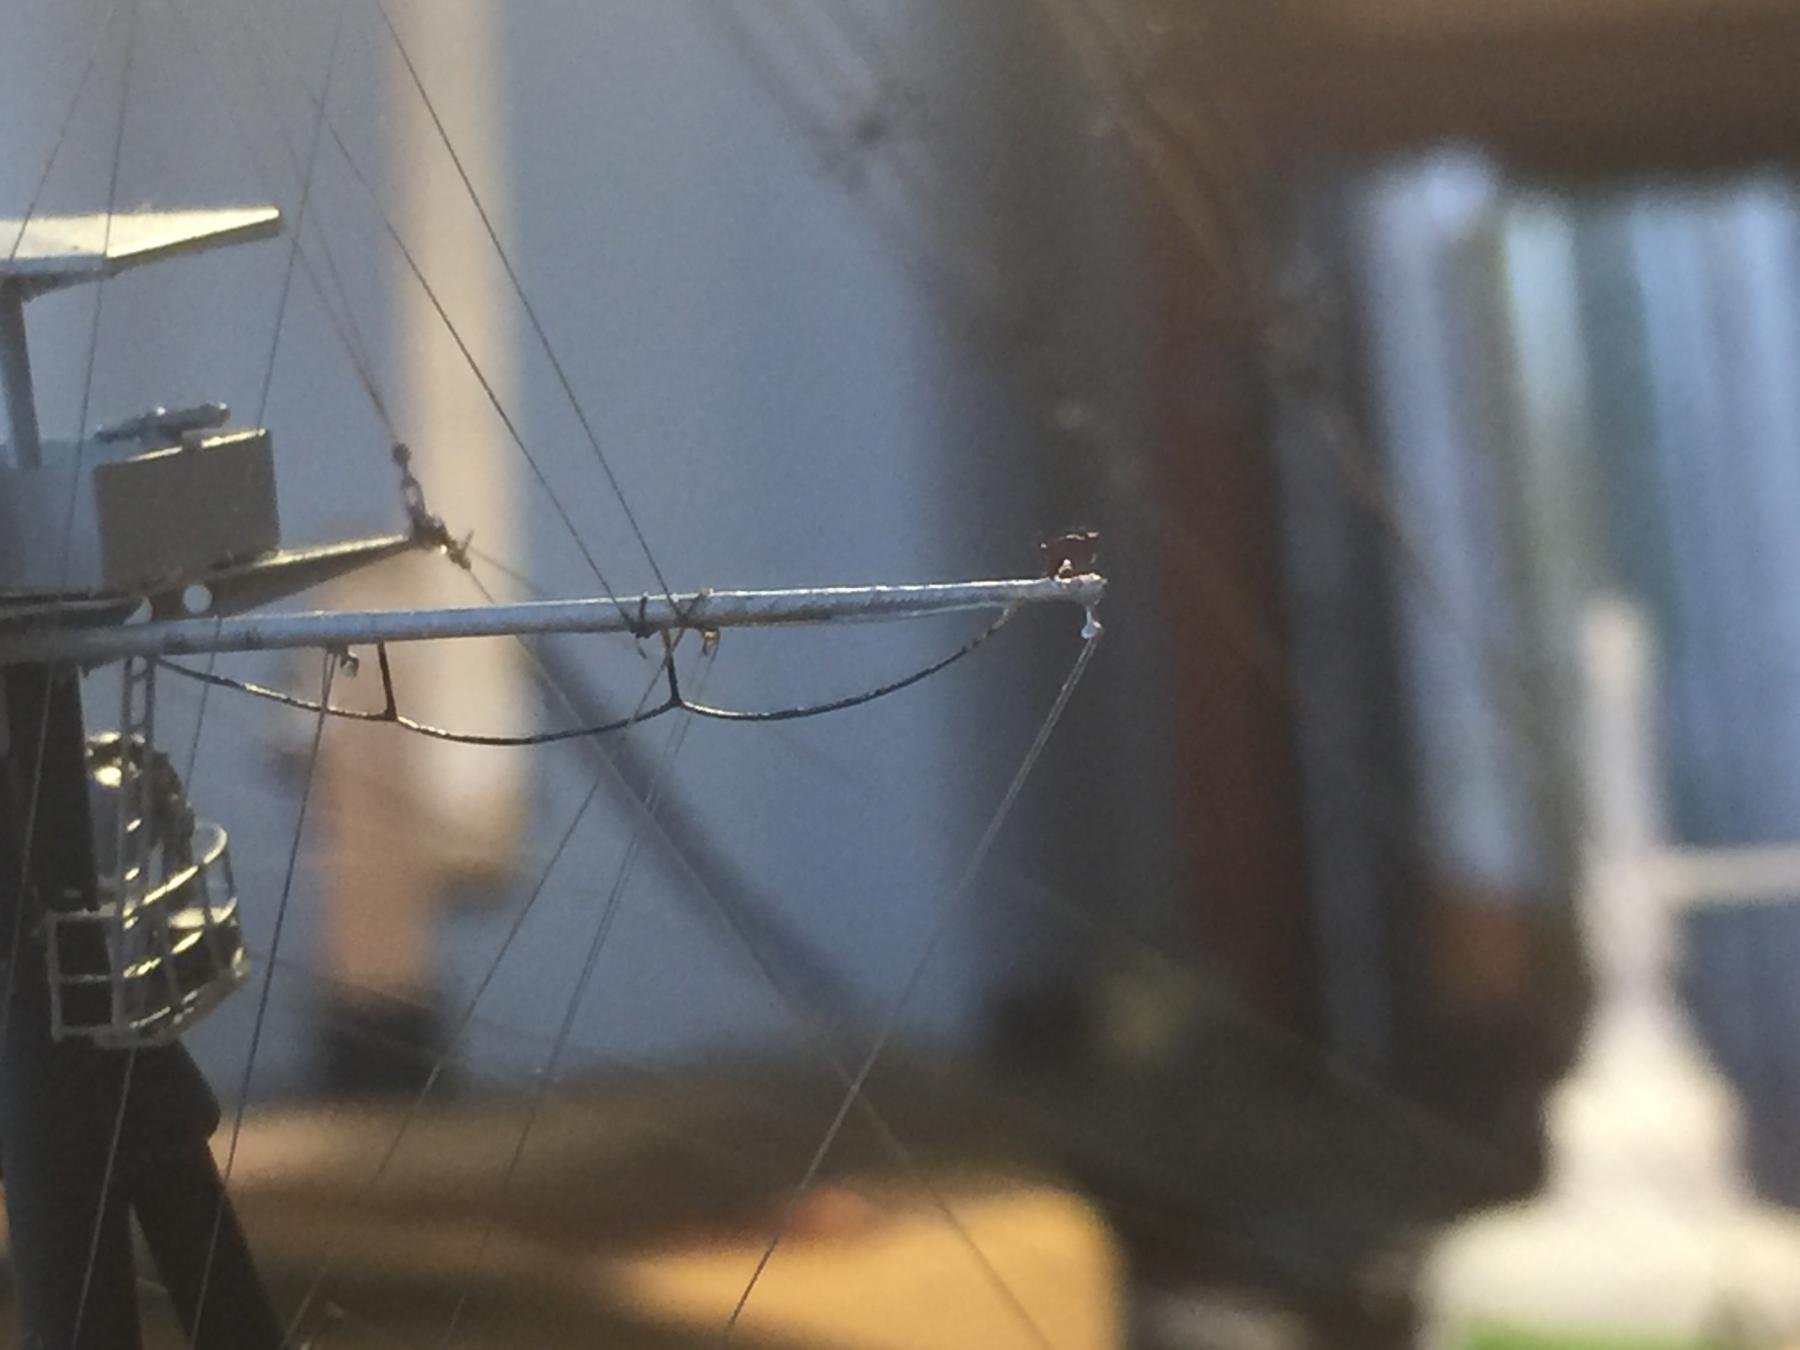
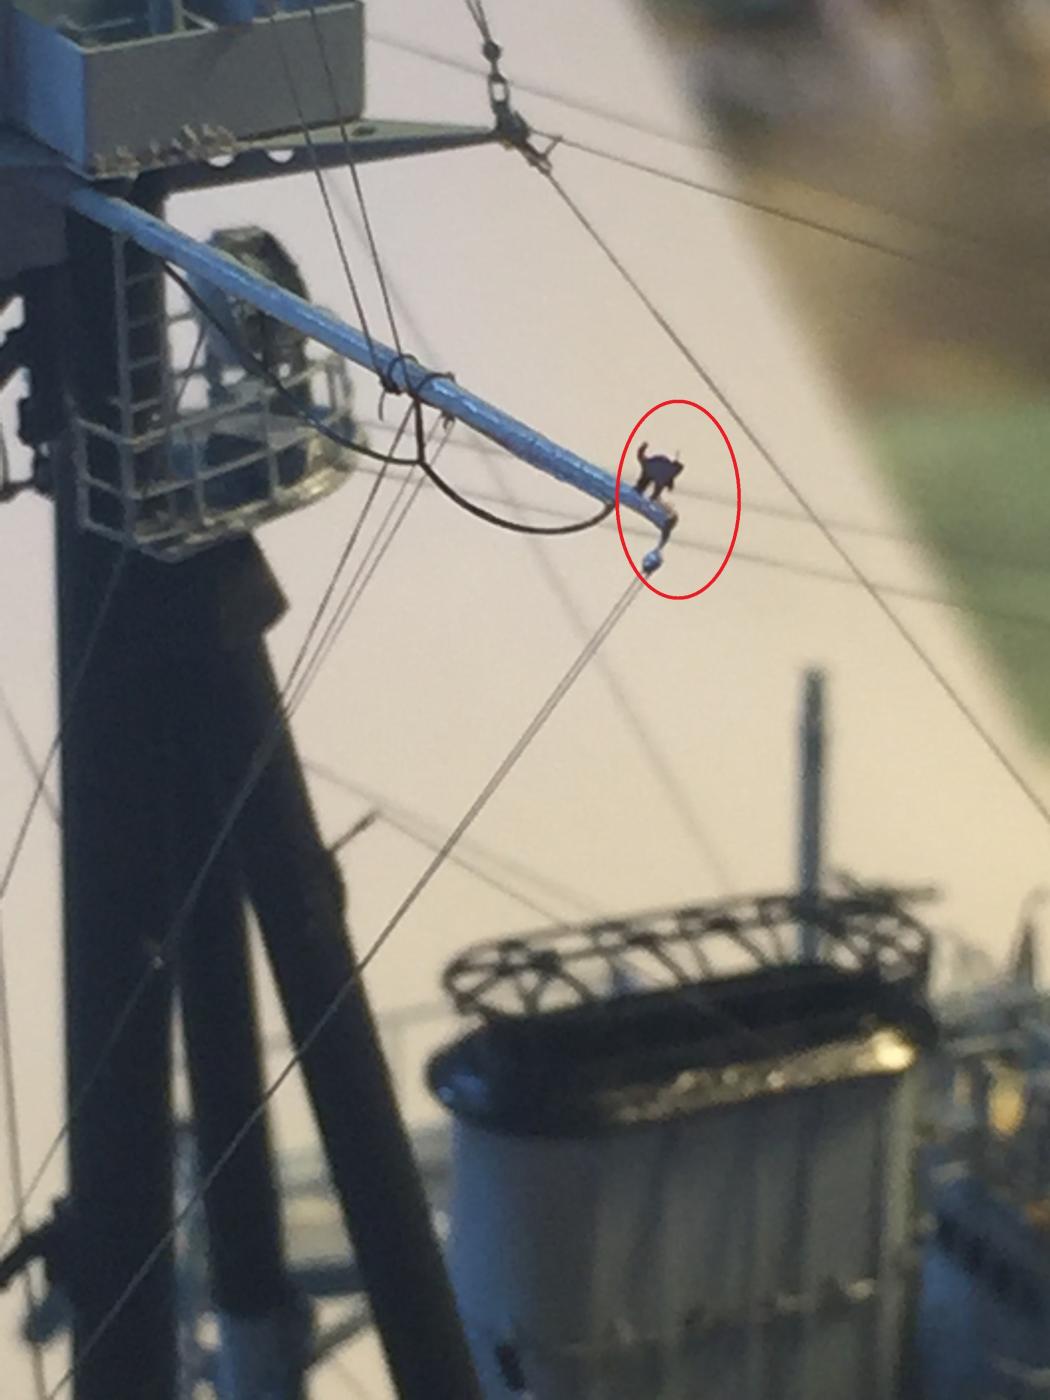
Thus the original photos of the ships cat! How could I not!
- Canute, cog, Farbror Fartyg and 2 others
-
5
-
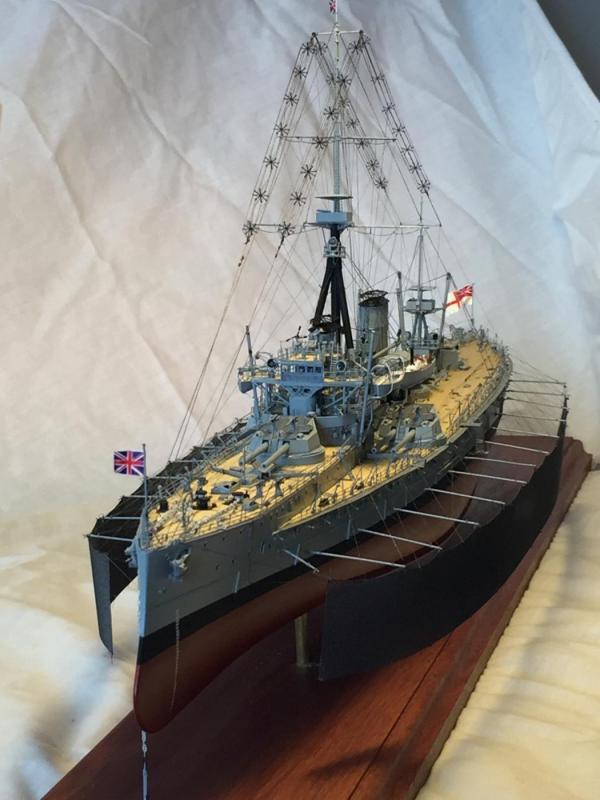
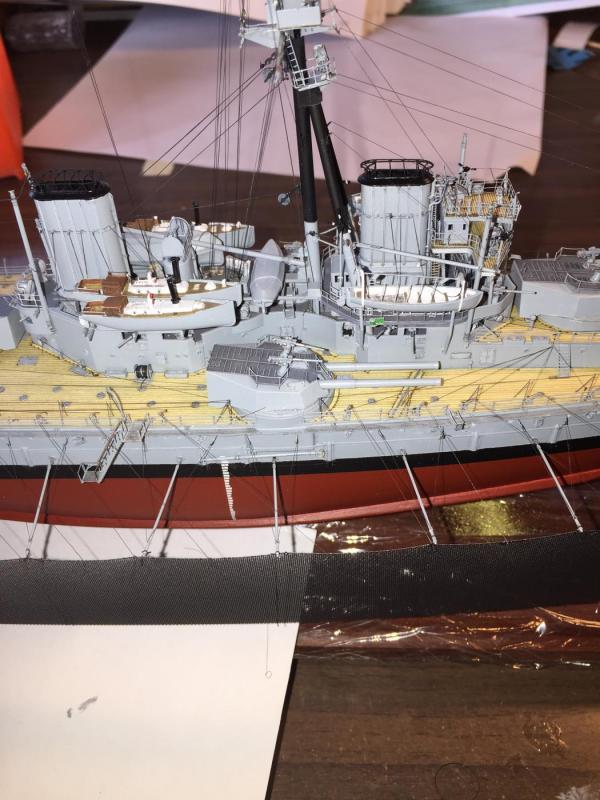
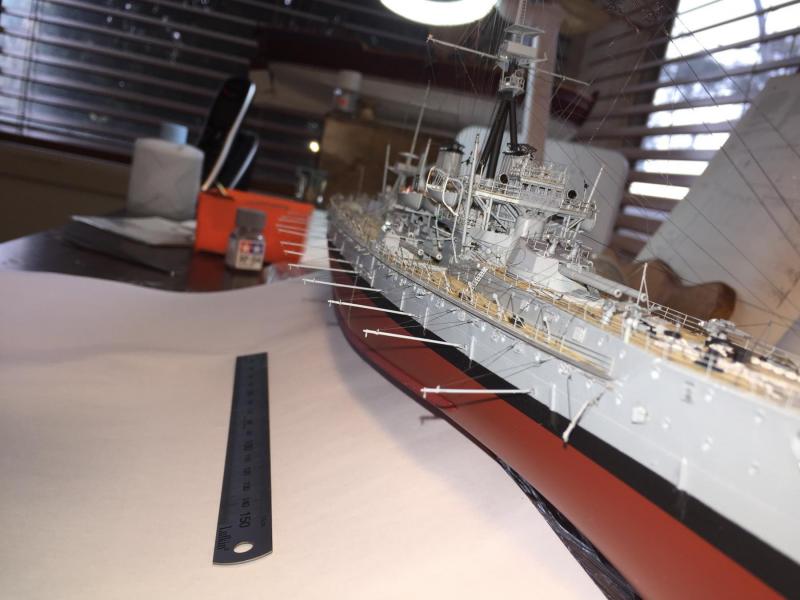
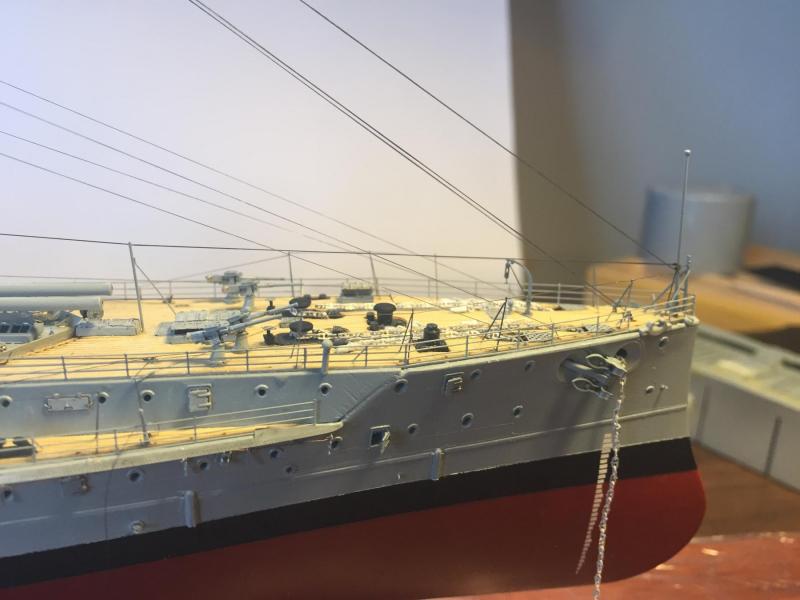
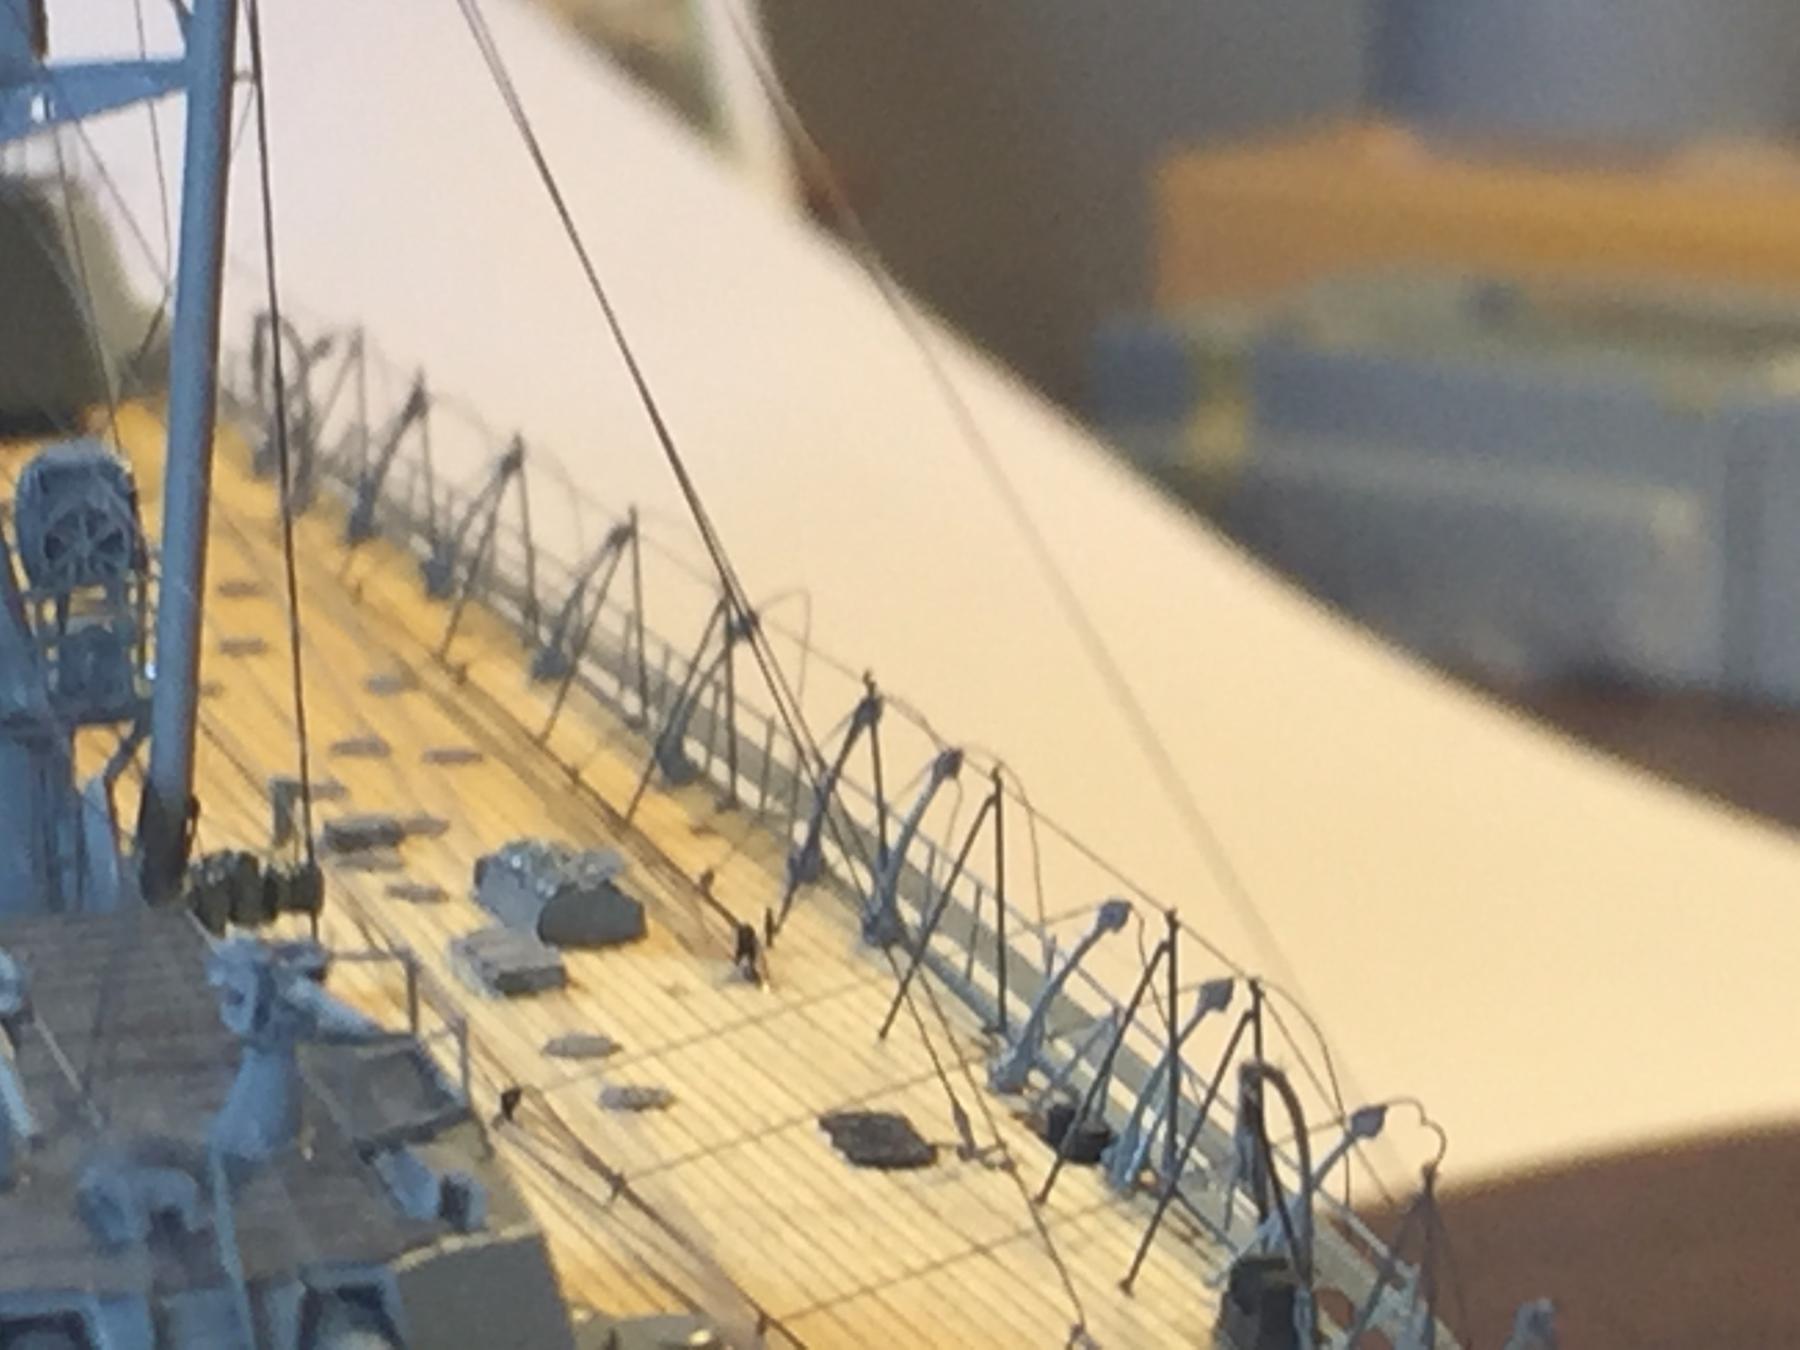
Next, the awning stanchions. This is pretty much the last of the onboard rigging and makes it all very busy.


-
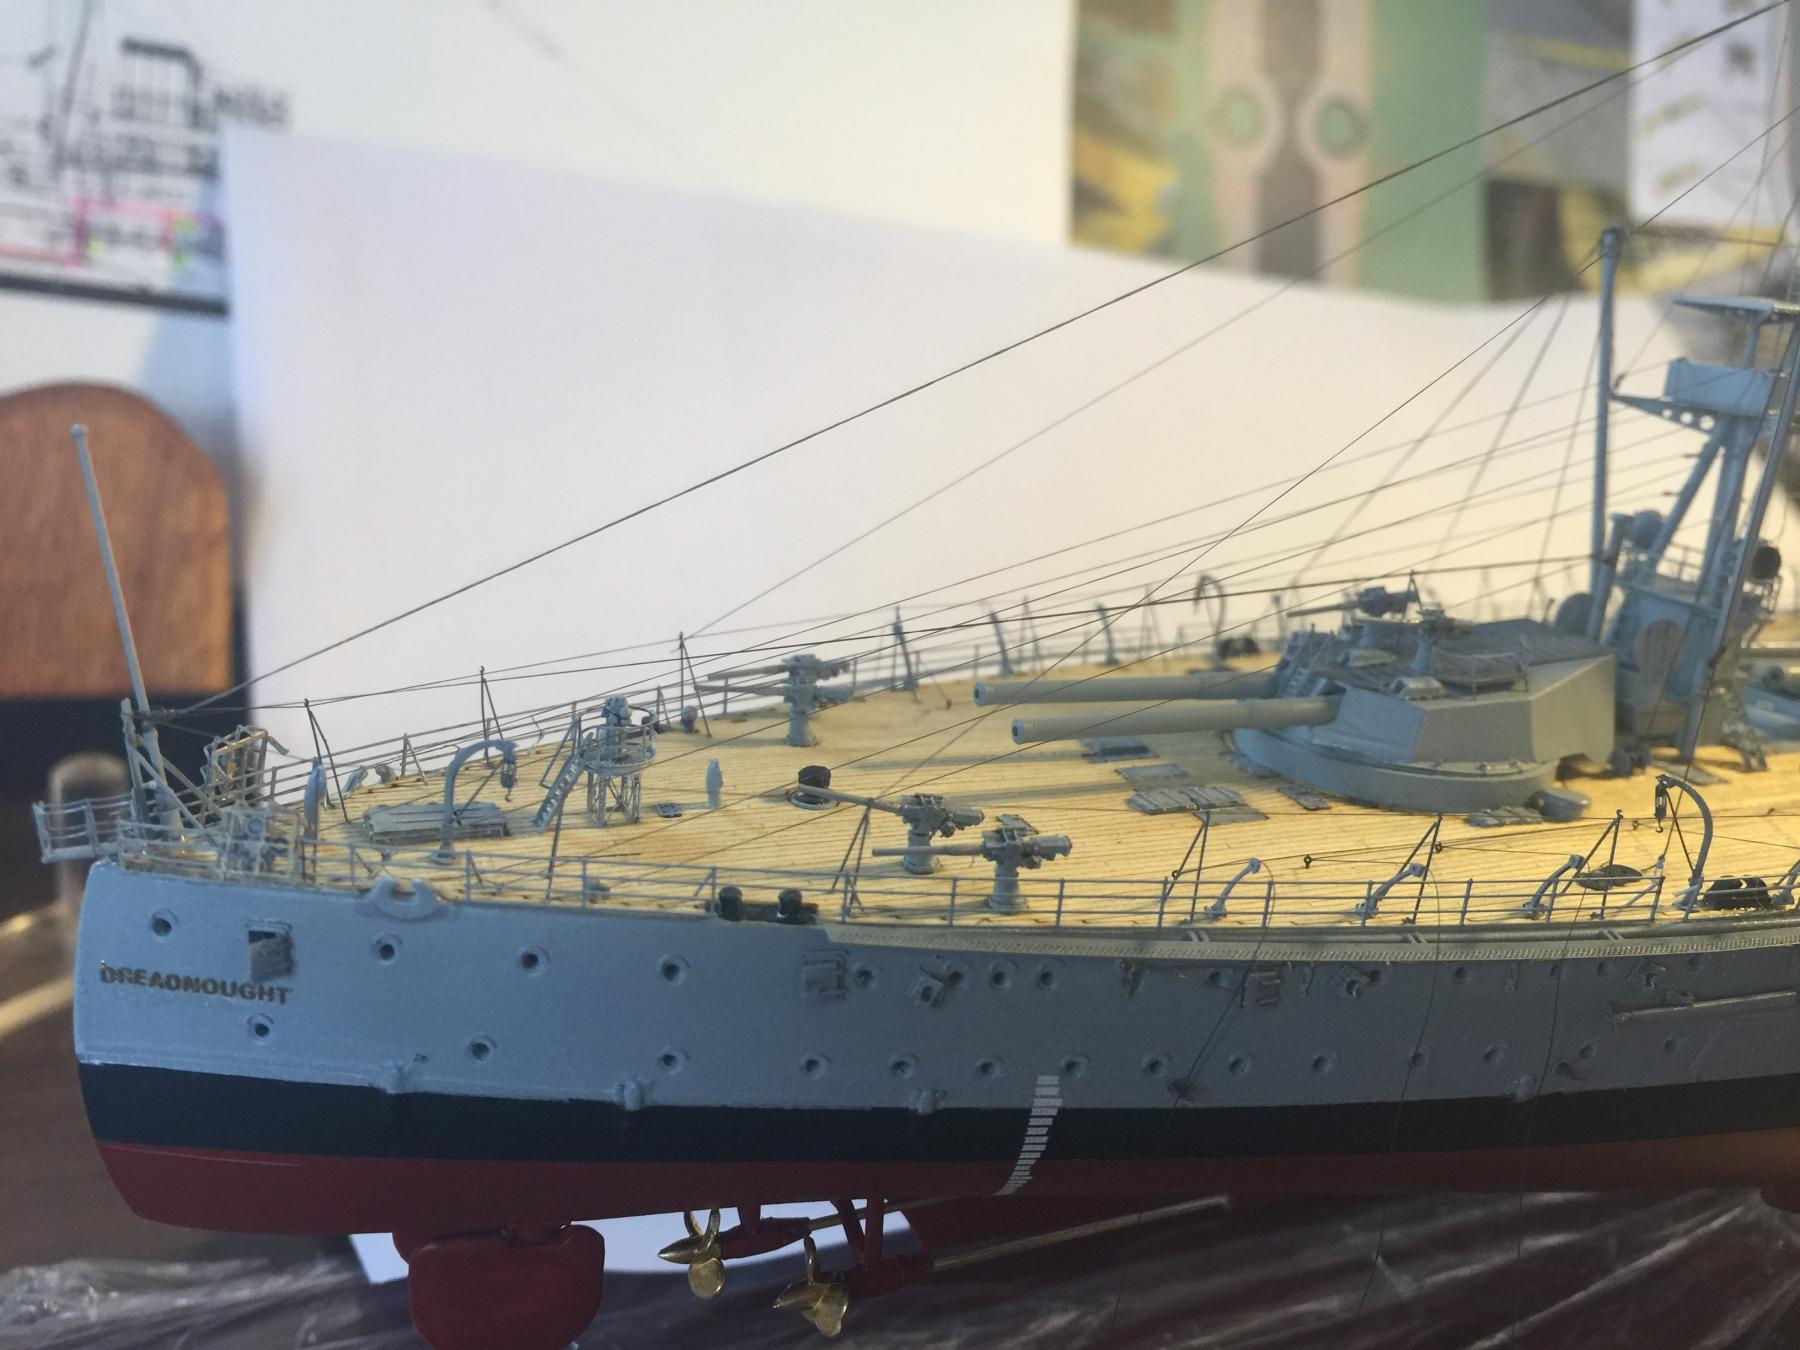
The running lines for the torpedo nets are now done, I have added the rear night lifebouys.
- CDW, FatFingers, cog and 12 others
-
15
-
-
Really nice work, lovely clean lines.
-
I reckon there will be a lot of other builds around. Generally where I get my inspiration from, Russia & Poland seem to have a huge community, use google translate for the words, cut and paste in a search engine and go to images. Probably telling you how to suck eggs tho!
-


HMS Dreadnought 1907 by RGL - FINISHED - Zvezda - 1/350- PLASTIC
in - Kit build logs for subjects built from 1901 - Present Day
Posted
Sorry mate, thank you but it's long way from Australia!