


RGL
-
Posts
5,118 -
Joined
-
Last visited
Content Type
Profiles
Forums
Gallery
Events
Posts posted by RGL
-
-
-
-
Just fantastic. What's next?
- Canute, mtaylor, Ryland Craze and 1 other
-
 4
4
-
Yes, yes I'll go with that explanation I think. It's so bloody busy on the thing at the moment I might get away with it.
- Old Collingwood, mtaylor, Canute and 1 other
-
4
-
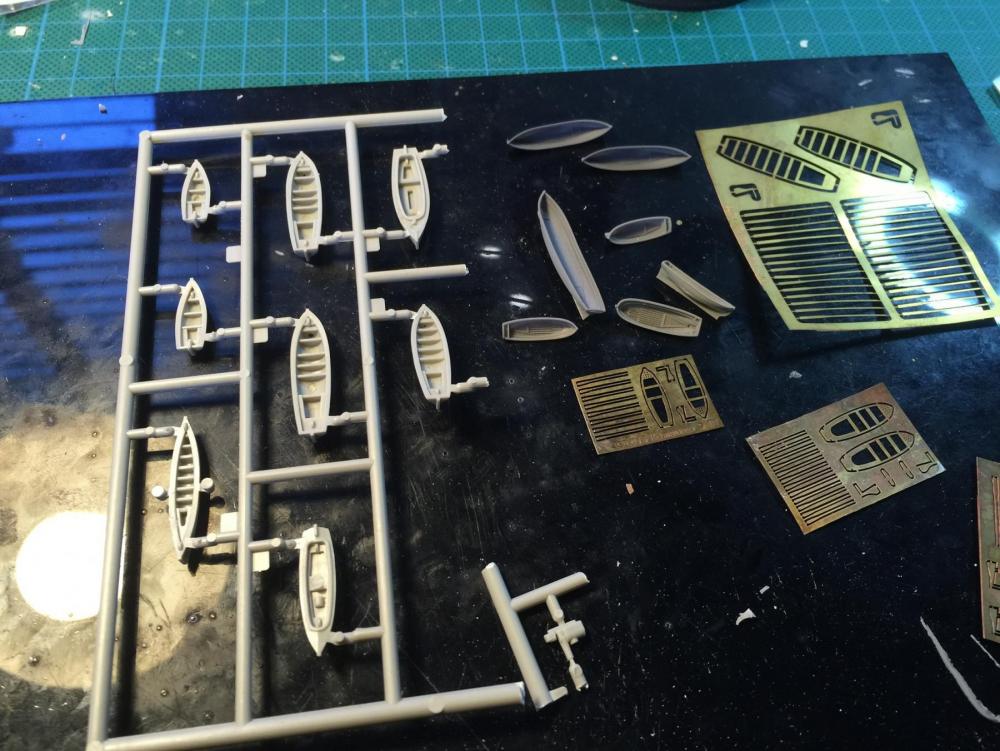
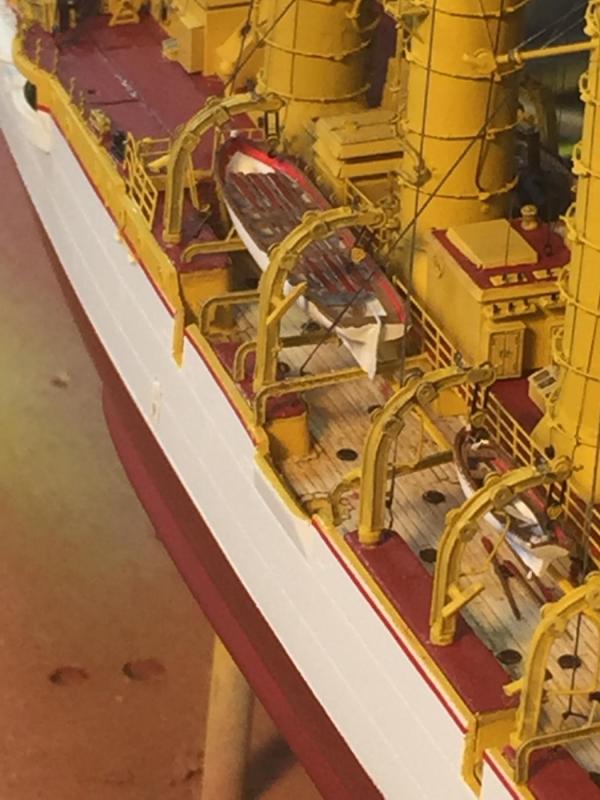
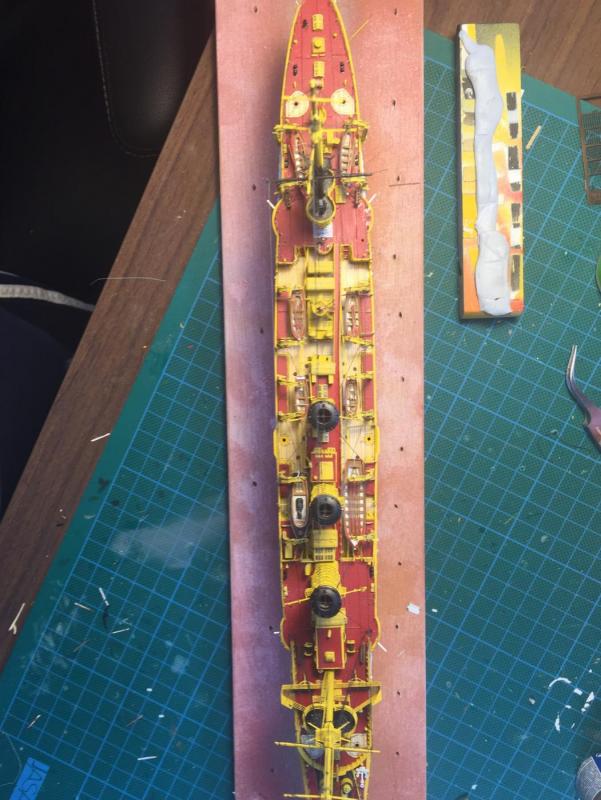
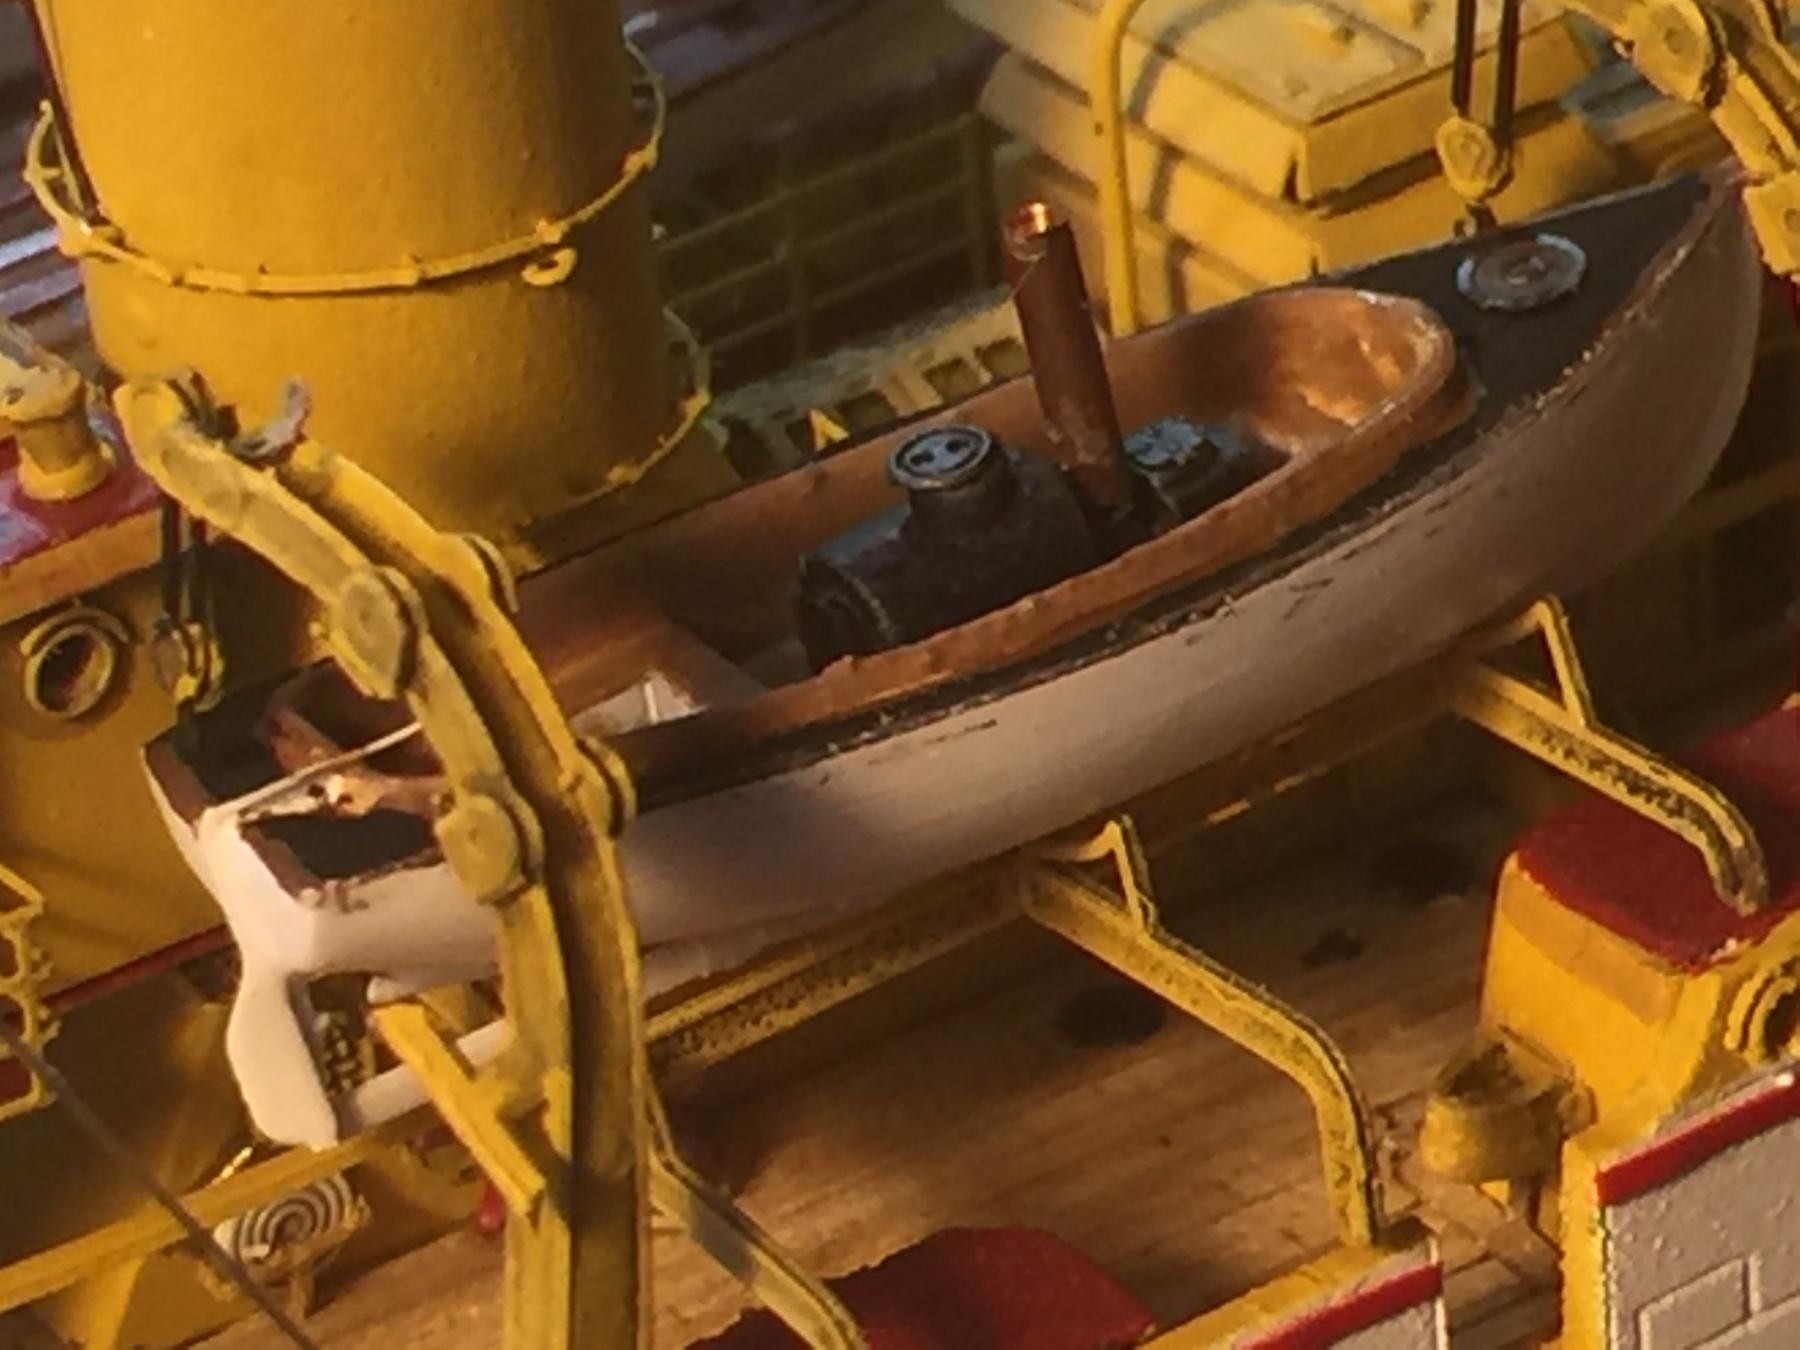
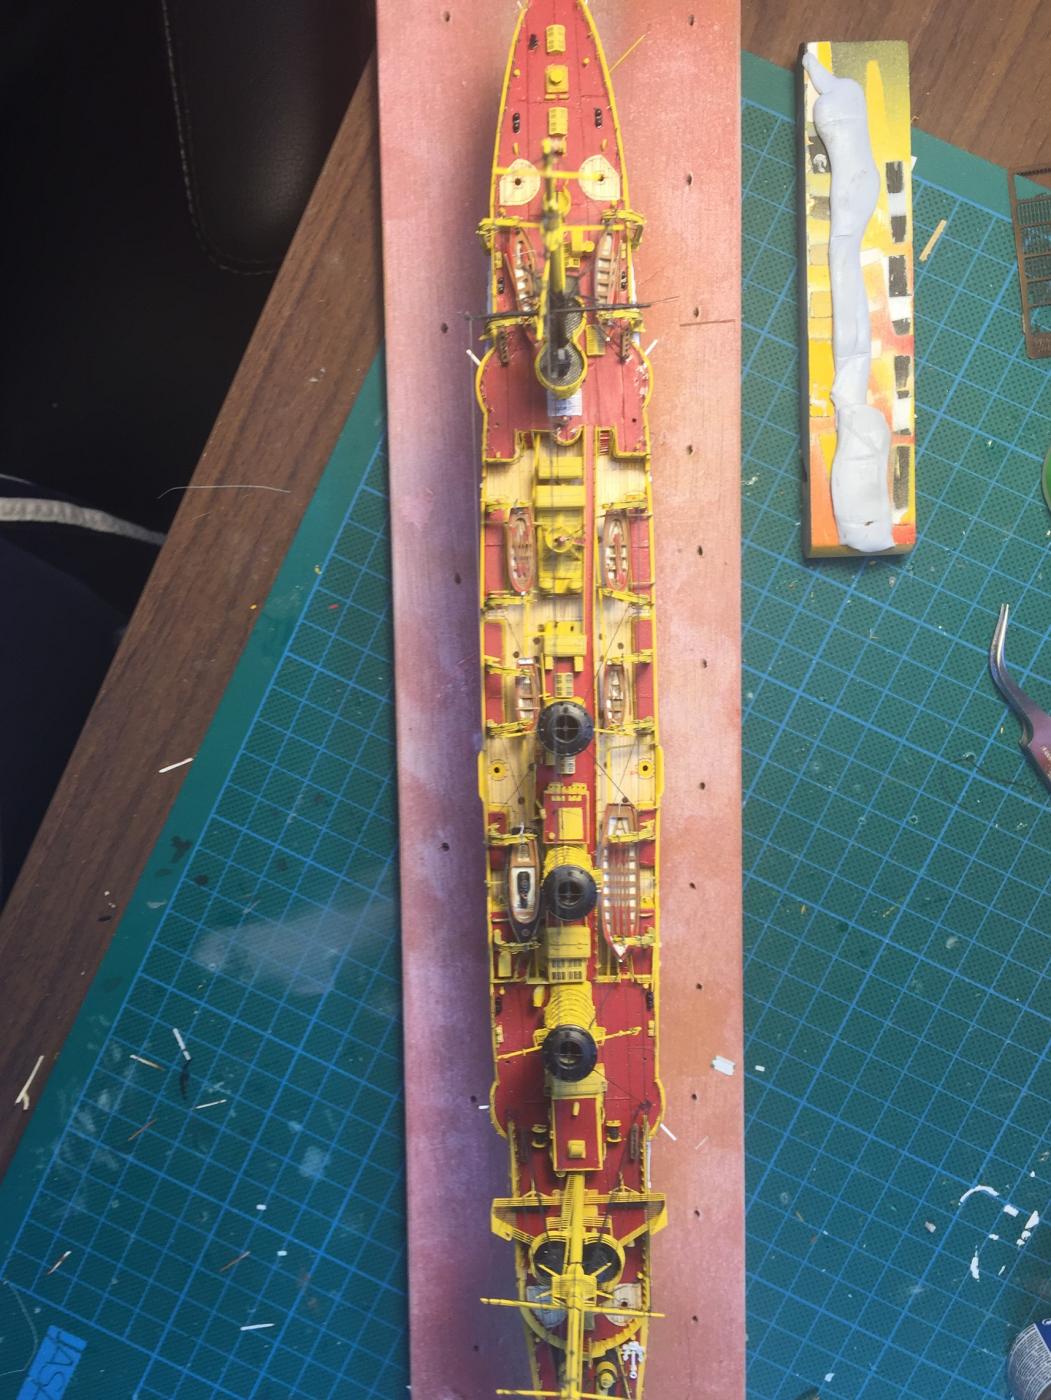
Today I have finished and thrown on the ships boats, as you can see from the first photo the kit supplied ones are not very nice so 7 of the 8 have been replaced with aftermarket. The steam gig was done fairly much to spec from the instructions. I was originally going to lash them *** but the scale is beyond me and the ship with this much close detail is it is very very fragile.
A bit more rigging to go on these then the homeward stretch.
Thanks for the likes and comments.
Greg


-
-
-
-
I pretty much use rattle cans, I find anything hand painted on is too inconsistent and thick for the scale but that's probably just my lack of skill. I tried Vajello and it was rubbish to work with. The washes are done by hand as are the dry brushing. I haven't weathered any of mine as they are supposed to be display only.
-
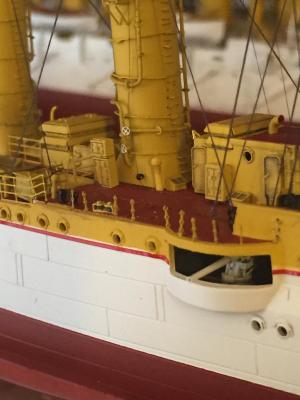
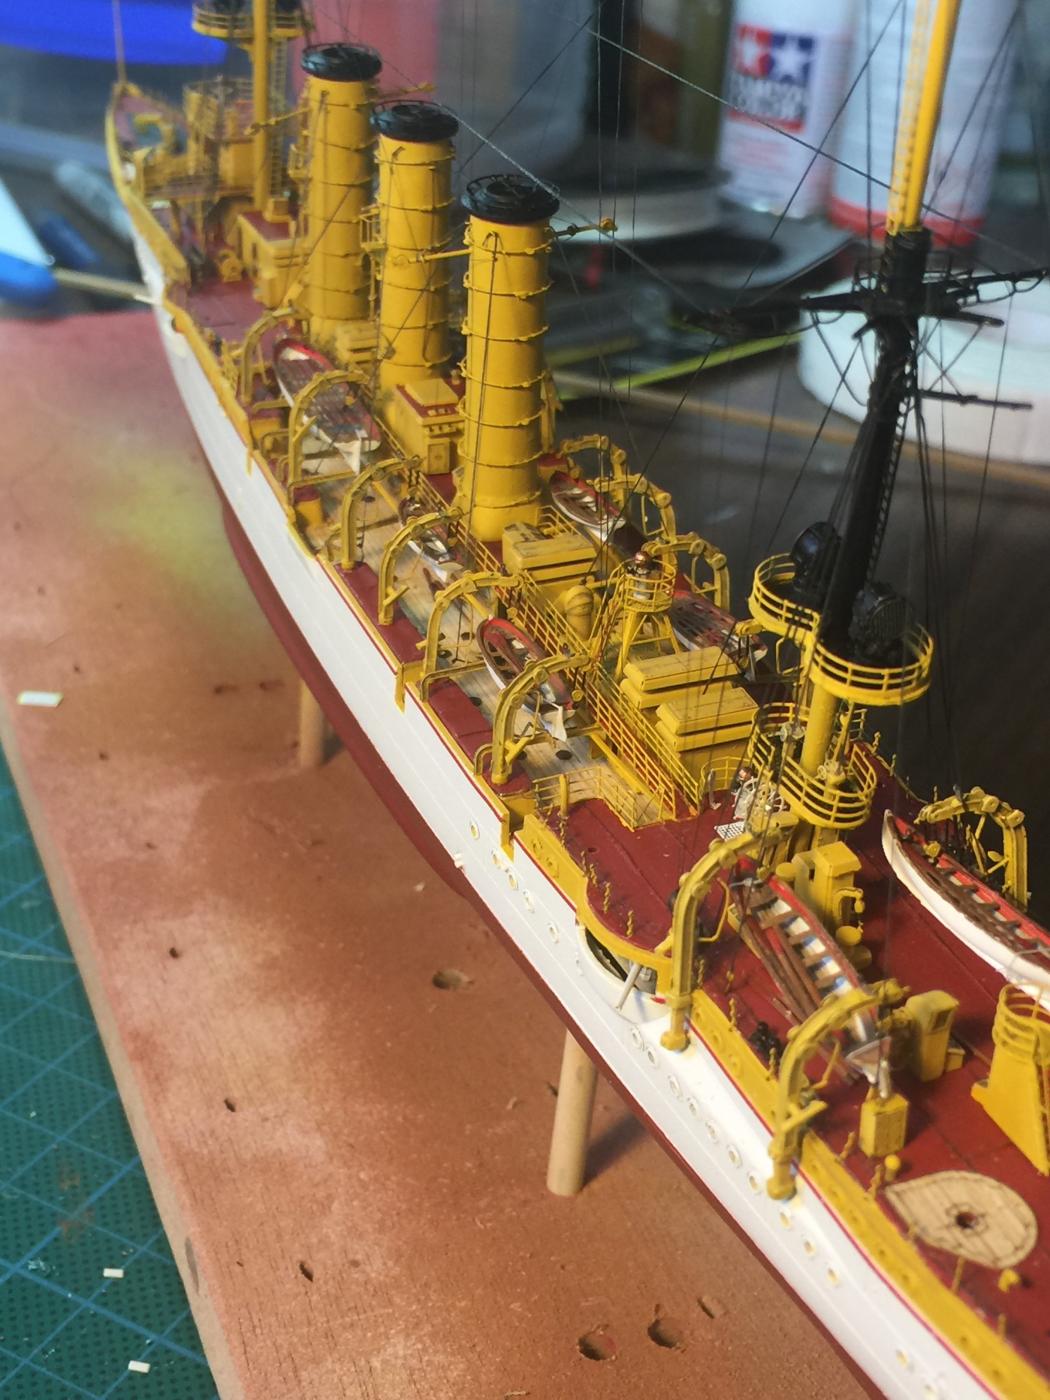
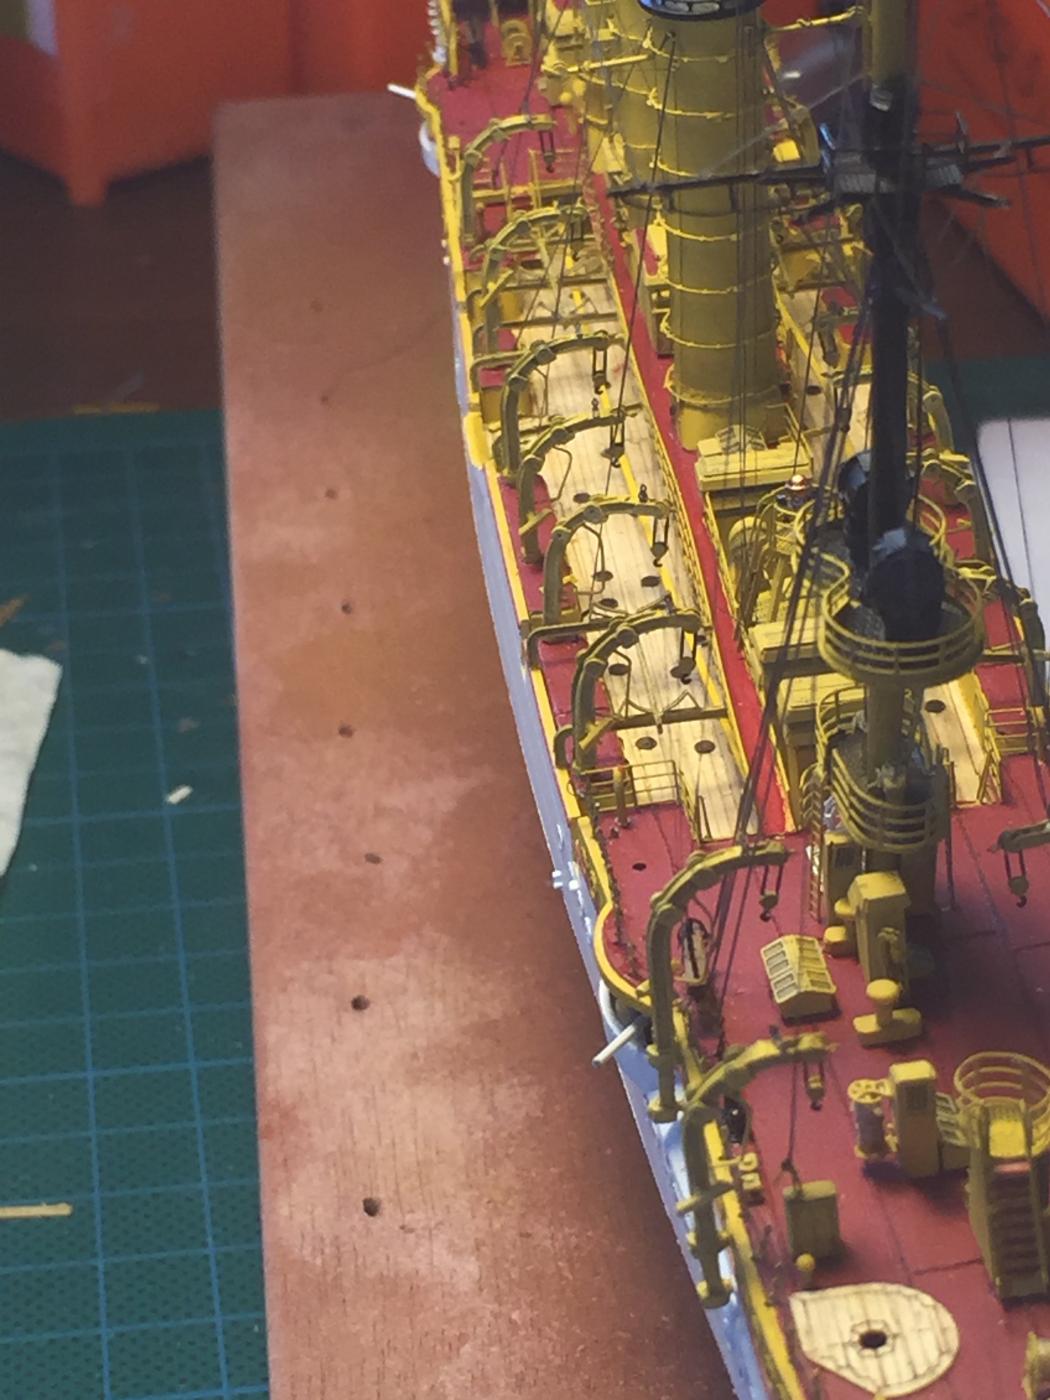
I haven't posted for a while as it has taken forever getting these davits done. The rear deck ones needed some rods so they will not snap off the side of the hull, then some washes to bring out the details. Next will be the ships boats then the rigging for the davits.


- Captain Slog, Gahm, robin b and 15 others
-
18
-
I have found by using the Tamiya primer spray first it keeps most of the paint on. I try and do any photo etch that does not need bending is best done this way as the detail does not get lost. It binds so much better.
- hexnut, popeye the sailor, mtaylor and 1 other
-
4
-
-
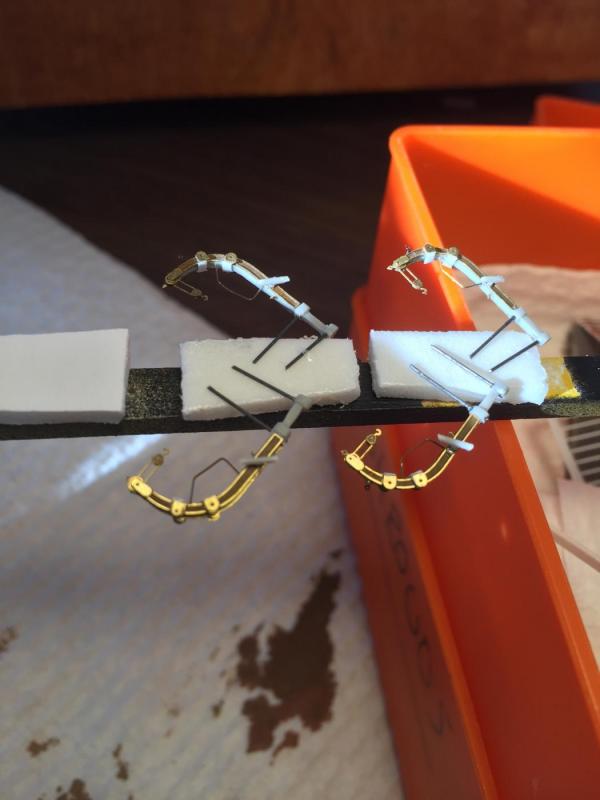
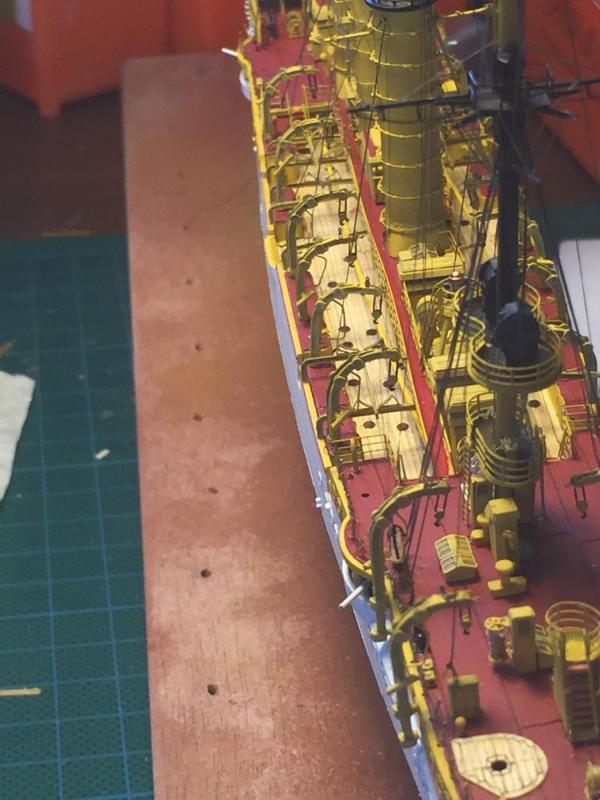
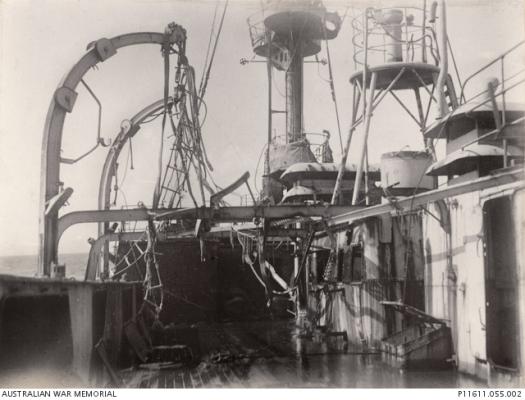
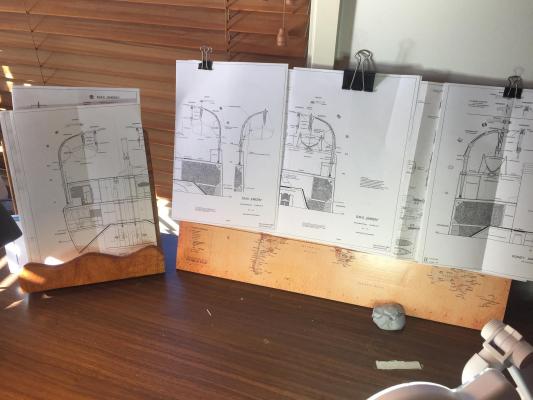
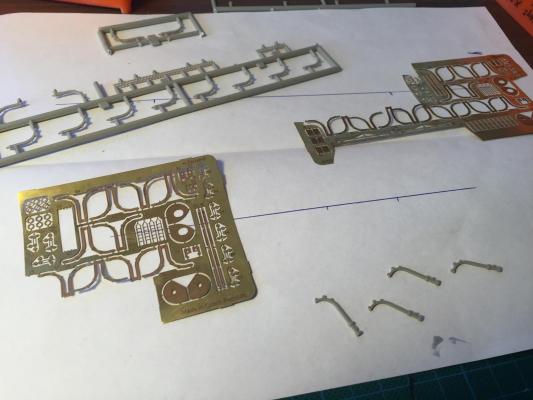
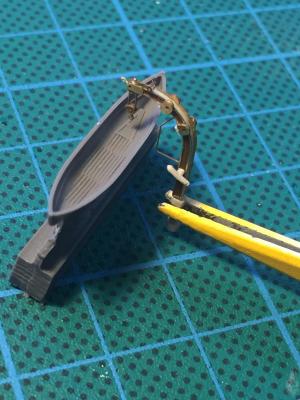
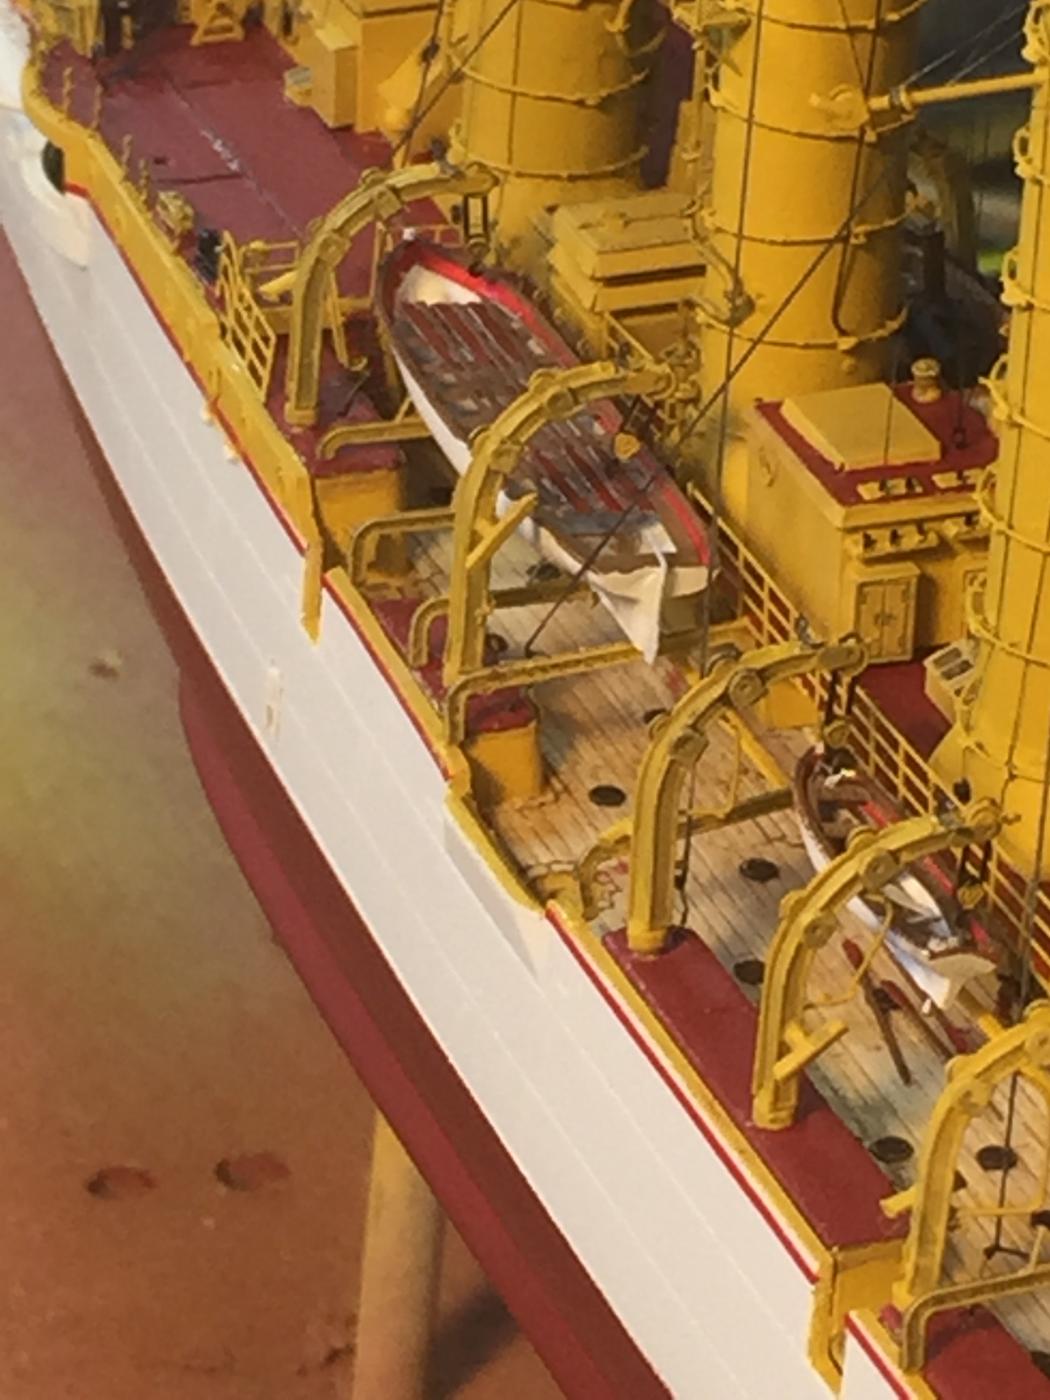
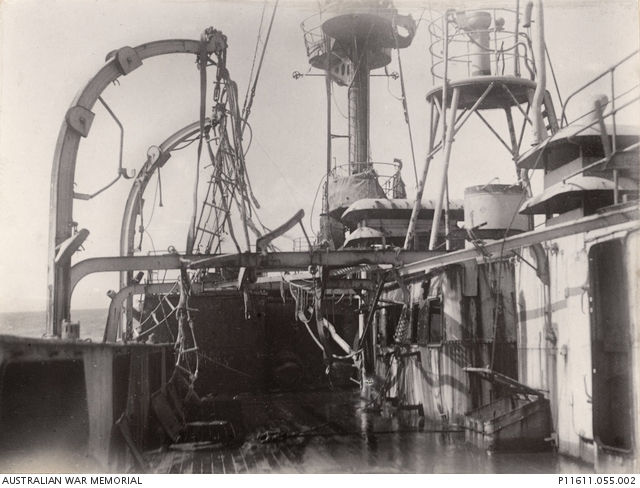
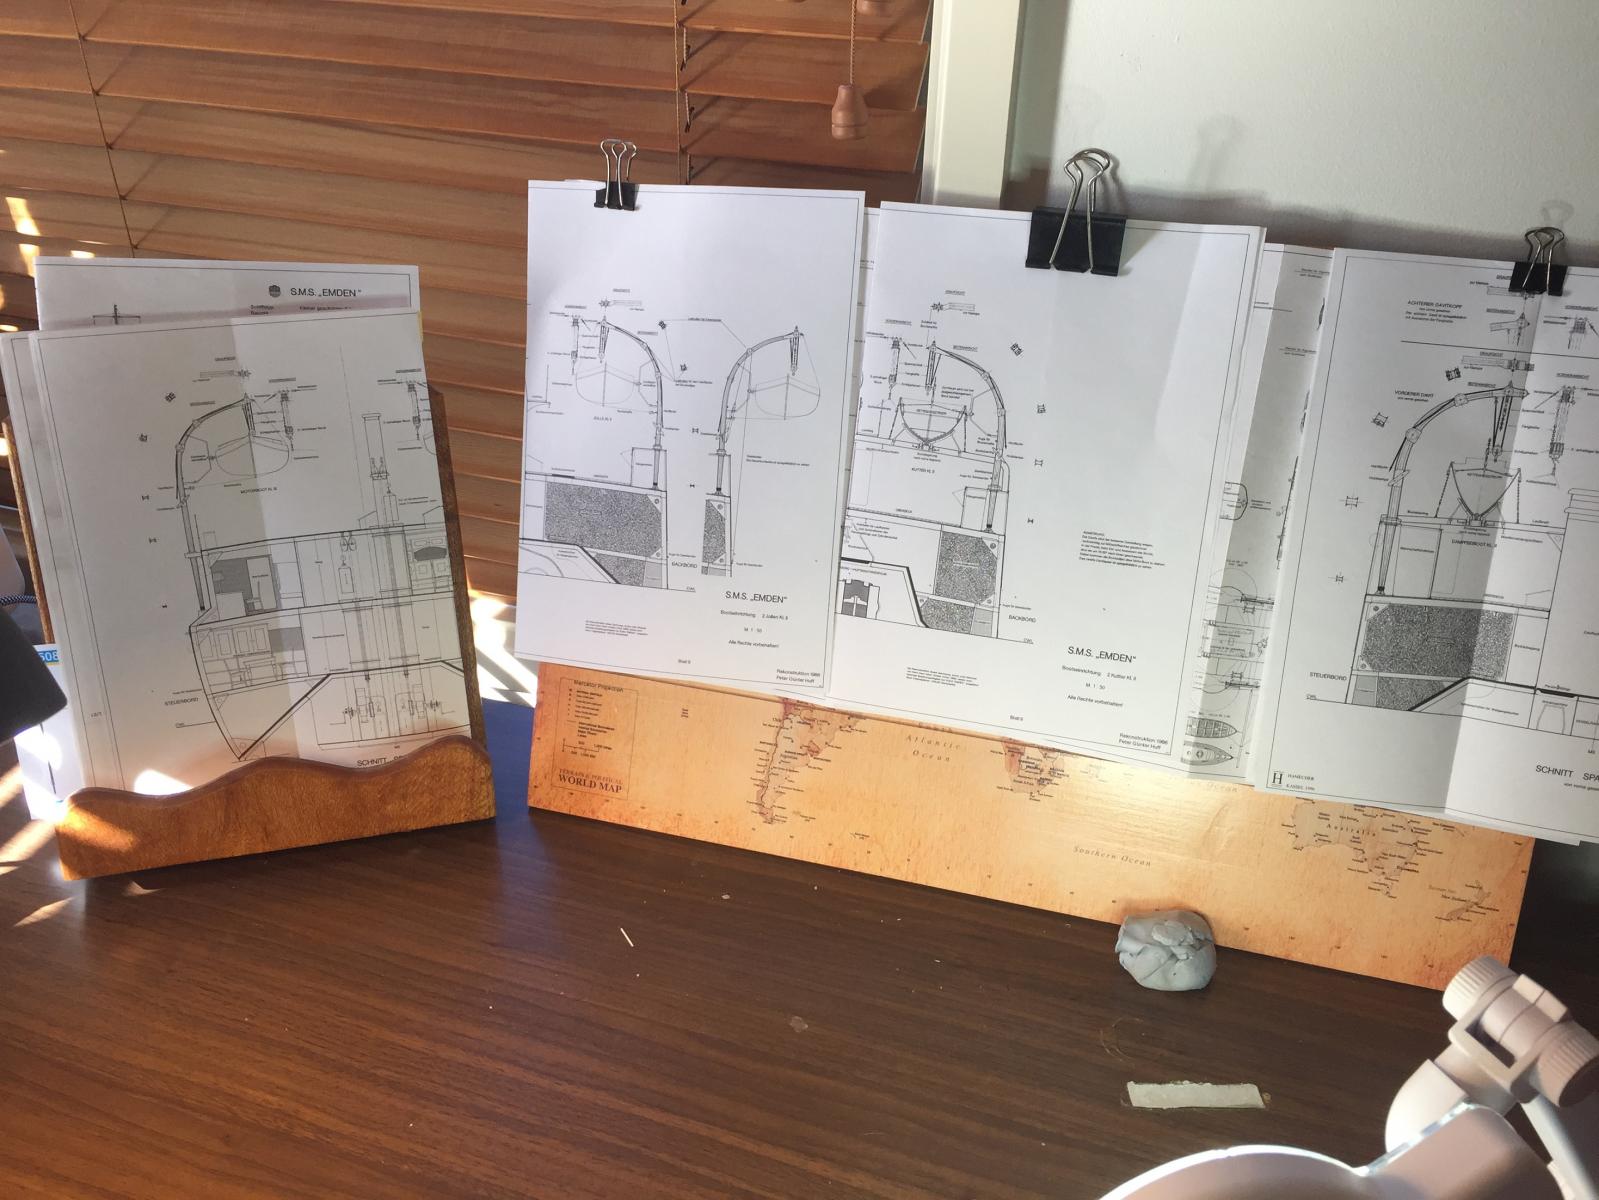
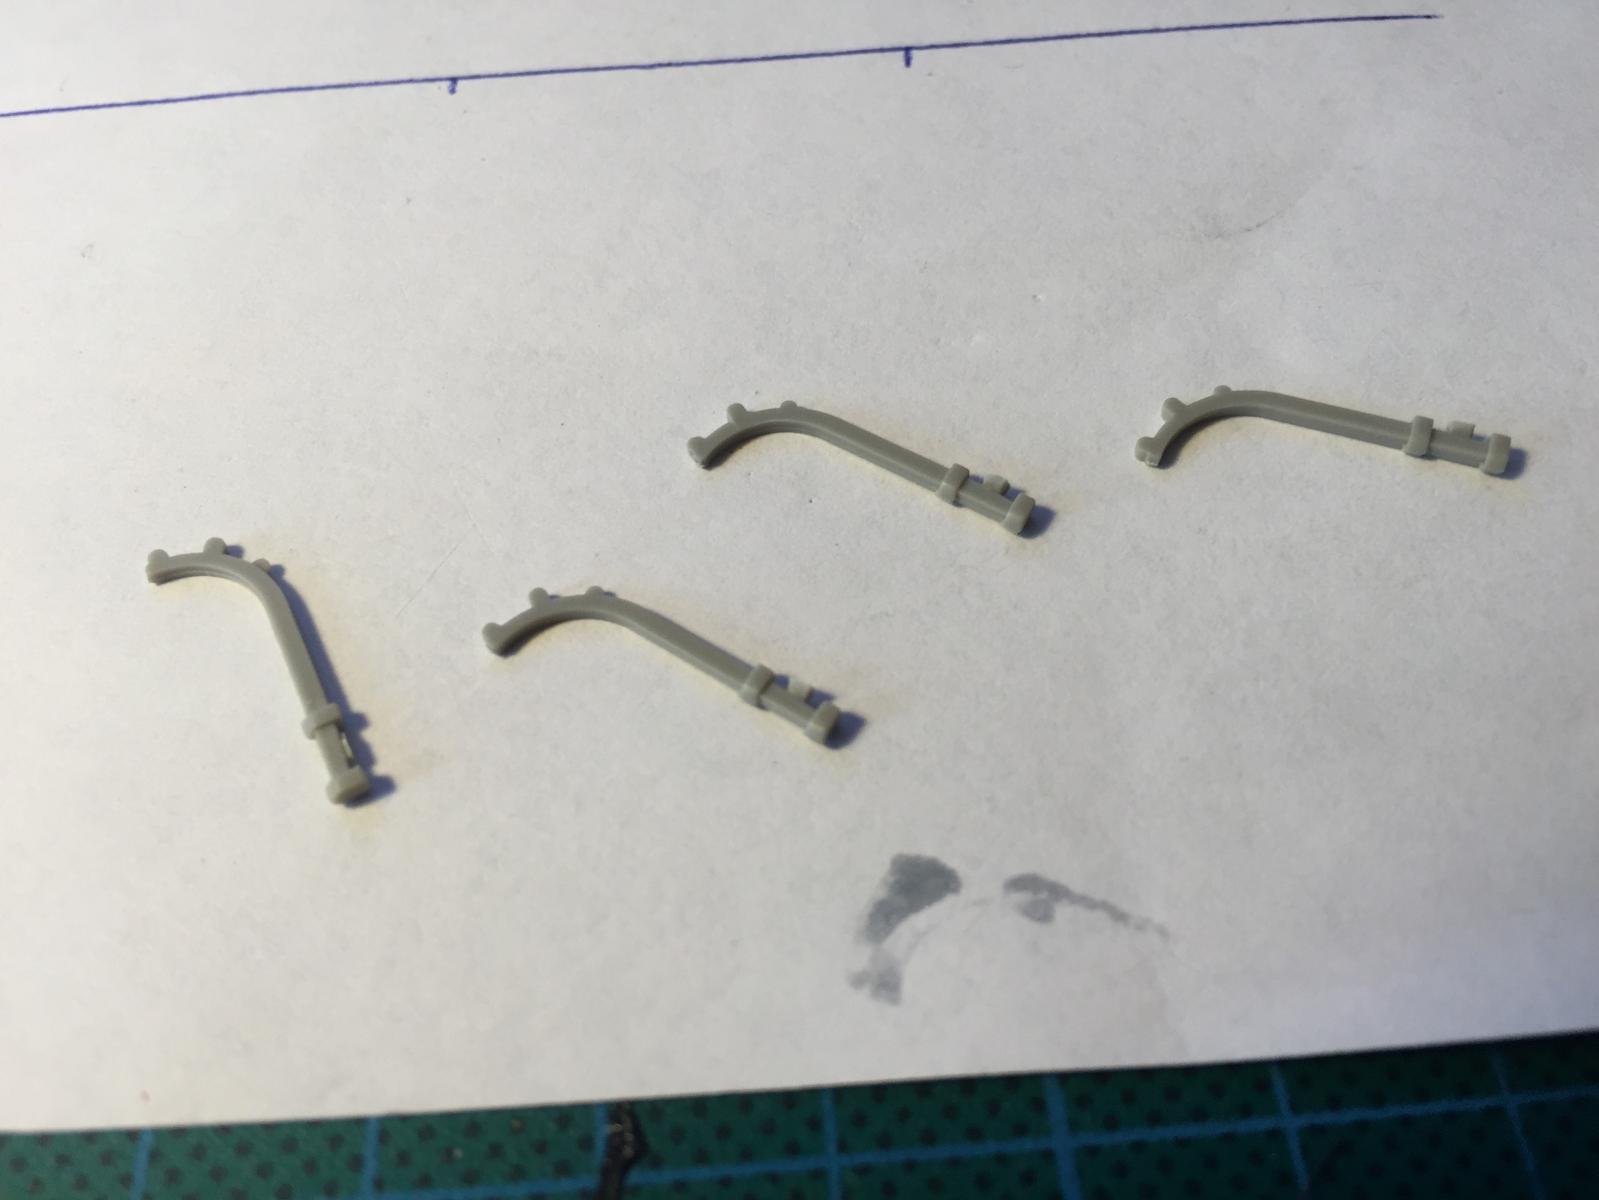
After the threading, I can get back to some modeling. There will be 16 individual ships davits, for 8 boats. You can see from the Huff plans they are very detailed. The grey blended blobs are the Revell effort. The Eduard fret is not bad but still needs work, as they are attached to the plastic from the kit. The side profile shows them as basically bend I bar. So thinning the kit davits down, adding an extra layer for the pulleys which run alongside them, and a few eyelets for rigging and the bolster rails make it about as complicated as it needs to be at this scale. If it was bigger it would require more work which would be easier because of the scale. The cleats look ridiculously big but that is the way they were s you can see from the original photo.
This is the first of the 16, and the template which has come out OK. It's for the rear deck, and the kit only allows the option of the boats being outboard, whereas I want everything inboard, so I will have to add some bolsters and probably have to drill it into the hull to take the weight. Now I have some direction I can mass produce them.


-
-
That's what you call it? I have 76 eyelets to thread, so to put it off I cleaned out the shed and I'm going to use fine pavers to lift my desk up about a foot so I can see what the hell in doing. As winter is coming I bought a new lamp with the best globe I could get to help. I can see so many lessons learnt.
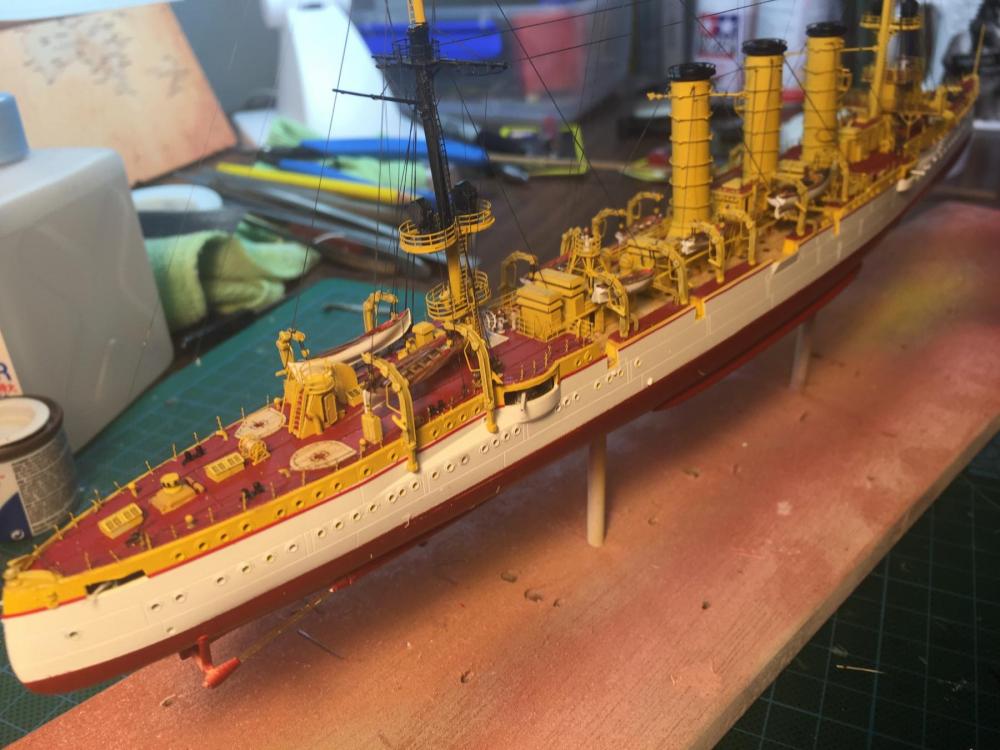
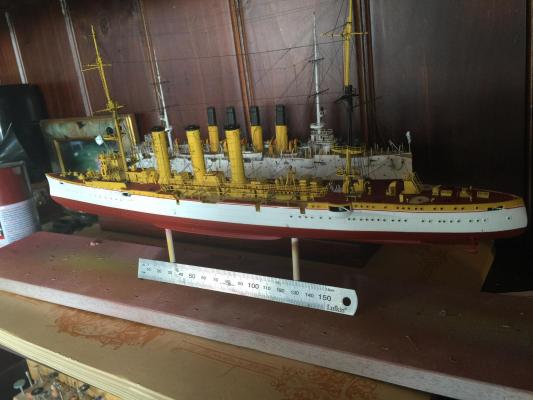
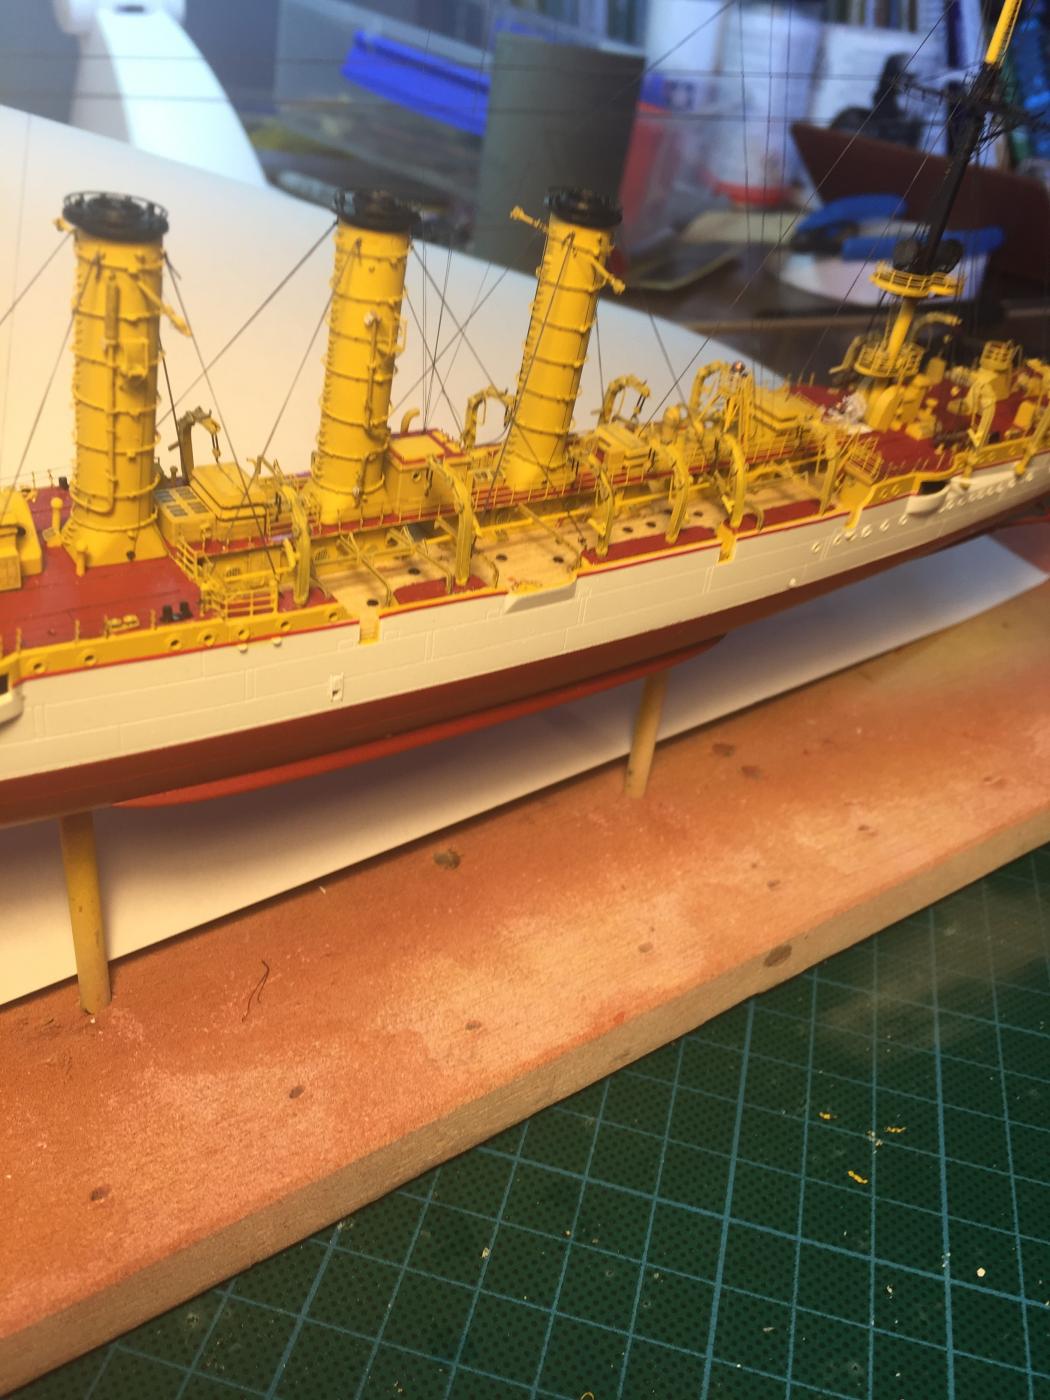
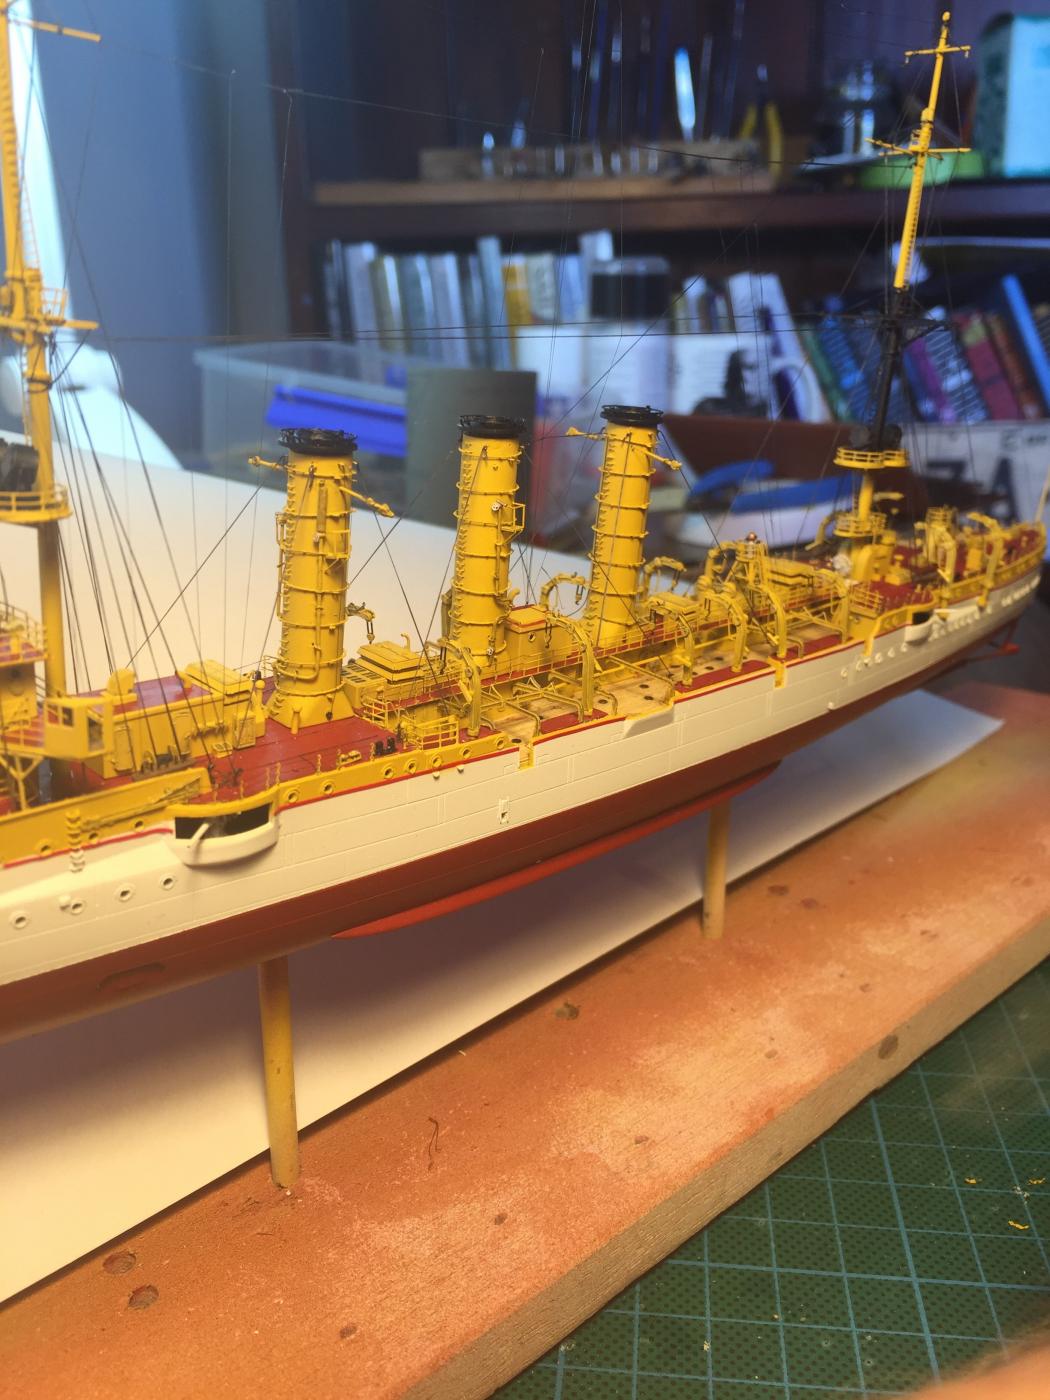
The Dreadnought is now in the slips after 4 months of storing up on extras from all around the world.
Davits and ships boats next, with a lot of bashing required, then the side of hull features, with the last 10 guns to go. No one makes German flags from that era so it will be bare poled.
-
-
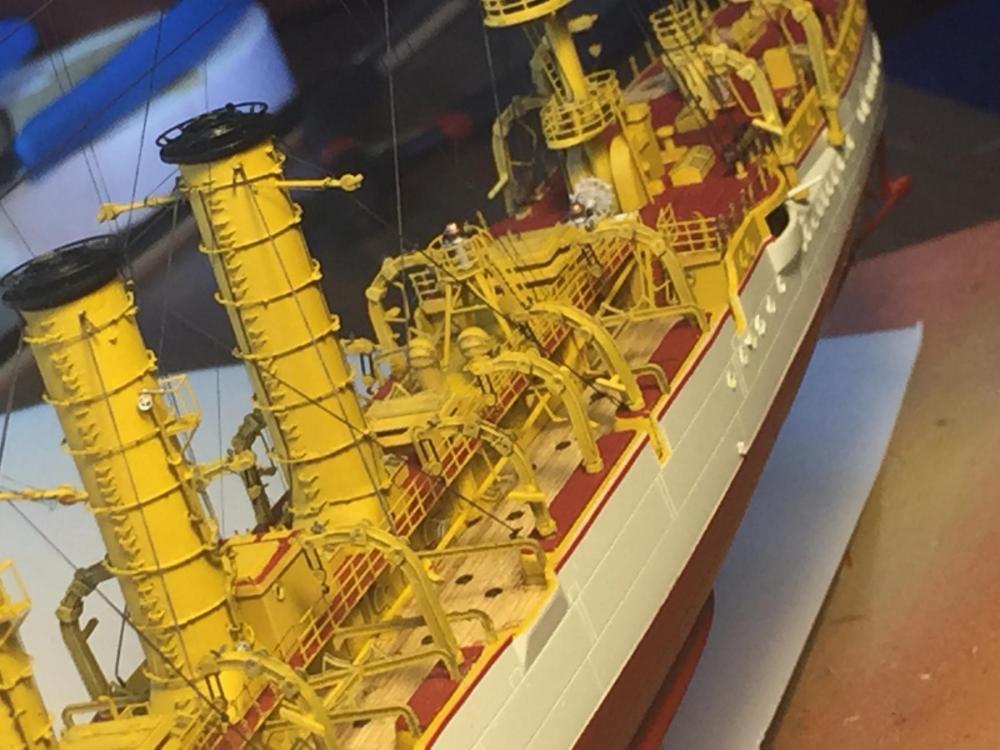
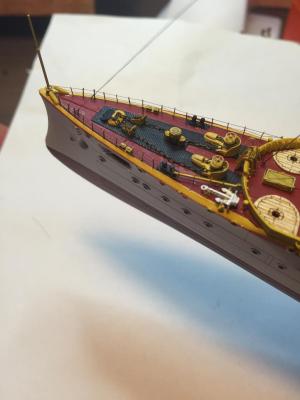
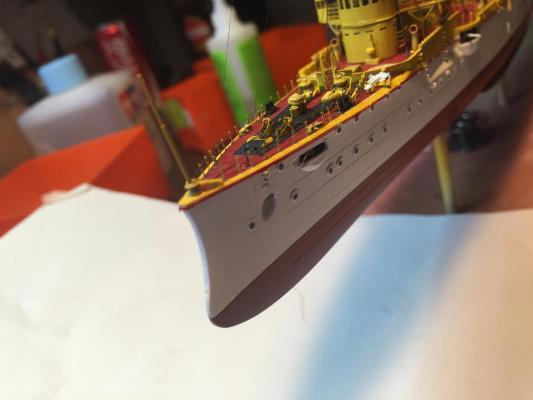
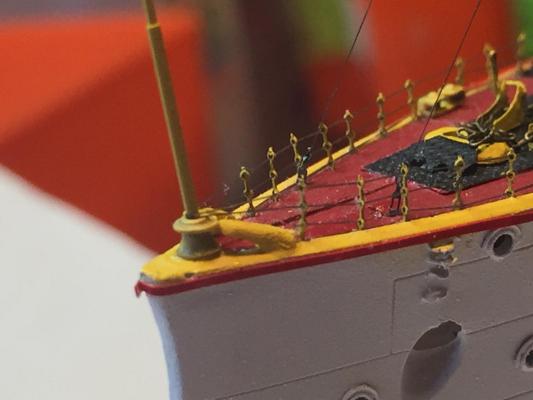
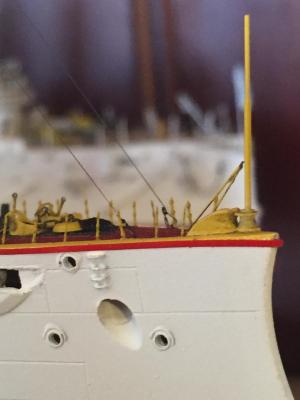
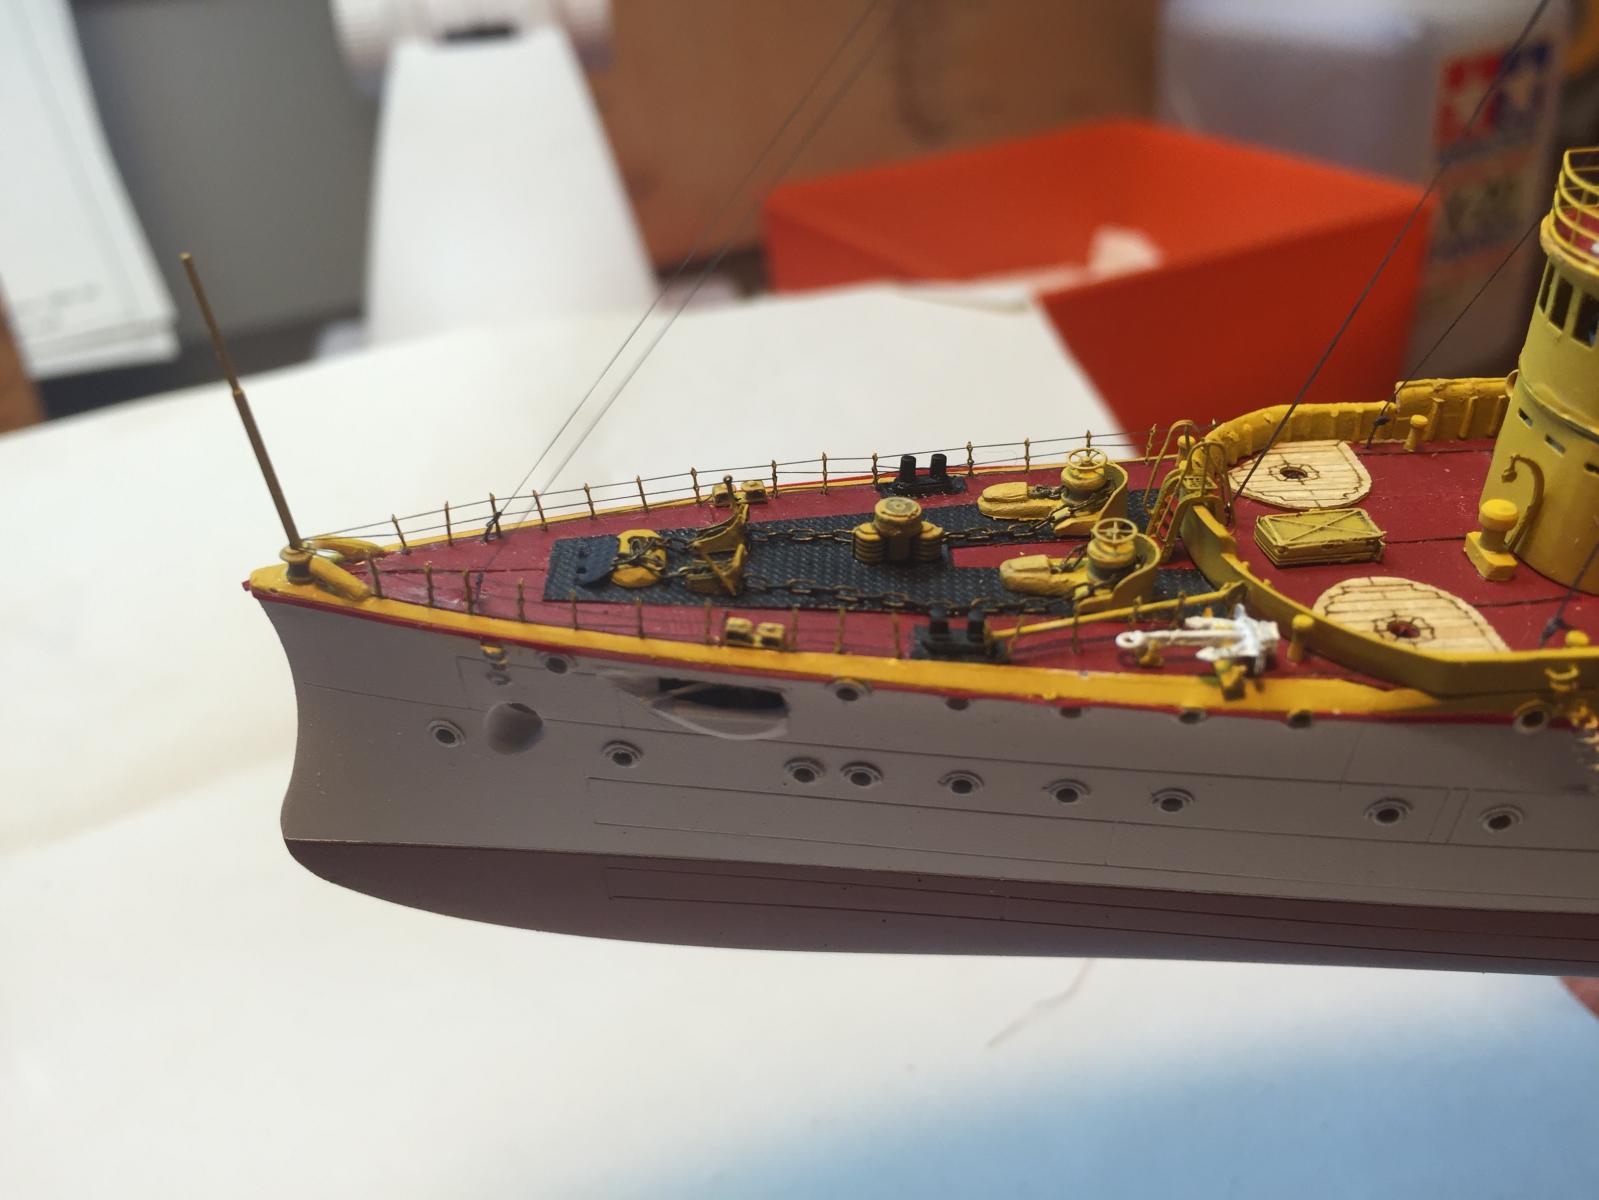
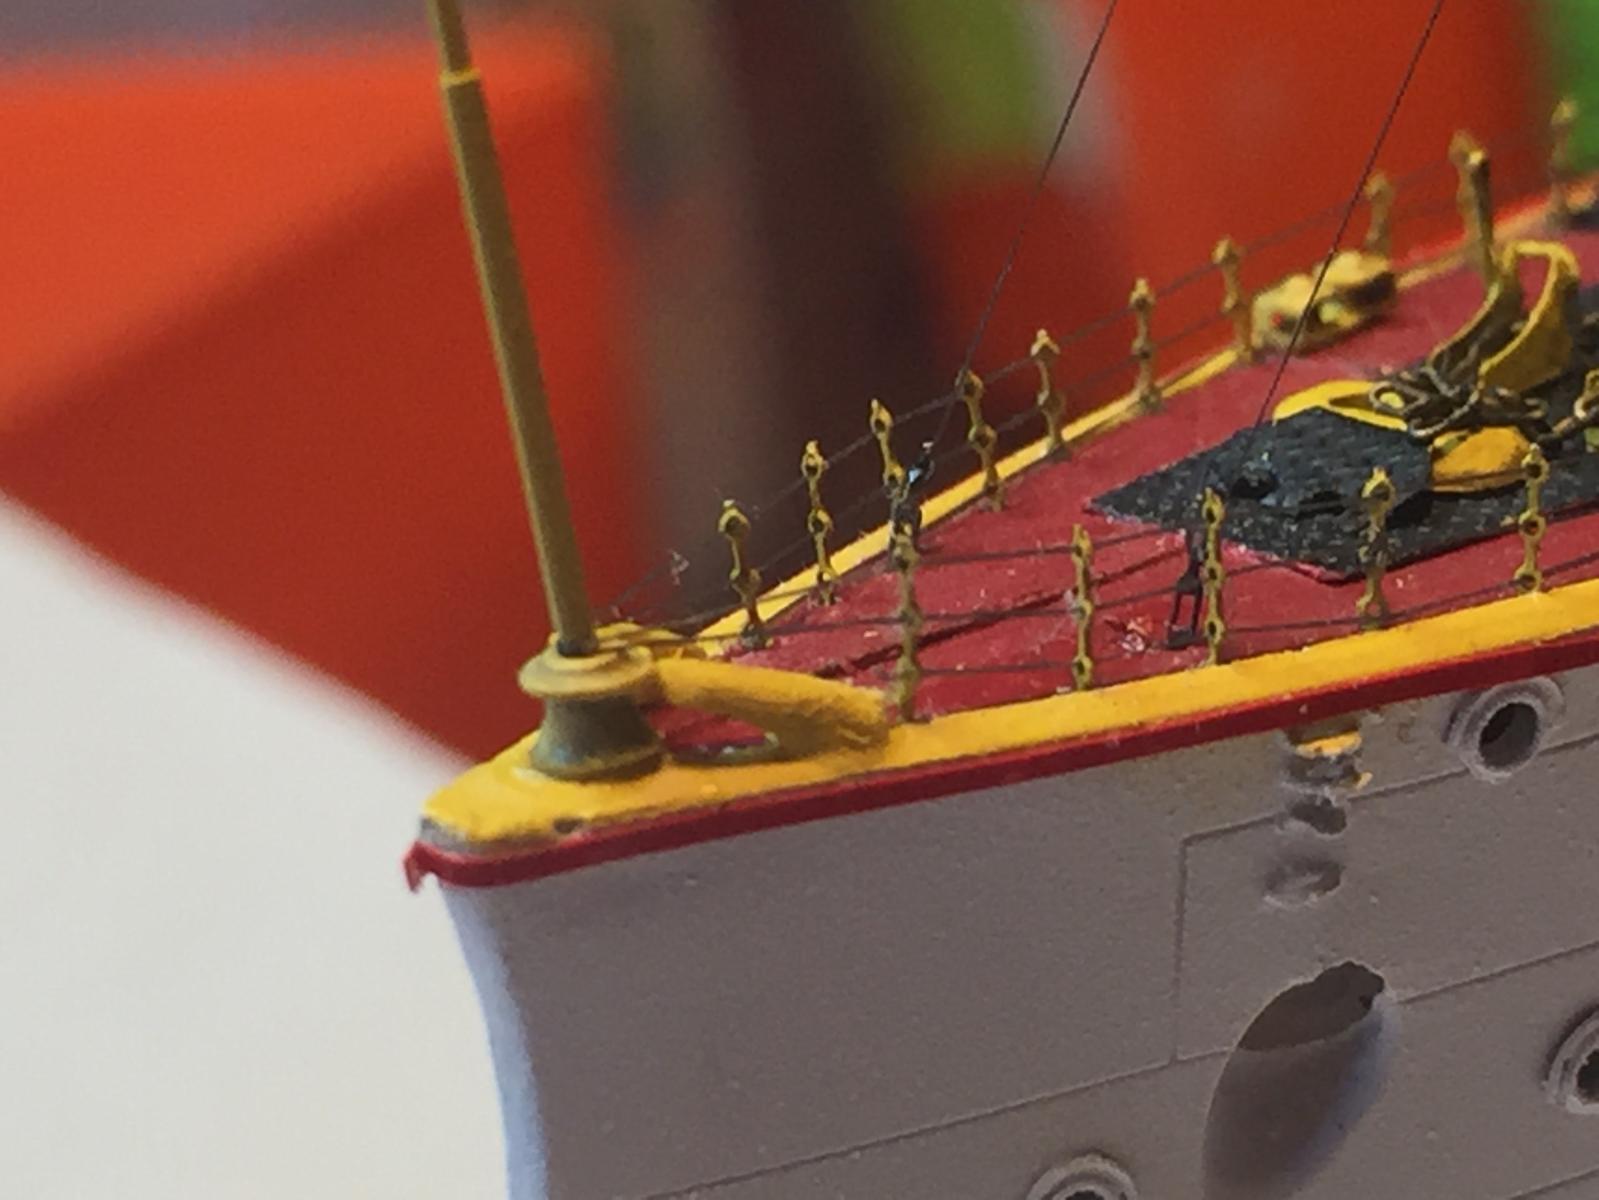
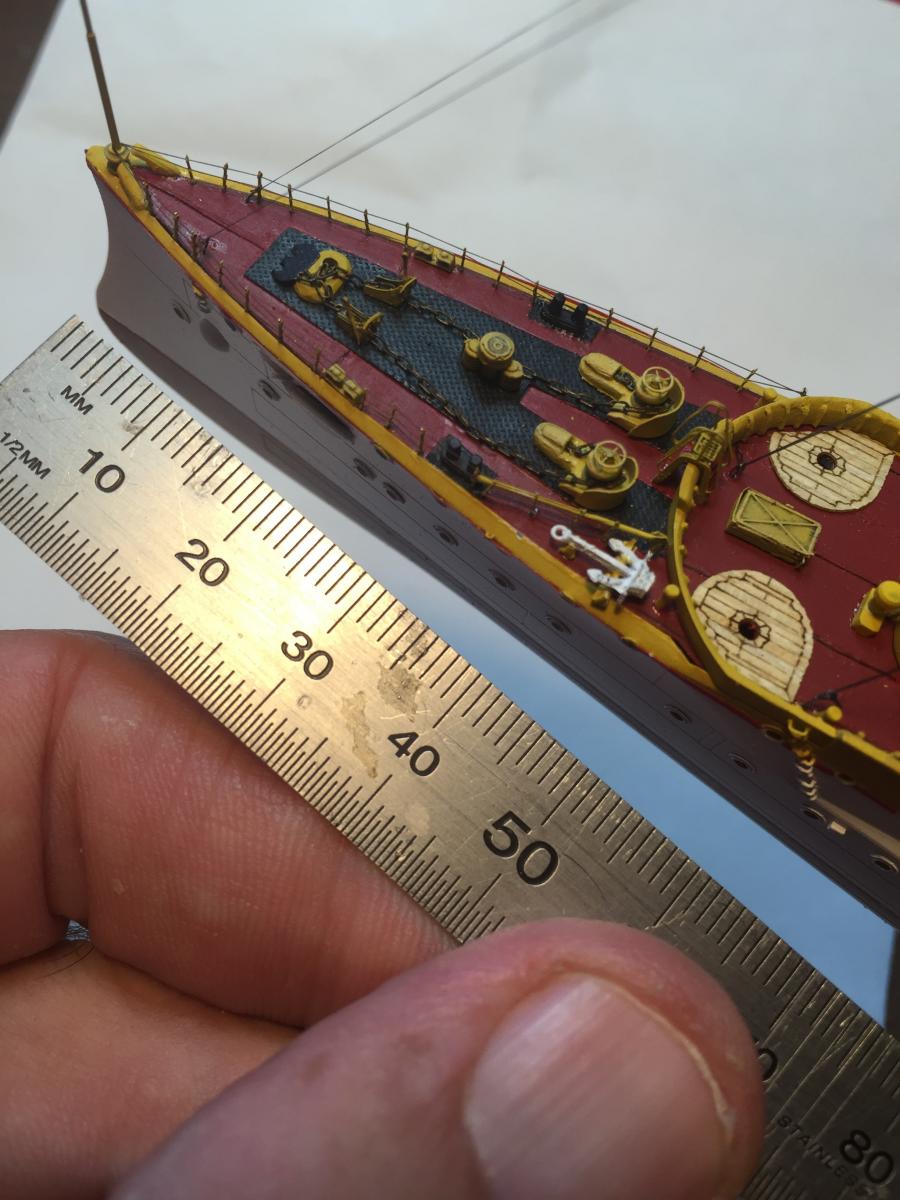
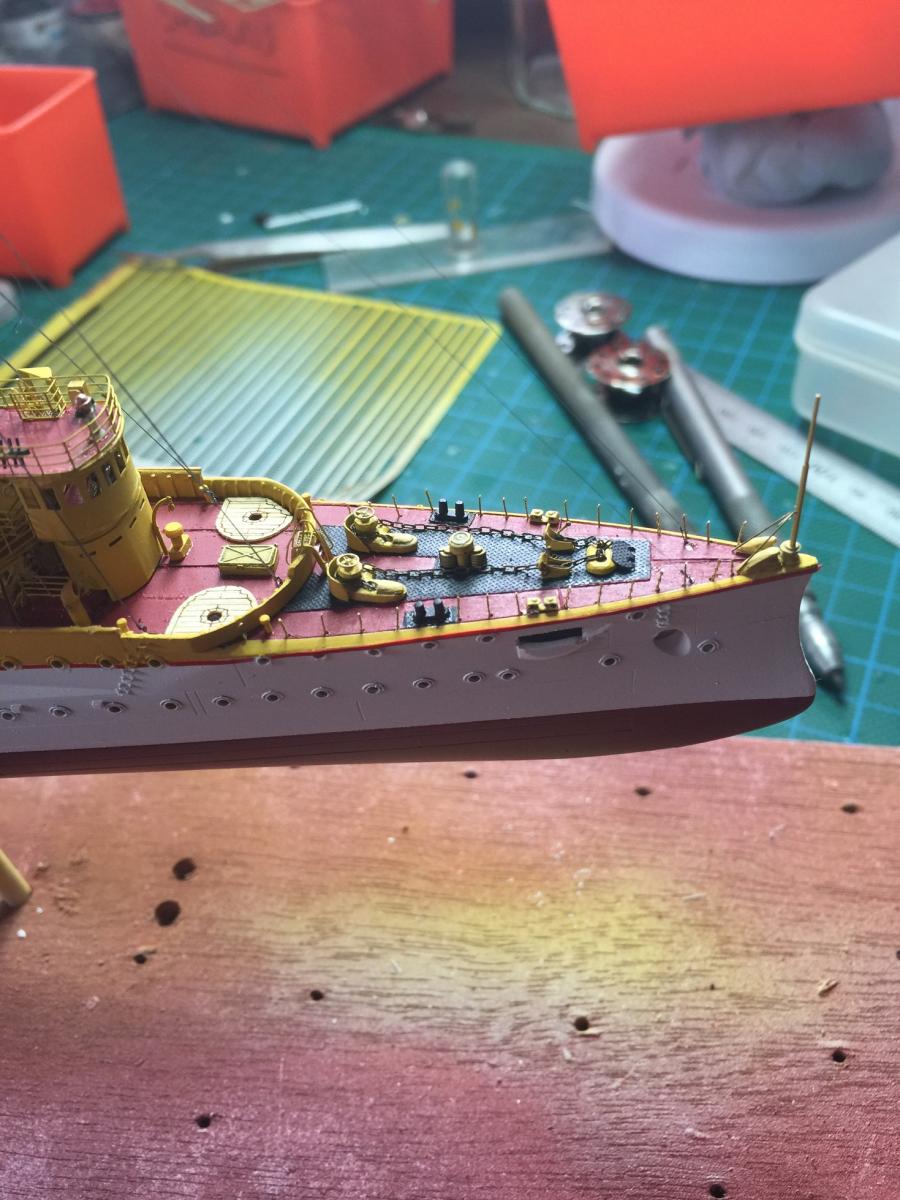
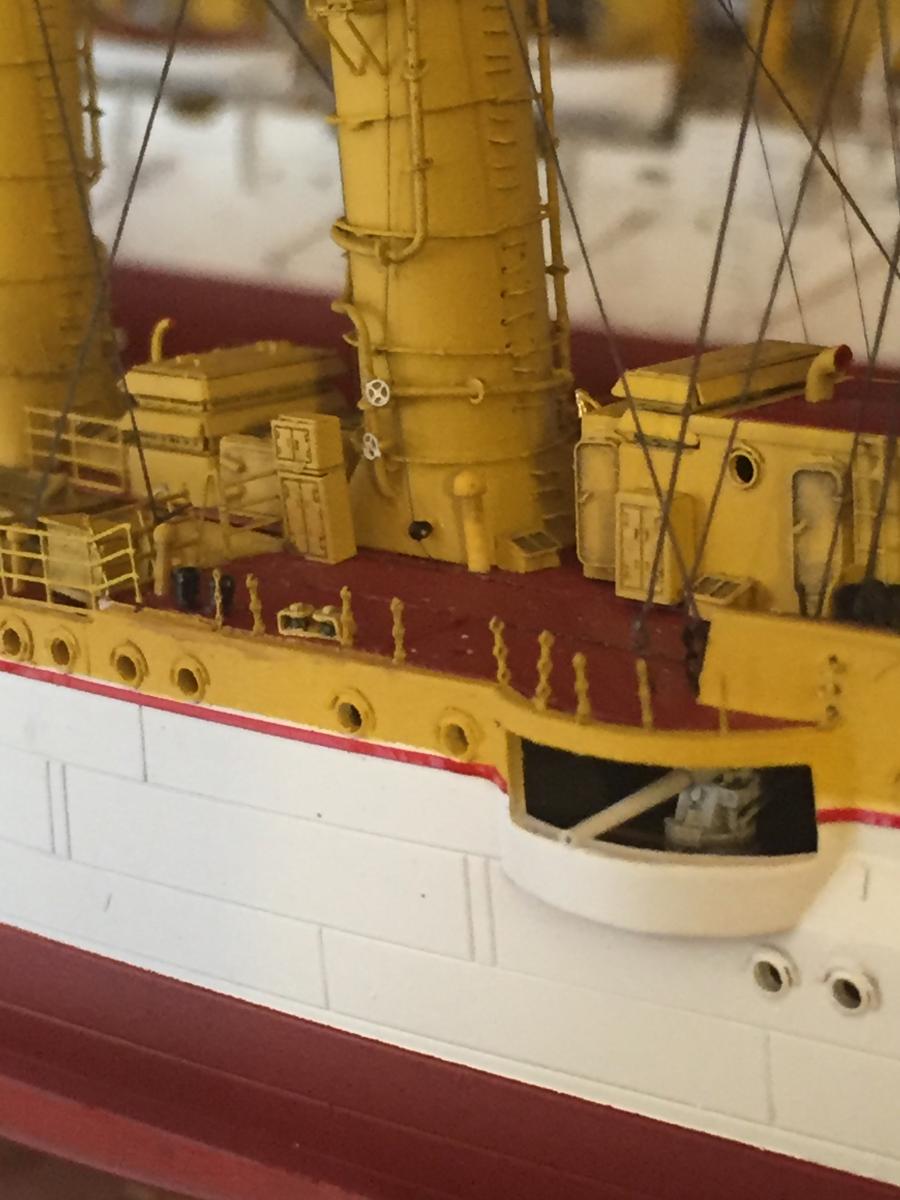
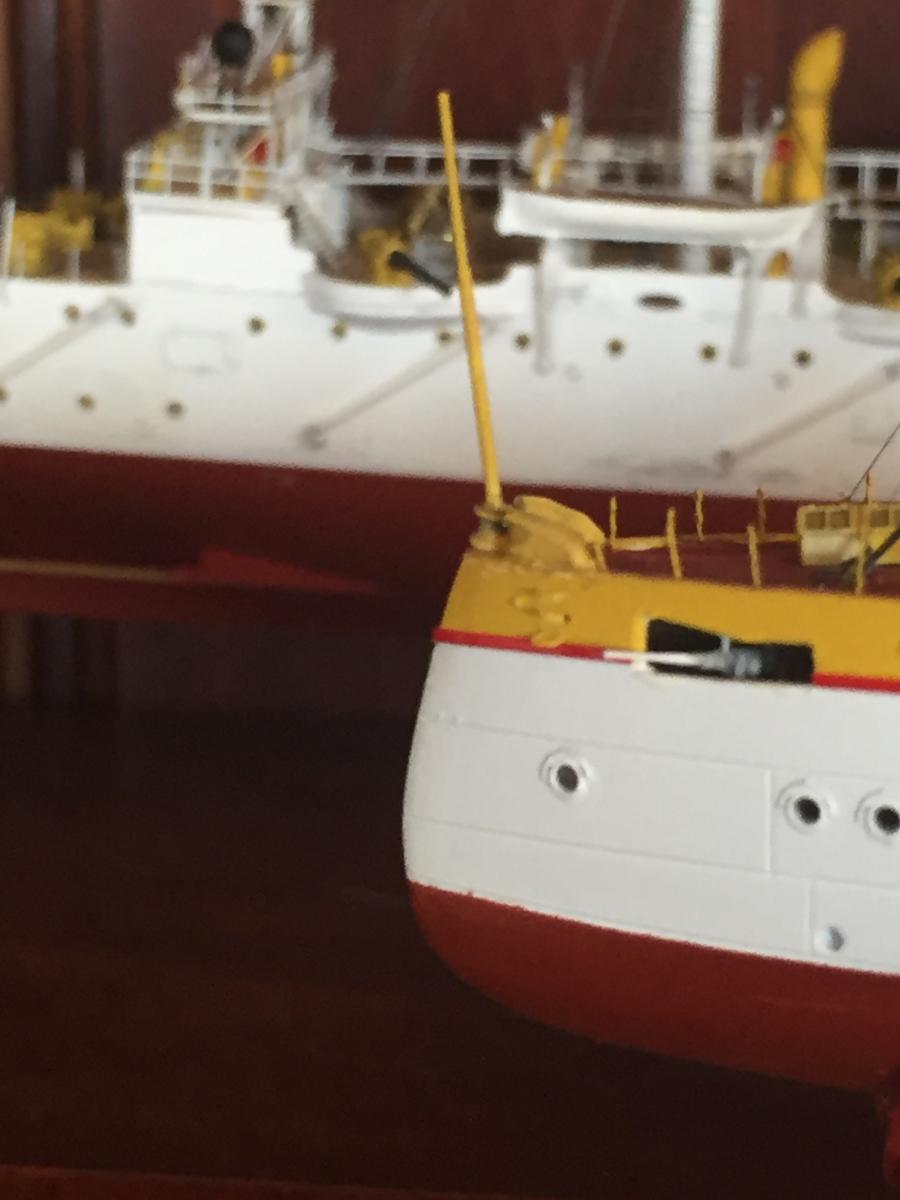
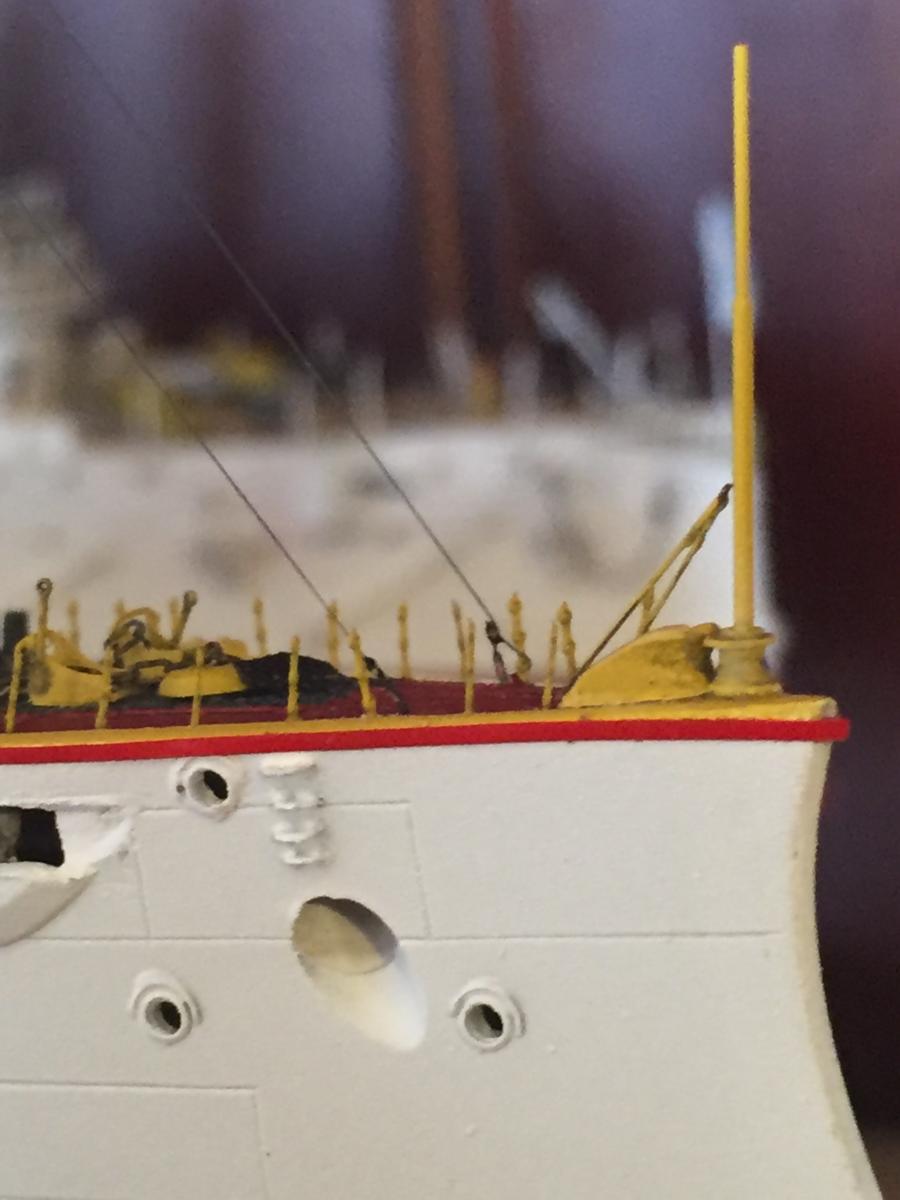
I've finally finished something. The foredeck is complete. The railings are done, the spare anchor placed and it's davit. I replaced the bits on the bow so the railings actually run above them so the scale is a little more realistic. As you can see the entire area is about 5cm, so it's quite busy.

-
-
-
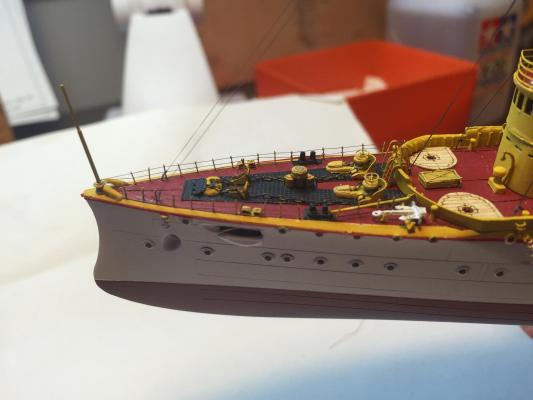
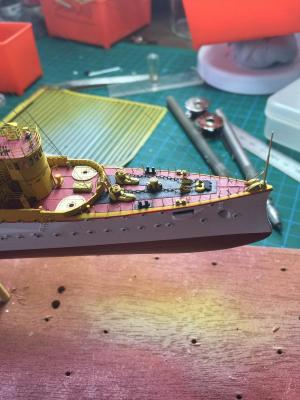
Stanchions added, stern and bow bitts scratch built. I know they look a bit wonky, but once I have had the pain of threading about 300 tiny needles to add the rails, I will align them properly s they won't go flying off. They are each 2.5mm tall. You can just see the fairleads from Park at Artwox which come up a treat.

-
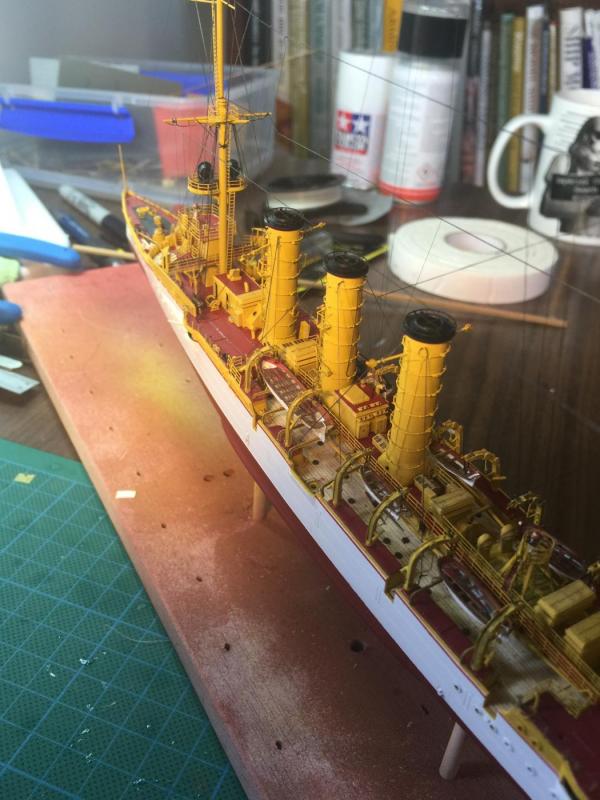
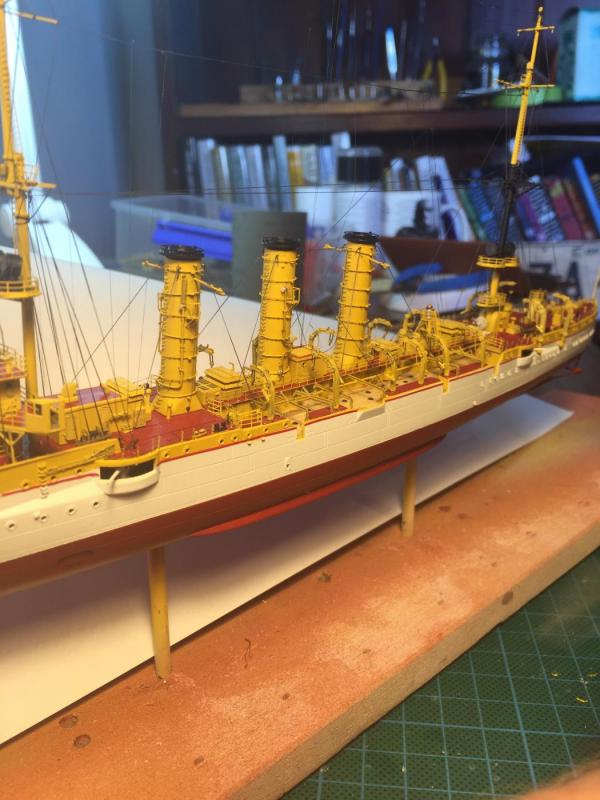
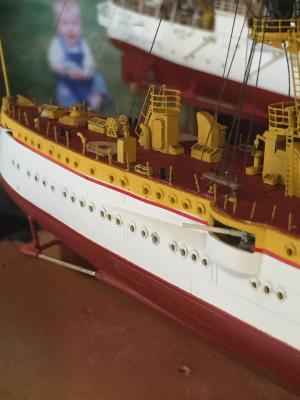
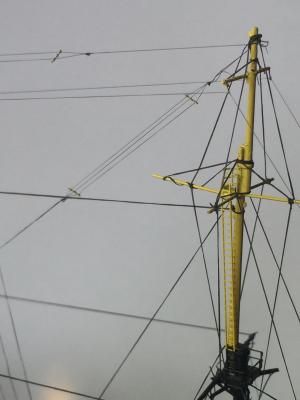
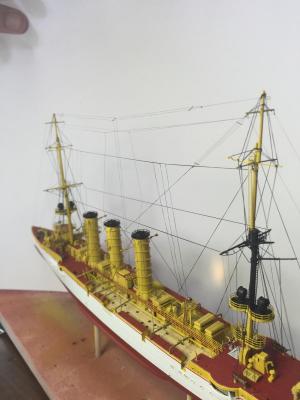
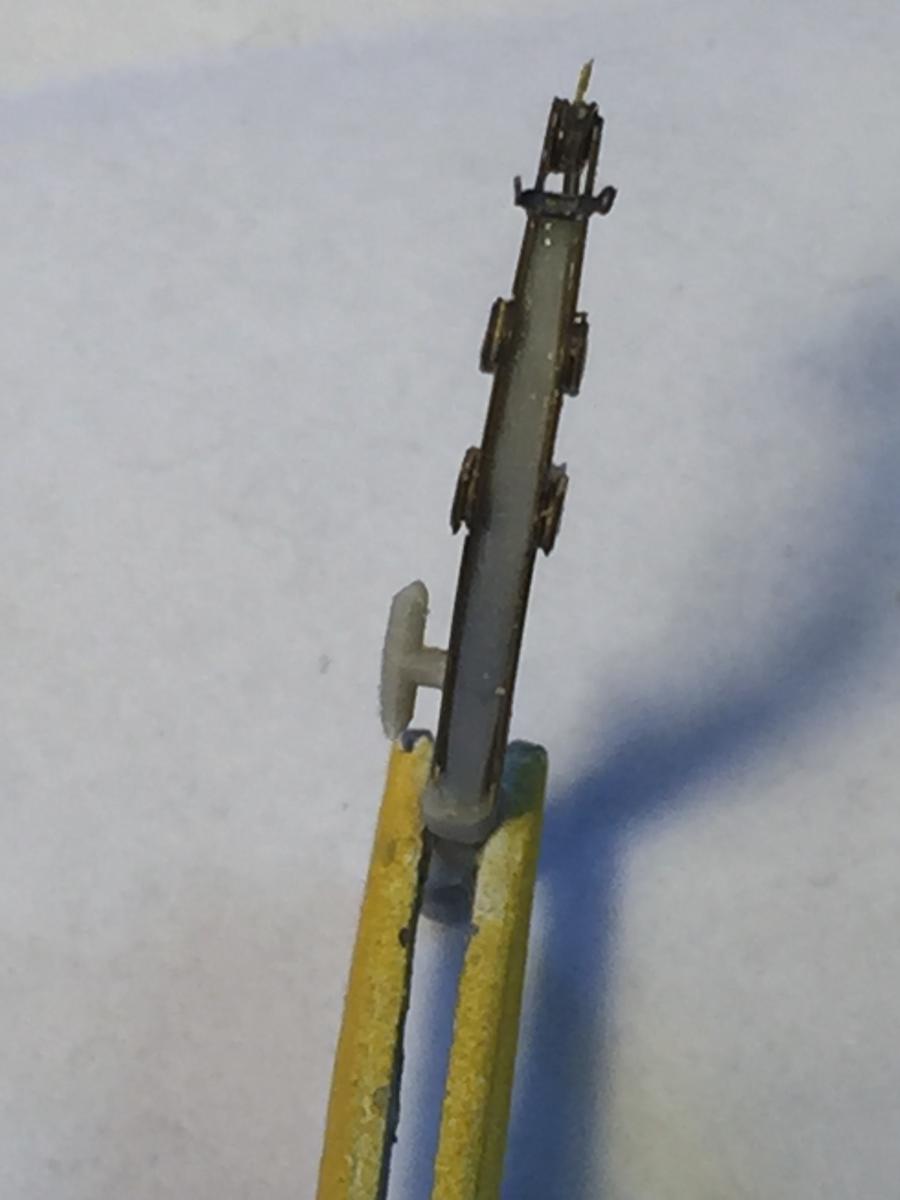
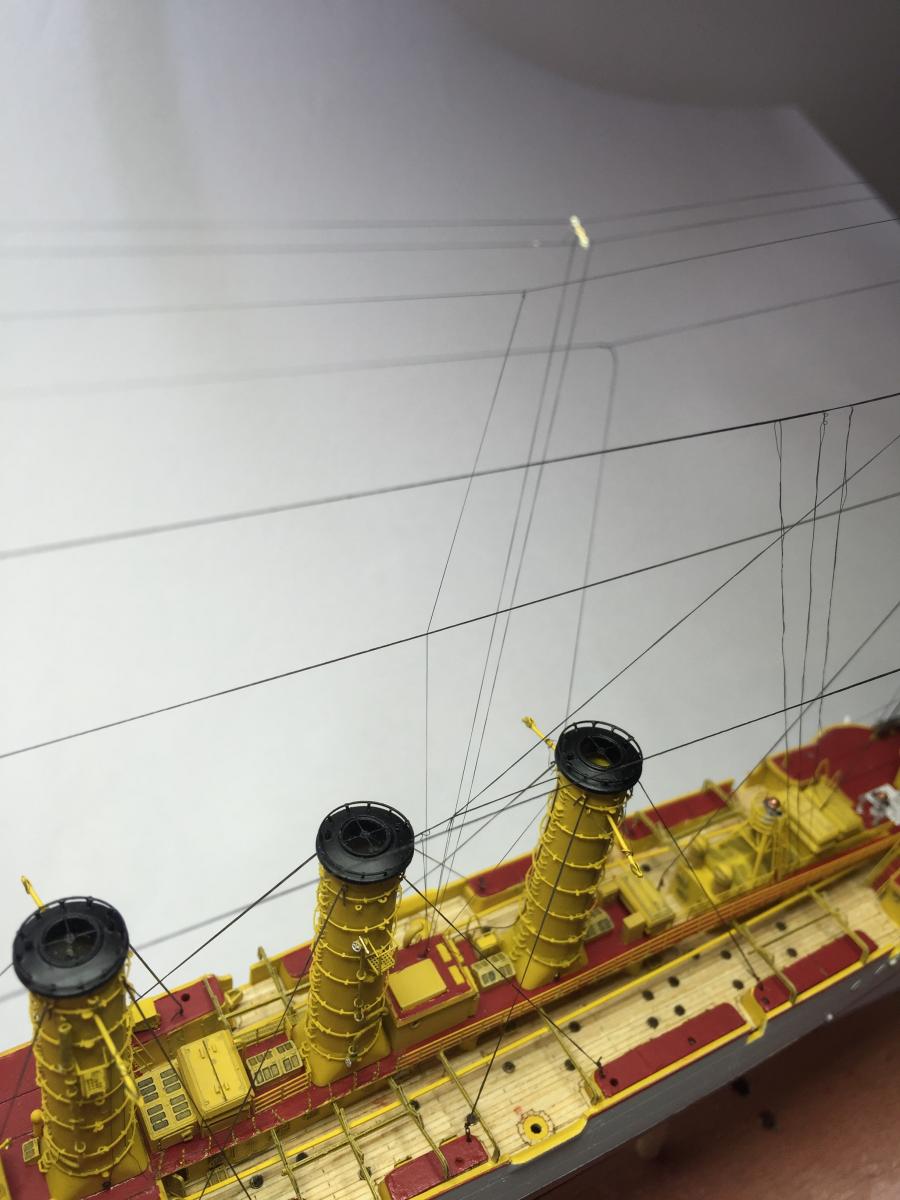
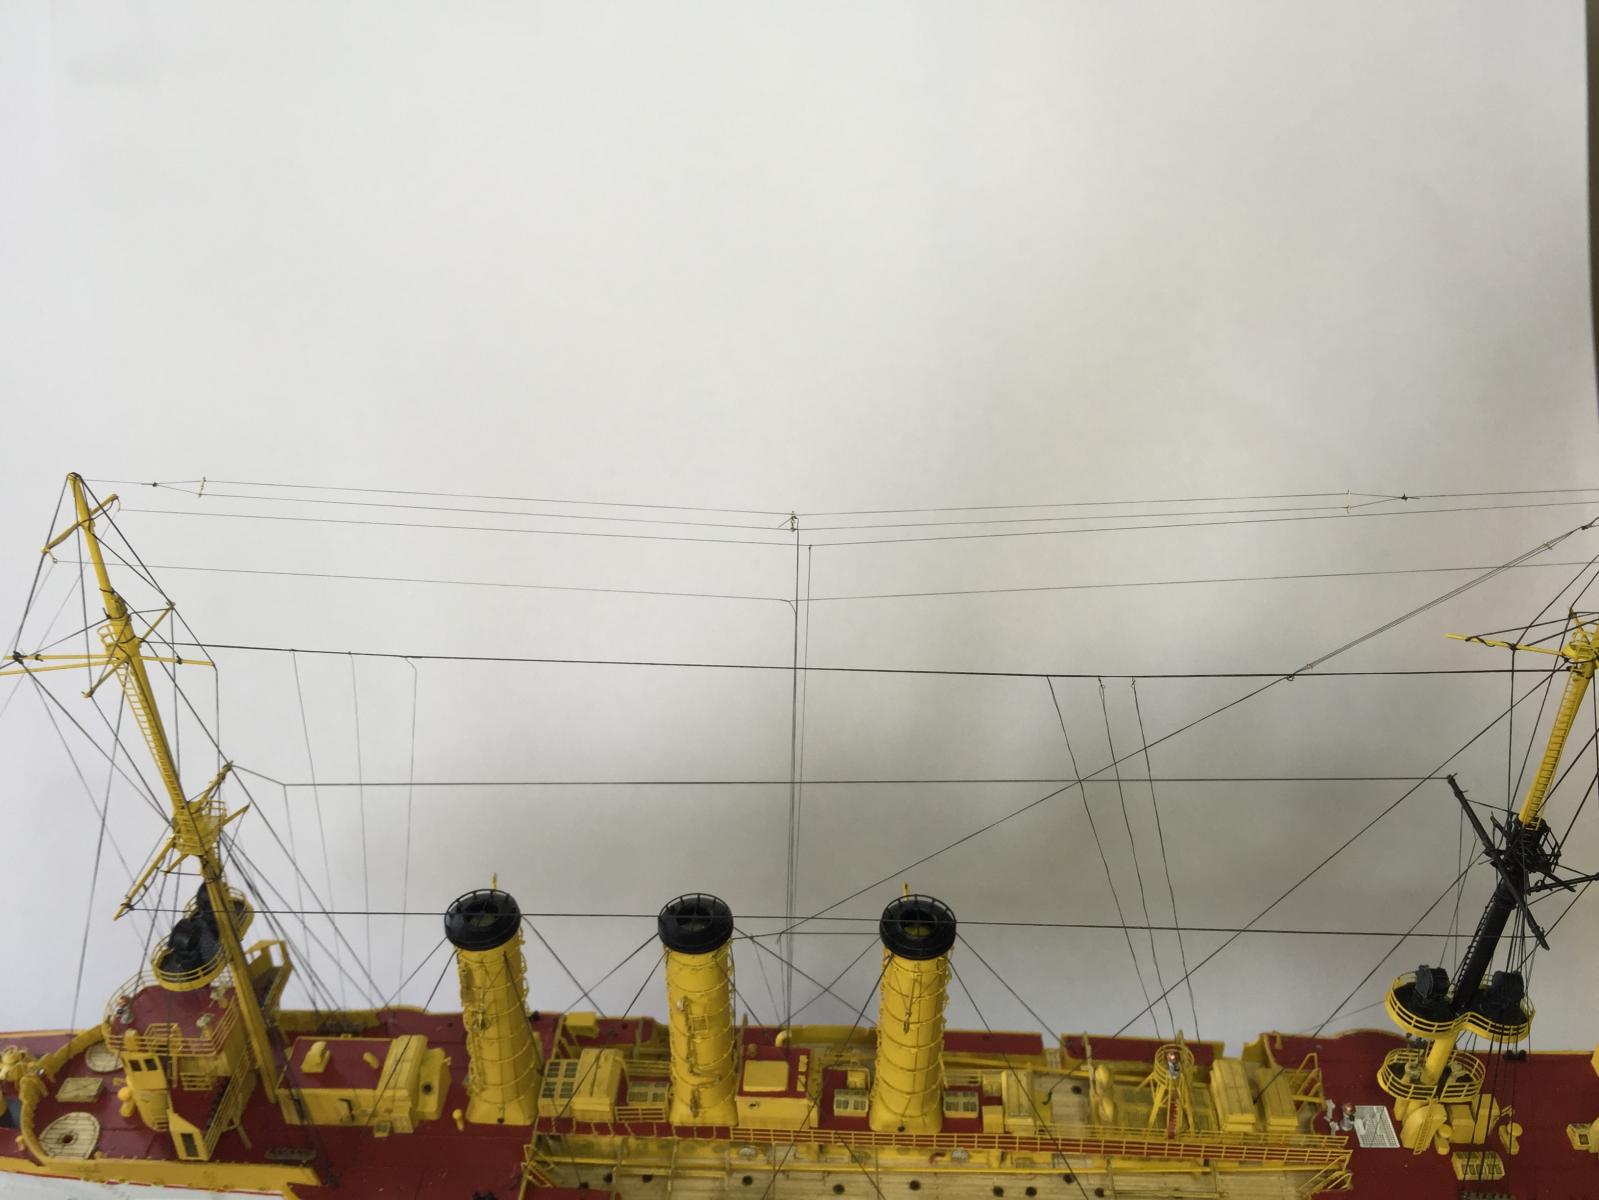
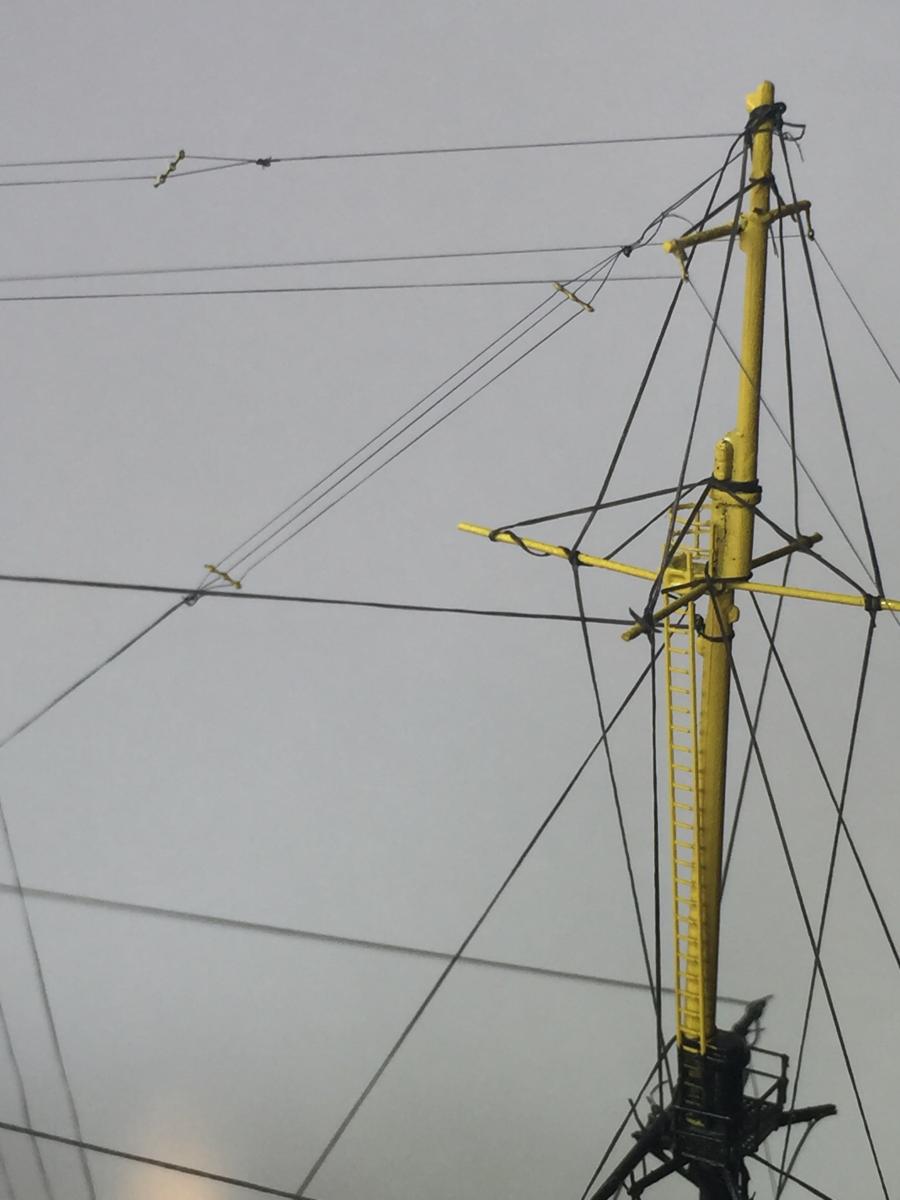
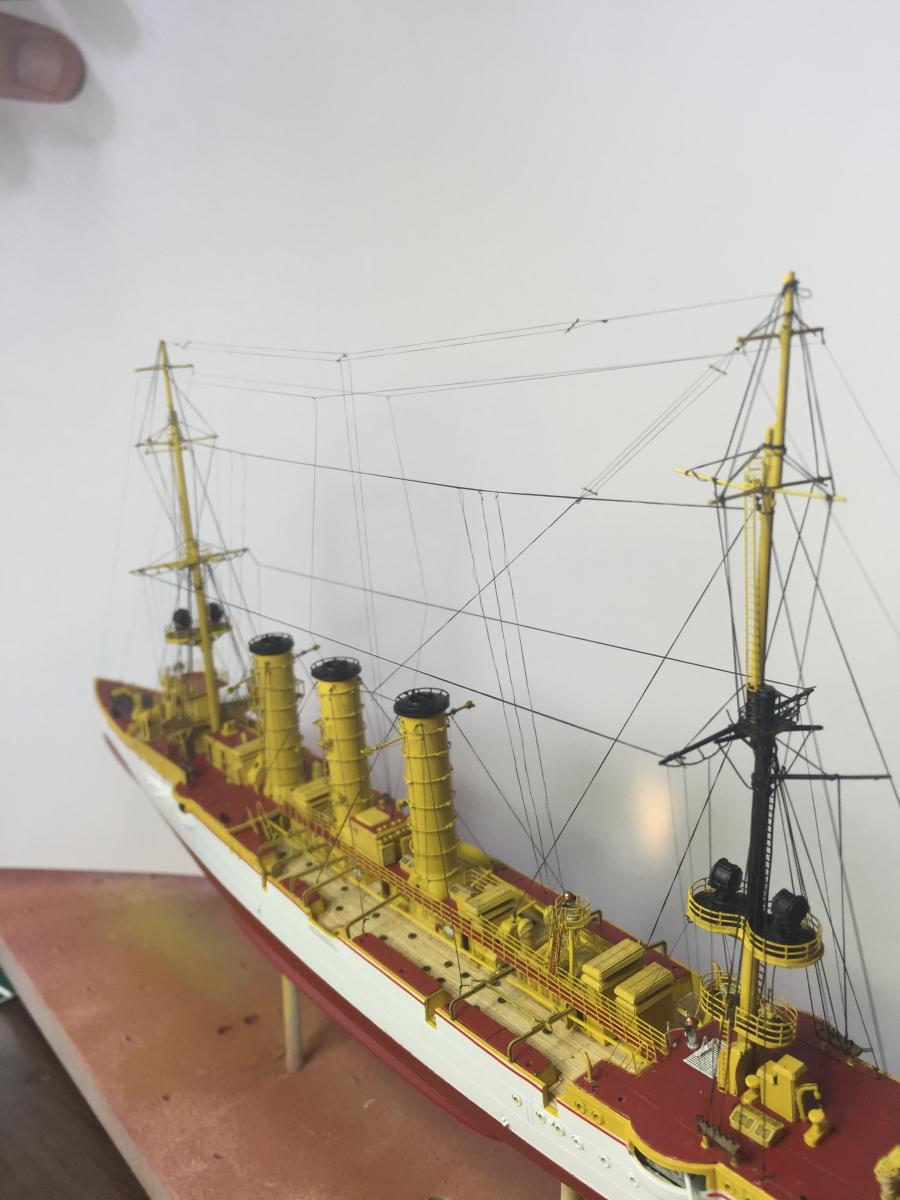
Finally finished off the masts. I have not tidied up yet but will save that for when I have completed everything. I have now done the flag halyards and the aerials in .01mm thread. I could add more but I think that's enough as it's nerve racking. The top mast has 2 aerial spreaders which I used some 3mm stanchions. the last shot is off the comparison t the Varyag to date.
From a normal distance it has come up OK.
I intend to finish off the deck equipment next, then the railings and individual stanchions before moving n tot he life boats. Maybe in that order.


-
-
-


HMS Warspite by Old Collingwood - FINISHED - Academy - 1/350 scale - PLASTIC
in - Kit build logs for subjects built from 1901 - Present Day
Posted
Use CA to grip then you can add PVA afterwards, you can always touch up afterwards. I am in the process of adding all the exterior bits to my Emden now (apart from some repairs from a flying knife handle). It has taken two weeks of piecework to get to this stage. It comes together amazingly quickly once that's done.