HOLIDAY DONATION DRIVE - SUPPORT MSW - DO YOUR PART TO KEEP THIS GREAT FORUM GOING! (Only 64 donations so far out of 49,000 members - C'mon guys!)
×


Tigersteve
-
Posts
1,324 -
Joined
-
Last visited
Content Type
Profiles
Forums
Gallery
Events
Everything posted by Tigersteve
-
 All I can say is wow! You are not going to want to give this one up! :-) Steve
- 162 replies
-
- 6
-

-
- dirty dozen
- fishing
- (and 2 more)
-
Bob is right. Your last photo tells the story of your success. You did such a great job there that it looks real and not a model. Steve
- 296 replies
-
- 4
-
-
- chaperon
- model shipways
- (and 1 more)
-
Thank you for the feedback, Rodger. Definitely things to consider. I suppose I could also use rotary tool accessories in a drill press for things like sanding, etc. I will have to look more into it. I am open to any recommendations from people as well. Other issue is budget. Hence why my other option is purchasing something that can mount my rotary tool and also serve as a drill press. Steve
-
With the inability to drill perfectly vertical by hand into the mast dowel, I am looking into purchasing a drill press or Dremel Rotary tool workstation. I own a WEN Rotary tool and would want to use that in the workstation. I like the idea of being able to mount the rotary tool. I have no idea if it would fit. On these types of purchases I like to think long term. I would appreciate any thoughts and advice. I was looking at these options: Dremel 220-01 Rotary Tool Workstation Drill Press Work Station with Wrench https://www.amazon.com/dp/B00068P48O/ref=cm_sw_r_cp_api_fqHJyb2C31Y3X WEN 4208 8-Inch 5 Speed Drill Press https://www.amazon.com/dp/B00HQONFVE/ref=cm_sw_r_cp_api_ezHJybMFQJF99 Steve
-
Nicely done on the ship and the wand! Steve
- 231 replies
-
- 1
-
-
- model shipways
- armed virginia sloop
- (and 1 more)
-
I second what Pat said. Very cool. Steve
-
Look forward to learning from you! Steve
-
Can someone post an illustration or photo of a square knot? I'm not sure if what I'm finding online is correct. Thank you. Steve
- 1,051 replies
-
- 1
-
-
- cheerful
- Syren Ship Model Company
- (and 1 more)
-
Congrats! It looks great. I think you made a good choice for your next. Karl and Andy are both doing great logs on the Pride of Baltimore. Steve
-
Looks great! Best Niagra on the block. Lol I know those are clove hitches for the ratlines, but what type of knot did you tie at the end of them? I'm not sure if my question is clear. Steve
- 648 replies
-
- 3
-
-
- niagara
- model shipways
- (and 1 more)
-
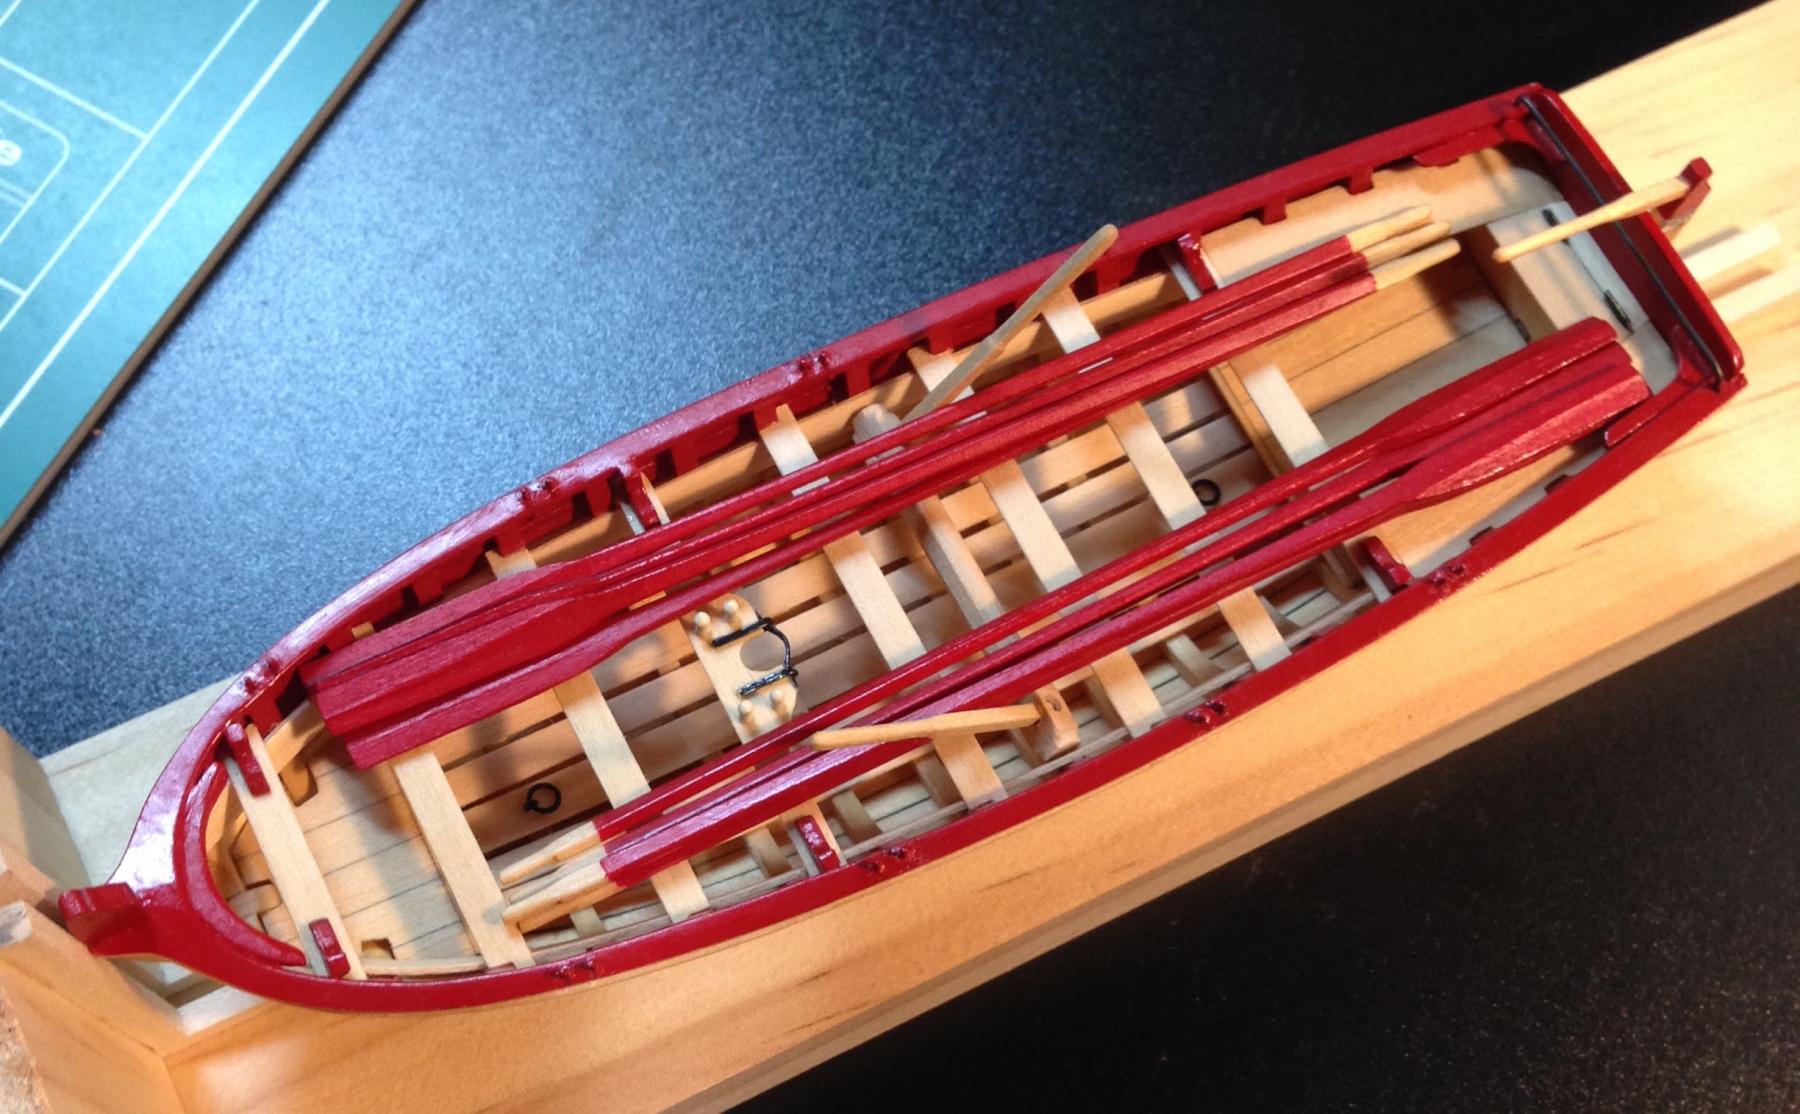
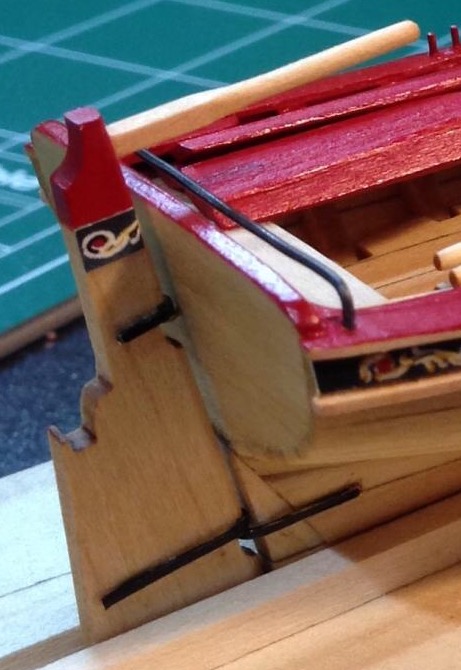
It was at this point in the build that I was going to switch to the Pinnace and come back to this later, but I have changed directions. I will display them separately. I made a small modification to the rudder (can you tell what it is?). Here are photos of where it stands. Masting and rigging is next! Steve

- 165 replies
-
- 12
-
-
- finished
- model shipways
- (and 1 more)
-
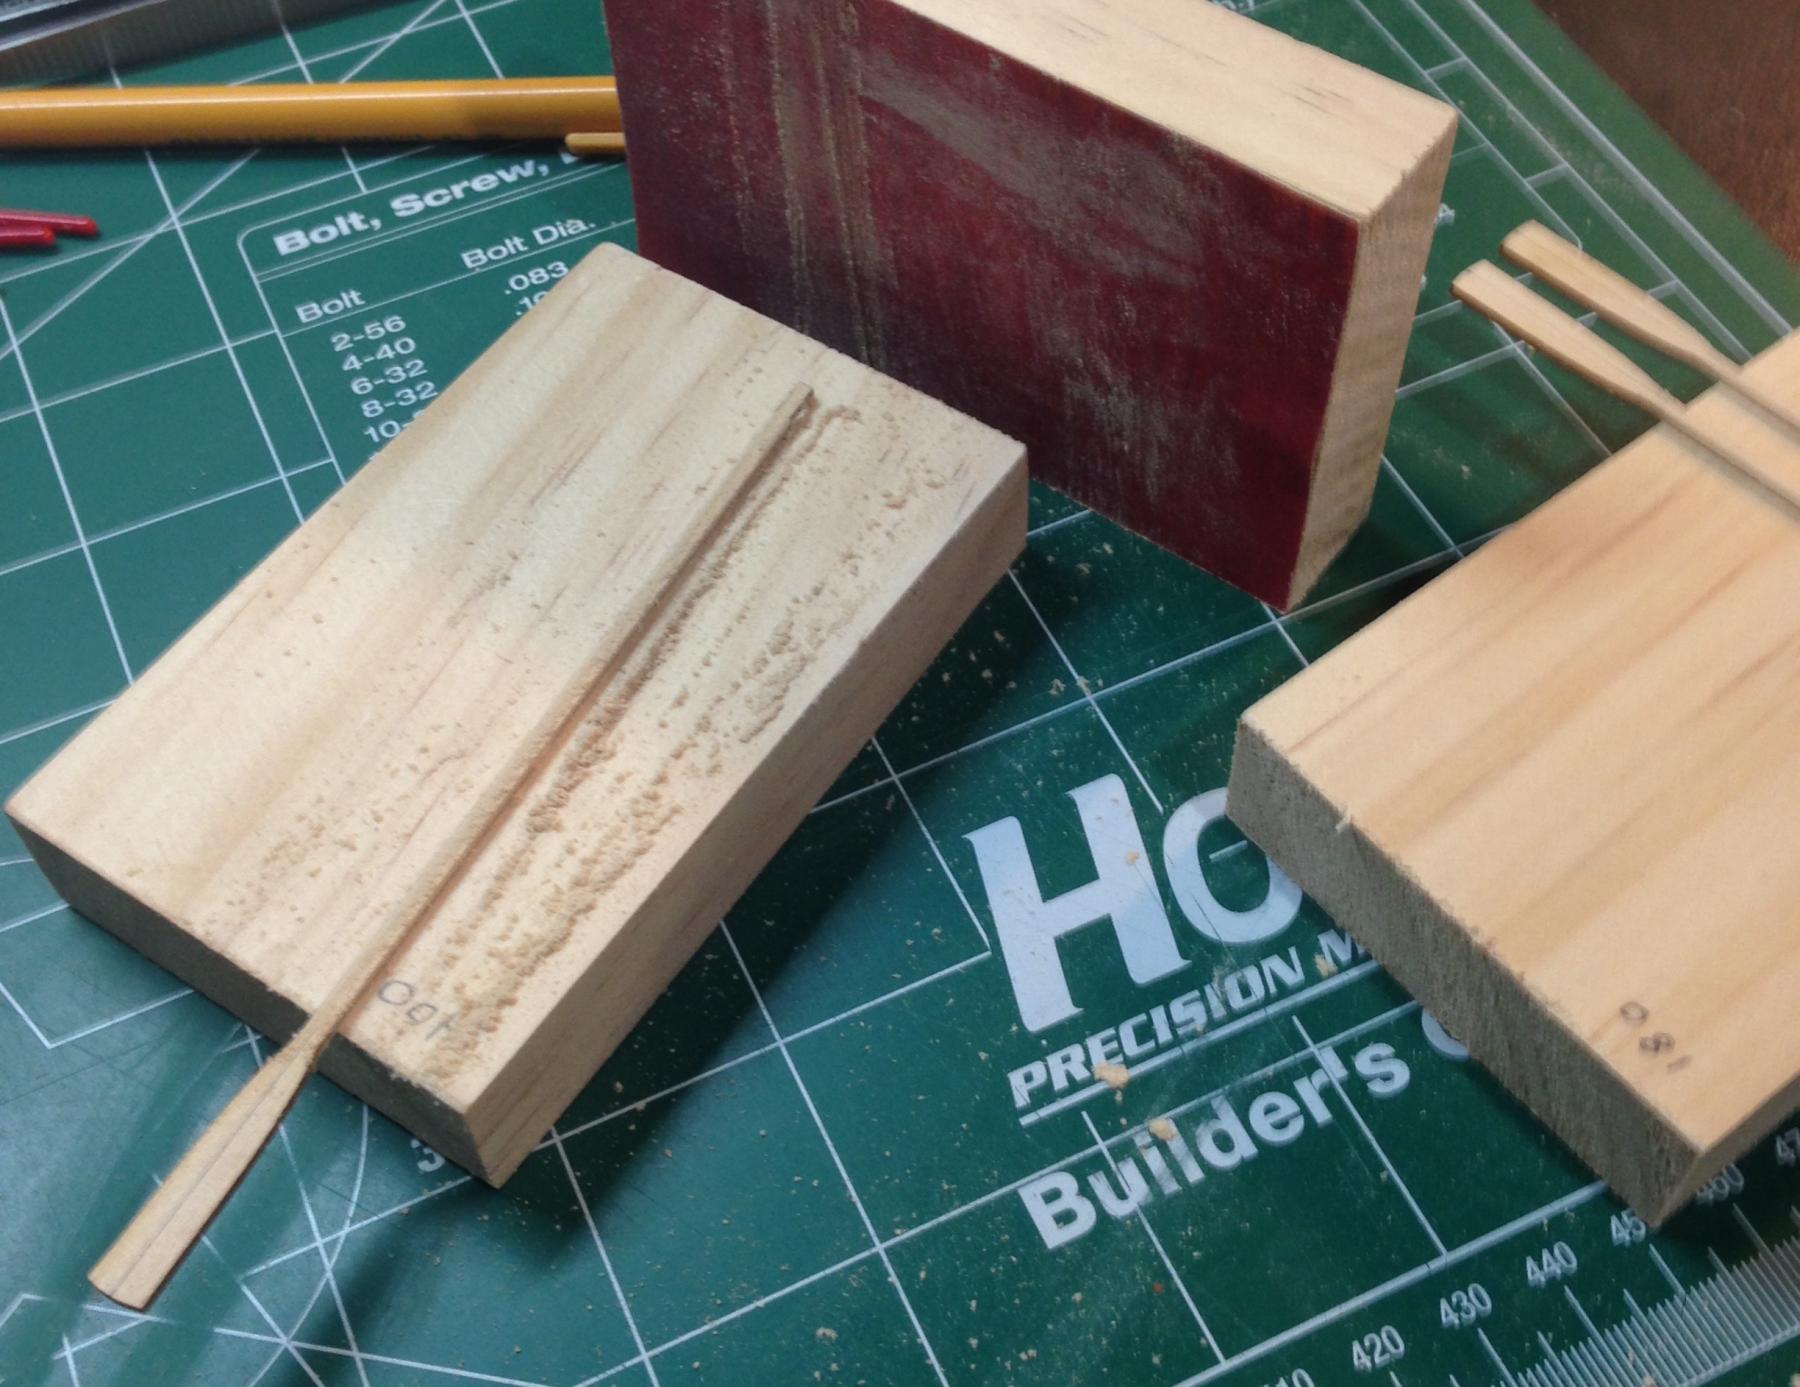
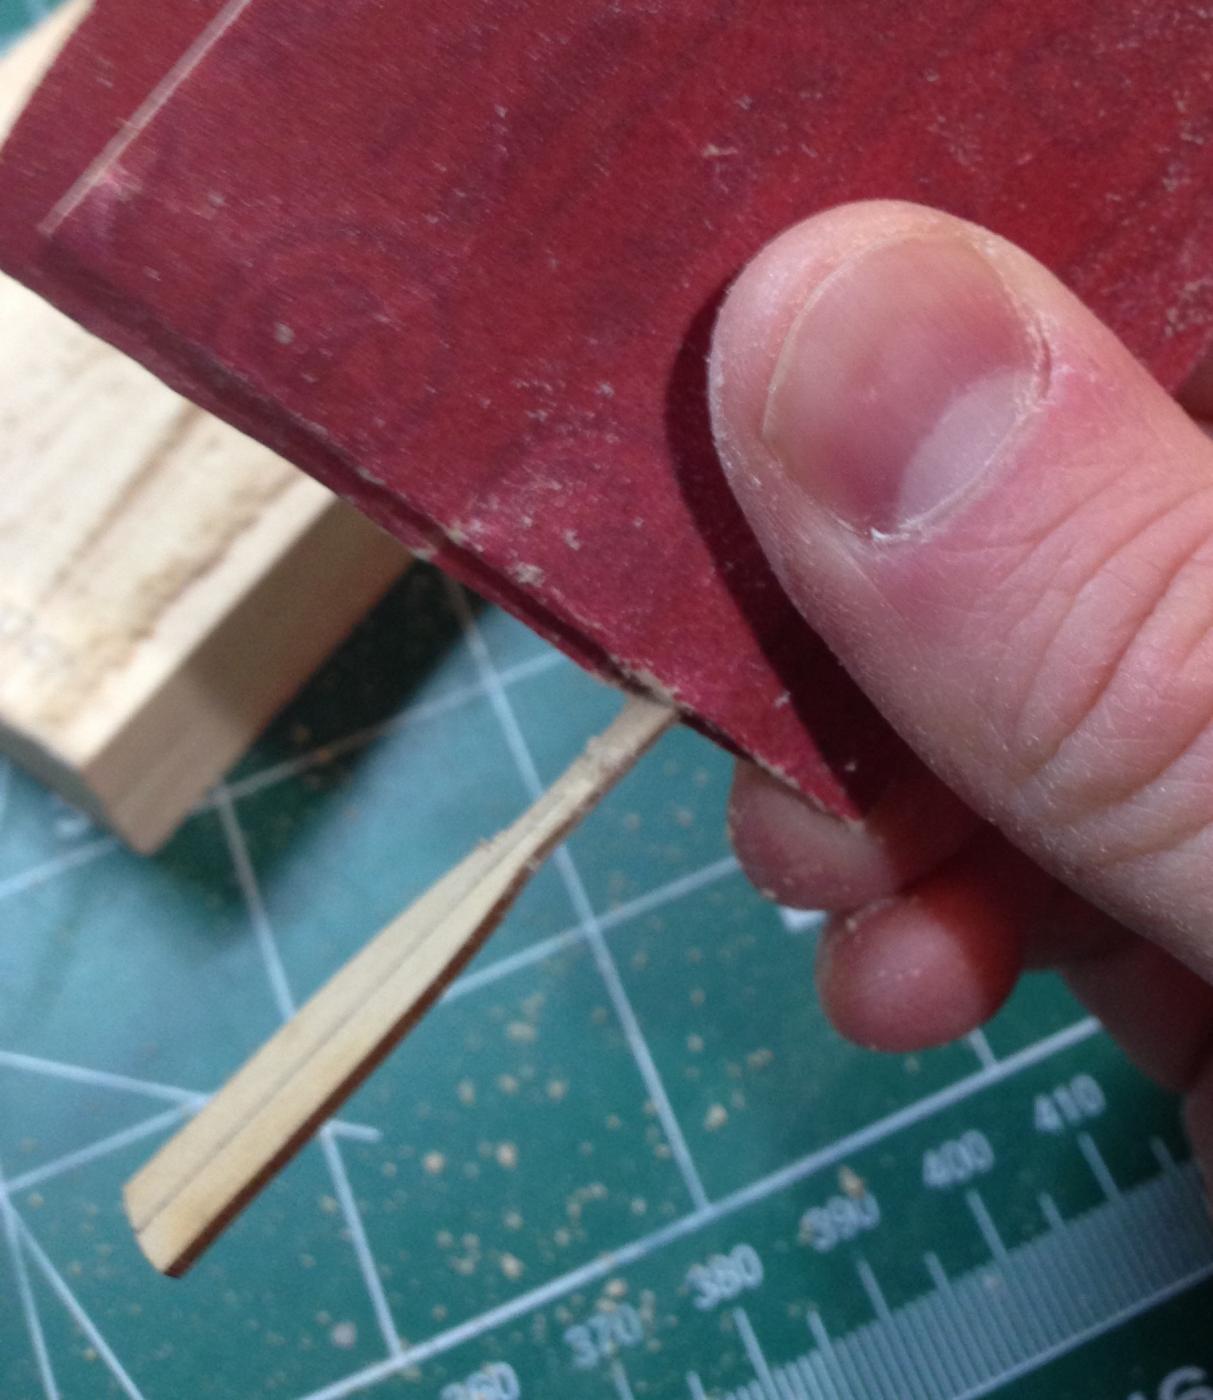
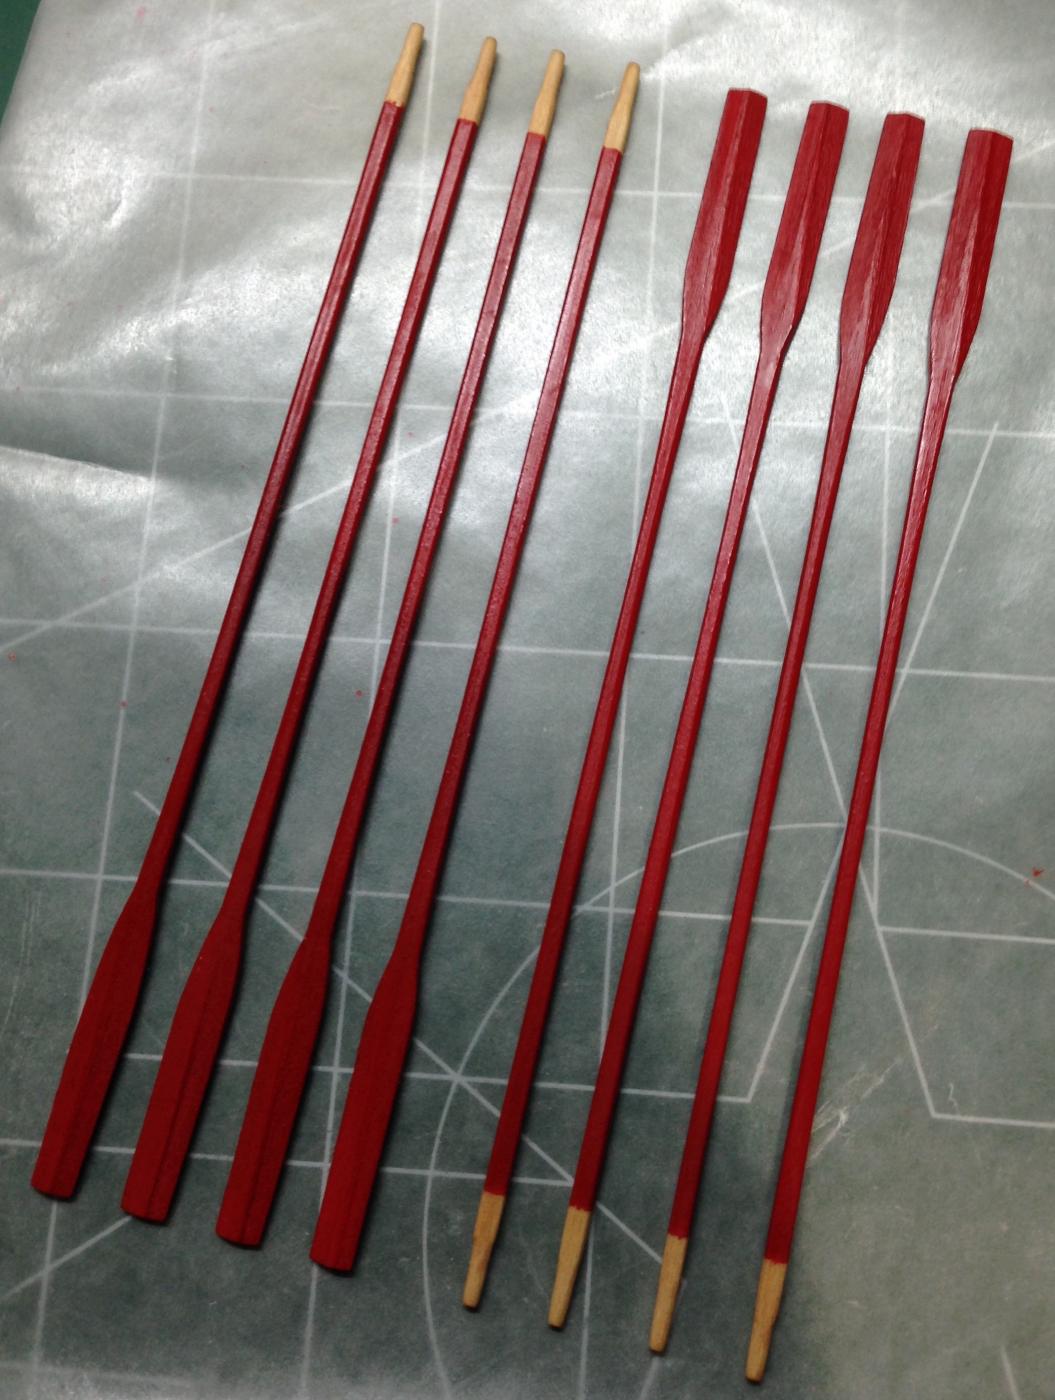
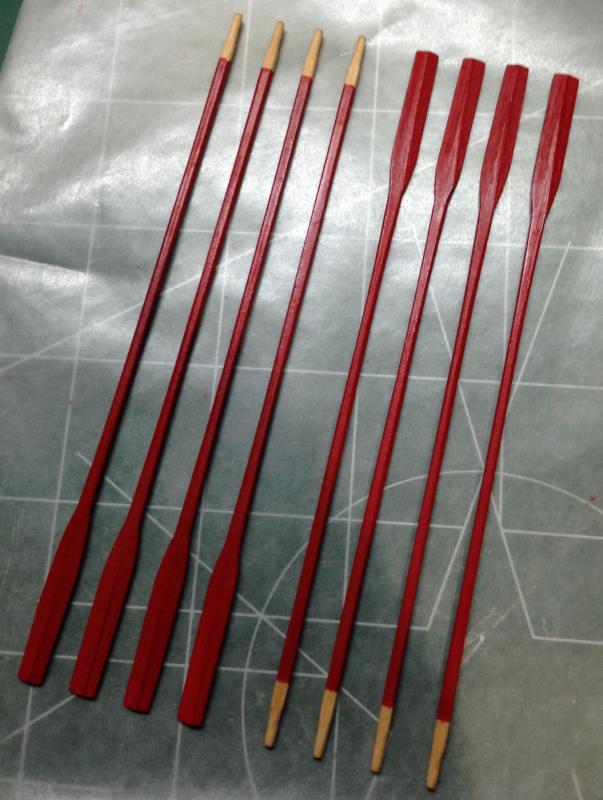
Spent the week working on the oars. I did this in a few stages. First I drew a line down the center so I could taper the blades. I used a sanding block to round off the corners then switched to a folded piece of sandpaper to finish rounding the edges. I thinned everything down as close to the plans as possible so the proportions would look correct. I tried a different color scheme than I've seen in other logs. The photo shows several coats of paint and WOP applied. I could not capture a great photo. Steve


- 165 replies
-
- 11
-
-
- finished
- model shipways
- (and 1 more)
-
Nicely done, Erik, as always. Good strategy and I think the pacing is good! Steve
-
Looks good. I like the paint scheme you will use. I don't like the white dots on the thwarts. No clue why they are there. Sorry can't help with that one. Steve
-
It's looking good! The smalllest size of the stain is 8oz about $5 each. Pre stain $12 + wipe on poly satin $12. Looking at roughly $30 for these minwax products. I recommend the WOP over the polycrylic. (I've tried both and the Polycrylic has more of a shine to it). If you decide to go this route. Steve
- 66 replies
-
- 2
-
-
- bounty launch
- model shipways
- (and 1 more)
-
Yes and I think it's a better choice than the Phantom, which he also has a practicum. The phantom is nice, but it's very small and I think you will learn more in this kit with all the detail and rigging. Look forward to your updates. Steve
- 449 replies
-
- 3
-
-
- sultana
- model shipways
- (and 2 more)
-
Looks like a clean start to me. You may find yourself caring about the outcome of this build before you know it! I think you will learn a lot from Chuck's practicum. His are all very good. Steve
- 449 replies
-
- 2
-
-
- sultana
- model shipways
- (and 2 more)