HOLIDAY DONATION DRIVE - SUPPORT MSW - DO YOUR PART TO KEEP THIS GREAT FORUM GOING! (89 donations so far out of 49,000 members - C'mon guys!)
×


Tigersteve
-
Posts
1,327 -
Joined
-
Last visited
Content Type
Profiles
Forums
Gallery
Events
Everything posted by Tigersteve
-
 It's coming along nicely. Steve
 -
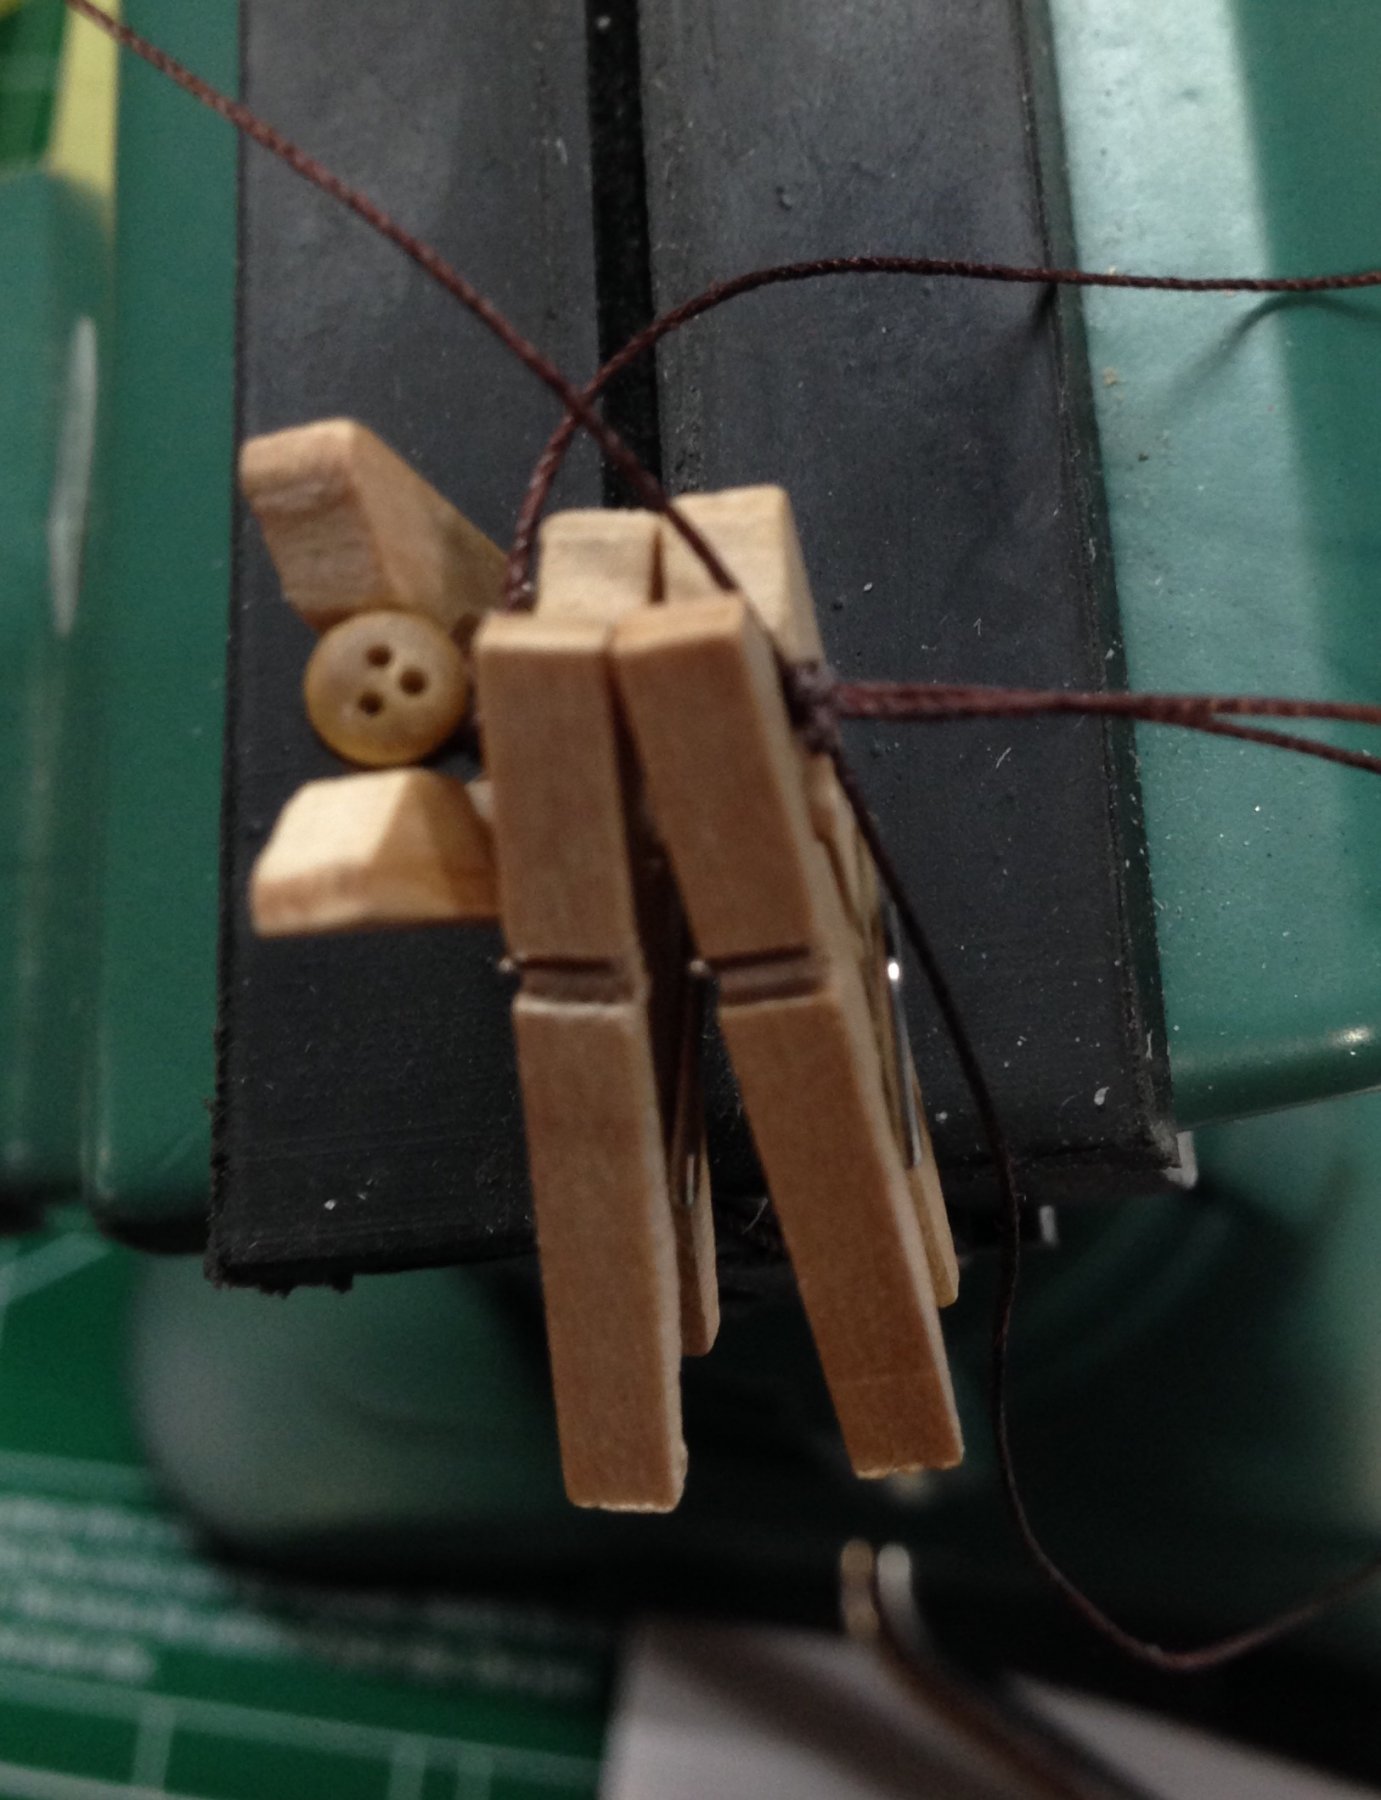
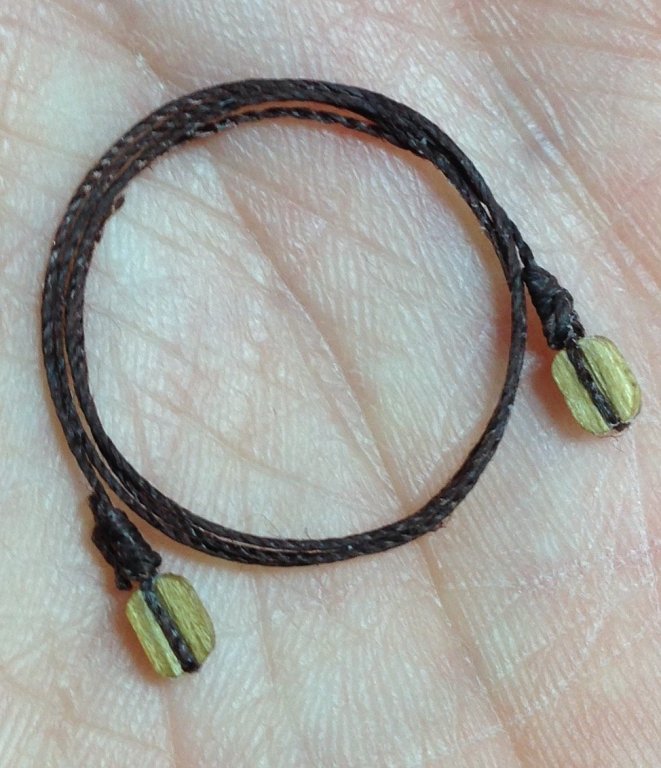
Forestay deadeye is complete. Again, the length taken from the rigging plan. Two overhand knots were used for the seizing. I used mini clothspins for spacers. This will also be presented onboard in the rope coil shown in the photo. (It's much cleaner in person!) The remaining four deadeyes will be seized to the mast. Steve


- 165 replies
-
- 8
-

-
- finished
- model shipways
- (and 1 more)
-
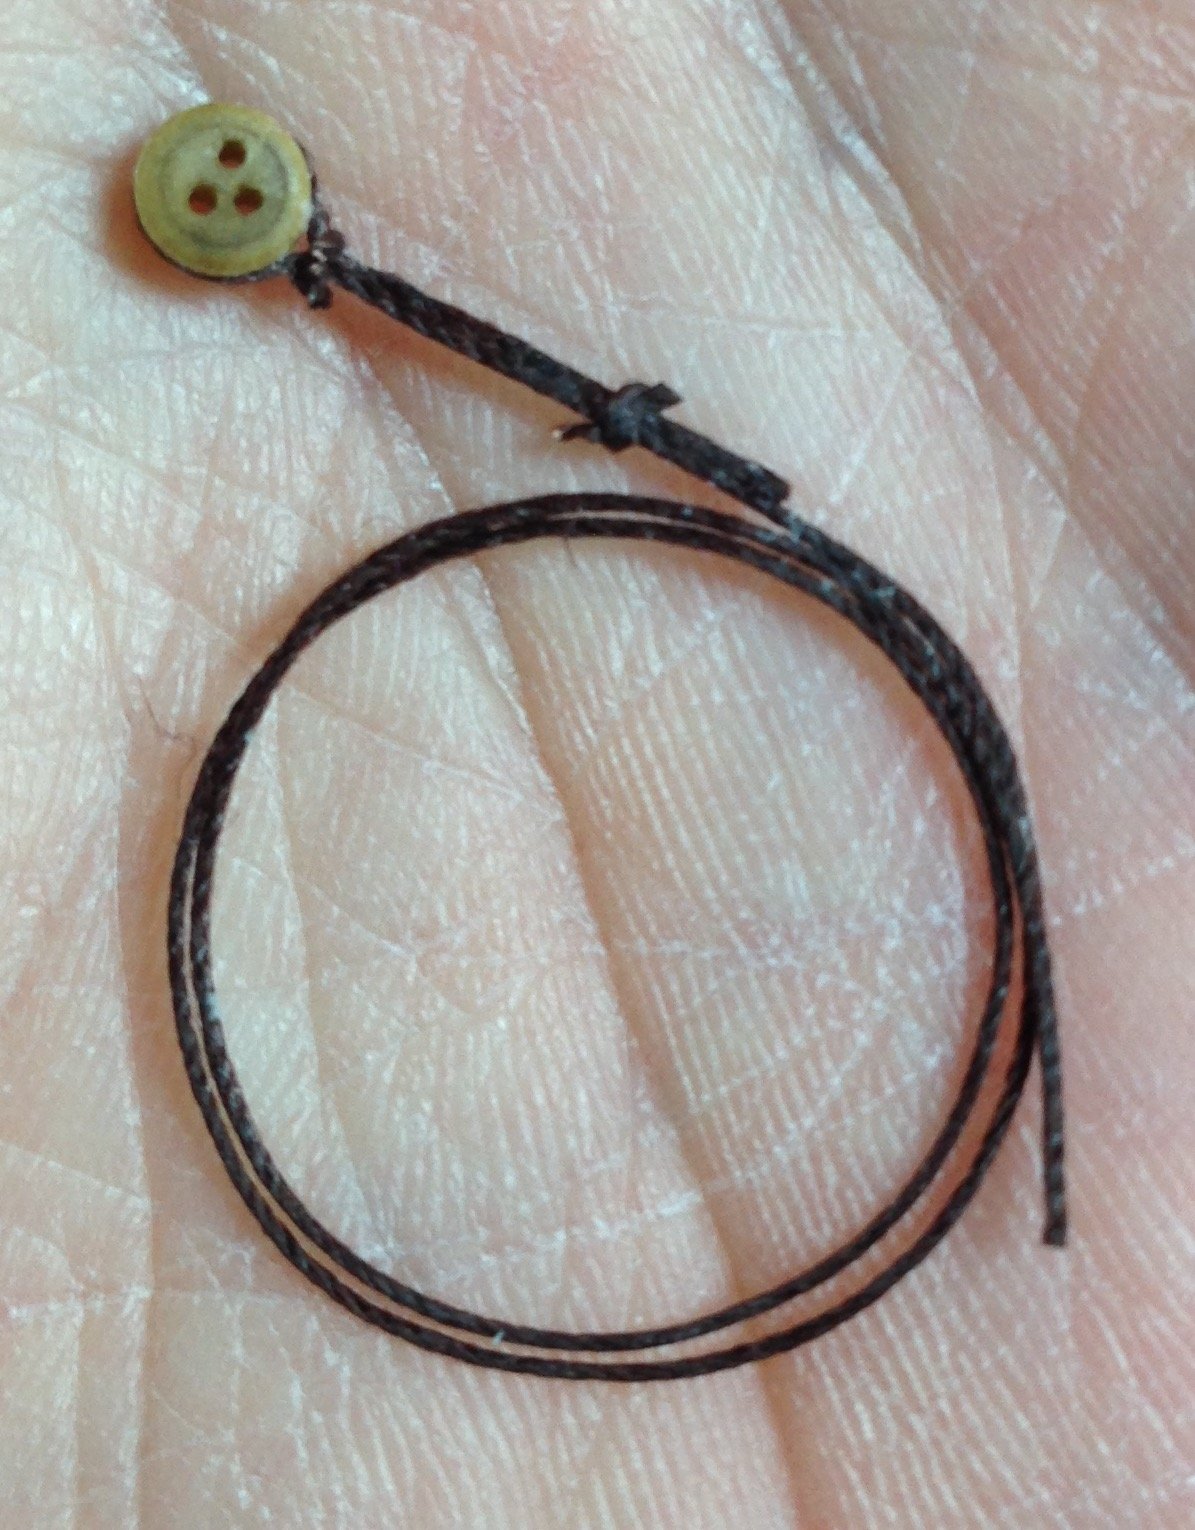
The backstay pendents make up the last of the blocks. I used brown rope for these, using the rigging plan to measure the length. These will be presented onboard the longboat in the rope coil you see in the photo. Roughly three hours of work. Steve
- 165 replies
-
- 8
-
-
- finished
- model shipways
- (and 1 more)
-
That worked out nicely. Which parts of the build are maple? How is it working with the Maple? I would like to order some for my next project (English Pinnace). Steve
-
Let's decide after she's planked;-) Forgive me- I haven't read all the previous posts thoroughly, but the waterline would be lower, correct? Just curious. If you do paint it, I think it would look better with the white starting lower. Not to debate anyone here. I really want to see it left unpainted though. Steve
- 714 replies
-
- 3
-
-
- lady nelson
- victory models
- (and 1 more)
-
Thomas- you are setting the bar very high for anyone's Syren build. I'll say again that I'm really enjoying this log. Steve
-
Erik- thanks again for sharing your methods. Nice jig! Steve
-
If the planking turns out clean, which I think it will be in your case, I would like to see it left unpainted. Just my thoughts. Wish you well health wise. Steve
- 714 replies
-
- 2
-
-
- lady nelson
- victory models
- (and 1 more)
-
Since you did light it, it would make sense to add a hidden motor to the wheel so it rotates. I know that takes pre planning, but if it's doable, that would be a cool feature. Either way it's awesome. Steve
- 296 replies
-
- 3
-
-
- chaperon
- model shipways
- (and 1 more)
-
Mike- it's easy to forget when the major focus is bending and shaping planks! I have a 4B pencil for the caulking. I leave it near the glue and toothpick in efforts to remember. It's not old age! Steve
-
I used a soft pencil for my plank seams. The stain brings out the effect. I like how it looks. Steve
-
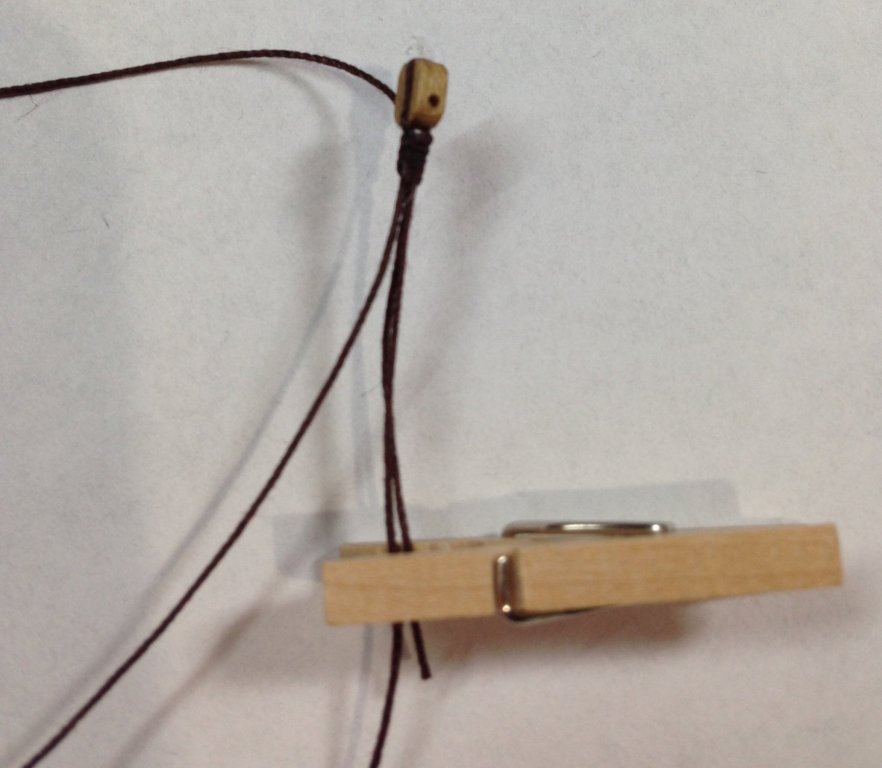
Significant progress on the blocks. I used the method described in the article below, but I used white glue and a simple overhand knot for the seizing. There's a bit of excess rope because I didn't want to cut too close to the knot (done this already!). A thinner line for the seizing would make the excess rope invisible. The rope coils should hide some of this. Steve http://www.modelboatyard.com/stropping.html


- 165 replies
-
- 10
-
-
- finished
- model shipways
- (and 1 more)
-
Welcome back! This kit is really difficult to plank. Took me a lot of time. Chuck's planking videos helped a lot. Plus all the great build logs. Good news is the build moves along after the planking and fairing inboard are done. I'll follow along. Steve
-
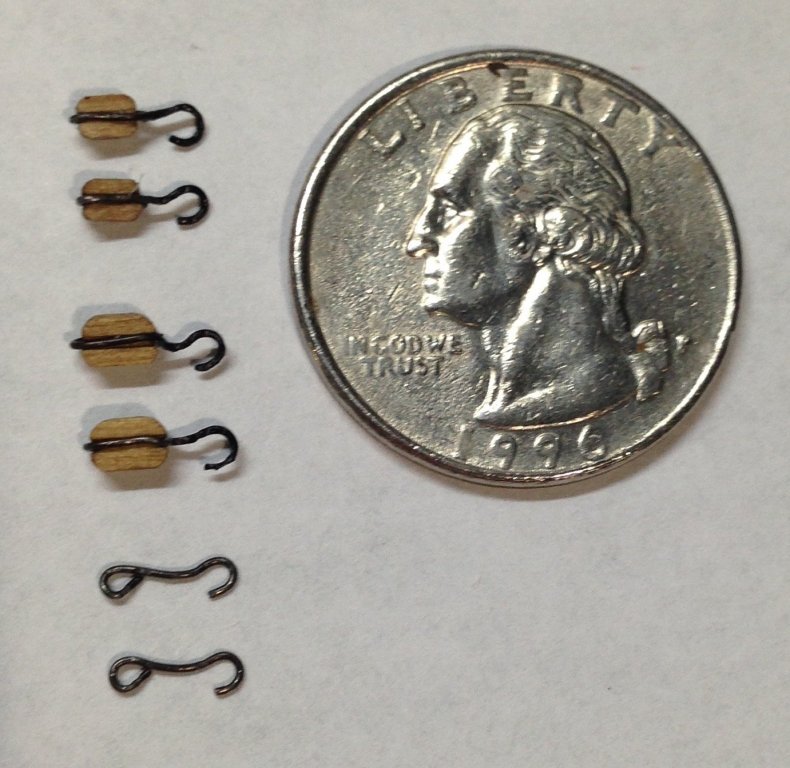
Thanks so much, guys! Sam- I am excited I can present the longboat in a different way. I really like your unique presentation of it as well. Karl- the hooks are made from 28 gauge wire that came with the kit. Scratched them up a bit so I need to do some touchup before install. I just realized today that I need to make two more hooks so the lashing of the boat can take place. Steve
- 165 replies
-
- 2
-
-
- finished
- model shipways
- (and 1 more)
-
Getting interesting! Steve
-
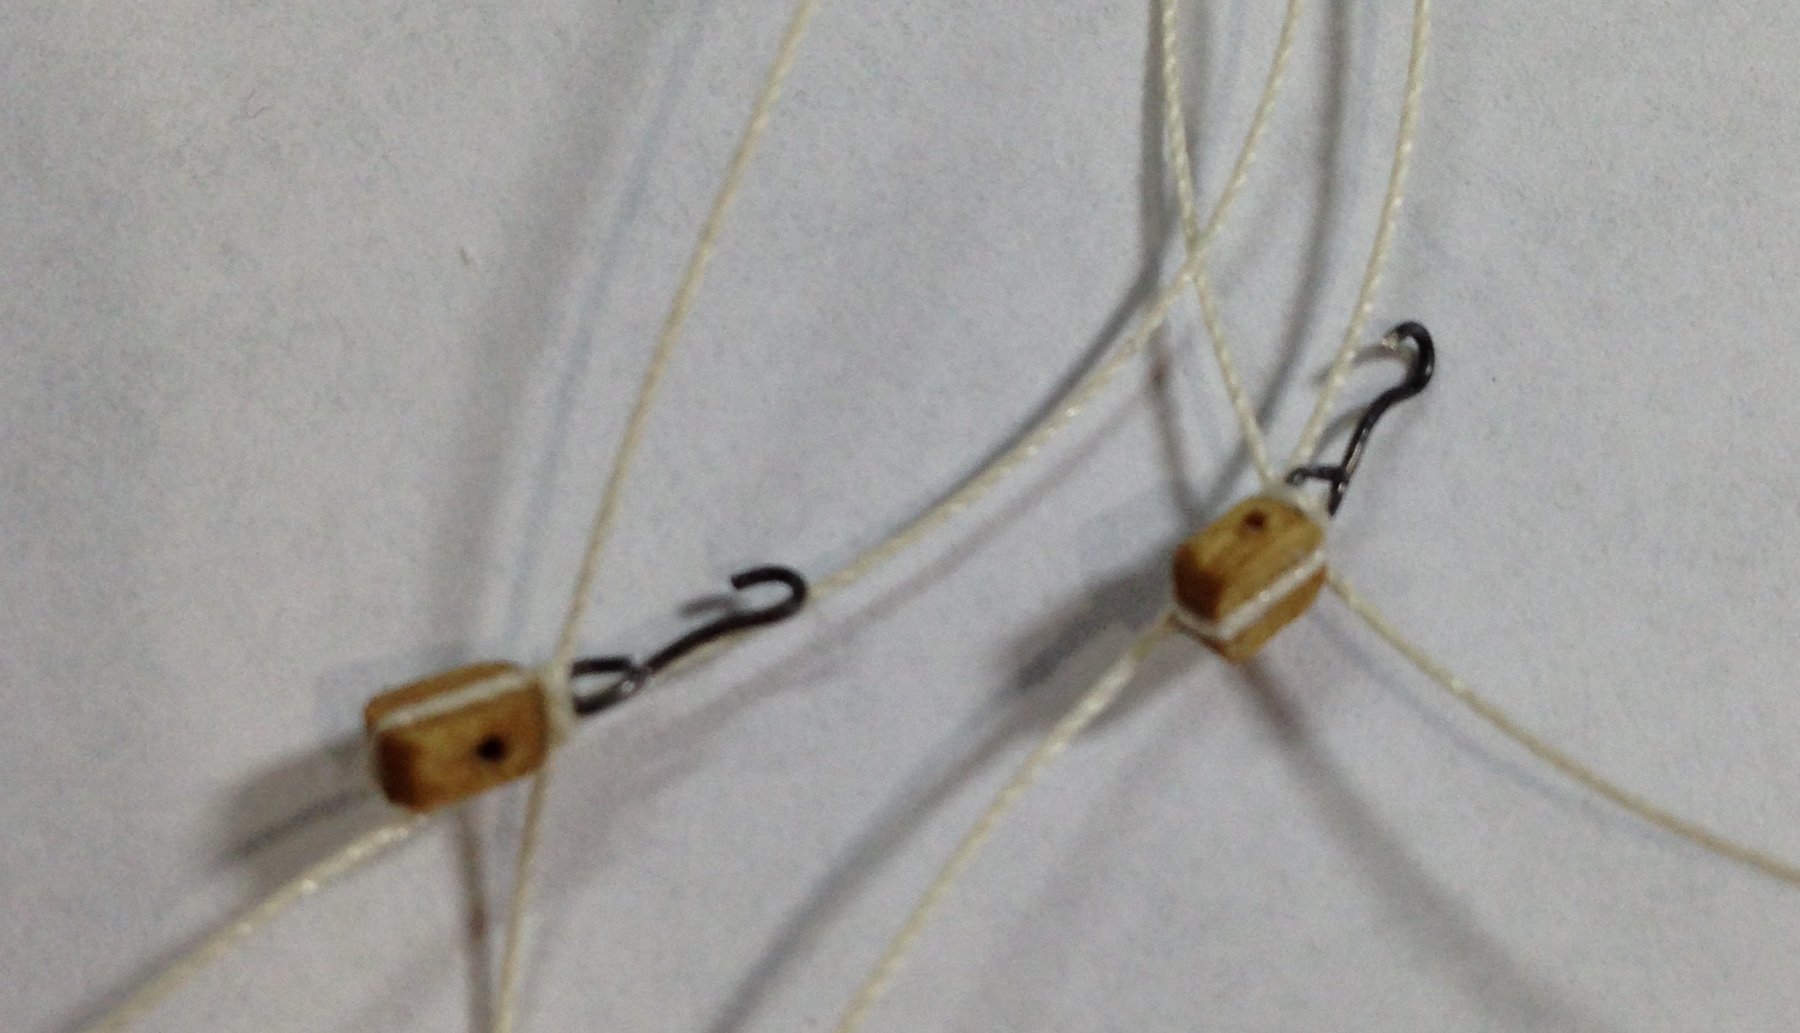
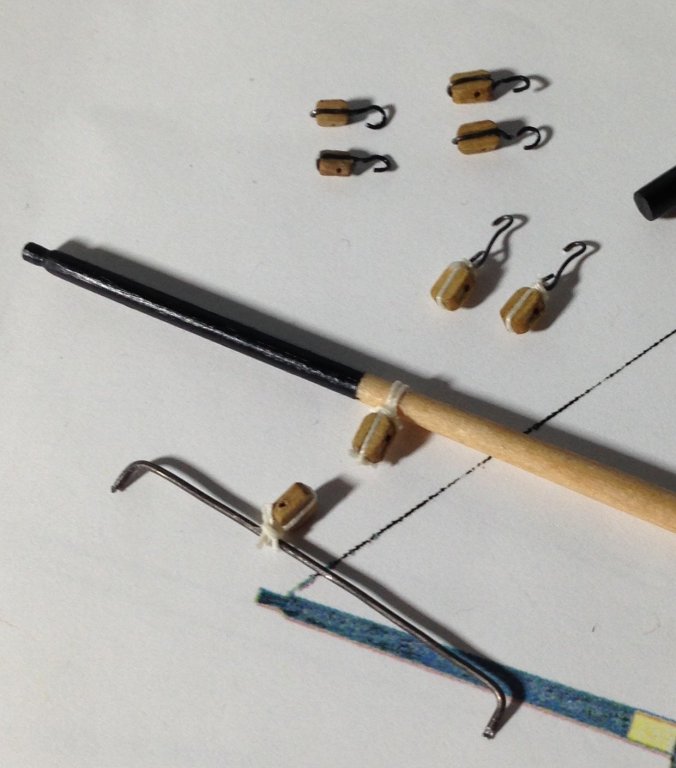
Just a small update. I stropped these four blocks with hooks. Two 3/32" blocks for the staysail and jibsail halyard and two 1/8" blocks that will hook to the mast. The two hooks below will be stropped to 1/8" blocks with rope to hook to the backstay chainplates. Roughly four hours of work. Good practice making hooks. Oh, did I mention they are tiny? Steve
- 165 replies
-
- 6
-
-
- finished
- model shipways
- (and 1 more)
-
Looks good! Steve
-
If you can learn from my mistakes, I'm good with that! It would have worked also to remove it after the glue dried, but yes, I'm sure it was easier before it dried. Look forward to more updates and photos. It's a difficult kit. Take your time and redo what you're not happy with. Steve