Tigersteve
-
Posts
1,327 -
Joined
-
Last visited
Content Type
Profiles
Forums
Gallery
Events
Everything posted by Tigersteve
-
 Lucky only chainplates vanished. Sounded like it was going to be worse! Steve
- 245 replies
-
- 3
-

-
- bluenose
- model shipways
- (and 1 more)
-
This project came together very nicely. Great work, congrats! Steve
- 250 replies
-
- 4
-
-
- willie l bennett
- model shipways
- (and 1 more)
-
Len, thank you for saying so. I appreciate everyone's interest and support. It's getting close. Four more rope coils to go! Steve
- 165 replies
-
- 7
-
-
- finished
- model shipways
- (and 1 more)
-
All one can say is, "wow!" Excellent work all around. Standing by for the finale! Steve
- 366 replies
-
- 2
-
-
- pegasus
- victory models
- (and 2 more)
-
I agree. I think it will finish nicely after sanding. Steve
- 1,135 replies
-
- 3
-
-
- model shipways
- syren
- (and 2 more)
-
Mike, it's such a fantastic build you have going. Everything looks great. I've seen some of Ken's impressive work and you should check it out if you haven't already. He has logs under the username: xken. Keep up the excellent work... I'll keep following. Steve
- 128 replies
-
- 1
-
-
- model shipways
- new bedford whaleboat
- (and 1 more)
-
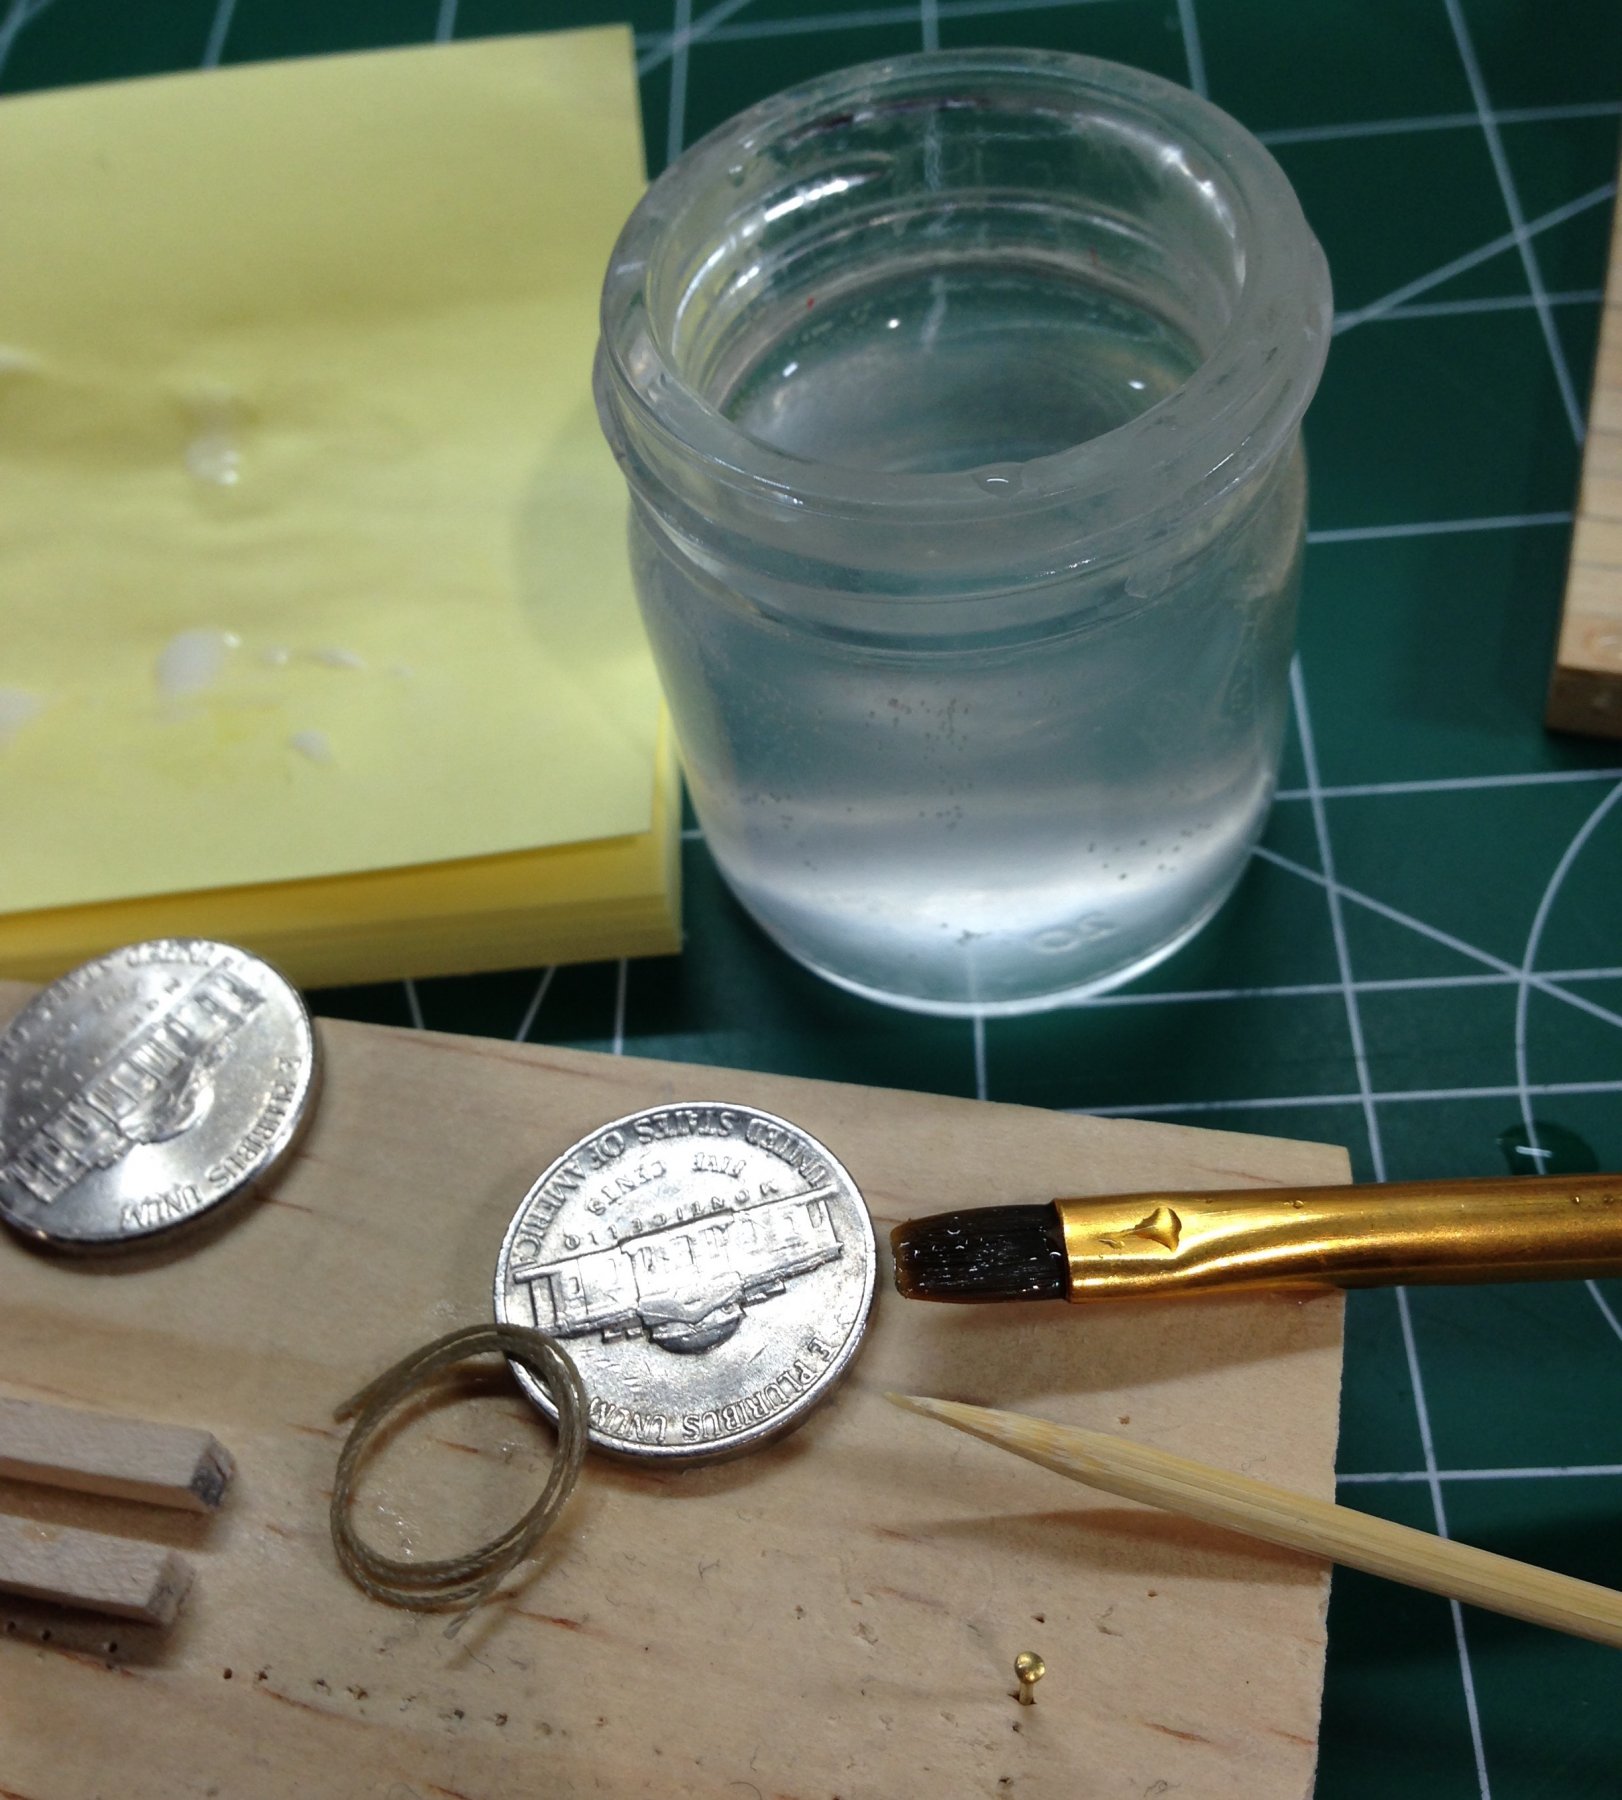
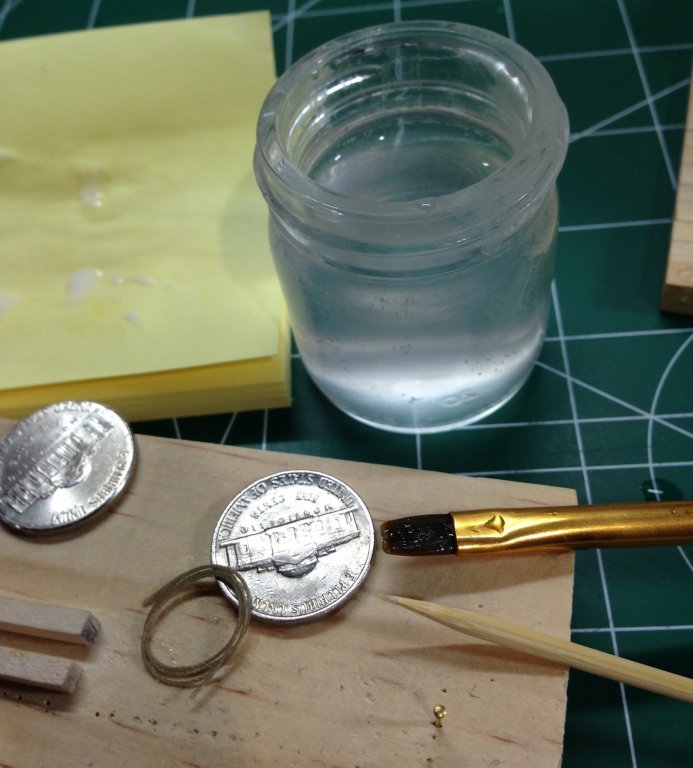
Rope coils for the lanyards were created and placed in pairs around the deadeyes. There are five total, including one at the bow. A photo below shows my setup for rope coil production. Although I'm fairly happy with the results, I know the rope is a bit out of scale and wish I had purchased Syren rope from the start. Steve


- 165 replies
-
- 17
-
-
- finished
- model shipways
- (and 1 more)
-
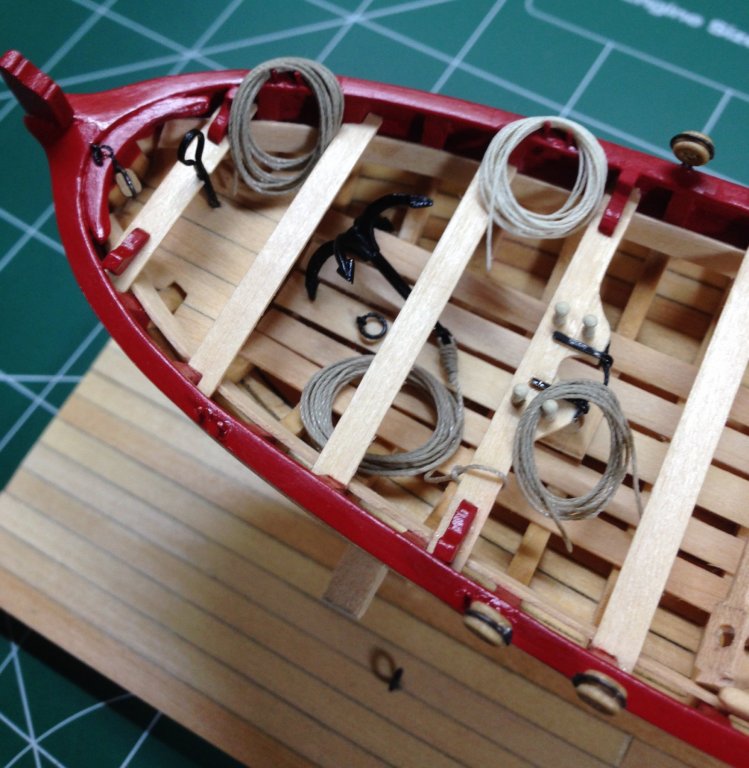
All rope was cut to length according to the rigging plan. Coils for the backstays were created first. After these were in position and adjusted with watered down white glue and a paintbrush, I placed the stropped blocks. A light colored rope coil was created for the flag. This was placed starboard, forward of the deadeyes. I created the rope coil for the peak halyard and placed it on the aft belay pin on the port side. The staysail halyard was next. Its rope coil, originally intended for the adjacent belay pin, settled itself on a starboard pair of oarlocks. One of the smaller blocks that I stropped with a hook was placed at the bow. I included a photo of the paintbrush I've been using to form most of the coils. It's tapered so it can be used for creating different size coils. I have no idea how this brush actually paints, but it's great for this purpose! The most challenging part of this process is getting the coils to hang naturally. I hope that my results are acceptable. Much more to do before completion. Steve

- 165 replies
-
- 13
-
-
- finished
- model shipways
- (and 1 more)
-
Very well done! Steve
-
A ton of progress, Karl and it looks great! Steve
-
All personal preference on the stain. I liked the way the Natural stain looked on my longboat. I used pre-stain then the Natural stain. Wipe on Poly (satin) applied after all was dry. It does darken the wood even though it's Natural stain. Looking forward to more progress! Steve
-
It should follow the curvature of the hull. Pre-bend the wood first and use wood glue. Steve
-
David- nice work area! Following along. Steve
-
I was just thinking that also that you won't see some of it covered by the floorboards. I try not to use CA if I can avoid it. Worst case scenario- you can get a replacement for those lifts and revisit this little boat later on in the build. ;-) It certainly is its own model. Steve
-
Yes- def follow the instructions/practicum carefully. I'm no expert by any means, but with regards to the caprail I think you'll have a hell of a time trying to work with it at 1/32" before gluing it on. If you glue the layer for the caprail at 1/16" and then turn the boat upside down while sanding, you will be able to see the thickness all the way around. This is how I sanded my caprail for the longboat. Pre-bend before gluing. I don't have a good method for cleaning up the CA besides using a blade. Maybe others have better advice. It may affect your finish if you don't clean it up well. Steve
-
Thanks guys! I appreciate all the likes and kind words. Steve
- 165 replies
-
- 2
-
-
- finished
- model shipways
- (and 1 more)
-
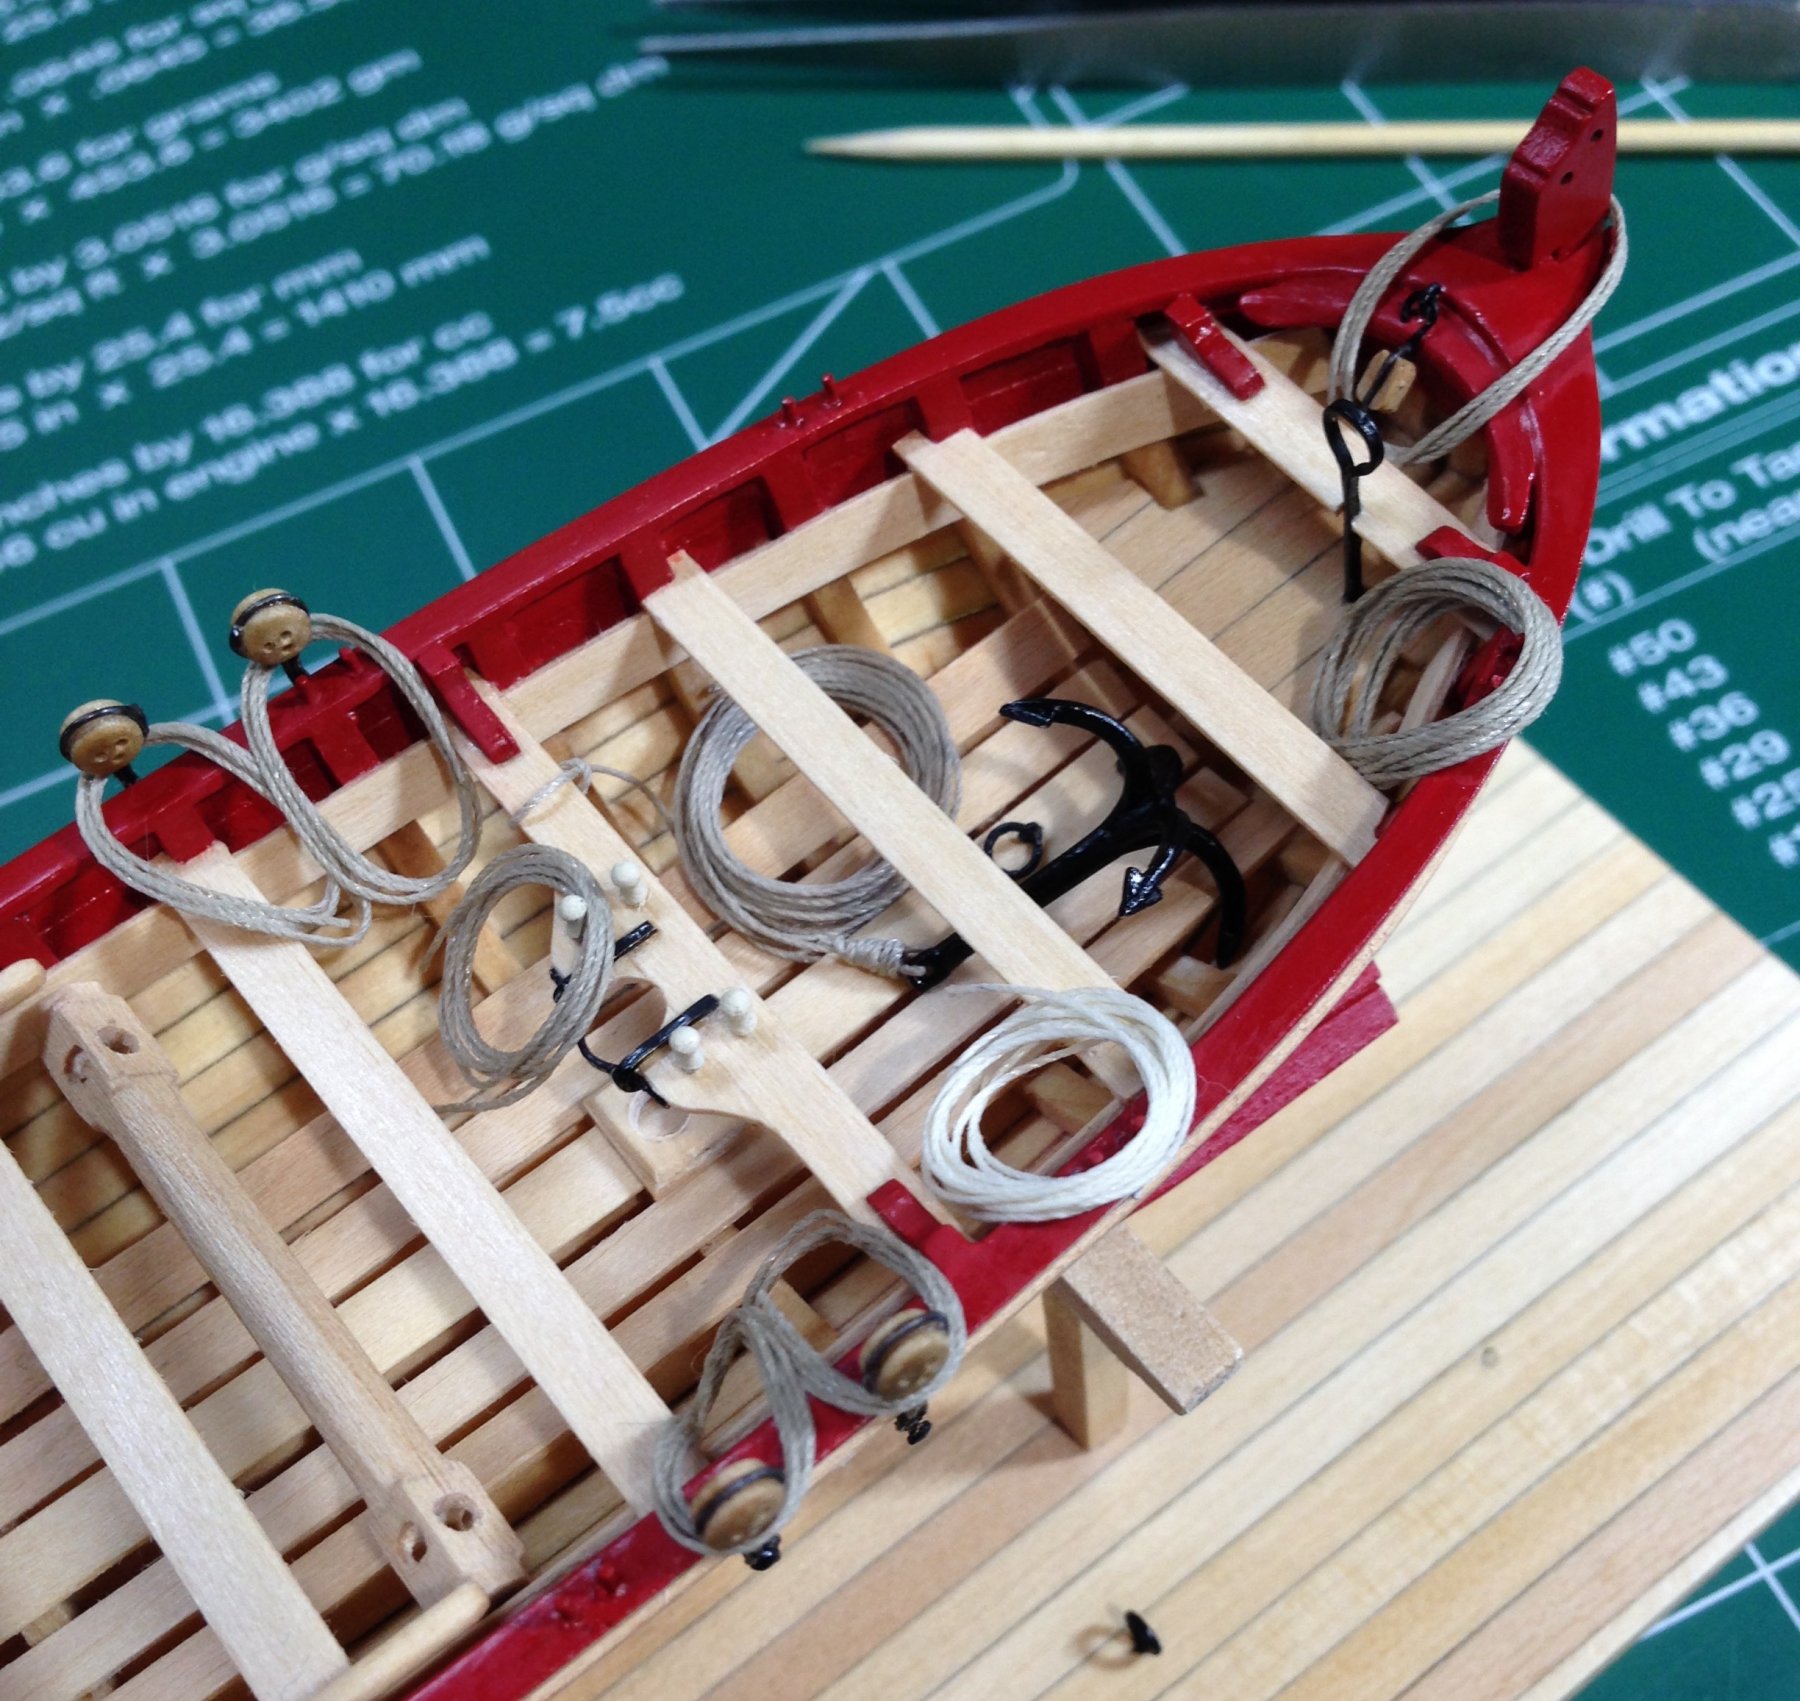
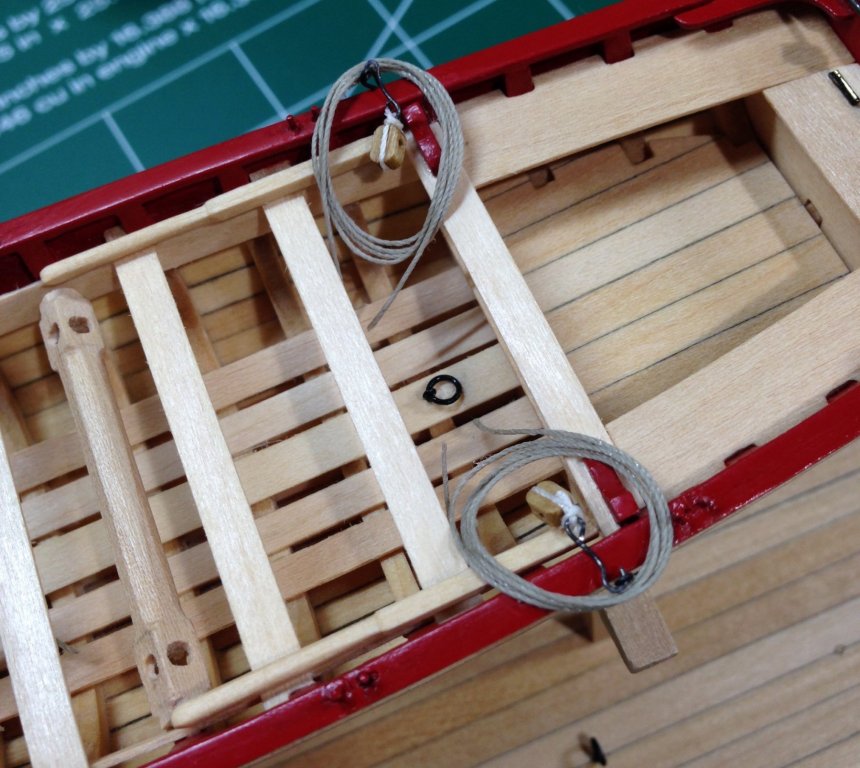
Completed grapnel anchor installed. This was done in three layers: one line looped over the thwart, one rope coil over that, and another rope coil attached to the grapnel. I can see why Bob F removed the thwart to work in this tight space. Steve

- 165 replies
-
- 17
-
-
- finished
- model shipways
- (and 1 more)
-
I haven't gone through my Mayflower kit and instructions very thoroughly yet, but it probably means glue it at 1/16" and when it's completely dry sand it to 1/32". Steve