HOLIDAY DONATION DRIVE - SUPPORT MSW - DO YOUR PART TO KEEP THIS GREAT FORUM GOING! (89 donations so far out of 49,000 members - C'mon guys!)
×


Tigersteve
-
Posts
1,327 -
Joined
-
Last visited
Content Type
Profiles
Forums
Gallery
Events
Everything posted by Tigersteve
-
 Richie, if you go to the Minwax website, you'll see more about each of their products. I think it's worth looking through. Definitely use pre-stain before staining. I've found that the better the sanding, the better the finish. I've used Minwax Natural stain on my longboat and finished with their Wipe on Poly. Check out my log to see the results on basswood. Golden Oak turns out darker than you might think and people mix it with Natural stain to lighten it a bit. Do some tests on scrap wood. Also, if you don't like the finish on your model you should be able to sand it lighter. Hope this helps. Steve
 -
Getting better and better, Mike. What type of wood are you using again? Steve
- 129 replies
-
- 1
-

-
- finished
- model shipways
- (and 1 more)
-
Completed rigging the boom, gaff, and bowsprit. As done previously, the length of rope was taken from the rigging plan. Rope coils for the boom and gaff will be completed before they are stowed. I think the rope coil for the grapnel and its installation will be next. After that, the oars and boat can be mounted on the display before the final staging. I believe I've wasted more rigging material than was included in the kit! Good thing I purchased other material. Steve
- 165 replies
-
- 14
-
-
- finished
- model shipways
- (and 1 more)
-
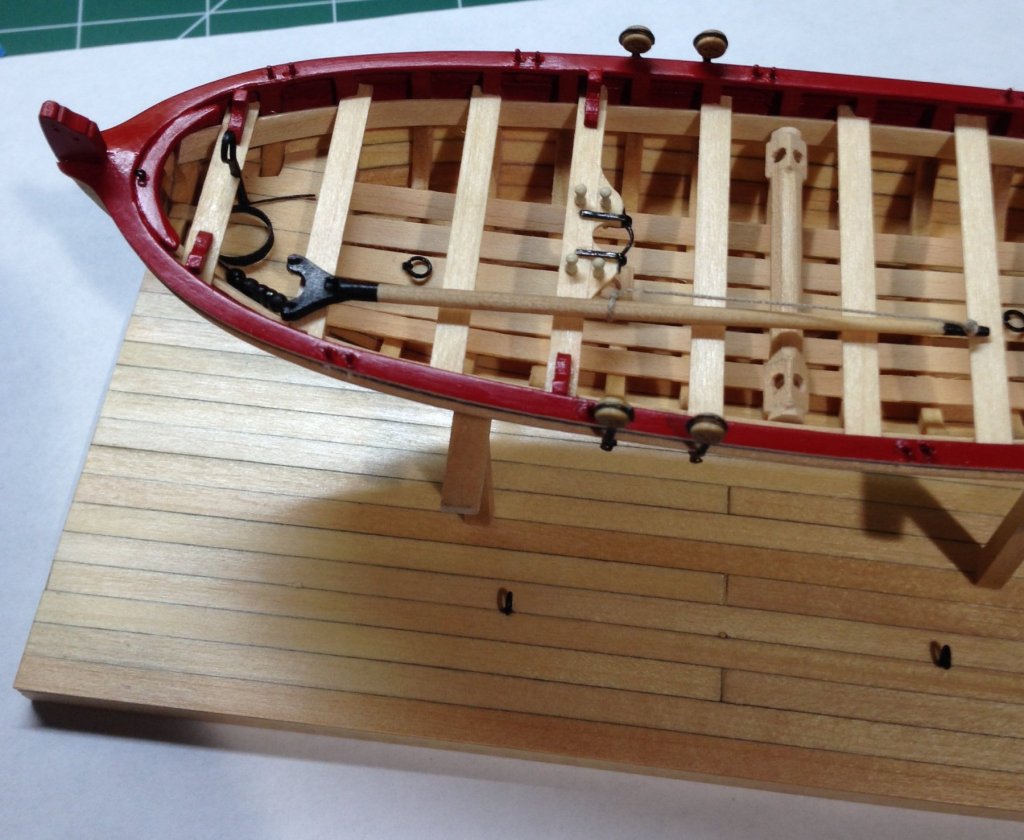
Rudder stowed does make sense. Thanks for clearing that up for me, gentlemen. I made two more hooks that I seized with tan rope so the longboat can be lashed down later in the project. The grapnel anchor was also seized with tan rope. I did this with brown at first but wasn't satisfied with the result. Finally, the traveler ring was made from 28 gauge wire. Steve
- 165 replies
-
- 11
-
-
- finished
- model shipways
- (and 1 more)
-
Yes- I'm in too! Steve
-
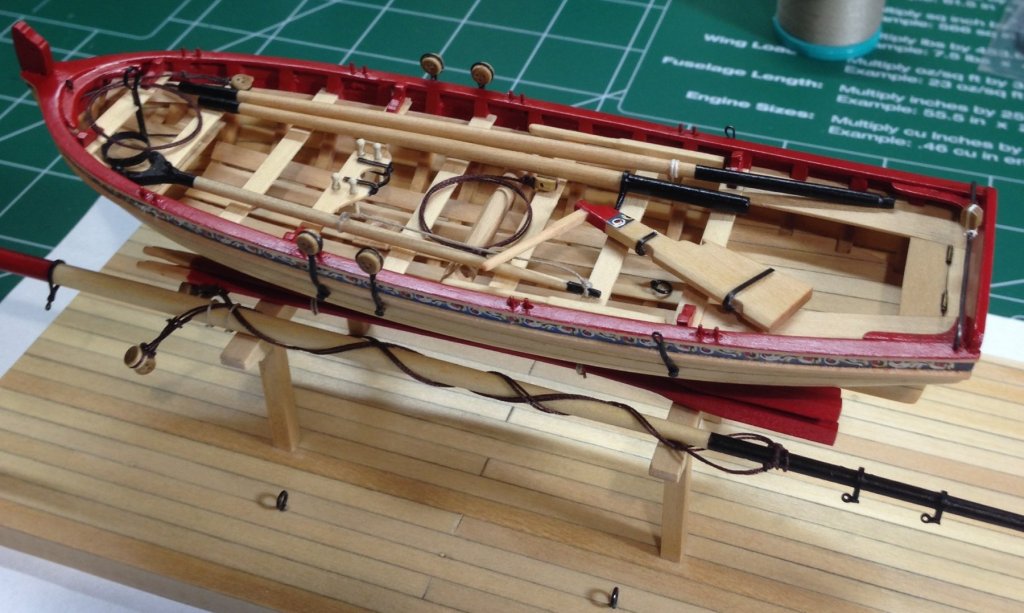
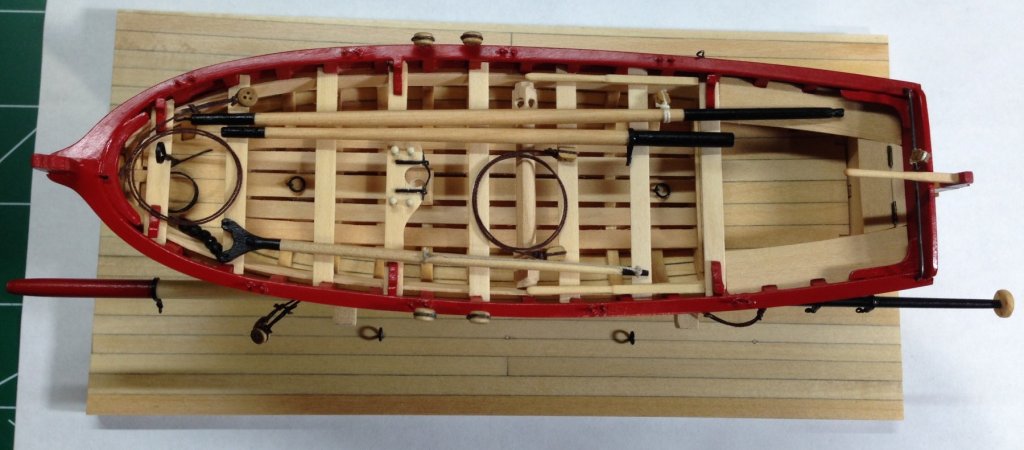
Two more reference photos are shown. The windlass handles will not be installed into the windlass, but placed as shown in the photos. Installed, they took up too much needed space. There's a lot more to do, but I wanted to get some feedback on the rudder placement. Installed or stowed? Any thoughts? There will be a rope coil placed on the aft platform and one on the port side cockpit seat. Steve
- 165 replies
-
- 18
-
-
- finished
- model shipways
- (and 1 more)
-
Pandora by marsalv - FINISHED - 1:52
Tigersteve replied to marsalv's topic in - Build logs for subjects built 1751 - 1800
Wouldn't worry about it. Looks great. Steve -
Very unique. I like it! Steve
-
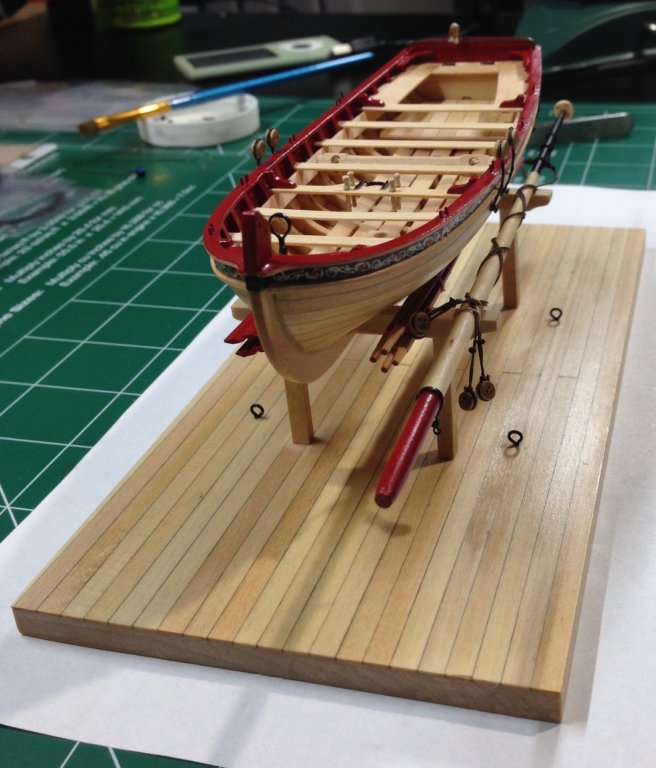
Before mounting the longboat permanently, a decision had to be made about final placement of the oars and mast. I decided to keep the oars closer to the boat so the mast details would not be obscured. I also updated the photo in my previous post. Nothing is glued yet, but soon. Lots of planning for this type of presentation. Very enjoyable process. Steve
- 165 replies
-
- 17
-
-
- finished
- model shipways
- (and 1 more)
-
I'll have to follow this one. Nice work so far. Steve
-
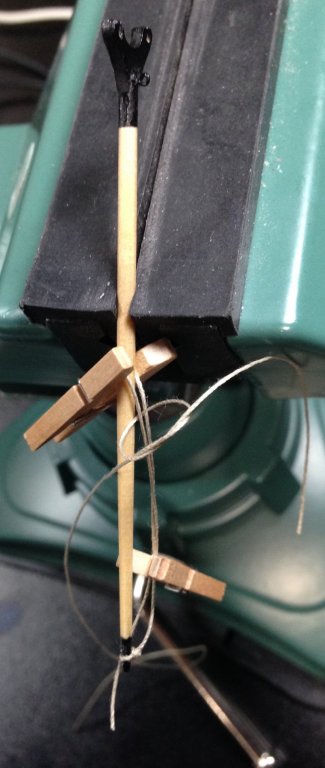
Some interesting updates to report. In what I call another placement reference photo, the gaff is rigged and the rope coil where the beads are threaded was made from black thread included with the kit. One additional tan rope coil needs to be added for the throat halyard before its final placement. The photo with the gaff in the vise shows the method I used for the seizing. I place a drop of CA where the knot will be located and then tighten the knot over the CA. Snip off the excess when the glue dries. The shroud pairs were seized around the mast using the method shown in the following photo. Final adjustments will be made before it's mounted permanently. Steve

- 165 replies
-
- 21
-
-
- finished
- model shipways
- (and 1 more)
-
It's important to get off to a smooth start. Better than fighting with warped plywood. You can email them too. It's not always easy getting them on the phone. One man show over there. jgarcia@modelexpo-online.com
-
Yes, sir. First build so I wanted to stick with as much of the kit supplied stock as possible. Steve
- 165 replies
-
- 2
-
-
- finished
- model shipways
- (and 1 more)
-
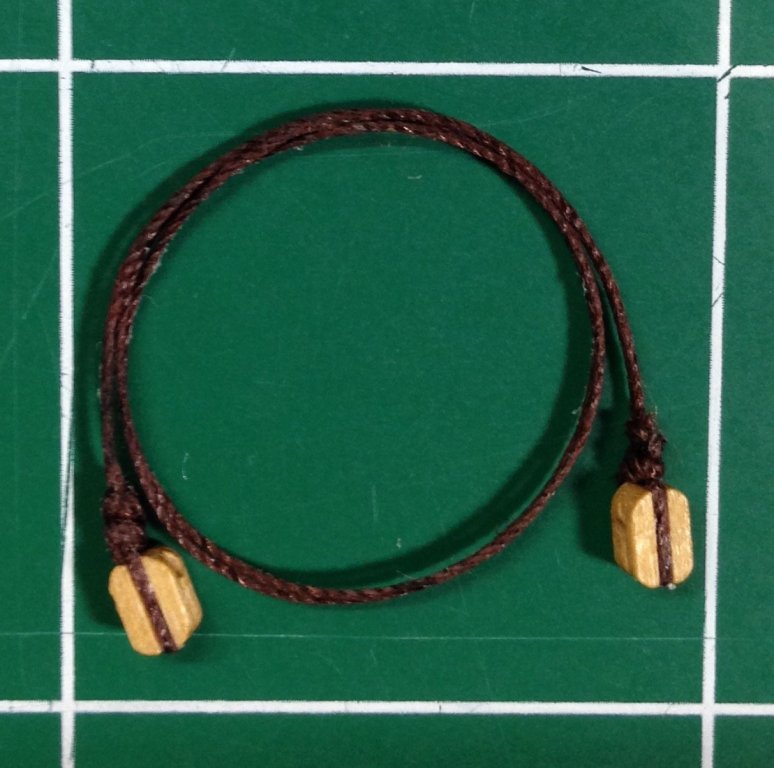
It's been a while since I've redone something. So here it is- revised backstay pendents. Smaller seizings and a cleaner rope coil. Steve
- 165 replies
-
- 9
-
-
- finished
- model shipways
- (and 1 more)
-
If it were me I would get replacements from them on all the sheets that are warped. I have this kit too in waiting. I'm sure there's other solutions. They are good with sending replacements. Might take a little time though. Steve
-
Thank you, Per. I try not to use CA at all. Hate the stuff and it dries shiny, which is why I used it under the knot. I'm trying new things and learning a lot! Steve
- 165 replies
-
- 2
-
-
- finished
- model shipways
- (and 1 more)
-
You will see a huge difference when that dries. Check other logs also of this build. Lots of useful tricks. Bob F has some impressive tutorials. Steve
- 50 replies
-
- 1
-
-
- 18th century longboat
- model shipways
- (and 1 more)
-
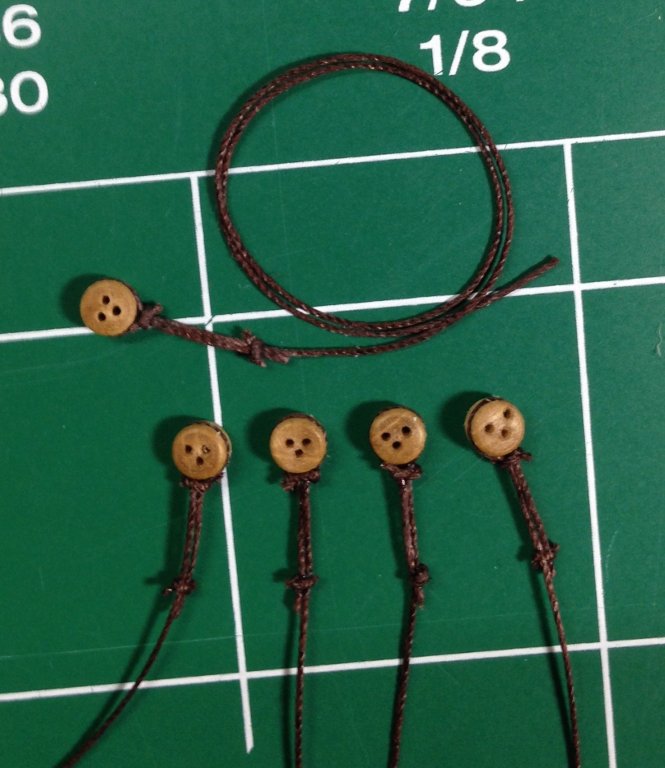
Thanks everyone for the nice comments and likes. Shroud pairs are complete. Used a touch of CA on the rope and tightened the two overhand knots for each deadeye over the CA. This allowed me to work quickly and cut excess rope a little closer to the knot. I coated the assembly with diluted white glue. Again, the length of rope was taken from the rigging plan. They will be seized to the mast next. These photos show crazy detail, but it looks clean to the naked eye. Steve
- 165 replies
-
- 6
-
-
- finished
- model shipways
- (and 1 more)
-
Looping myself in. Beautiful work. Steve
-
Looks good! Steve