HOLIDAY DONATION DRIVE - SUPPORT MSW - DO YOUR PART TO KEEP THIS GREAT FORUM GOING! (89 donations so far out of 49,000 members - C'mon guys!)
×


Tigersteve
-
Posts
1,327 -
Joined
-
Last visited
Content Type
Profiles
Forums
Gallery
Events
Everything posted by Tigersteve
-
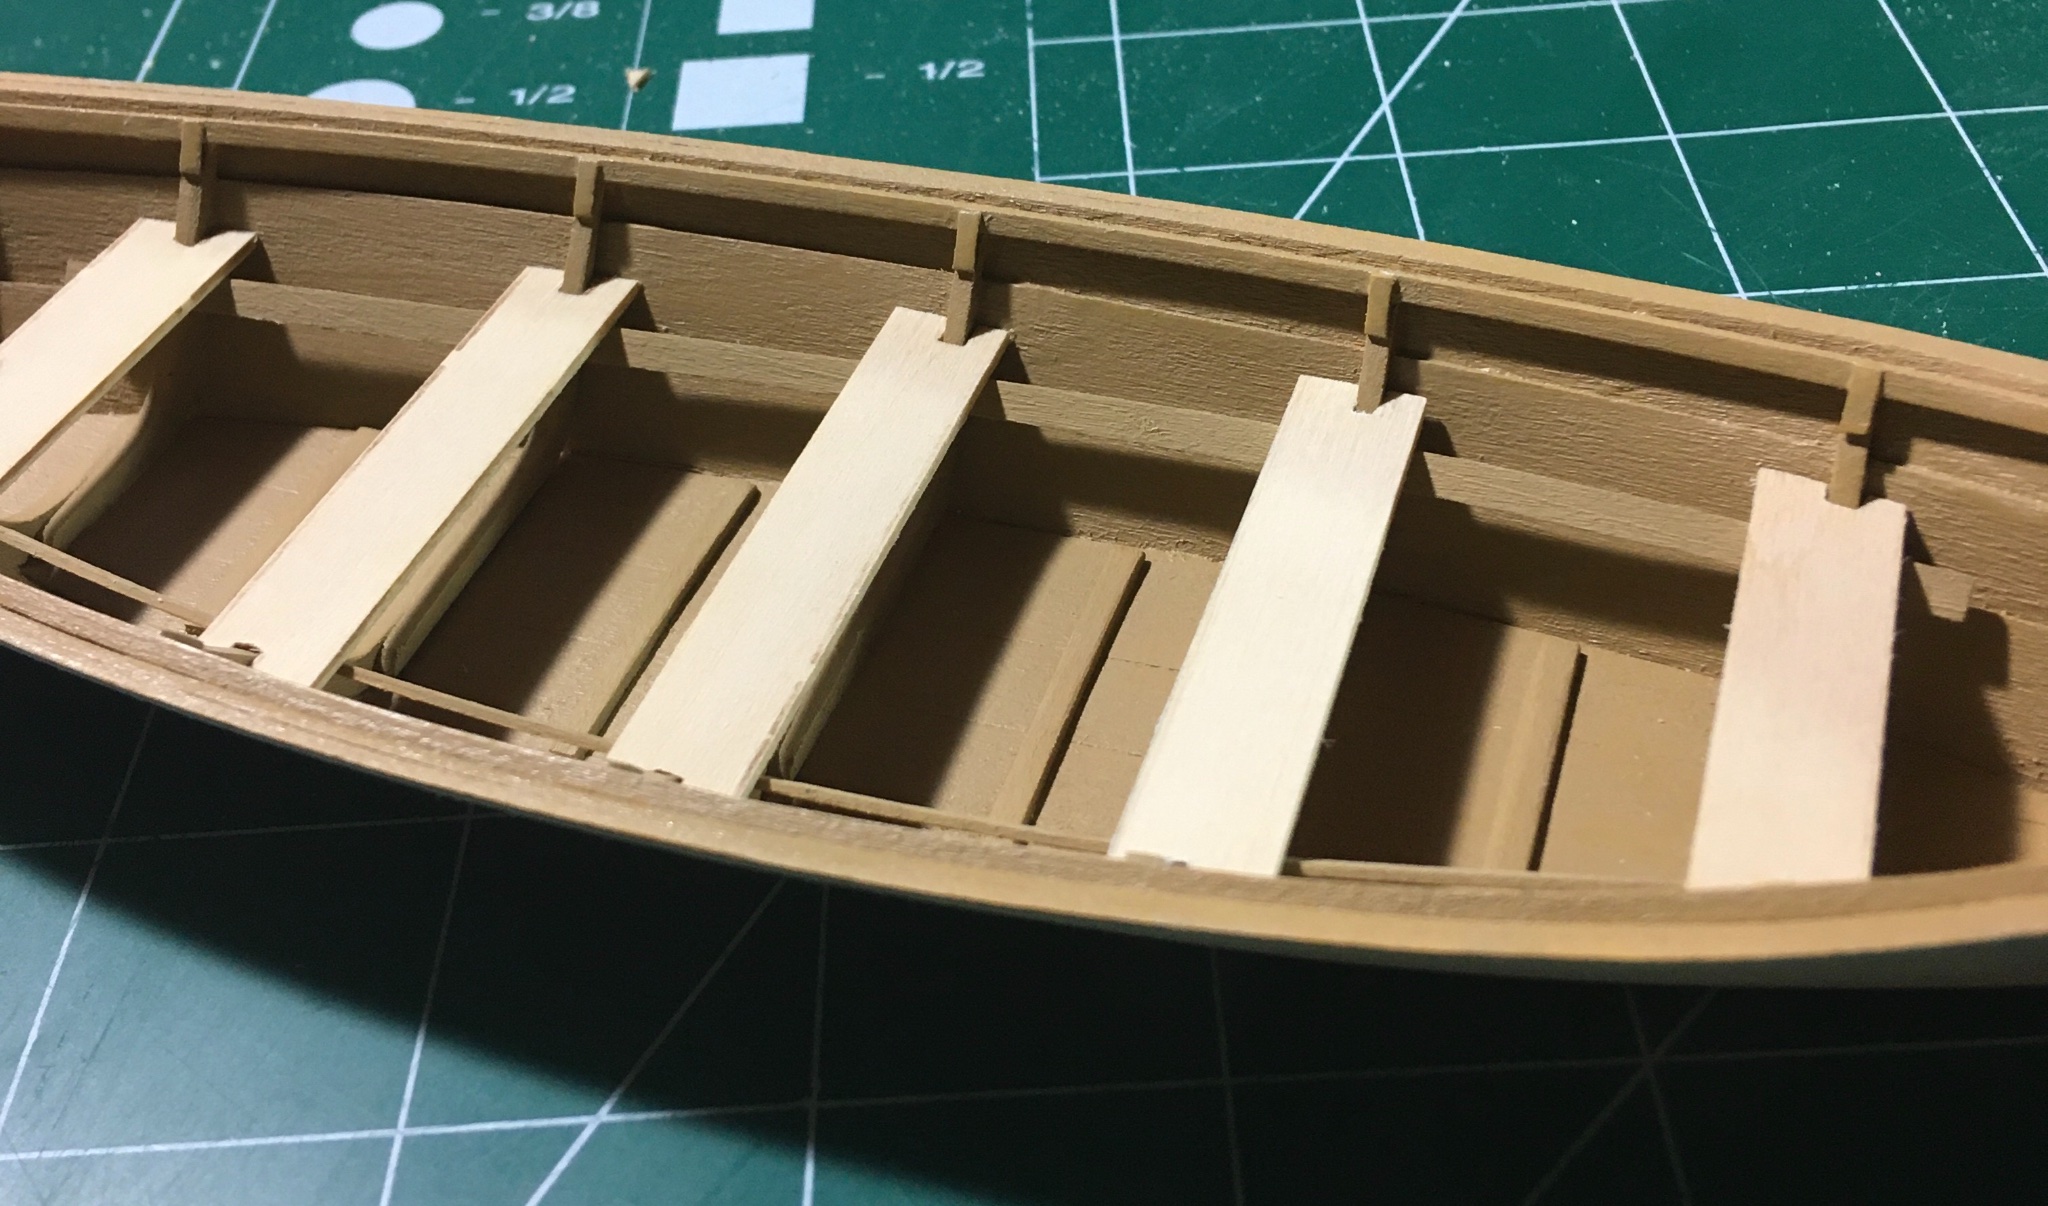
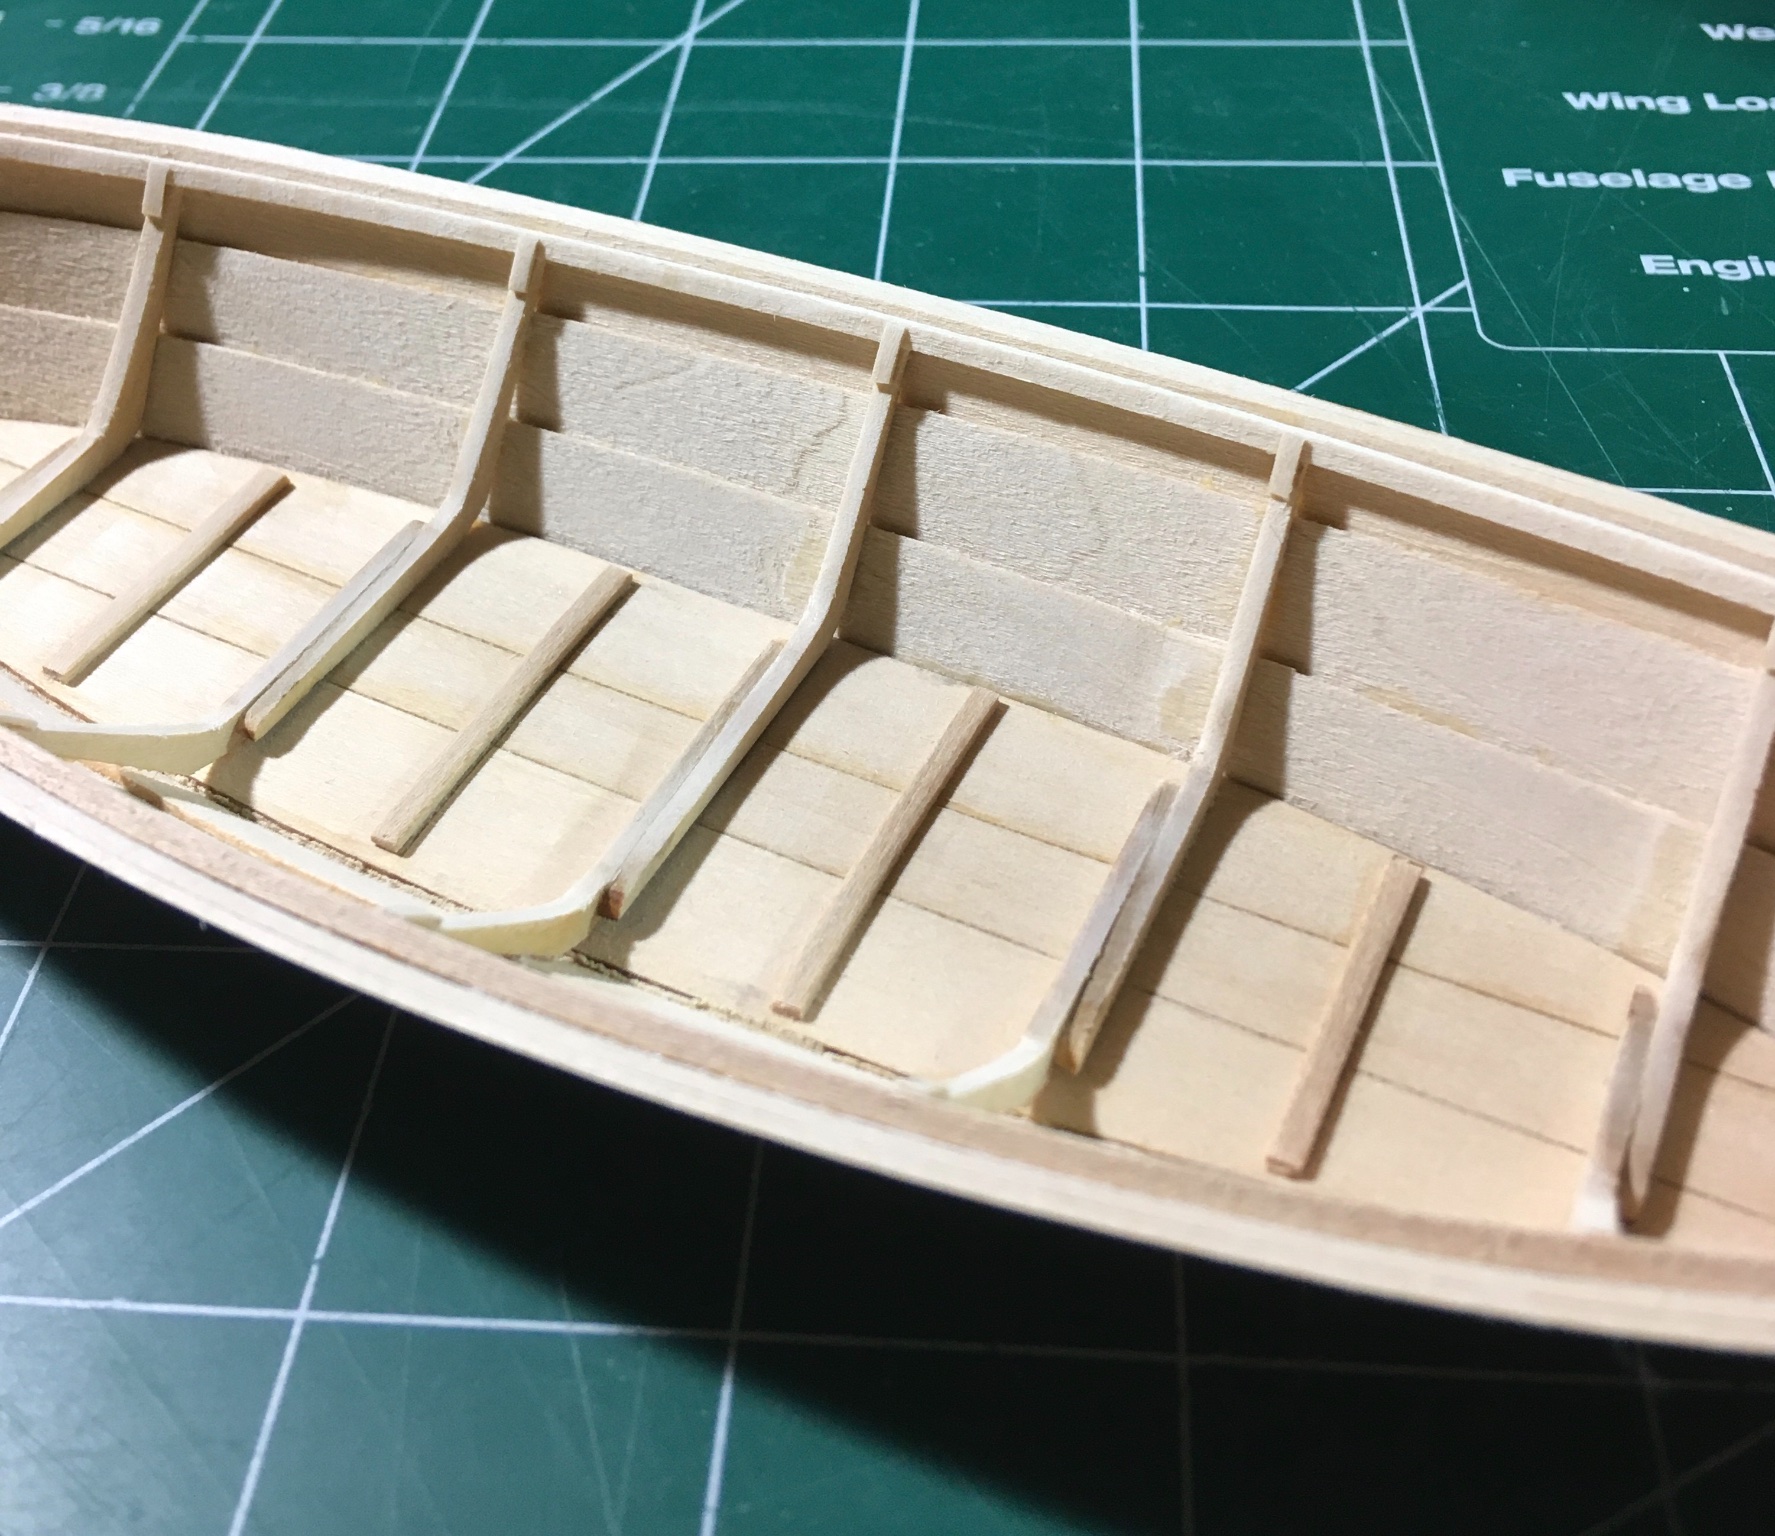
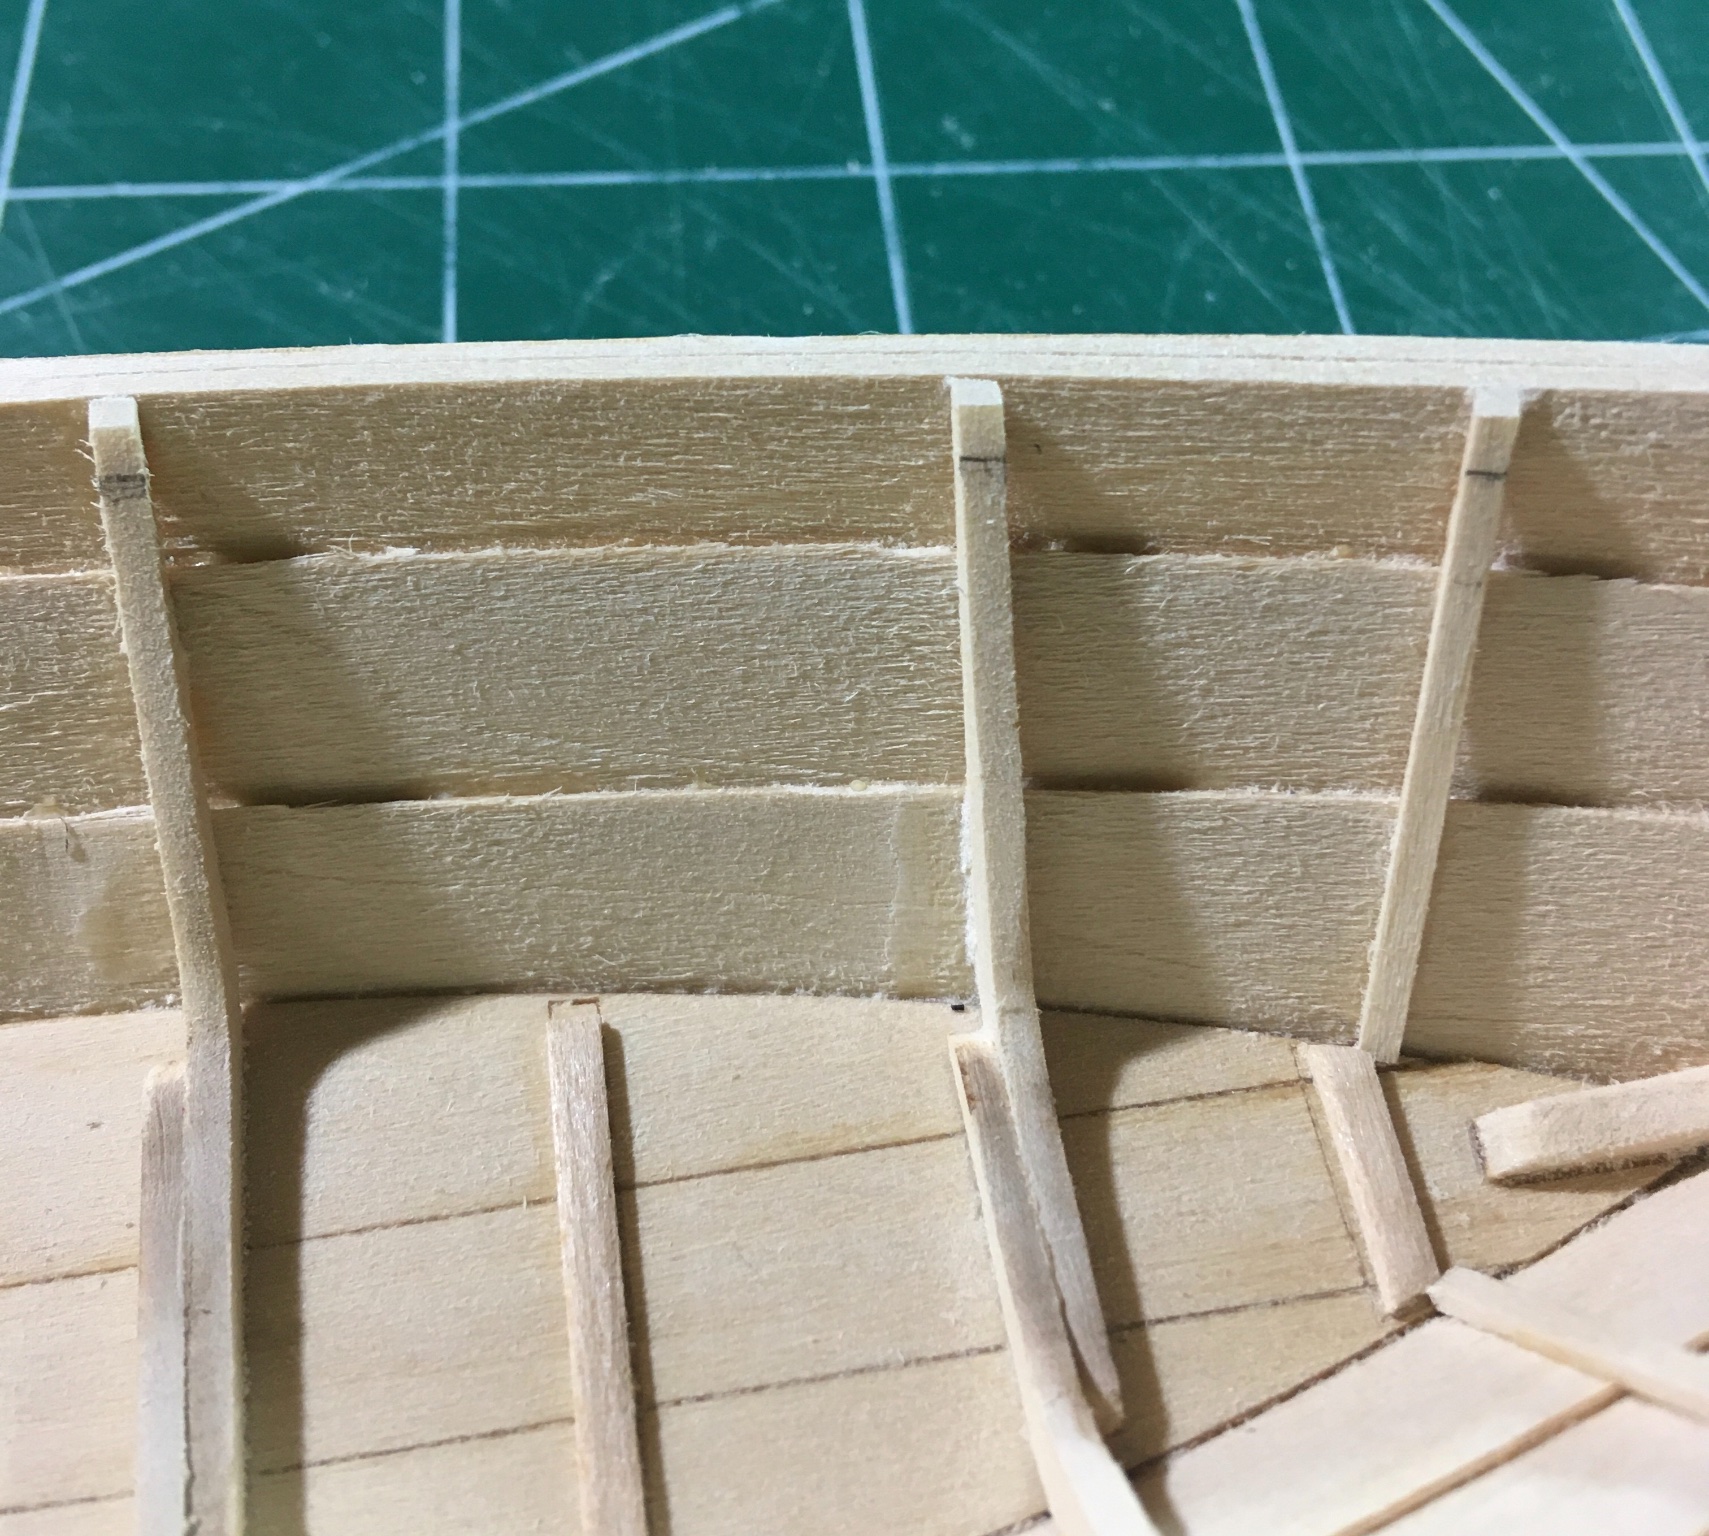
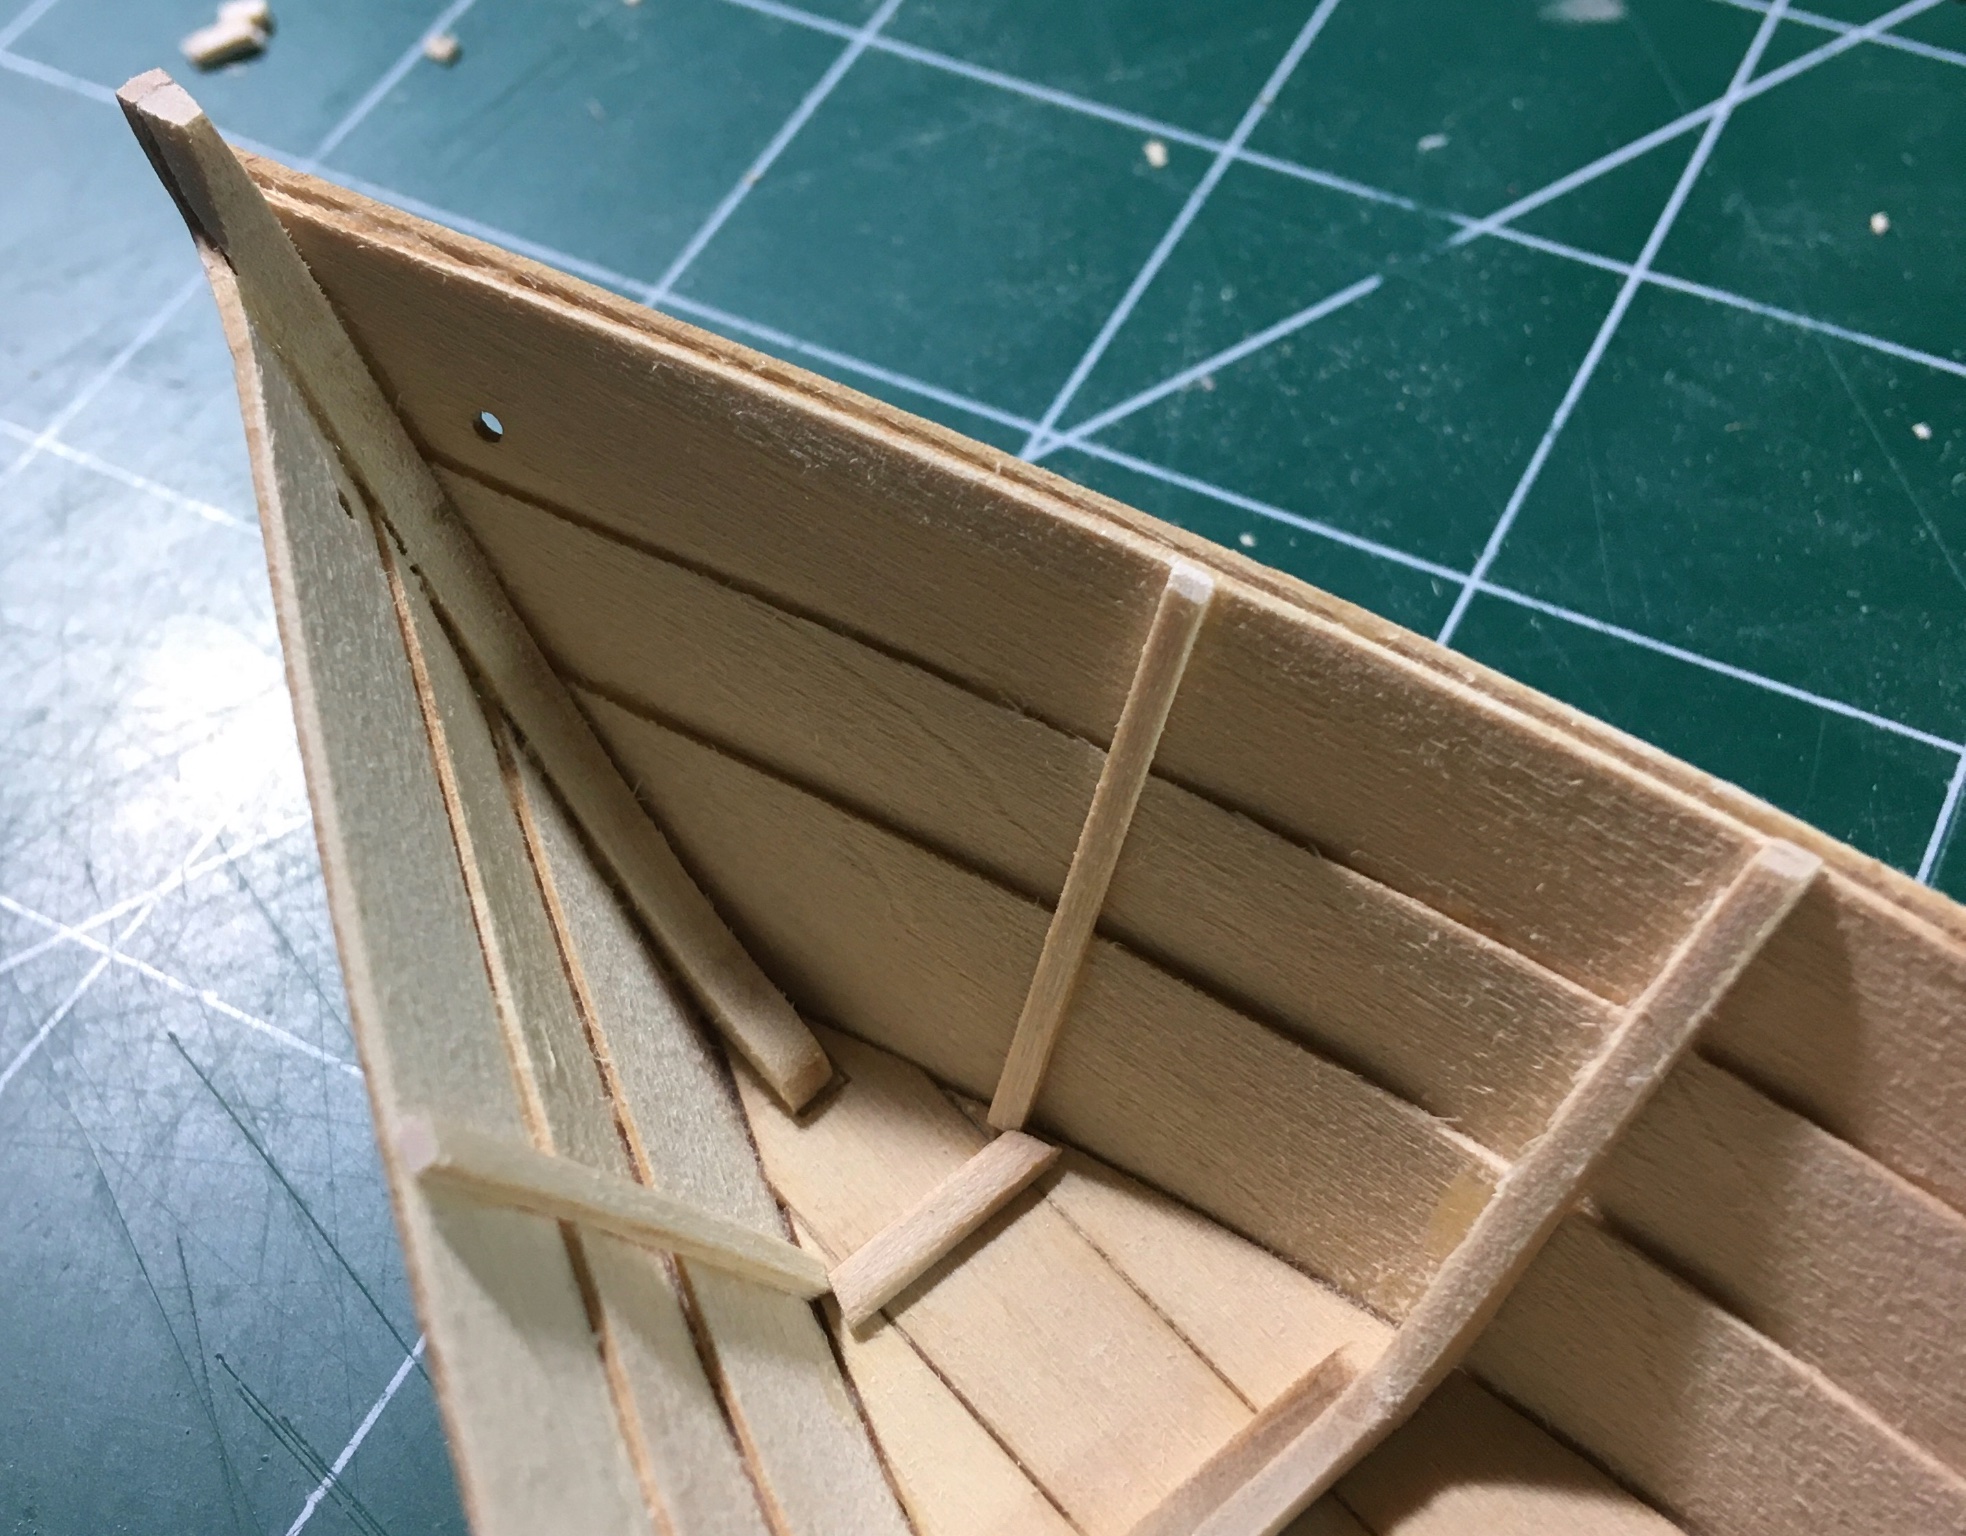
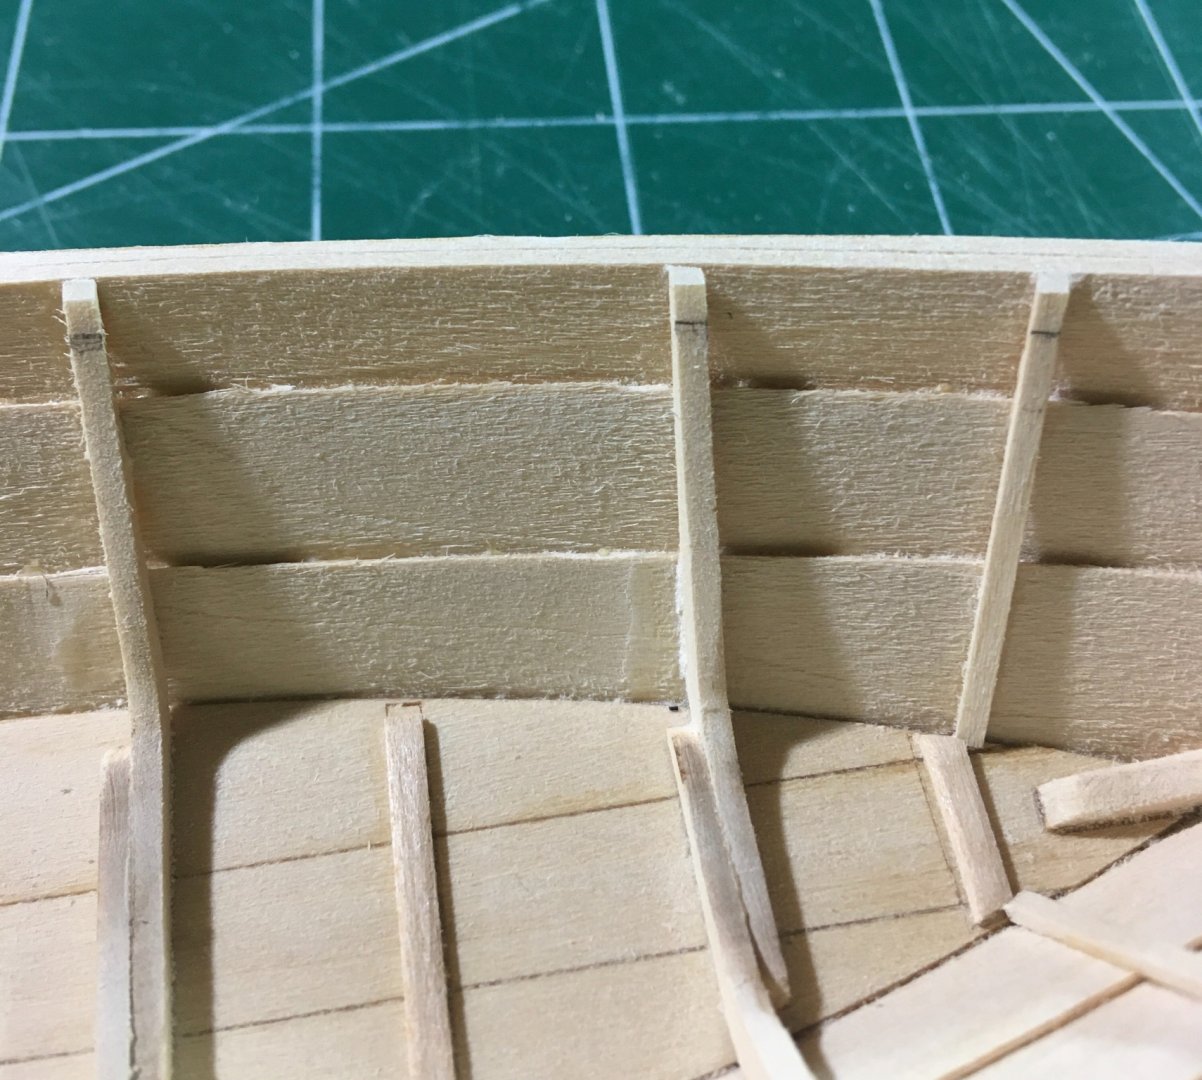
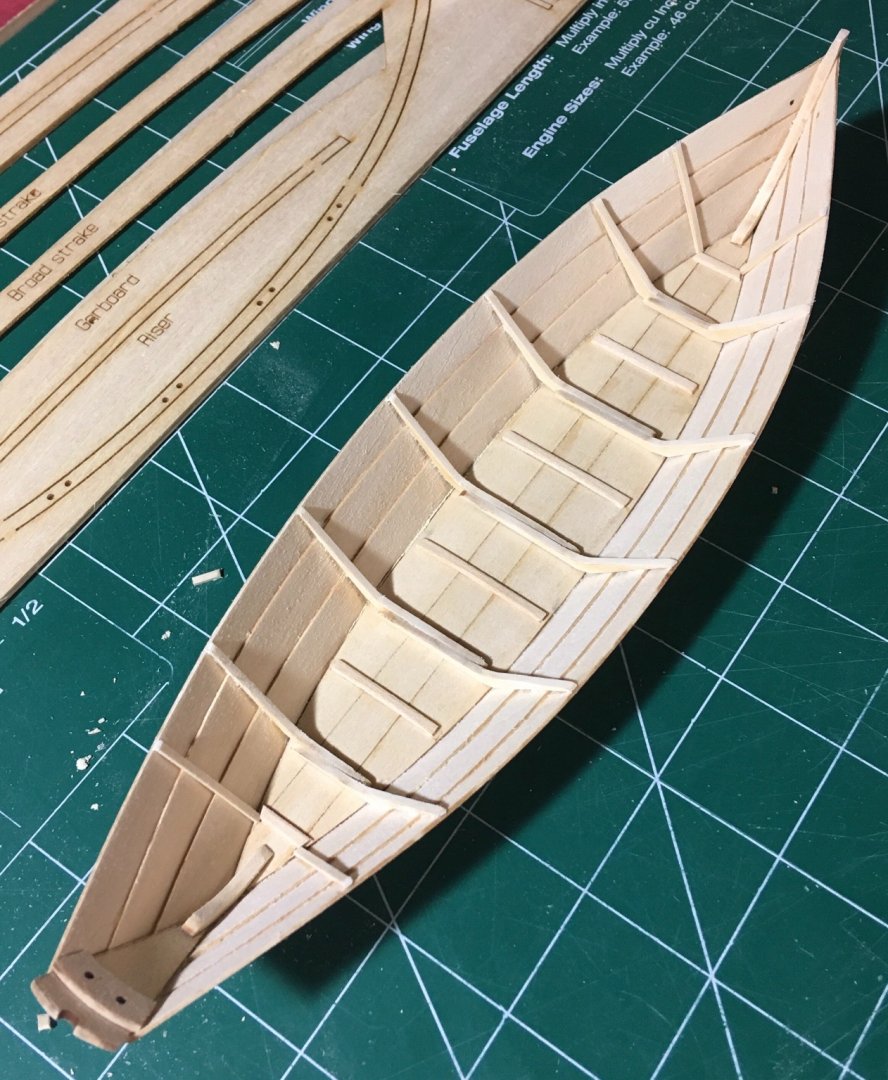
 Before moving onto the cap rail I decided to work on the thwarts. These are not just removed from the sheet and attached to the boat. You must make adjustments. Beveling the sides and notches where they meet the frames is necessary for a tight fit. Quite a bit needed to be removed as they were oversized. I had to remake one thwart from scratch because I took off too much. I ran the thwarts over a 320 grit sanding block to create the bevel on the sides and used files to bevel the notches. These are not glued yet. Steve Druxey, the risers are stable. This procedure was a good test for them!
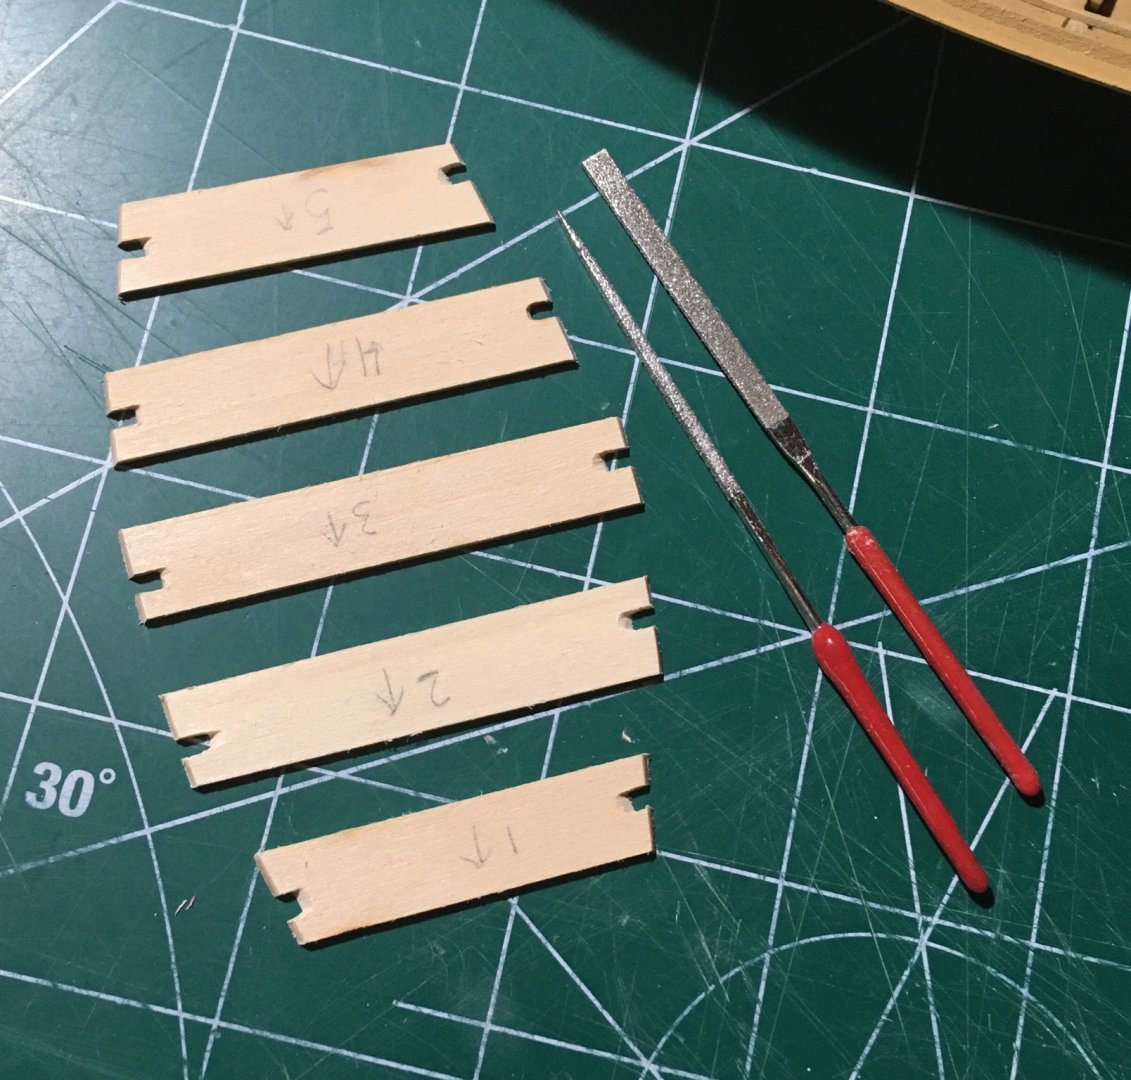

- 70 replies
-
- 7
-

-
- Lowell Grand Banks Dory
- Finished
- (and 1 more)
-
Thank you. I will test the joints and see if the risers are sturdy enough before proceeding. Steve
- 70 replies
-
- 2
-
-
- Lowell Grand Banks Dory
- Finished
- (and 1 more)
-
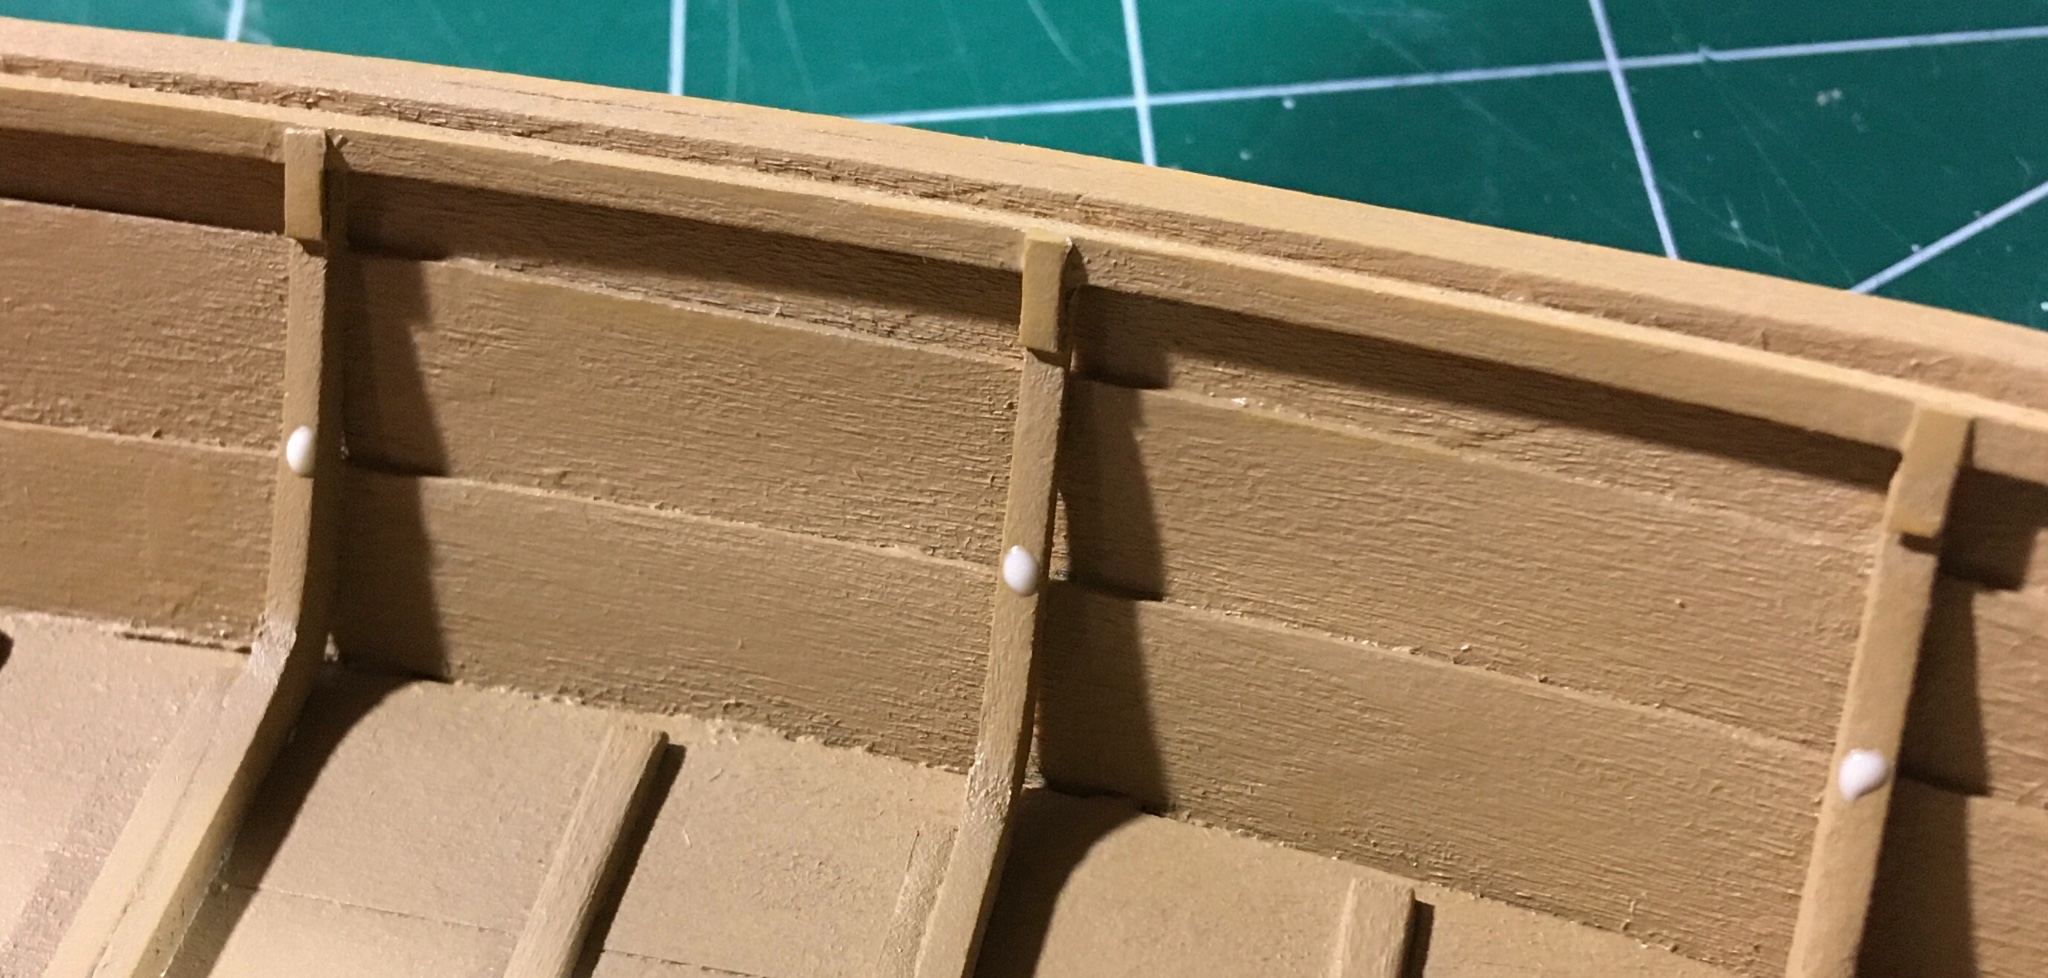
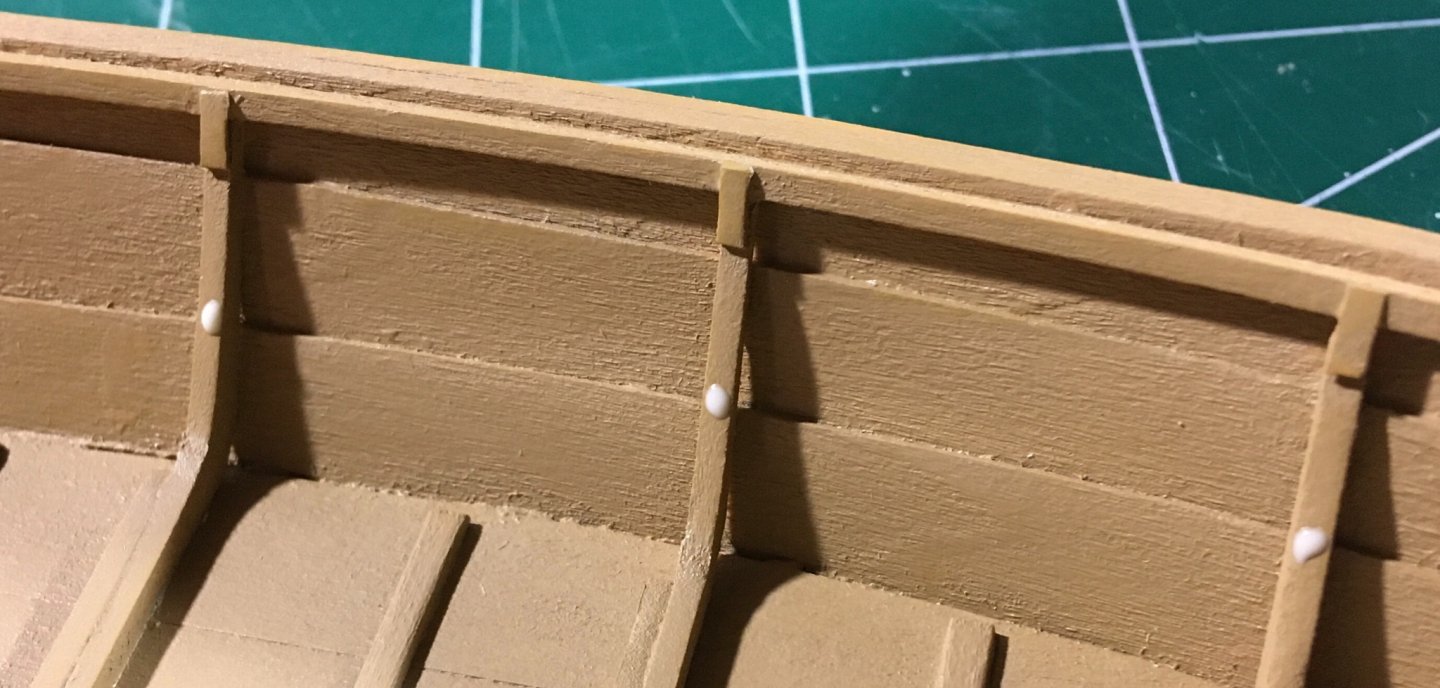
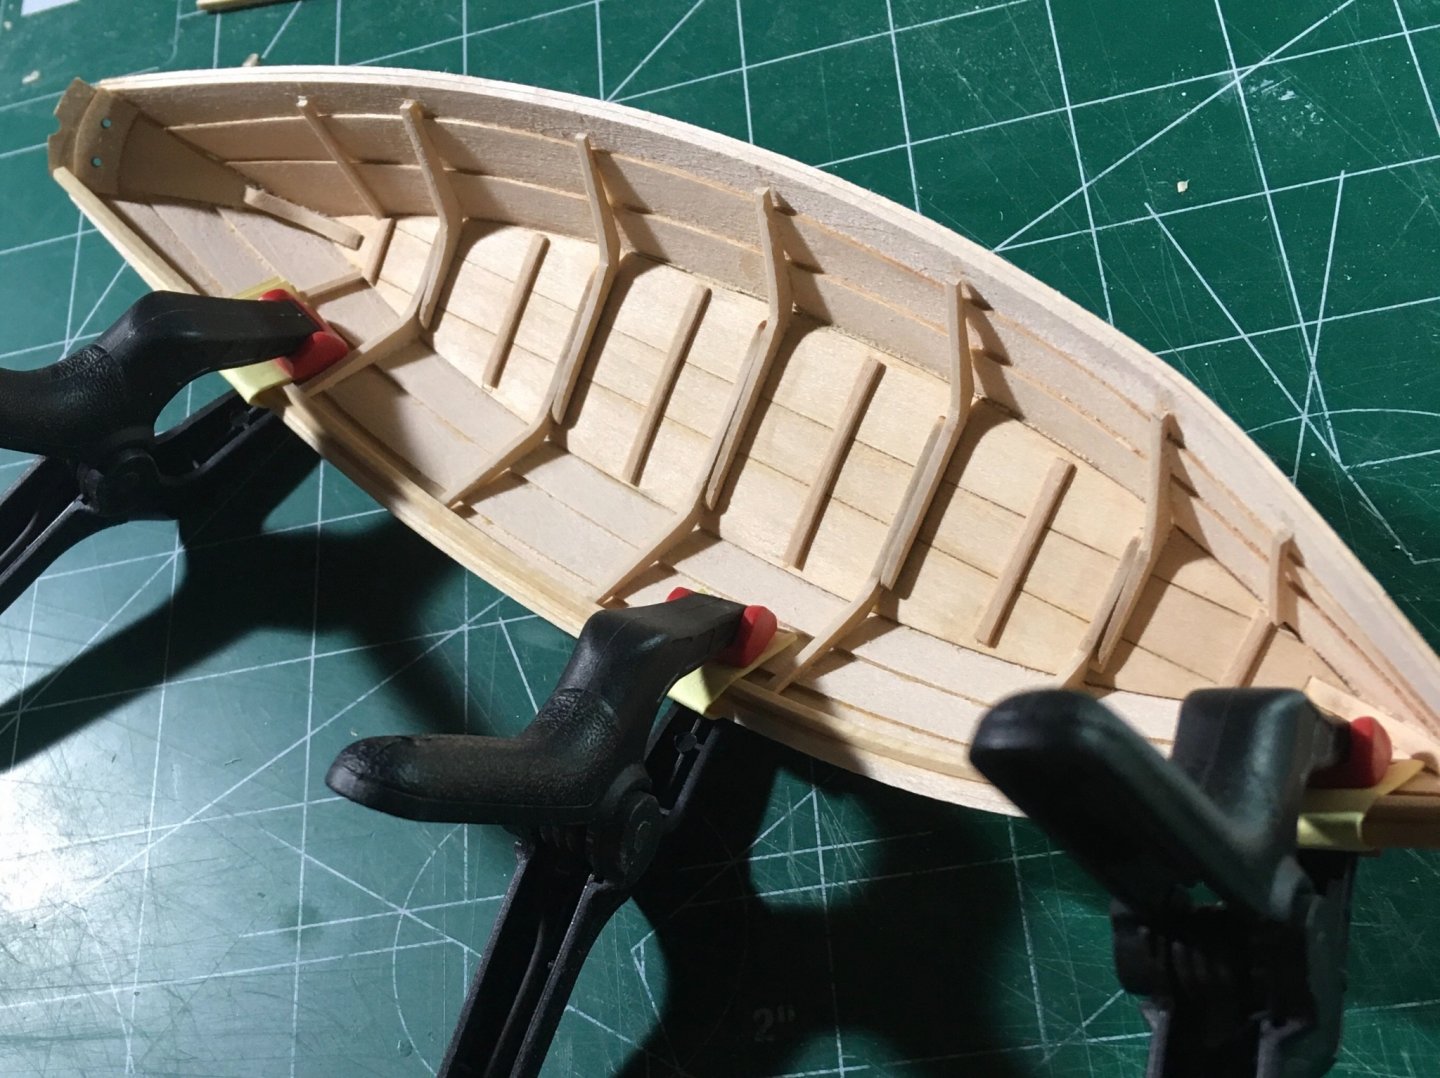
The risers were installed by marking their center and ends. I lined them up with the garboard strakes. Below is a photo of how little glue is required. These have been painted several coats and one sanding before the last coat applied. The interior is just about complete. After I complete tweaking the cap rail, I will take another close look at the interior and decide if the painting/sanding is complete. Steve

- 70 replies
-
- 5
-
-
- Lowell Grand Banks Dory
- Finished
- (and 1 more)
-
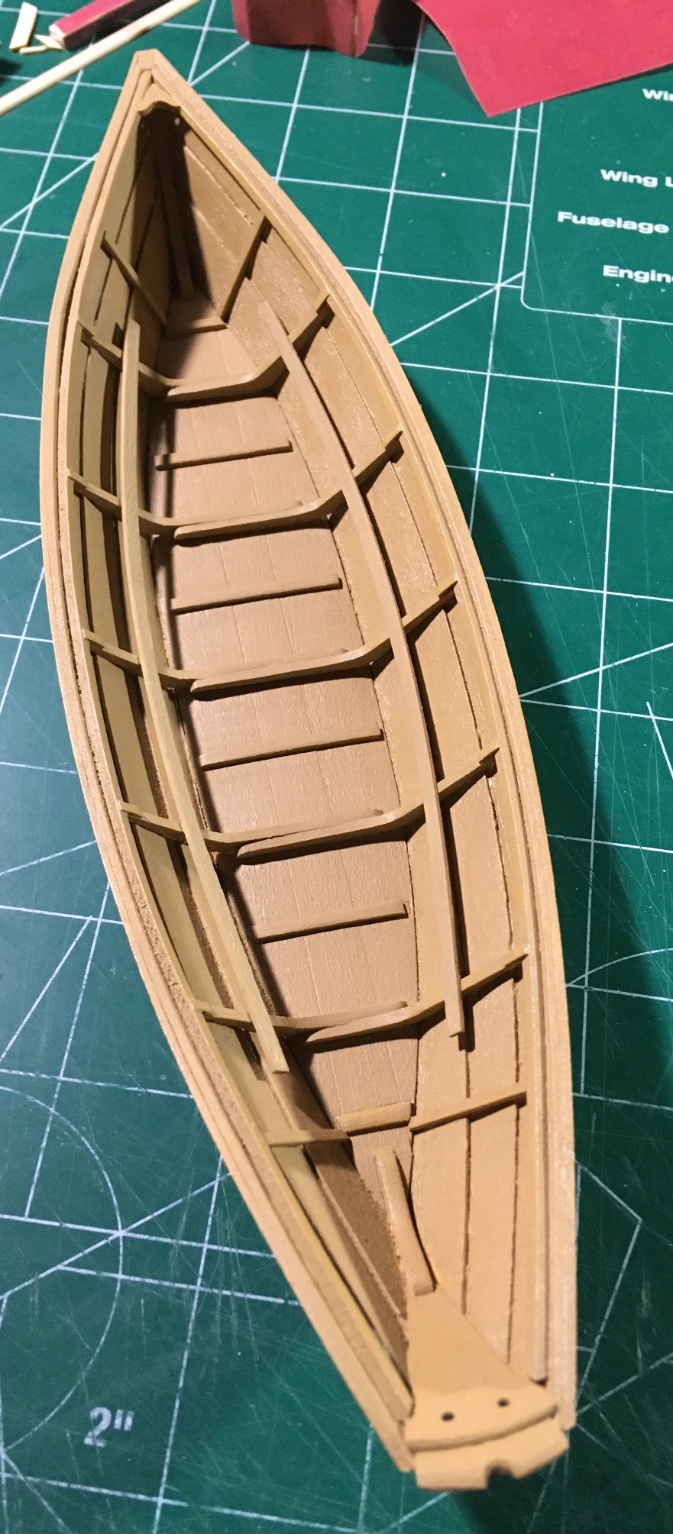
Lost track of the number of coats applied to this model. It is getting closer to an acceptable finish. Light 400 grit sanding roughly every 5-8 coats. (Not exact science) Thought I’d post a photo while this process continues. Next update will include the installed risers. Steve
- 70 replies
-
- 4
-
-
- Lowell Grand Banks Dory
- Finished
- (and 1 more)
-
Cleaning char is a chore. Changing sandpaper when it gets clogged will help. I use 220 grit and then 320 grit. Real fine tuning with 400 grit (overkill, but it works well for me). As for your twarts, if you are not happy with them now you will never be (someone on MSW told me this once). Now’s the time to redo. It’s always better a second or third try. Also, he means soften the edge so it’s not so sharp. Really just a light sanding on the edge. I wouldn’t consider it a bevel. Steve
- 160 replies
-
- 4
-
-
- Model Shipways
- norwegian sailing pram
- (and 1 more)
-
I mentioned $60 includes shipping to US only. Shipment originating from NY. Steve
-
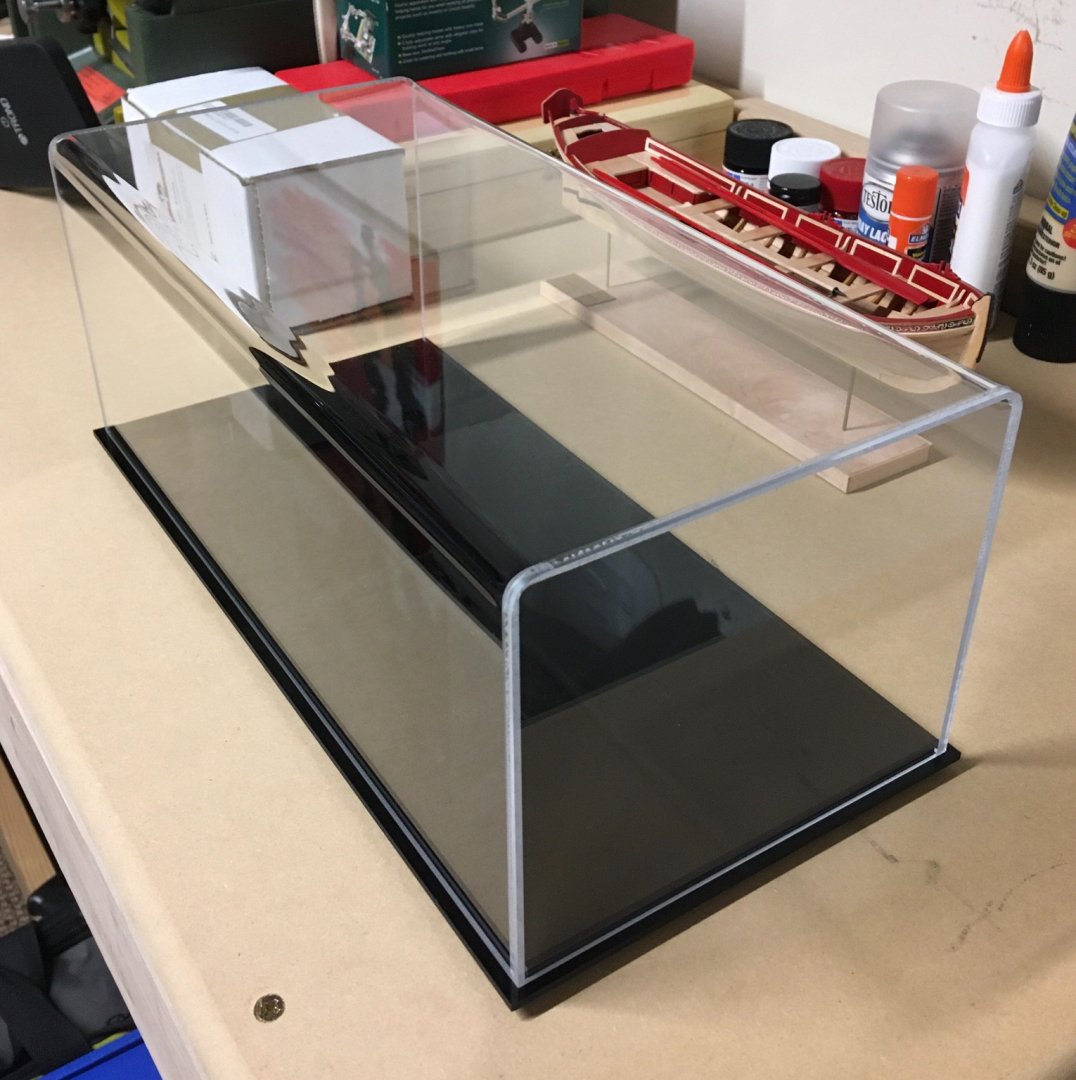
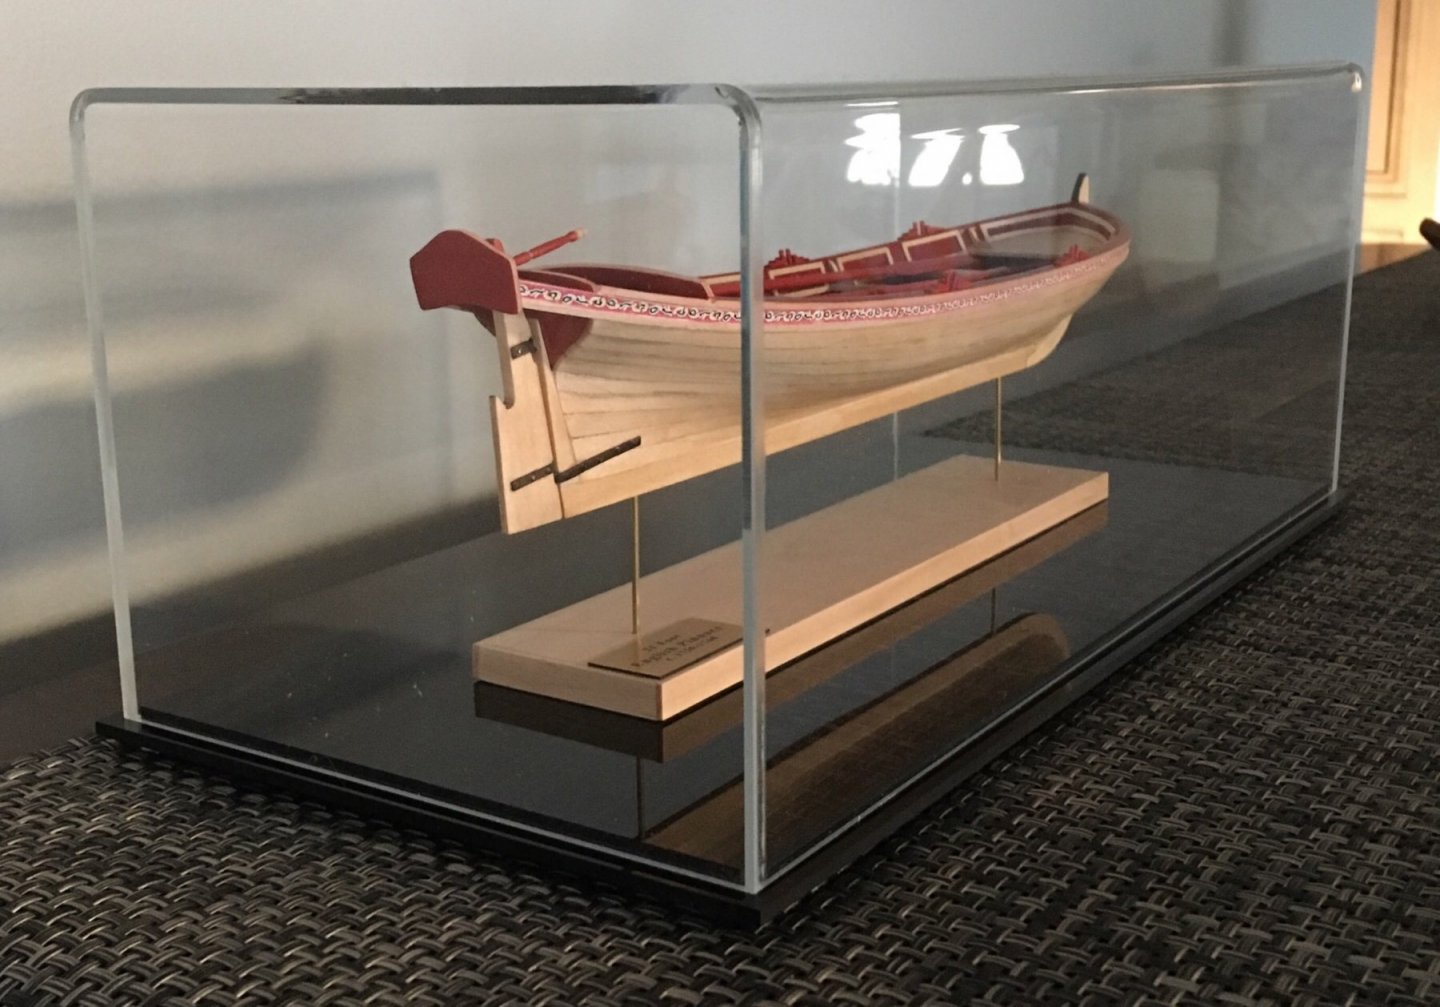
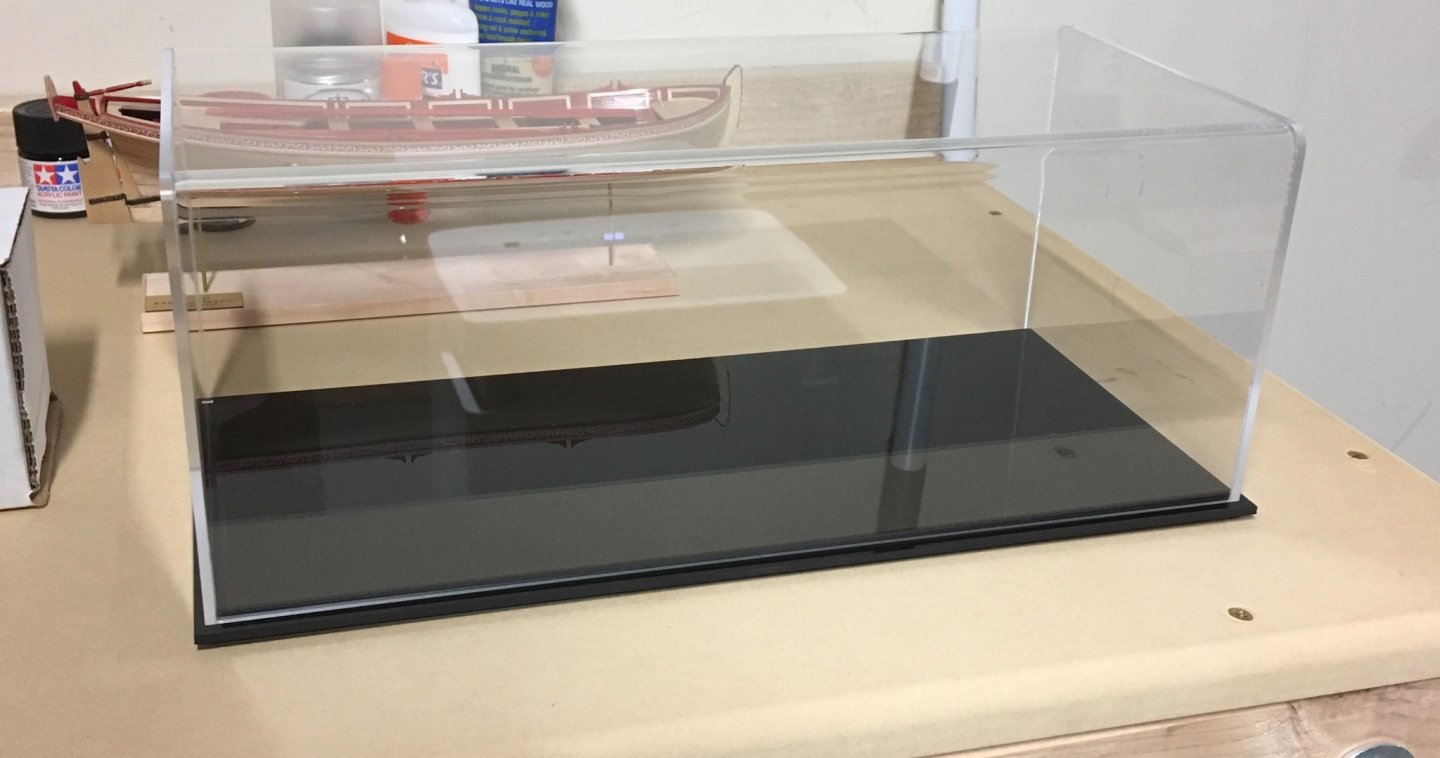
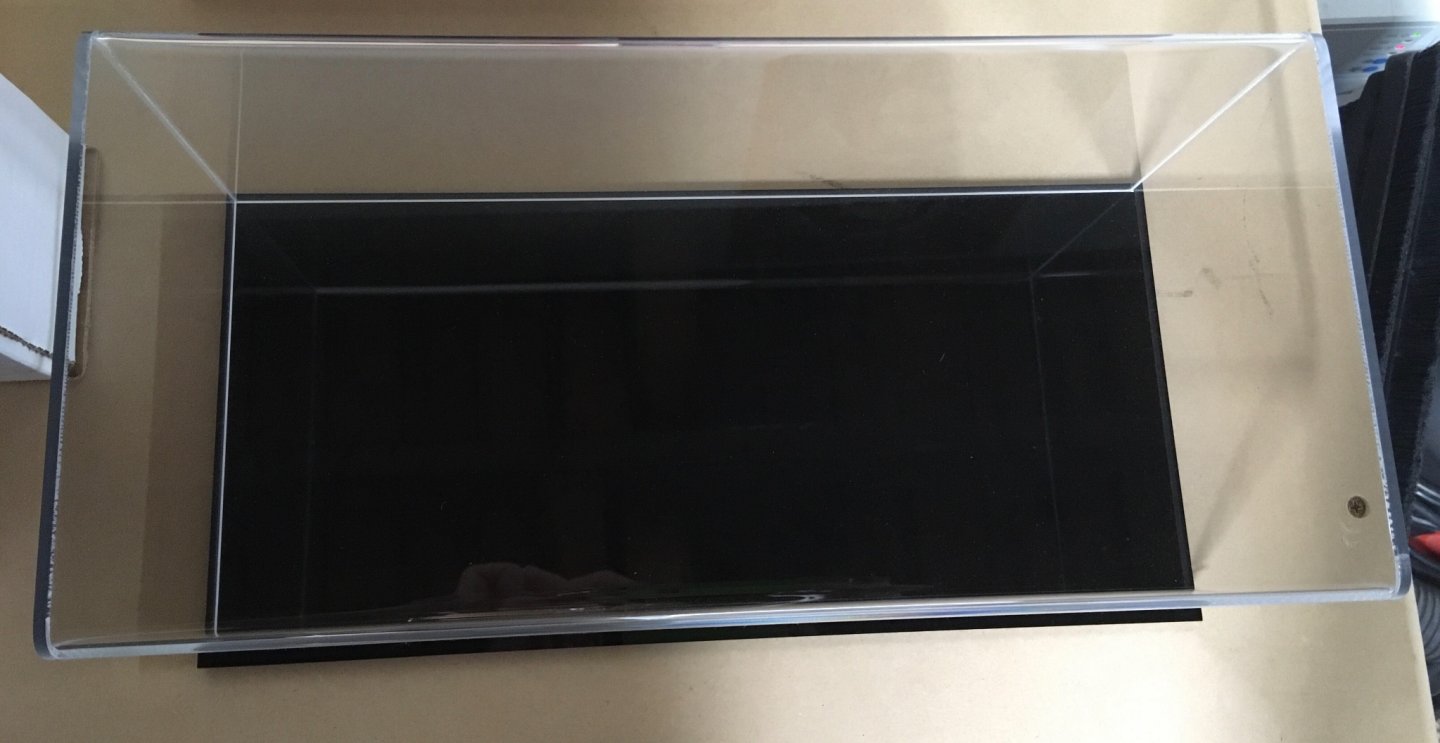
Decided to release my English Pinnace model from its display case. Up for sale is the acrylic case with black base. Dimensions are 13” x 6” x 5” tall. $60 free shipping. Ship to US only. PayPal payment. Please PM if interested. Steve
-
See if you can correct that now instead of waiting until fully planked. If not, remove the planks and reshape from there. Steve
-
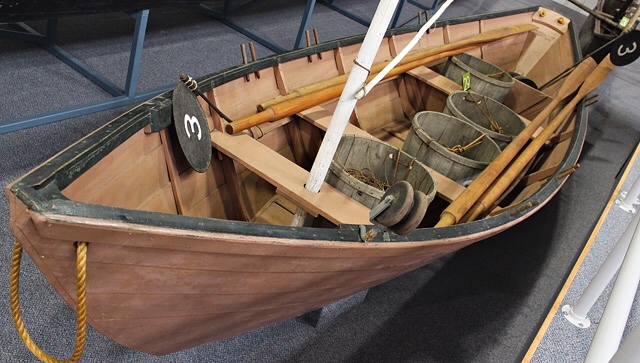
Frame head irons were created using scrap wood from the extra side cleats. These were glued and sanded to under 1/32” thickness when set. Next, I shaped and installed the Breast hook. Modifications of the bow and cap rail will reflect the photo of the dory shown below. I like this example and will be using the color scheme as inspiration. Steve https://iscc.marinersmuseum.org/watercraft/grand-banks-dory/


- 70 replies
-
- 4
-
-
- Lowell Grand Banks Dory
- Finished
- (and 1 more)
-
Looks good to me so far. Treat each piece like a model itself and you’d be surprised with your end result. What’s the rush? Gluing technique will improve as you figure out your own tricks. Use less glue. You can also scrape some excess that dried, but be careful w the basswood. Steve
- 160 replies
-
- 4
-
-
- Model Shipways
- norwegian sailing pram
- (and 1 more)
-
Can’t wait to see the final product! Steve
-
I don’t agree with your initial comment about not achieving a certain level of craftsmanship. If people believed that statement, you would never see the amazing level on this forum. Take your time, enjoy the process, and redo what you’re not happy with. Those are secrets I’ve learned from the folks here. Your build looks good so far! Steve PS- You don’t need to wait overnight for the planks to dry. Use a hairdryer for a few minutes and wait 30 minutes to an hour if that much. 😎
-
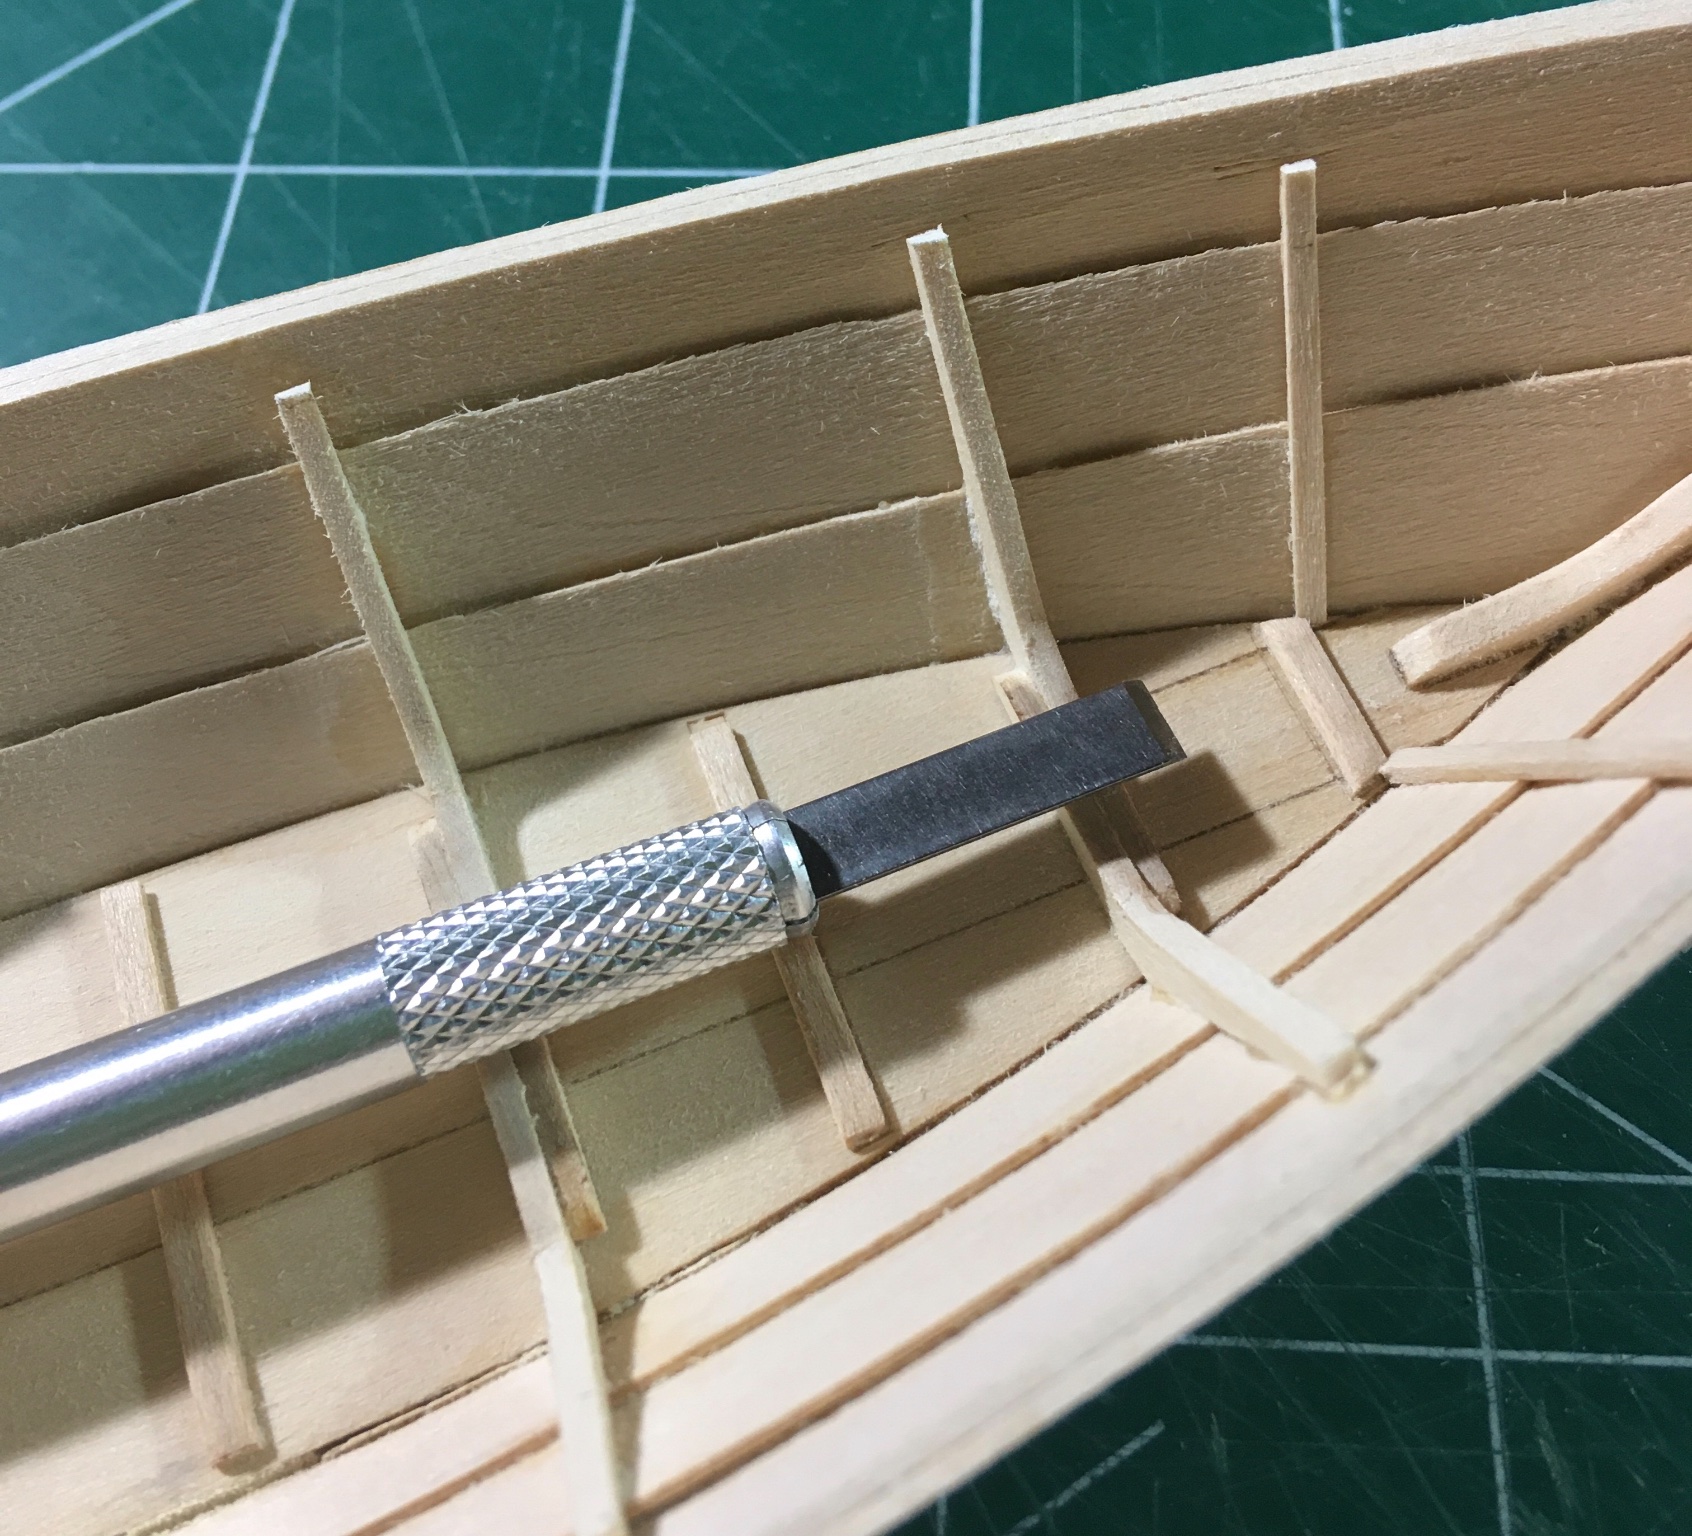
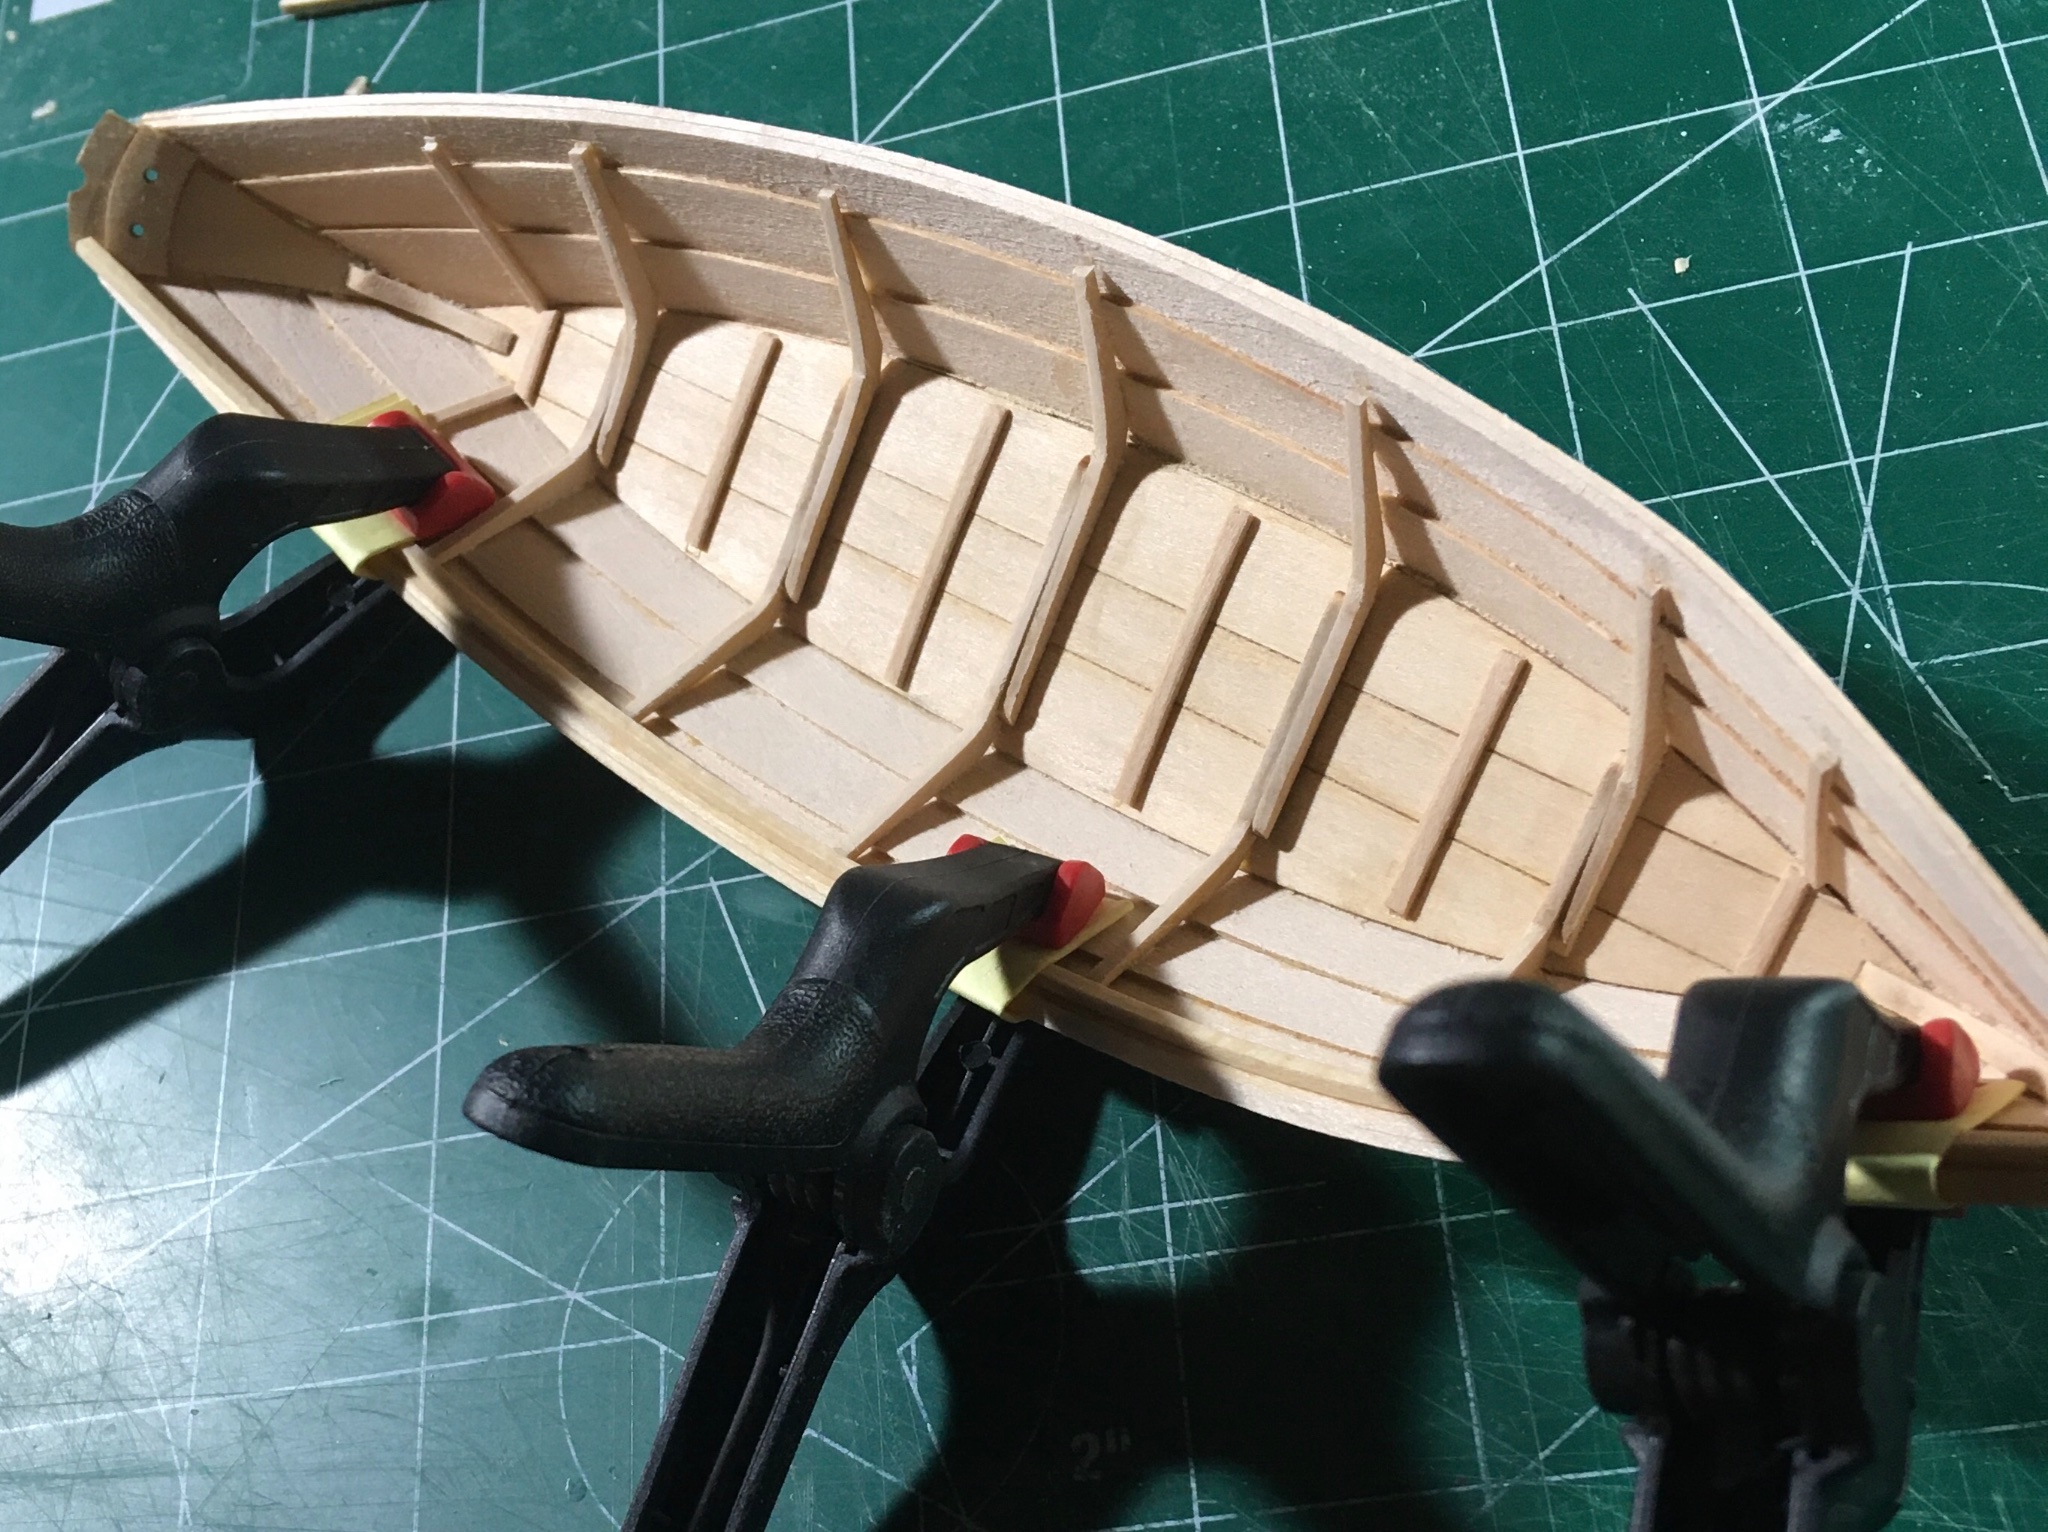
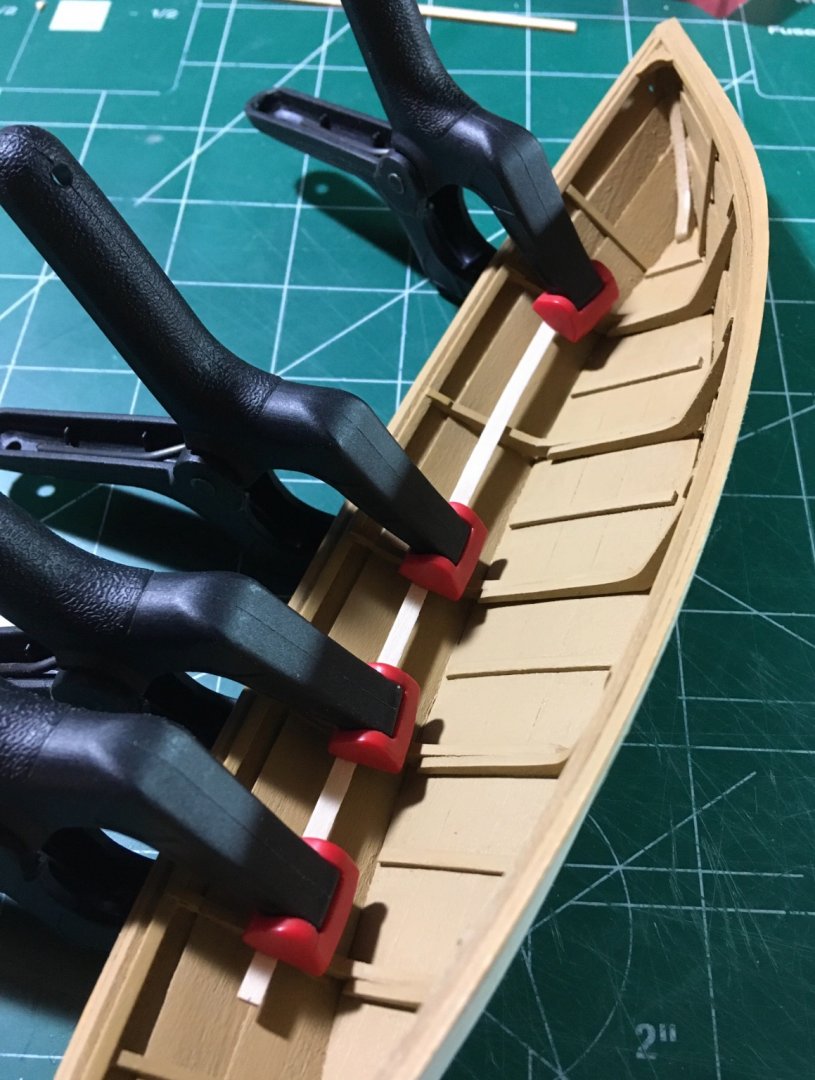
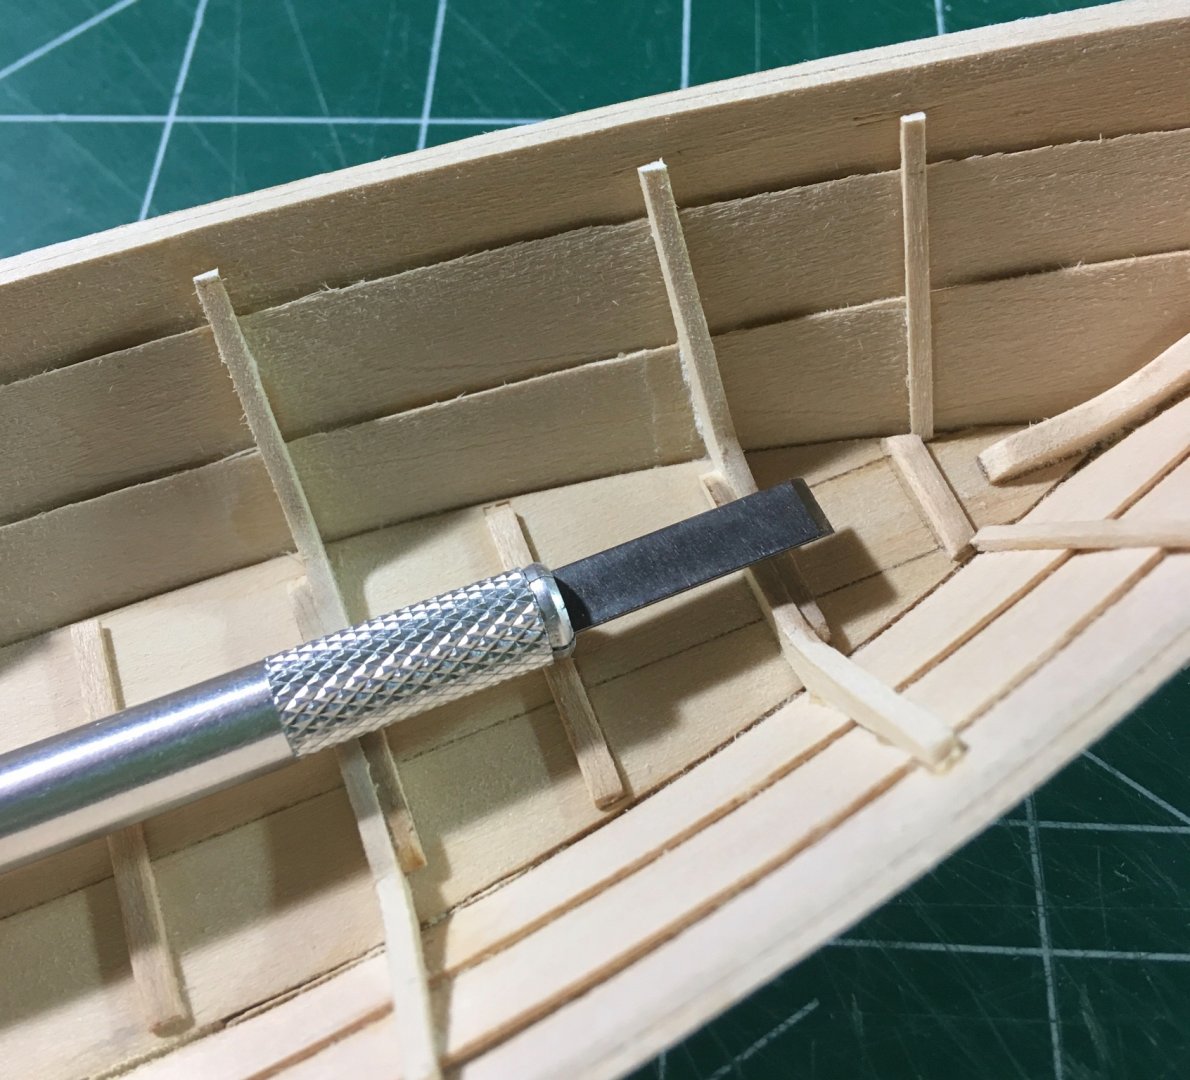
Gunwale installation was pretty straightforward. I used one of the risers to mark the frames. With a chisel blade, using the method in David’s instructions, I gently applied pressure and rocked the handle back and forth until I heard a snap. This was cleaned up with some light sanding. Installation steps were similar to those used to install the bands. Trim the strip a bit over length and clamp to the hull after soaking in hot water. After completely dry, shape the strip where it meets the bow and stern. (Always test fit!) Apply glue dots at each frame and in between each frame. Hold the strip in place with your fingers. Clean up excess glue with a wet brush or your favorite method. Steve

- 70 replies
-
- 5
-
-
- Lowell Grand Banks Dory
- Finished
- (and 1 more)
-
And the fun begins! For future try sanding the parts while they are still on the sheet (both sides) to clean up the char before releasing them. A sanding block will help keep the surface level. 220 grit should work fine. Hope this helps. Steve
-
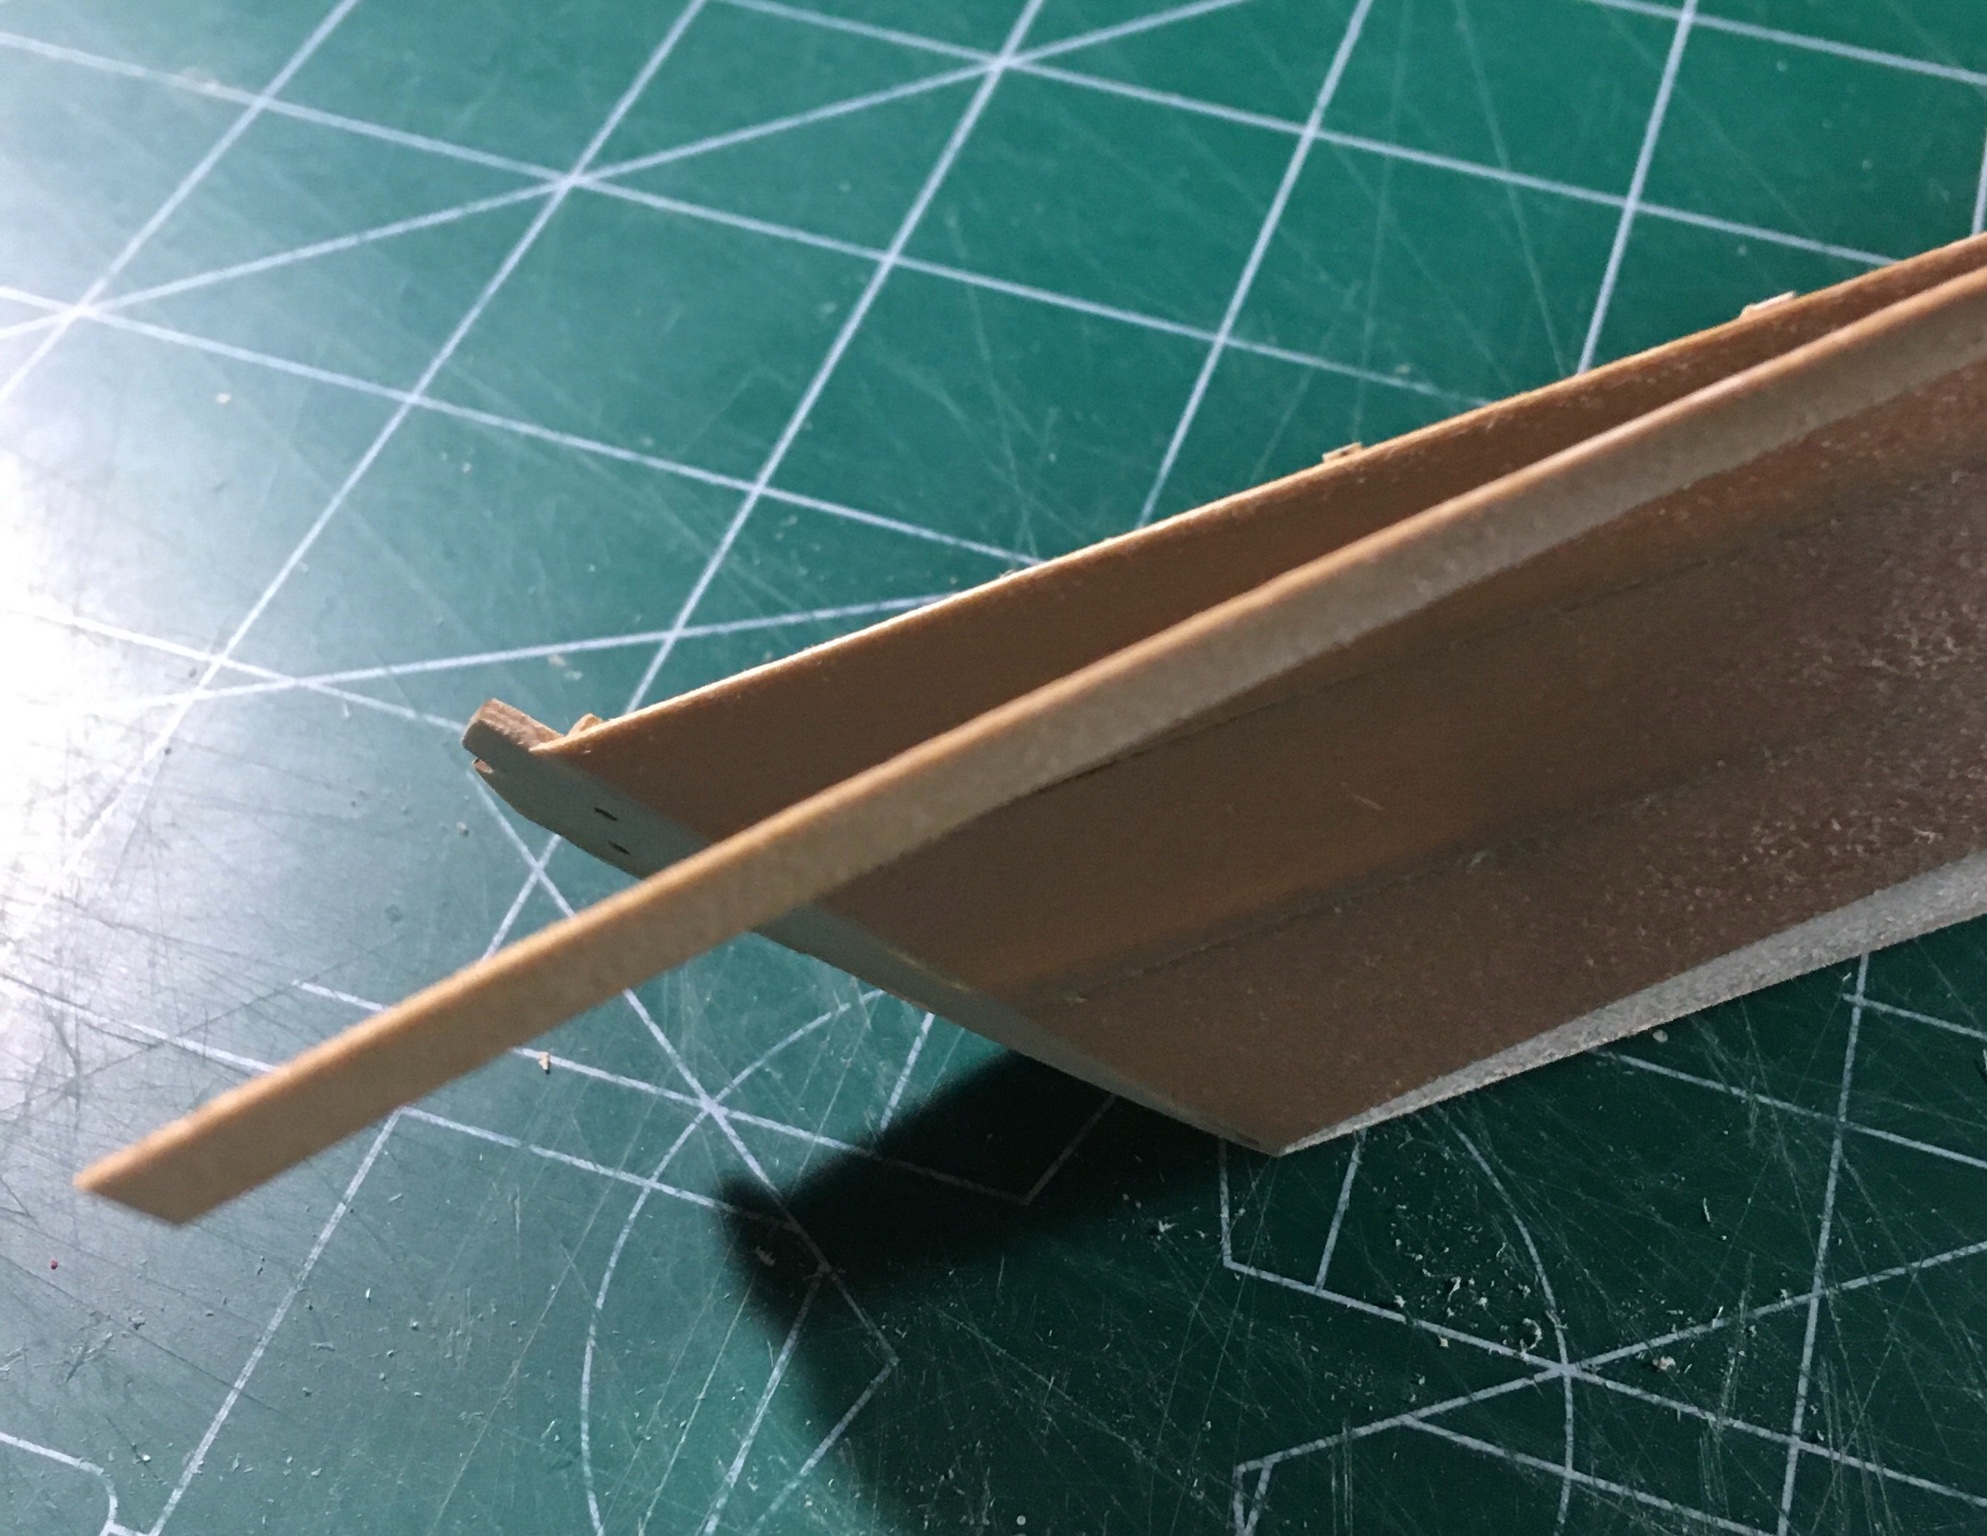
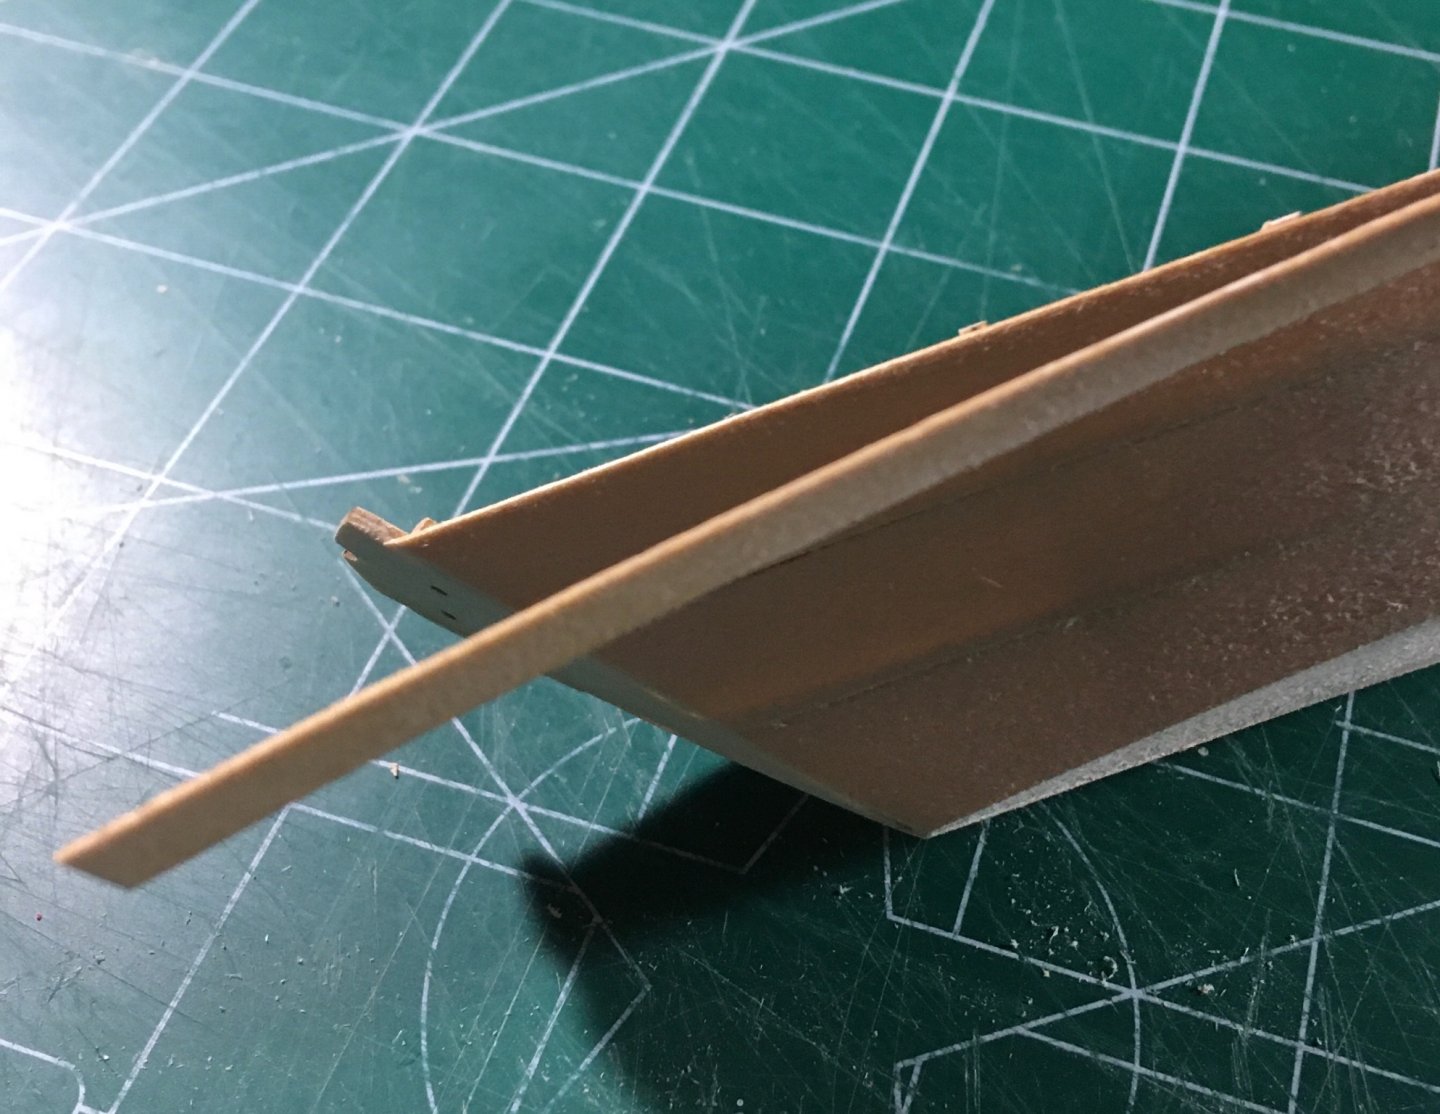
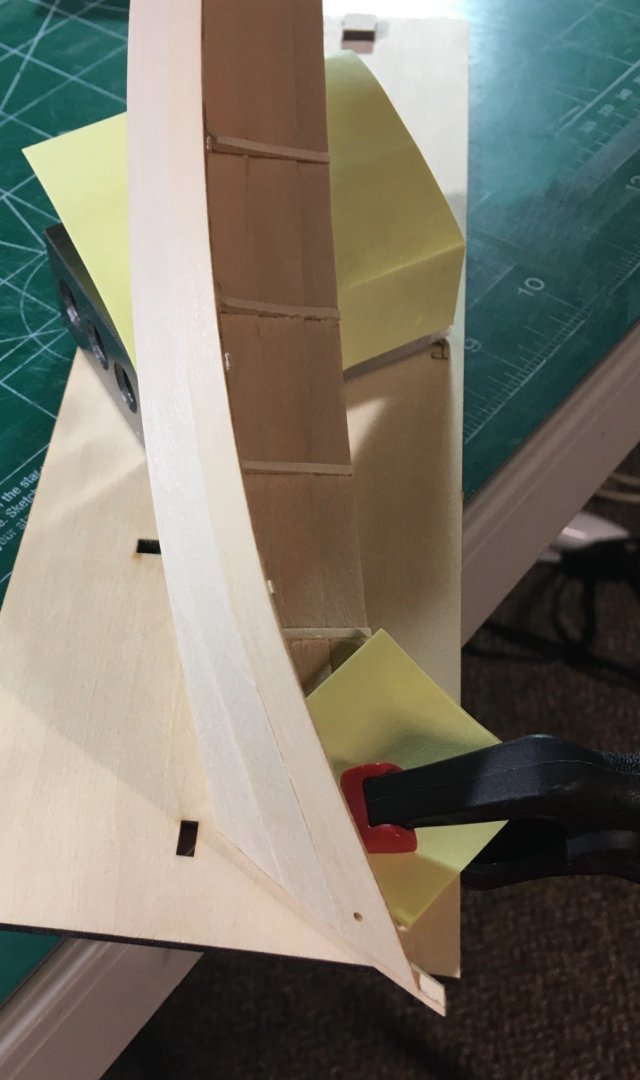
Decided to install the bands next. The first photo shows the orientation of the band. The convex part of the curve should face up. This is counter intuitive, but it’s correct. 1. The band was soaked in water and clamped to the hull. Allow it to dry completely. 2. Apply glue to half of the band and hold it to the hull by hand while it sets. I started at the bow and lined up the band to slightly overlap the sheer. It should set quickly if you didn’t apply too much glue. 3. Apply glue to the rest of the band and hold in place. The bands will be sanded flush with the sheer after the glue completely sets. Steve

- 70 replies
-
- 4
-
-
- Lowell Grand Banks Dory
- Finished
- (and 1 more)
-
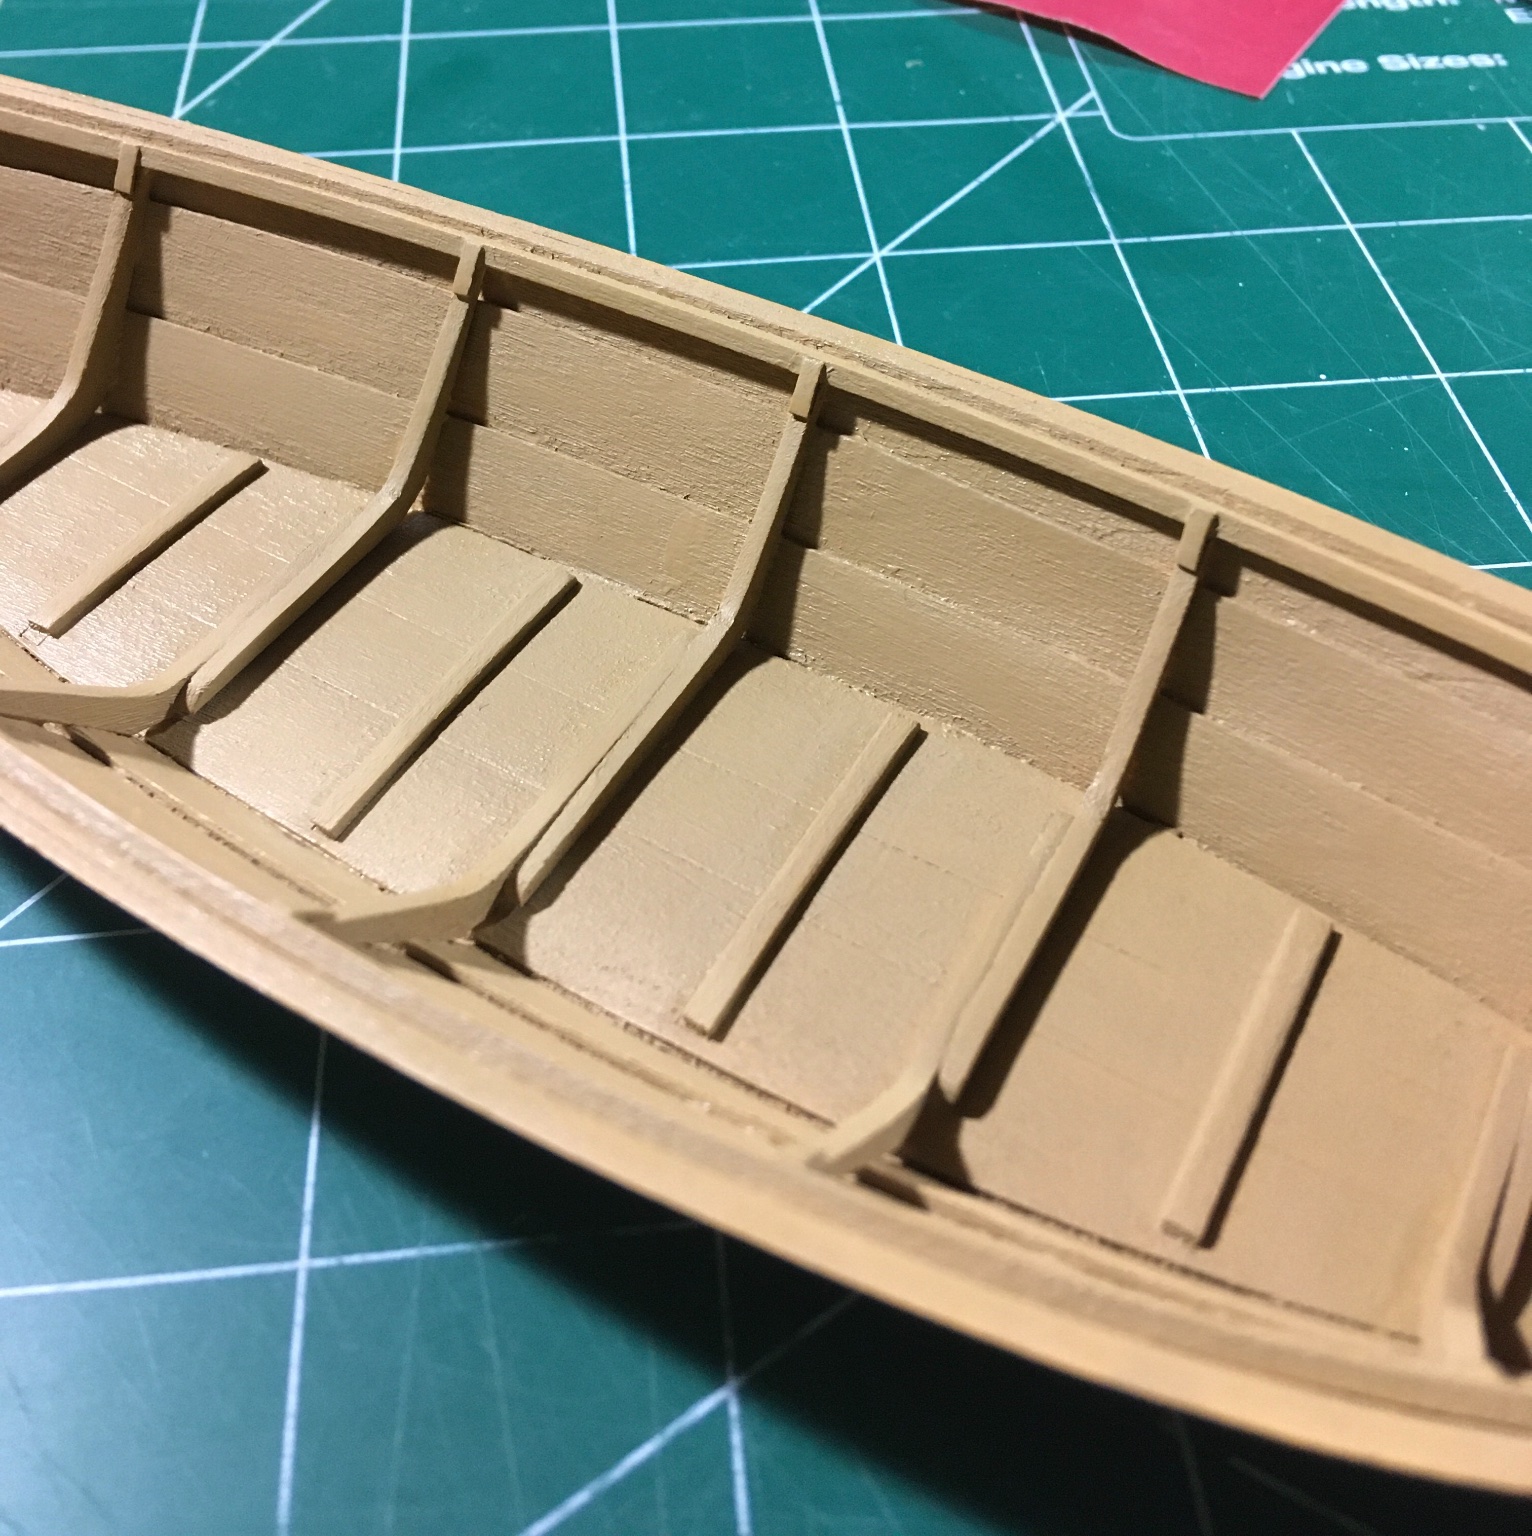
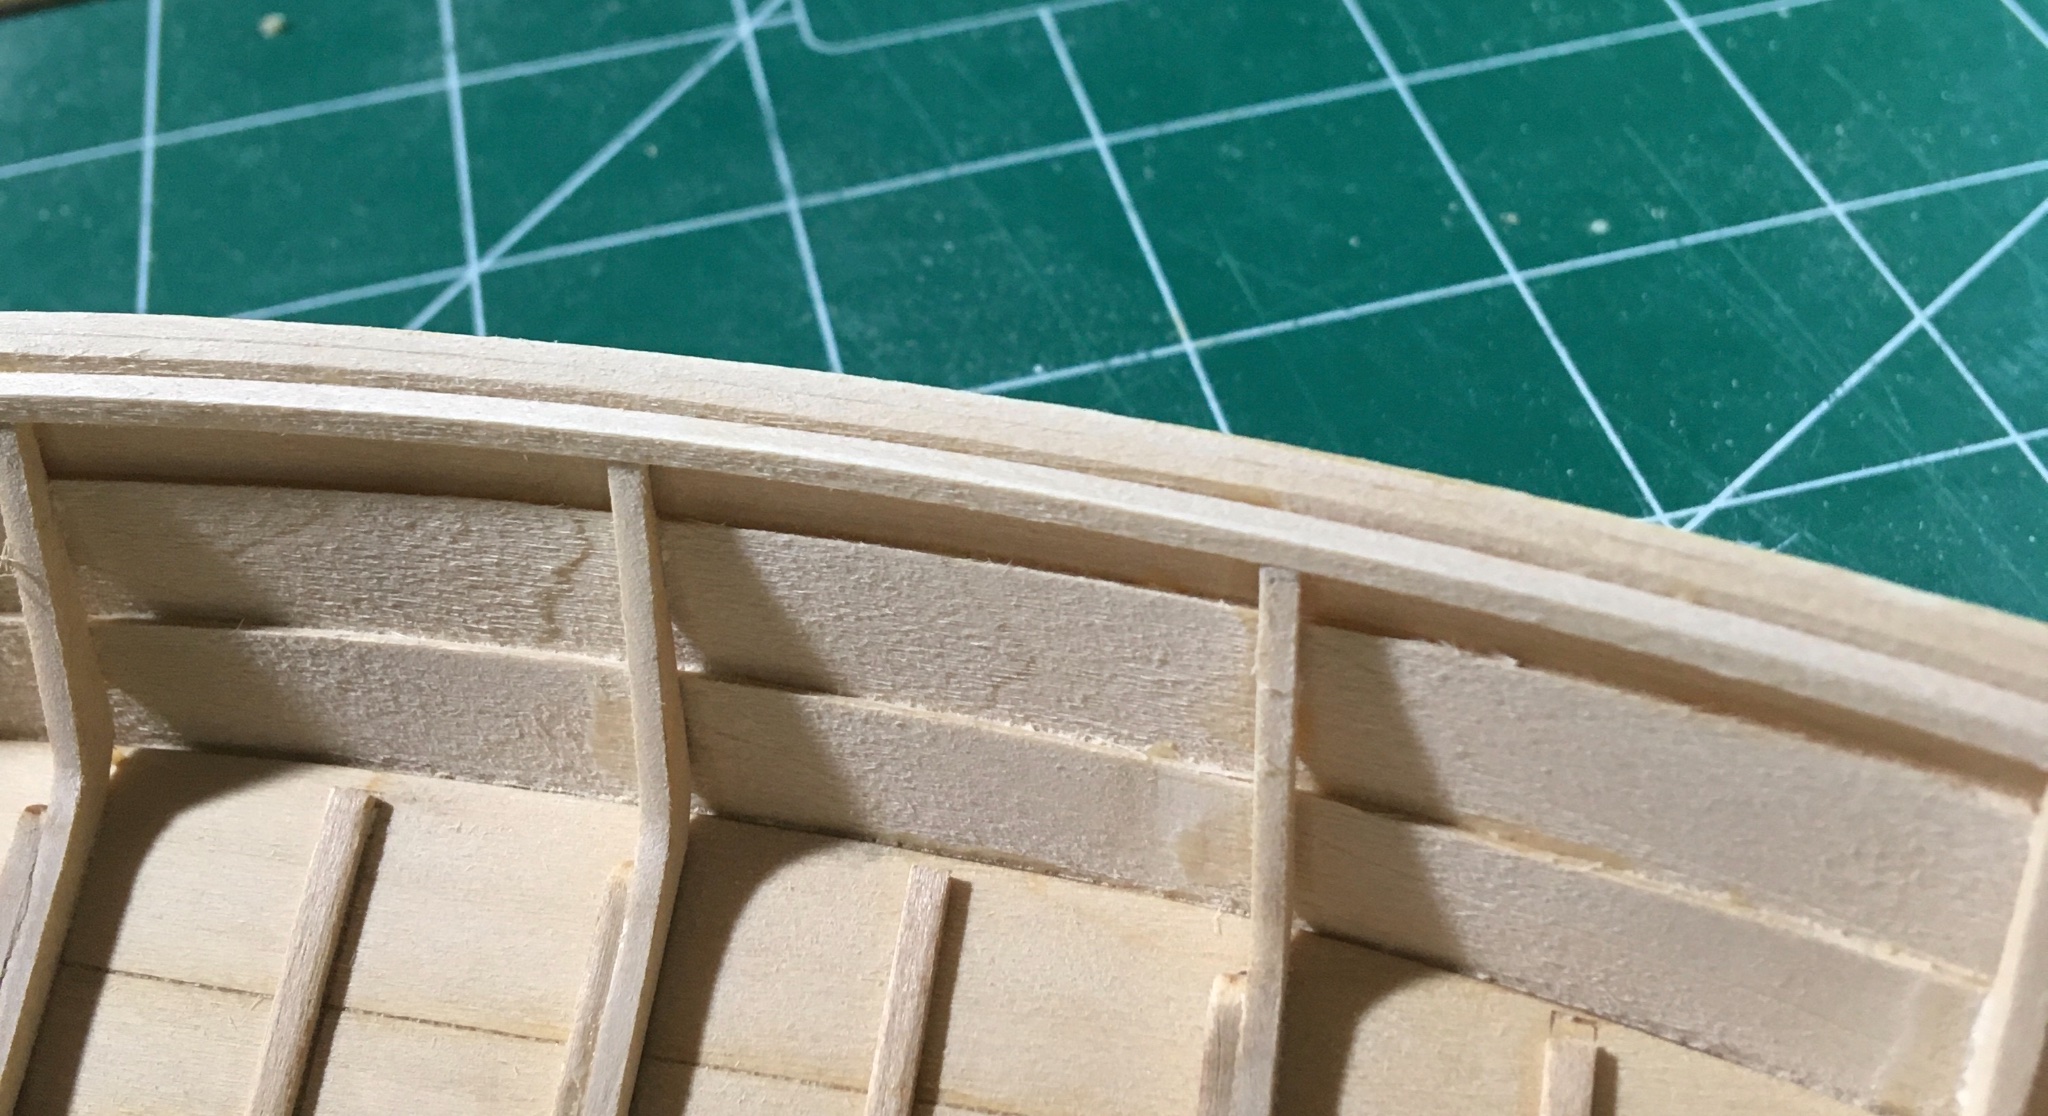
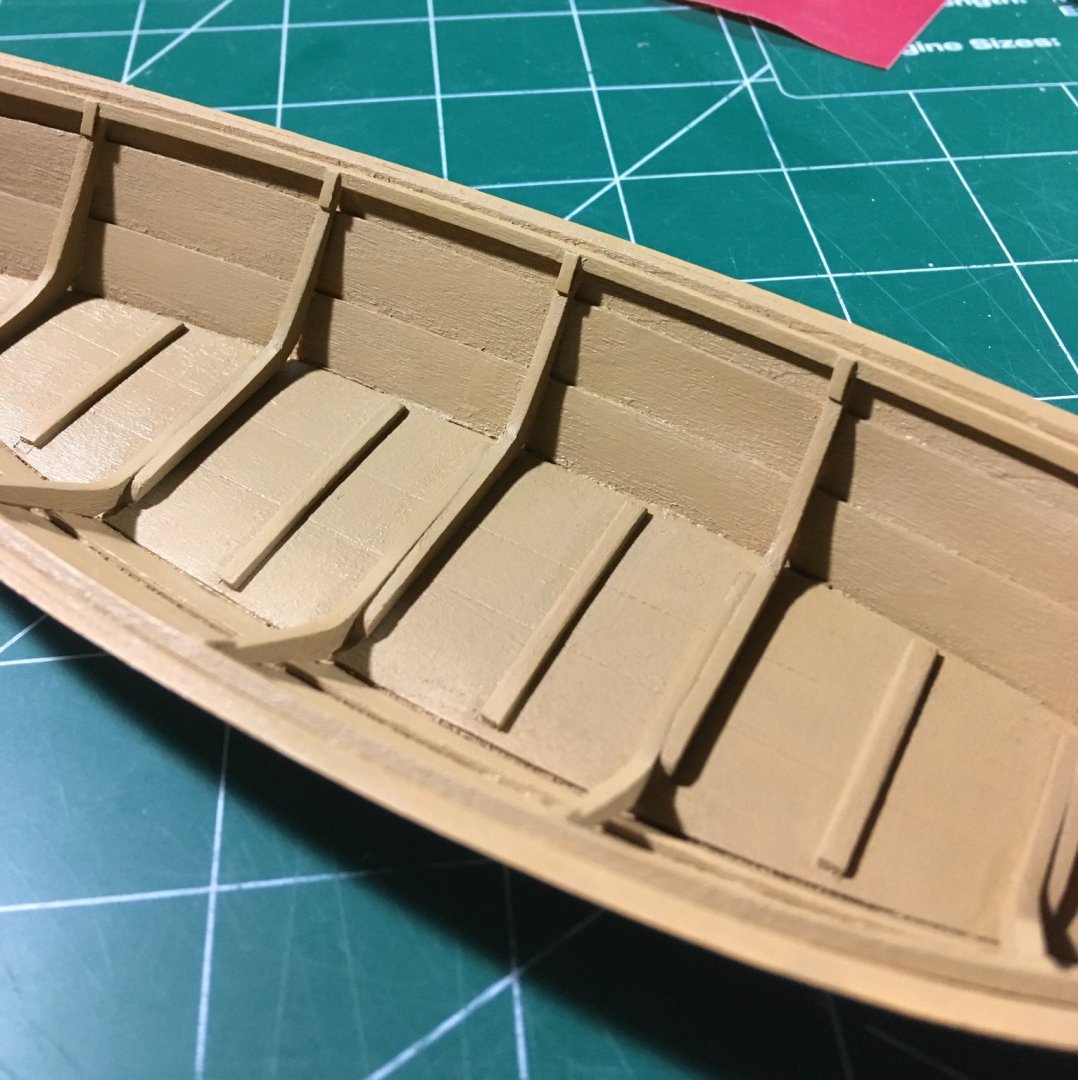
Side cleats installed. Here is the interior of the hull at this point. Steve
- 70 replies
-
- 7
-
-
- Lowell Grand Banks Dory
- Finished
- (and 1 more)
-
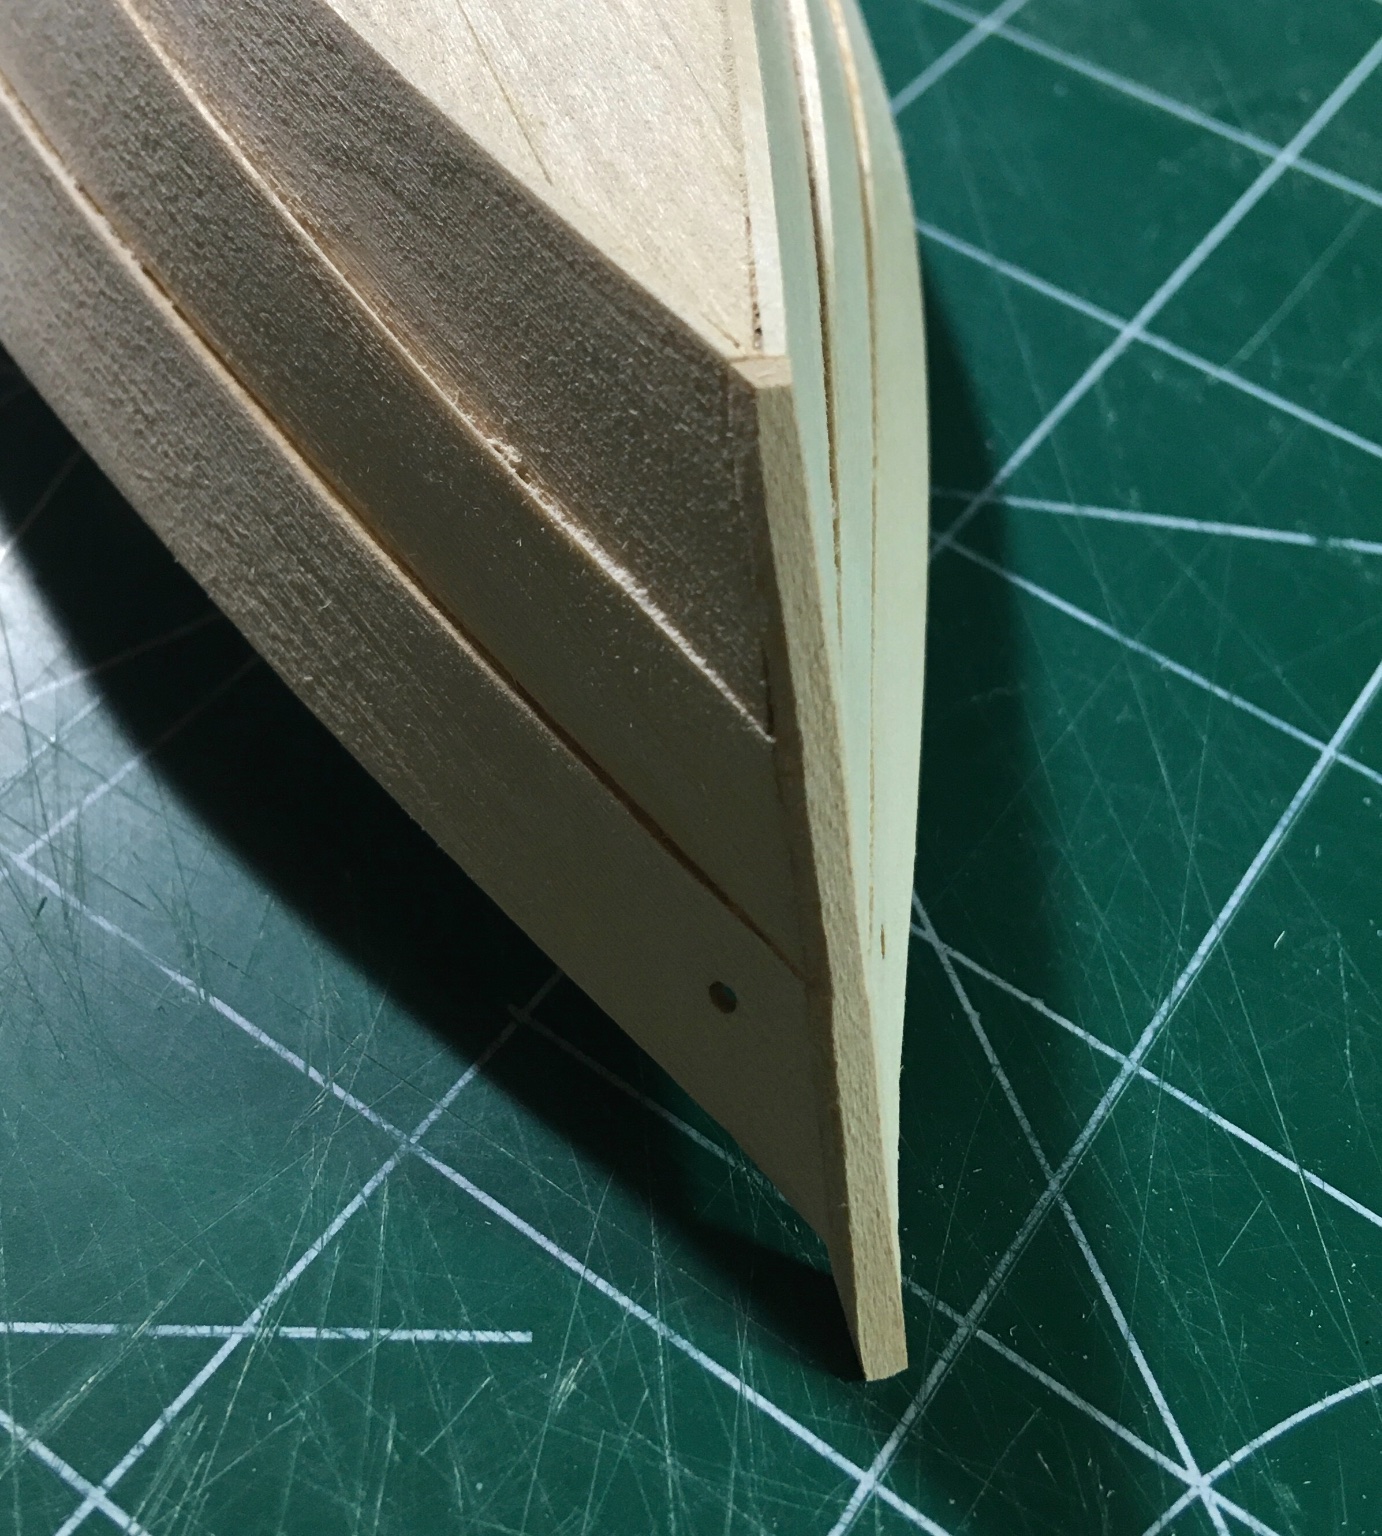
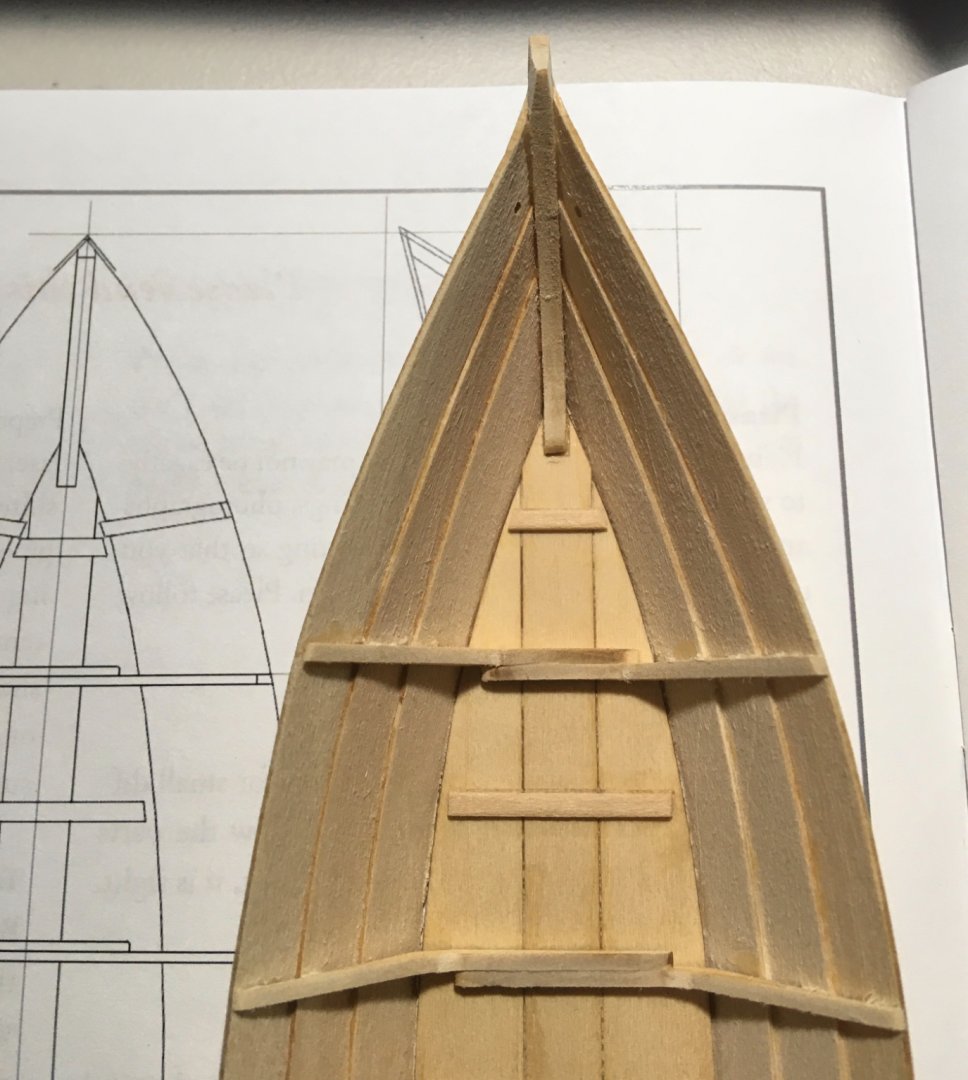
To address the extra curvature at the bow I brushed on hot water to the offending area on both sides of the planks. Gently, I was able to press out the area to the correct shape. I held this for a few minutes, then applied heat with a hairdryer. I clamped the boat for about 10 minutes afterwards while it dried and cooled. This separated the frame in that area, but easily addressed with a touch of glue. The shape is much better at this point. Prior to this procedure, I was able to sand down the frames and attach the false stem. This was sanded to shape after the glue set. Steve

- 70 replies
-
- 5
-
-
- Lowell Grand Banks Dory
- Finished
- (and 1 more)