HOLIDAY DONATION DRIVE - SUPPORT MSW - DO YOUR PART TO KEEP THIS GREAT FORUM GOING! (83 donations so far out of 49,000 members - C'mon guys!)
×


Tigersteve
-
Posts
1,327 -
Joined
-
Last visited
Content Type
Profiles
Forums
Gallery
Events
Everything posted by Tigersteve
-
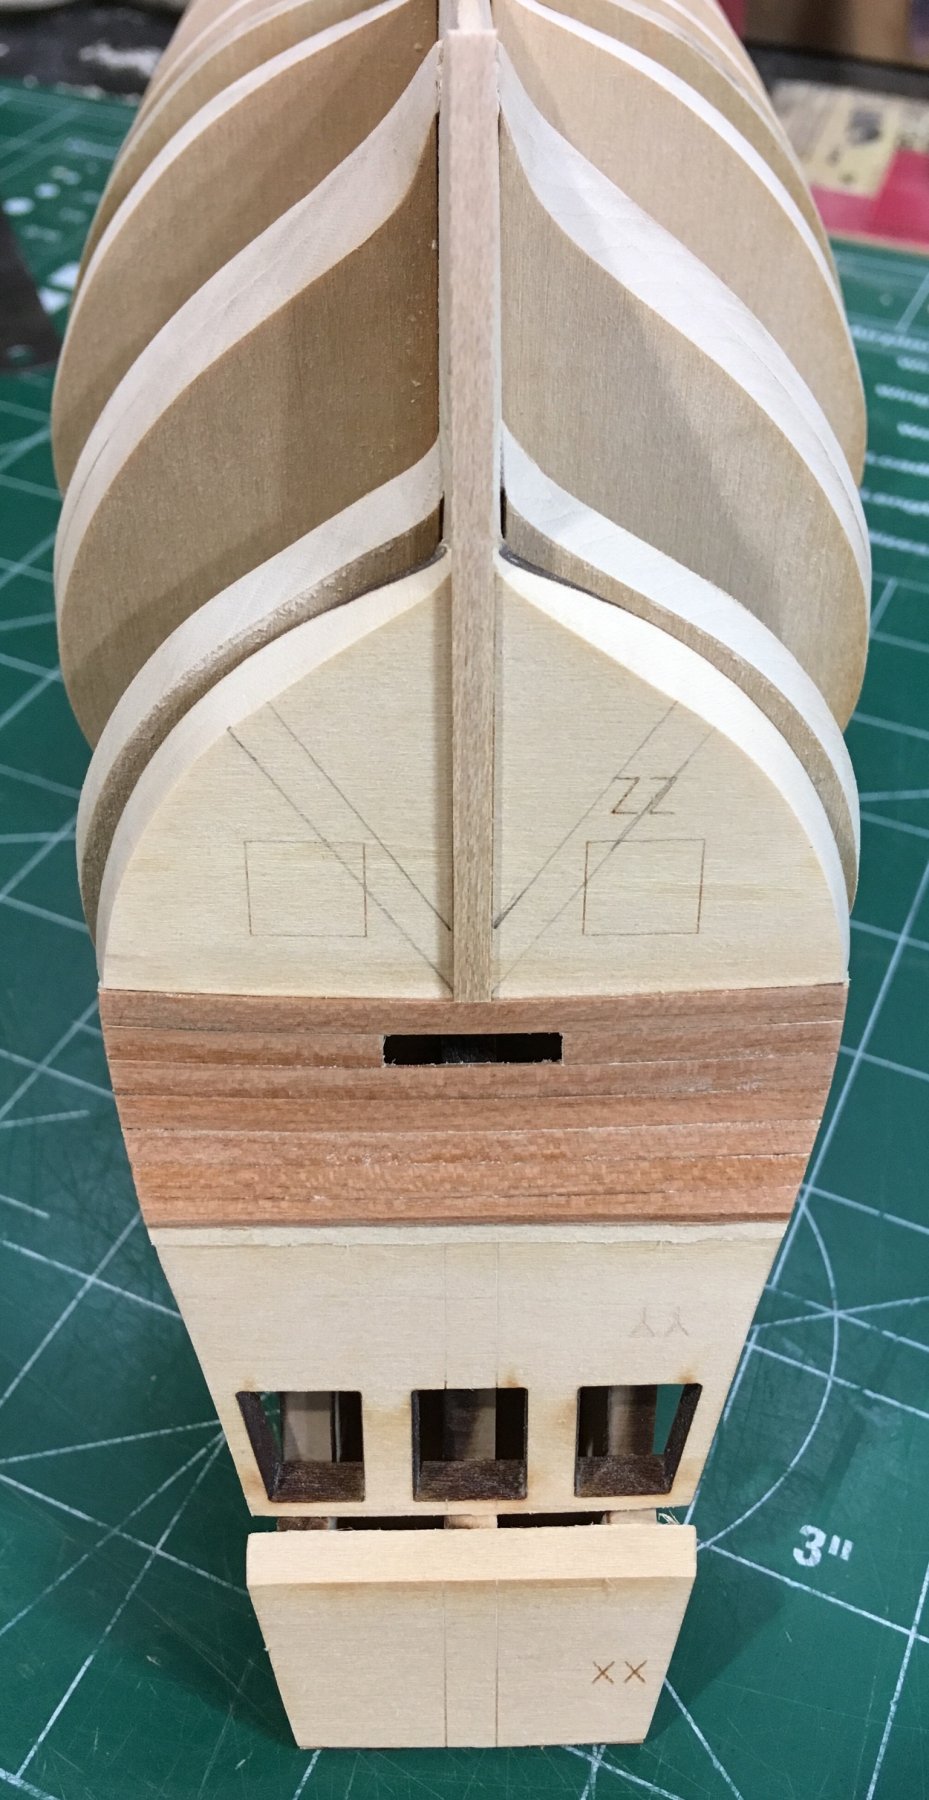
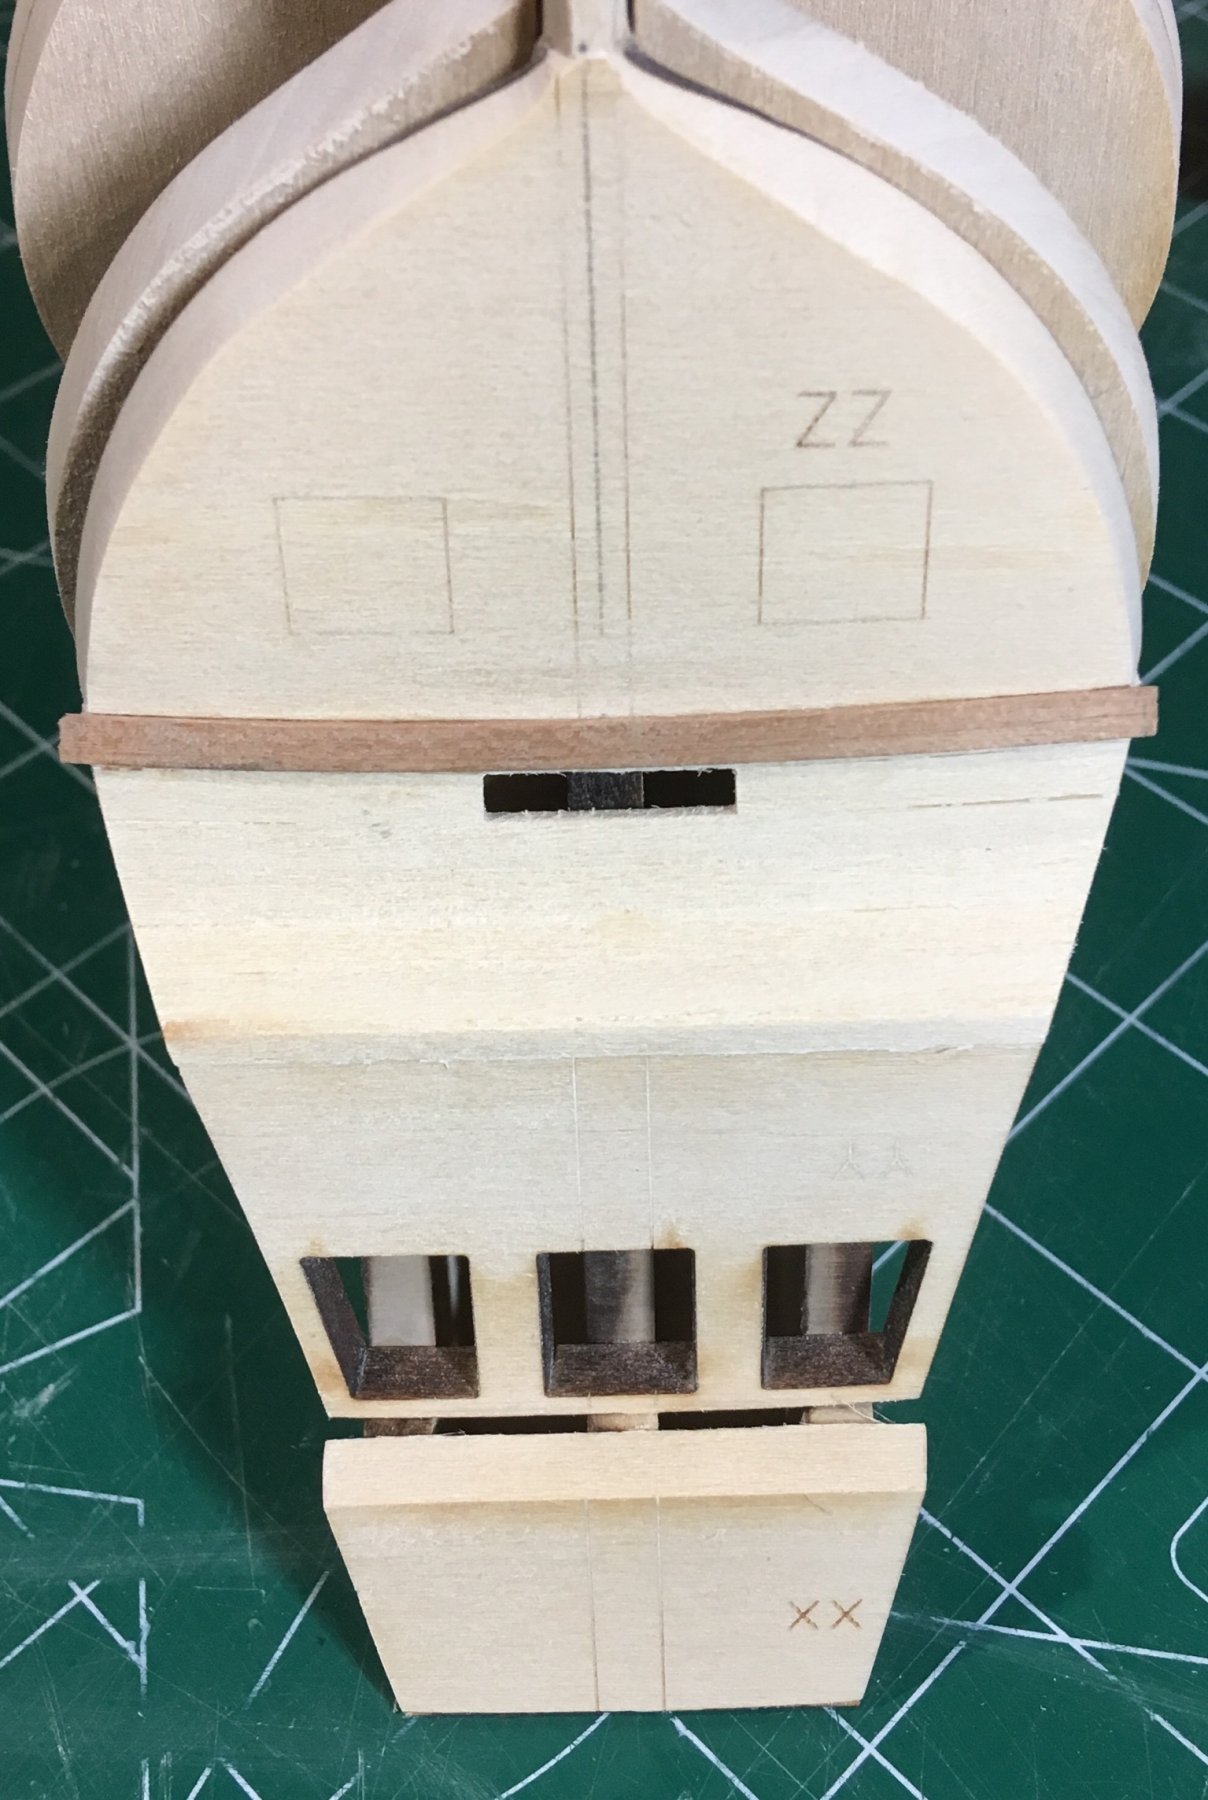
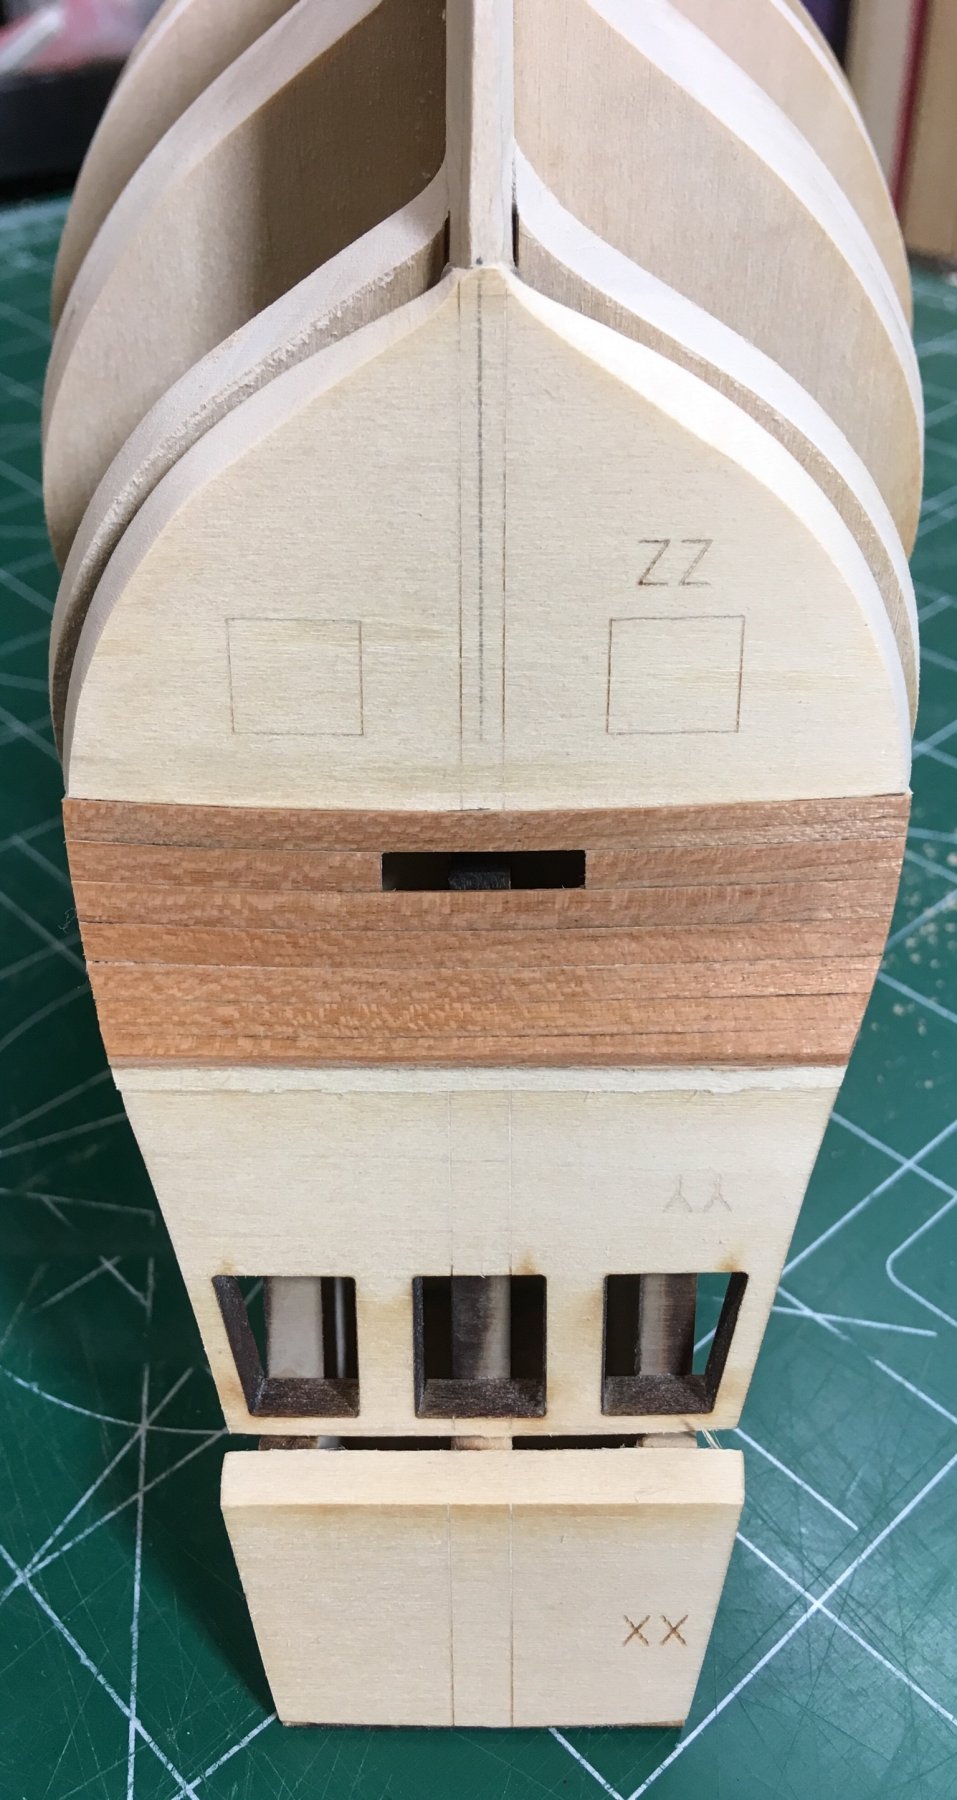
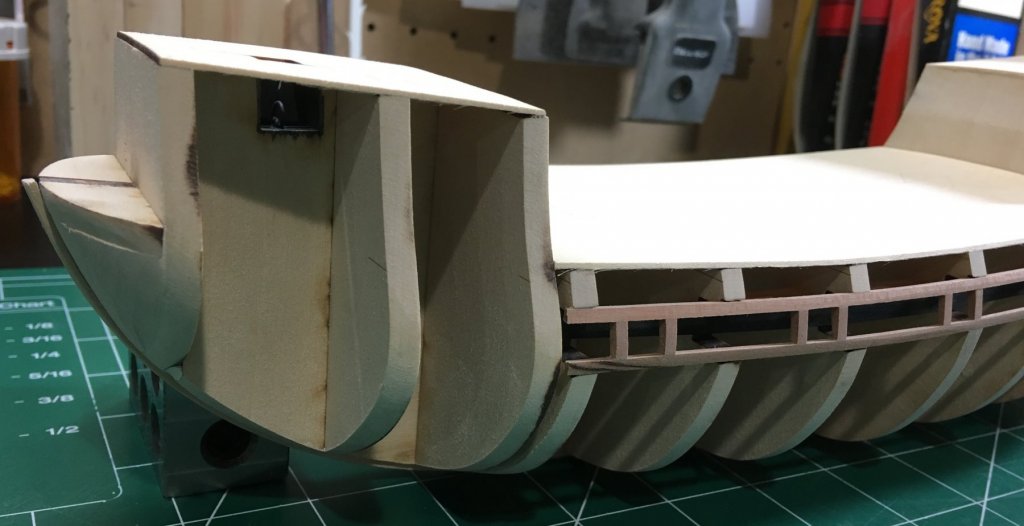
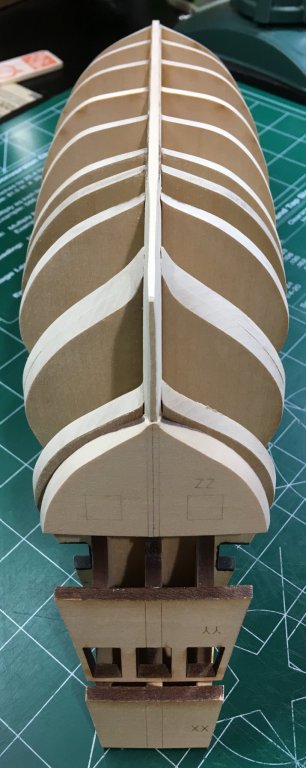
 The planking of bulkhead ZZ is complete. A maple strip was temporarily glued in place to assist with the planking. Gunport lids were created off ship with the jig I used for the panels of my Pinnace. This area is left untreated for now. You can tell the color difference in the last photo. Steve

-
Your hull looks really good. Steve
-
I think go with option two, but shape the rear of the panel so it transitions smoothly into the seat back. Steve
- 90 replies
-
- 2
-

-
- english pinnace
- Finished
- (and 1 more)
-
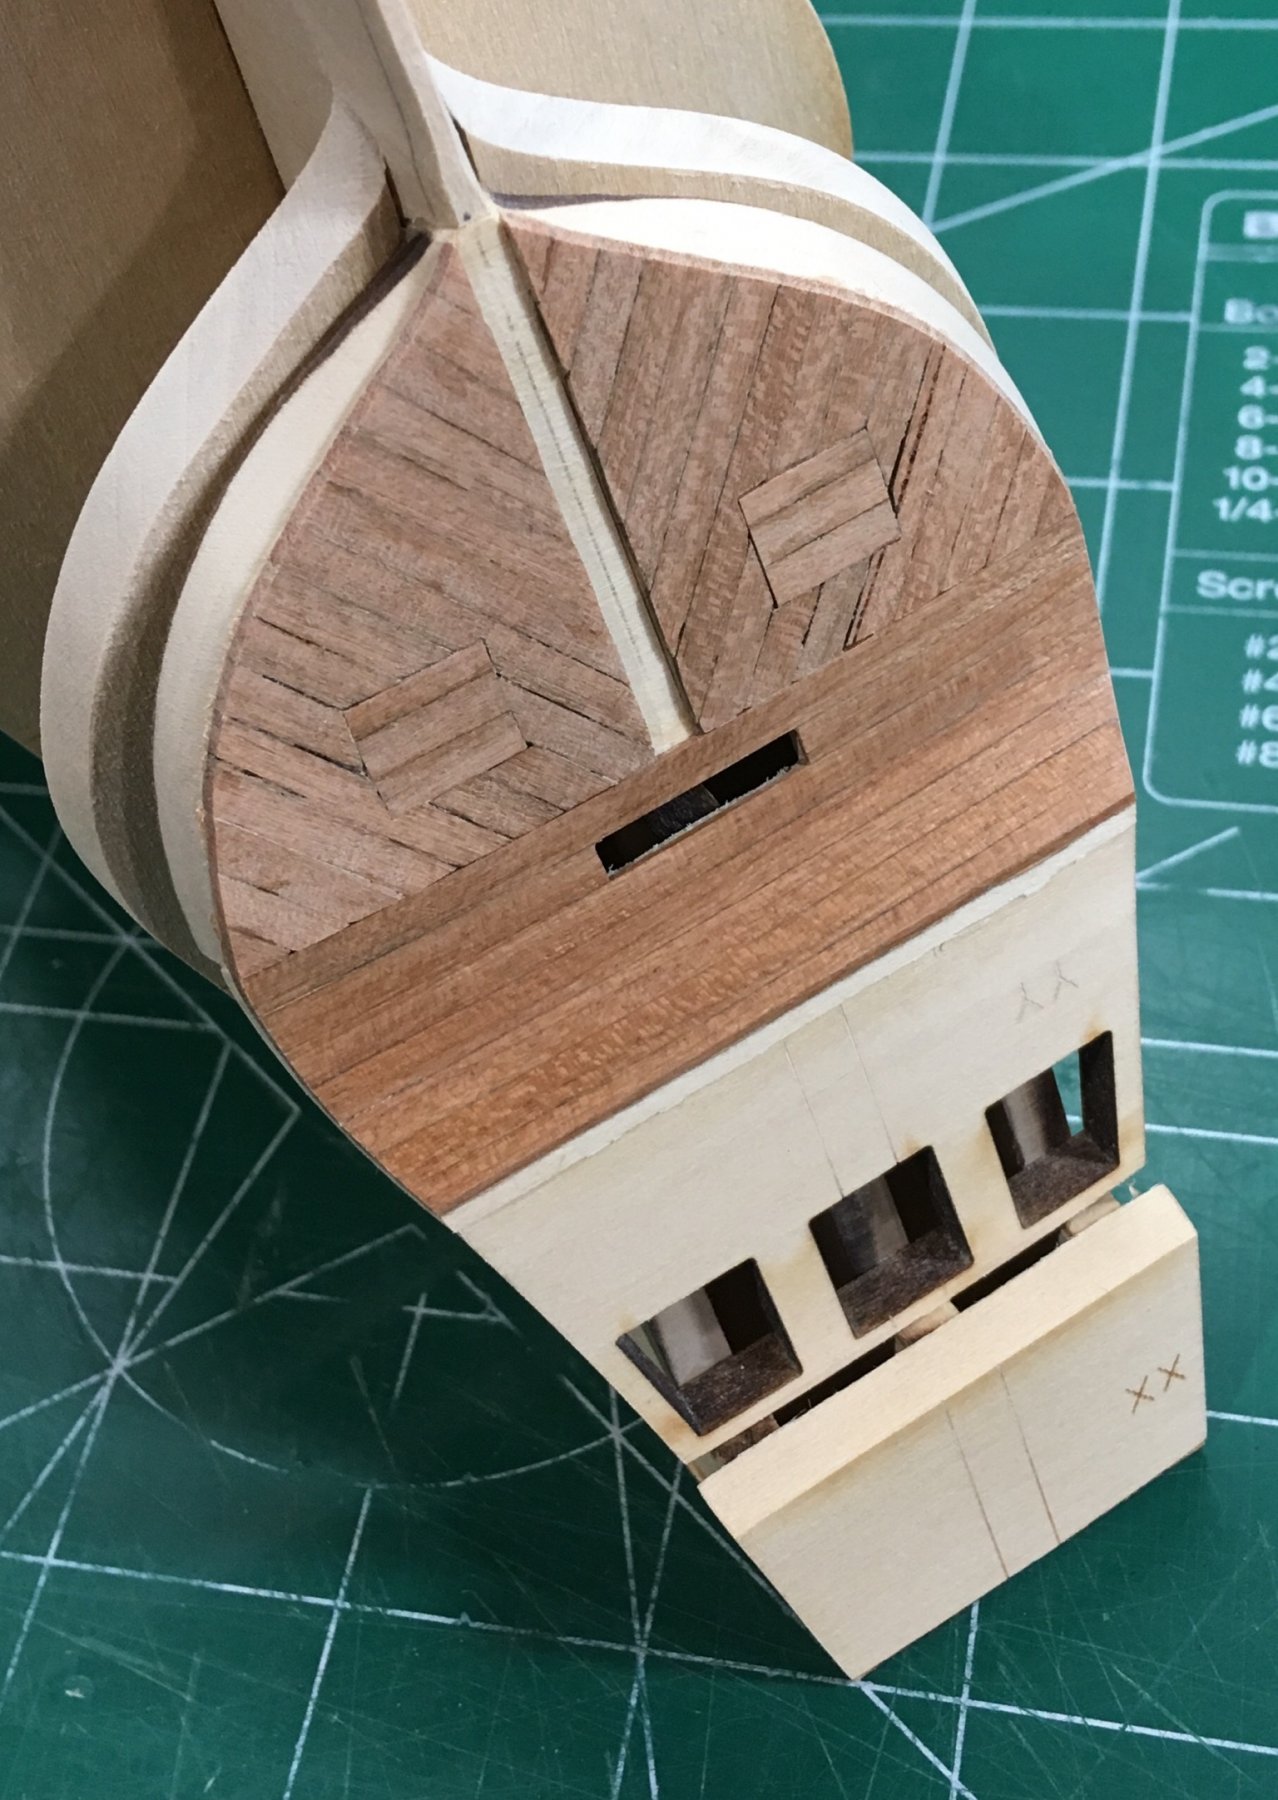
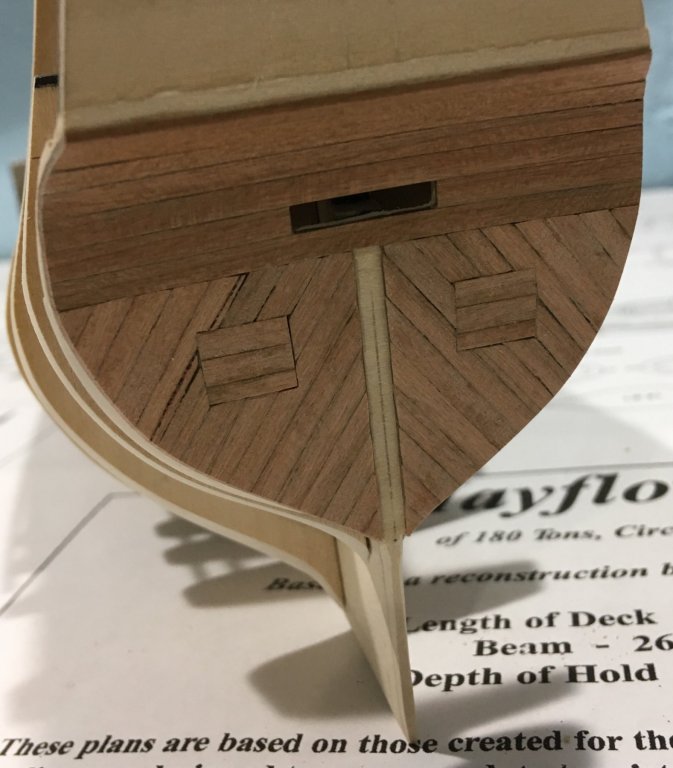
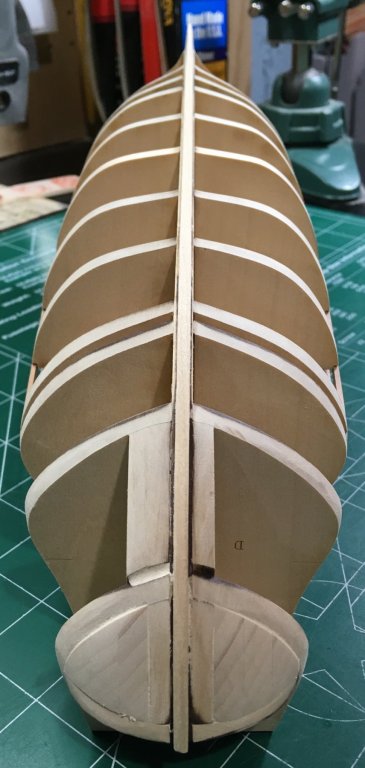
Planking of the counter is complete. Planks were pre-bent with dry heat and allowed to cool completely. Light clamping was needed as shown in the photos. This area was treated with wipe-on-poly since it will not be painted. Planking bulkhead ZZ is next. Steve


-
You are building momentum. Very nice. It’s hard to see how bad the off symmetry is in your photos. I would keep both garboard and the next streak the same shape so you have symmetry. Depends how much this will bother you. If you decide later on to redo it will be more painful. Just a point in reference many of us took forever to complete this project. It’s not about speed at all. Steve
- 33 replies
-
- 3
-
-
- 18th century longboat
- model shipways
- (and 1 more)
-
Looks good. Be careful of your clamping on the bow. The basswood will dent easily. Also, your garboard has too much of an abrupt curve. Just sand/file a bit more for the gentle curve. Before you glue, shape the next strake to see of you have the curve correct. Again, BobF and Erik have done this perfectly. Steve
- 33 replies
-
- 2
-
-
- 18th century longboat
- model shipways
- (and 1 more)
-
Thank you for the compliment. Check out BobF’s log as well as Erik W.
- 33 replies
-
- 1
-
-
- 18th century longboat
- model shipways
- (and 1 more)
-
When you decide to add the transom, you will need to fair it with the hull. You can brace it from the top and even the sides. You can remove the bracing when the planking is done. Depending on how you decide to plank will determine where to place the bracing. Check out some of the logs for how people have done this. Steve
- 33 replies
-
- 1
-
-
- 18th century longboat
- model shipways
- (and 1 more)
-
Thank you. I used sanding sticks and blocks. Mostly used an Emory board 180/240 grit. Never free hand. Steve
-
The hull is about 99% fair at this point. Be careful with the fragile gun ports during this process. Filler blocks were added at the bow. This made fairing that area much easier and hopefully will ease the job of planking. The stern needed a lot of sanding to get the batten to lie properly. My concern was keeping the shape of bulkhead ZZ symmetrical. The decks were added and the upper part of the hull was faired again. I included several photos. I hope they are helpful to others. Steve


-
Glad to hear there will be another Mayflower in progress. That will make two of us. Steve
-
Before you know it you will be on to the next project. What’s next on your project list? Steve
- 449 replies
-
- 3
-
-
- sultana
- model shipways
- (and 2 more)
-
It’s a learning process for sure. You have a lot more sanding to do inboard and you should definitely use sandpaper on the basswood. Look up some images of longboats and alternate color schemes for painting. Try something no one has done before. You will feel better about it after you’ve sanded and painted. Steve
- 10 replies
-
- 1
-
-
- 18th century longboat
- model shipways
- (and 1 more)
-
I had trouble with this area of the project as well. I used maple for most of the project but for the inboard planking I used basswood. I think I also shaped the wood from a larger piece. That was a difficult curve. See post #116 in my log. Steve
- 90 replies
-
- 2
-
-
- english pinnace
- Finished
- (and 1 more)
-
Where did you get the new figurehead? Steve
-
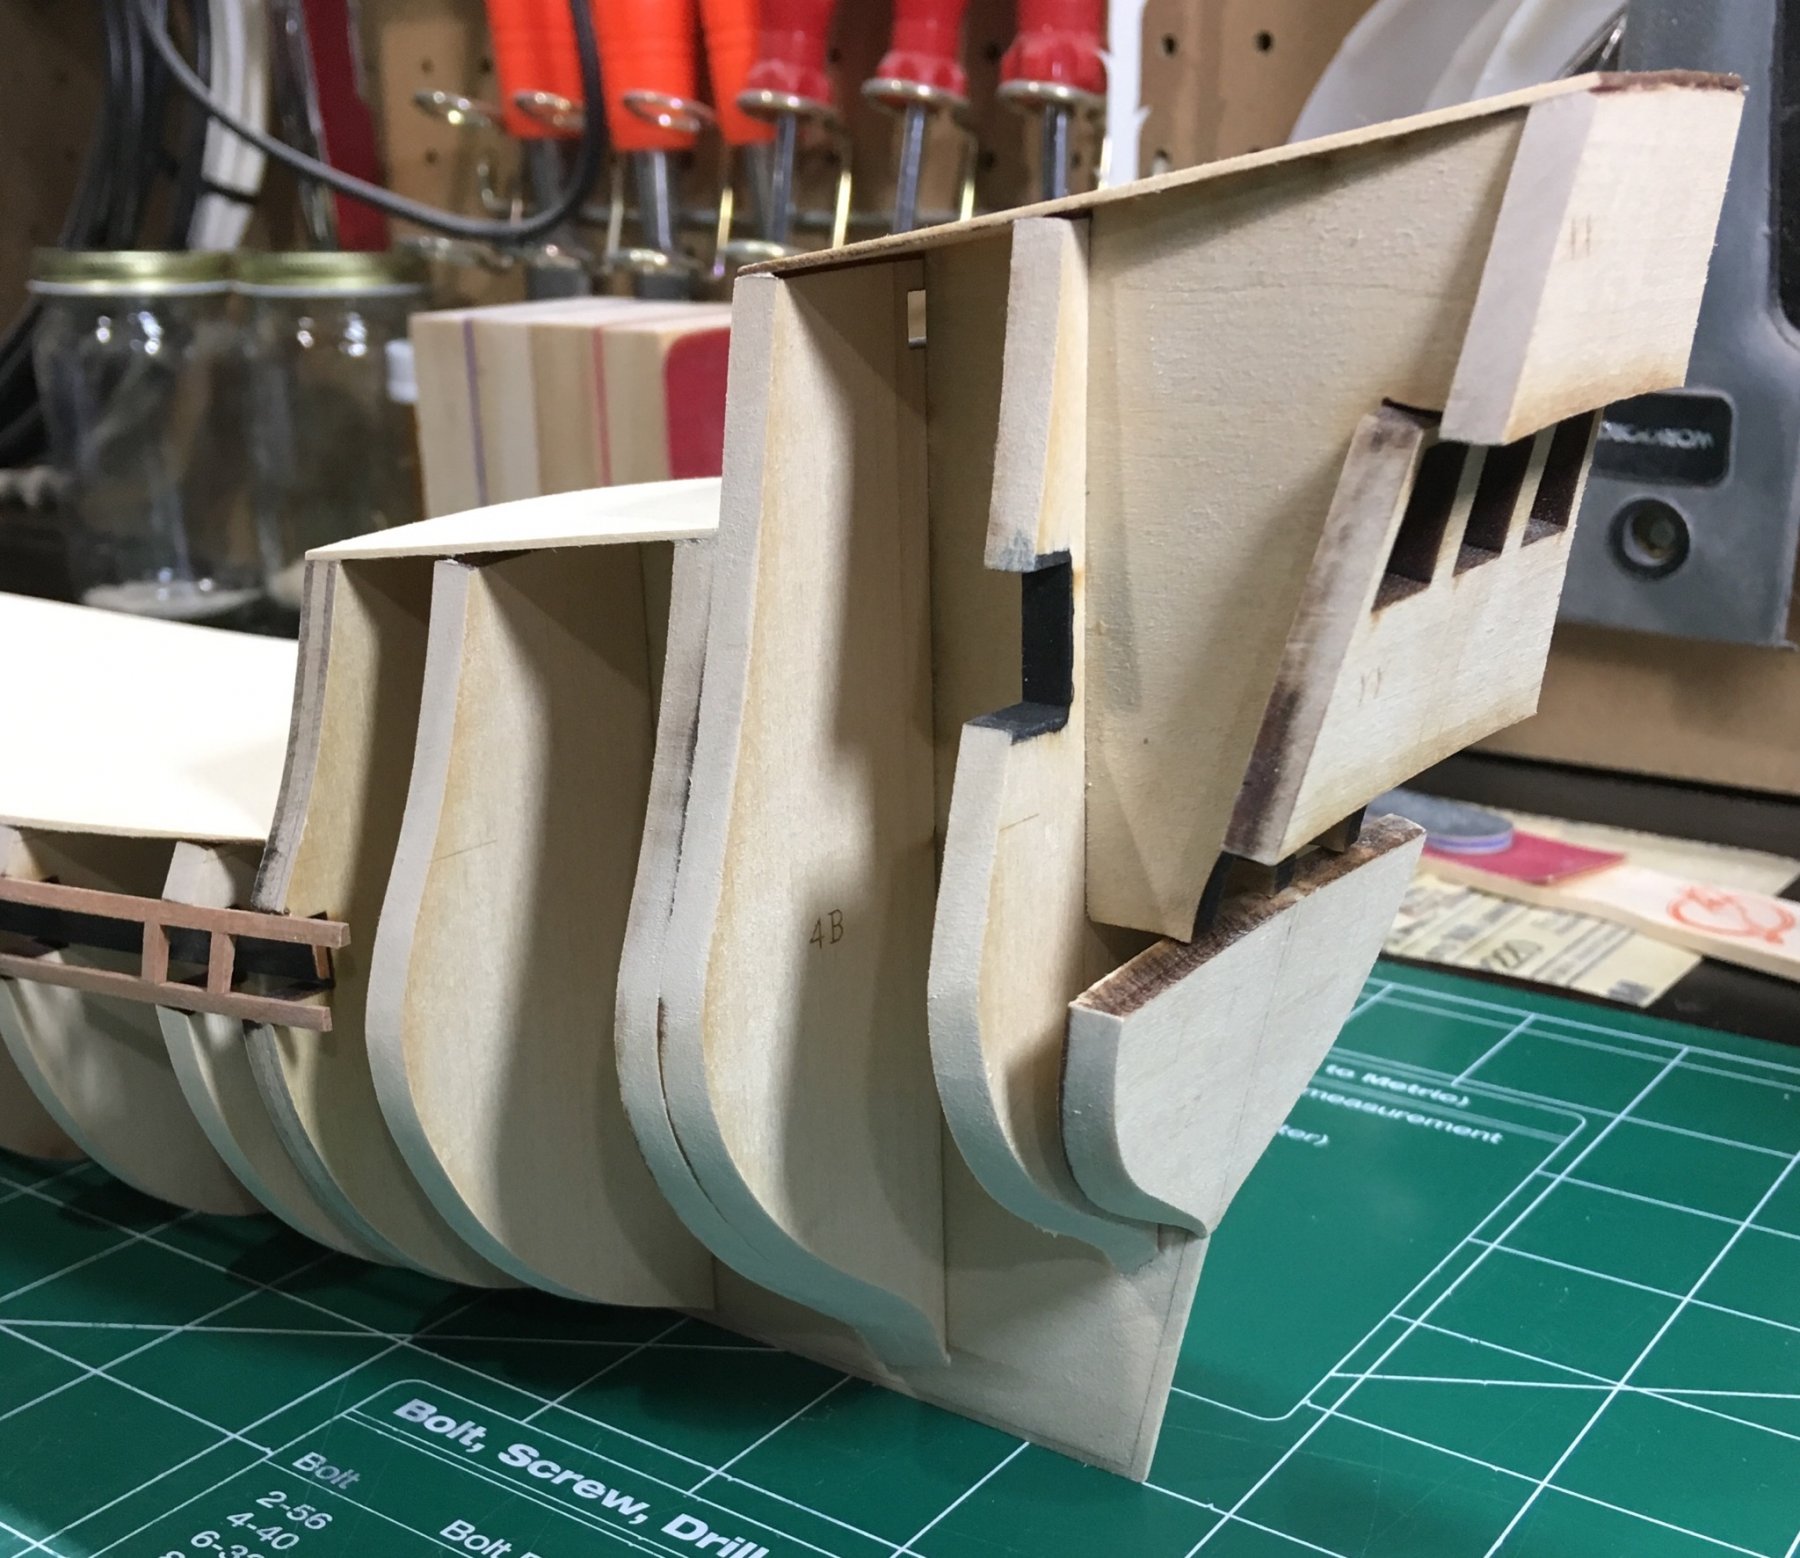
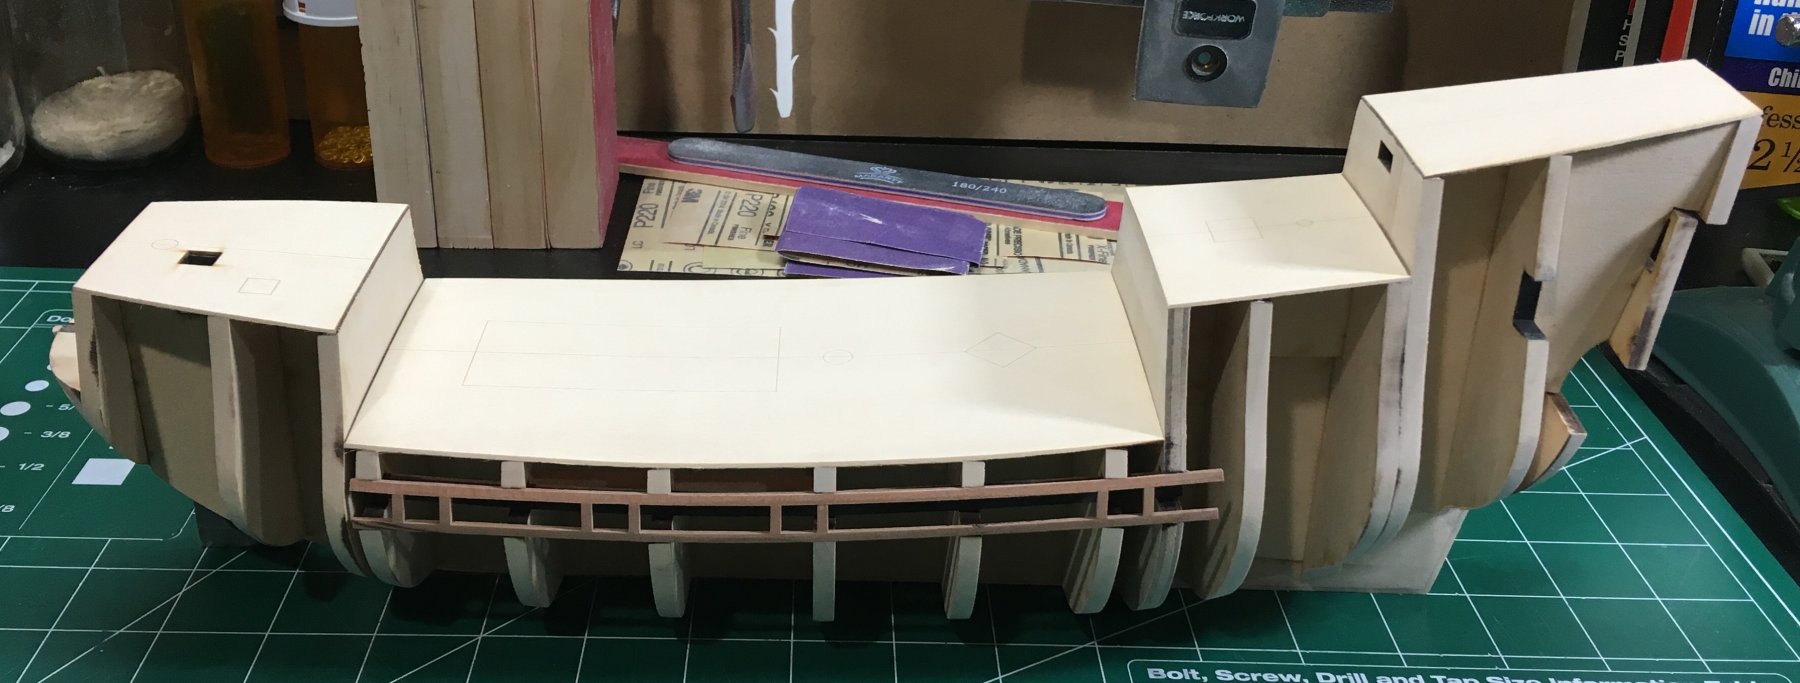
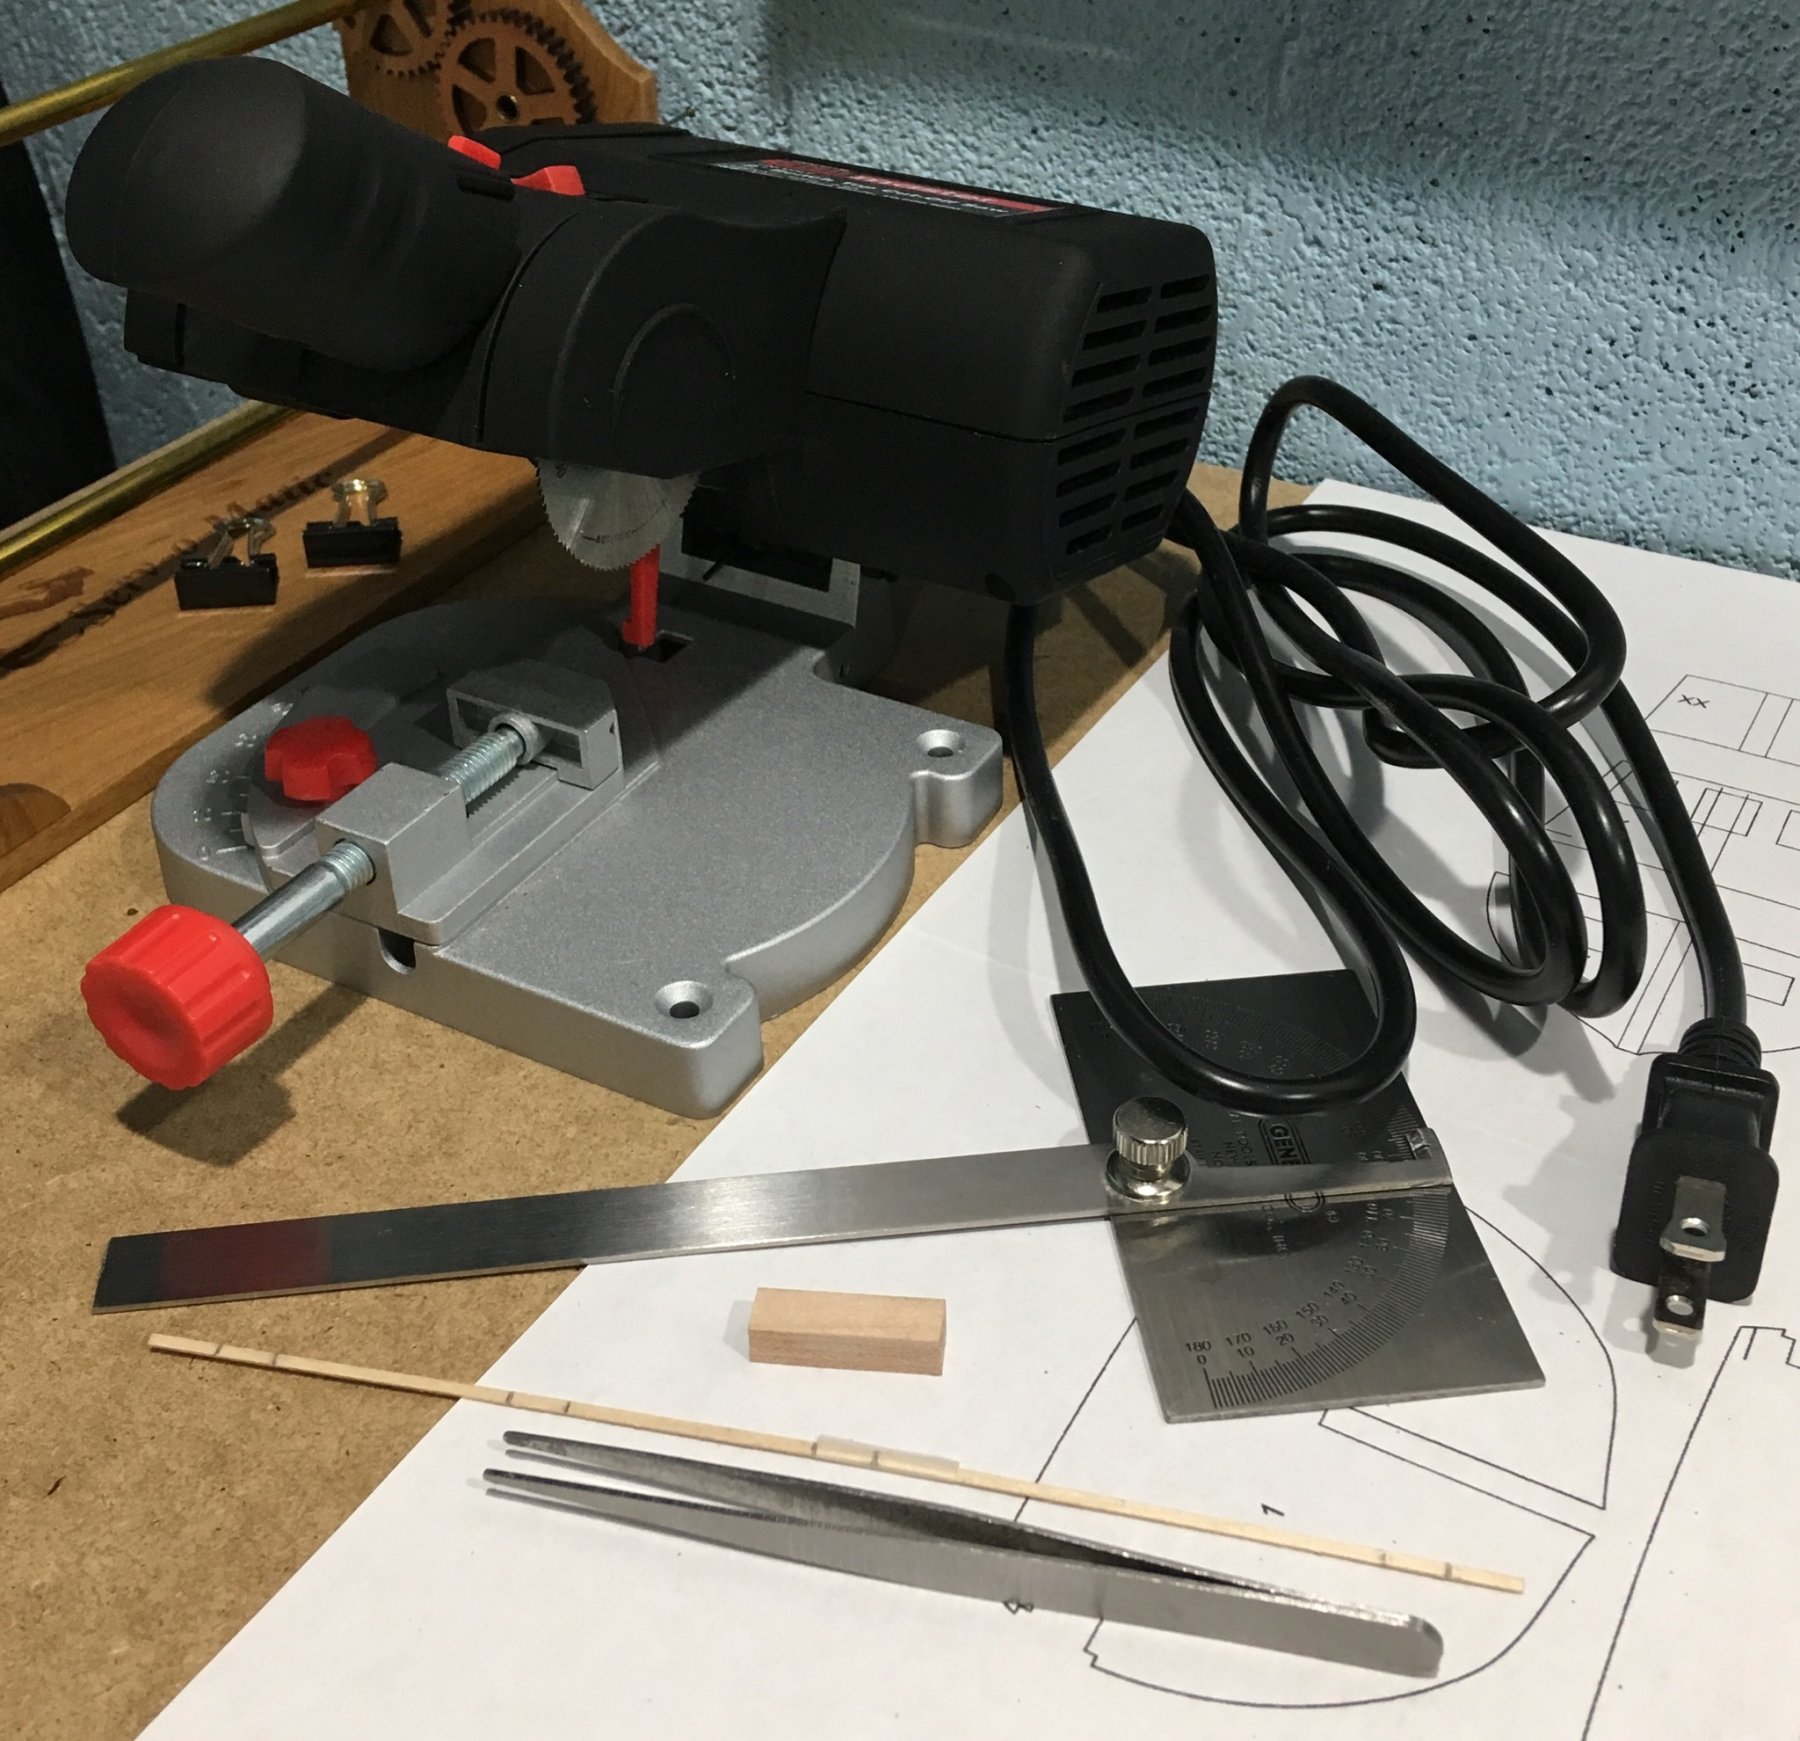
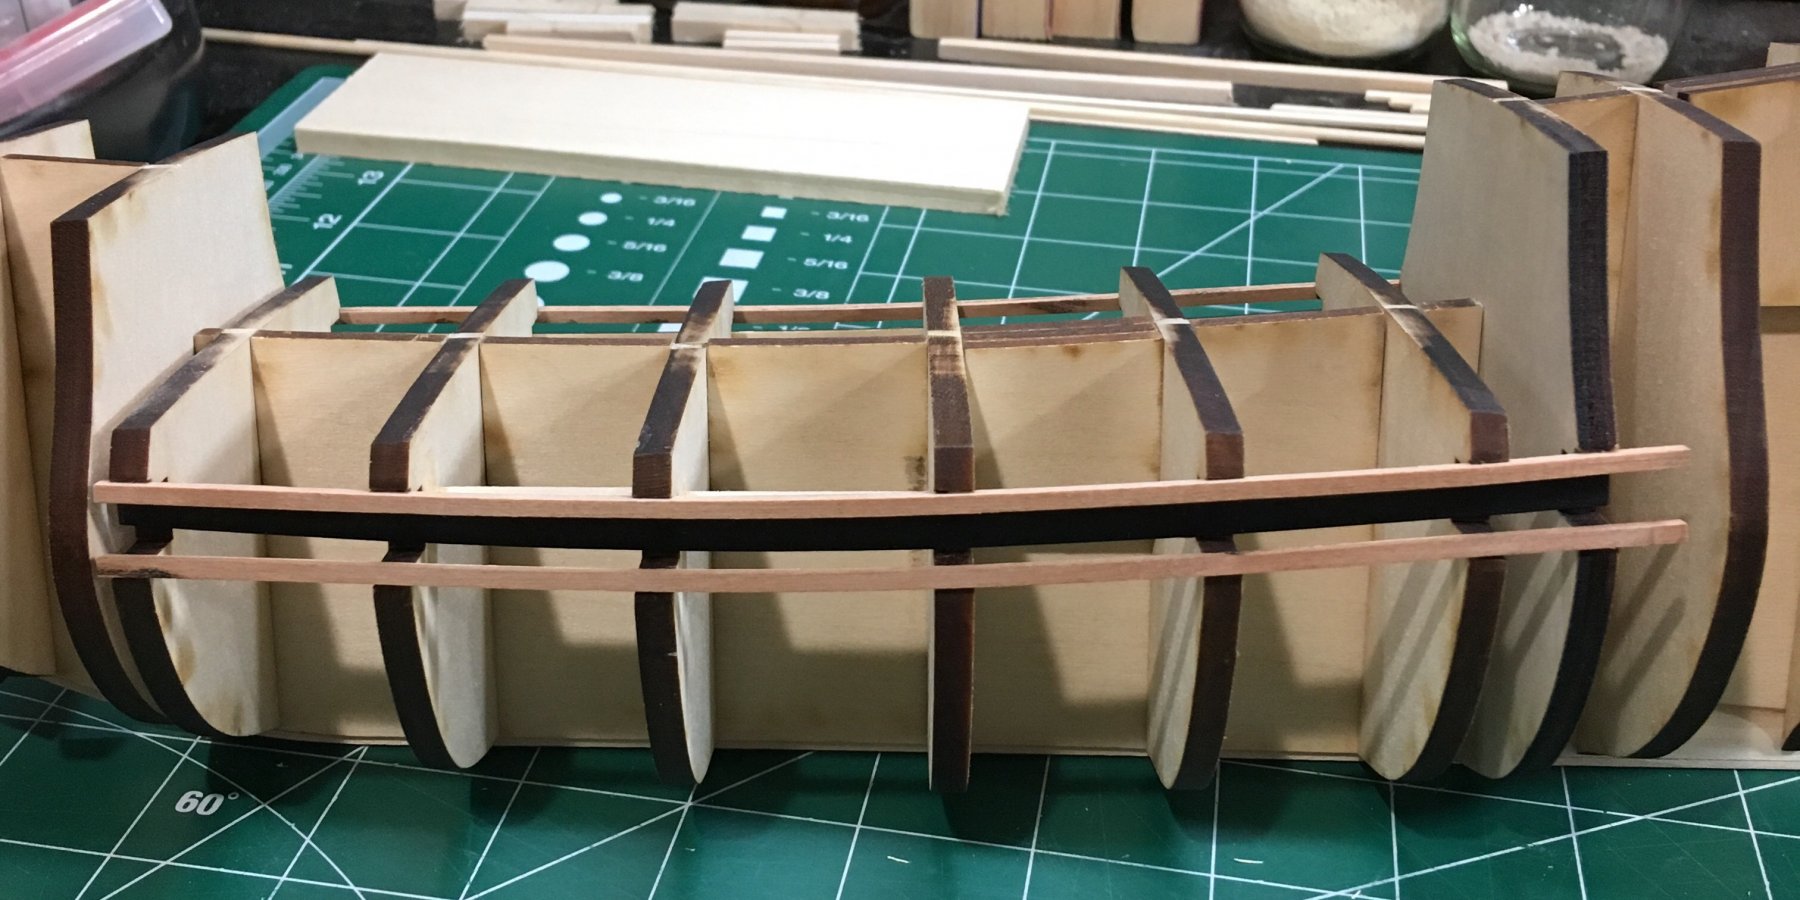
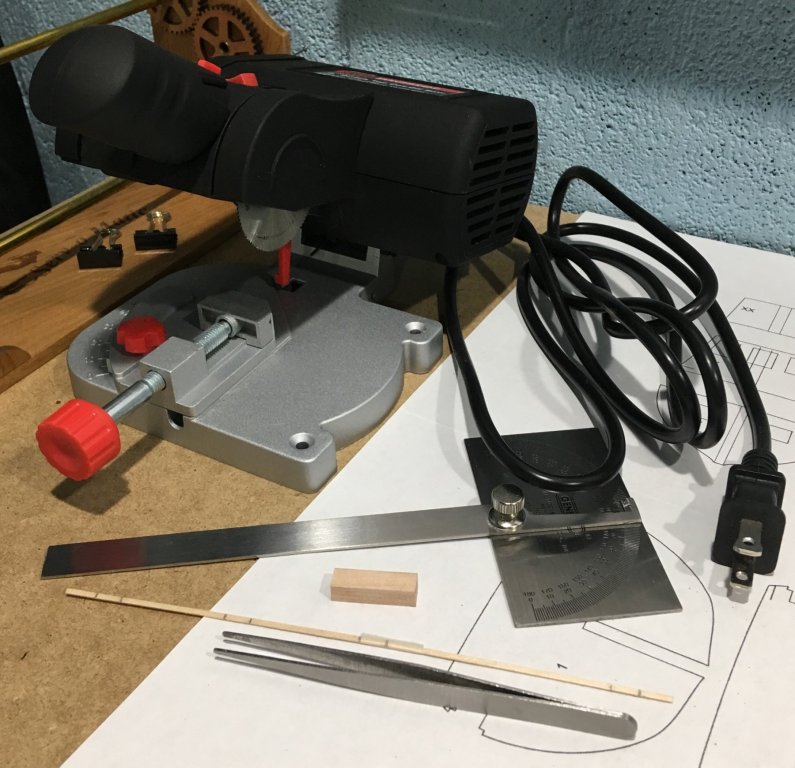
Gunports are complete. I used a thin strip of wood to mark the port openings. The vertical sections were cut at a 10 degree angle and sanded to fit. A mini 2” chop saw was invaluable for this task. I created a spacer for the gun port openings to make sure they were consistent widths. A photo is attached of the tools used. Fairing the hull is next. Steve
-
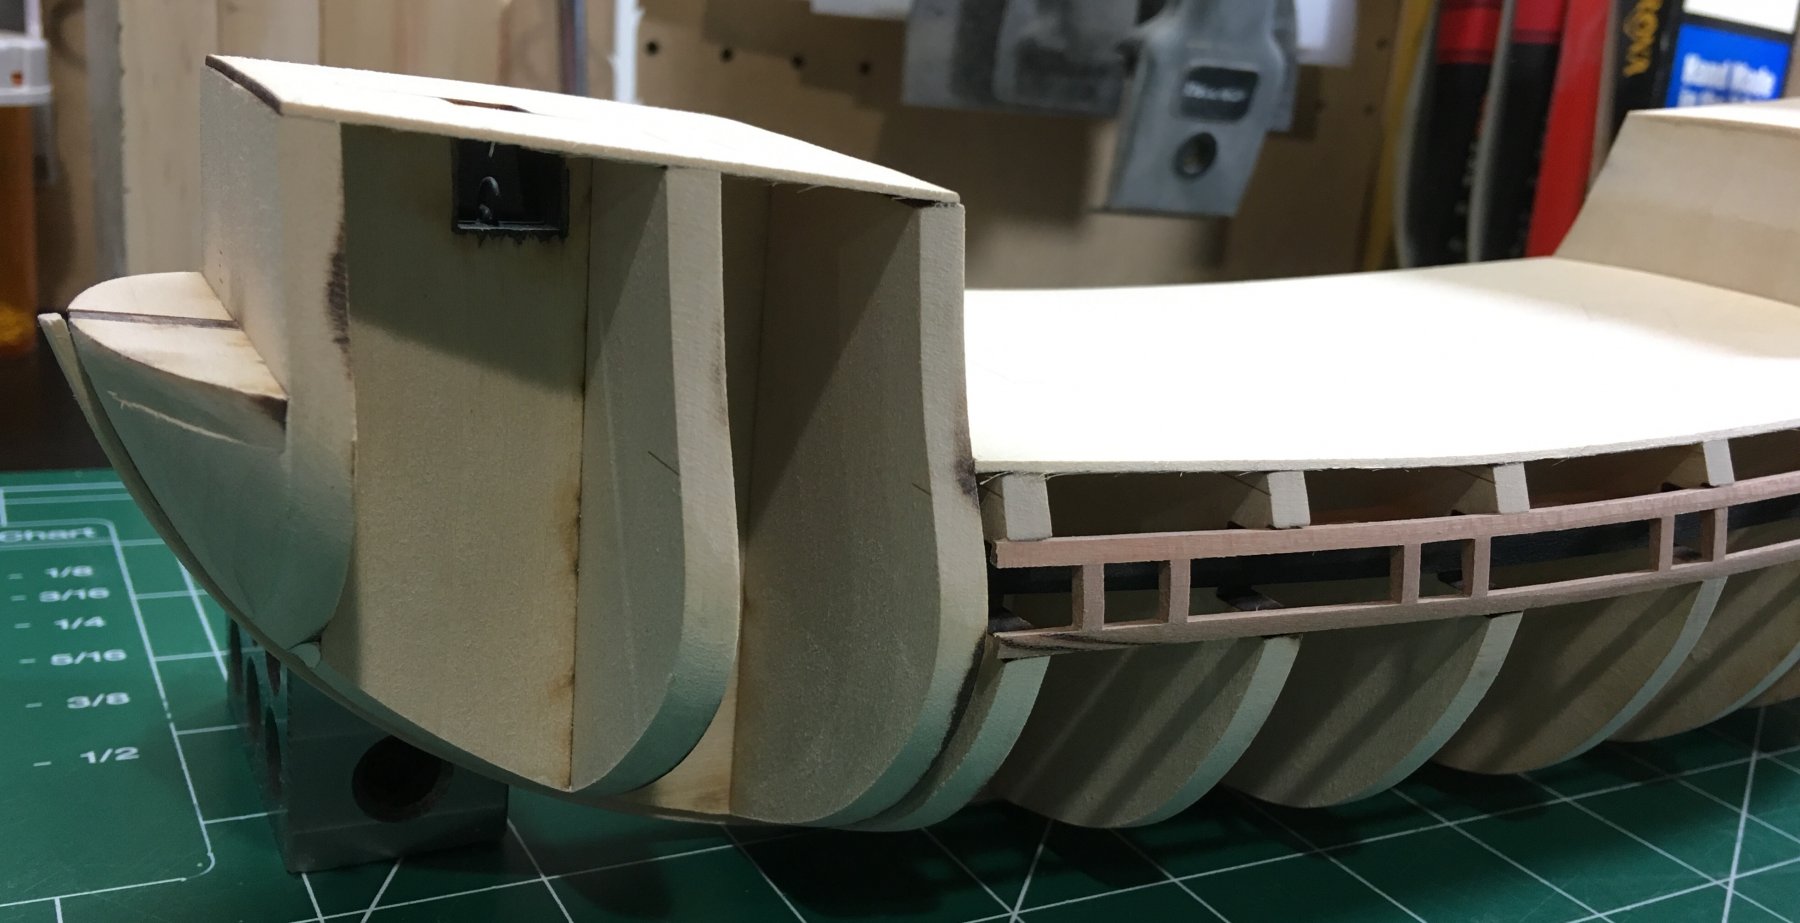
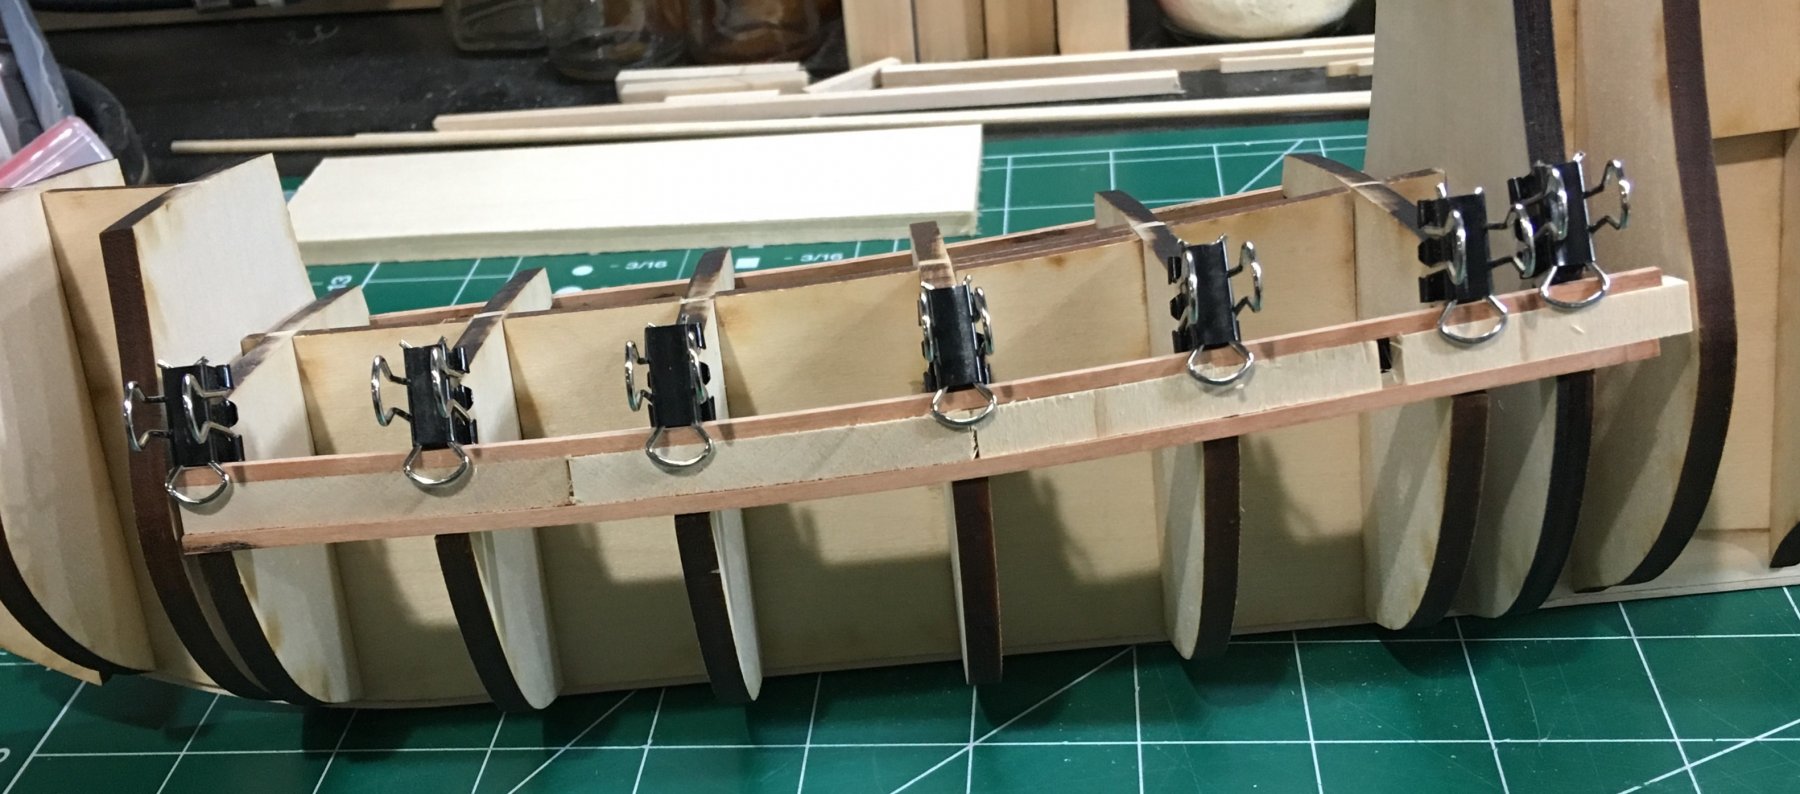
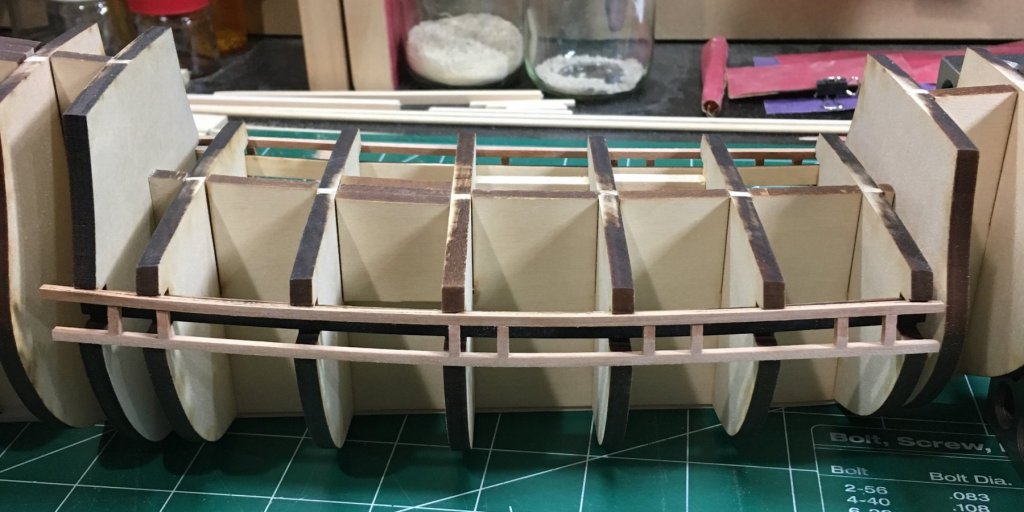
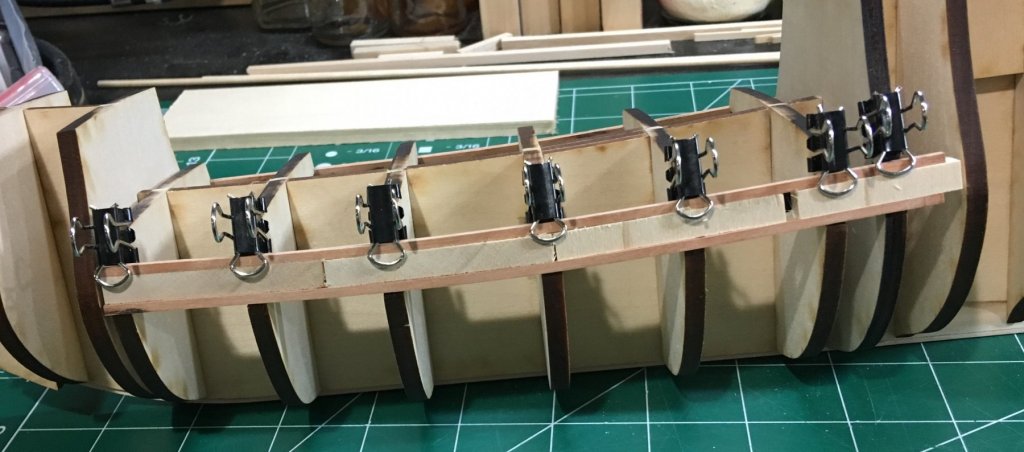
Completed top and bottom of the gunport framing. The replacement bulkhead 2b is slightly smaller than the kit’s original so the gunport framing curves inward at that bulkhead. It should be fine after the hull is faired. These bulkheads have notches to accept the framing. Be sure to fit the framing strips deep into those notches. The strips were pre-bent with dry heat and spacers were used when gluing the top of the framing. Steve

-
Yes, the seat template was tricky for me also. Looks good. Steve
- 90 replies
-
- 2
-
-
- english pinnace
- Finished
- (and 1 more)