HOLIDAY DONATION DRIVE - SUPPORT MSW - DO YOUR PART TO KEEP THIS GREAT FORUM GOING! (89 donations so far out of 49,000 members - C'mon guys!)
×


Tigersteve
-
Posts
1,327 -
Joined
-
Last visited
Content Type
Profiles
Forums
Gallery
Events
Everything posted by Tigersteve
-
 Thanks Lynn and everyone for the kind words and likes. She is getting very close to completion. Steve
- 70 replies
-
- 3
-

-
- Lowell Grand Banks Dory
- Finished
- (and 1 more)
-
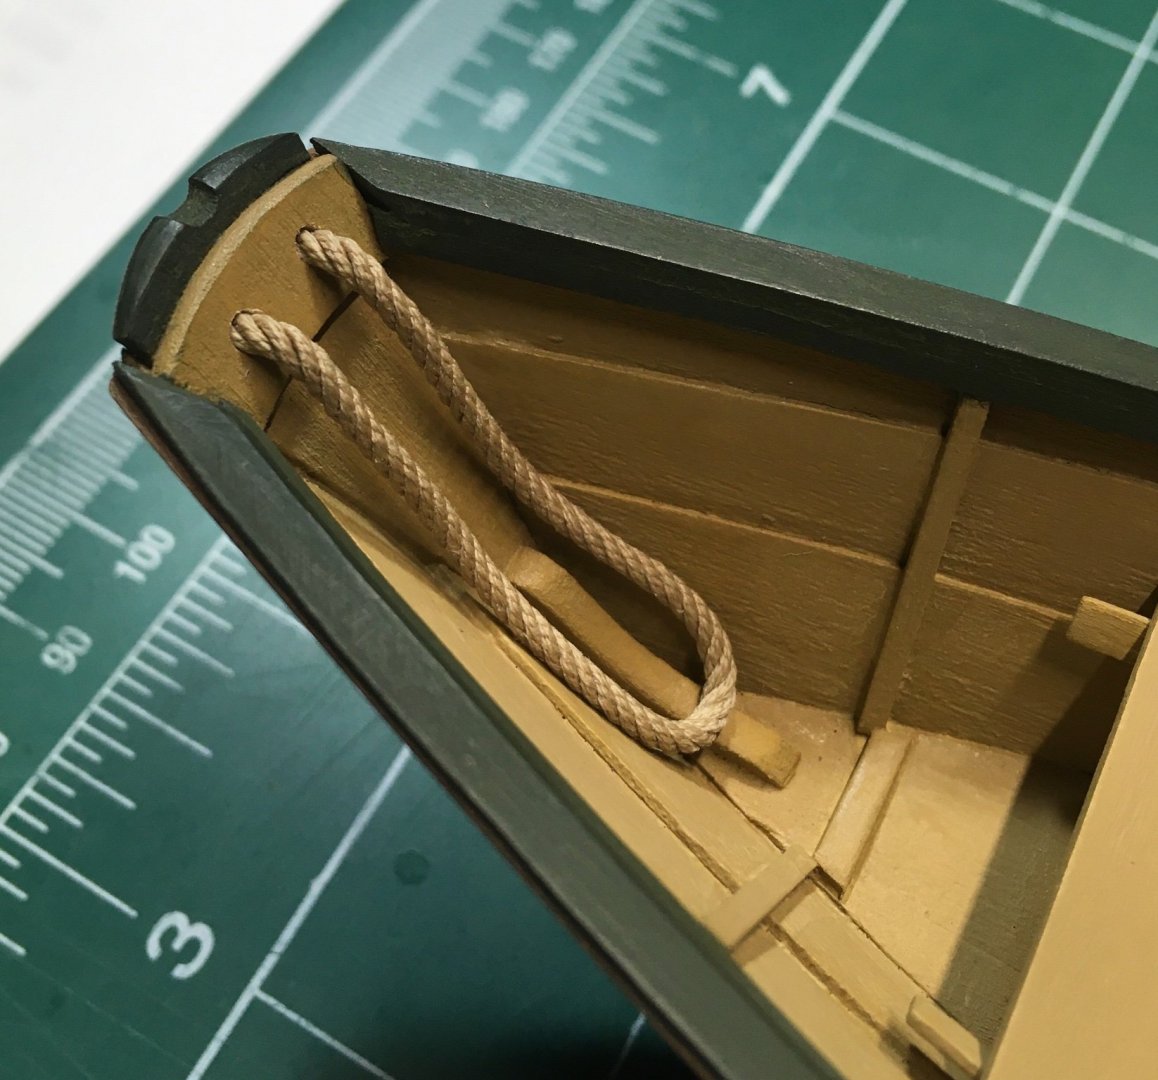
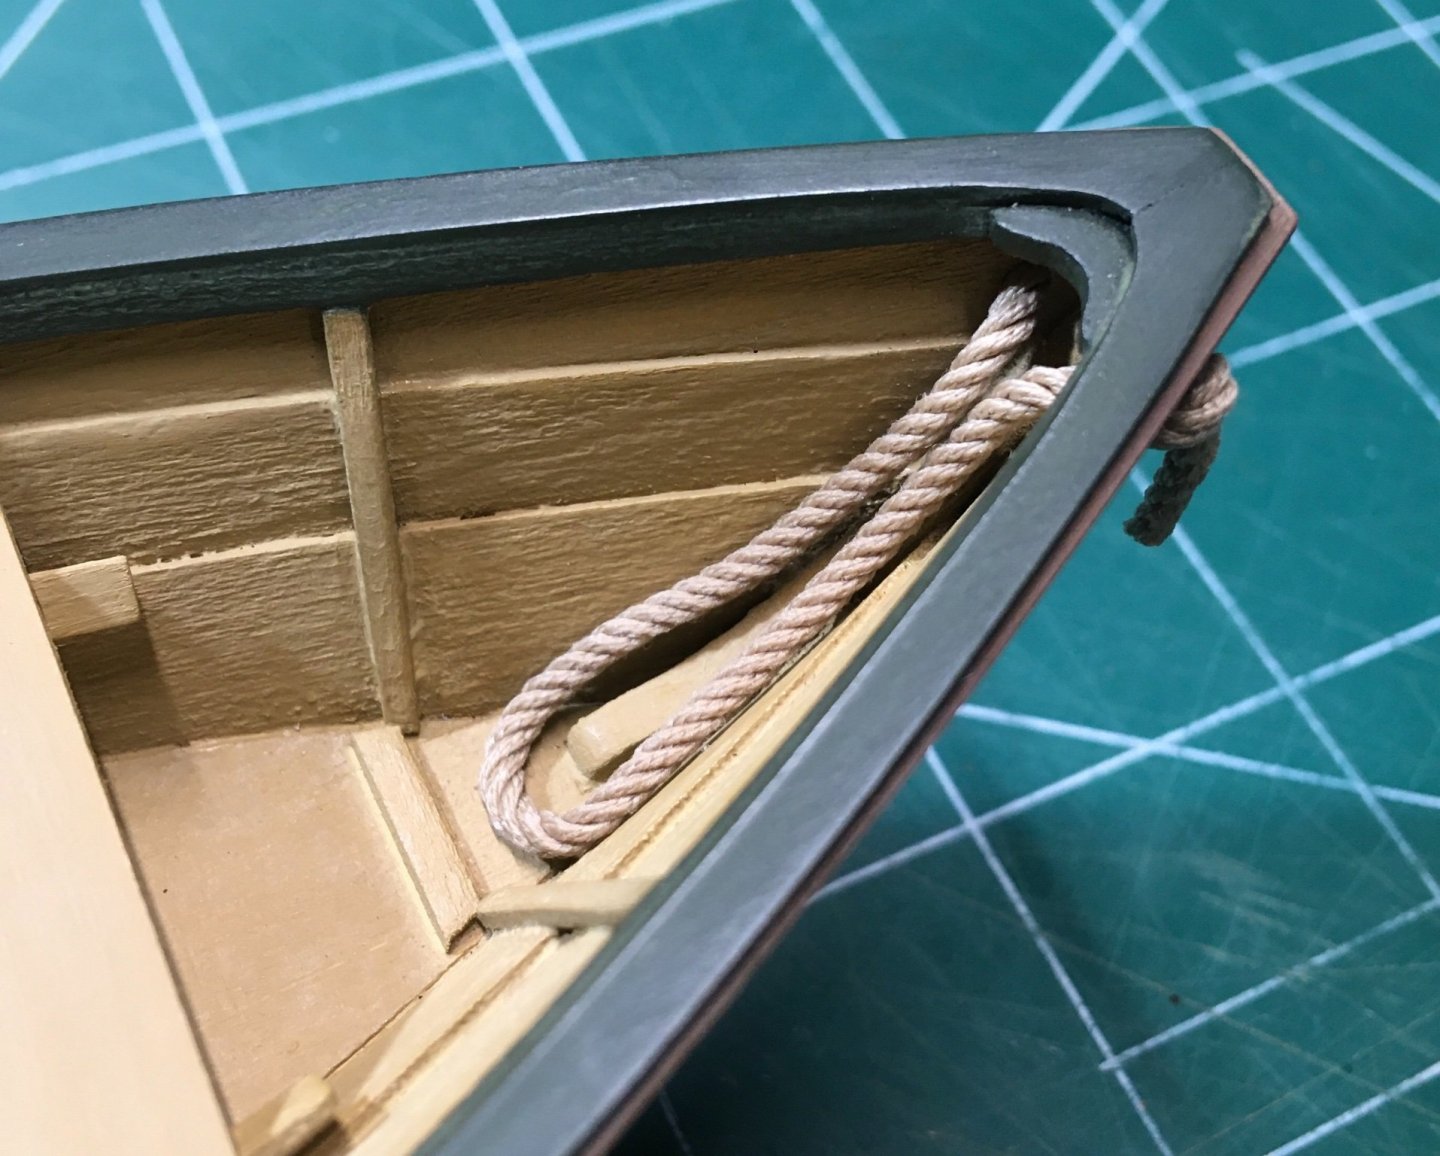
Before installing the rope for the beckets, the holes needed to be reamed out. The tip of the ropes were treated with CA glue to prevent unraveling while passing them through the holes. The instructions advise cutting a 4” piece of rope, but I ended up cutting 6”. After knots were tied, watered down white glue was applied. When dry, the excess was cut with a sharp blade as close to the knot as possible. For the bow, a bit of excess rope was left after the knot. This looked cleaner than when I cut very close to the knot. Watered down white glue was also used to set the ropes into position. Securing the base is next before rigging the buckets. Steve
- 70 replies
-
- 4
-

-
-
- Lowell Grand Banks Dory
- Finished
- (and 1 more)
-
Congratulations on completing your second model. Looking forward to following your next build. Steve
- 160 replies
-
- 3
-
-

-
- Model Shipways
- norwegian sailing pram
- (and 1 more)
-
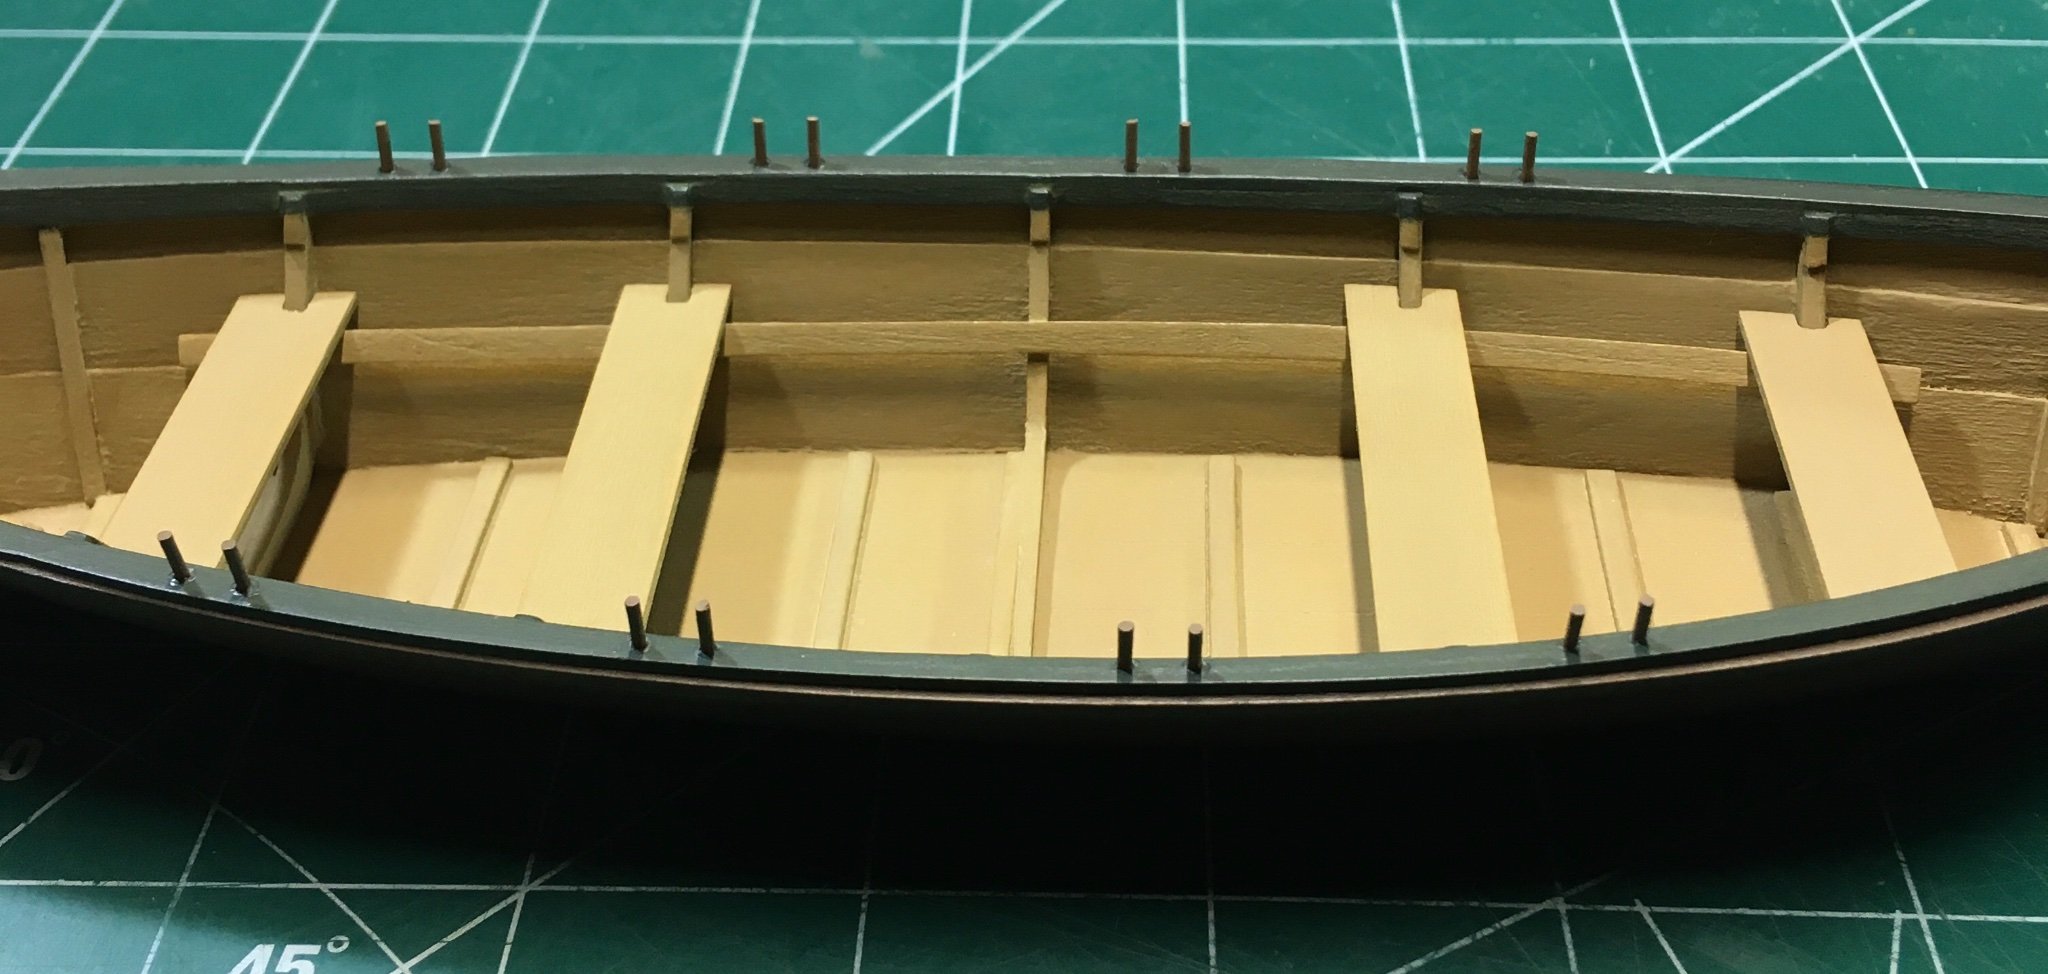
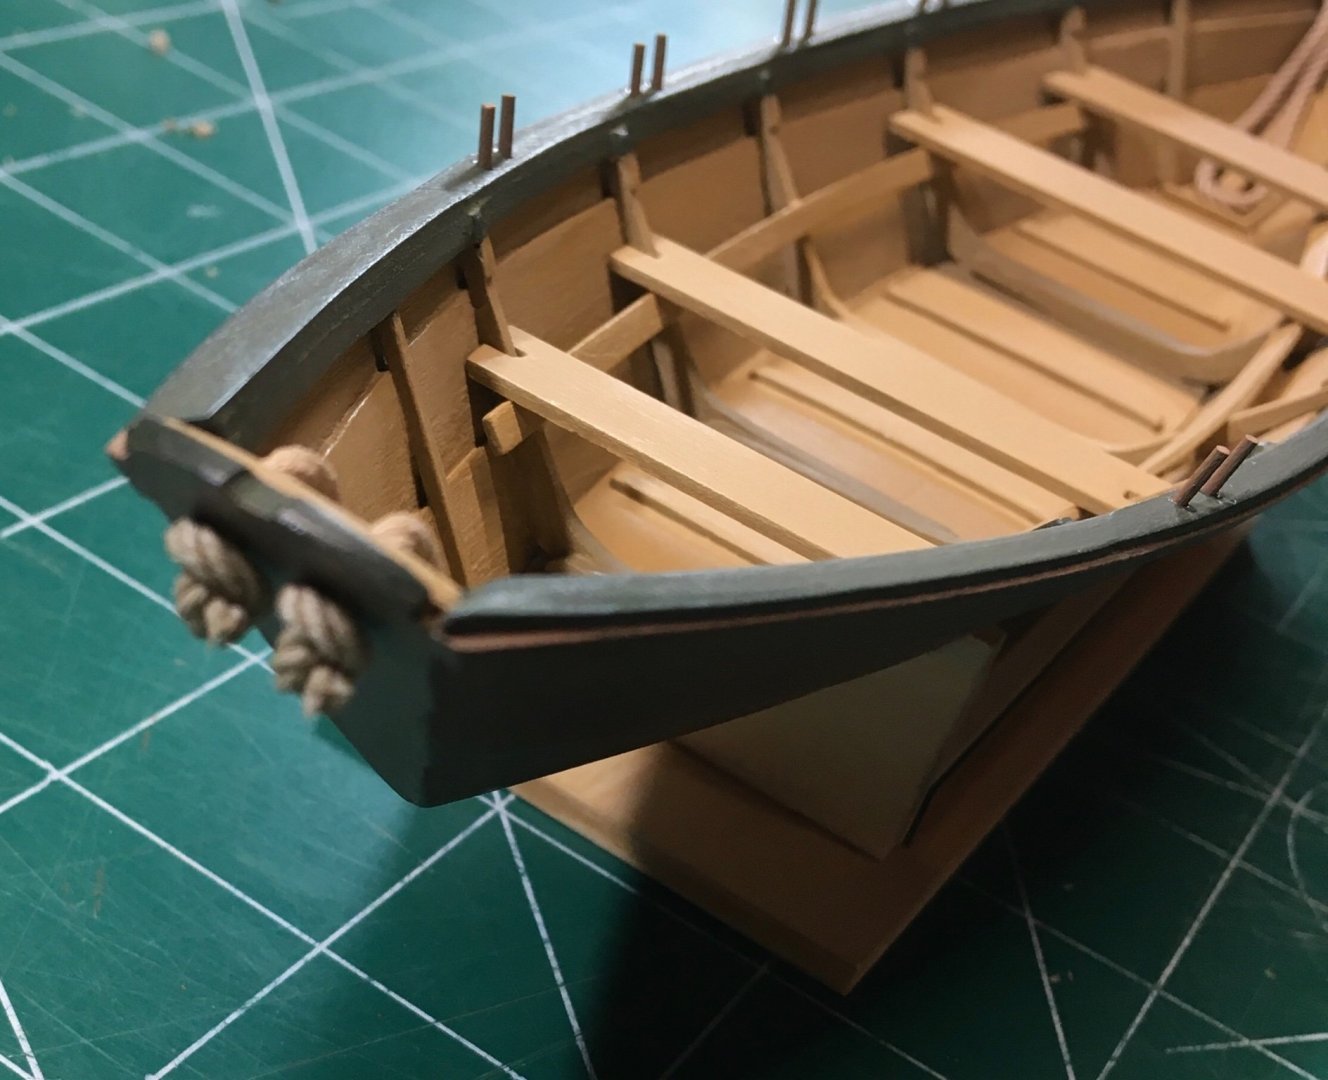
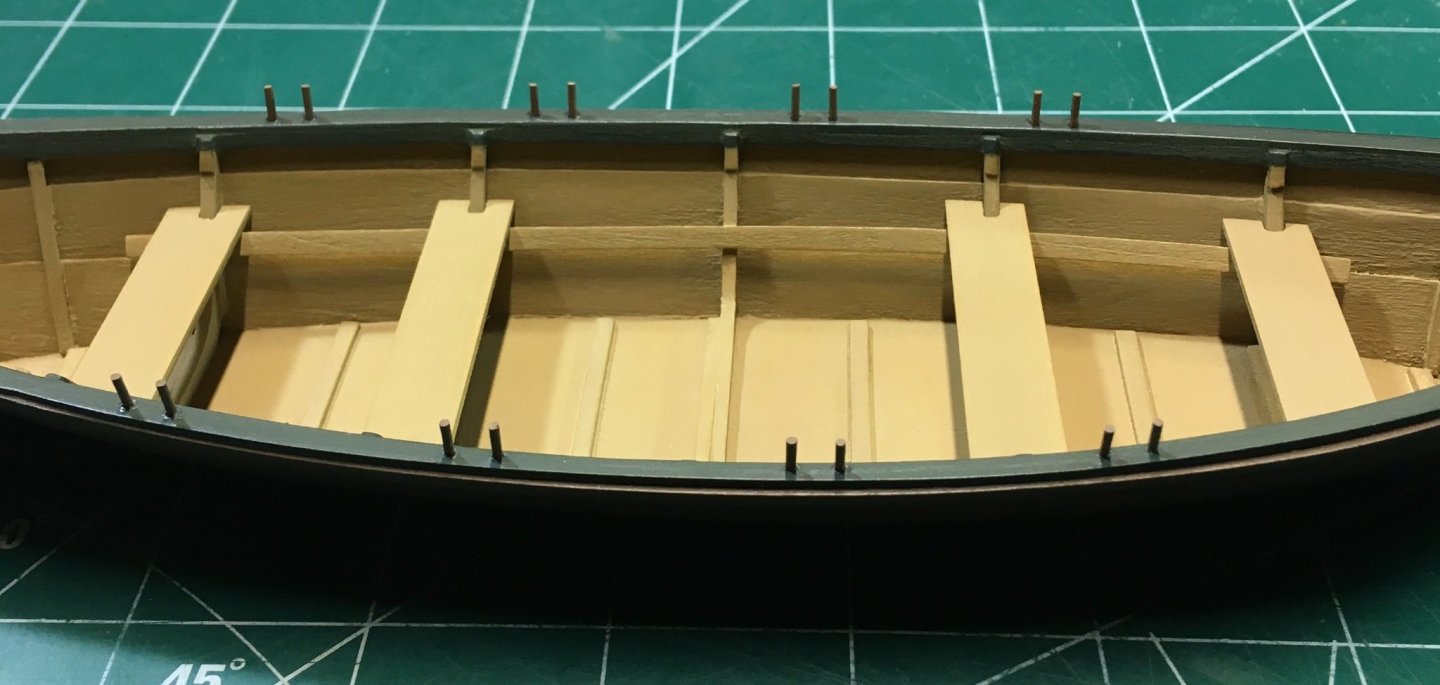
A square strip is provided in the kit to create the thole pins. I rounded the strip and pre-painted before cutting 1/4” pieces. Test fitting before applying glue will give you an idea how much time is needed to set the pins. After the glue dries, lightly sand the pins to the same height. Touch up the paint afterwards. It was difficult to capture a good photo of the result. Steve
- 70 replies
-
- 7
-
-
- Lowell Grand Banks Dory
- Finished
- (and 1 more)
-
Lynn, it does not look too complex for you but it seems expensive for what you are getting in that kit. Looks like a solid hull also, which comes with its own challenges. Looking for cost effective options for you. Another option is the Model Shipways Pilot Boat. Chuck Passaro has written a great practicum to supplement the instructions. https://modelexpo-online.com/Model-Shipways-PHANTOM-NY-PILOT-BOAT-196-SCALE_p_1017.html
- 160 replies
-
- 2
-
-
- Model Shipways
- norwegian sailing pram
- (and 1 more)
-
Longboat is a great kit with great instructions, but I have to disagree with that as your next choice. The scale and the planking make it very challenging and it could be frustrating. You have many choices though. Message me if you want specifics. Steve
- 160 replies
-
- 3
-
-
- Model Shipways
- norwegian sailing pram
- (and 1 more)
-
Well, if you got it on the first try that would not be normal! Lol You’ve already learned that the redo will always be better. Steve
- 160 replies
-
- 3
-

-
-
- Model Shipways
- norwegian sailing pram
- (and 1 more)
-
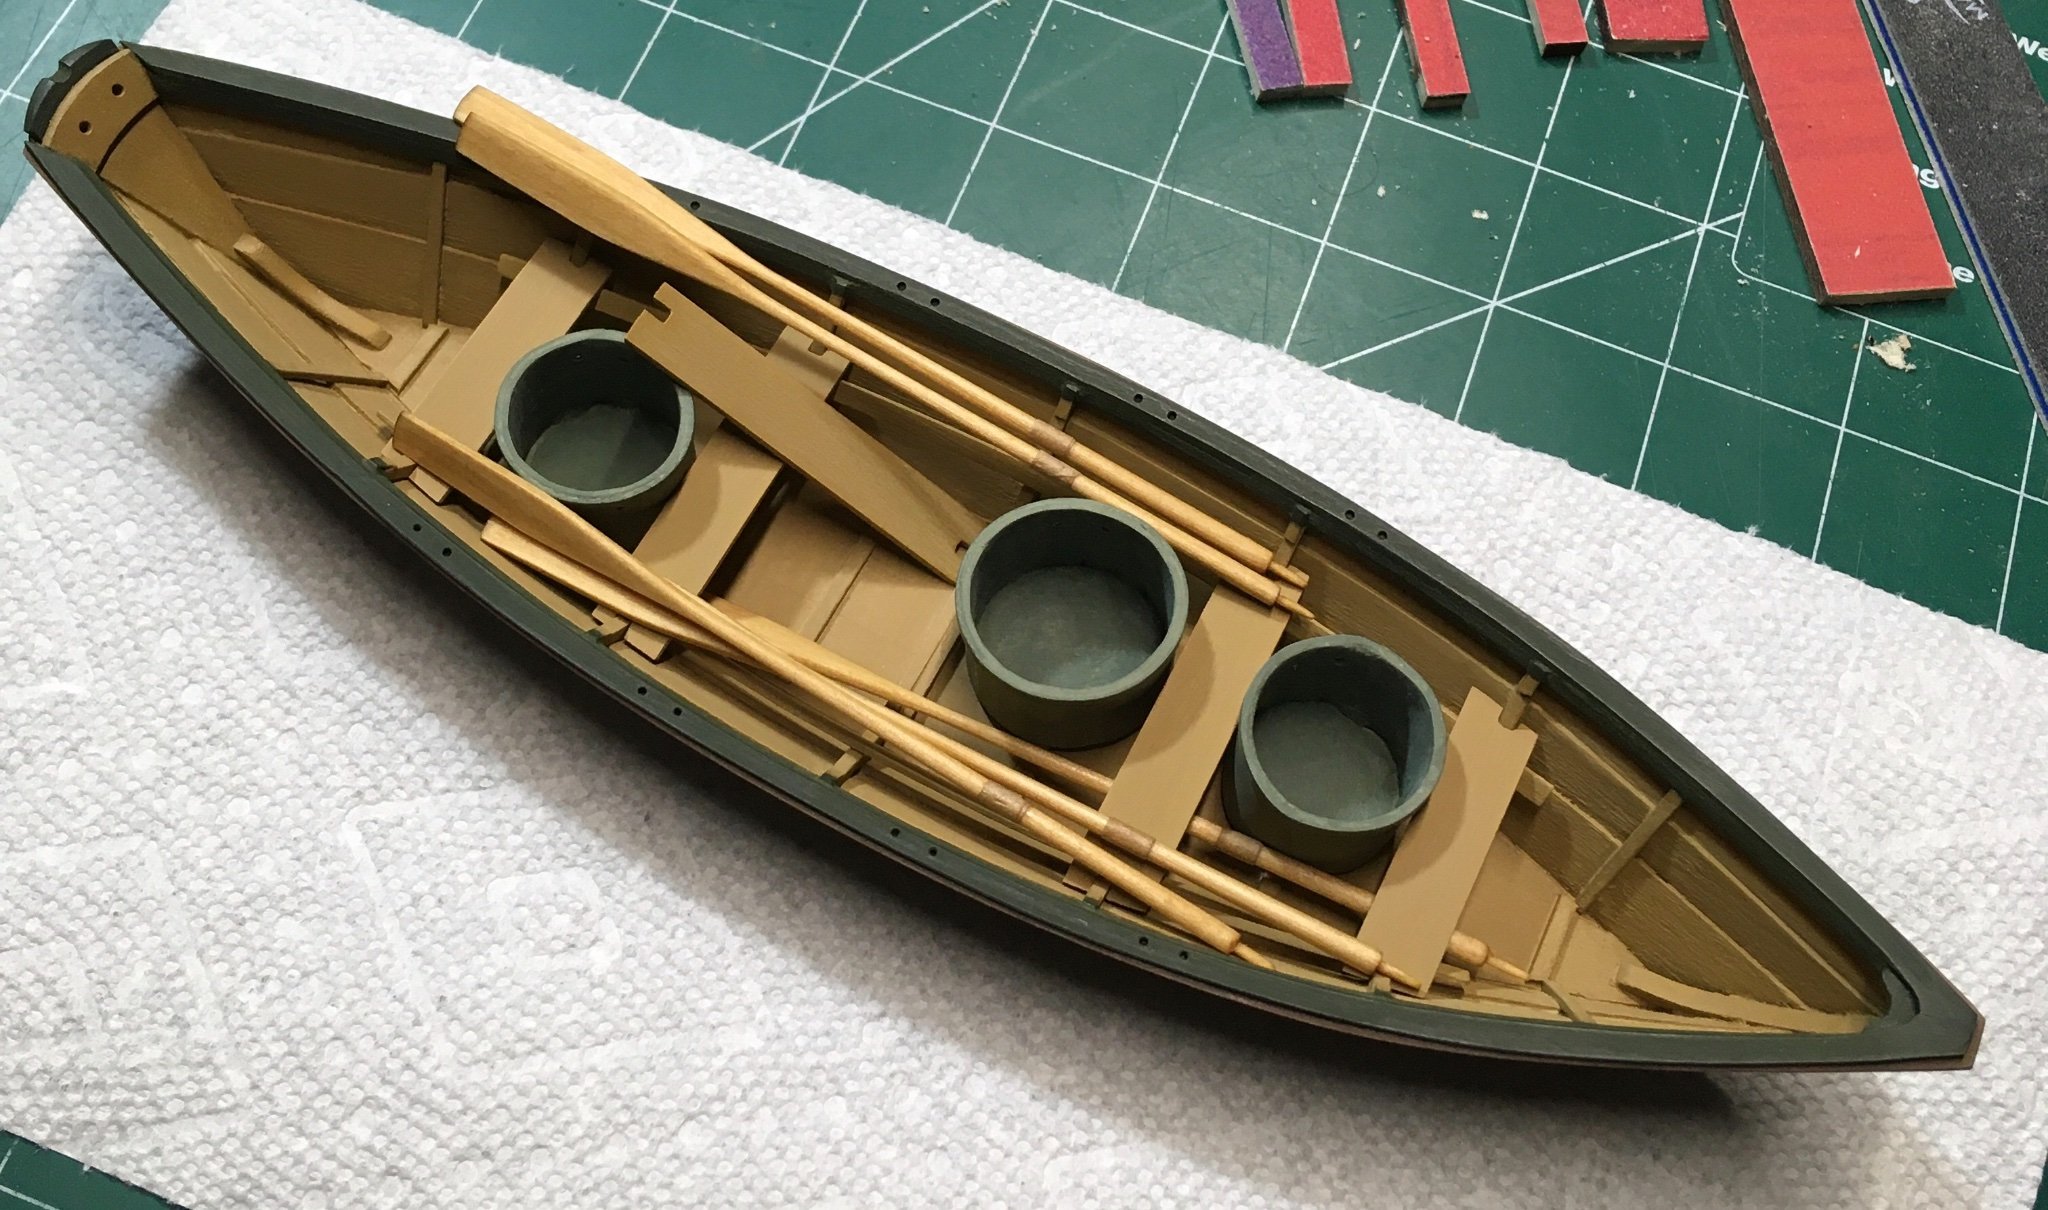
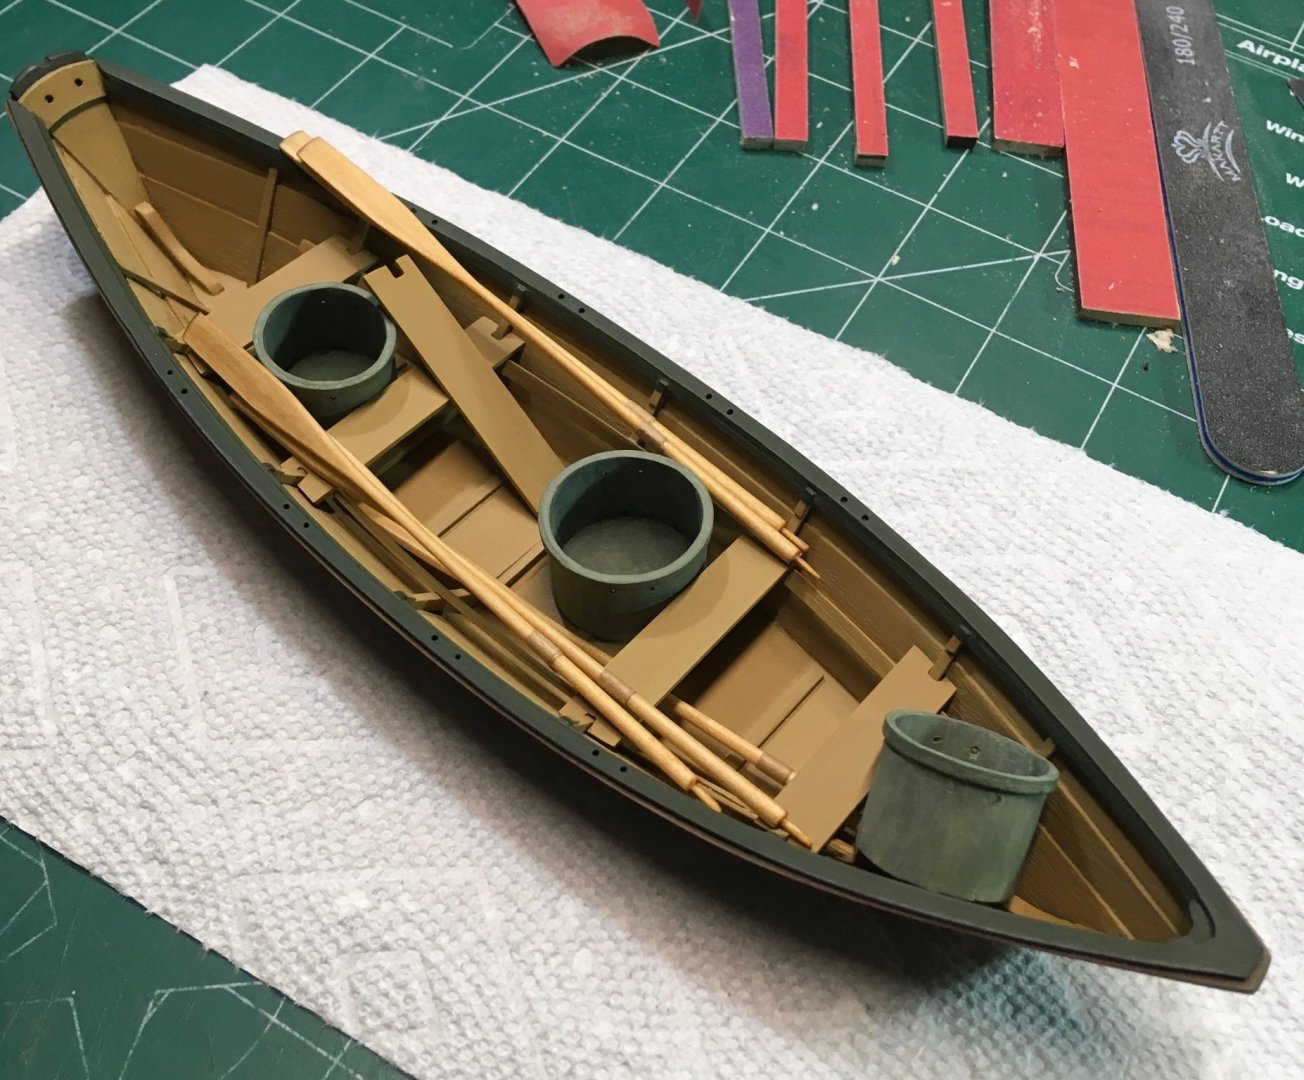
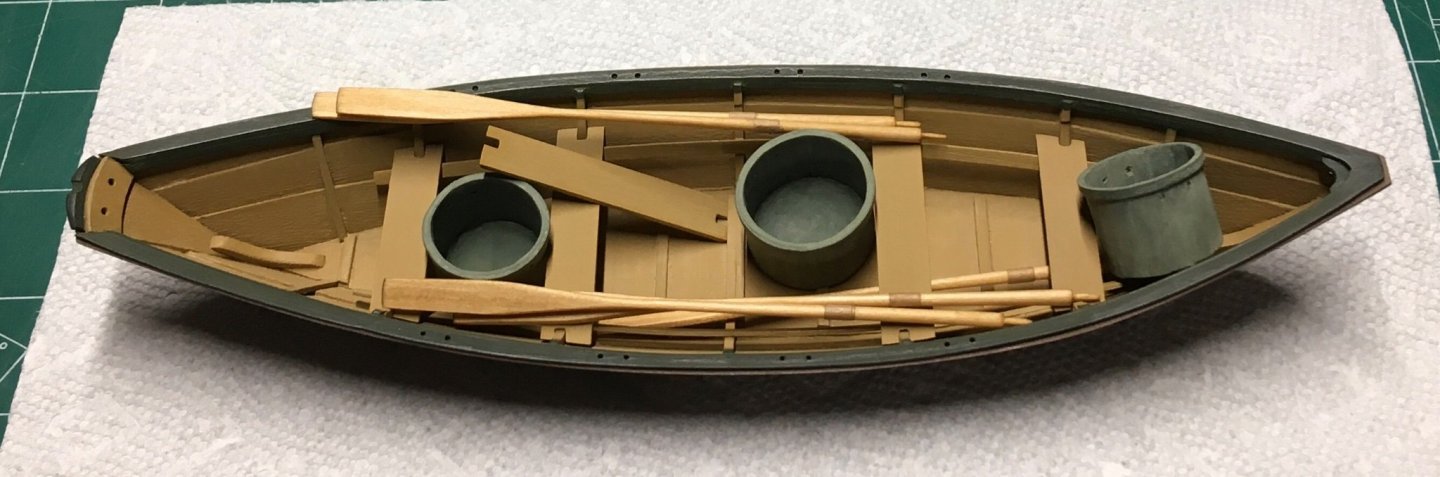
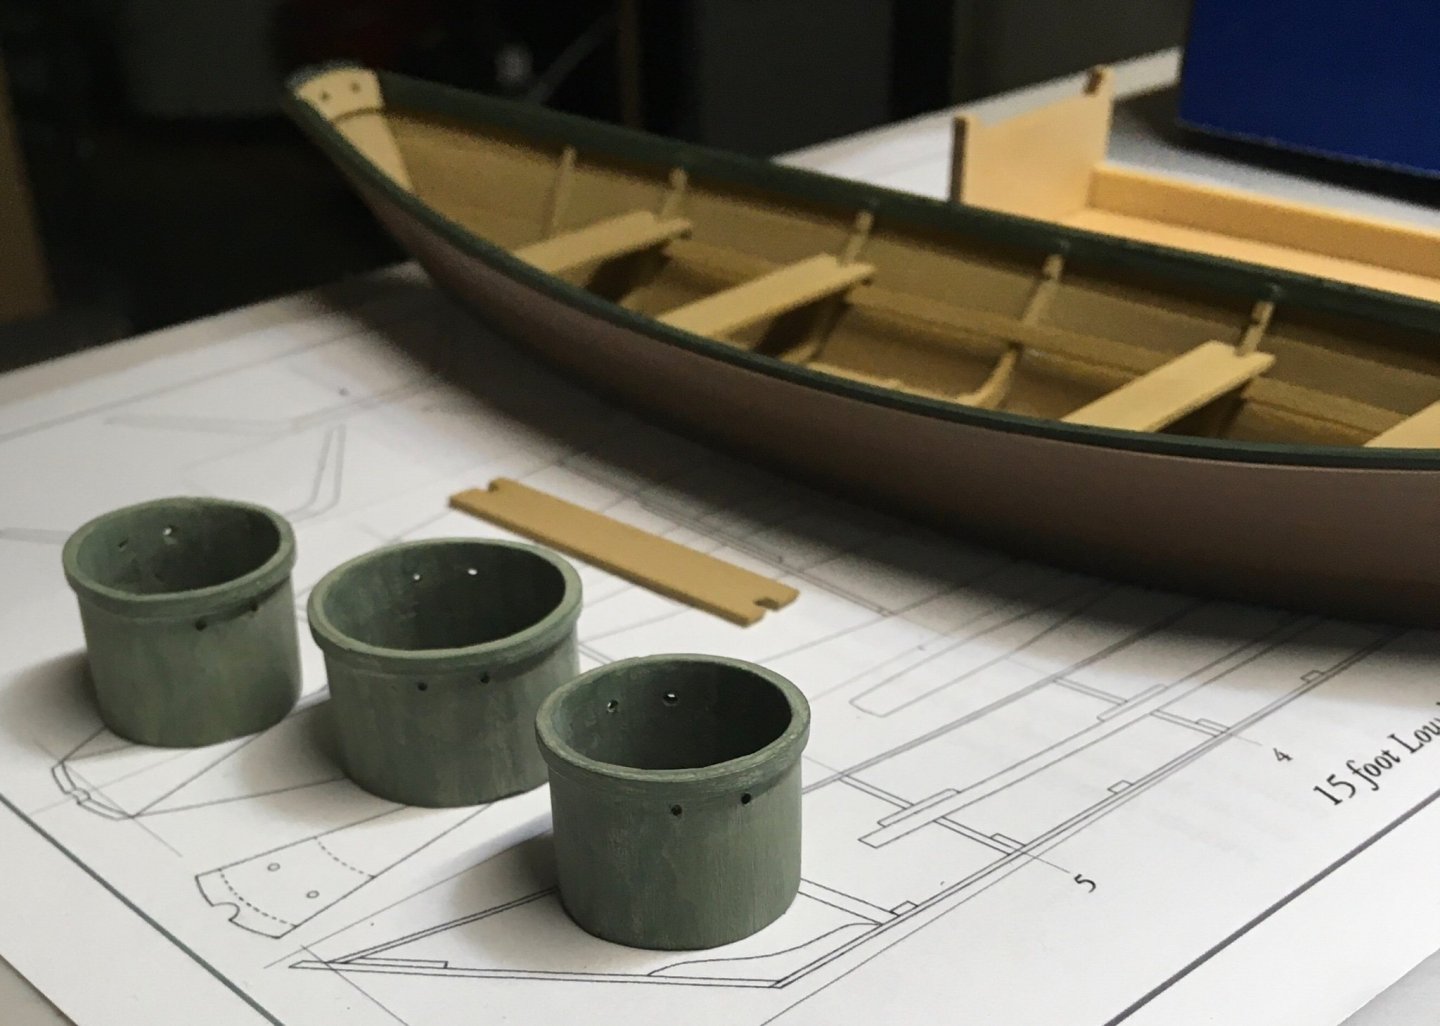
While I craft the thole pins, here is option #2 for presentation. This was my original idea for the bucket placement. If you are following this log or just came across it, please let me know which one is your preference. Your feedback is appreciated. Steve


- 70 replies
-
- 5
-
-
- Lowell Grand Banks Dory
- Finished
- (and 1 more)
-
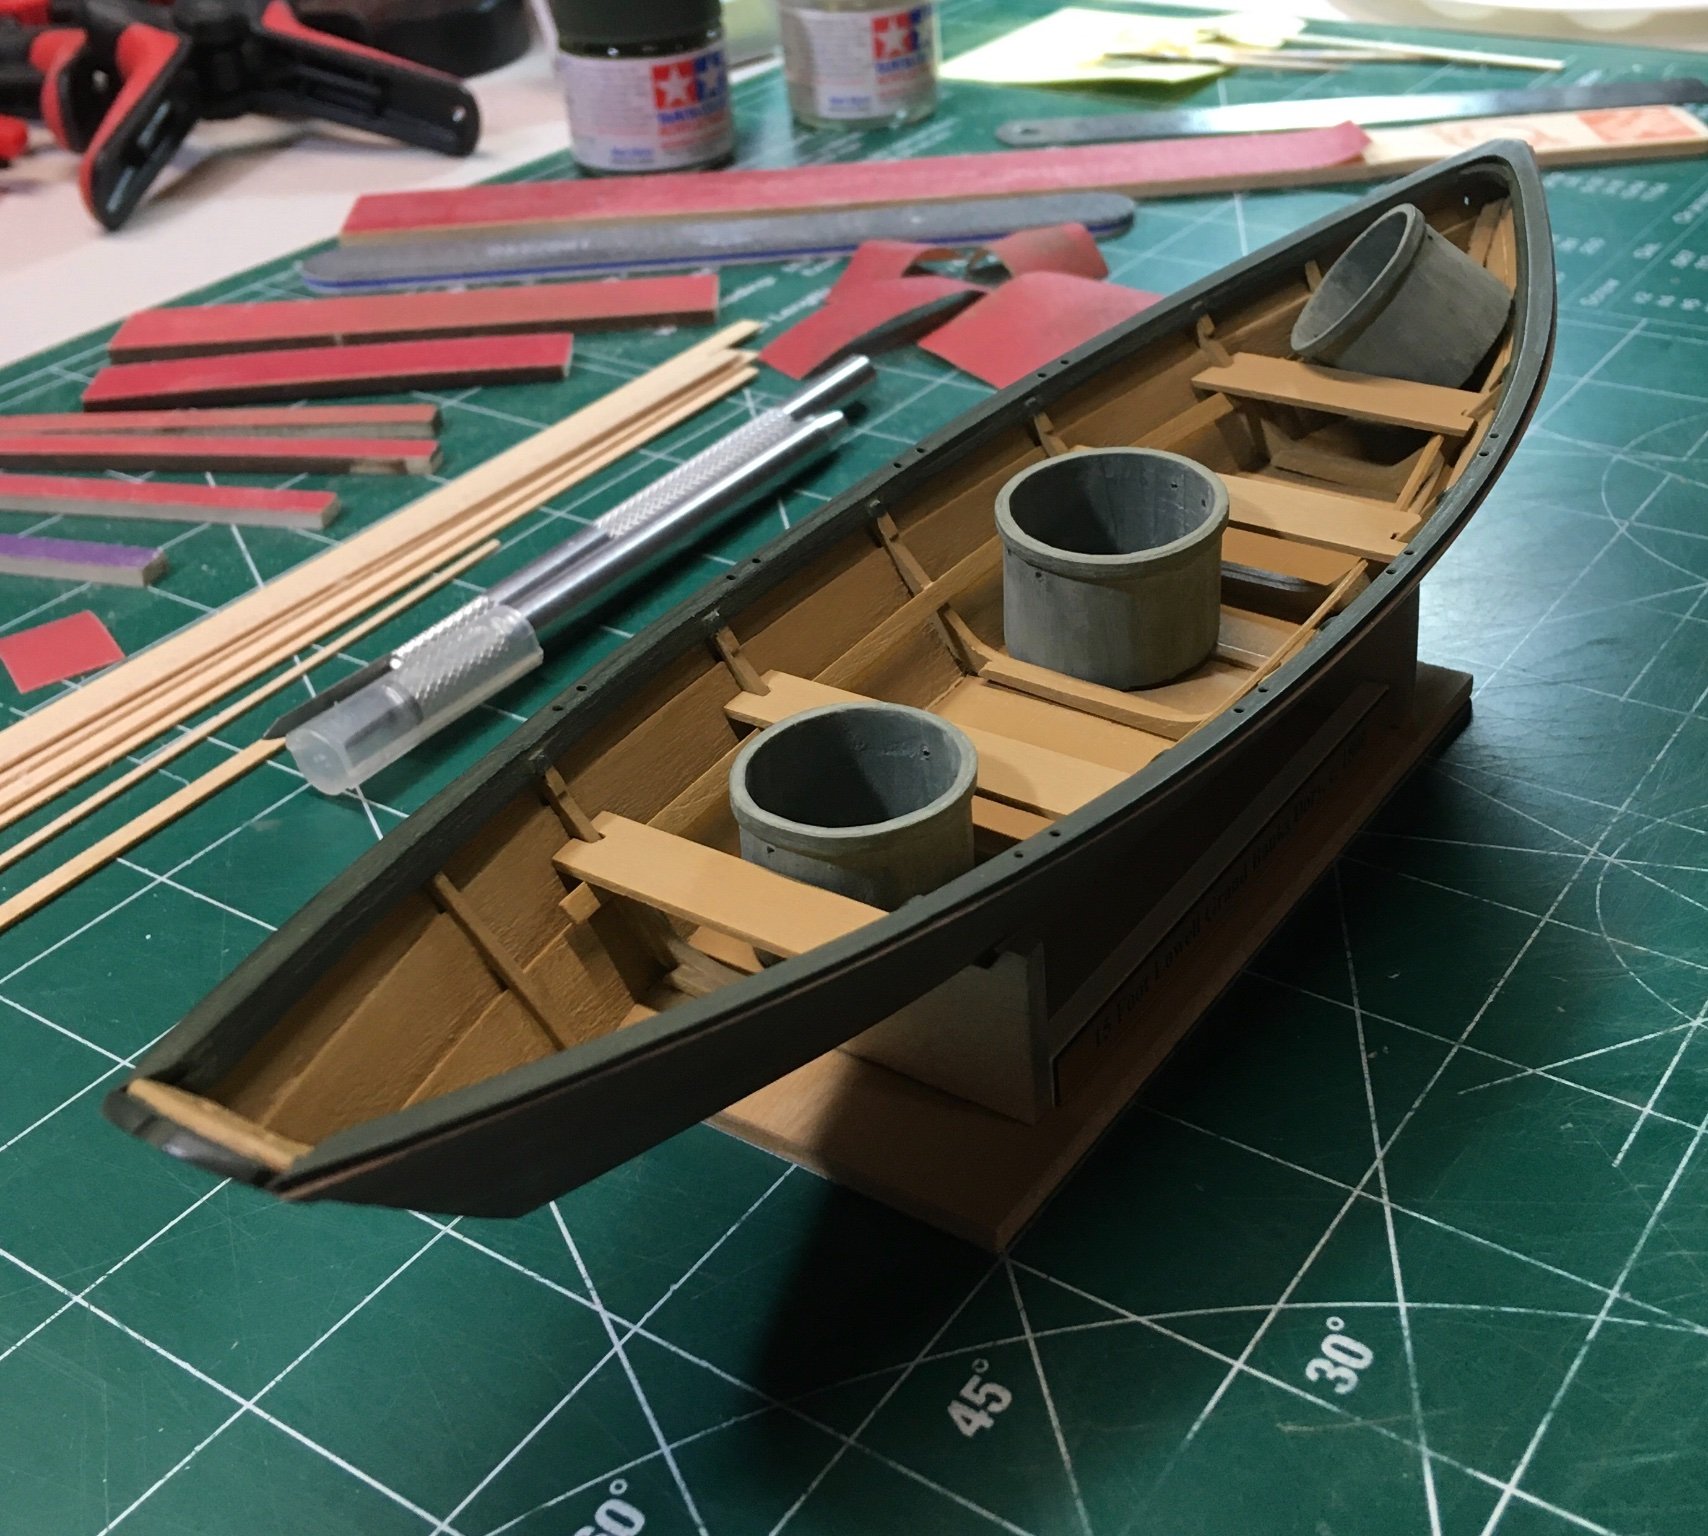
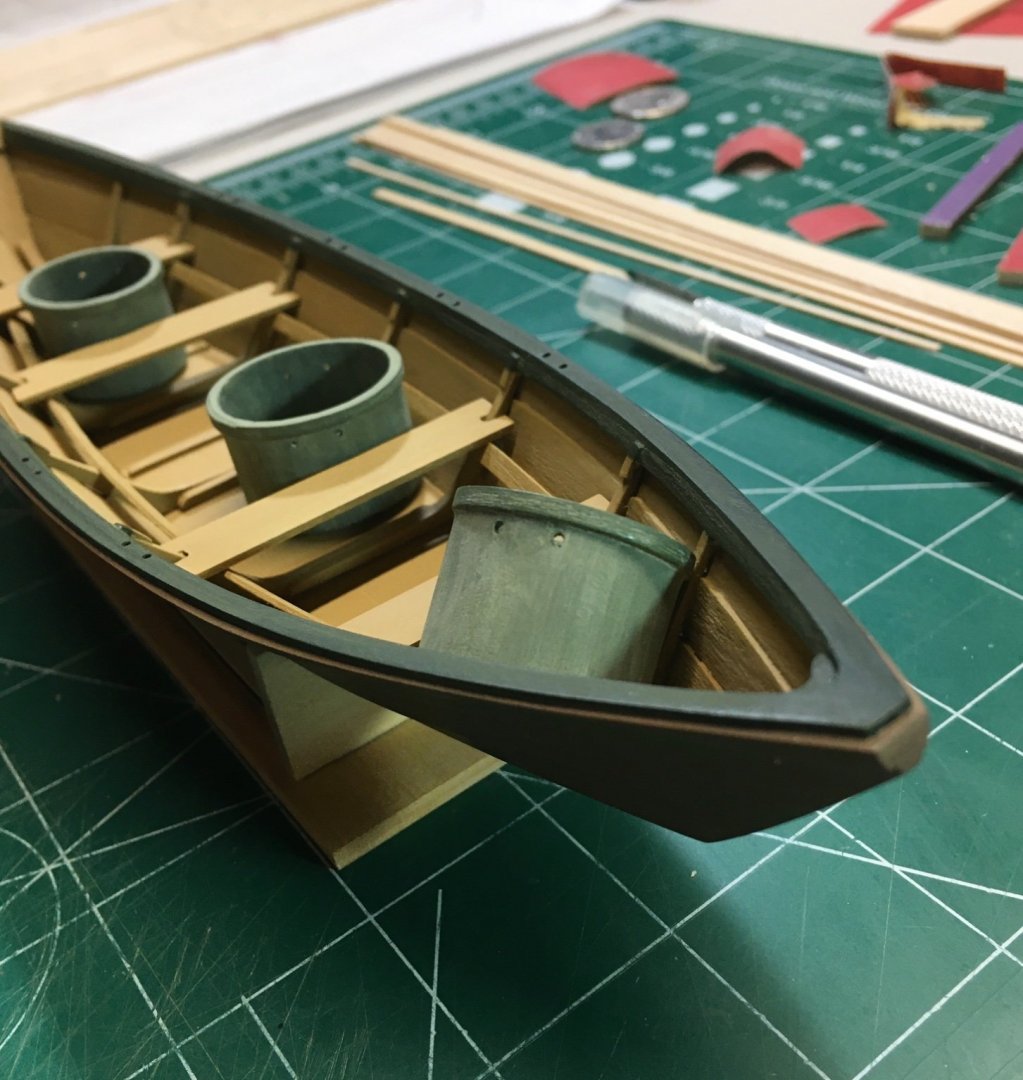
Here’s a couple of reference photos of the presentation I’ve settled on. Let me know if it’s too “kitchen sink” with the extra oar stowed underneath the thwarts. The rope and thole pins should complete the look nicely. (I hope!) Steve
- 70 replies
-
- 7
-
-
- Lowell Grand Banks Dory
- Finished
- (and 1 more)
-
Lynn- I have to agree with Ryland’s recommendation. Model Shipways Muscongus Bay Lobster Smack. It looks like you will get some needed planking practice on this model and you have many different finishing options later in the project. It’s fairly inexpensive and will take quite a bit of time to complete, which is the way it should be. You will know when you are ready for a more complex project. No need to spend hundreds on a kit especially at this moment. Hope this helps. Steve
- 160 replies
-
- 3
-
-
- Model Shipways
- norwegian sailing pram
- (and 1 more)
-
Thank you very much gentlemen! I am not looking forward to creating or installing the thole pins Steve
- 70 replies
-
- 2
-
-
- Lowell Grand Banks Dory
- Finished
- (and 1 more)
-
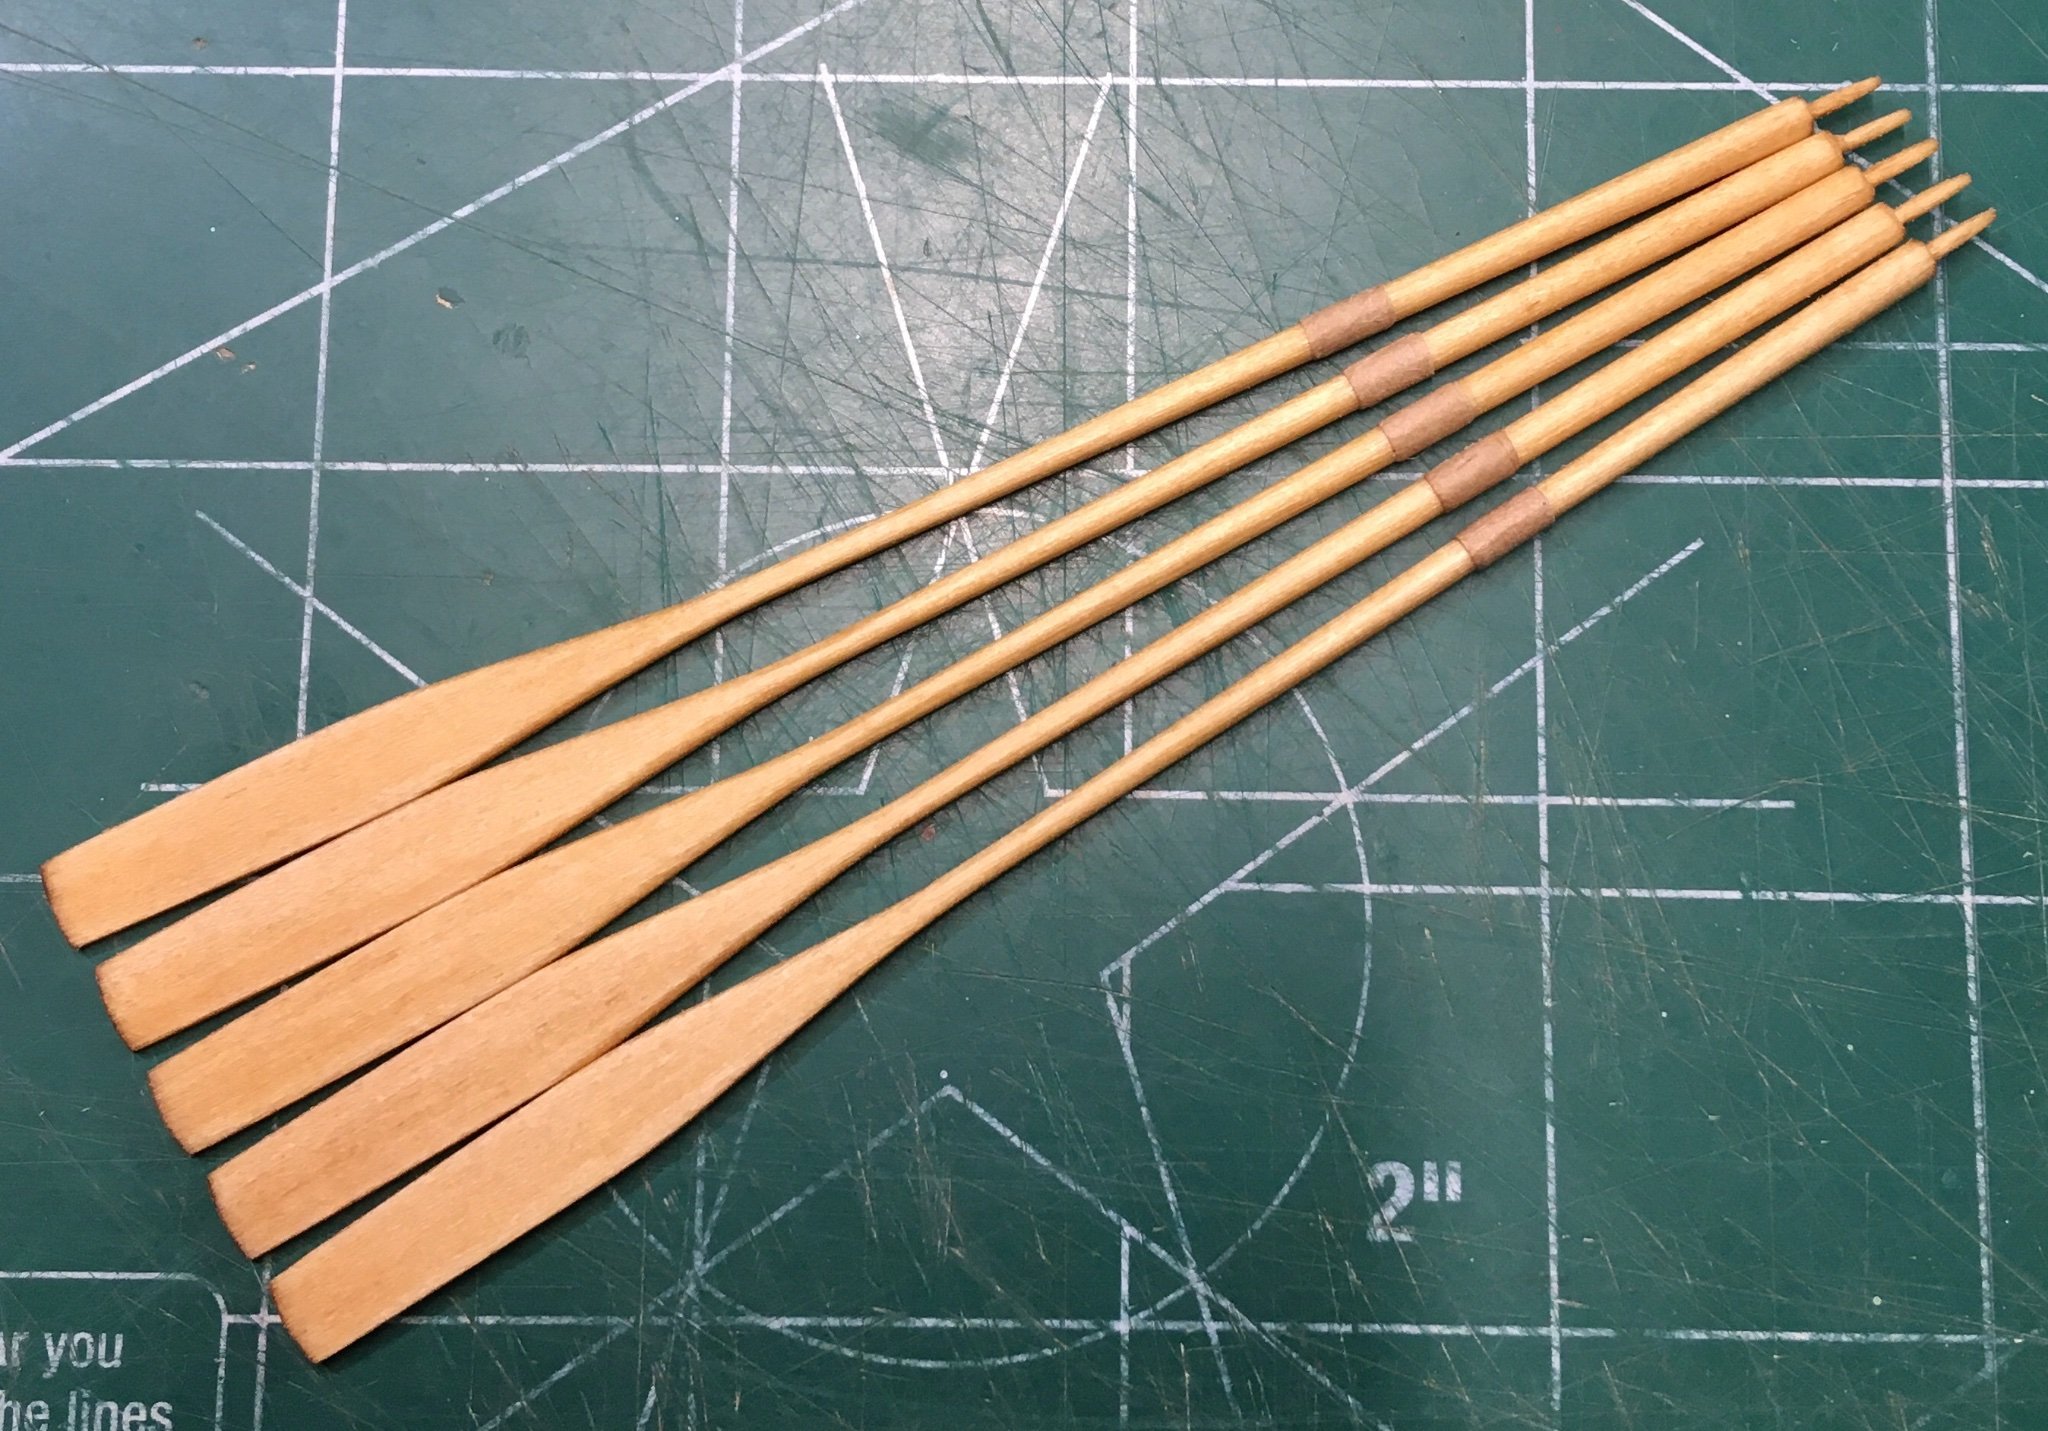
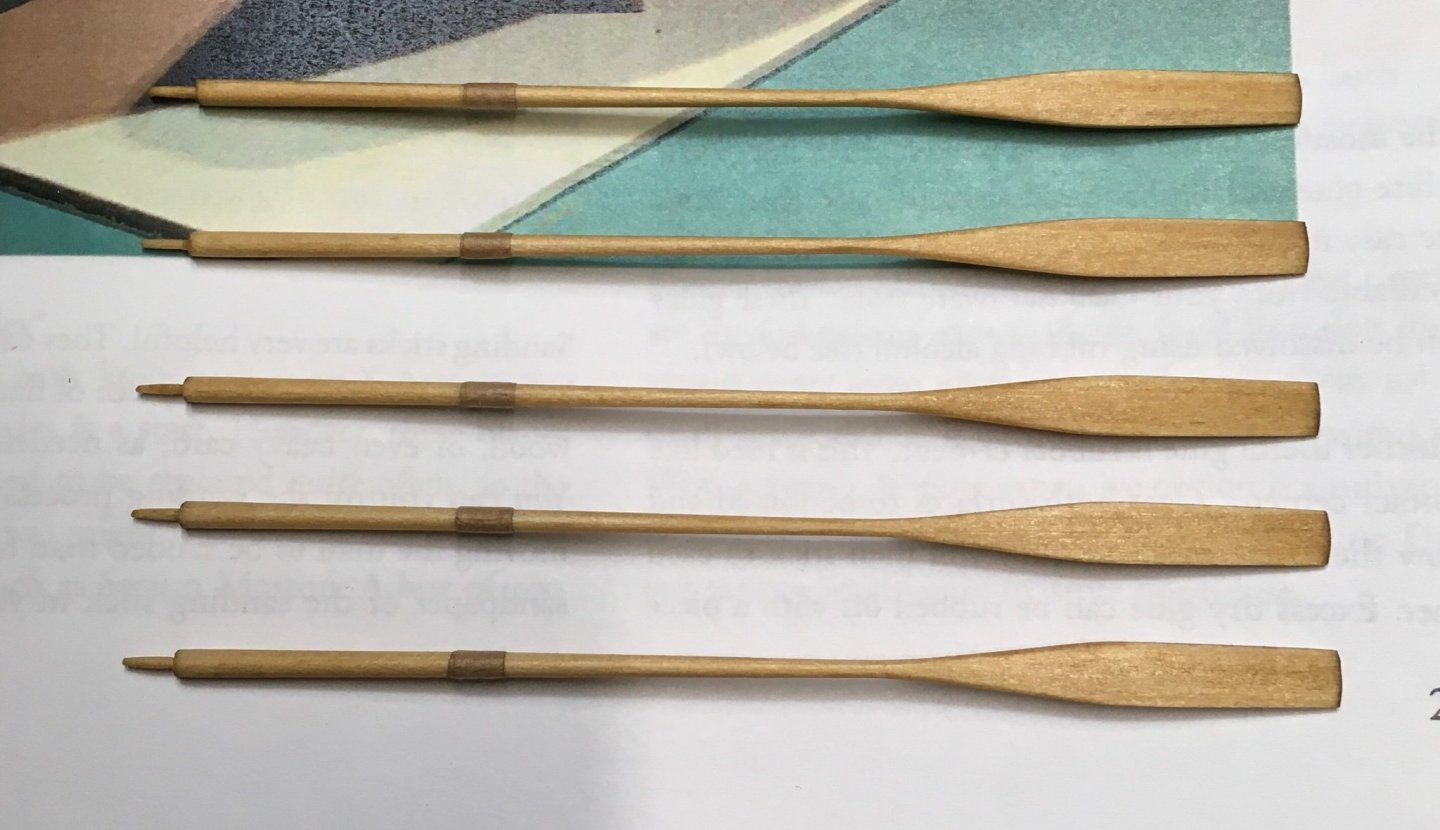
Leathering is completed and one coat of Wipe-On-Poly (second photo). I suppose I will need to eliminate one for the presentation. Steve
- 70 replies
-
- 3
-
-
- Lowell Grand Banks Dory
- Finished
- (and 1 more)
-
Looks very neat. I like it! Steve
-
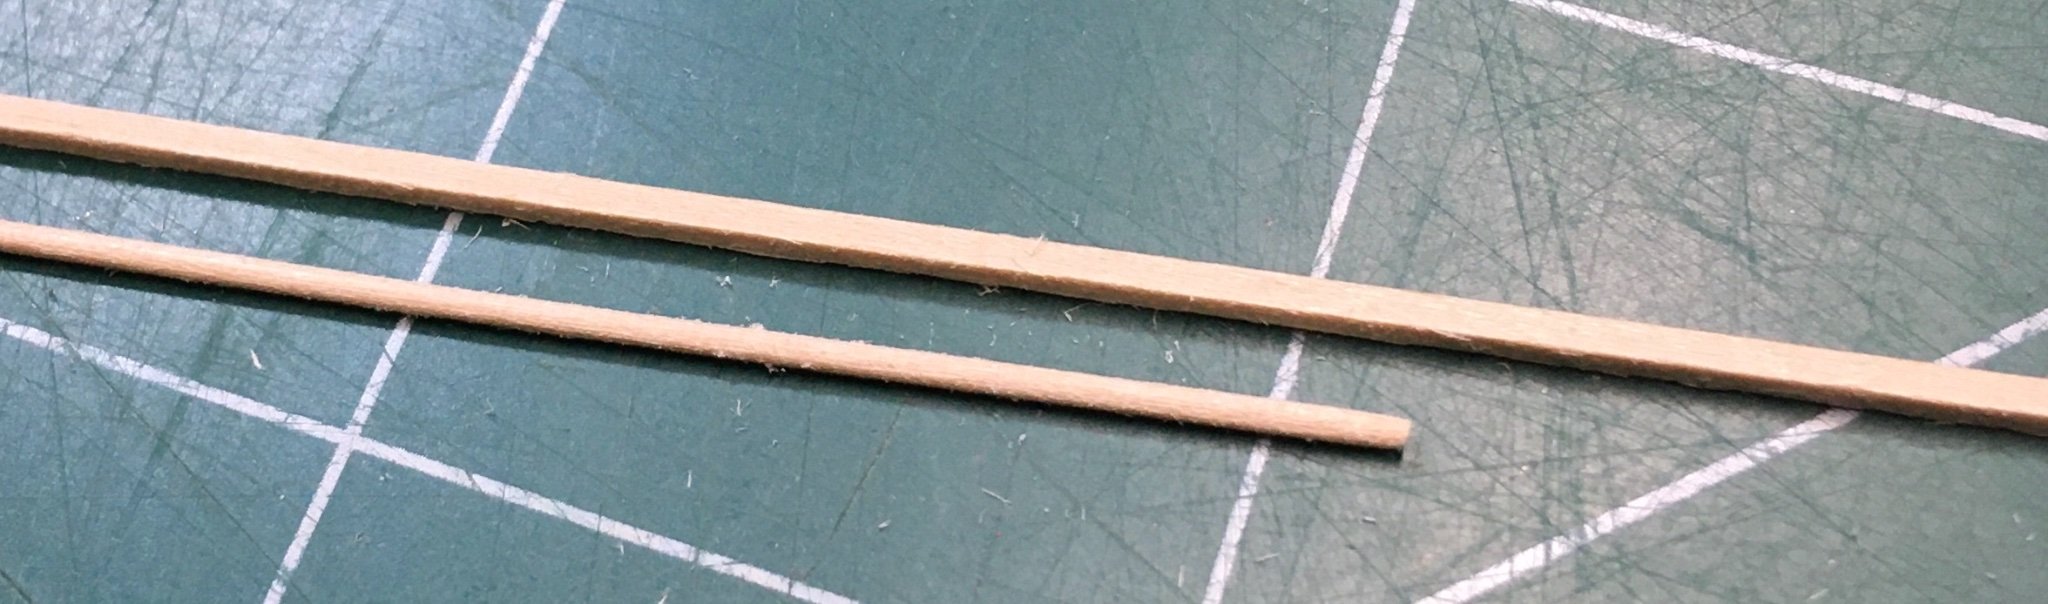
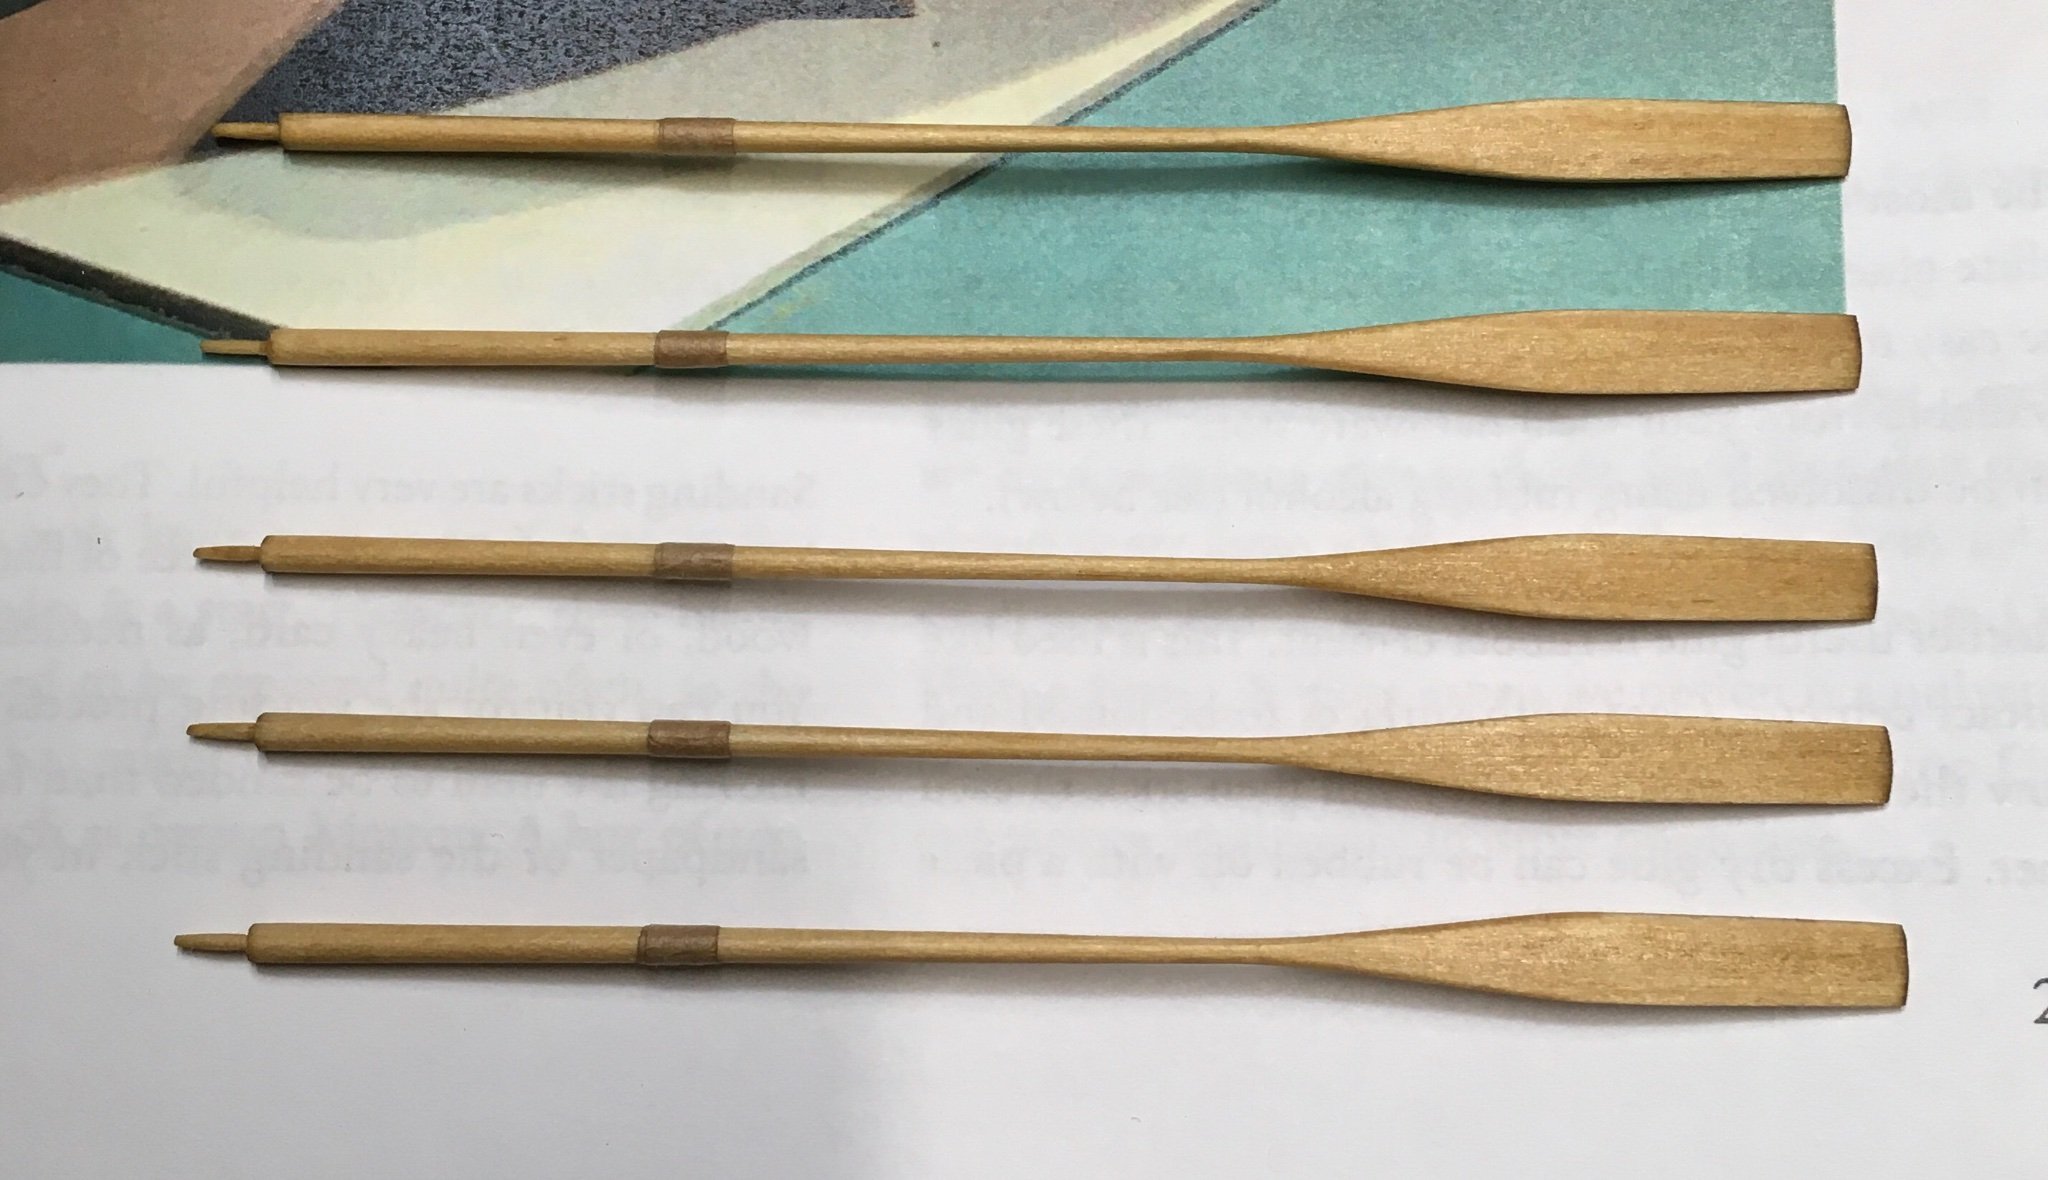
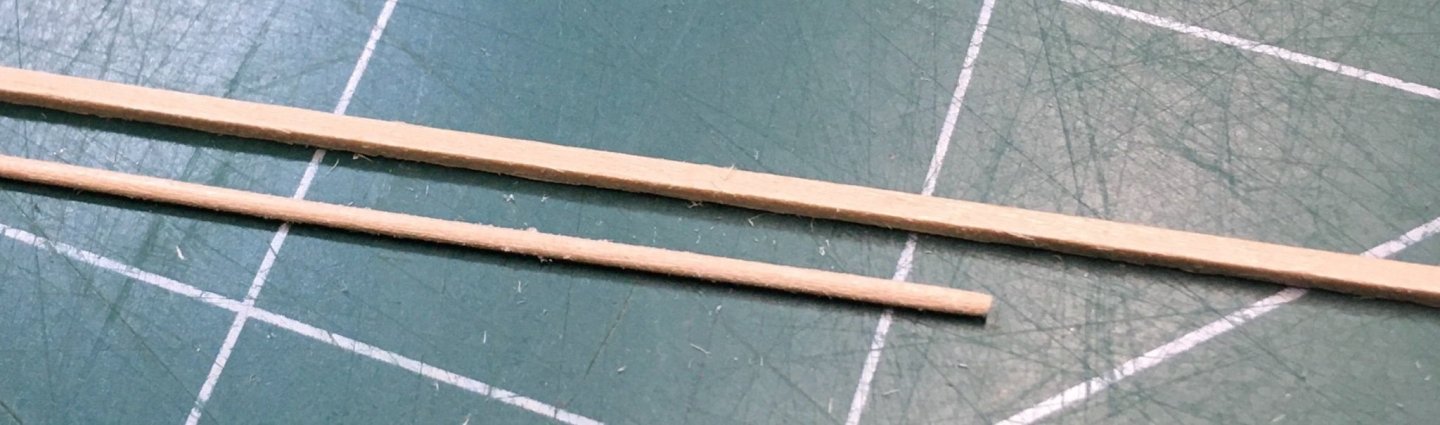
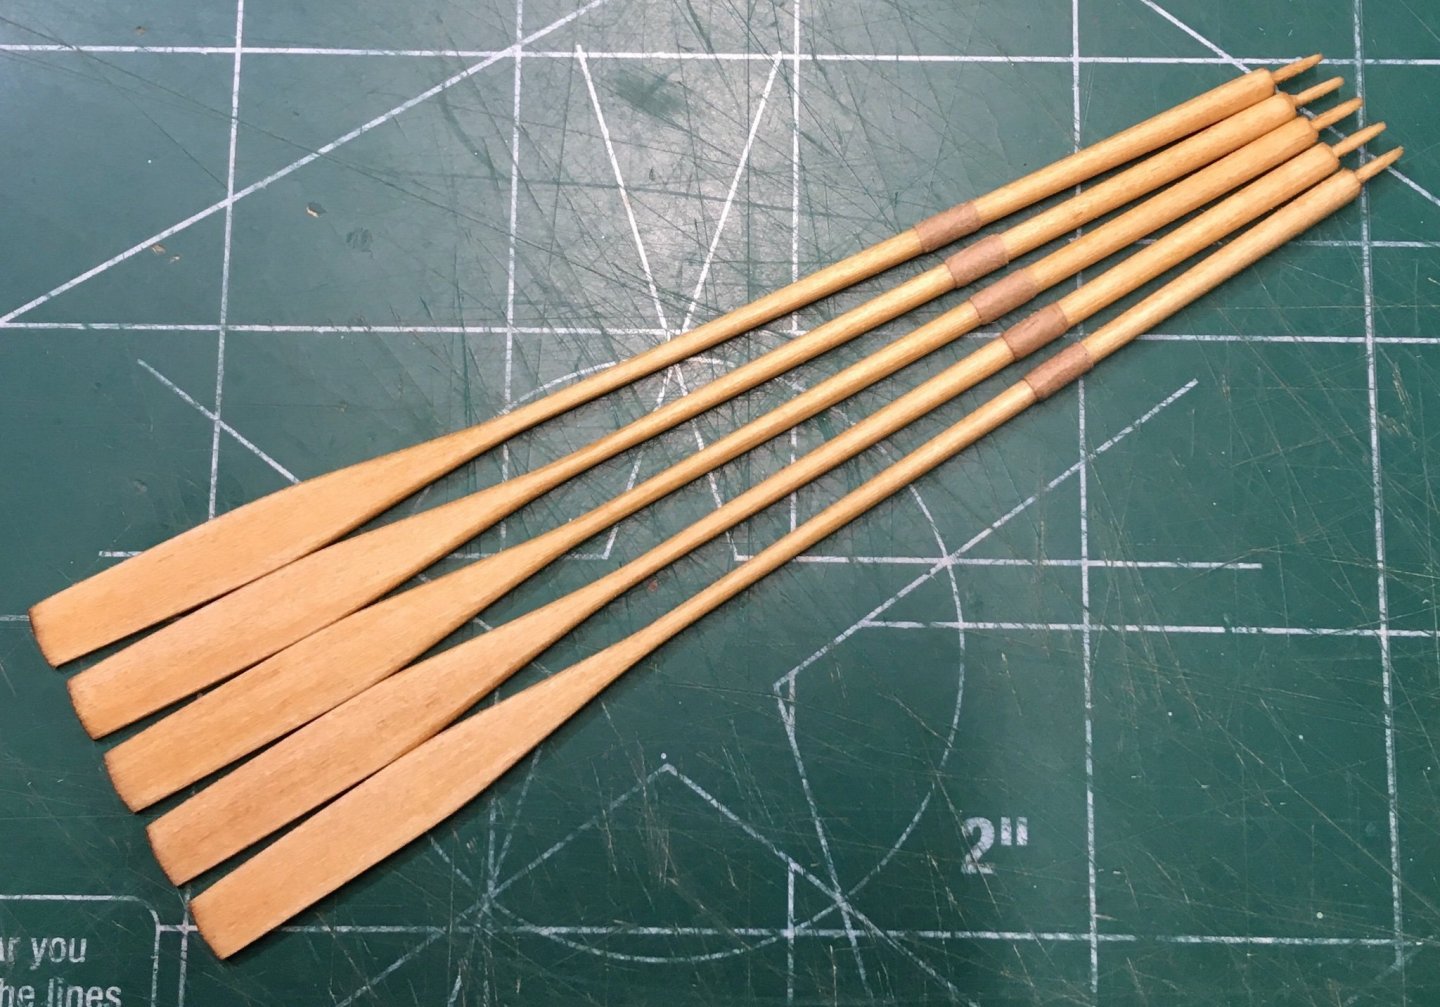
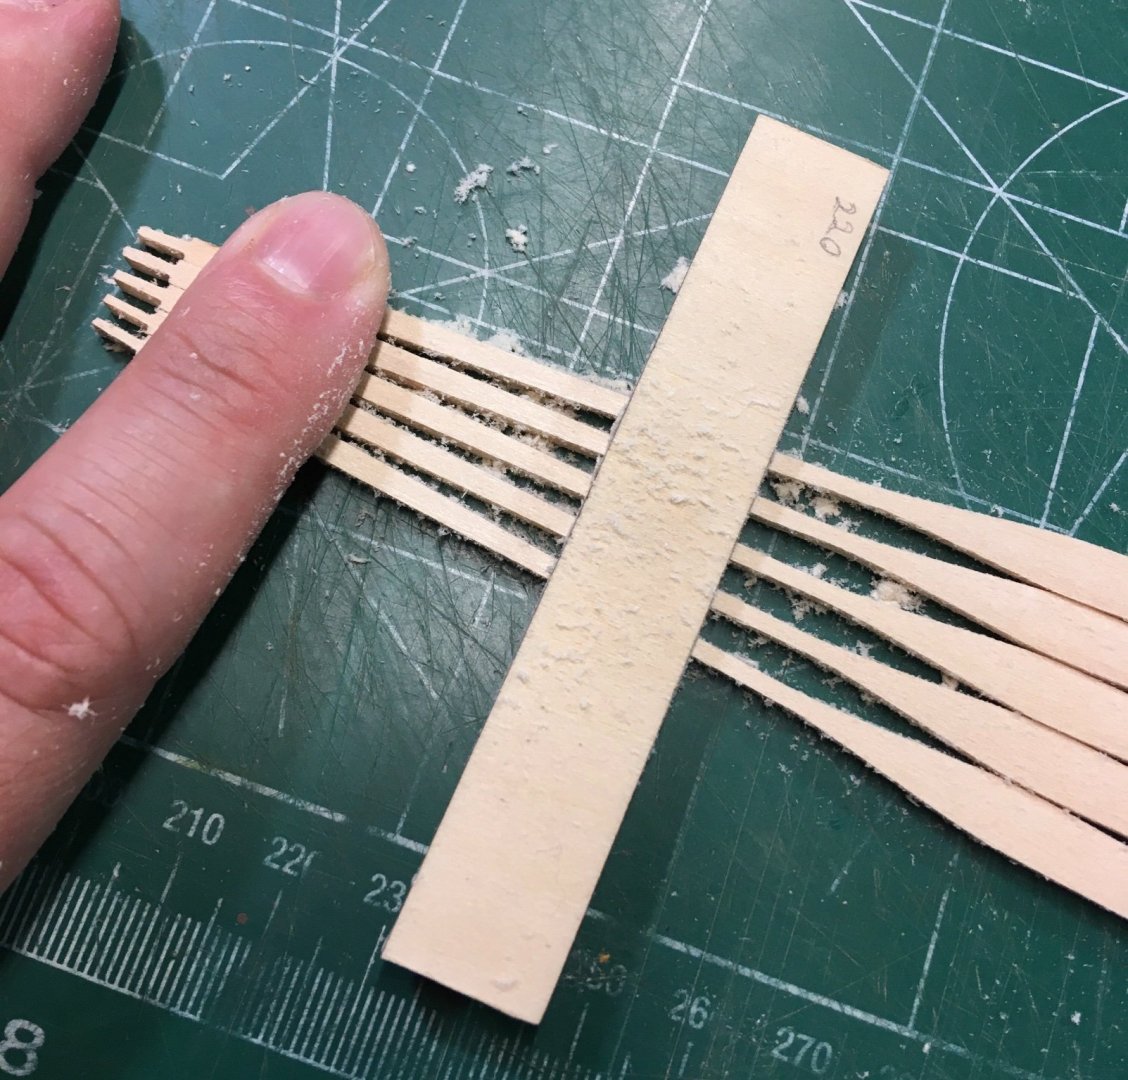
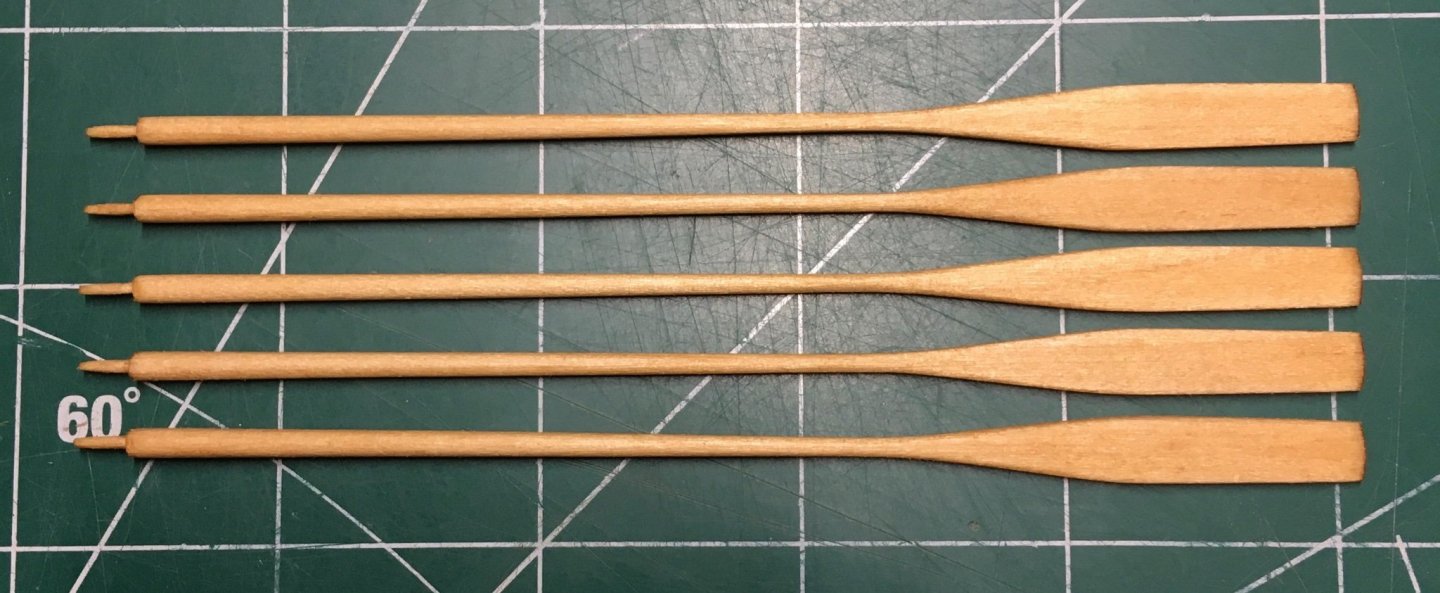
Using the techniques described in the manual, I tapered and shaped the oars. To get a consistent tapering across all oars, I used the technique shown in the first photo where I sanded towards the blade. The oars were treated with several coats of natural stain followed by two coats of golden oak, which were wiped off after about a minute of saturation. Leathering is next. Steve
- 70 replies
-
- 5
-
-
- Lowell Grand Banks Dory
- Finished
- (and 1 more)
-
Nice! Steve
-
I think the sail looks pretty good. Shouldn’t the spar be rounded though? That is sticking out to me. Doesn’t look right. Steve
- 160 replies
-
- 3
-
-
- Model Shipways
- norwegian sailing pram
- (and 1 more)
-
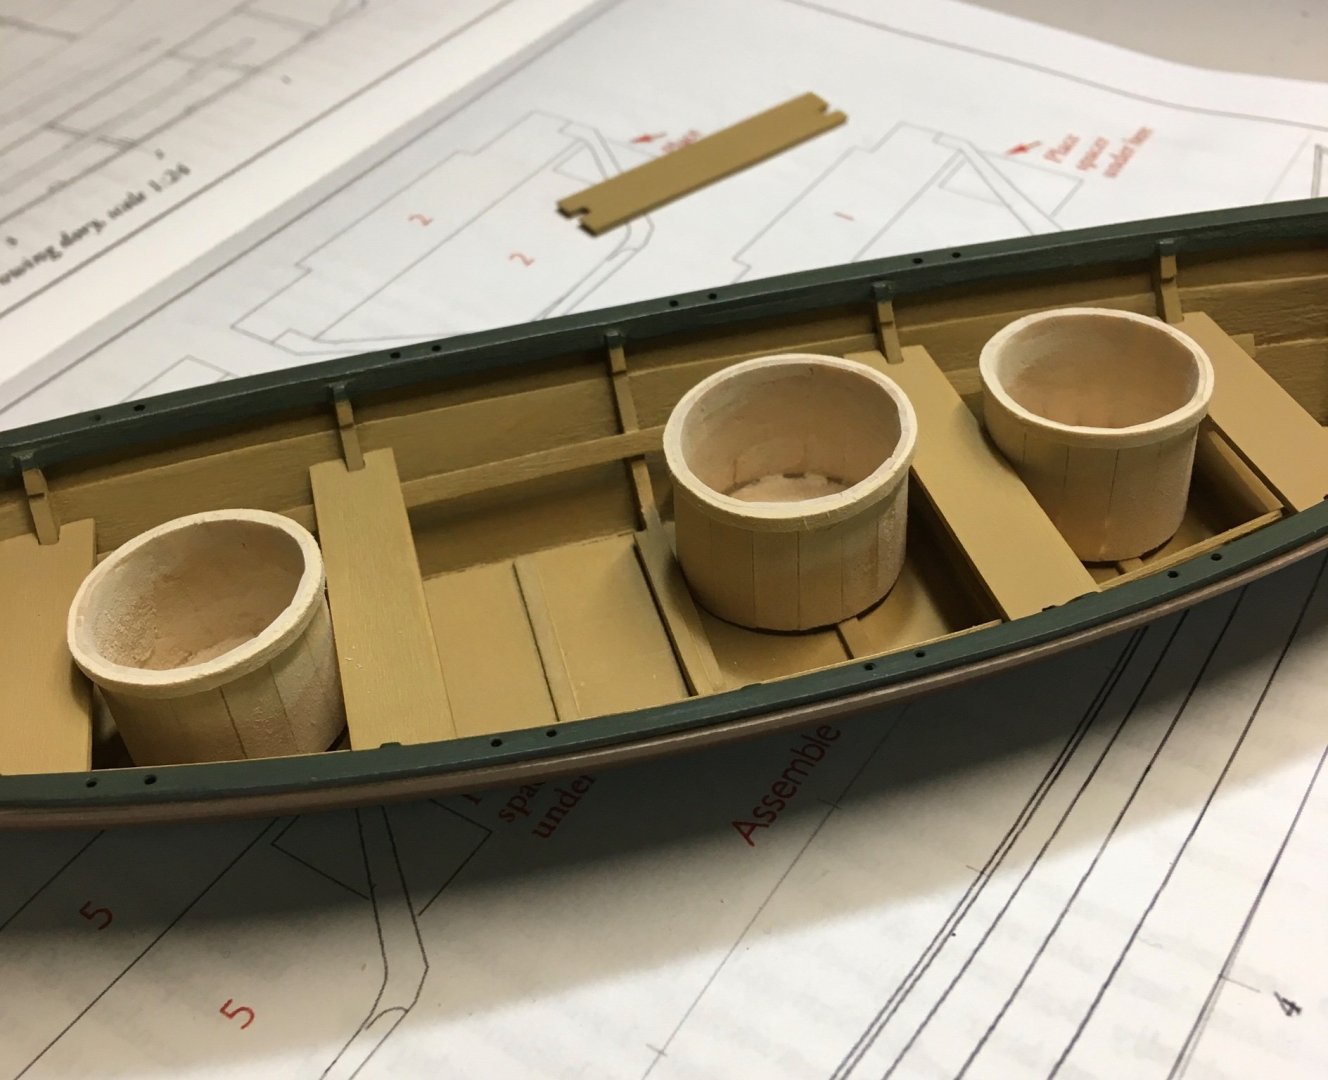
Finishing the paint job on the buckets took a while. White and green paint were mixed in different ratios to get the desired hue. The final coat was the lightest version of this mixture, followed by a damp brush while the paint was still wet. This removed most of the last coat to create the texture. Holes were drilled in the buckets and the thwarts were permanently installed. Next, I will work on the oars. Steve

- 70 replies
-
- 5
-
-
- Lowell Grand Banks Dory
- Finished
- (and 1 more)
-
Beautiful design and execution. Steve
- 1,784 replies
-
- 1
-
-
- winchelsea
- Syren Ship Model Company
- (and 1 more)
-
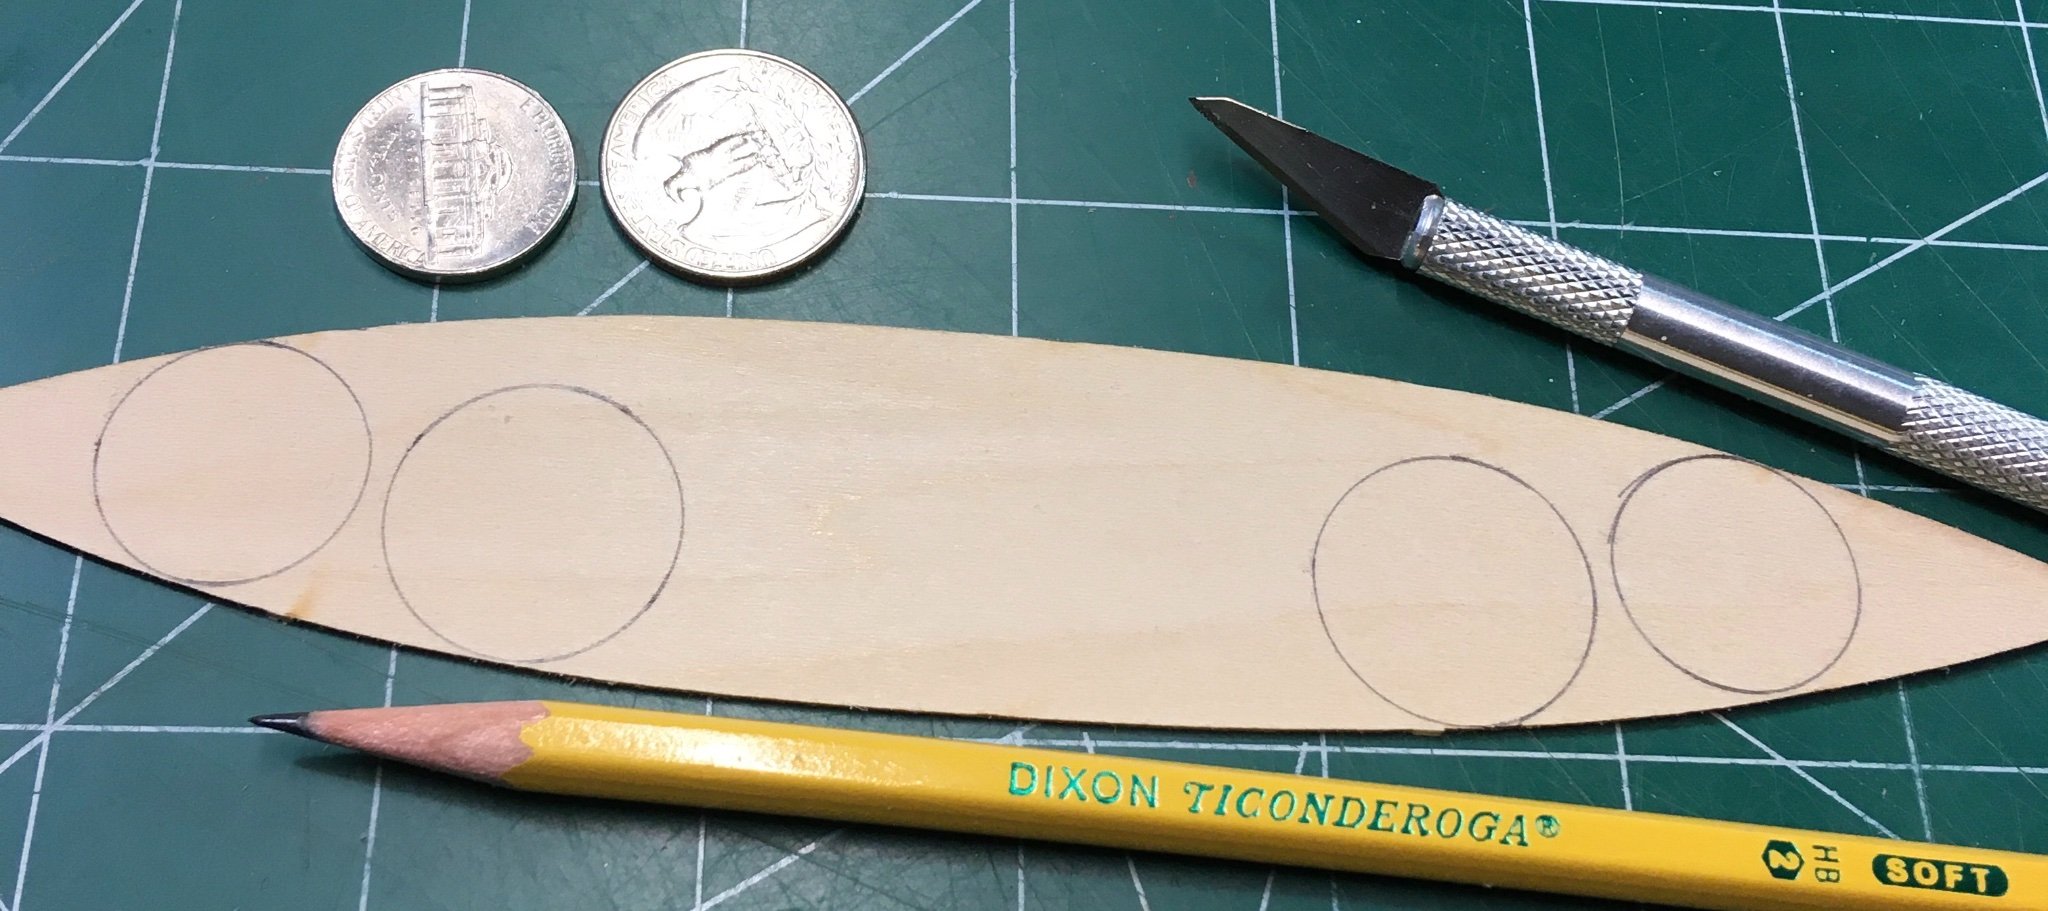
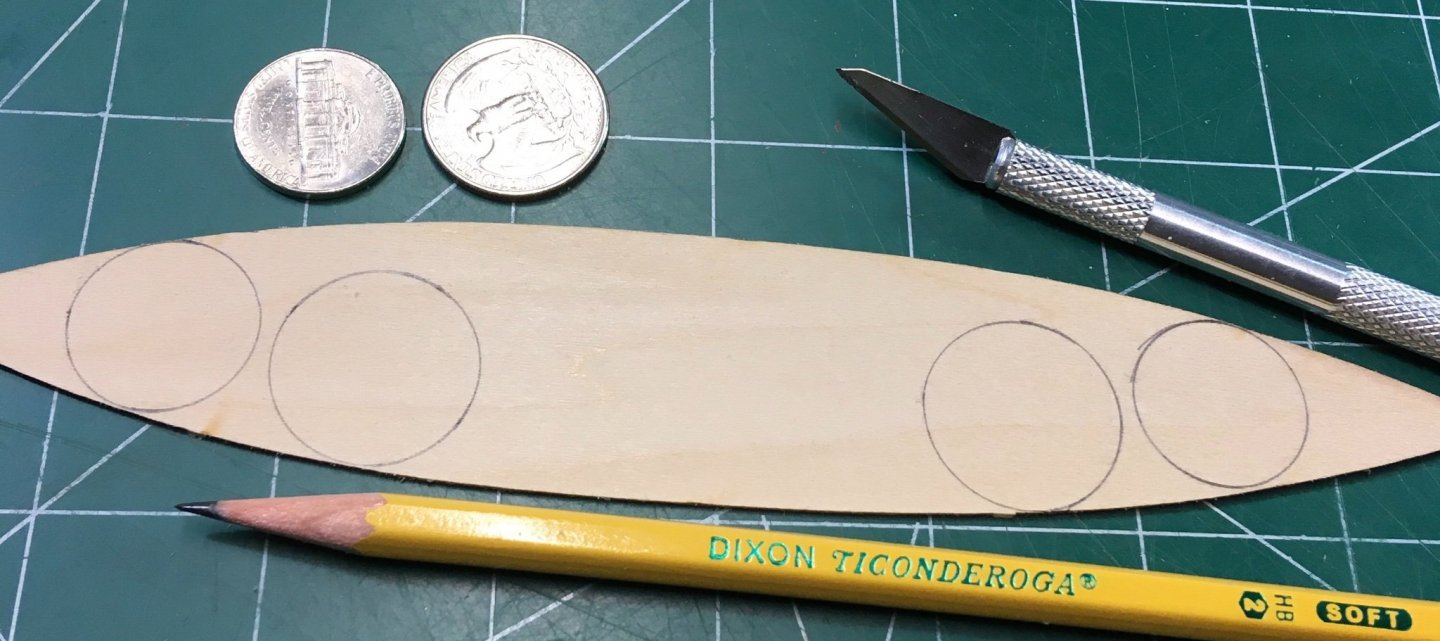
Made four buckets- two quarter size and two nickel size. One bucket did not survive, but I think it would have been too crowded in the presentation. These will be painted and holes drilled. 3/16” strips were used in the construction. I applied one coat of paint after this photo, but used too much water. There’s a bit of touch up needed as the water caused some damage. Stay tuned… Steve
- 70 replies
-
- 3
-
-
- Lowell Grand Banks Dory
- Finished
- (and 1 more)
-
Thanks! Took a little break after the painting fiasco. Must build the buckets… Steve
- 70 replies
-
- 2
-
-
- Lowell Grand Banks Dory
- Finished
- (and 1 more)
-
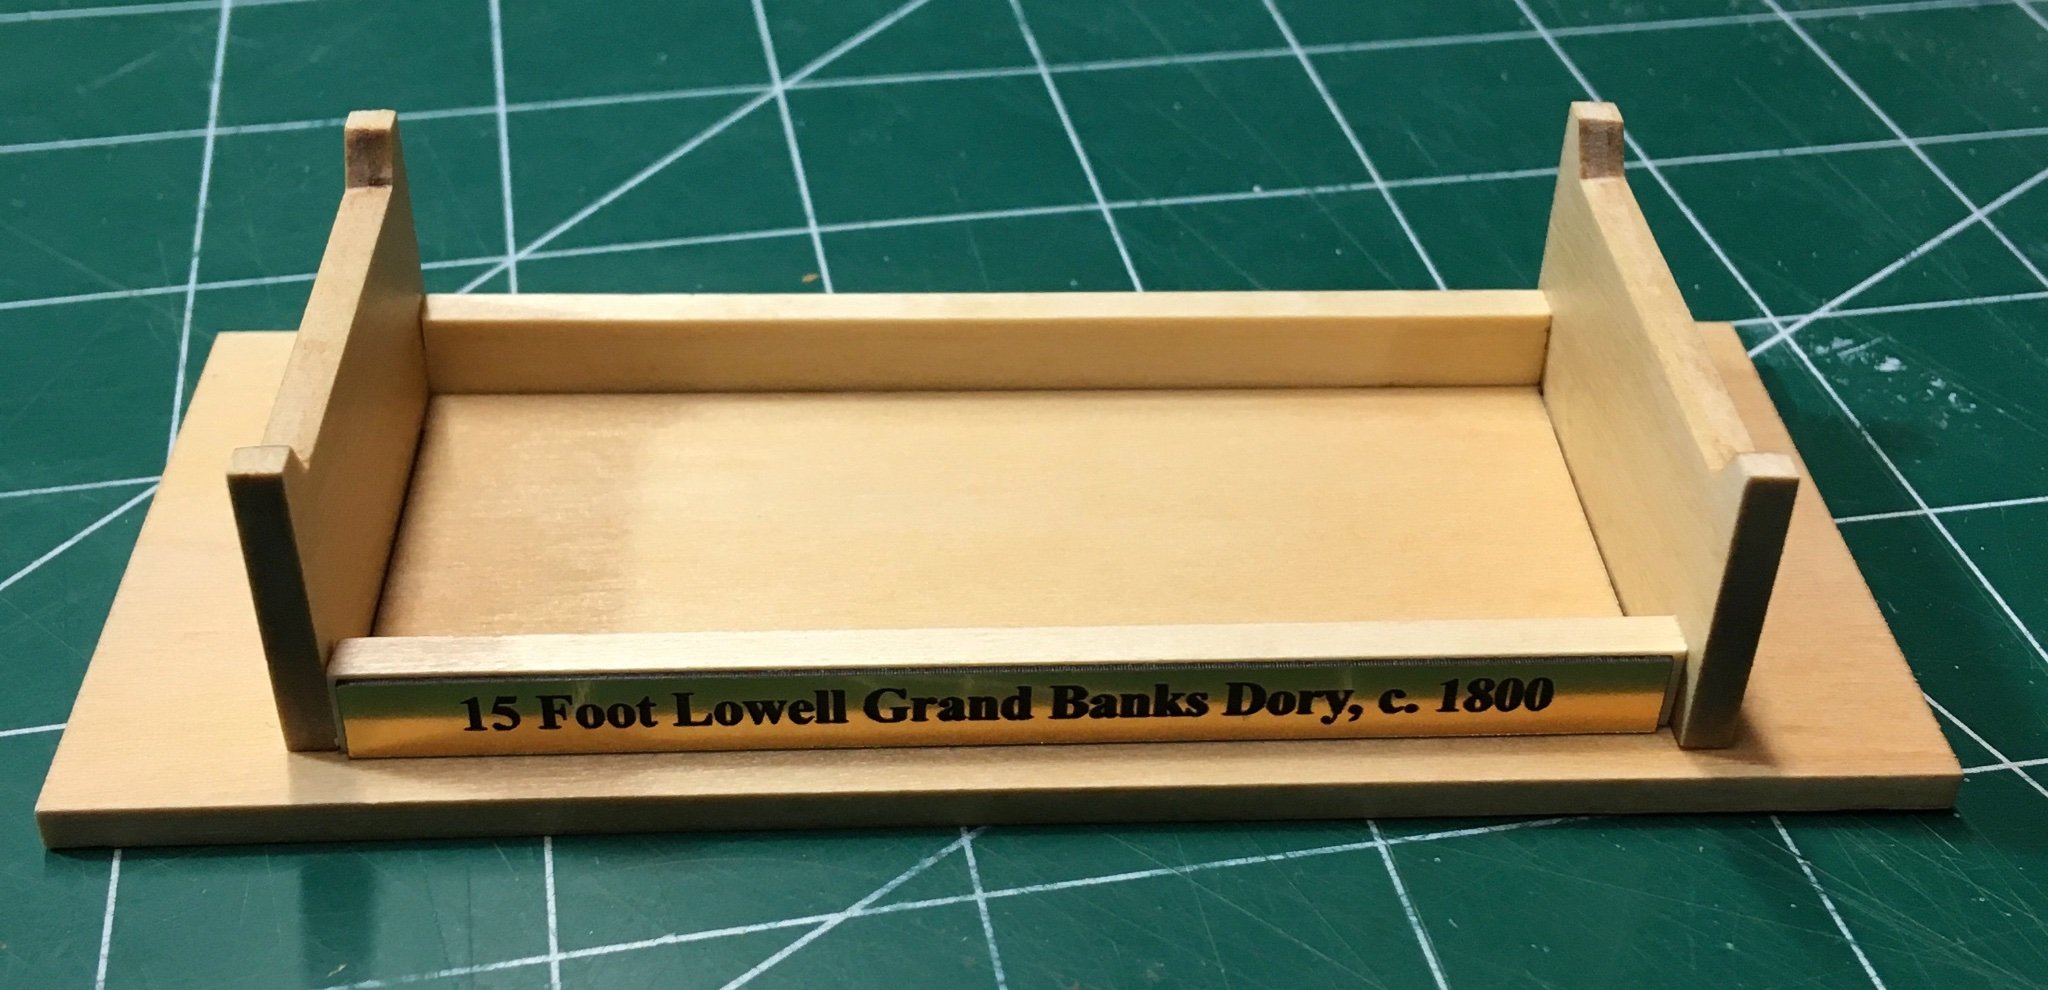
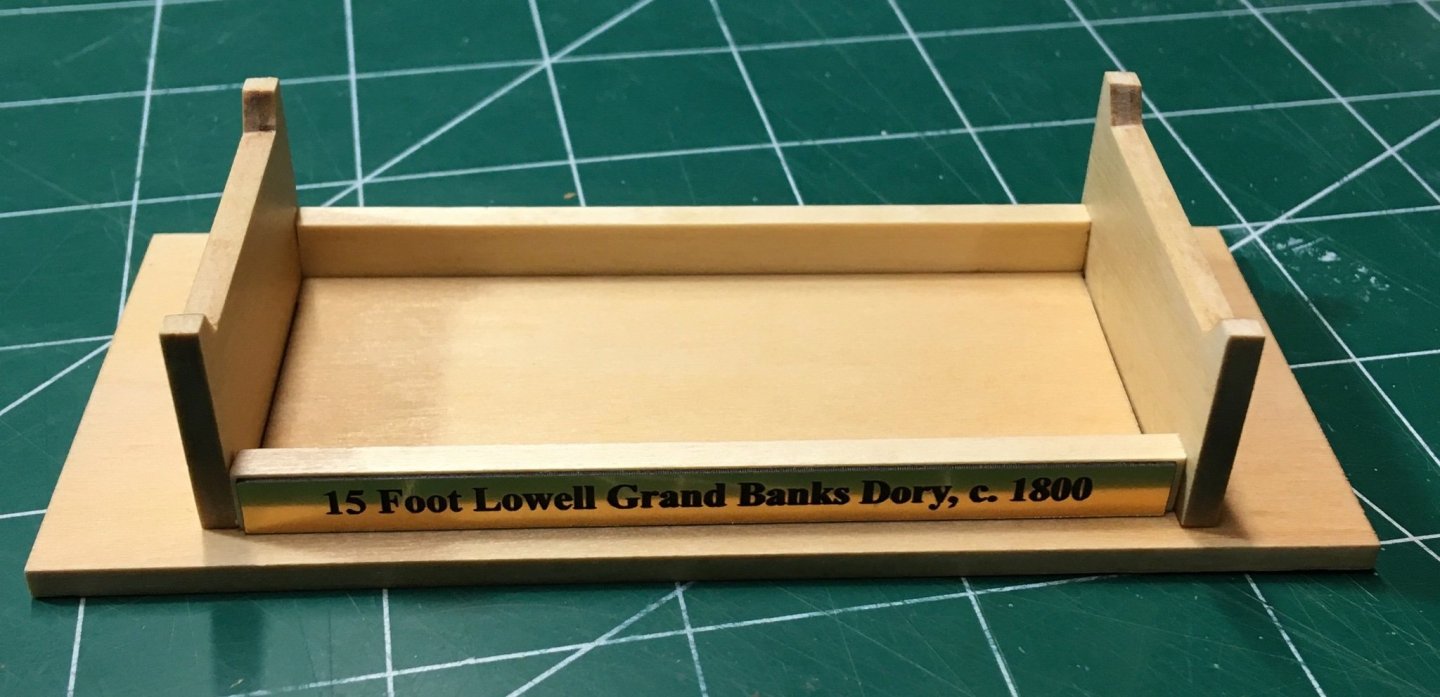
Nameplate applied. This material is shinier than the nameplates on my other projects. Apparently, they don’t use that other material any longer. It’s a bit shiny for my taste, but it will have to due for this project. Still looks clean. Steve
- 70 replies
-
- 2
-
-
- Lowell Grand Banks Dory
- Finished
- (and 1 more)
-
I’m sure the repair will look even better than the first attempt. Steve