-
Posts
1,327 -
Joined
-
Last visited
Content Type
Profiles
Forums
Gallery
Events
Everything posted by Tigersteve
-
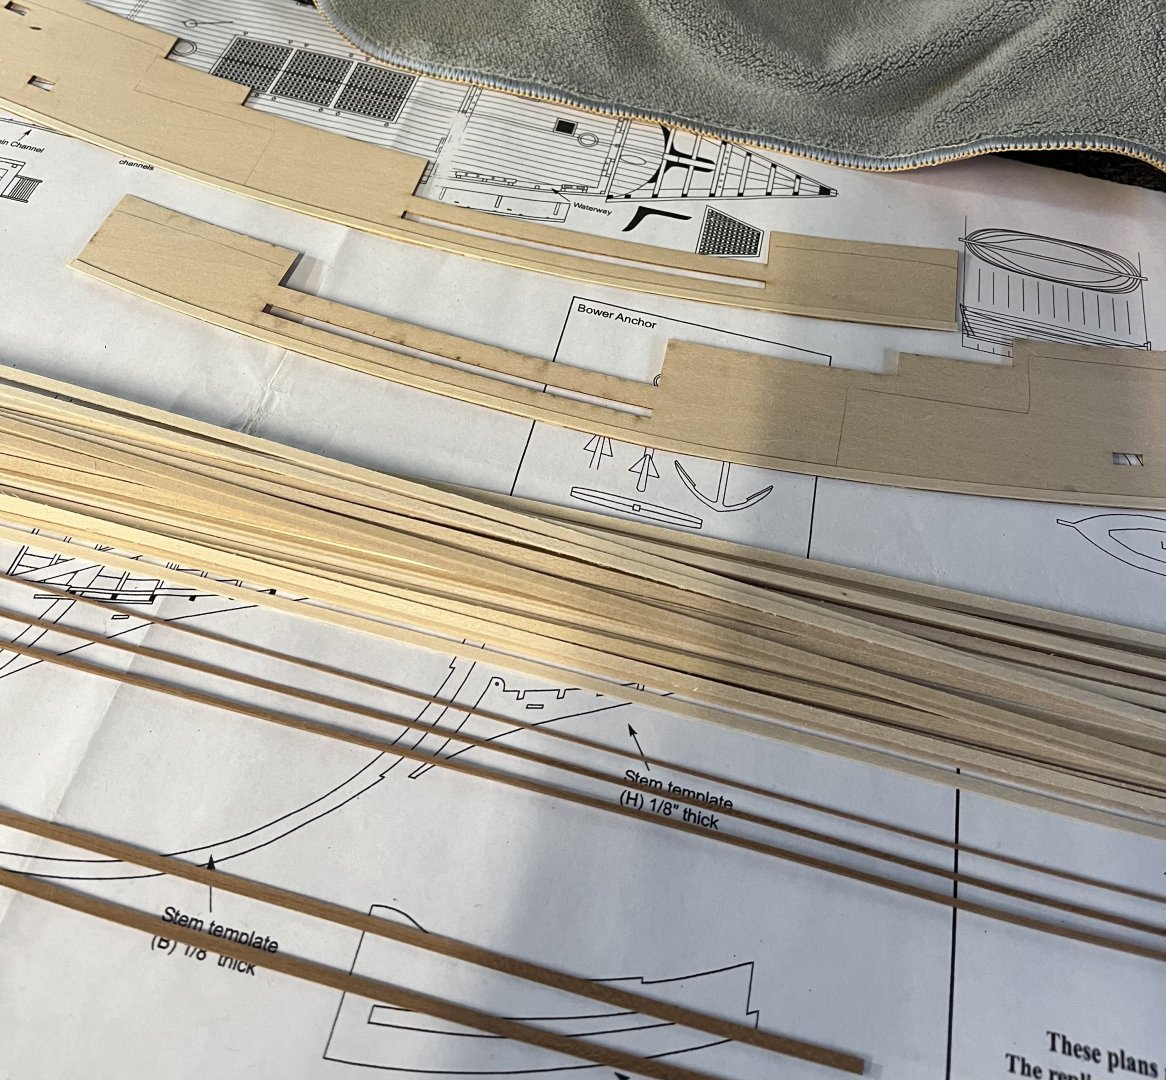
A small update, but one worth posting for me. Back on track with the Mayflower build. It is full speed ahead as I work on the interior planking of the bulwark templates and redo the metal work for the door handles. The first planks on the templates are basswood, as they will not be seen on the model. The remaining planks will be cherry. I had a small surgery in the last few months, but mainly I have been procrastinating on this metalwork. It’s good to be back. I ordered a cheap optivisor and some thin CA glue. Hopefully it will be easier to work with than the medium CA that I have. Steve
-
Wow, great progress. I really have to get back to mine! Steve
- 73 replies
-
- mayflower
- model shipways
-
(and 1 more)
Tagged with:
-
You could easily charge at least $850 for this. I’m not sure what the wood cost is, but I’m sure it’s extensive. Shipping alone will be expensive. Those two chapters really give builders a solid foundation for a great model. People are paying for the quality of your design and kit. (Maybe Mike has a better opinion since he’s built many of your newer kits.) Steve
-
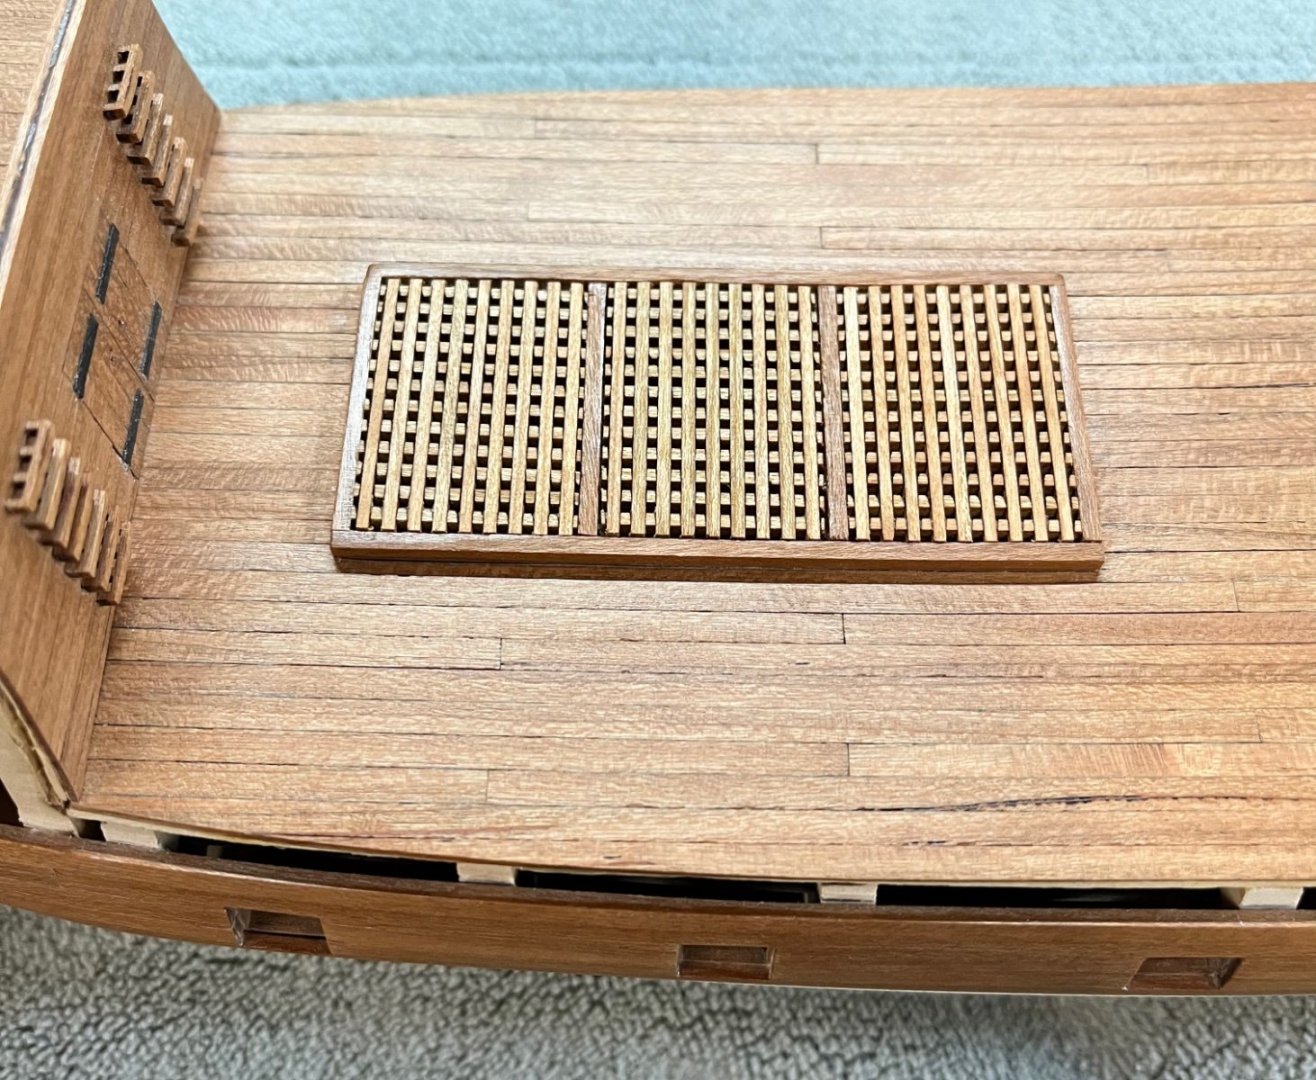
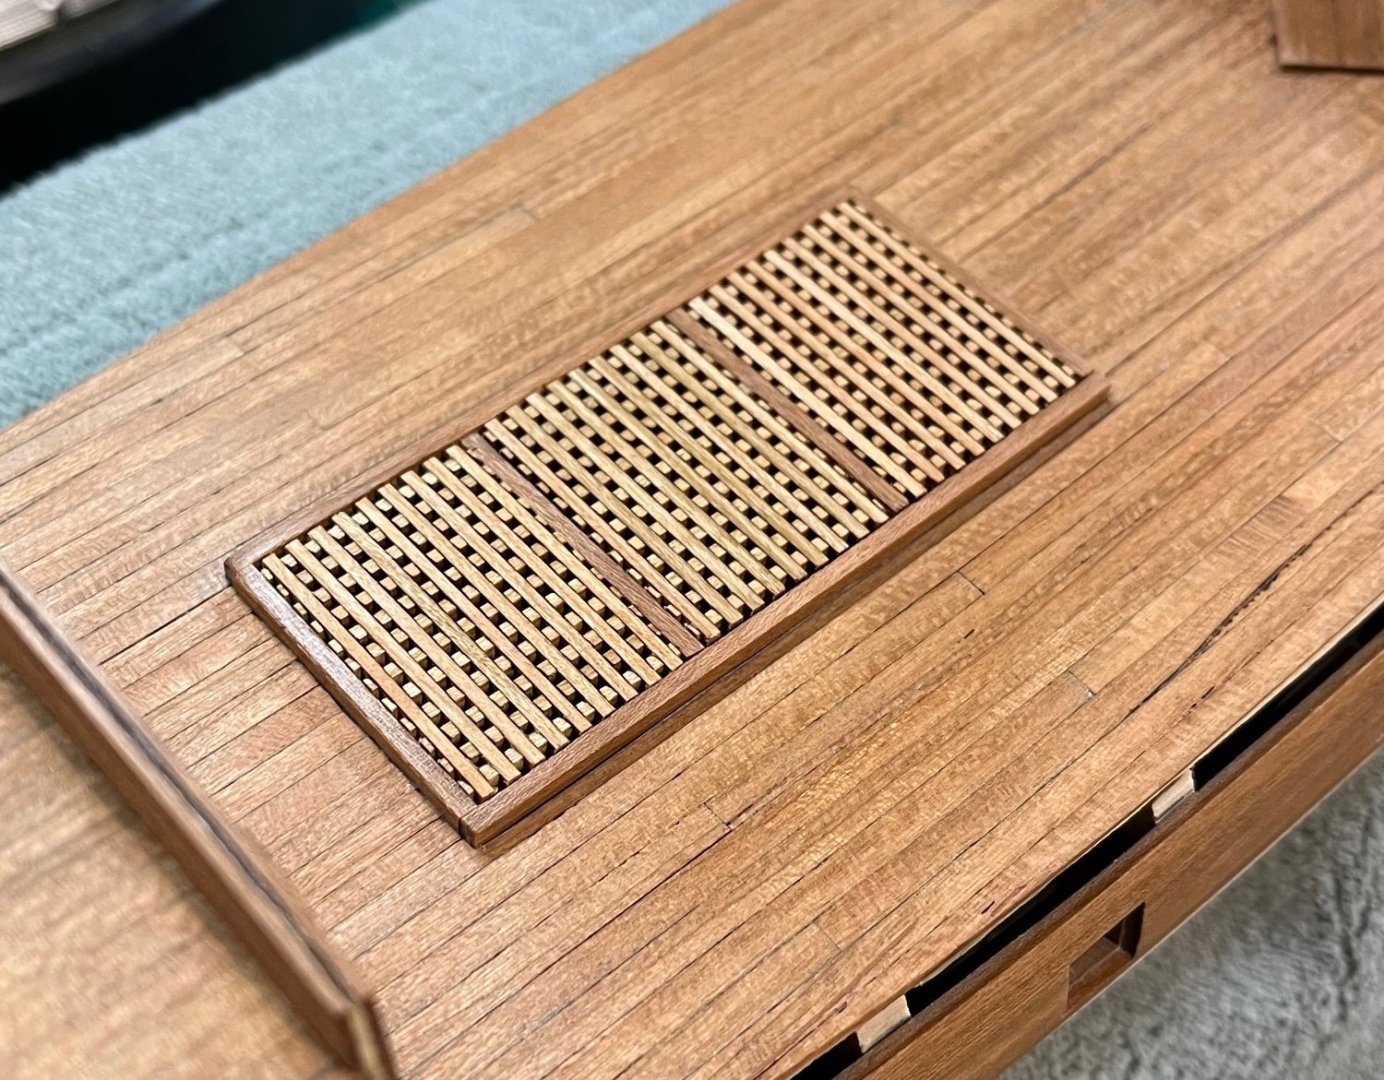
Completed gratings on the third attempt. I ended up orienting them so the top of the battens run port to starboard instead of bow to stern. (Hope that makes sense. It’s hard to explain.) I am shocked the transom is still attached after all the deconstruction. I deleted the redundant posts on this update as well. How many photos of this grating debacle do we need? Steve
About us
Modelshipworld - Advancing Ship Modeling through Research
SSL Secured
Your security is important for us so this Website is SSL-Secured
NRG Mailing Address
Nautical Research Guild
237 South Lincoln Street
Westmont IL, 60559-1917
Model Ship World ® and the MSW logo are Registered Trademarks, and belong to the Nautical Research Guild (United States Patent and Trademark Office: No. 6,929,264 & No. 6,929,274, registered Dec. 20, 2022)
Helpful Links
About the NRG
If you enjoy building ship models that are historically accurate as well as beautiful, then The Nautical Research Guild (NRG) is just right for you.
The Guild is a non-profit educational organization whose mission is to “Advance Ship Modeling Through Research”. We provide support to our members in their efforts to raise the quality of their model ships.
The Nautical Research Guild has published our world-renowned quarterly magazine, The Nautical Research Journal, since 1955. The pages of the Journal are full of articles by accomplished ship modelers who show you how they create those exquisite details on their models, and by maritime historians who show you the correct details to build. The Journal is available in both print and digital editions. Go to the NRG web site (www.thenrg.org) to download a complimentary digital copy of the Journal. The NRG also publishes plan sets, books and compilations of back issues of the Journal and the former Ships in Scale and Model Ship Builder magazines.


