HOLIDAY DONATION DRIVE - SUPPORT MSW - DO YOUR PART TO KEEP THIS GREAT FORUM GOING! (83 donations so far out of 49,000 members - C'mon guys!)
×


Tigersteve
-
Posts
1,327 -
Joined
-
Last visited
Content Type
Profiles
Forums
Gallery
Events
Everything posted by Tigersteve
-
 Borrow? Lol These are mine now! Steve
 -
Yes- I believe we are on the same page. My next step is filler and sanding then primer to see where the low spots are. I’m not trying to get a solid coat of primer. Thank you again, Mike. You are always a great mentor here. Steve
-
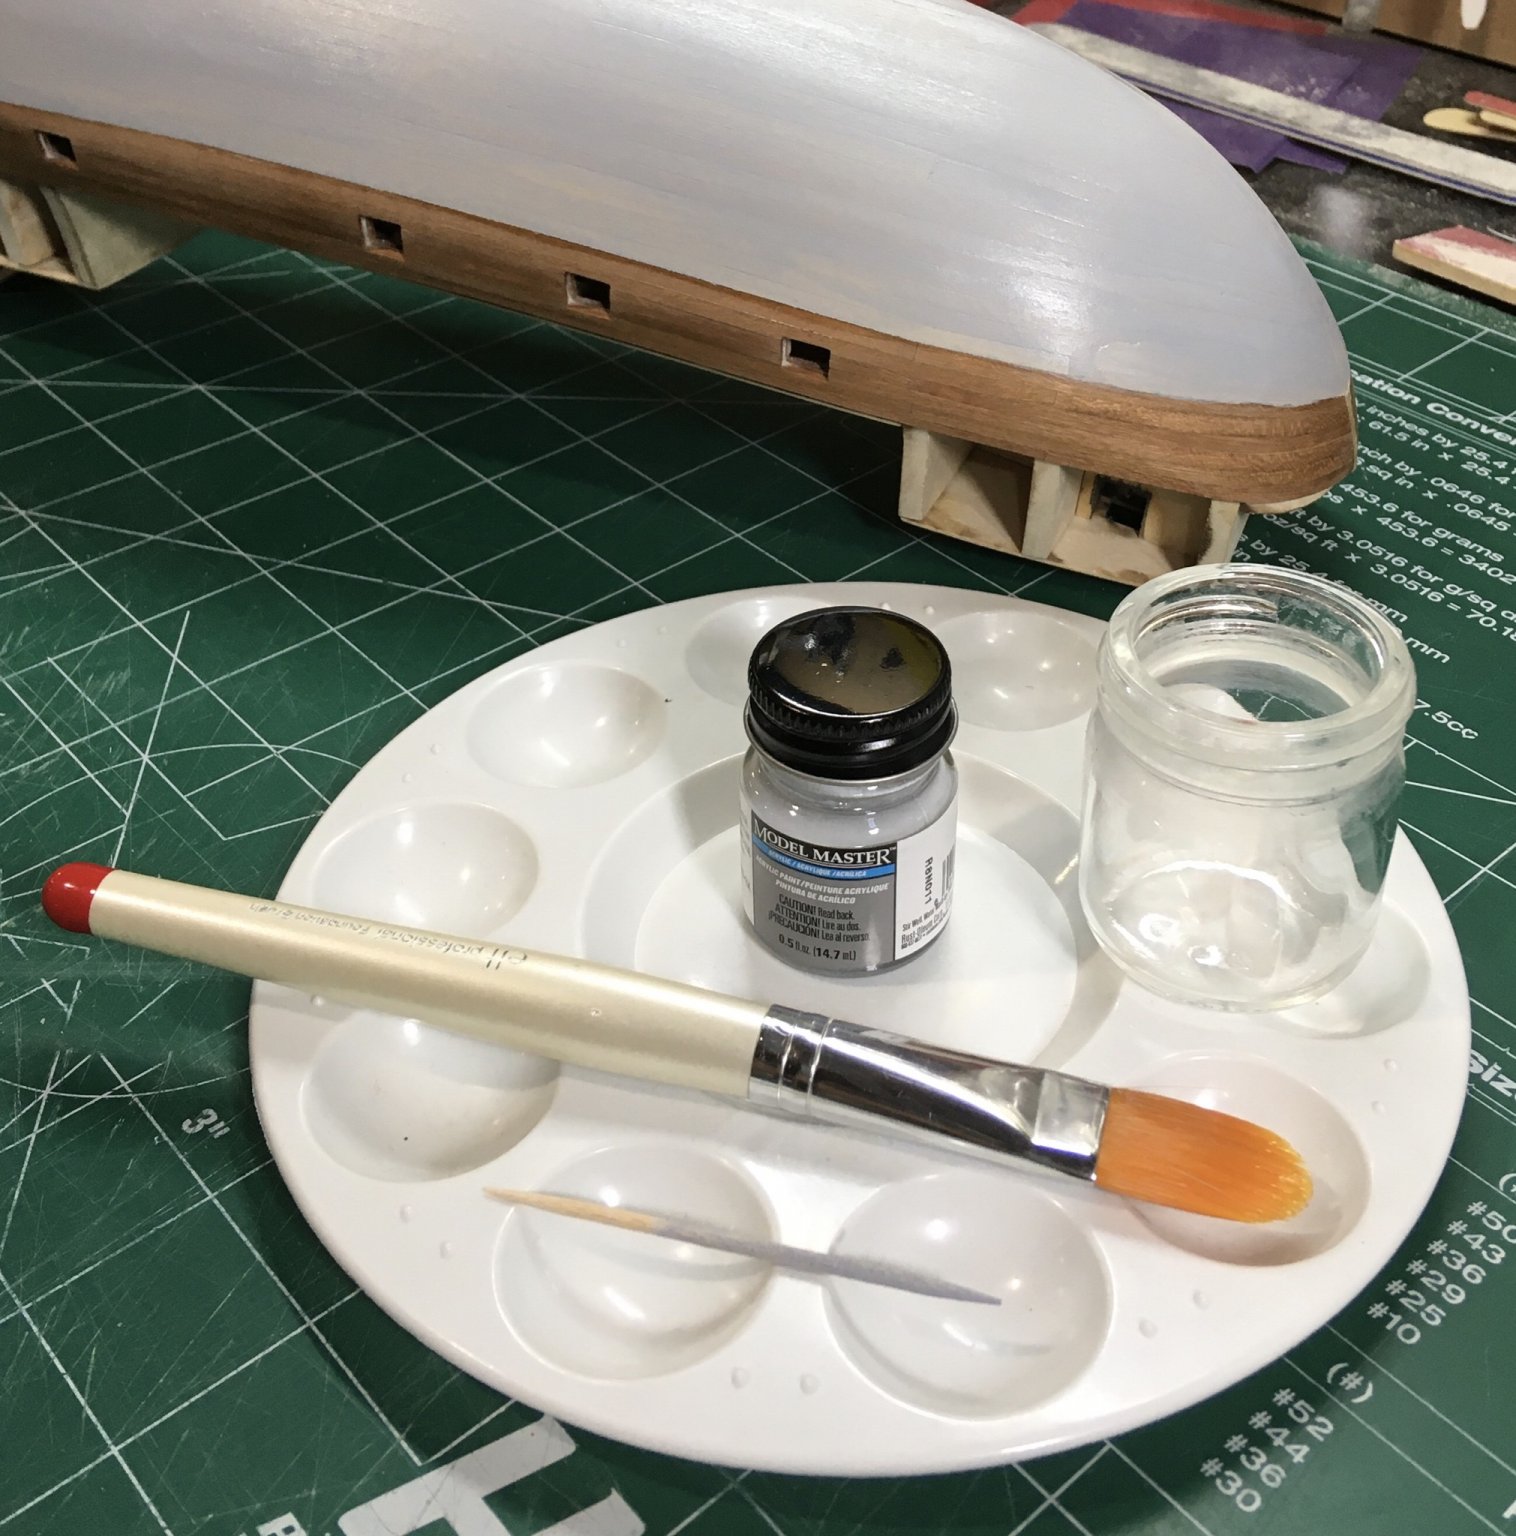
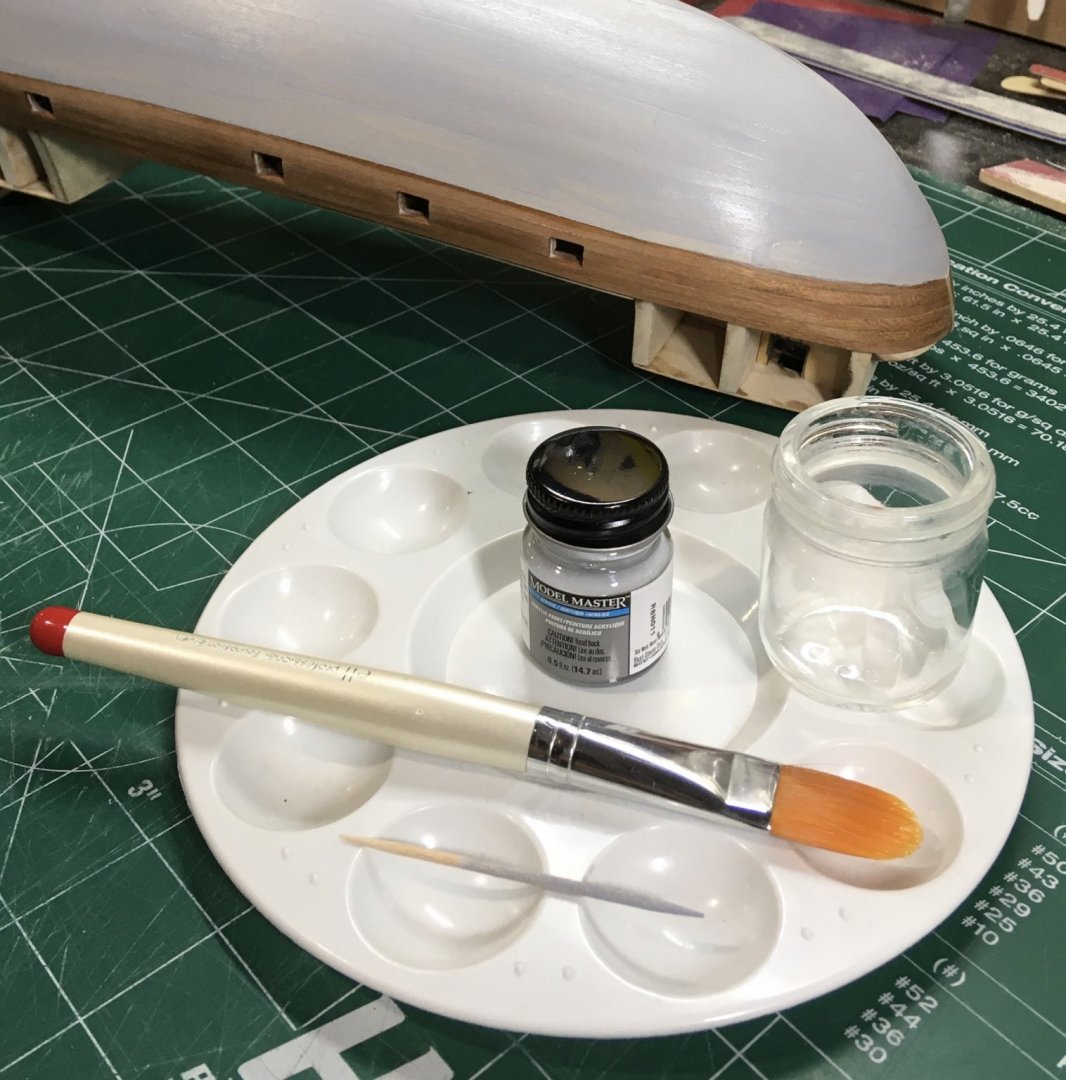
Thank you for the kind words and the likes. I just applied one coat of gray water based primer using one of my wife’s old foundation makeup brushes. Very smooth bristles (works great for painting). I applied straight from the jar. This will allow me to see any areas that need filler and sanding. After further filling and sanding, I will reapply the primer and repeat until a completely smooth surface is achieved. After this, deck planking can begin. Steve
-
This part of the project is tricky. Yours is looking good. Steve
- 77 replies
-
- 1
-

-
- model shipways
- pinnace
- (and 1 more)
-
I had received my copy of volume 3 before the holidays. Now that I have the correct CD sent from the publisher, I’d like to say some things about the whole package. Even after a quick look at the content included in the book, CD, and the 13 drawings, I can easily say that it’s extensive, wow! What a great resource Ed has put together. It would have been a shame to not have the correct CD, which includes several additional materials. The build log PDFs and rigging checklist are just some of the cherries on top. It’s worth purchasing even if just to find out how Ed contained the massive amount of rigging content into this single volume. It is well done. Steve
- 3,618 replies
-
- 2
-
-
- young america
- clipper
- (and 1 more)
-
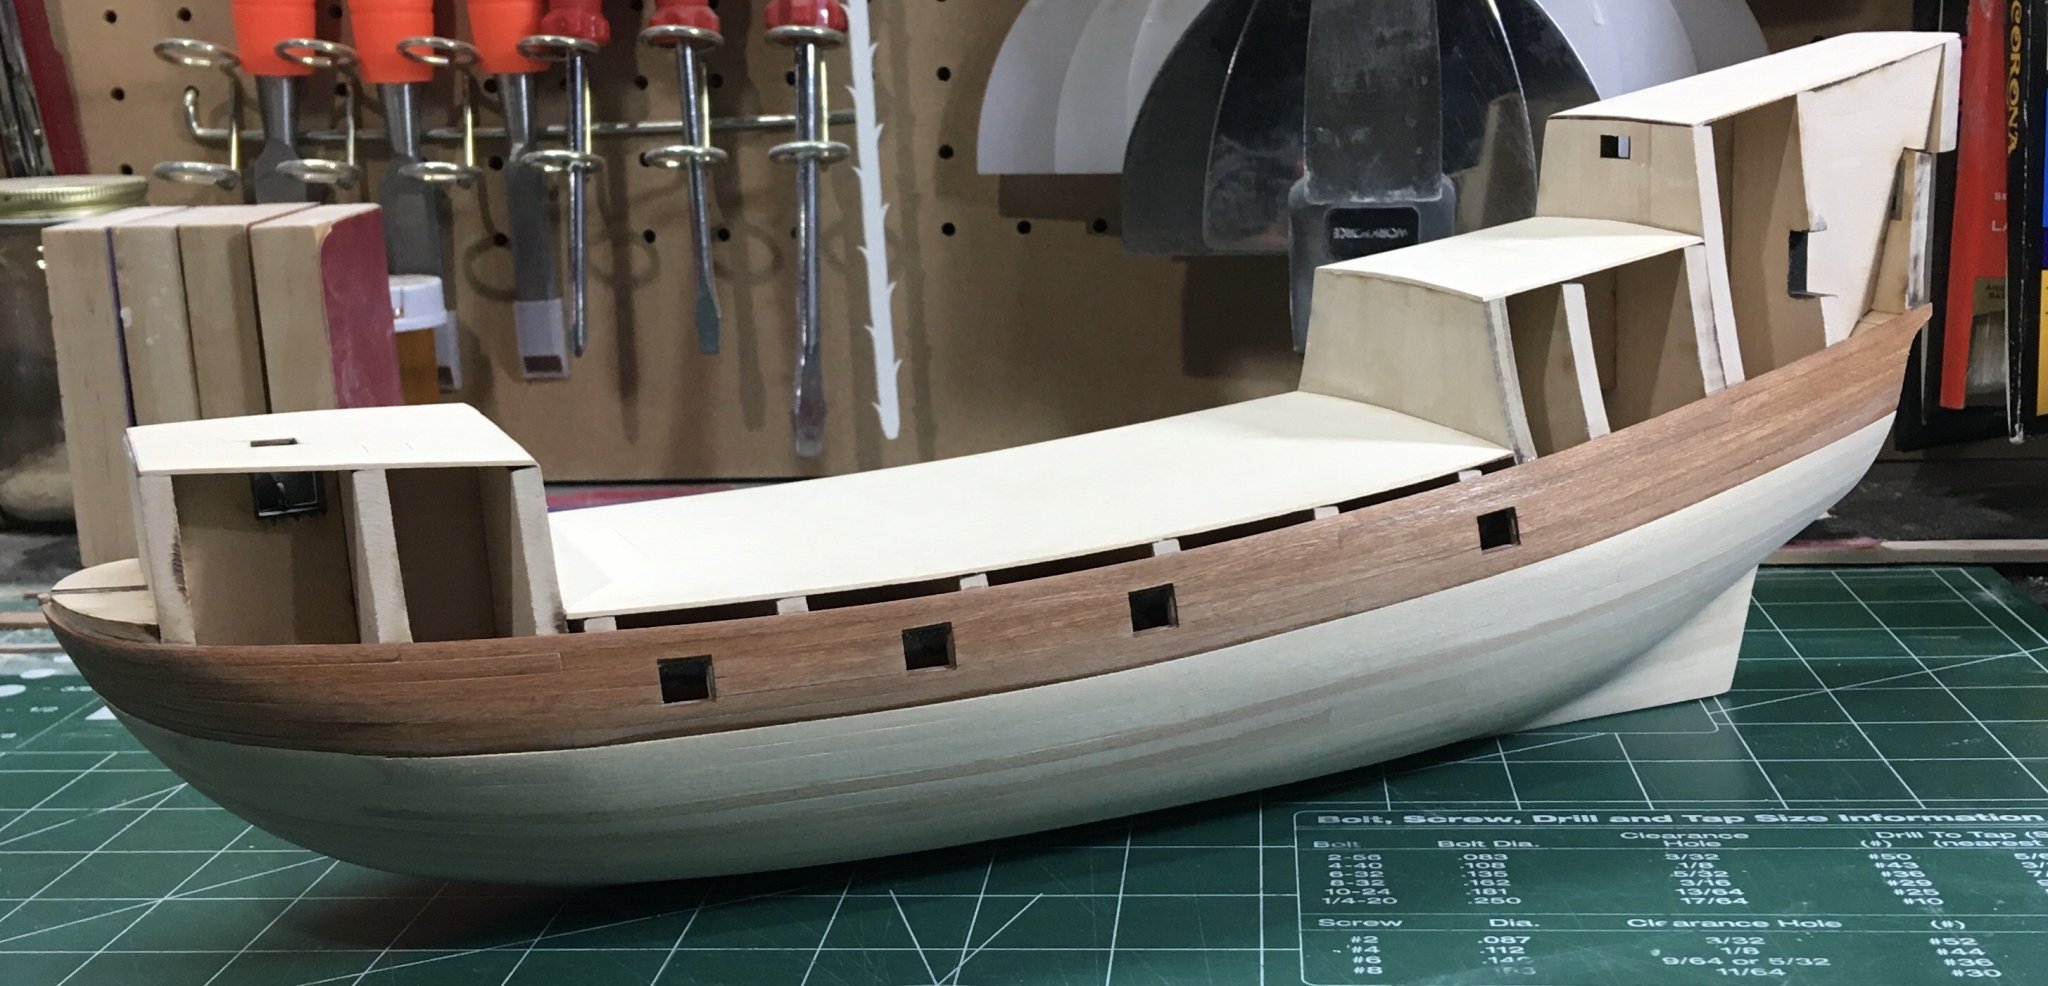
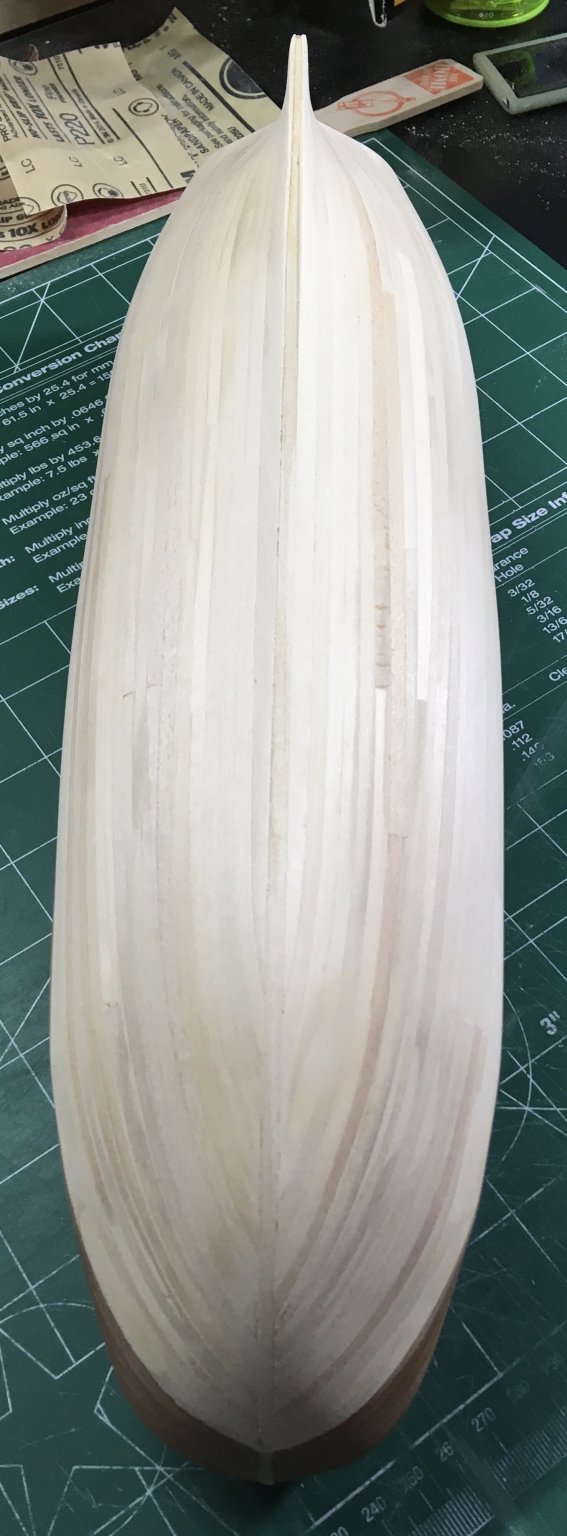
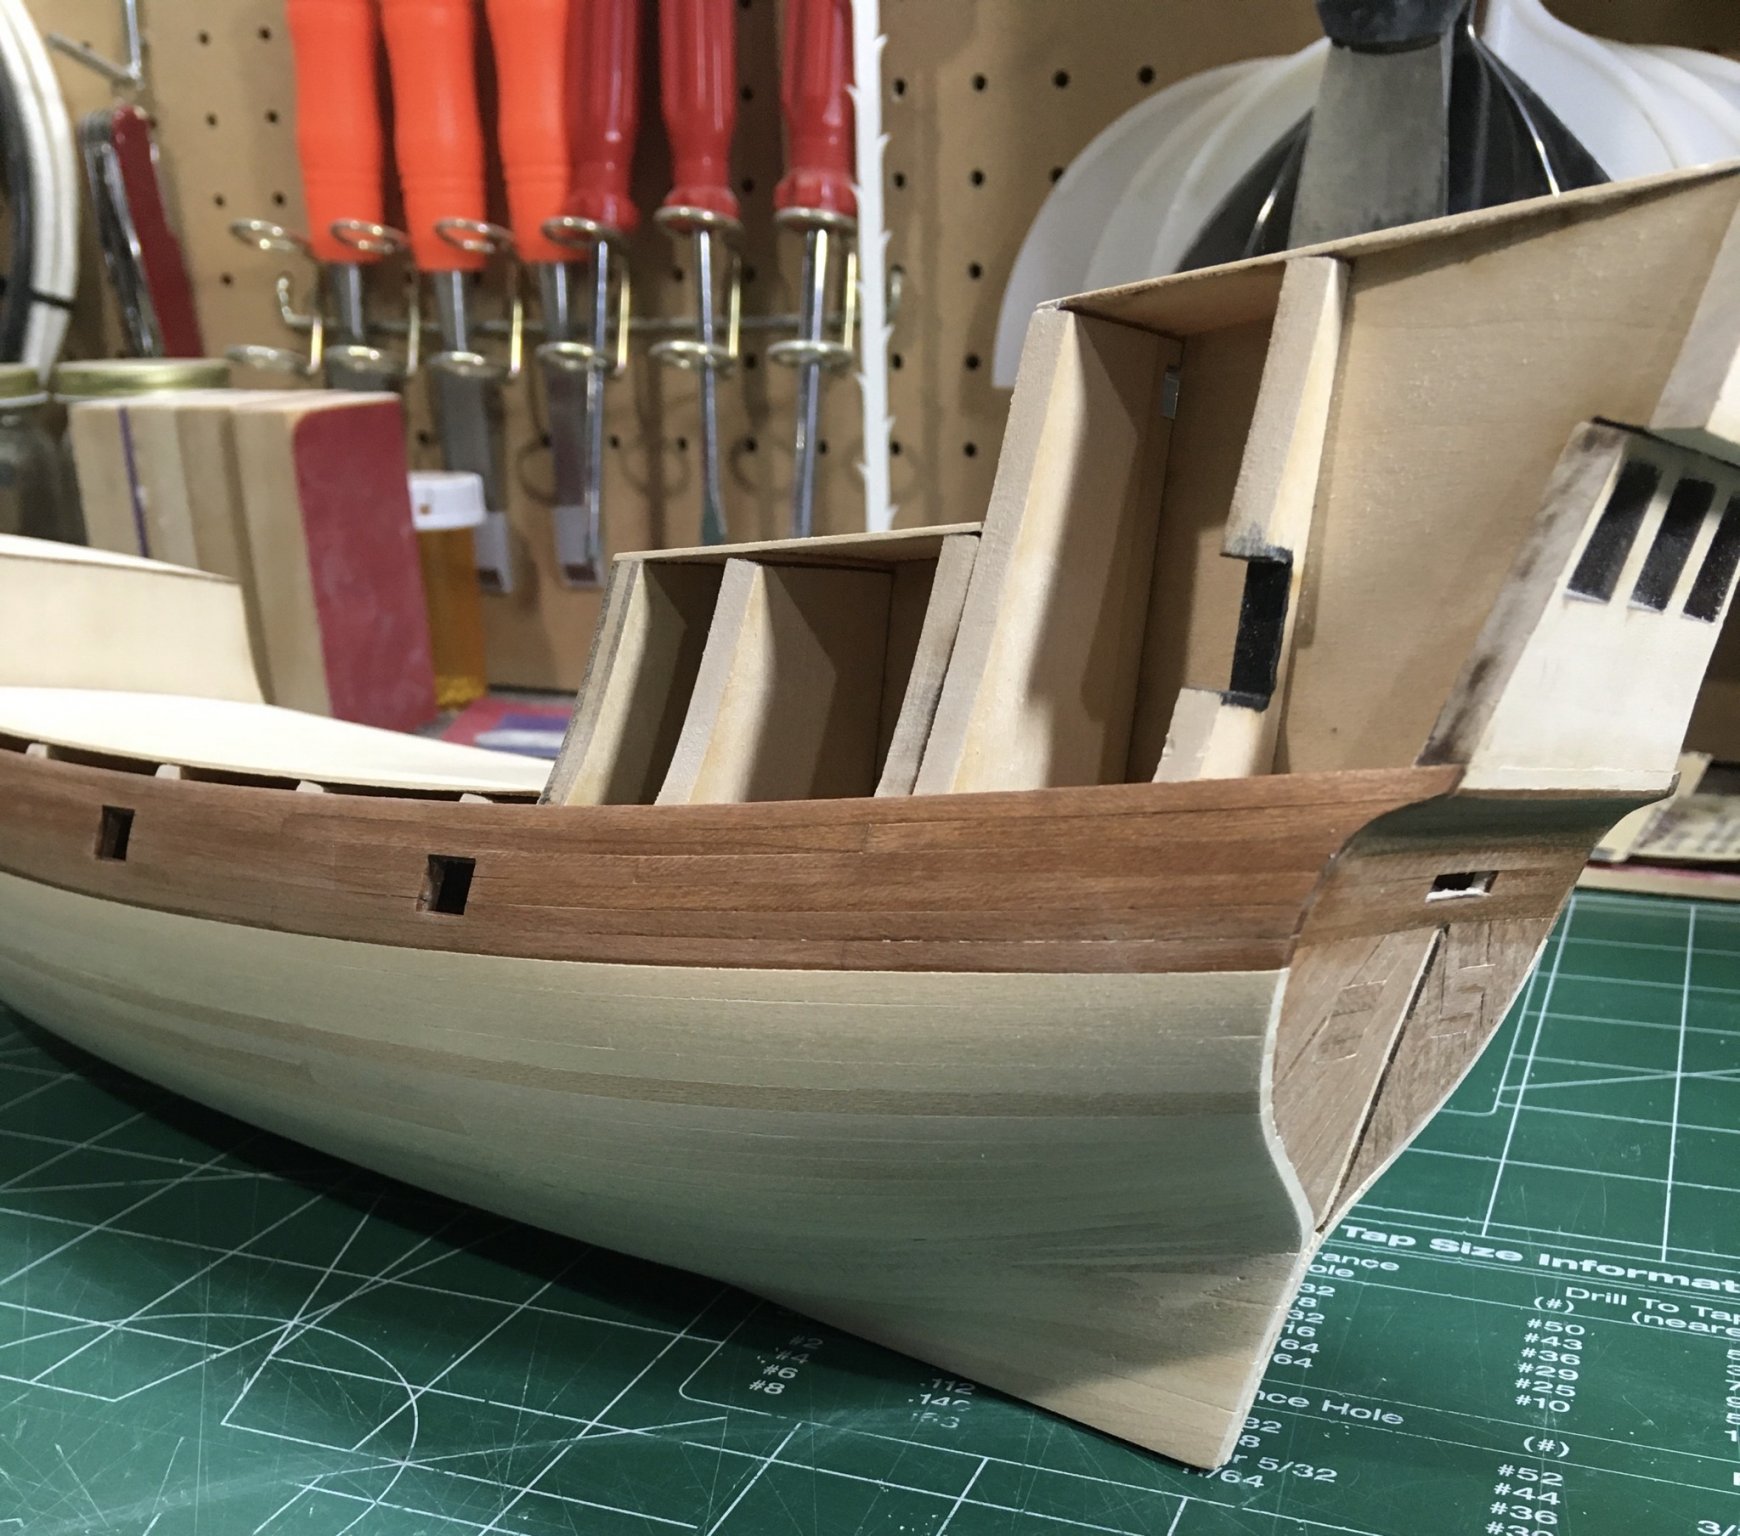
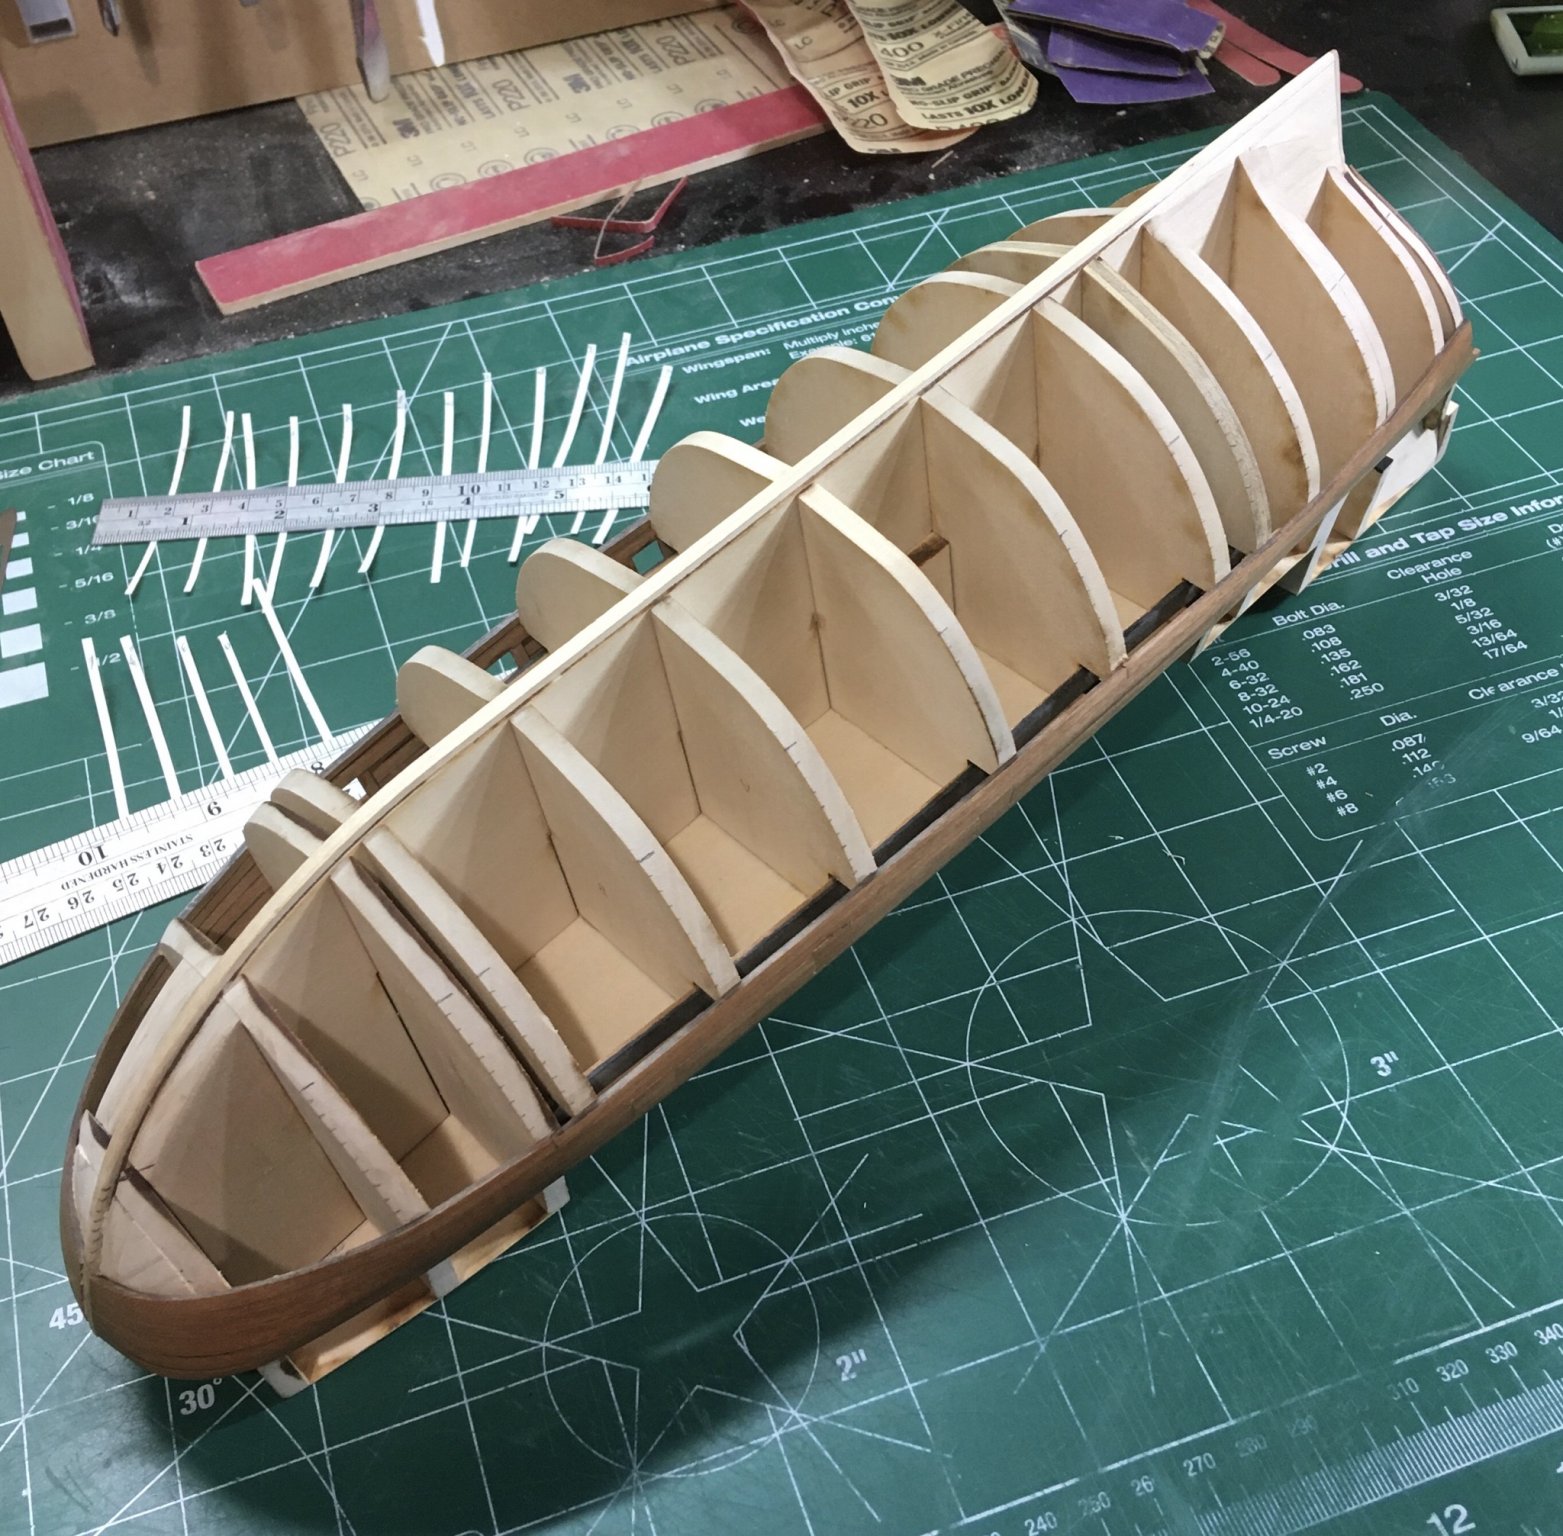
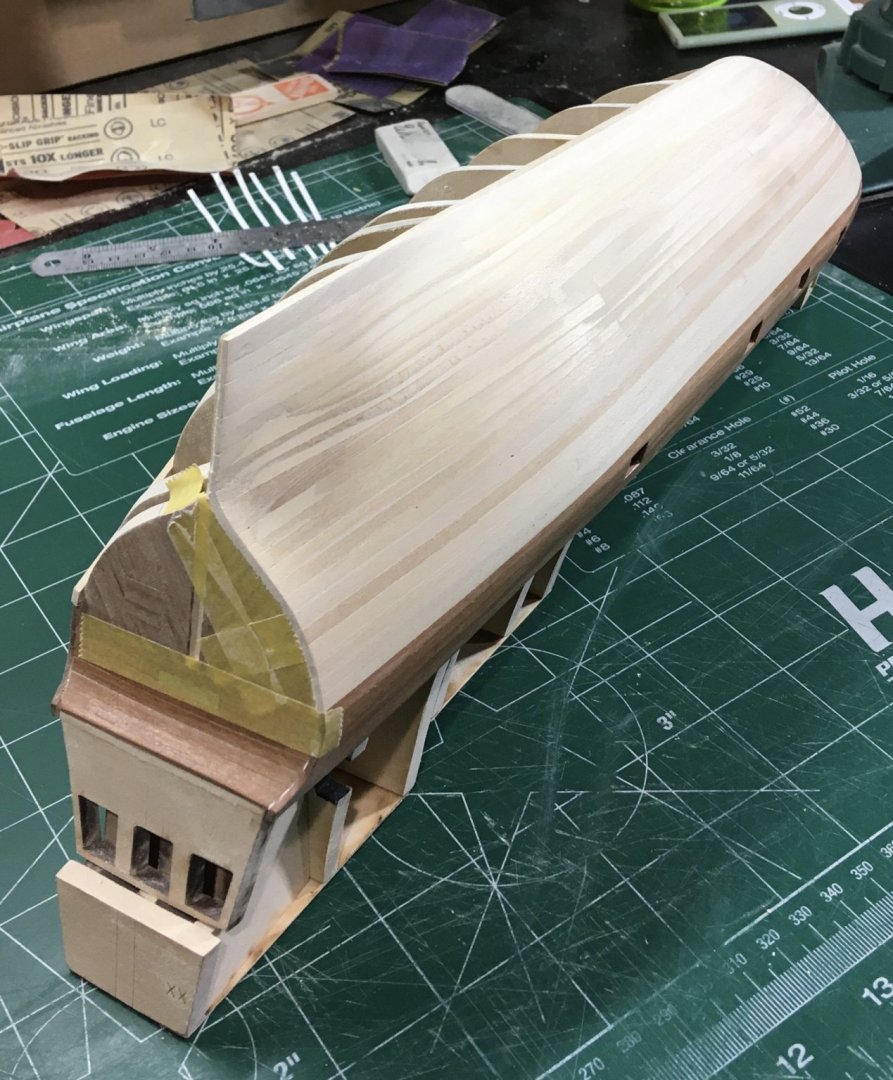
Hull planking is complete. Several days of sanding and filling. I used 100 grit through 400 grit. After primer is applied I will see how much more work is necessary to achieve a smooth hull. The stern needs more sanding. I will sand more in that area after the keel and stern post are attached. A tip for those building this vessel in future. Add filler blocks for the first three bulkheads. This will show you if you have the correct shape and help with fairing and planking. I did not fair enough in some areas. The shape at the bow is tricky. Mine still needs work. Steve


-
Nicely done! Steve
-
Careful with the sanding drum. May be better to use a sanding disc attachment. Easier to control. Steve
- 77 replies
-
- 1
-
-
- model shipways
- pinnace
- (and 1 more)
-
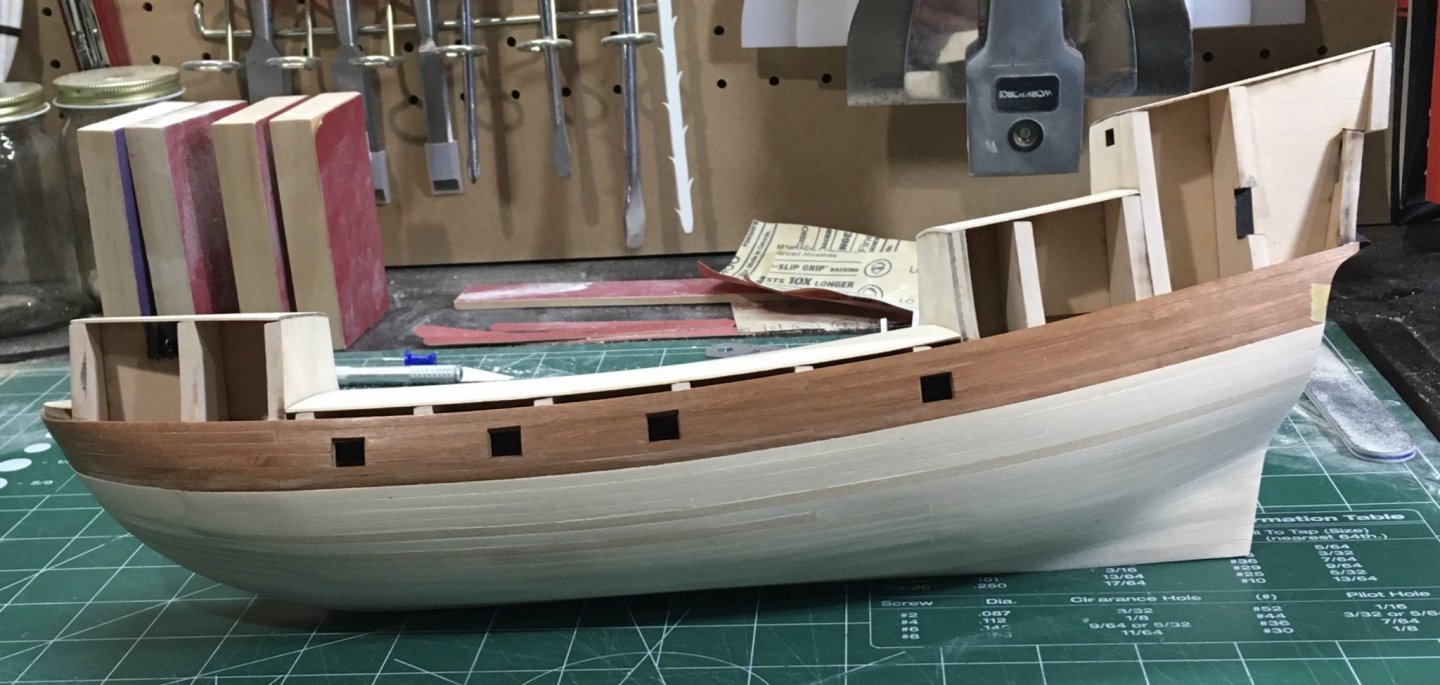
Port side planking is complete. There’s more sanding and filling to do, but I will continue after I complete the starboard side. Rushing through some of this caused me to veer off my initial planking plan, which caused some problems and some weirdly shaped planks. Steve
-
Just received my copy today. Looking forward to enjoying it. On first glance it looks well executed as expected. Steve
- 3,618 replies
-
- 1
-
-
- young america
- clipper
- (and 1 more)
-
Better to apply the wipe on poly after you have a satisfactory paint finish. I’ve found it difficult to apply paint coats over the wipe on poly. That would take many rounds of sanding and painting. Not impossible though. Steve
-
Tamiya worked well for me. It’s fairly thin but you can thin it down with a bit of water and apply several thin coats until you have a nice finish. Sand between coats.
-
Like your first version of painted shingles best v natural Steve
- 1,784 replies
-
- 1
-
-
- winchelsea
- Syren Ship Model Company
- (and 1 more)
-
Back to planking the remainder of the hull in basswood since this will be painted. Almost done with the first belt on the port side. I anticipate many rounds of sanding and filler. Not obsessing over this part of the planking, as I’m fairly sure I can get a nice surface for painting. A drop plank was created at the bow, which I may show in a later post. Nothing worth photographing at this point, but here’s a photo of some plank bending. Steve

-
I think I had about 10 as well. Marking the frames will help keep your symmetry and the cap rail will finish it off nicely. I planked from the keel up and ended up redoing the top two strakes. Steve
- 77 replies
-
- 1
-
-
- model shipways
- pinnace
- (and 1 more)
-
I had the name plate made at a trophy place. Very inexpensive. Steve
-
Thin brass tubes or rods are the way to go. I used 1/16”. Steve
- 77 replies
-
- 2
-
-
- model shipways
- pinnace
- (and 1 more)
-
Thanks! This was another challenging build, but I had a lot of fun modifying some of the features. Steve
- 77 replies
-
- 1
-
-
- model shipways
- pinnace
- (and 1 more)
-
Really nice work on the mini version. Looking forward to seeing the larger one come together. Steve
-
Cool photography! Steve
-
It’s looking excellent, Chuck. How is the learning curve with working with this wood? Specifically being able to avoid leaving dents since it’s very soft. Steve
- 1,784 replies
-
- 1
-
-
- winchelsea
- Syren Ship Model Company
- (and 1 more)
-
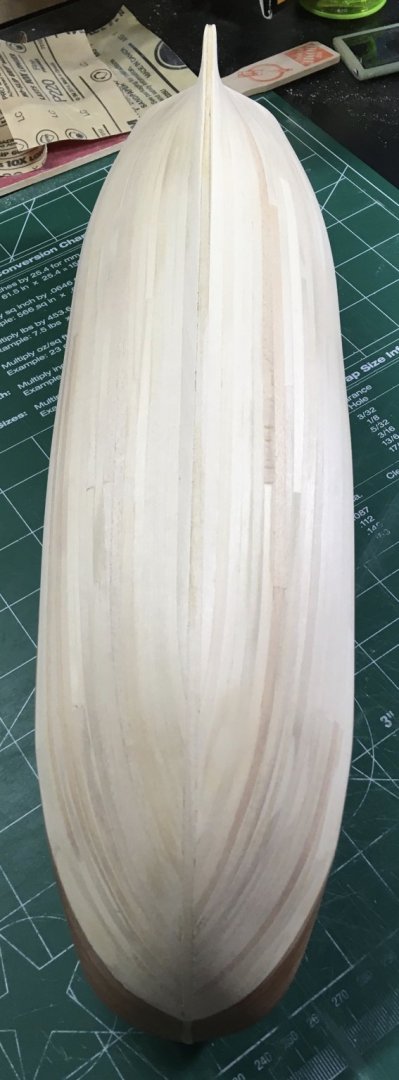
After messaging Chuck, I adjusted the planking band as there was too much taper. I took a different approach and marked ten planks on most bulkheads and adjusted the tape to a smooth curve. Chuck suggested adding a drop plank, which will result in one less plank terminating at the bow. I will follow this plan and also add a stealer at the stern. Although below the whales will be painted, I wanted to use this project to improve my planking technique. Steve

-
Very nice! Steve