HOLIDAY DONATION DRIVE - SUPPORT MSW - DO YOUR PART TO KEEP THIS GREAT FORUM GOING! (89 donations so far out of 49,000 members - C'mon guys!)
×


Tigersteve
-
Posts
1,327 -
Joined
-
Last visited
Content Type
Profiles
Forums
Gallery
Events
Everything posted by Tigersteve
-
 Nice progress! Steve
 -
Thank you for the compliments. Means a lot coming from fine craftsman like yourselves. Steve
- 70 replies
-
- 1
-

-
- Lowell Grand Banks Dory
- Finished
- (and 1 more)
-
Testor’s Dullcote does not react well with Tamiya paints. I was getting a spotty, eggshell type finish. To recover, I sanded the surfaces most affected and repainted. Lesson learned. Test finishes off model. I will be using different paints going forward. Also, do not use Wipe-On-Poly over paint unless you want a sheen. I wish I took this advice on previous models. I over worked the sanding of the oars and have requested replacement parts from Model Expo. While I wait for those parts, I will construct the buckets and start the rope work on the model. I purchased Syren rope for this. I worked on the layout for the nameplate. Measurements are 3.25” x .25”. I will get that made at a local trophy shop. Very inexpensive and adds a nice finishing touch to the project. Thank you Mike Stuntflyer and Ryland Craze for your assistance on the paint finishes. I learned a lot from our exchanges. Steve
- 70 replies
-
- 6
-
-
- Lowell Grand Banks Dory
- Finished
- (and 1 more)
-
Roter Löwe 1597 by Ondras71
Tigersteve replied to Ondras71's topic in - Build logs for subjects built 1501 - 1750
Really sharp! Some serious geometry happening on this ship. Steve -
Sanding sticks were made using kit wood and a glue stick. These sizes were very handy for working on the cap rail. I also modified the transom to a more pleasing curve. Painting is very close to being finished. I am trying to avoid purchasing more paint as I have over diluted a couple of my colors. Oar construction is also underway. Color scheme (Tamiya Flat Paints); Exterior Hull: Flat Earth Interior Hull: Desert Yellow Cap rail/Gunwale: J.A. Green For the few following along- thank you for all the likes! Steve

- 70 replies
-
- 8
-
-
- Lowell Grand Banks Dory
- Finished
- (and 1 more)
-
Looking sharp! Steve
-
Very nice! Echo Keith’s suggestion here. Steve
- 160 replies
-
- 2
-
-
- Model Shipways
- norwegian sailing pram
- (and 1 more)
-
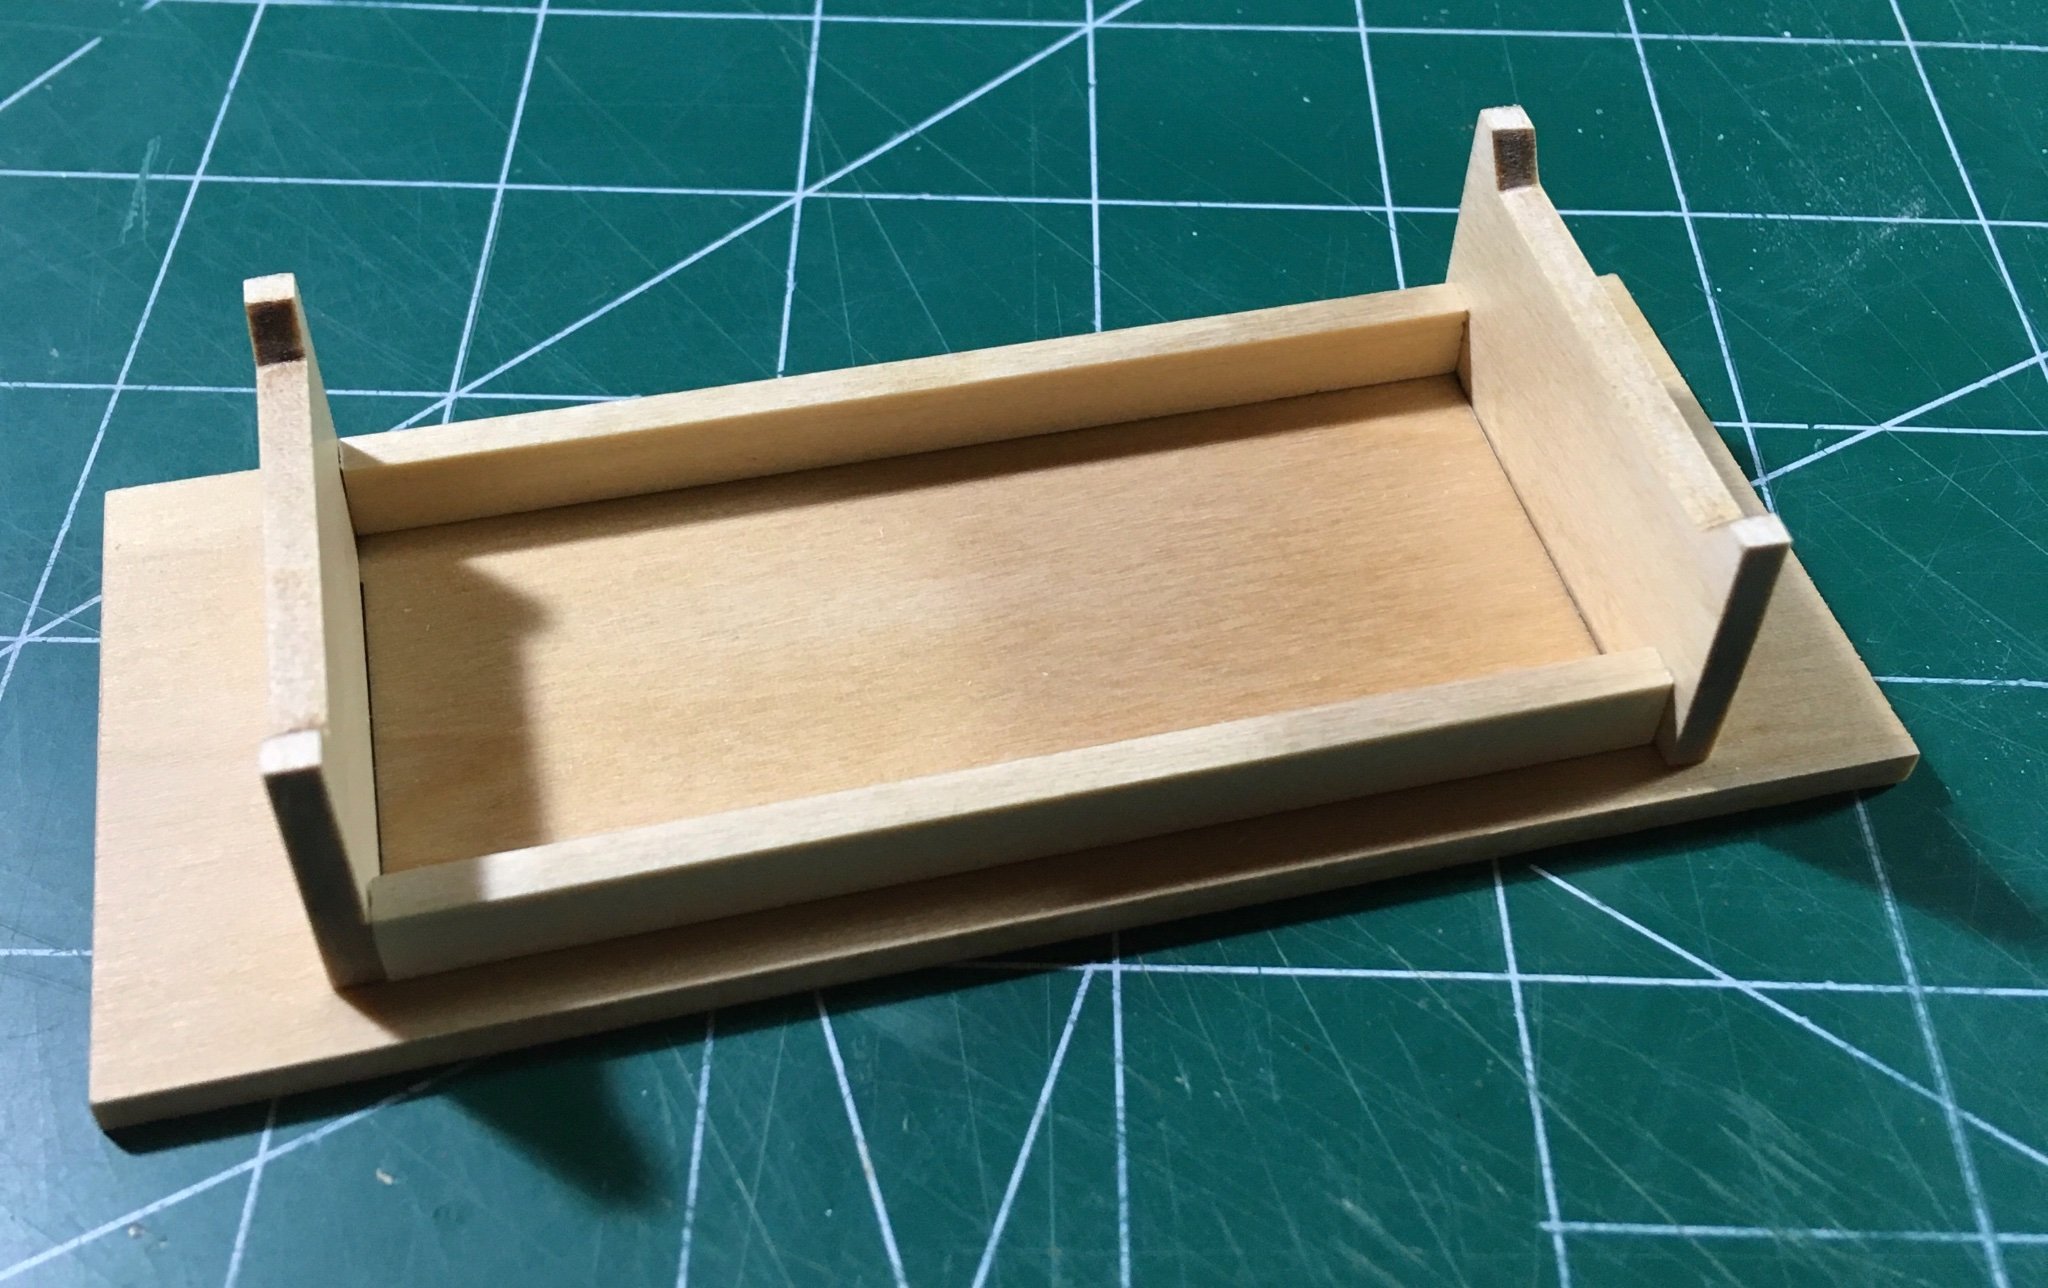
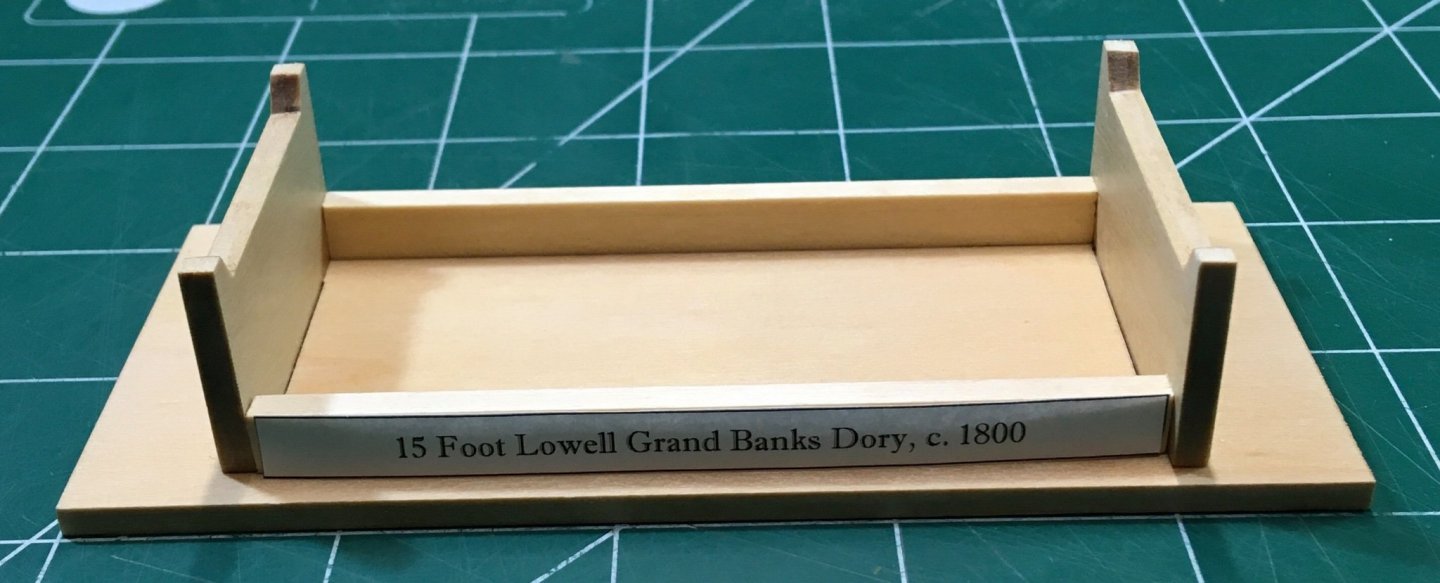
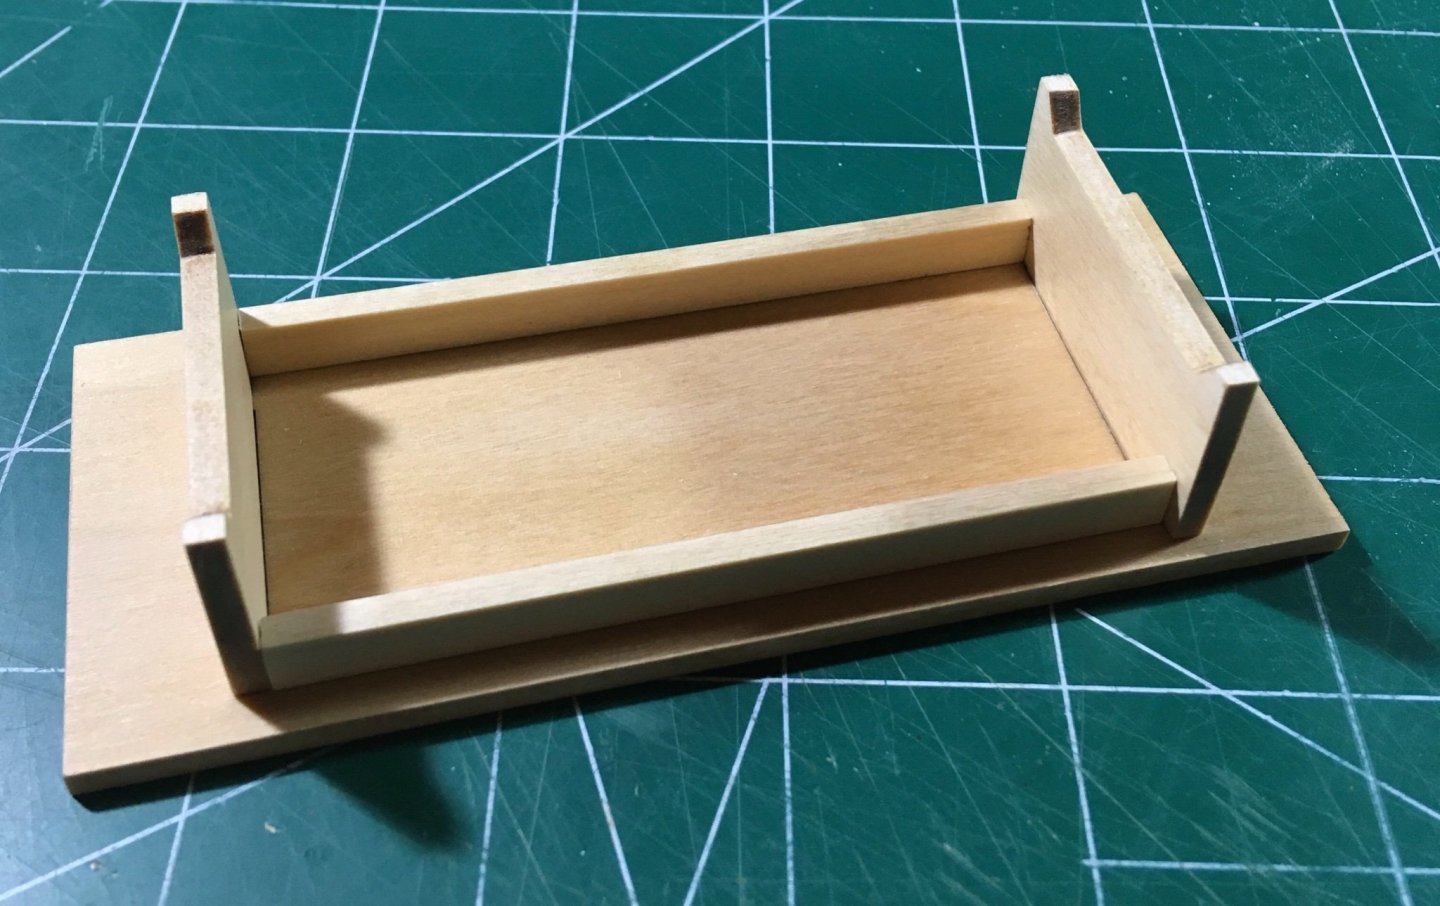
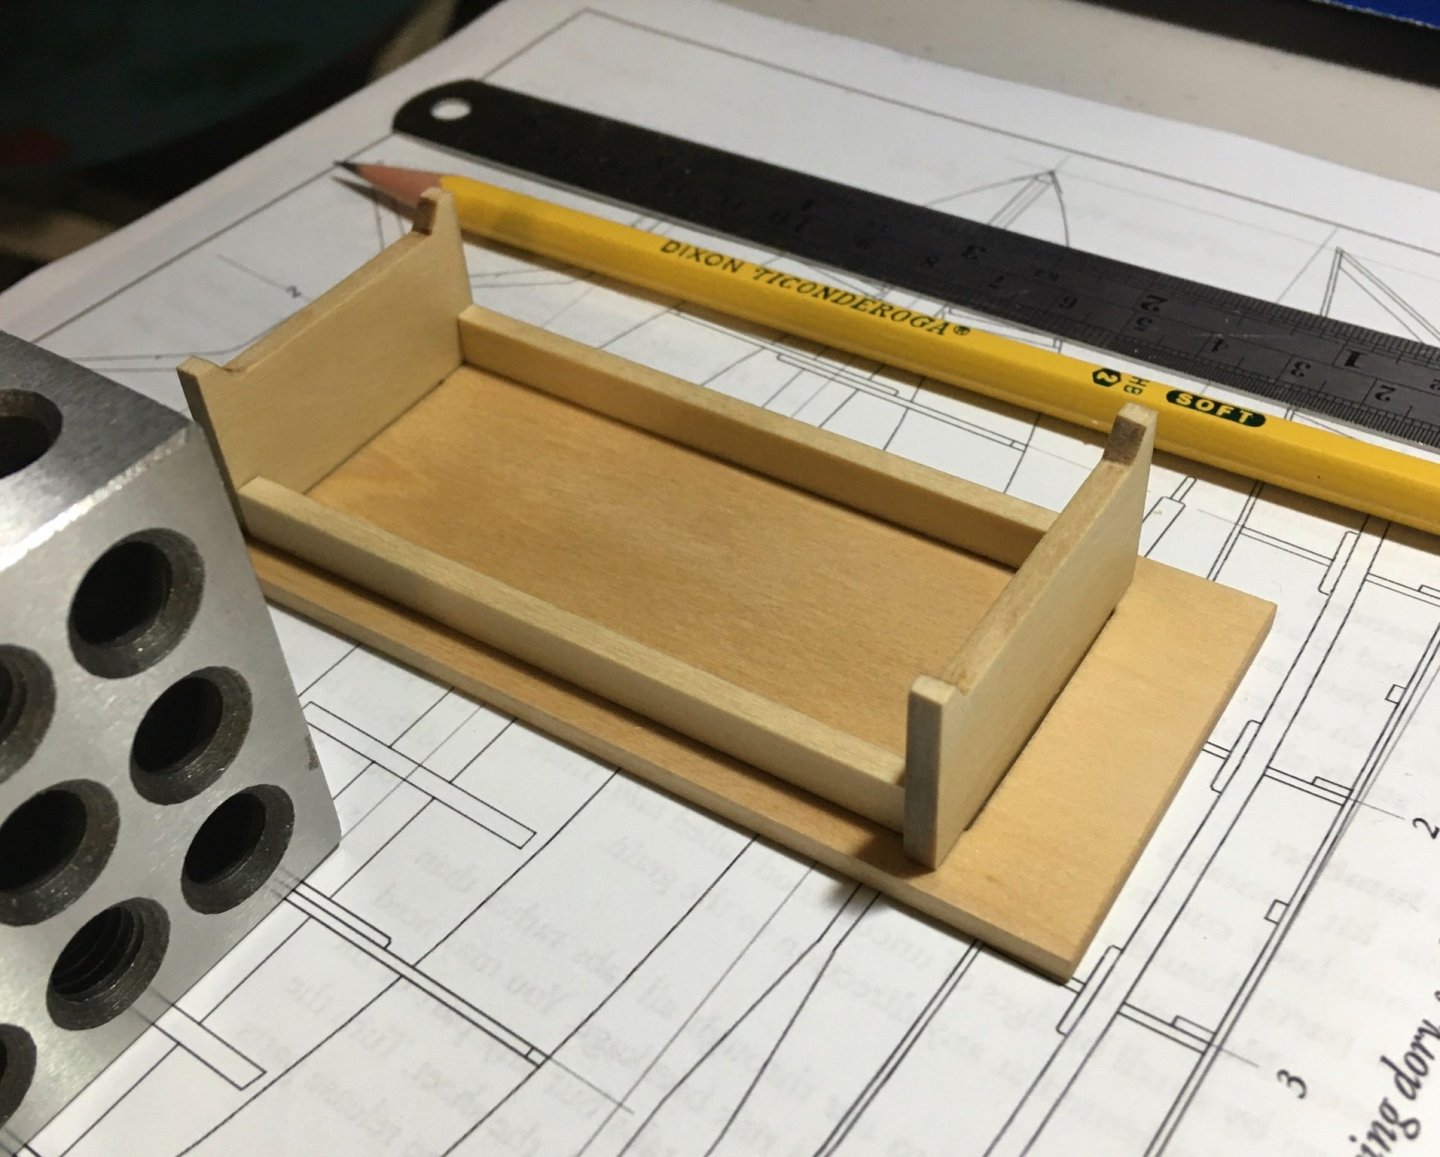
Completed display base. Next update will be after the cap rail is complete. As you can tell from my last two posts, this will take a while. There’s a lot of work necessary to get the model to an acceptable level. Steve
- 70 replies
-
- 1
-
-
- Lowell Grand Banks Dory
- Finished
- (and 1 more)
-
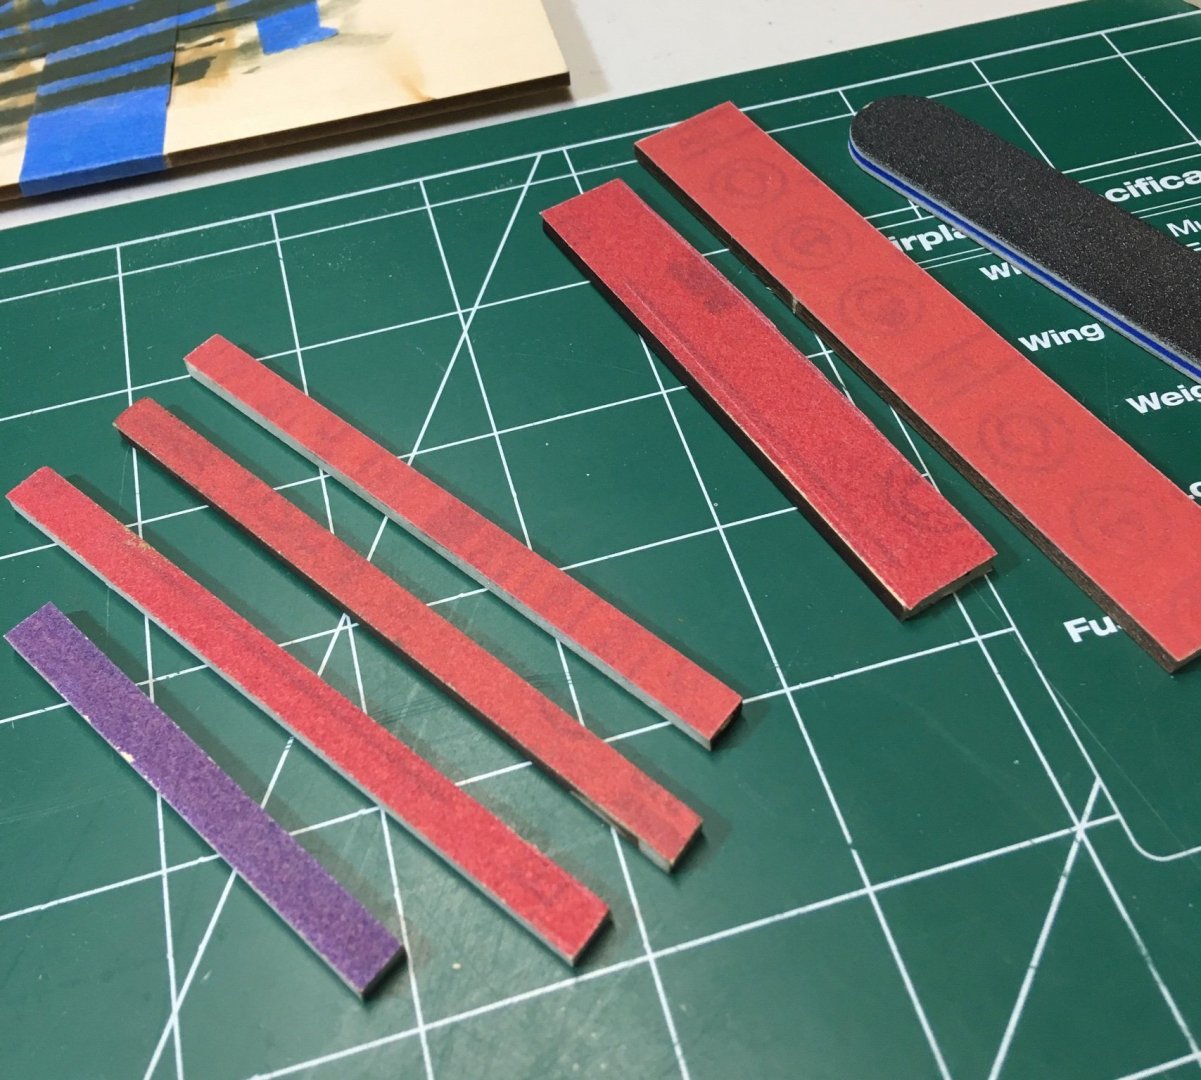
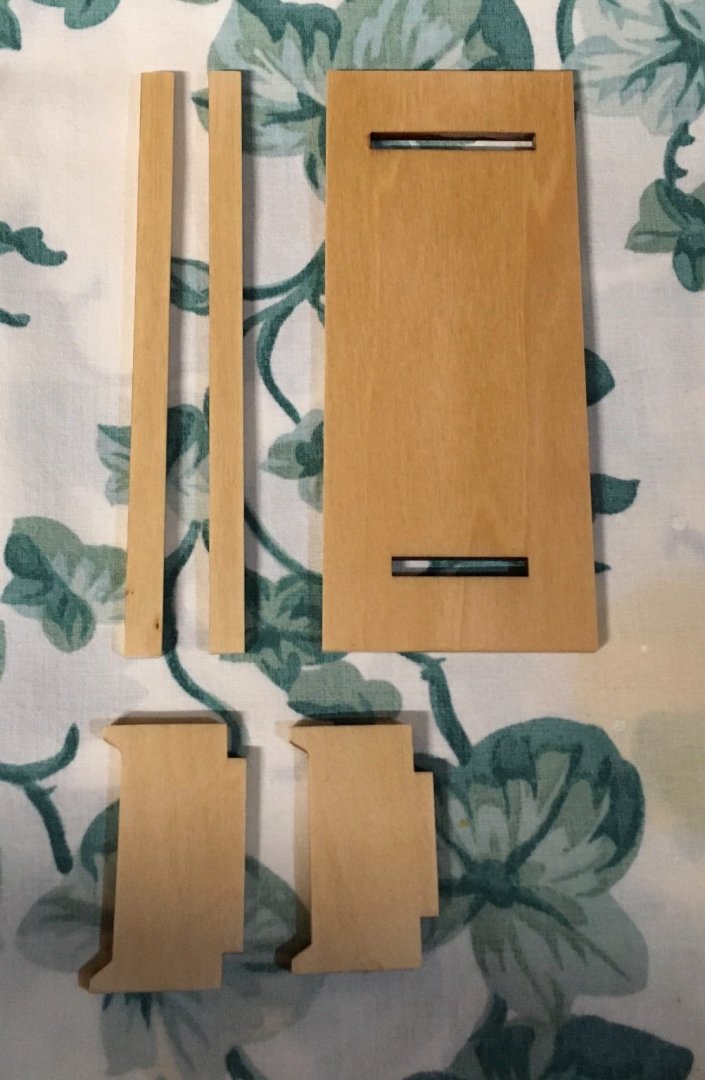
The profile of the hull was used to trace a parallel line next to the cutout where the original cap rail piece was removed from the sheet. After the shape was roughly cut out, I moved the piece along 220 grit sandpaper that was wrapped around my finger. Kit basswood is good for this. All that is needed is your hobby knife and sandpaper. While the cap rail pieces get pre-painted before attaching to the hull, see the attached photo of my modified base parts. The original kit supplied base seemed oversized. The base was treated with pre-stain before applying a natural stain. Three coats of Wipe-On-Poly was applied with fine sanding in between. Steve

- 70 replies
-
- 5
-
-
- Lowell Grand Banks Dory
- Finished
- (and 1 more)
-
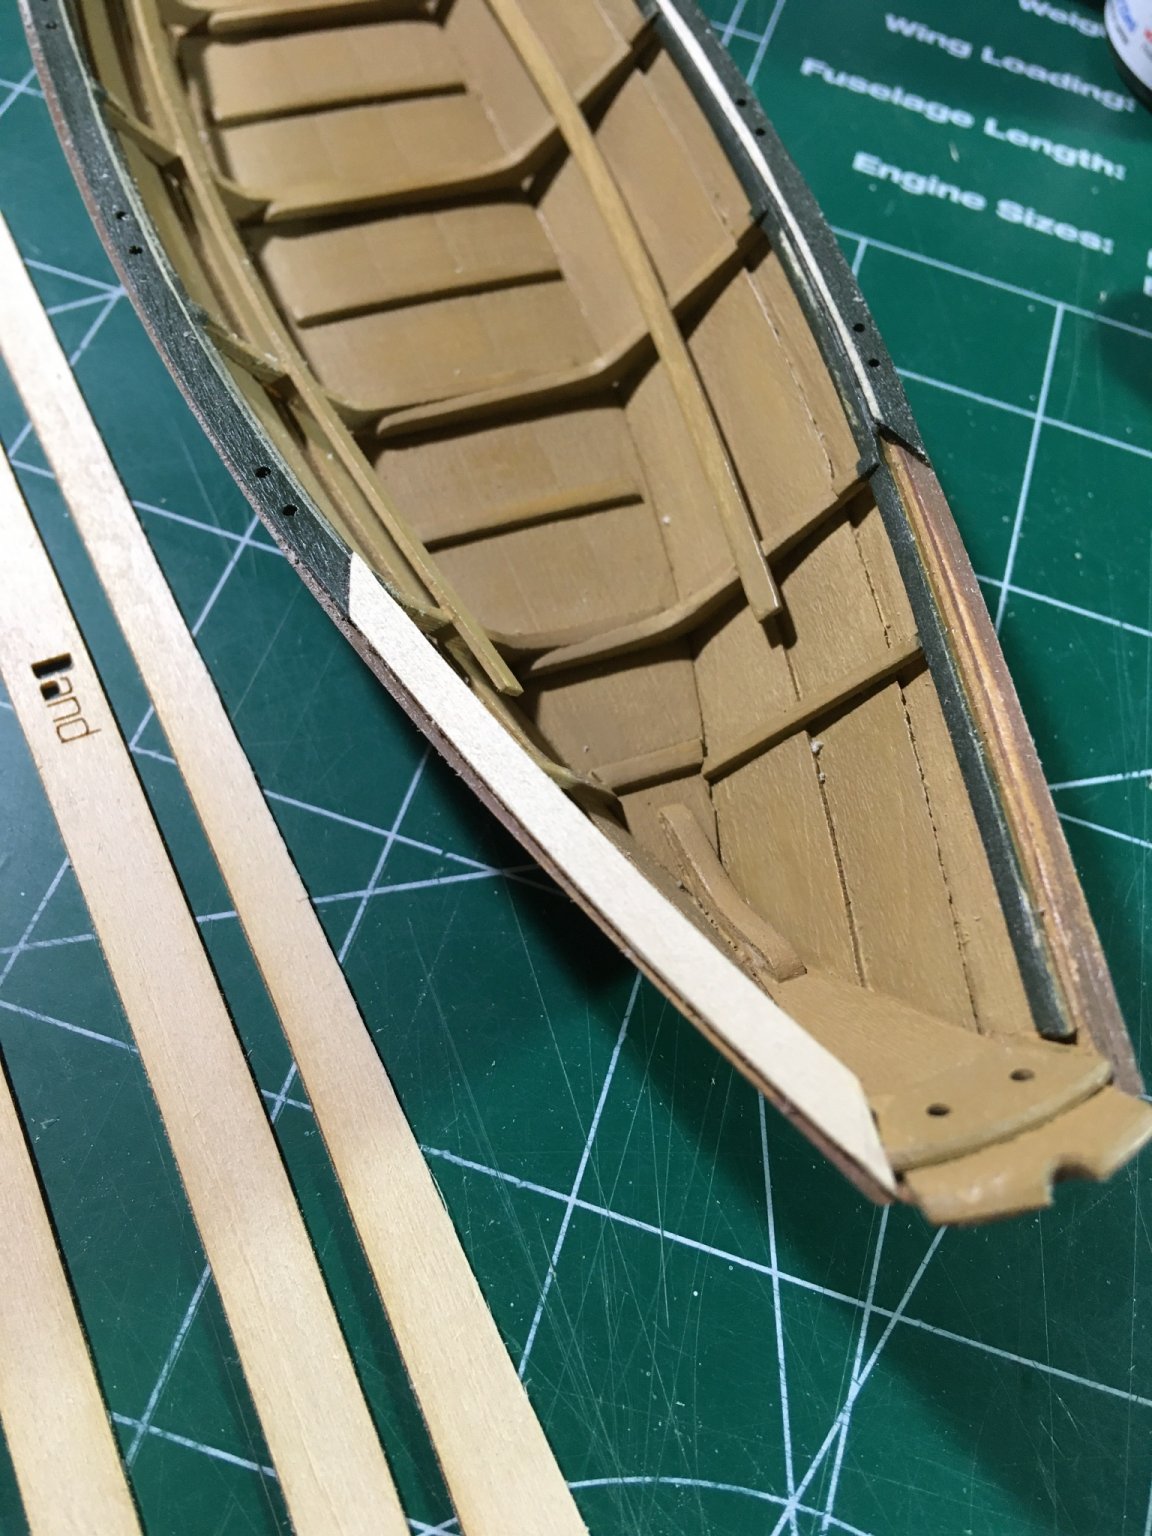
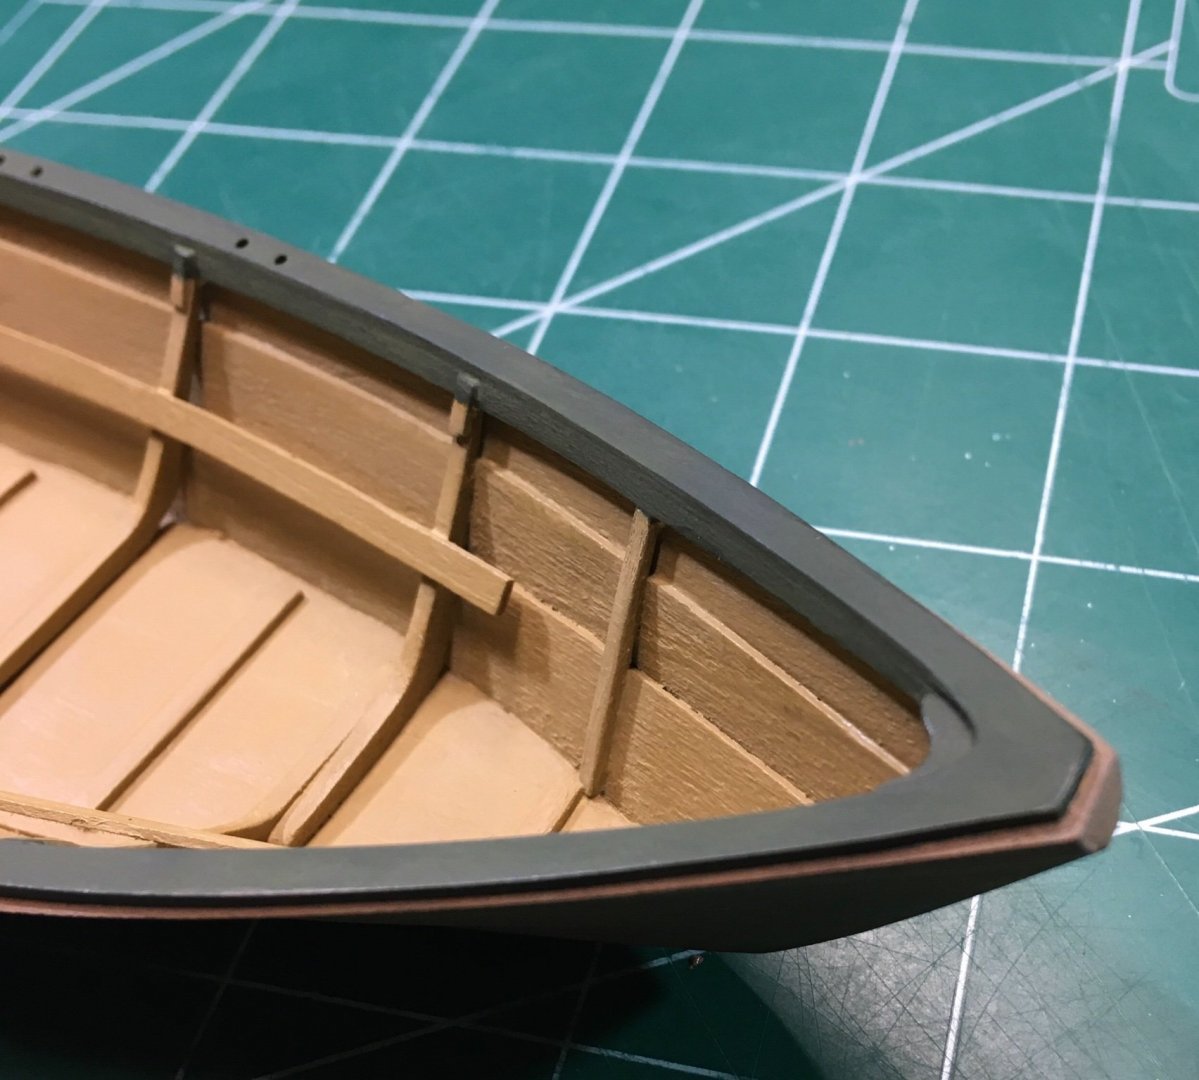
Needed a break from painting so back to construction. I was finally able to install the first part of the cap rail. This was sanded flush with the gunwale. After the remaining pieces are installed, I will add some filler to any gaps and sand them flush. See the attached rough photo. Steve
- 70 replies
-
- 6
-
-
- Lowell Grand Banks Dory
- Finished
- (and 1 more)
-
I’ve said it before. Mike’s projects make you elevate your own work. Just excellent! Thank you for raising the standard. Steve
- 607 replies
-
- 2
-
-
- winchelsea
- Syren Ship Model Company
- (and 1 more)
-
It looks good. These are some really difficult parts to make. Sometimes it’s good to step away for a bit. Each attempt will be better than the previous. Steve
- 160 replies
-
- 2
-
-
- Model Shipways
- norwegian sailing pram
- (and 1 more)
-
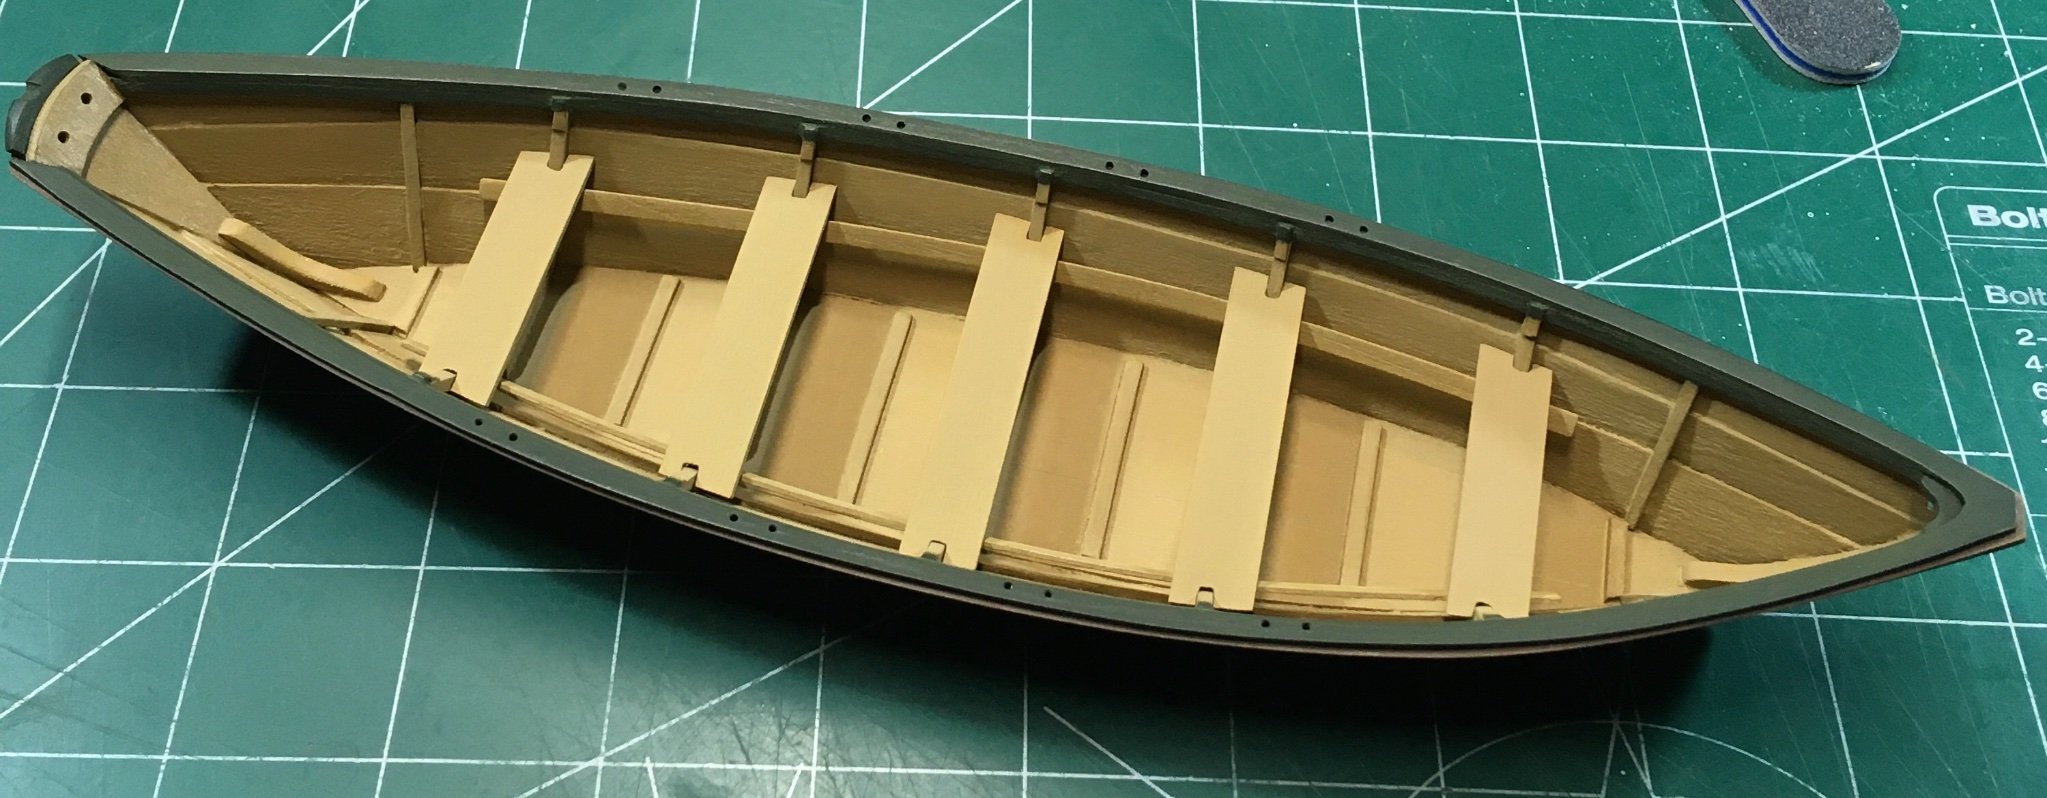
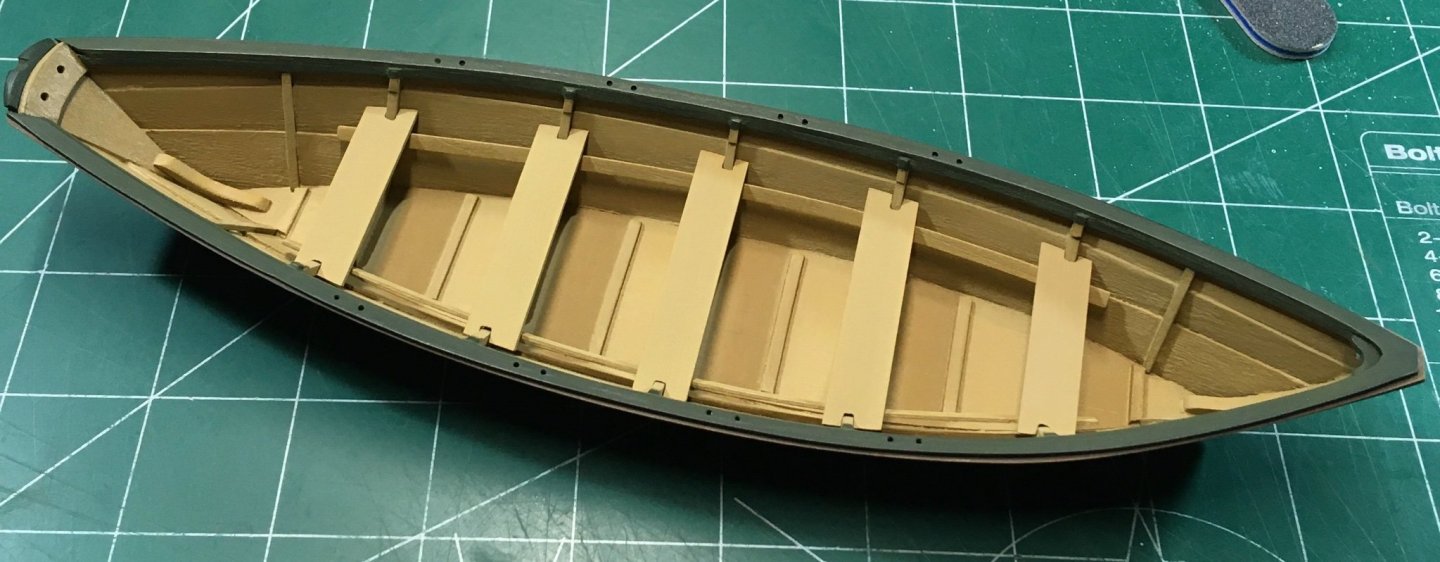
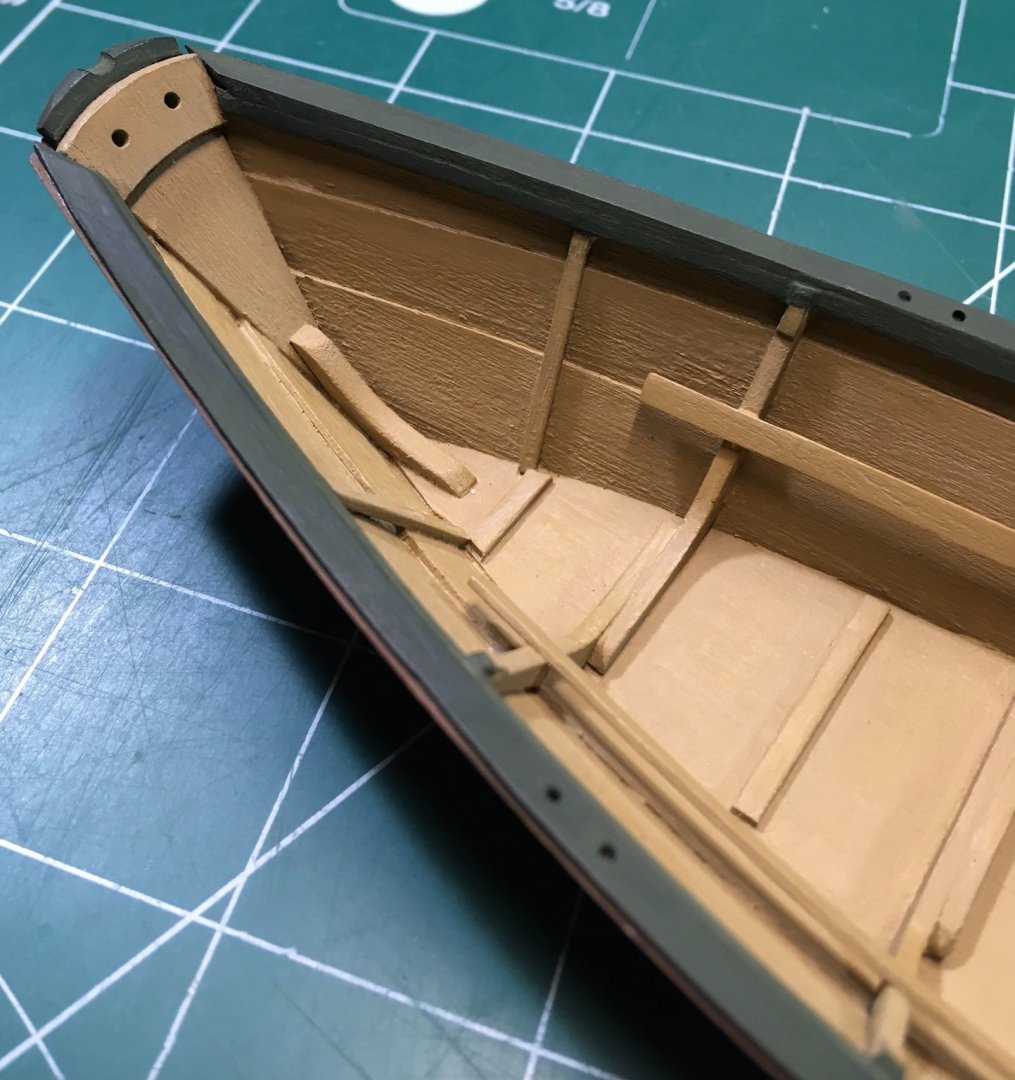
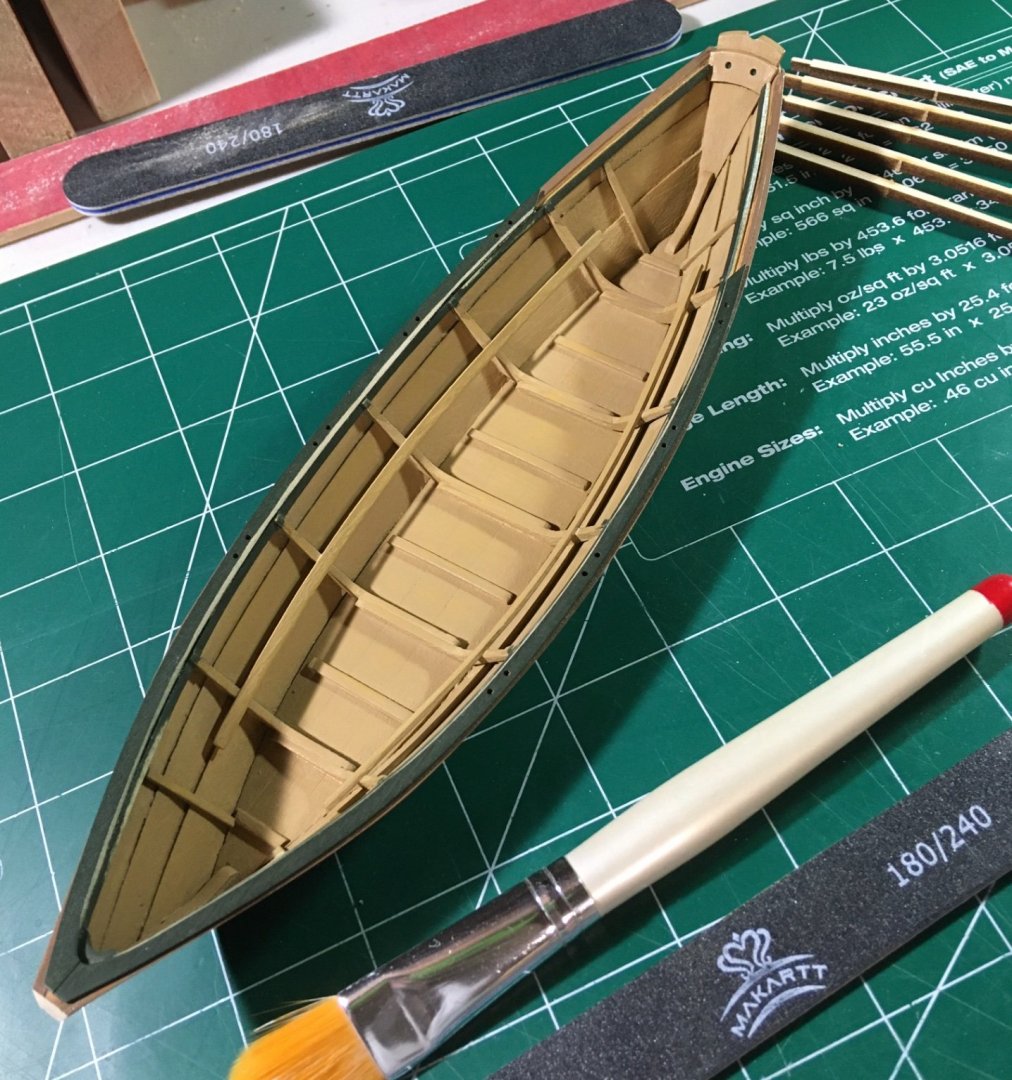
Painting continues… Thwarts (not glued yet) were painted to match the color of the interior hull. The gunwale and cap rail are painted green. In the photo you can see the modifications to the cap rail. Mine did not match the profile of the hull so I cut them. I will remake those aft pieces to match the remaining curve of the hull after the first parts are installed. I started to get a “chalky” finish to the interior hull. I think the paint got diluted with too much water. I will need to get a fresh bottle of paint to get the proper finish. I’ve been modifying the display stand as well. Updates on that coming soon. These macro photos are brutal. The finishes are much smoother to the naked eye. Steve
- 70 replies
-
- 6
-
-
- Lowell Grand Banks Dory
- Finished
- (and 1 more)
-
Thank you for the compliment and advice! Stuntflyer suggested the same (dullcoat). I’ll try not to obsess about the sheen, but I do have plenty work to do before that step. 😎 Steve
- 70 replies
-
- 2
-
-
- Lowell Grand Banks Dory
- Finished
- (and 1 more)
-
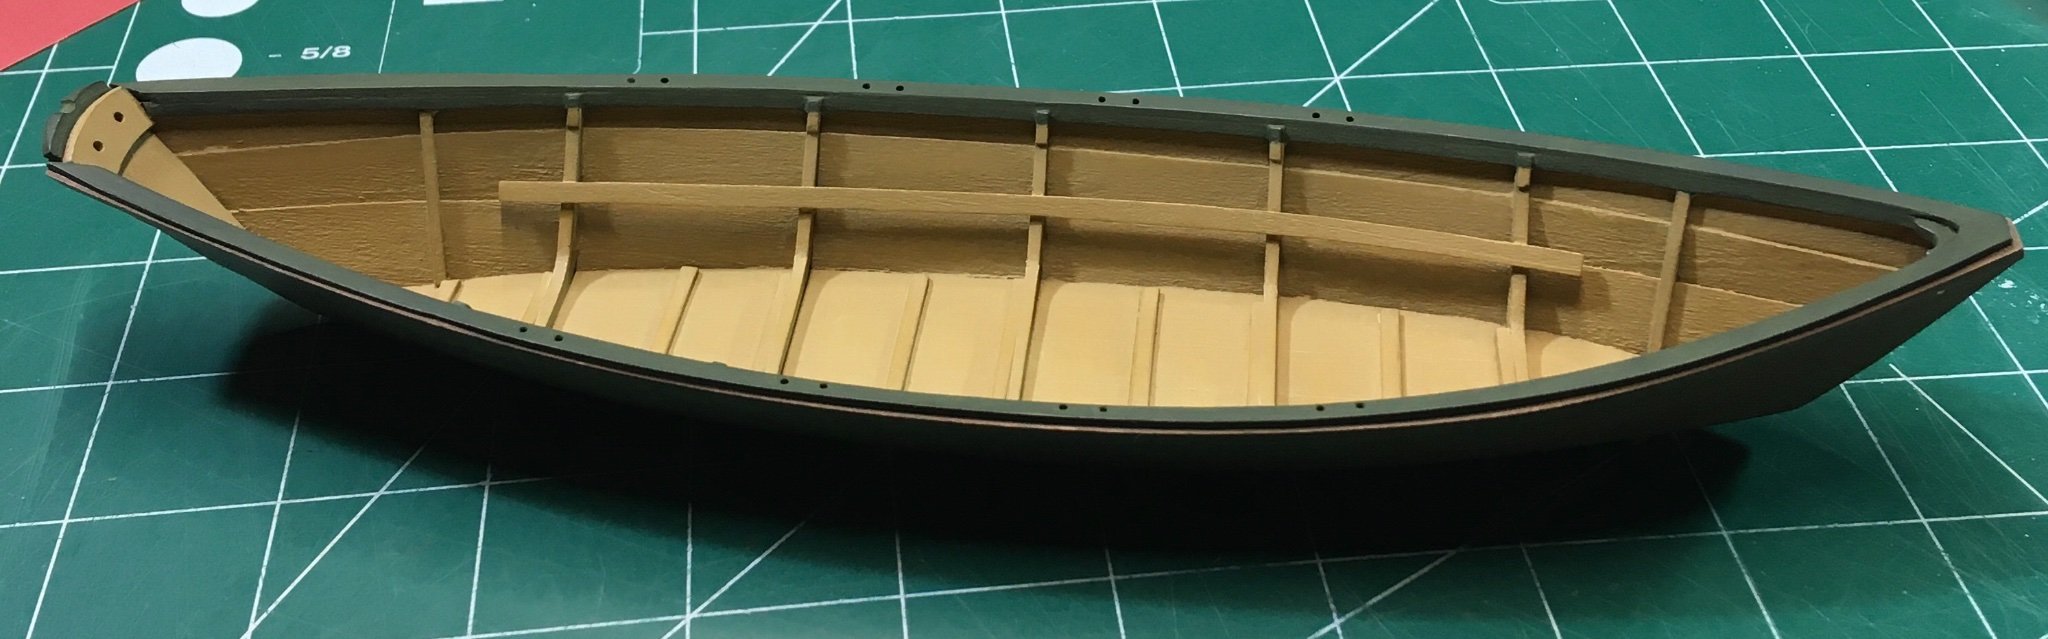
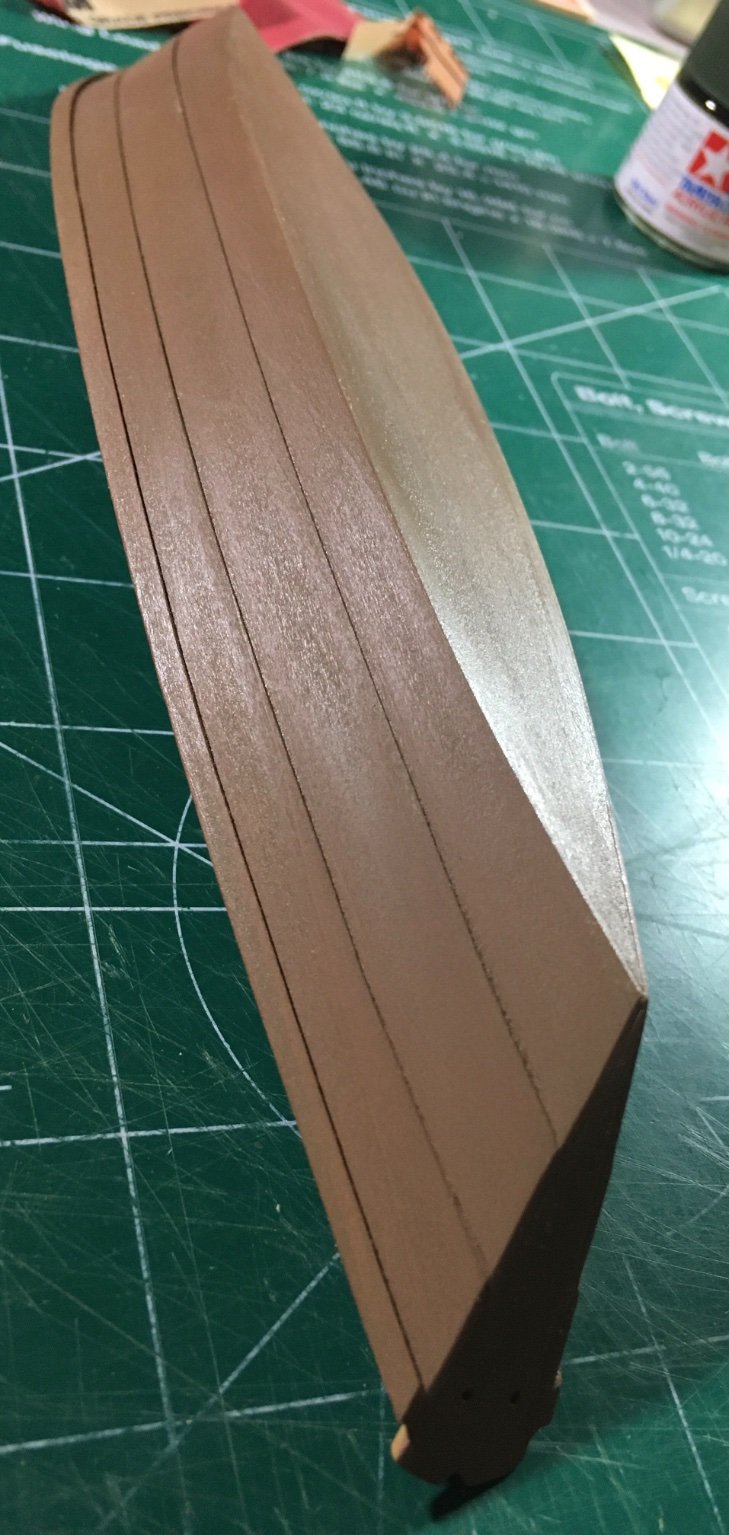
The painting process continues. I’ll share a photo of the exterior hull as it stands. There’s a bit of a sheen that I want to eliminate. I’ve been alternating between exterior and interior. The interior needs more attention. I am also utilizing this project to hone my painting finishes. It will take a while. Steve

- 70 replies
-
- 6
-
-

-
- Lowell Grand Banks Dory
- Finished
- (and 1 more)
-
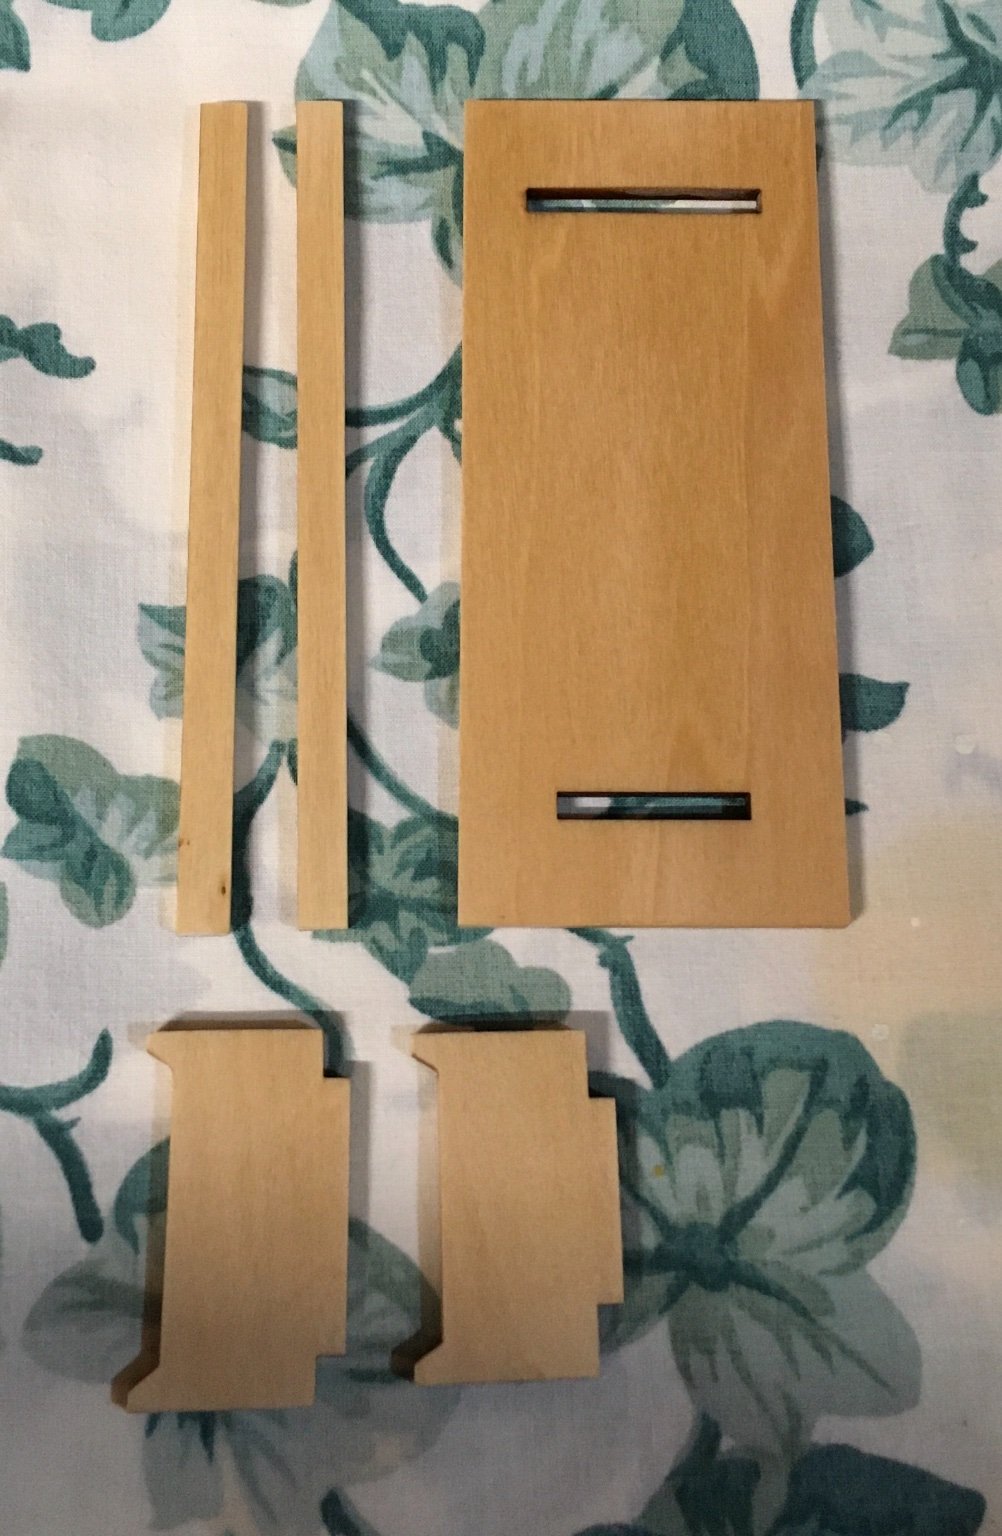
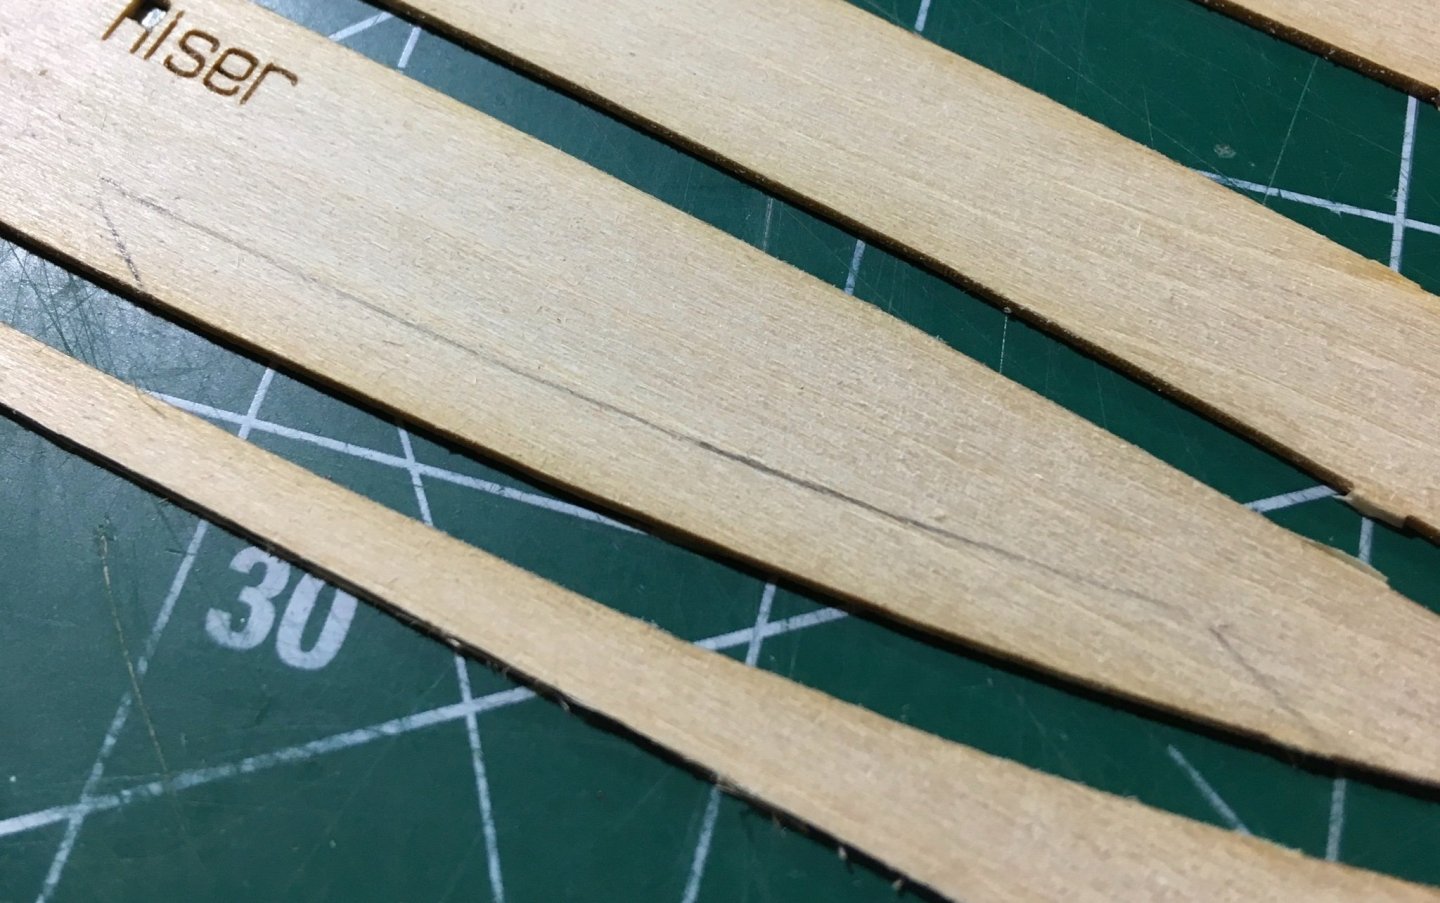
Lynn, As part of the learning experience I would suggest remaking that piece that split. I’m sure there is plenty wood in the kit. Trace your template and use a blade to make several passes along your lines. Use a metal ruler to guide your blade for the first pass or two. The groove will then guide the blade. You can sand it to shape after it is freed. it’s hard working with small parts. (frustrating!) That’s the learning curve. Trying to make everything clean and neat. Steve
- 160 replies
-
- 5
-
-
- Model Shipways
- norwegian sailing pram
- (and 1 more)
-
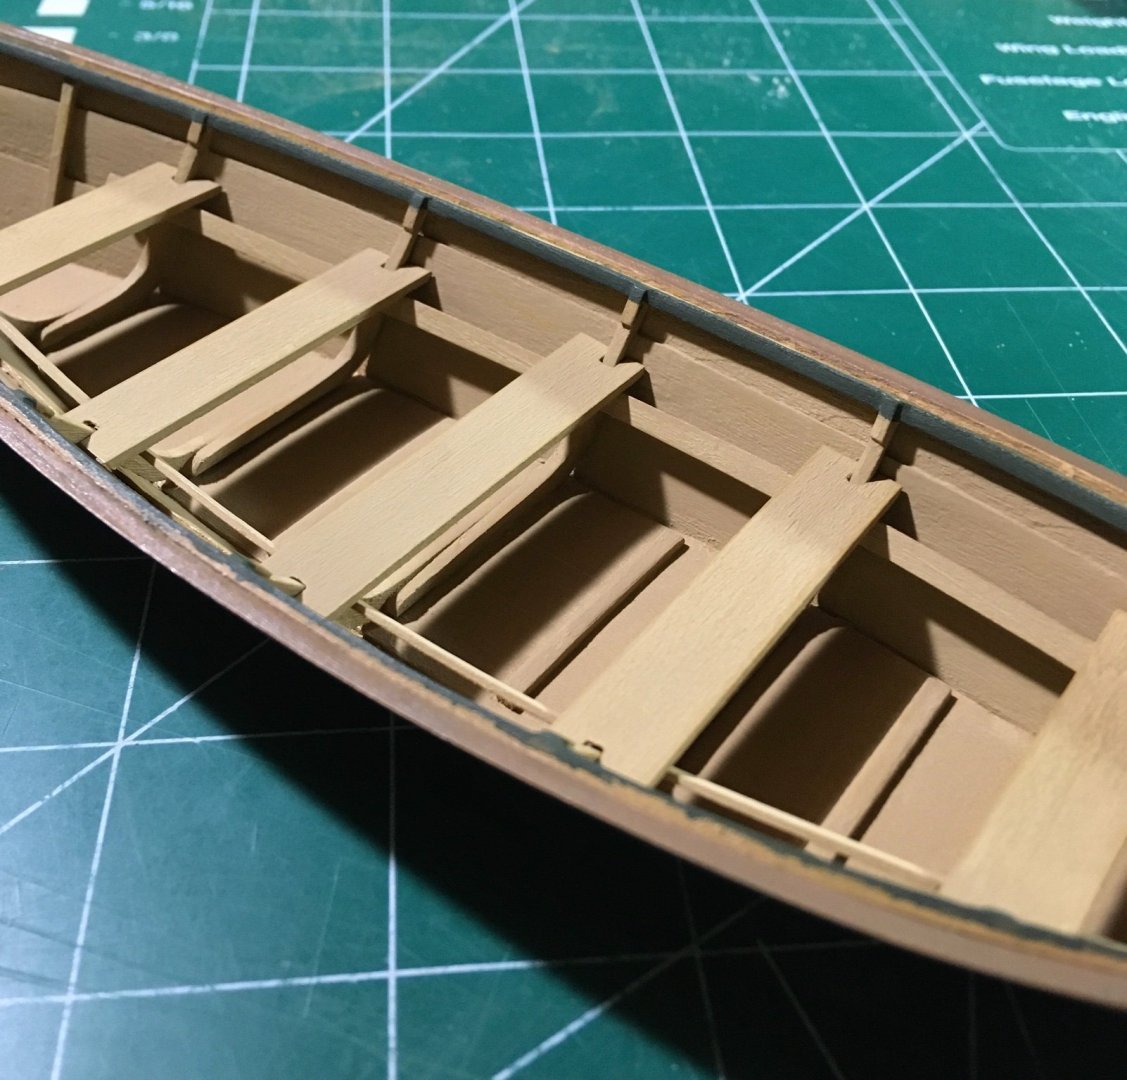
While test fitting and modifying the cap rail, one of the risers got snagged and needed to be reattached. This was an annoyance because it took me two attempts. The first resulted in an uneven pair of risers. It’s always painful to redo something, but the result is worth it. The macro photos really make you pick apart your work! Steve
- 70 replies
-
- 4
-
-
- Lowell Grand Banks Dory
- Finished
- (and 1 more)
-
I appreciate the kind words. David has designed a nice entry level kit. Many people gravitate towards Model Shipways English Longboat for their first kit, most likely because of its size. However, that is an advanced kit and very difficult. It turns out a very nice model. (Chuck writes fantastic instructions for his projects.) This project is much more relaxing compared to that one. 😎 Steve
- 70 replies
-
- 3
-
-
- Lowell Grand Banks Dory
- Finished
- (and 1 more)
-
No edge glue. Take time to properly prepare and fit the planks. Chuck’s tutorials should help. Extra glue will affect the finish when using WOP. Steve
- 274 replies
-
- 2
-
-
- Cheerful
- Syren Ship Model Company
- (and 1 more)