HOLIDAY DONATION DRIVE - SUPPORT MSW - DO YOUR PART TO KEEP THIS GREAT FORUM GOING! (Only 75 donations so far out of 49,000 members - C'mon guys!)
×


Tigersteve
-
Posts
1,326 -
Joined
-
Last visited
Content Type
Profiles
Forums
Gallery
Events
Everything posted by Tigersteve
-
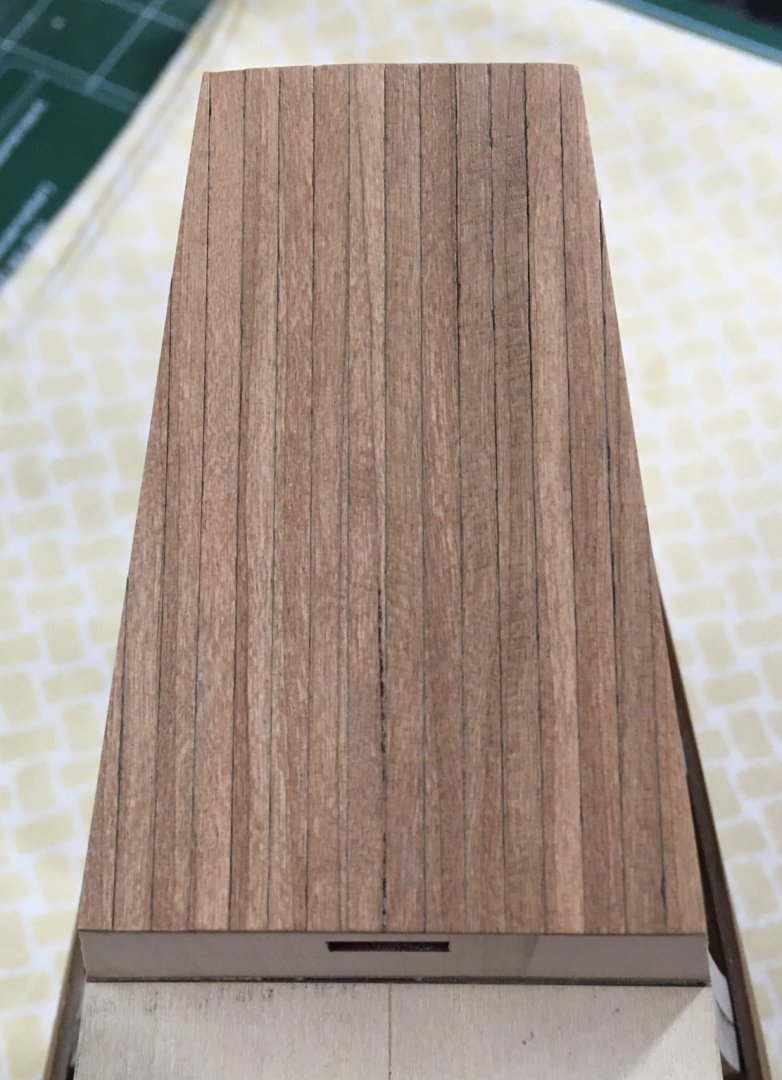
 Thank you everyone for the support. I really like working with the Cherry. I think it might be easier to work with than the Maple I used on the English Pinnace. I’m considering this wood for the next project. (Scratch built Confederacy) Steve
 -
Roter Löwe 1597 by Ondras71
Tigersteve replied to Ondras71's topic in - Build logs for subjects built 1501 - 1750
Looks like this blade worked for you as well. Was this another Proxxon blade? I am going to have to make gratings at some point soon. I do have the 1.1mm blade from Proxxon as well, but I have to make a jig for creating the gratings first. Steve -
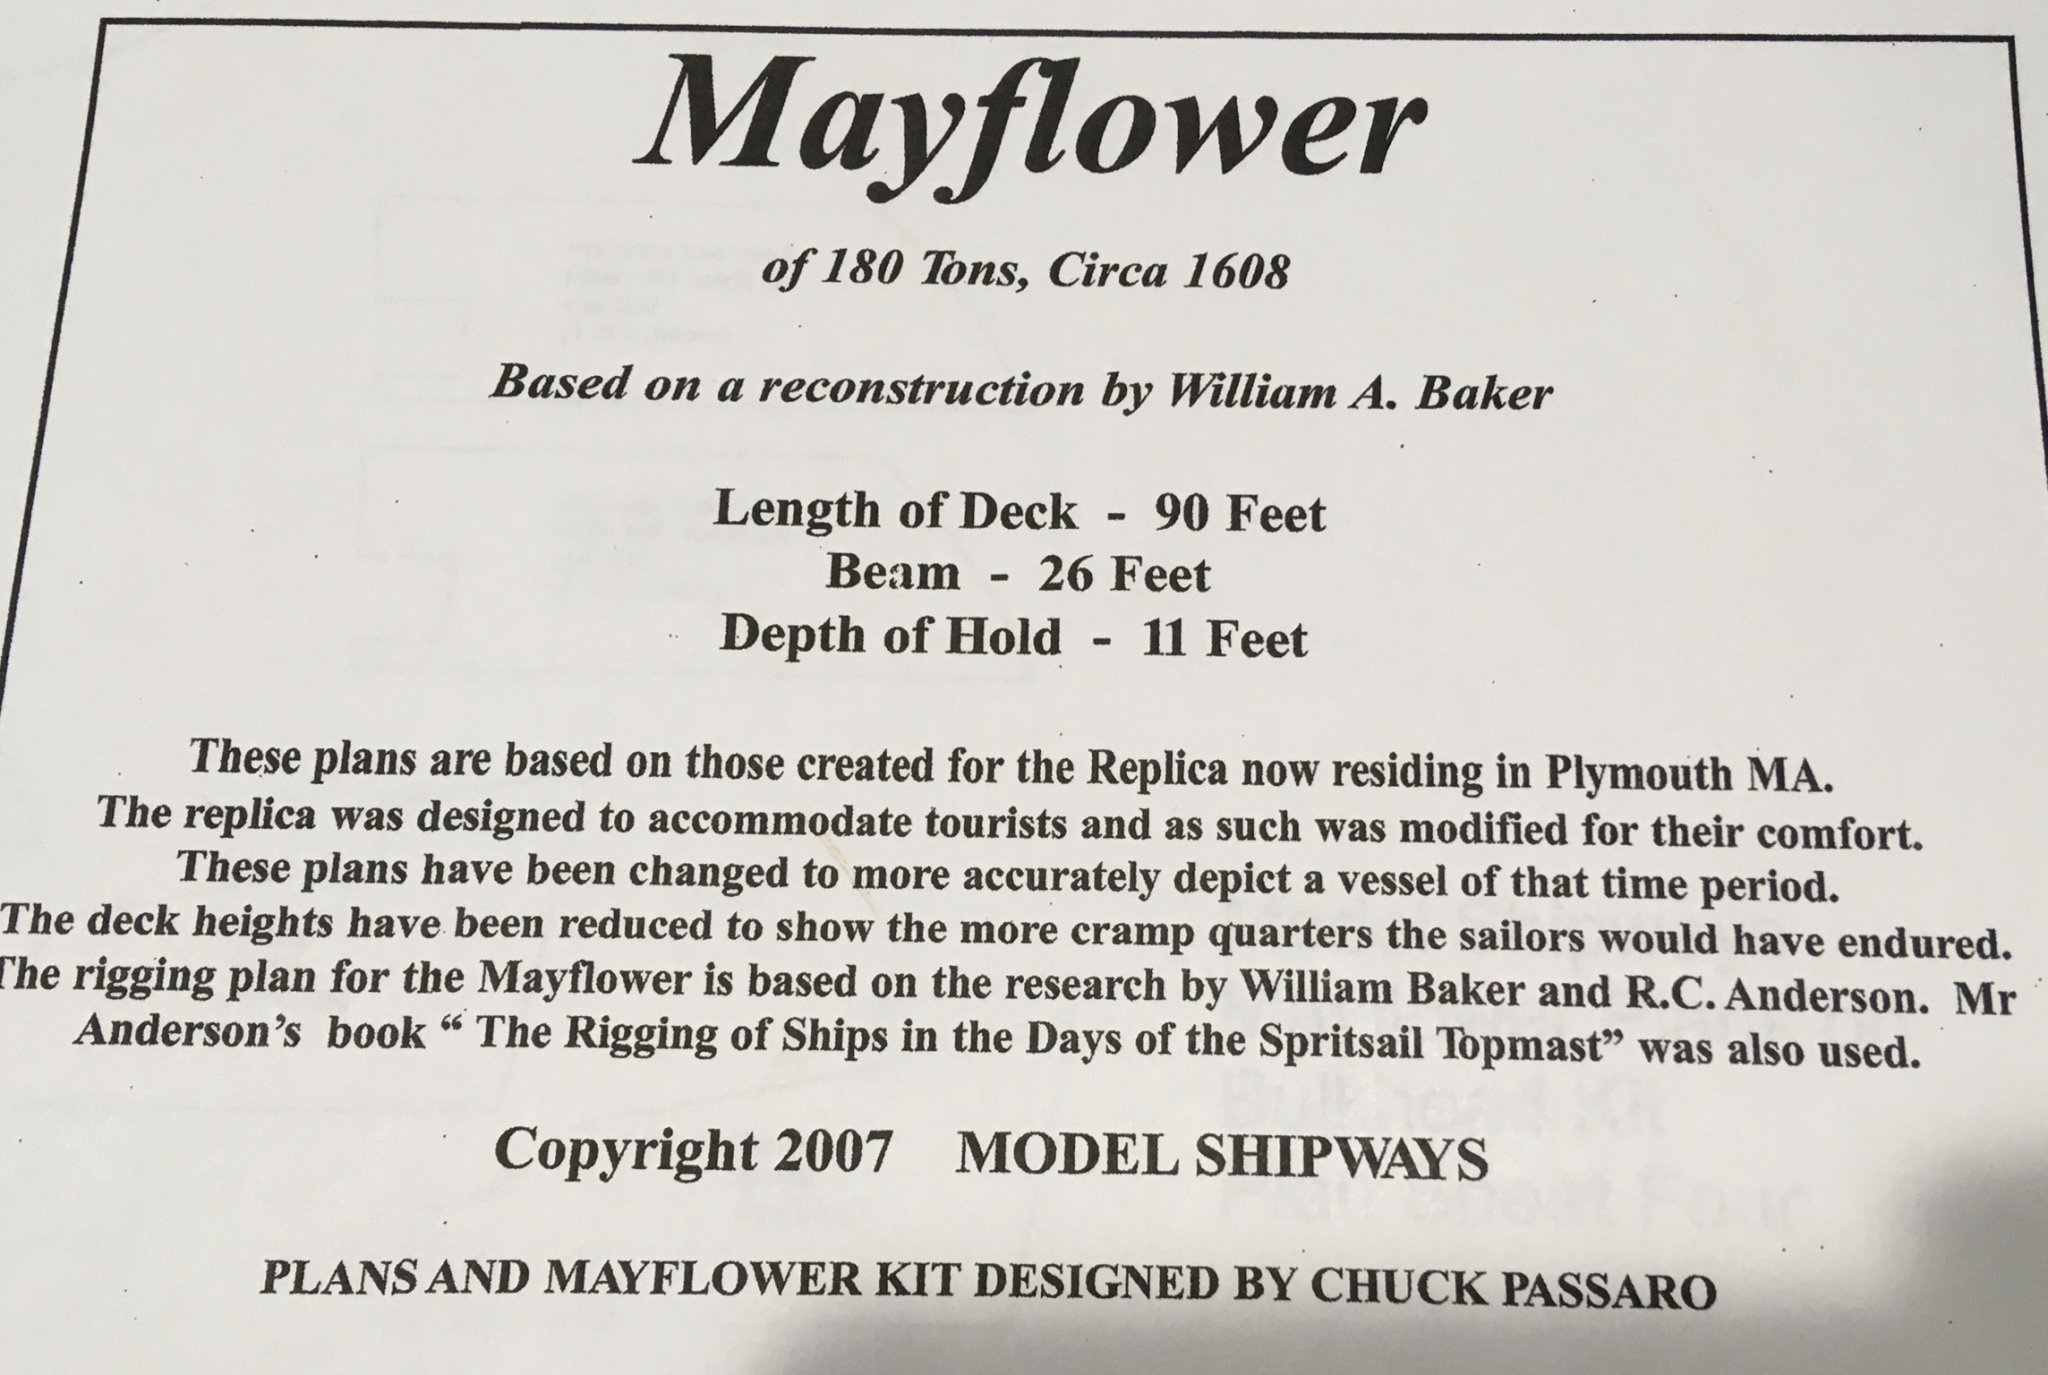
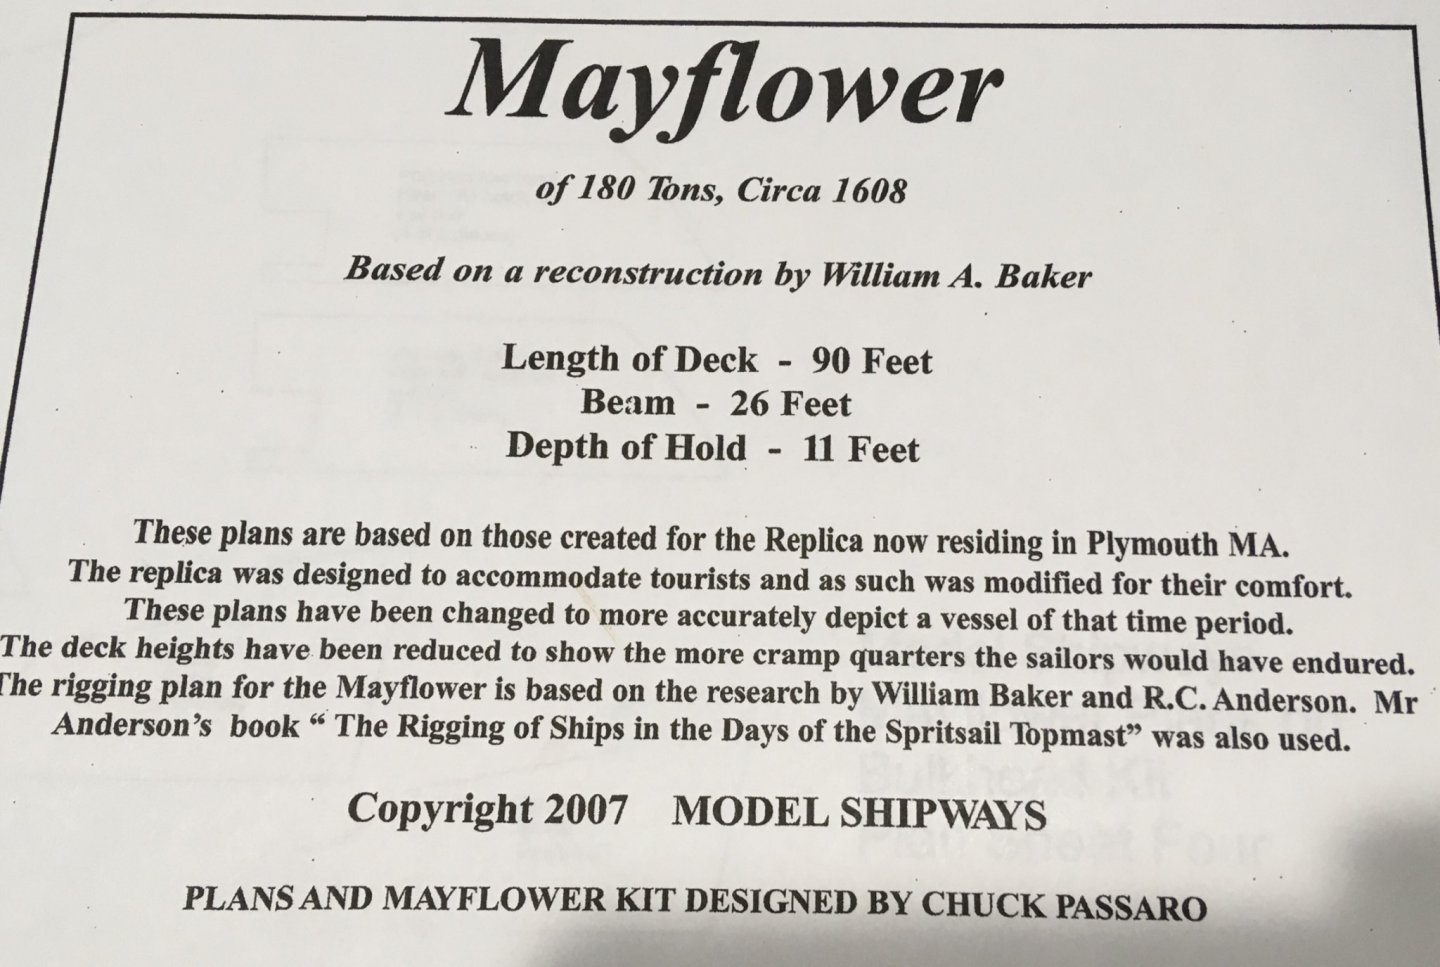
I will clarify by including a photo of Chuck’s plan sheet. He explains his rationale for the design. I still have all the photos you sent me of the replica. I am still considering adding the scuppers if I can do it cleanly. Steve
-
Looks great! I enjoyed watching this from when I first joined MSW. Steve
- 648 replies
-
- 1
-

-
- niagara
- model shipways
- (and 1 more)
-
Nice work on the late mounting and pedestals. Steve
- 648 replies
-
- 2
-
-
- niagara
- model shipways
- (and 1 more)
-
After applying the finish. Steve

-
Roter Löwe 1597 by Ondras71
Tigersteve replied to Ondras71's topic in - Build logs for subjects built 1501 - 1750
Everything is coming along nicely! What type of saw blade did you use for the gratings? Steve -
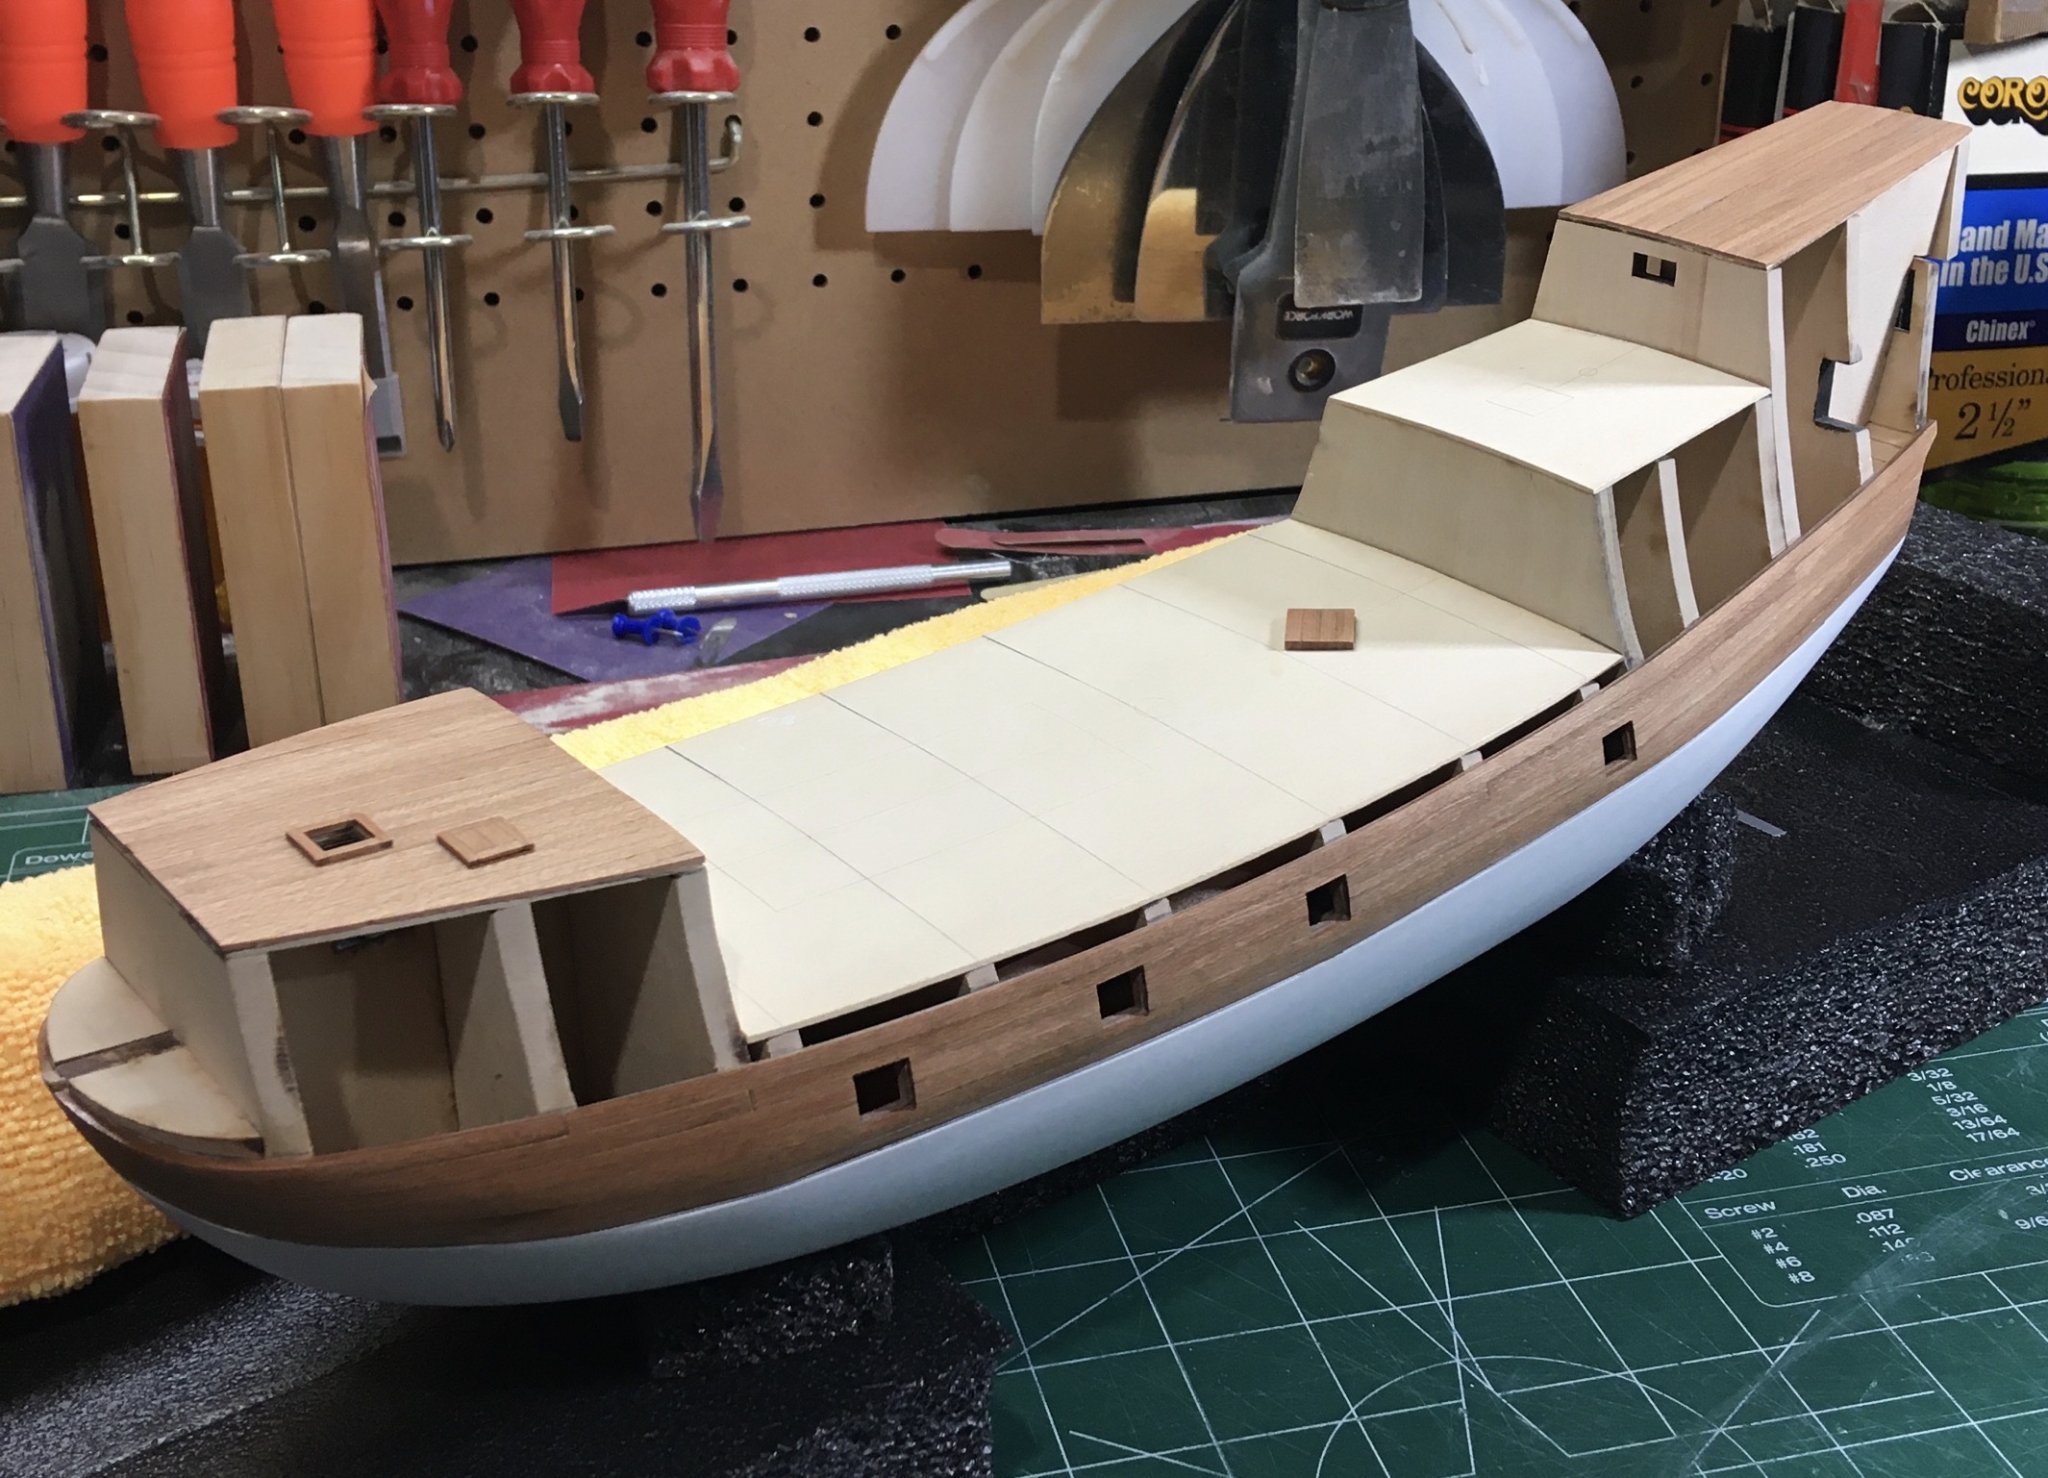
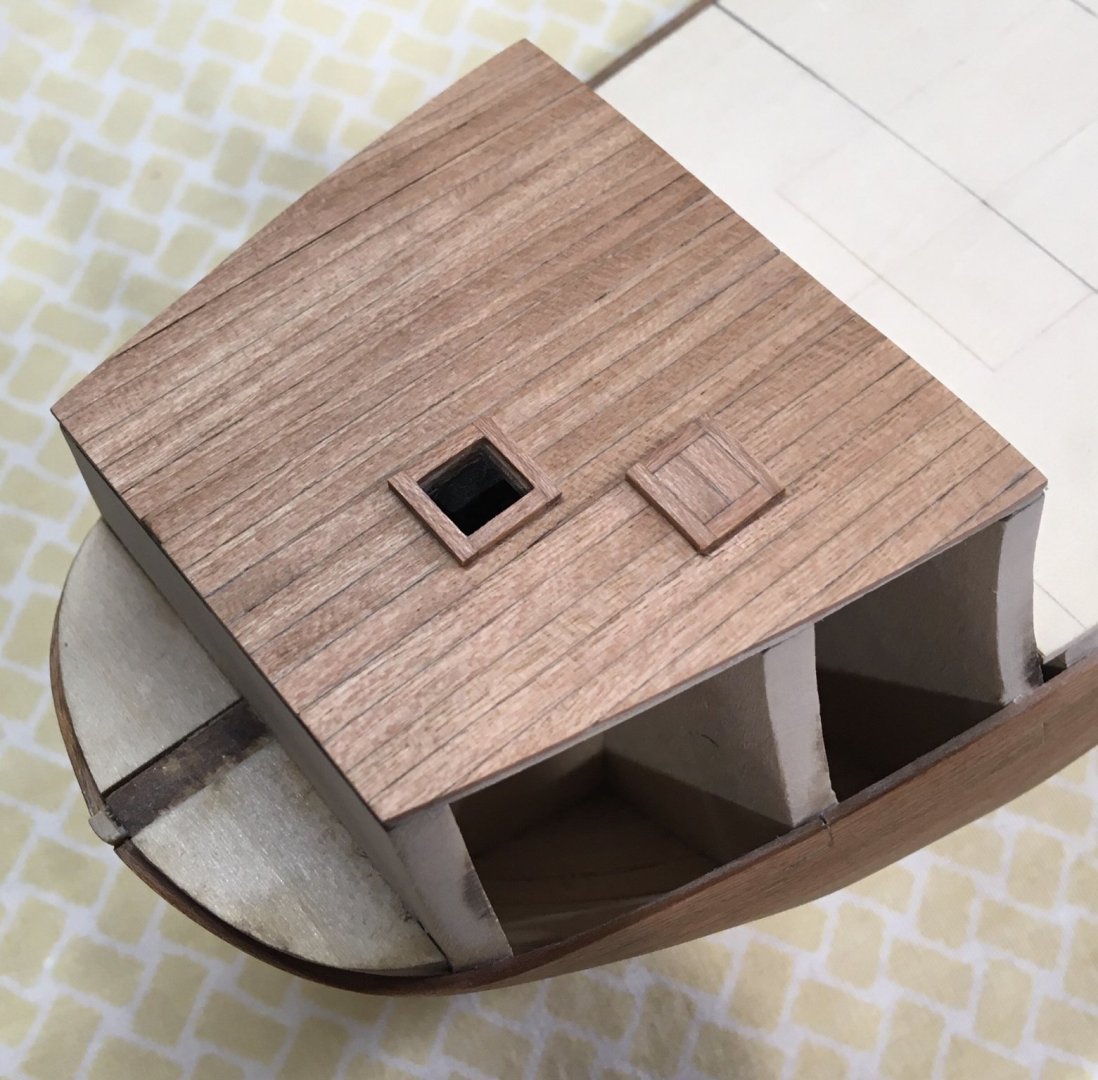
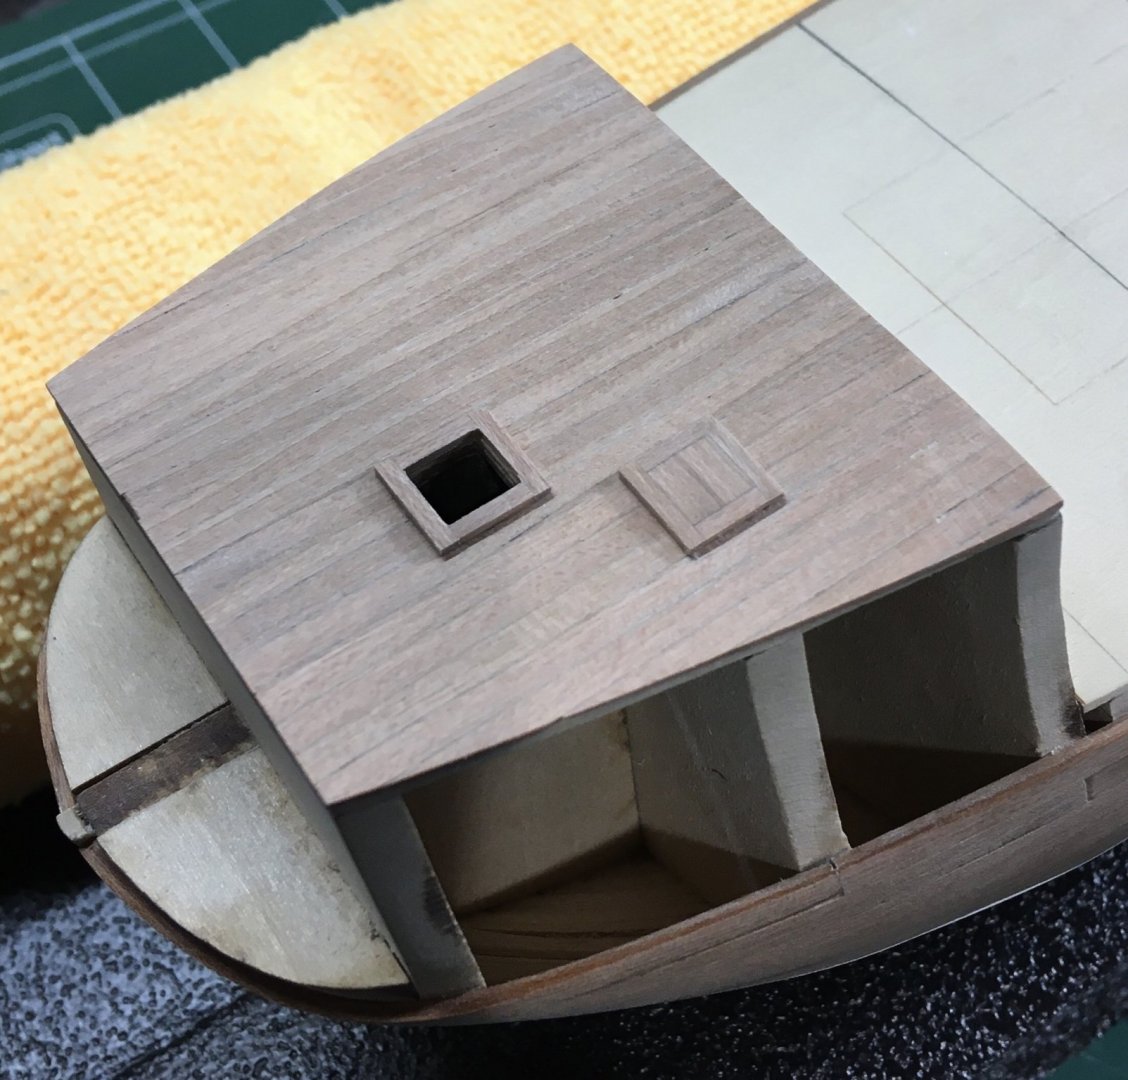
Forecastle and poop deck are completed. I laid the planks first then created the hatches off model. Hatches were sanded from 1/16” to 1/32” after installation. Hatches were placed according to plan sheet two, but I think they are a hair too close according to a late look at the other plan sheets. Too much risk of damage to remove the hatch at this point. I guess I’ll be the only one who notices this on the model aside from you trained modelers. I sanded the rest of the unpainted model to knock off the shine of the wipe-on-poly. Have to make sure to do a better application of poly next time. Steve

-
Congratulations! What a great accomplishment. Steve
- 1,208 replies
-
- 2
-
-
- great republic
- clipper
- (and 1 more)
-
Basic but Good kit recommendations for granddaughter and I
Tigersteve replied to glbarlow's topic in Wood ship model kits
Totally agree with Mike on this. All great pints. No CA glue for a 6 year old. Larger scale wooden kit and short modeling sessions. They will want to play with it after. My daughter is 6. No ship modeling yet, but any LEGO she constructs she wants to play with. Steve -
Excellent work as always. I’ll take the extra jolly boat off your hands. 😎 Steve
-
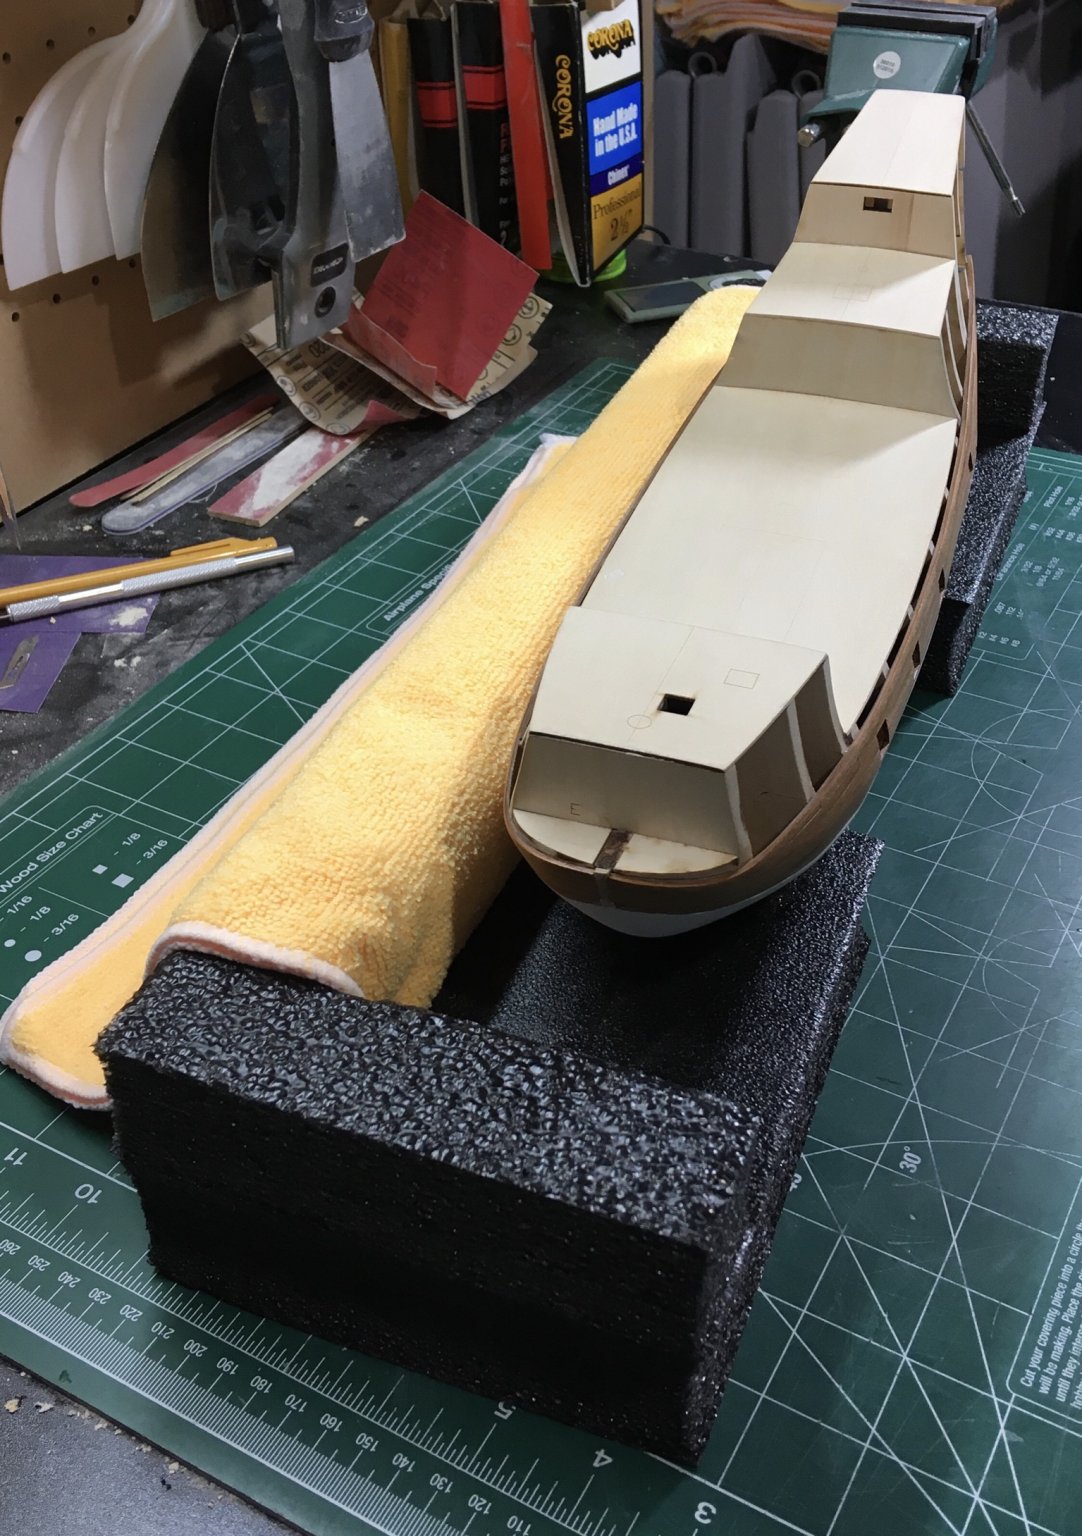
Made a cradle out of some packing material I had saved from a 3D printer at work. This should be sufficient to hold the hull while I work on the deck planking. Steve

-
Paint the blades for contrast. 😎Steve
-
Your model looks like a 3D rendering. Just excellent work! Steve
- 607 replies
-
- 2
-
-
- winchelsea
- Syren Ship Model Company
- (and 1 more)
-
You could always skip the treenails. 😎 Steve.
-
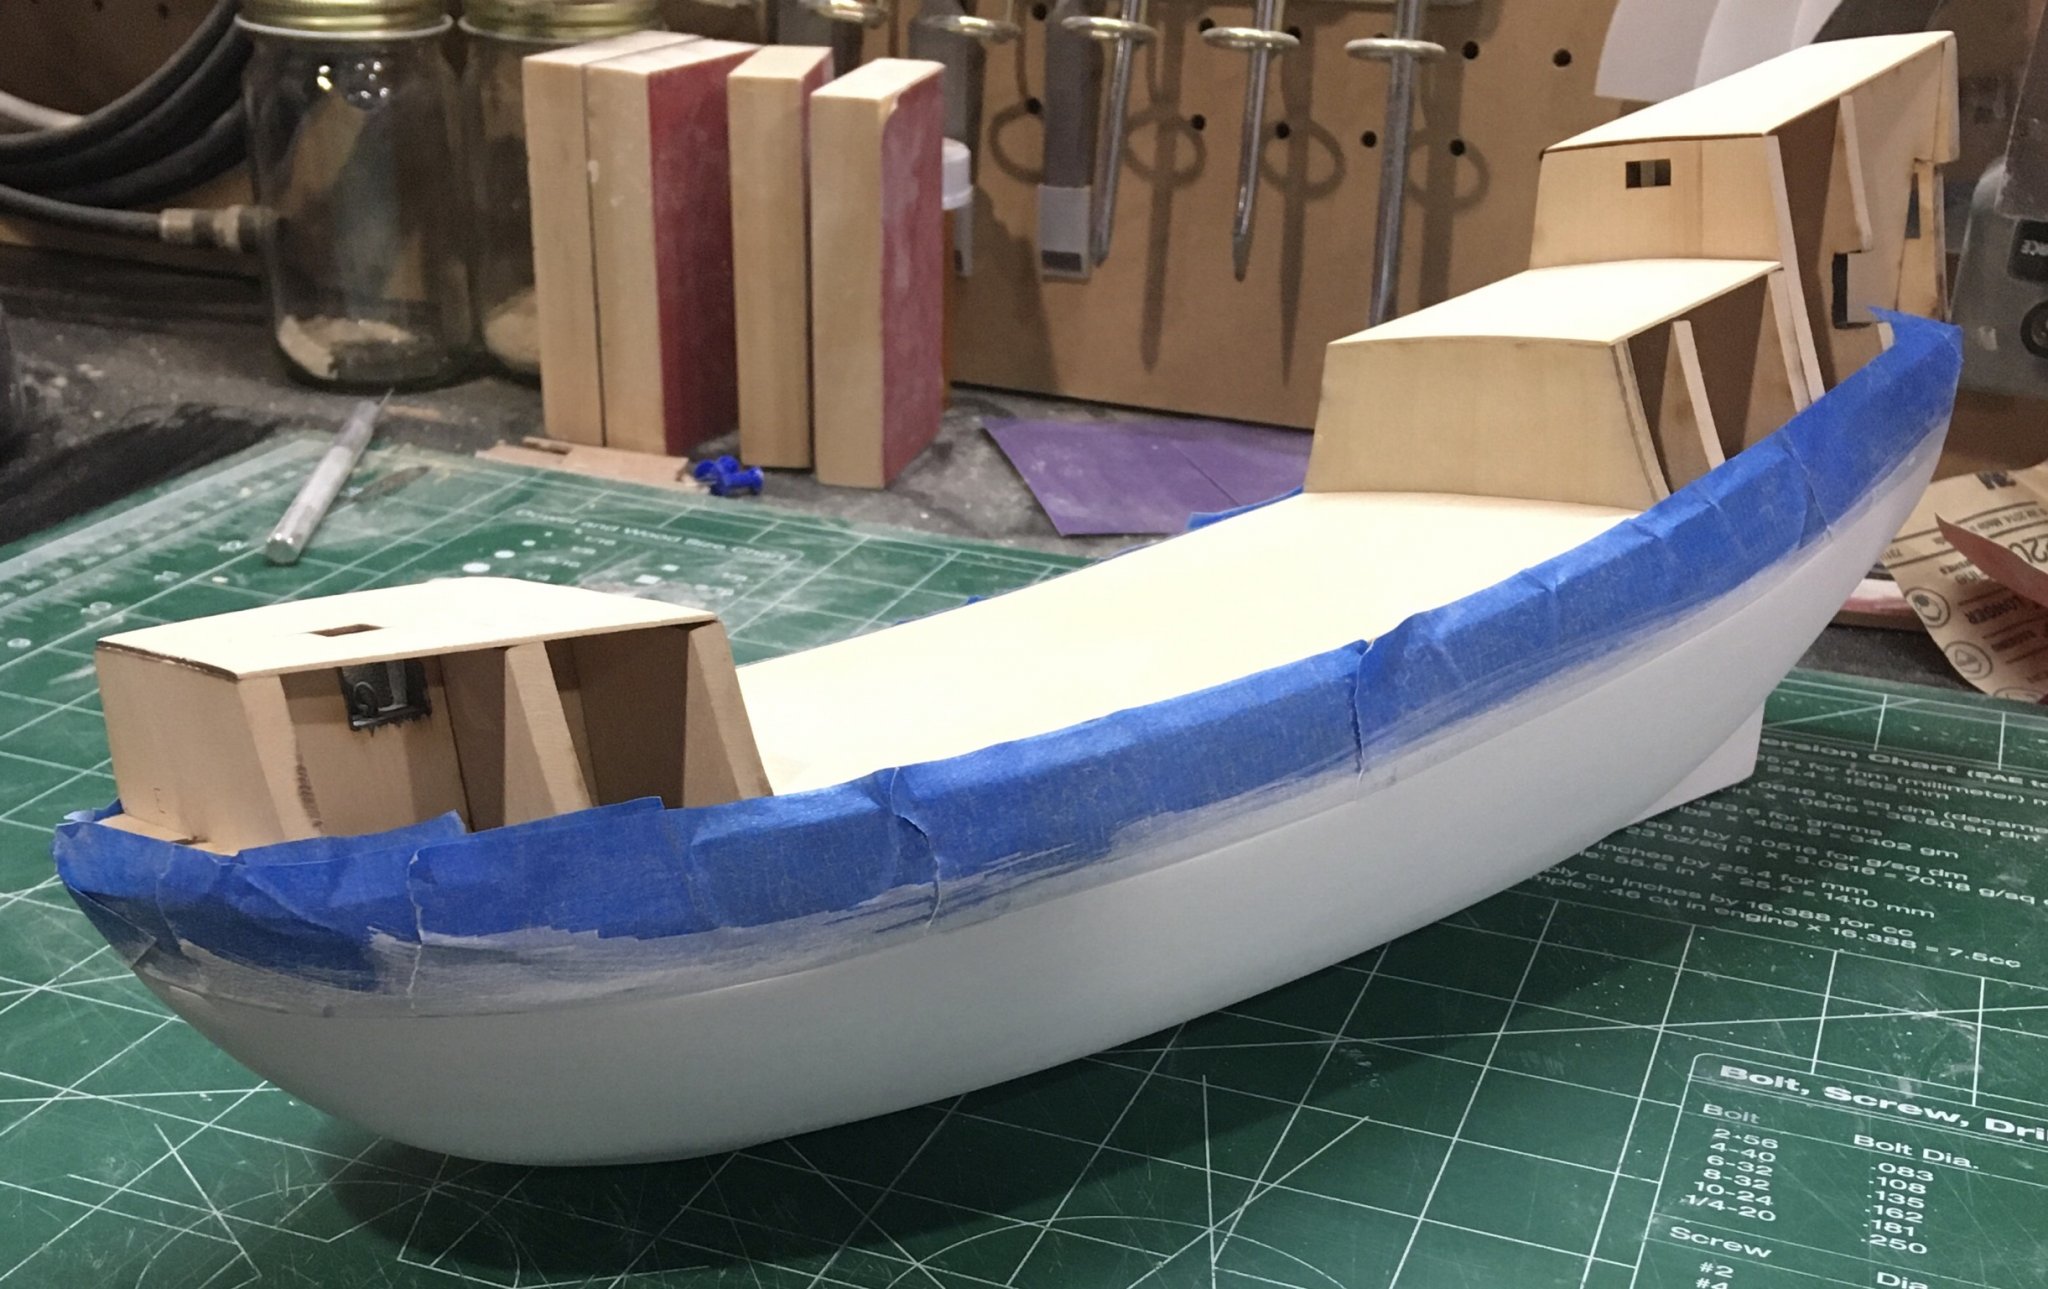
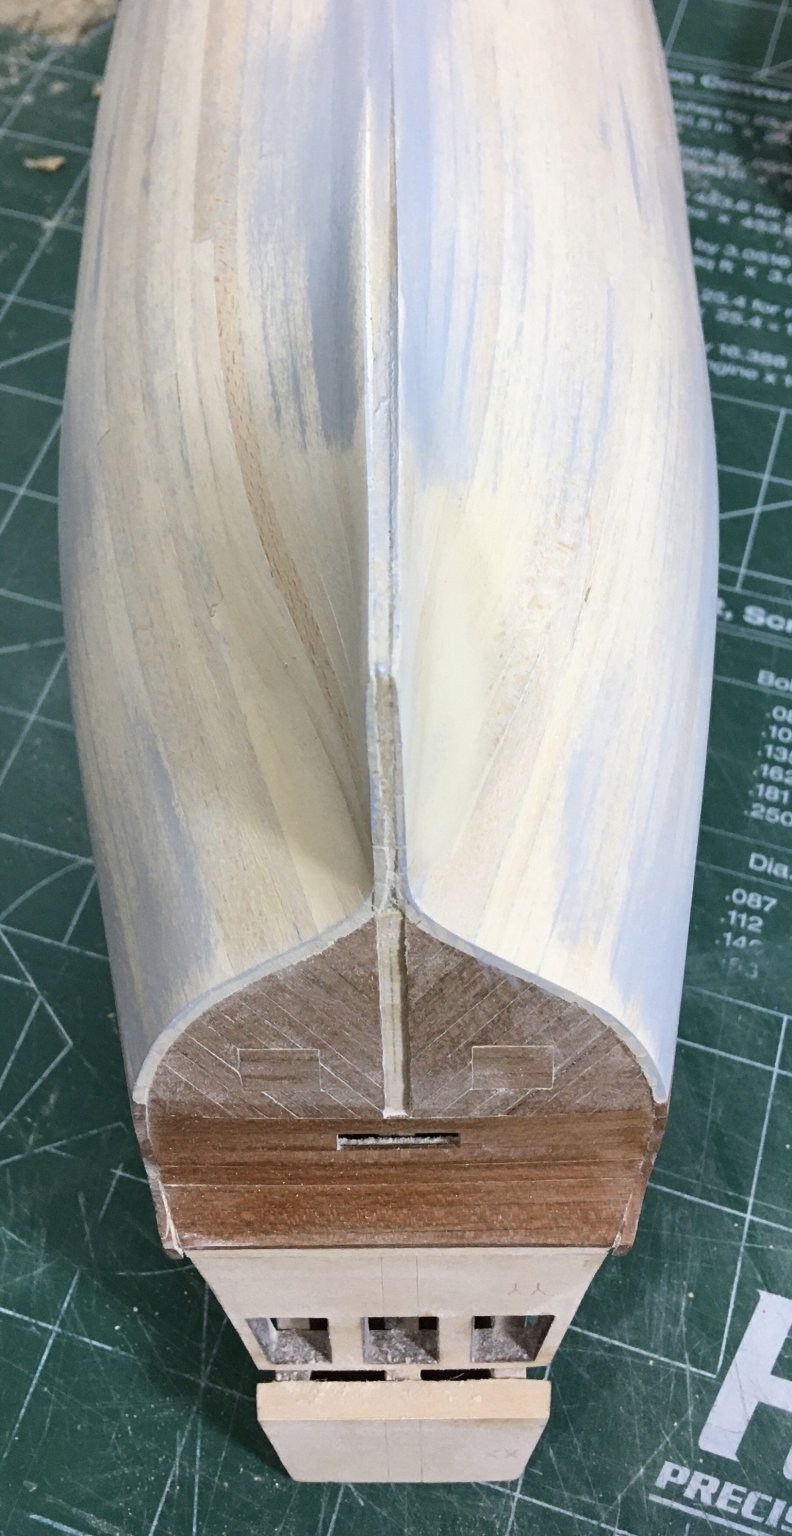
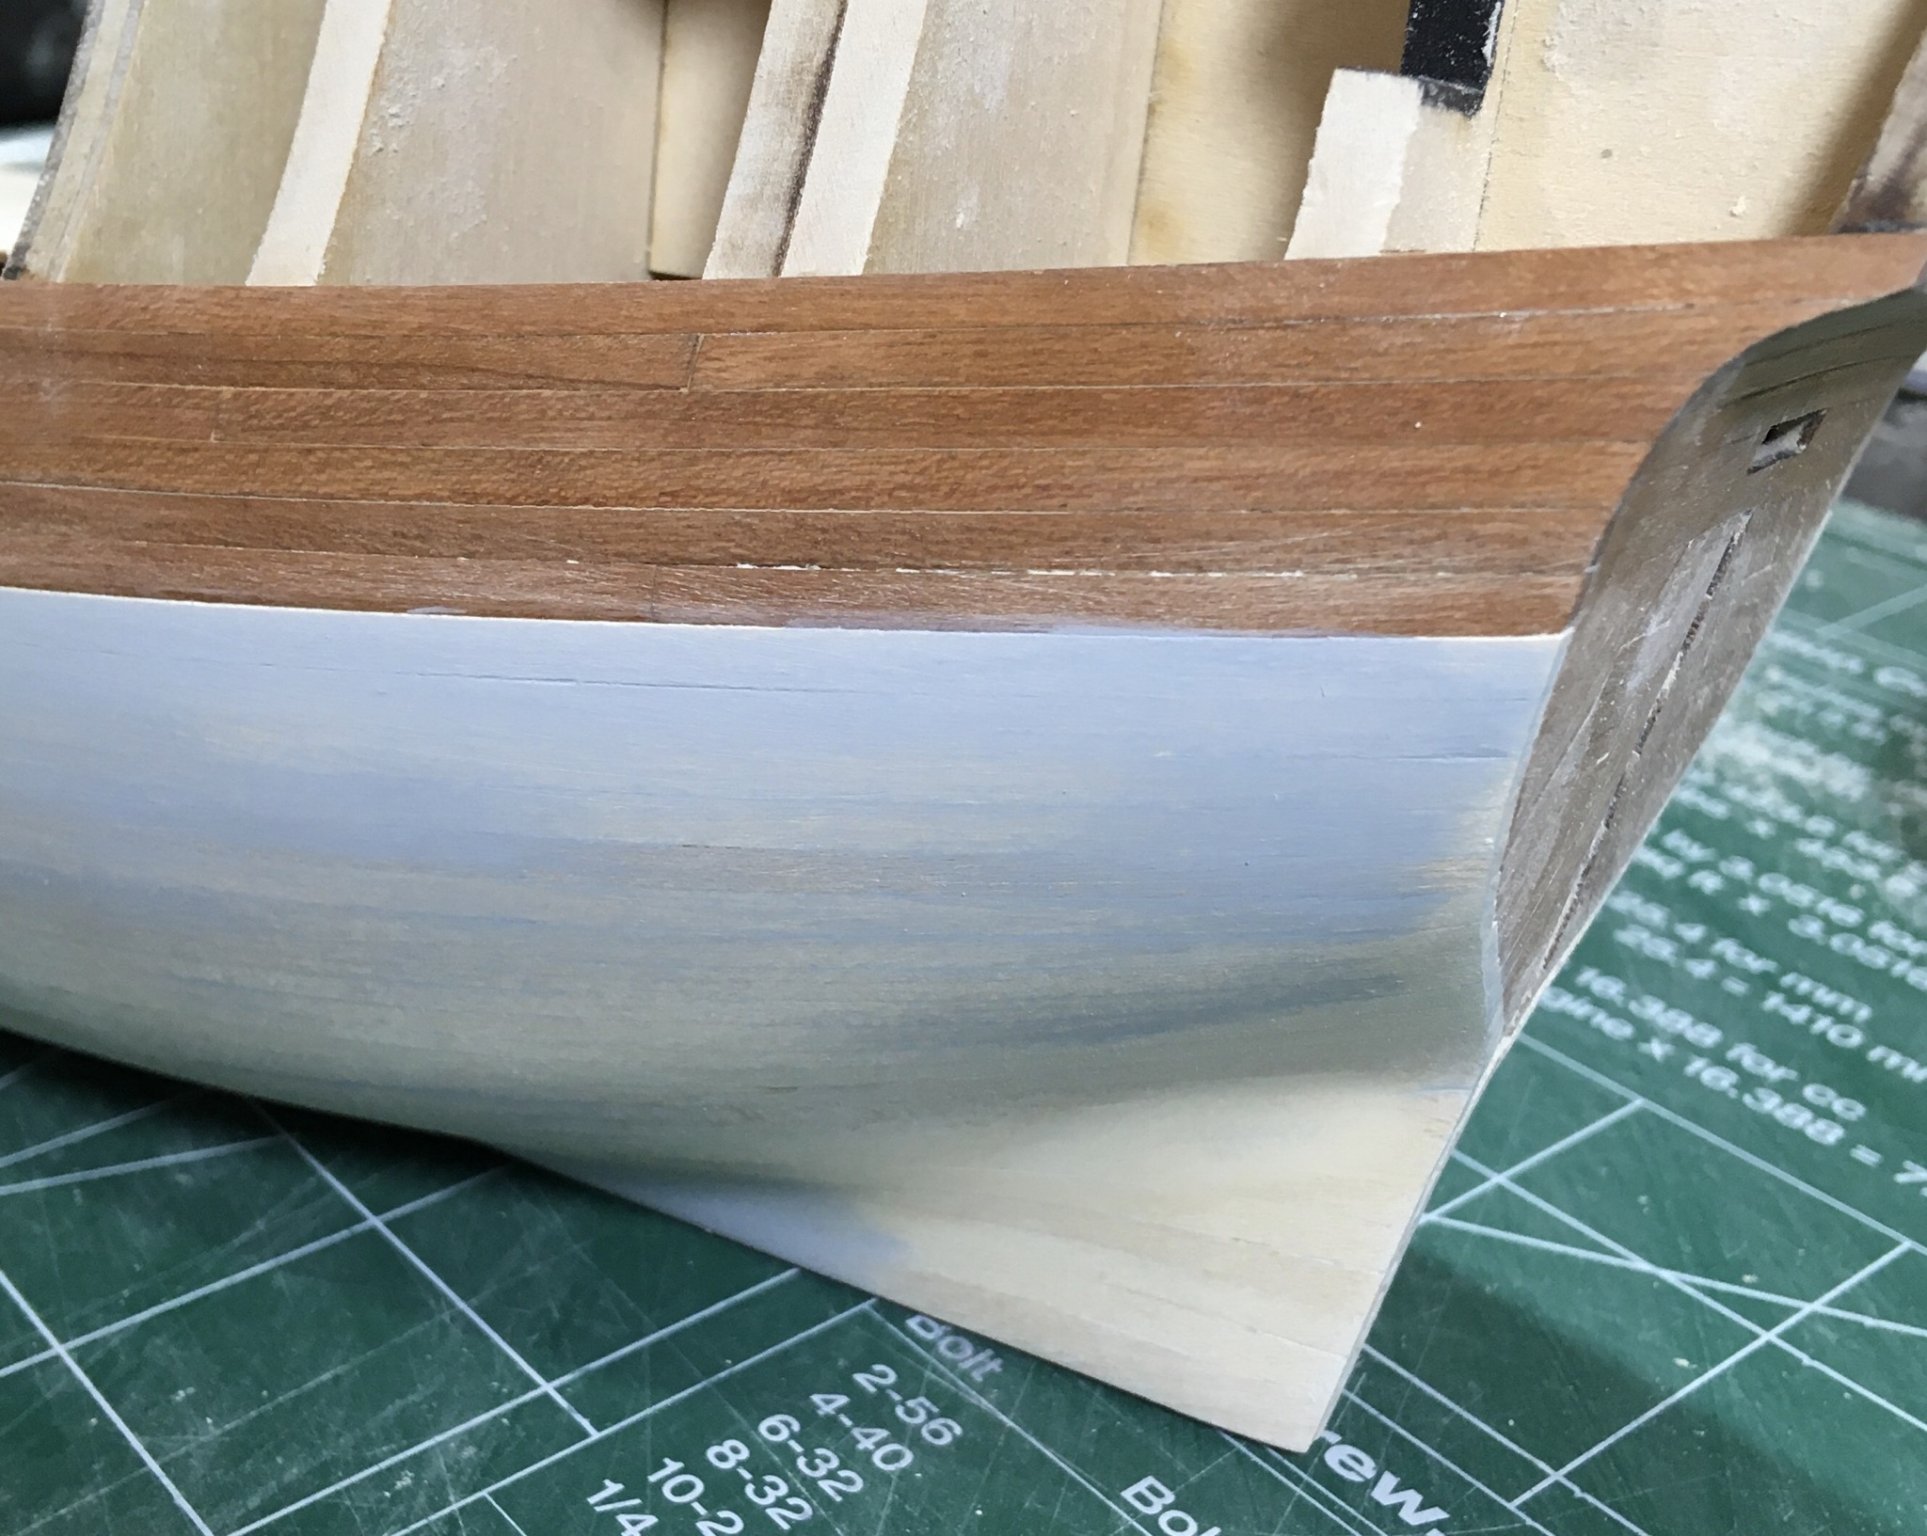
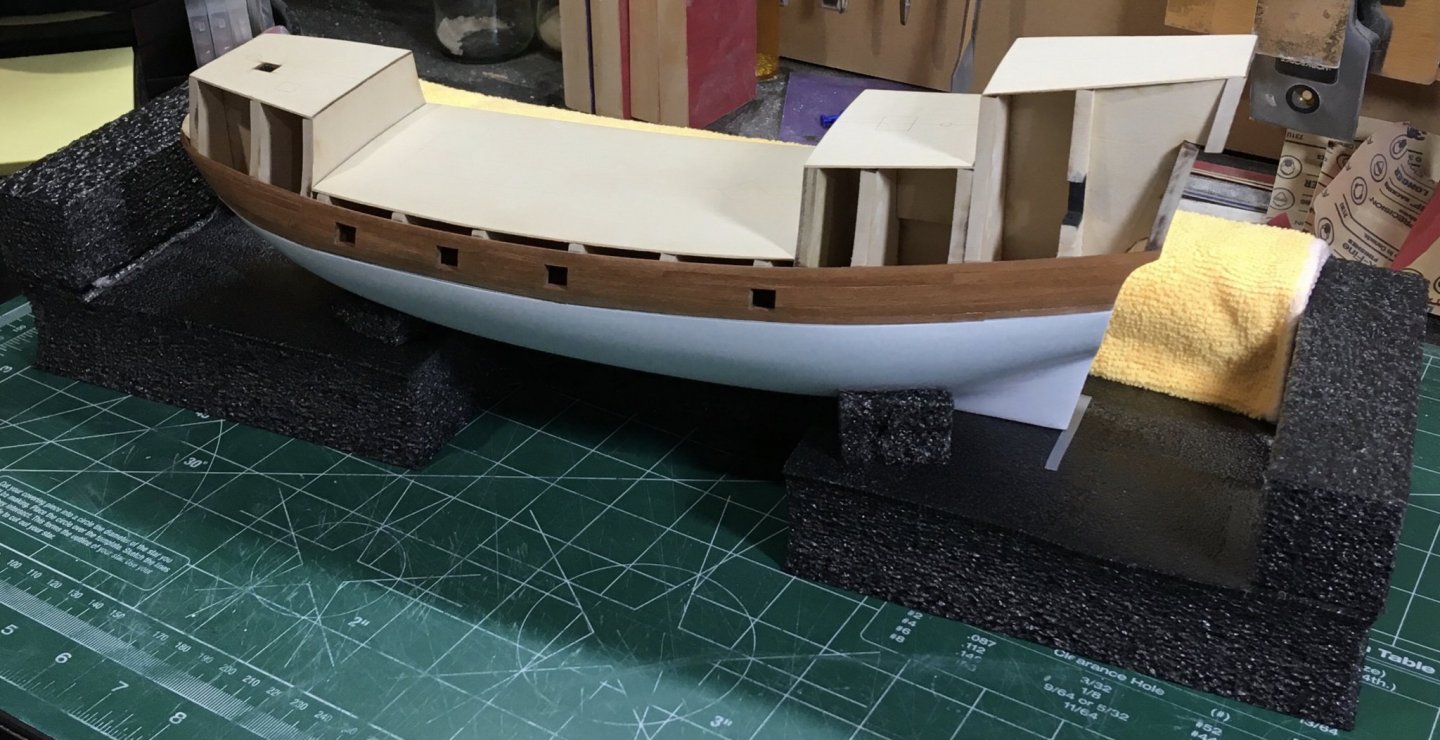
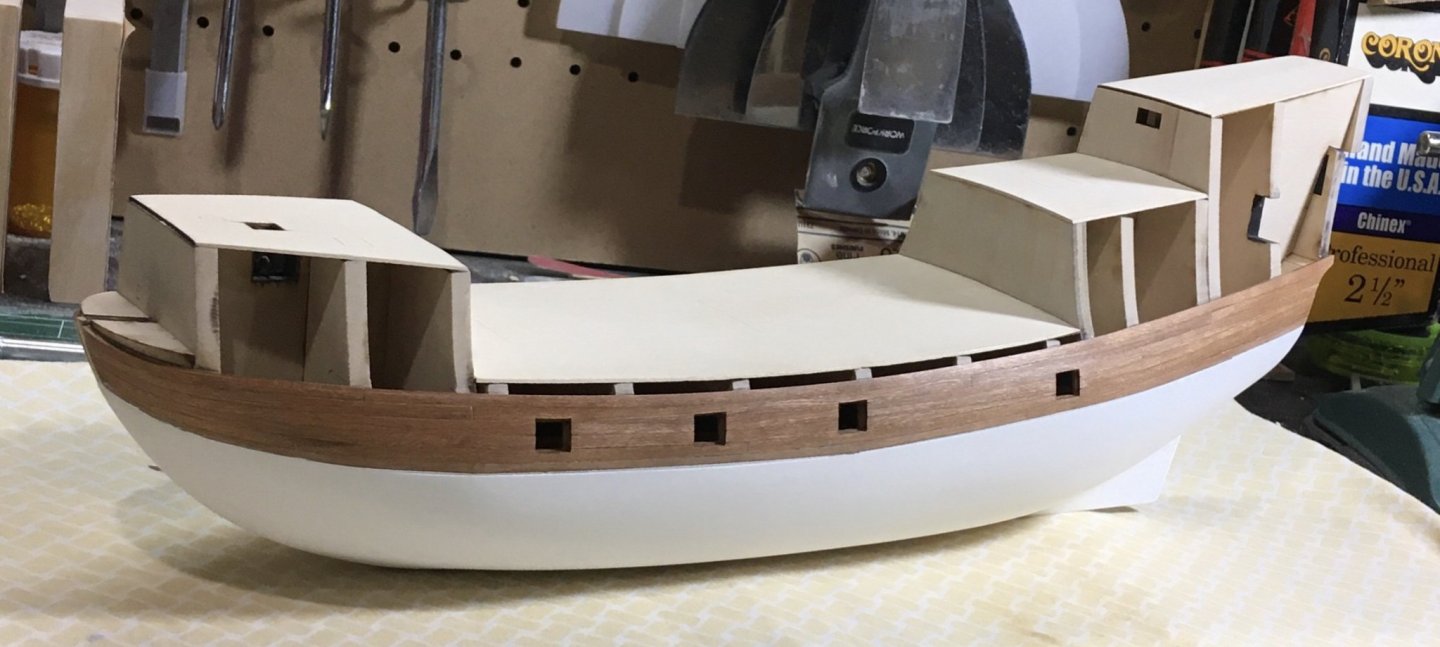
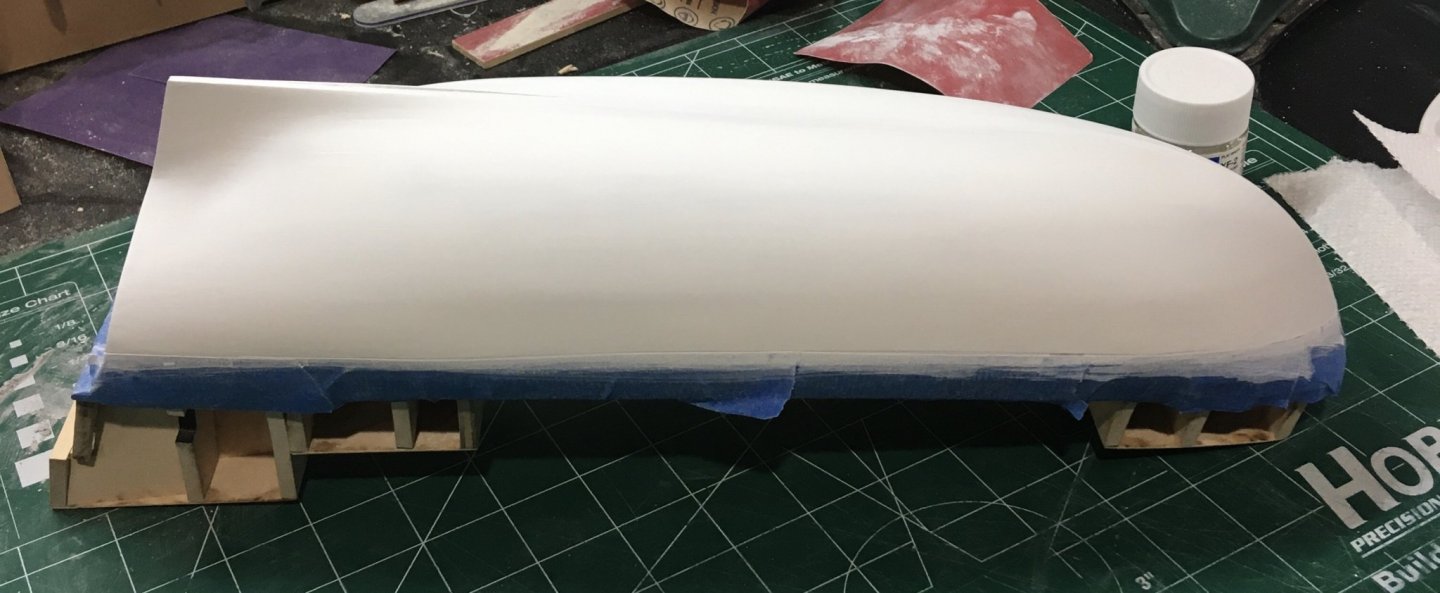
I finished coating the hull in white. After removing the tape, I sanded the unpainted strakes and applied another coat of Wipe-On-Poly. Building a cradle to hold the model is next. Chuck applied a thin wash of brown paint to his hull and quickly wiped it off to dull the brightness of the white. I will do the same after the keel is in place. Steve
-
Just about finished coating the hull with flat white. Many watered down coats were applied with a foam brush. After every few coats the hull was sanded lightly with 400 grit sandpaper. Steve

-
1:96 POB Build Log PDFs (part 3) Part 32- Waterways, Binding Strakes, Margin Planks.pdf Part 33- Main Deck Planking continued.pdf Part 34- Main Deck Finishing.pdf Part 35- Forecastle Deck Beams.pdf Part 36- Forecastle Deck Beams 2.pdf Part 37- Forecastle Deck Beams 3.pdf Part 38- Channels and Pin Rails.pdf Part 39- Stern Fancy Rail.pdf Part 40- Stern Fancy Rail 2.pdf Part 41- Forecastle Fancy Rail.pdf Part 42- Fancy Rail Completion.pdf
-
1:96 POB Build Log PDFs (part 2) Part 24- Main Deck Structural Work.pdf Part 25- Hull Planking.pdf Part 26- Hull Planking continued.pdf Part 27- Completing the Lower Hull Planking.pdf Part 28- Upper Channels, Poop Margin Plank.pdf Part 29- Poop Margin Plank 2.pdf Part 30- Coamings.pdf Part 31- Decking.pdf Part 22- Topside Works 2.pdf Part 23- Mooring Bitts, Boomkins.pdf
-
1:96 POB Build Log PDFs (part 1) Upon receiving volume 3 of Ed Tosti's Young America series, I realized there would be one more resource that would be valuable in this collection of resources: PDFs of Ed's 1:96 POB build log. I thought it would be useful to share the PDFs I created. The only editing done was for spacing and alignment of photographs. After I created the files, I contacted Ed for permission to share. He agreed that it would be useful to others. I also contacted Chuck to ask where to post these files. He has granted permission to post them here. There are 42 PDF files of the build log. Part 1- POB 1-96.pdf Part 2- POB 1-96.pdf Part 3- Erecting Bulkhead Assemblies.pdf Part 4- Hold Down Bolts.pdf Part 5- Mast Steps.pdf Part 6- Upper Stern.pdf Part 7- Lower Stern.pdf Part 8- Bow.pdf Part 9- Support for the Inverted Hull.pdf Part 10- Hull Fairing- Method 1.pdf Part 11- Hull Fairing- Method 2.pdf Part 12- Stem, Keel, Sternpost 1.pdf Part 13- Stem, Keel, Sternpost 2.pdf Part 14- Stem, Keel, Sternpost 3.pdf Part 15- Final Hull Fairing.pdf Part 16- Garboard Strake.pdf Part 17- Bottom Planking.pdf Part 18- Fairing the Upper Works.pdf Part 19- Planksheer.pdf Part 20- Knightheads.pdf Part 21- Topside Works 1.pdf
-
A few progress photos. Getting closer to a completely smooth surface. Several sessions of wood filling and sanding. Checked the surface twice with a coat of primer. What’s been helpful is flipping the hull upright in the light to reveal surface inconsistencies. If I could go back I would have spent more time during hull planking to create tight plank joints. My haphazard (it’ll fill and sand fine) approach has created a lot of extra work. Steve


-
Borrow? Lol These are mine now! Steve