HOLIDAY DONATION DRIVE - SUPPORT MSW - DO YOUR PART TO KEEP THIS GREAT FORUM GOING! (89 donations so far out of 49,000 members - C'mon guys!)
×


Robin Lous
-
Posts
564 -
Joined
-
Last visited
Content Type
Profiles
Forums
Gallery
Events
Everything posted by Robin Lous
-
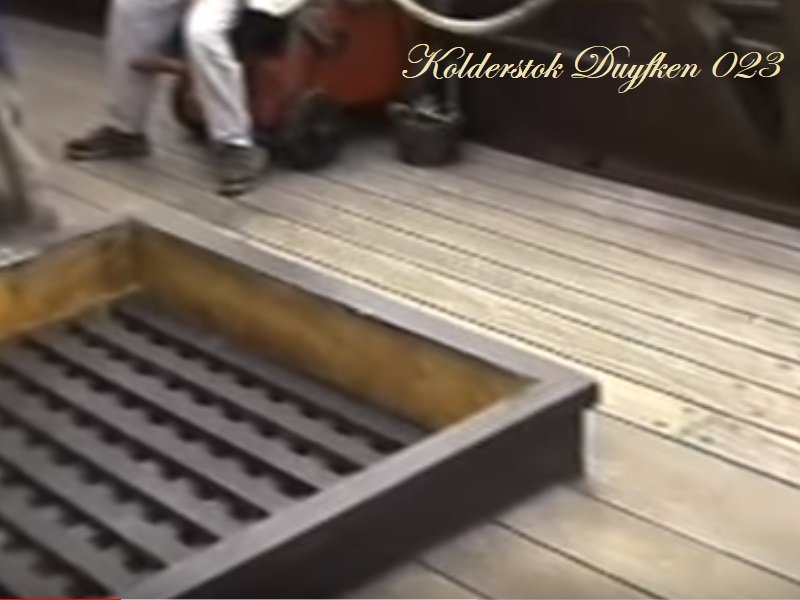
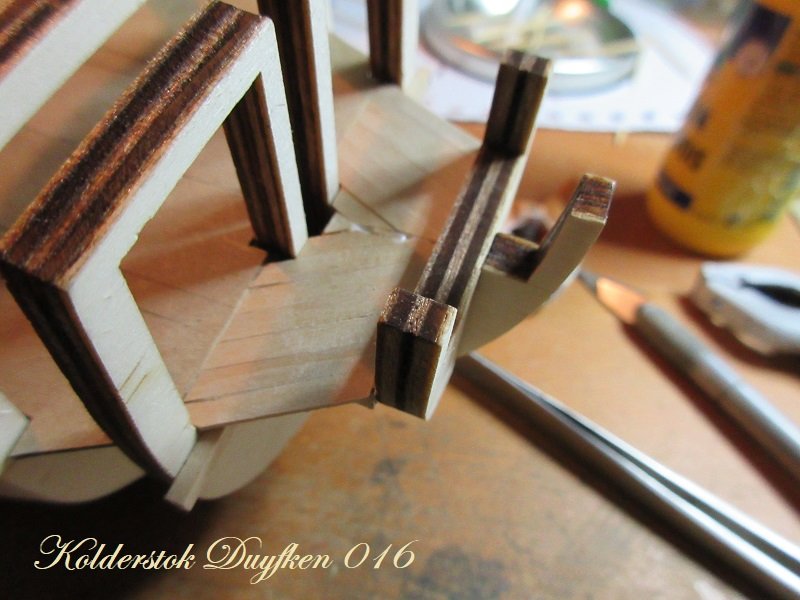
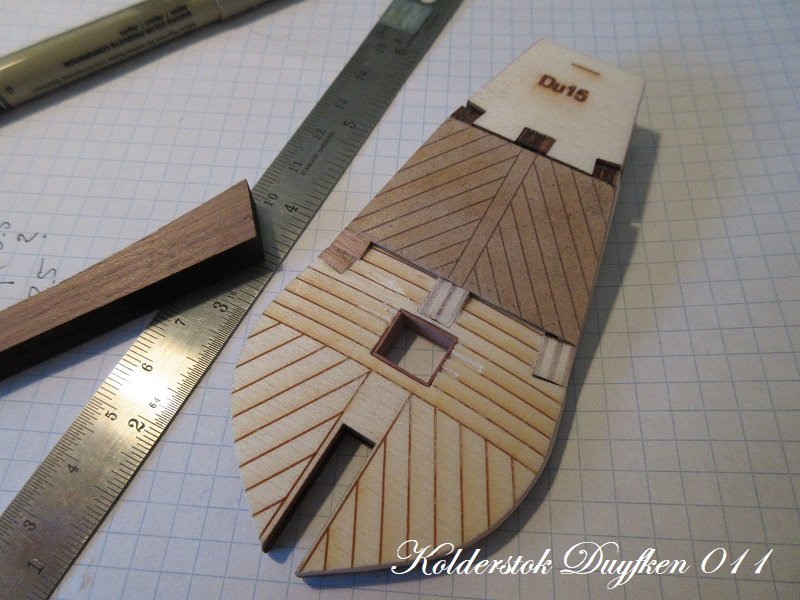
 It's been a busy day on the shipyard... I finished the hatches. The forward and cargo hatch are made of planks sitting on the deck...curved when needed, planks lining the hole inside the hull and capping planks. The rear hatch a bit simpler, because it will get a lid. And a change of plan...a less sophisticated grating, like the one on the replica Duyfken. After all, it's a humble ship and discovering a wasteland called Australiosomething...or something like that... doesn't give her the right to show off with fancy gratings. So I'll scratchbuild the grating. I can do the deck planking now. More soon, Robin
- 91 replies
-
- 7
-

-
- kolderstok
- duyfken
- (and 1 more)
-
Don, I really enjoyed and admired your trabakul build. She's a stunner! Robin
- 653 replies
-
- 7
-
-
- trabakul
- marisstella
- (and 1 more)
-
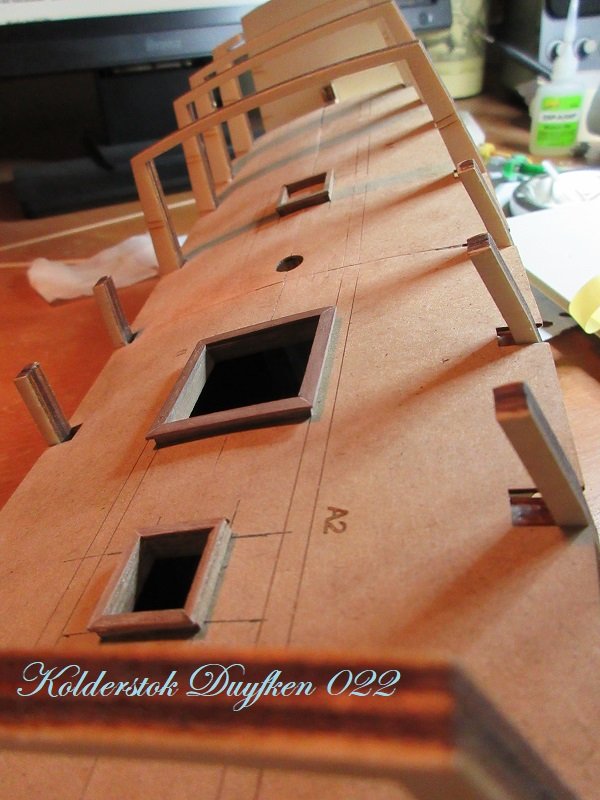
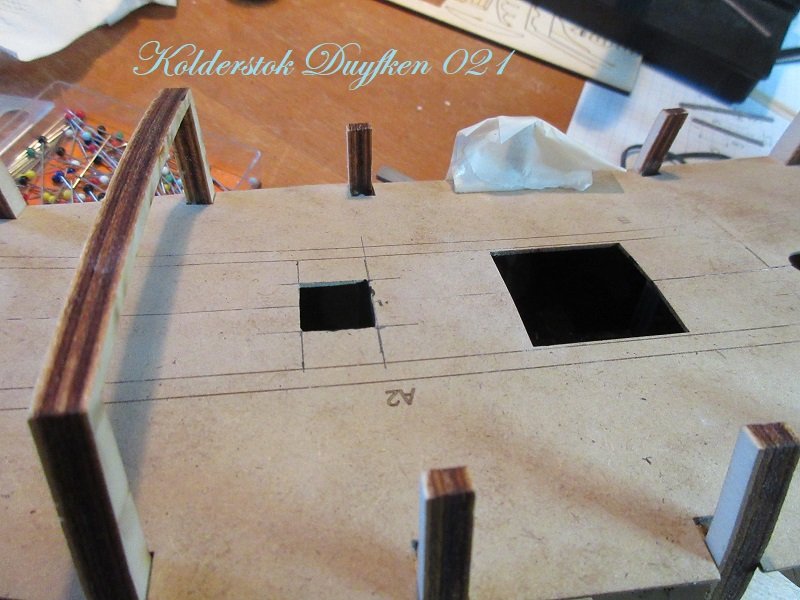
I decided to modify the deck hatches. This is the forward hatch. The kit has a closed hatch with hinges. I'll copy this...an open hatch, somewhat smaller than the kit's version of it. Surgery! Done and painted the inside black. The larger rear hatch (not on the photo's) will get a lid, but not with hinges. With rings to lift it out. When I finish the frames for the hatches and grating...I can do the planking. More soon, Robin
- 91 replies
-
- 7
-
-
- kolderstok
- duyfken
- (and 1 more)
-
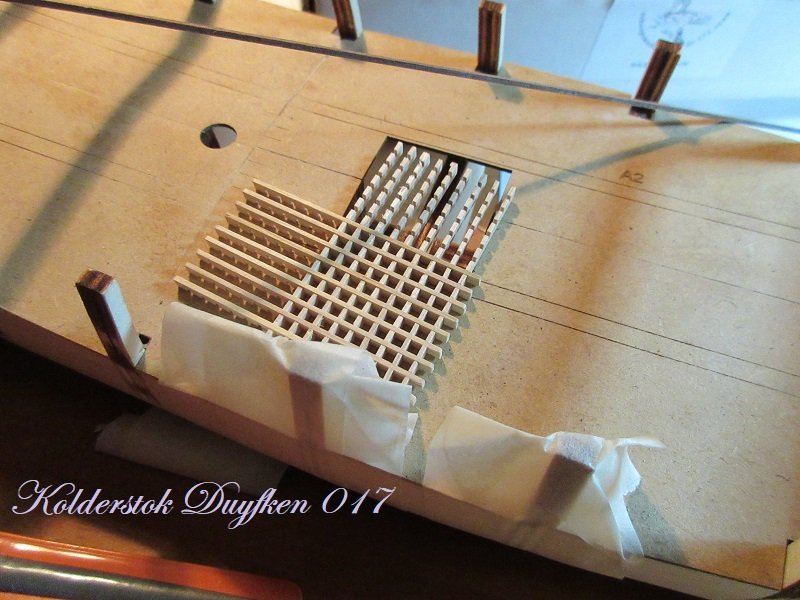
Thanks for the information Patrick! I noticed there's no deck between fame 1 and 2 and since this will be visible I asked Hans (from Kolderstok) about it. There should be a deck and newer versions of the kit have this. So I made a support frame and the deck. This is of course still a base deck...planking goes on it. I must now do the grating and the 2 hatches... It was tempting to order grating matching the size, but the thickness of the wood and size of the holes would be way to small, So I had to order oversized gratings to get this right. I'm not sure about this, but I think it's better to do the grating and hatches before planking, instead of on top of the planking. And I finally got myself a plank bender! It almost feels like I'm a wooden ship model builder now. Well, more soon, Robin
- 91 replies
-
- 7
-
-
- kolderstok
- duyfken
- (and 1 more)
-
I rather call it shading instead of weathering and I think it looks really good. The details show nicely and that's where this is good for. Weathering on the other hand...paint damage, rust, rust streaks, dirt, smoke, grime...that's a very tough job to get it right. More often then not it ruins an otherwise fantastic build. Imho...you do fine! Robin
-
Looks all very pretty. Steering oar is indeed the right name for this type of rudder.
-
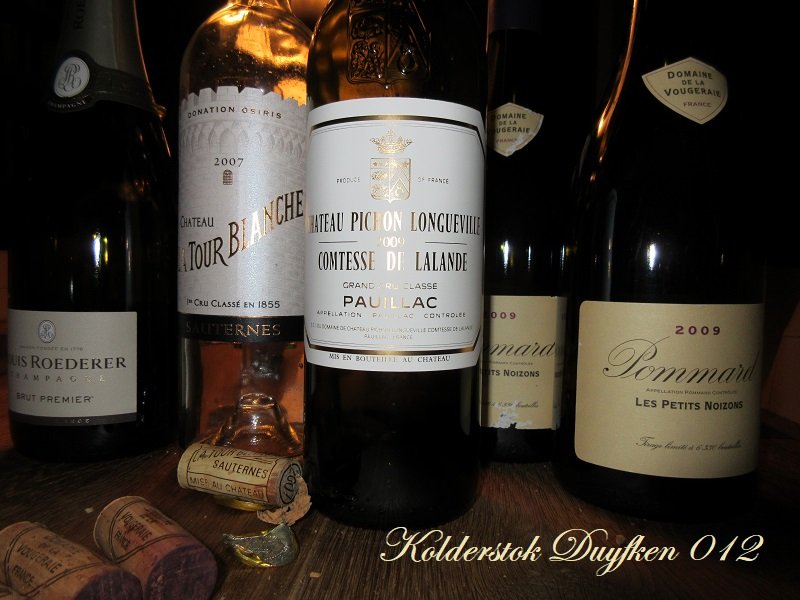
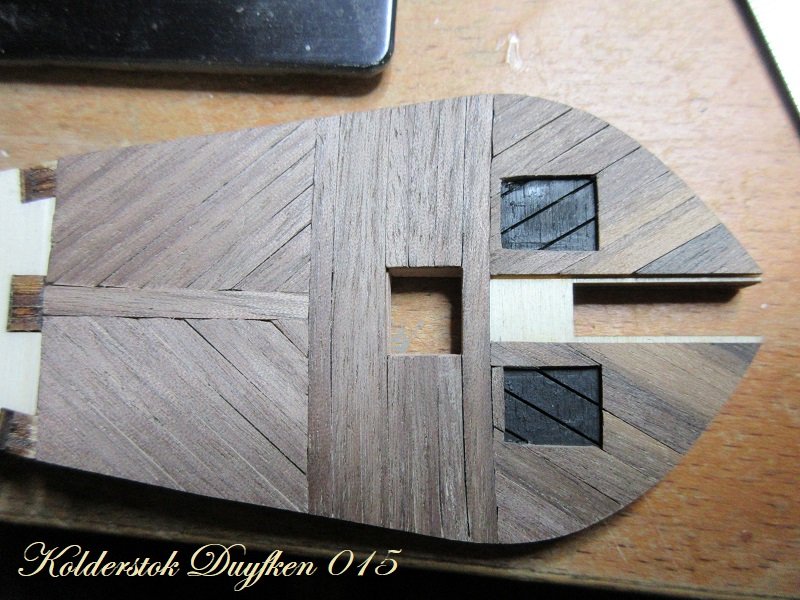
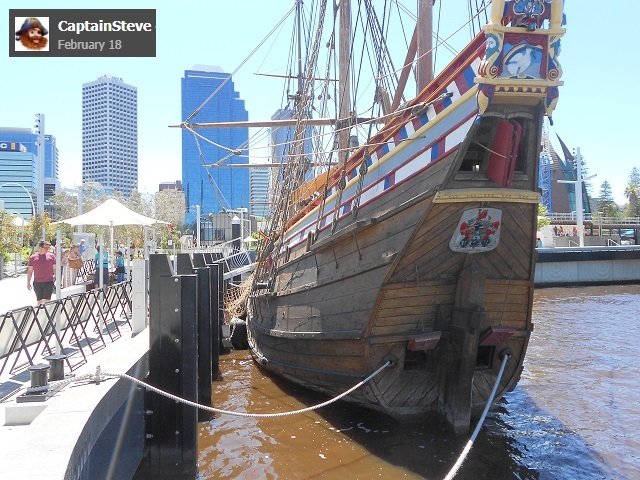
lol guys...yeah, it was one of those fancy "all the way" dinners. We do that a couple of times per year, more and we will go bankrupt. @bearegalleon Yes, I'm well aware the Duyfken replica is a pretty looking ship without being overly accurate and it reminds me of English Elizabethan era ships. The upper herringbone patern reaches to three fifth of the height of the stern. The cabin windows and the stern decoration on top are the remaining two fifth. So it's not completely like the print you showed, but the resemblance is still remarkable. I'll fill the hull near the stern with balsa also, that's why I have to do the stern now, so I can finish the balsa filling. @Old Collingwood The walnut is untreated plain...walnut. I also like the grey hue...it indeed looks like weathered wood. I also like the colour diversity of this wood. From grey to very dark brown. Walnut is dense (hard?) wood, not easy to cut with a knife, but you can sand, saw and file sharp edges. The quality of the wood supplied in the kit is superb. I did sand each plank with 600 and 1200 grit sandpaper...that's close to polishing. When you varnish walnut, the grey will become a rich dark brown. I'm thinking of leaving it as it is...no varnish and certainly no staining. For a deck I think it's a bit too dark though. Before I can do the cabin wall, I need to do the deck planking, so that job will move forward. Manual #3. More soon, Robin
- 91 replies
-
- 5
-
-
- kolderstok
- duyfken
- (and 1 more)
-
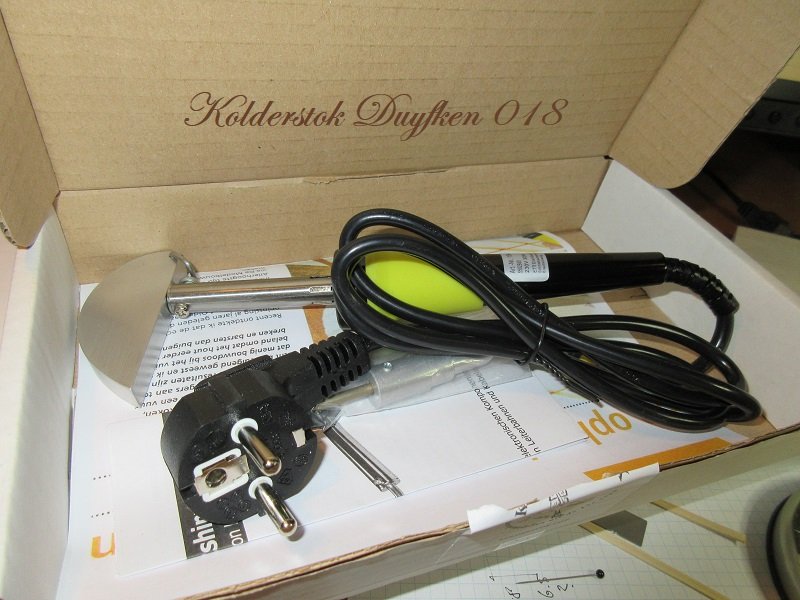
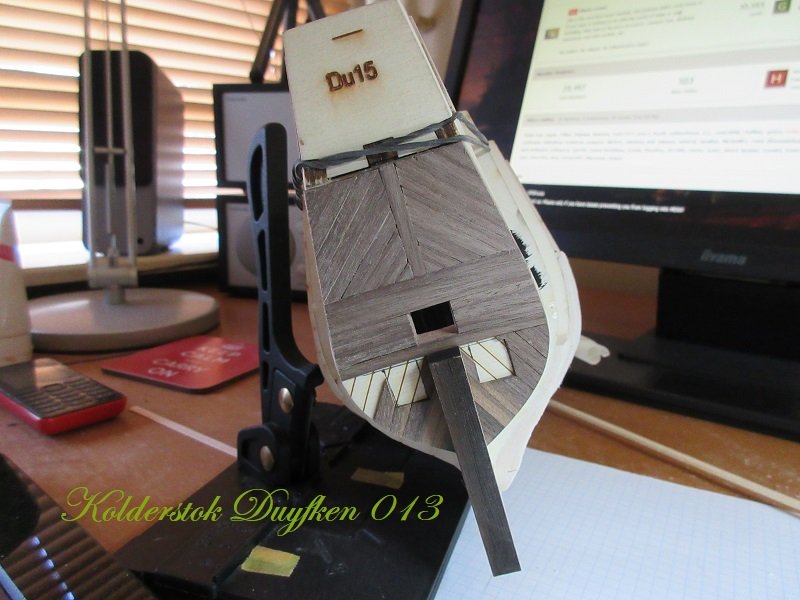
Sunday we had dinner guests, so we had to cook and entertain... It was an enjoyable evening, but it limited my shipyard time. Yesterday and today I spend my time planking the stern... A time consuming, but rewarding task. The horizontal planks are slightly curved, top section 45 degrees, bottom section 60 degrees. And my second modification...the gun ports. The manual and plan show 8 mm x 8 mm ports...glued on top of the planking. The replica ship has rectangular gun ports there. I made the outside measurements 9 mm x 11 mm. The lids will be 8 mm x 10 mm...flush with the planking and a small gap of 0,5 mm all around, so you can see they're there! I'll also make the "rope holes" next to the gun ports from a 4 mm drilled open ebony dowel. Rounded edges. The shipyard received new supplies today! A wooden ship's boat to replace the unsuitable (and likely frowned upon) resin ship's boat I already have. The gratings and a supply of walnut. Still busy with the stern...it's a painstaking job to work around the gun ports, but I did that to myself. Edit: Finished manual step #2 I now continue with the gun ports and the cabin wall. More soon, slow but steady! Robin

- 91 replies
-
- 12
-
-
- kolderstok
- duyfken
- (and 1 more)
-
Despite the minor issues you encountered...the hull looks nice! Most bad things tend to happen below the waterline, but it's a fairly common practise to paint the hull white beow the waterline. So, with a bit of filling and sanding...paint...problems solved!
-
I was wondering about that also. Maybe it's like this: a line is a rope running from A to B. The rope is the tool, a line has a function. I'm probably completely wrong though.
-
The extra details are worth the effort...seemingly simple things (we know better) like a ladder or a railing. So many amazing details to look at...and what's yet to come...the BIG picture. Great show! Robin
-
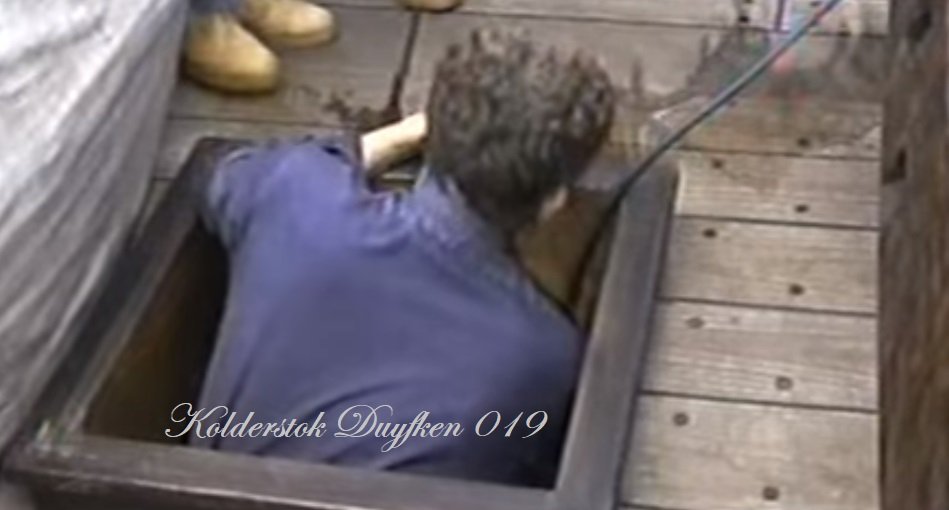
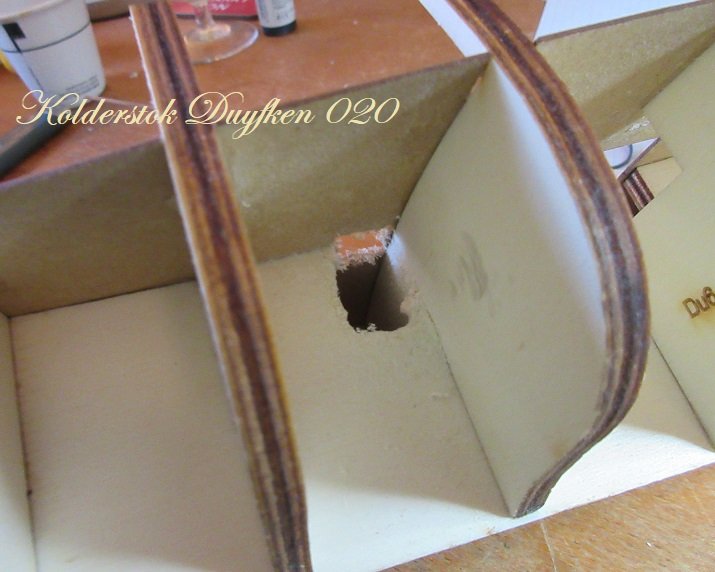
Thanks Hans and Steven! I can't complete the fairing without adding the cabin wall and the stern, so I do them now...and do the balsa on the other side...on the side as well. Manual stage #59 deals with the rudder hole and the gun ports, I think it's a good idea to do both at stage #2 already. With it my first minor modifications. I copy the larger hole seen on the replica. On this photo covered with leather or fabric. I have close up photo's also, but those I can't show, because of copyright. Made the larger hole, lined the inside with walnut strips. The outside planks will cover the edges. I'm now bending the slightly curved horizontal planks. Reminds me...I still need to buy a plank bender. More soon, Robin
- 91 replies
-
- 10
-
-
- kolderstok
- duyfken
- (and 1 more)
-
Welcome aboard and looking forward to hear about your building adventures. Robin
-
From a bread basket for a French baguette to a really exciting and interesting build. This is getting better and better. On the downside...you must find a new bread basket.
-
Beautiful! The treenailing looks great, very subtle and refined result. Not like someone fired at it with a shotgun a few times. I'm making up my mind whether or not I'll do this on my Duyfken. I just don't know what will look good on the walnut planking...if at all. Lighter wood won't look good I think, maybe even darker (hard?) wood. I really don't know.
- 756 replies
-
- 3
-
-
- galleon
- golden hind
- (and 2 more)
-
Nice job! I liked the one you made...it does look good. Or it did. About scale. Of course try to make things to match the scale, but it's not always possible. What looks good...is good. A note on the scale of the Amati bireme. I think the scale Amati says it is can't be right. The model is 56 cm long, when that's scale 1/35....that's a 19,6 metres long (or short) bireme. The kit is likely closer to scale 1/48....lenghtwise.
- 122 replies
-
- 2
-
-
- greek bireme
- scale-1/35
- (and 2 more)
-
Clever idea to paint the strip before you put them in place. I might copy that in the near(ish) future. And it's good to hear you're feeling better. Robin
-
You've been busy...nice progress and it looks great. Robin
-
Thanks guys! Yep! I have those also, but I prefer the (also...and more) flexible sanding sticks, they're somewhat smaller and easier to handle I think. It's a lucky coincidence the sides of the fames are charred dark brown because of the laser cut. Indeed handy...when you start to sand of the charred edge...it's time to stop. Because of the fairing many frames will lose it completely though I guess so also...first time I do this. But...it makes sense! Furthermore....nothing new to show. I hope to finish one side tomorrow or on monday. I'll be more than happy when I get both sides done in a week. I expected this to be more difficult, but with the saw table and disk sander it's very doable. The filing and sanding takes time, but that's ok. More soon, Robin
- 91 replies
-
- 5
-
-
- kolderstok
- duyfken
- (and 1 more)