HOLIDAY DONATION DRIVE - SUPPORT MSW - DO YOUR PART TO KEEP THIS GREAT FORUM GOING! (89 donations so far out of 49,000 members - C'mon guys!)
×


Robin Lous
-
Posts
564 -
Joined
-
Last visited
Content Type
Profiles
Forums
Gallery
Events
Everything posted by Robin Lous
-
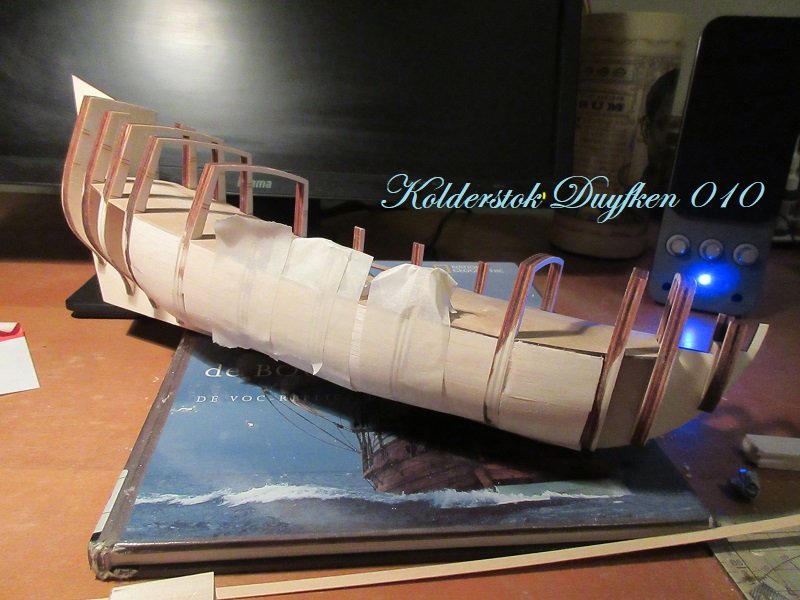
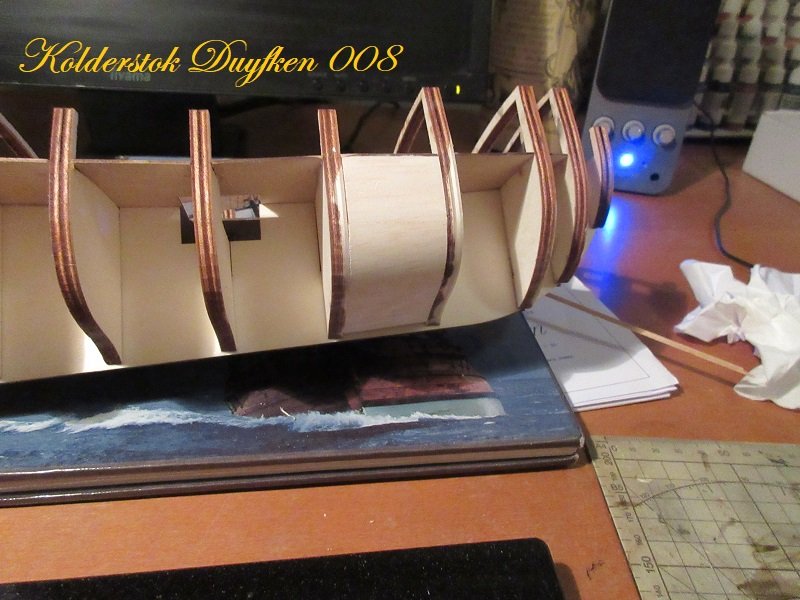
 I don't own one...well, I do, but when I use that one I'll reduce my poor little build to rubble in less then a second. Not a suitable hobby sander anyway and I can't use the disk sander for it either. So all "hecho a mano" with files, sanding sticks and sandpaper. Done some more...and in between I do some sanding and with it the fairing started also. When I feel a section is (more or less) ready...I tape it, so I won't sand off too much there by mistake. Some frowning from the Admiral now. I hope I can finish this before sanding balsa will be banned. More soon, Robin
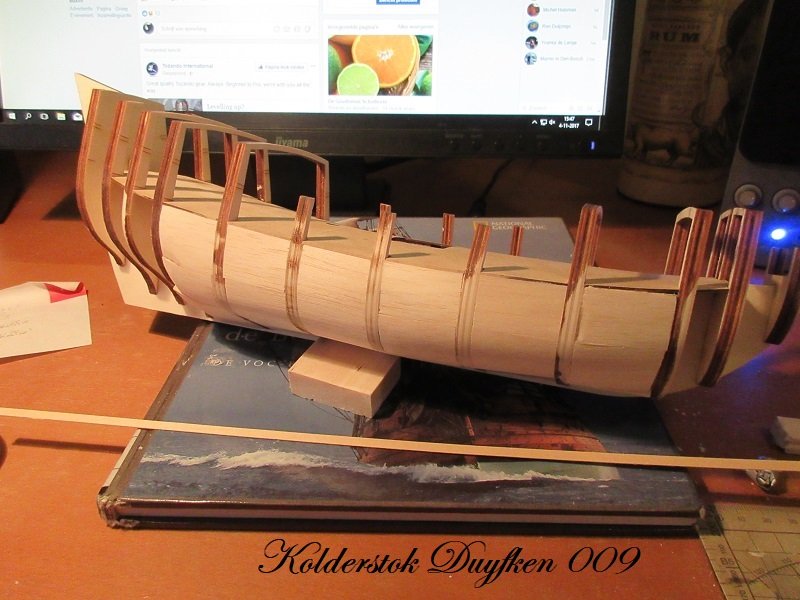
- 91 replies
-
- 10
-

-
- kolderstok
- duyfken
- (and 1 more)
-
yep, in (old) Dutch that's the kolderstok... Happens to be the brand name of the manufaturer of the kit. Carl and Steve, you're right about possible shortcuts. Call me stubborn, but since this is new to me I try to work as neat as possible. I'm not yet ready for shortcuts. When I get the hang of it I think I can speed this up. One of the things I learned here is...don't rush. Besides, I need time to look at things I still have no clue about how to do it properly. Robin

- 91 replies
-
- 5
-
-
- kolderstok
- duyfken
- (and 1 more)
-
Indeed...it makes a mess. When I was in the middle of using my saw table and disk sander to shape the blocks for my first filling....the Admiral came home. To my amazement, she didn't complain. First done... It's made of 3 pieces....15mm thick. Shaped the blocks with both proxxon tools and sanded smooth after fitting. Pre fairing of course. One down...25 to go. The Admiral will likely change her mind when the dust starts to settle down. Also did the basic construction of the stern...not fixed to the ship yet. Needed some dry fitting to figure out where to drill the hole for the rudder control rod. (it probably has a nice fancy name unknown to me). I look forward to plank the stern with walnut. More soon, Robin
- 91 replies
-
- 10
-
-
- kolderstok
- duyfken
- (and 1 more)
-
Don, I really...really...very much...like this build. It's not a ship of the line...a more humble vessel...and so it's perhaps sailing under the radar (that makes sense?), but, boy oh boy...it's a beauty! May I ask? what type of varnish did you use? semi-gloss? It looks wonderful. Robin
- 653 replies
-
- 4
-
-
- trabakul
- marisstella
- (and 1 more)
-
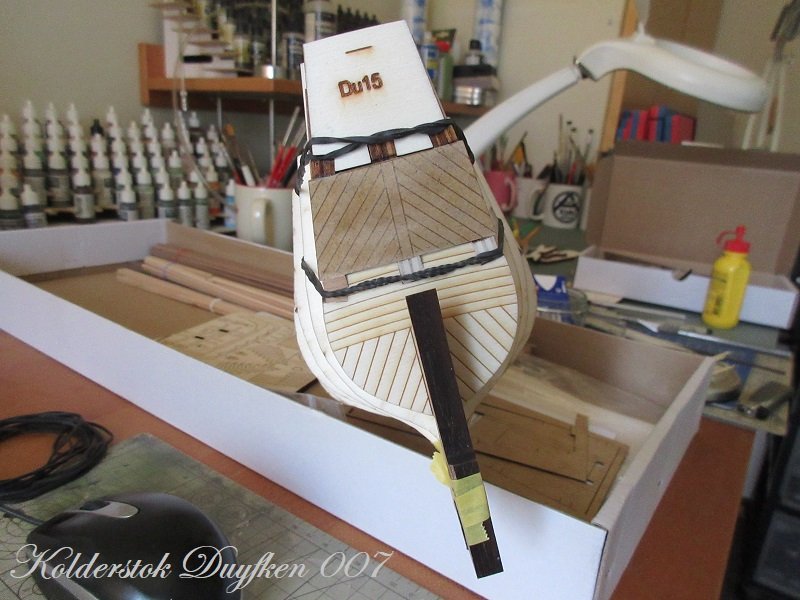
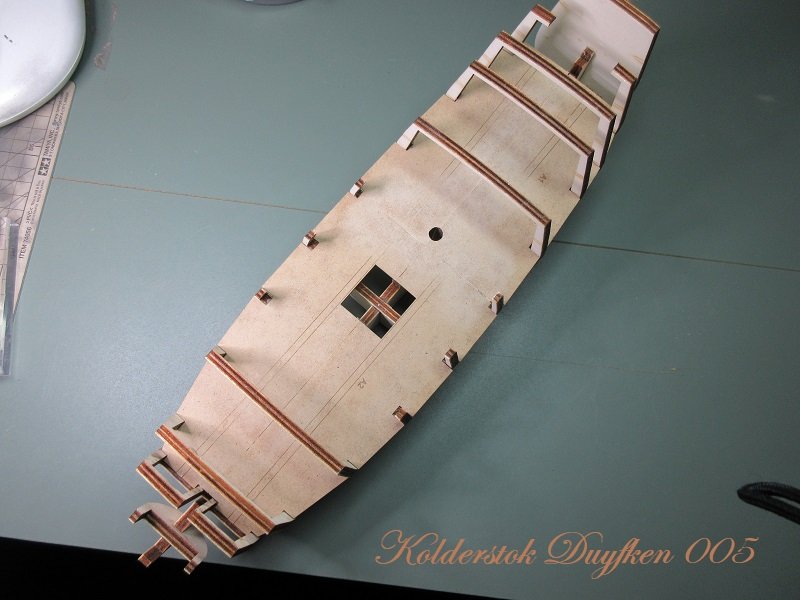
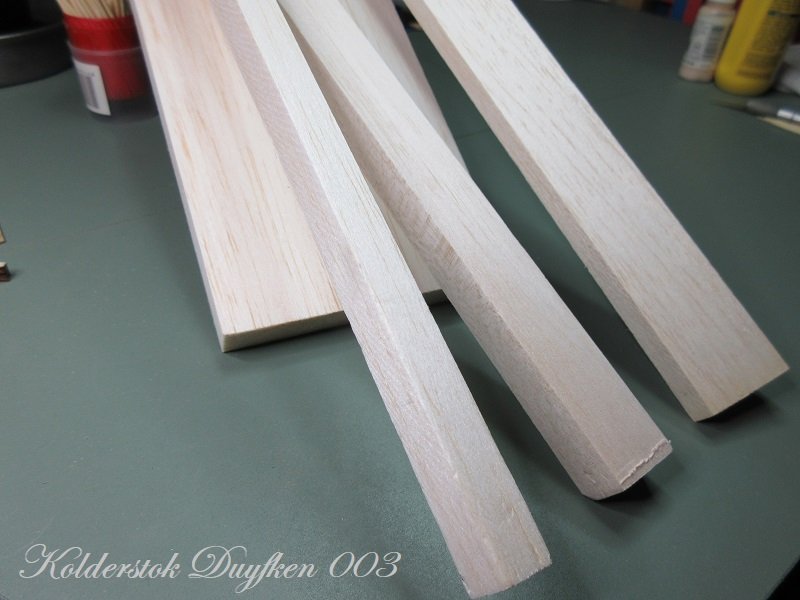
Thanks popeye! ...and the likes...and the already 17 followers (wow!). The build slip thing gives me a bit of a headache. Had that with the bireme also. I think a keel clamp is of very limited use, so not worth the money. For the bireme I mainly used a small kitchen towel as a comfy soft cradle...that won't work for this one. Well, maybe a beach towel, but not that practical. So, I'm thinking of building a drydock from styrene foam for the Duyken. Little, but steady progress... Finished the base deck. It's made of 4 pieces....2 halves front and 2 halves aft. All smooth after some minor sanding. Next will be the balsa wood in between the frames. I'll wait a bit with the deck planking, because I do it slightly different and I'm waiting for new gratings. The grating in the kit is perfectly fine, but I'll do the ones on the top decks also (instead of covered with fabric). To get them all the same, I ordered 4 sets (2 needed aft castle). Also waiting for more walnut sheet and strips. I don't want to stain...or keep it as minimal as possible. Plywood will be covered or replaced with walnut where I can. Balsa next...lots of saw and sanding dust I spose. More soon, Robin
- 91 replies
-
- 11
-
-
- kolderstok
- duyfken
- (and 1 more)
-
Okey...build a fleet, why not? Great stuff! These things must weight a ton I guess? Robin
-
Thanks OC, What you see on the photo's is all glued in place. Both the frames and the deck. Robin
- 91 replies
-
- 4
-
-
- kolderstok
- duyfken
- (and 1 more)
-
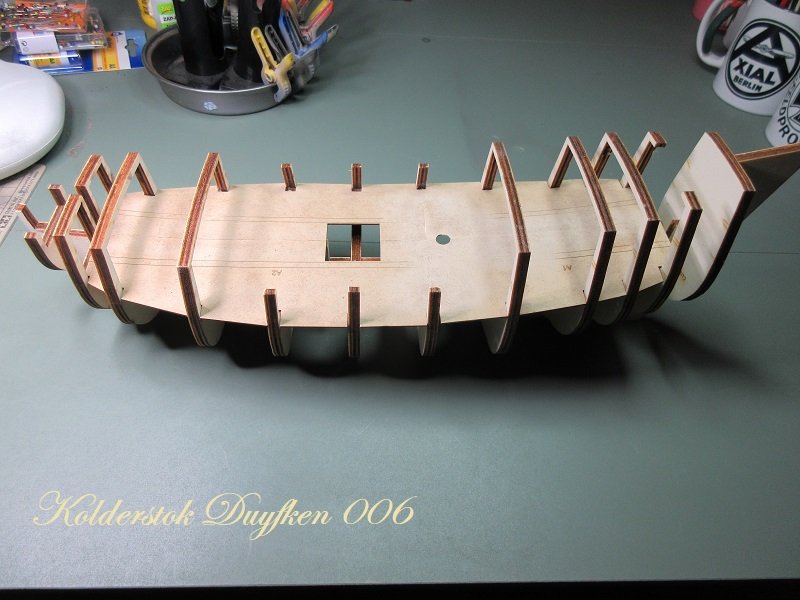
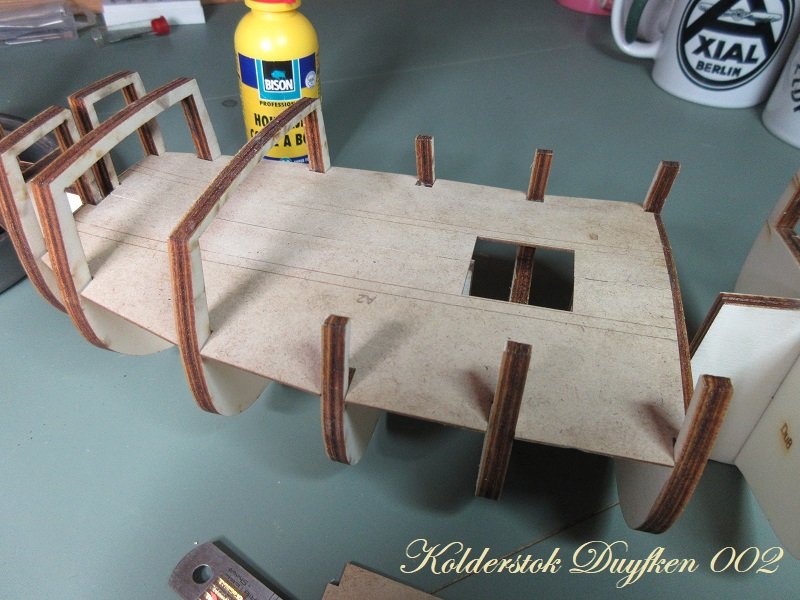
Thanks gentlemen, Some progress on the shipyard... I placed the frames and started with the deck. The frames fit the slots very well, only very little adjustment was needed to get them at the right angle. Same with the decks (2 halves)...a snug and precise fit. I used a crazy amount of clamps and rubber bands because of the slope. I'll do the rear part of the deck tomorrow...no hurry! Yep, yep. Further news: Yesterday I contacted Hans from Kolderstok, because of some air bubbles on the surface of some of the resin parts. And today... A new set together with a new version of plan 1. There seems to be a minor scale issue on the older version I had. Now...that's what I call...Service! Furthermore... Received an email from Syren (Chuck), letting me know my order is on it's way. Oh...and also an email from the manufacturer of the bronze swivel guns...they can't deliver the guns. No drama, the white metal ones are fine and I'll blacken them anyway. When I finish the rear part of the deck I'll do the stern, so more soon. Robin
- 91 replies
-
- 10
-
-
- kolderstok
- duyfken
- (and 1 more)
-
Perhaps something like this And a nice small diy stand to display the tube on it's side...so it won't roll of the table. Robin
- 46 replies
-
- 4
-
-
- o16
- pacific crossroads
- (and 2 more)
-
I was wondering if I said this before. Yep! I did! ...and I stick to that! absolutely gorgeous. I hope I can learn from this. Every little bit I can pick up from your build is a leap forward for me. Robin
- 682 replies
-
- 5
-
-
- halifax
- lumberyard
- (and 1 more)
-
Thanks guys.. and bearegalleon, I see it as a blessing you're building this beauty also! I can learn from you and I hope you don't mind when I ask you some questions now and then. I'll stick to the kit/replica plan...with some minor modifications. Without major surgery this build is already pushing me to the limits of my skills. (boring content warning) After more checking of the manual, plans and parts...a small list of minor modifications I need to do early on. -#59 For ease of construction I'll move this forward to #2. Slightly modified stern gun ports. -#6 and #7, I'll make the doors and frames from walnut, blackened brass hinges. So I only use the lasercut parts as a template. -Since it's single planking I guess it's a good idea "to balsa" the whole hull...not just bow and stern filler blocks. I already noticed some other stuff I like to modify, but since it will take a while before I get there, I'll list them later. Notes: -Not seen in the manual are the 2 open windows on each side of the rear castle. They are depicted on the plans and lasercut parts for them are included. Edit: found it in the manual. Shopping list: -Balsa wood. -Walnut to replace the lasercut plywood parts mentioned. More (less boring stuff) soon, Robin
- 91 replies
-
- 6
-
-
- kolderstok
- duyfken
- (and 1 more)
-
Good to hear you're feeling better. To get back in shape...boil the salted meat for at least 2 hours, don't forget to tap your lump of stale bread on the table a few times to get the maggots out before eating and half a pint of rum. Robin
-
What you can do after filling the gap with the missing bit...or scrap sheet.... You can use a small lick of acrylic paint to fill a remaining gap. sand smooth with 1000 or 1200 grit sandpaper...repeat this a few times when needed. You can fix this!
-
The FuMo's look splendid! Looks like a fairly easy repair job on the 10.5 cm guns. Just give it a try before you order new ones.
-
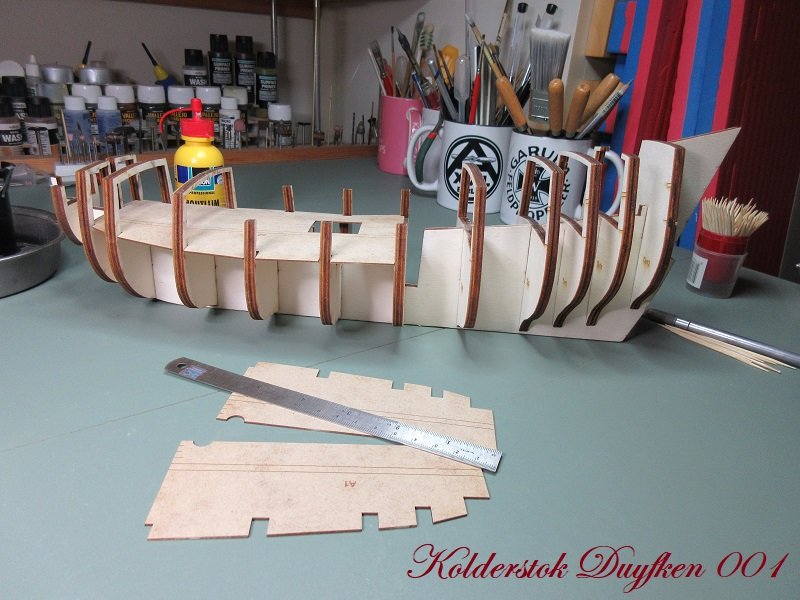
Cleared (and cleaned) my workspace, so...let the fun begin! Dry fitting the frames...they fit. Robin

- 91 replies
-
- 12
-
-
- kolderstok
- duyfken
- (and 1 more)
-
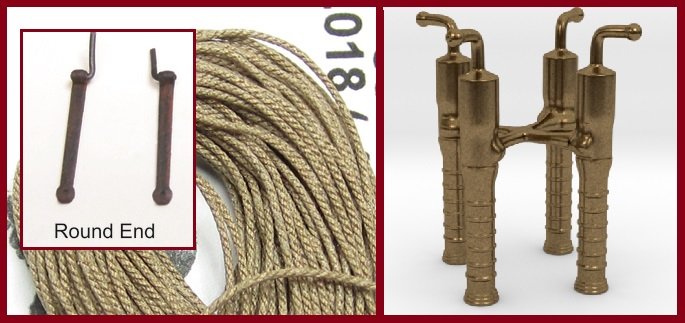
Welcome aboard all followers....the pressure is on already! I started with studying the manual, checking all the parts and making a photo library. And a bad habit of mine...spending too much money. The rope provided is good, but the standing rigging rope is a bit fuzzy and I'm not too fond of the white/cream coloured running rigging rope....I like it a bit more "moody". I drooled over the Syren Ship Model Company ropes before, so I couldn't resist and ordered a complete set of rigging rope. And while there...added a set of round end gunport hinges. Also...I stumbled upon exactly the same swivel gun set provided in the kit, but made of bronze, so...well...that also. I'm terrible...I know. I have to work the weekend, so I can start on monday. Robin
- 91 replies
-
- 9
-
-
- kolderstok
- duyfken
- (and 1 more)
-
Thanks guys! Great bunch of photo's, very helpful. Robin
- 91 replies
-
- 5
-
-
- kolderstok
- duyfken
- (and 1 more)
-
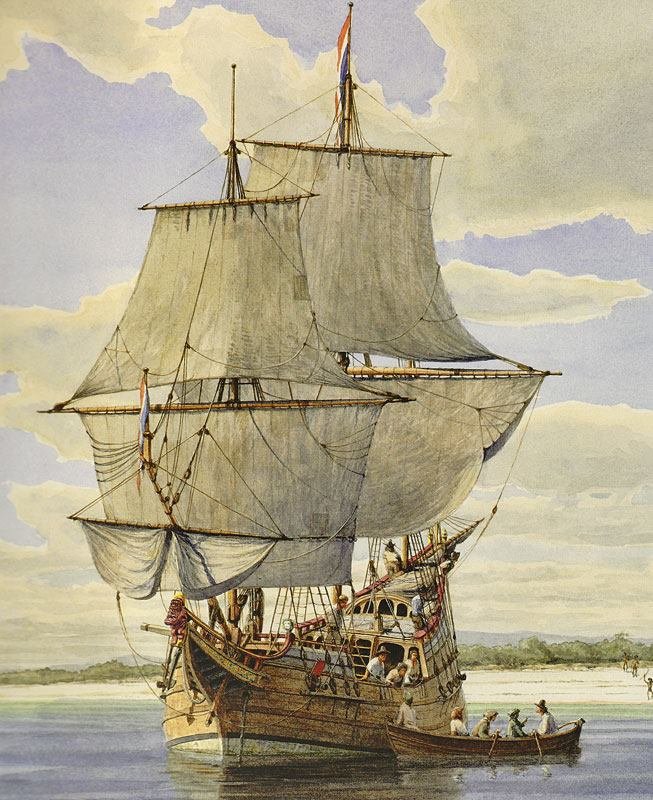
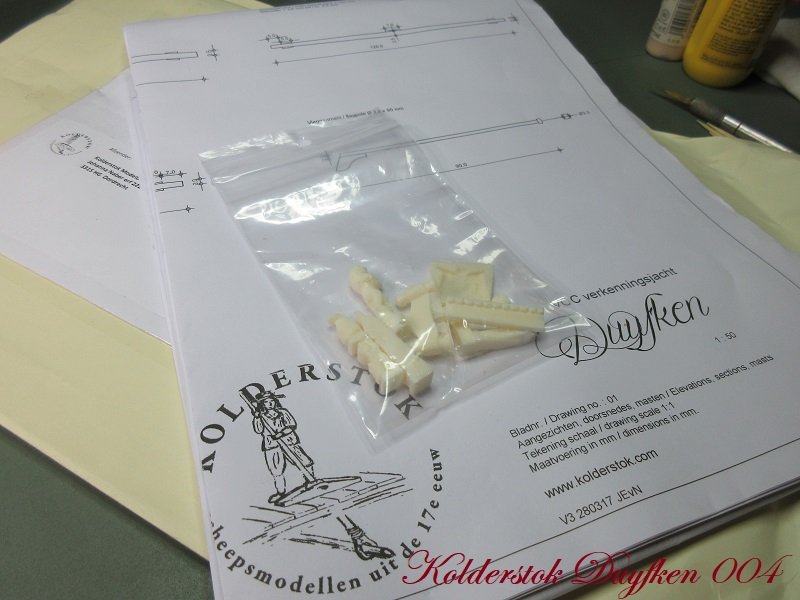
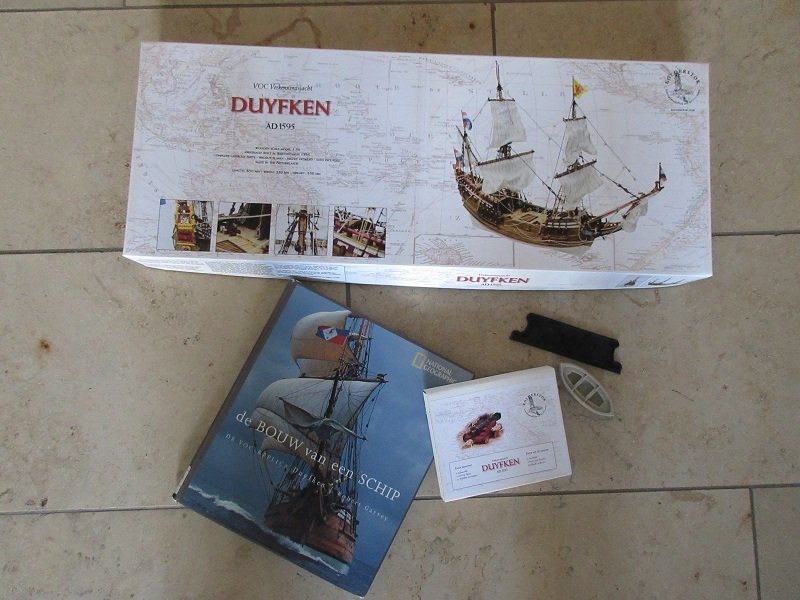
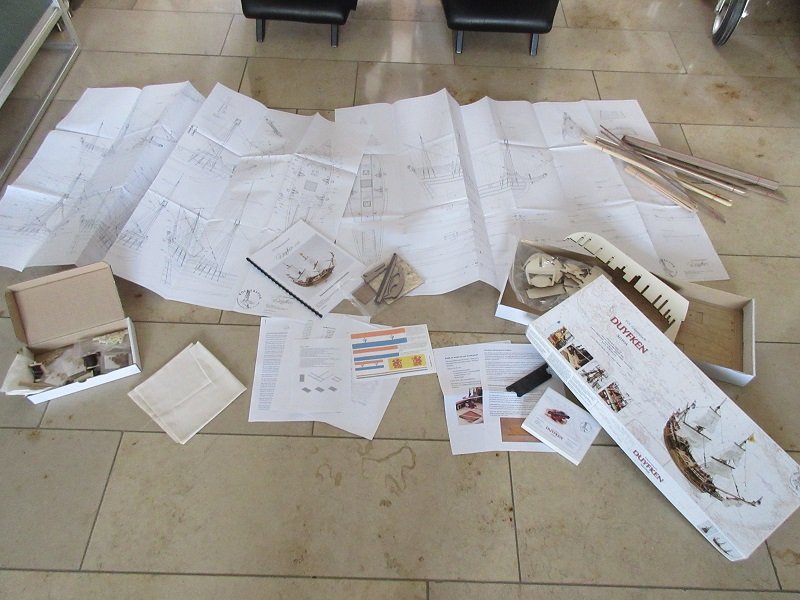
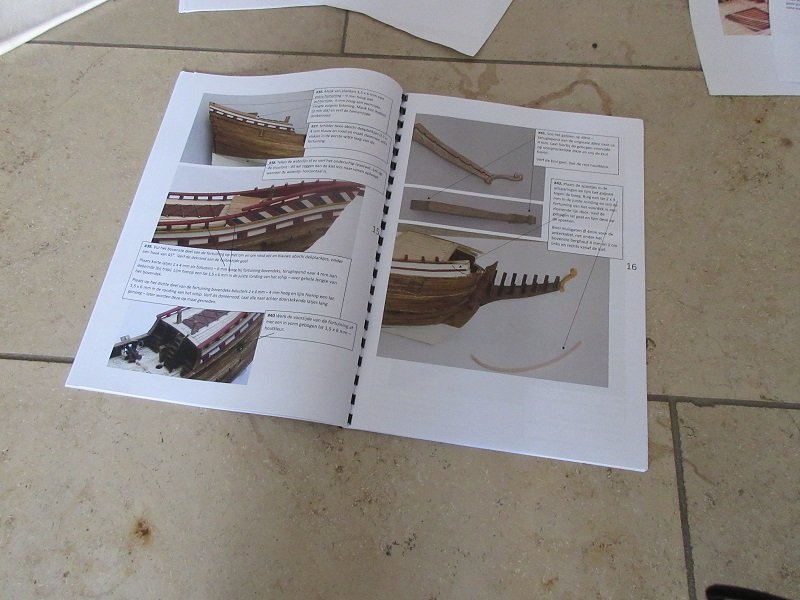
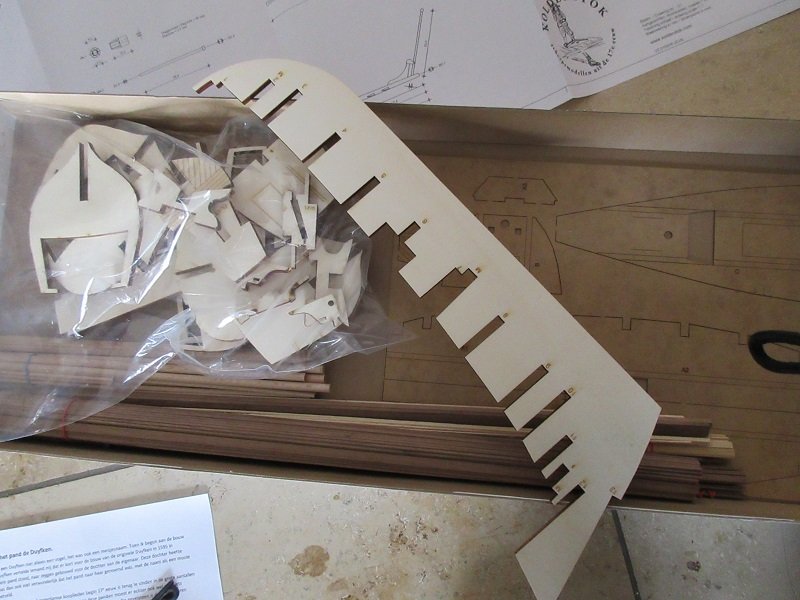
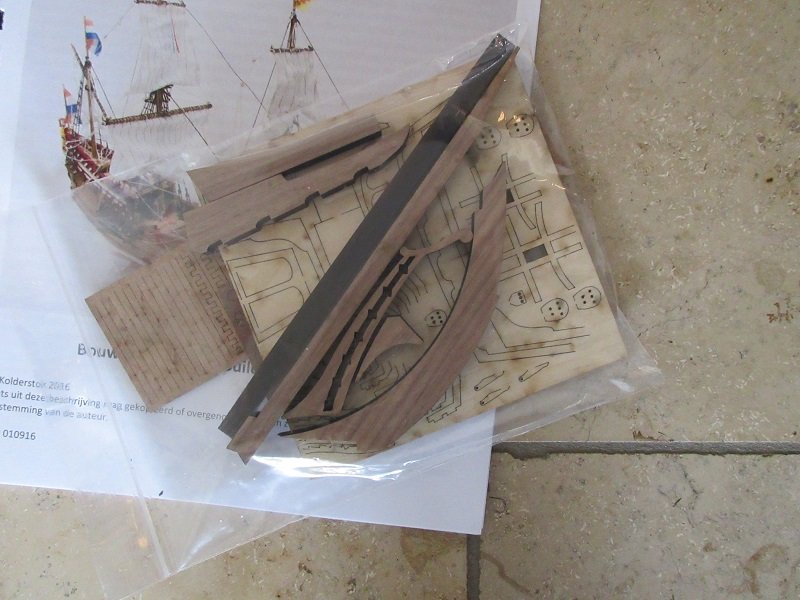
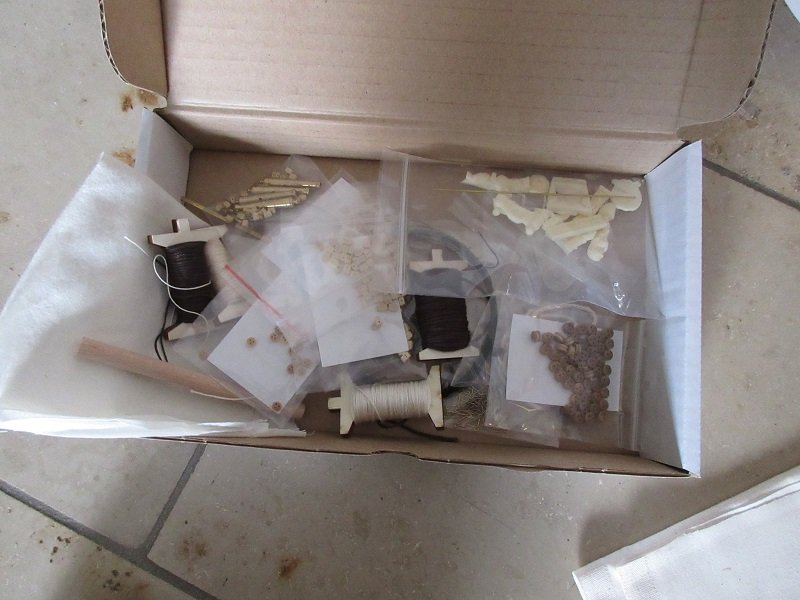
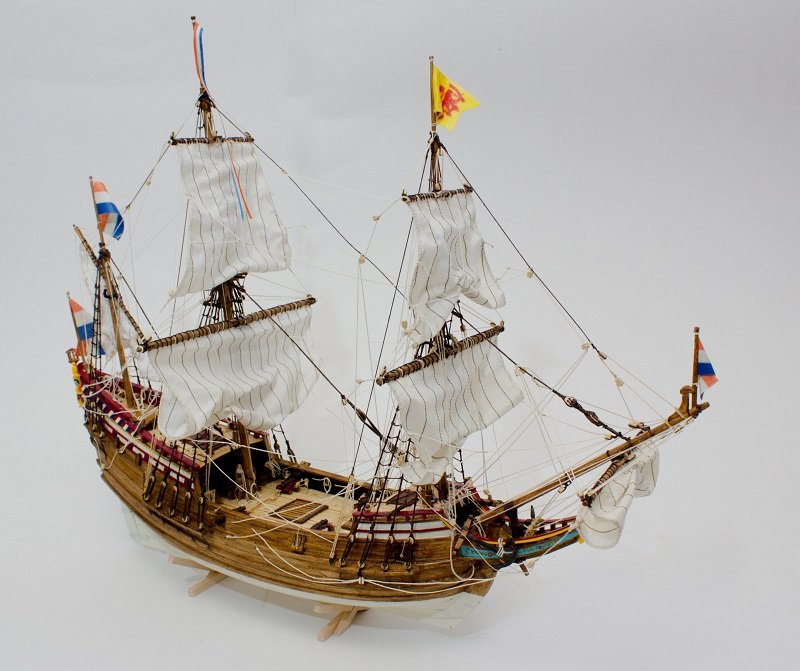
My second wooden ship model build... De Duyfken VOC verkenningsjacht (scouting yacht) 1595-1608, a pinas. From Kolderstok scale 1:50. Lenght about 65cm, height 55 cm, width 25 cm. Armament: 10 cannons and 4 swivel guns. Link to the Duyfken replica foundation Being Dutch, I'm proud of our maritime history and achievements. I'm well aware and of course not proud of the many horrible things our exploring forefathers did to gain power and wealth. Nonetheless, their exploring achievements were remarkable and it's almost unbelievable such a tiny country managed to become a powerhouse. I'm excited to start this build, still so much to learn and I think this is a good choise for my second build. I got the kit last year as a Christmas gift from the Admiral. Since I believe this is the first Kolderstok Duyfken on this forum, let's have a look at what you get.... From Kolderstok...the kit, the extra gun set (4 guns) and a resin name plate. I was happy to find the (out of print, Dutch translation) National Geographic book about the building of the replica ship. Superb photo's...very helpful. There's no ship's boat included, but since you can't discover the world without one...I bought a suitable resin one. And inside the box... Wow!...a lot! Very nice step by step manual with good colour photo's. In Dutch, there's an English version included also. Wood... Good quality planks and dowels, the laser cut parts look really sharp. The larger parts are pre-cut to make life easier. Bits and bobs box... Looks good...resin and thin laser cut ship decorations, white metal anchor and 4 small swivel guns, brass cannons, neat looking blocks, brass nails, several types of rope and cloth for the flags. The printed flags (good colours!) can be ironed on this cloth. Also included is fabric for the sails. Fine quality, cream colour. 2 large plans, a part list and a seperate manual on how to build the grating. Well...I guess that's all nice and fine. Now let's see what I can do with it. I can start when I cleared my workspace, so...the usual: More soon! Robin

- 91 replies
-
- 13
-
-
- kolderstok
- duyfken
- (and 1 more)
-
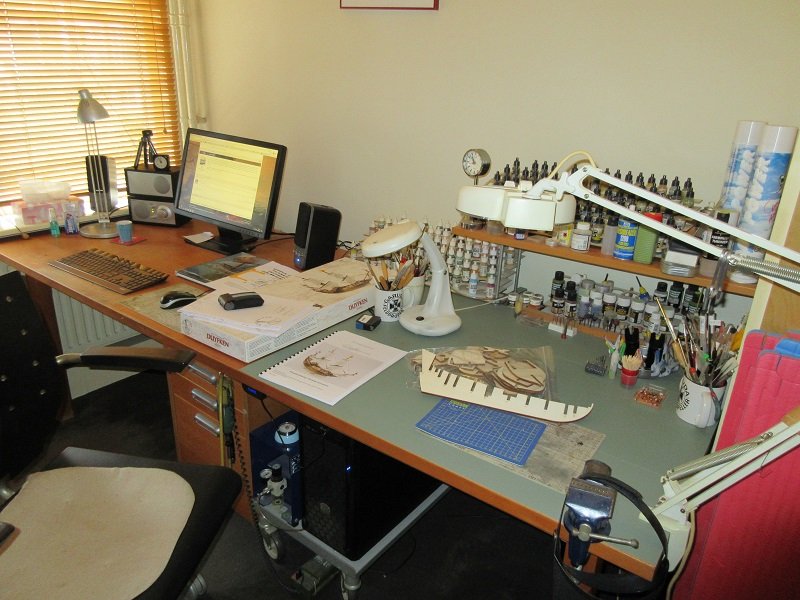
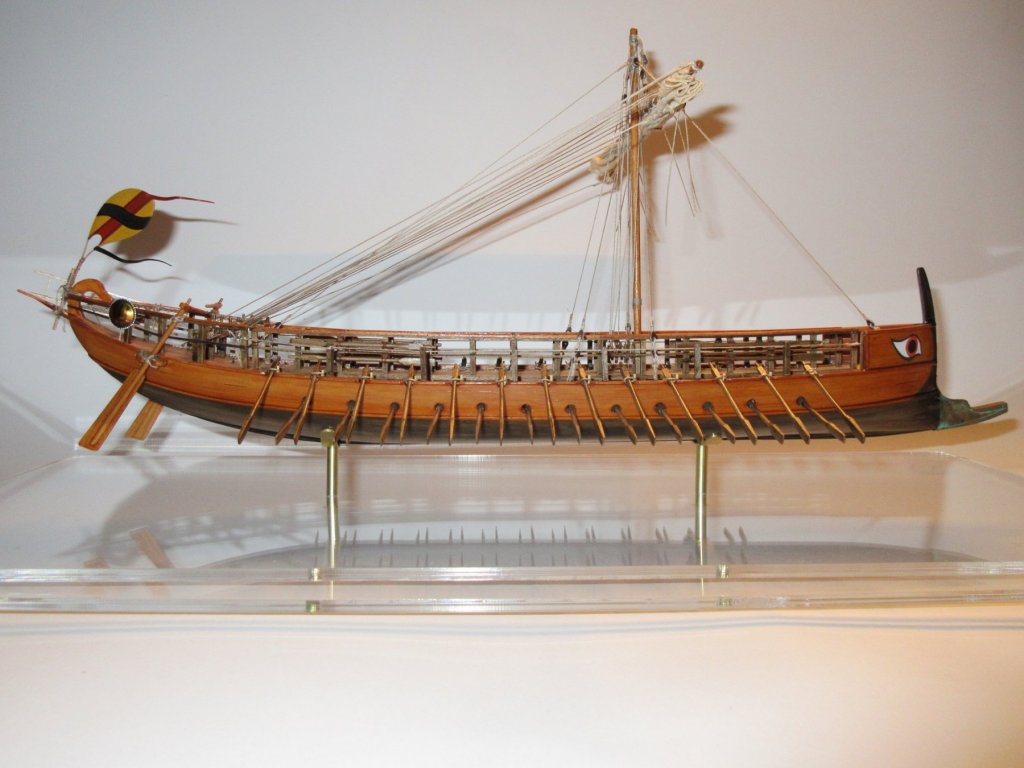
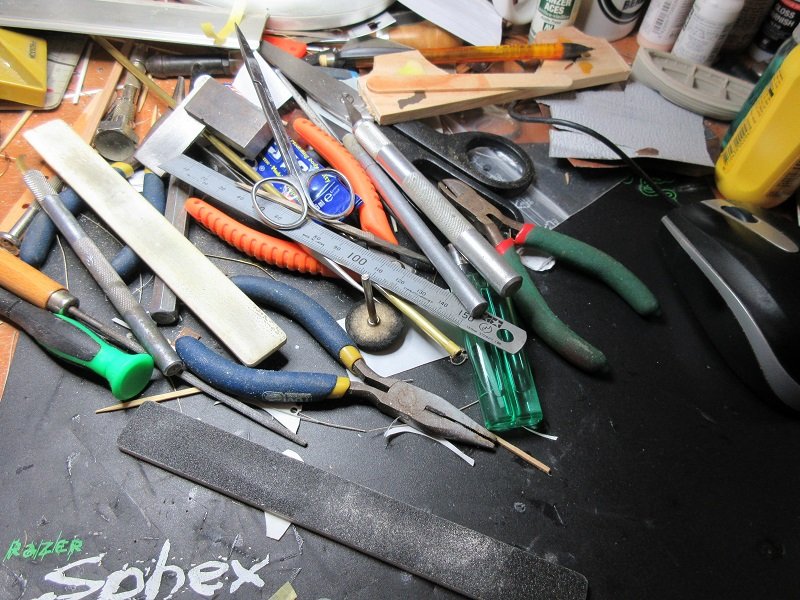
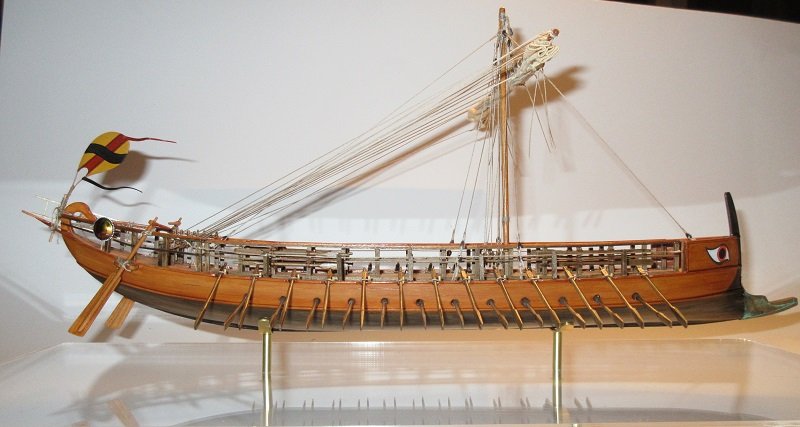
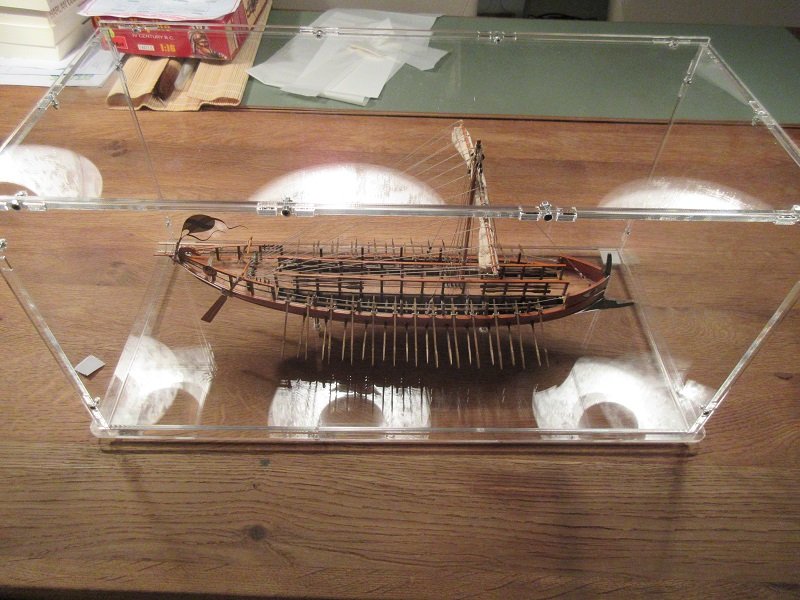
Thanks again, I enjoyed writing the build log. I tried to explain why I made the modifications and how I did it. Because it's my first wooden ship build, I probably showed useless and way too much updates, but overall I think it's an informative log. Light hearted, not overly serious, but still to the point and with good photos and sketches showing what, why and how I added or modified stuff. The feedback was helpful and motivating. Sad some of the guys are gone by now, but maybe they have a break...like I had mine. I'm still not 100% sure what my next build will be. One thing is certain...I must tidy my workspace before I start something else. The mess I make is outright shocking! My mousepad right now...the rest of my desk is...worse! Probably the Duyfken from Kolderstok. And a larger photo of the finished bireme..2000x1500 pixels When I get the chance...I'll make some good photo's outside and make a gallery and send them to Daniel. Robin
- 473 replies
-
- 9
-
-
- greek bireme
- dusek
- (and 1 more)
-
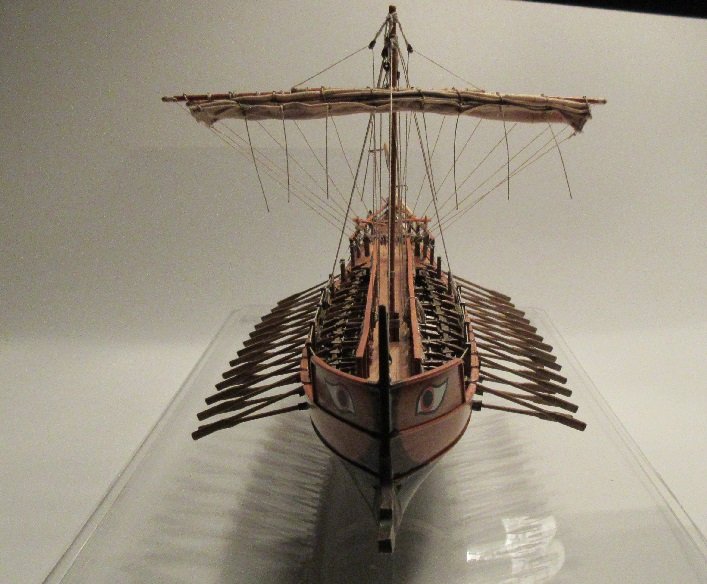
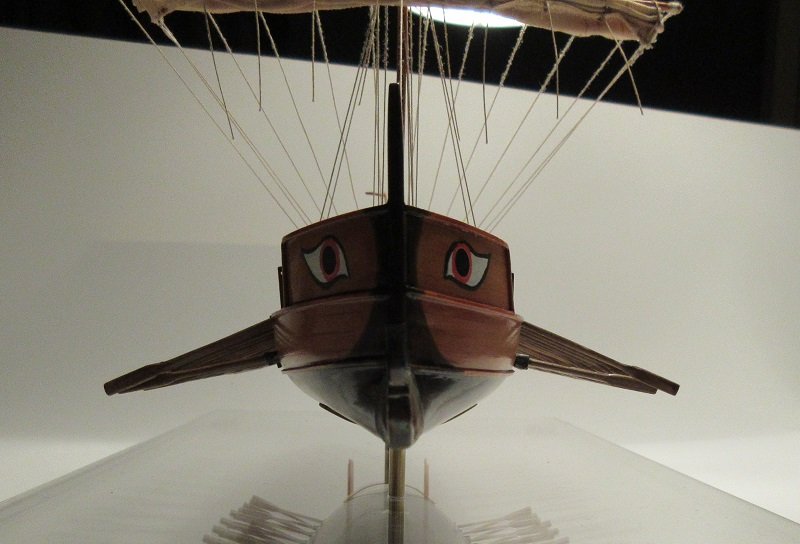
FINISHED I'll make better photo's for a gallery asap, but this is what it is.... Thanks for watching, thanks for the support, thanks Daniel Dusek, thanks to the Admiral for pretending she likes what I shown her during the build ..."look a 7 part rower seat!", "look! an oar!". It was a joyful ride...I love this kit and I liked to do all the modifications. Daniel Dusek did a fantastic job...I gladly build another (but different)! Thanks again guys...really, without this forum there wouldn't be a finished model! More soon...but something else! Robin

- 473 replies
-
- 16
-
-
- greek bireme
- dusek
- (and 1 more)