


garyshipwright
-
Posts
901 -
Joined
-
Last visited
Content Type
Profiles
Forums
Gallery
Events
Posts posted by garyshipwright
-
-
On 8/18/2020 at 9:40 AM, dvm27 said:
My only problem with earlier CNC carvings and moldings was that they looked like they were done on a machine. You have achieved a level of proficiency that makes your work look very natural, like they could have been made by a talented sculptor. Who could have a problem with that?
Greg I couldn't agree with you more. Now were can I get one of those CNC carvers. Very very nice marsaly and enjoying looking at your build. Gary
-
-
Thank you VTHokiEE. The journey with her and the endless research, the people here who have helped me to understand her and how things fit together has been a long road. Her building has sometimes been good and other times makes you want to pull out your hair. Of course I would not change a thing. 😁
-
-
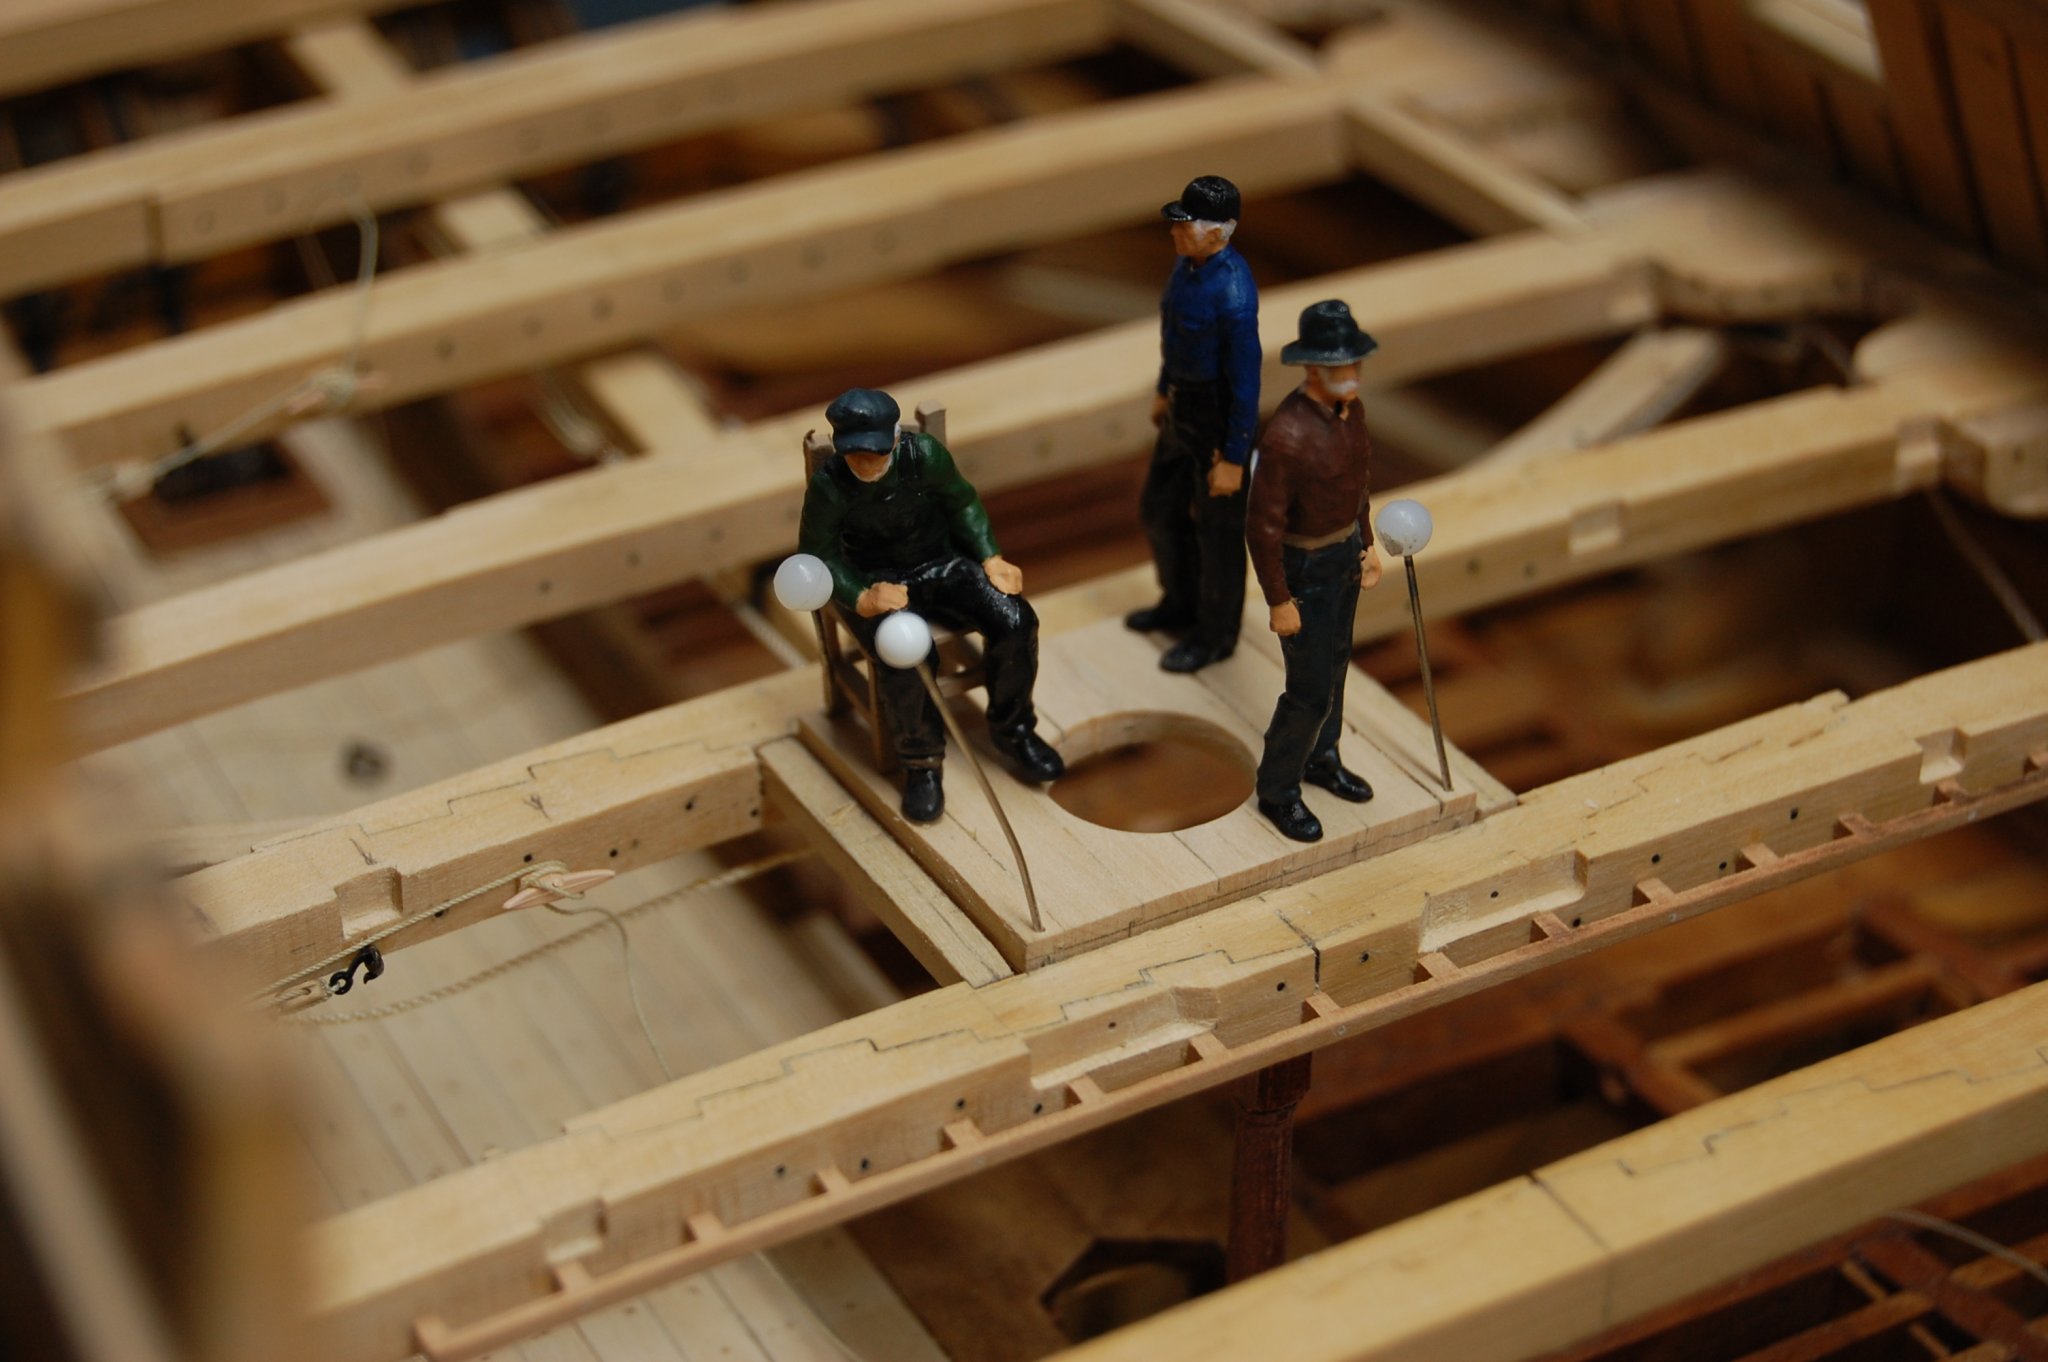
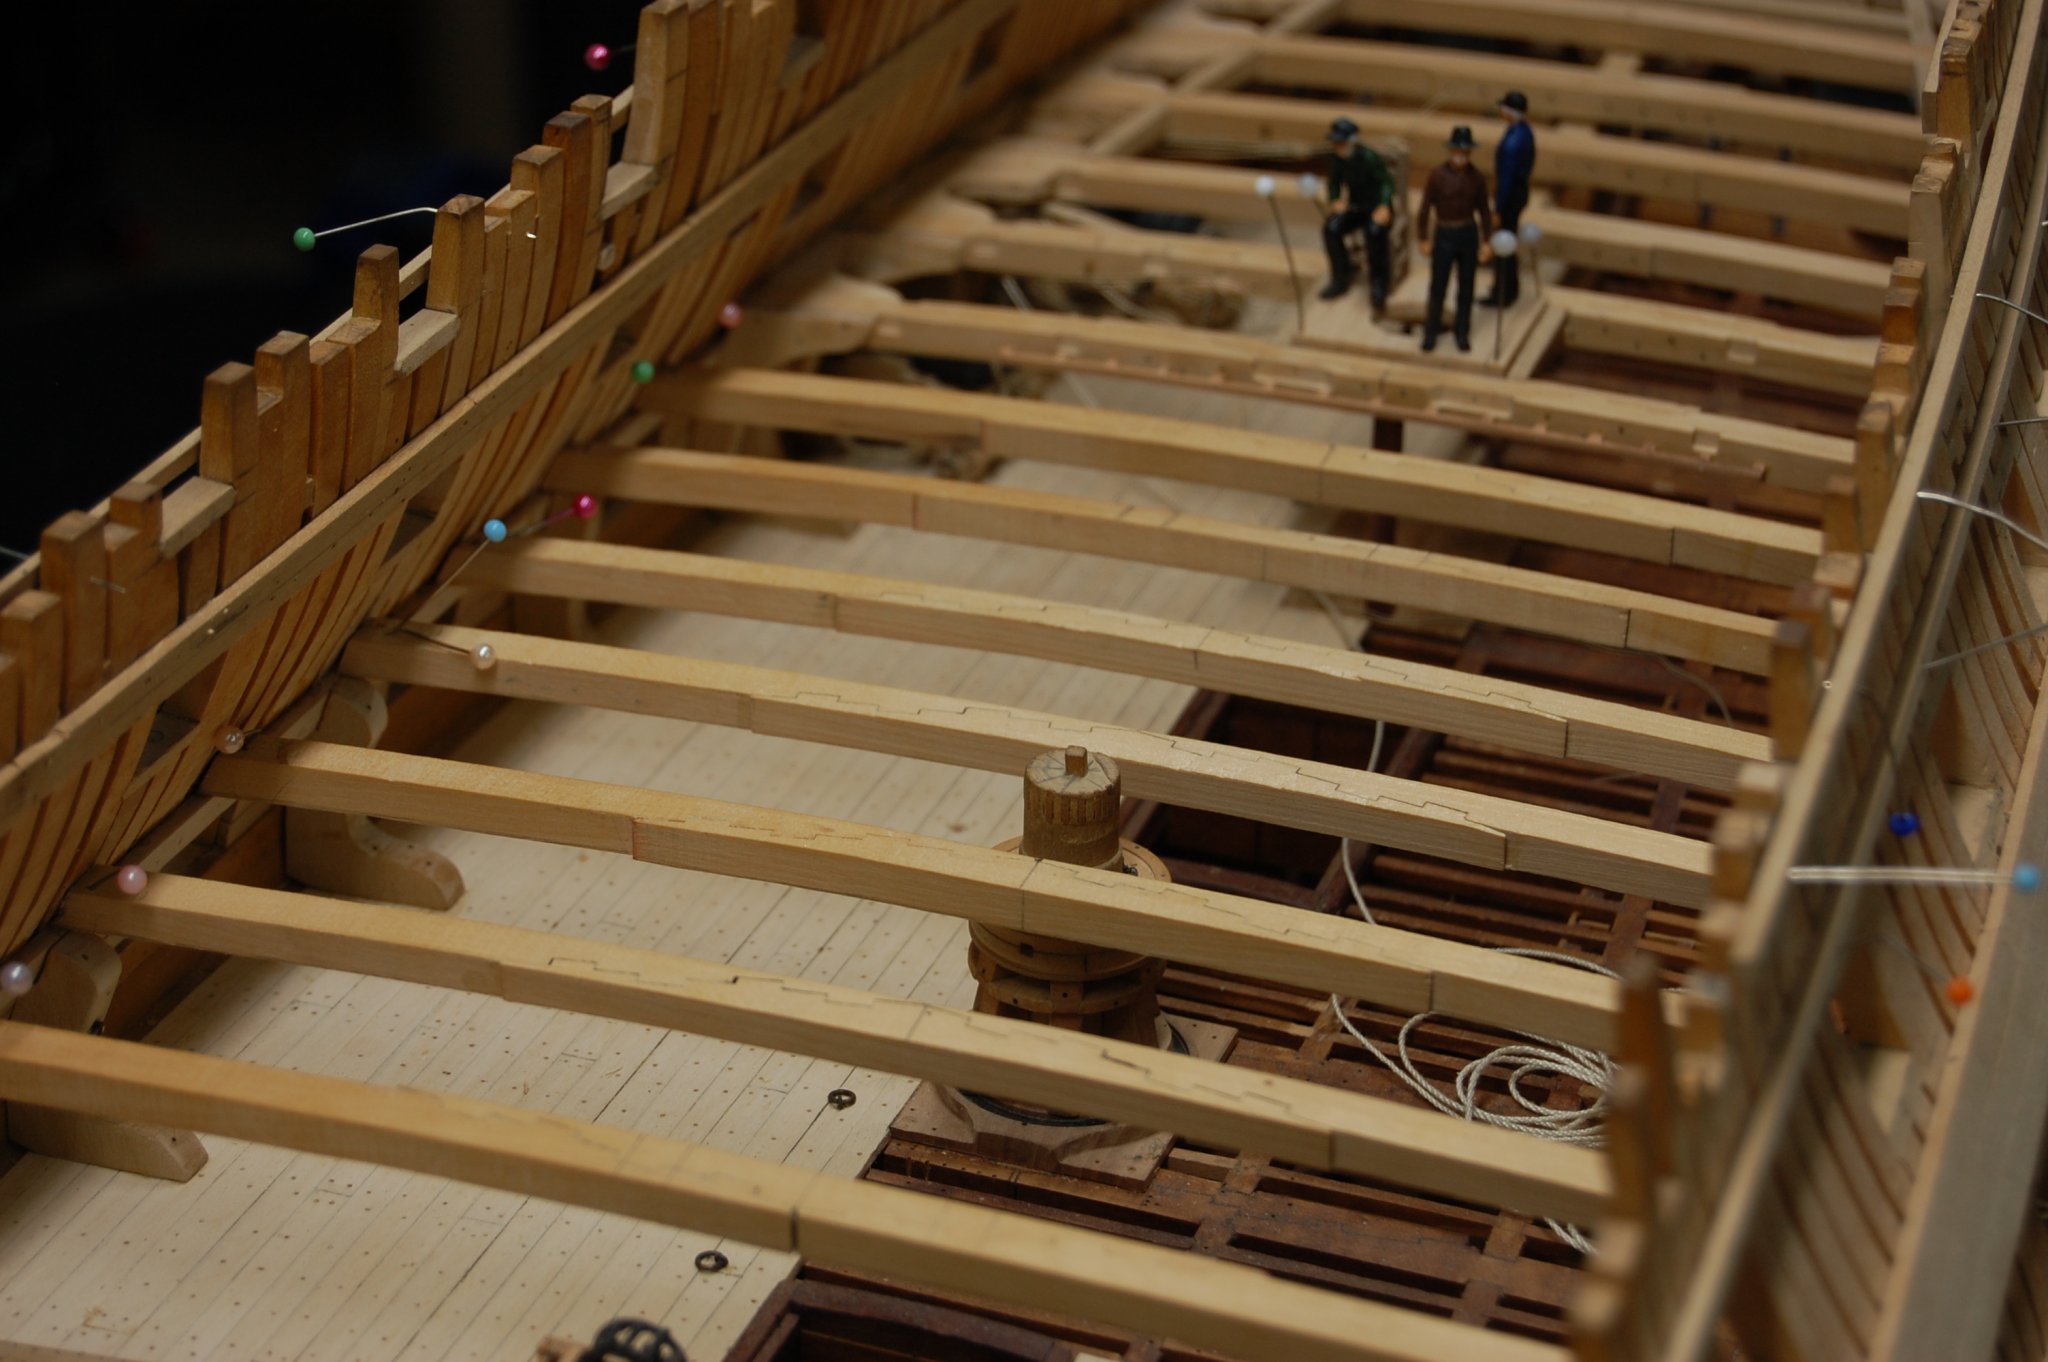
Well it seems to have been awhile since I posted last on my build but am still kicking around and working on Montagu upper deck, beams, and knees. One thing is for sure it takes a whole lot of time to make them. . Not much progress but as soon as the camera gets charged up I put a couple of photo's here. Thanks for bearing with me. Gary
- dvm27, mtaylor, Hubac's Historian and 1 other
-
 4
4
-
-
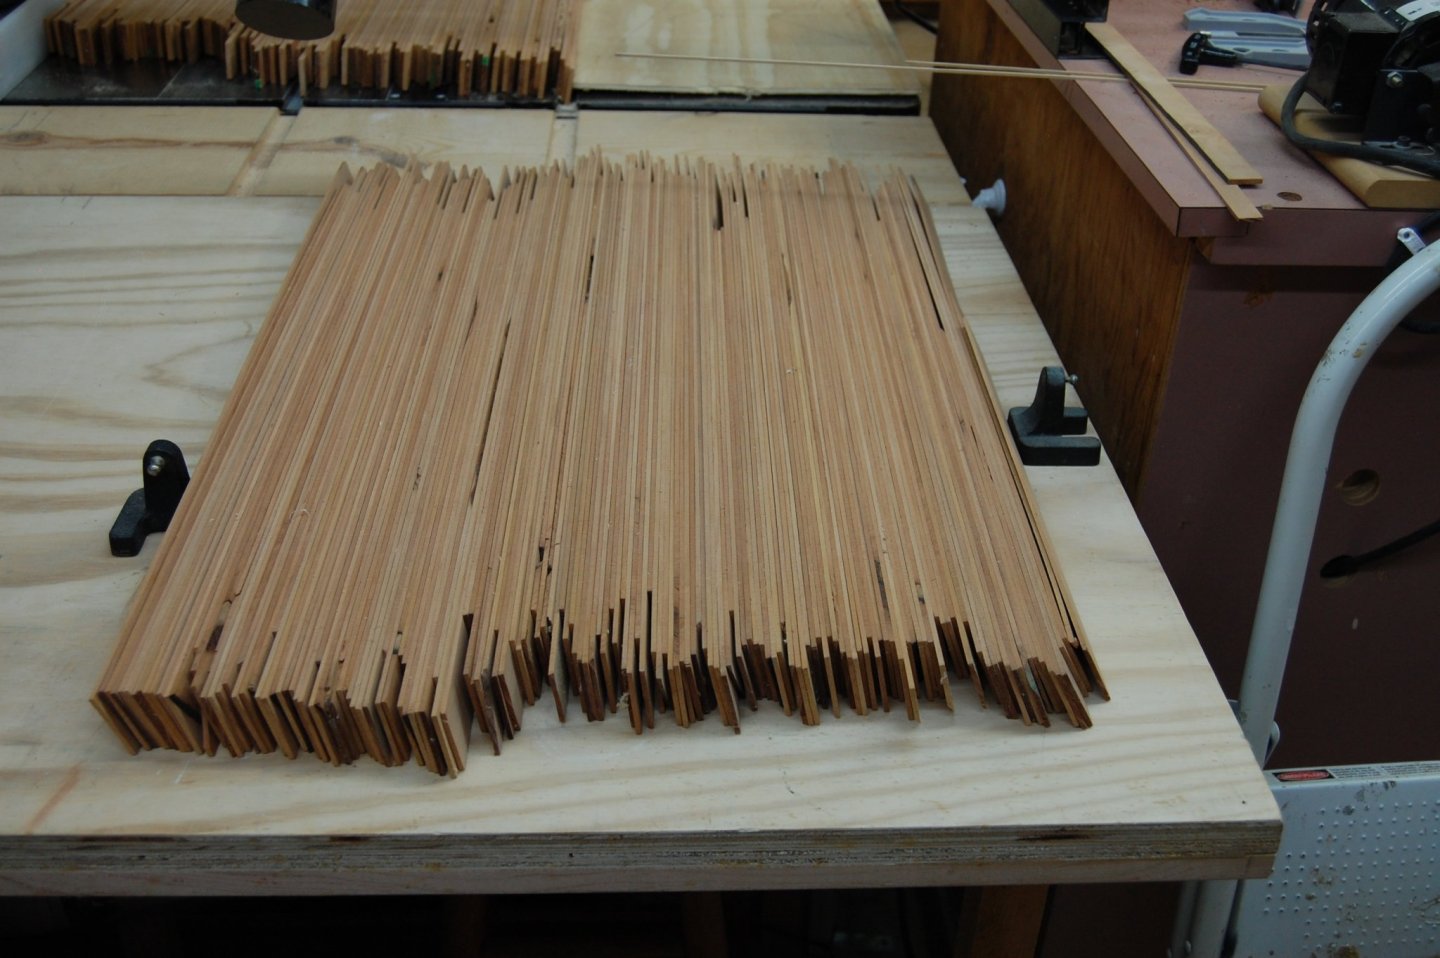
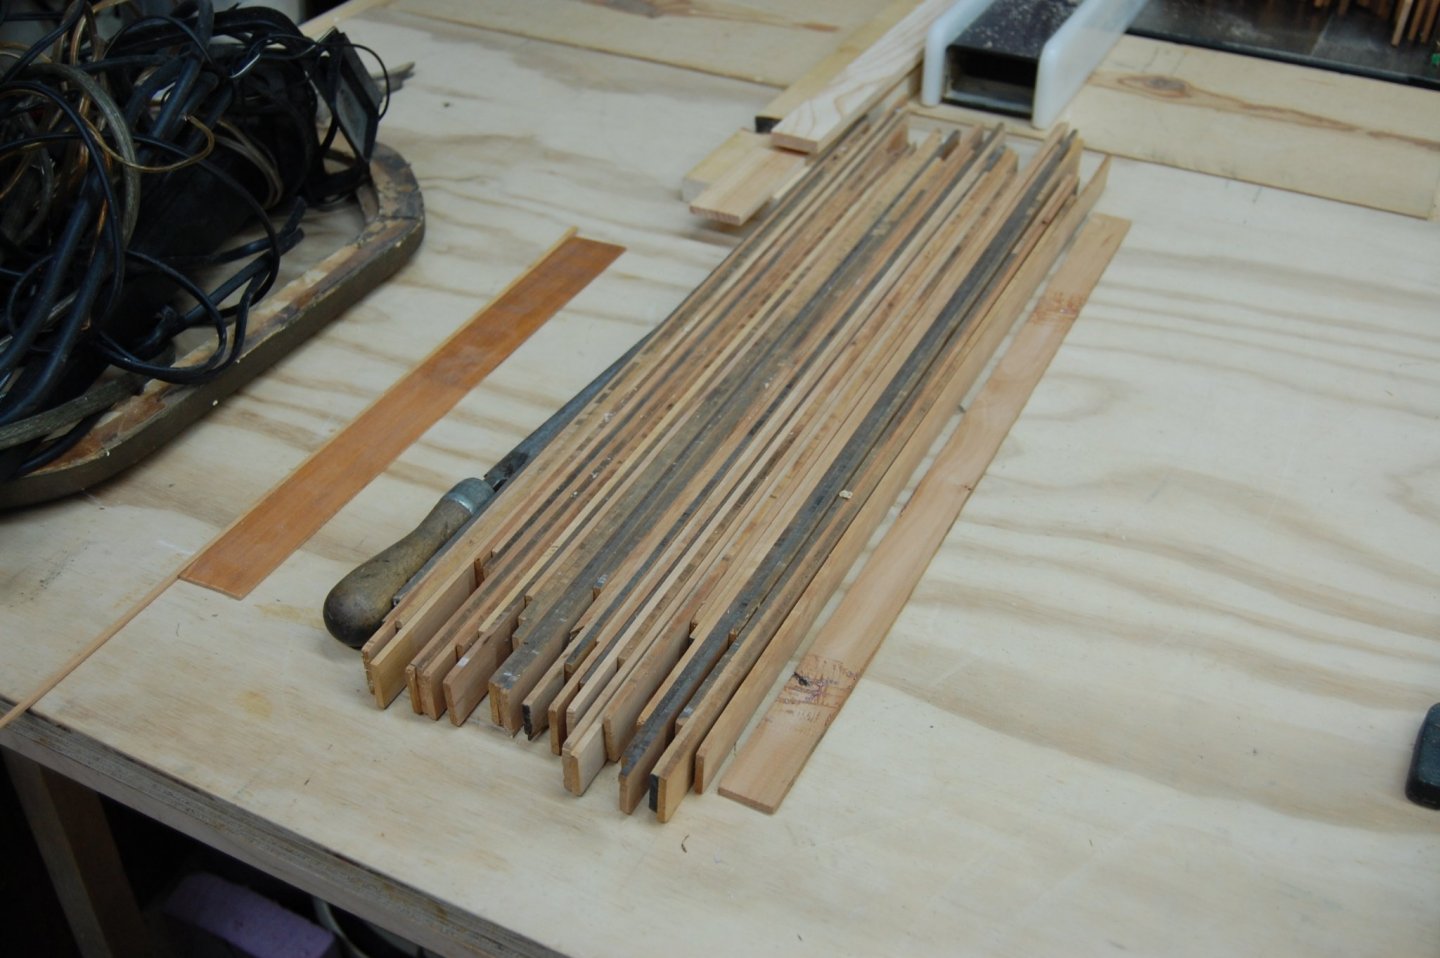
Hello every one I have some pear wood framing stock that I got to build a Hahn or French ship and don't believe I will be using it and figure some one else might have use of it. Have three different sizes, 7/16 x.093 x 24 inches long 22 piece's. 1 7/16 x .105 x 27 inches long, 146 pieces and 1 1/2 x .199 x 27 inchs long and have a 126 pieces of them. If you interested in them let me know and we will come up with a good price. Shipping not included. The measurment of them is just a average of what i can see. Serious inquiry only. Thank you

-
Hi marsalv. Great job and really enjoying you build. Keep up the good work. Gary
- mtaylor and FriedClams
-
2
-
Mark when you showed the contract of the Culloden I just knew that I had seen this a few times before. I am sure I read this but one soon forget were they read it, untill you need the info, and then you can't remember were you read it. That is untill a sir comes along.🙂 Never thought about the cost and the reason they did away with the brick, interesting. Wish I had got a few earlier contracts in the 1750's and only have one from the 1760's. They would come in handy that's for sure.
-
-
6 hours ago, Mark P said:
Good Evening Mark;
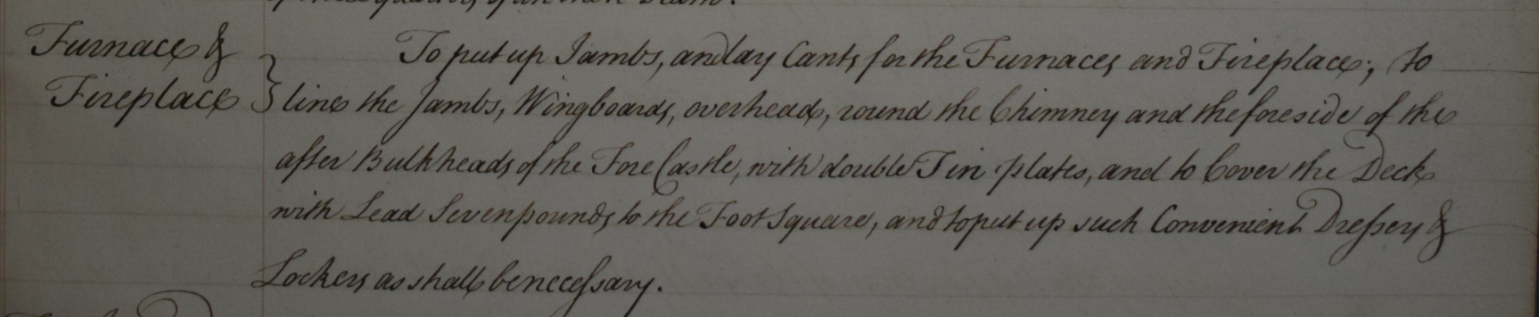
See below extracts from a few contracts which give some detail of what was done.
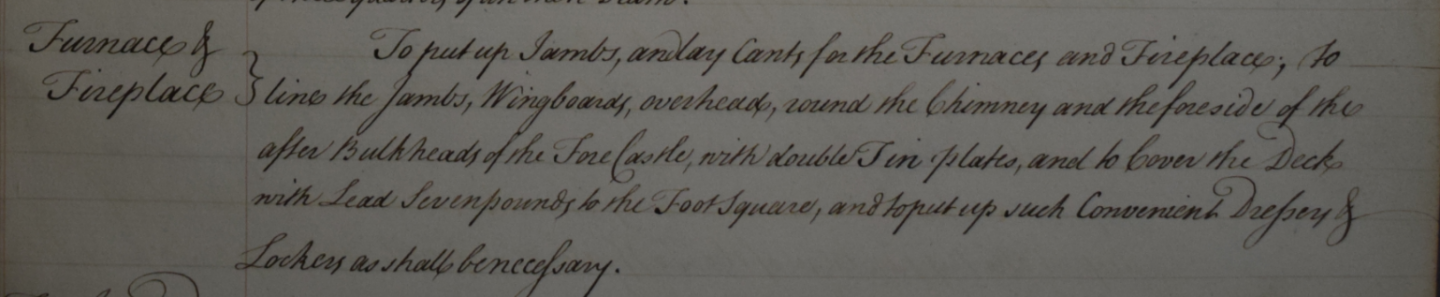
Warspite, William Wells, Deptford, contract date 17 Nov 1755:
Furnace & Fireplace. To put up Jambs, and lay Cants for the Furnaces and Fireplace; to line the Jambs, Wingboards, overhead, round the Chimney and the foreside of the after Bulkheads of the Fore Castle, with double Tin plate, and to Cover the Deck with Lead Seven pounds to the Foot Square, and to put up such Convenient Dressers & Lockers as shall be necessary.
Resolution, Henry Bird, Northam, contract date 28 Nov 1755: (repeat of the above)
Culloden, specification for Deptford Dockyard, 1770:
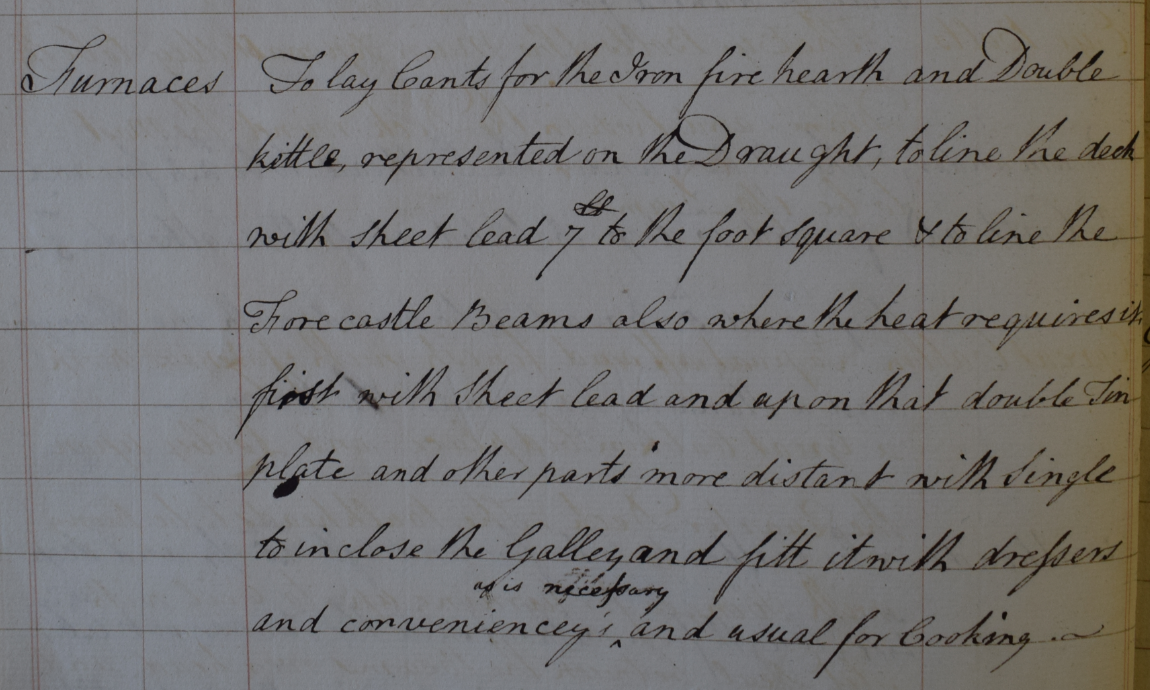
As you can see, they all seem pretty much of a muchness. Not much variation. Earlier contracts speak of lead and bricks on top of it; but probably best here to just rely on lead. There seems to have been a raised border around the edges of the hearth, which might give the illusion, viewed from the side, of a raised hearth.
All the best,
Mark P
Well Mark guess we can put a slash through using Peter's fig 5/28 about the brick floor and go with a a metal floor. Teaches me that I should look at primary first and use books today as secondary. 🥺
-
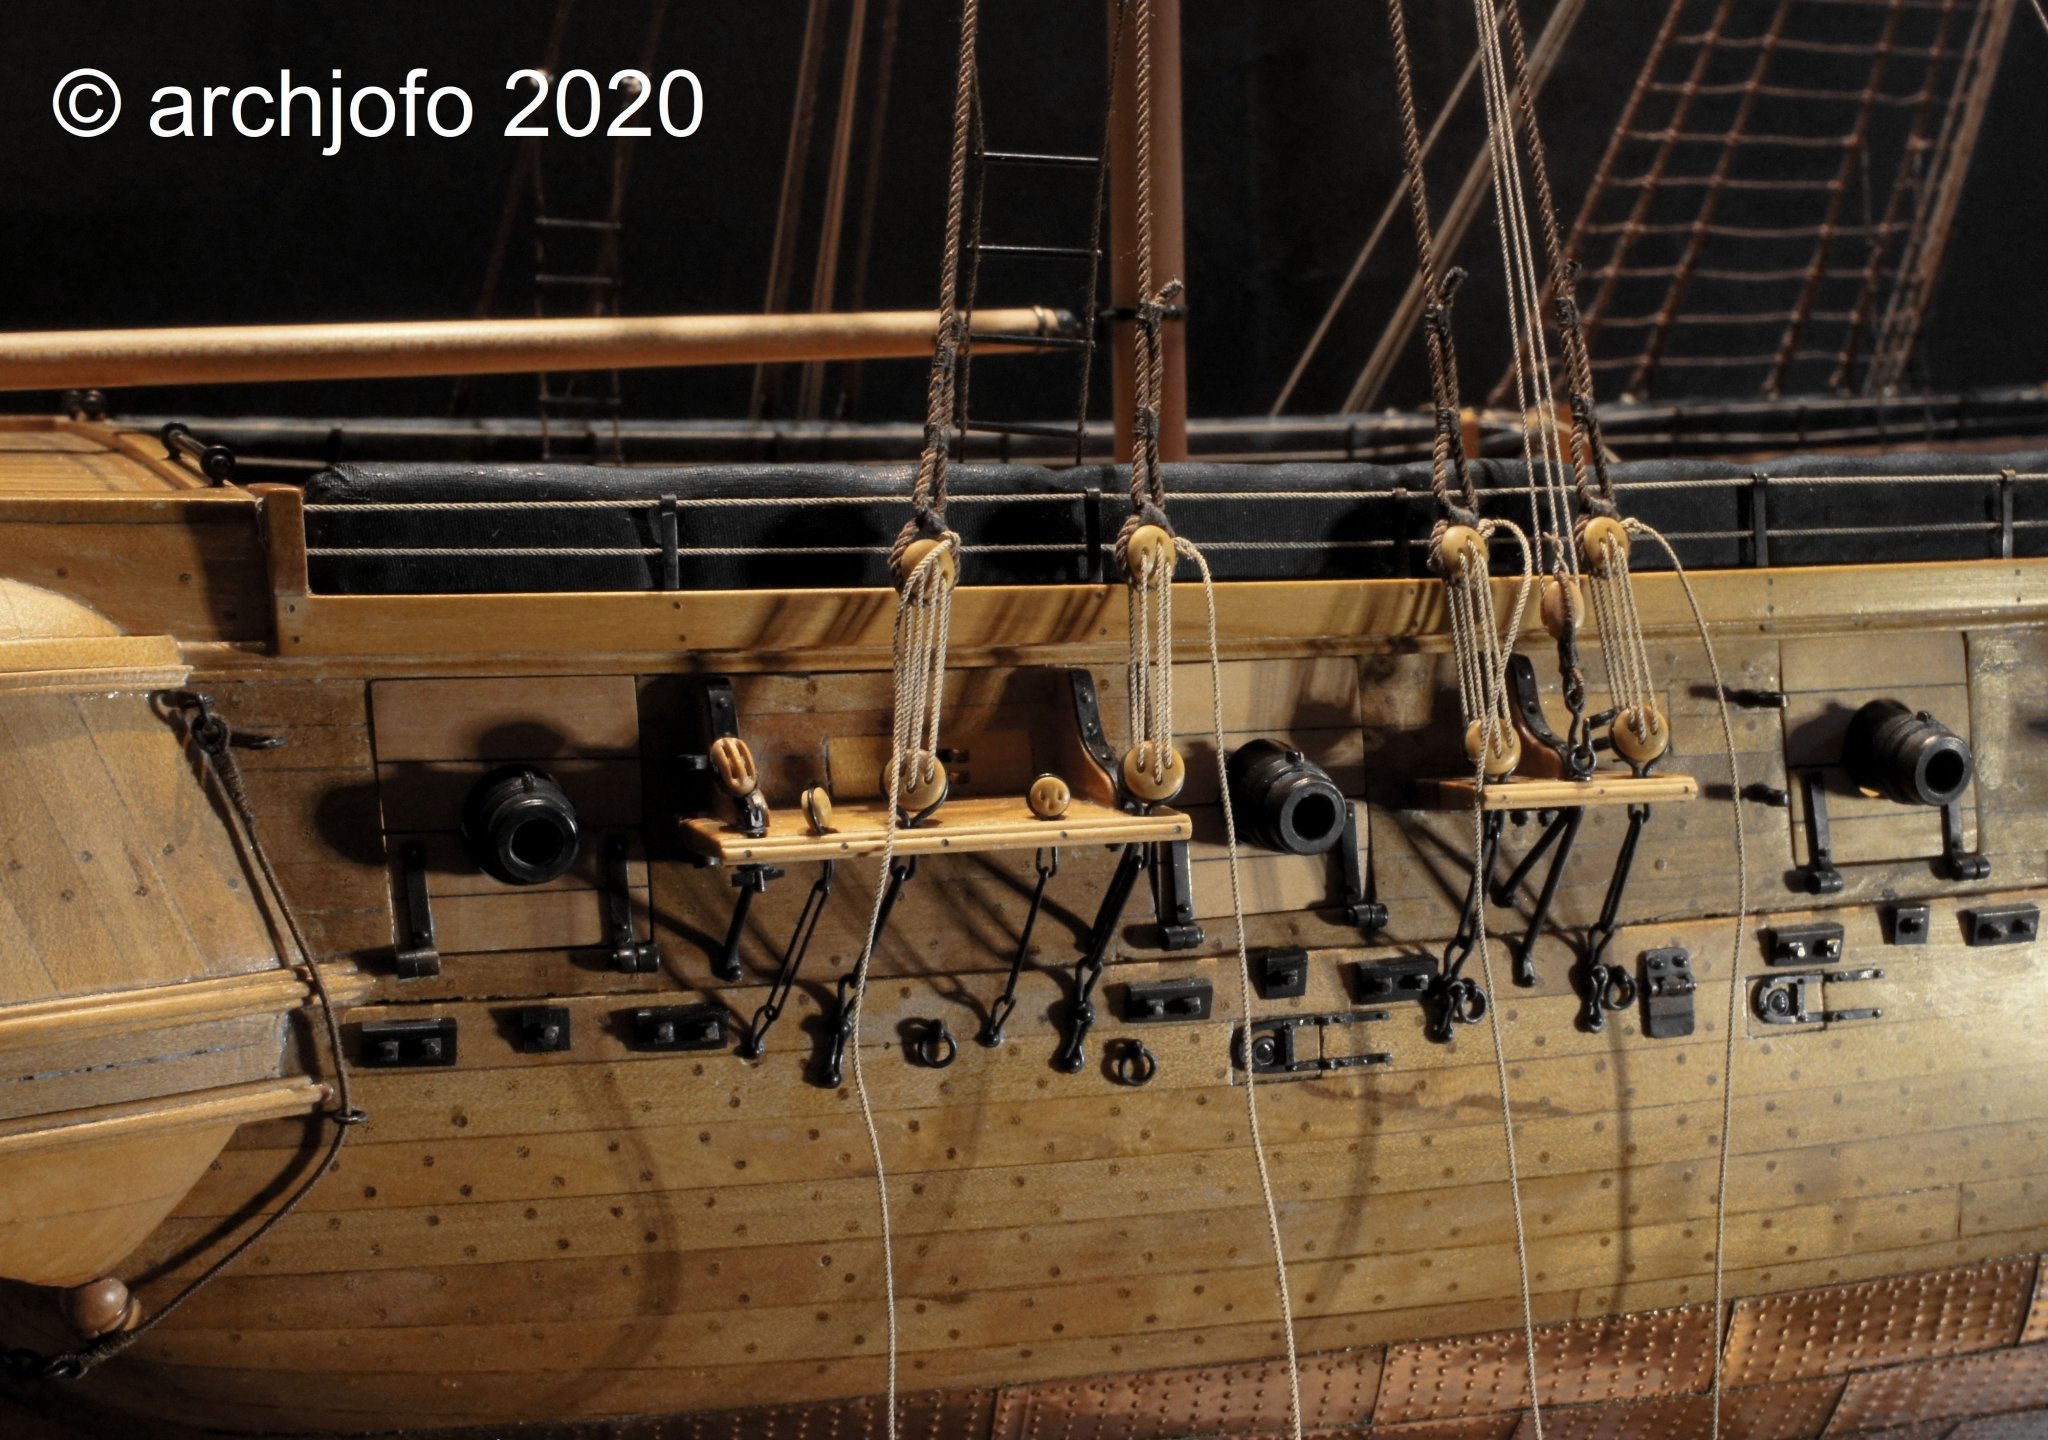
12 hours ago, archjofo said:
That's really a very nice compliment.
Thank you for it.
I also admire your wonderful models.It is always a pleasure to see that there is still interest in my report because of the many LIKES.
I am pleased.
After a little excursion to the anchors i continue with the shrouds for the mizzen mast.
So in the first step the lower shrouds were aligned.
Afterwards I start with securing the lanyards.
you know Johann every time I see photo's of her I am overwhelmed by your skill and just can not wait till I see your next set of photo's. You set a very high bar. Gary
-
Mark the drawing of the stove reminds me of the Brodie stove and looking at the drawing shows there are difference between the one on the Dorsetshire (1757) and the Brodie stove. Have to agree with druxey that there was bricks below stoves at that time. Now I have to see if I can find it again so i don't put my foot in the wrong place.😁 Well good sir found another place to see the history of the stove at least from his stand point and that is Peter Goodwin book, The sailing man of war. He gives us a look at what came before the Brodie stove taking us all the way back to 1707 on page 161. He says that it was brick beneith the stove in fig 5/28. Gary
-
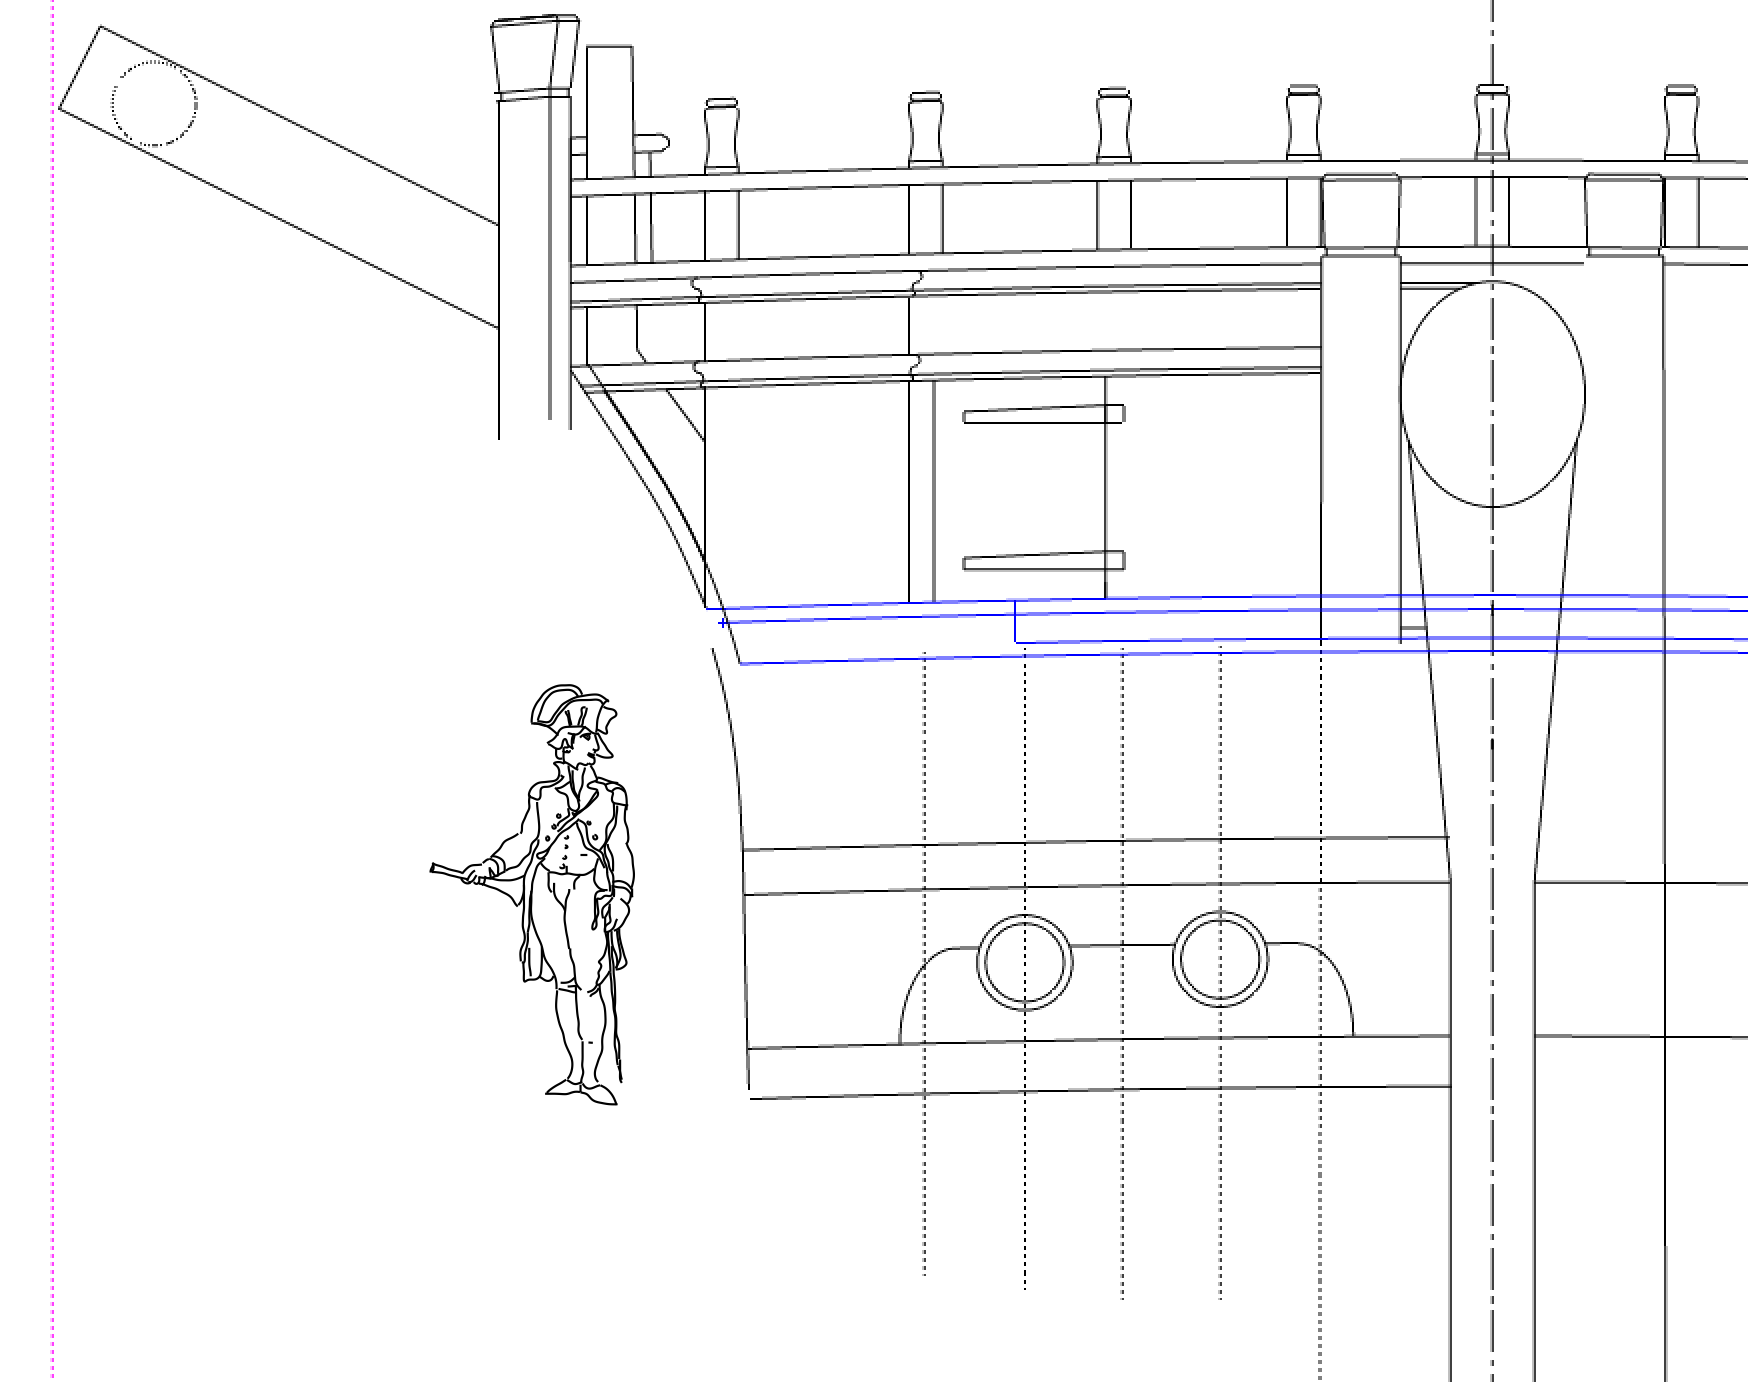
5 hours ago, SJSoane said:
Thanks, Gary, Dave and druxey for thoughts on the hawse holes. I will definitely drill undersized and fill to the correct diameter.
Druxey, I was many years into this build before I realized that the hawse hole were related to the location of the hawse timbers! I had faithfully followed the stylized construction methods of the original dockyard models, which used symmetrical hollowed shells at the bows, bearing no relationship whatsoever to the actual framing construction. For a long time I pondered how big, and in what location, they would be drilled, trying to eyeball dimensions in photos relative to other things whose sizes I knew.
Finally, after reading about this in David Antscherl's Fully Framed Model series, I was able to construct in a drawing where the hawse timbers would have been had I constructed this accurately, and therefore where the hawse holes would be drilled. Indeed, in the next model.....

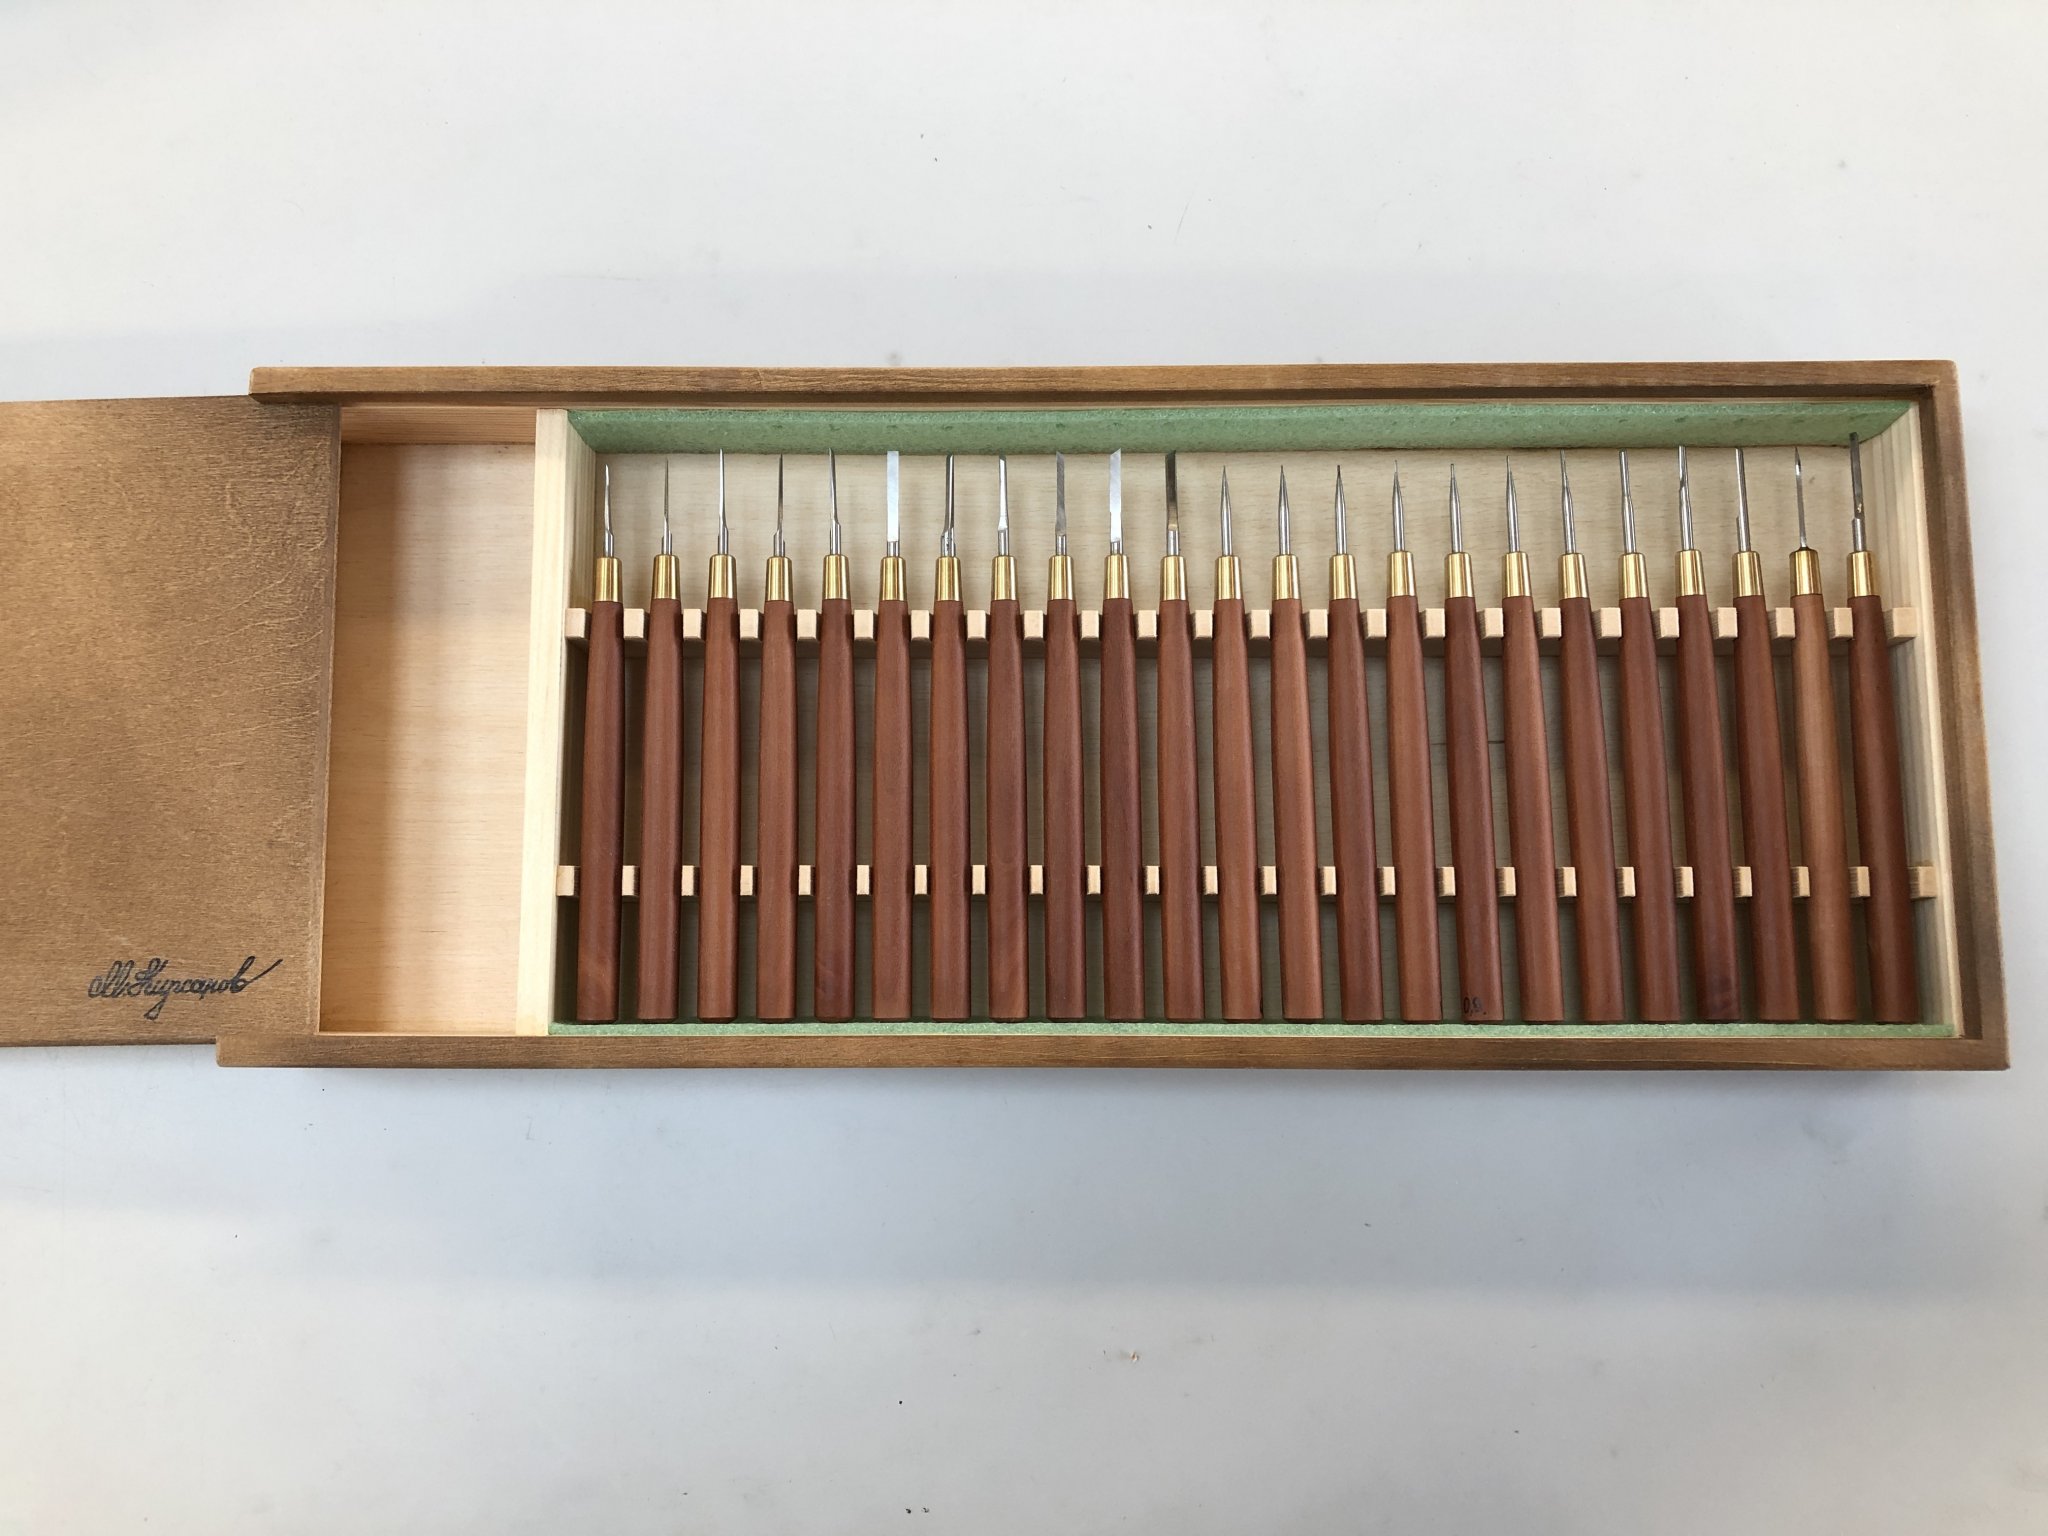
On another topic, I just received the micro chisels I ordered from Mihail Kirsanov in Russia. A number of Model Ship World builders recommended these, and they are indeed the premier micro chisels of all time. Exquisite craftsmanship, sharp as anything, and all of the shapes needed for ship ornamentation. I highly recommend them. They took more than 3 weeks in the mail, surviving the uncertainties of mail delivery during the pandemic. Now I just have to do them justice and carve something at least as beautiful as the chisels themselves.
Sharpening these will definitely be a challenge, there are some so small it is hard to see the surface needing sharpening! Mihail sent sharpening instructions which I will try to follow to the letter. Google Translate is our friend here!
Best wishes,
Mark

Those are very nice Mark. Do believe that druxey was talking about these when they first came out a couple years back. I have been tempted many times but never pulled the card out. ;o) Gary
-
Have to agree with you 100 percent Gaetan. When I got to about 75 percent of the hole I stated filing up to the finally size. Work great. Also if you drill the holes make sure you have a piece of wood inboard so you don't break out the wood. Don't forget Mark, the holes are slanted up from the outside to the inside. Of course am sure most of this you all ready knew. ;o) Gary
-
Mark If you plan on wanting to try and use Ivory you can legally purchase it from a fellow named David Warther who lives in SugarCreek Ohio. He has a gift shop and makes model ships out of ivory, which he has on display. He was legally able to get it from museum's and believe its called legal antique ivory. He has a web site and if you send him a email, you might be able to get some pieces for you Bellona. I purchased some from him in 2001 and it's still waiting for me to carve somthing out of it for Alfred. Of course the price today compared to then, might be just a bit higher. Gary
-
-
Hi druxey and thank you for the picture. That does look like the same green color that Siggi52 used on his Dragon but not 100 percent sure. Any way of finding what color this green really is and mixing up the color? Gary
- druxey, mtaylor and Hubac's Historian
-
3
-
Hi Mark. Could it have been the green color that Siggi52 was using on his model of the Dragon? As far as the spirketting, what you could do is cut out the bottom piece, top and bottom, pin it in place and then put a piece of card file behind it and mark off the bottom edge of the 2nd piece. Once you have the bottom of the second piece all cut out and fitted then you can use the bottom cill to get the height of this piece. That is what I did and then I put treenail's in to the holes with just a tad of glue to hold them in place. You also can paint or dye the pieces before you install them. Hope this helps and maybe gives you a ideal or two. Gary
-
Hi Mark you could go to work on building your rudder, braces, pintles and tiller which will take you some time. Give you a short break that you need from the planking. Of course you have to make sure that it works when all is said and done. ;o) Then you can work on the cavings which I havn't even started yet. Seems it took me a while to make the metal work for it and thought I was never going to get that part done. One thing is for sure there is plenty of things to make and build for her, that and working on the honey dues. Guess I better go cut the yard now. Gary
-
-
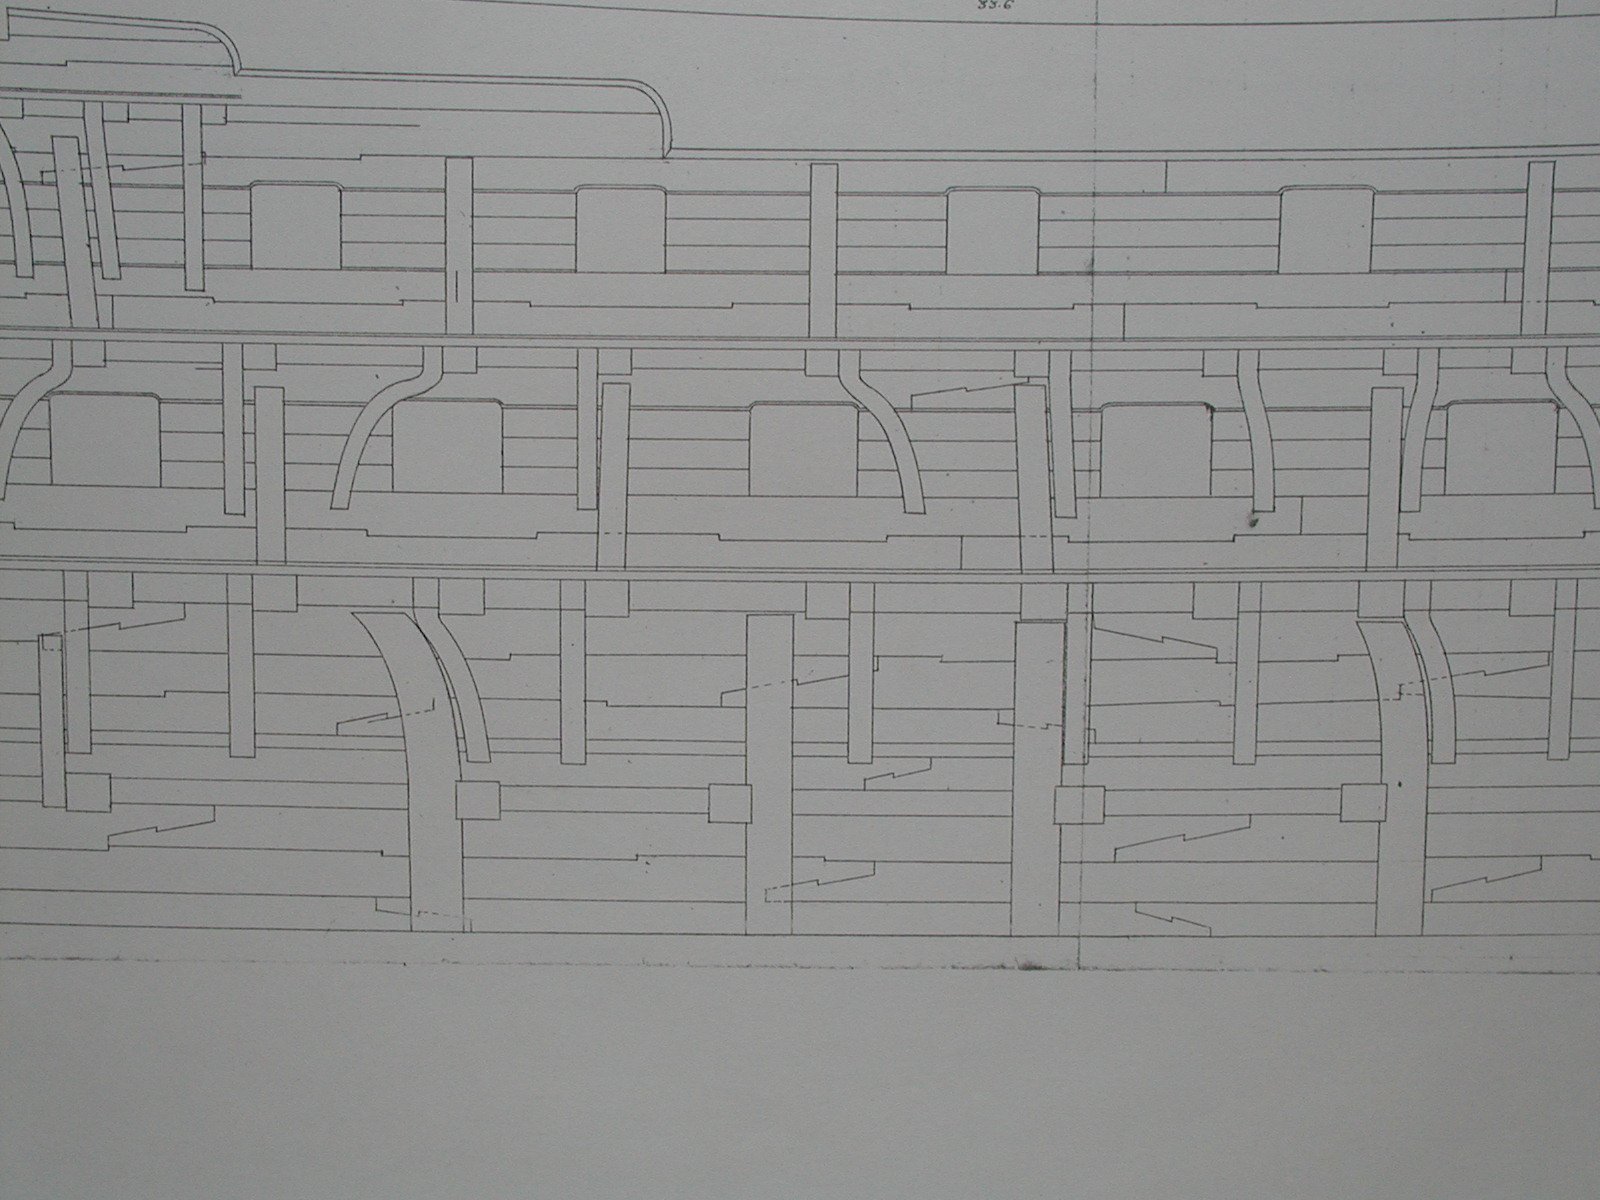
Thanks Mark P. Berwicks plan has been a life saver on how some things in side Montagu such as the wales, knees and several other things look. Gary
- Hubac's Historian, mtaylor and druxey
-
3
-
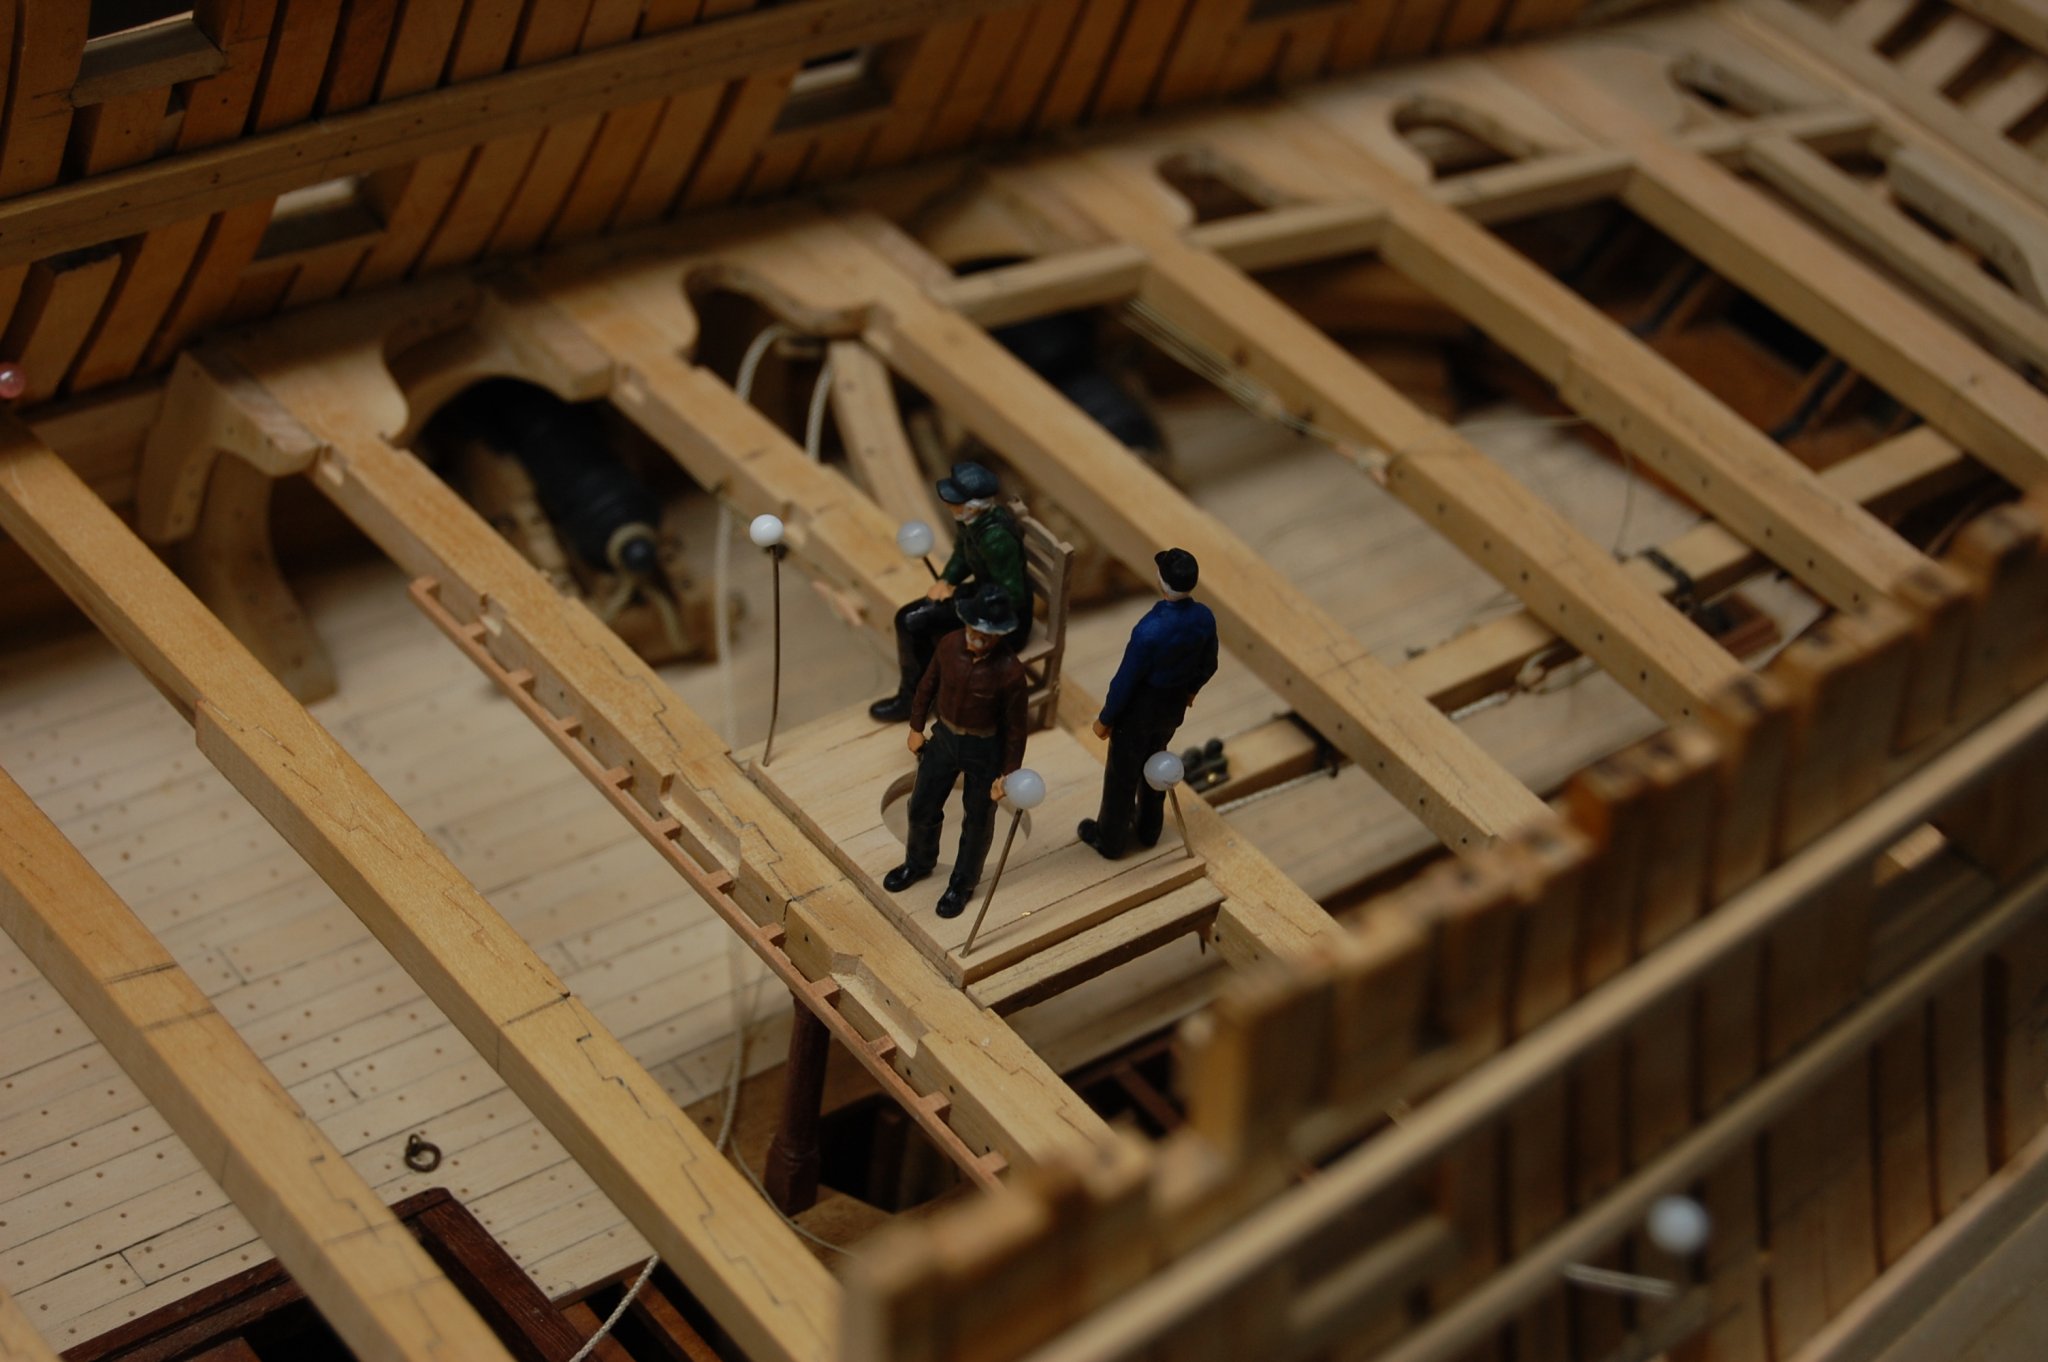
You very welcome Mark. druxey thats ok, and thank you. All is not lost and I will have plenty of photos of her as I was building her. I wished I had taken a lot when I was building Richard but other then the ones of her out side seems there is a lot of hidden detail in her and the only way to see what is there is to either see one being built or looking at her drawings. Gary
- mtaylor, Hubac's Historian and druxey
-
3
-
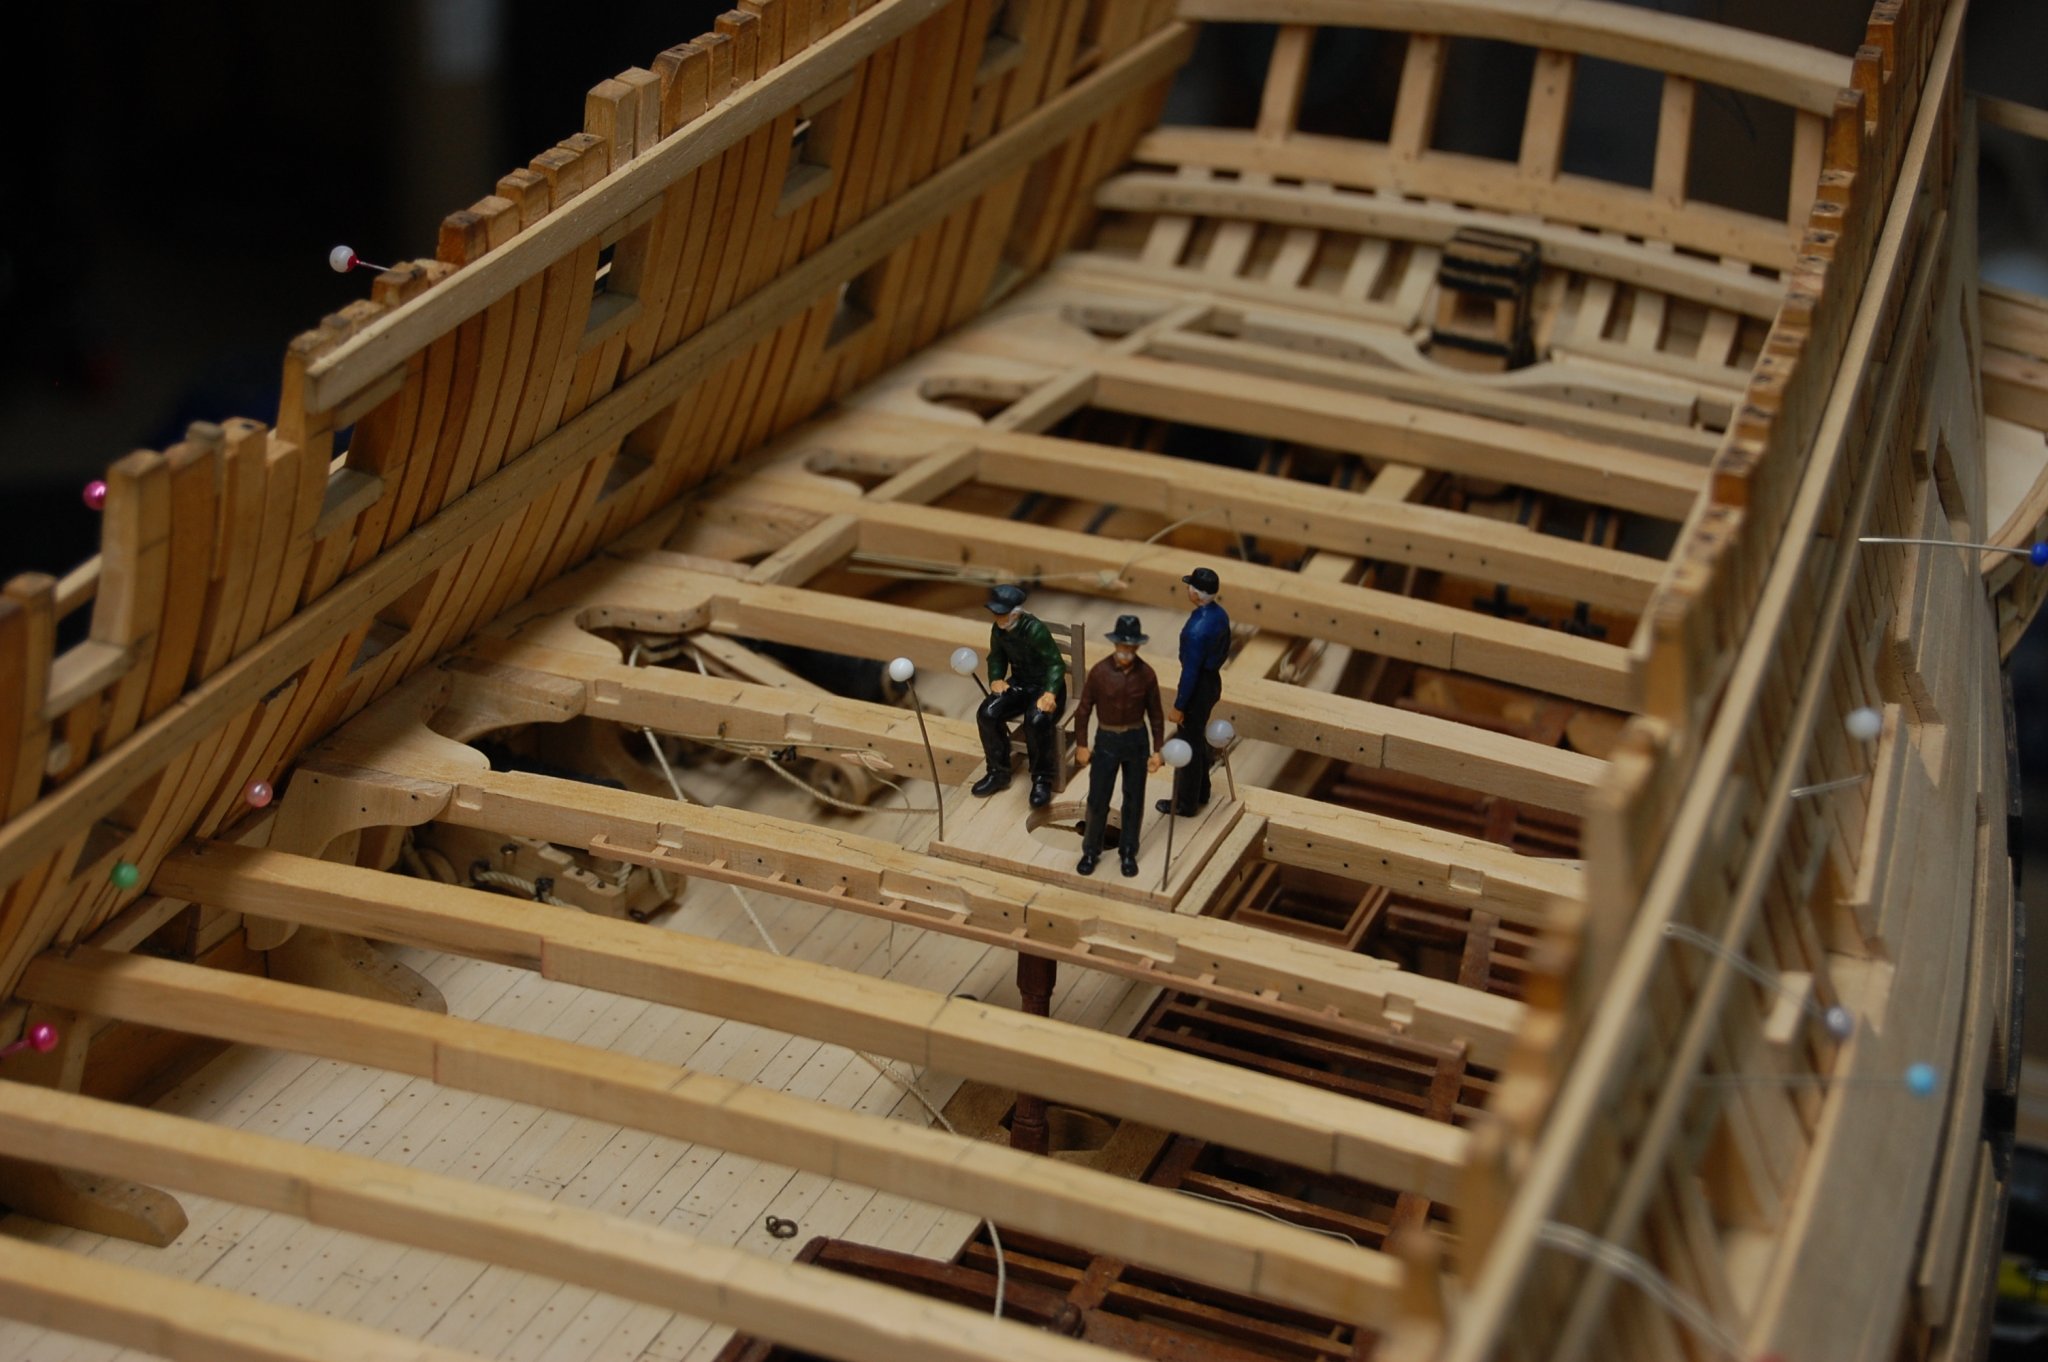
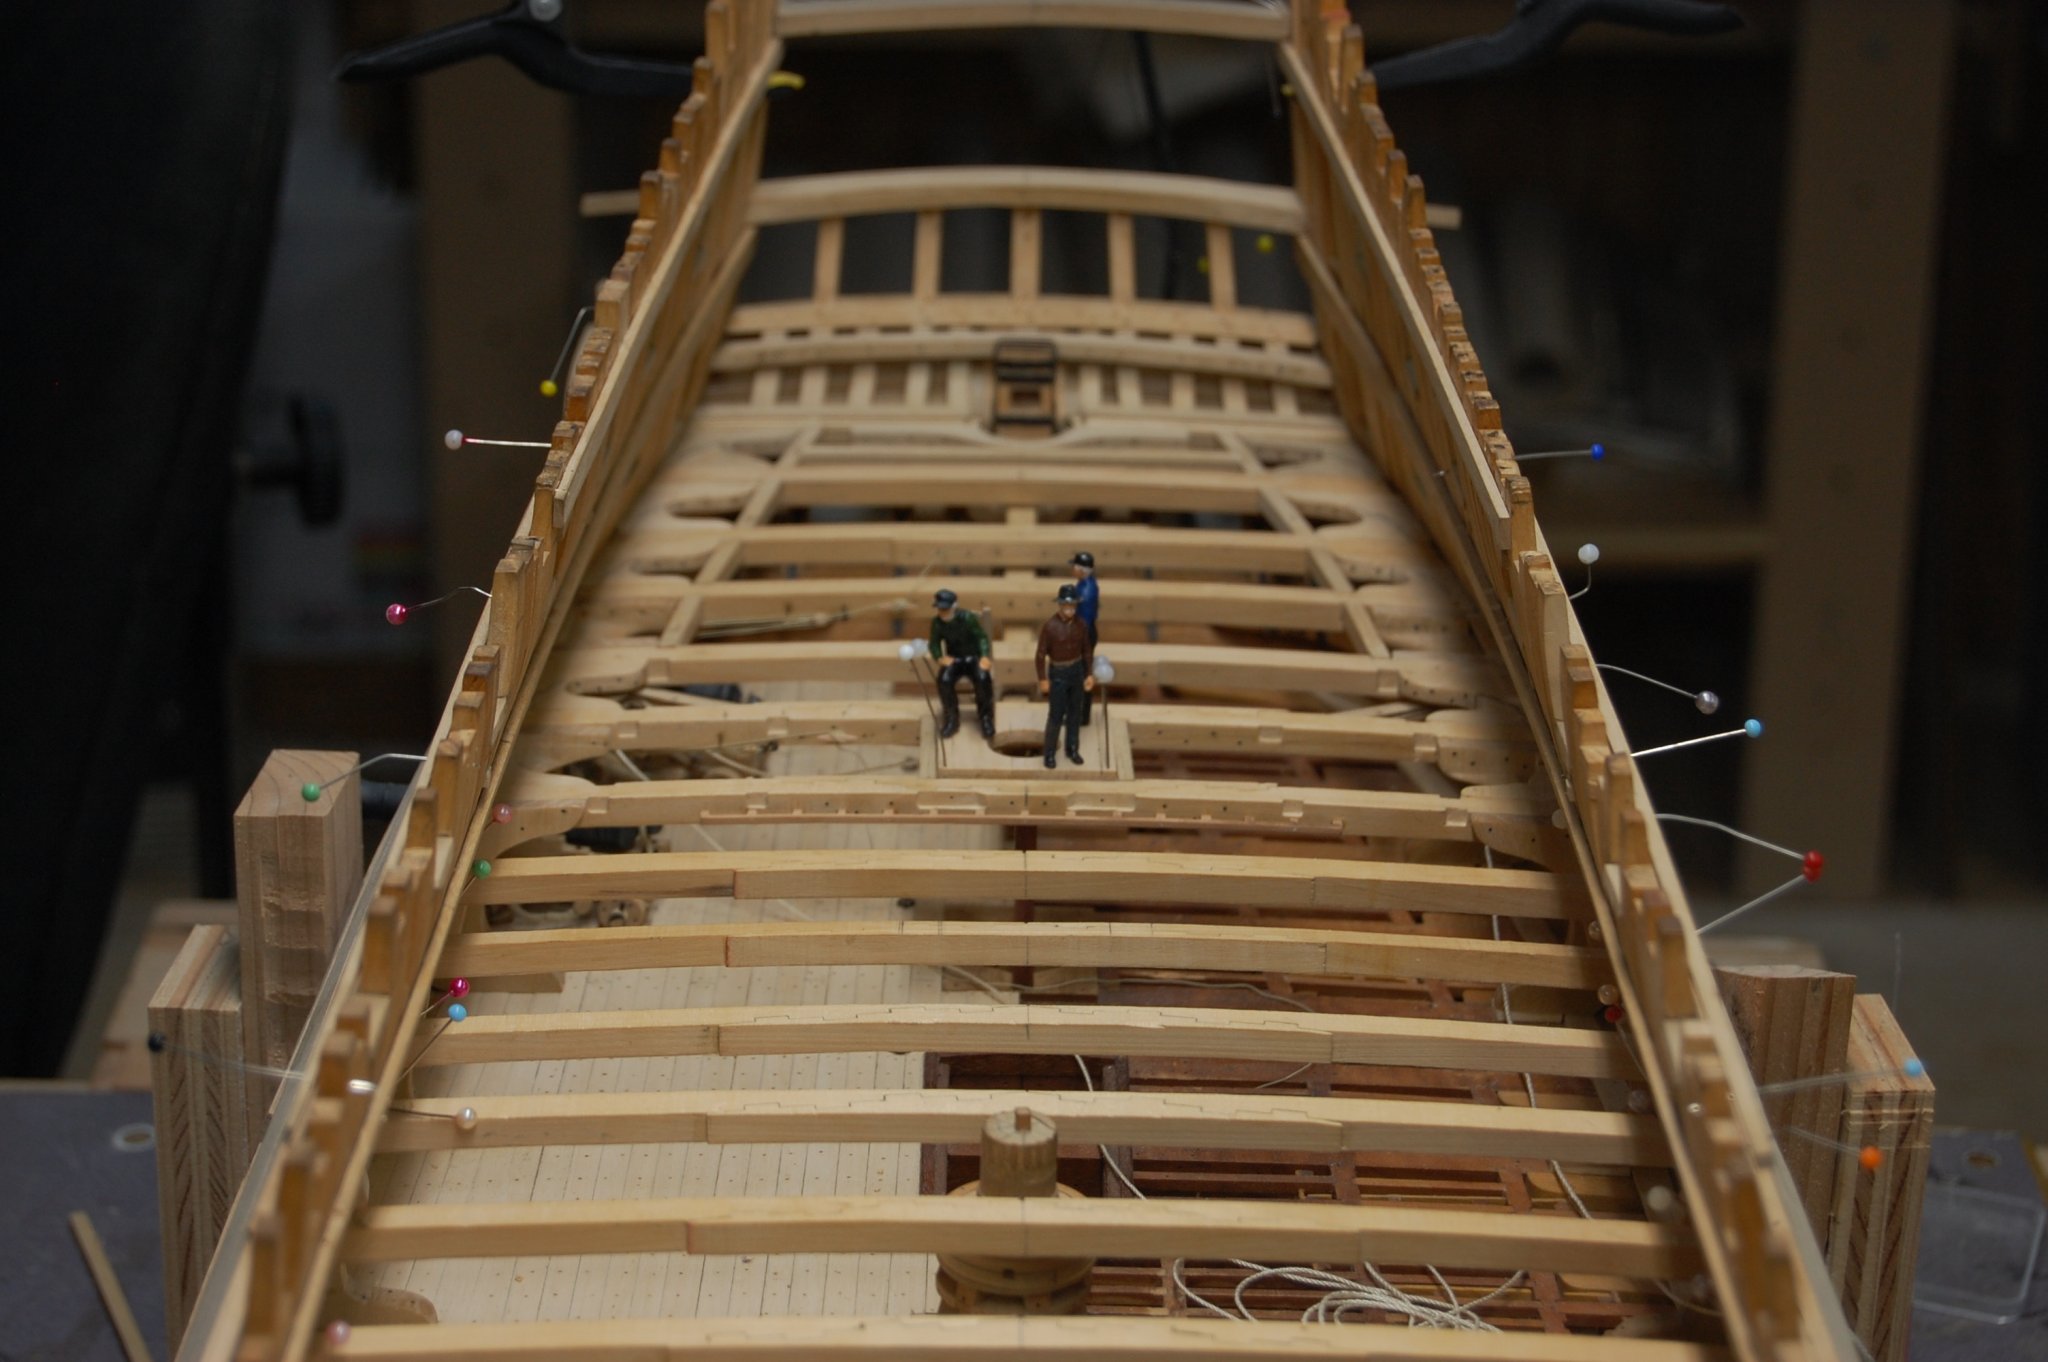
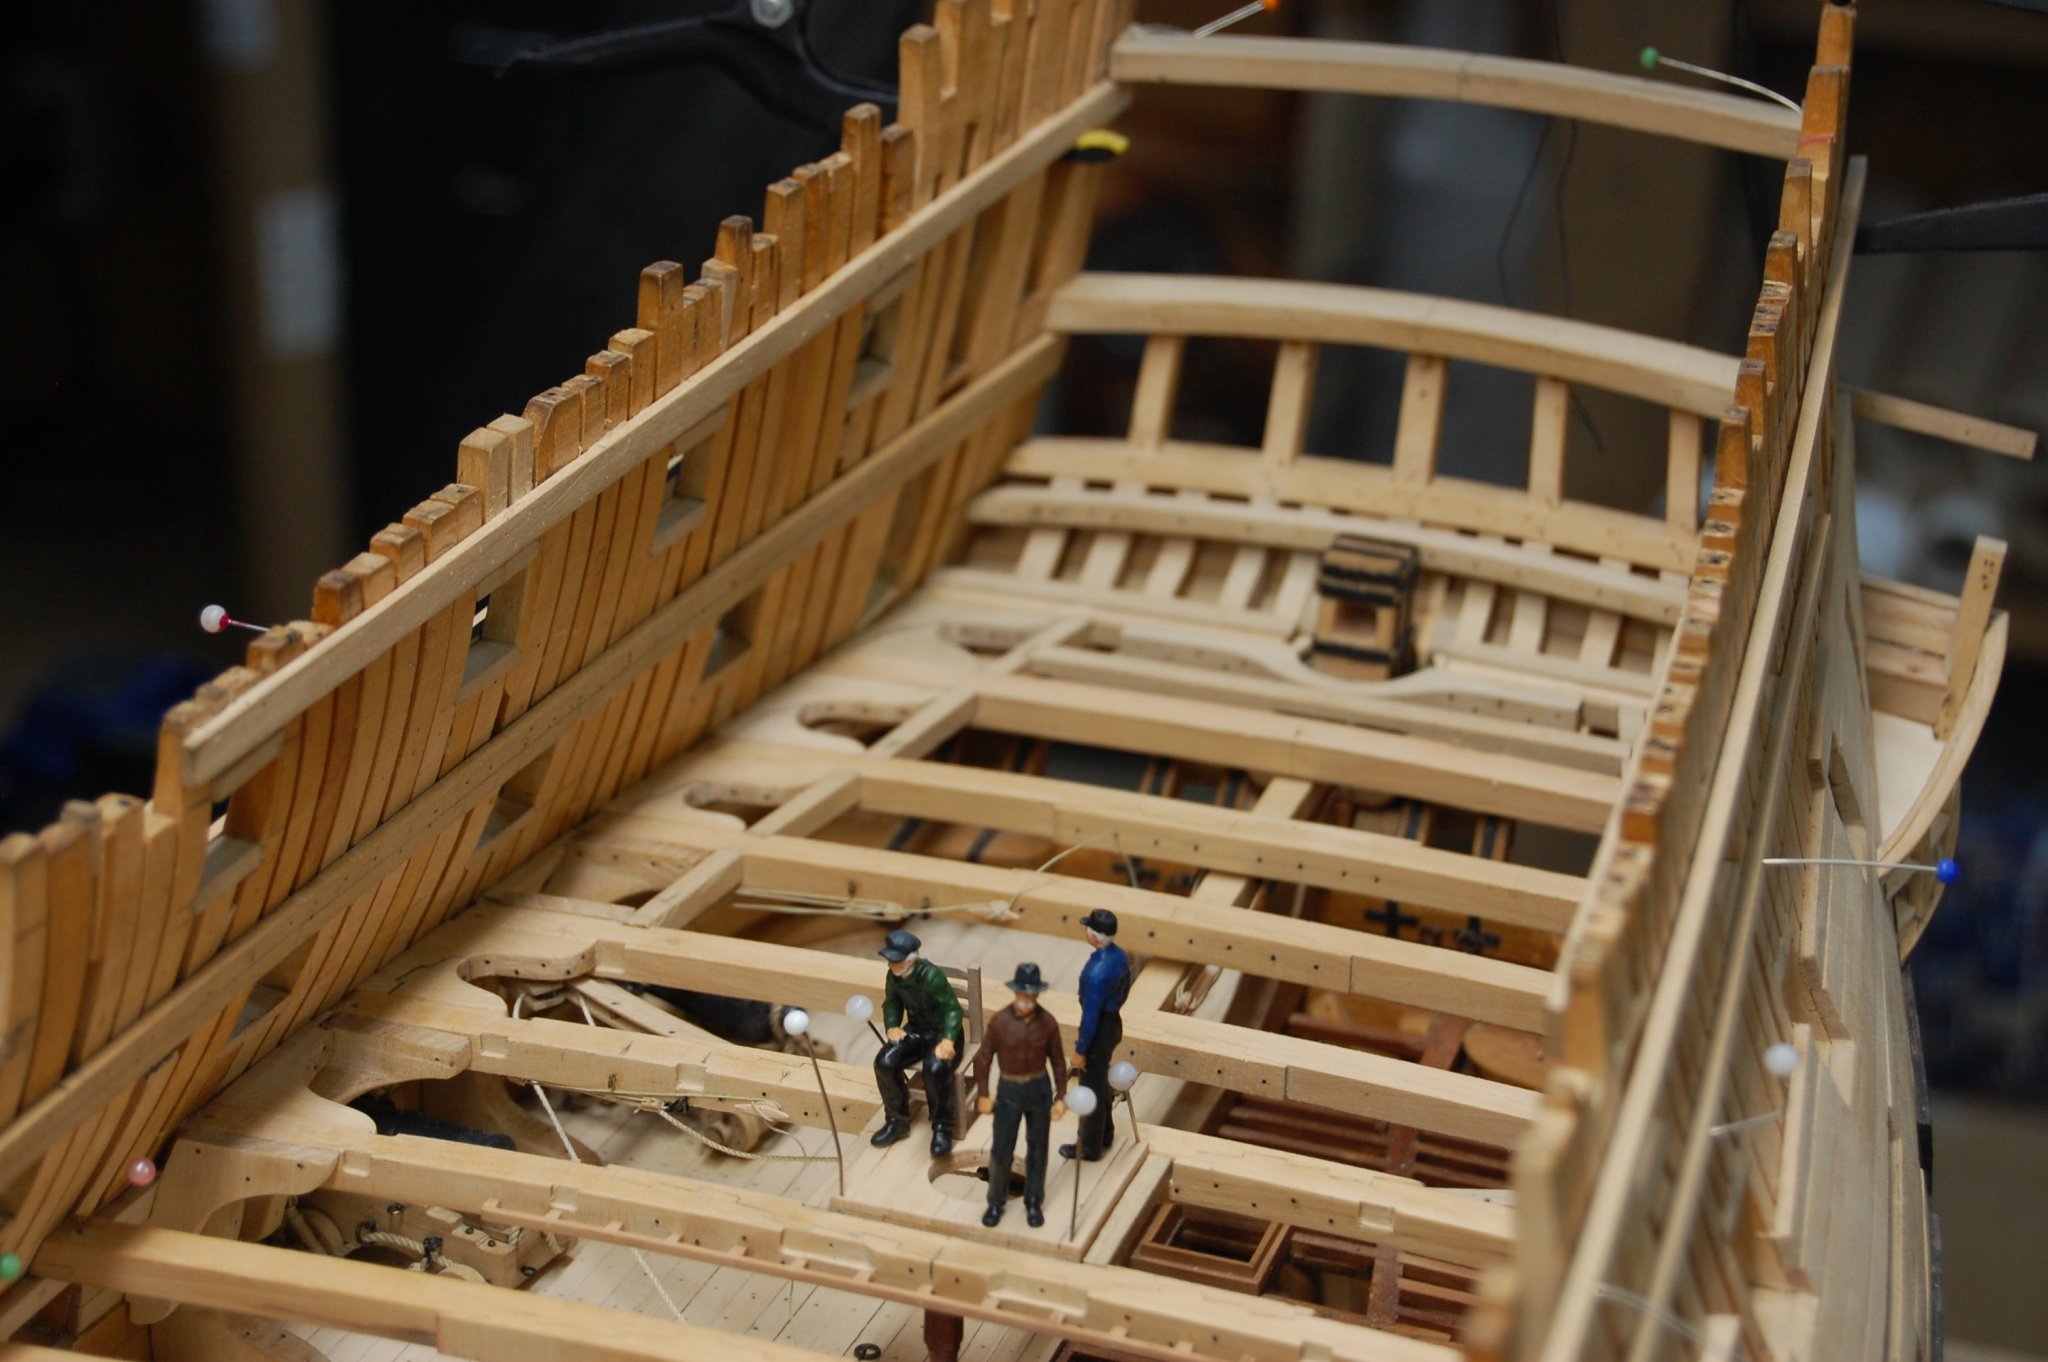
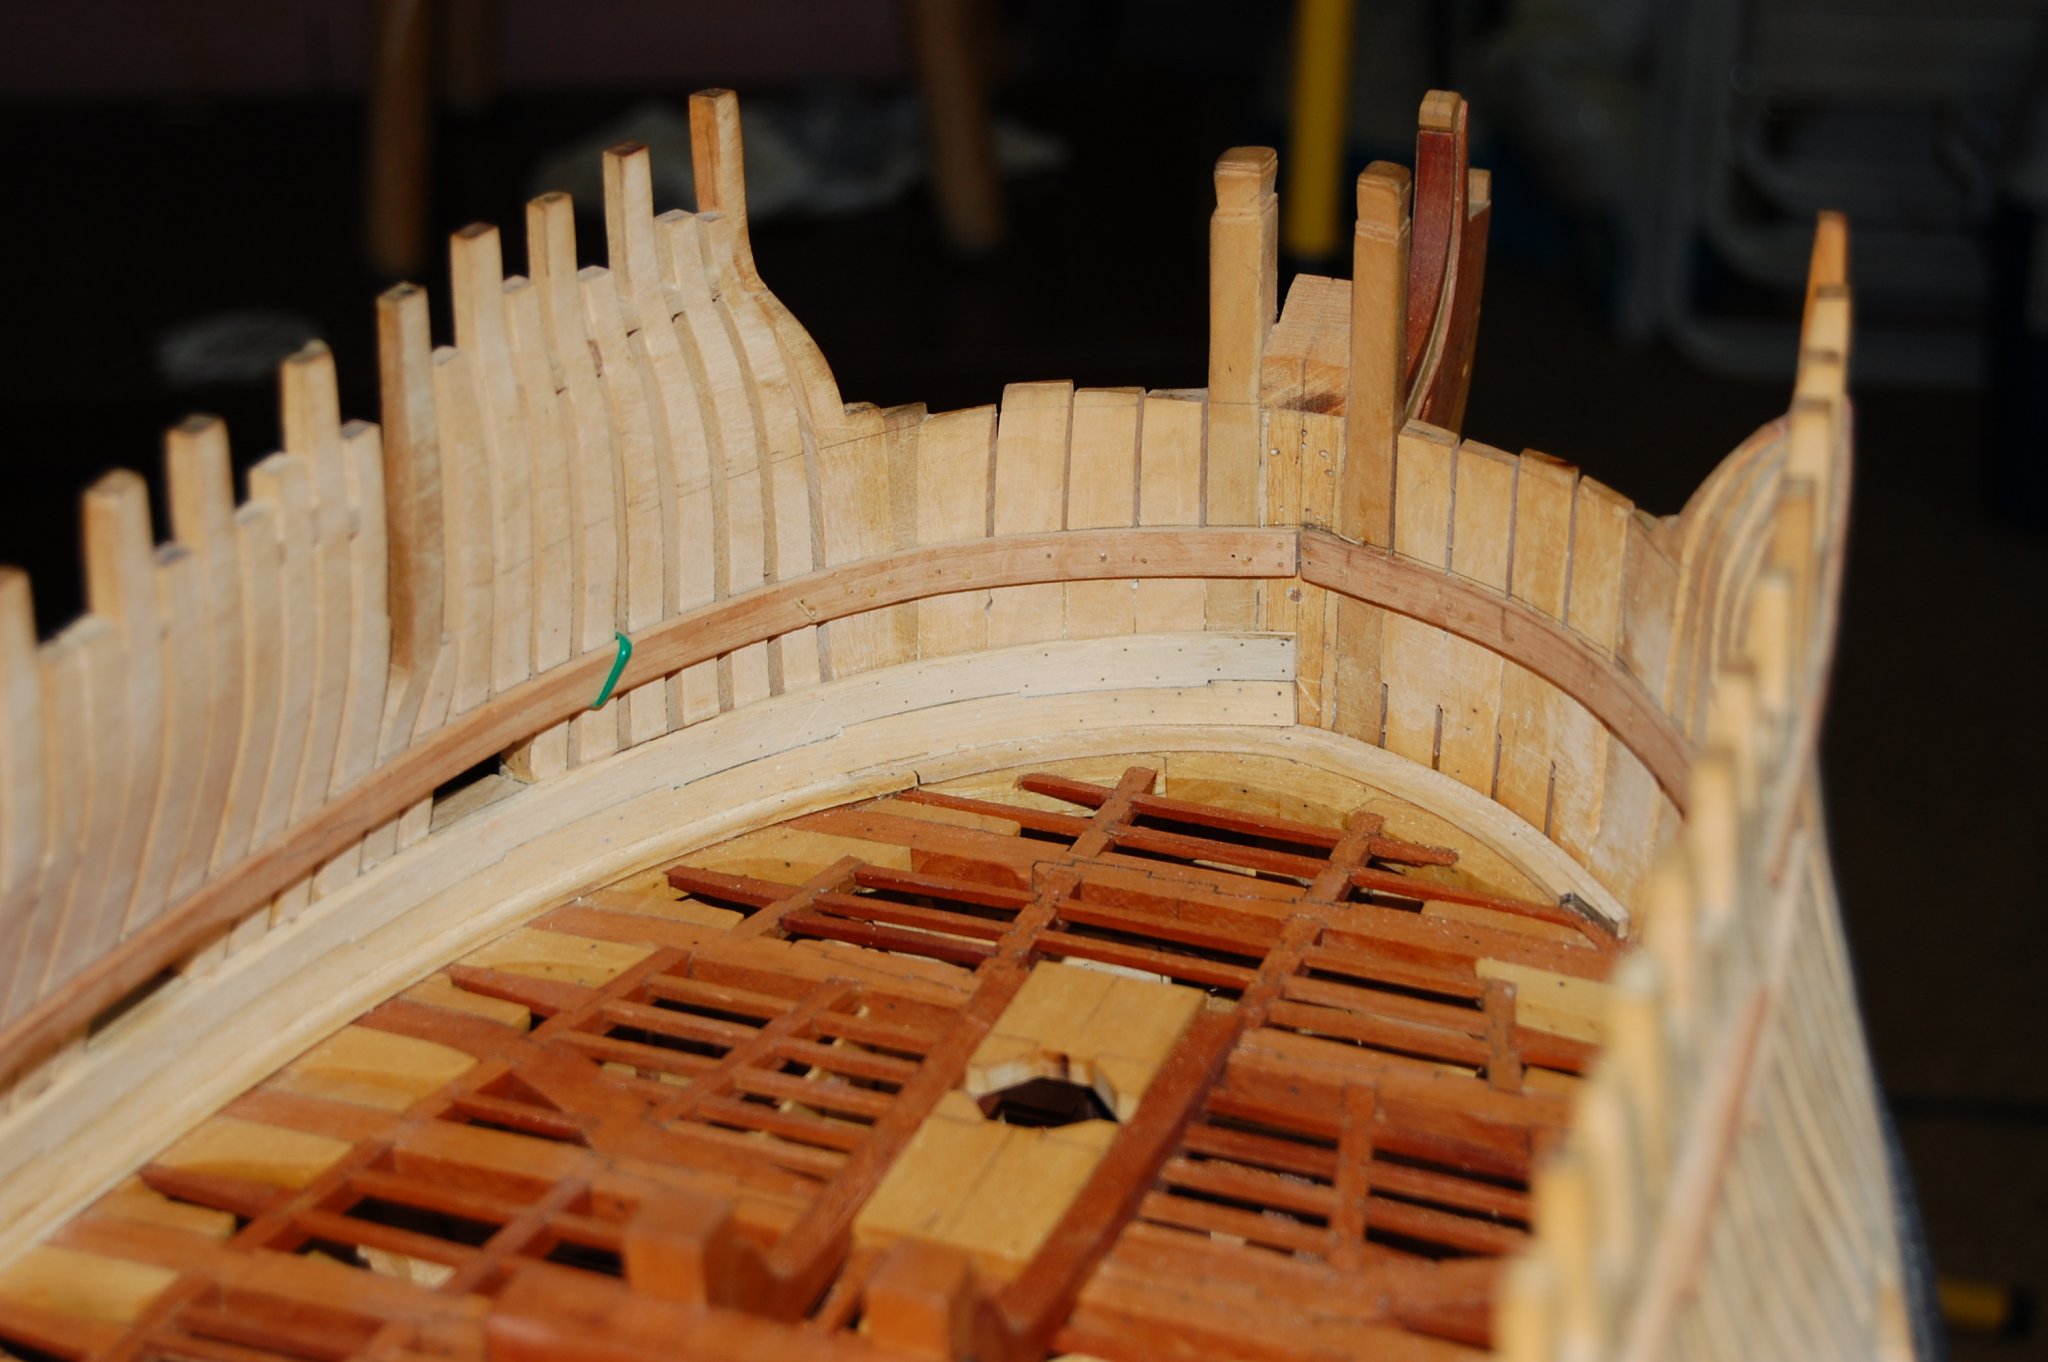
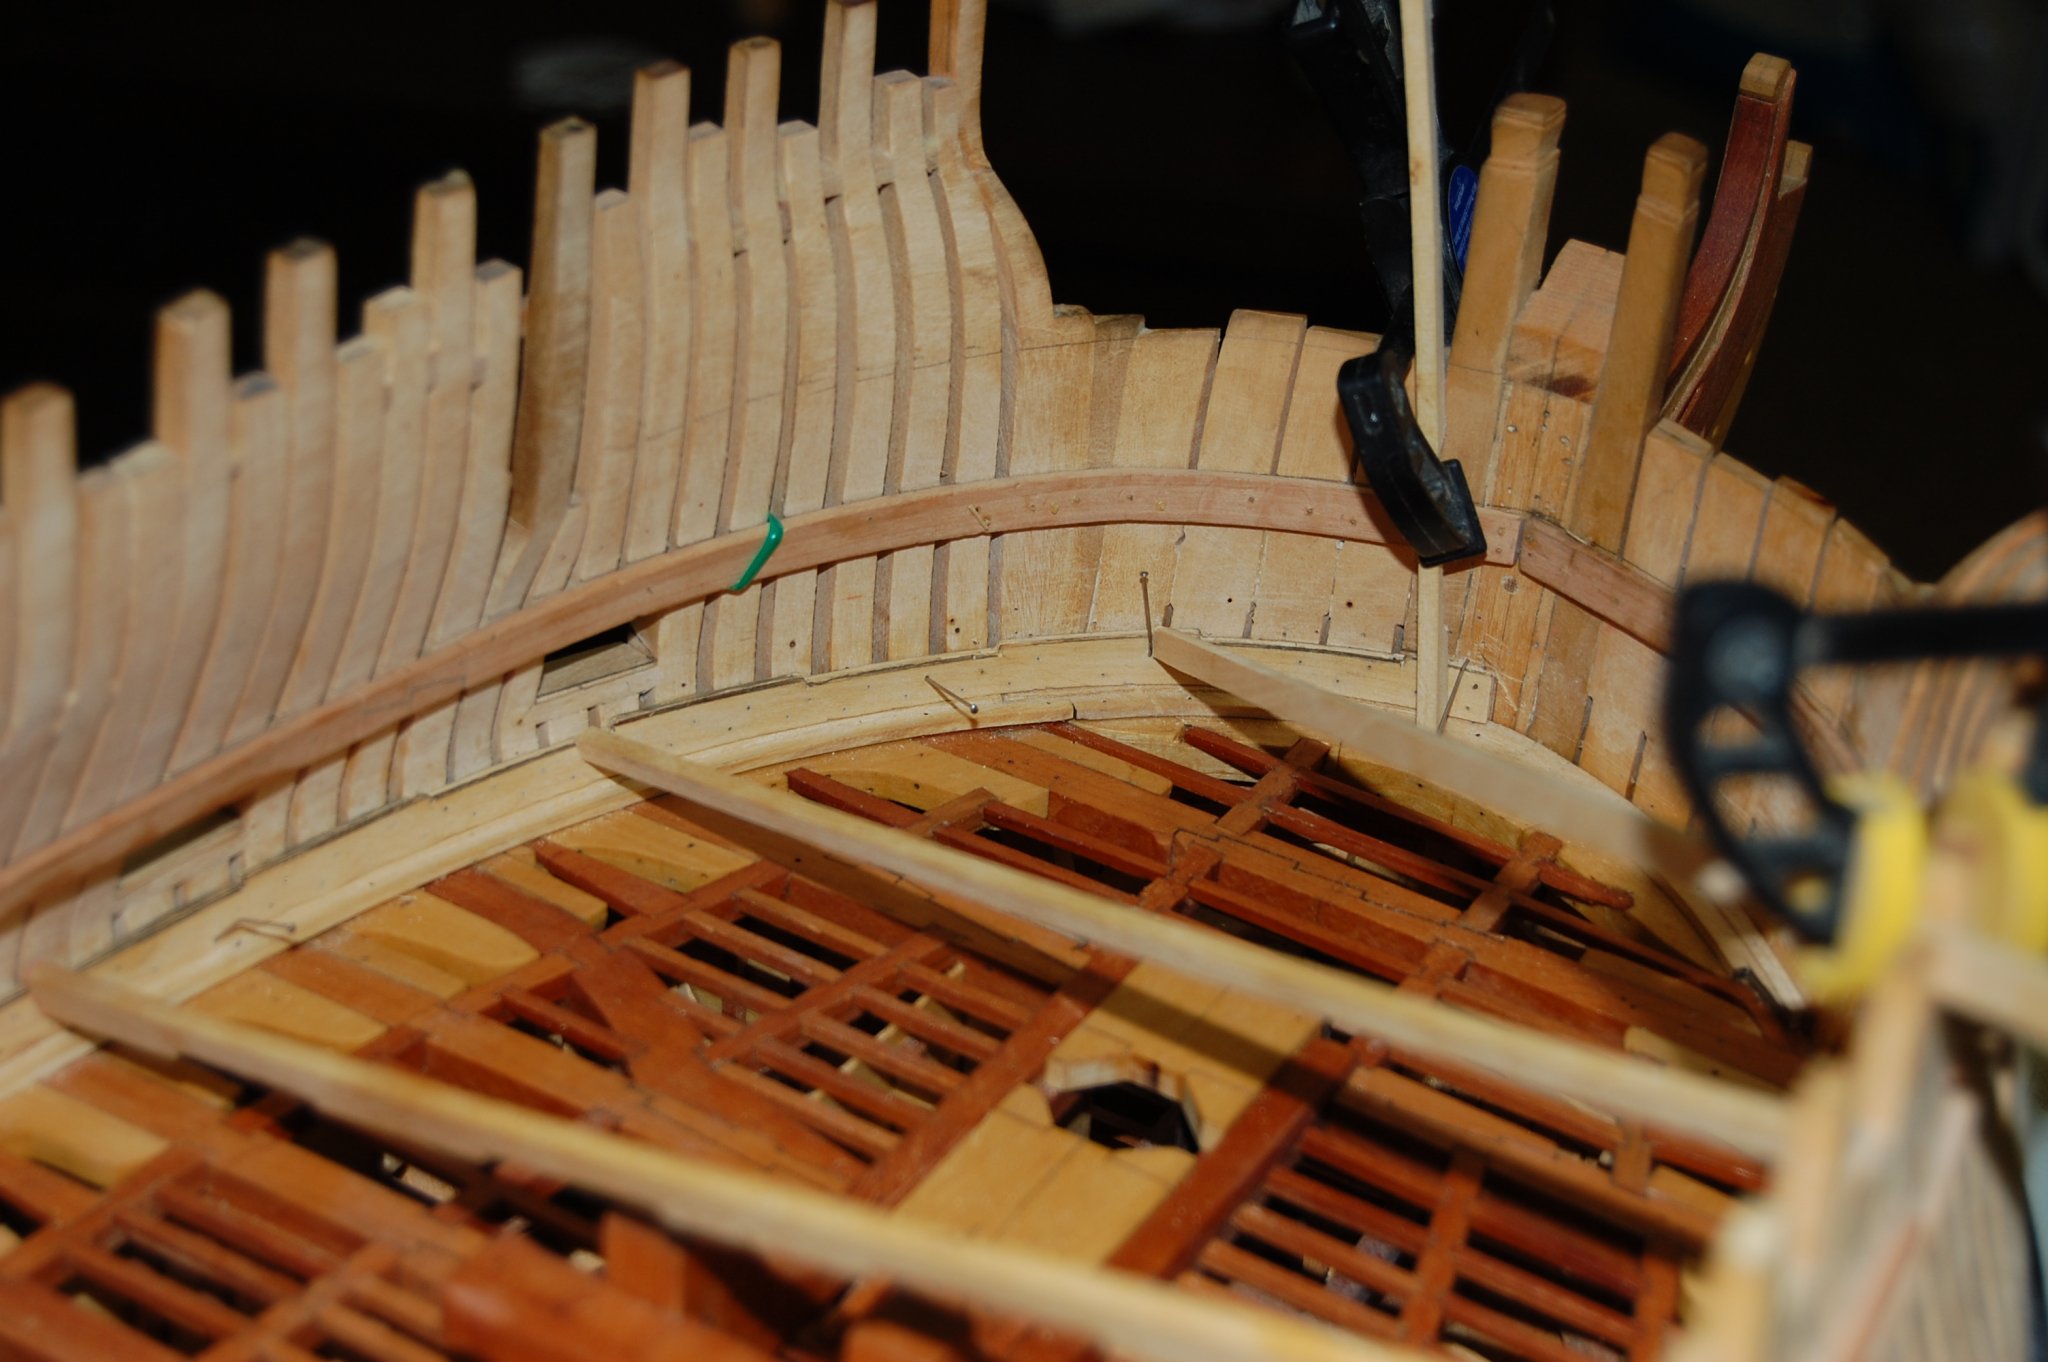
Sorry Mark. Seems when I started a new log after the other one disappeared I didn't replace them and will add some here. I followed the Berwick plan which seems she is about has close as I can get to how Montagu was built. When I did the ones at the bow I made up a jig the curve shape of the bow timbers from templates and steamed them in a plywood jig. Gary


- JOUFF, Captain Poison, allanyed and 9 others
-
12


The Hayling Hoy 1760 by Stuntflyer (Mike) - 1:48 scale
in - Build logs for subjects built 1751 - 1800
Posted
Mike your doing a very very good job and your log is worth me finding a seat, can some body please bring me a box of popcorn, easy on the salt. I would get it my self but some body will take my seat🥺. A few of your picture's took be back to when I was building Alfred's back bone, dead wood and the stem. Nice build and looks good. Gary