


flying_dutchman2
-
Posts
1,735 -
Joined
-
Last visited
Content Type
Profiles
Forums
Gallery
Events
Posts posted by flying_dutchman2
-
-
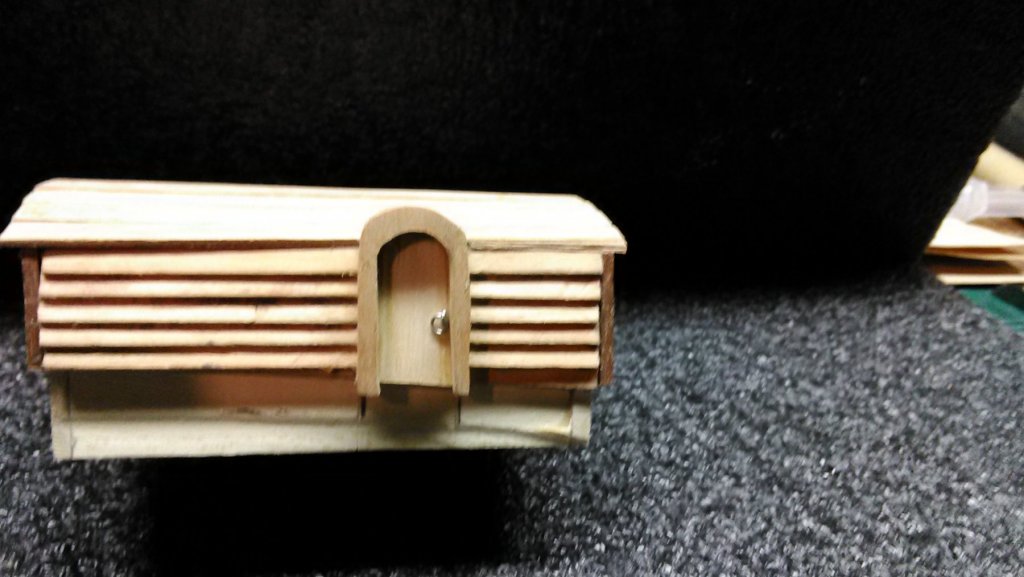
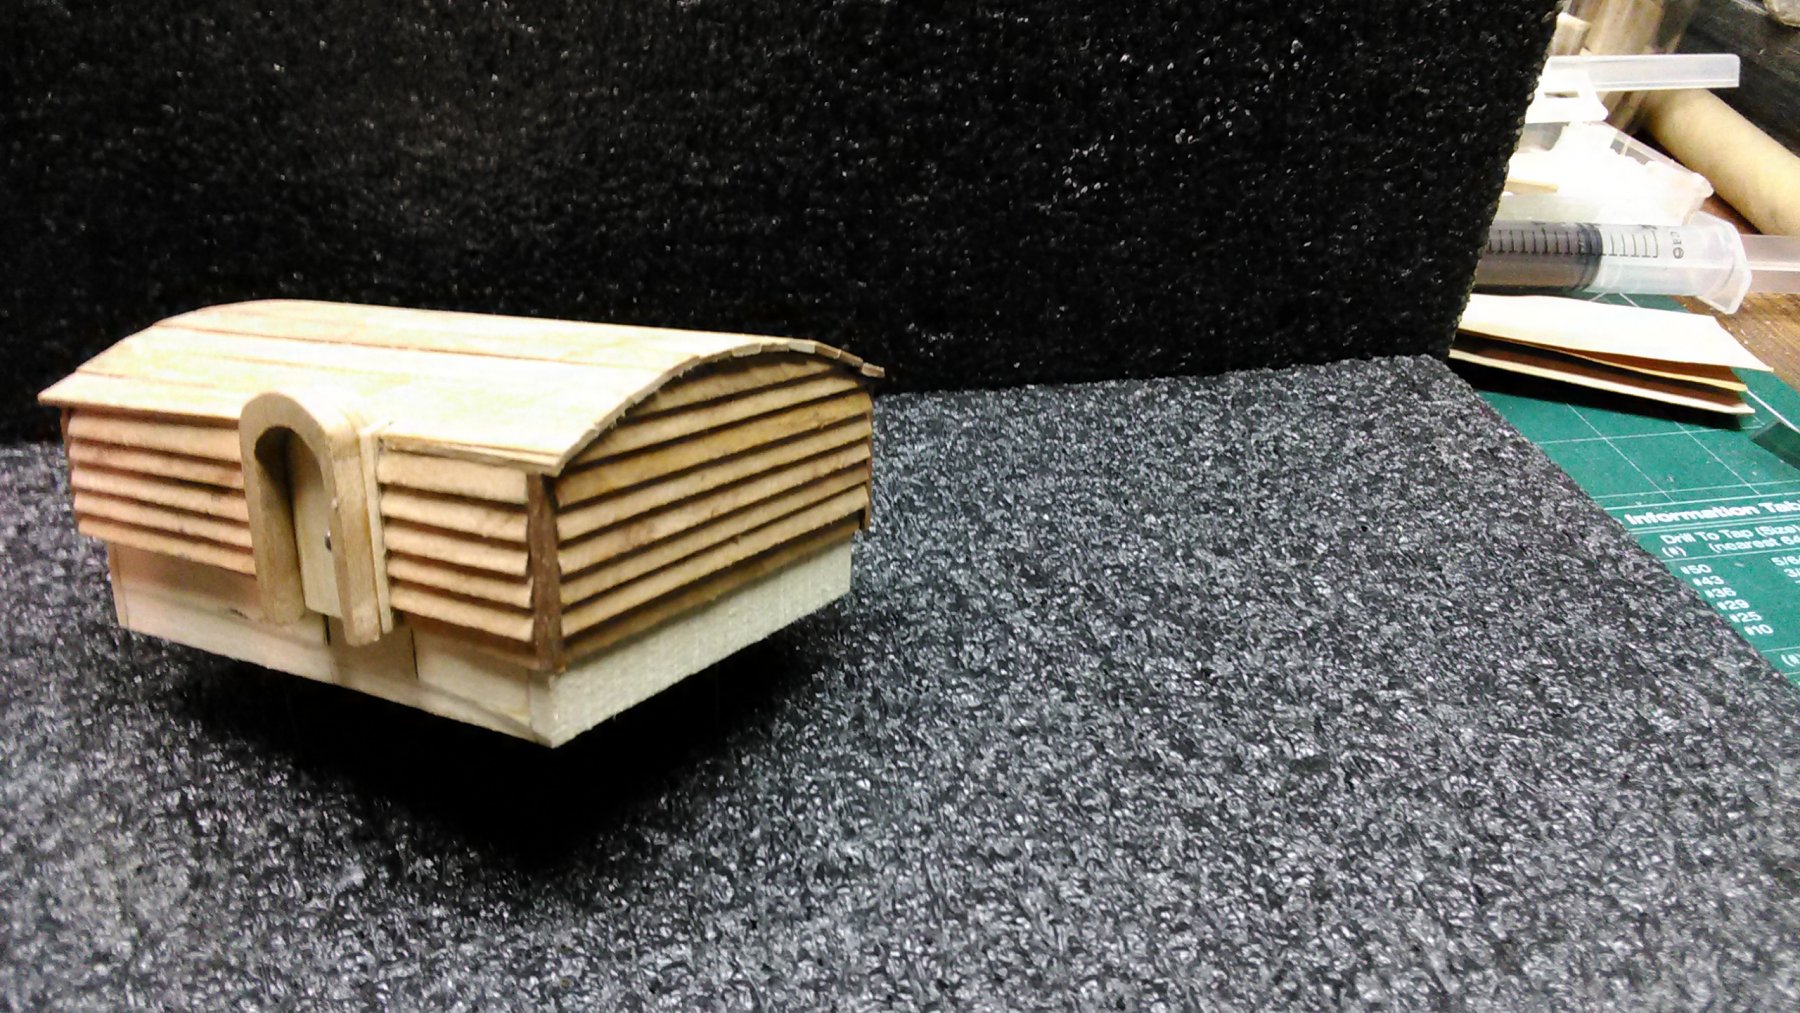
Put the roof on the storage cabin, added the door and a handle. All that is left is a small roof over the door and the book shows that the door is red, so it will be painted cadmium dark red.
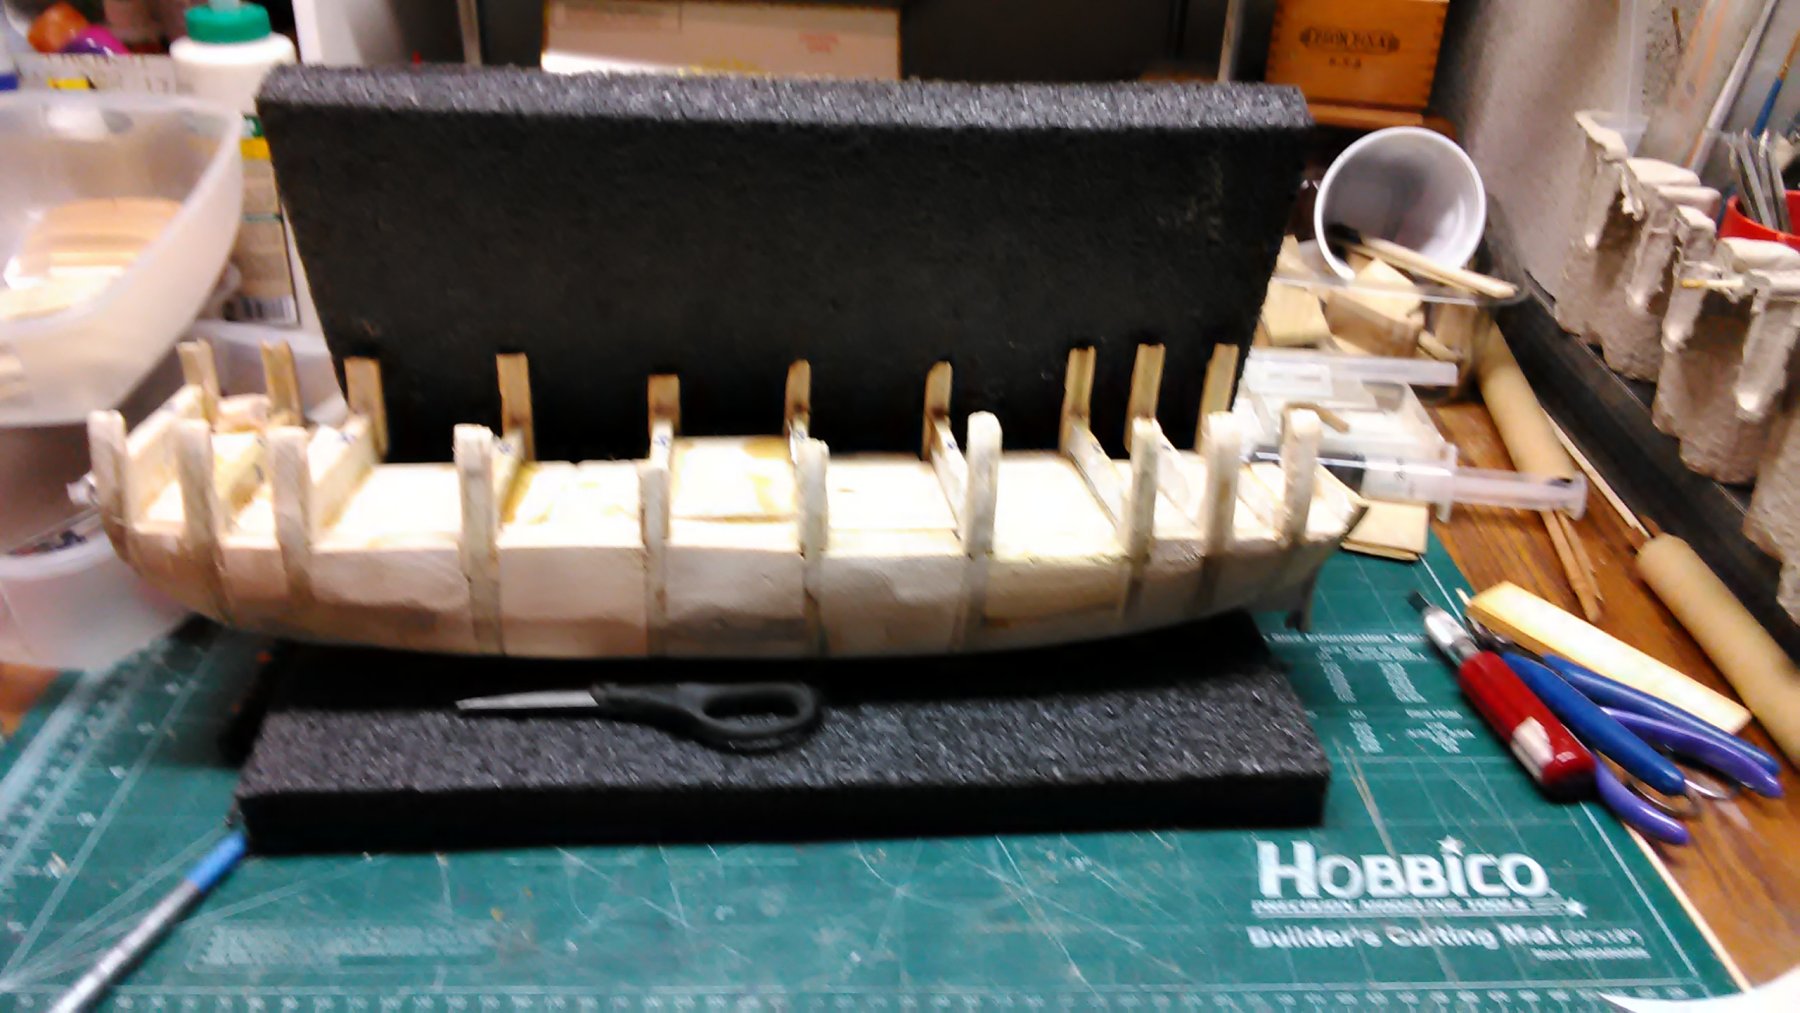
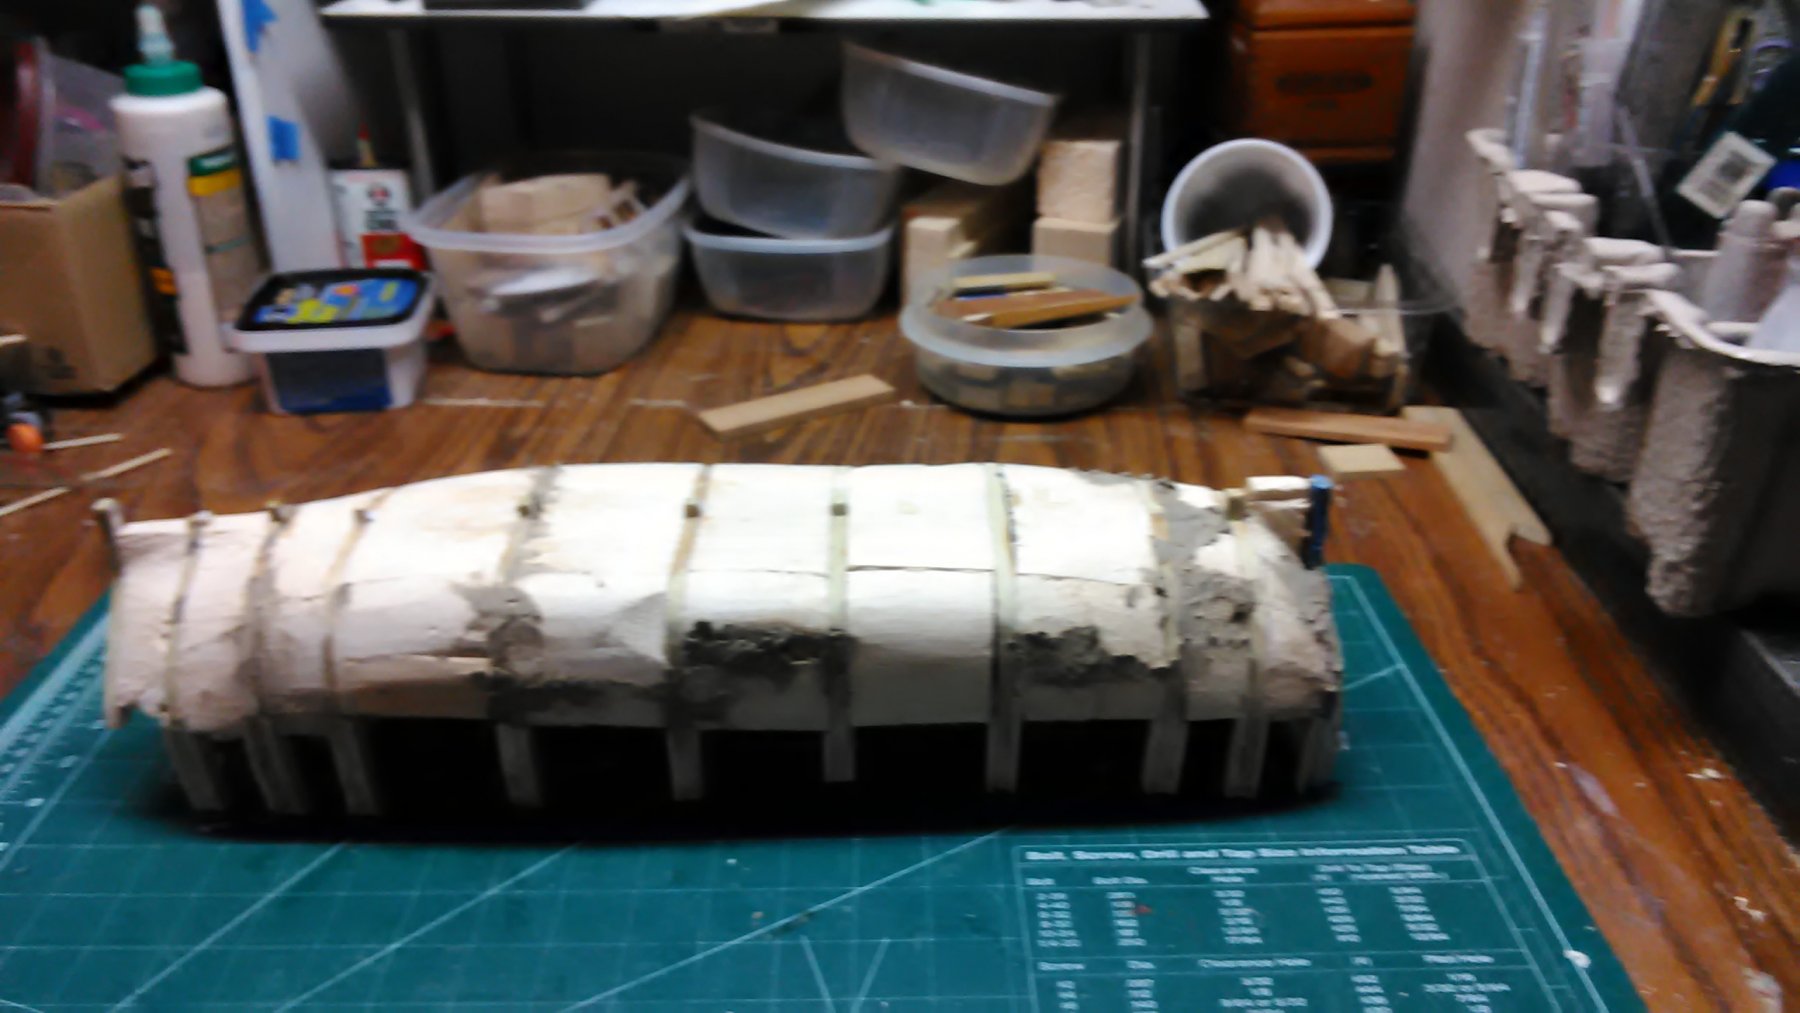
Finished final sanding of the hull and next time I will fit the front of the bow (bread and butter piece). Add wood filler were needed.
Also figure out the stern which ends in a point.
Marcus


- bdgiantman2, Piet, mtaylor and 5 others
-
 8
8
-
Piet,
Thank you very much for the detailed information on how to make water. Going to copy it in my general hobby notebook.
Marcus
-
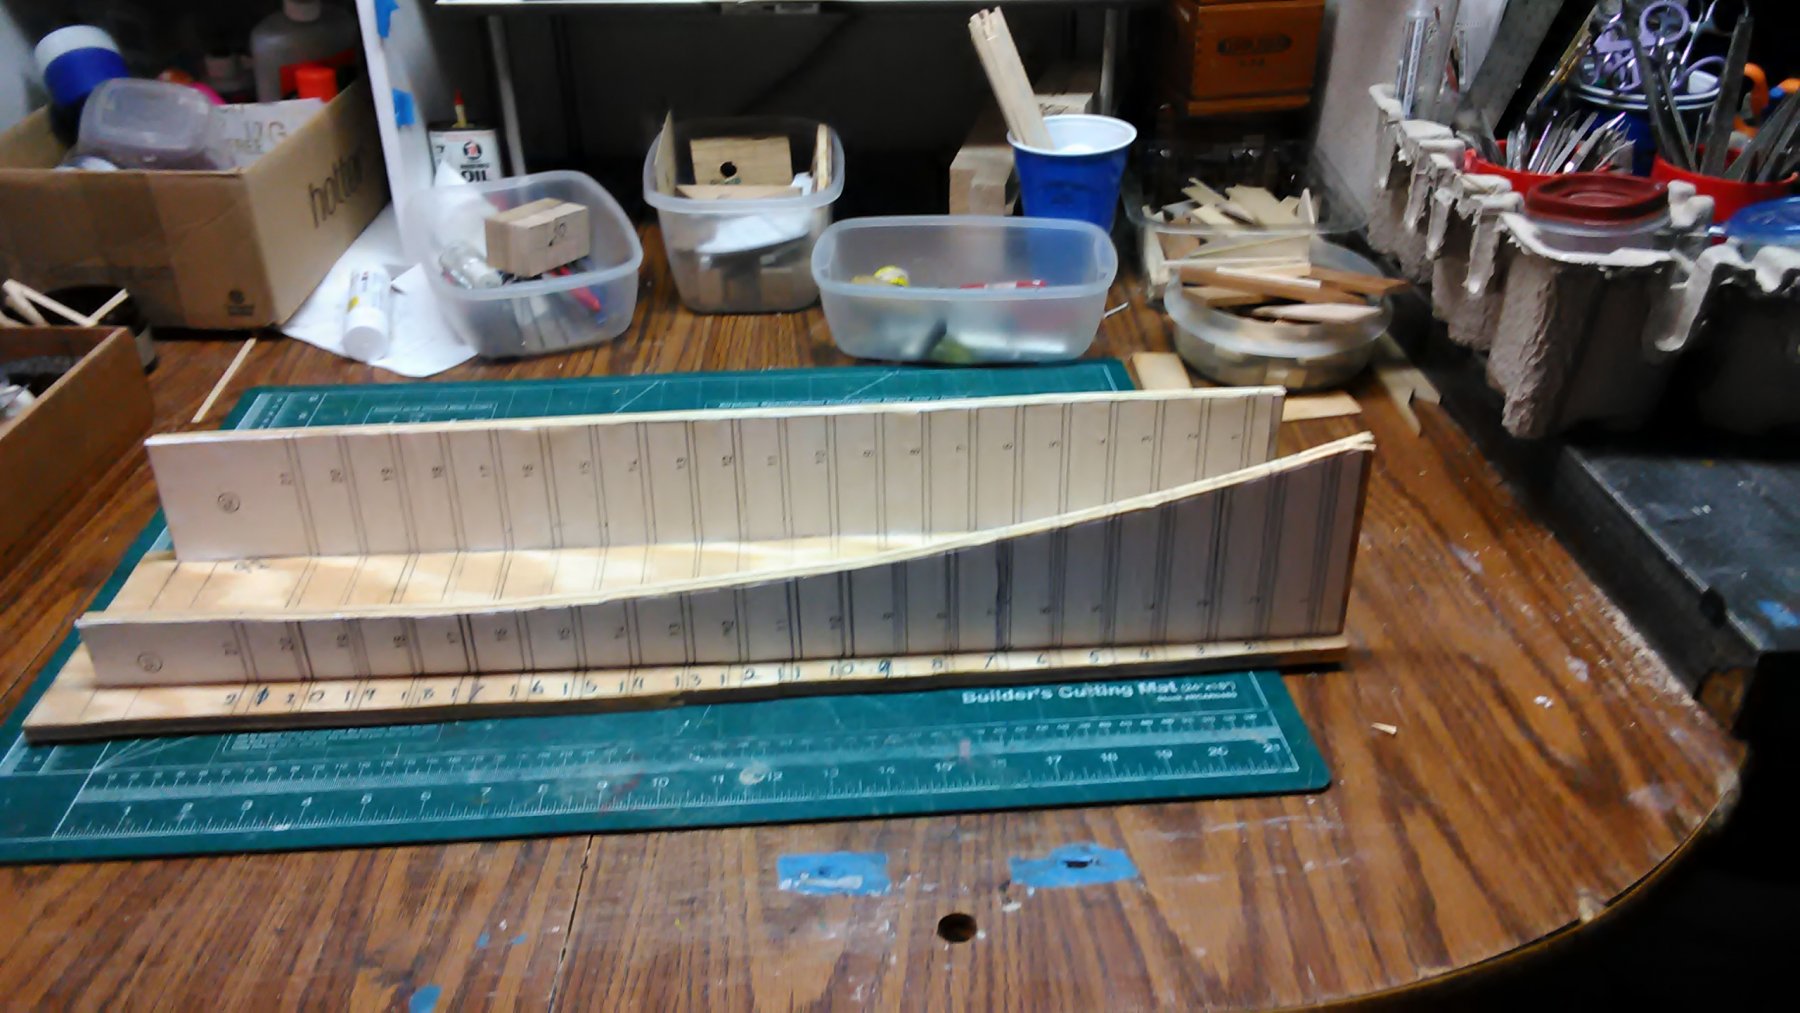
Couldn't work on the mill as it rained all day. What I need to do is outside work. So worked on the bow
I used the bread and butter method to get a rough form.
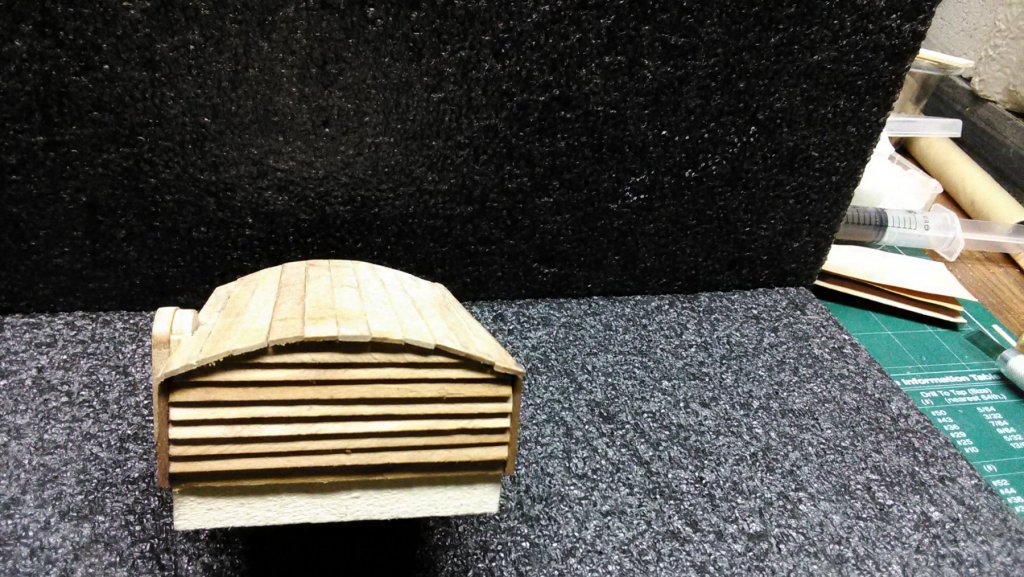
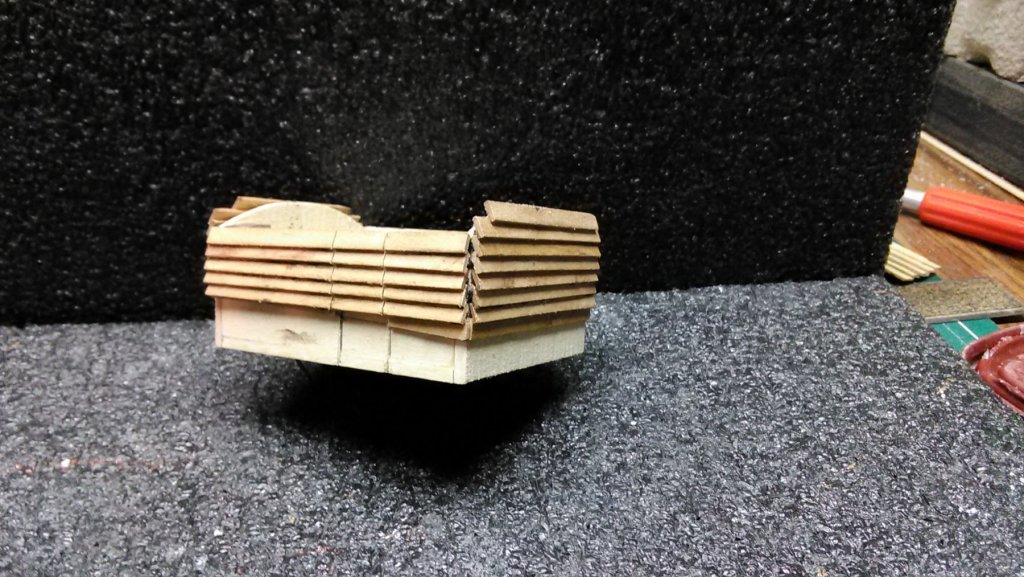
Also worked on some deck items such as the storage cabin. The walls are clinker built as the picture in the book shows it that way. All that is left is the door and the roof.
Created the main hatch and what is left is the hinges and the rings.
Marcus


-
Piet,
You may have mentioned this somewhere in your build and if so I can't find it.
What materials do you use to create water?
What kind of paint do you use?
Can you recommend any books, articles, website that give detailed instructions on how to do this?
(I have a book from SeaWatch Publ., Waterline Dioramas by Justin Camarata)
I want to practice making water for some of my future ships.
Thanks.
Marcus
- Old Collingwood, mtaylor, Piet and 3 others
-
6
-
Small diameter clear tubes can be found at home depot, etc.
This vacuum setup has been used for over a century in Entomology (study of insects). When collections are made for very small insects. Instead of using a vacuum, you can use a bellows or suck really hard.
Insects that are in leaf matter on the forrest floor. I saw a similar setup in one of my Anatomy of Insect books from 1909.
Marcus
- Canute, thibaultron, lmagna and 2 others
-
5
-
5 hours ago, amateur said:
'Potdekselen'
I like that definition 😁😁
Marcus
- popeye the sailor, Canute, Piet and 2 others
-
5
-
14 hours ago, Piet said:
The longer I don't speak or read Dutch the more I have trouble remembering words
 Sad, but true.
Cheers
I had that problem as well, so I got a subscription on the NRC (very good Dutch newspaper) and my best friends wife has a subscription on Quest (Dutch monthly like Discovery). When she is finished reading a few she mails them to me. In return I mail them my monthlies which are Wierd, Pacific Standard and the Atlantic.
Marcus
-
-
1 hour ago, cog said:
You are ready for a clinker built boat Marcus, looks very good, dark green ...
Clinker built windmill. Now that is a good definition. 😁
Marcus
- mtaylor, Piet, thibaultron and 3 others
-
6
-
Sanded the hull. It is starting to form like the plan. Added wood filler in areas to build it up and will sand it once it is dry.
Started working on a template that will be the bow. The bow from the Boyer has a much tighter curve than the bow from the Utrecht, so this will be a serious challenge to curve the 1st and 2nd layer of planking.
I saw several pictures on the Net of this model and both the bow and the stern look a bit like a fluit. Meaning that they are both built up.
Marcus

-
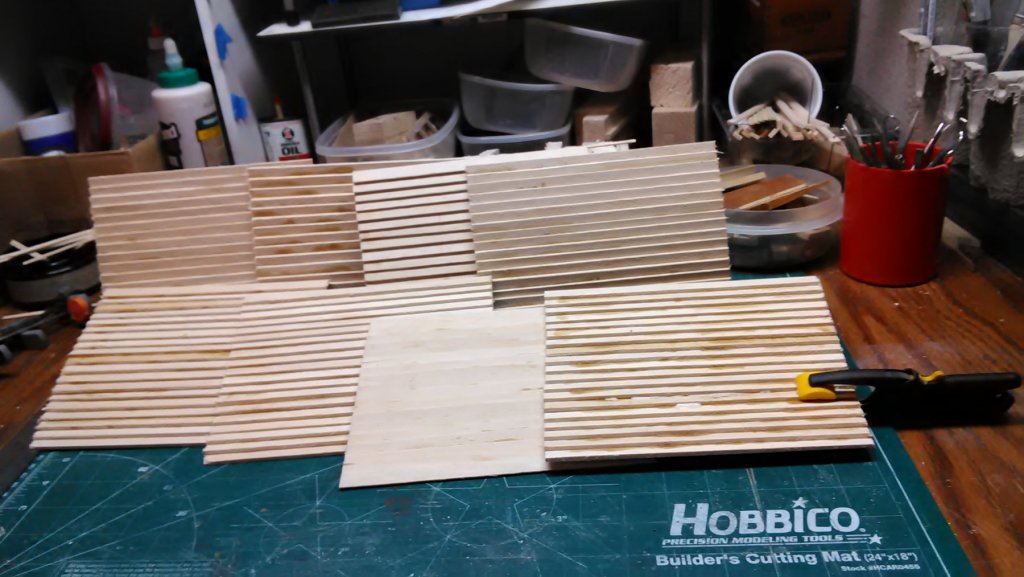
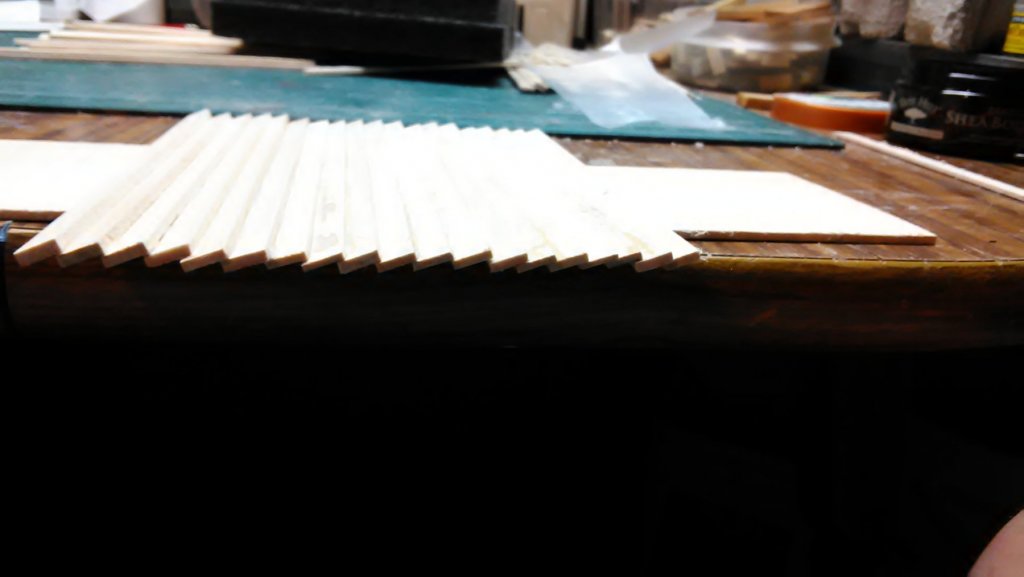
Finished 8 horizontal slat panels.
The structure has been moved from the basement back to the garage as I need to sand with the belt sander the areas where the panels will be installed and the foundation walls where I will install the bricks.
I have been reading the instructions for building the vanes and there are some parts that I don't understand. Will ask about it when I get to it. This is for cog, as he has the instructions as well.
Marcus
- popeye the sailor, Elijah, Piet and 6 others
-
9
-
COOL!!!! thanks for sharing
Marcus
- Tecko, thibaultron, cog and 2 others
-
5
-
9 hours ago, cog said:
I have the original for the six and eight sided windmills including the drawings, costed me a few Euros but worth it's while.
From the notech magazine? If so, I would like to get this as well. If it is not that link, which one and is there contact information?
Marcus
-
Piet and Cog Check this out.
http://www.notechmagazine.com/2009/10/scale-models-of-traditional-dutch-windmills.html
The rest of this site has pictures and other links.
https://archive.org/details/windmillsandwin00powegoog
https://archive.org/details/TheoretischEnPractischMolenboek
Marcus
-
@ Piet, thank you for the wonderful and encouraging complement.
@ The rest. Thanks for all the likes
Building the mill has been a whole different ballgame. It is a challenge at every step.
Marcus
-
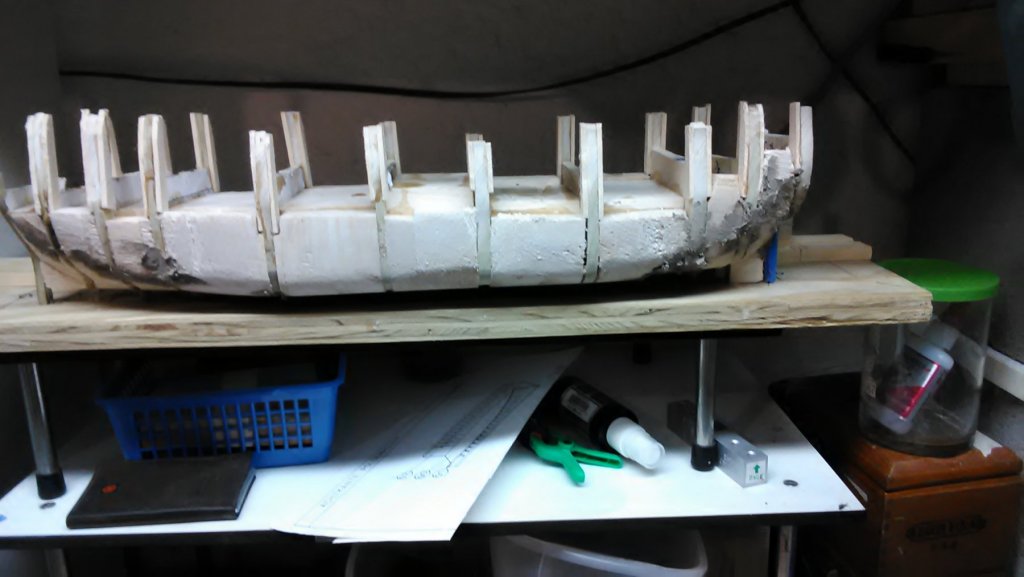
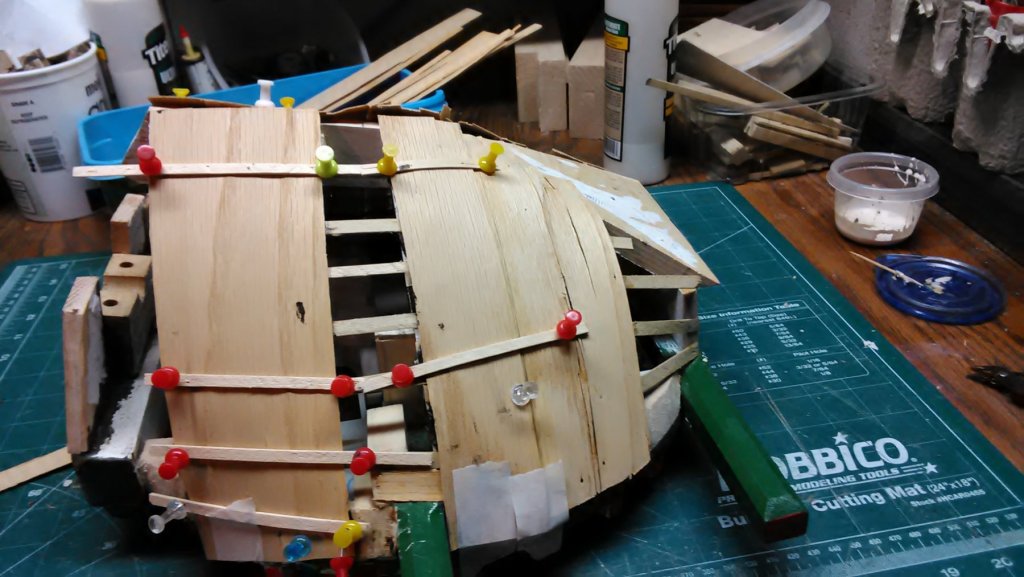
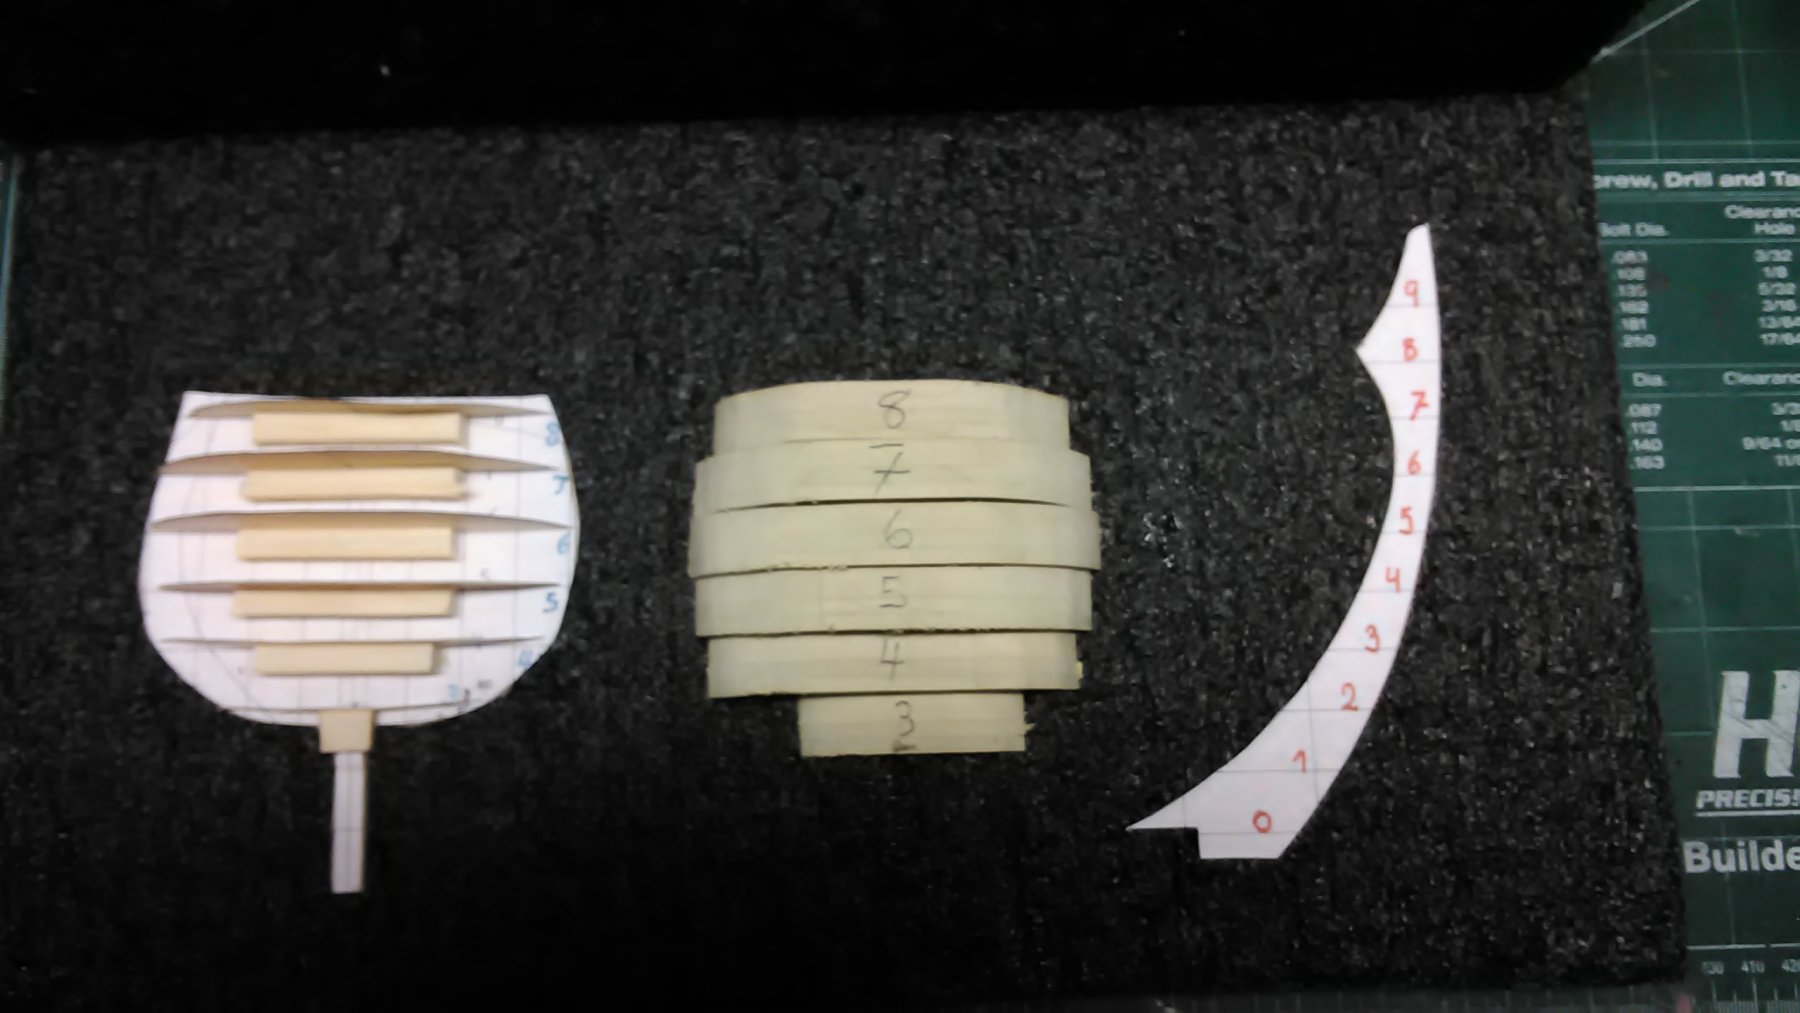
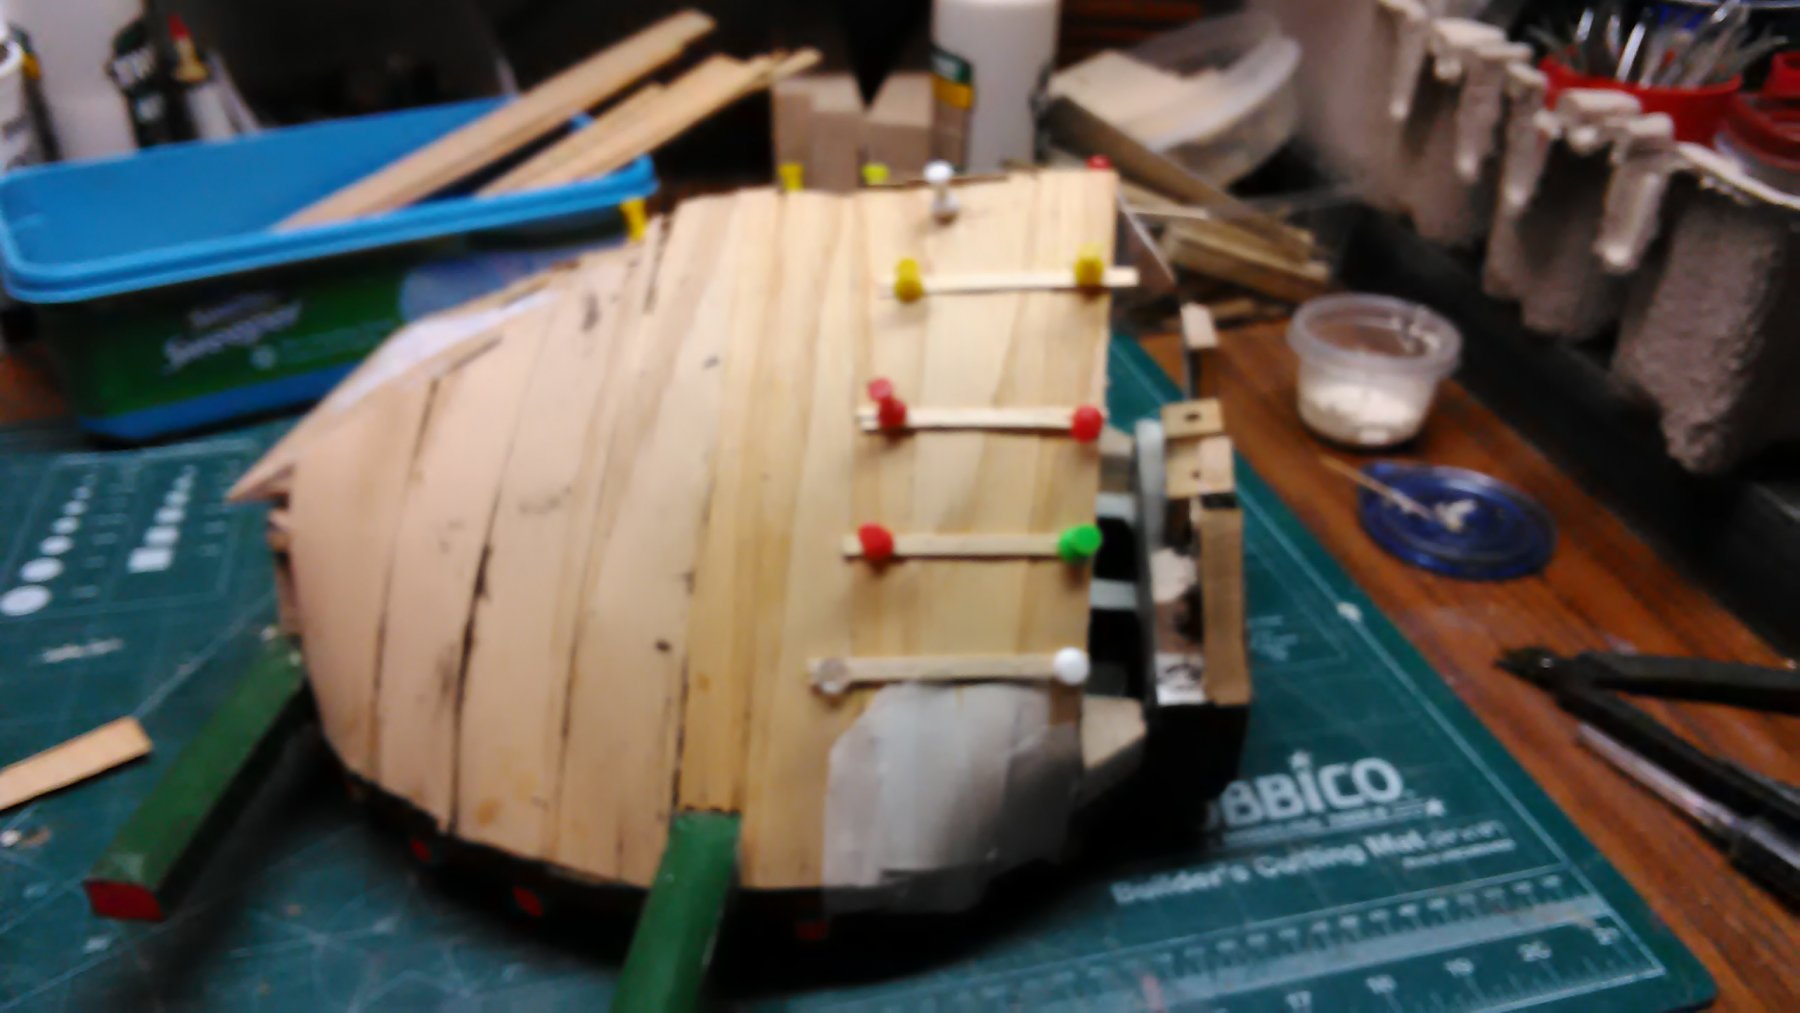
Took a break from the mill and worked on the Boyer. It is version two.
Couple of weeks ago I sanded too much on the stern. Tried to build it up with wood filler and sand it again but it just didn't look right and the extreme curve at the Stern didn't come out correctly.
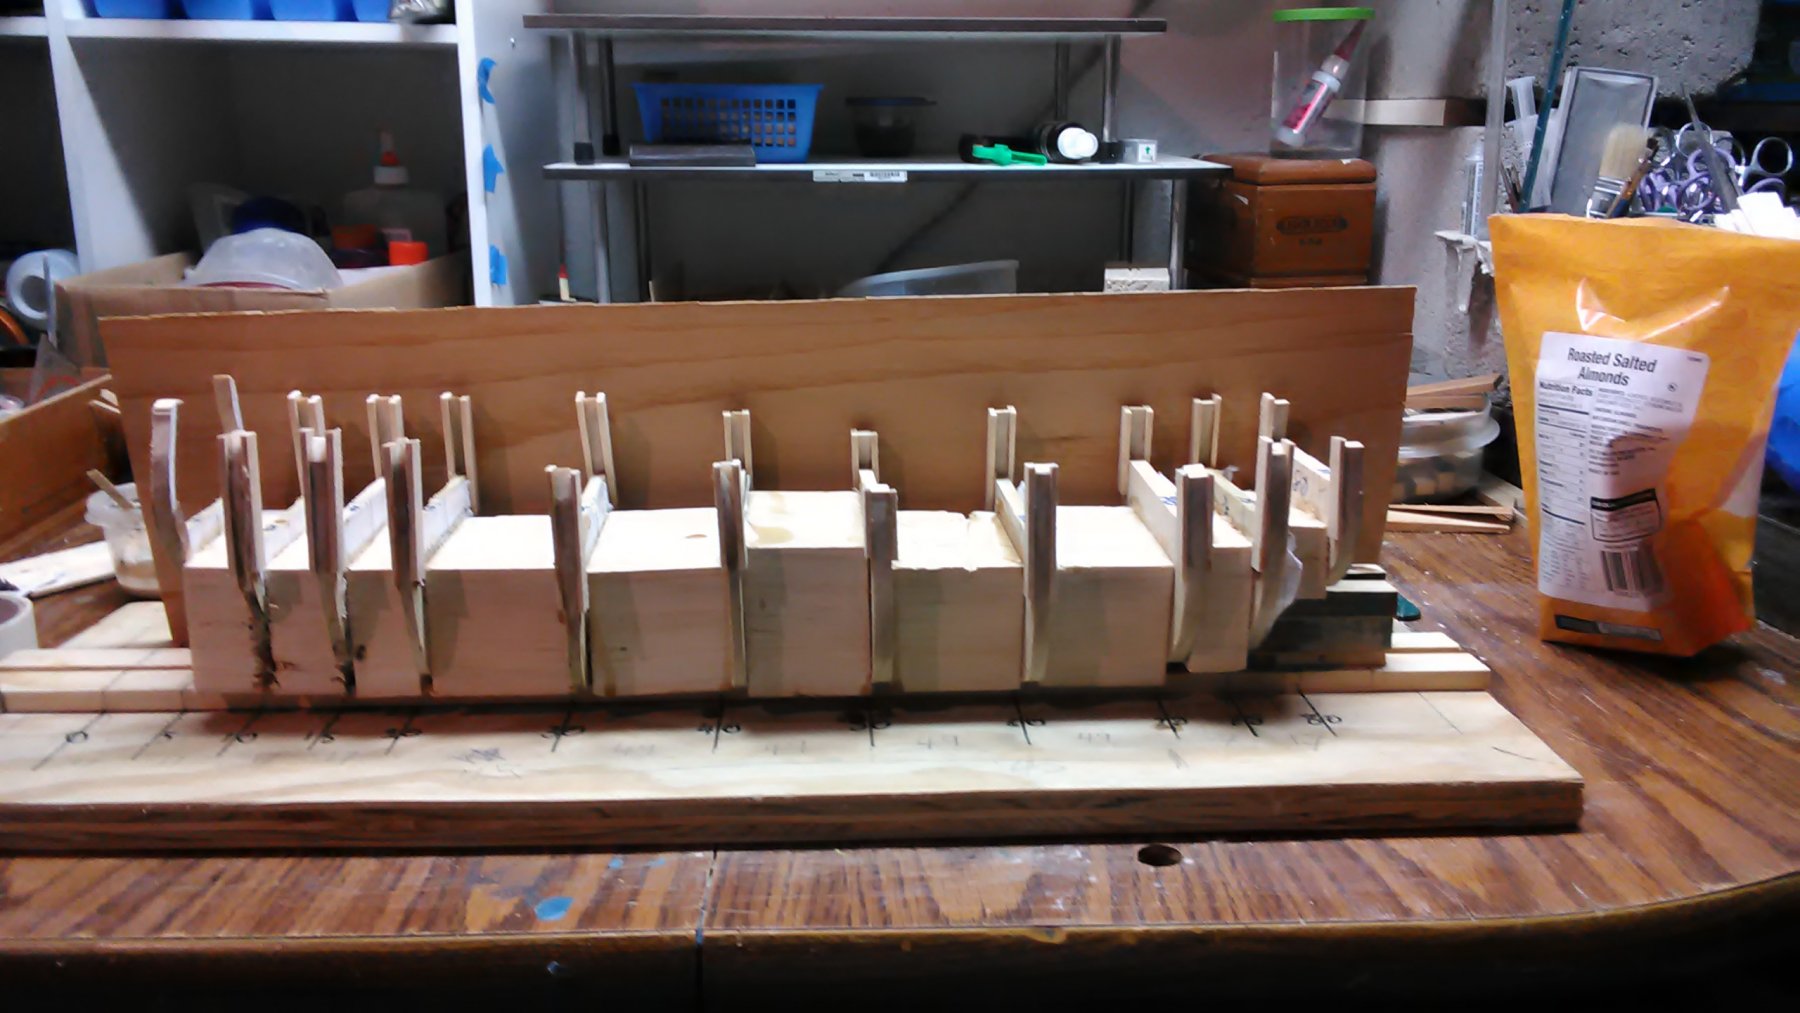
So cut new frames and build it up with Balsa. All the curves are there and it flows evenly.
When I build my first scratch, the Utrecht, I got it correct after version 3. Now I am working on my second scratch and got it right after version 2. If logic is correct my third scratch should be correct with version 1.
Marcus

-
-
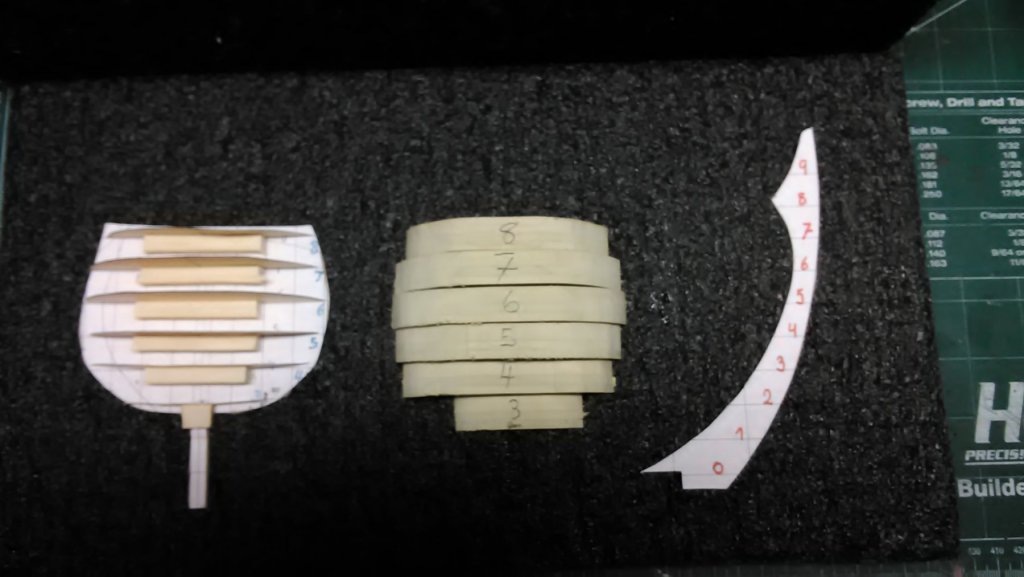
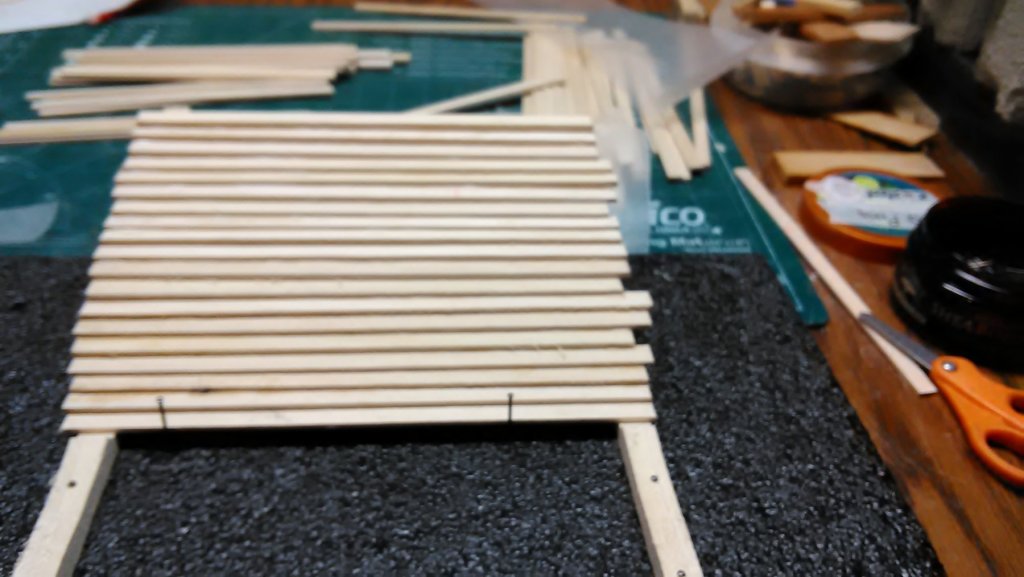
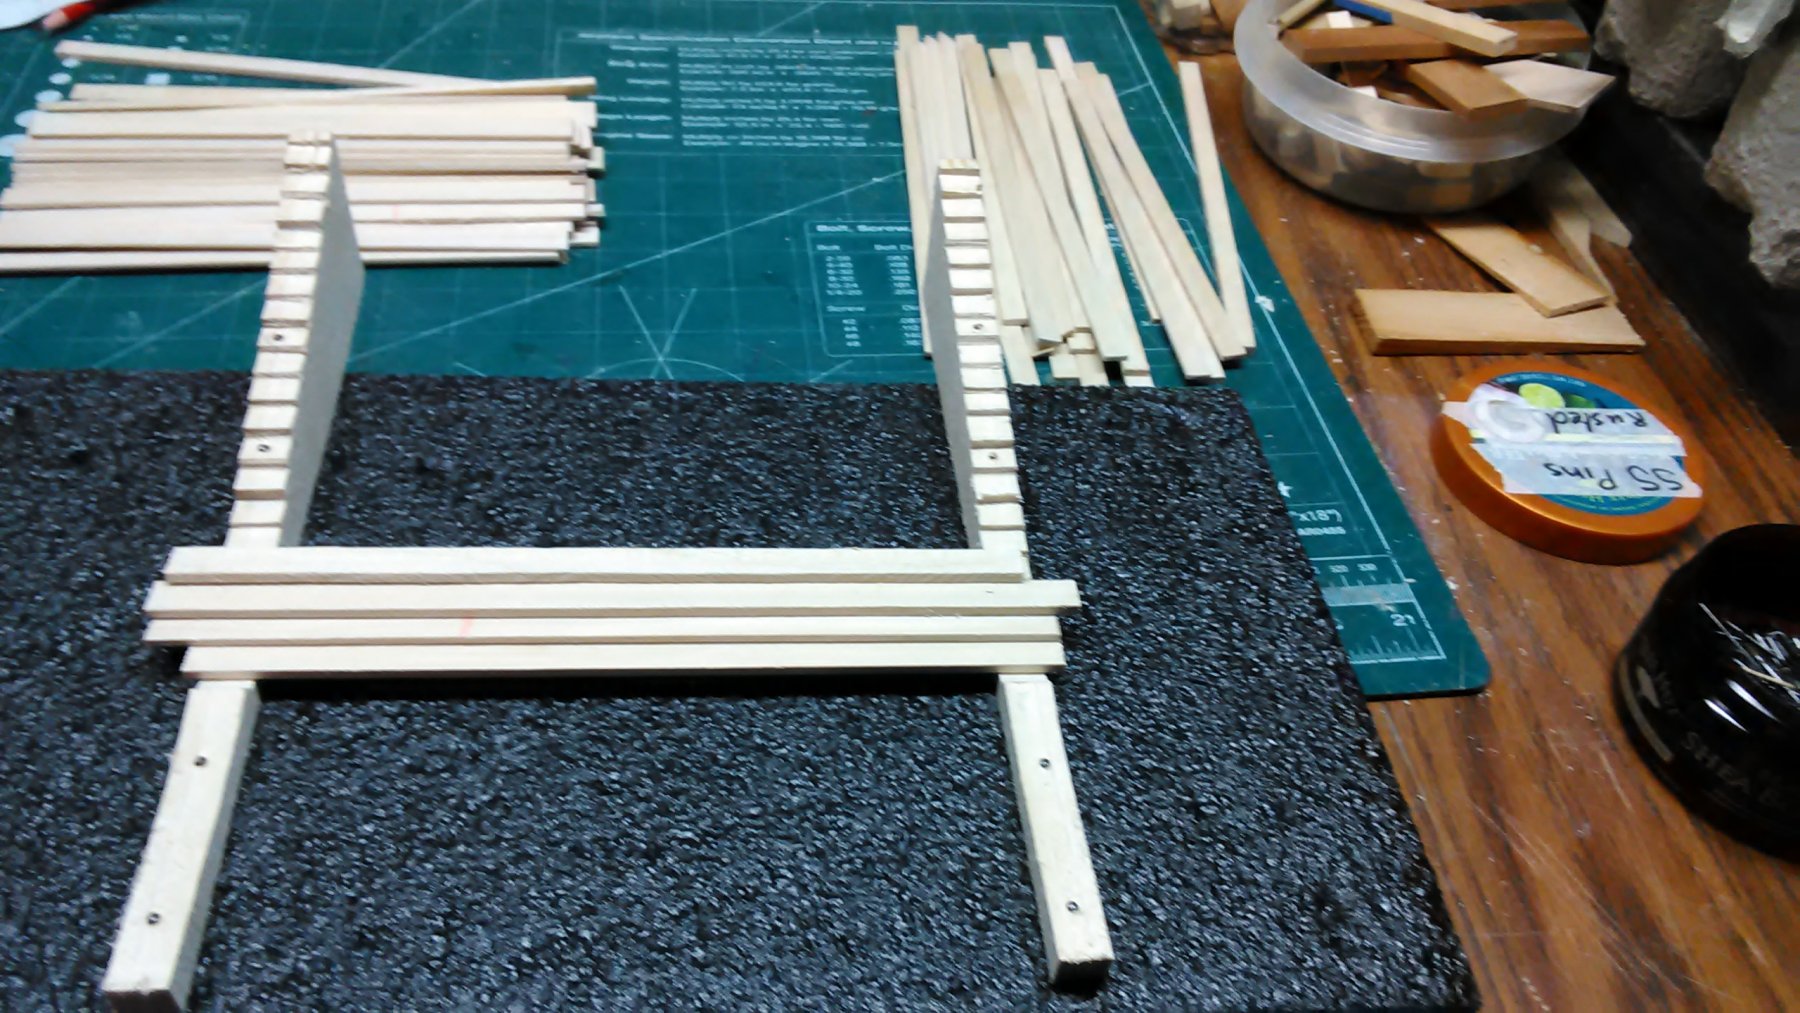
Made a template for the horizontal slats. Cut two pieces of wood in a step form. Steps are 8mm wide and 2mm high. Slats will overlap 2mm.
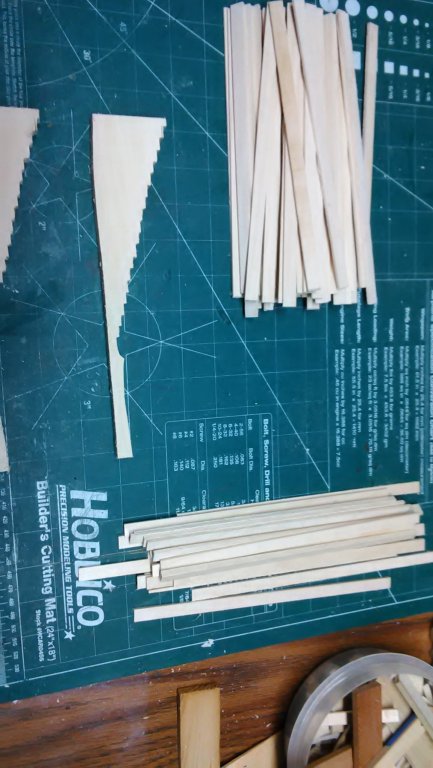
Cut 4" x 24" x 1/8" pieces of basswood into strips 1cm wide by 24" long and then cut each strip into 3 equal lengths.
First panel of slats is finished.
Attempted to make a template for the bricks from acrylic. Drew in all the rectangles on it. Drilled a hole in each rectangle. Used the scroll saw to cut the first rectangle.. The piece did not come out of the template as the heat of the blade melted the acrylic. Even tried the slowest speed. Should have known this.
Redid the template for the bricks from hardwood.
Marcus

-
After spending some time on the internet looking at pictures of windmills I have decided what I am going to do.
The majority of mills have a white foundation wall. This is painted. The walls where the doors and windows are have horizontal wooden slats, painted green.
I still want to purchase the materials for bricks because I have created a template with 72 rectangles, 20mm x 10mm x 6mm
Marcus
-
I googled 'how to make scale bricks' and came upon this site.
http://theminiaturespage.com/workbench/682648
It shows you a simple method of creating bricks with available materials that you can buy from home depot and other do it yourself stores. Around $25.20.
Researched it some more, and this is what I am going to do
Purchasing model bricks online is a costly undertaking. With the above materials I can make about 1000. Which is what I will need.
Question for the Dutch members.
I went to this site and what is the best type I need and then convert to the scale of 1:15 (metric).
https//nl.m.wikipedia.org/wiki/Lijst_van_baksteenformaten
My problem with building anything, is the scale.
Marcus
-
I read in a Philadelphia build that used sculpey terracotta and Liquidtex modeling paste. To make the paste darker the builder added walnut stain.
I will be seeing Kurt in the upcoming club meeting and he has an article on how to make the bricks.
I already put in $200.00 into the mill, so if it is going to be a lot more money just for the bricks I will stick to wood slats.
Marcus
- Piet, popeye the sailor, Canute and 2 others
-
5
-
@Jack,
I'll take a look on Mark's build.
I started making a template for bricks out of wood and pressed in sculpey in the rectangular holes. Took the wood apart and have little clay bricks that need to be baked.
Have to figure out how much clay I need and how many bricks I need to make. Also, I need to paint them red because green looks funky.
This is a weatherproof method.
@Canute,
Thanks for the suggestion. I have used that in the past when I had my HO Marklin trains and as far as I know it isn't weatherproof.
Marcus
-
19 minutes ago, cog said:
You could make it resemble stones ... the bottom part
You mean brick. I wonder how that is done with waterproof in mind. Make little bricks and color the glue tan? Let me think about this.
I like the idea.
One of the previous pictures shows wood slats and while I was in the Netherlands I saw lots of that.
Marcus
-
Worked on the cap. Covered most of it with oak veneer (left over). The part that is not covered is the break wheel. I can do that once the axle is in. Still need to drill the holes in the axle head (askop).
Also thinking of options of with what to cover the lower sides (where the doors and windows are). Just painting it green or installing horizontal slats with overlapping each other and then painting it green.
Marcus


Eight Sided Drainage Mill by flying_dutchman2 - FINISHED - scale 1:15 - Achtkante Poldermolen
in Non-ship/categorised builds
Posted
Today was dry and used a cutting wheel with the Dremel to make ridges and cuts in the paste to make it look like thatch.
Used the sander to even out the foundation wall and the walls where the clinker slats will be installed. Pictures will follow
Marcus