


flying_dutchman2
-
Posts
1,735 -
Joined
-
Last visited
Content Type
Profiles
Forums
Gallery
Events
Posts posted by flying_dutchman2
-
-
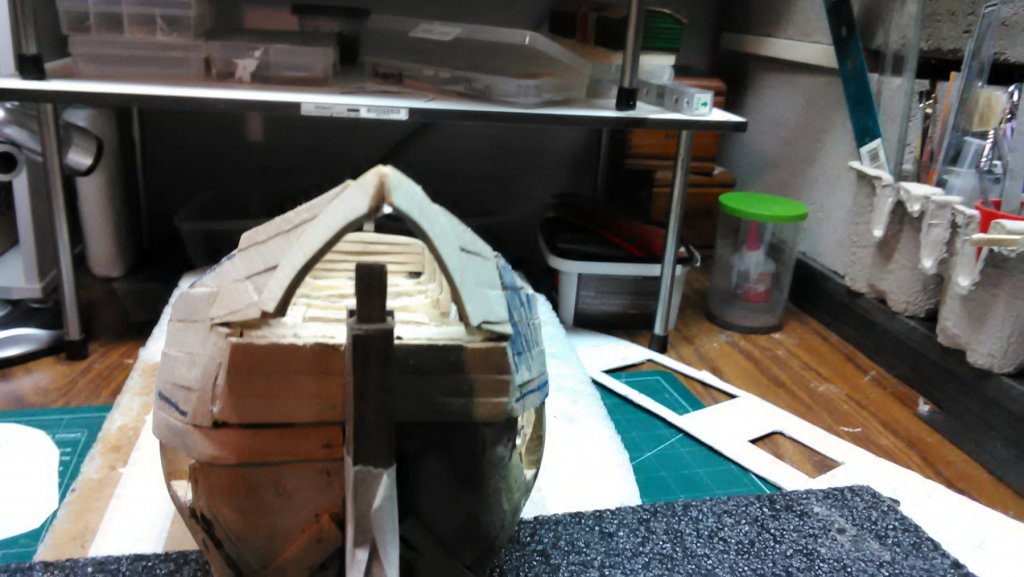
Created and finished the curved pointy transom.
Used 1/32" thick Baltic Burch veneer and used that as backing. Shaped and sanded according to plans, glued in place.
Added planking and made two curved pieces.
Filled the pointy ends so they would fit and glued with CA..
It is not exactly in the middle, off by 2 mm. For the most part it looks pretty good.
Some more sanding to follow the curve from the rest of the boat and plank the rest.
Marcus

- mtaylor, kees de mol and Piet
-
 3
3
-
Cut out the transom triangle, soaked it in water and gently bend it along the curve. Doesn't work, it snapped. I am going to make a laminated curve and bend the point outwards. Just like the book shows.
I thought of cutting out of a block of wood and sand it to shape. I'll practice with a piece of balsa. But will also make laminated piece.
When I build the Utrecht, I needed a curved piece as well and I made it by laminating pieces of strip wood. Came out pretty good.
Marcus
-
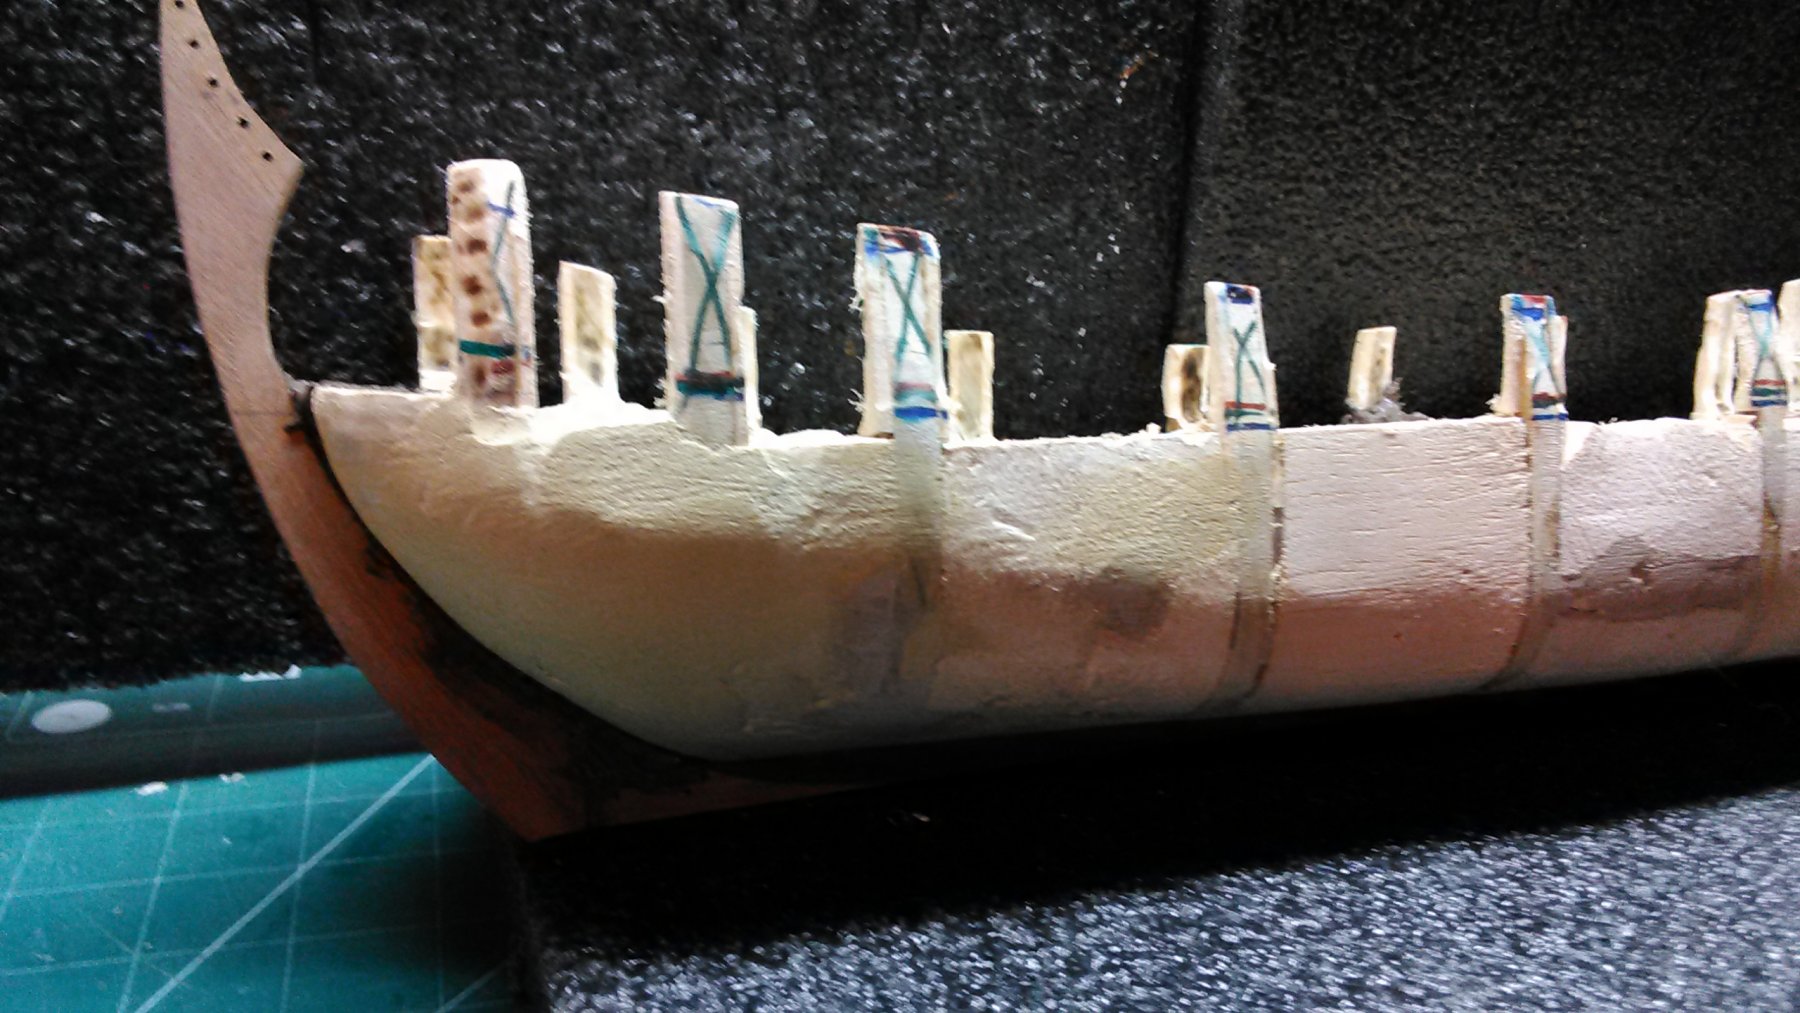
Reached both the height of the railing on both the bow and stern side.
Furthermore, laminated the bow with another layer of strip wood. Gives the look that the planks are overlapping clinker style.
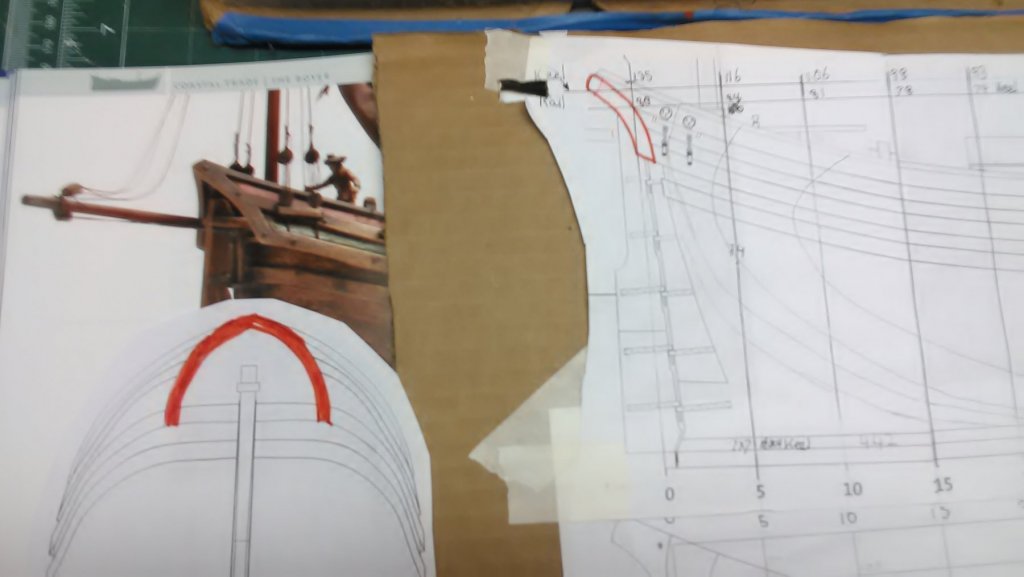
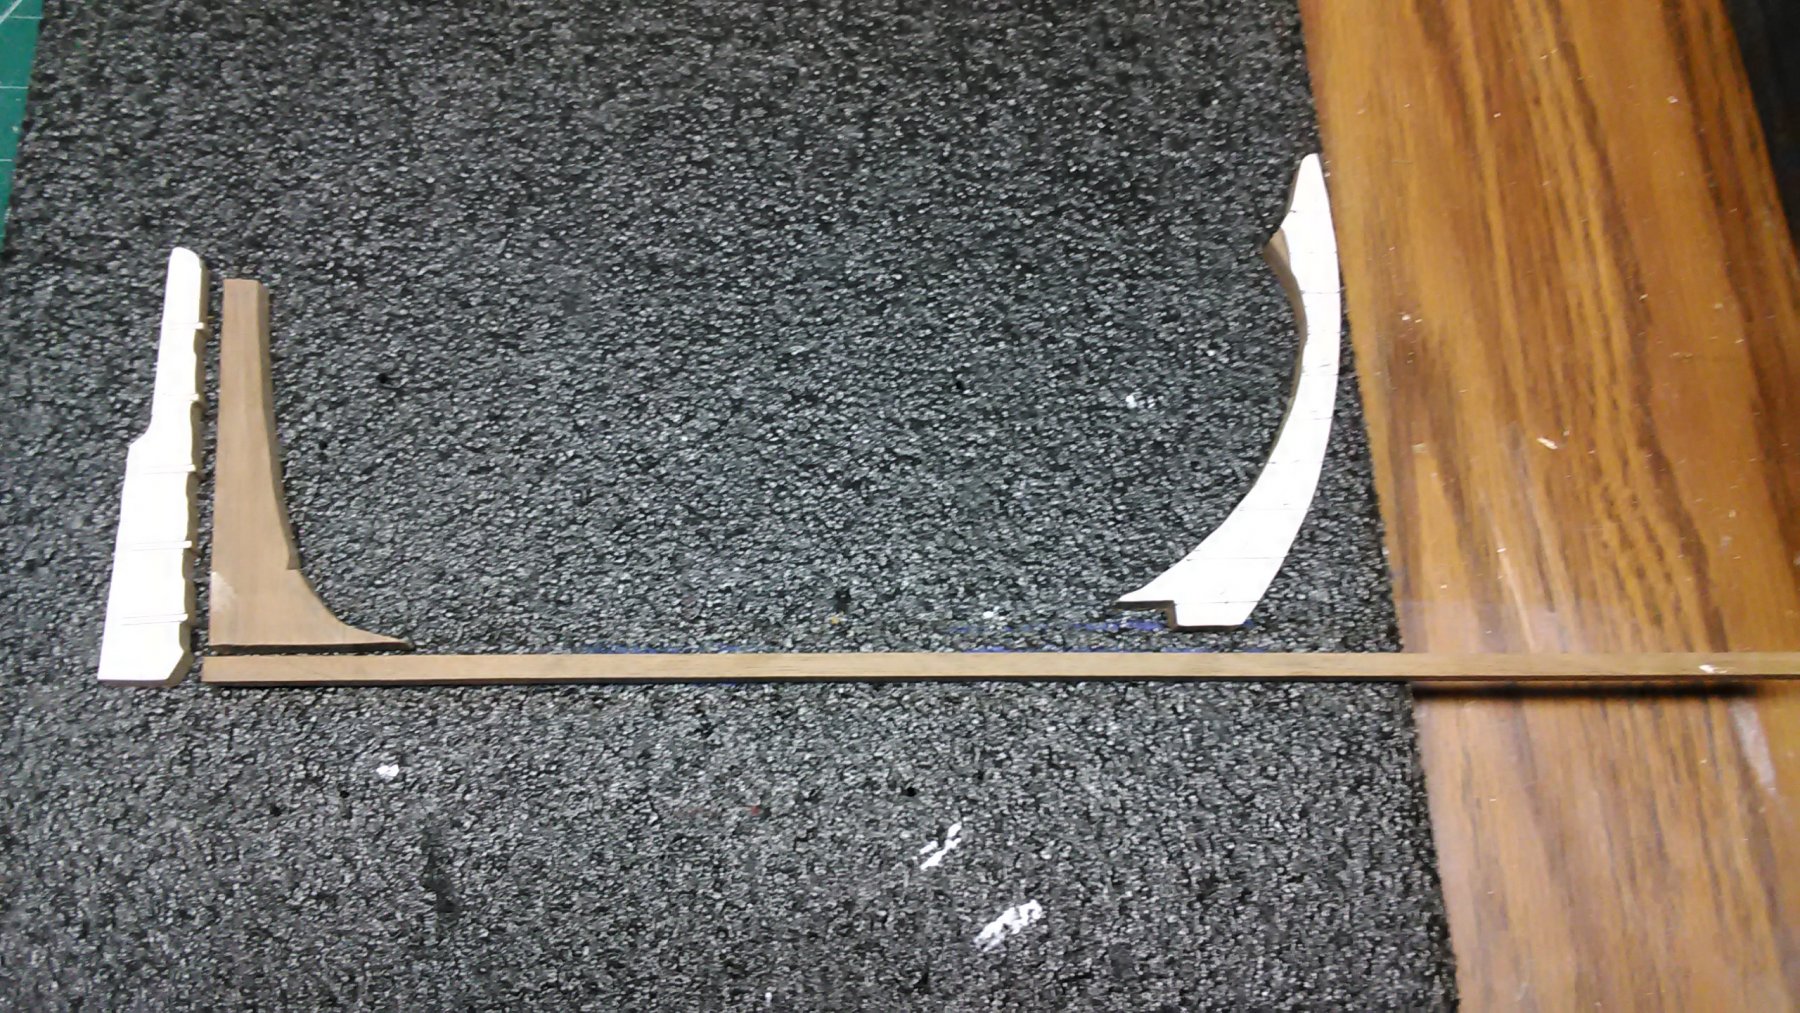
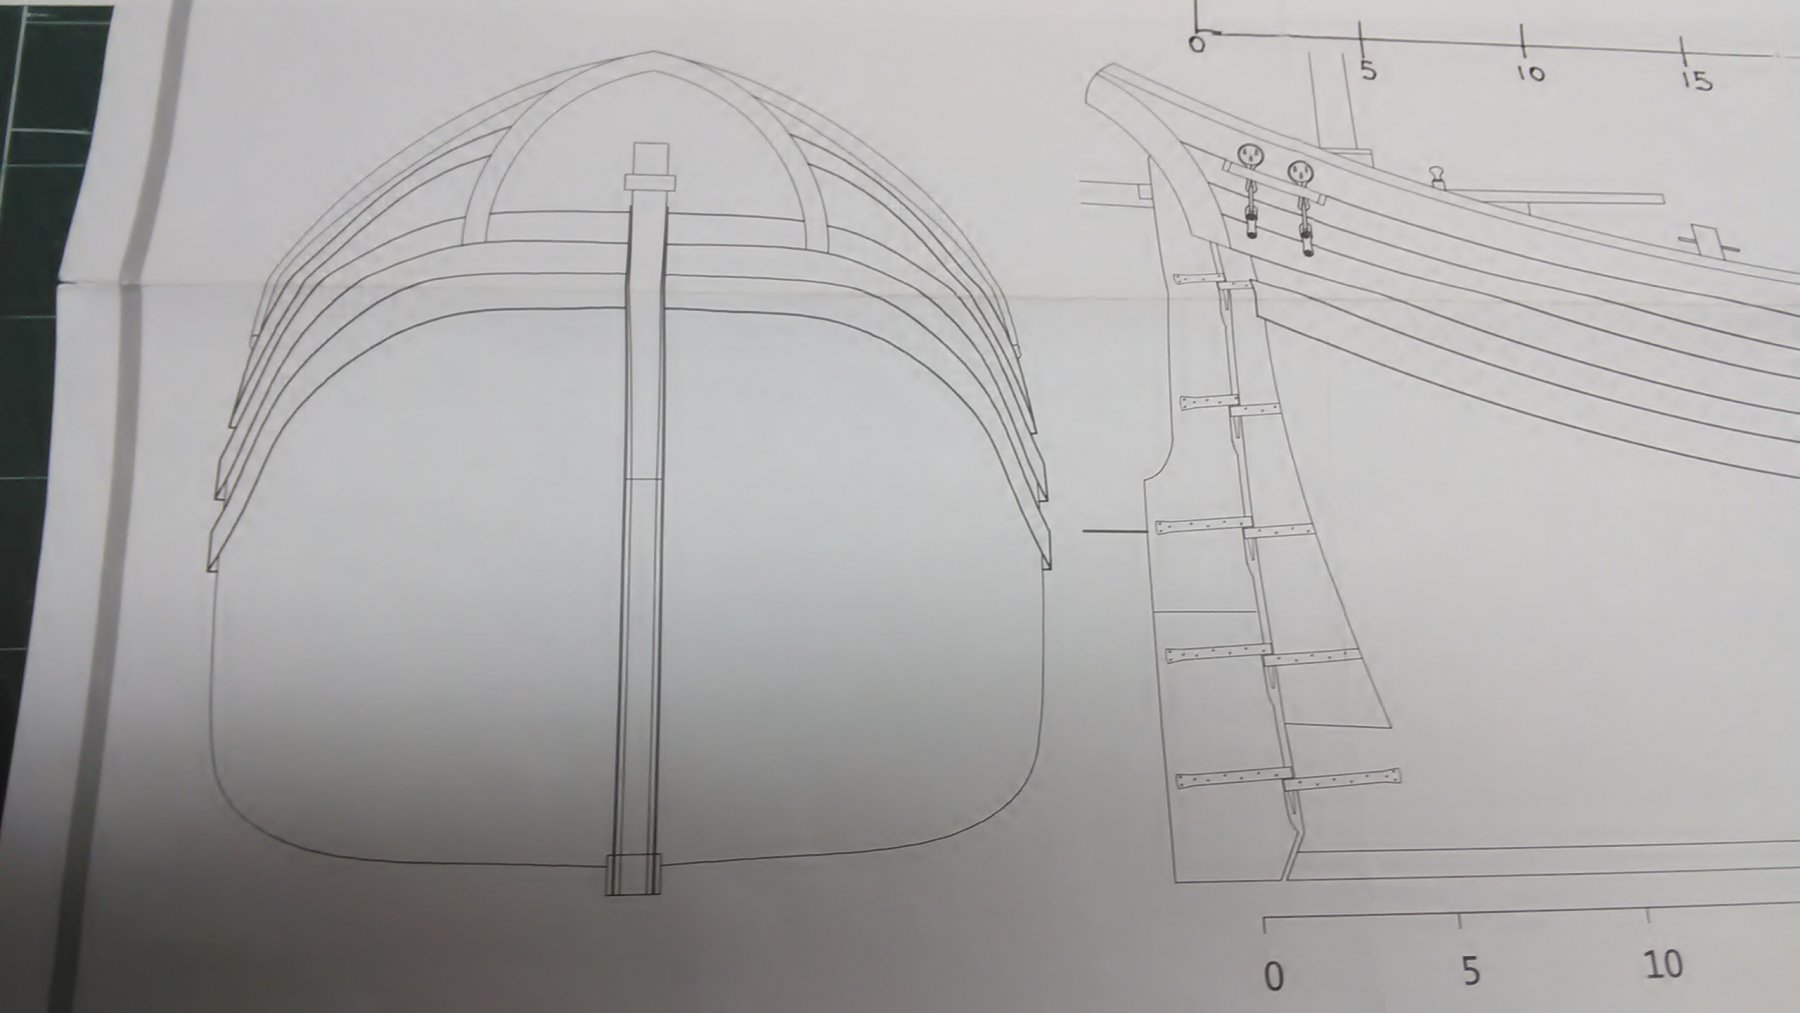
The Transom Triangle. Cut the curve into the planking on both sides. In one of the pictures I photographed the part of the book, the side curve highlighted in orange and a stern picture also in orange.
Instead of making this in on piece it will be four pieces. Easier and less risk of breaking.
Marcus

- mtaylor, kees de mol, Piet and 1 other
-
4
-
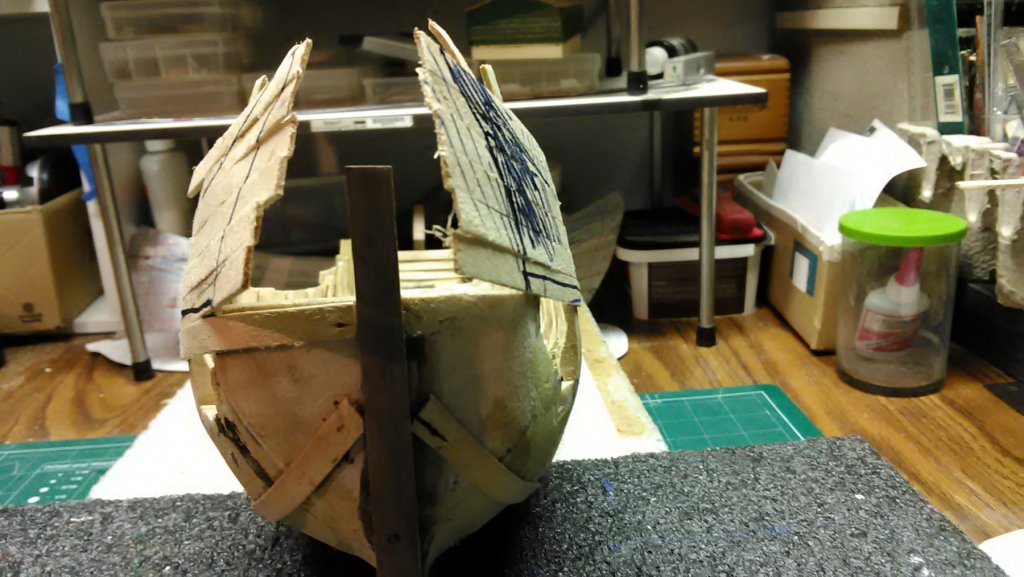
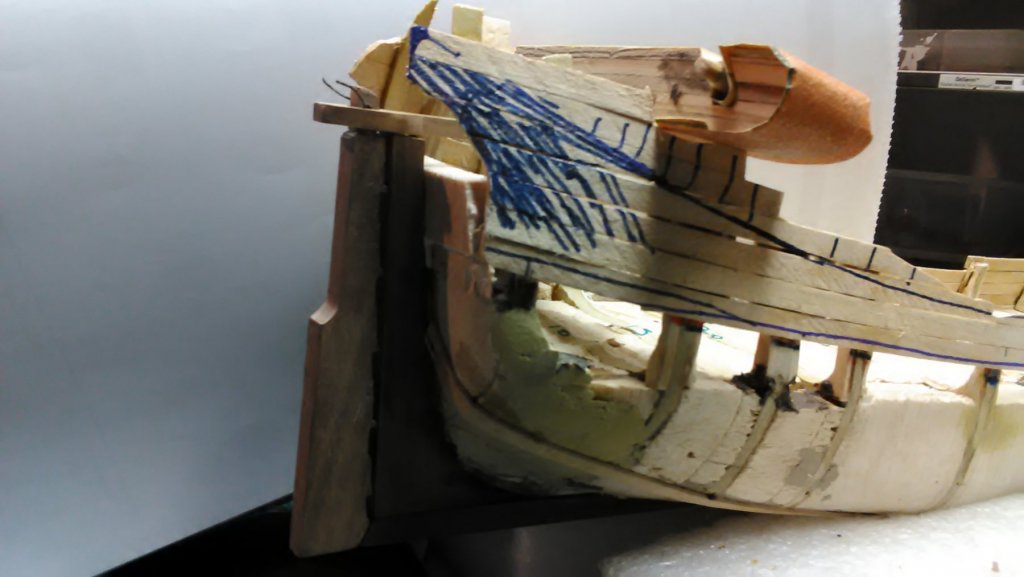
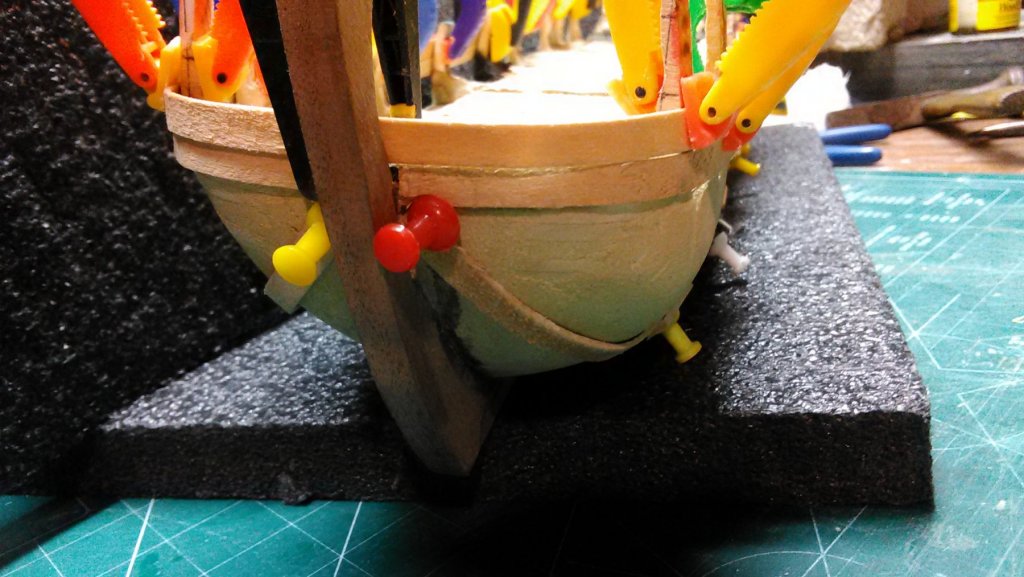
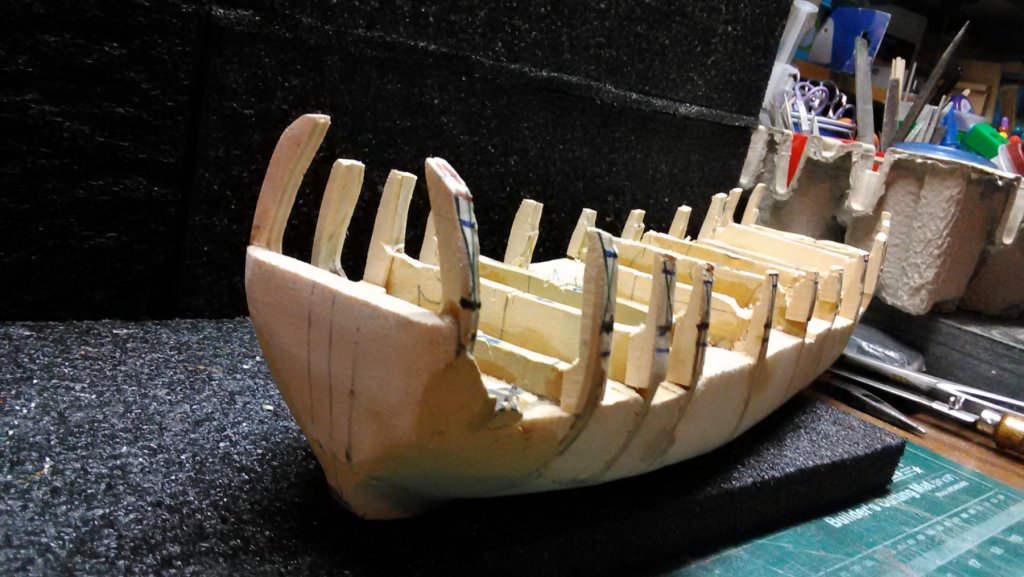
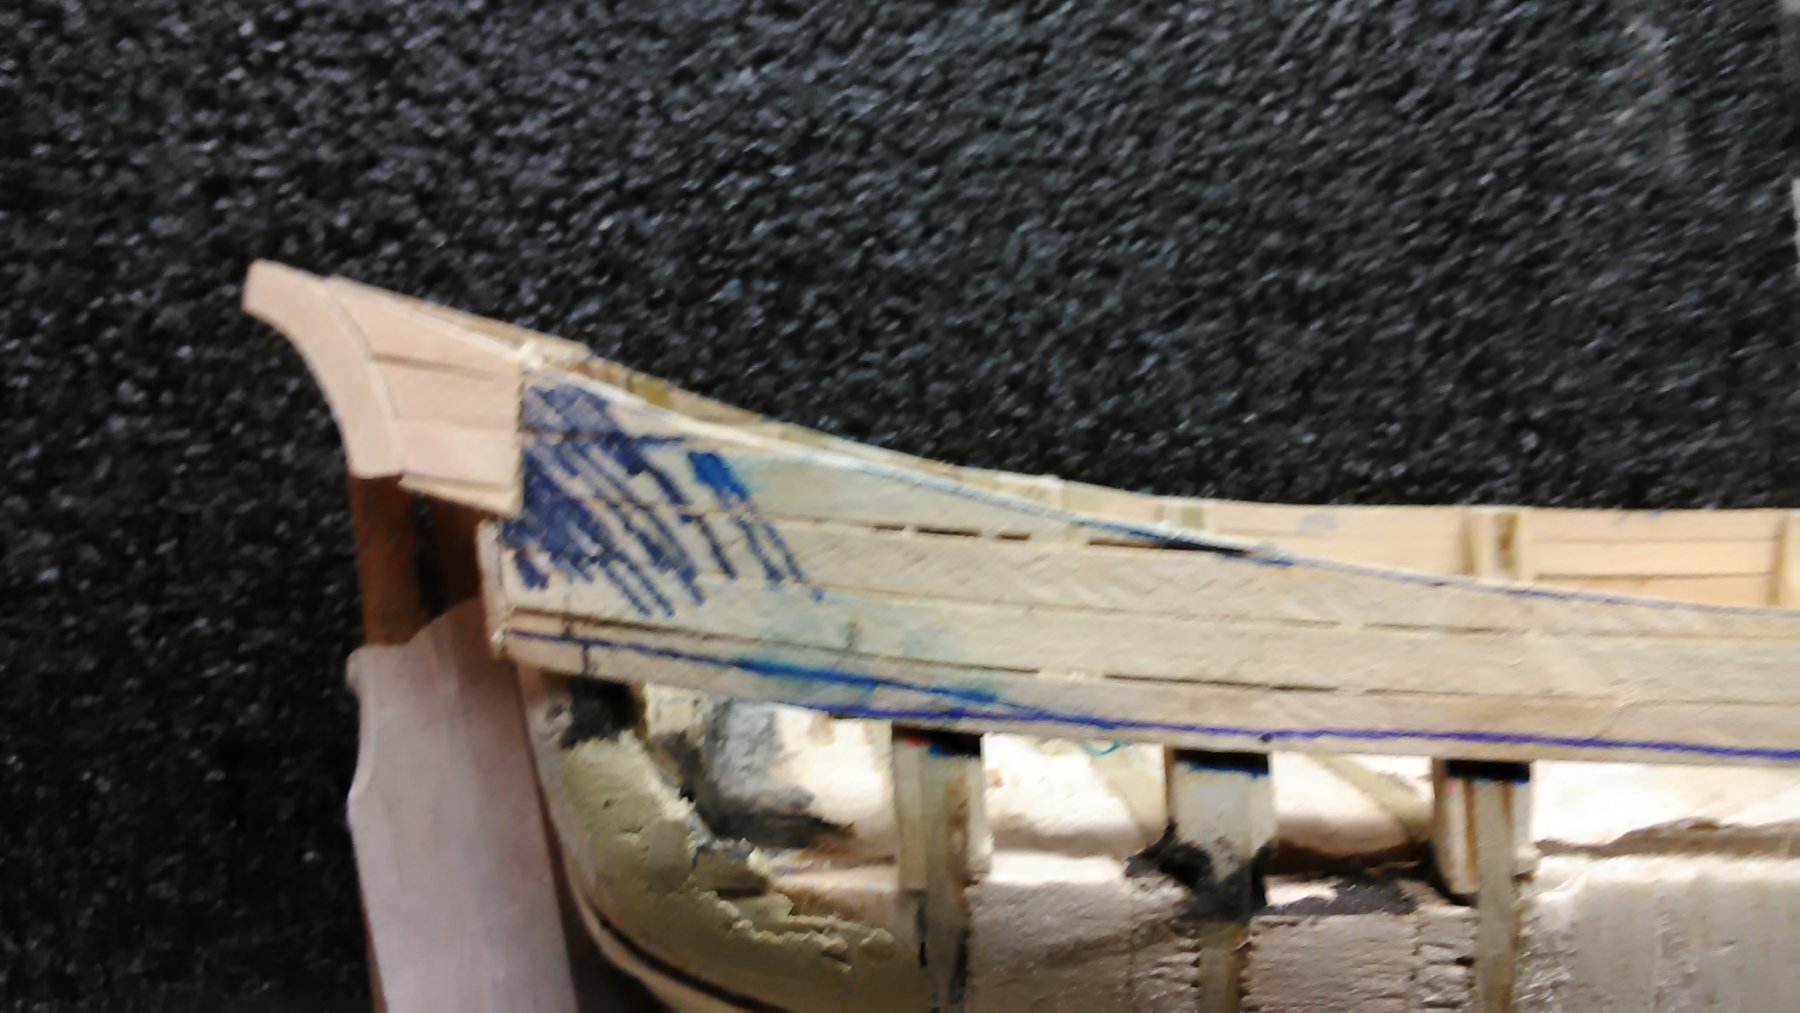
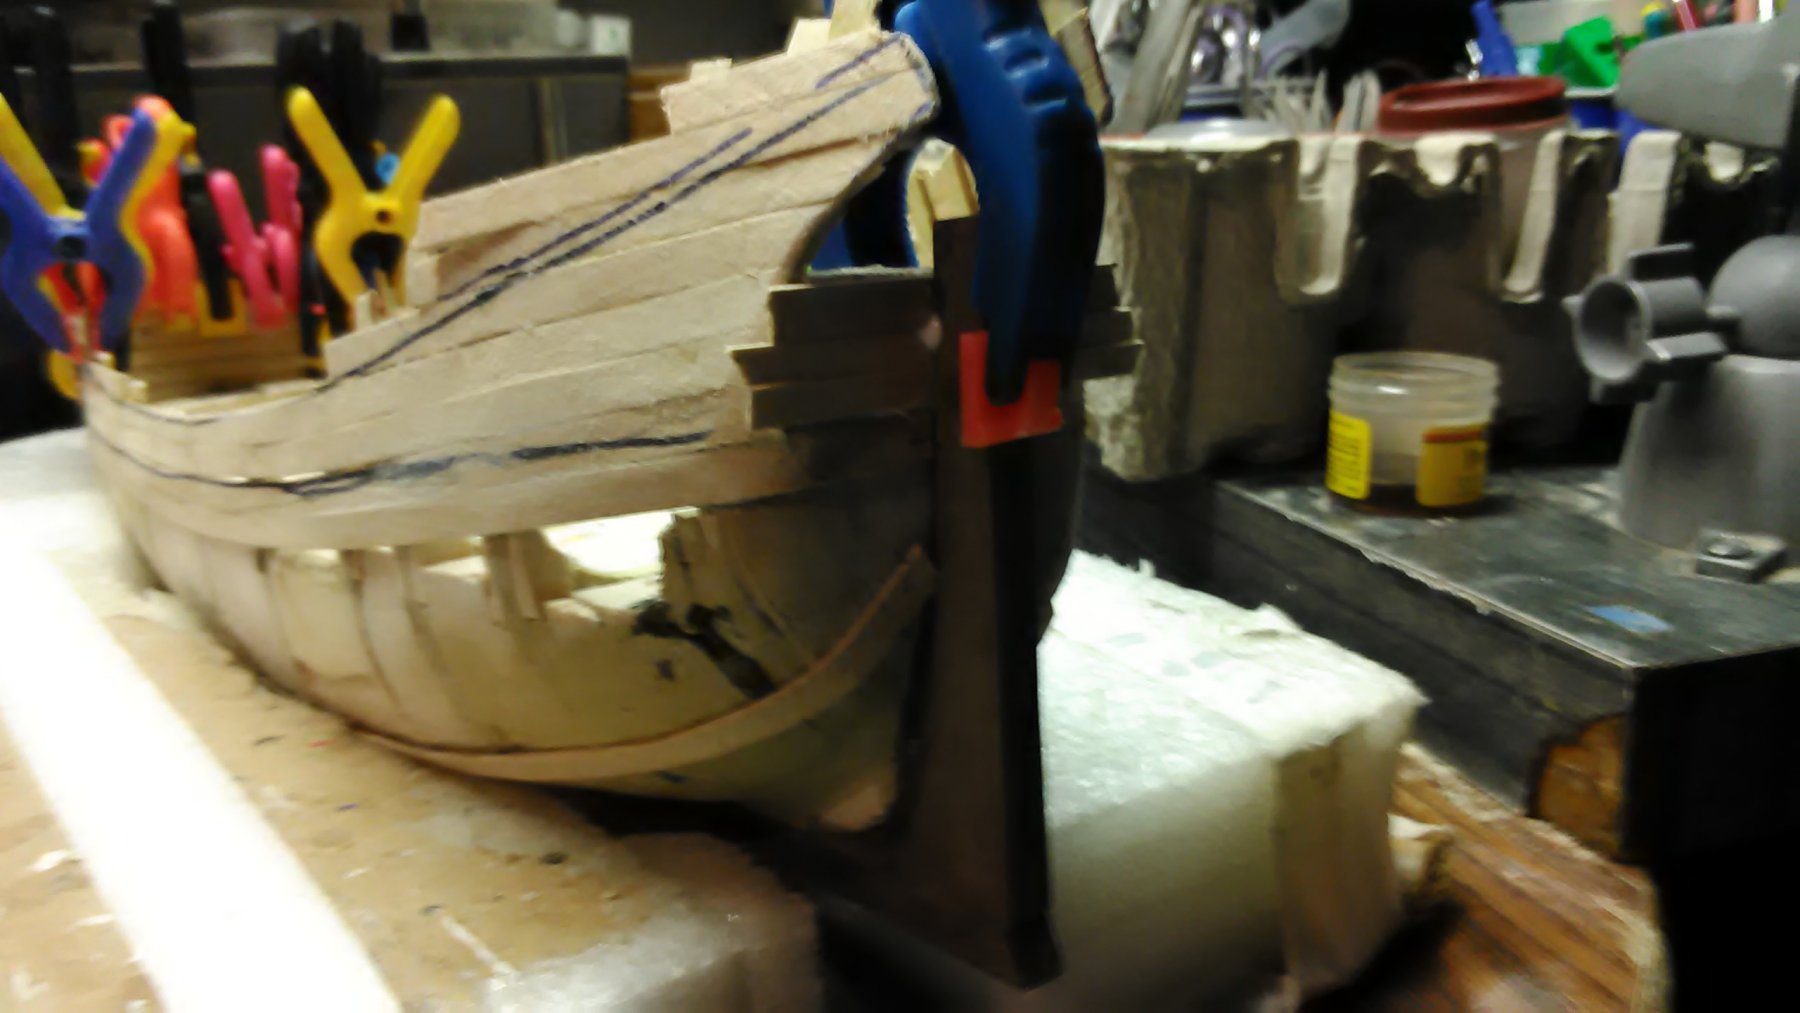
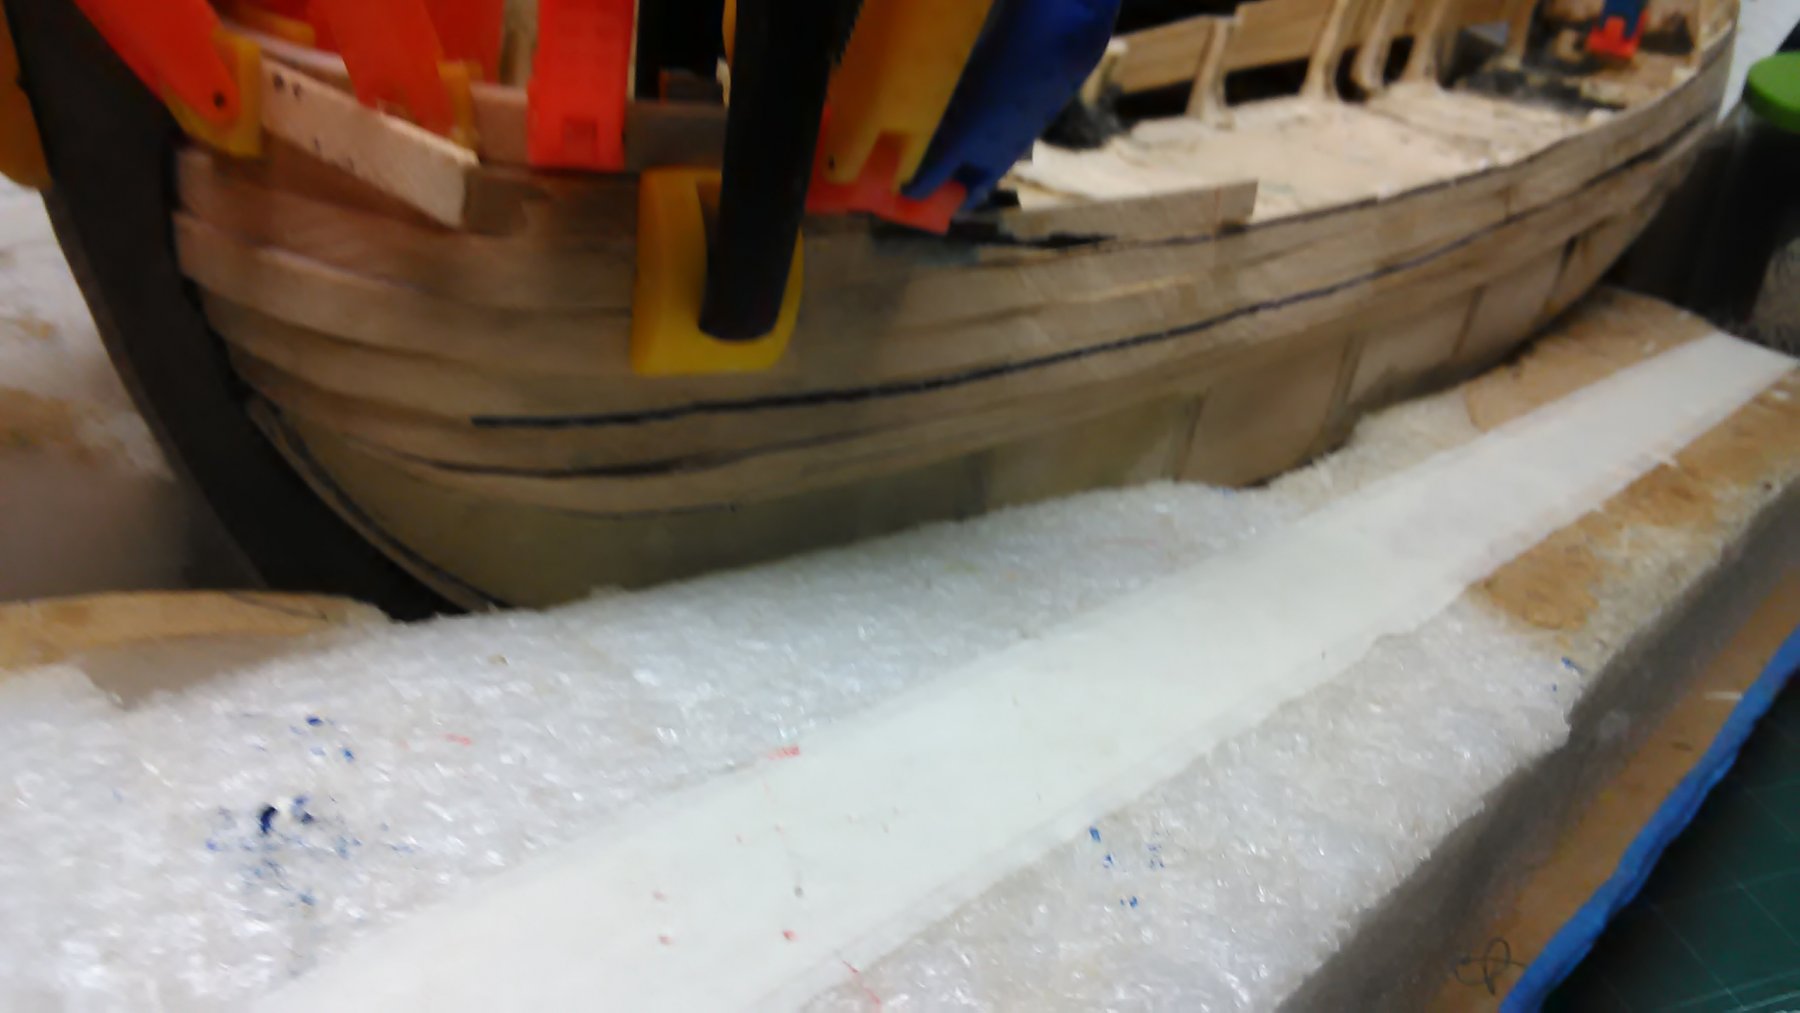
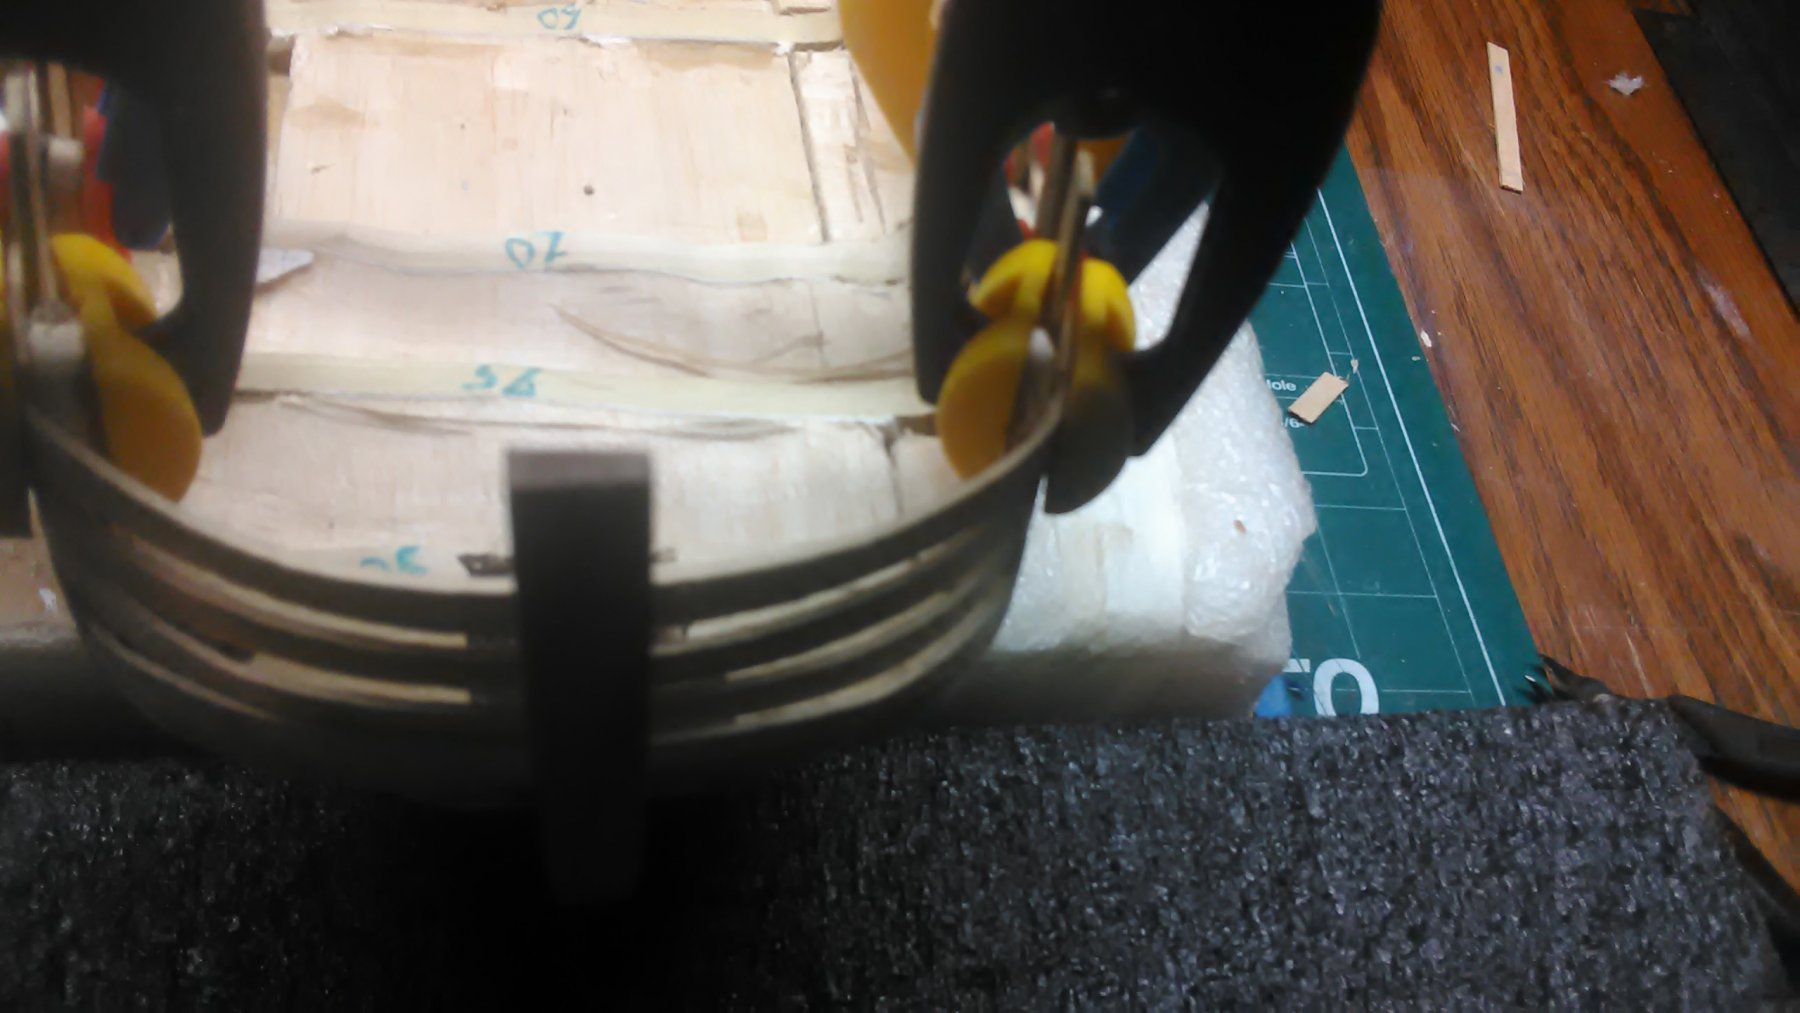
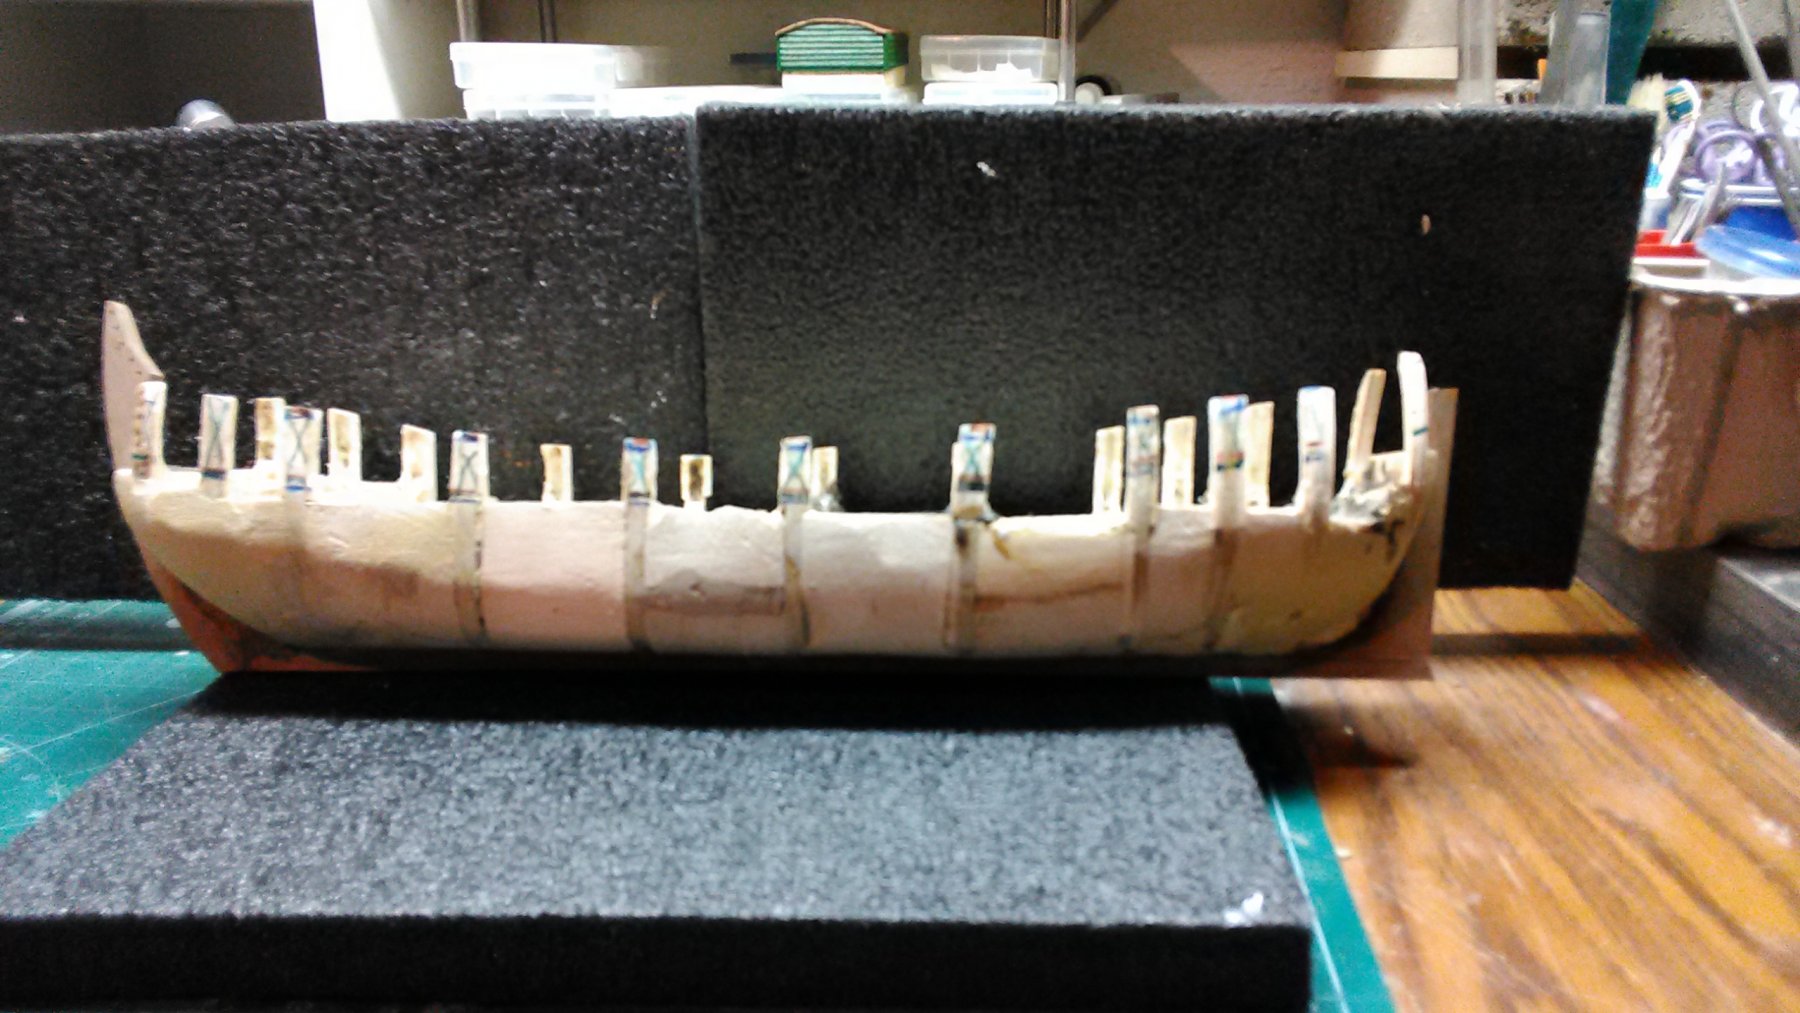
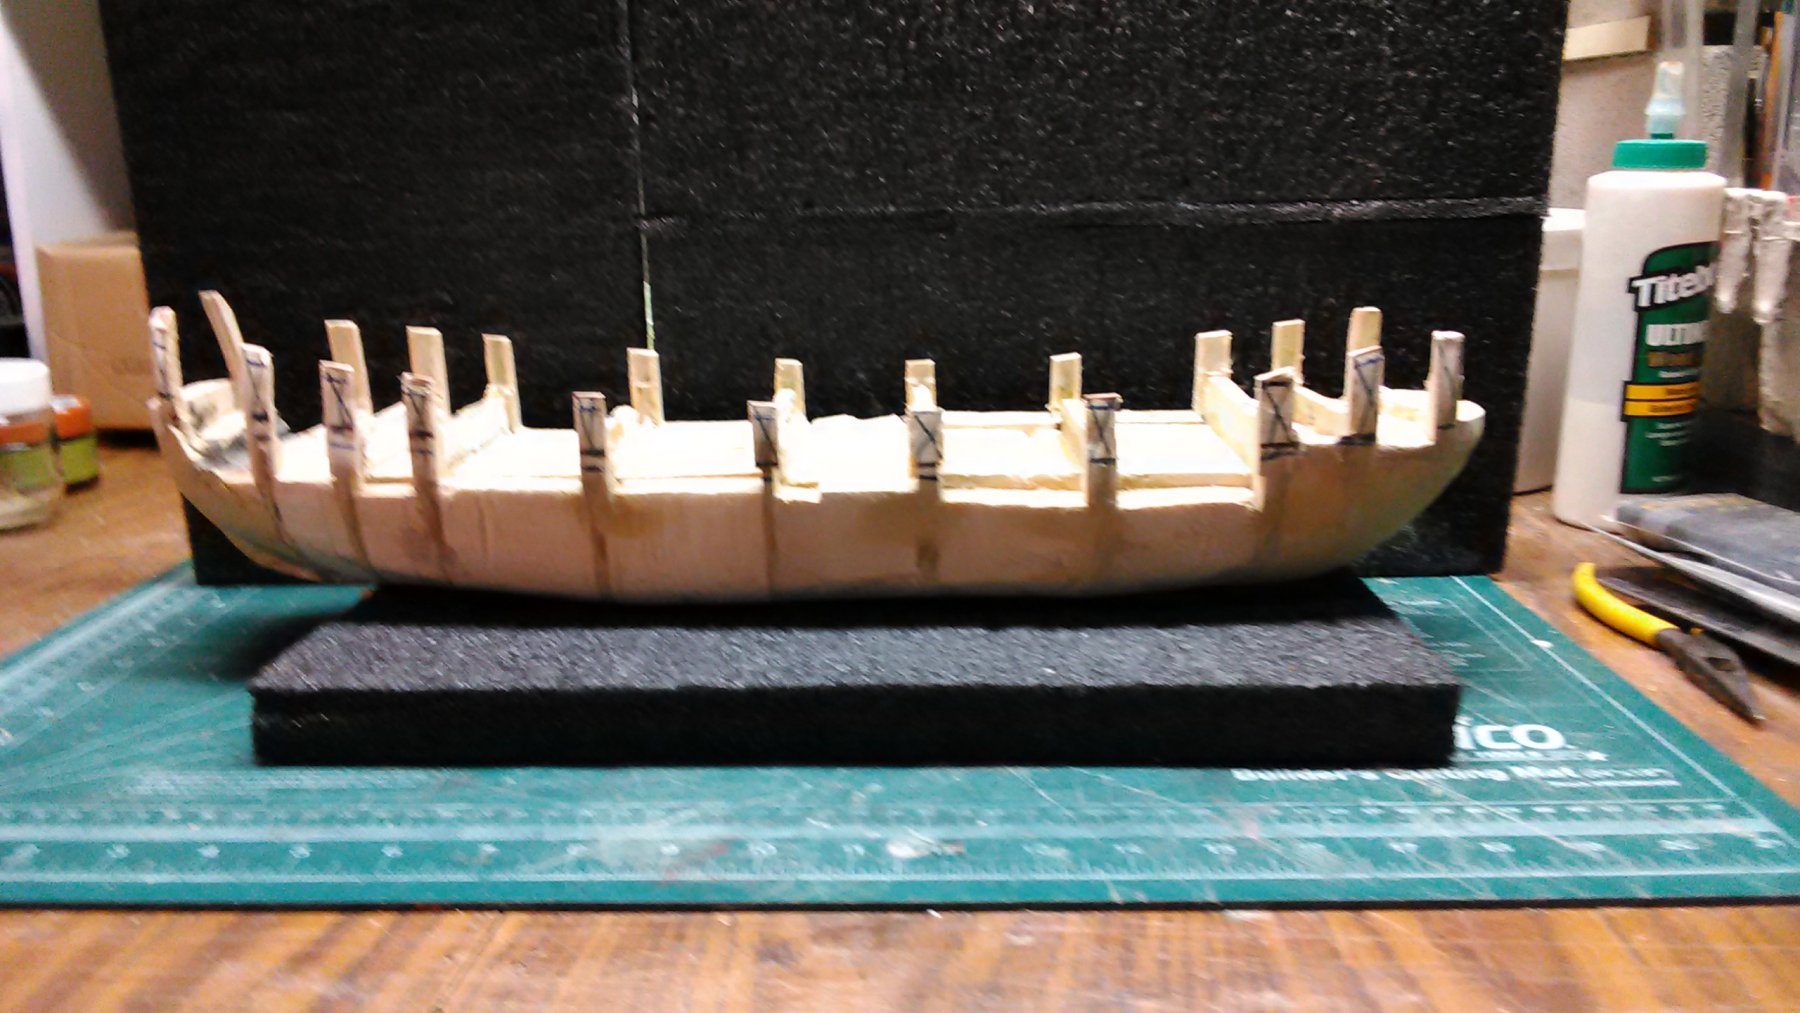
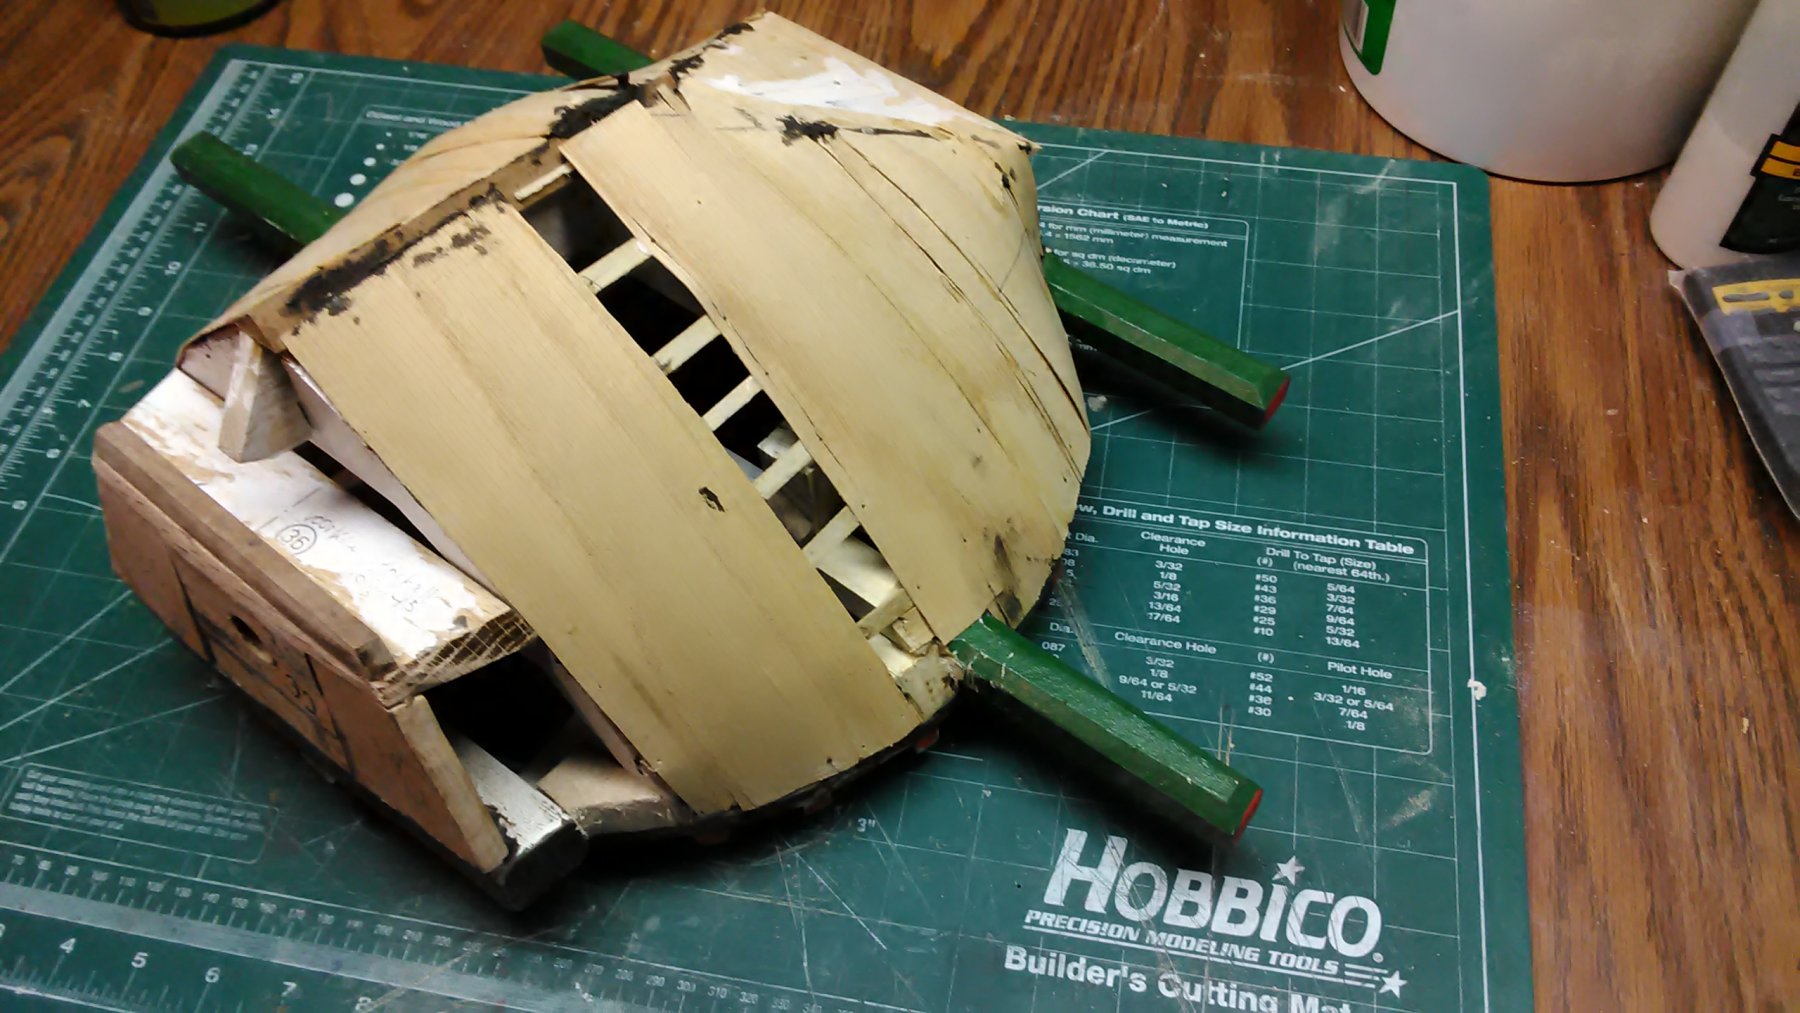
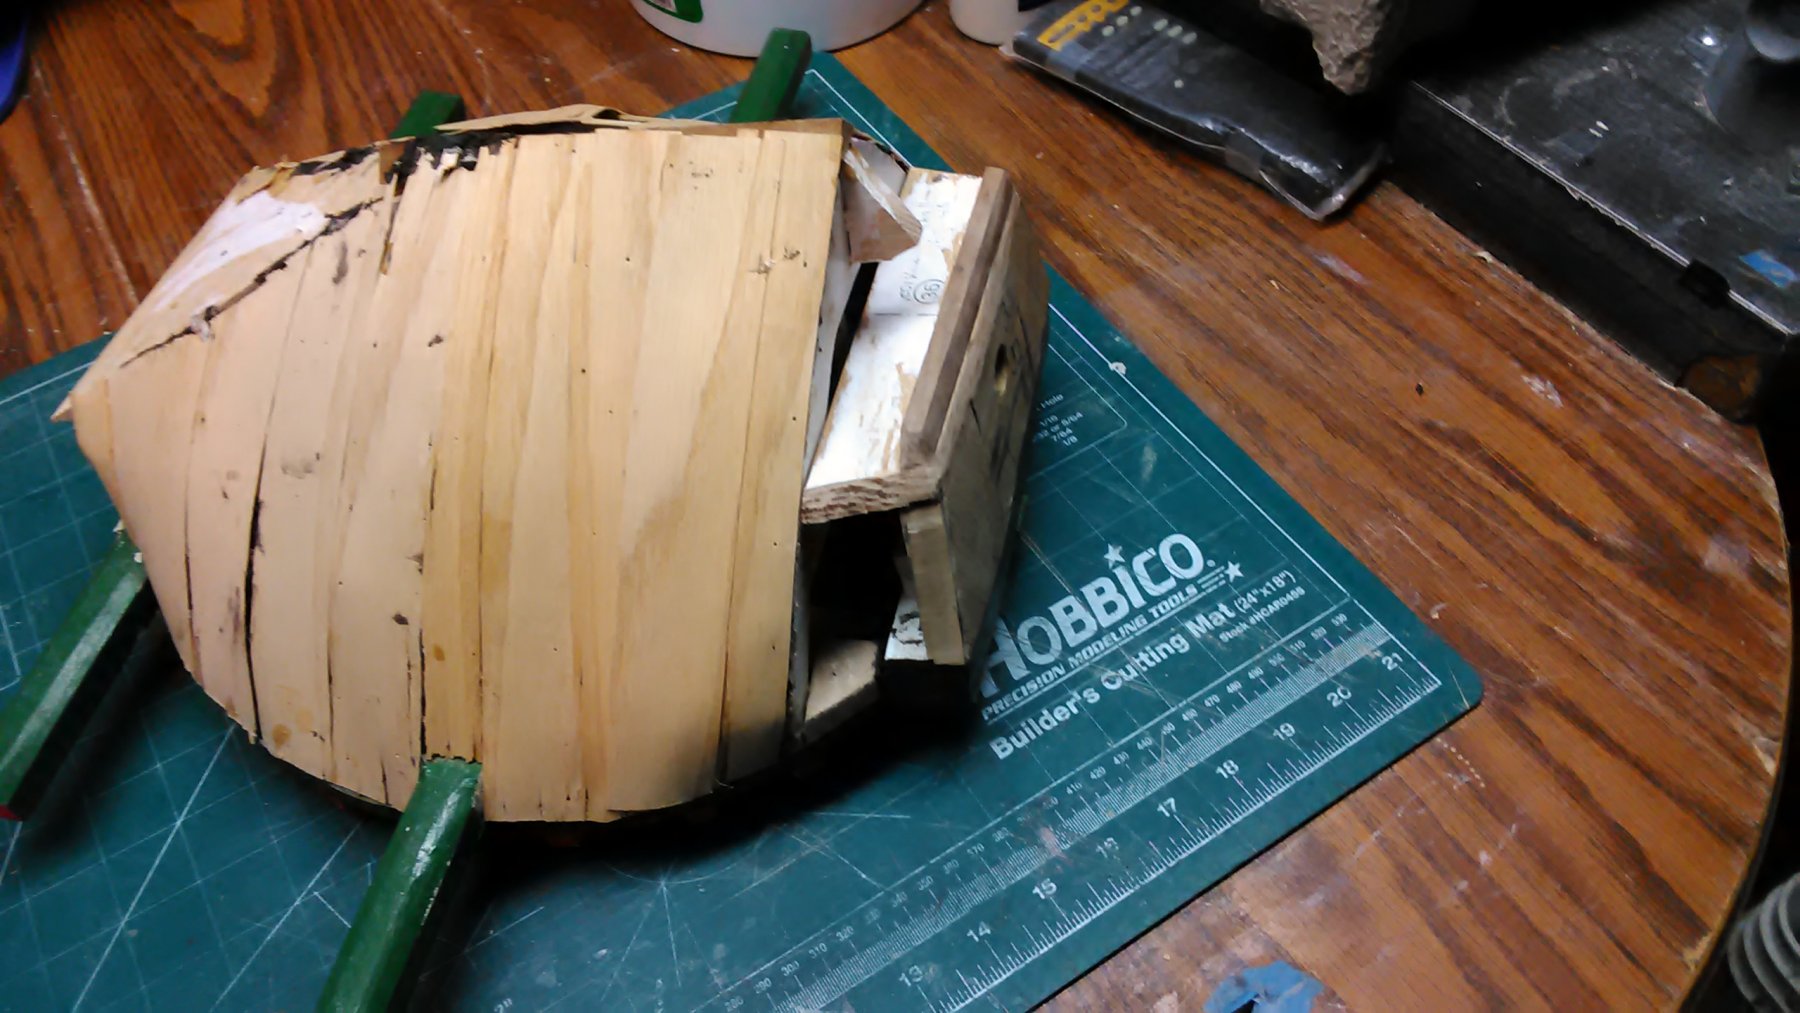
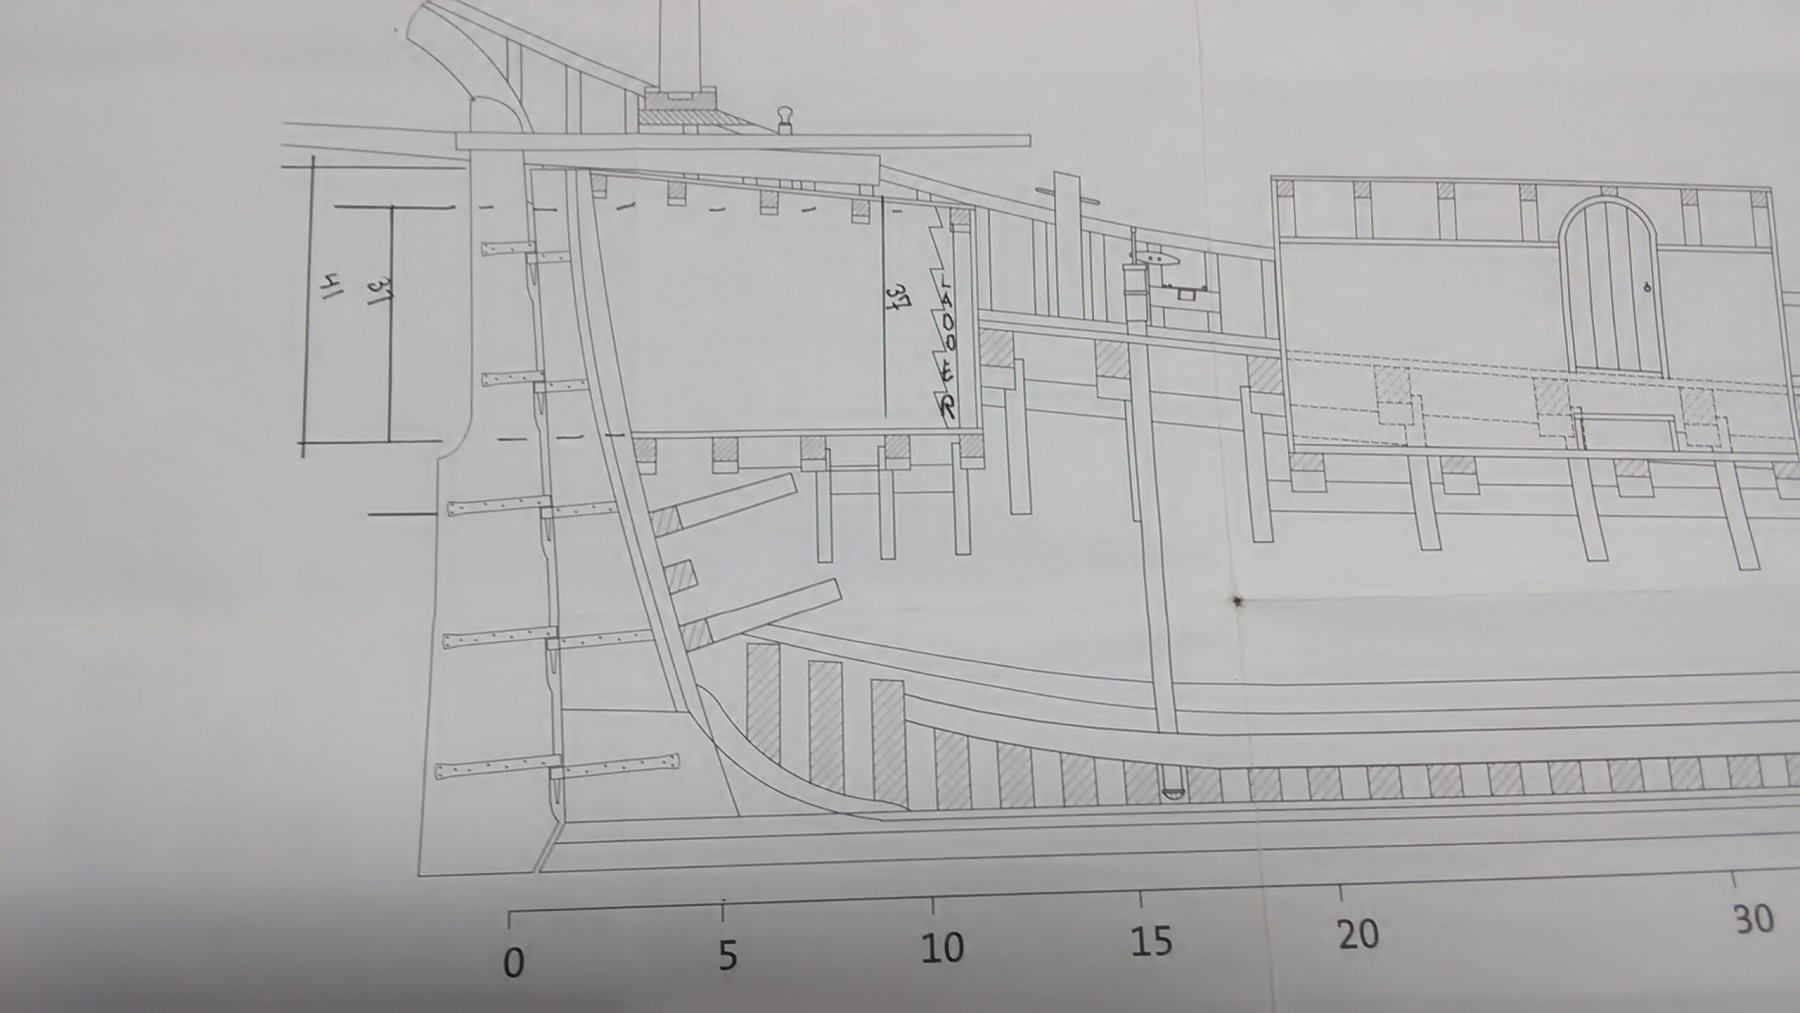
Instead of bending extreme curves in the bow and stern with the first planking, I ended up stacking the planks side by side going up following the curve of the bulkheads. Then cutting and sanding away excess planks to form the extreme curve of the bow and stern.
I will apply the extremely curves for both stern and bow with the second layer of planking
The back of the stern is curved upwards and inwards. Once the clamps are removed it will give a better understanding of the whole area.
The bow planks are curved and with every layer going up the curve is shortened by one thickness of a plank giving it a 'step look'.
Both areas are built 'shell first' and frame timbers ars added to hold the planks in place. This is a classic example of how the Dutch build there ships in the 17th century. I am practicing on this boat as in the future I want to built a ship in this way....... Shell first.
Marcus


-
Looking good, Kees, the brass work is gorgeous. I also like the figures you will be adding. Makes the boat come alive.
Marcus
- kees de mol, popeye the sailor, cog and 3 others
-
6
-
I agree with Popeye, the weathering looks great, especially the way you did the rust lines.
Marcus
-
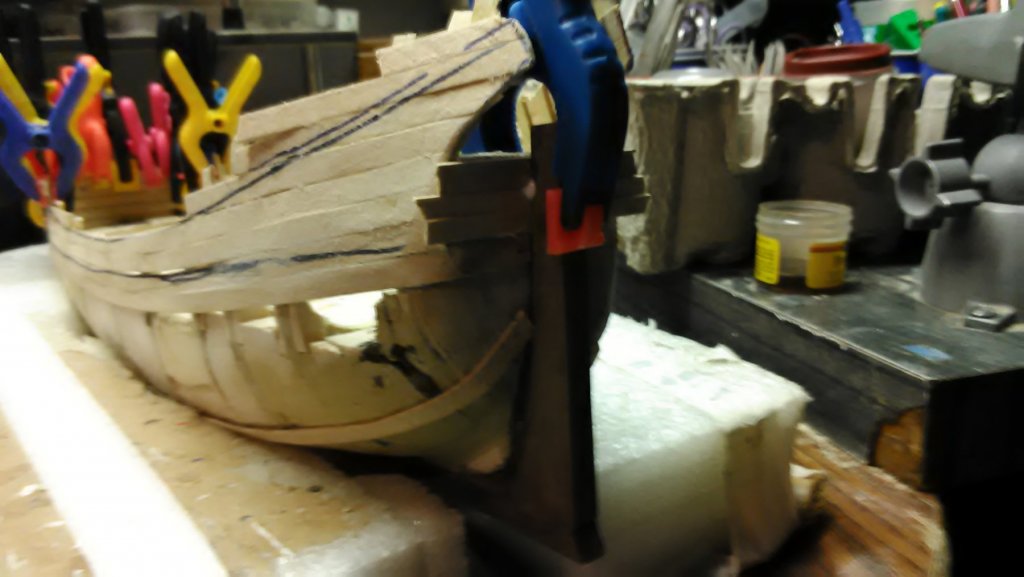
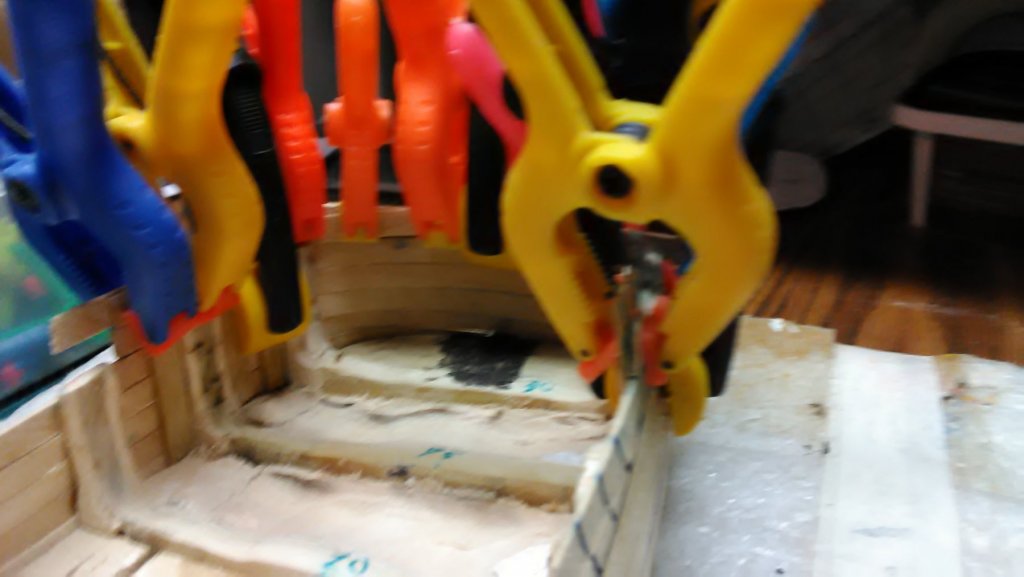
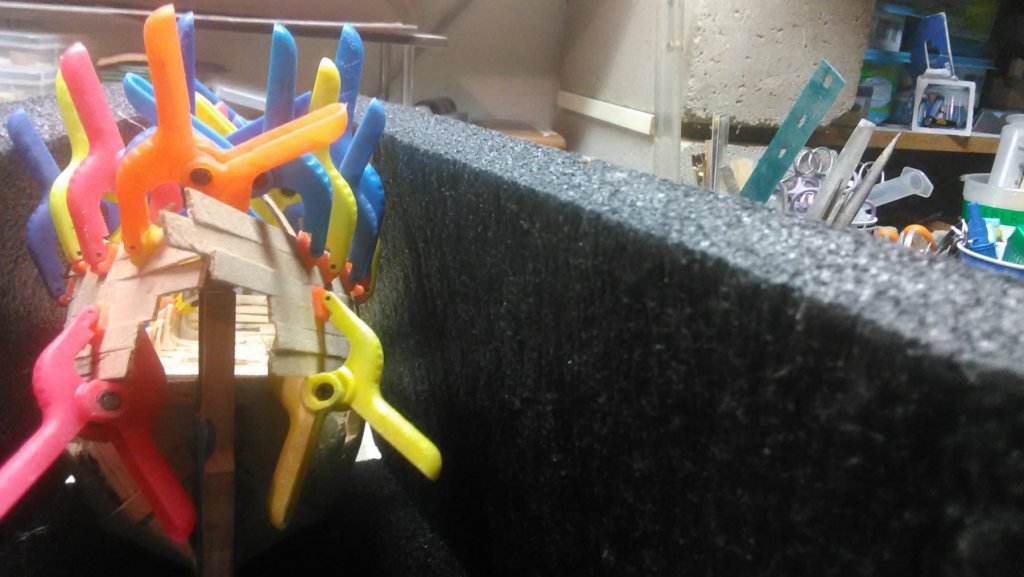
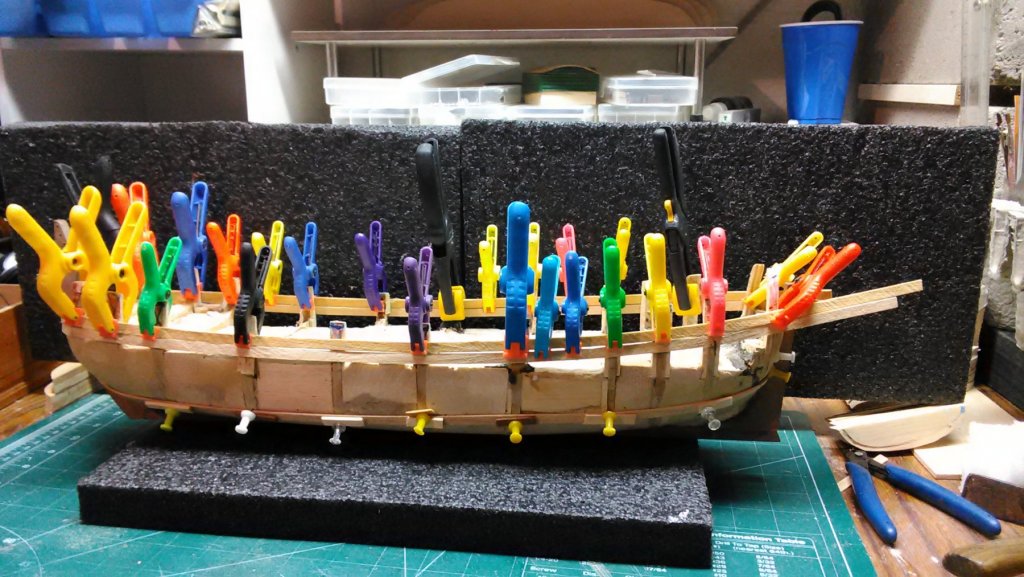
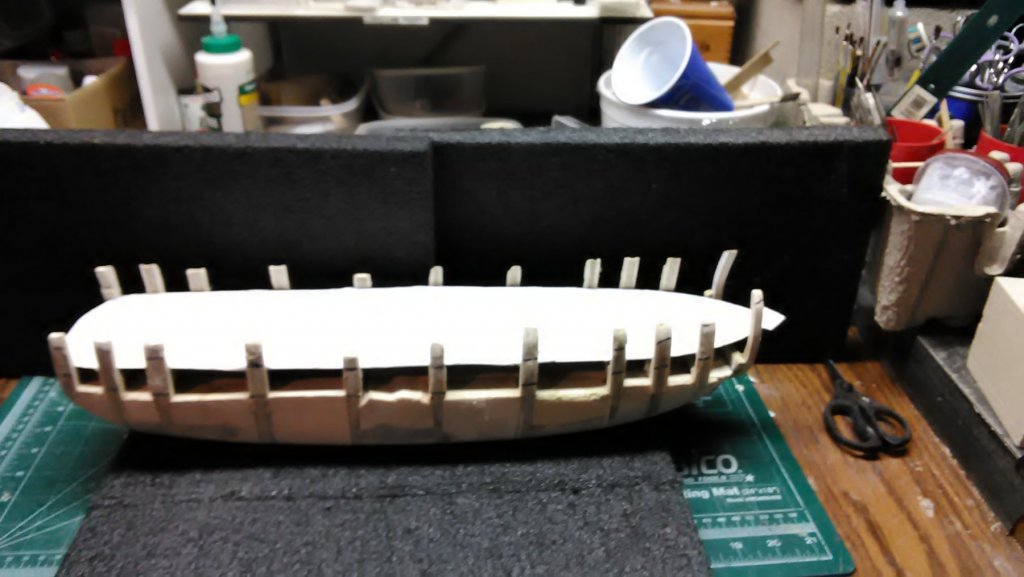
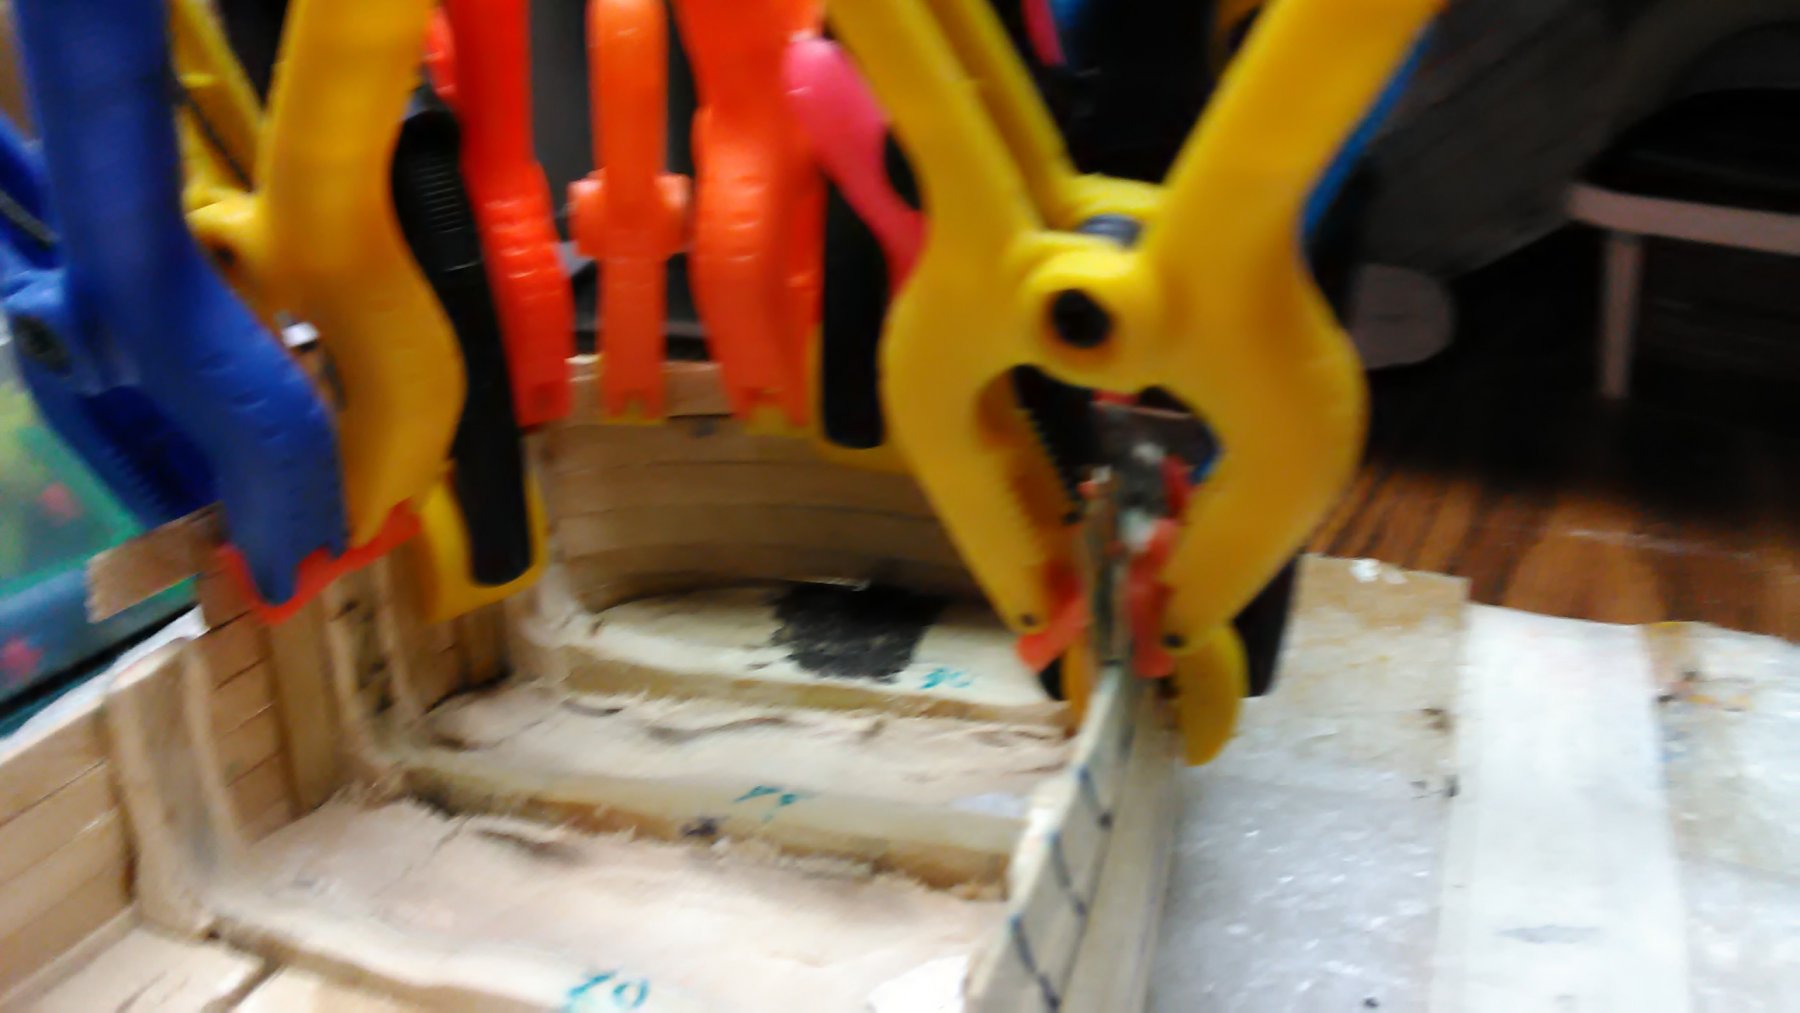
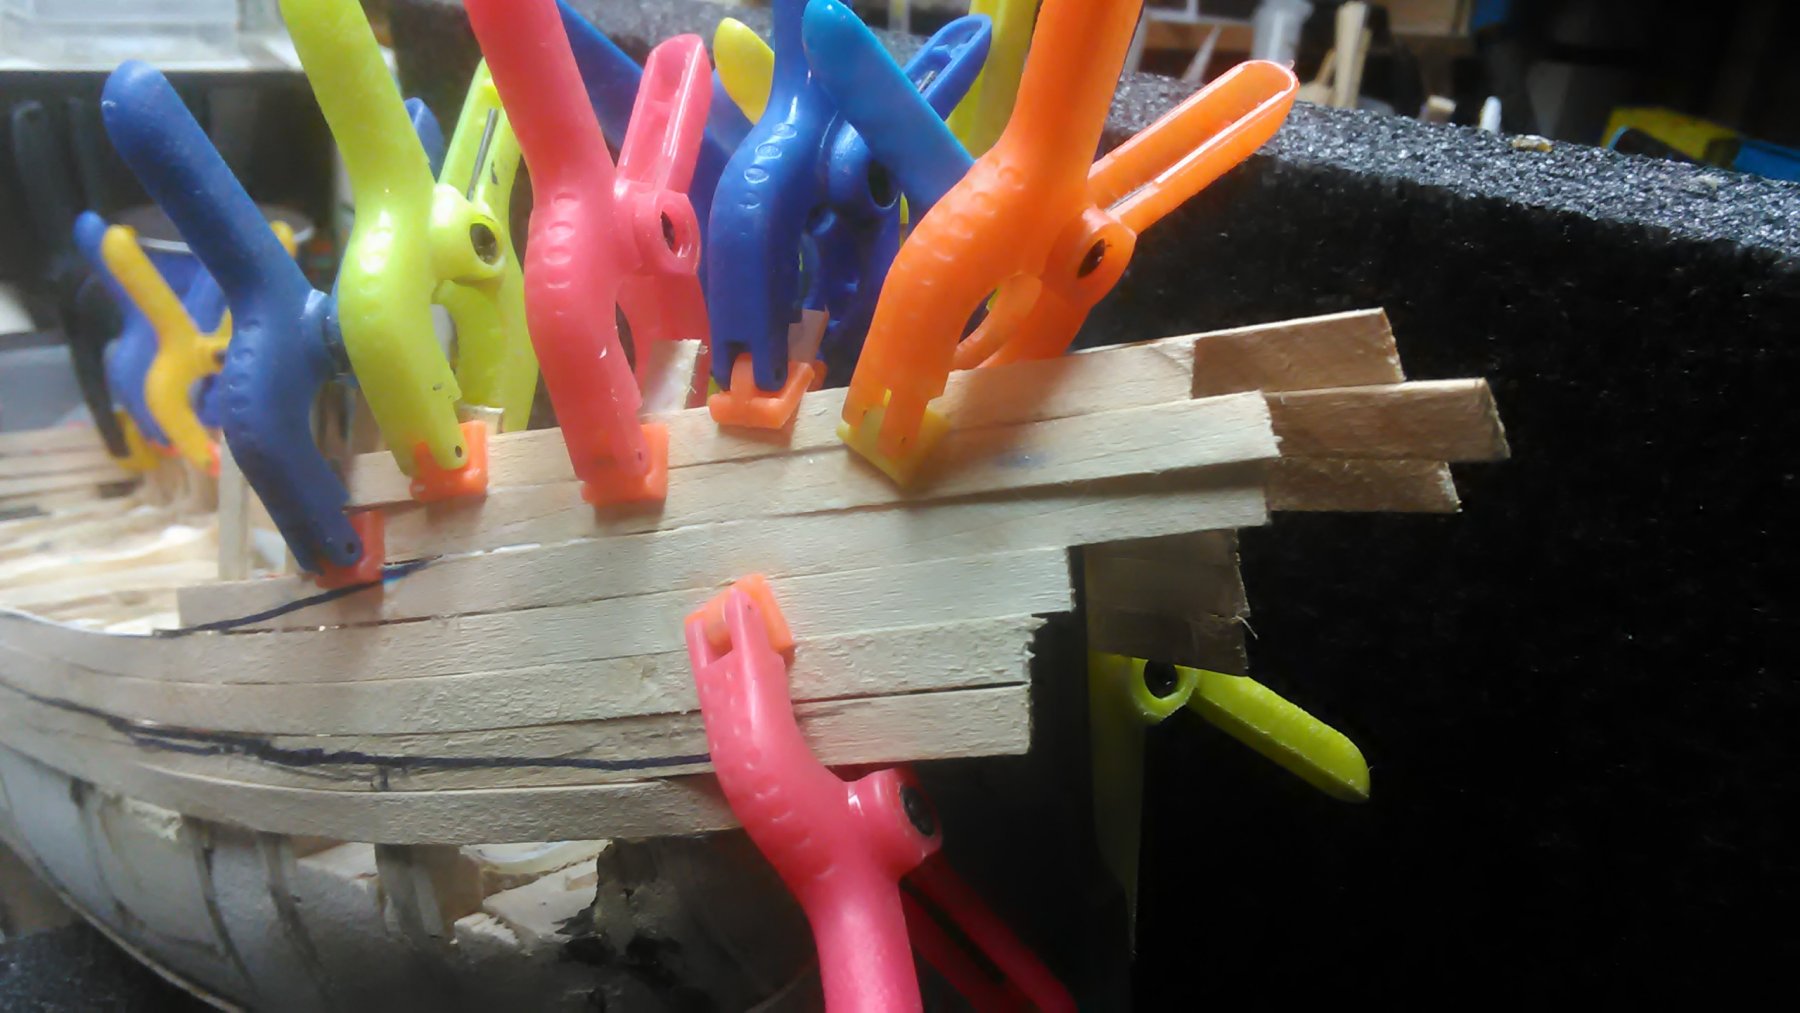
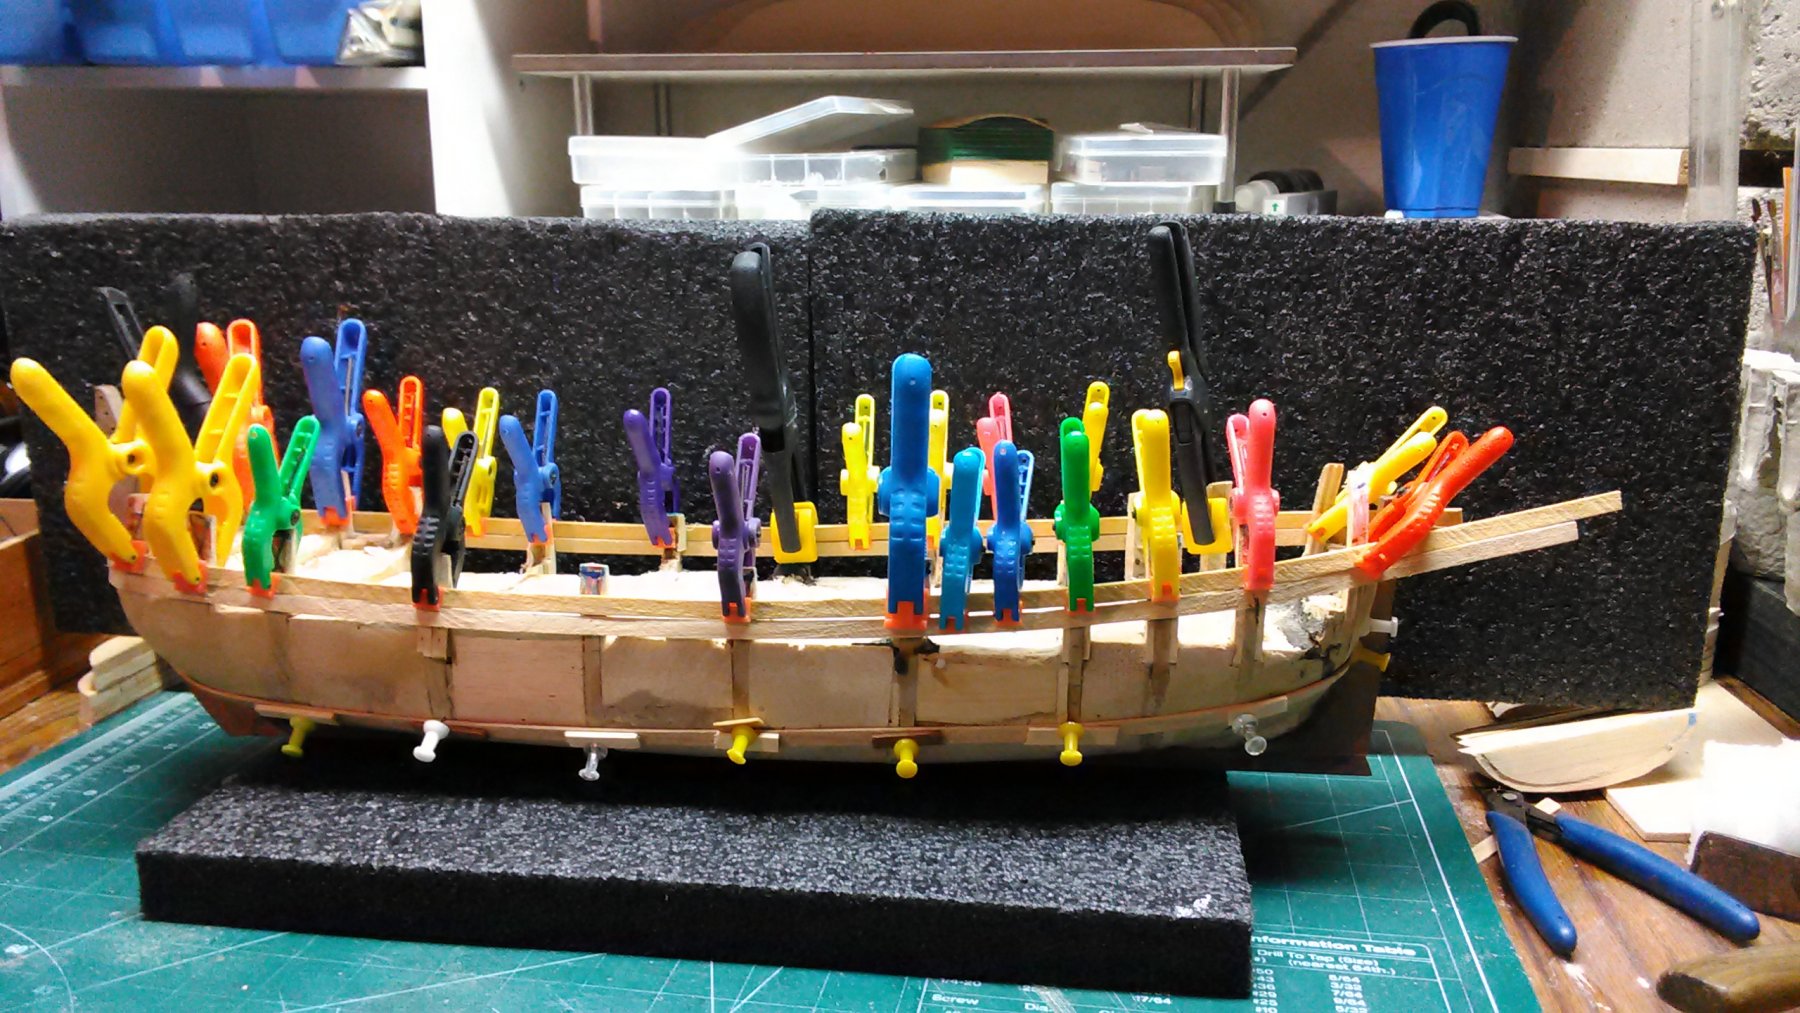
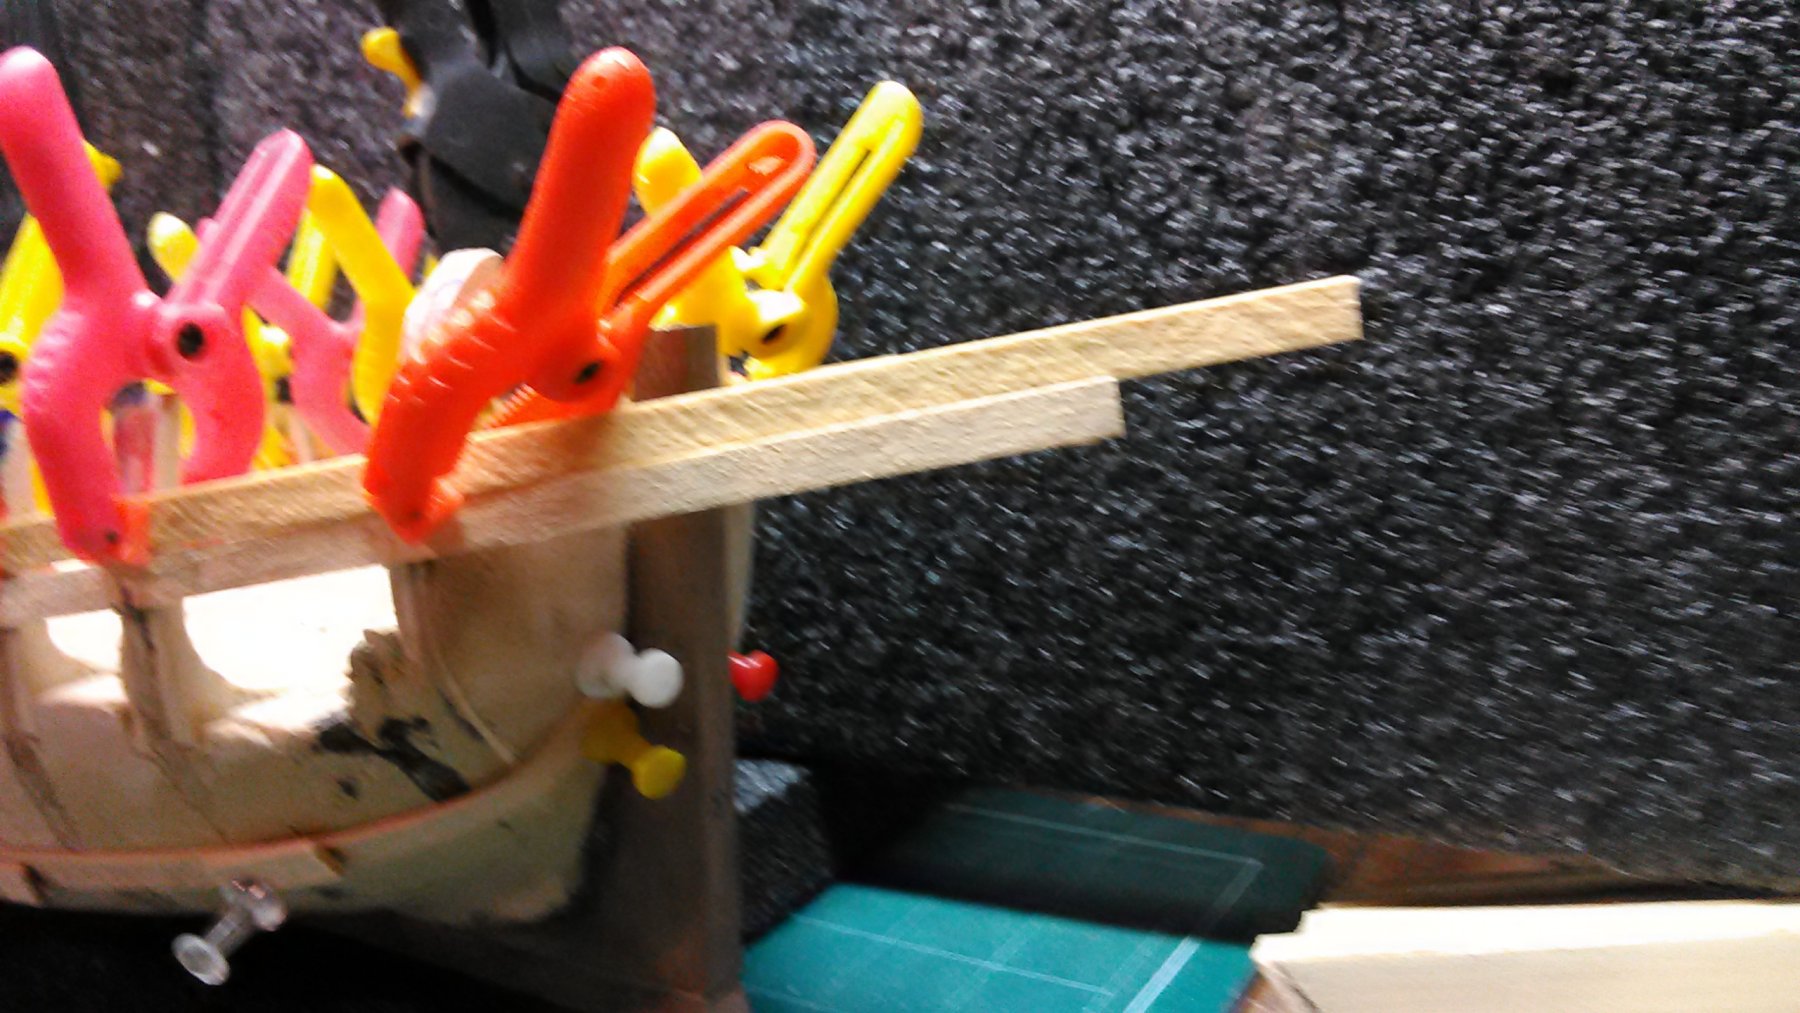
Started the first layer of planking. I soak the basswood in water overnight so I can bend it at any curve. So far it is easy but it will become challenging.
As Cog would say, it is a 'forest of clamps'.
Marcus

- G.L., kees de mol and Piet
-
3
-
Sjors favorite drink......... Jenever?
Thanks, Jan, for the picture. That mill is tall, wow.
Just imagine a windmill in between skyscrapers 😁.
Marcus
-
Working a little bit here and there on the Boyer and the mill. When it is sunny outside, I work in the garden (food and flowers). Late fall, winter and early spring is when I work on the boat, but when the weather is good, I am outside.
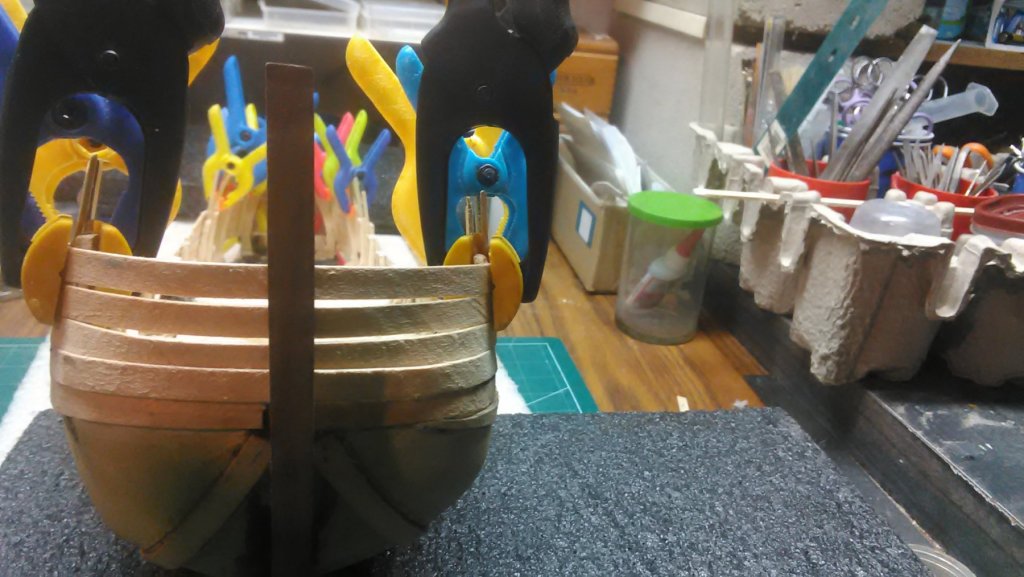
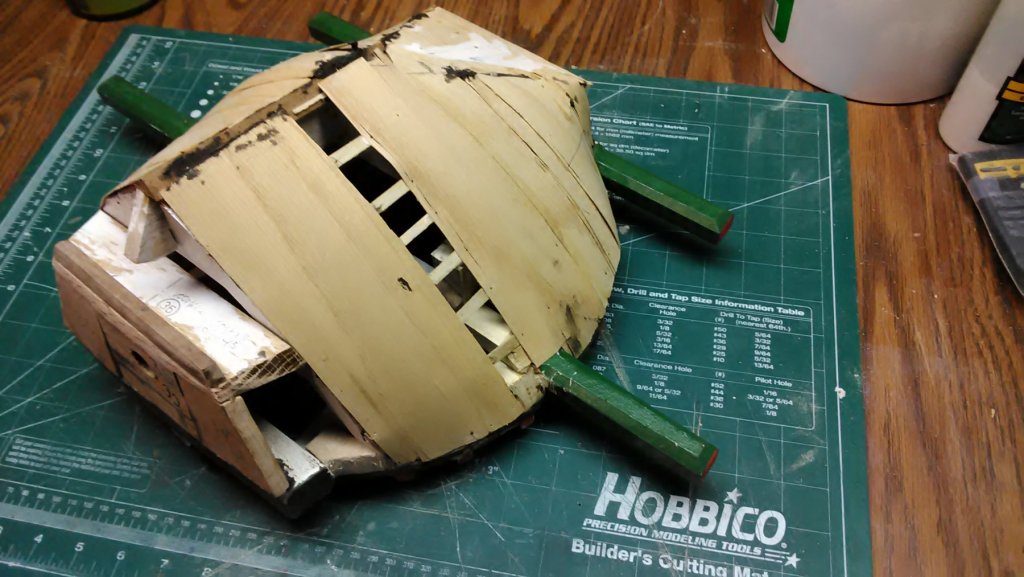
I am creating a template that fits on top of the bow.. When I start planking the top of the bow the planks will go inwards (if that is the correct explanation). The planks go inward and I need to follow the curve of the bow.
Marcus
-
#Sjors, glad you are enjoying the built and thanks for the information about the windmills in Schiedam.
Marcus
- Elijah, mtaylor, thibaultron and 2 others
-
5
-
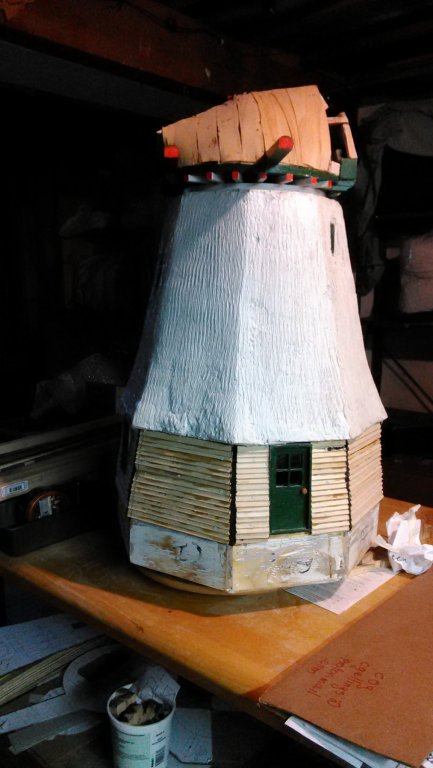
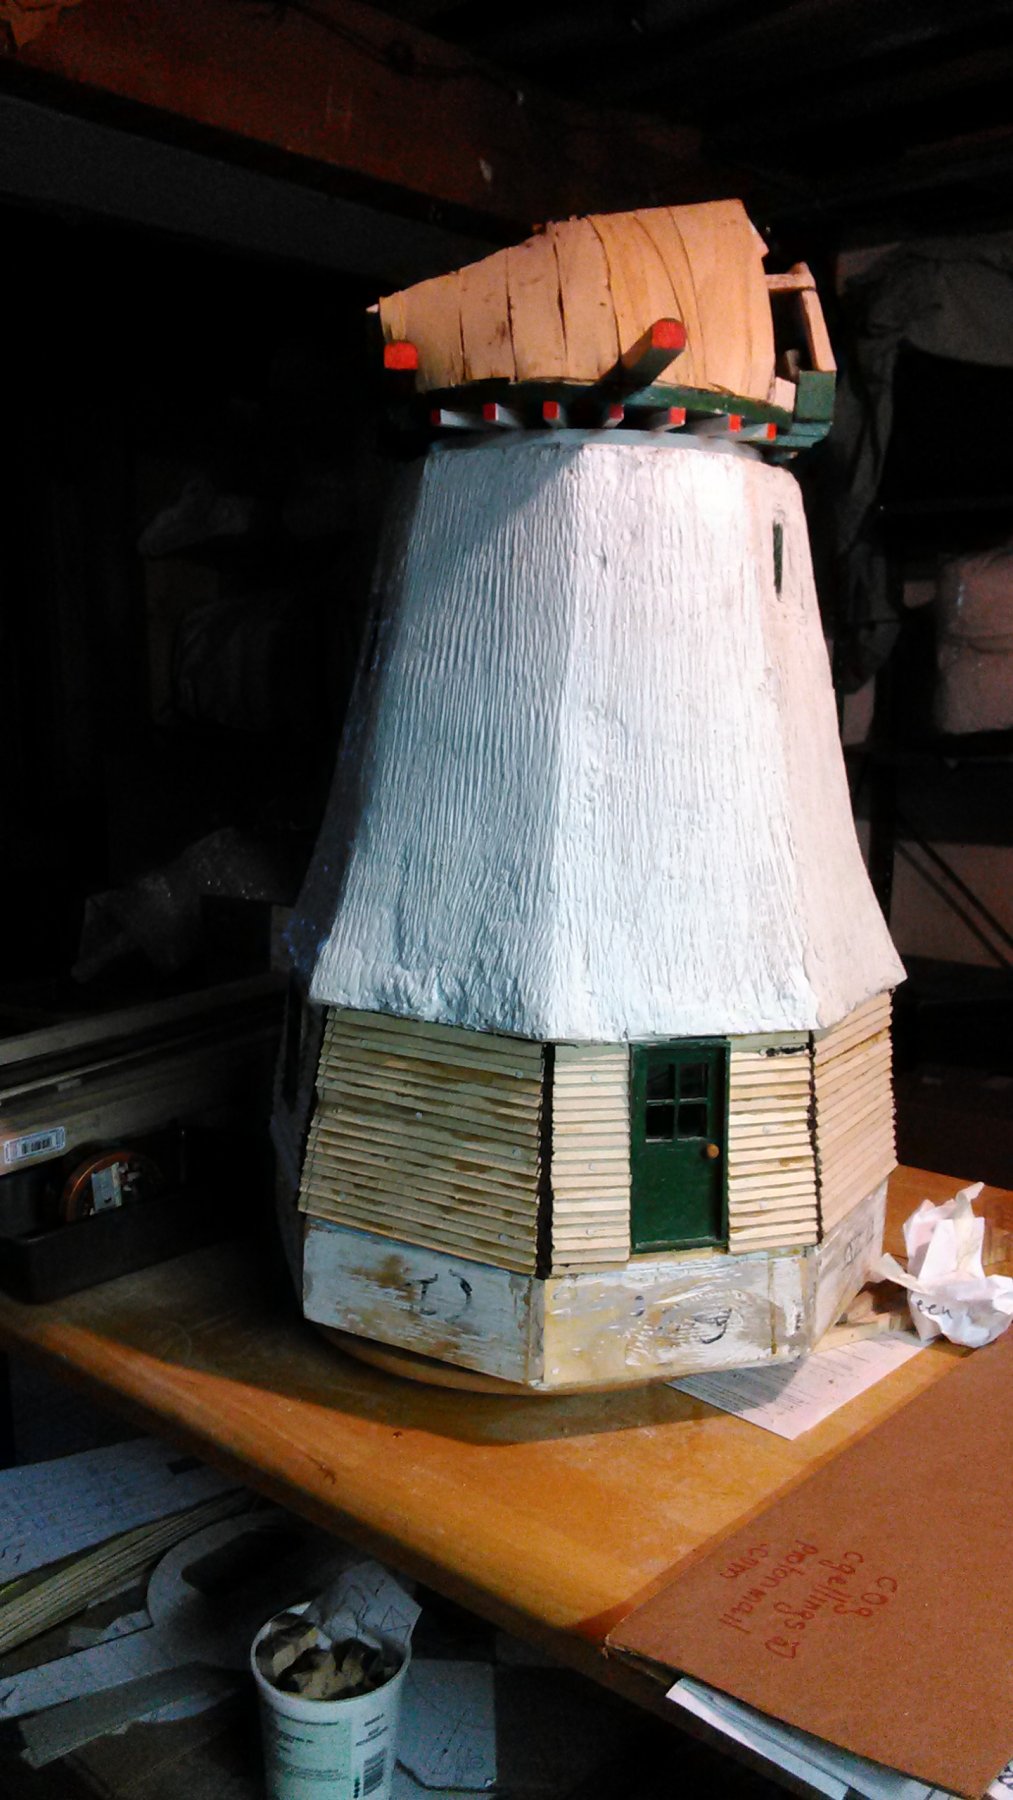
Painted all surfaces of the mill with primer for exterior. Next is to go to hobby lobby to get some more van Dyk green to touch up the windows and doors and purchase another green, either lighter or darker for the clinker panels.
Purchase a quart of gray to imitate the thatch. I will use yellow ochre here and there to get som contrast.
Use my neighbors drill press for the axle holes.
Install that in the cap. Close the cap and put a layer of tile glue on it. Paint that and once that is all done start on the most difficult part of the mill, the vanes.
Marcus

- mtaylor, druxey, popeye the sailor and 5 others
-
8
-
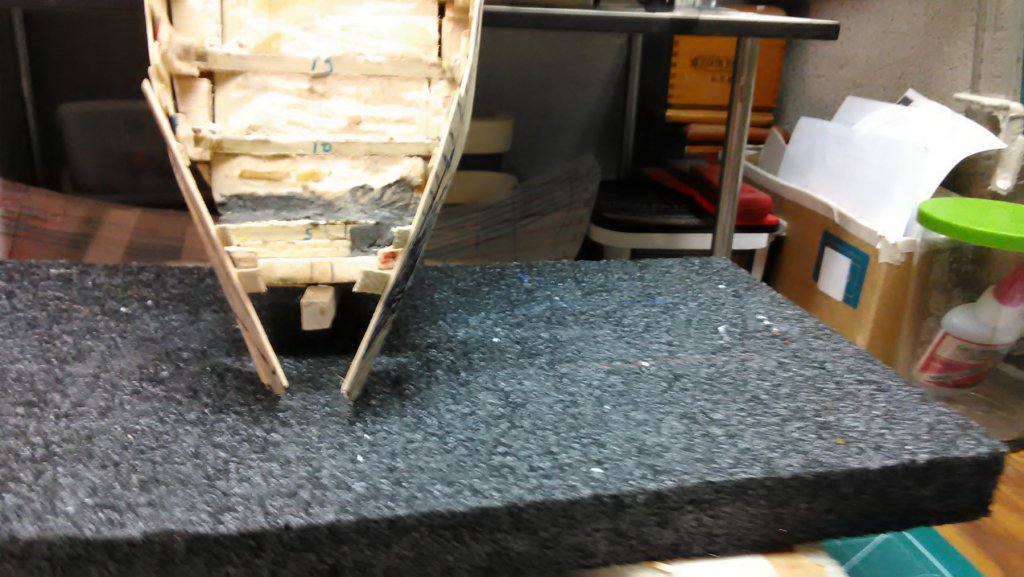
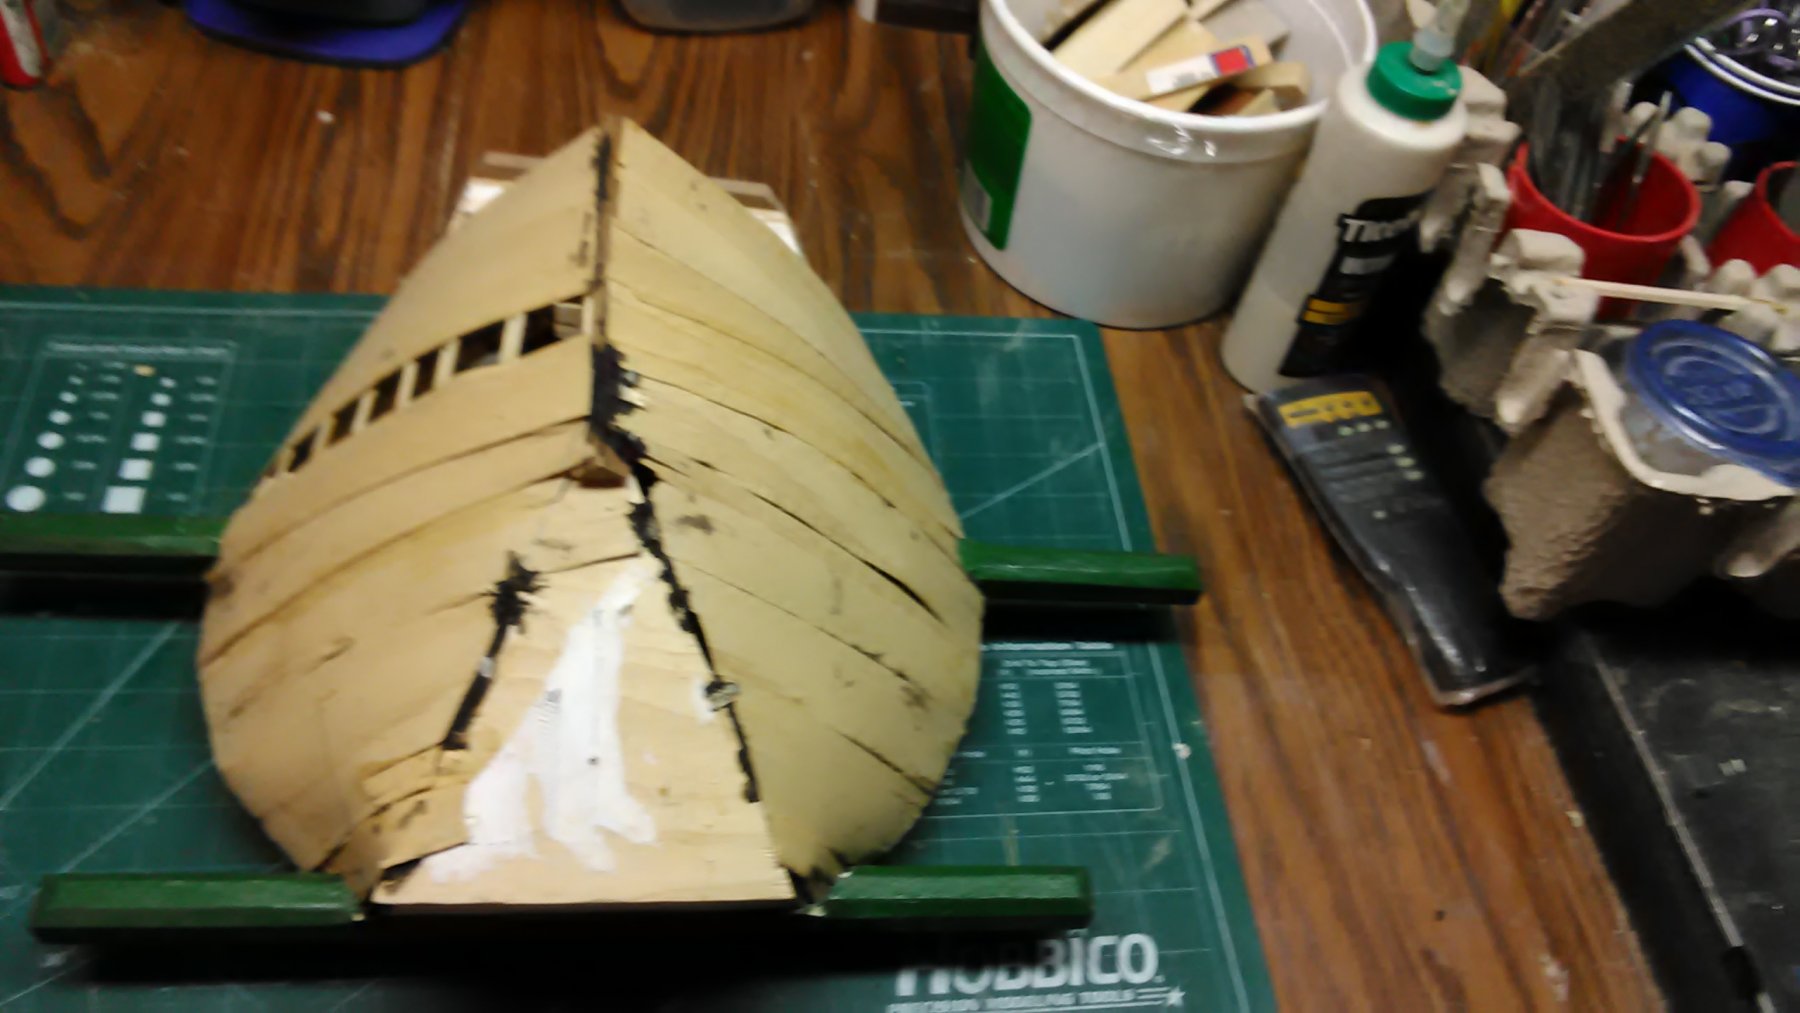
After much sanding, fitting, sanding and more fitting, dry fitting the keel, stem and stem post was satisfactory. Glued all pieces in place.
Once dry some more sanding and starting on the first layer of planking with basswood. I have a feeling this part is going to be an exercise in patience with many broken strips as both bow and stern have some extreme curves. It will be fun
Marcus


-
# Jan and Wefalck, thank you both for the information and others for the likes.
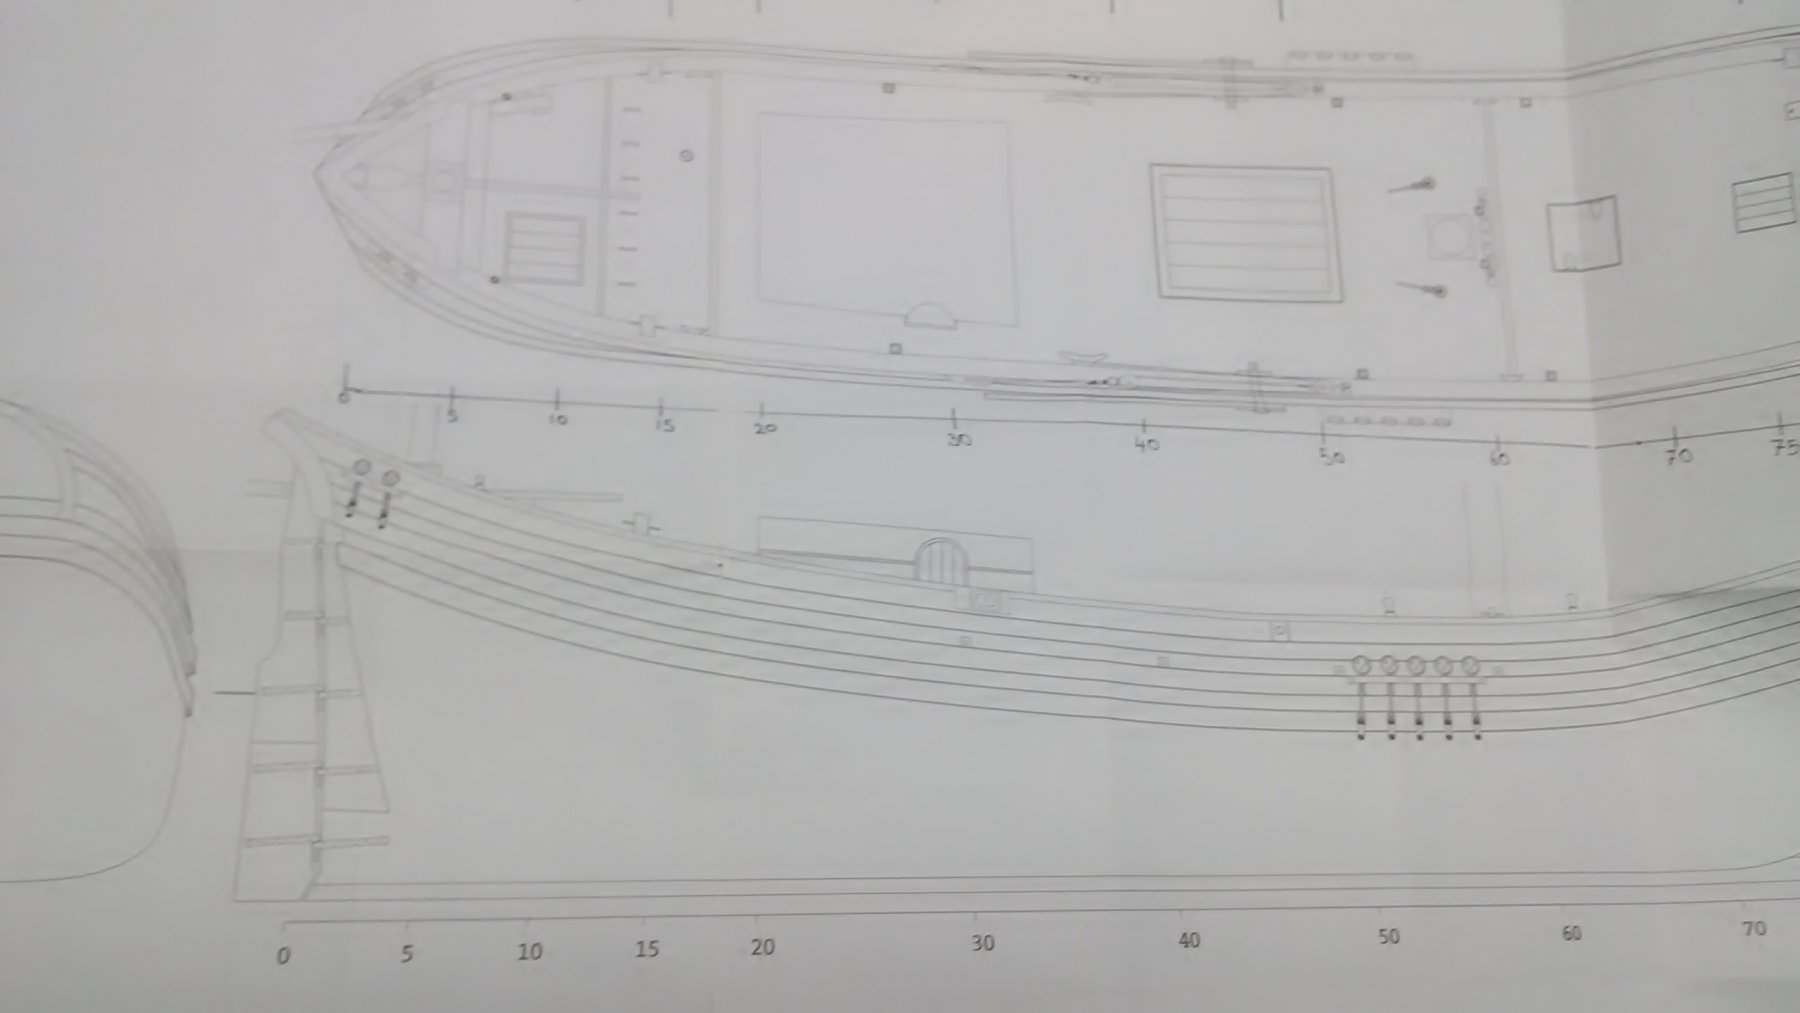
Finished the final sanding of the Boyer. Measured the height of the deck and the railing.
Next, I have to remove some wood that is part of the frames, the top of it otherwise the deck is too high
Marcus


- Piet, kees de mol, G.L. and 2 others
-
5
-
-
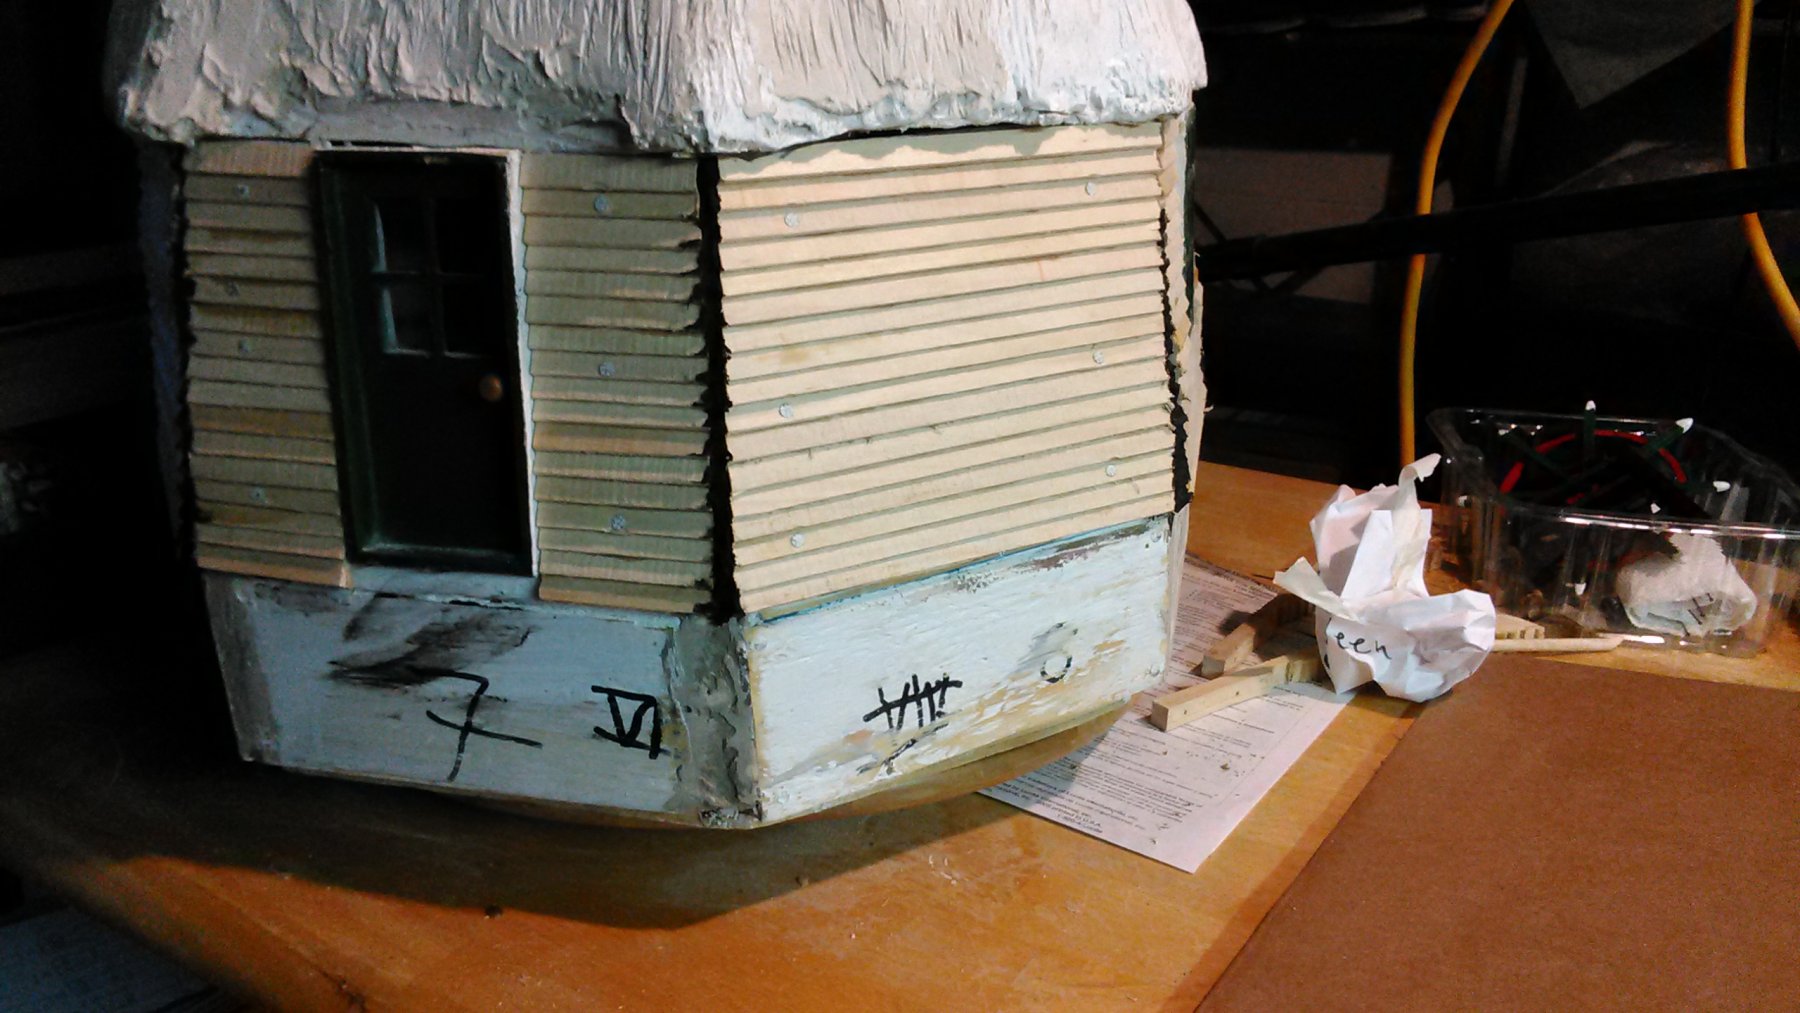
Finished all the clinker panels and nailed them to the mill. Calked in between the panals, on the corners with a combo of glue mixed with saw dust.
Found someone with a drill press so I can do the axle head.
The cap is pretty much covered with veneer. It will get a layer of tile glue and a coating of paint.
Marcus


- popeye the sailor, Jack12477, cog and 5 others
-
8
-
As an early birthday present I received a book by Ab Hoving called 'Nicholaes Witsen and Shipbuilding in the Dutch Golden Age' (review will follow). Very detailed, technical and interesting. Also an appendix of definitions of parts of the ship and in between parentheses the Dutch definition.
Ex. Orlop deck is called a koebrug, which literally means 'cow bridge'😁. Then in the back of the book, Witsen describes what every sailor on the Pinas gets to eat and qualities as well. For me that is an eye opener.
Anyway, in the introduction it has a sentence with the ship called Boyer, and right behind in parentheses it says 'Boeier'. Does this mean that they are the same? I looked up both ships and they are different. But Hoving knows what he is talking about.
I also know that the Boyer changed over the years in the amount of sails but the shape of the hull stayed pretty much the same.
Does anyone have a suggestion?
Marcus
-
Jan,
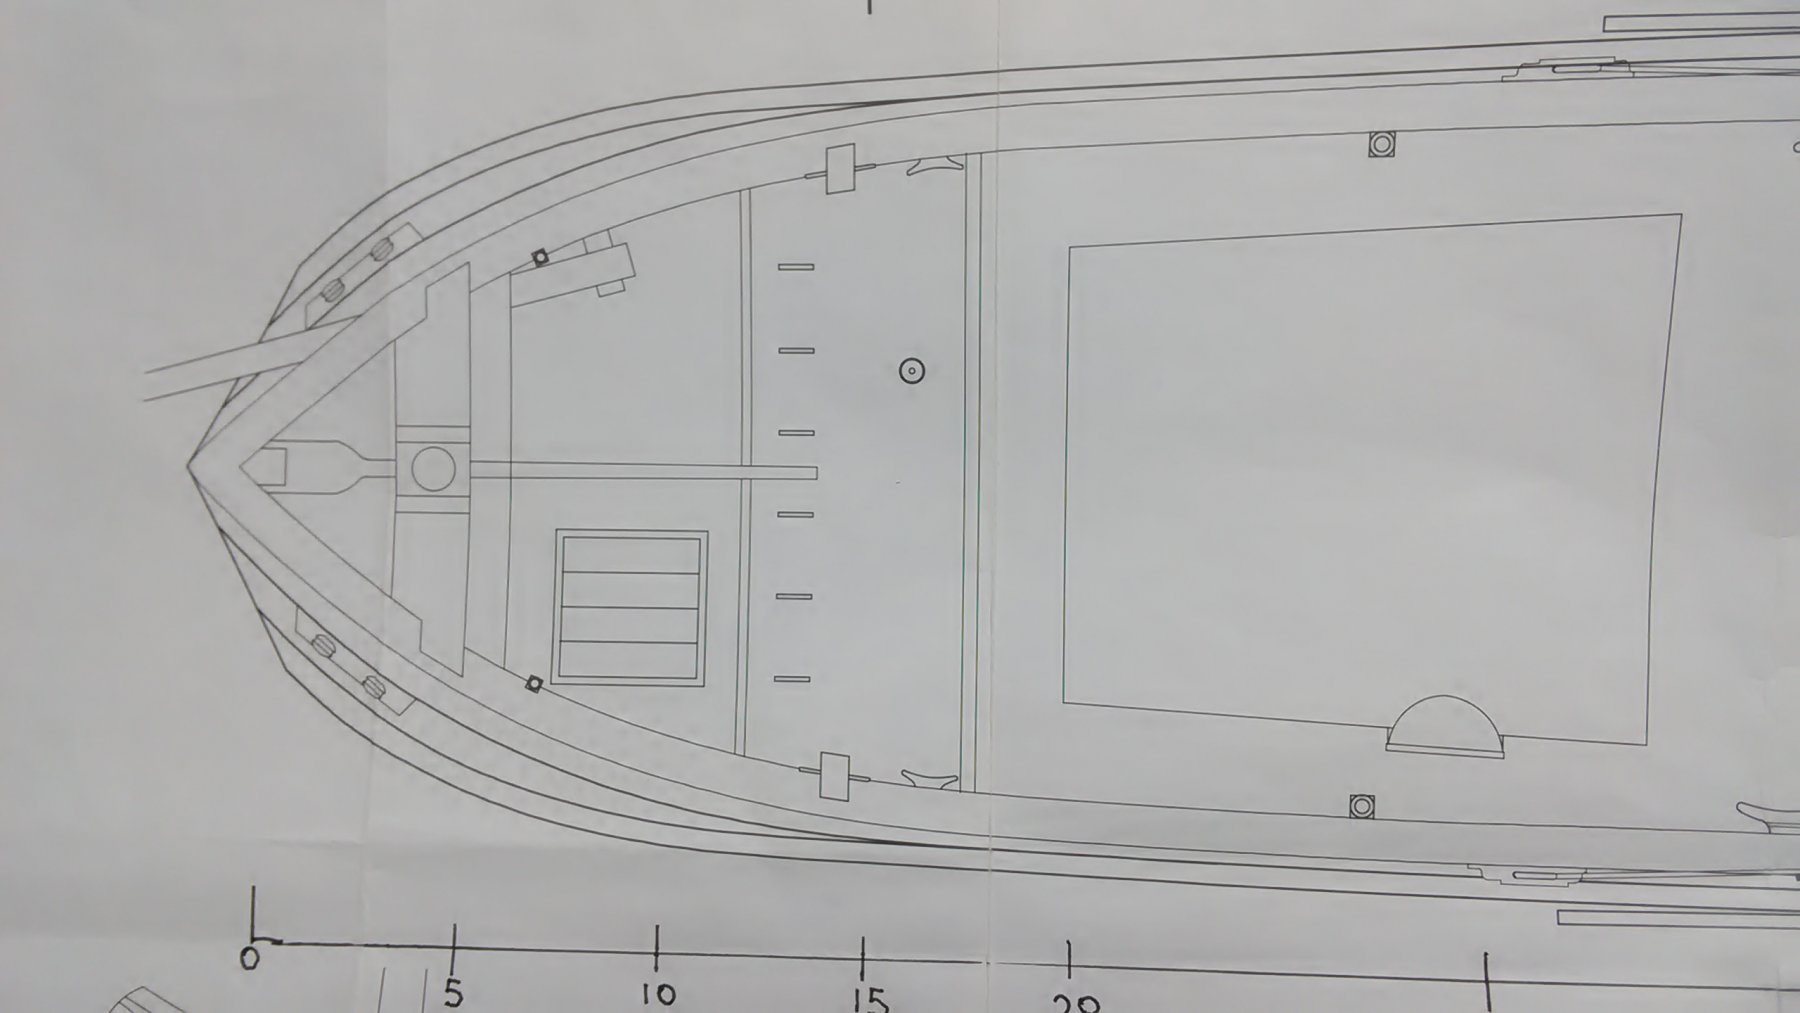
In the third picture you see the rounded triangle on the left. That piece is open as the tiller goes through. But on another picture I have it is somewhat closed and has a small motive painted on it. So this part I have to decide what to do.
The rounded Stern is a piece of balsa I am shaping to fit.
It will be unique.
Marcus
-
It's nice to see that there are still kits/models available from 'Authentic Models', as that company went out off business a long time ago.
They used to have a store in the Bloemstraat, Amsterdam. That was a really great store. Lots of finished models, accessories, carvings and lots of kits. Still have one of their last catalogs.
I have to start perusing eBay more often.
Marcus
- Piet, Azzoun, thibaultron and 4 others
-
7
-
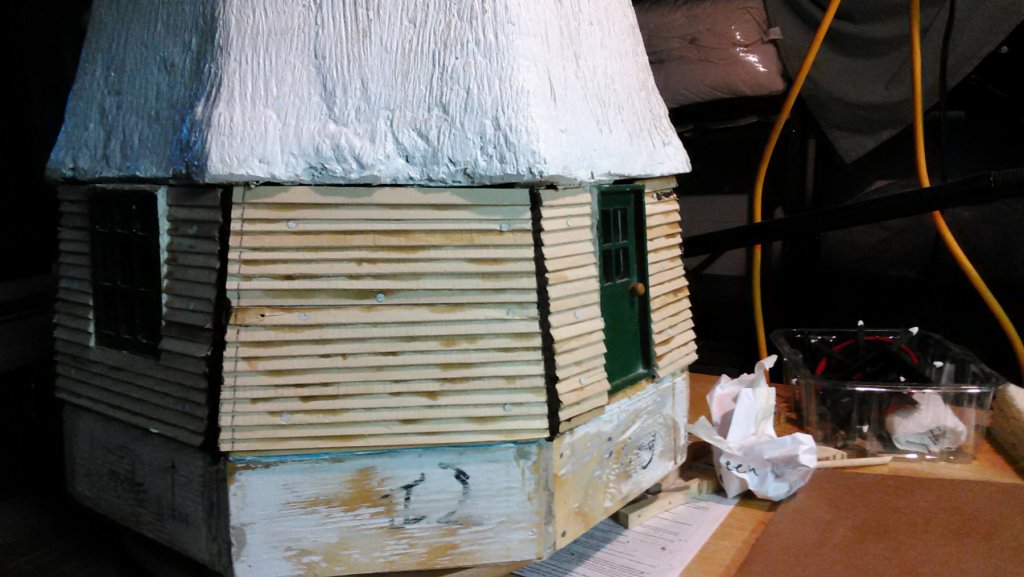
Installed 2 clinker panels on the mill. The holes for the galvanized small nails are pre-drilled. No glue was used.
The corners of the wall were the edges of the panels are will get a square dowel, which will be tapered at the top. It is a solution.
Because some walls are off be a mm or 2, I can't install the edges of the panels together.
Marcus
- druxey, Canute, thibaultron and 4 others
-
7
-
-
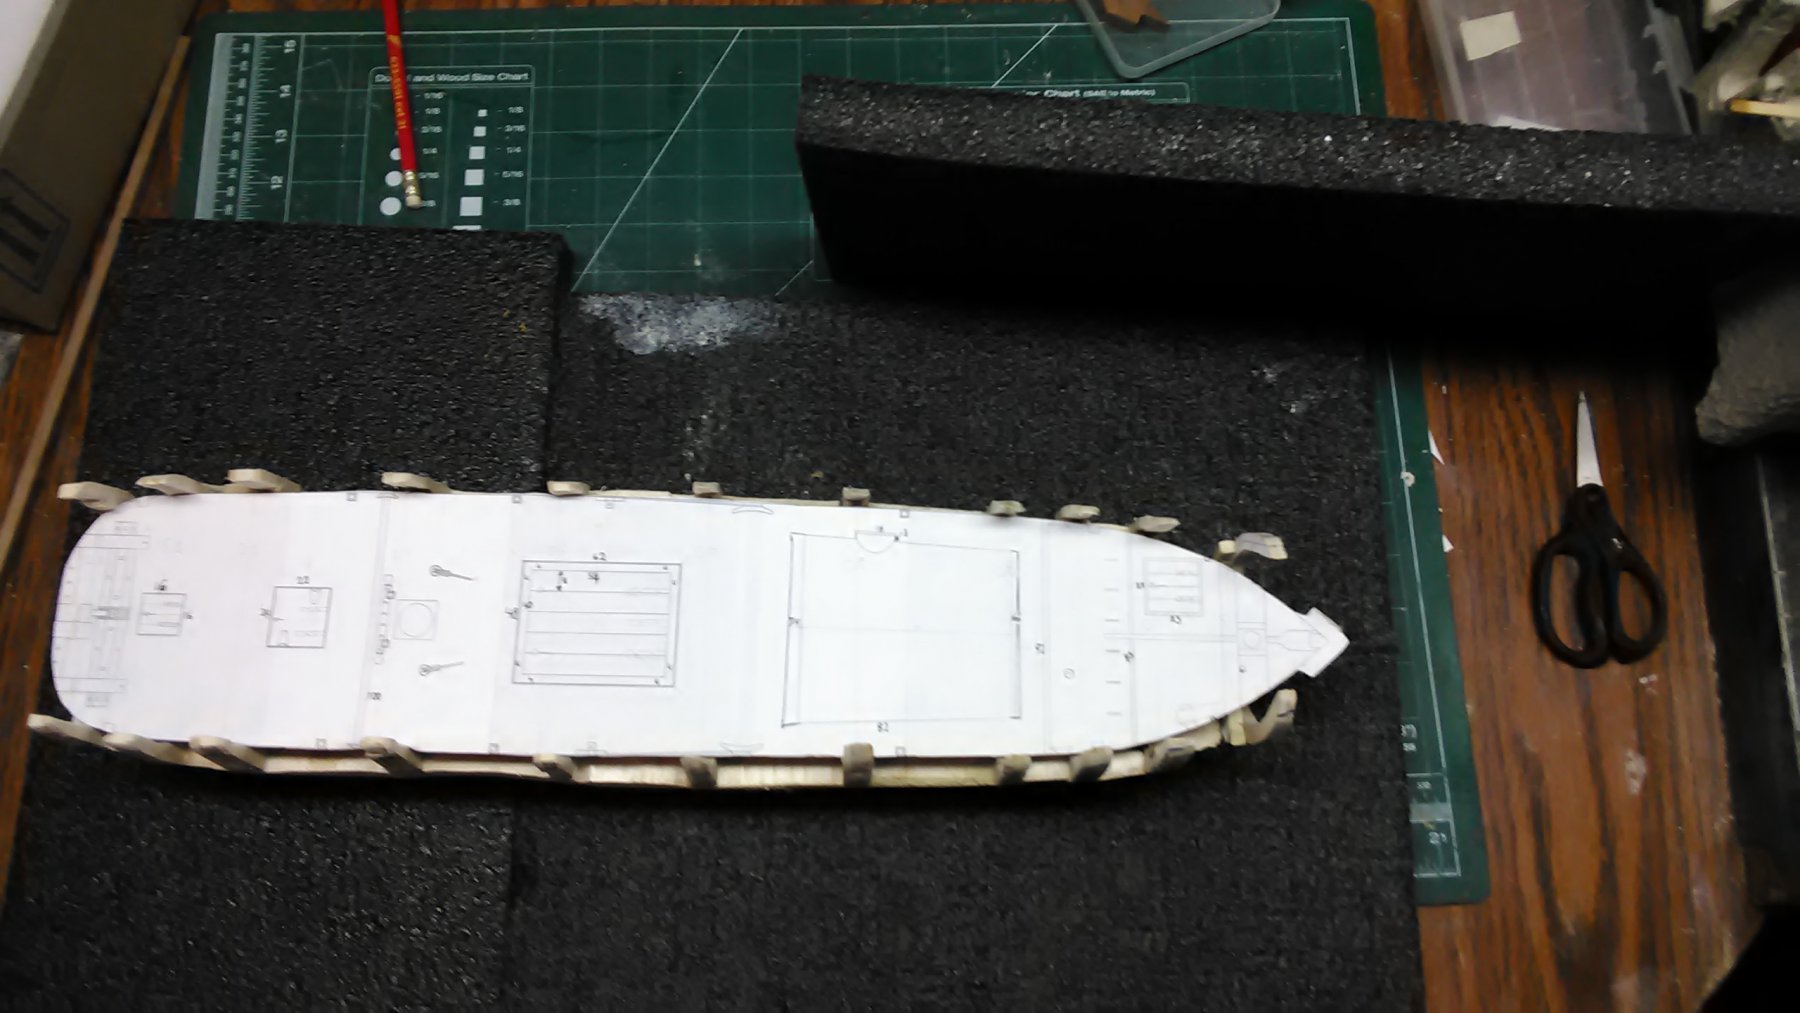
Been working on the hull, final sanding. The transom is curved and ends in a point. The top wale, there are 3 on each side, is part of the point. There is a small triangular picture of something. I have to make something up as the few pictures I have of the boat make no sense to me.
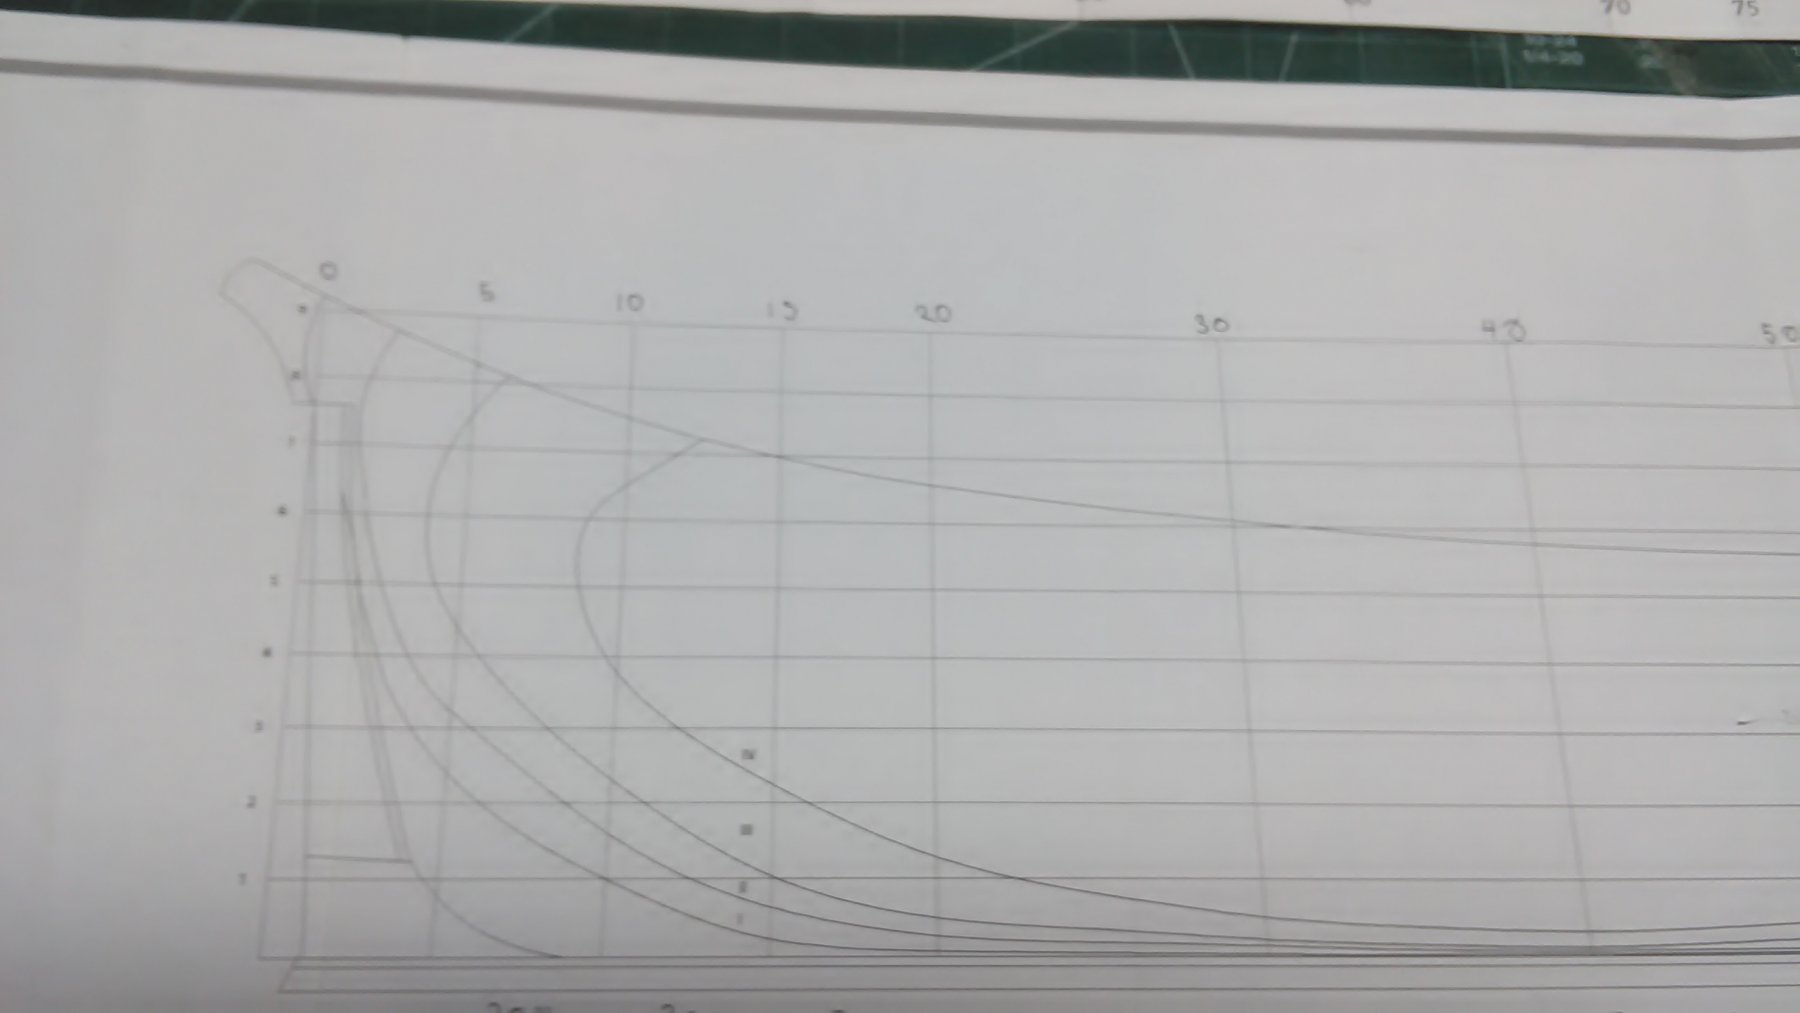
The bow has a very extreme curve which is going to be fun when bending the planks. I did have some practice with 2 yachts.
I cut out a copy of the deck and fitted on the ship. Looks very interesting, very different as well.
Marcus

- Piet, kees de mol, G.L. and 4 others
-
7
-
-
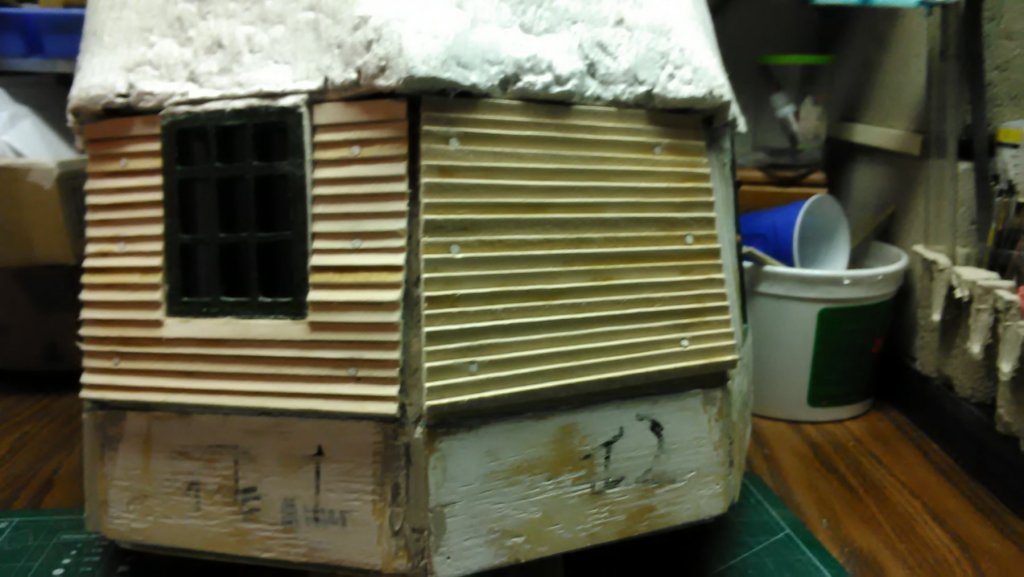
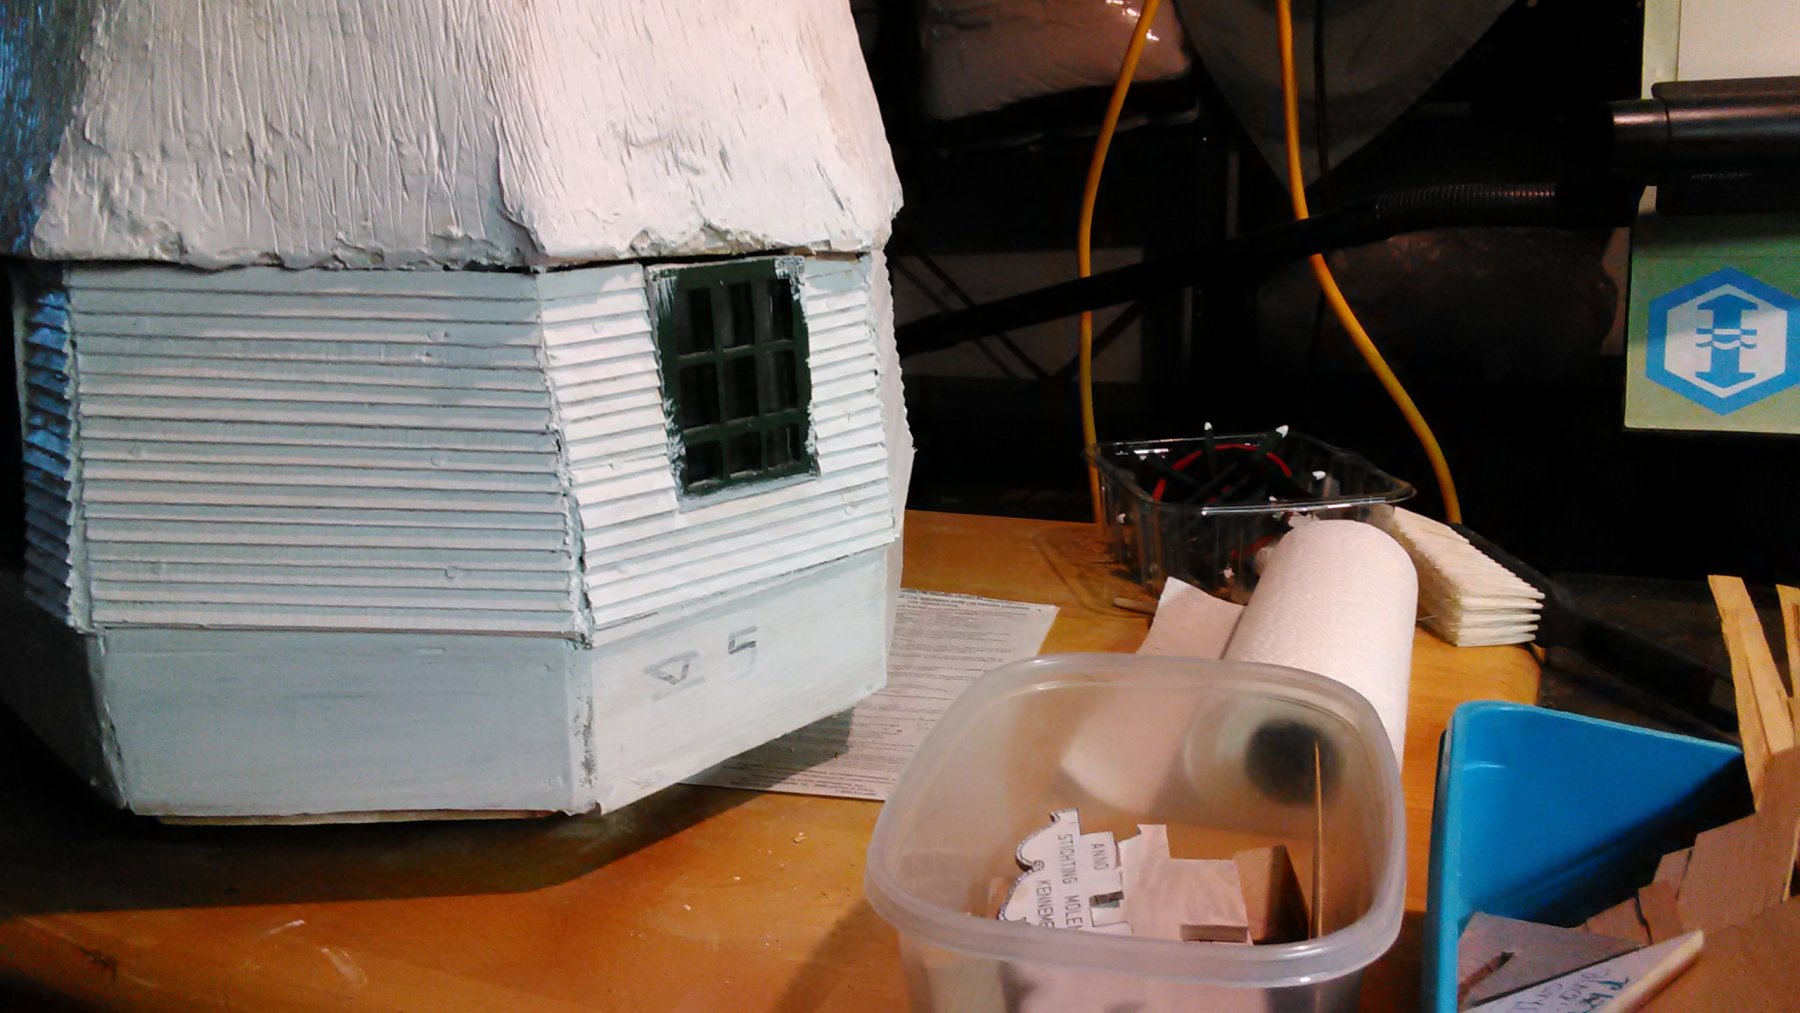
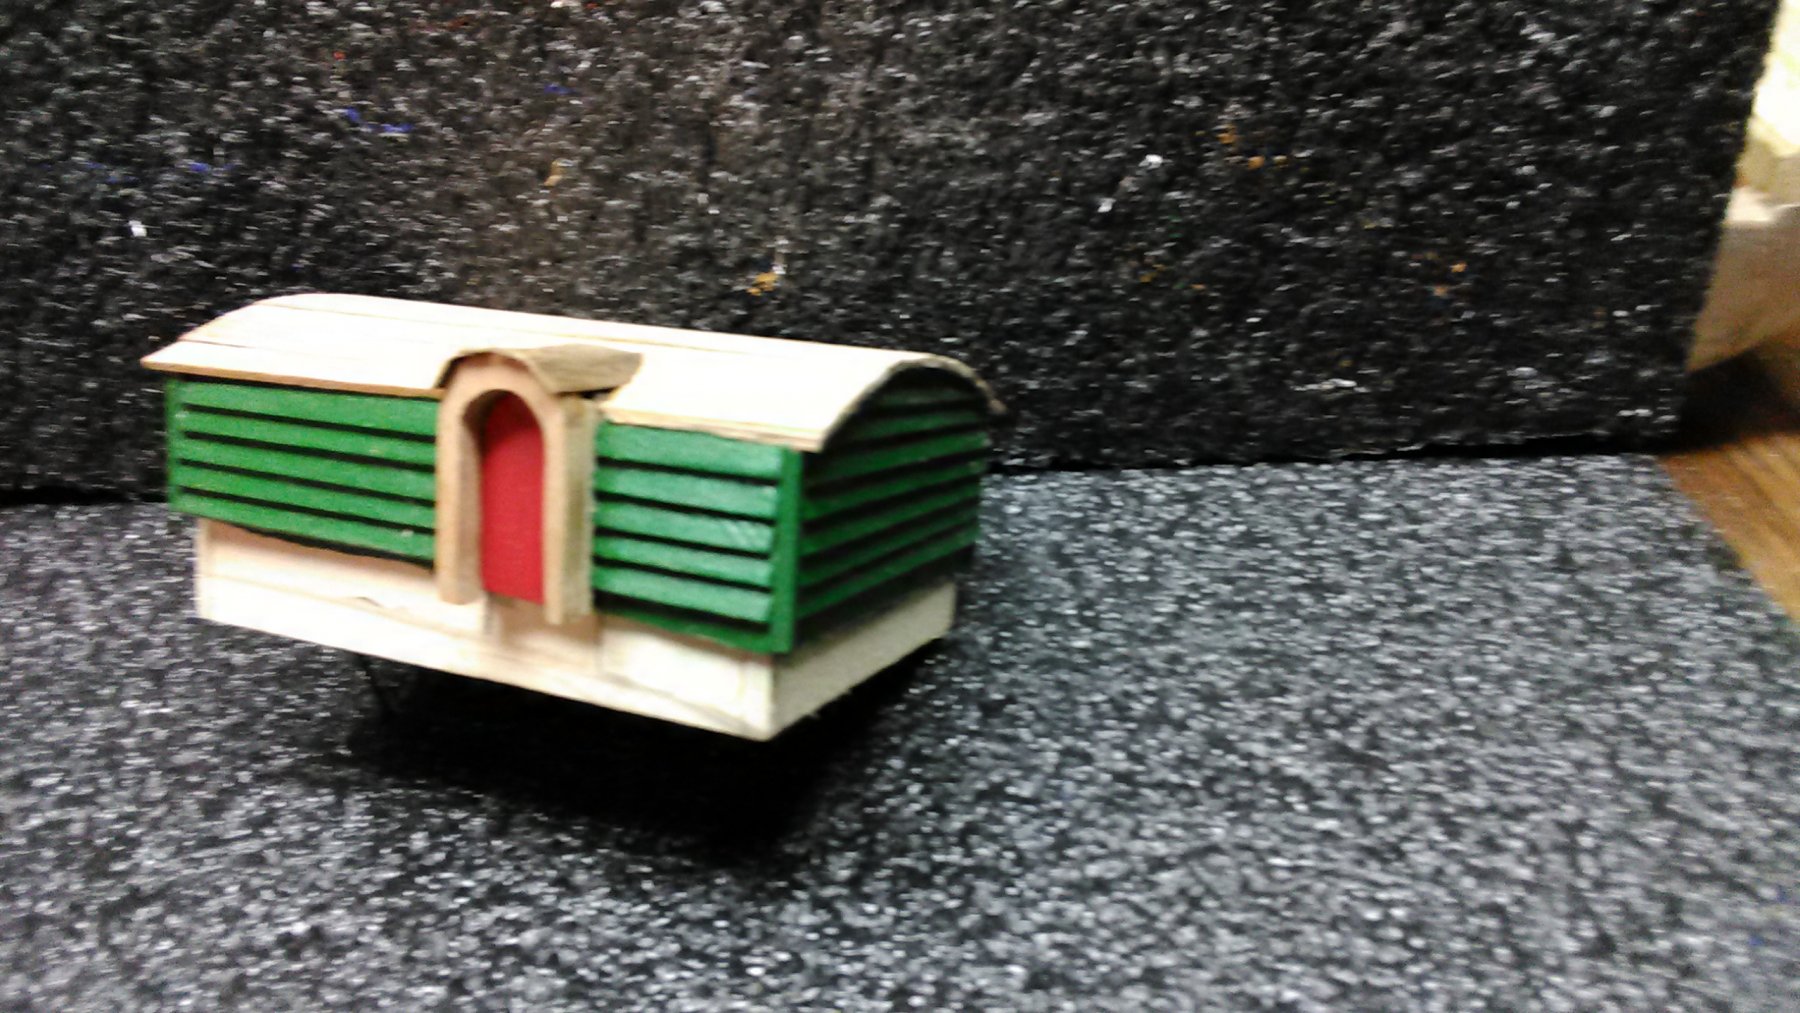
Finished painting the storage cabin. The bottom part is not clinkered because it goes below the deck.
Marcus

- hexnut, kees de mol, Piet and 2 others
-
5
-


Eight Sided Drainage Mill by flying_dutchman2 - FINISHED - scale 1:15 - Achtkante Poldermolen
in Non-ship/categorised builds
Posted
Borrowed a drill press stand with drill from craftsman. This thing is ancient, from the 60's, but it works.
Next week will practice on a scrap of Ash and if it is perfect I will do the holes on the actual piece.
Pictures will follow.
Marcus