


Keith Black
-
Posts
6,691 -
Joined
-
Last visited
Content Type
Profiles
Forums
Gallery
Events
Everything posted by Keith Black
-
 Rob, Chuck makes some of the better blocks for sale. See post #1937
 -
Rob, Mr Google has all the answers. Search 1:75 scale, Google reply, 3/16 inch = 1 foot. Search 3/16 inch, Google reply, 0.1875 inch. Belay pins were 18 inches tip to tip and deadeyes were 12 to 15 inches diameter. Those sizes can be found in discussions by using the MSW search engine.
-
Lynn, the H&H photos with crew in them are really neat. I've been meaning to post all the Hatton and Hart photos in one posting, I promise to do so soon.
-
Rob, 1:75 scale is 0.1875 inches = 12 inches. Belay pins for your ship should be 0.28 inches, 18 inches at full scale and the deadeyes should be 0.20 inches, 15 inches at full scale. I'd like someone to double check me on that.
-
Way to go, Lynn. Nice job!
-
Pat, I couldn't get Glen to add penguins in his Aurora build and now you want him to add smoke AND flying cannon balls!? Glen, will I be able to get your daily schedule there at the funny farm so I'll know when's a good time to come visit?
- 177 replies
-
- 2
-

-
- Independence
- bottle
- (and 1 more)
-
And a cry rose up from the crowd, "smoke, smoke, smoke"...........we'd find you playing hide and seek at the funny farm if you tried putting little puffs on the barrels of 62 cannon.
- 177 replies
-
- 2
-
-
- Independence
- bottle
- (and 1 more)
-
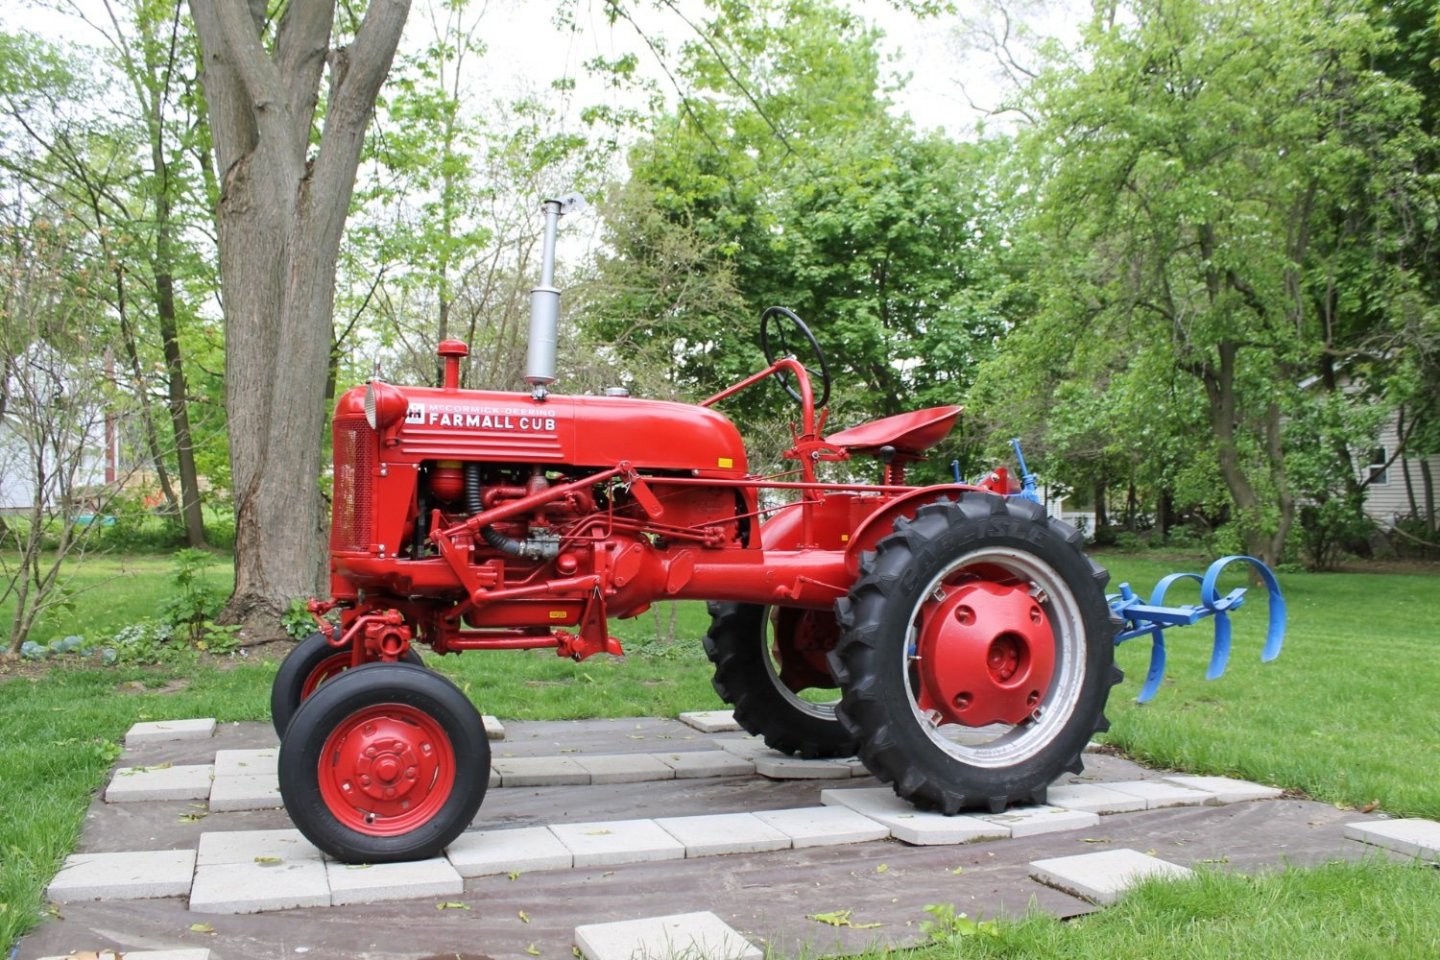
Thank you, Gary. It's a 1949. It was one of those 'I just have to have it' moments. I restored it, showed it a few times during Heritage Day here in town and now wish it was in someone else's backyard.
-
Mark, we're picking low hanging fruit from the same tree.........maybe they shot hoops to fight off boredom?
-
On the return journey I Imagine it was pretty tough for a cooper to stave off boredom.
-
NAIAD 1797 by Bitao - 1:60
Keith Black replied to Bitao's topic in - Build logs for subjects built 1751 - 1800
Such beautiful work, Bitao. -
Gary, what a mesmerizing pattern the ribs and the hull make. The shadows are consistent emphasizing the spacing consistency of the ribs and planks, very well done. Neat little Case tractor. A few trips thought the fields and that seam flash will take care of itself. I'm a bit partial to em.
-
Luke, welcome to MSW. Model ship building will definitely provide a challenge. Wishing you great success.
-
Eric, thank you for responding. Great suggestions. I suggested making the hole slightly larger for fine adjustment knowing that the mast would need to be shimmed for its final position. This is the way I did it because I knew there was no way I was going to be able drill the hole accurately. By slightly larger I meant a tenth of an inch.
-
AL, welcome to MSW. Very glad to have you aboard.
-
Ash dumped over the side dry in any breeze would be everywhere and in every mechanism. One would think that the most manageable state of ash would be ash mud. A ton of coal equals 200 pounds (10%) of ash. Burning a ton of coal an hour would equal 4,800 pounds of ash in a 24 hour period. To make ash slurry requires 50% water and 50% ash, ash mud is 25% water and 75% ash. Water weight required to make ash mud in a 24 hour period would be 1,200 pounds plus 4,800 ponds of ash equals a total waist weight of 6,000 pounds. To manually remove 6,000 pounds in 50 pound loads would require 120 trips in 24 hours or 5 trips per hour equals 12 minutes per trip. I think that's manually manageable but it's a constant grind.
-
Brian, that's directly over a gun port. Even if the gun ports had been closed during dumping, when they were reopened would ash dust have been an issue?
-
Mark, I thought JH was talking about the furnace funnels, I missed the key word "ventilation". My apologies Johnhoward.
-
Rick, welcome to MSW. I saw you sneaking around earlier, I thought you might be just another stray. Glad to have you aboard.


