


Keith Black
-
Posts
6,681 -
Joined
-
Last visited
Content Type
Profiles
Forums
Gallery
Events
Everything posted by Keith Black
-
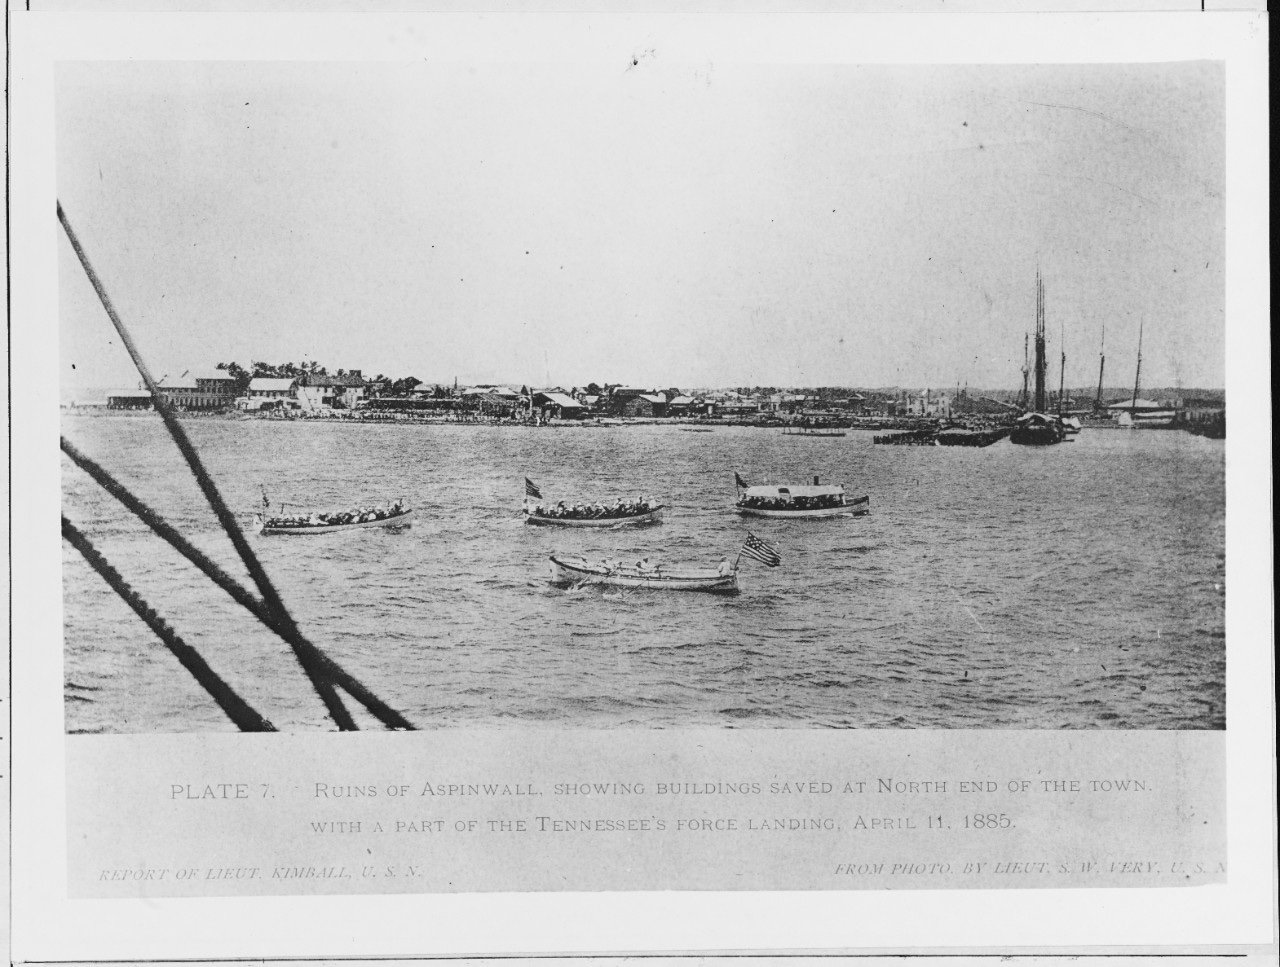
Roger, thank you for providing the information particularly regarding the Boat Book. I'll be searching for a copy shortly. If the Lord grants me the time to finish the Tennessee I'd like to build a steam launch and what better than the one in the photo as it's a natural tie in. I A 40 footer wouldn't have fit in the Tennessee's davits. I spitballed the length and came up less than 30 feet. The plate/photo of the ship's boats is dated, April 11, 1885. The Tennessee was broken up at the end of 1886.
-
 I've got no clue as to their dimensions, sorry.
 -
Which plates or those, DB?
-
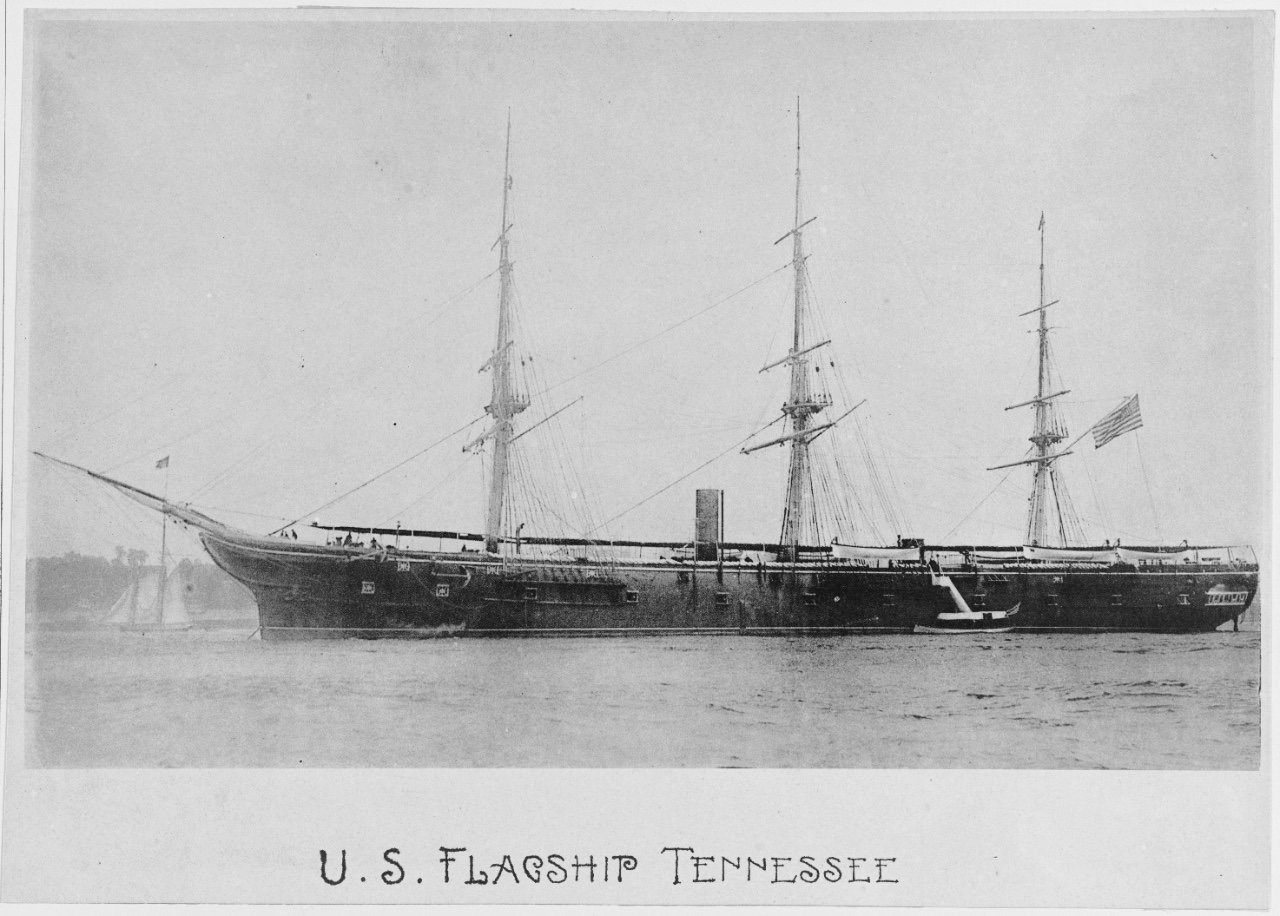
Years ago I came across this photo during my initial research on the USS Tennessee. Unfortunately I do not remember where I located the photo. Yesterday while doing some computer house cleaning I brought up this image and was surprised to see what appears to be a steam launch, background, far right. Of all the photos of USS Tennessee's ship's boats stowed in their davits, none are a steam launch. The two profiles shown of the Tennessee are ca. 1880. The first photo showing the Tennessee's boats is dated 1885. If this is a steam launch it was added at the very end of the Tennessee's career. I have a couple of questions. Is this a steam launch? Why are all steam launches seemly covered with either a canvas or wood top (to keep fuel dry)? Because there appears to be an opening in the canvas cover on the starboard side, would this launch have been stowed on the port side? TYIA Keith

-
DB, I certainly respect your decision to go with the copper plates provided with the kit. I'm sure you'll do a fantastic job using them. But where others might be dissuaded because of the cost for tape I'm providing the below link for copper tape much cheaper than $30.00 per roll. $8.99 for 22 yards is a much better price. I've also provided a MSW link showing how Daniel used copper tape. I also have provided a YouTube vid showing how to make copper plates from tape. There are more YouTube vids showing how to make plates and how to apply copper plates. https://modelexpo-online.com/14-x-22yds-Copper-Tape-06mm-x-6mm-x-20m_p_810.html
- 39 replies
-
- 1
-

-
- cutty sark
- sergal
- (and 1 more)
-
Welcome to MSW. I look forward to seeing your Santa Maria in a build log.
-
Okay, Glen, I just found your new build log. I've pulled up a chair and have my rum buttered popcorn at the ready. You know, a beer bottle makes a better looking cannon than a rum bottle but dispensing with the internals is a lot less pleasing.
- 177 replies
-
- 5
-

-
-
- Independence
- bottle
- (and 1 more)
-
Rob, I'll not be adding ratlines to the topgallant shrouds as those seem to have been going out of use around the turn of the 19th century (if memory severs correctly) Petersson's book doesn't show topgallant ratlines and I can't see topgallant ratlines in any of the photos I have of the Tennessee. I'm going for the 'less is more' approach. Brian, Eberhard, Mark, Glen, Keith, Lynn, Gary, and Rob, I'm honored by your approval and thankful to all for the likes. I am truly blessed that each of you is part of my MSW family.
-
Eberhard, more micro detail wizardry. The Wespe is really starting to take shape, how much longer do you think it will take you to complete her?
-
DB, have you considered using copper tape and a pounce wheel? If you MSW search you'll find several discussions regarding same. It makes for a clean look with a lot less work and a heck of a lot cheaper.
-
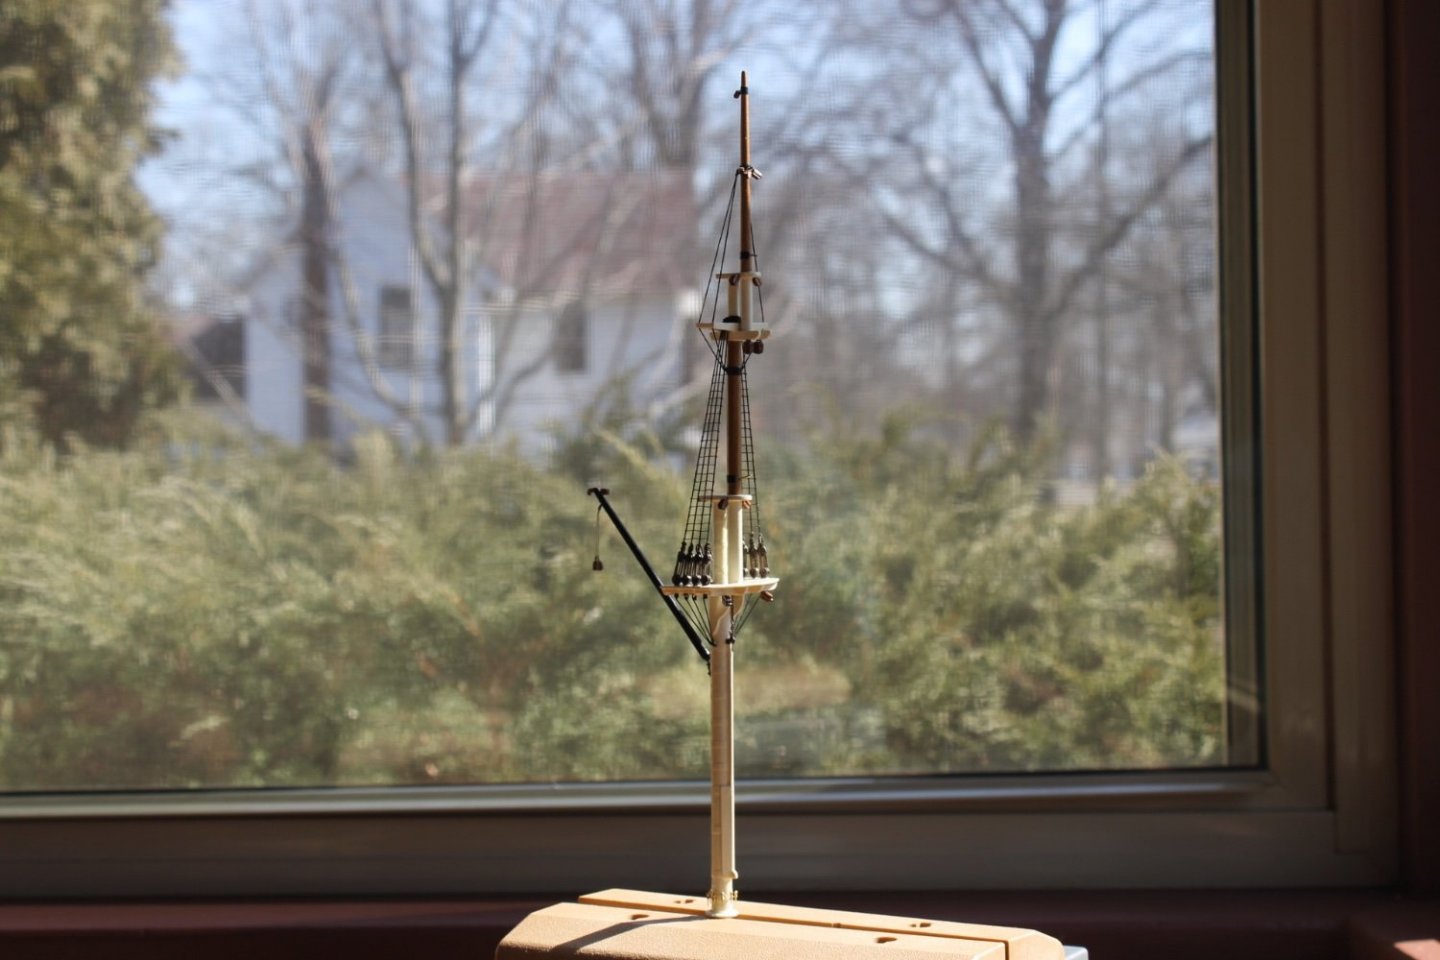
Thank you to everyone for the helpful and supportive comments and to everyone for the likes. The mizzen topsail ratlines are done using the weaving method. I tried using a #15 beading needle to pierce the shroud lines but try as I may, I couldn't thread the needle eye. It would have been far easier to pierce the shroud lines but alas I had to use a #12 needle. I used 0.12 inch spacing representing 14 inches at scale. Sometimes the spacing got wonky but I'm determined to make sure this doesn't happen in the future. All I can say is that it's done and I can move on to rigging the mizzen topgallant and topsail yards before stabbing the mizzen into the deck for it's final time. I'll continue to use the weaving method for the remaining ratlines as I know I can have moderate success using this method. This first attempt may not look topnotch but maybe by the end I'll be able make something a bit more sparkly. Again, thank you to everyone for stopping by and being part of my journey.
-
Gary, while the plug maybe the stepchild in the process, there's craftsmanship in the making. Your typical excellent craftsmanship is evident as are your detailed instructions.
-
Dave, very nice. The stagger looks spot on. I pray you and your wife get well quickly.
- 362 replies
-
- 1
-

-
- Amati
- Lady Nelson
- (and 2 more)
-
New (old) Guy on the Block here.
Keith Black replied to Dearborn's topic in New member Introductions
DB, nice hull, sweet. -
I have adopted another orphaned kit
Keith Black replied to mtdoramike's topic in RC Kits & Scratch building
Good on ya, Mike -
Johnhoward and Brian, thank you both for sharing this bit of history.
-
Rob, the last two photos didn't post. Please post them agin, TY.
-
New (old) Guy on the Block here.
Keith Black replied to Dearborn's topic in New member Introductions
DB, welcome to MSW. I look forward to seeing photos of your Cutty in a build log. -
Greetings from Amish country Ontario
Keith Black replied to Deacon's topic in New member Introductions
Deacon, welcome to MSW. I look forward to seeing your Victory in a build log. -
SB, welcome to MSW. Please introduce yourself in the new member section, see the link below. I look forward to seeing photos of your father's ship. https://modelshipworld.com/forum/3-new-member-introductions/
-
Marc, I hope you don't mind me posting Eberhard's build log. His technique for painting with inks and washes is pretty incredible. See post #572
- 2,699 replies
-
- 4
-
-
-
- heller
- soleil royal
- (and 9 more)


