-
Posts
6,691 -
Joined
-
Last visited
Content Type
Profiles
Forums
Gallery
Events
Everything posted by Keith Black
-
Brian, thank you for the heads up on the slicer. I watched the vid, looks like a good product. Its kinda spendy for a max cutting thickness of 1/4 x 3/8. I'm looking forward to reading your review when you've had a chance to use it. In the vid he's cutting basswood, I'm eager to know how it works cutting oak.
-
Johnhoward, I don't think this would have been practical IMHO. At a ton an hour funnel removal would have been a constant. Funnels were heavy bolted together iron lumps with preventer chains anchoring them. The only thing tall enough to lift from would have been the other funnel. A crane to remove the funnels would have shown up on the photographs.
-
Lynn, also. a Forstner bit is a much better drill than the normal metal drills. There's much less tear out with a Forstner but they are more expensive. You should be able to buy one the size of your mast diameter or if you can afford it spring for a set and be done with it. Any time one of us has suggested a tool to help you along, you've been Jonny on the spot to buy it. That's why I disagree with your statement "I consider myself a casual modeler". The casual modeler would use an inadequate tool to try and get the job done. You're far more than a casual builder. If you were casual about this hobby I wouldn't be following you in your journey.
-
Lynn, I eyeballed it when drilling the holes for the mast. Get the cut off end of a 2x4 and practice drilling the mast hole using your t-bevel and your eye. Practice using a drill the same diameter as a bamboo skewer and going about a half inch deep. You can make a jig/templet but without a drill press and a way to solidly bed the hull, it's going to be an eyeball process. When you finally feel comfortable enough to drill the hull, if you mess up, you can plug the hole and do it again. I don't think you need to drill more than 3/4 of an inch deep if that. When you finally drill the hole in the hull you want the hole to be slightly larger than the mast where you'll be able to fine tune the angle. Eric, please jump in here and advise Lynn as I'm probably not giving her the best advise.
-
Wow, Glen, that looks sharp! I'm thinking you should have made two carriages, one for the Independence and one for a cannon model. The carriage is beautiful work.
- 177 replies
-
- Independence
- bottle
-
(and 1 more)
Tagged with:
-

HMCSS Victoria 1855 by BANYAN - 1:72
Keith Black replied to BANYAN's topic in - Build logs for subjects built 1851 - 1900
Pat, this is excellent news!- 1,013 replies
-
- gun dispatch vessel
- victoria
-
(and 2 more)
Tagged with:
-
Lynn, a lot of modeling is illusion, tricking the viewers mind into seeing something that's not really there. The viewers mind expects to see something, modelers give the viewers mind a gentle nudge and voila, the thing is there as plain as day. Your pintles and gudgeons while not perfect, at viewing distance they'll be noted by the casual viewer's eye/mind and the viewer will move on to make other observations none the wiser. I do hope and pray you heal soon.
-
Dave, I become more impressed with the deck layout with every new photo you post.
- 362 replies
-
- Amati
- Lady Nelson
-
(and 2 more)
Tagged with:
-
Michele, welcome to MSW. Hopefully you'll start a build log where we can follow along. I look forward to seeing your work.
- 13 replies
-
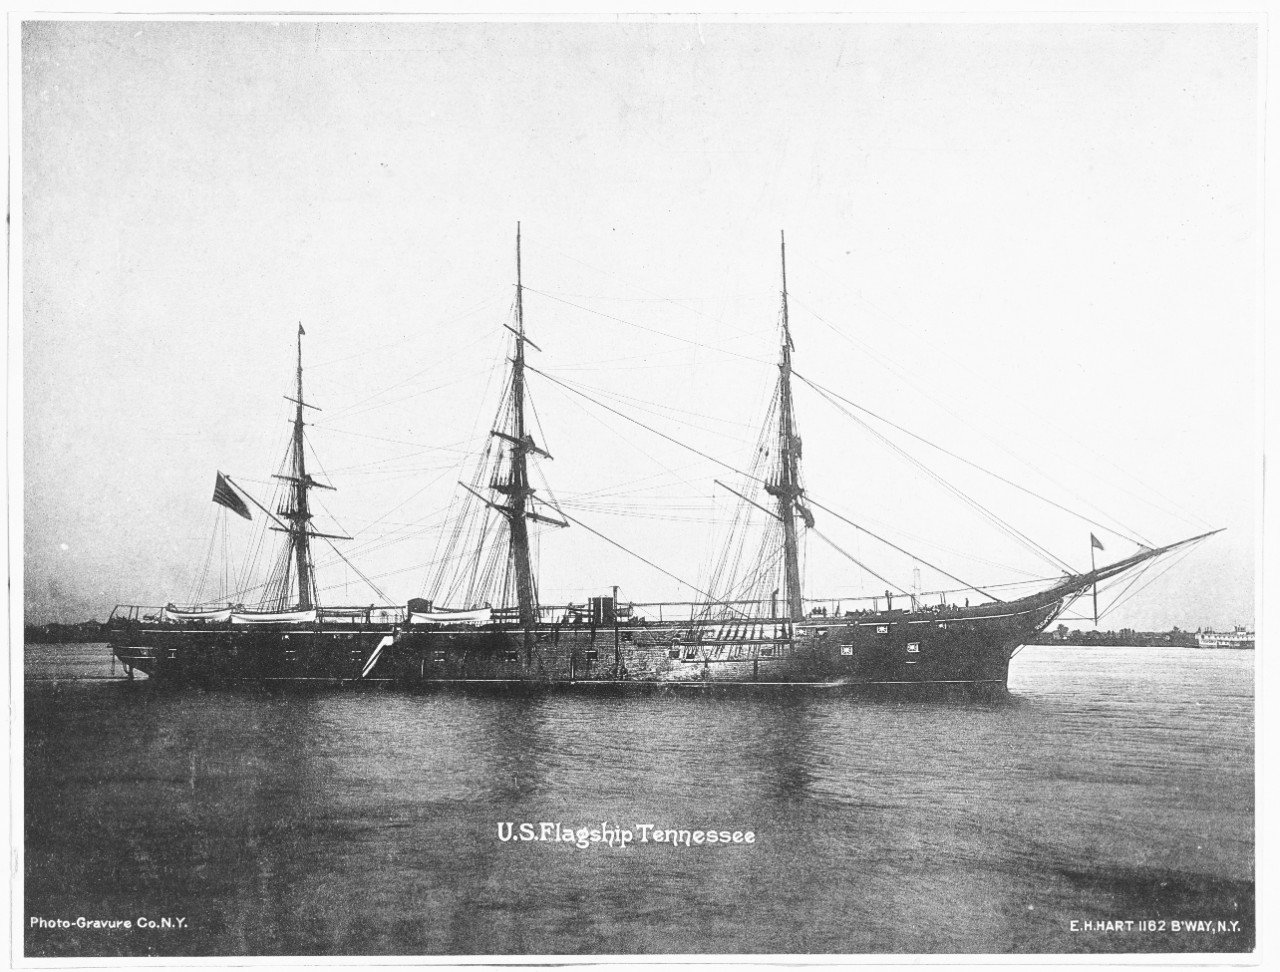
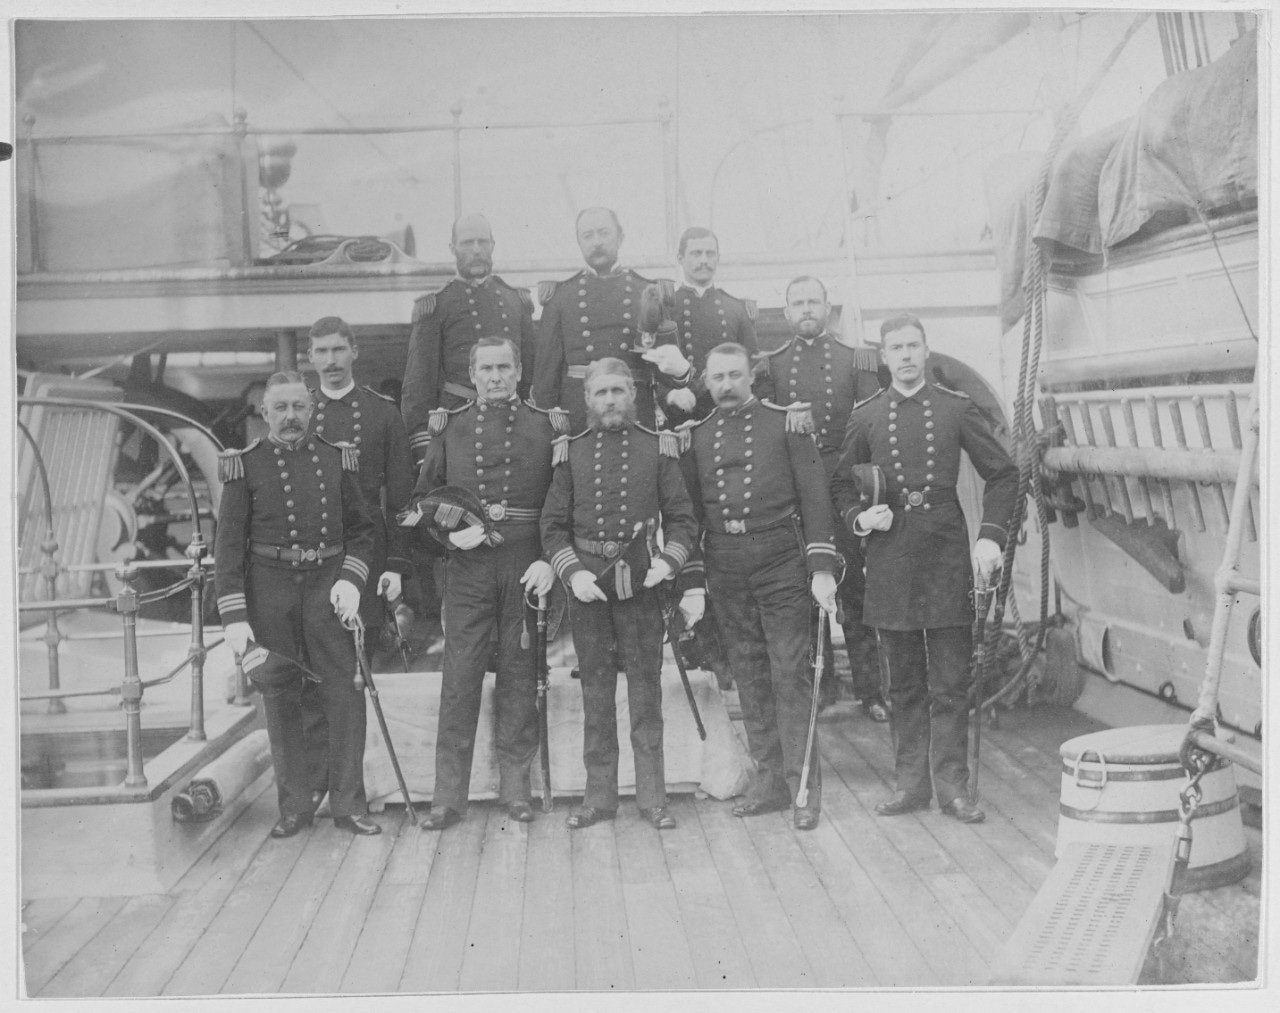
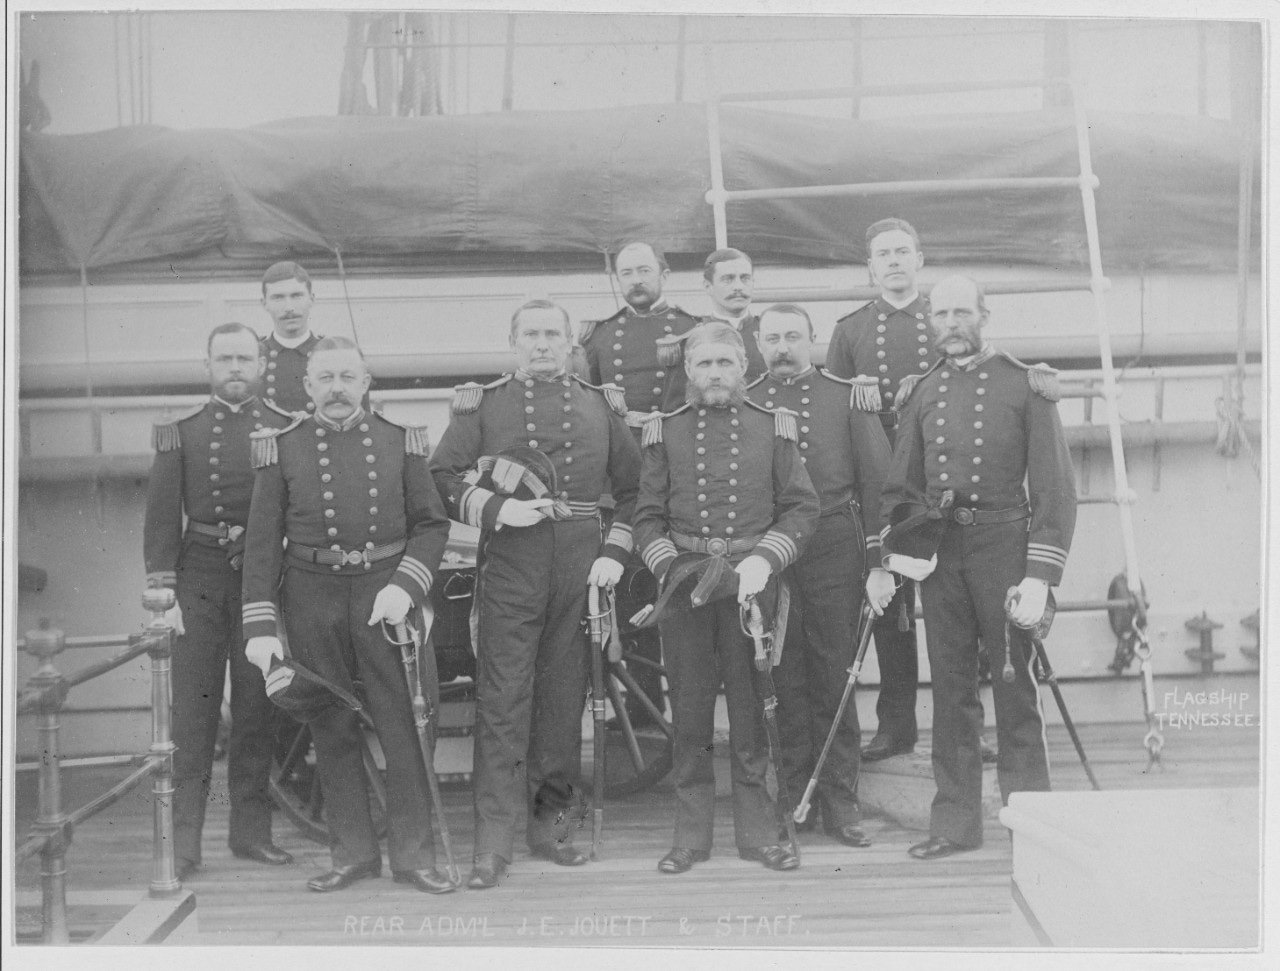
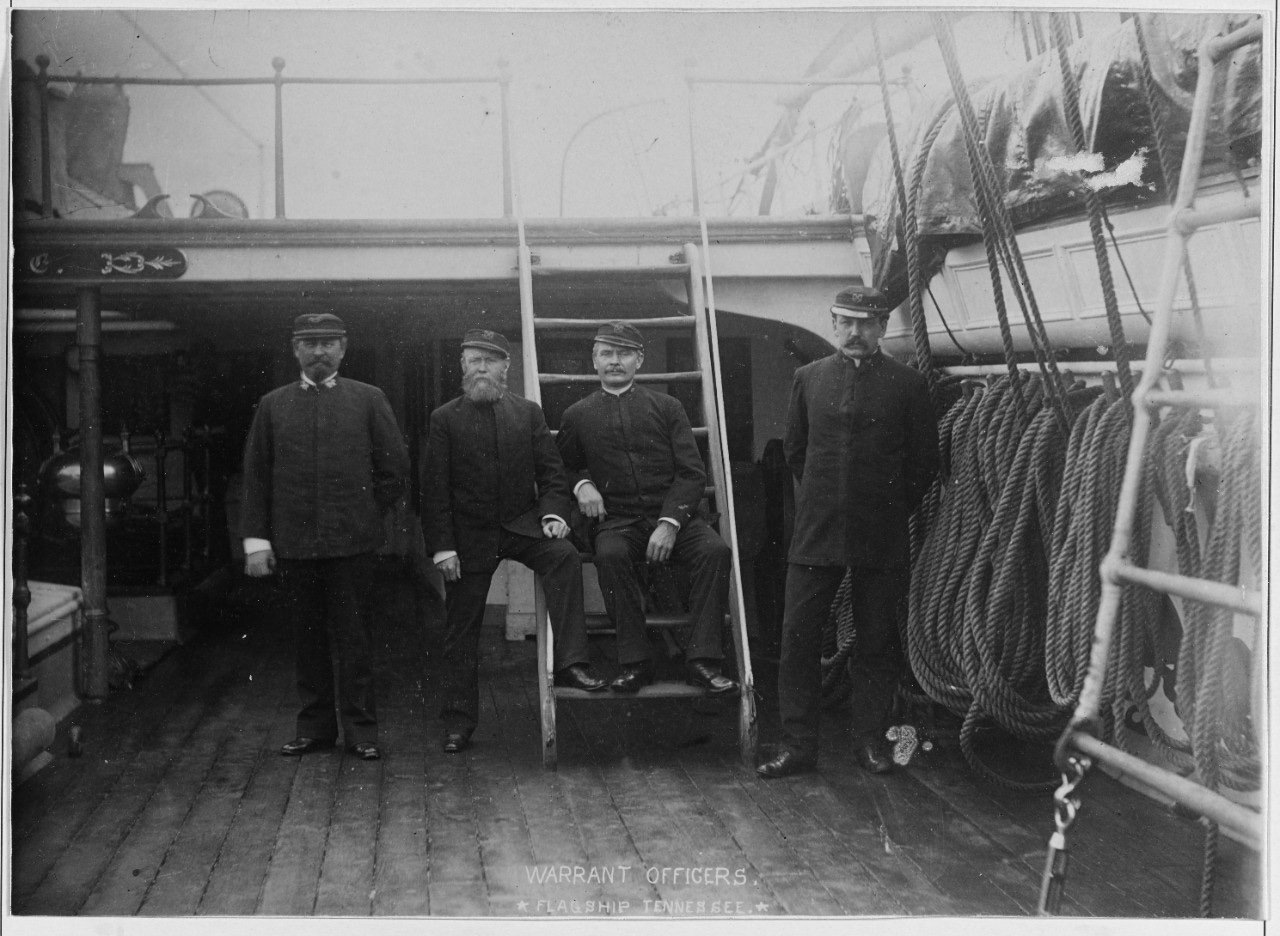
No, Rob, lifts and braces only as there'll not be any canvas in the yards. I'm rigging the Tennessee per the first two H&H photos. Hatton and Hart were on board the Tennessee at least twice (maybe three) taking photographs of the Tennessee during her career. The above and below photos of the mizzen port side pin rail void of control lines. The above and below photos of the mizzen port side pin rail with control lines. Not having a pin rail plan, rigging the Tennessee without control lines makes life much easier. I could probably fake it but why?
-
Nice work, Glen. I'm with Joe about seeing it finished.
- 177 replies
-
- Independence
- bottle
-
(and 1 more)
Tagged with:
-
Valeriy, a joy to see more of your beautiful work but an even greater joy to hear from you. Every time I hear or watch the news I think about you and Kortes.
-
Dave, I use a craft acrylic paint. The process I use is the same as yours up to painting. If the eyelets are to be used in a wide open space, I go ahead and glue the eyelet in place and then paint. I don't have to get too close to the wood because the eyelet has been blackened. Once the acrylic paint has dried I poly coat the eyelet. I use satin polyurethane to seal my work.
- 362 replies
-
- Amati
- Lady Nelson
-
(and 2 more)
Tagged with:
-
Thank you to everyone for visiting and for the likes. Lynn, Glen, Pat, Mark, Tom, Brian, Dave, Gary, and Keith thank you for your kind support. Thank you, Tom. Actually it's our front porch, my workshop is upstairs. Because I take such lousy photos due to the bad lighting upstairs, I've started taking pics on the porch when possible. Dave, I've enjoyed being part of your journey. I'd be so pleased if you were able to find something useful in my build to help you in yours. MSW is a collective of sharing by like minded individuals. I'd still be stuck in first gear if not for the build logs from which I've gleaned so much. Gary, the running lines right next to the flag halyards of the same size is a poke in the eye. The kid came out in me. I just couldn't wait till I had the proper size line to finally see the 37 stars fly after seeing it in my mind for so many years. Each of you warms my heart for which I am eternally grateful.
-
Dave, knots aren't that important as most of them are too small to see/tell if it's a bowline or a granny. If you do the ratlines in the traditional method then a clove hitch is essential. Your rigging plan should make it pretty clear as what line goes to what block. That's where books and build logs come in to play to fill in the blanks. Start searching how to strop blocks and start fiddling around in your spare time. I went with wire stropping for the blocks on the Tennessee. I found it to be so much easier.
- 362 replies
-
- Amati
- Lady Nelson
-
(and 2 more)
Tagged with:
-
Dave, I didn't have a rigging plan for the Tennessee so I had to get a much broader rigging education than you'll find necessary. Since you have a rigging plan your rigging education will be mainly 'how to' strop blocks, being able to determine where different line thicknesses belong, different line colors and where they're used, and teaching your fingers how to work with small bits that want to escape or do everything but what you want them to do. You'll have to decide which block stropping method works best for you, either line or wire. Tools needed are good tweezers, needle threaders. and smooth faced pliers. Rigging is the dividing line, this is where models either get completed or languish in some closet unfinished. if you overcome the fear of the unknown and are hardheaded enough, you'll make out fine. Don't hesitate to ask questions.
- 362 replies
-
- Amati
- Lady Nelson
-
(and 2 more)
Tagged with:
-
Tom, this is great to see, you've managed to get over that hurdle! Do you see things being pretty normal going forward?
- 341 replies
-
- Sophie
- Vanguard Models
-
(and 1 more)
Tagged with:
-
Lyle, I tried Jax without success but then I don't have great success with Casey. My best success is just to paint them.
- 362 replies
-
- Amati
- Lady Nelson
-
(and 2 more)
Tagged with:
About us
Modelshipworld - Advancing Ship Modeling through Research
SSL Secured
Your security is important for us so this Website is SSL-Secured
NRG Mailing Address
Nautical Research Guild
237 South Lincoln Street
Westmont IL, 60559-1917
Model Ship World ® and the MSW logo are Registered Trademarks, and belong to the Nautical Research Guild (United States Patent and Trademark Office: No. 6,929,264 & No. 6,929,274, registered Dec. 20, 2022)
Helpful Links
About the NRG
If you enjoy building ship models that are historically accurate as well as beautiful, then The Nautical Research Guild (NRG) is just right for you.
The Guild is a non-profit educational organization whose mission is to “Advance Ship Modeling Through Research”. We provide support to our members in their efforts to raise the quality of their model ships.
The Nautical Research Guild has published our world-renowned quarterly magazine, The Nautical Research Journal, since 1955. The pages of the Journal are full of articles by accomplished ship modelers who show you how they create those exquisite details on their models, and by maritime historians who show you the correct details to build. The Journal is available in both print and digital editions. Go to the NRG web site (www.thenrg.org) to download a complimentary digital copy of the Journal. The NRG also publishes plan sets, books and compilations of back issues of the Journal and the former Ships in Scale and Model Ship Builder magazines.

