Check out our new MSW Sponsor Innocraftsman
×


rwiederrich
-
Posts
5,504 -
Joined
-
Last visited
Content Type
Profiles
Forums
Gallery
Events
Everything posted by rwiederrich
-
Popeye...I was reading back in the Glory of the Seas log and found my own words that I wanted to finish the Glory before I begin the Great Republic. I got the plans and was intrigued to copy the frame plates....then what would a cut frame look like?.....and so on and so on. And before I knew it...(In one day) I had copied and cut out all the bulkheads....cut the keel and placed all the bulkheads and internal supports...and was ready for planking So...one fabrication led to another....Oh, and looking forward, I had to make my own copper plates and the machine to make them...and so forth and so on..... All the while, forgetting my promise to myself to finish the Glory of the Seas first. That brings me to where I am thustly. I'm almost at the same place with both vessels at this point...and jumping ship now is a good time..plus the change of pace will bring much needed enthusiasm and a break. Rob
- 1,208 replies
-
- 4
-

-
- great republic
- clipper
- (and 1 more)
-
Fantastic job Geoff. Rob
-
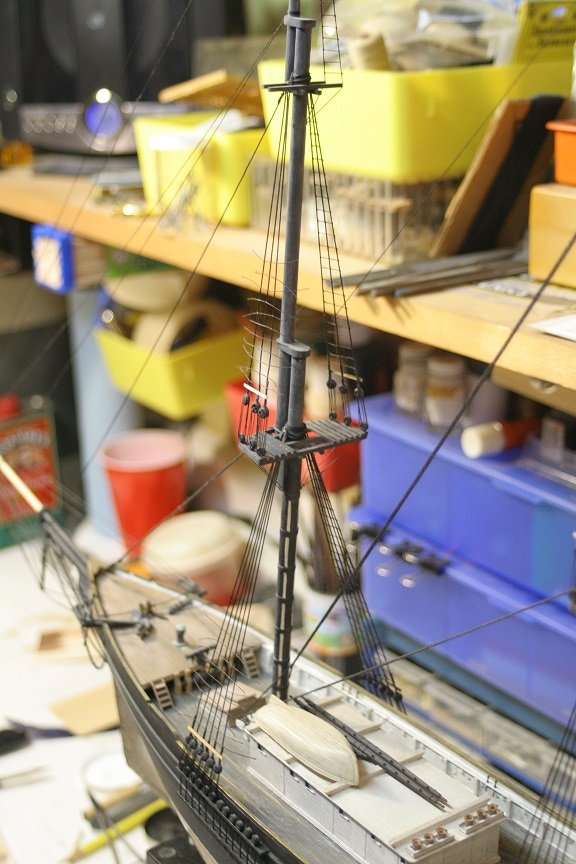
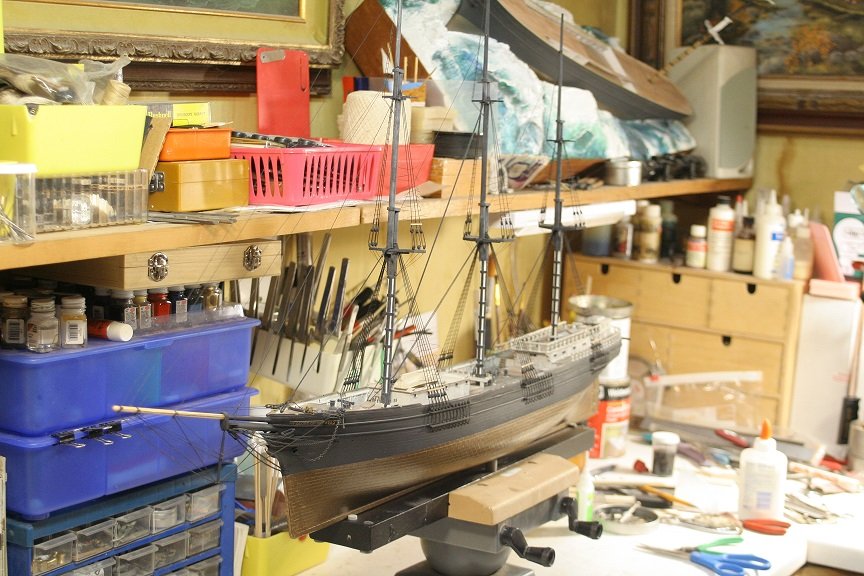
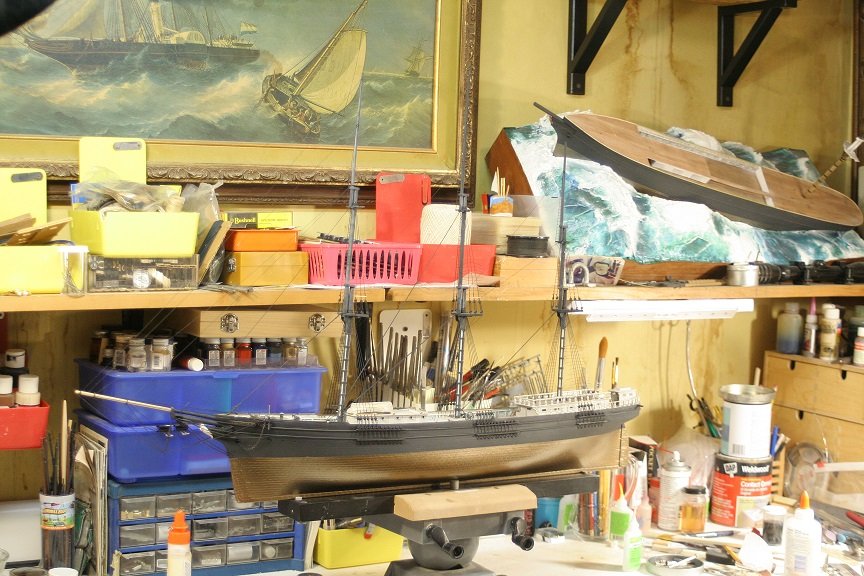
Spent an hour or so on the Glory of the Seas today...here are some pics. Rob


-
After further self evaluation....I determined it was time to stop production on the Great Republic.so I could re-engage the Glory of the Seas. The diversion has payed off and I'm ready to go full steam ahead on the Glory and work at getting her off the ways. I've been stretched too thin these days so I need to focus my efforts and complete a build for the underwriters.(Me) So here we go........... I'll return to the GR...it's just nice to take a break now and again. Rob
-
Shifting gears I'm back to work on the Glory working on the ratlines. Rob
-
Magnificent work...... I like how you coupled two small lathes together to complete the long job. Rob
-
Yeah...I'm kinda that way as well...background *white* noise actually is helpful to drown out all other would be distractions. With all that said......I'm still very much impressed with the actual size you decided on with this build........so much room for so much detail. Continually watching. Rob
-
Thanks Captain P...... Patrick...I had plenty of time on my hands at the time.......I also built my custom/scratch built Glory of the Seas in just as many days...however, I was side tracked by building the custom Portuguese Fierra (AKA Cutty Sark) that I have not yet finished her. Trouble is...I was side tracked on the Fierra with a new build the custom clipper ship, Donald McKay. Before I even finished the main mast on the McKay, I drank the cool-aid and began my new build the Great Republic and the Fierra and the Donald McKay are not completed either. What a joke. Now I have little time to finish any of them. I should probably go back and begin finishing the Glory. See what you did Patrick...now I'm all guilty and stuff.......
- 1,208 replies
-
- 4
-
-
- great republic
- clipper
- (and 1 more)
-
A man after my own heart.......can't work without a big screen playing a motivating historical movie. How do you focus? I play lots of music when I build. I have a dental chair I considered making into a binocular chair...but your application is easily just as impressive. Great magnificent...gigantic build. Rob
-
Nils...I have used my vacuum former to make boats before and they work out wonderful........and easily repeatable. Thin and easily able to fix all the interior framing. I have also made a master plug and formed a silicone mold of it, then cast many boats from that....... All I can say is....... do what works best for you....that practice.... has already produced fantastic results for you. Rob
- 2,625 replies
-
- 7
-
-
- kaiser wilhelm der grosse
- passenger steamer
- (and 1 more)
-
Thanks Patrick...I really appreciate that. I feel I spend more time in research then on the build itself. I was prefabricating parts for the spider rings that hold belaying pins around the mast feet. It's funny how it all comes together in a convincing manner, when it feels sometimes that I'm rushing...comparatively speaking. Actually I like working fast......My 1/96 hybrid build of the Cutty Sark on her repair ways(getting a new rudder)...took me 3 months to build. So in retrospect...this is one of the longest builds I've engaged in. 3 months to build this....
- 1,208 replies
-
- 16
-
-
- great republic
- clipper
- (and 1 more)
-
Fantastic! I always tried to build faster then dust can accumulate........ Hepa filters and an army of miniature dusters...helps.... Great job.. Rob
- 3,618 replies
-
- 3
-
-
- young america
- clipper
- (and 1 more)
-
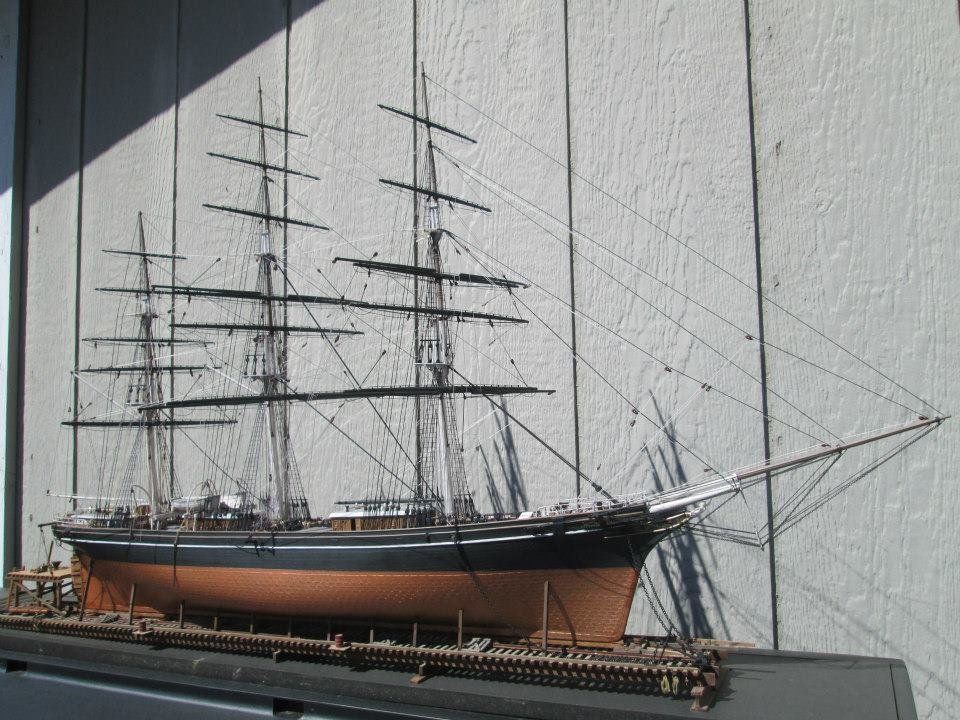
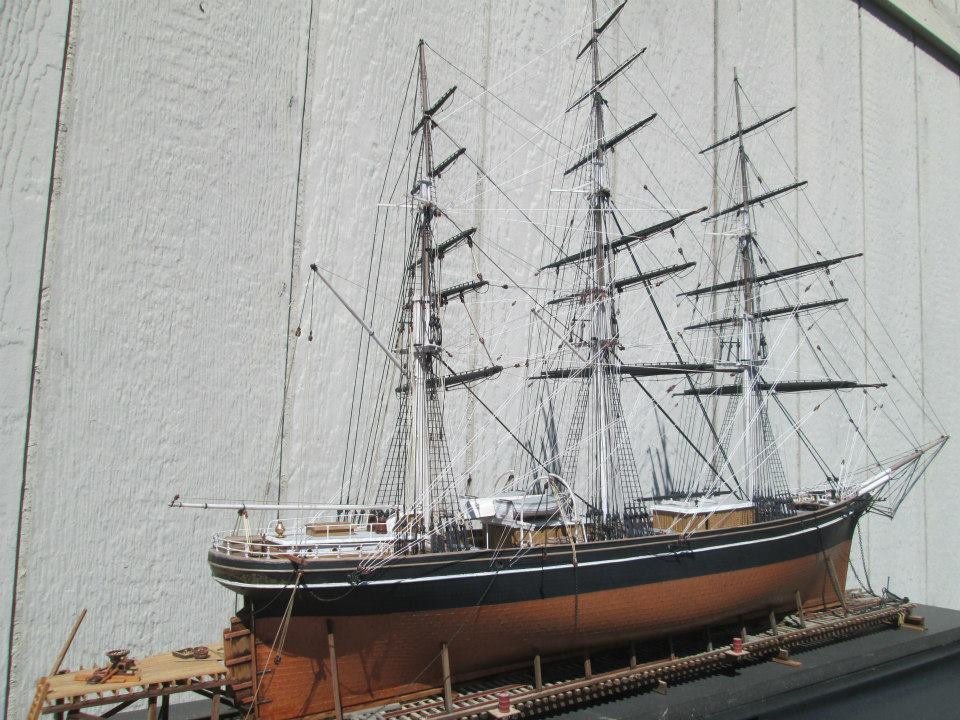
Final note: So many examples of this vessel show the hapless error of many builders who mixed elements of the rebuilt Great Republic with the *Original* built version. Namely the number of sails per yard. She had larger and fewer sails as originally designed...but mistakenly she is modeled with 6 per mast as her original make up...plus the height of her masts are sometimes erroneously fashioned. Is my version perfect...by no means... I just try to do my homework. Again...thanks. Rob
- 1,208 replies
-
- 4
-
-
- great republic
- clipper
- (and 1 more)
-
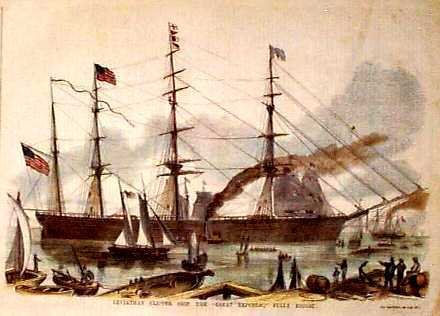
Yes..the spanker mast does seam an after thought...and eventually the Germans who owned her last did indeed remove it. This lithograph of her entering New York on her maiden voyage is the most accurate of her original masting design...envisioned by McKay. From this and many other sources I fashioned my version. Thanks for the fine comments. Rob
- 1,208 replies
-
- 4
-
-
- great republic
- clipper
- (and 1 more)
-
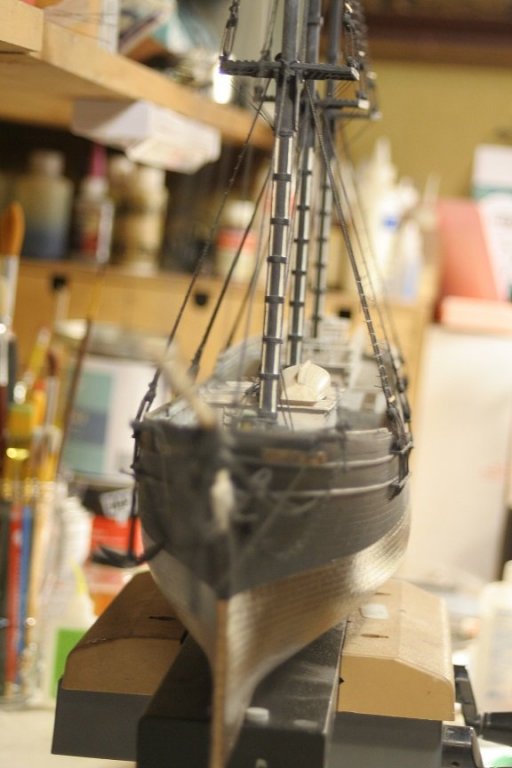
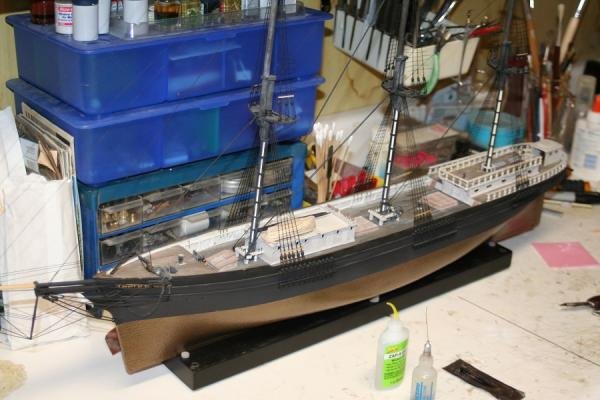
I'll be riggin away..rig rig riggin away.......Yeah. Once I fix the last items I mentioned I'll glue the masts in place then begin the shrouds and fore and back stays. OH boy..oh boy. Somewhere in there I'll also place the top deadeyes as well. When the mast get on the bench for final work...I'll cut in the lift sheaves for all the yards.....an fix all the blocks to the masts at that time. That's best done with the masts off the model. Rob
- 1,208 replies
-
- 5
-
-
- great republic
- clipper
- (and 1 more)
-
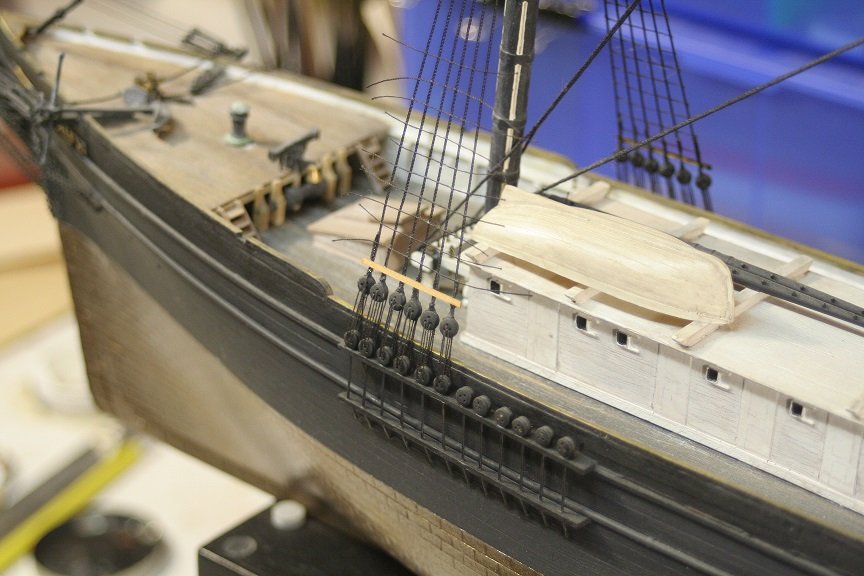
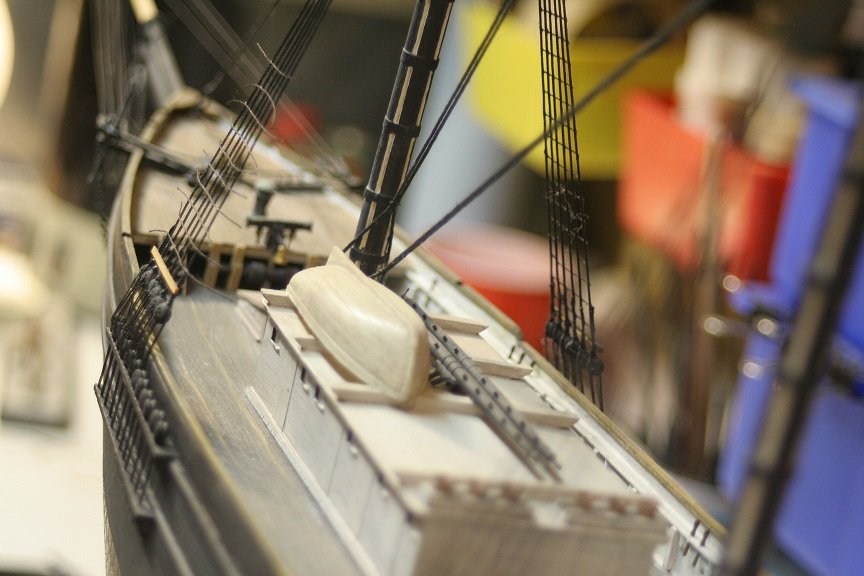
Before I fix the masts in place....I still have to devise and finish up the rest of the spider rings around the mast feet and the mast boots. It feels good to get some work done. Rob
- 1,208 replies
-
- 5
-
-
- great republic
- clipper
- (and 1 more)
-
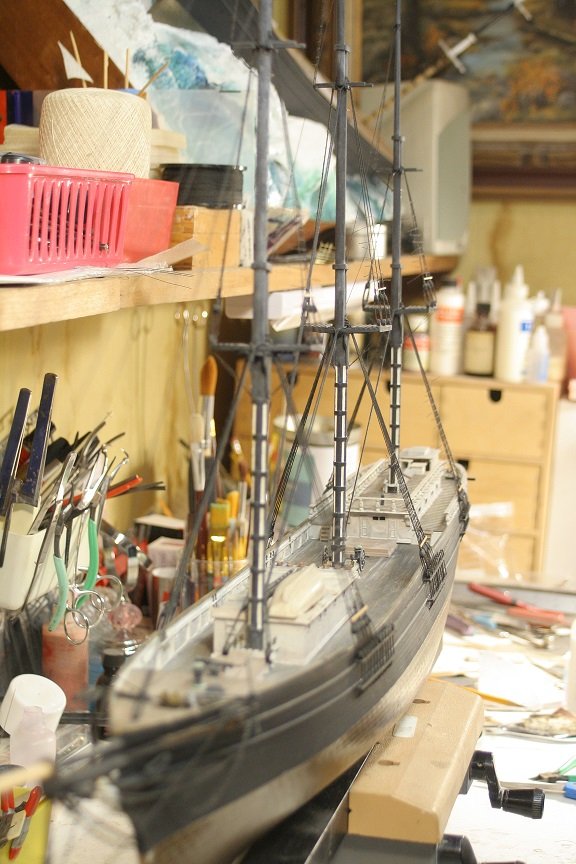
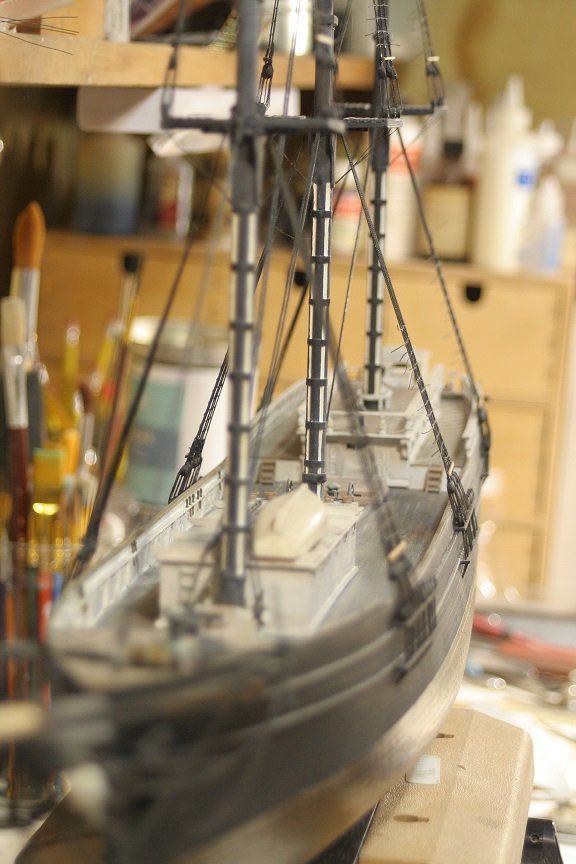
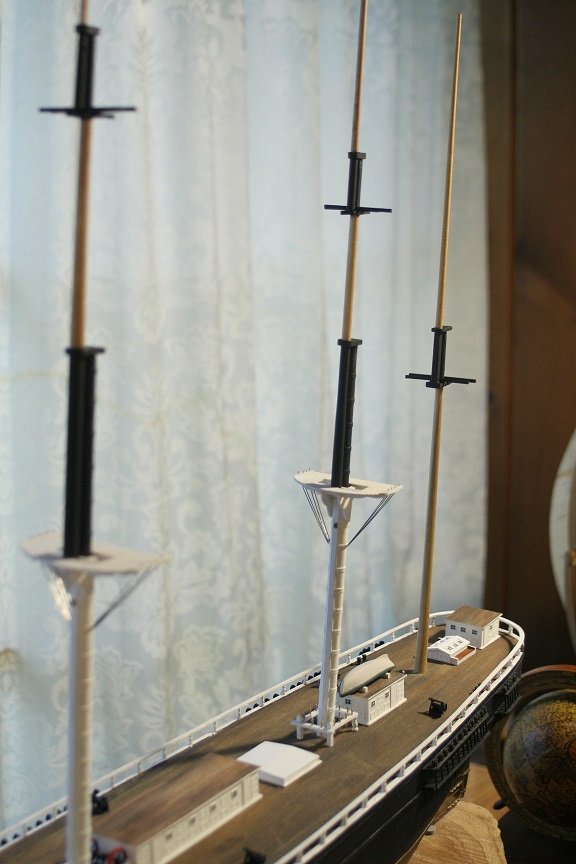
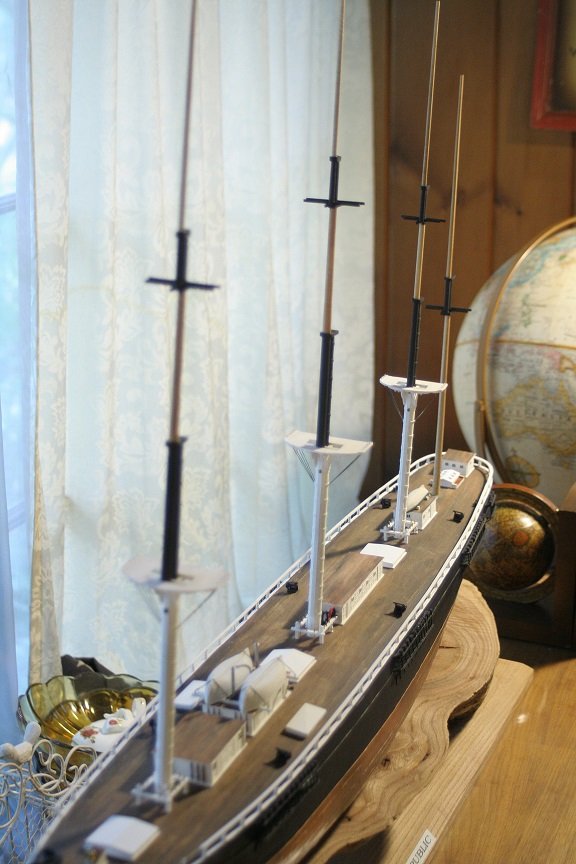
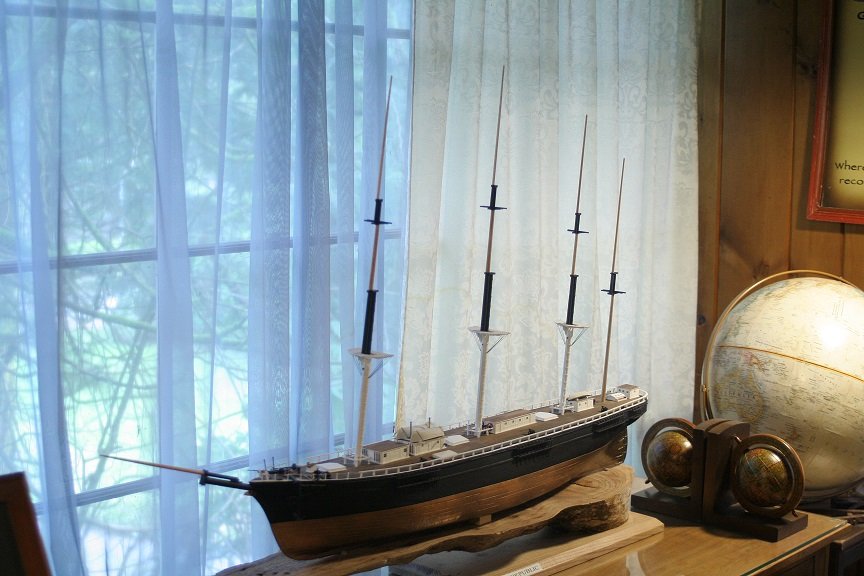
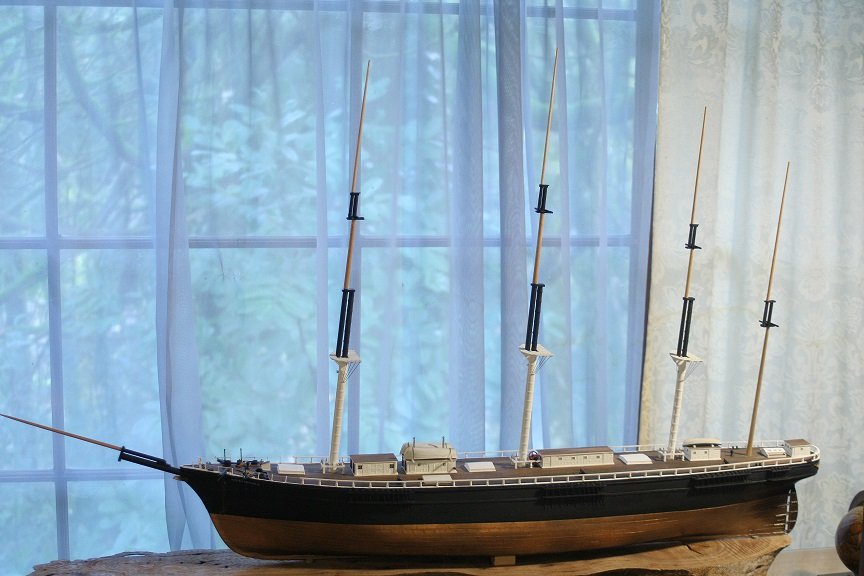
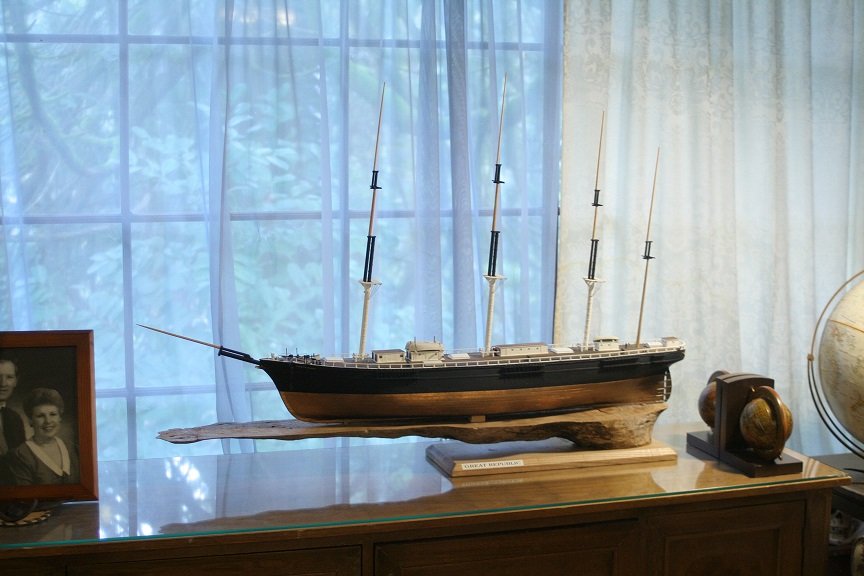
I had a couple hours today to work on the Great Republic and so I finished the masts...Here are some pics.


- 1,208 replies
-
- 12
-
-
- great republic
- clipper
- (and 1 more)
-
Fantastic ingenuity. My kinda work......Love it. Rob
-
Well, when compared to the beginning time frame you are nearly finished...IMV I just haven't had any time to work on the GR......so two years from now I might be looking at a 6 month finish time frame..... Rob
- 2,625 replies
-
- 6
-
-
- kaiser wilhelm der grosse
- passenger steamer
- (and 1 more)
-
Lots of nooks and crannies to get lost in..... Fine job Nils..lots of depth. Rob
- 2,625 replies
-
- 5
-
-
- kaiser wilhelm der grosse
- passenger steamer
- (and 1 more)
-
Nils....I encourage you to stay focused....and only when this fabulous ship is complete and on my mantle..should you even think of what model is next on the drawing board. I made that mistake and I have 3 unfinished clippers...because the *Next* vessel couldn't wait to get from my mind to the drawing board to the bench. Rob(I reap what I sow)
- 2,625 replies
-
- 3
-
-
- kaiser wilhelm der grosse
- passenger steamer
- (and 1 more)
-
My motto is an abridged version of yours...*When in doubt, rip it out.....but.... if it took weeks to install or no one or their brother will ever see or notice it....Let it slide...Paint it if you have to. Rob(Master of camouflage )
-
A method for making panelled sails using paper
rwiederrich replied to Cathead's topic in Masting, rigging and sails
Wefelck....I cannot see your pictures....? Rob- 49 replies
-
- 3
-
-
- sails
- sail panels
- (and 1 more)