


JpR62
-
Posts
697 -
Joined
-
Last visited
Content Type
Profiles
Forums
Gallery
Events
Posts posted by JpR62
-
-
Very Nice work on these fashion pieces and a big thank you for the step by step.
-
-
-
The result is beautiful.This frigate will be superb !
-
Superb work ! This first belt is a great success !
-
-
-
-
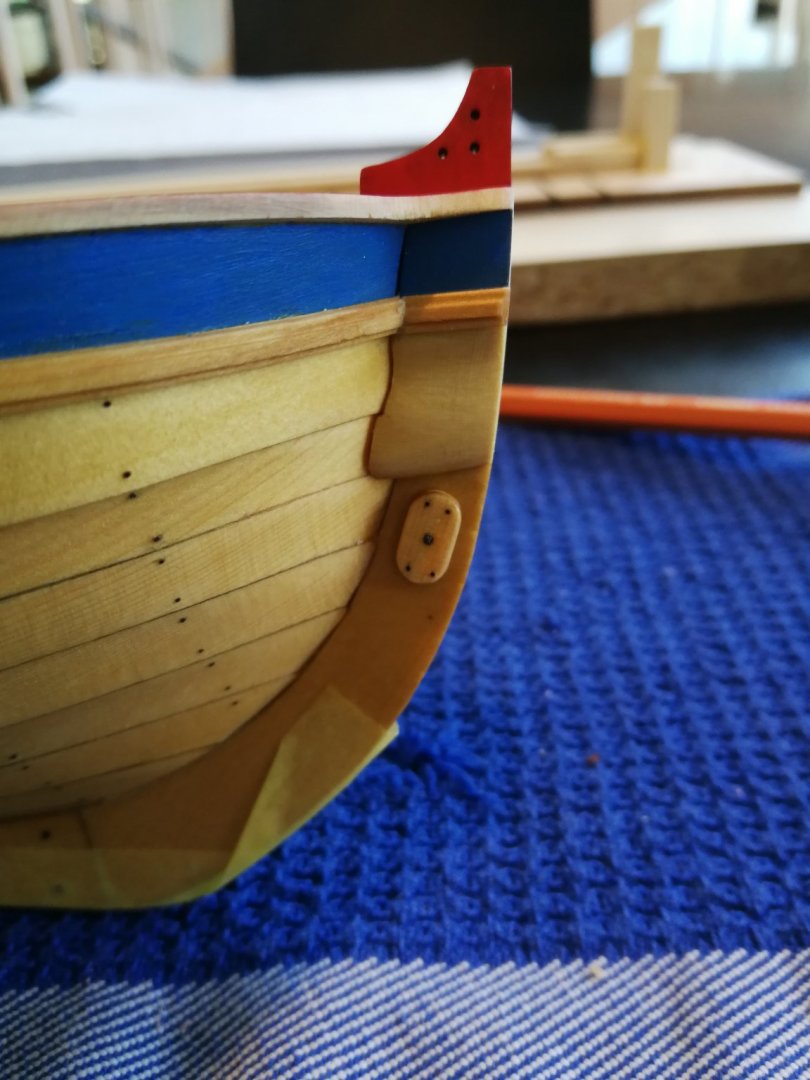
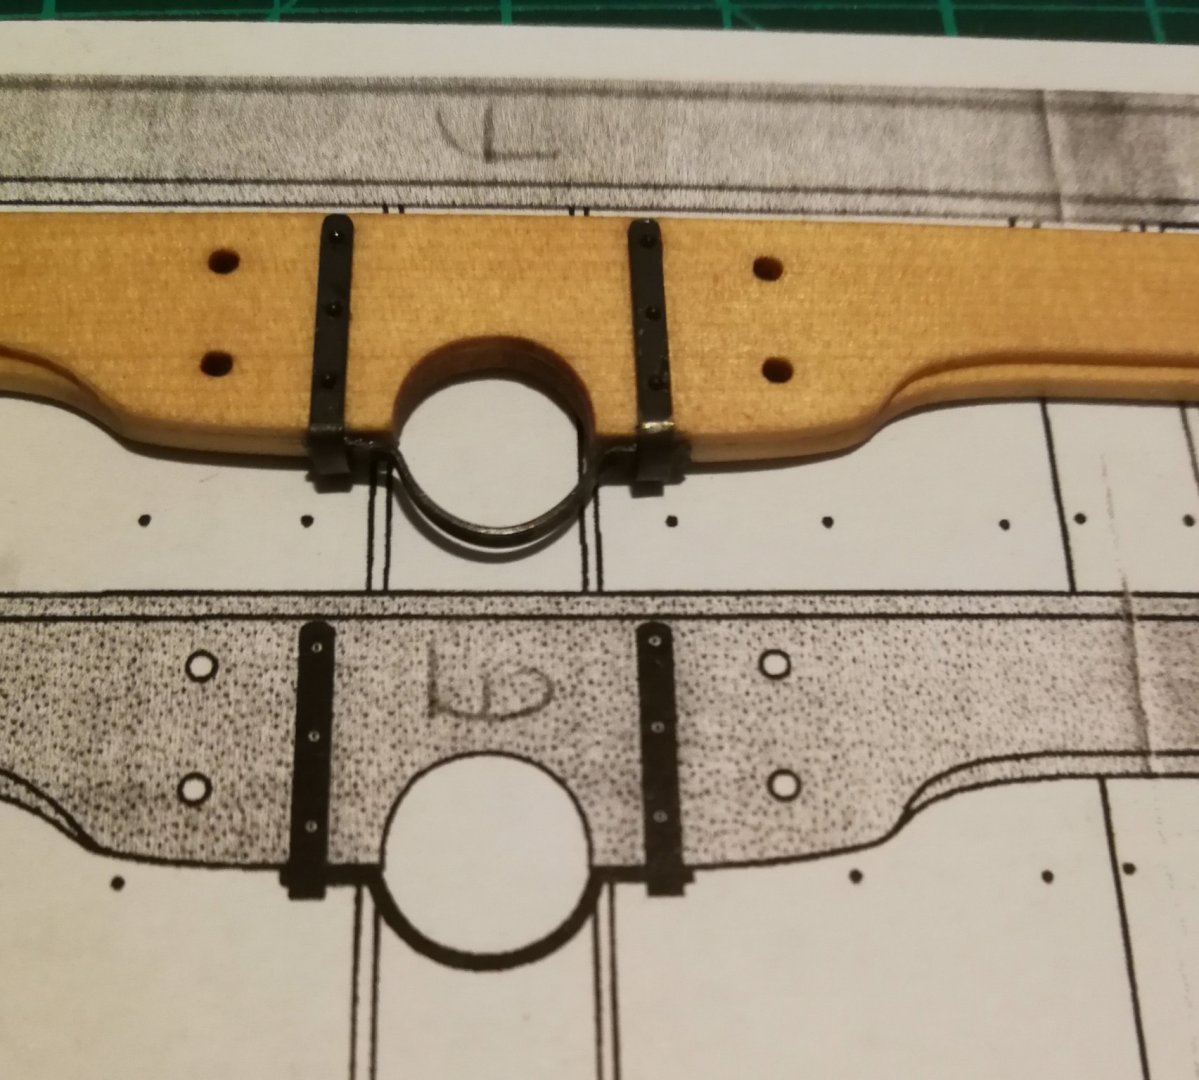
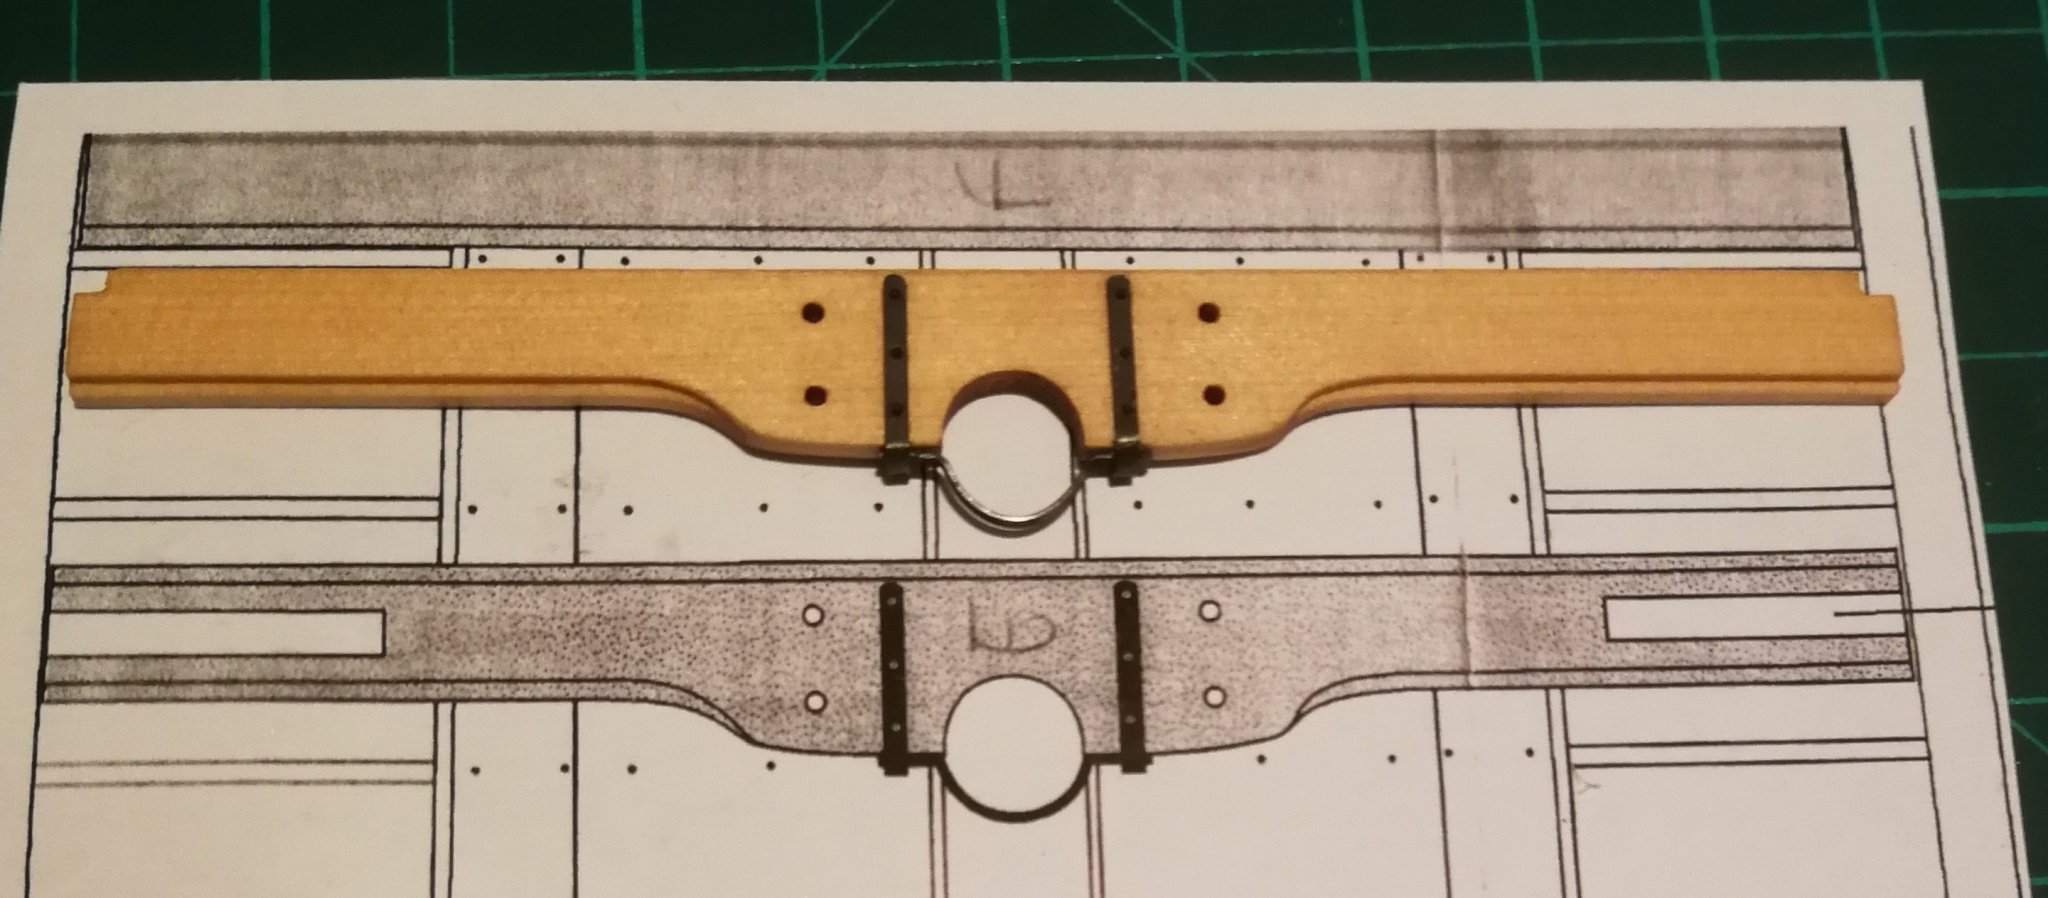
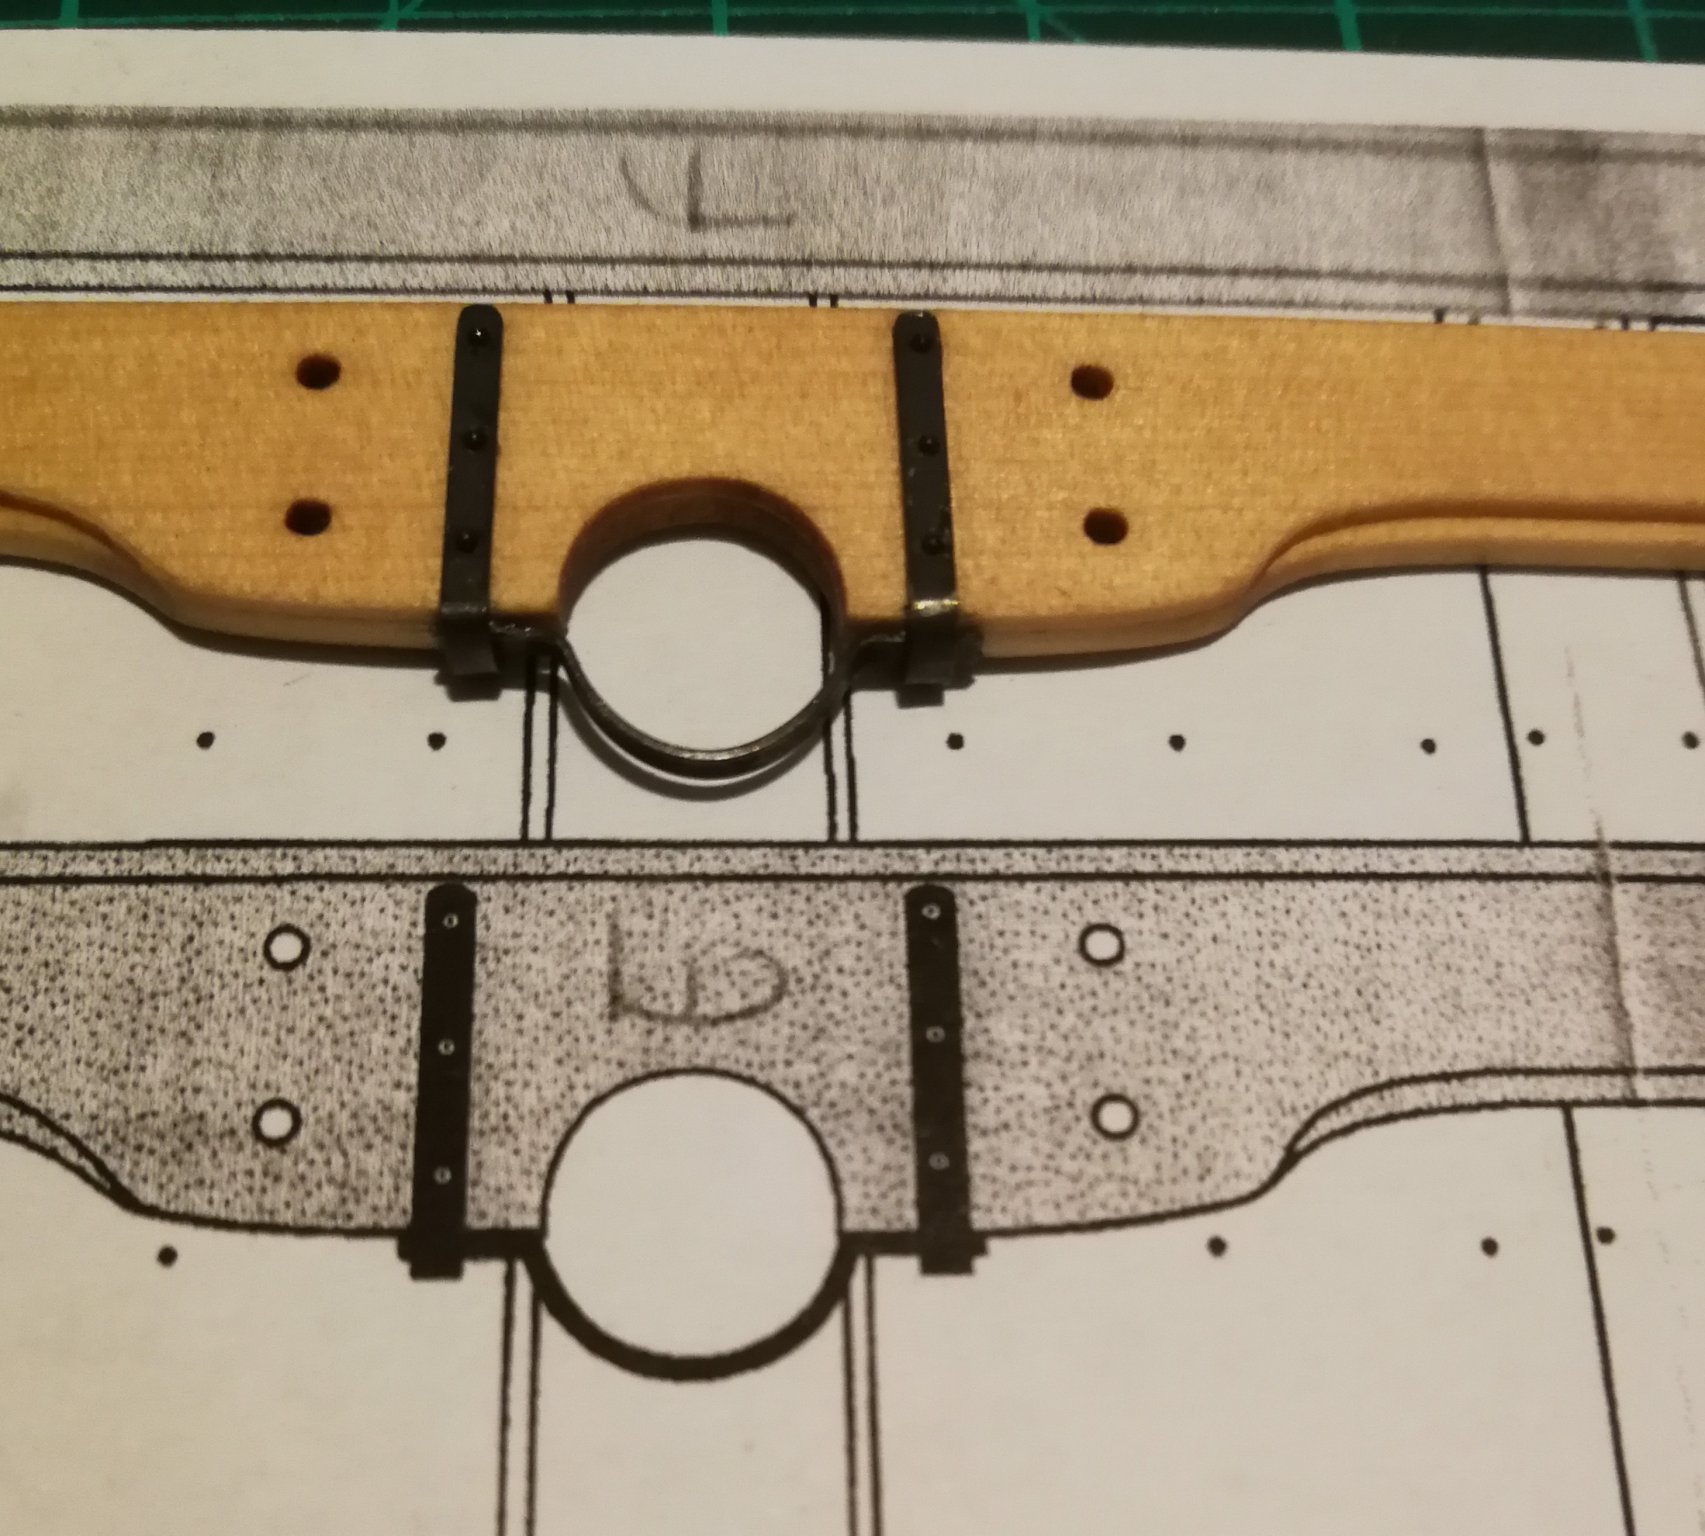
A small step forward. I set up the fixed block at the stem.
What I really like about this project is that each step represents a mini-project in itself.

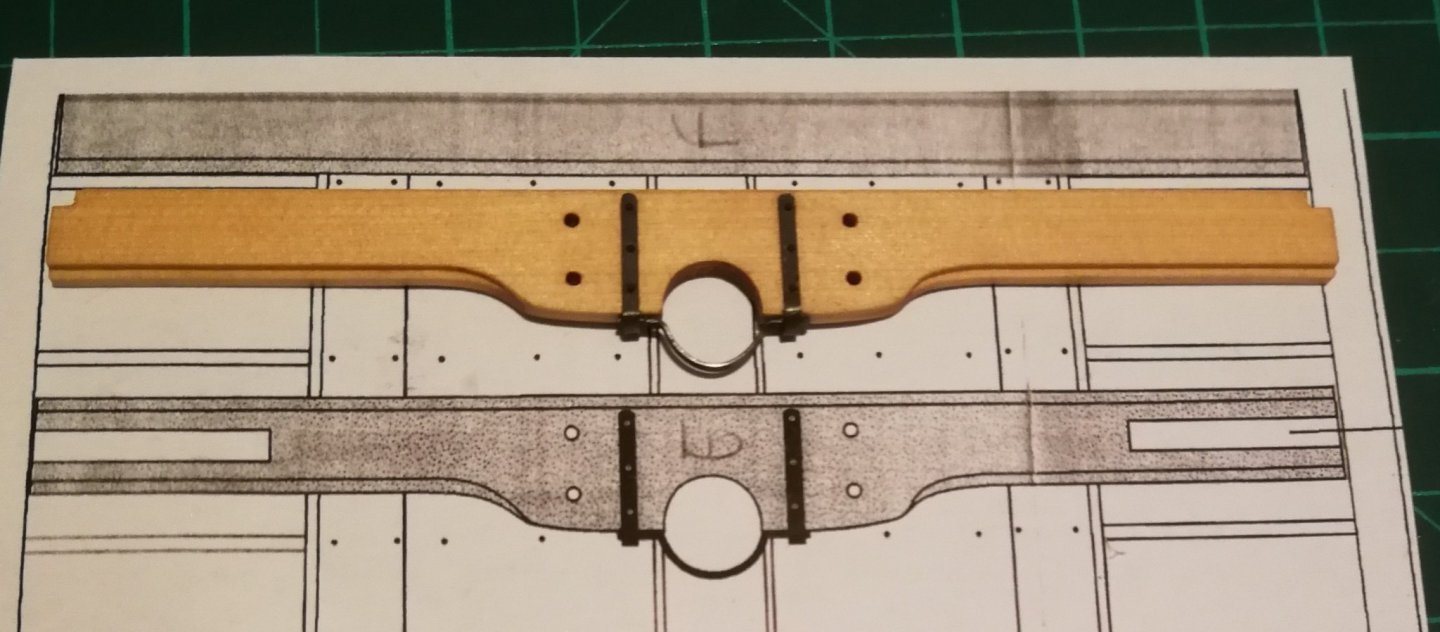
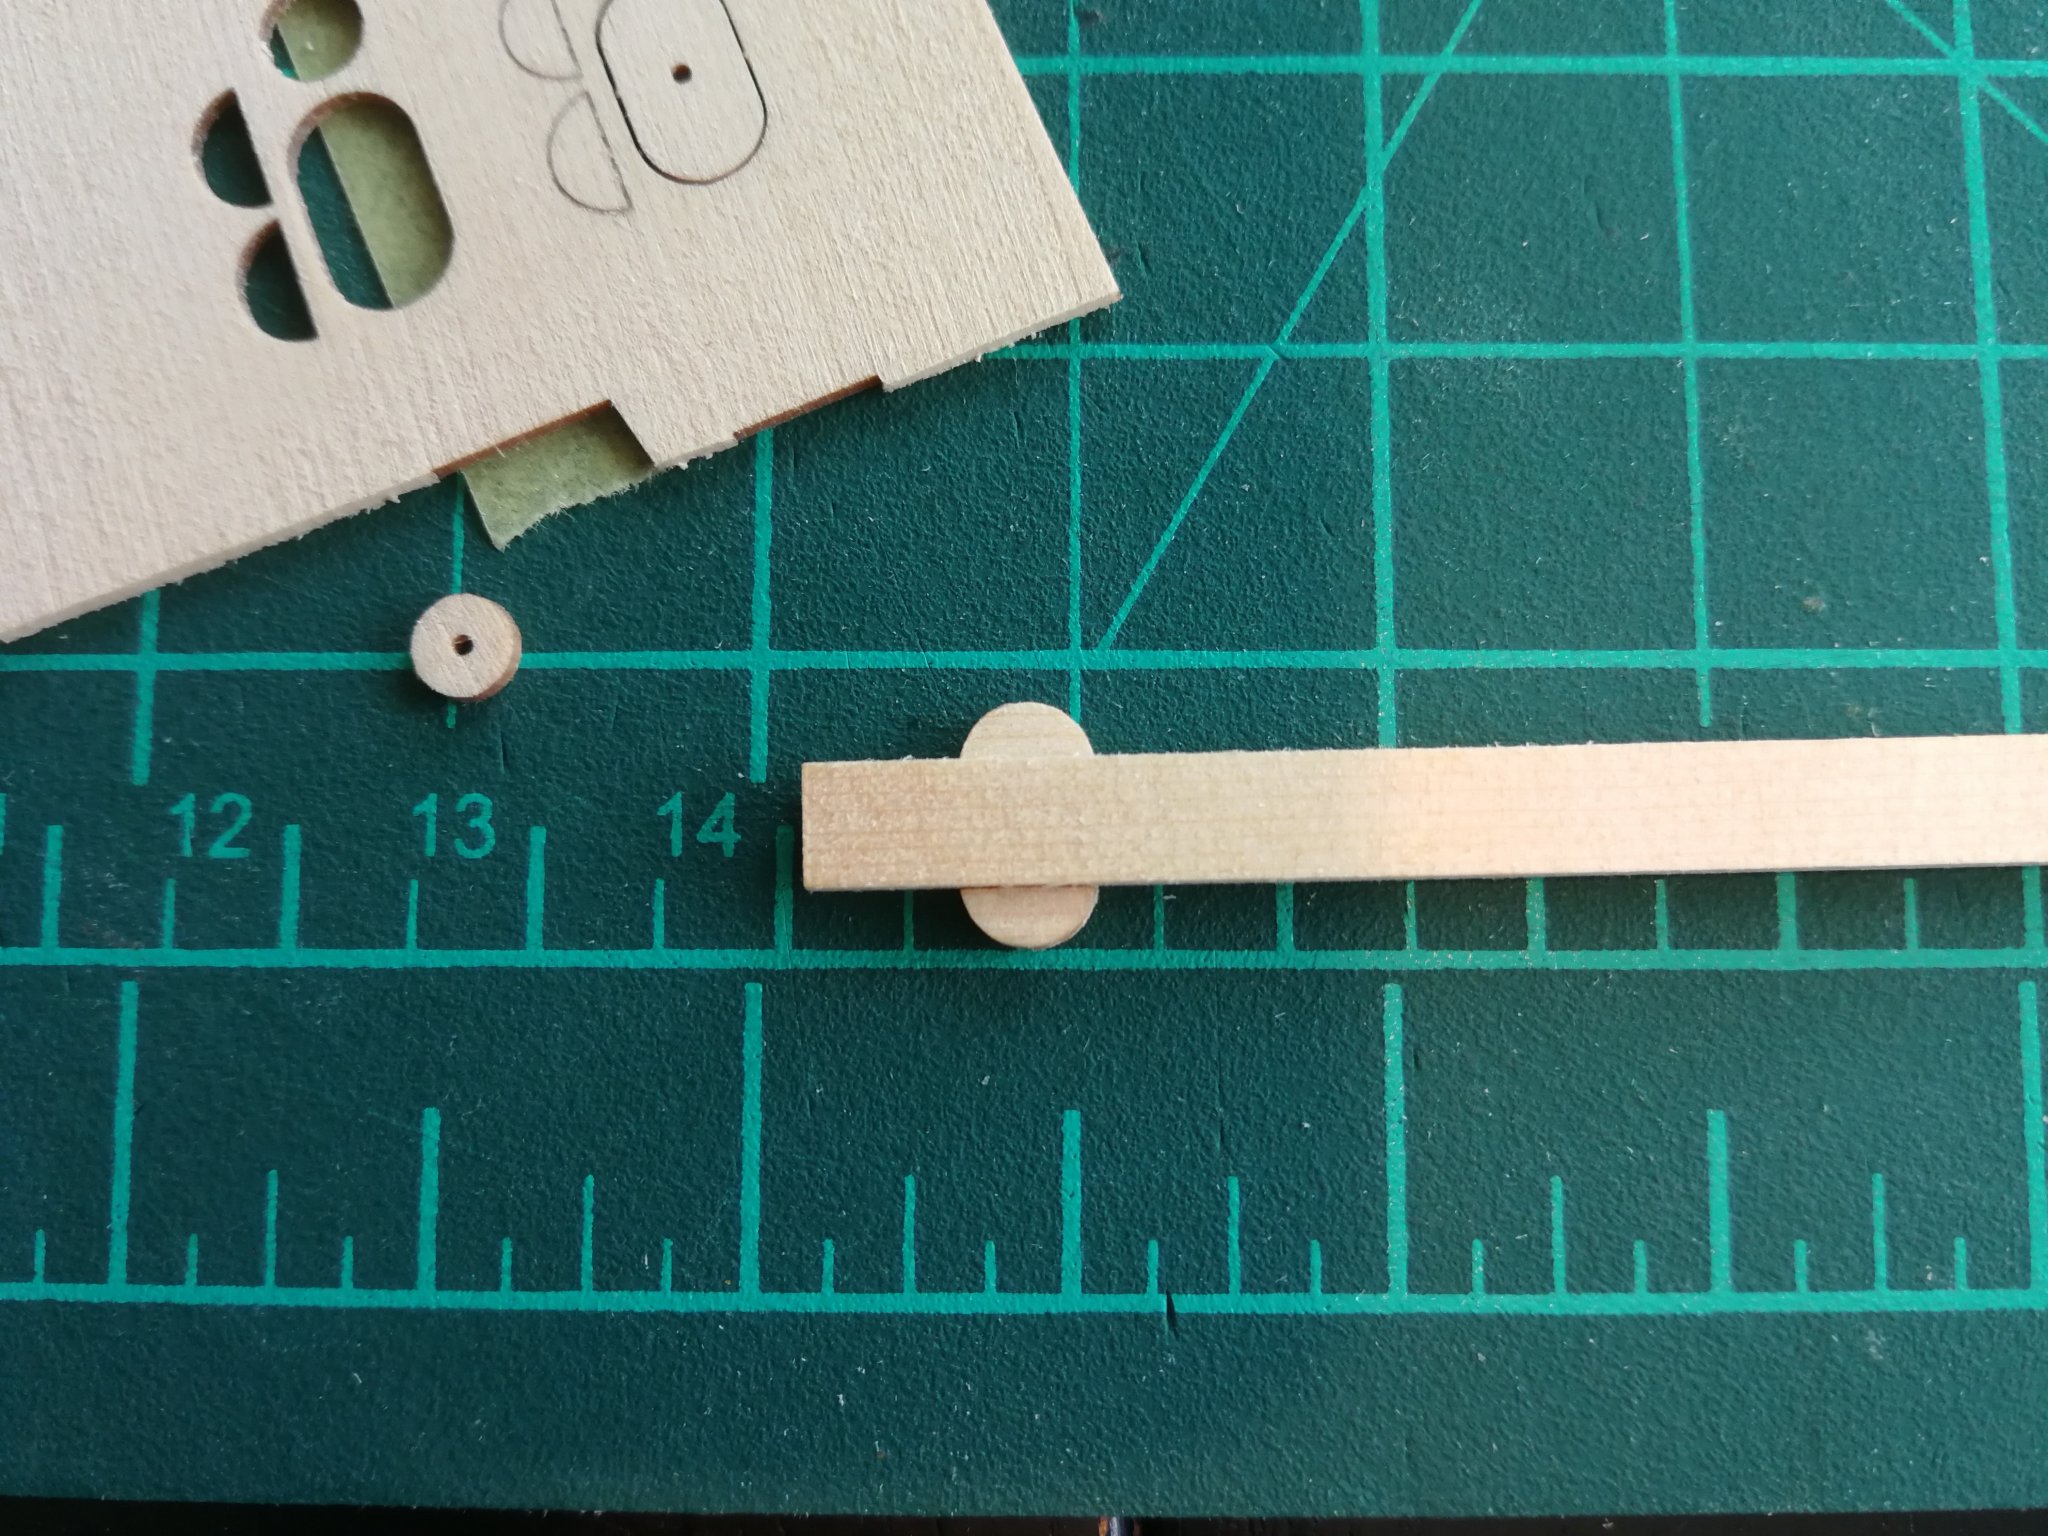
I used a small strip of wood of the right width to be sure to stick the 2 elements at the right distance and well parallel.
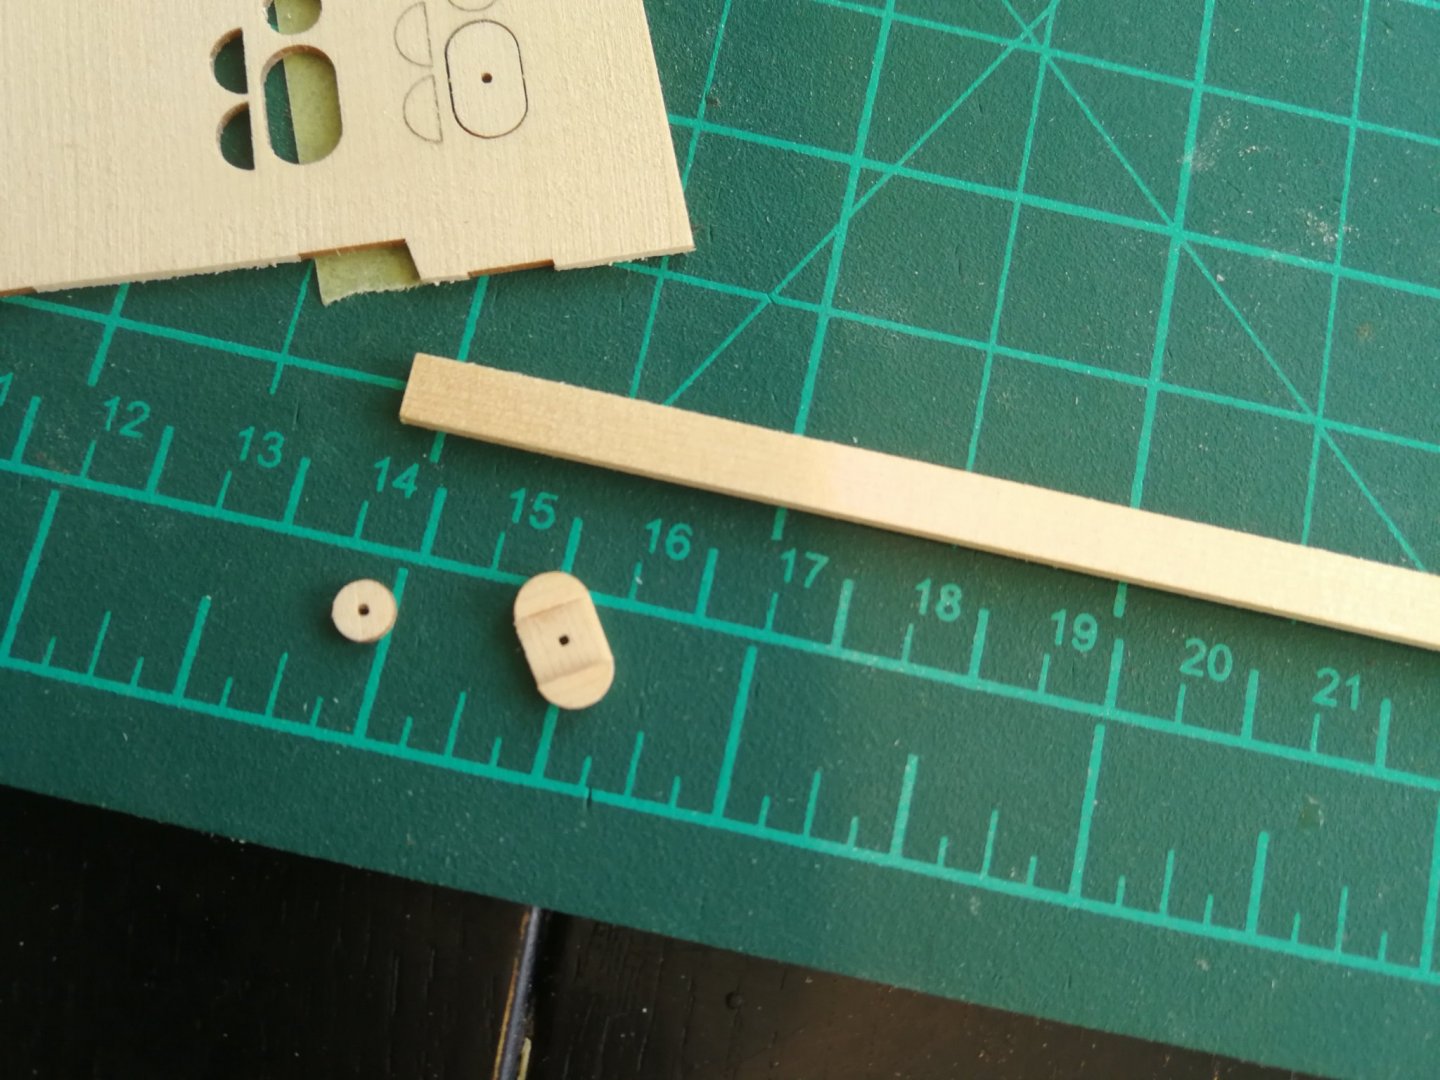
The bolts are simulated and the block is put in place.
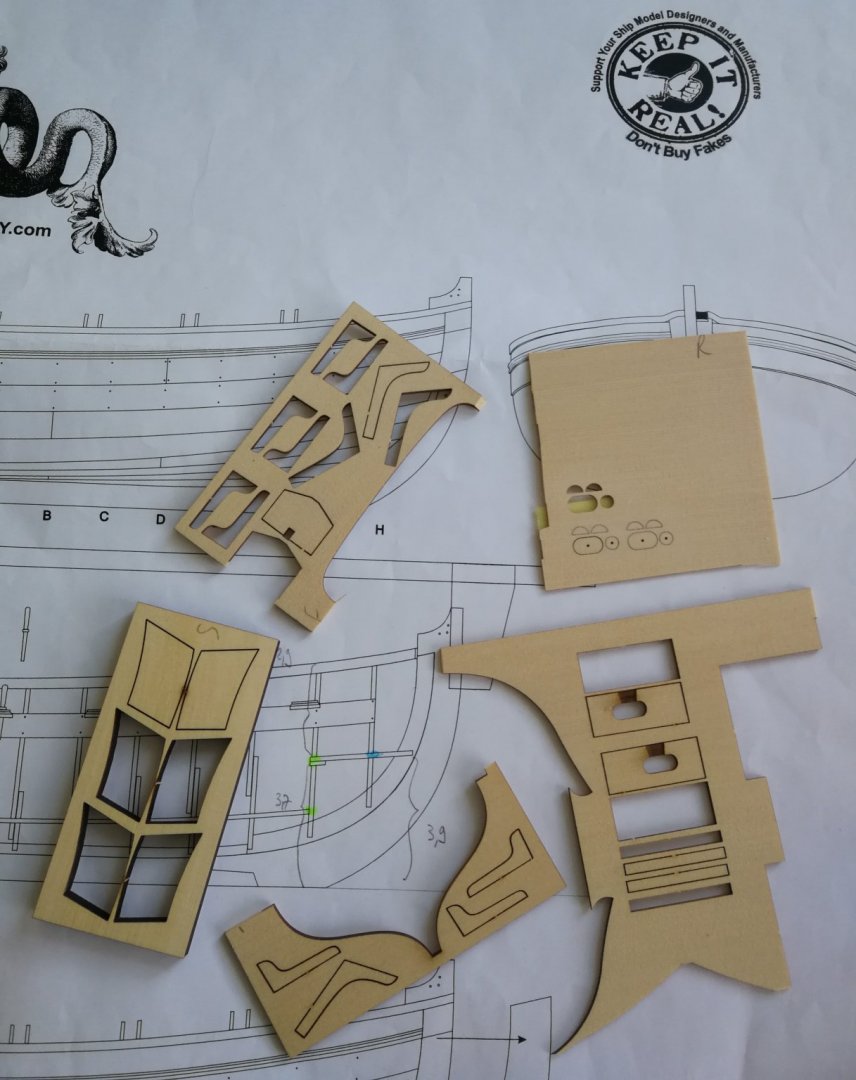
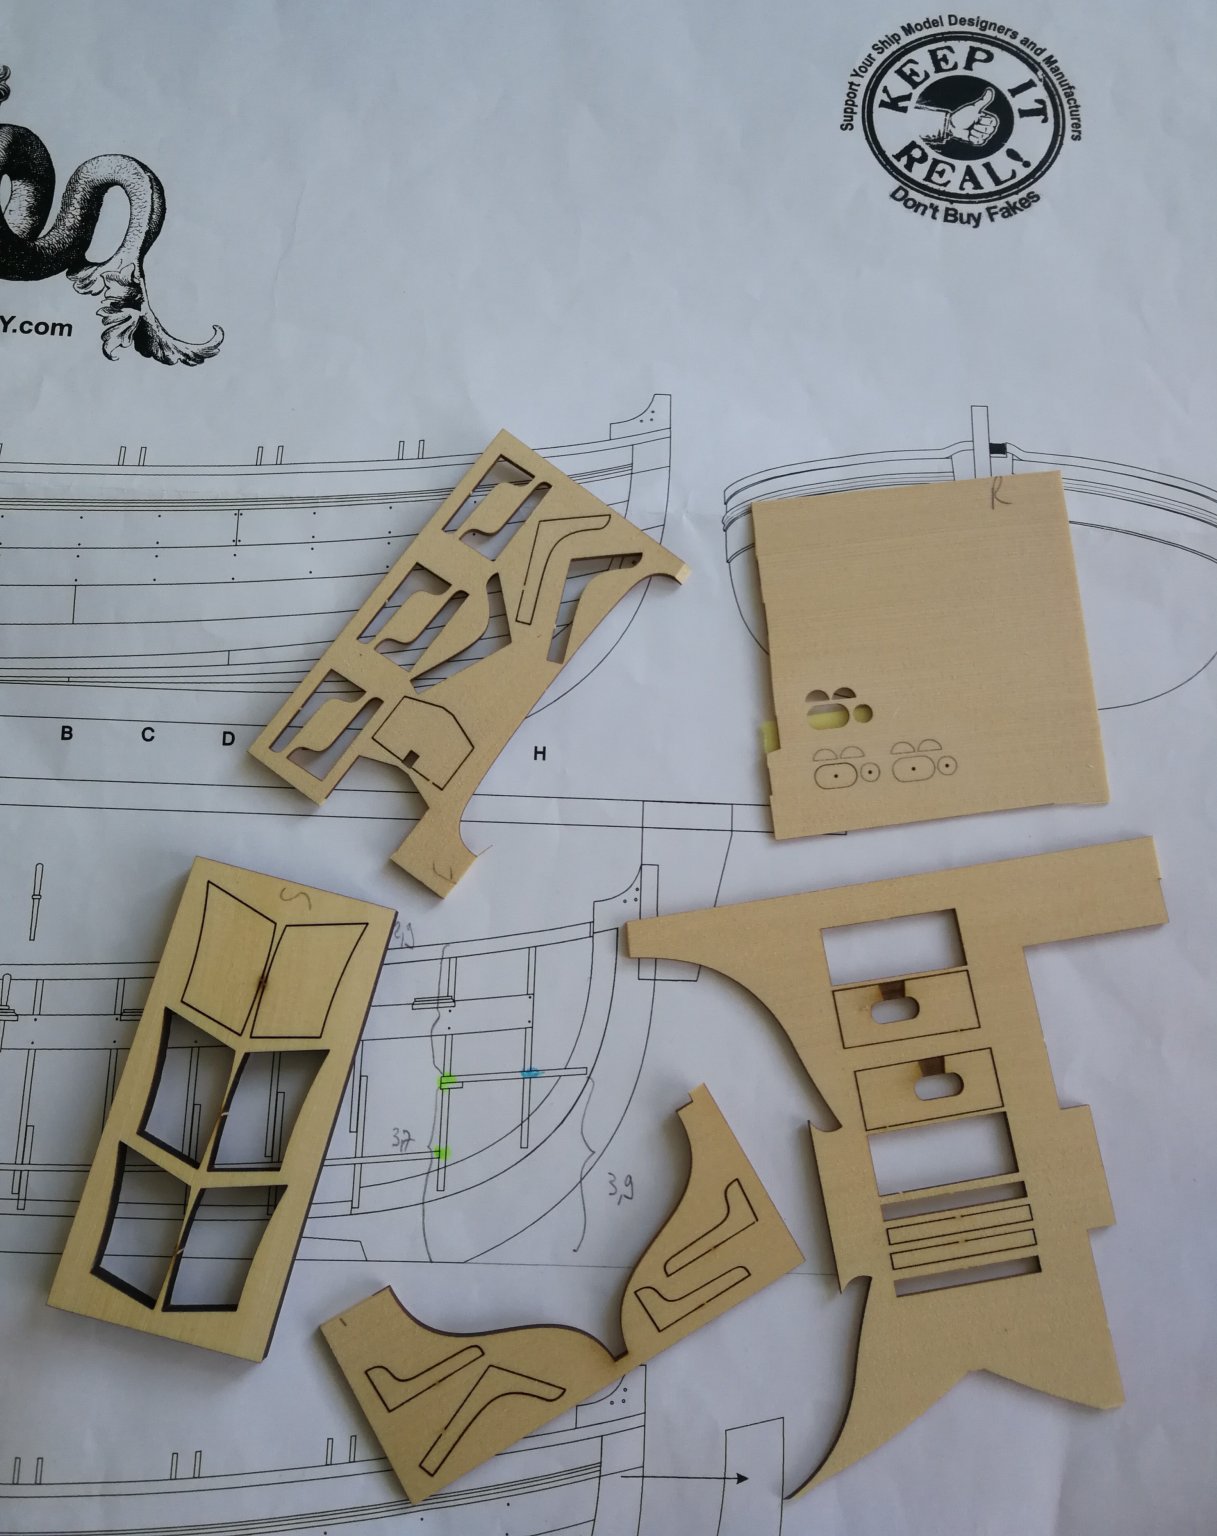
One last note: with this project, you don't have to worry too much, because Chuck was generous in the elements provided.
Any part which represents a certain difficulty is supplied in several copies. In case.
- Nunnehi (Don), GuntherMT, gjdale and 7 others
-
 10
10
-
Thank you all for your kind words and thank you to all the likes.
It is greatly appreciated.
Bob, I'm just trying to do my best. Luckily I am fortunate to have some great examples on this forum.Your longboat is a little wonder and will be an example to follow when I start working on the rigging. Just follow my best.
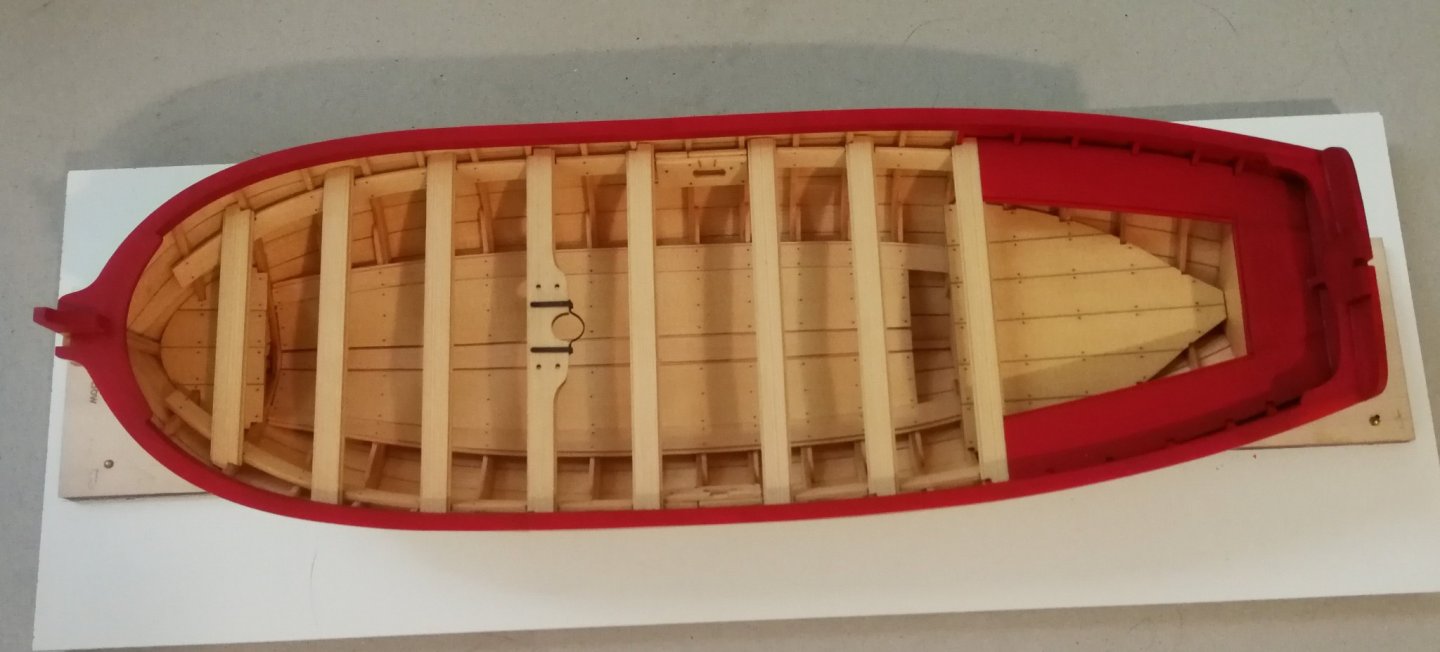
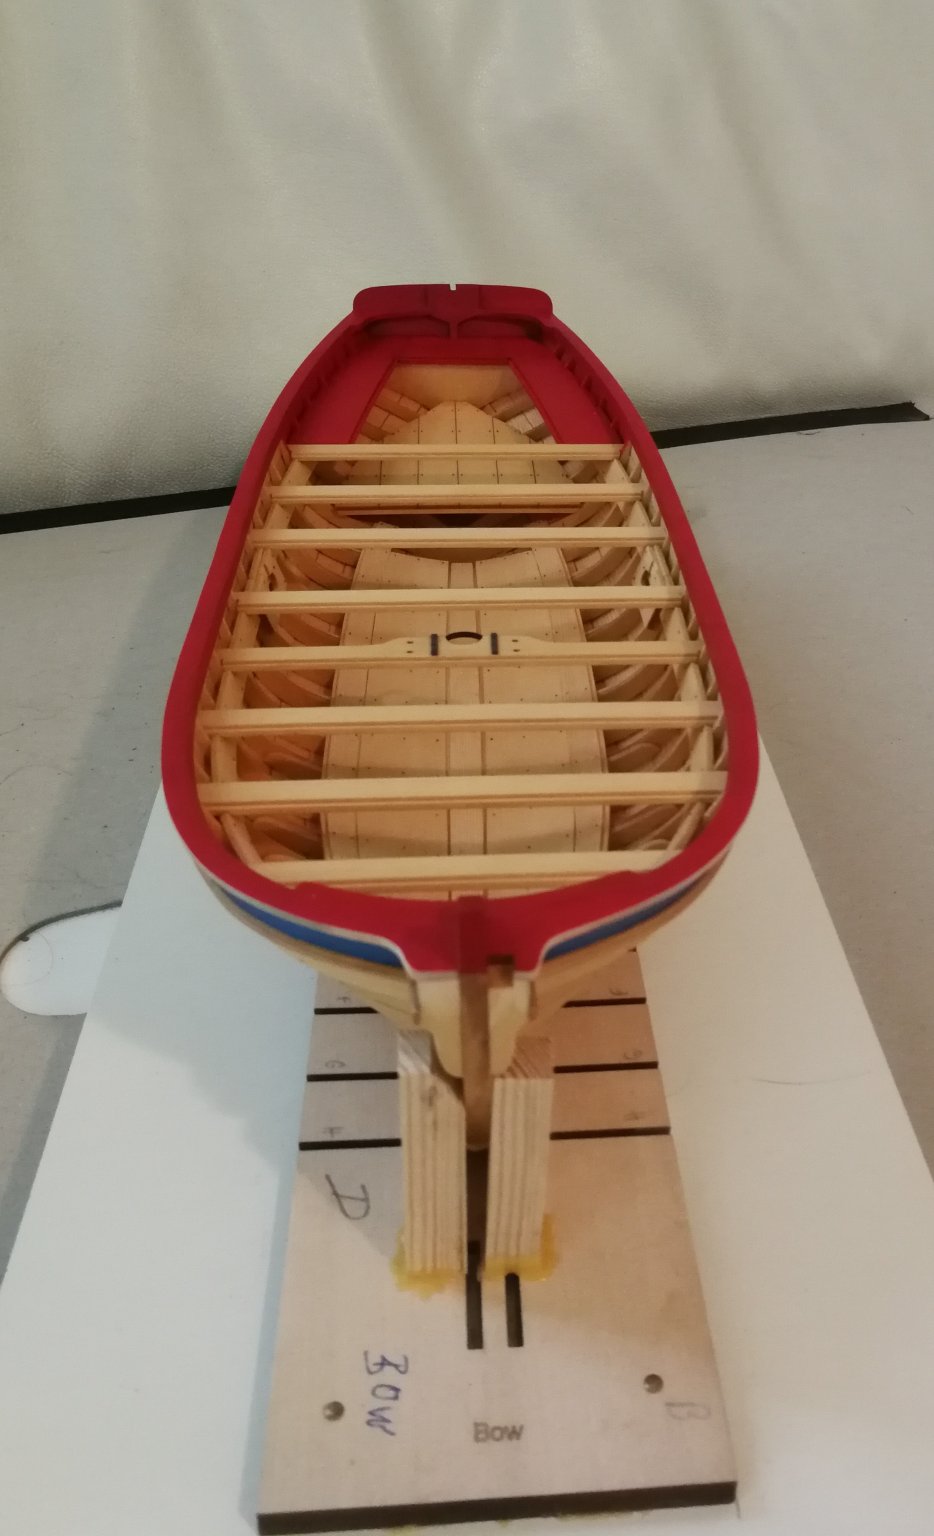
Glenn, the building board is supplied with the kit and is also essential when setting up the frames.
I just stick it on a piece of chipboard to make sure it doesn't warp and make it more convenient to handle.
And yes, I confirm your feelings, this project is really enriching and very fun. I can only advise him. -
-
Thank you to all the 'Likes'
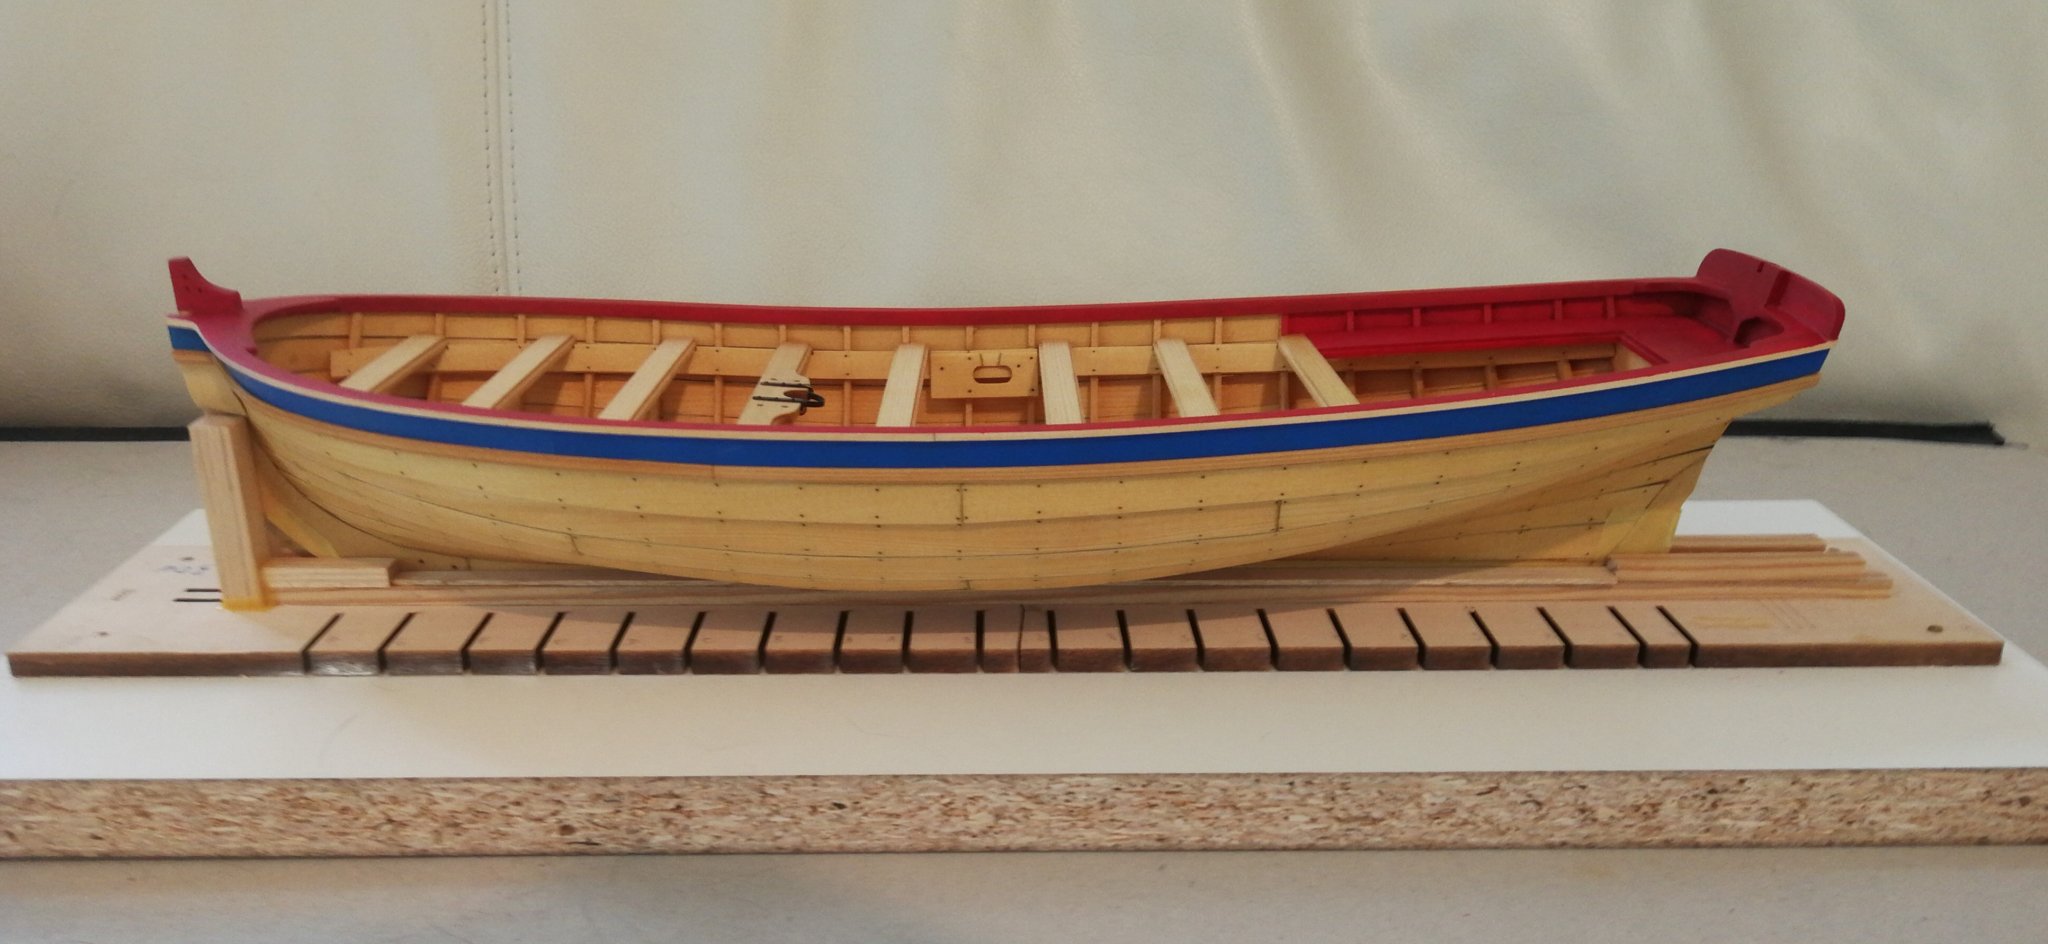
I added the moldings.

After temporarily sticking the boxwood strip on a hardwood square using double-sided scotch, I formed the molder by running the scraper many times over the boxwood strip until I was satisfied with the result.
Following precisely the instructions, I then carried out the mast thwart.
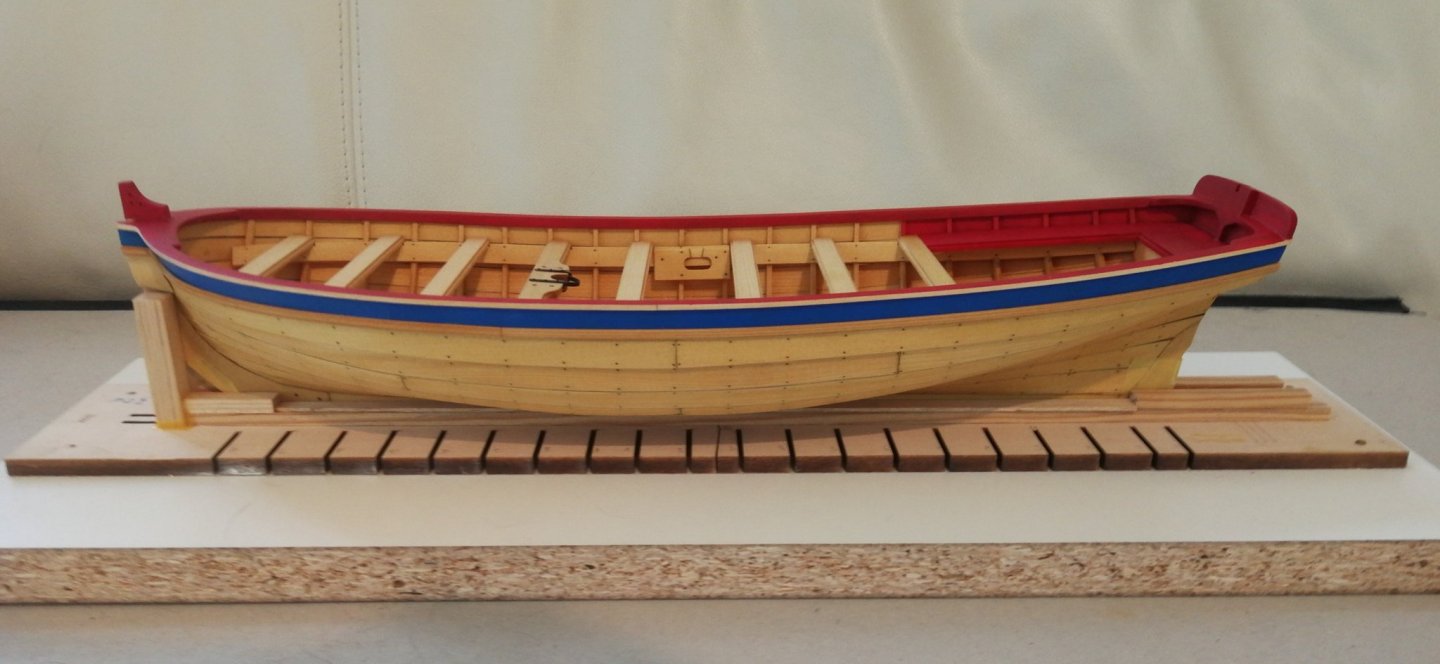
Finally all the elements were put in place.


As my base of blue oil paint is now perfectly dry, I will be able to work on the frieze. A lot of free-hand work ...
-
She looks really beautiful this molding. Very nice work.
- Rustyj and FrankWouts
-
2
-
-
You did a wonderful job on this eagle ! And the step by step photos are really very informative. Thank you
-
-
Superb ! Fairing seems really successful ! And yes, this hull has really nice curves!
-
Superb work Olya ! A beautiful little ship !
Happy to see your work and welcome to MSW !
-
Superb ! What a magnificent Longboat model. You have done a very nice job.
I wish you much pleasure with the frigate Winchelsea. I will follow your progress carefully.
- Ryland Craze and BobG
-
2
-
Wonderful job ! These friezes are really superb and you have managed to put them to perfection.
- Stuntflyer and FrankWouts
-
2
-
Superb ! A pleasure to be able to follow this build log !
The Confederacy is really a beautiful ship model.
- Peter Bloemendaal and Ekis
-
2
-
The initial etched deck was already beautiful but your deck planking is much more beautiful.
The time and work invested is well worth it !
-
Wonderful job ! Having read the log again, I was wondering about the species of wood used for the deck planking: I suppose pear but for the lighter wood ? Mapple ?
Are the moldings done manually using the scrapper technique or were they made using the mill ?
The model is really beautiful. Thank you for sharing your great work.
-


New England Stonington Dragger by FriedClams - FINISHED - 1:48 - POB
in - Build logs for subjects built 1901 - Present Day
Posted
Superb ! The realism of this model is absolutely fantastic ! And thank you for all these detailed explanations.