


JpR62
-
Posts
697 -
Joined
-
Last visited
Content Type
Profiles
Forums
Gallery
Events
Posts posted by JpR62
-
-
Wonderful ship model and the photos are superb.
I really appreciated being able to visualize your techniques and tricks in your videos.
Thank you ! I look forward to following your next build.
- Ryland Craze and Keith Black
-
 2
2
-
Superb ! Wonderful work on this anchor !
- mtaylor and Oliver1973
-
2
-
Thank you to all the 'Likes'.
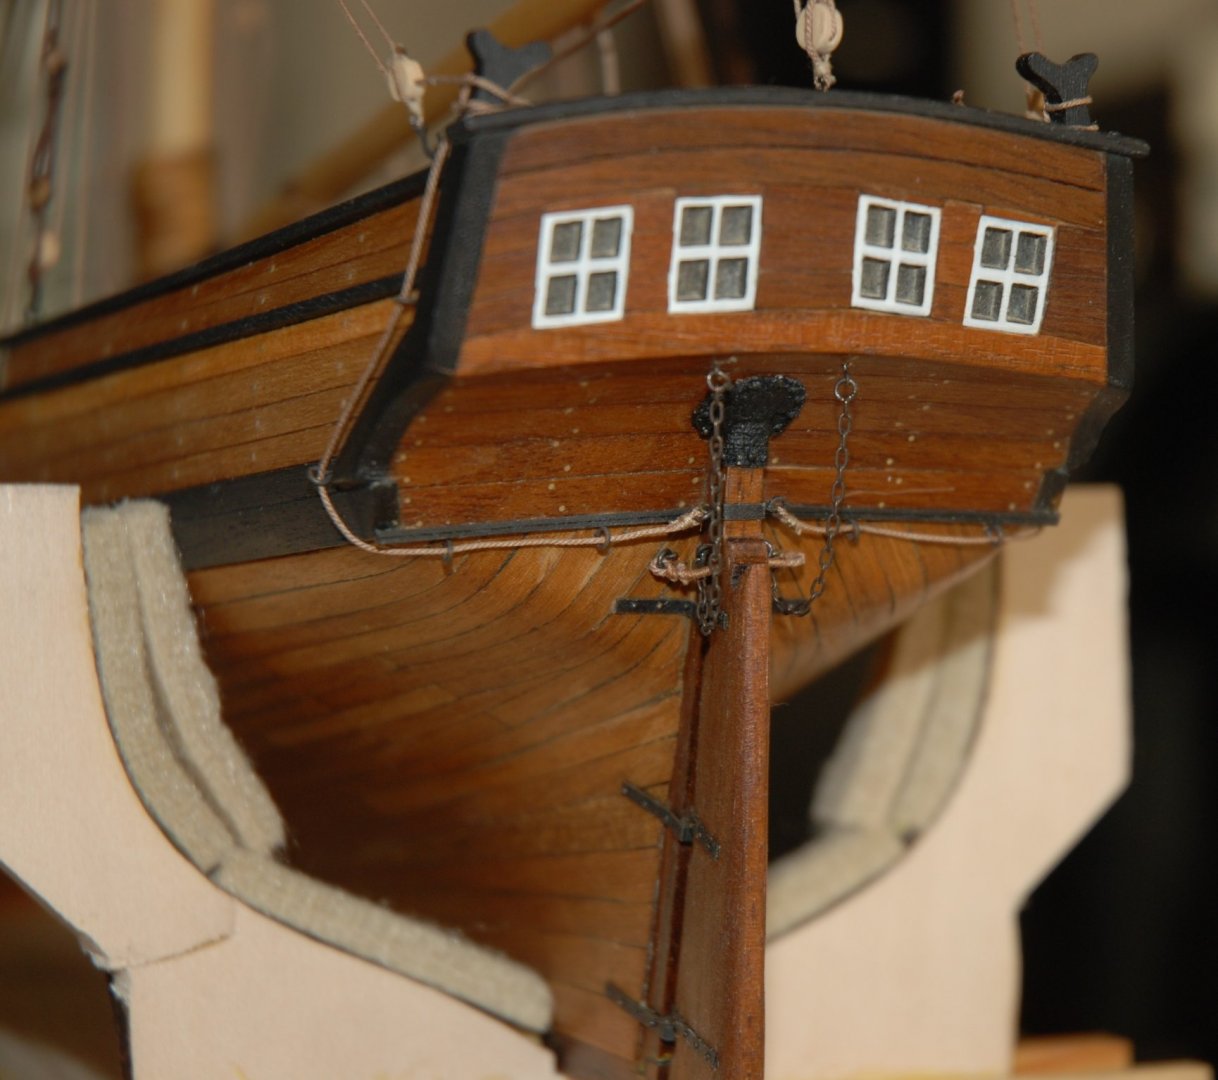
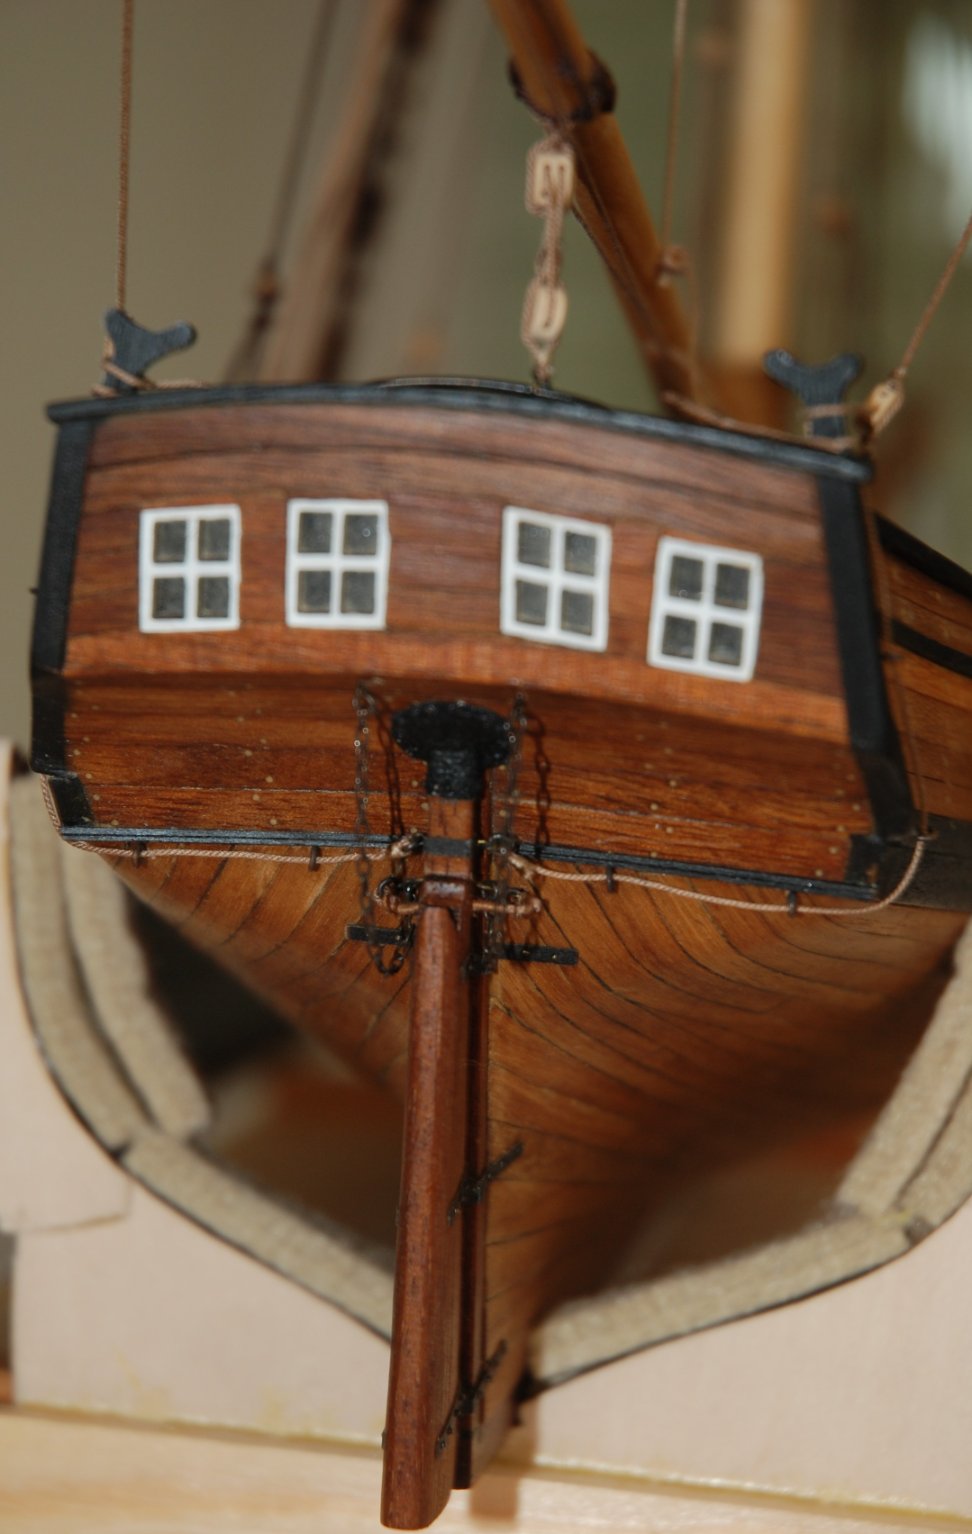
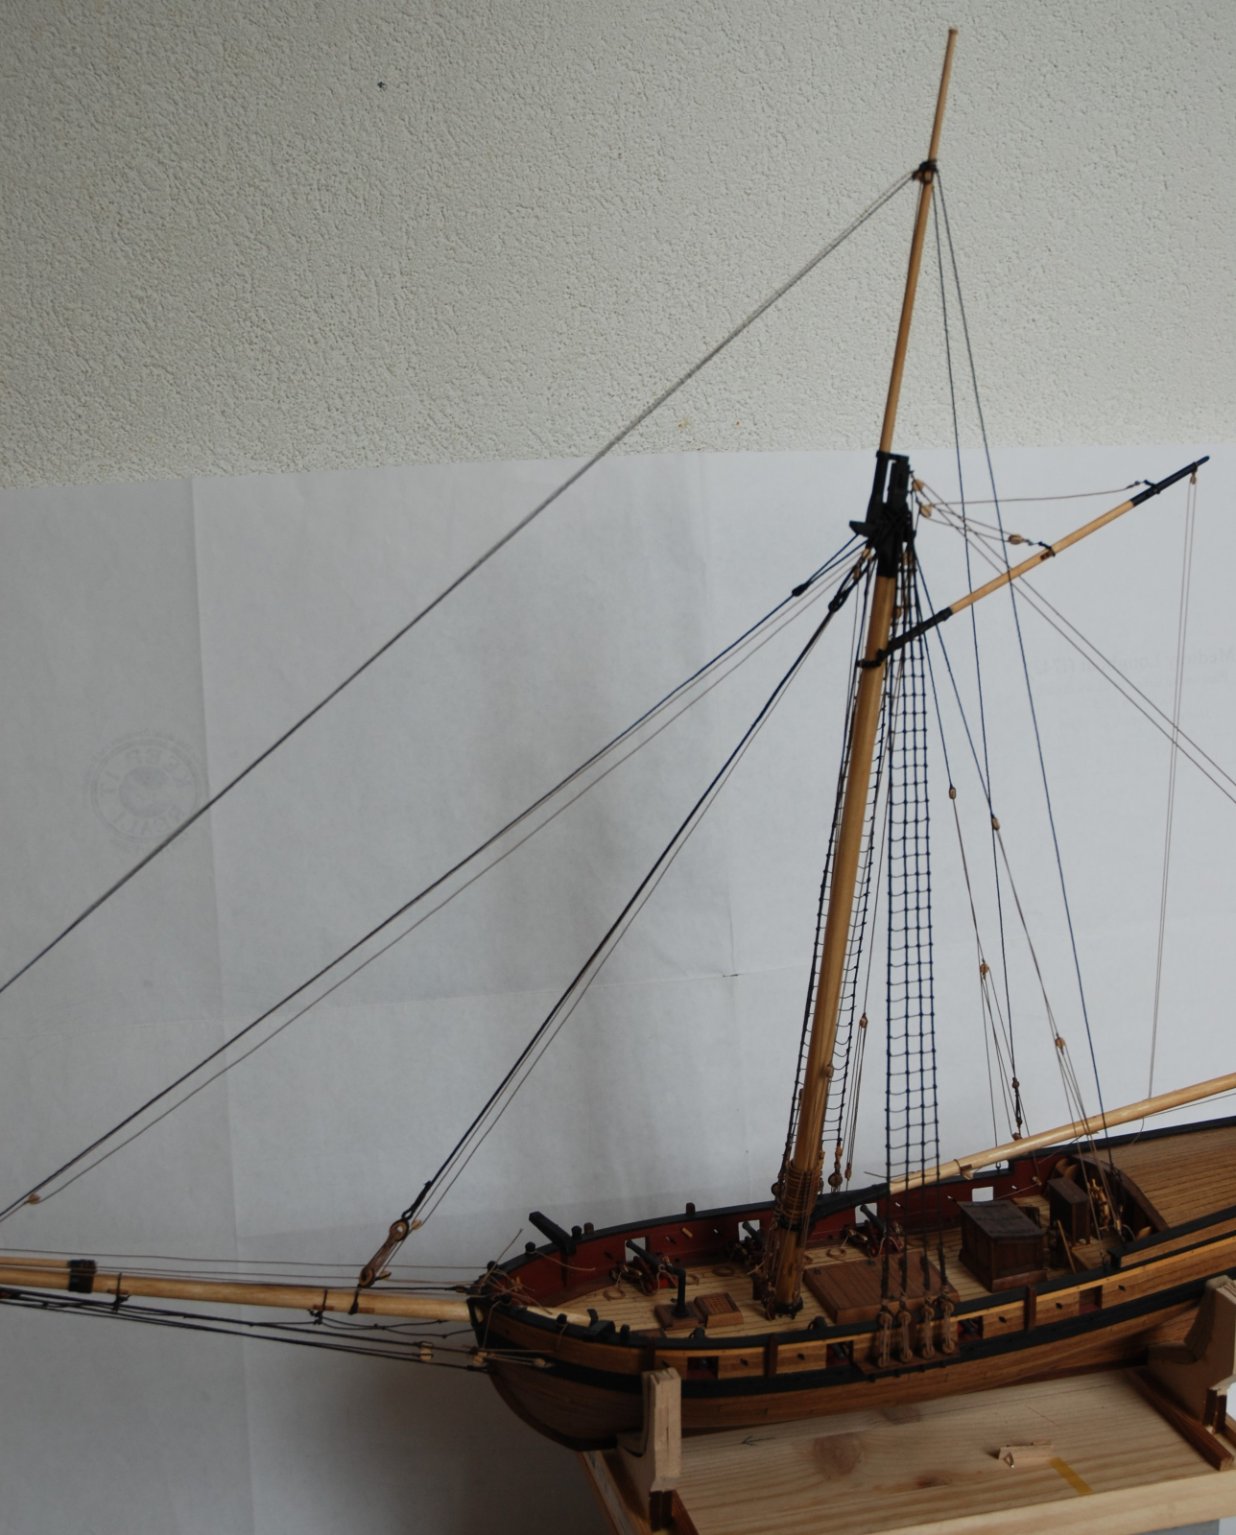
I remembered that I still had one detail to add to the rudder.
I had set up the eyebolts to receive the rudder 'safety' chain.
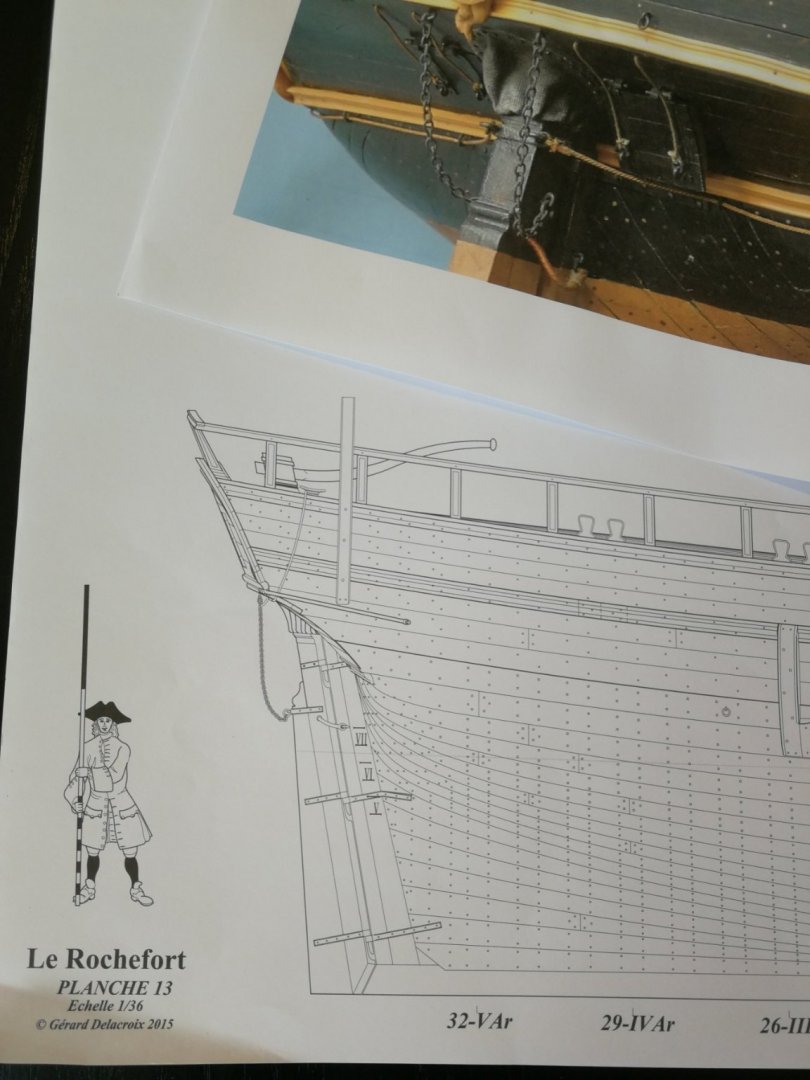
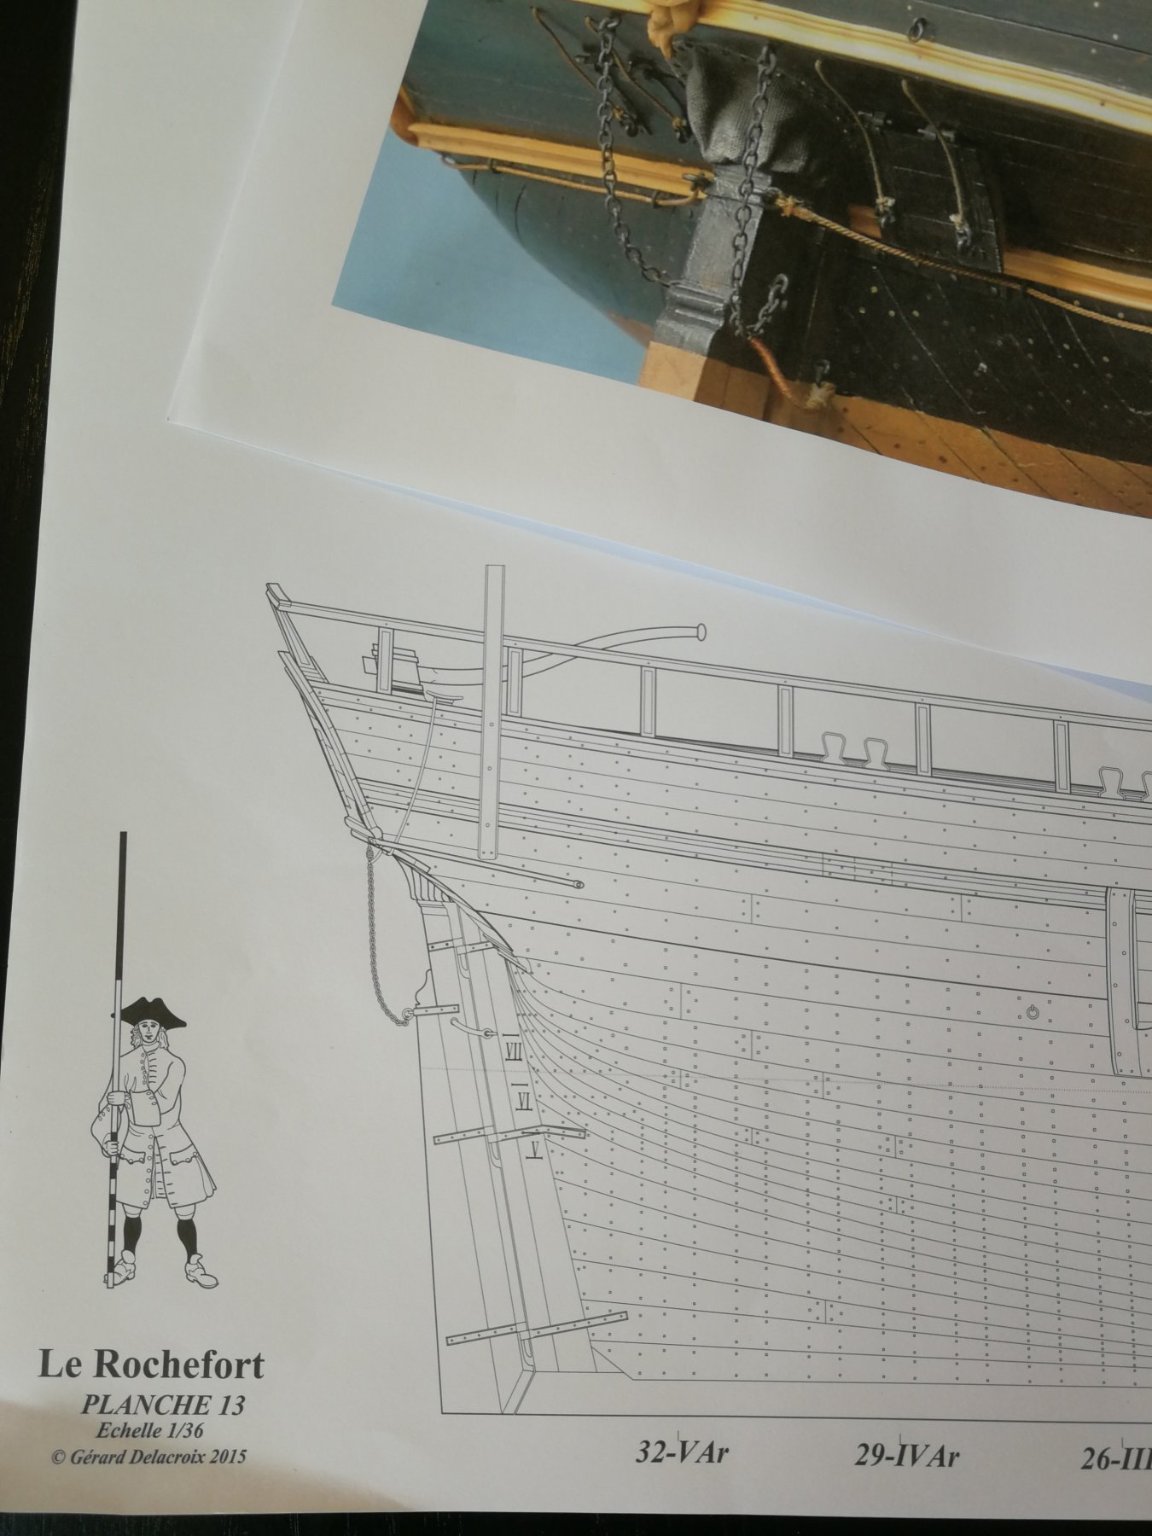
This detail is inspired from the small vessel 'Le Rochefort', an excellent monograph written by Gérard Delacroix for Ancre editions.
This yacht has the same tonnage as the Virginia Sloop and is from the same period.

I still have to put all the belayed lines on the deck and to finalize the base.
But the finish line is in sight.
-
-
-
Superb ! You made the right choice using pear wood. This deck is beautiful.
- FrankWouts and Rustyj
-
2
-
Superb work. What details and what precision !
- Blue Ensign and Martin W
-
2
-
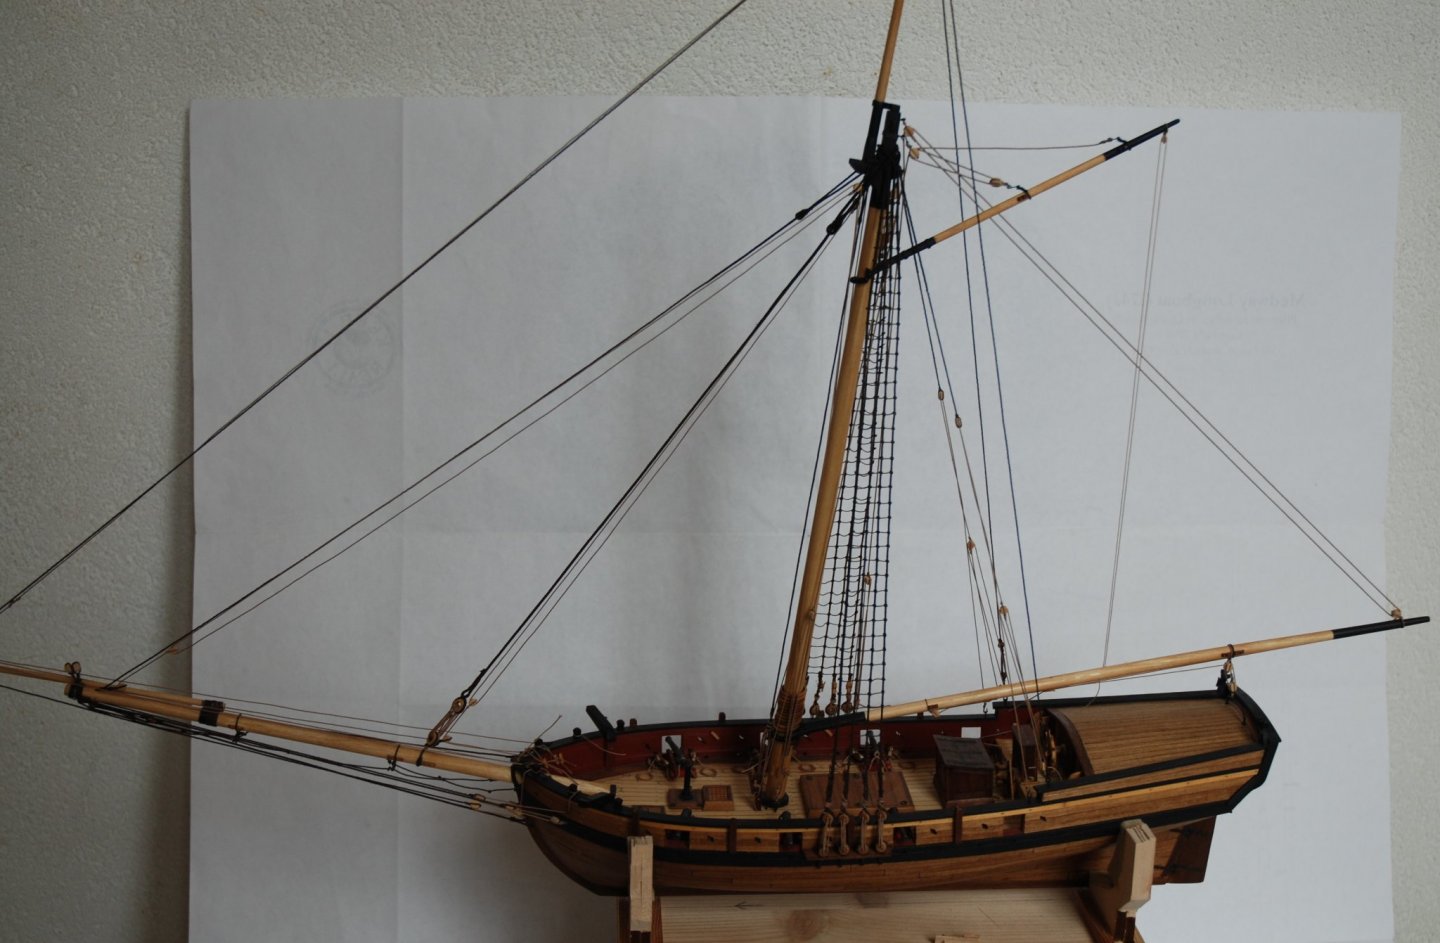
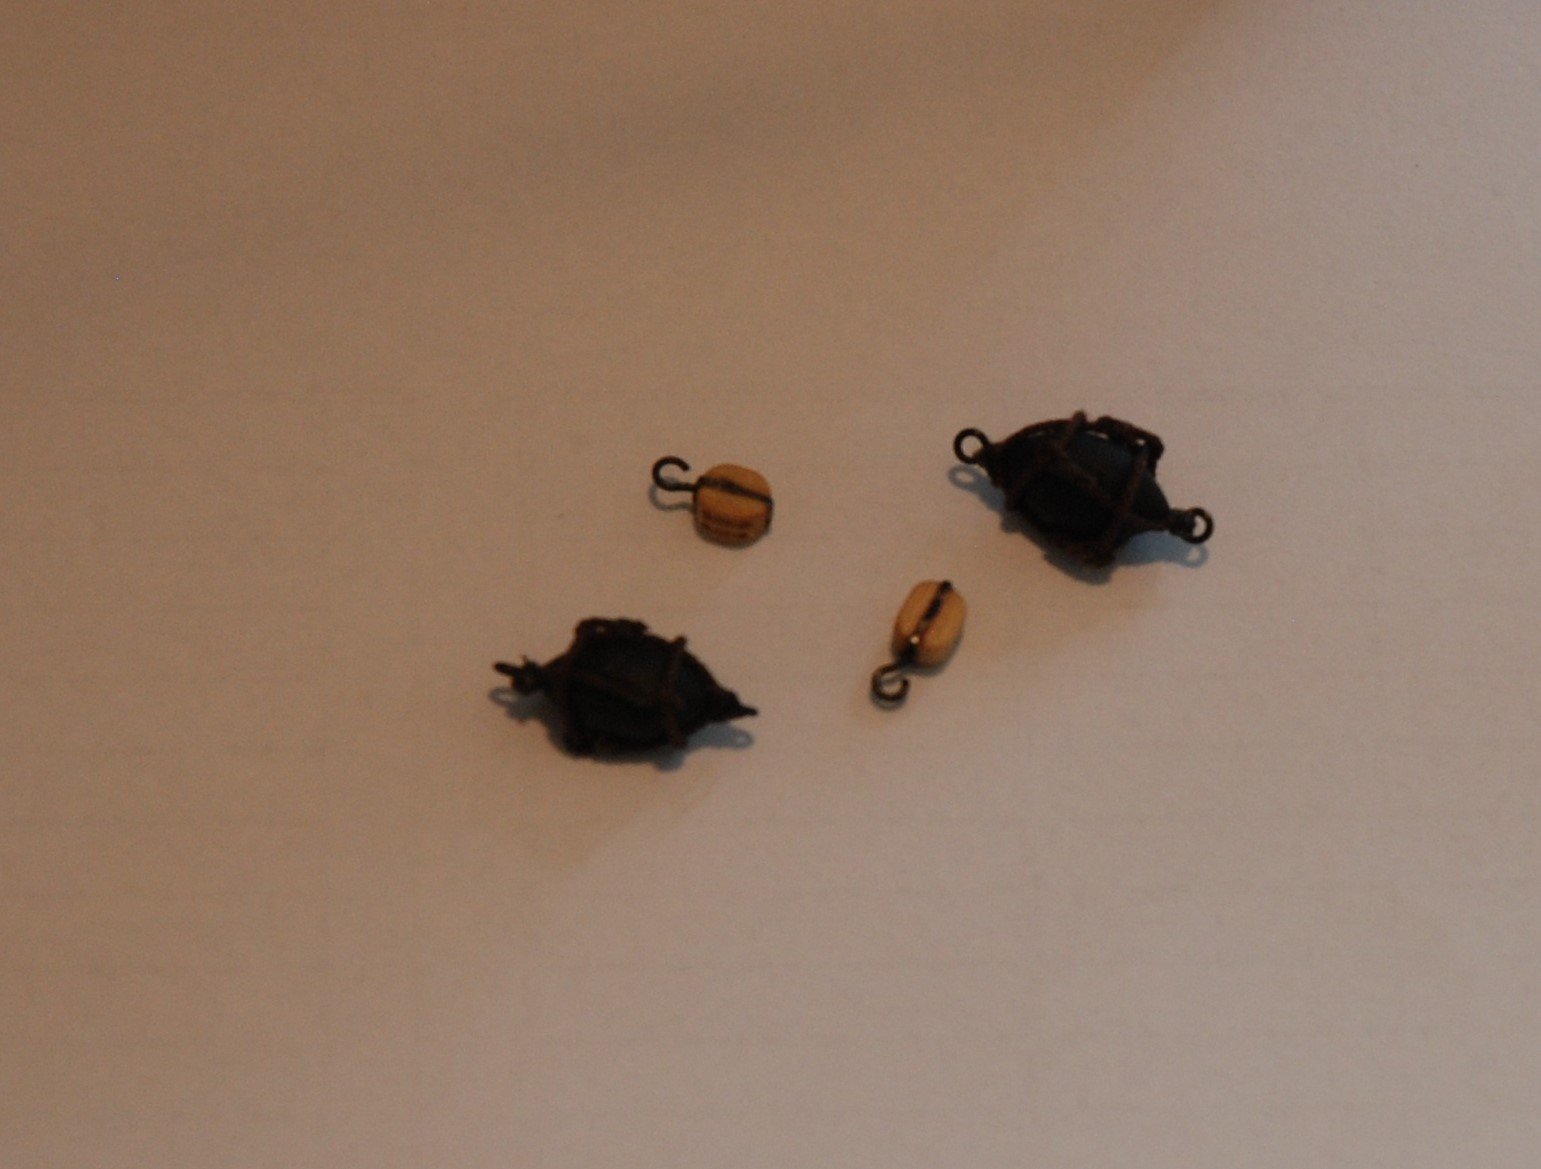
The end is coming.
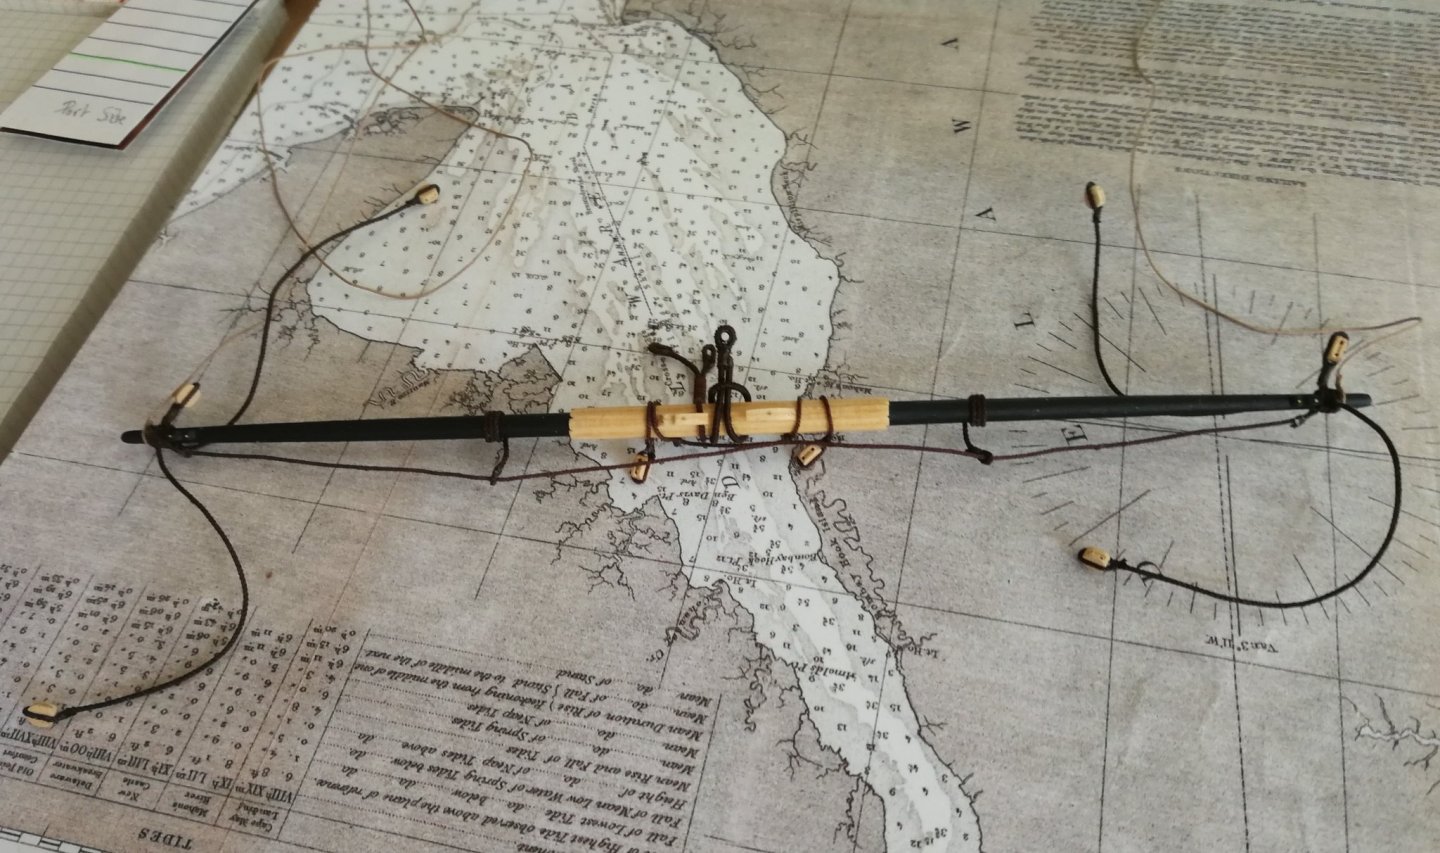
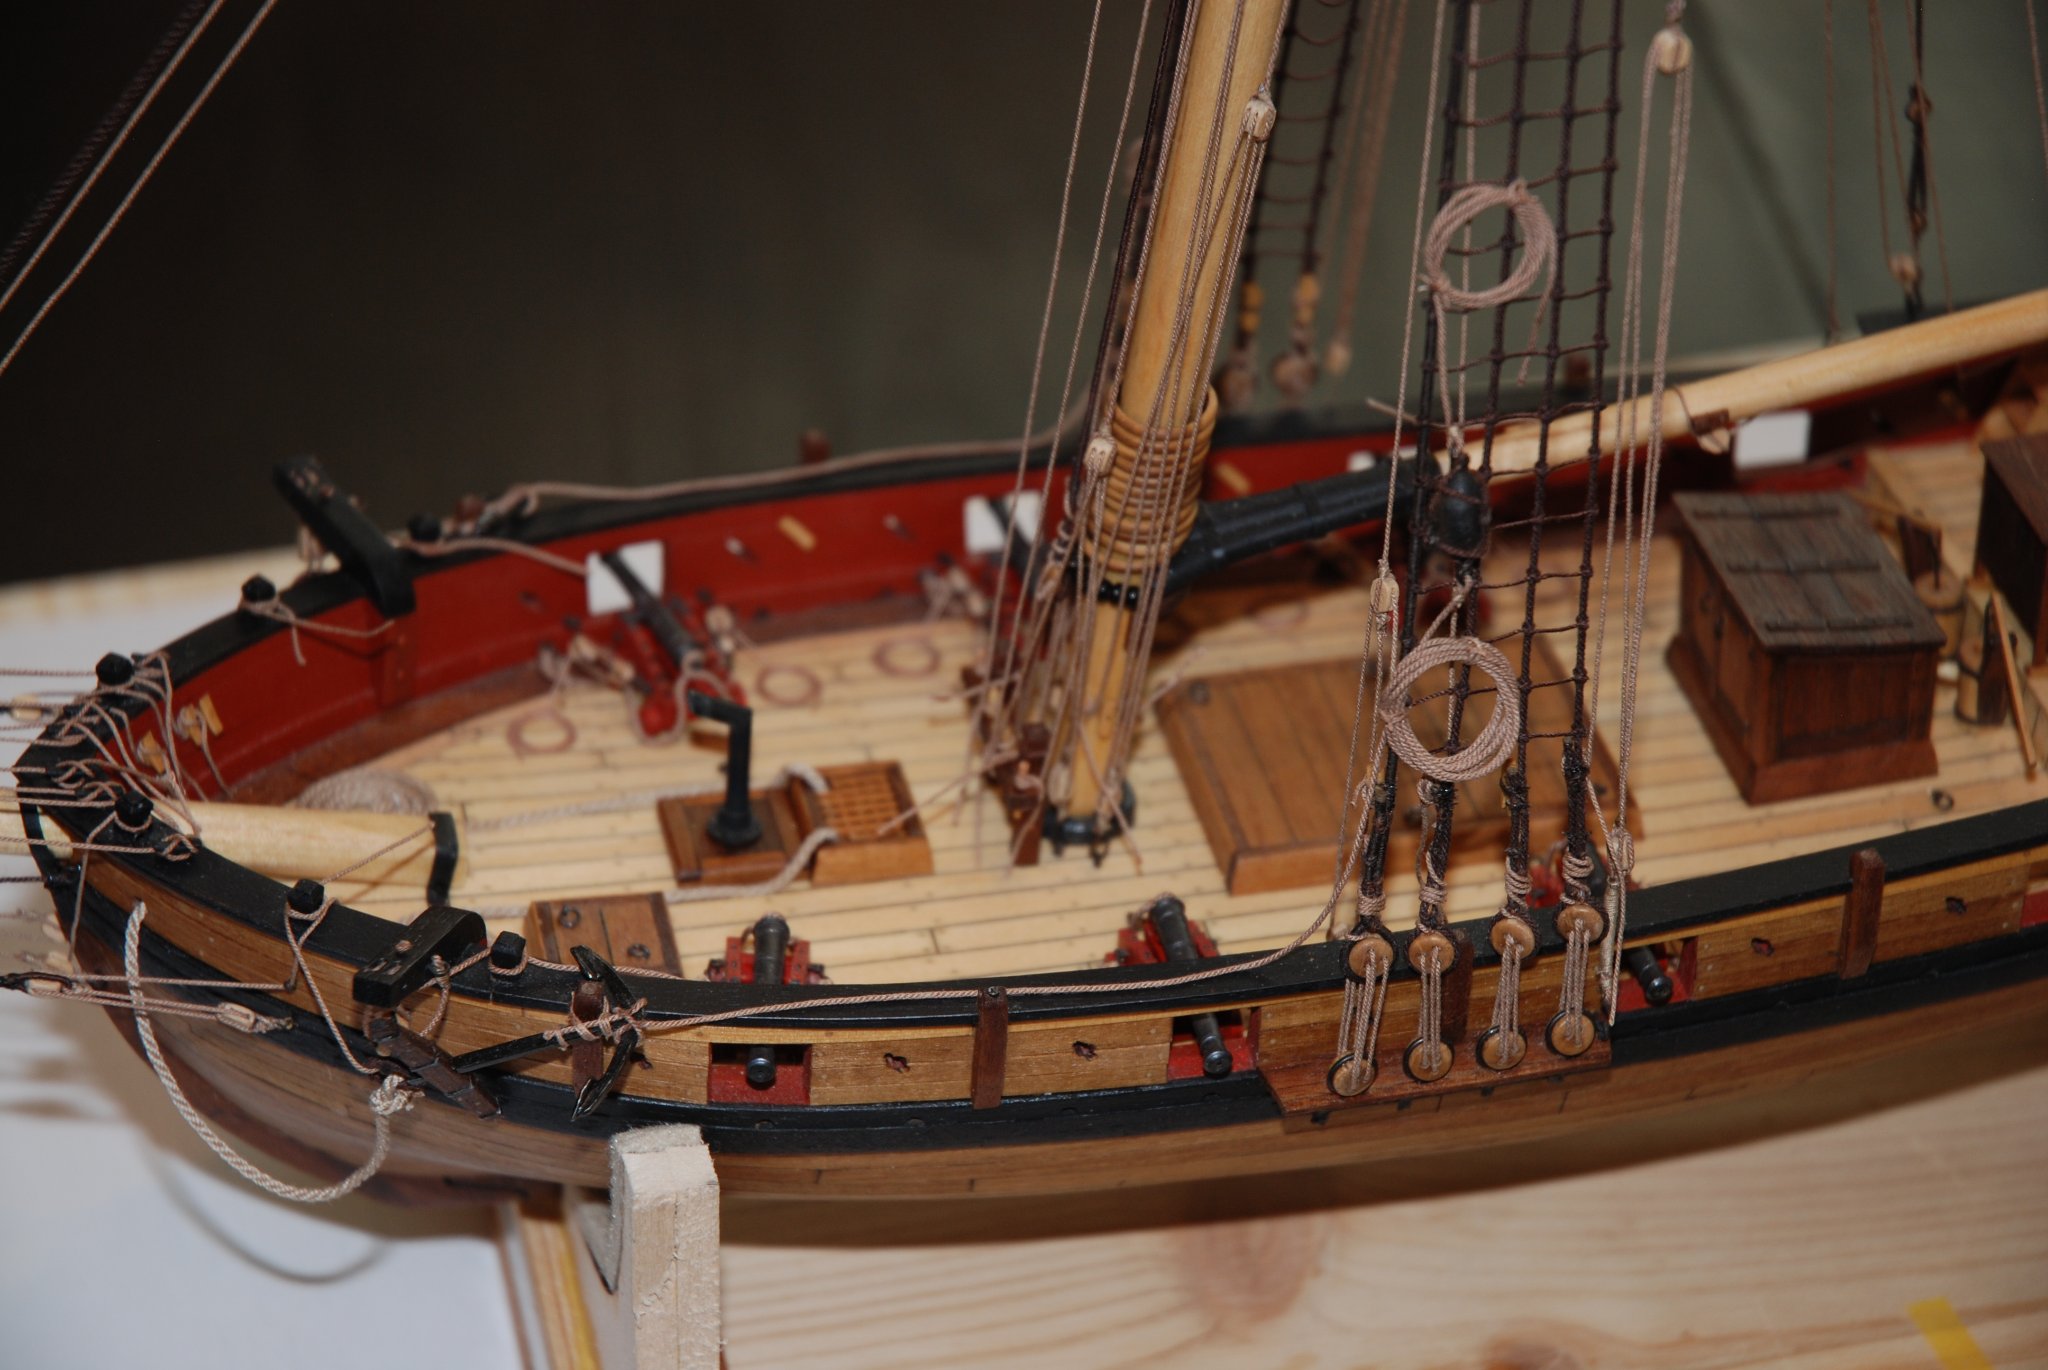
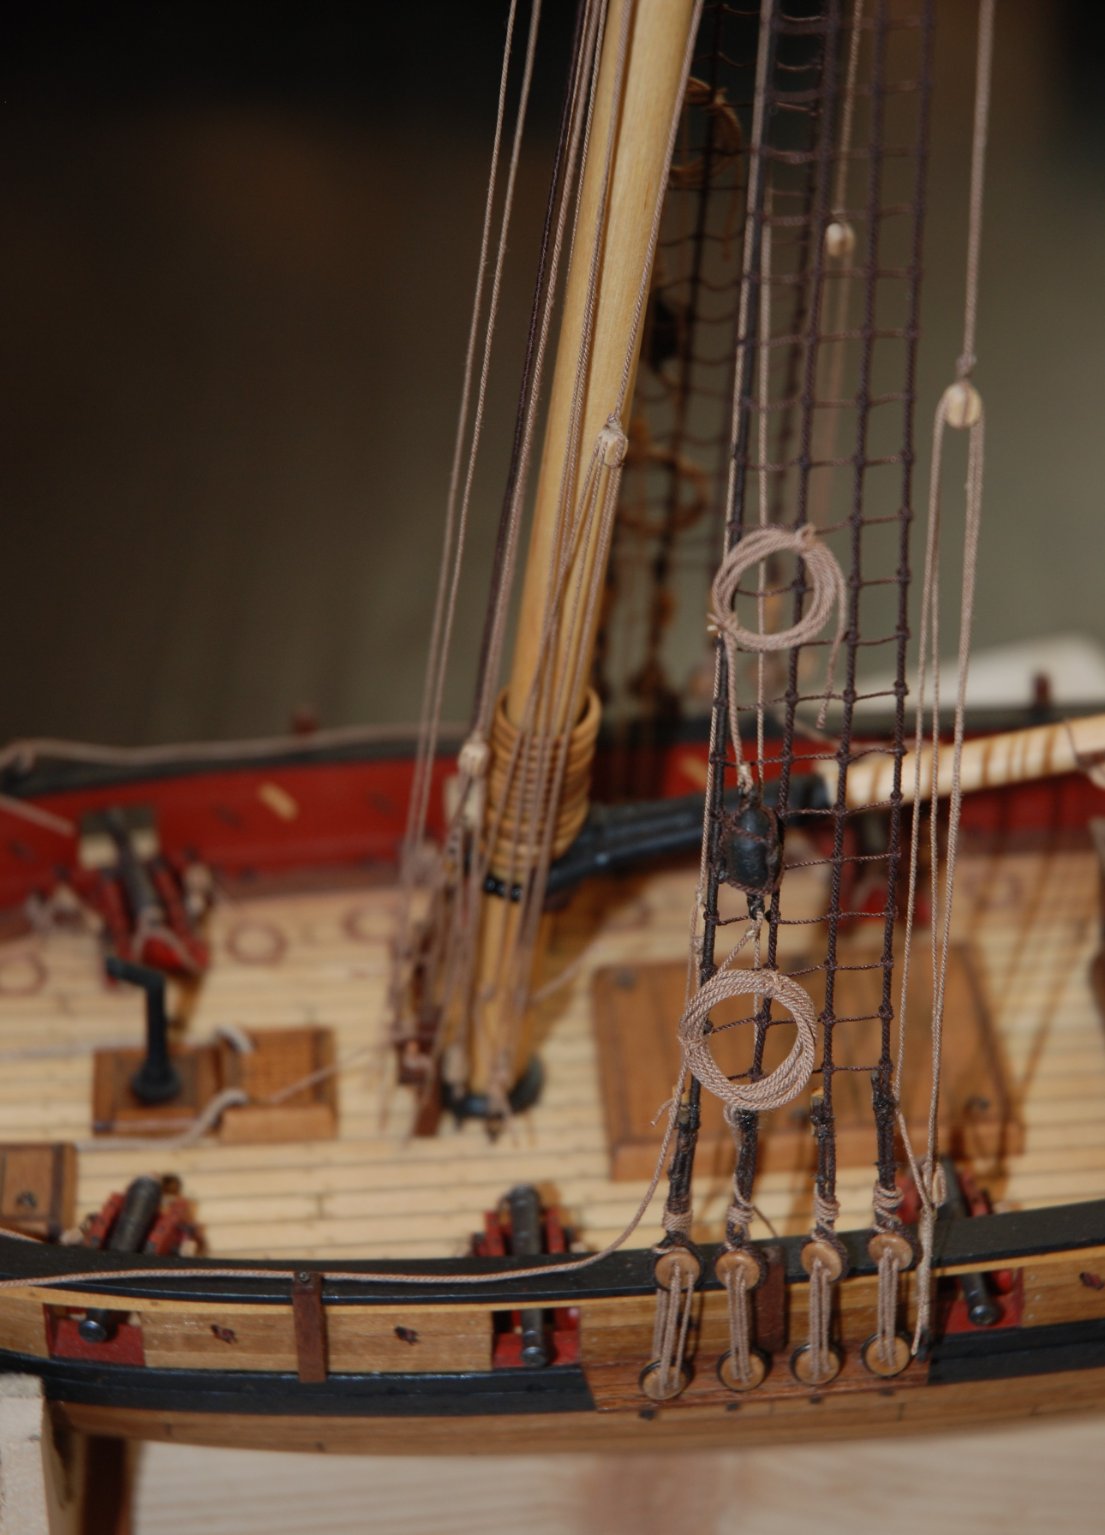
I installed the 2 anchors and their buoy.
For the buoys, I followed the method described by Chuck in the Cheerful cutter instruction manual.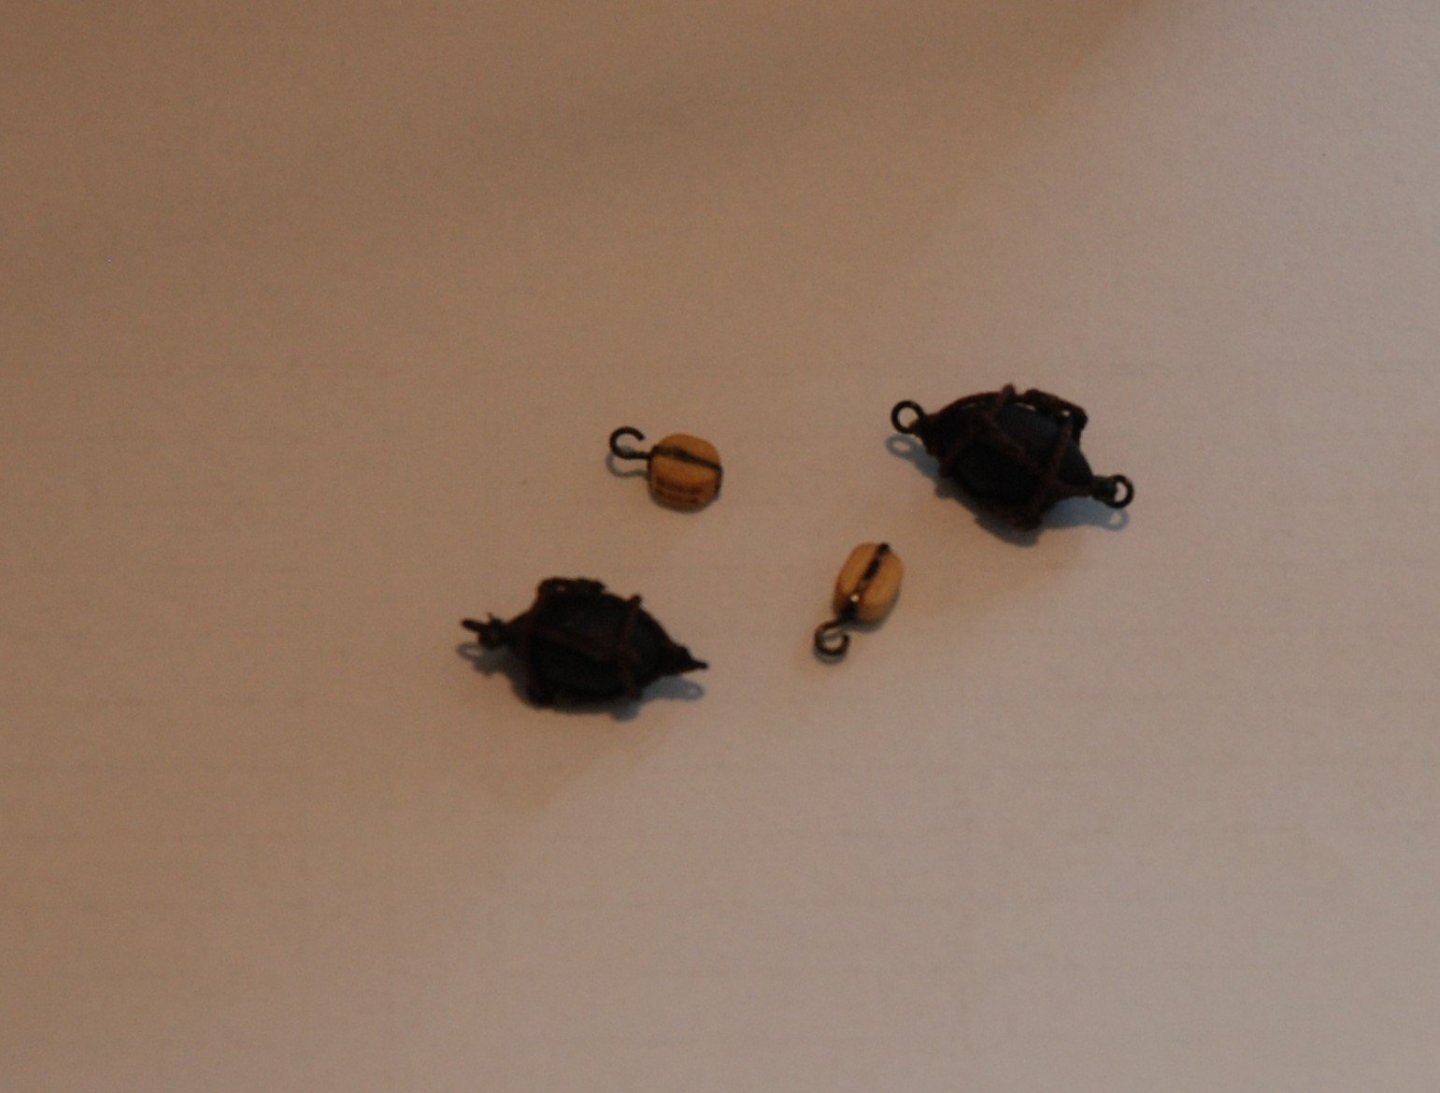
For the lines, I made a small jig on the model of the one described by Tom Lauria in his excellent video on belayed lines.
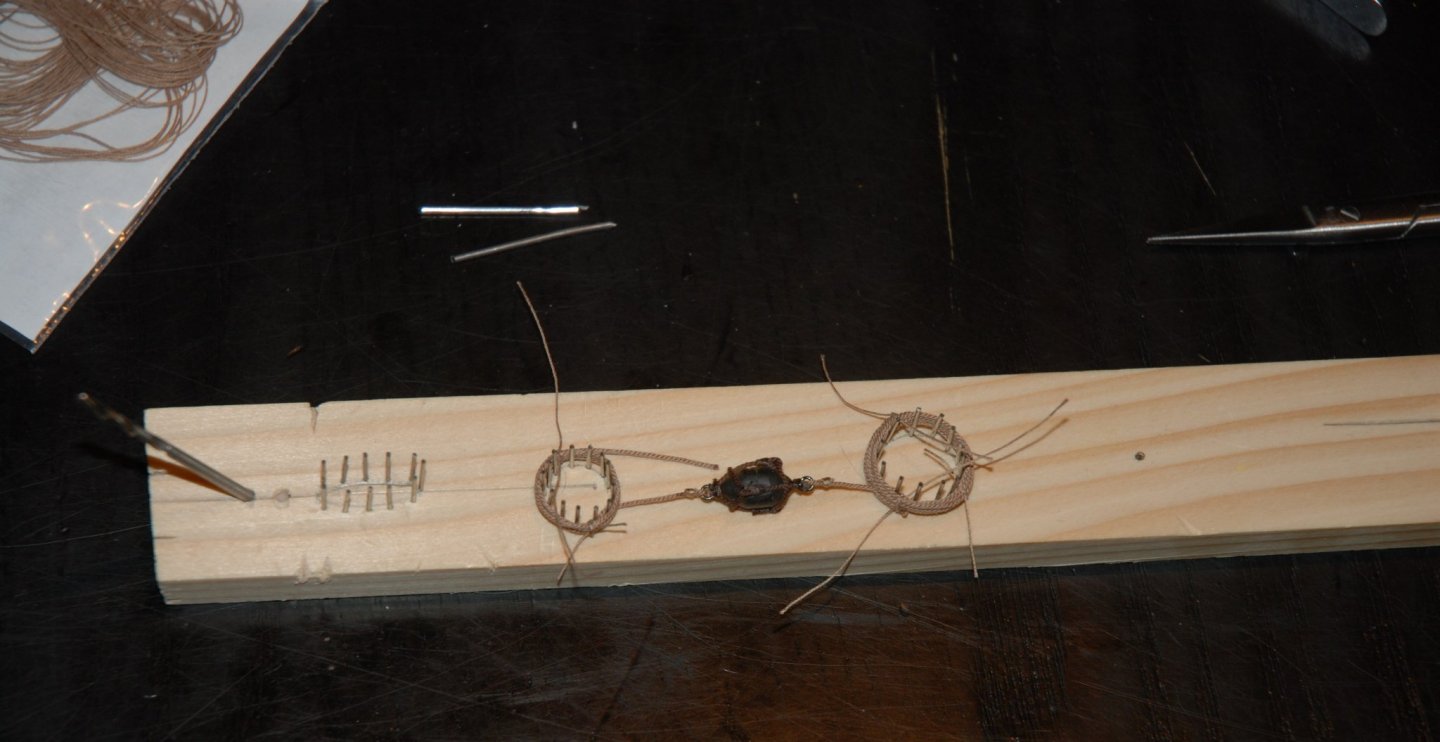
Here is the link on this video
Jig belayed lines by Tom Lauria
I can only advise you to watch the various videos produced by Tom Lauria in his Youtube channel. They are really very informative.
Once all the elements are finished, all you have to do is assemble everything.
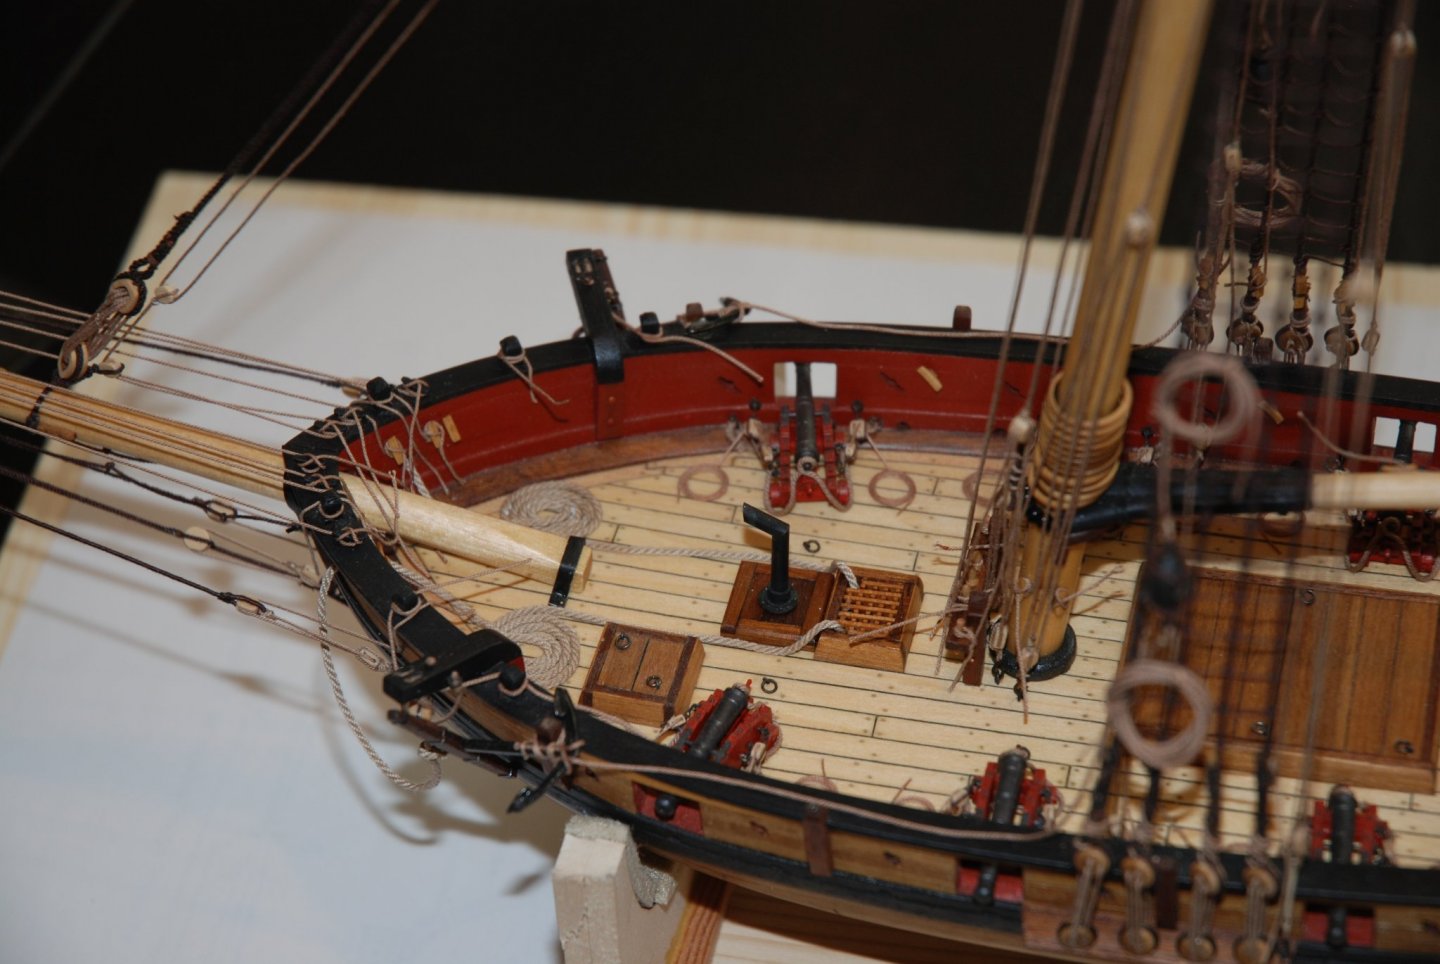
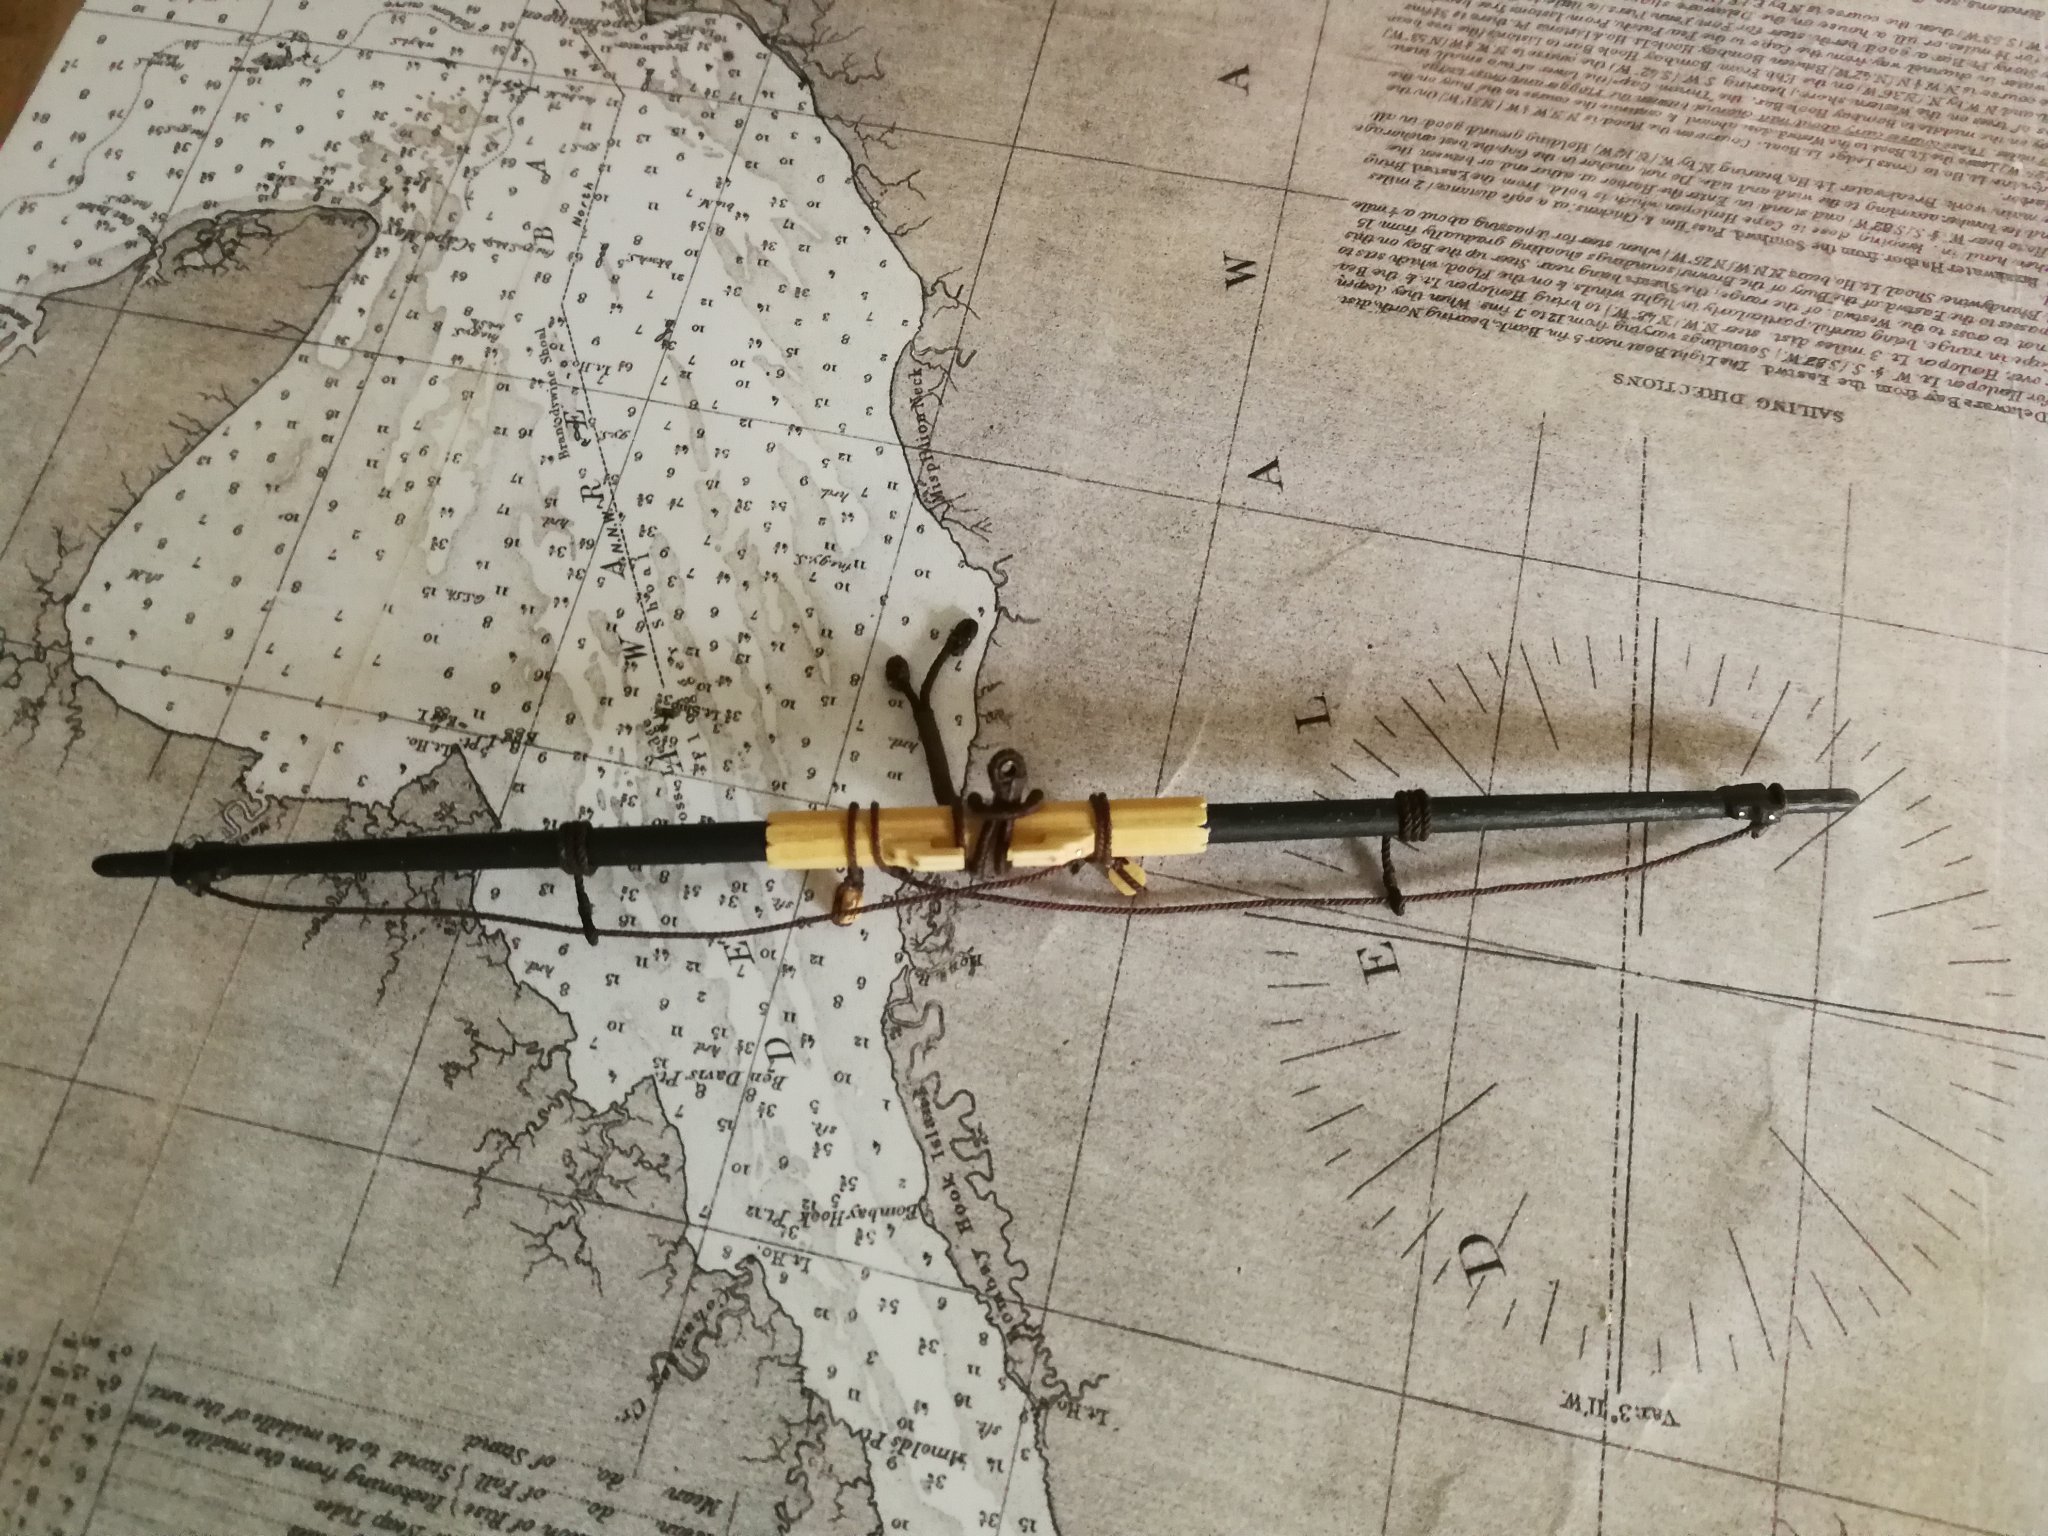
I will now finalize the placement of the rudder chains.
-
-
Nice job on this planking. The first belt on the starboard seems really very beautiful.
- Ryland Craze and mtaylor
-
2
-
-
A new very instructive video for a beautiful model. Thank you for sharing your work.
- Keith Black and Ryland Craze
-
2
-
Thank you Captain_hook, Brian and Bob for your kind comments and thank you to all the 'Likes'.
Indeed, I begin to have the end of my work in my sights. 😄
I really enjoyed the rigging phase which was a complete discovery for me.
There are still a lot of details that could be improved, but for a first try, I am still quite satisfied with the result. -
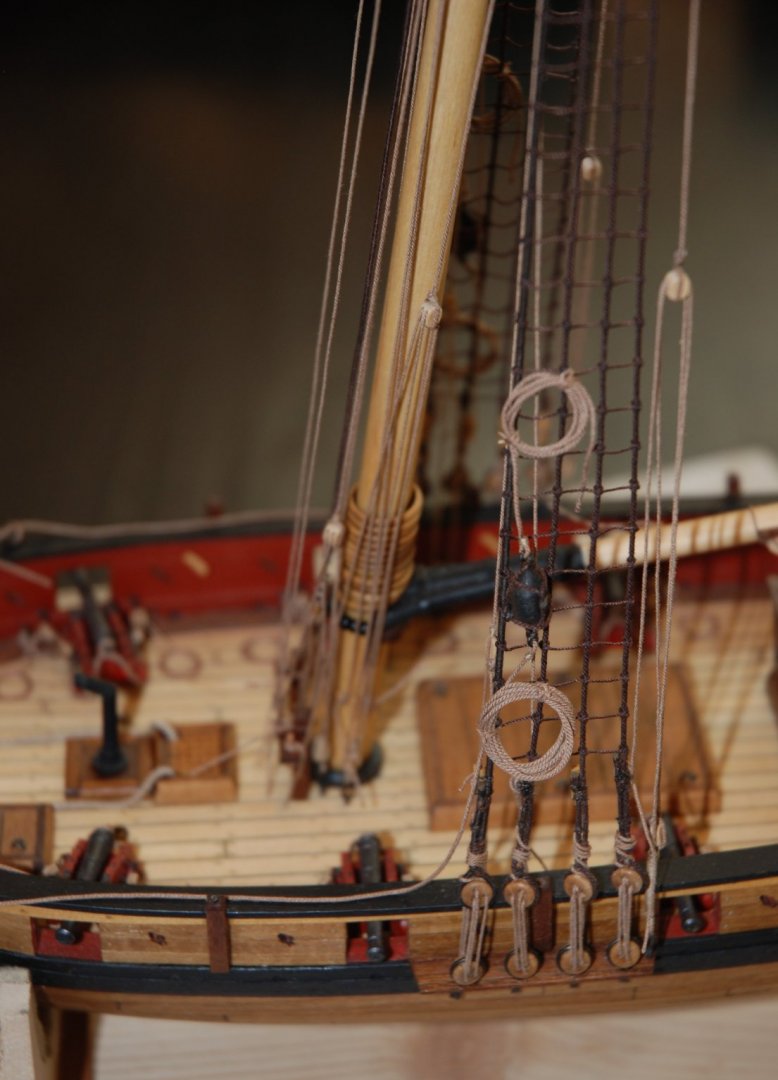
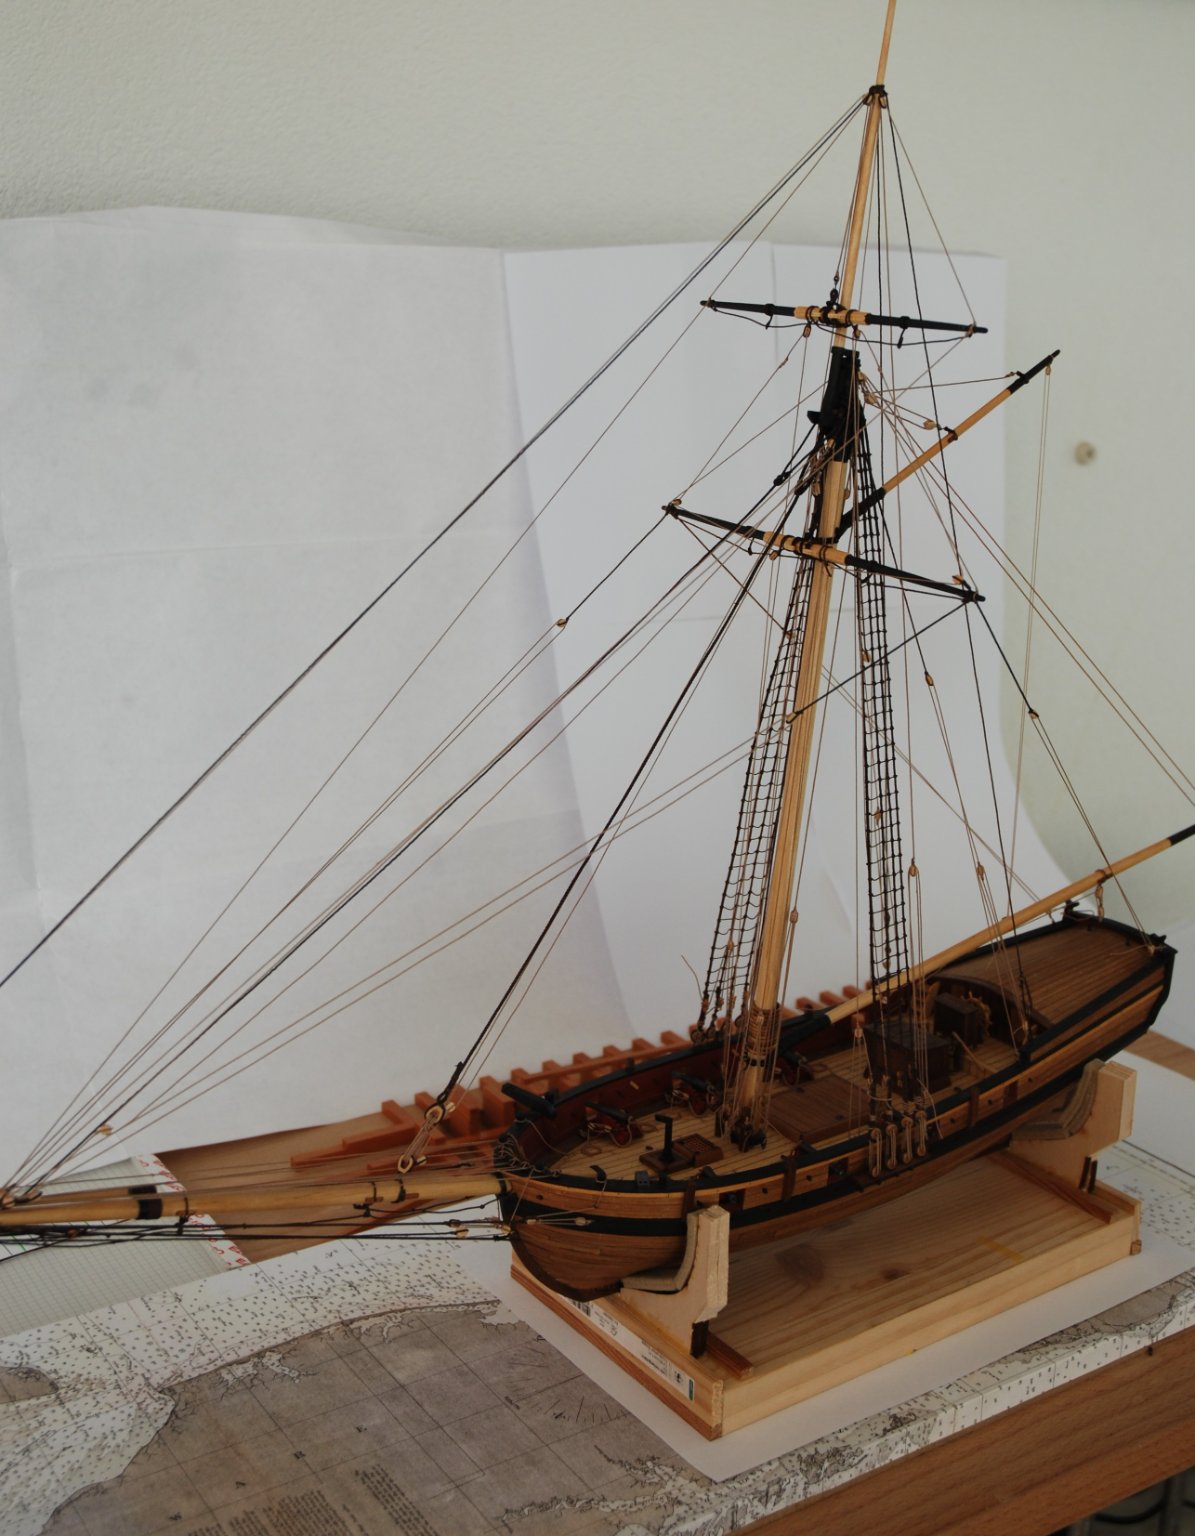
Having had a week off and given the current situation due to Covid, I quietly stayed at home and was therefore able to move forward on my build.
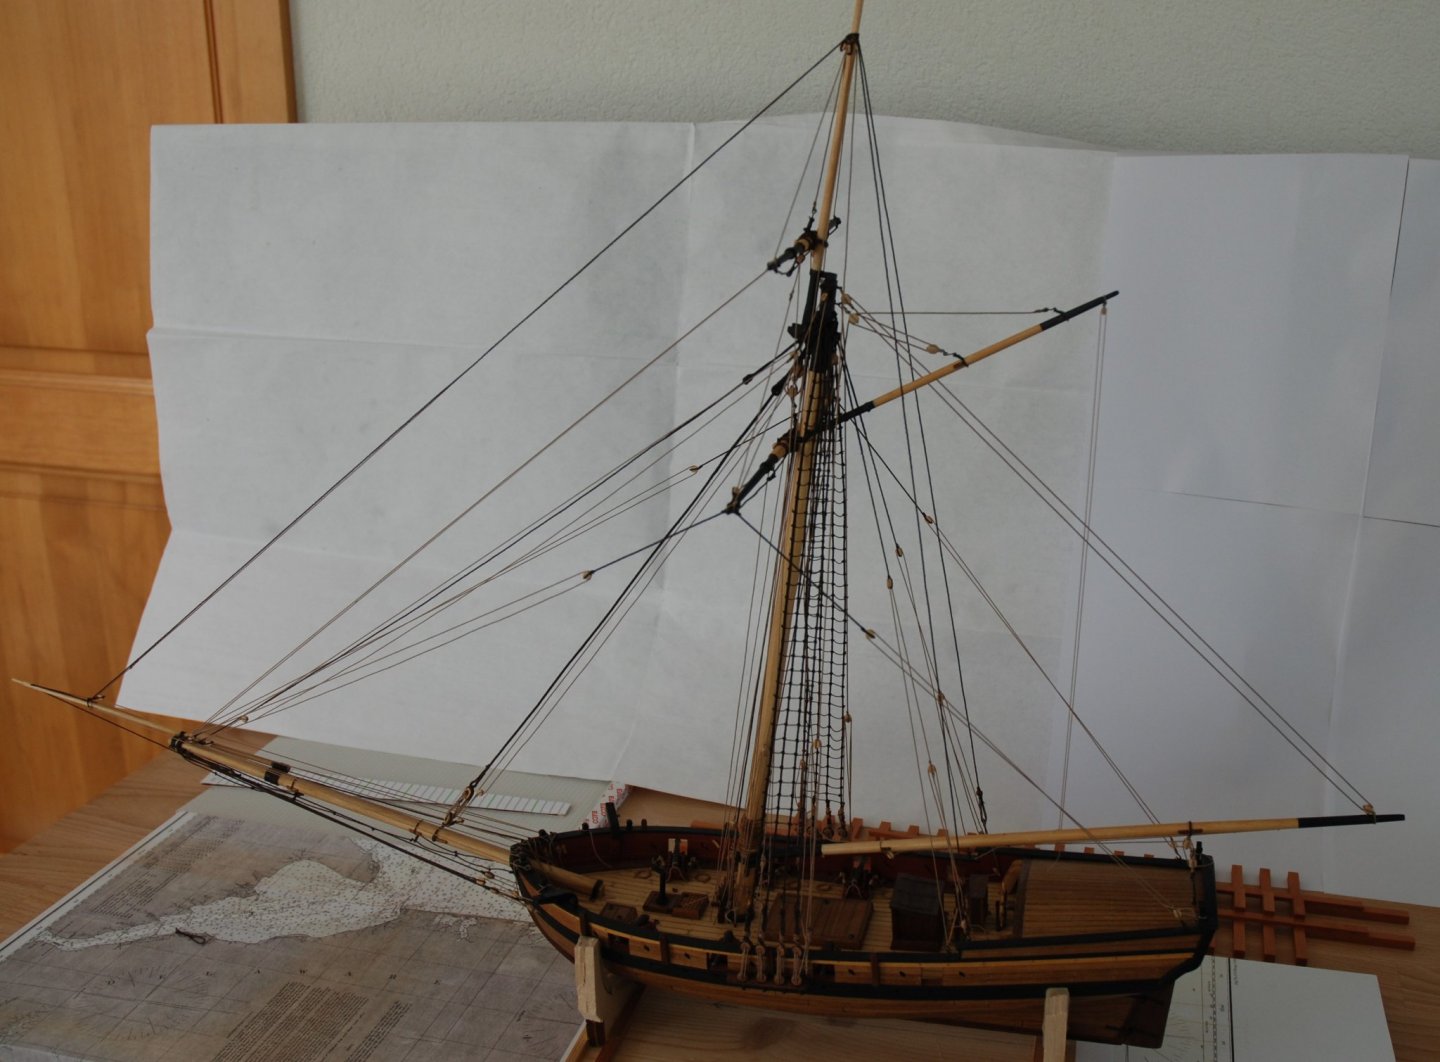
The rigging phase is over!
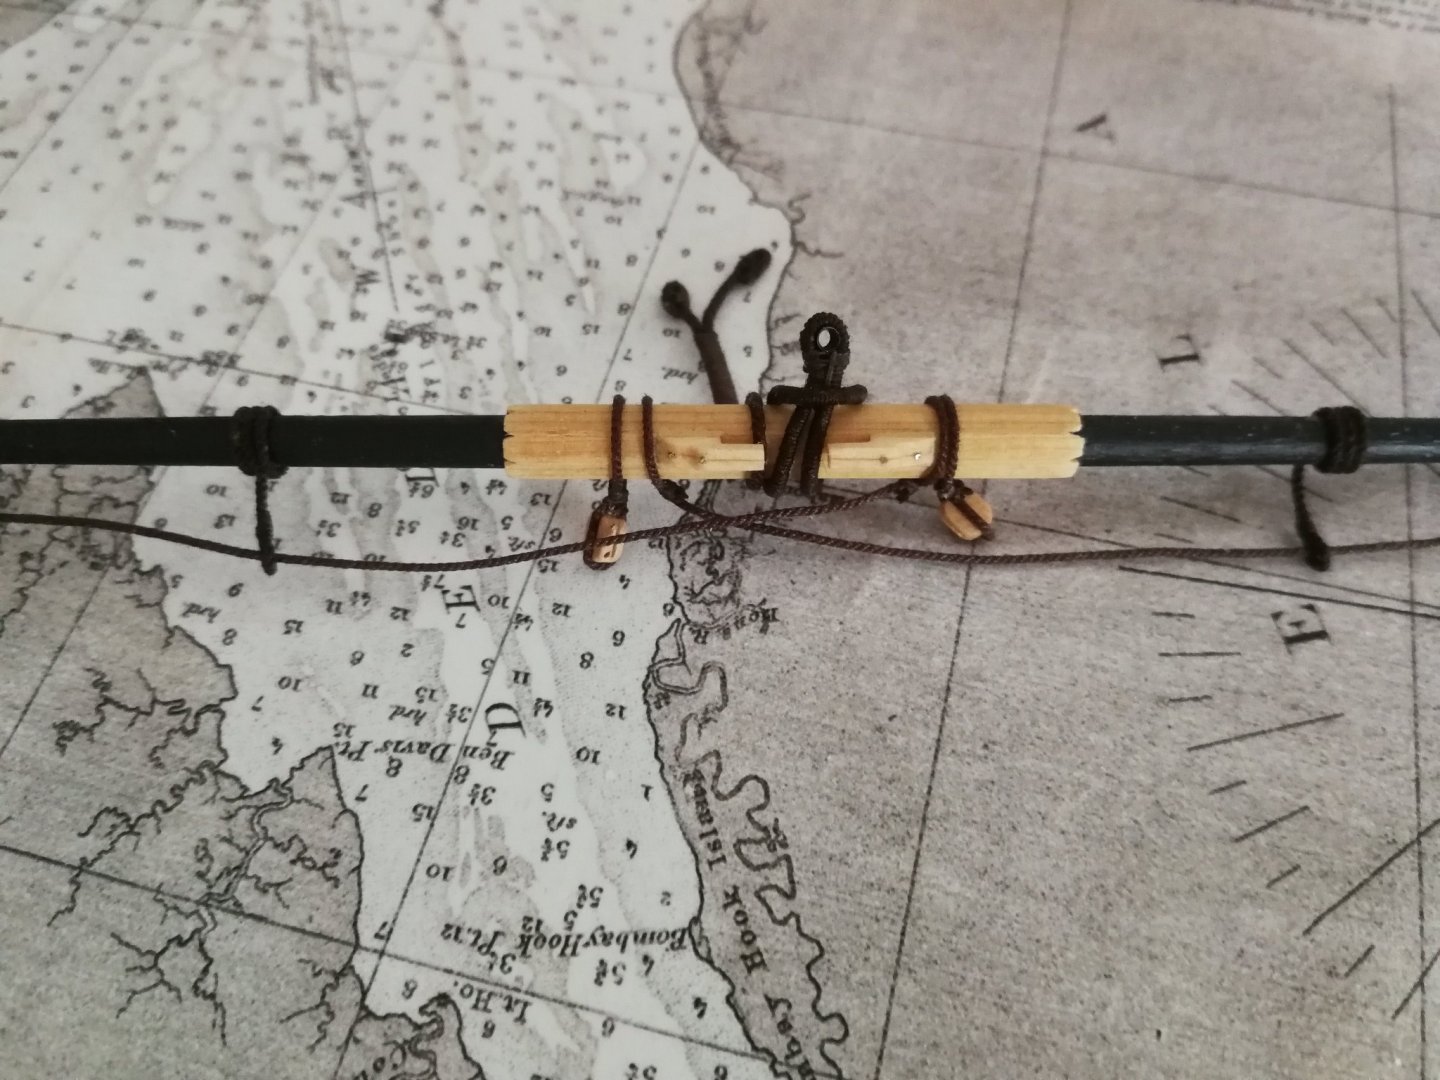
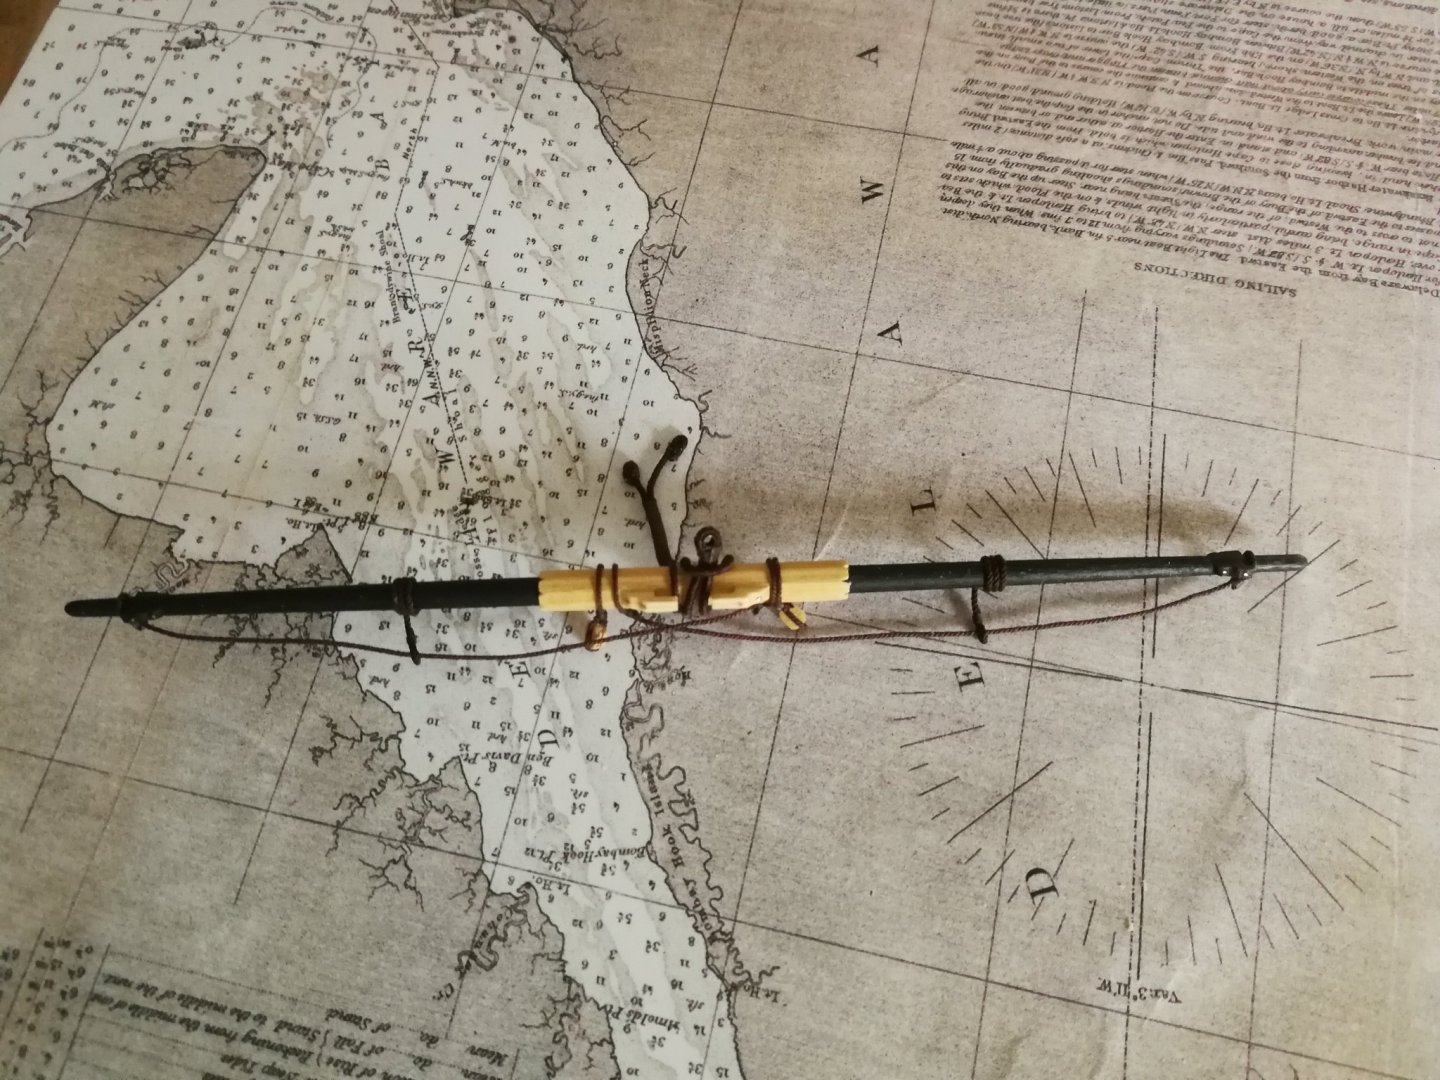
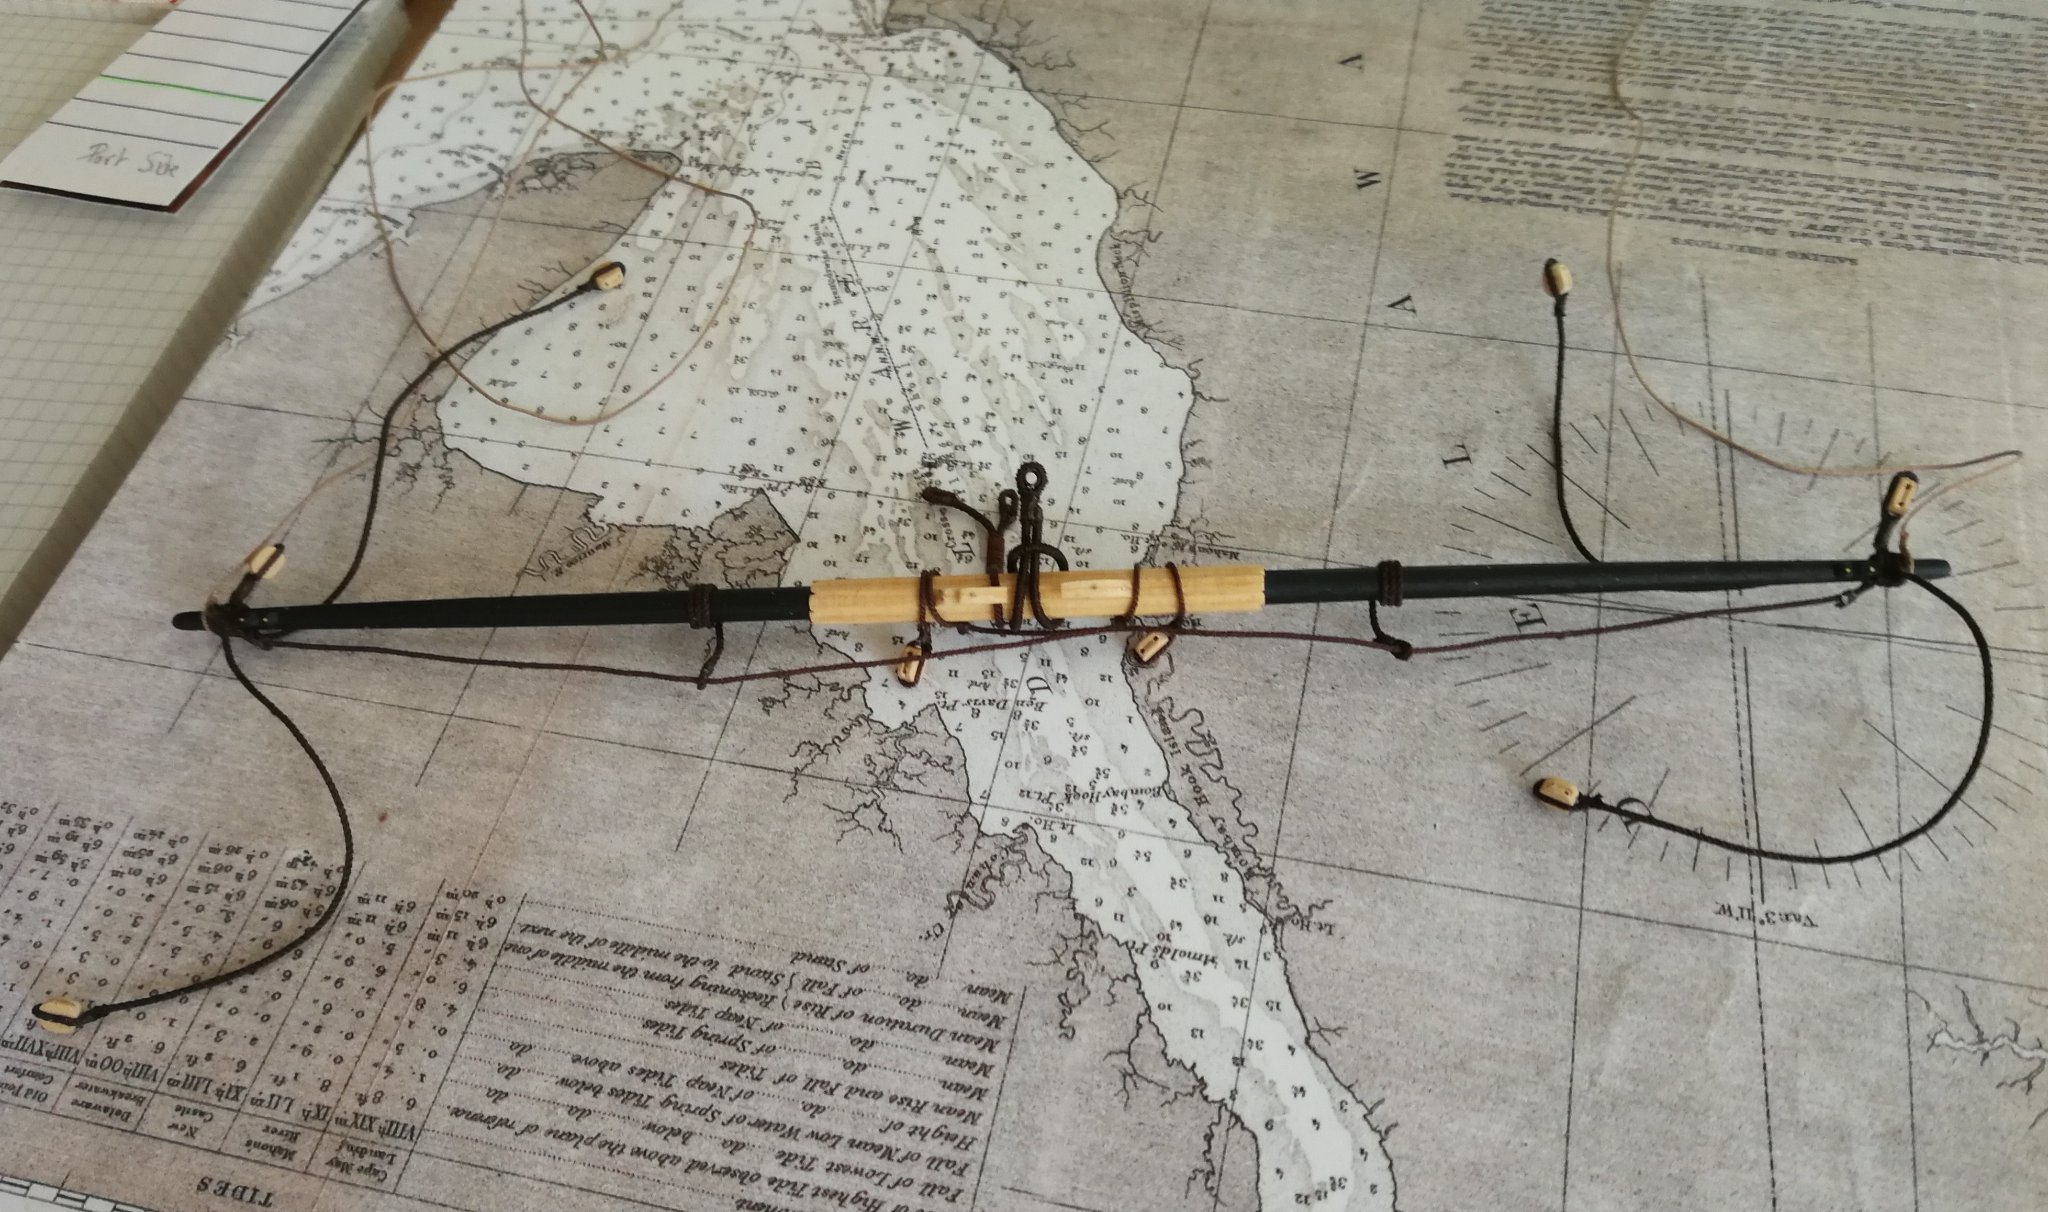
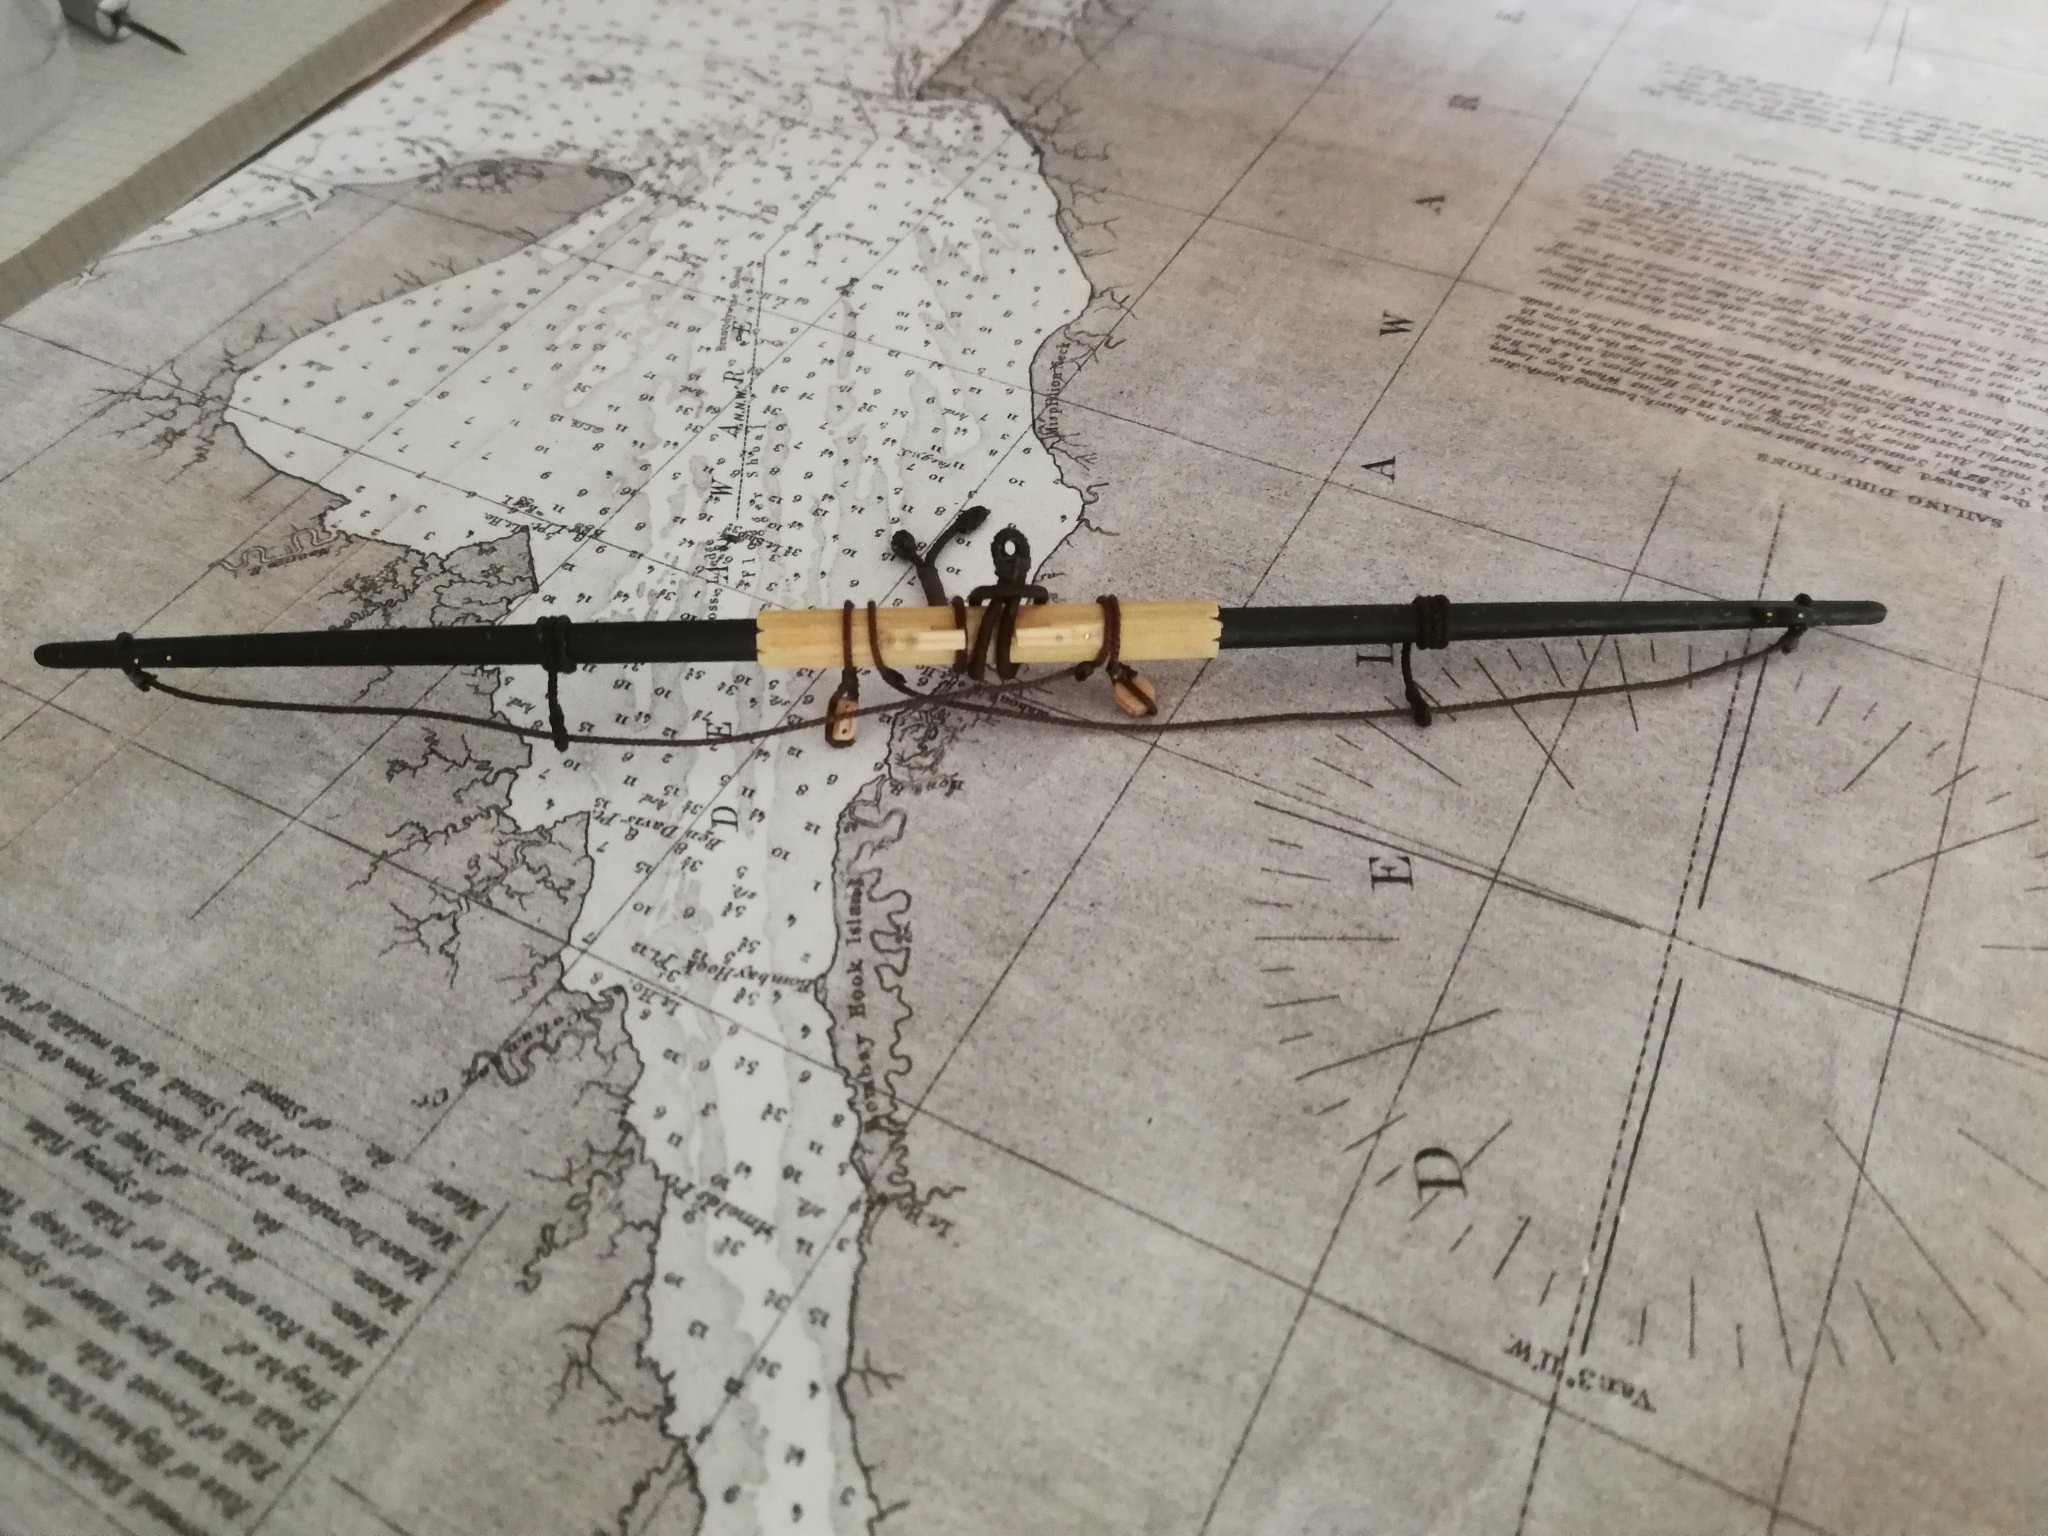
Spreader yard ready to installed
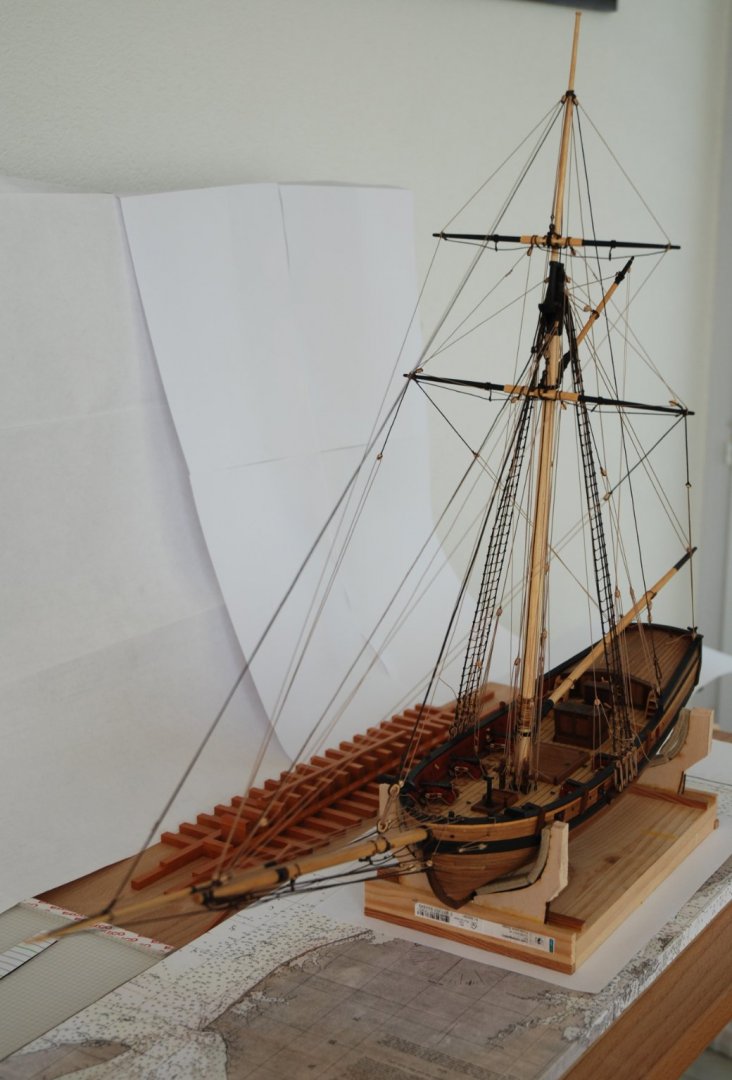

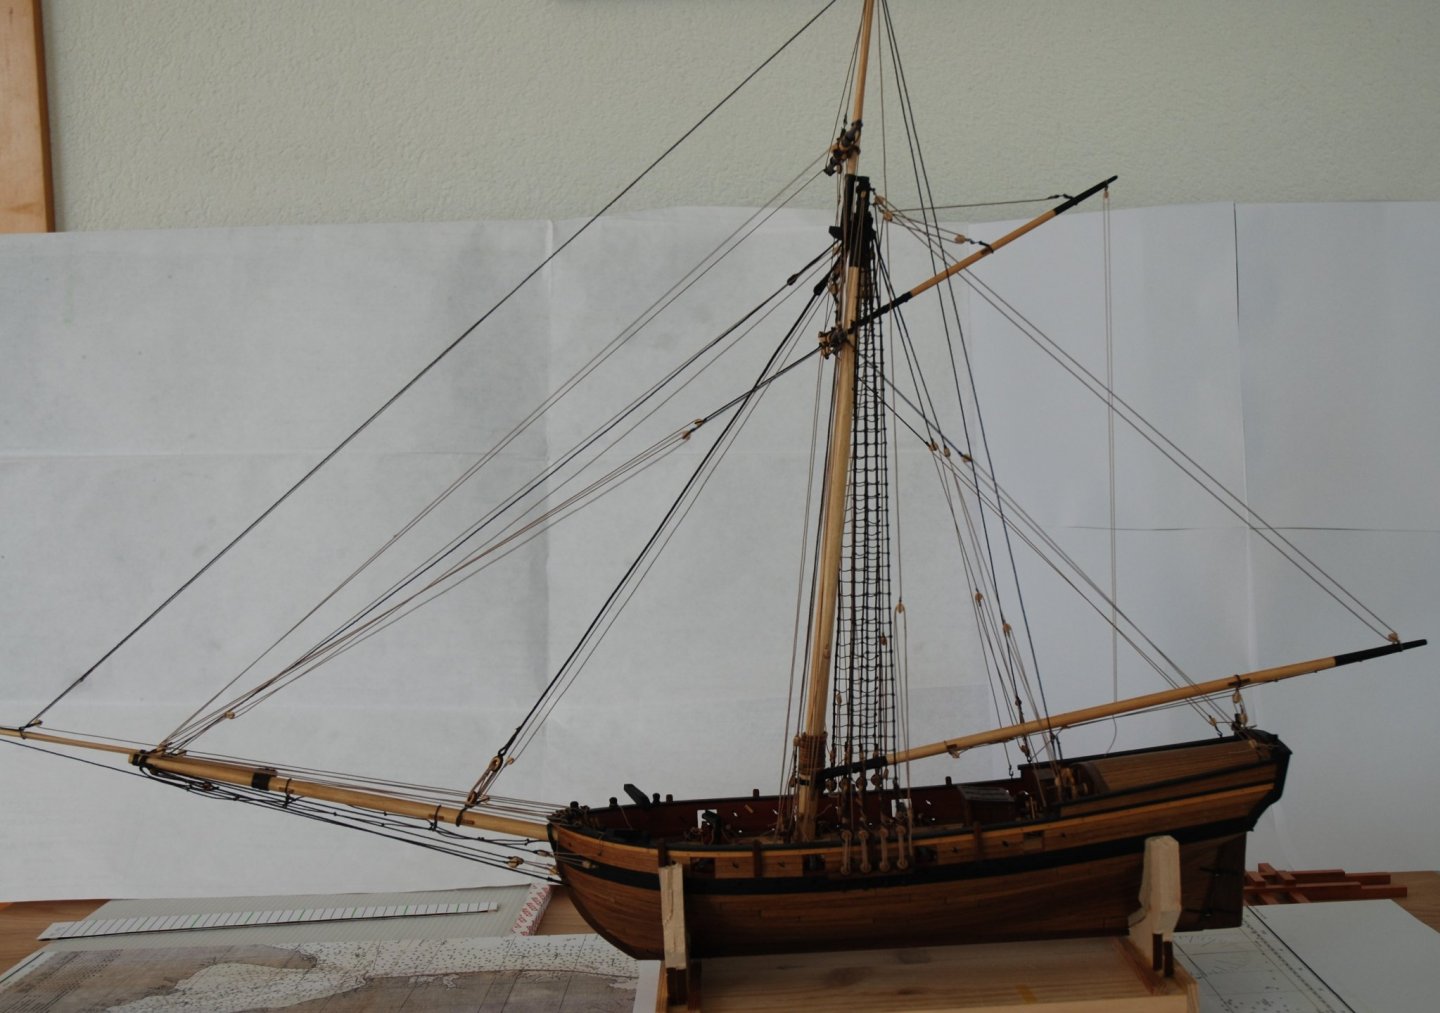
It's time to work on the anchors and their buoy.
But the holidays are over ...
-
Very interested in following this log. I have the monograph 'Le Coureur' published by Ancre and it is really a very beautiful ship.
And the kit produced by CAF seems to be of very good quality.
I am also looking forward to the Granado. A bomb vessel remains a most interesting subject.- Canute and captain_hook
-
2
-
Thank you Olha for your videos !
I am always discovering new techniques. It is really very interesting.
Superb work on these sails. I can't wait to see the rest.- Ryland Craze, Keith Black and BobG
-
3
-
-
Thank you Gazzarian for your kind words. My next build will also be a cutter, but at 1/48 scale. But the color scheme will be completely different.
Thank you also to all the 'Likes'.
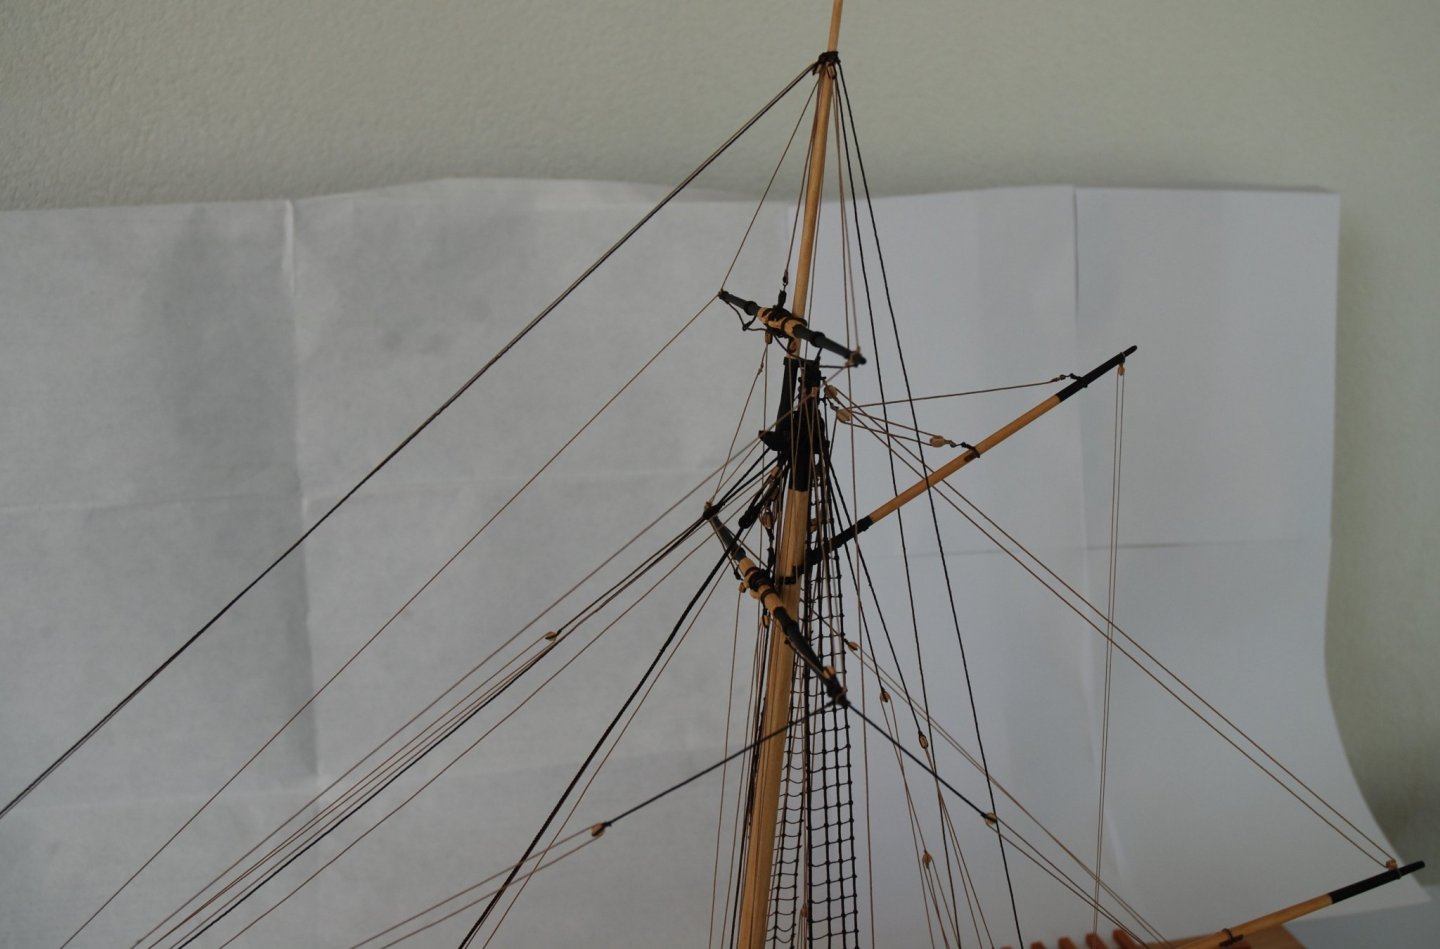
The topsail yard is ready for mounting on the mast.

- rafine, captain_hook, Ryland Craze and 2 others
-
5
-
Superb job on these davits. The details worked out really well.
It will be a magnificent support for the whaleboat !
-
-
Another key is research in the various build logs of this forum.
The problems you are having probably someone has already had it and has probably provided the solution in their build log.
I spent and still spend many hours going through the logs to find different solutions and tips. It is never wasted time and is well worth it.
This forum is a wealth of information 😀
You really have to be curious and not hesitate to look for information..- DelF, BobG, EricWilliamMarshall and 11 others
-
14
-
Remarkable work on this oven. It is true that the britannia castings provided in the kits are often of very poor quality.
The time invested to redo the oven is really worth it because the result is superb.
Always a pleasure to follow the progress on this construction 😀- captain_hook and mtaylor
-
2
-
Thank you Bob for your kind words and thank you to all the 'Likes'.
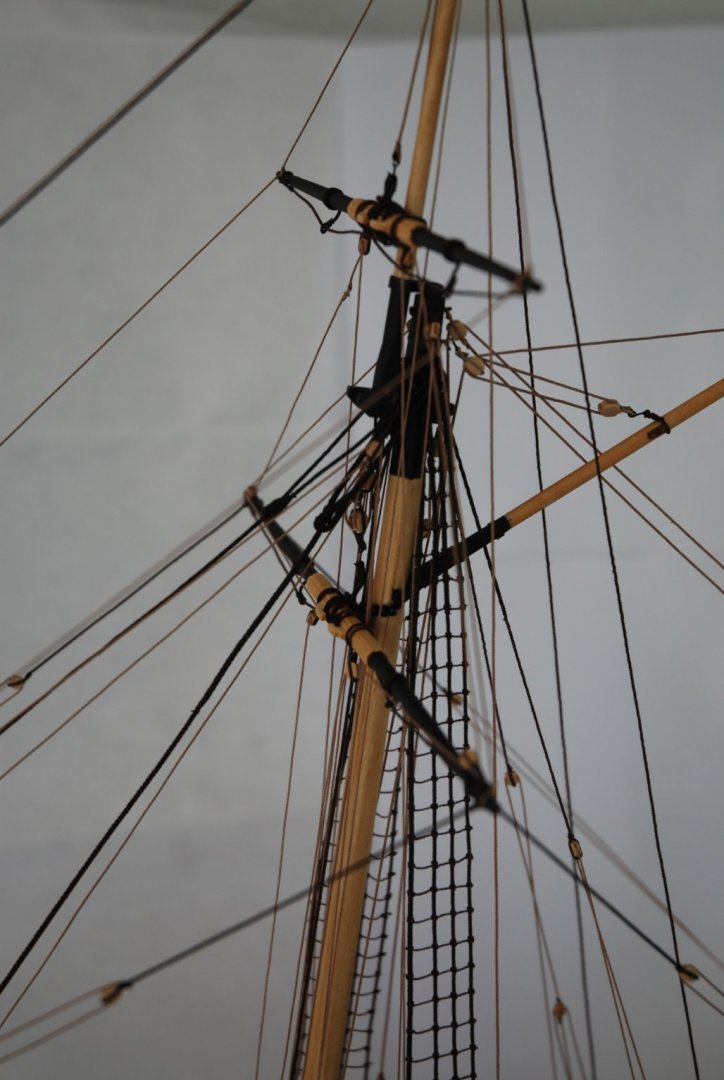
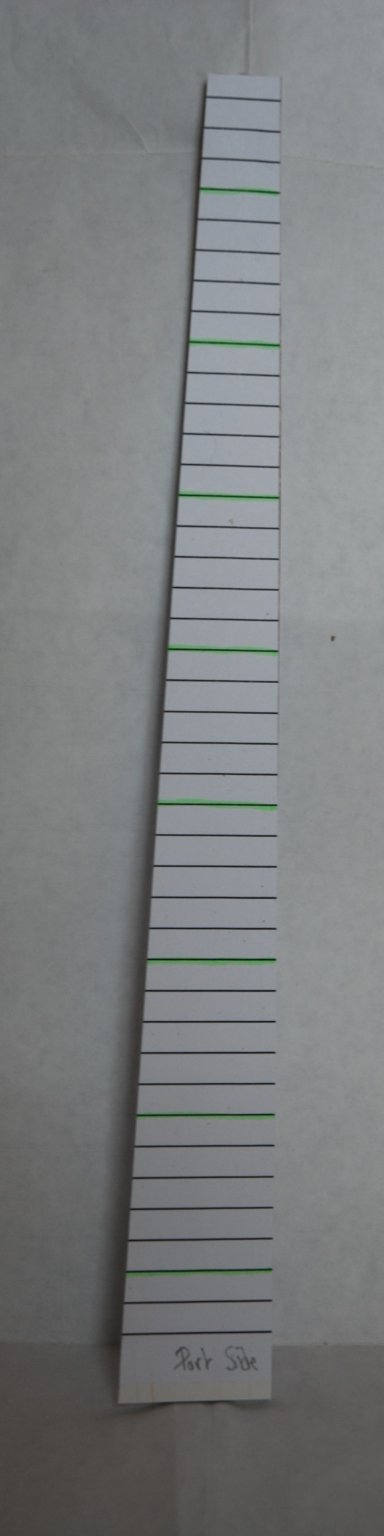
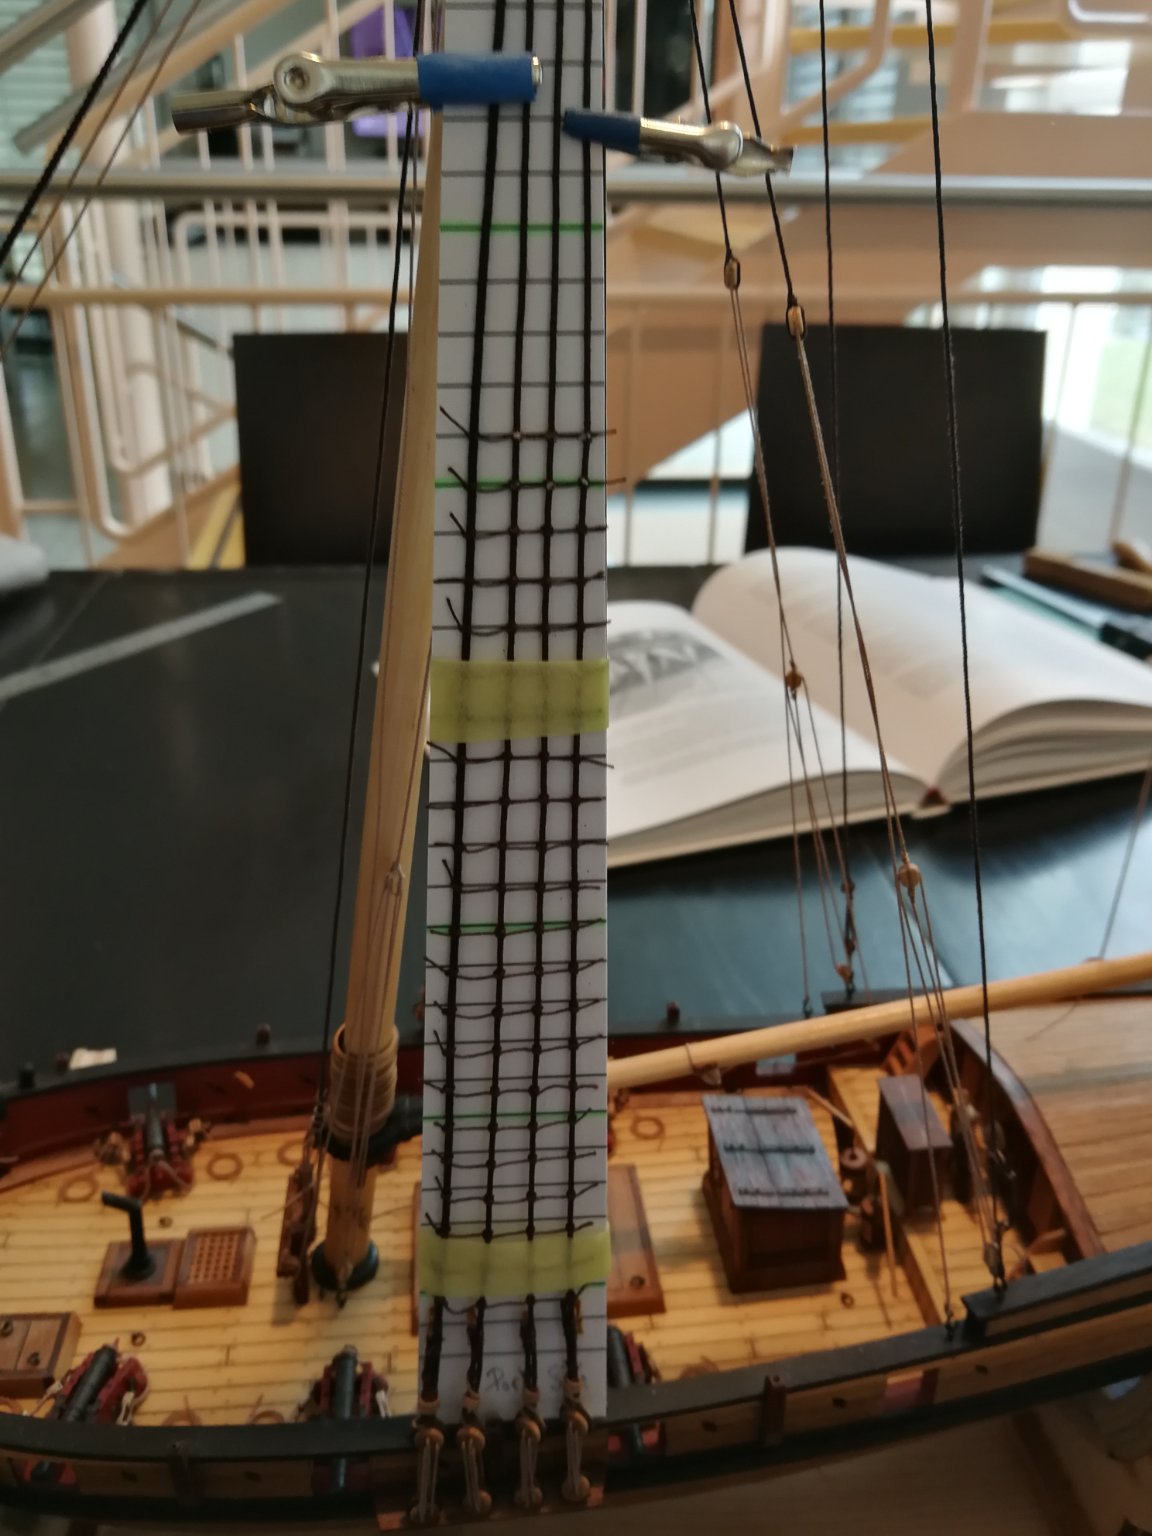
The repetitive work on the ratlines is done...
I first printed parallel lines (spacing 7mm) on a white sheet using Excel software.
I then glued this sheet onto card stock and cut two shapes based on the plan, one for port side and one for starboard.
The two pieces were then glued back to back by inserting a thin wooden stick in order to stiffen the whole.

I can thus use the same jig for both sides.


Then it's just a matter of patience ... One clove hitch after another ... Then finally the job is done

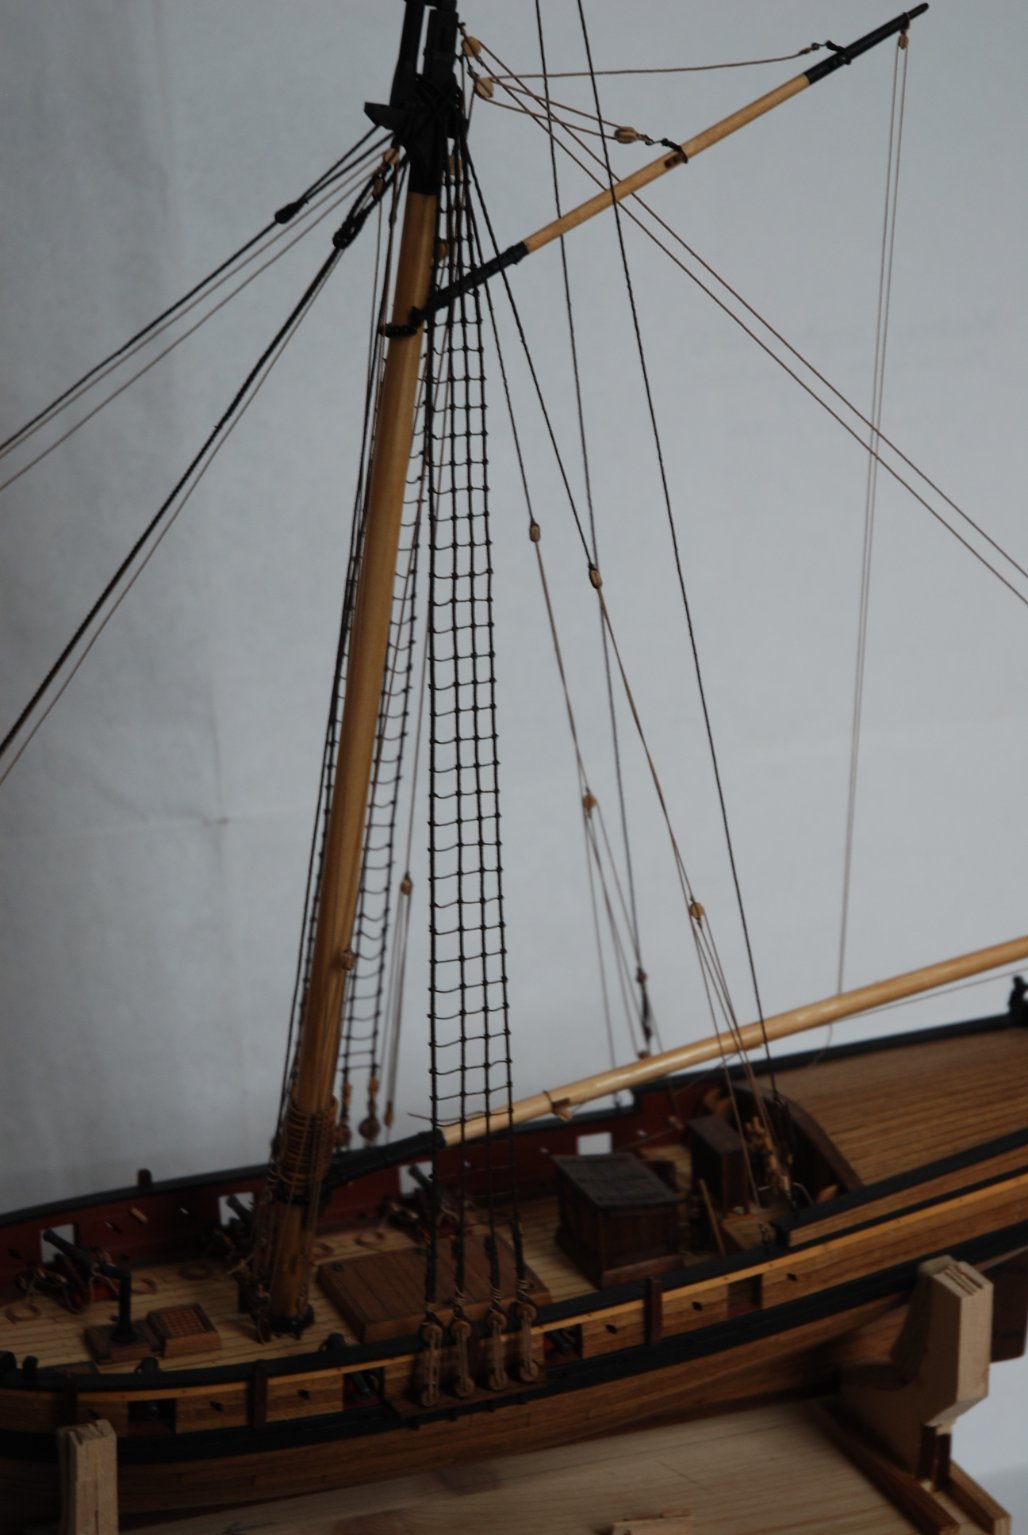
All the lines concerning the mast and the bowsprit are now in place.

I can switch to rigging the yards
- J11, rafine, Ryland Craze and 5 others
-
8
-
Wonderful result ! The time invested on the carvings is well worth it. The barge is absolutely magnificent.
- Old Collingwood, BobG, Ryland Craze and 1 other
-
4


Muirneag 1903 by Blue Ensign – FINISHED - Vanguard Models - 1:64 scale - A Scottish Zulu Fishing Boat Based on the Vanguard Models Zulu Kit
in - Kit build logs for subjects built from 1901 - Present Day
Posted
What a great job! An absolutely perfect search for detail! Well done