GrandpaPhil
-
Posts
4,888 -
Joined
-
Last visited
Content Type
Profiles
Forums
Gallery
Events
Everything posted by GrandpaPhil
-
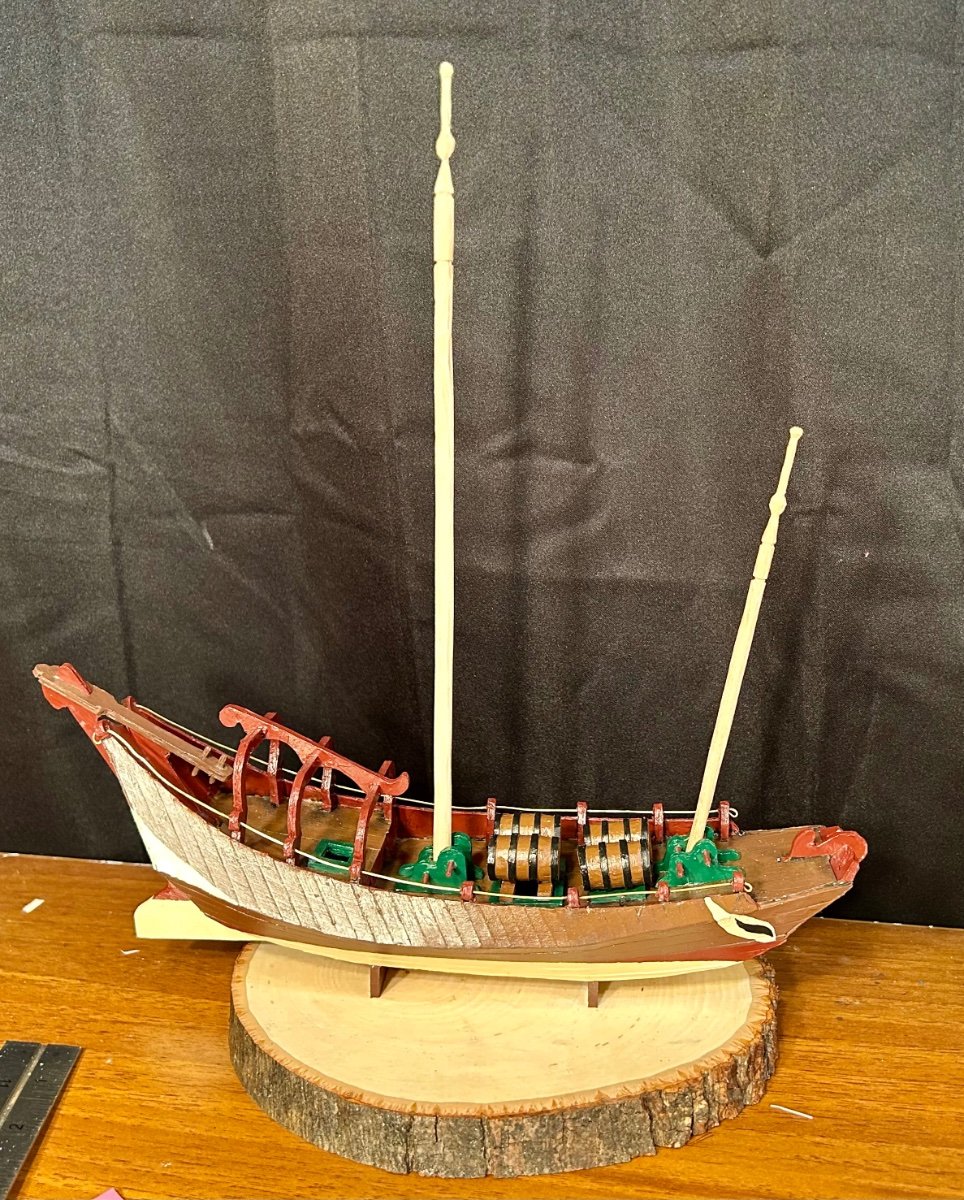
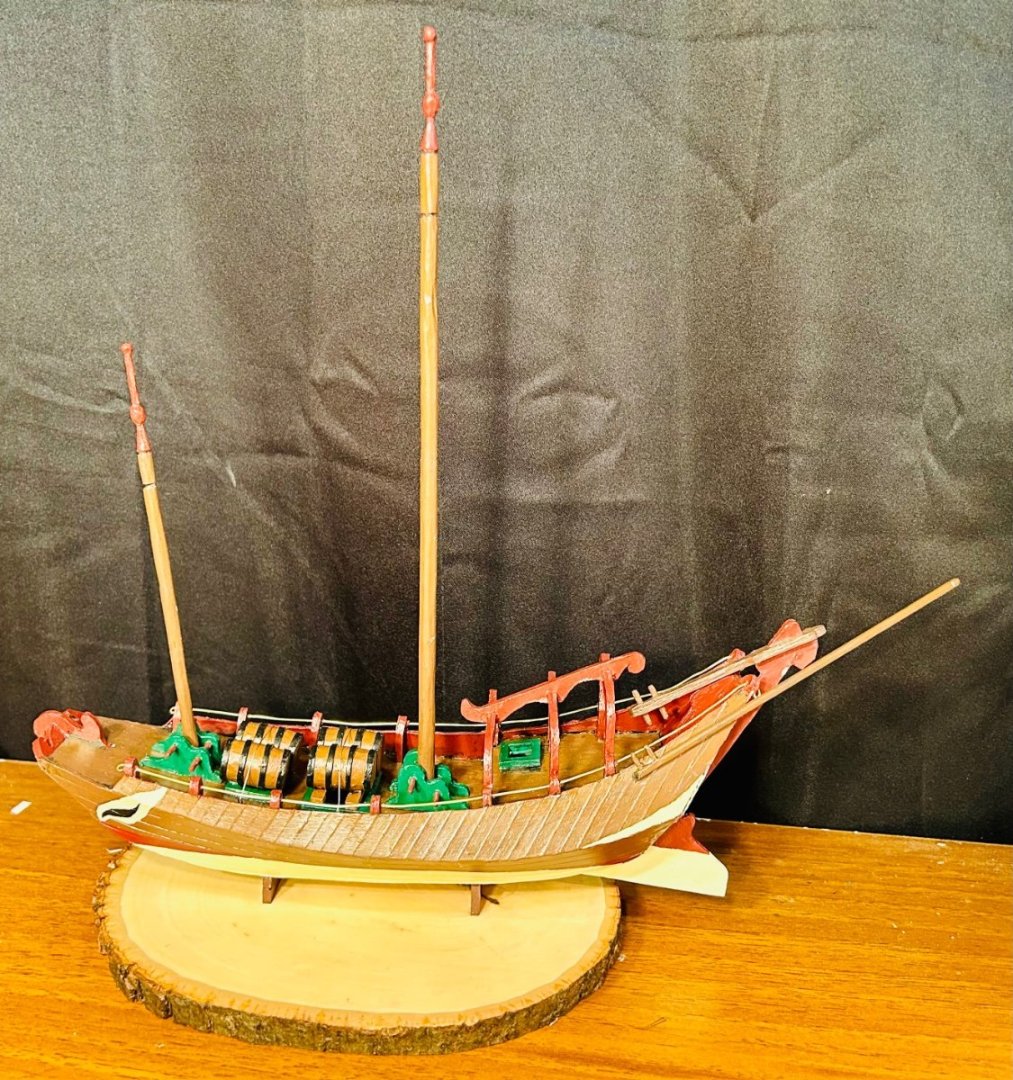
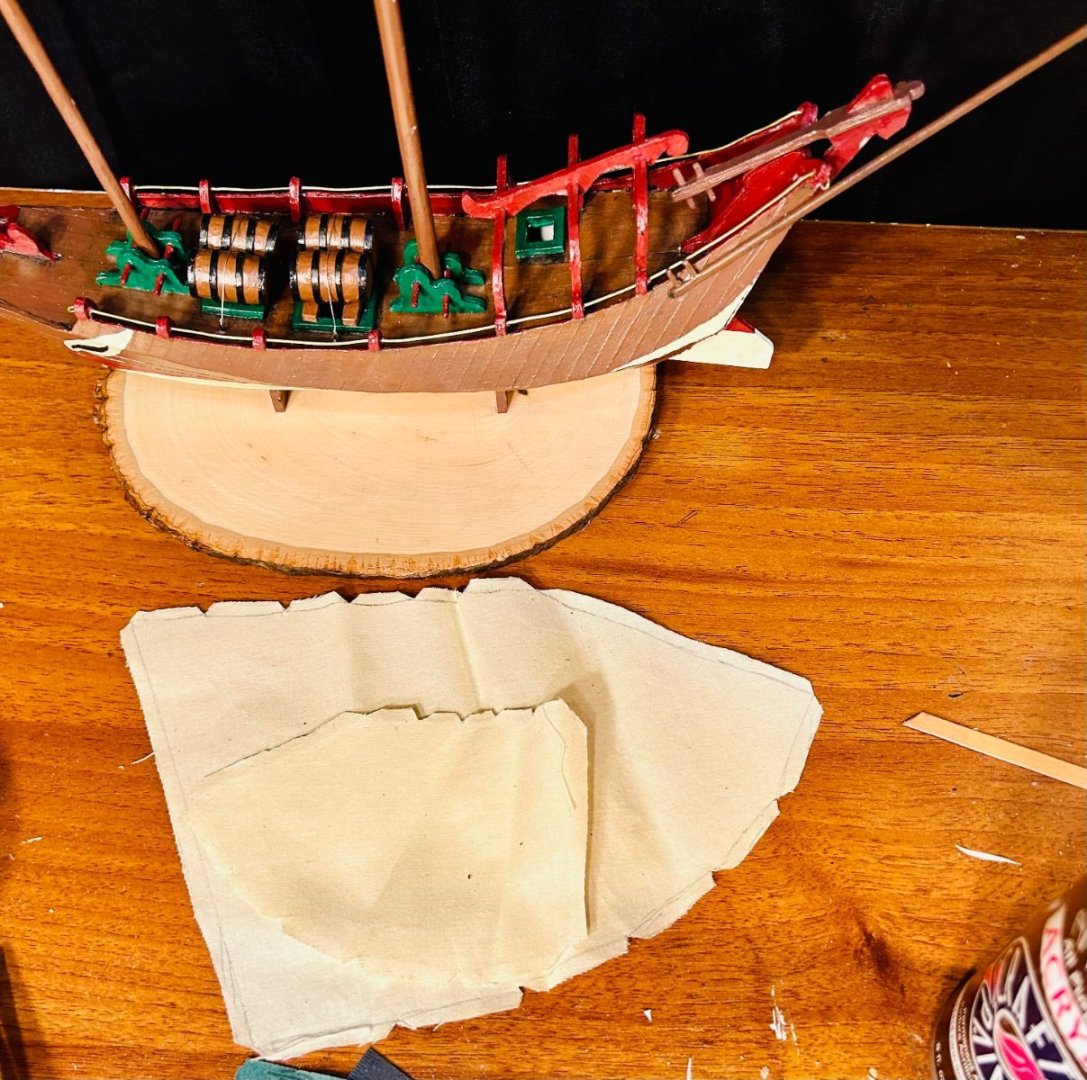
The masts are permanently installed: The sails are cut out: I will sew them, make spars and install them tomorrow, along with the rigging. The last pieces that will need made are two pennants.
-
Hello & HNY on 123123 from Philadelphia
GrandpaPhil replied to ChiefScienceOfficerDrew's topic in New member Introductions
Drew, Welcome and Happy New Year! Bashing to us means modifying a kit.- 11 replies
-
- 2
-

-
- racing sailboats
- commercial ships
- (and 1 more)
-
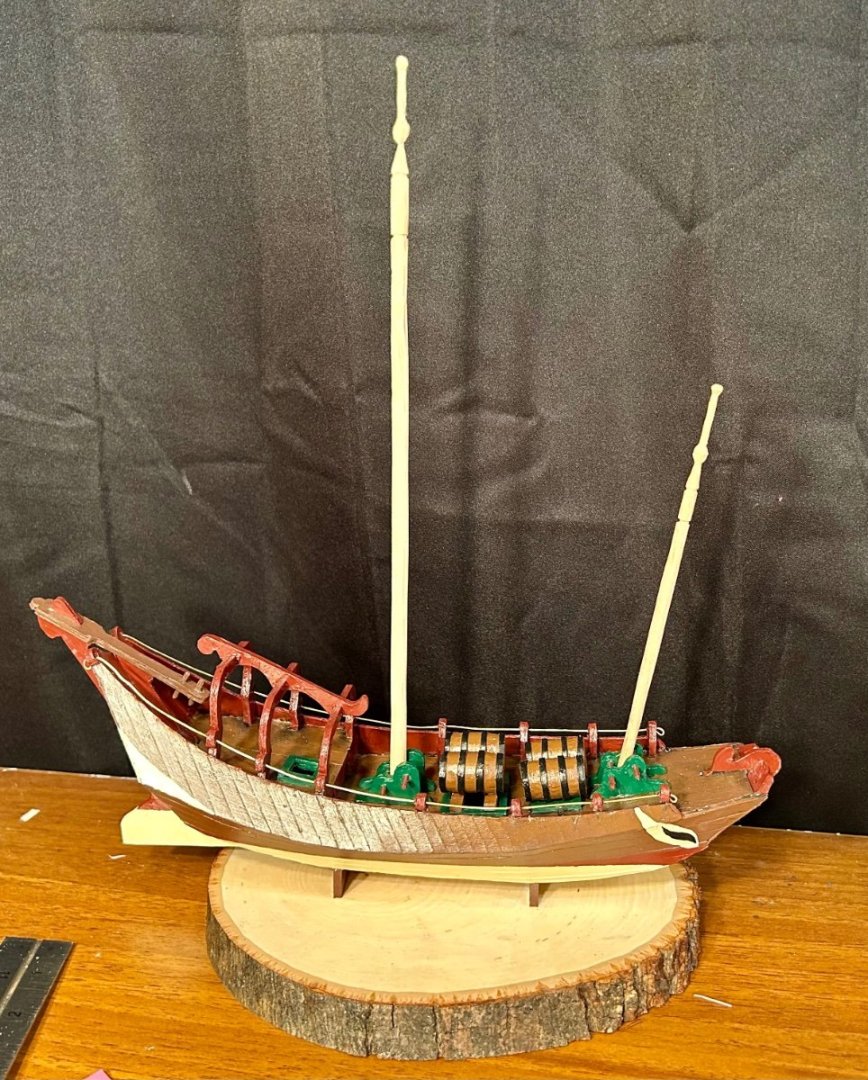
Thank you very much! The Good Fortune now has cargo and masts: The cargo will be lashed down shortly and the masts will be painted soon.
-
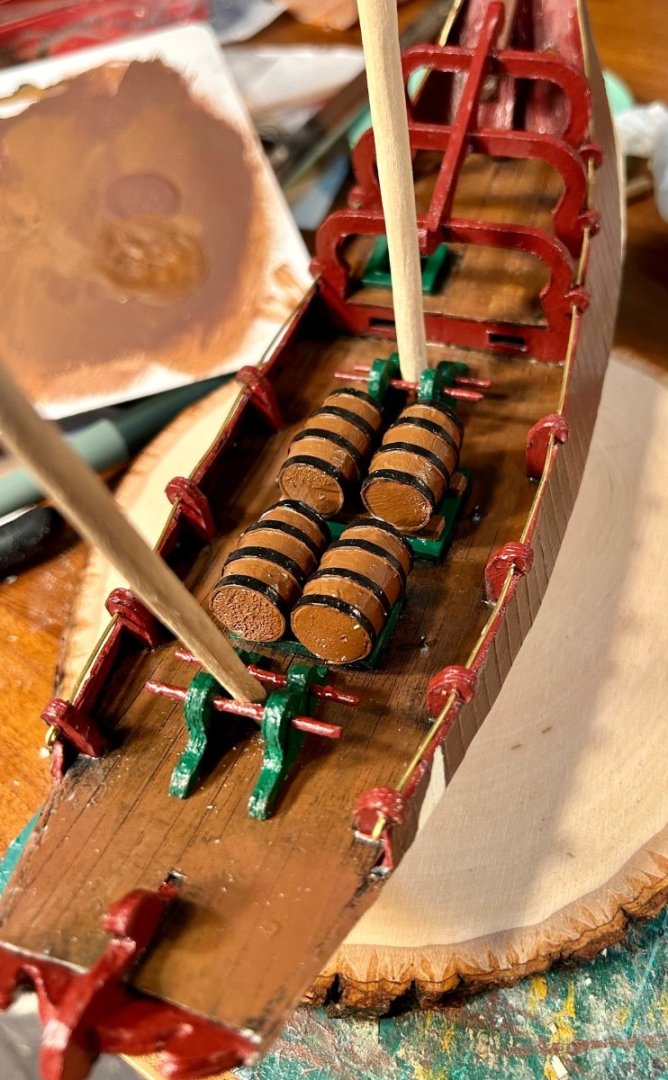
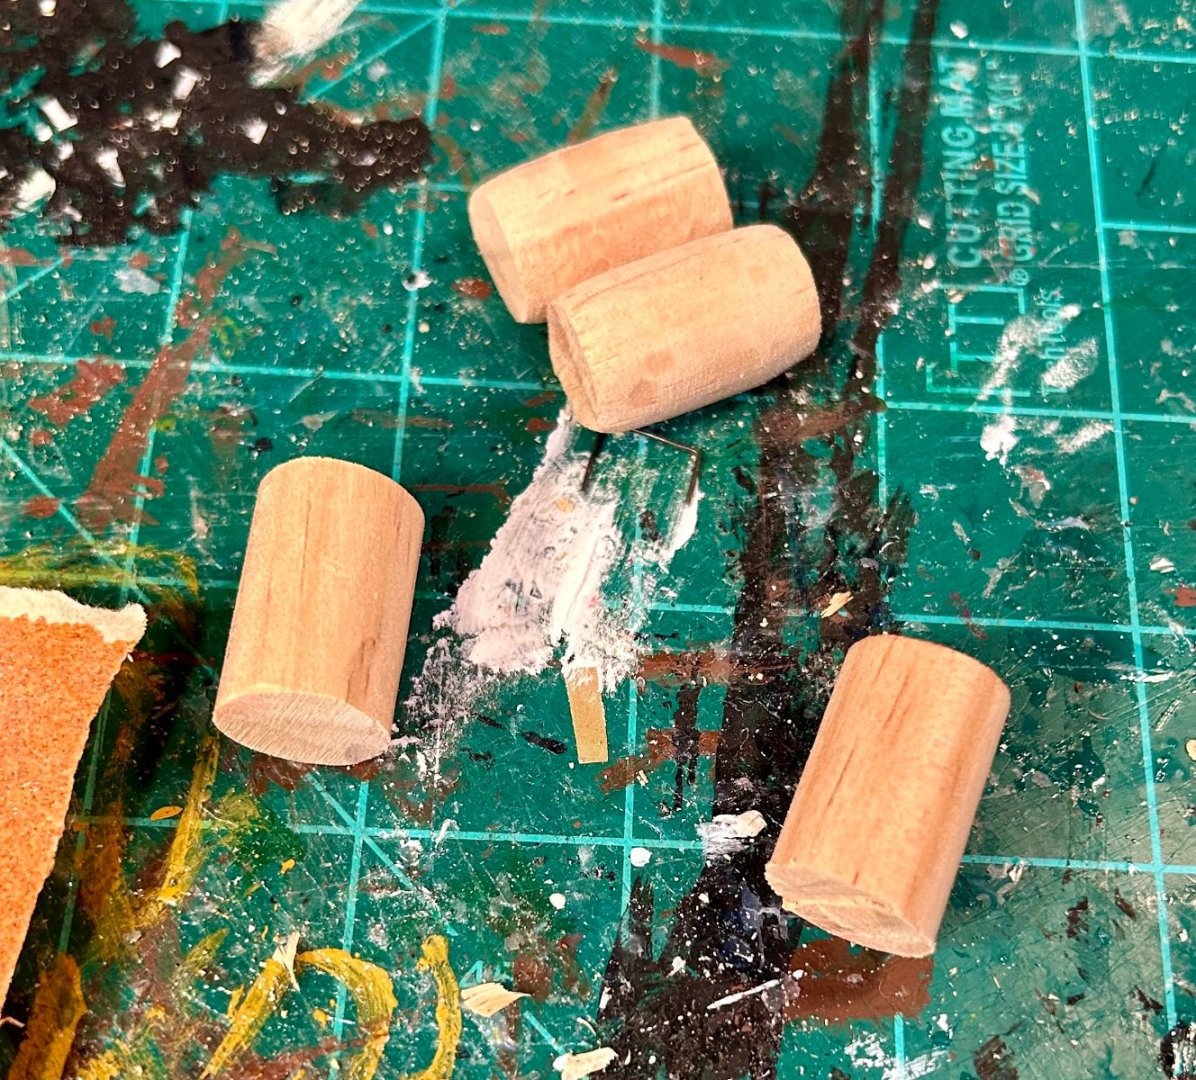
Thank you both very much! This is an interesting subject to build. This looks like someone’s workboat to me. This would have been their equivalent of my truck. So, I decided to name it “Good Fortune”. That is a good name for it. Speaking of being a workboat, here are the barrels on their way:
-
Happy New Year! The model is looking great!
-
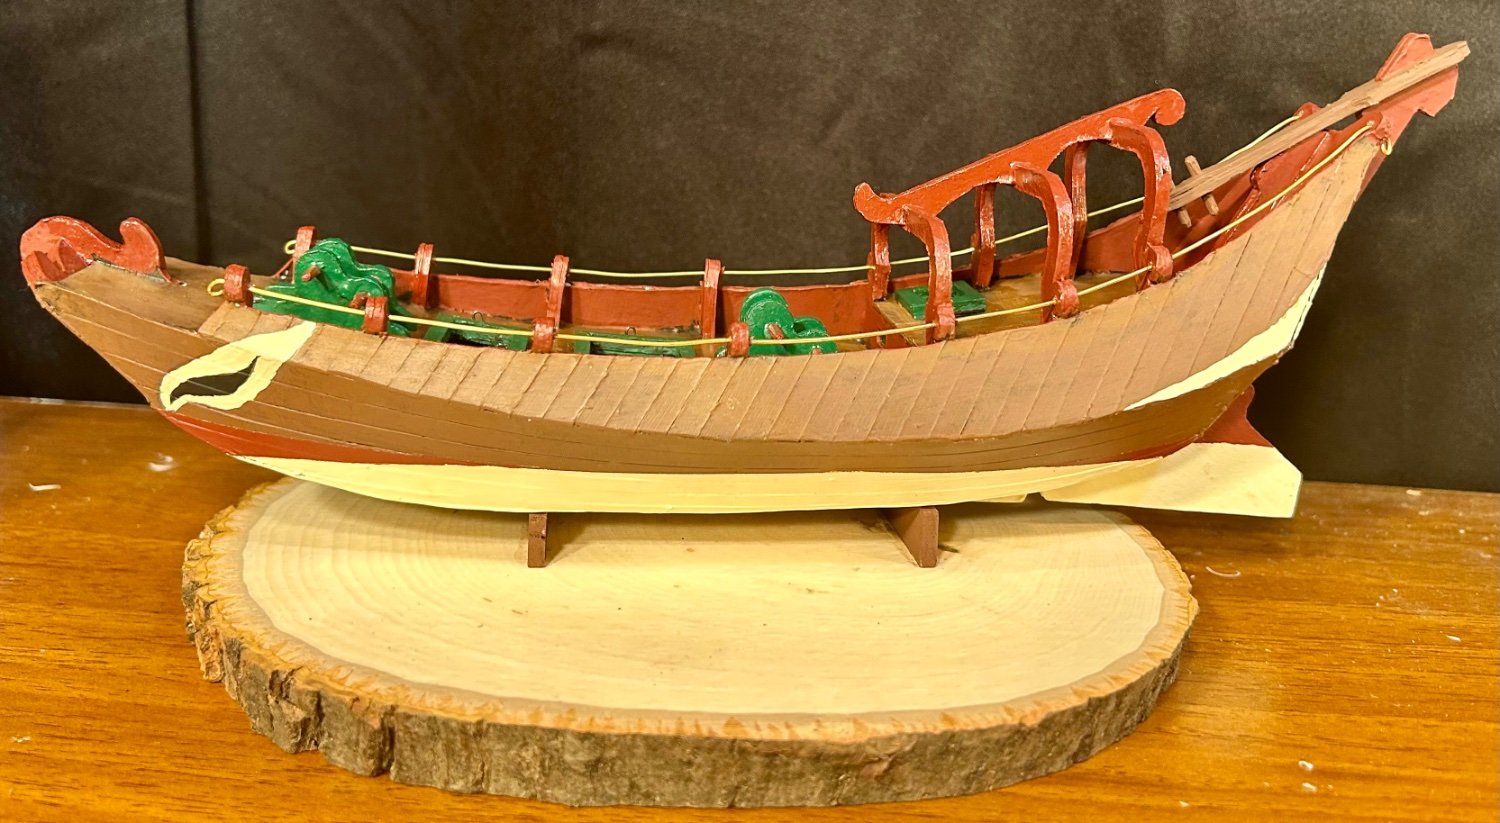
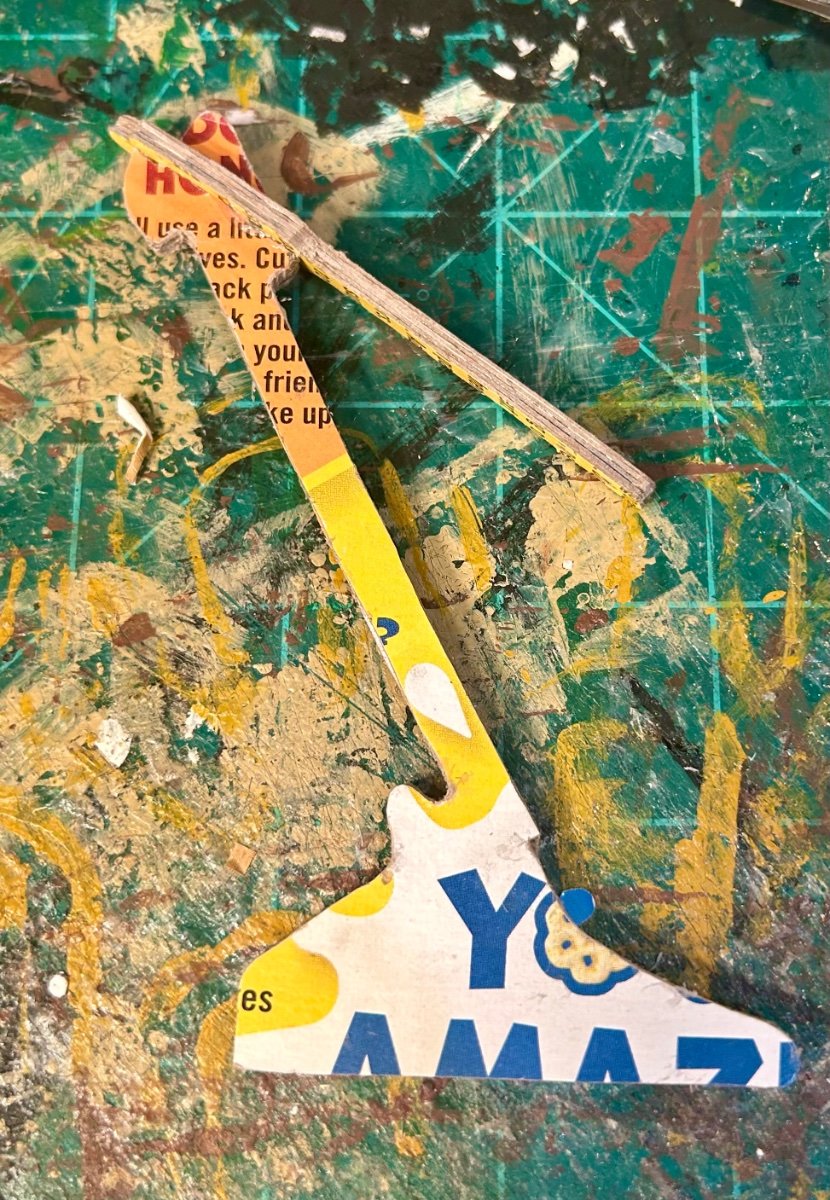
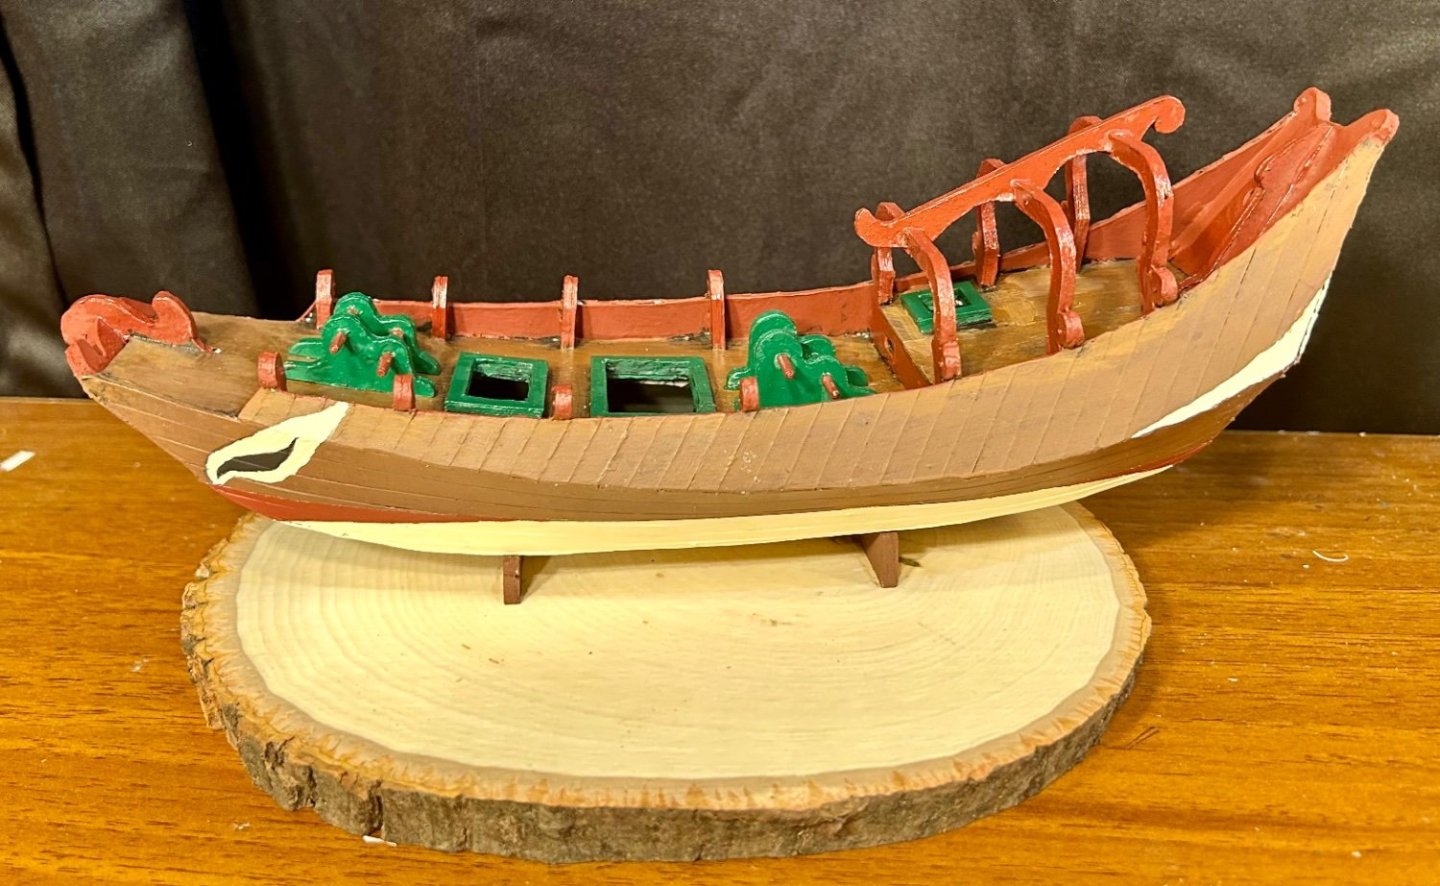
The hull is about done: The rudder is about ready to be attached: I need to finish touchups, add a railing, seal everything and then attach the rudder. In Amati’s ad for the new version of this model, it shows barrels stowed atop the hatches. That look appeals to me, so I bought a dowel rod at Hobby Lobby a couple days ago to make barrels from. Here shortly it will be time to make a couple masts, some spars and some sails.


- 27 replies
-
- 10
-
-
Very nicely done!
-
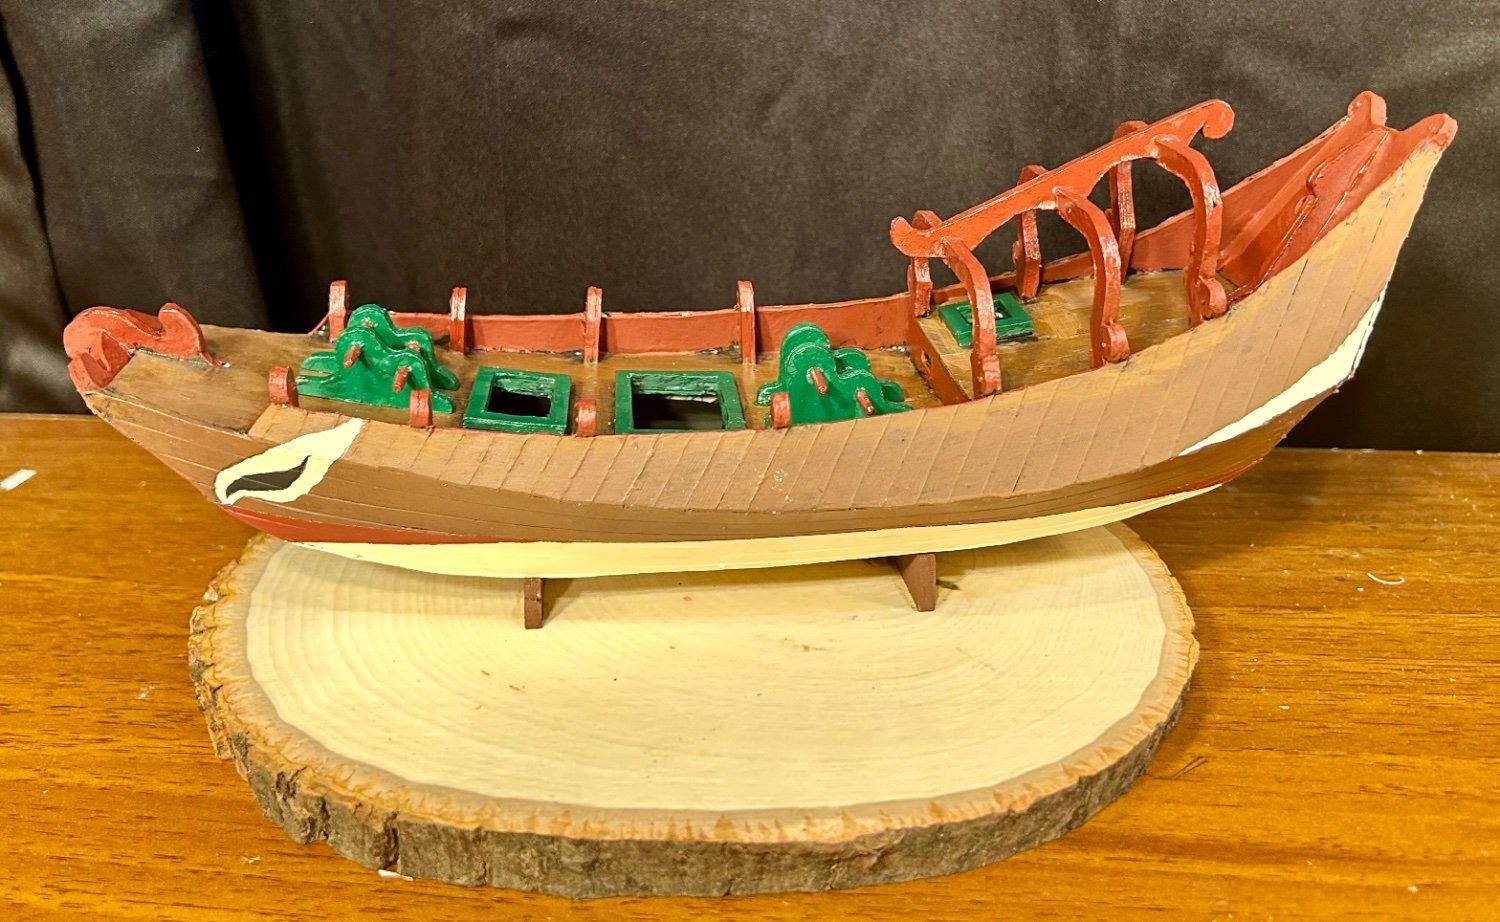
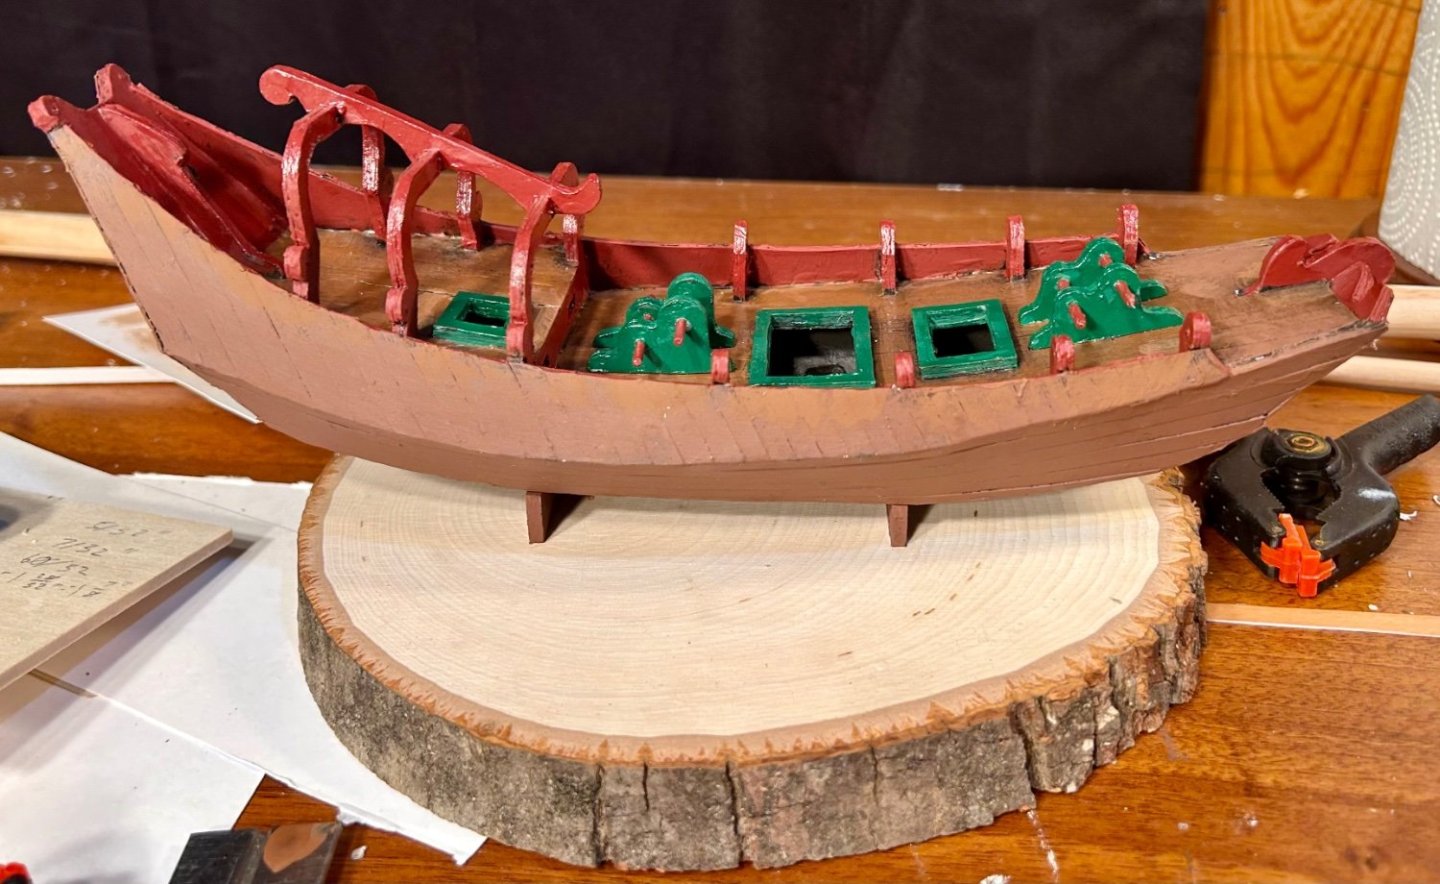
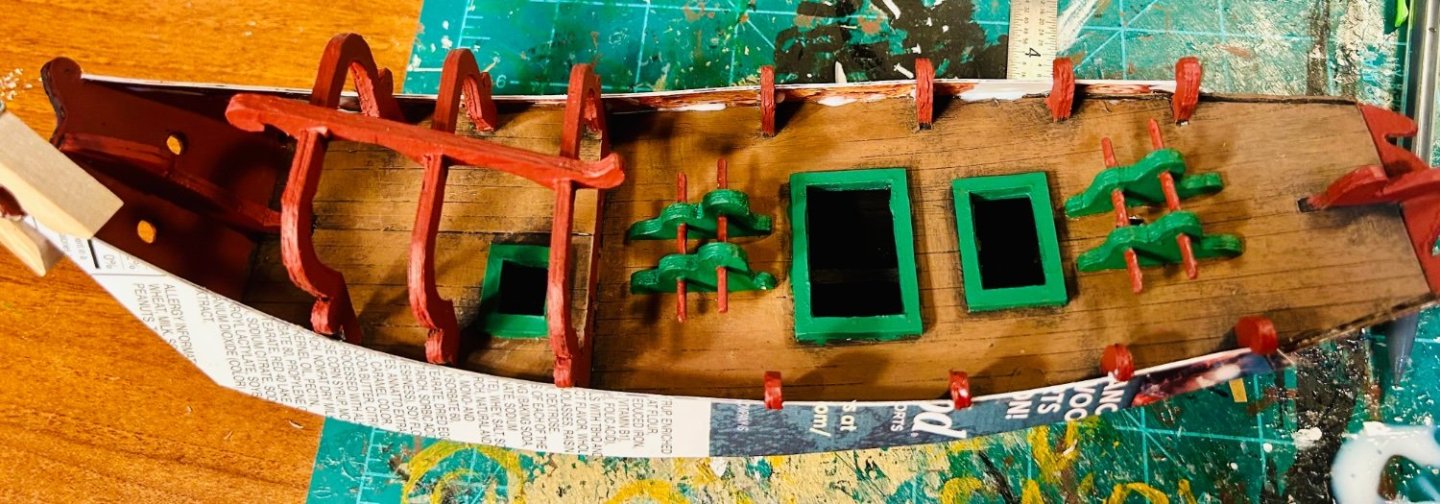
The interior is fully painted now. It just needs final sealed and highlighted. The outside is base-coated and the base is mostly done. The rudder is completely assembled and just needs painted prior to installation.

-
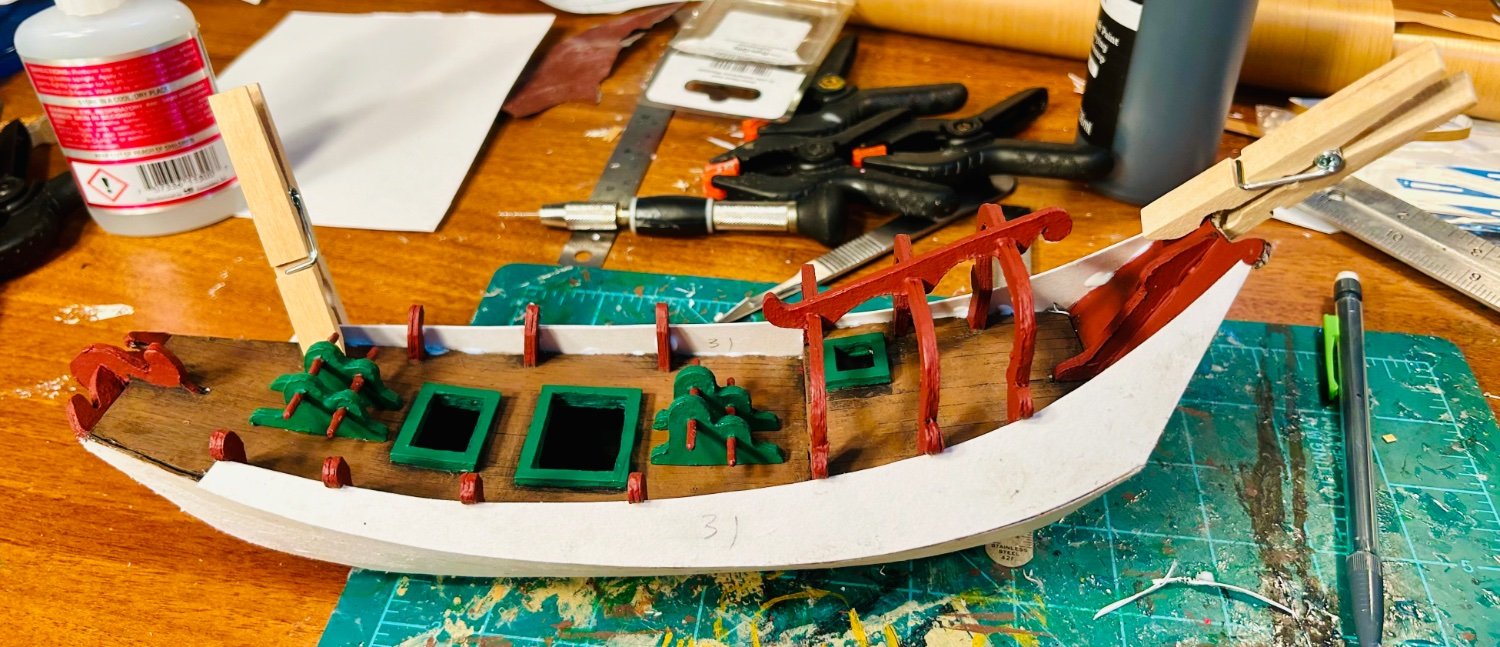
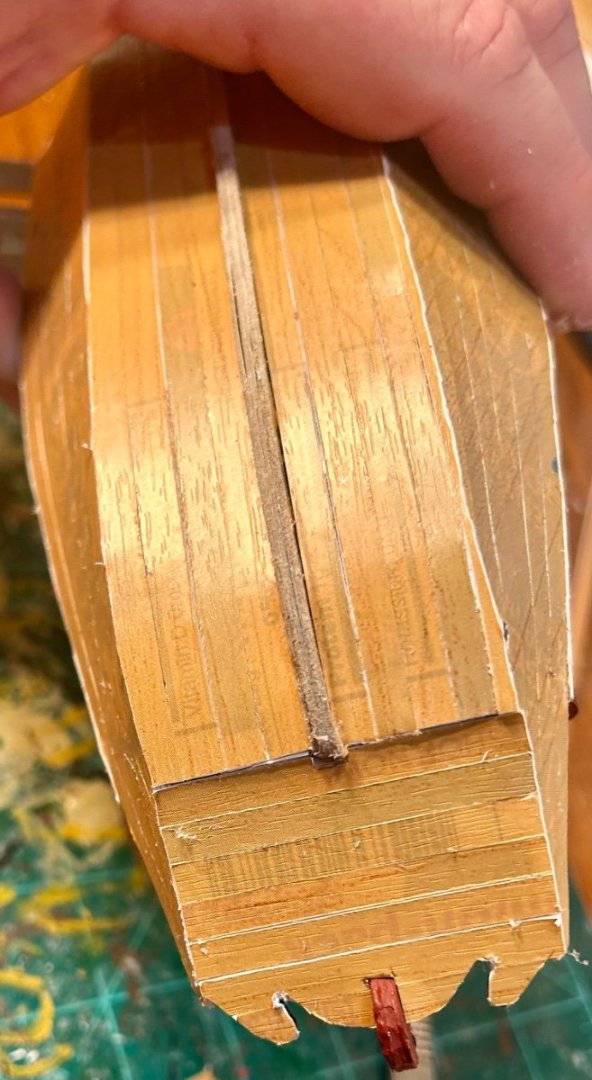
Keith, Thank you very much! Thank you to all who have hit the “Like” button, or just stopped by! The second planking is on: I’m waiting on the stern to dry so I can trim it properly: The rudder is mostly assembled too: Next up is to finish trimming, sealing and painting. Then it will be time to make the stand, mount the rudder, make and install the masts, make spars, make sails, install sails and rig the model. This one is nearly done.


-
Looking forward to this build!
-
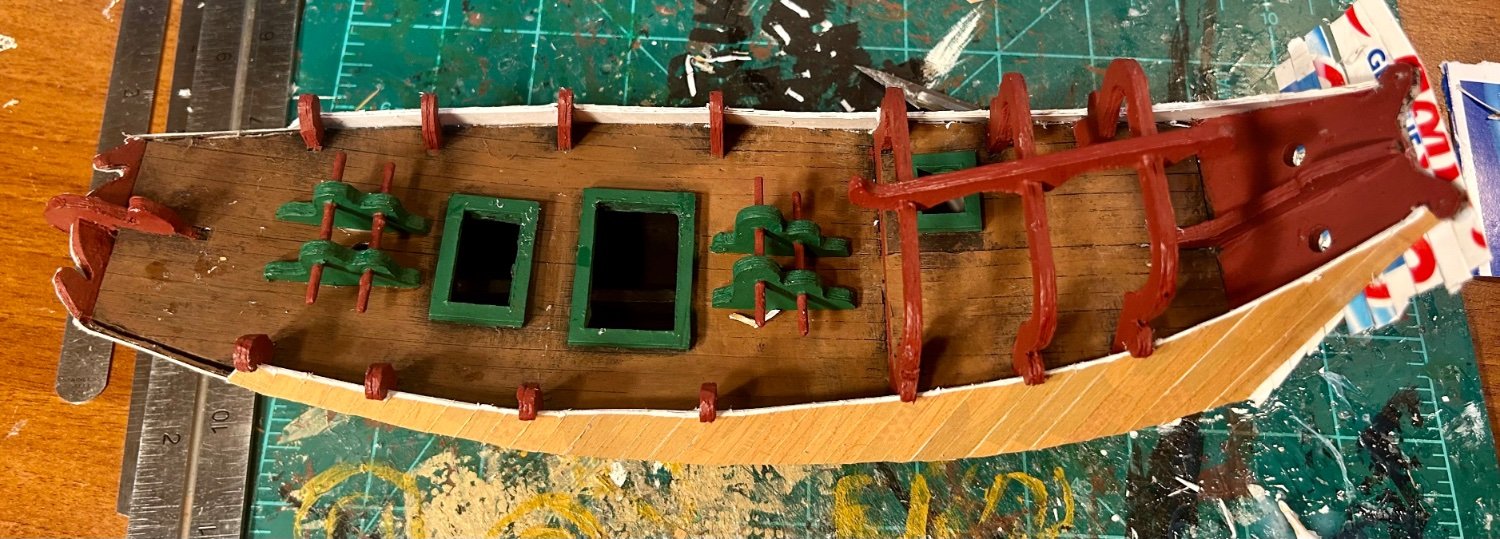
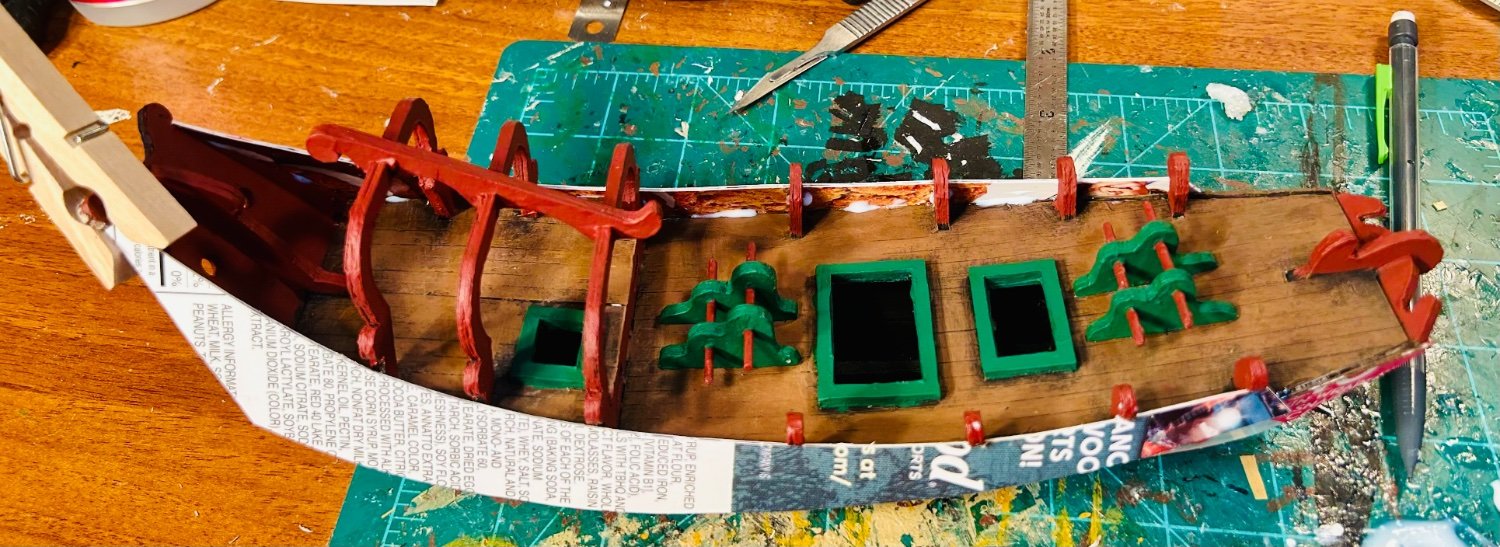
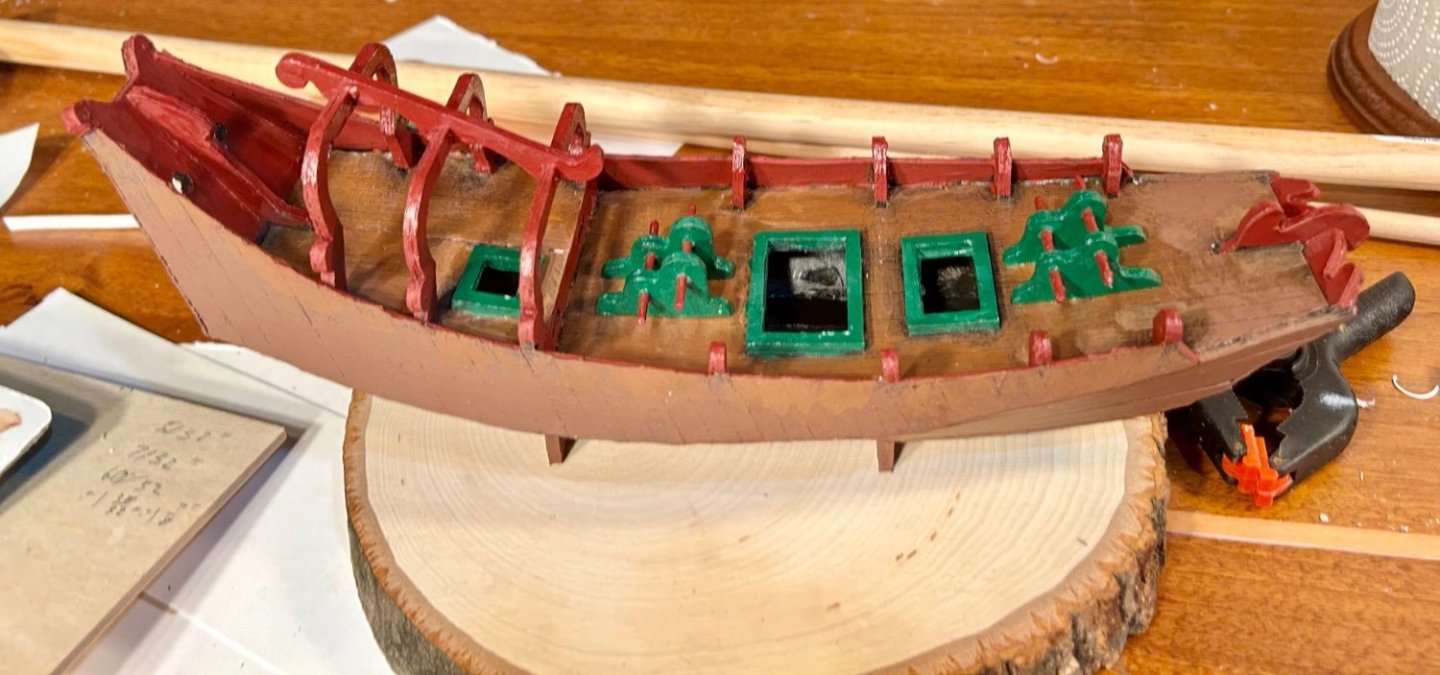
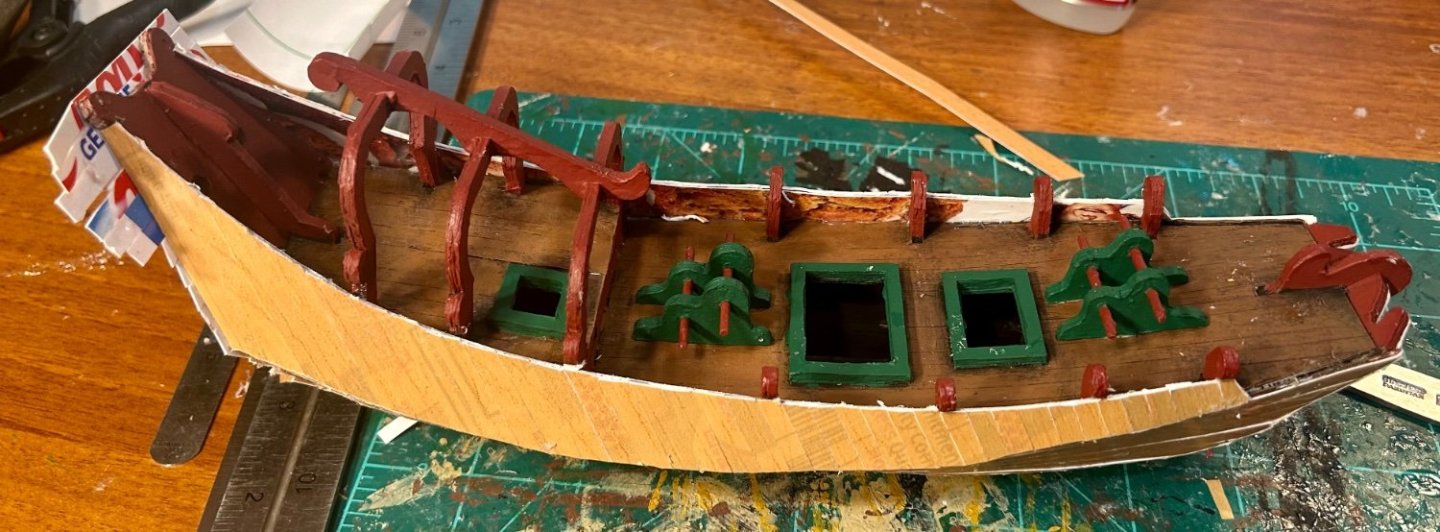
Decks and deck fittings are on and painted: Sides are on. Just have second planking to add and the hull will need painted, prior to the rudder being installed. Then I will seal and highlight everything. I bought a live edge slice of basswood for the base and an 1/8” sheet of basswood to make cradles from. Next, I will make masts, spars and sails. The rigging on this thing is very simple.


-
Welcome!
-
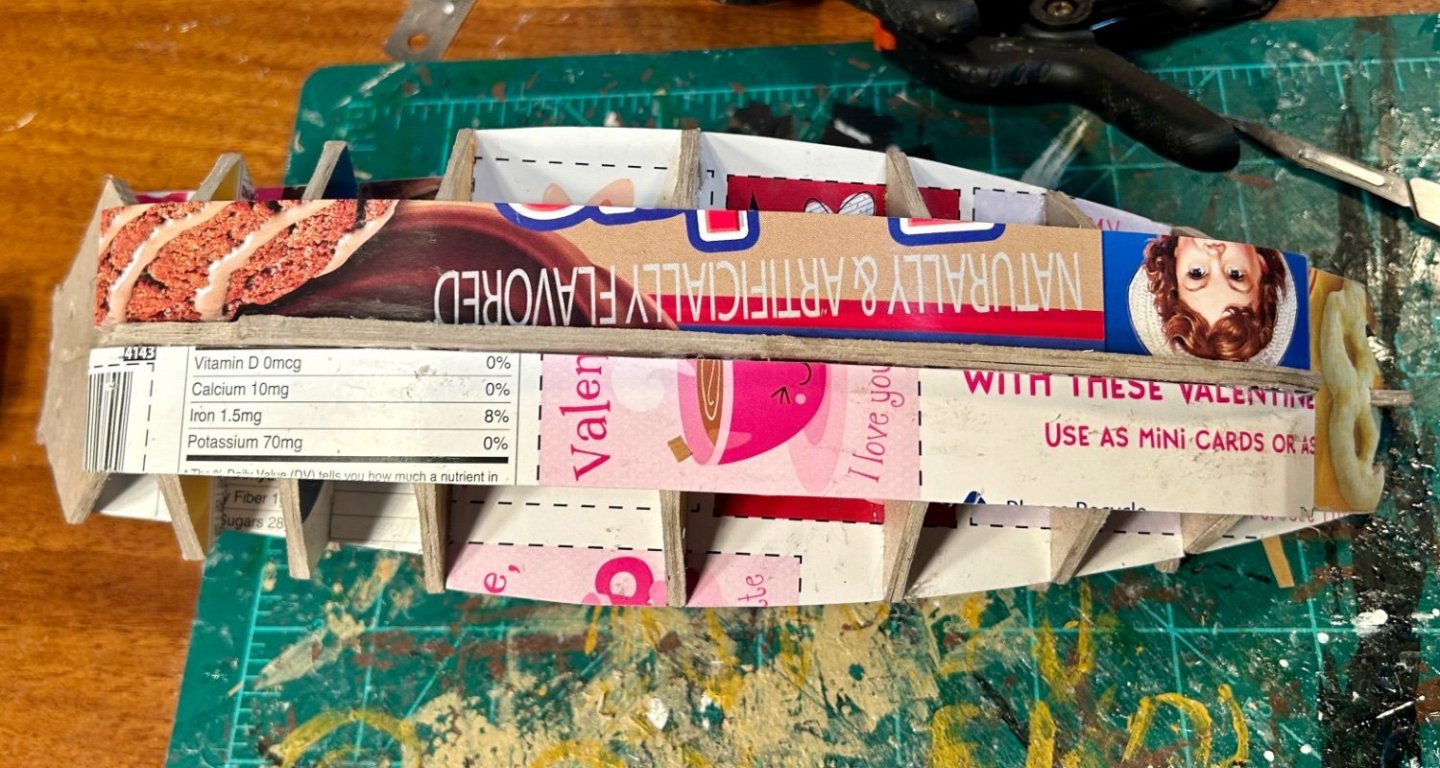
LOL! To be honest, I had to replace one hatchway, and I discovered I had an extra rudder piece. The model is mostly assembled now. It is good and solid. I admit that I used a couple of Honeycomb boxes and a couple of Little Debbie boxes to cut my pieces from, lol. I am going to pause to seal and paint what I have to simplify matters later. Then, I’ll put the rest of the sides on and plank them. My last fittings are what look like the equivalent of fife rails.

-
For the Beginner Modeler
GrandpaPhil replied to kgstakes's topic in Modeling tools and Workshop Equipment
I have two Dremels and a scroll saw. I’ve never used them for a model. I hand cut all wood parts with a coping saw and/or a razor saw. Most other shaping is done with a scalpel. I do occasionally use an ordinary household drill for drilling mast holes, or holes for mounting points on models. -
I typically use the Army Painter brand metallics when I use metallics, otherwise I just use the faux metallic painting methods (a lot of variable dry brushing). The faux metallic method is the most realistic. Vallejo paint is better than Army Painter, but the Army Painter brand is pretty good.
-
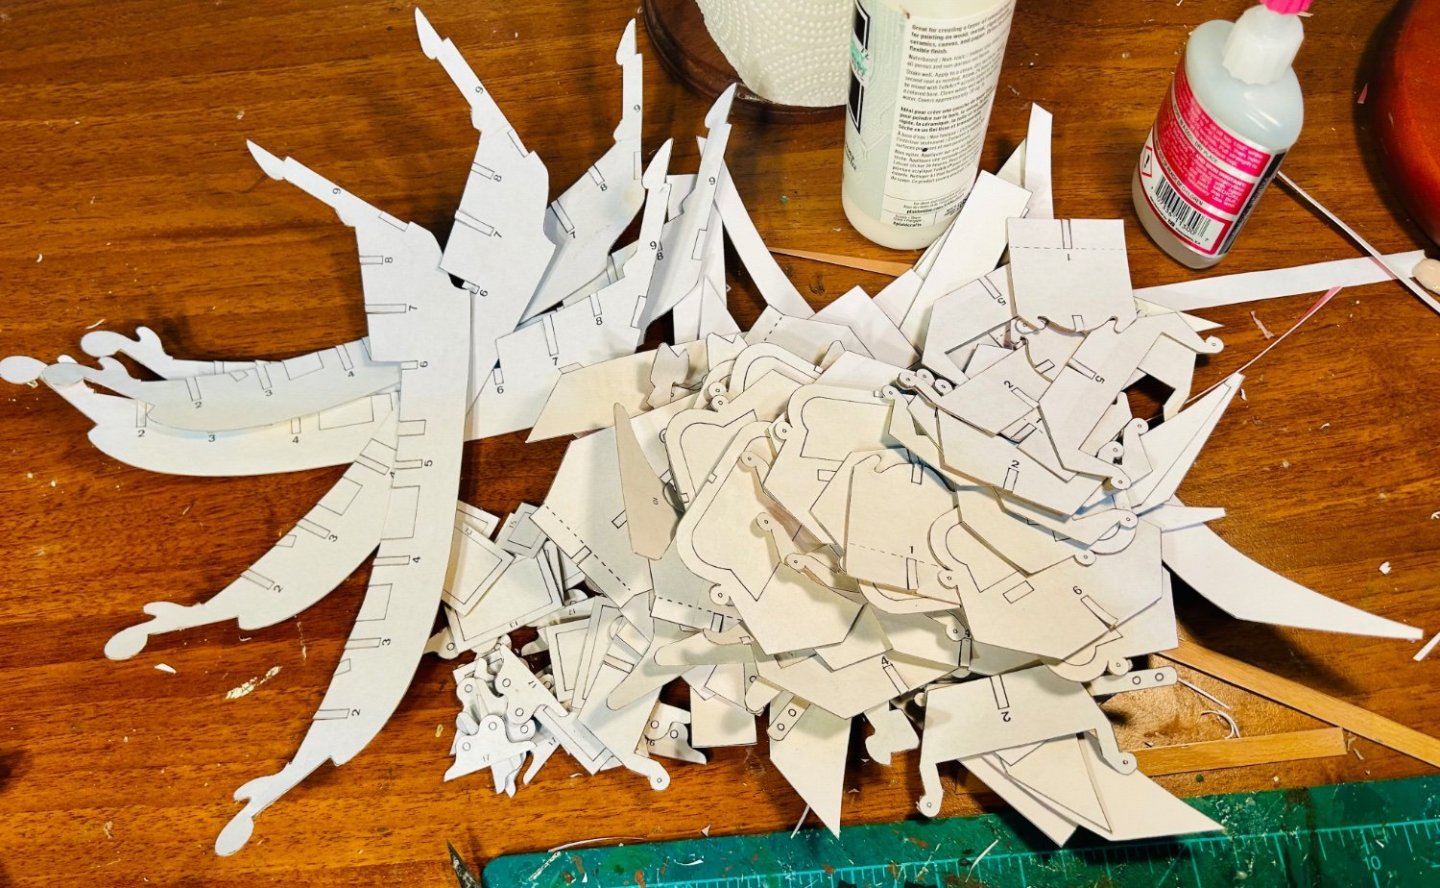
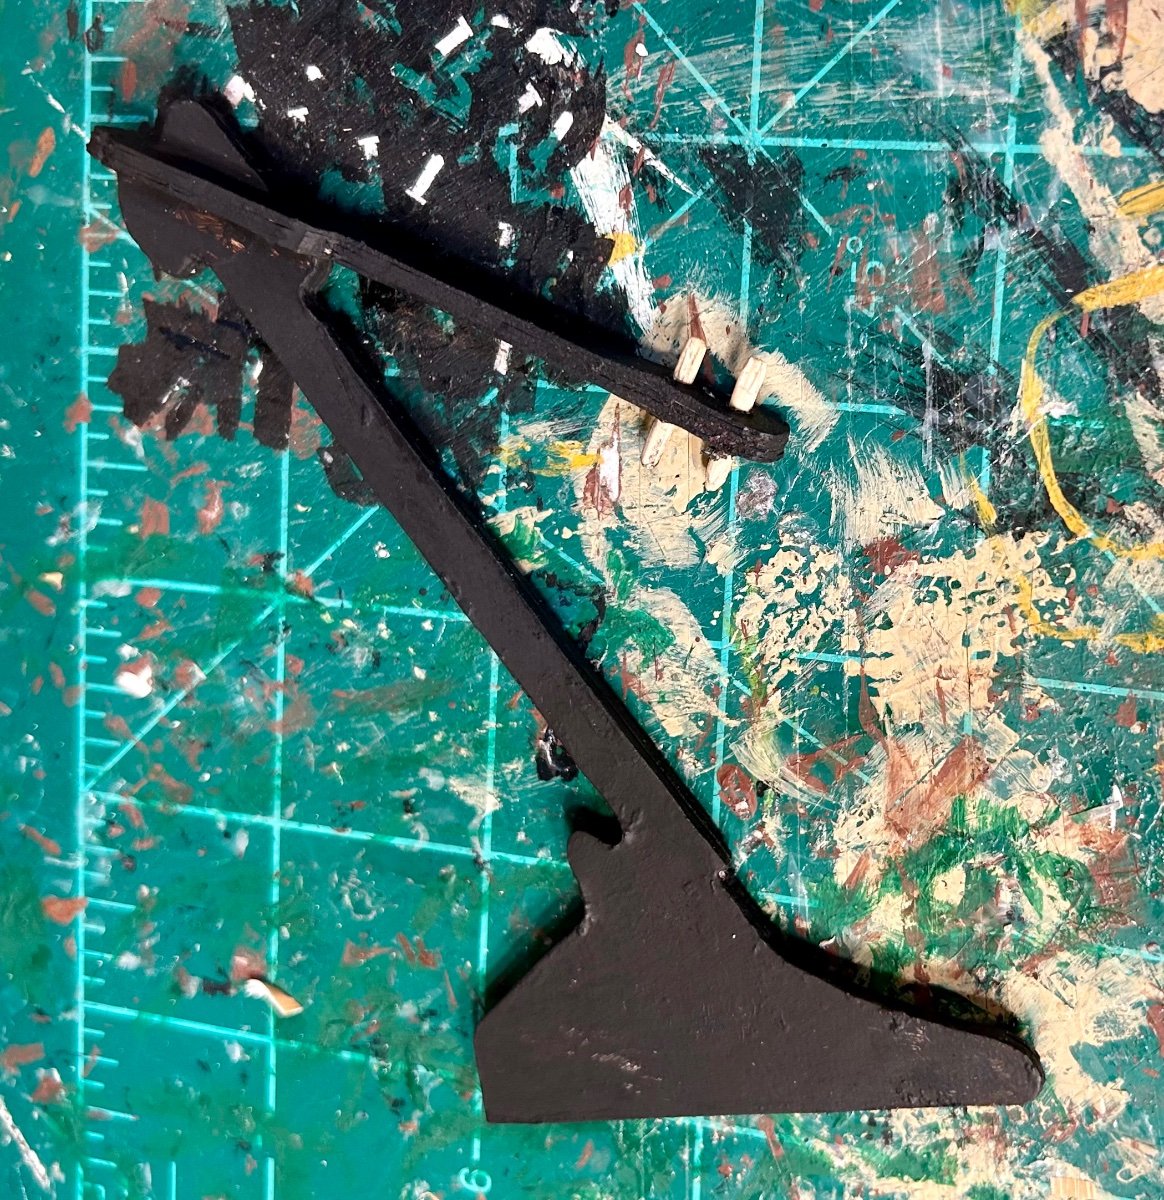
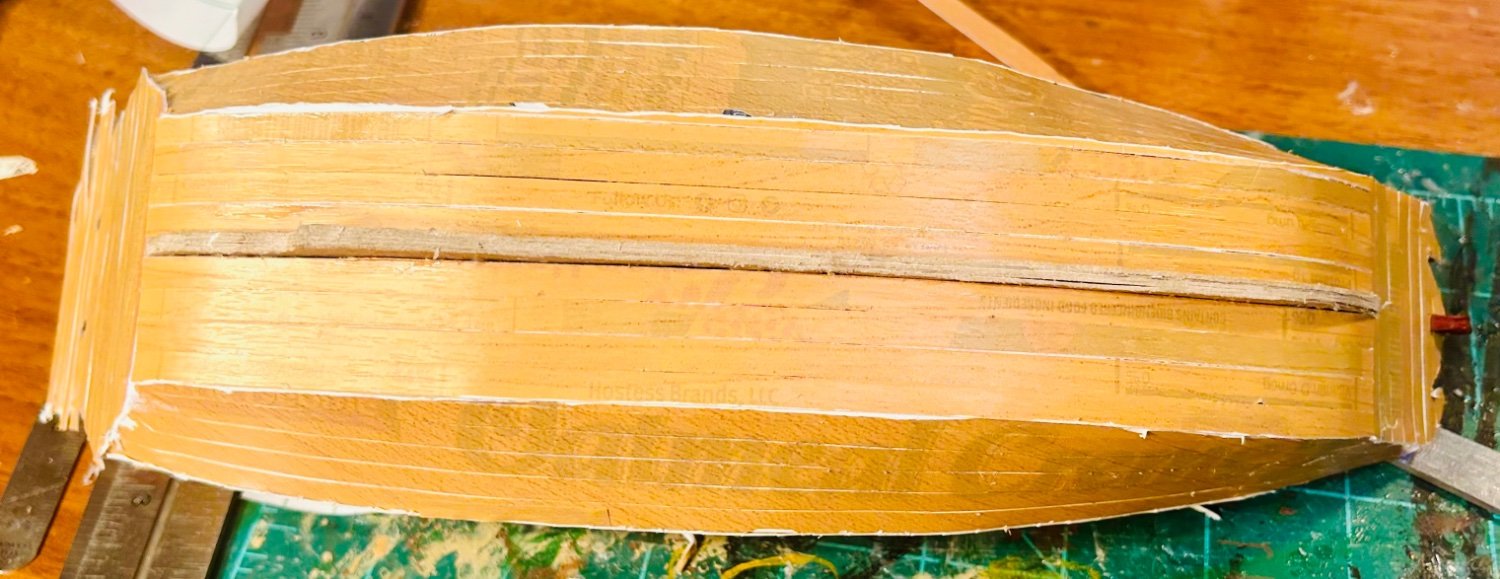
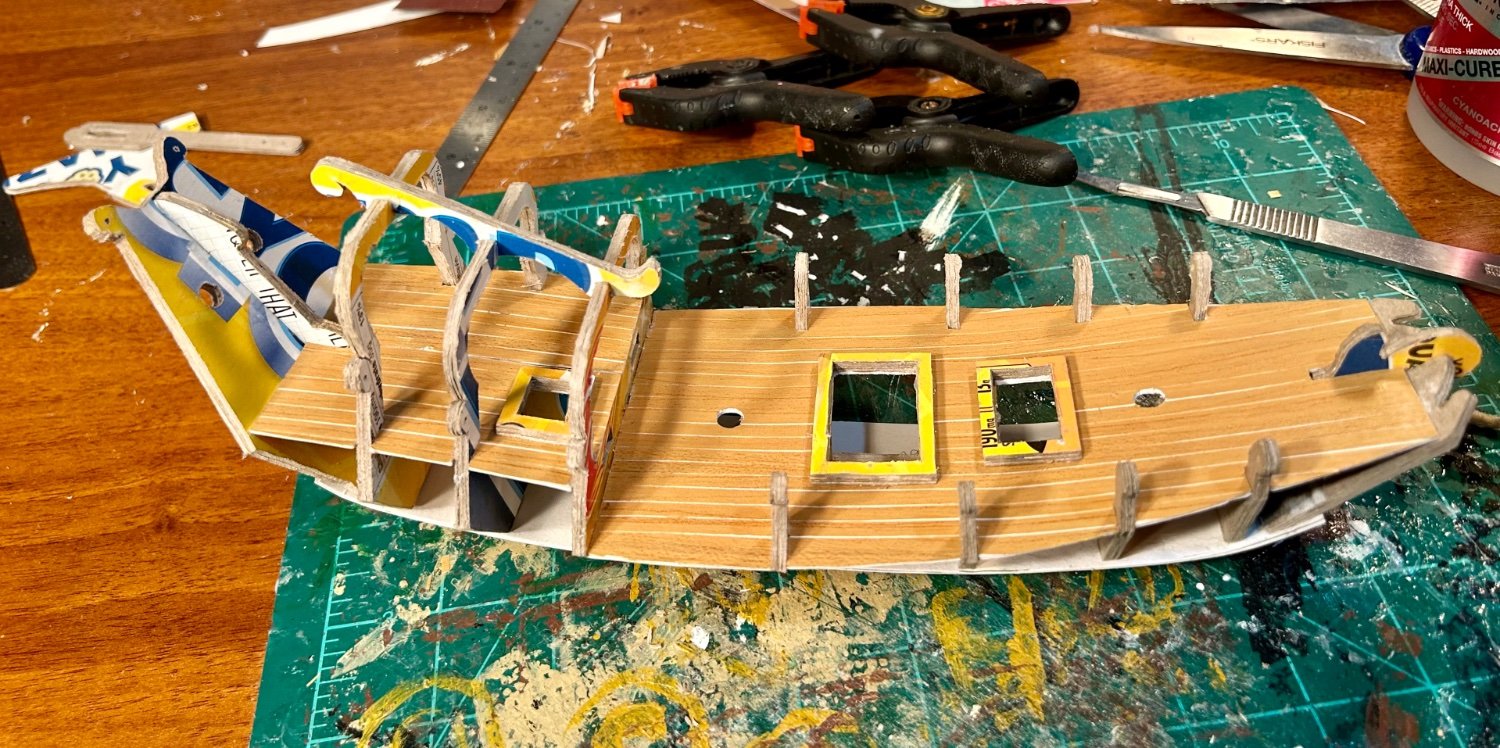
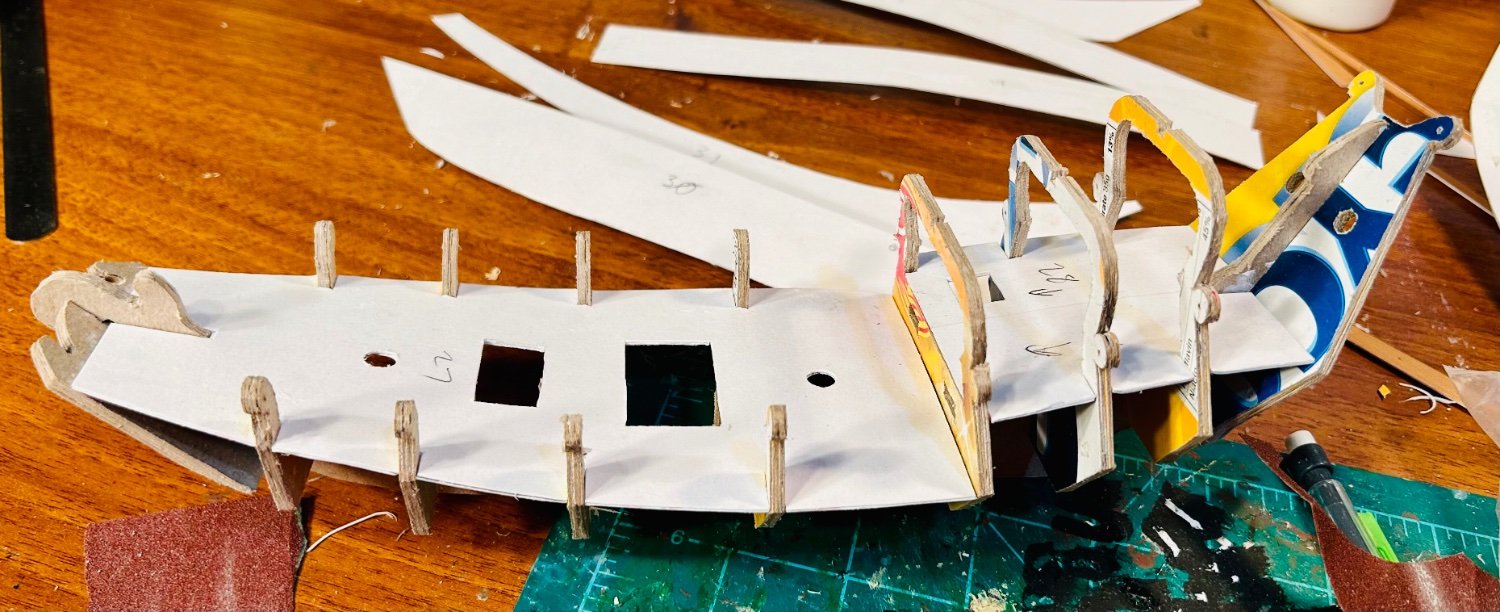
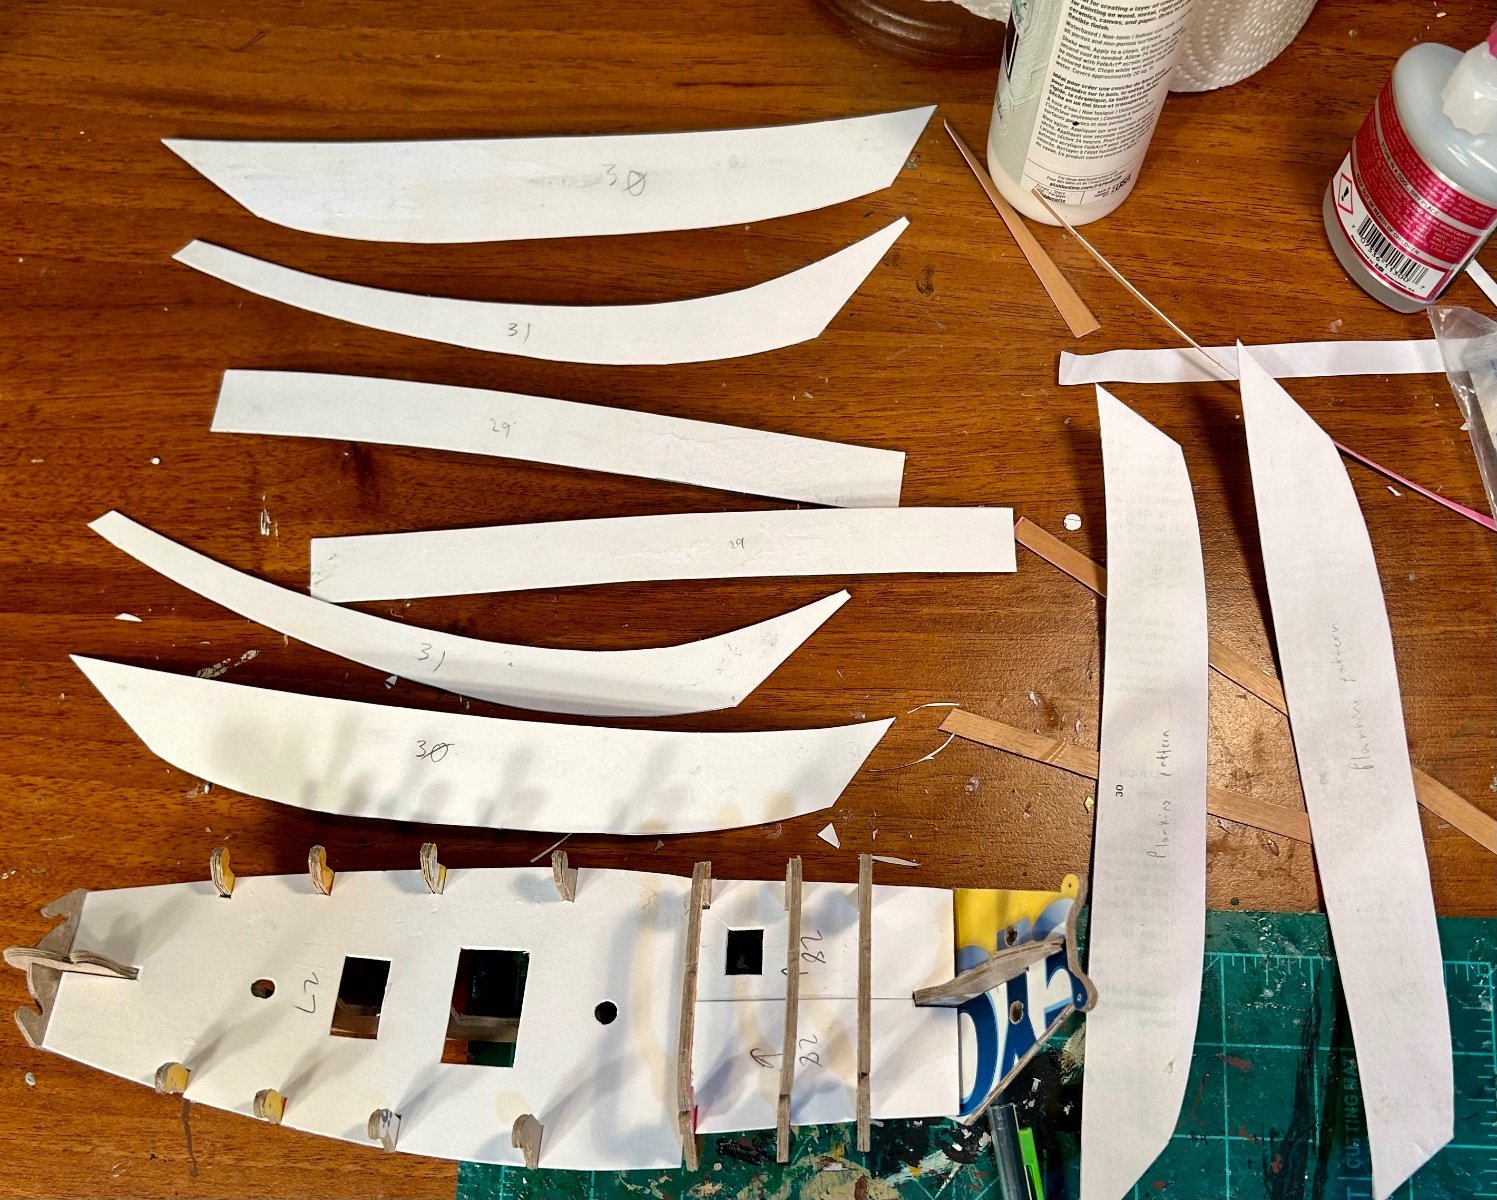
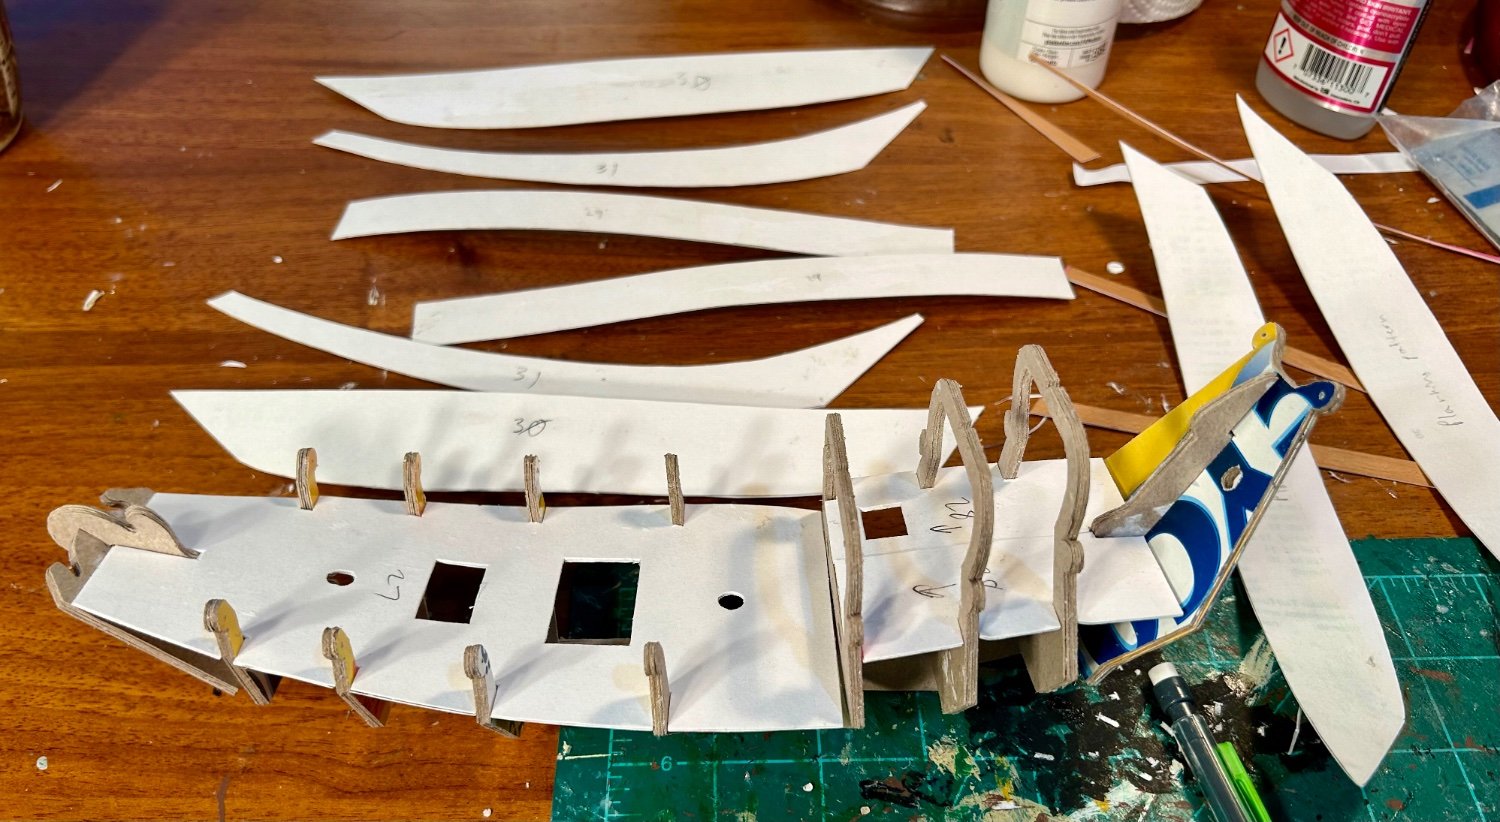
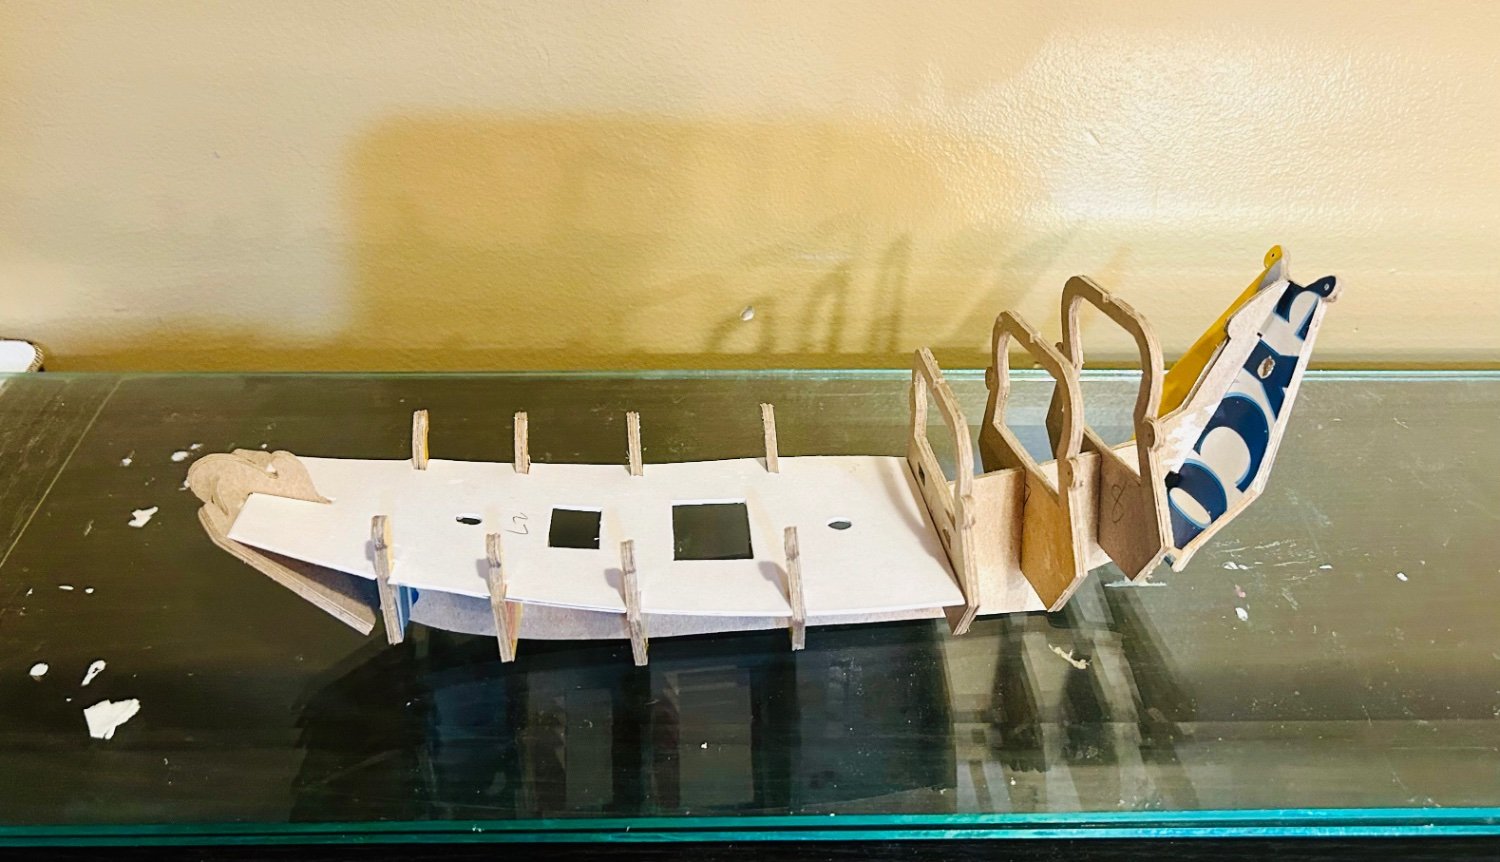
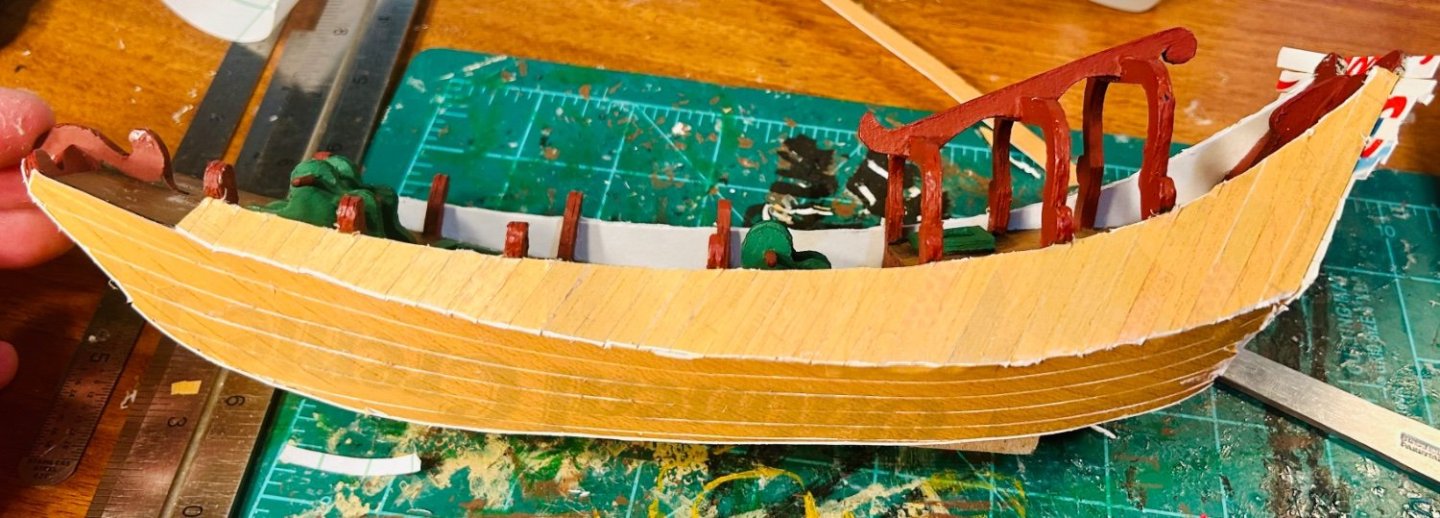
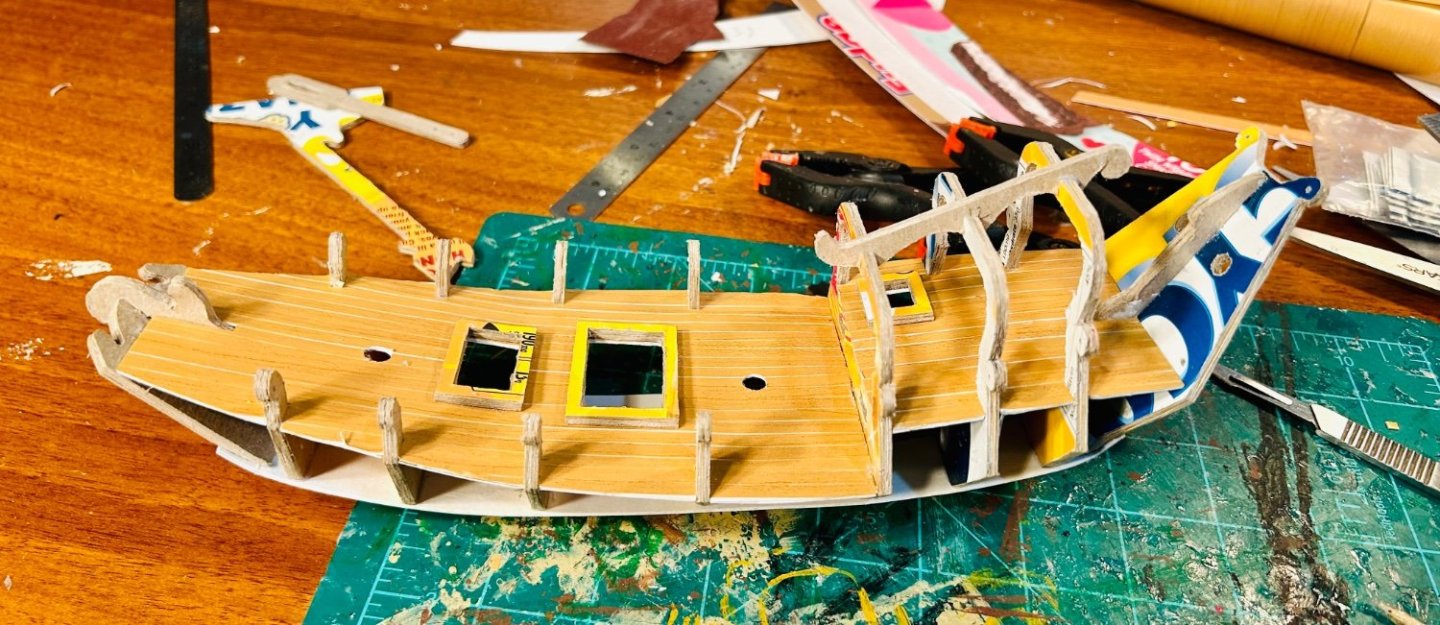
All parts are cut out and laminated together now: The main hull is test fitted together. I made two planking patterns for the sides, which are supposed to have 4mm x .5mm planks edge bent to follow the curvature of the sides. Thin card does not edge bend well, so I am going to cover the backs of those pieces in wood grain contact paper and draw out the individual planks and cut them out in shape. The decks are not intended to be planked, if you bought this as a kit. I am going to plank them with wood grain contact paper and then glue the decks into place when I glue the bulkheads together. Then, after that dries, I’ll paint the visible areas inside, black. Then I can finish assembling everything, plank the upper bulwarks, bow and stern and then seal and paint.


-
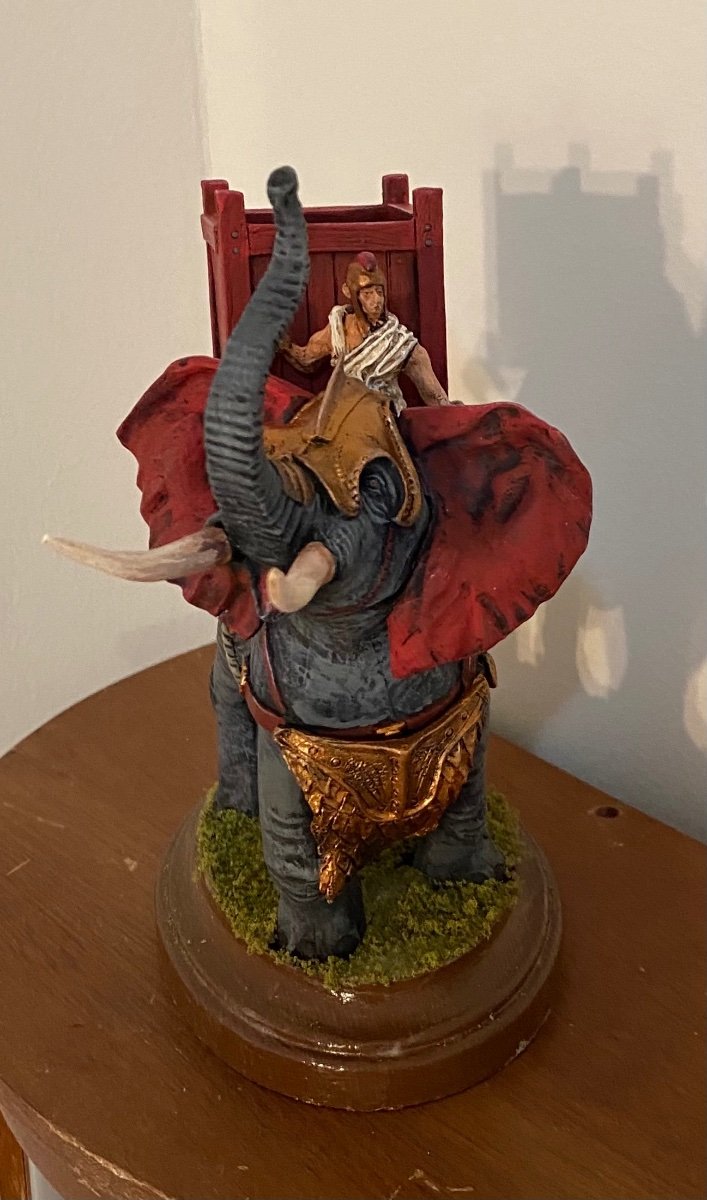
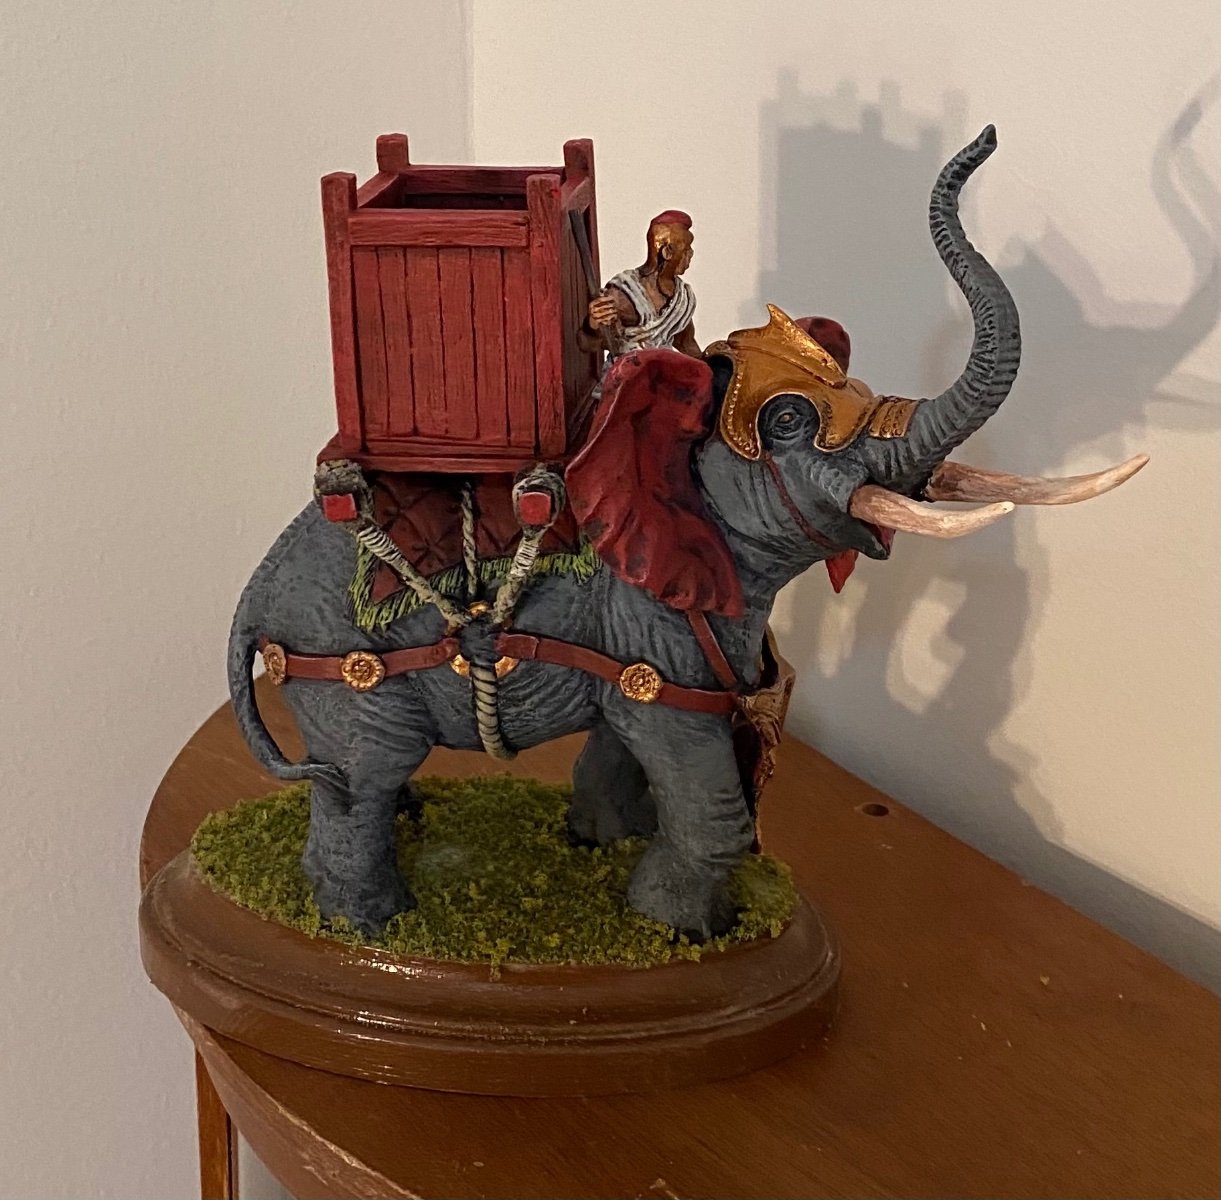
I used wargaming faux metallic painting techniques for my bronze cannon on the Revenge. I base coated black, then built up successively lighter shades of brown, before finishing with a highlight coat. If you don’t feel comfortable using those techniques, metallic bronze drybrushed onto a base coat of black yields pretty good results as well. Drybrushing the metallic bronze color onto black is how I painted the armor on that elephant and rider. That was 1/32 (54mm) scale for reference.


-
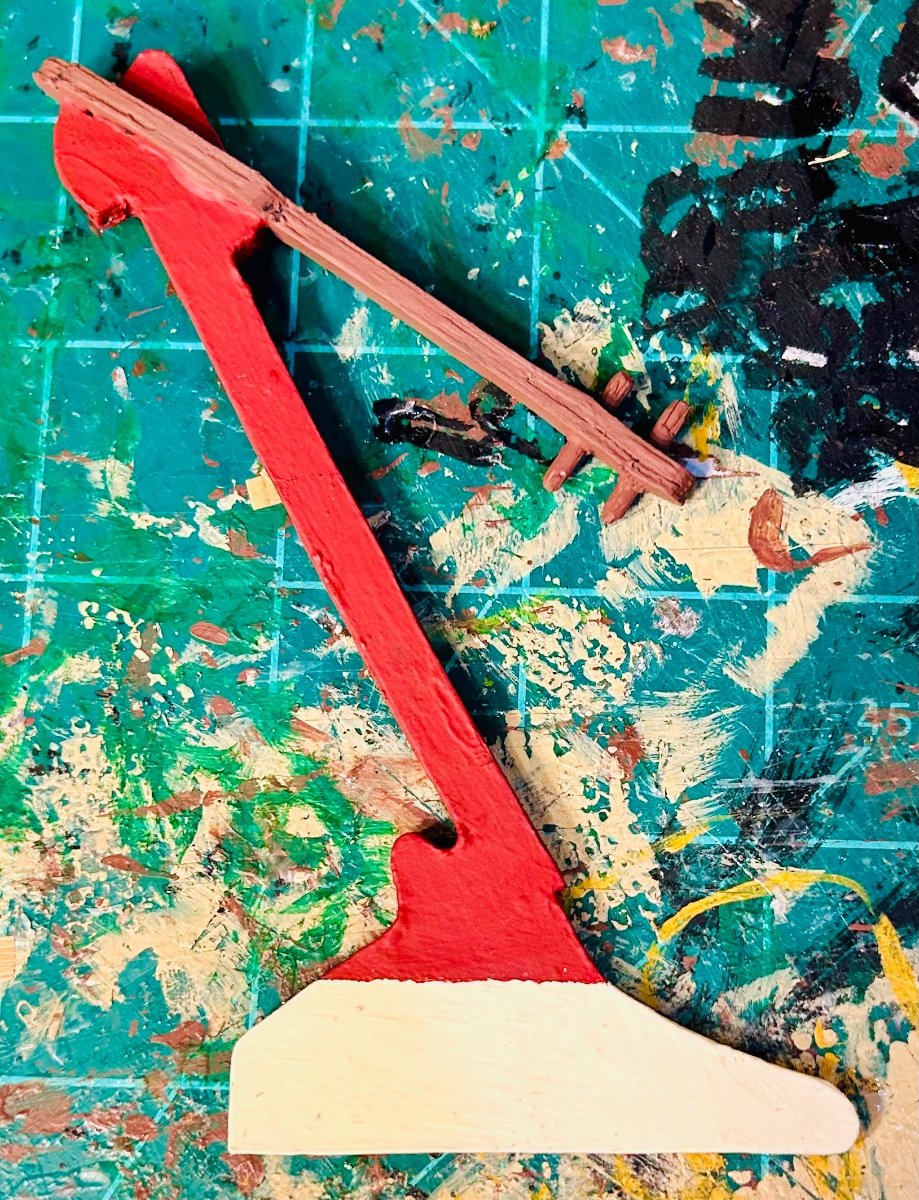
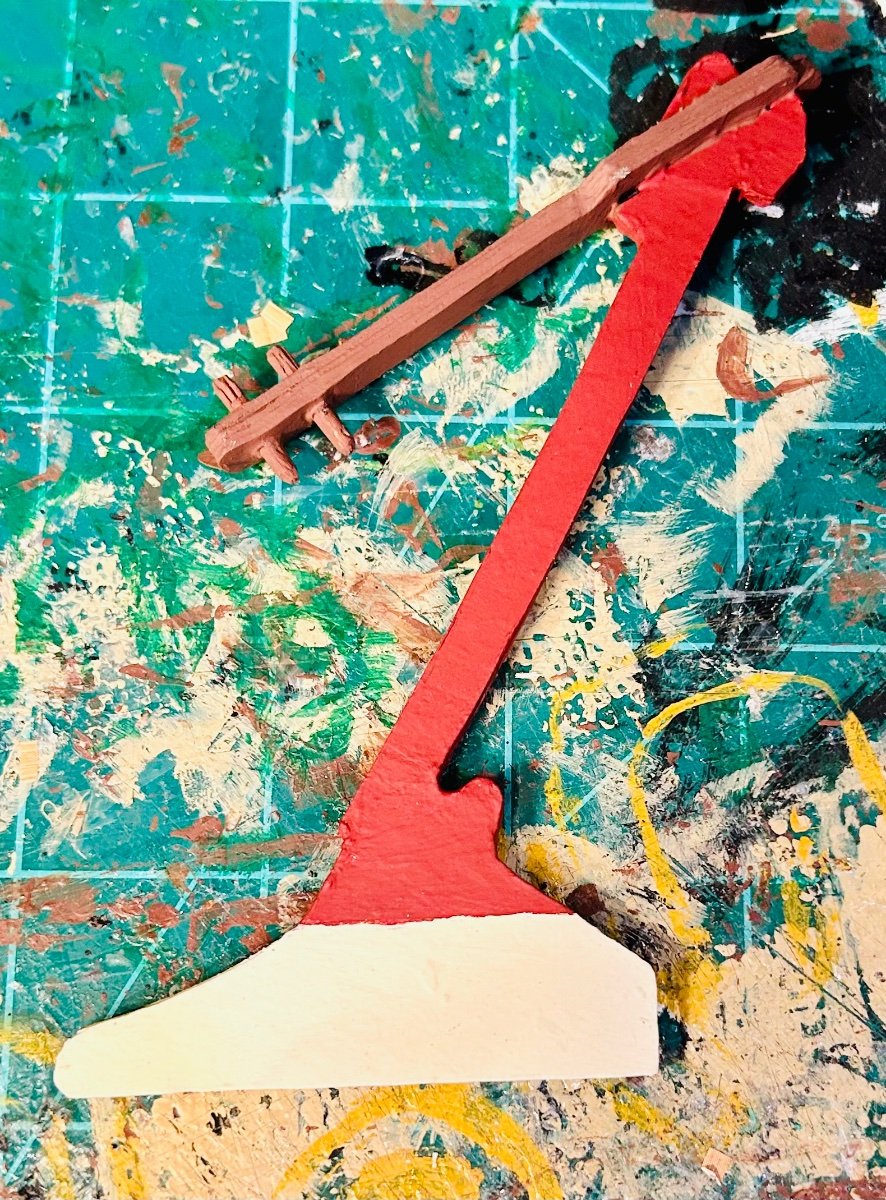
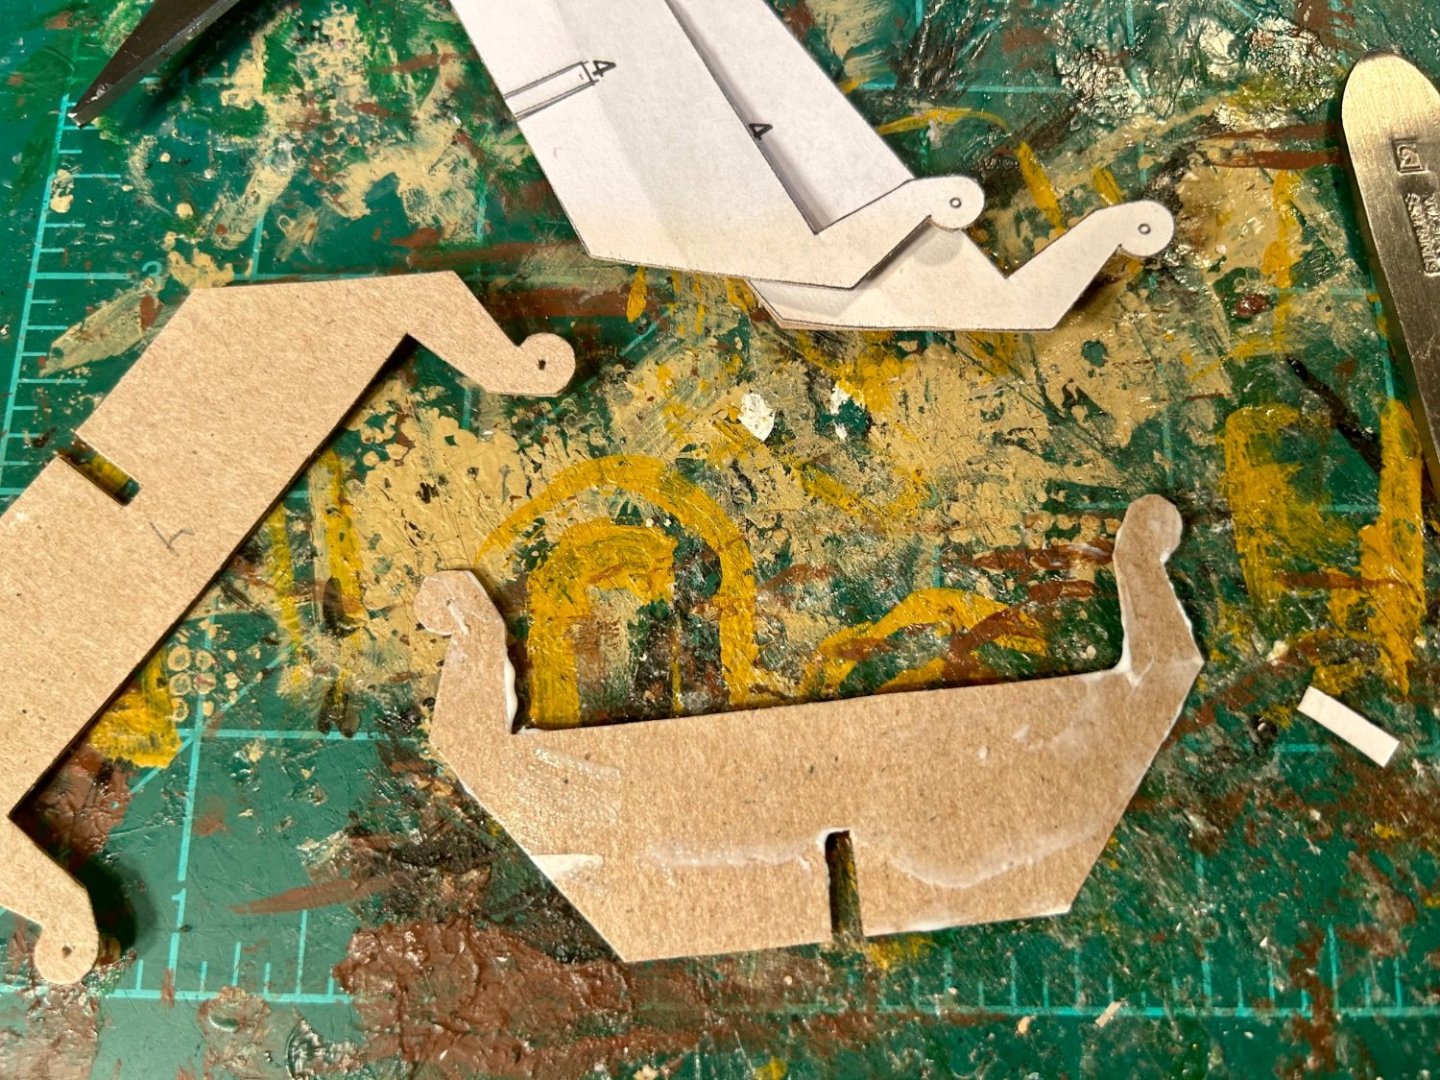
All initial test fits are going well: All parts still need trimmed and nothing is glued yet. All part thicknesses are correct this time.

-
I use a THIN layer of monte mart PVA on my parts for layering up and then put them between sheets of glass to dry to minimize curling. As you can see, you can barely see the glue. It adheres well and ends up with only minimal curling, if any, which can then be worked out prior to installation. That’s a Hobeycomb cereal box.
-
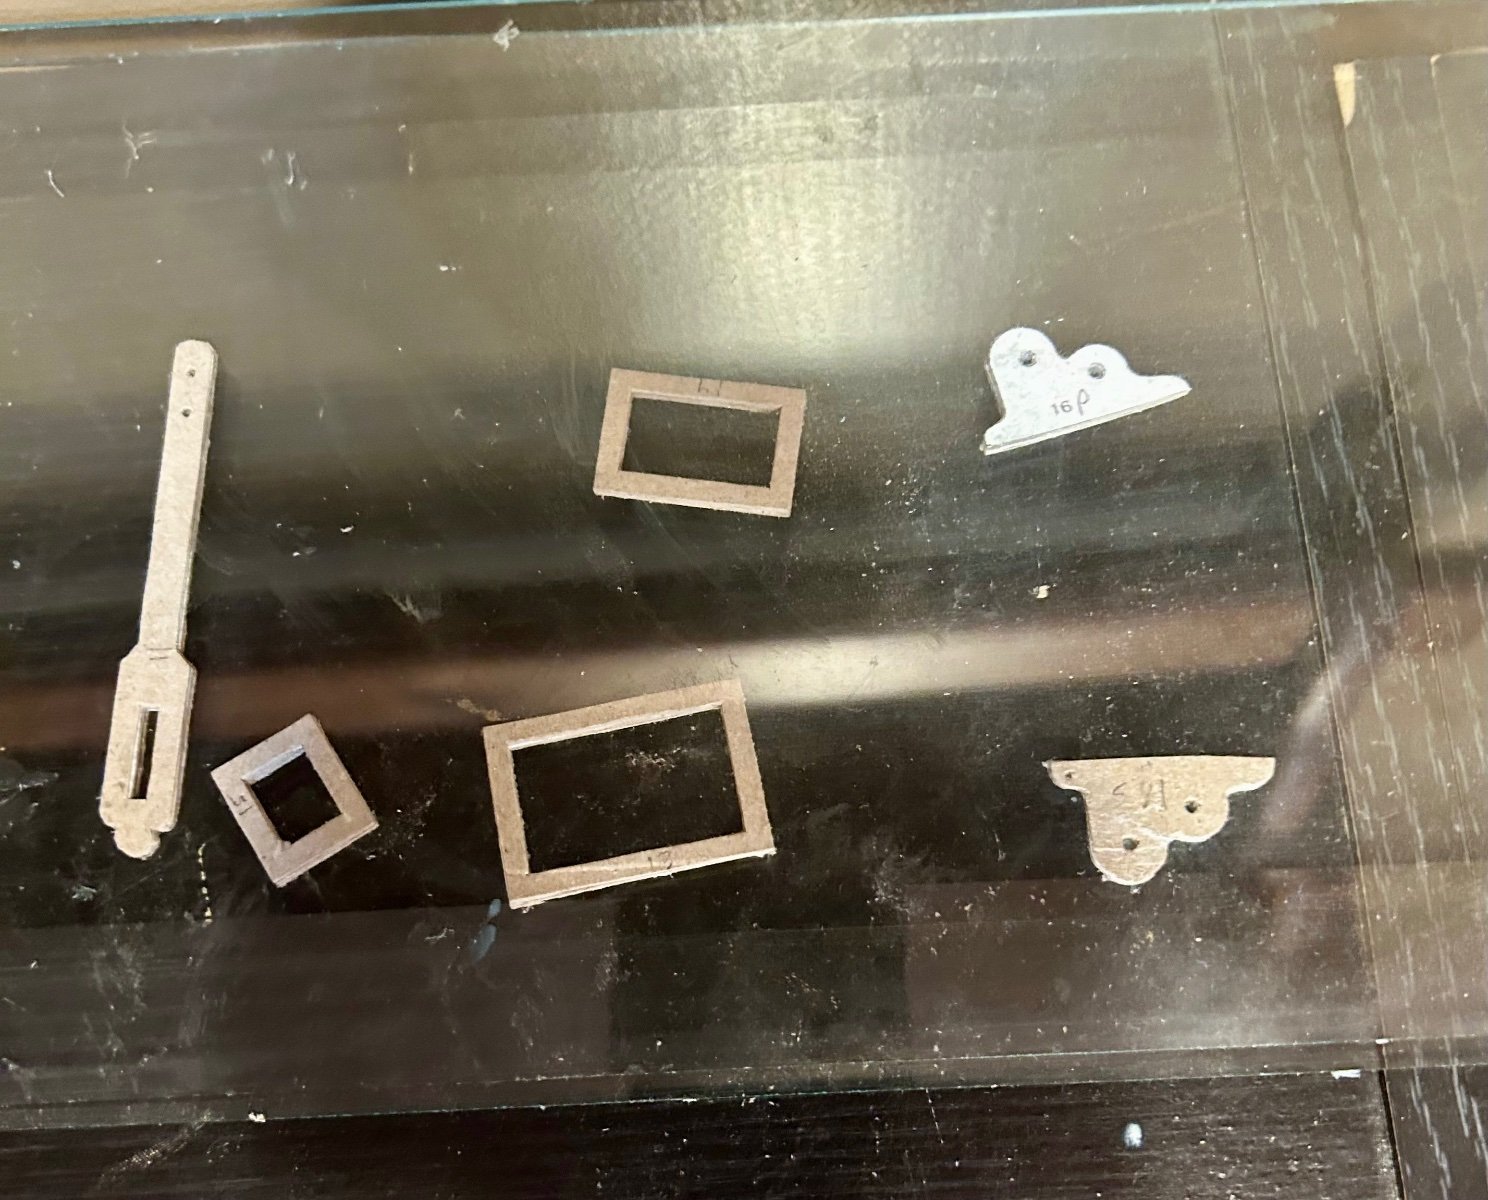
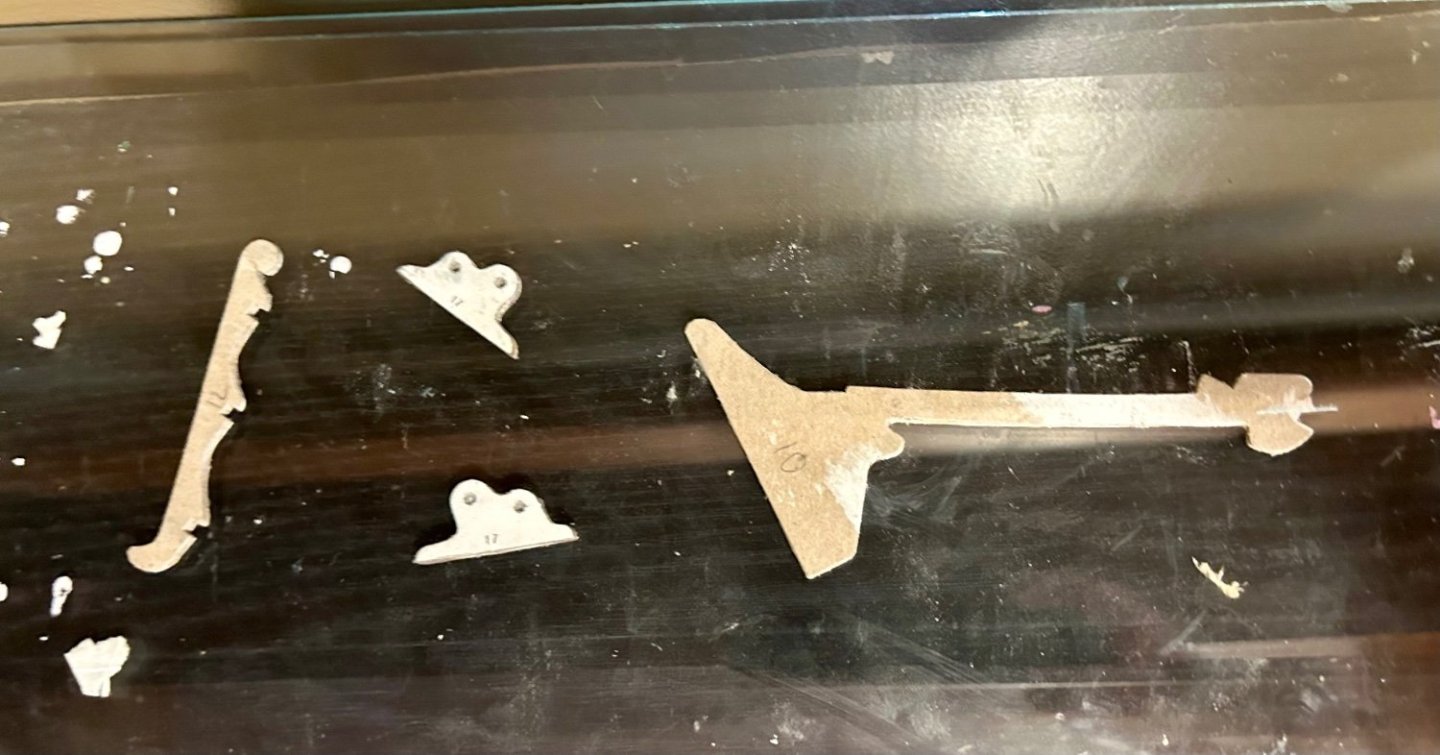
All parts are rough cut: Next up is to final trim them and laminate them in order, starting with the keel plate, so I can commence with assembly. This looks like a lot, but it’s really not.