GrandpaPhil
-
Posts
5,996 -
Joined
-
Last visited
Content Type
Profiles
Forums
Gallery
Events
Everything posted by GrandpaPhil
-
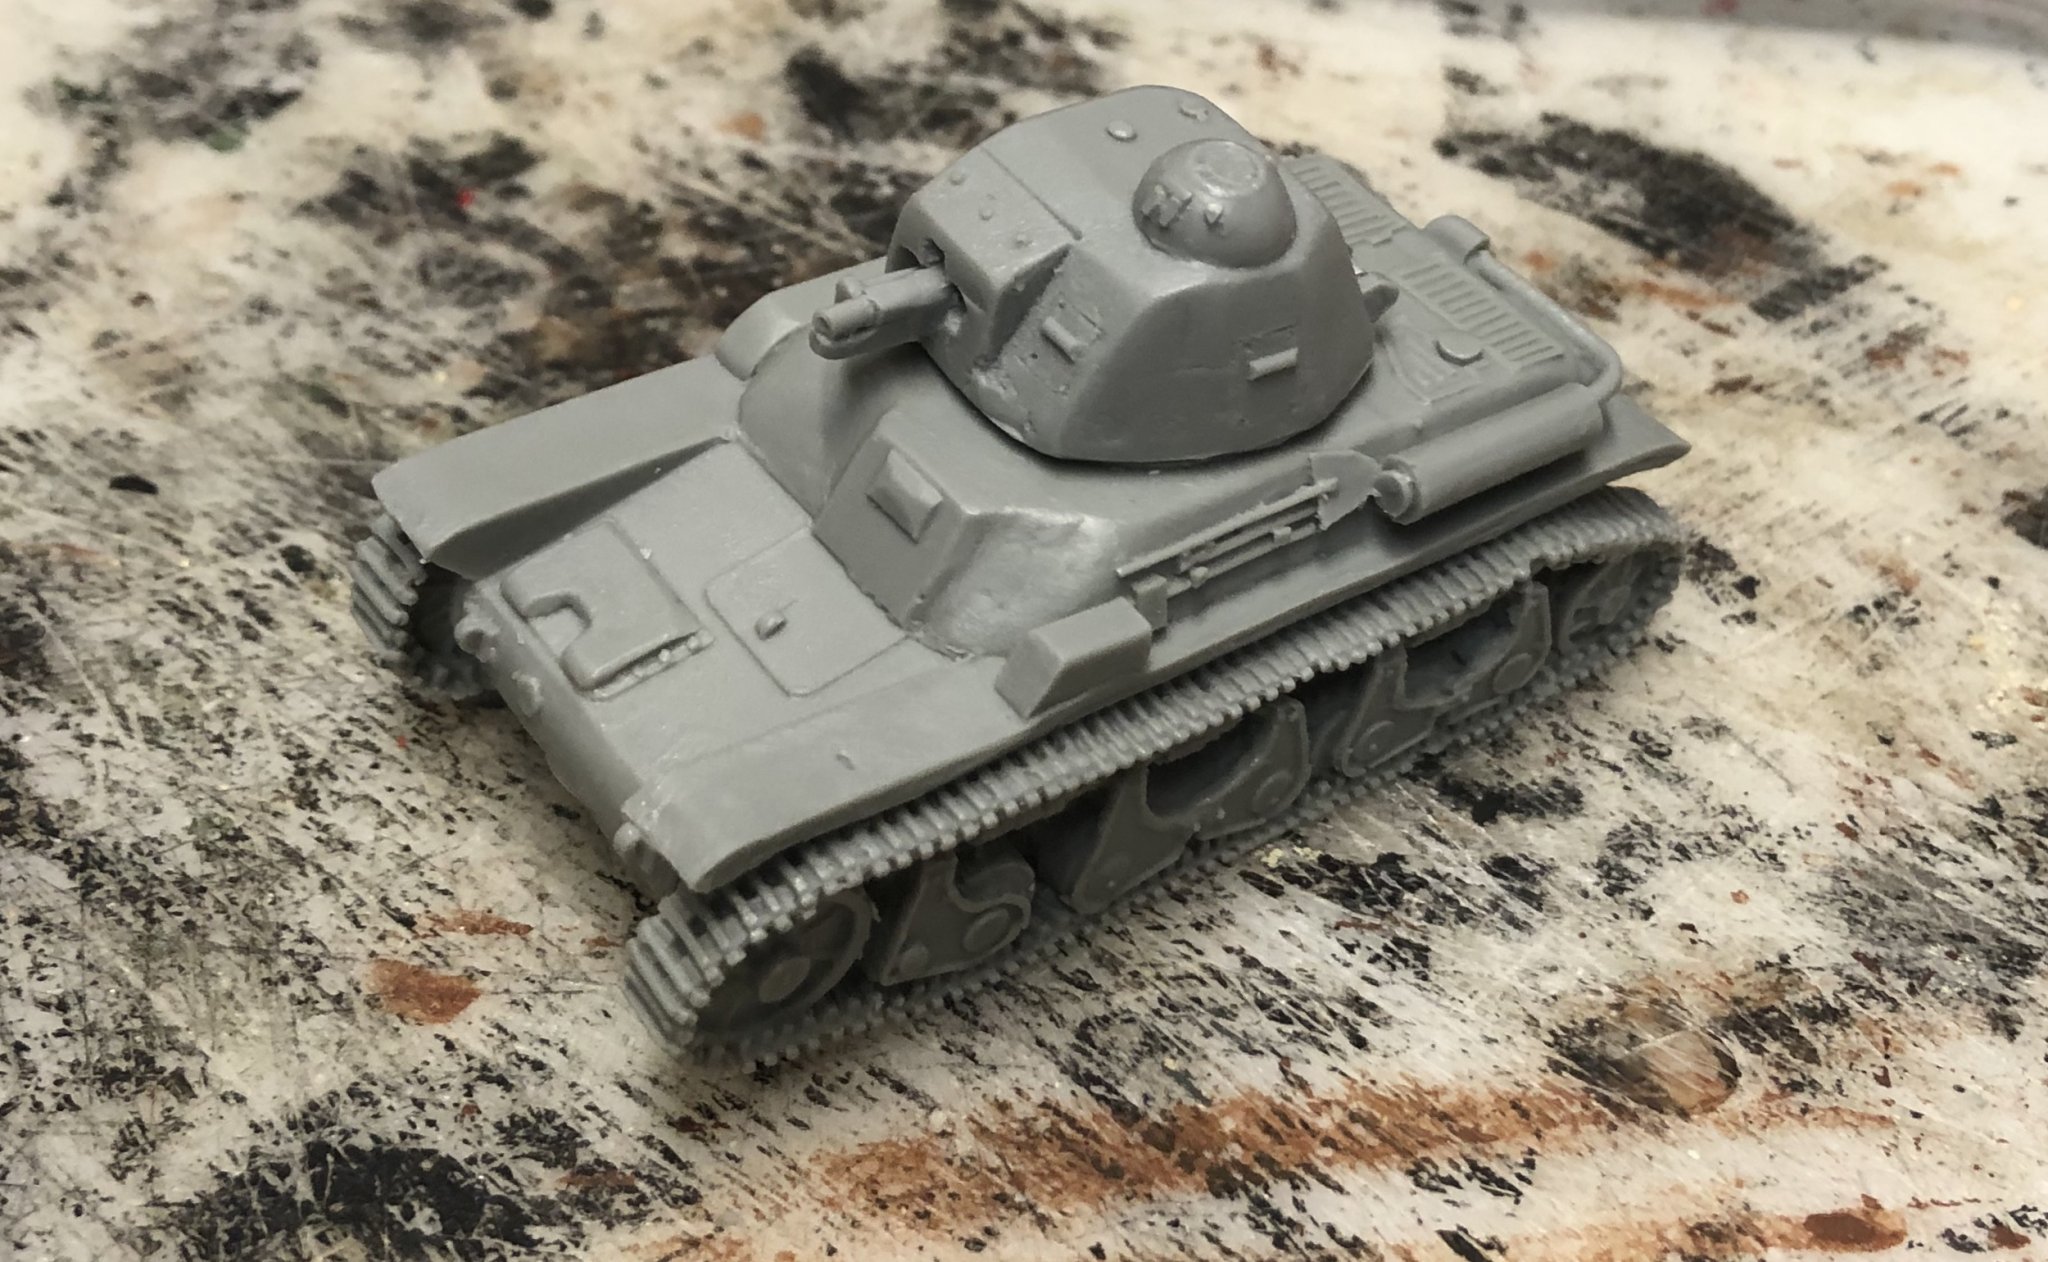
It would be unfortunate if you gave up on resin models entirely. I have built a few (never a ship). My first couple of experiences with resin did not go well. I actually hated resin models after those first couple of models. However, I ended up with a bunch, in a lot of models, that I won in an auction, and learned how to work with them, and ended up really liking resin models. There is usually a lot more flash and the gate usually has to be removed (and for a larger piece, can be the size of the piece, because that is where the resin is poured in and not injected, unlike plastic models). That just has to be cut away (I use a scalpel for this). I have also seen a lot of warping in the pieces. To remove the warping, one must heat the model, preferably in hot water. I use the microwave method for tanks and figures. For something the size of a hull, I would put it in a bathtub with the hottest water that you can and let it heat for a bit. After the resin warms up it becomes very flexible and you can shape it how you need it. My personal last example involved the track piece of a resin R35 tankette (French, 1940). I microwaved it in a cup of water for about 30 seconds to heat it up. Then I straightened the track so it would fit on the hull and look right. It worked beautifully. I have not seen the Model Shipwrights Edmund Fitzgerald. However, I hope this helps. There is usually more work involved in resin vs plastic, but resin models, in my opinion, hold more detail and usually look good once built.

- 40 replies
-
- 2
-

-
- edmund fitzgerald
- iron shipwrights
- (and 1 more)
-
I’m sorry to hear about your cousin. You have my condolences.
-
Heller 1/75 La Reale De France- English Instructions
GrandpaPhil replied to Paul Frawley's topic in Plastic model kits
Unfortunately, I didn’t keep them after I finished the model (over a decade ago). I wish I could help more. -
I purchased plans of the Edmund Fitzgerald, in 1/192 scale, a few weeks ago. I am planning on using them to build the Edmund Fitzgerald, out of card, in 1/192 scale. I need to finish Victory first (to ensure that the Victory does not get shelved and left in half finished limbo).
- 40 replies
-
- 5
-
-
- edmund fitzgerald
- iron shipwrights
- (and 1 more)
-
Welcome!
-
I personally like acrylics. I just brush paint them on. They mix easily and they’re easy to work. I don’t typically have issues with brush marks, but I also don’t typically use gloss paint. Plus, techniques such as dry brushing, washing, and highlighting work very well with acrylics, to add realism and depth to a model. I like to use faux metallic painting techniques in lieu of metallic paint (unless I’m using actual metal such as copper tape). Weathering techniques also work great with acrylics. However, I like to make my models look well used and a little battered because I learned and developed most of my painting and modeling techniques from 28mm wargaming. I essentially treat my models like gigantic wargaming miniatures. I primarily use Delta Ceramcoat and the other craft paints. I like the Army Painter brushes, paints and their washes (although, I make my own washes just as frequently). My Victory and Prince de Neufchatel are painted with acrylics. I thoroughly drybrushed and weathered the Prince de Neufchatel and plan to do the same to Victory.
-
I drill with a very small drill bit if needed. I also have a tack hammer that I use (preferred method).
-
I like straight pins (heavy sewing pins). I remove them with needle nose pliers. Use a twisting motion to get them to release.
-
Newbie starting with J-Class Endeavour
GrandpaPhil replied to Sananda's topic in New member Introductions
Welcome! -
Welcome! Nice work so far!
-
The AL Bounty Jolly Boat was my first real model boat. Those AL small boats are great starter kits. I went on to a couple Dumas boats and the Model Shipways Sultana (my first real model ship) after that.
- 16 replies
-
- 1
-
-
- providence
- artesania latina
- (and 2 more)
-
Well done!
-
I’m glad I could motivate. The hardest part for me was deciding to try. Your cross-section looks awesome! Well done!
- 94 replies
-
- 2
-
-
- Triton
- first attempt
- (and 1 more)
-
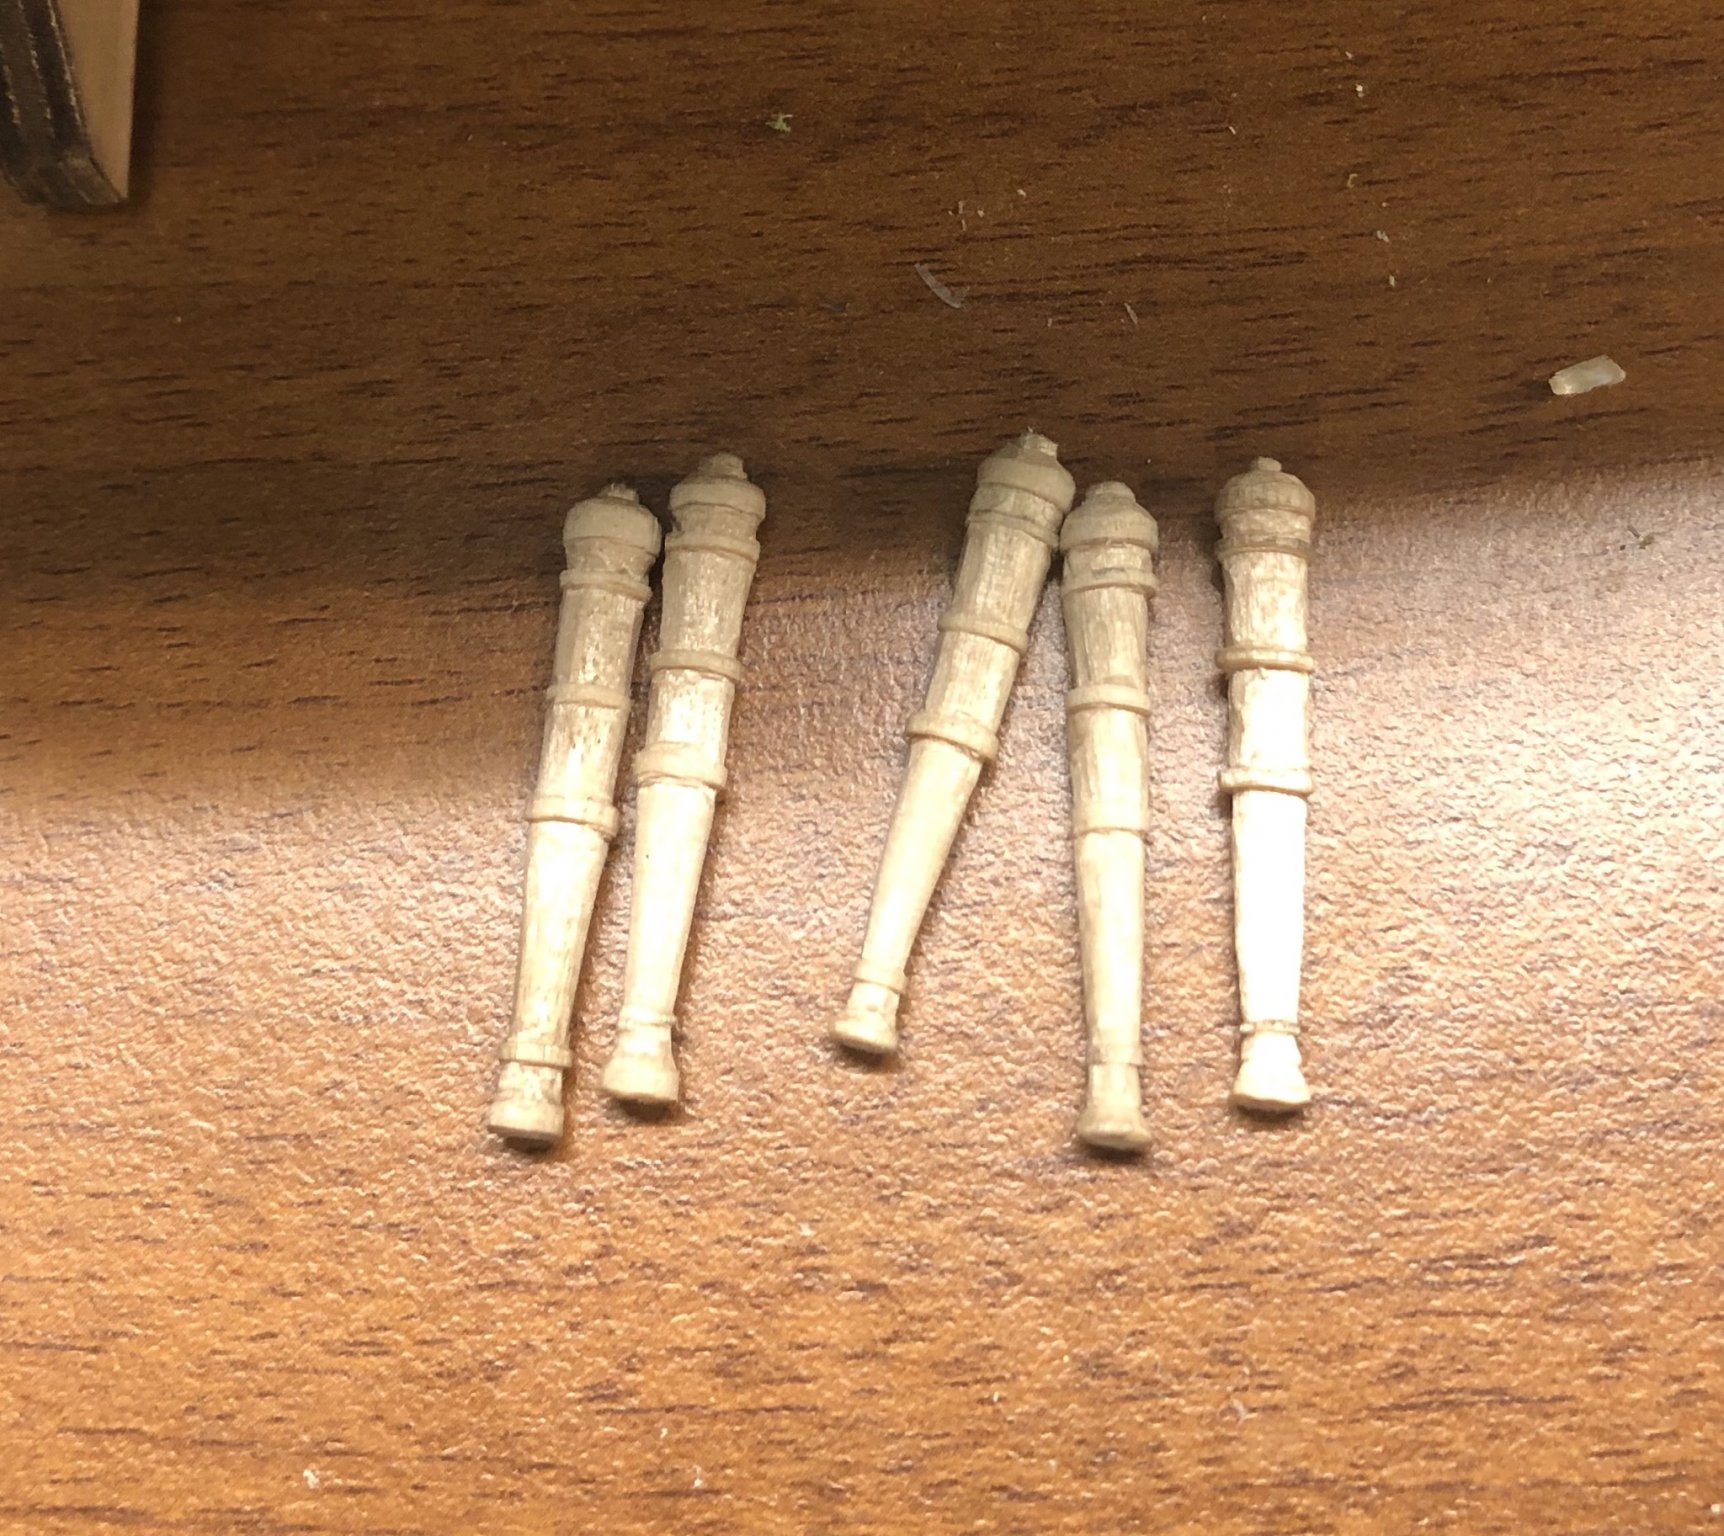
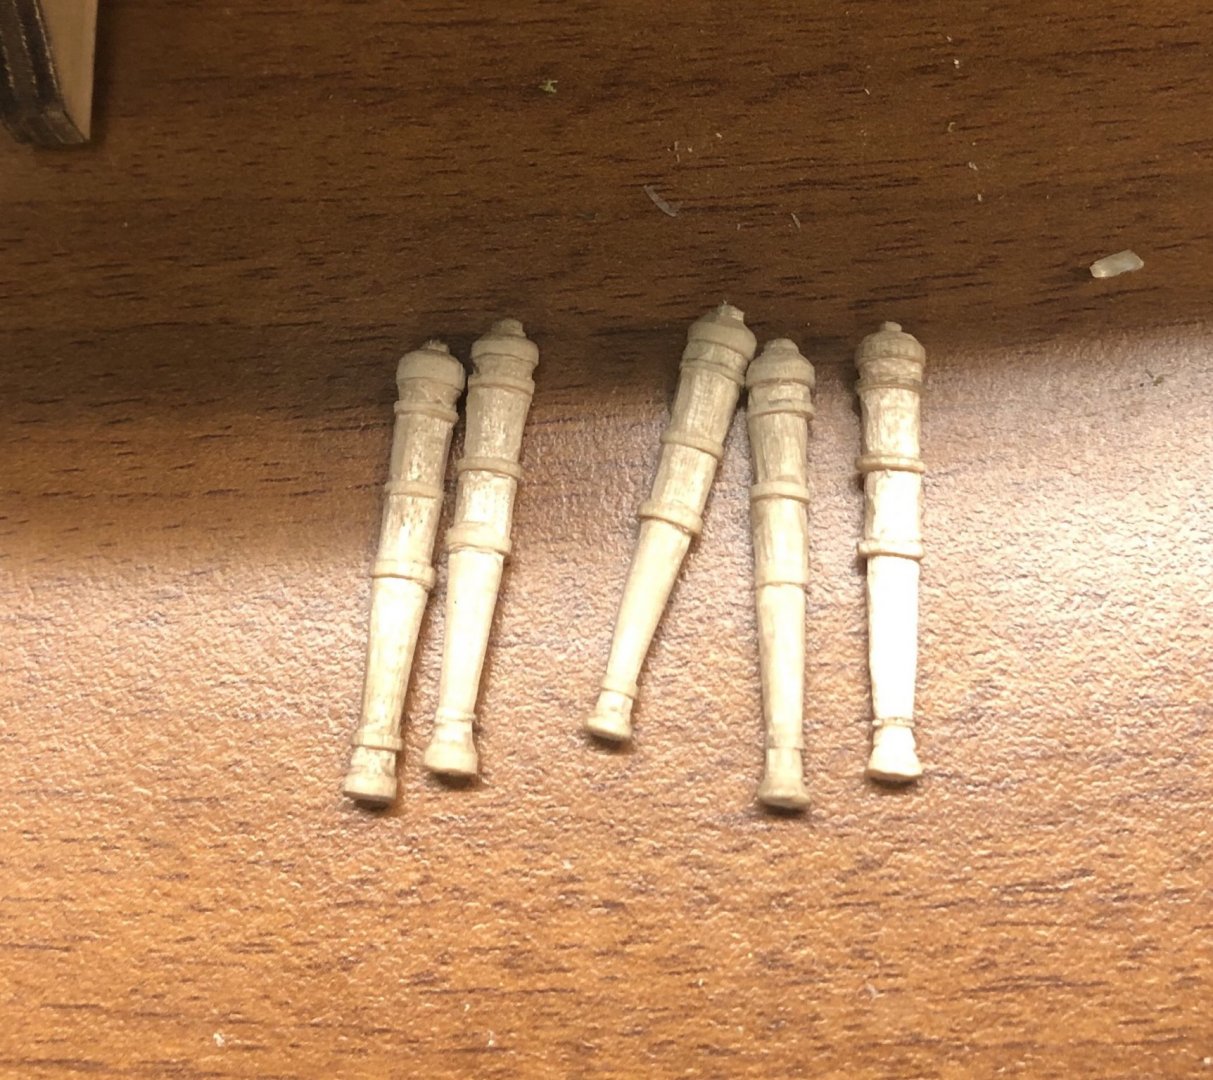
Thank you very much! Here’s long 12 no. 5
-
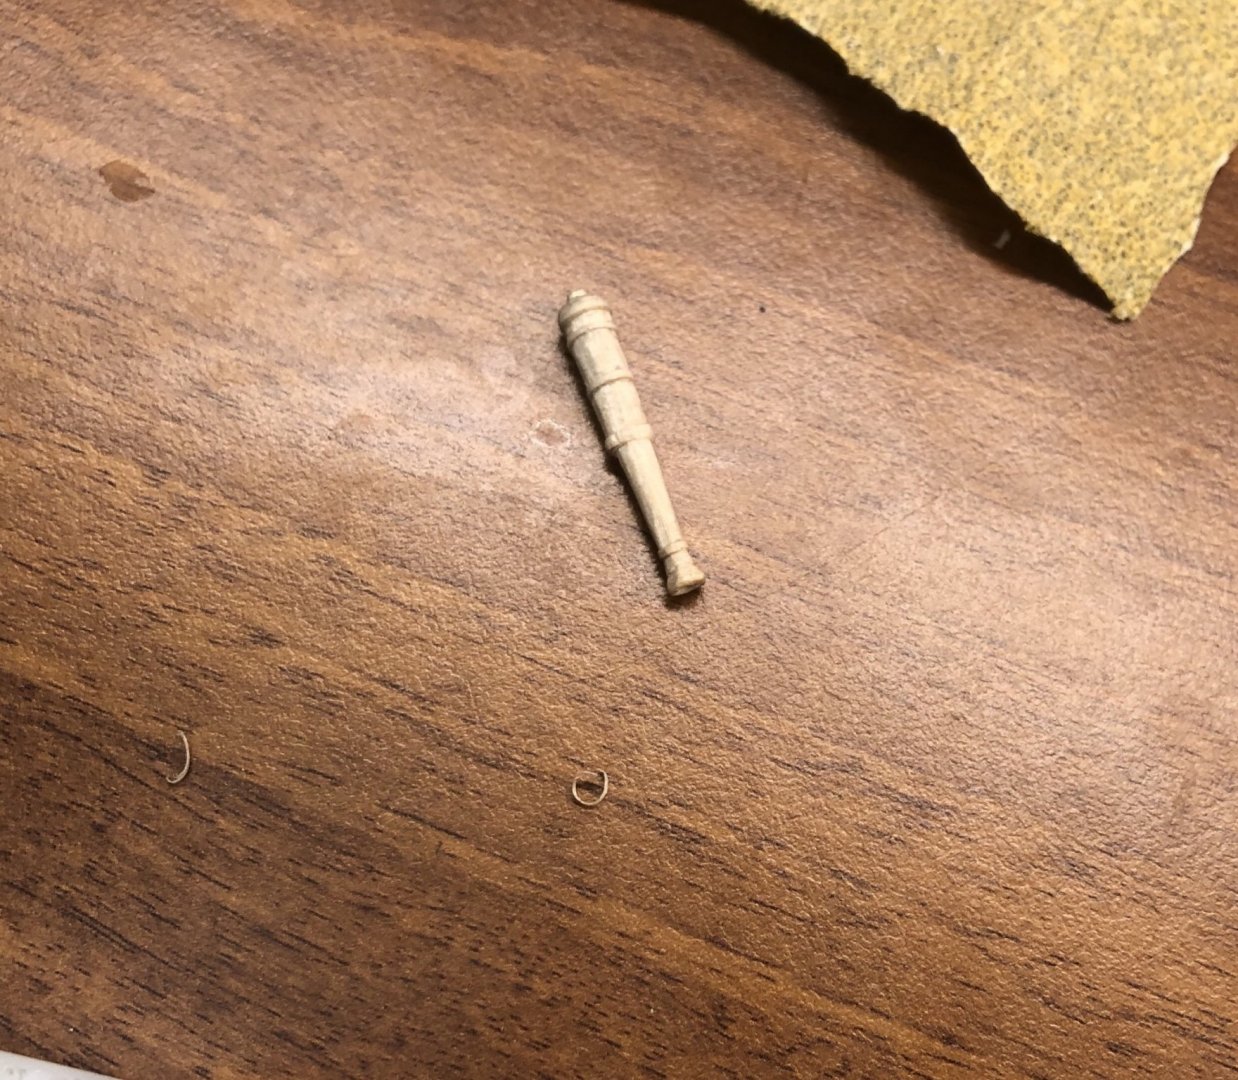
Thank you all! Here is the first bow chaser:
-
Is there any guide for scratchbuilding in card?
GrandpaPhil replied to ubjs's topic in Card and Paper Models
I used that tutorial to build my Prince de Neufchatel from card (my build log is one of the card builds mentioned). Ab Hoving does an amazing job of explaining how to go from plans to model in card. The part about translating line drawings to keel plate and bulkheads also applies to wood. -
I made a mistake tonight. I cut my fifth 12 lb long gun too short. So, it is being made into one of two bow chasers (a medium length 12 lb gun).
-
Newbie just starting needing help
GrandpaPhil replied to NomaD7801's topic in New member Introductions
Welcome! That kit looks like fun! -
All I can say is that is amazing.
-
Glad to see some more progress! It’s looking good!