GrandpaPhil
-
Posts
6,161 -
Joined
-
Last visited
Content Type
Profiles
Forums
Gallery
Events
Everything posted by GrandpaPhil
-
There are plenty of transition era ships that are available in card from Orel and other card kit makers, including American ships. Wargames Vault makes a 1/200 New Ironsides out of card. Card kits make great templates for wood scratch builds. They aren’t kits, but AAMM has a few French transition era ship plans. Also, the French Ministry of Defense has plans for a lot of their ships from the latter half of the 19th Century online. Those all include quite a few of the ironclads and early steel ships.
-
I can tell that I like to build card models. I have stacks of cereal and snack boxes stacked up next to my toolbox. I also have large boxes saved for center keel plates and other large pieces of a ship.
-
Looking forward to this build! I really want to build the pinas out of Ab Hoving’s “17th Century Dutch Merchant Ships” sometime in the future.
-
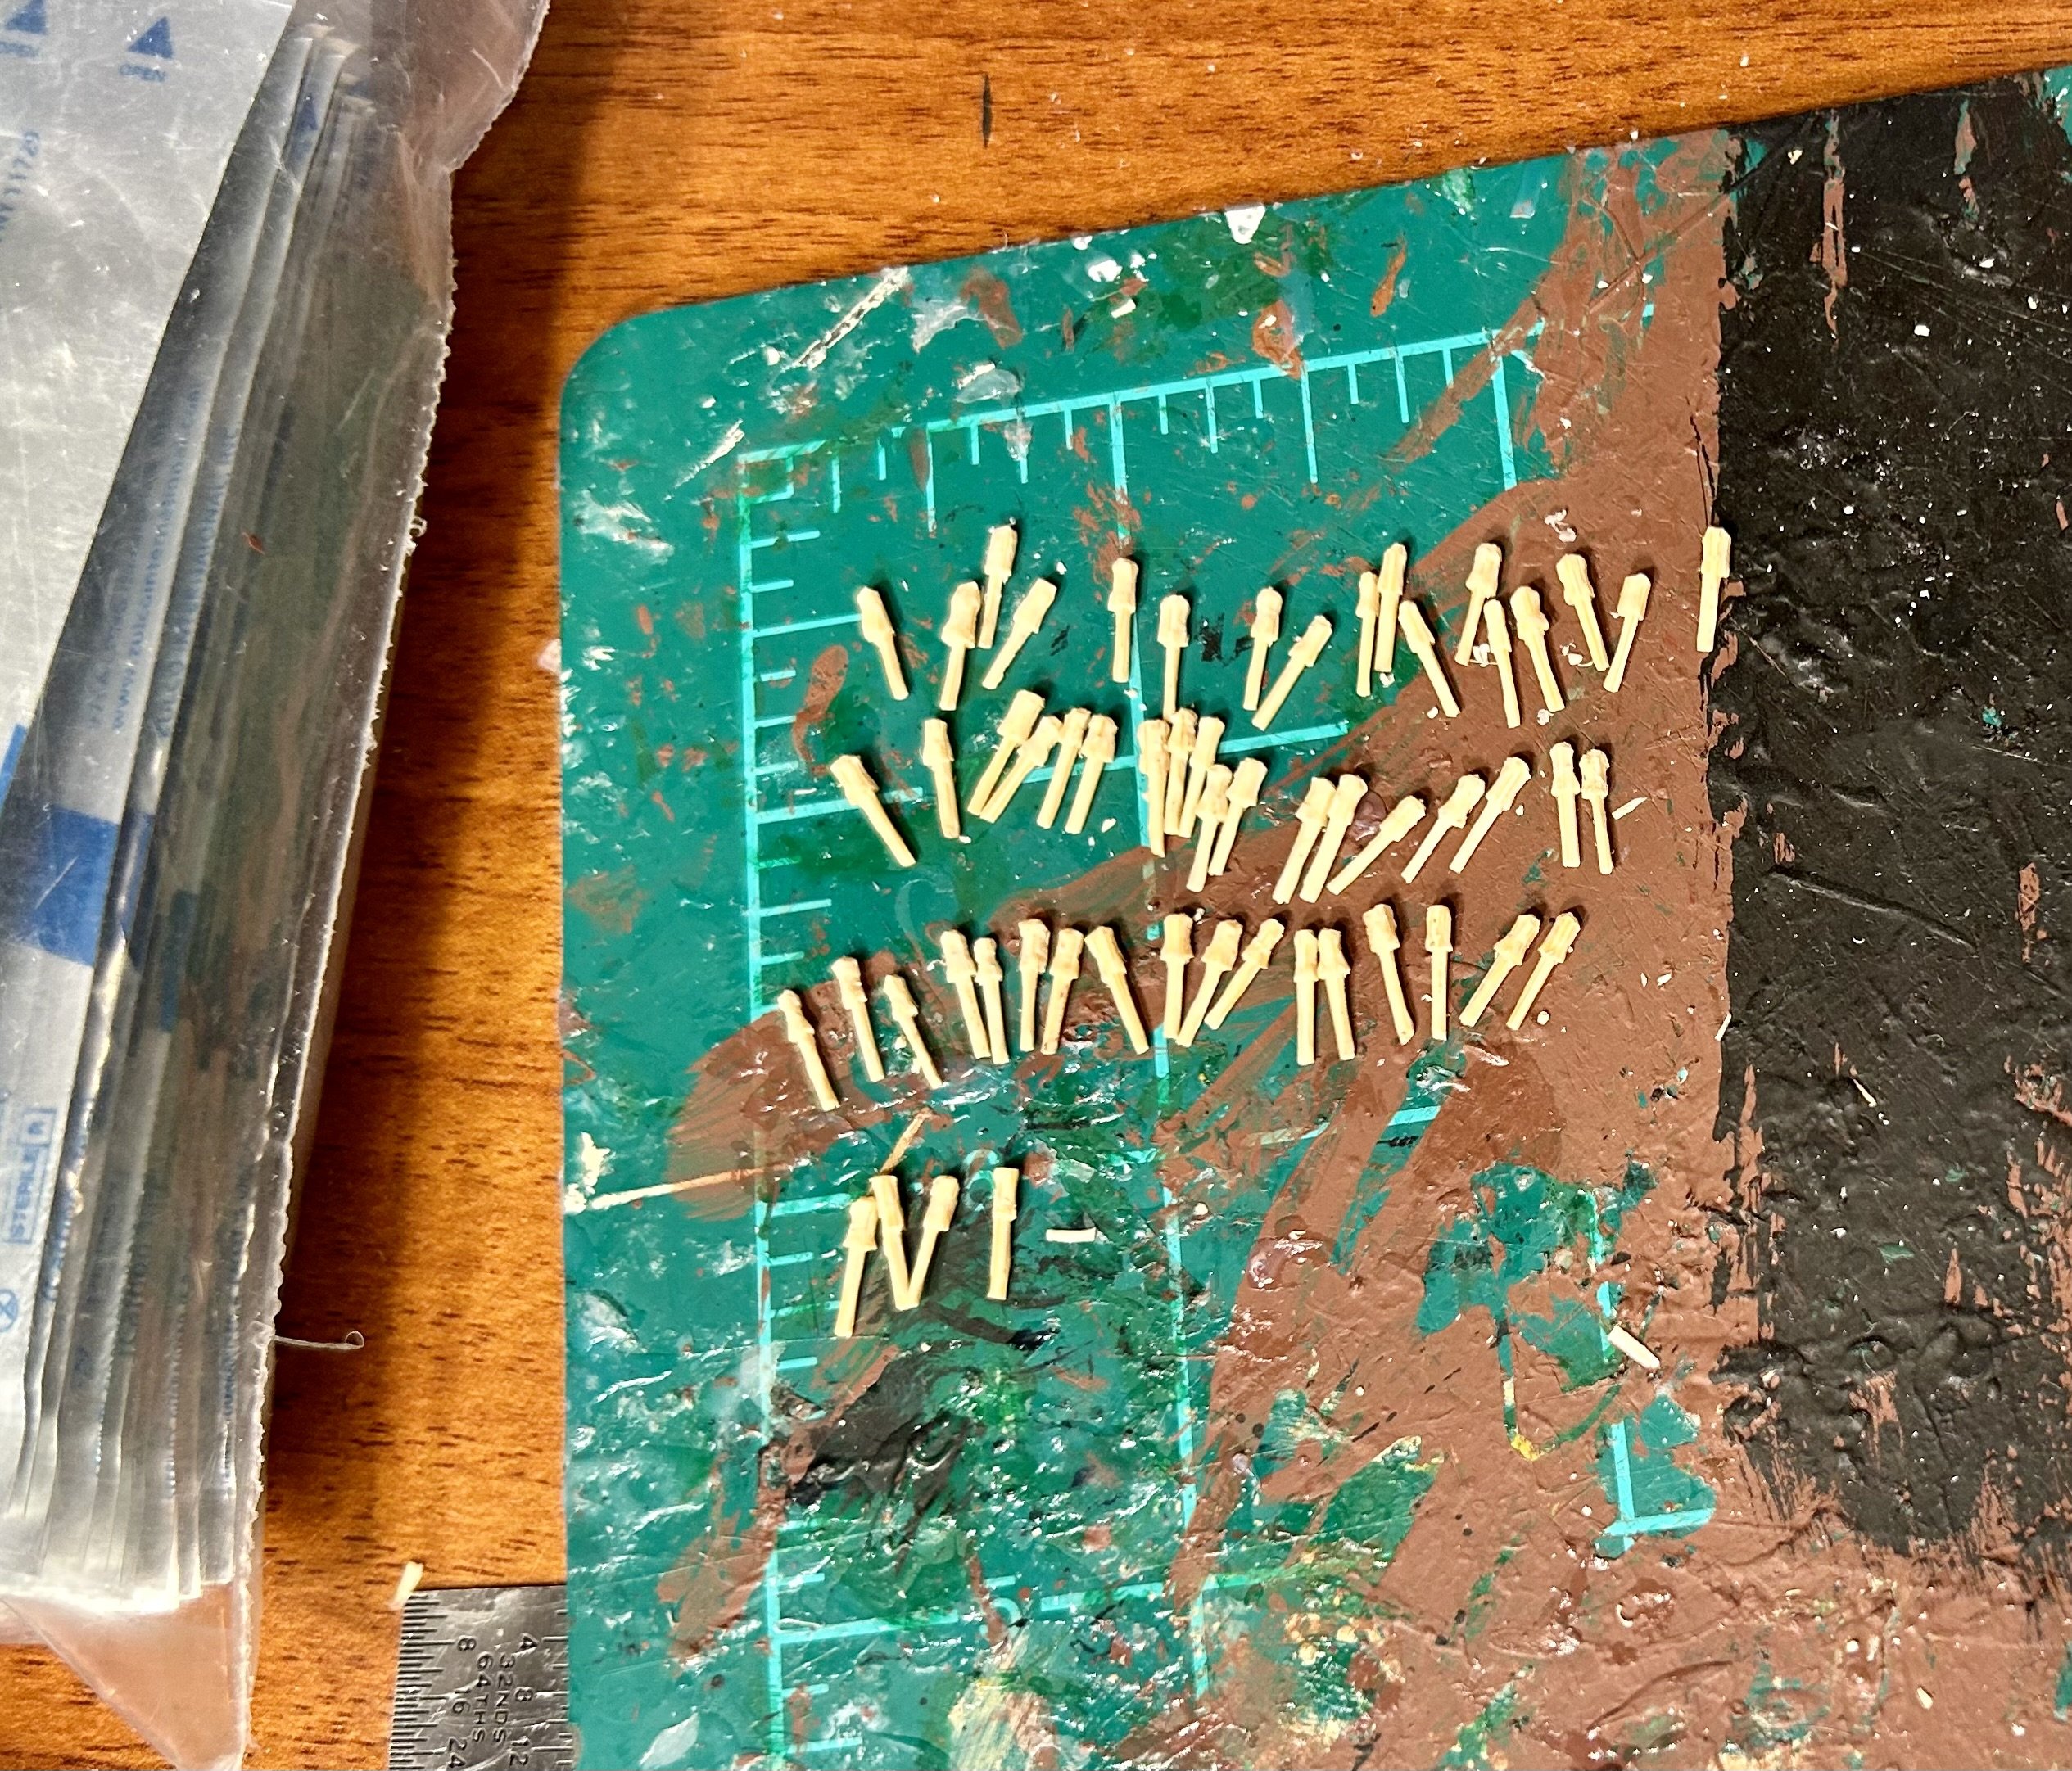
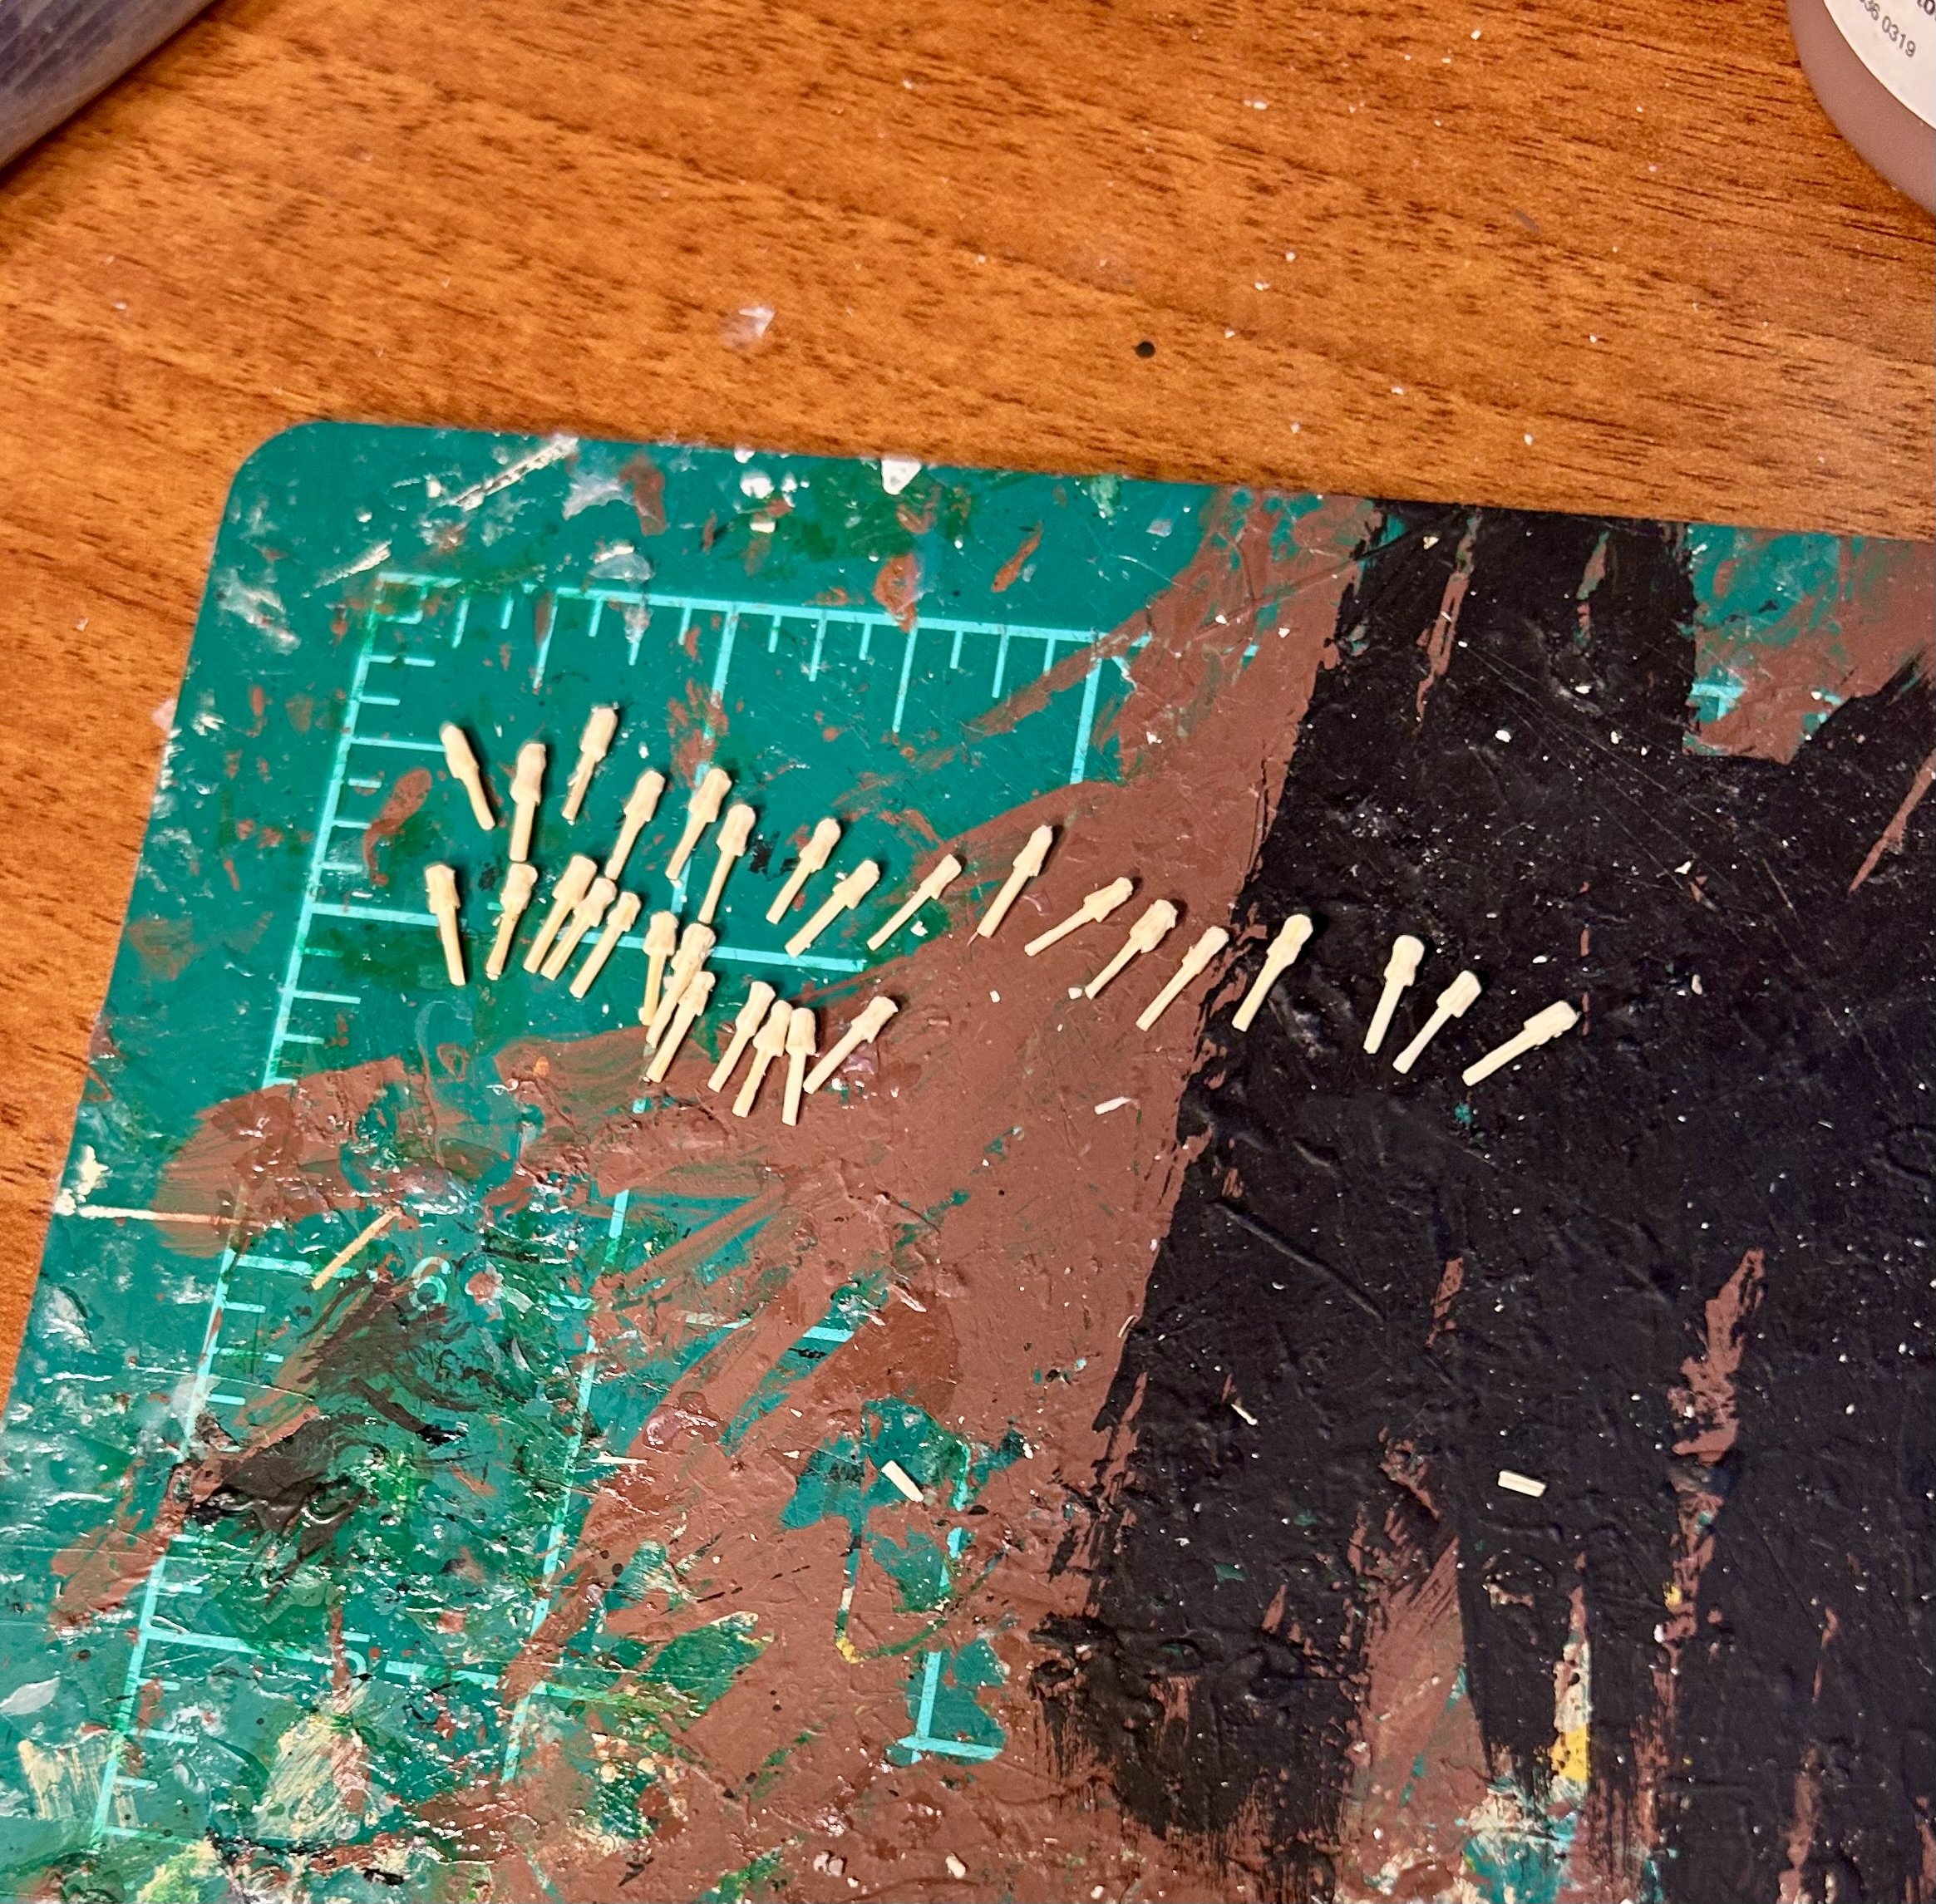
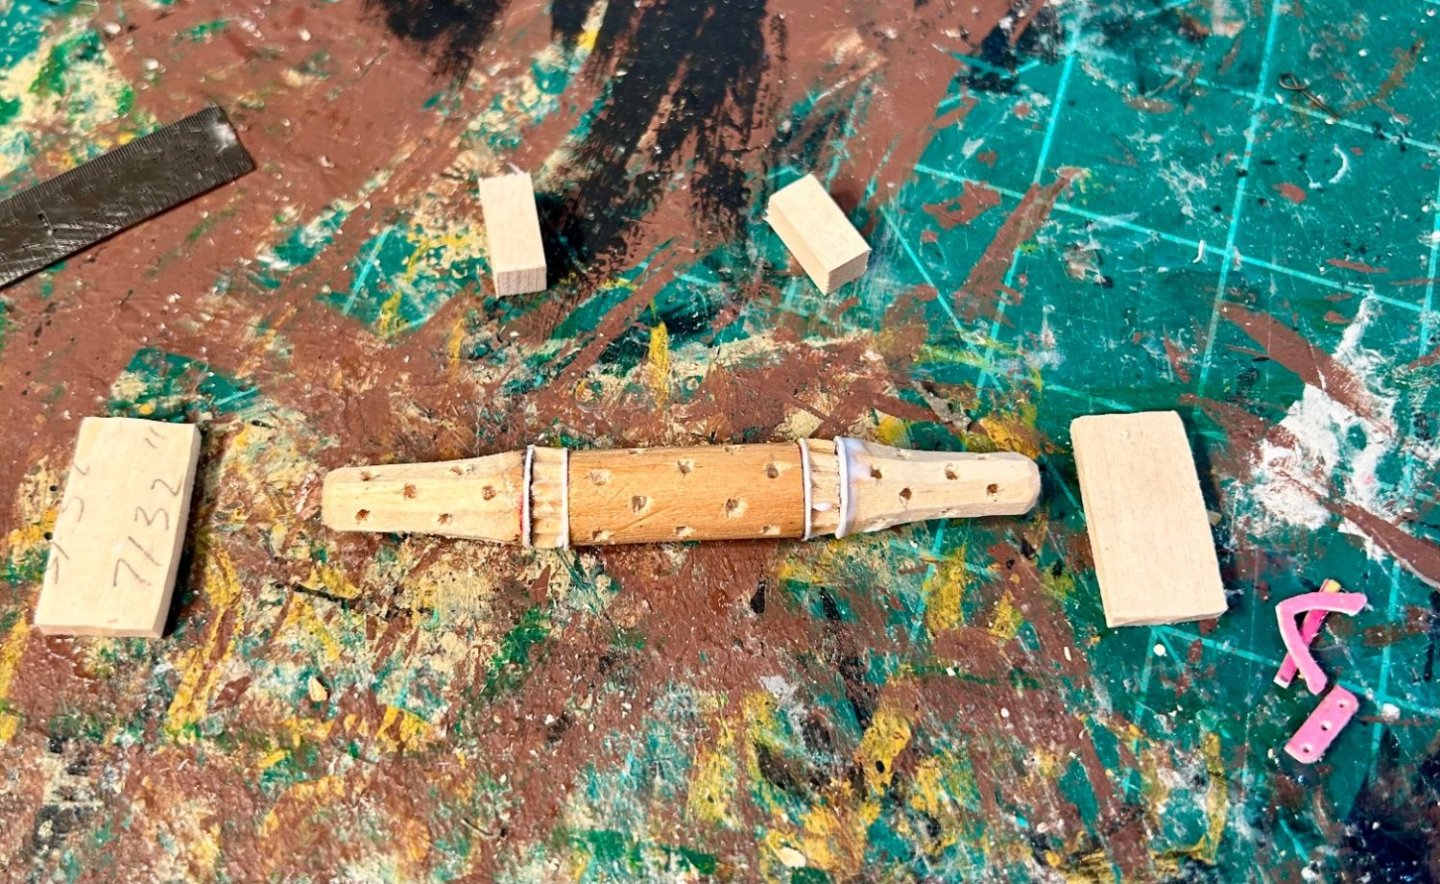
55 down, 115 to go: That’s a stack of scalpel blades sitting next to the belaying pins. The silica and fibers of the bamboo seem to dull out the blades relatively quickly. That’s okay though, it’s the nature of the beast.

-
Chapelle’s History of American Sailing Ships has been invaluable to me also.
- 109 replies
-
- 5
-

-
- Ghost Ship
- Jenny
- (and 2 more)
-
Glen, Chapelle’s Search For Speed Under Sail has plans and line drawings of late 18th century and early 19th century three masted schooners. I just saw them when I was looking through my library for something else. (This forum is my greatest resource for inspiration and ideas)
- 109 replies
-
- 4
-
-
- Ghost Ship
- Jenny
- (and 2 more)
-
Thank you very much! Mercury is sitting on a shelf located in a place where it cannot be forgotten. I have been looking at it frequently lately and thinking about finishing it once I finish my other active builds.
-
Very nicely done!
-
Looking forward to this build! This will be an excellent gift! I heard the penguins are super excited and preparing for an invasion!
- 109 replies
-
- 4
-
-

-
- Ghost Ship
- Jenny
- (and 2 more)
-
If you use an acrylic sealant to clear coat the deck, PVA glue will stick to it.
-
Yes, but there’s a lot of repetition with everything when it comes to a ship. That’s the most difficult part of this hobby.
-
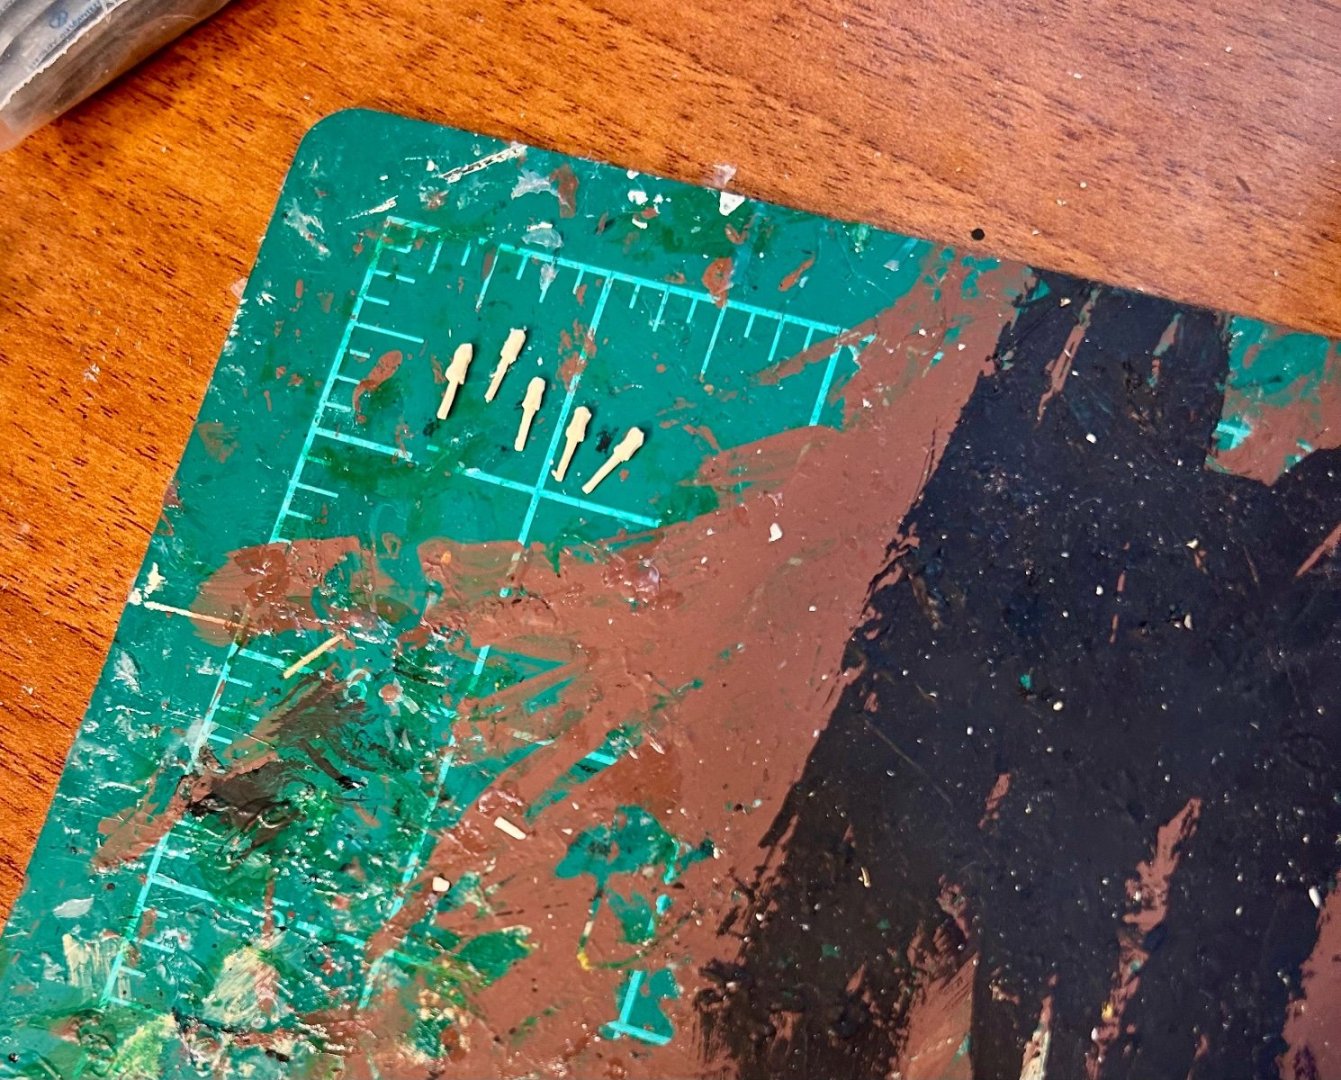
Thank you very much, Steven! The belaying pins have been begun! In times past, I just used pieces of straight pins, but I want to get better so I am making actual belaying pins. I am making 170 of these, 48 for Esther, 110 for Revenge and 12 for the Part Dimension (where little pieces going flying to and are never seen again, or found six months after finishing the project, always in plain sight).

-
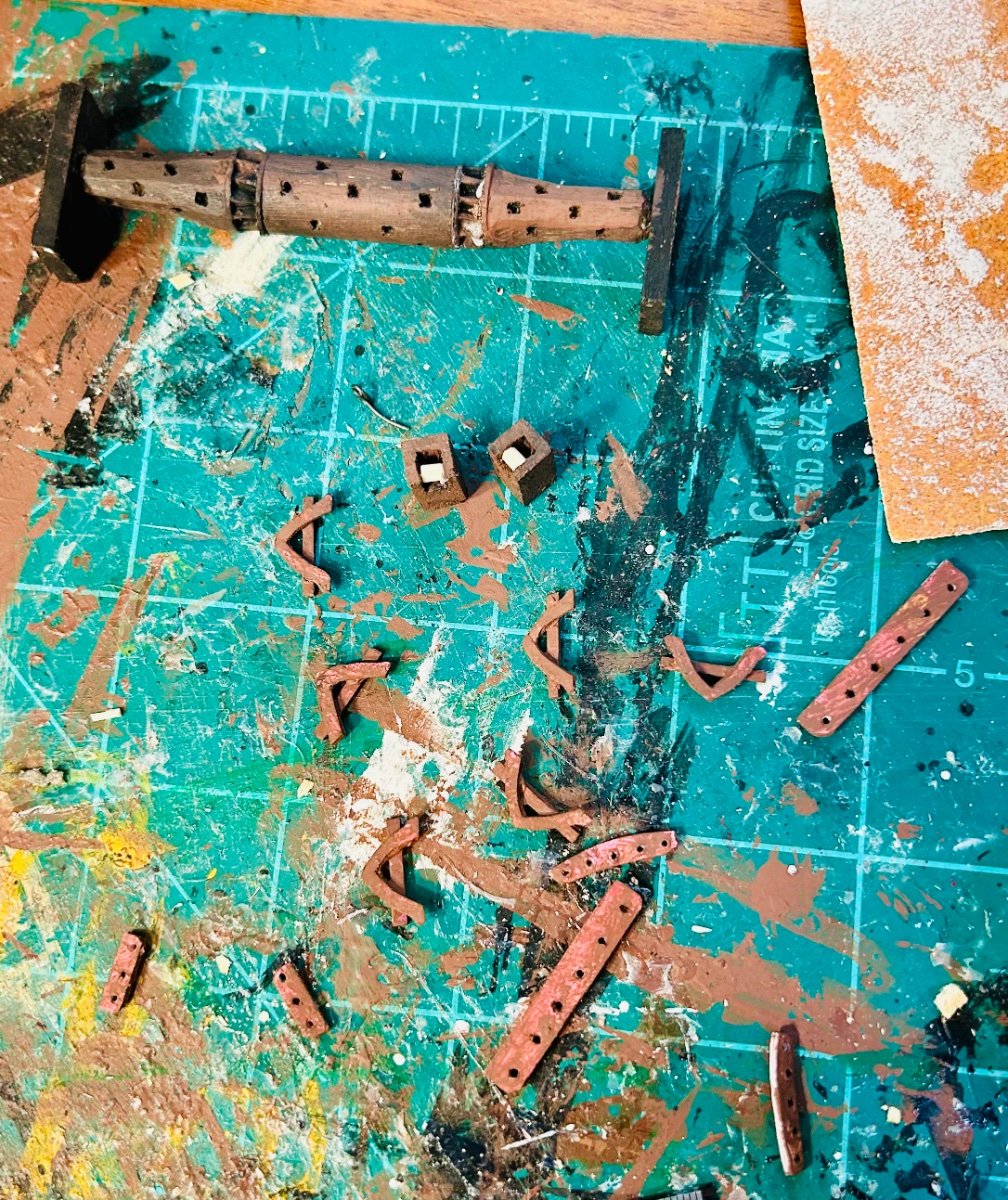
Working on fittings and belaying pins: The fittings look really rough right now because they need final painted and the belaying pins are for both this model and the Revenge. I am making 170 of them, 48 for this one and 110 for the Revenge, with a few extras for those pieces that will inevitably go flying. They are 8mm long and carved from bamboo toothpicks.
-
Looking forward to this build!
-
It’s not a kit, and it’s not the Alabama, but Seawatch Books has a monograph for The Purpose Built Confederate Blockade Runner Hope 1864 that comes with plans and templates which can be easily be rescaled to whichever scale you want, for $70. I have a couple of books from Seawatch Books and the actual monographs explain how the author built the model really well.
-
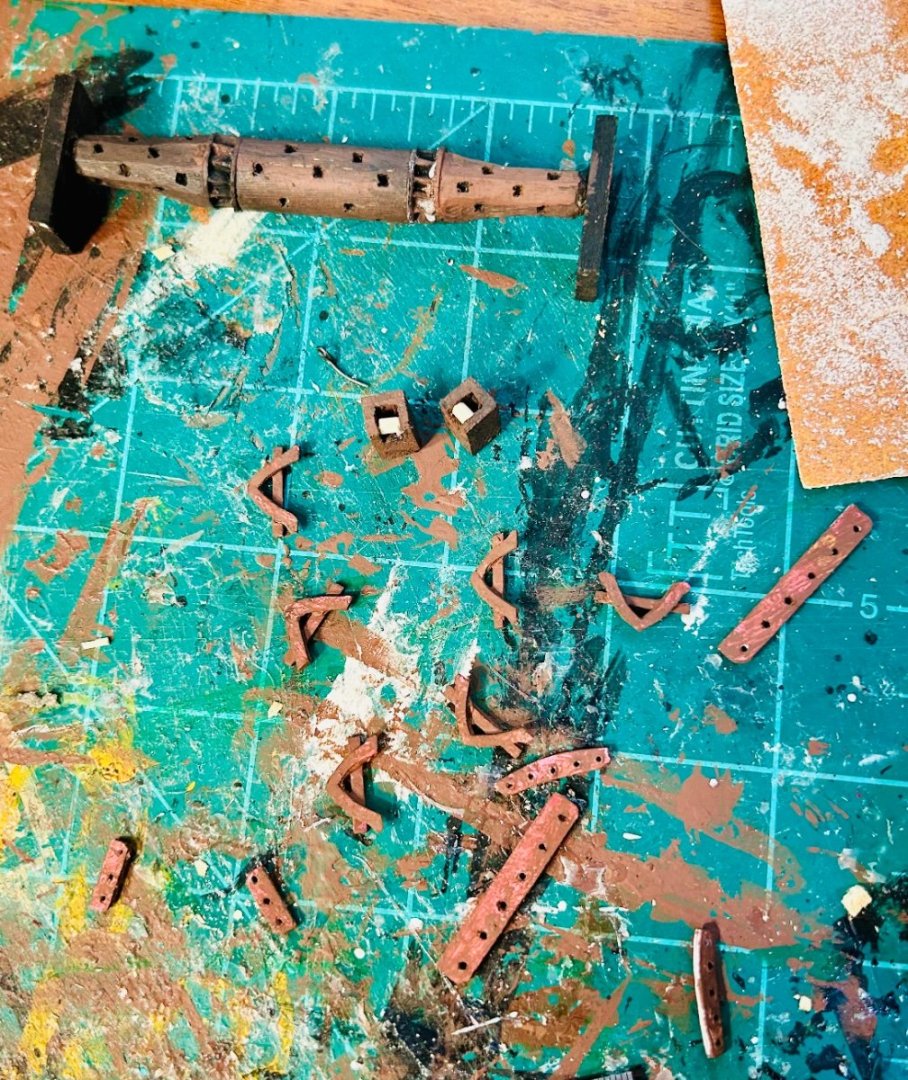
Now it looks more like a windlass: Still not perfect, but it’ll look a lot better once everything is cleaned up and painted.
-
The diorama looks amazing! Sorry for your loss.
-
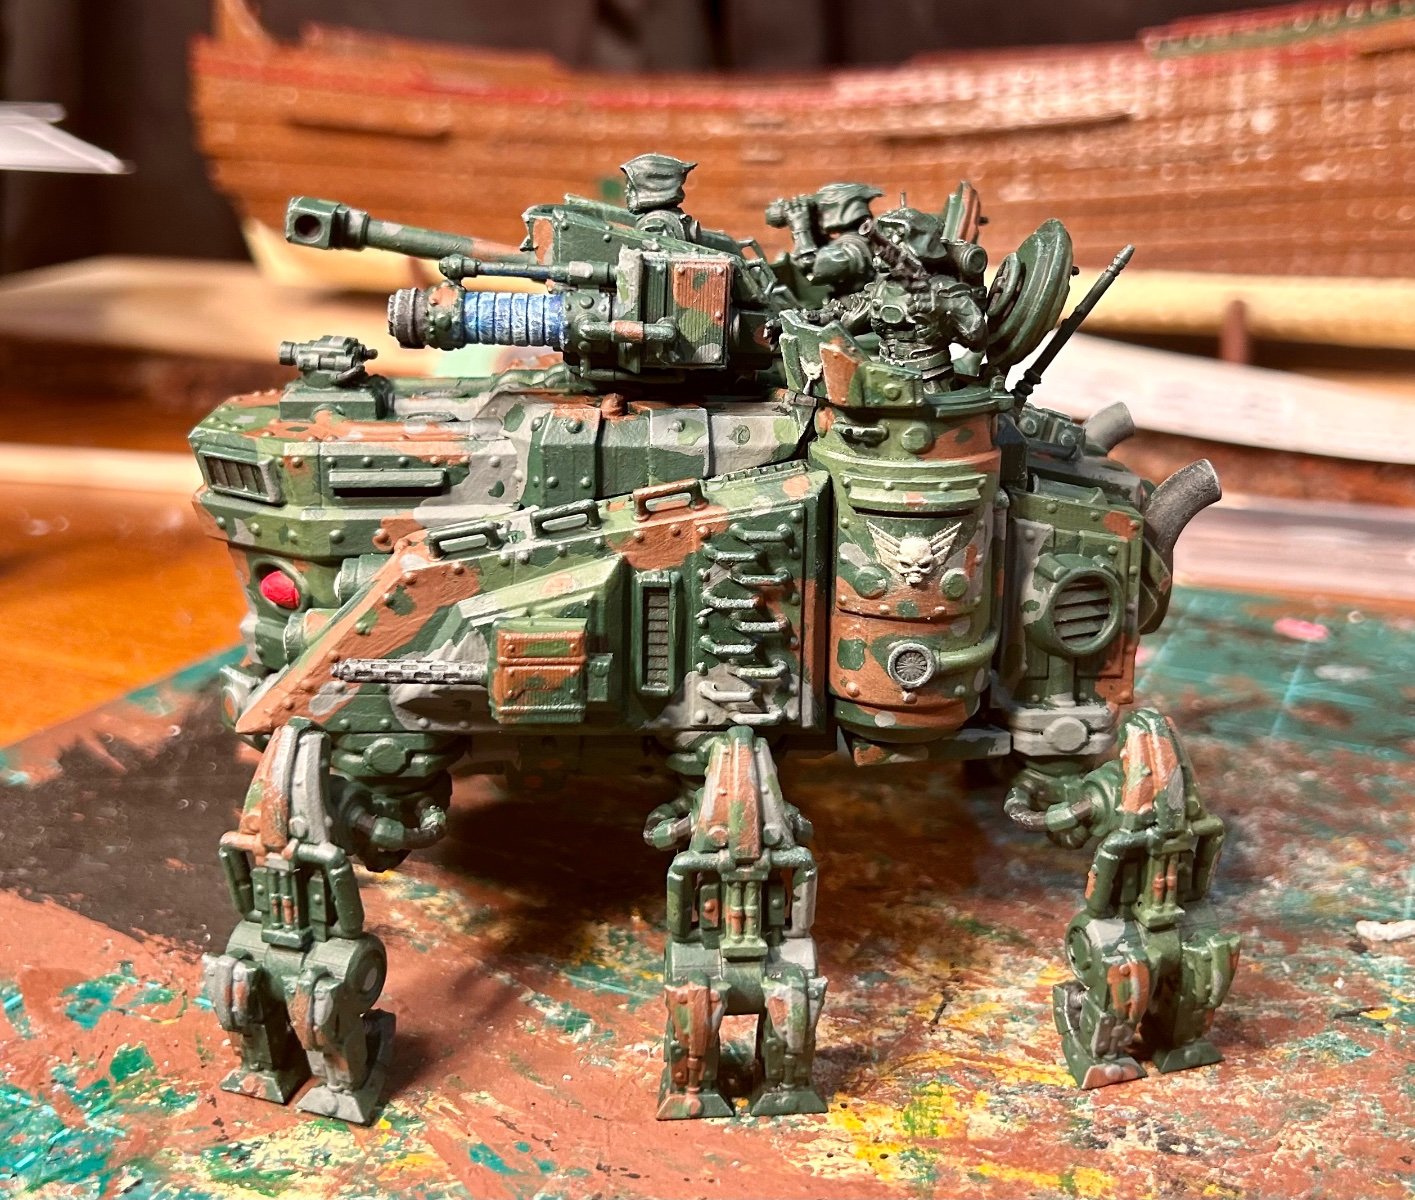
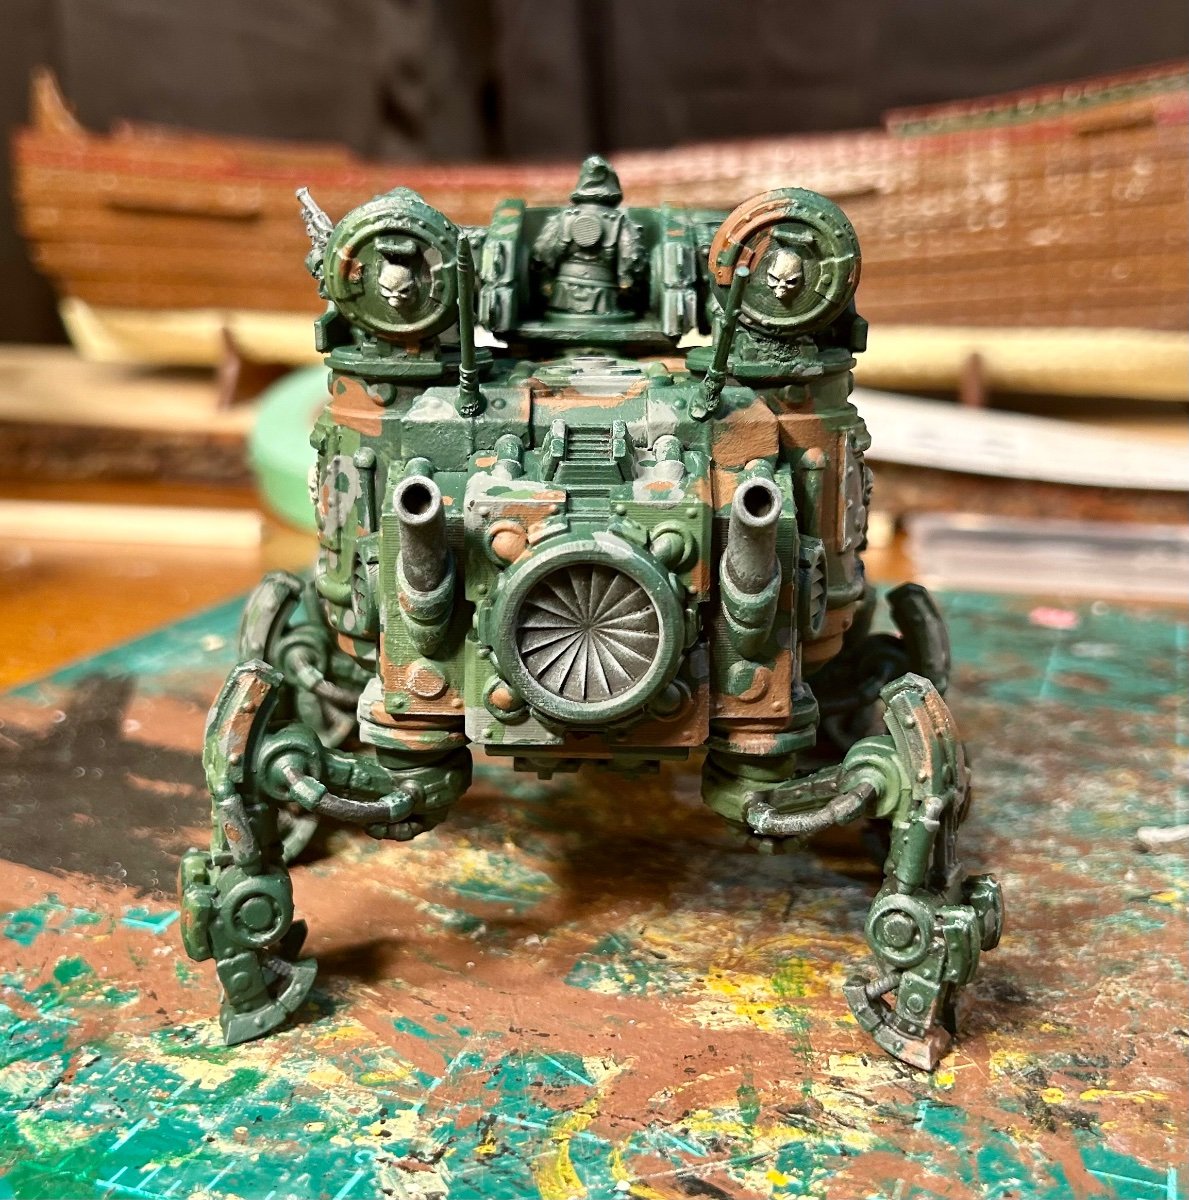
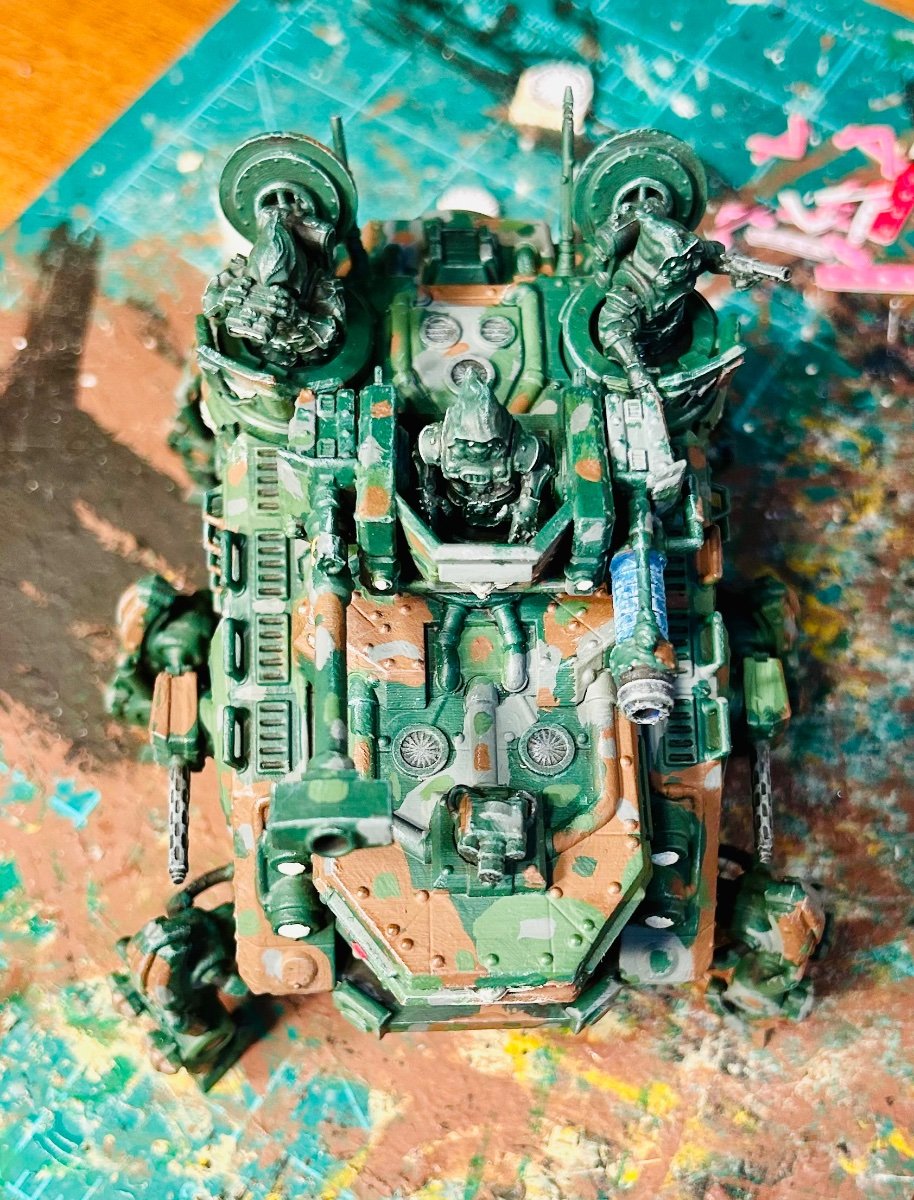
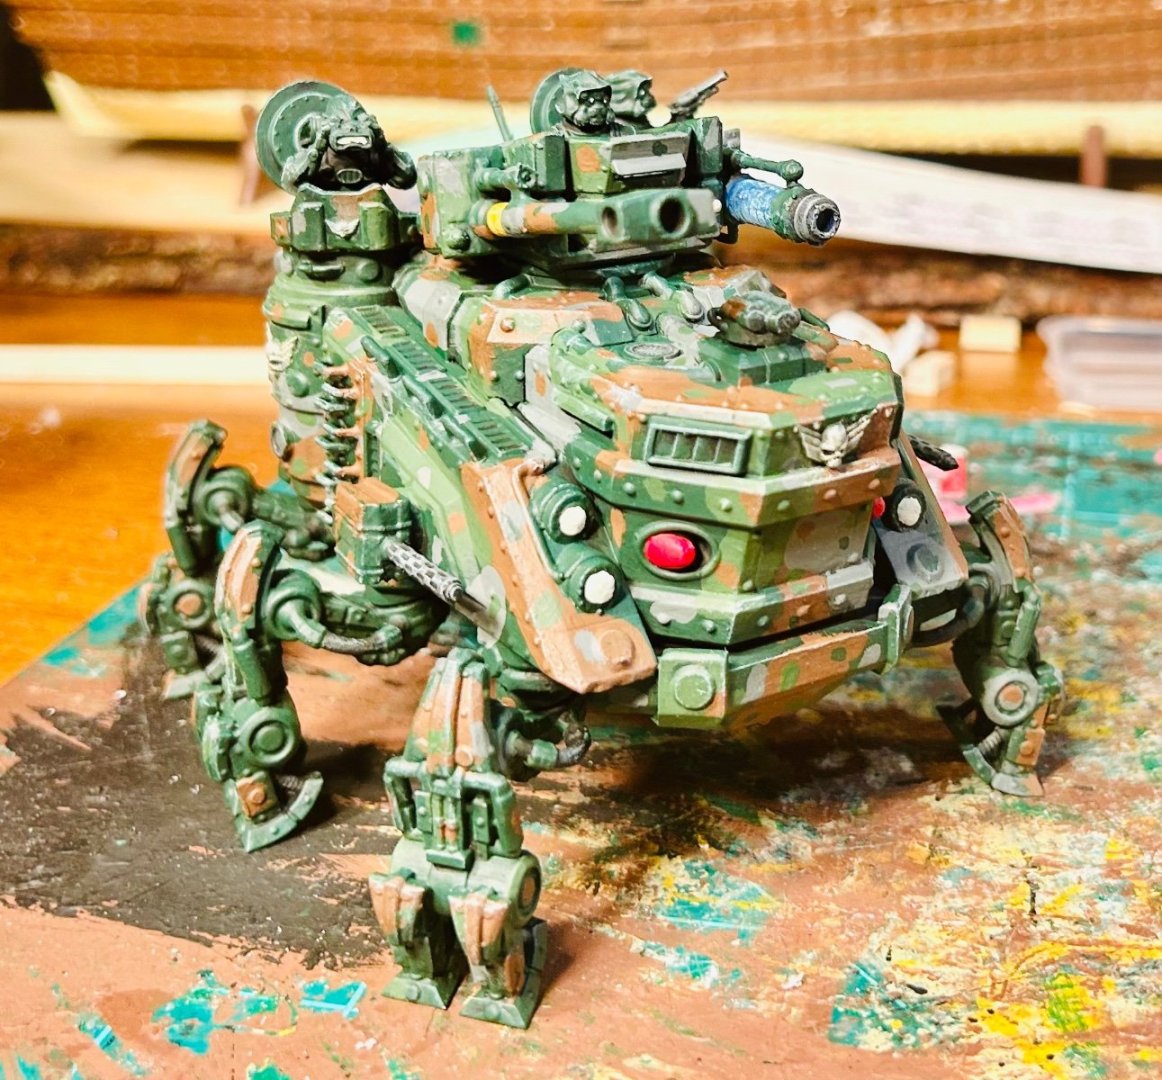
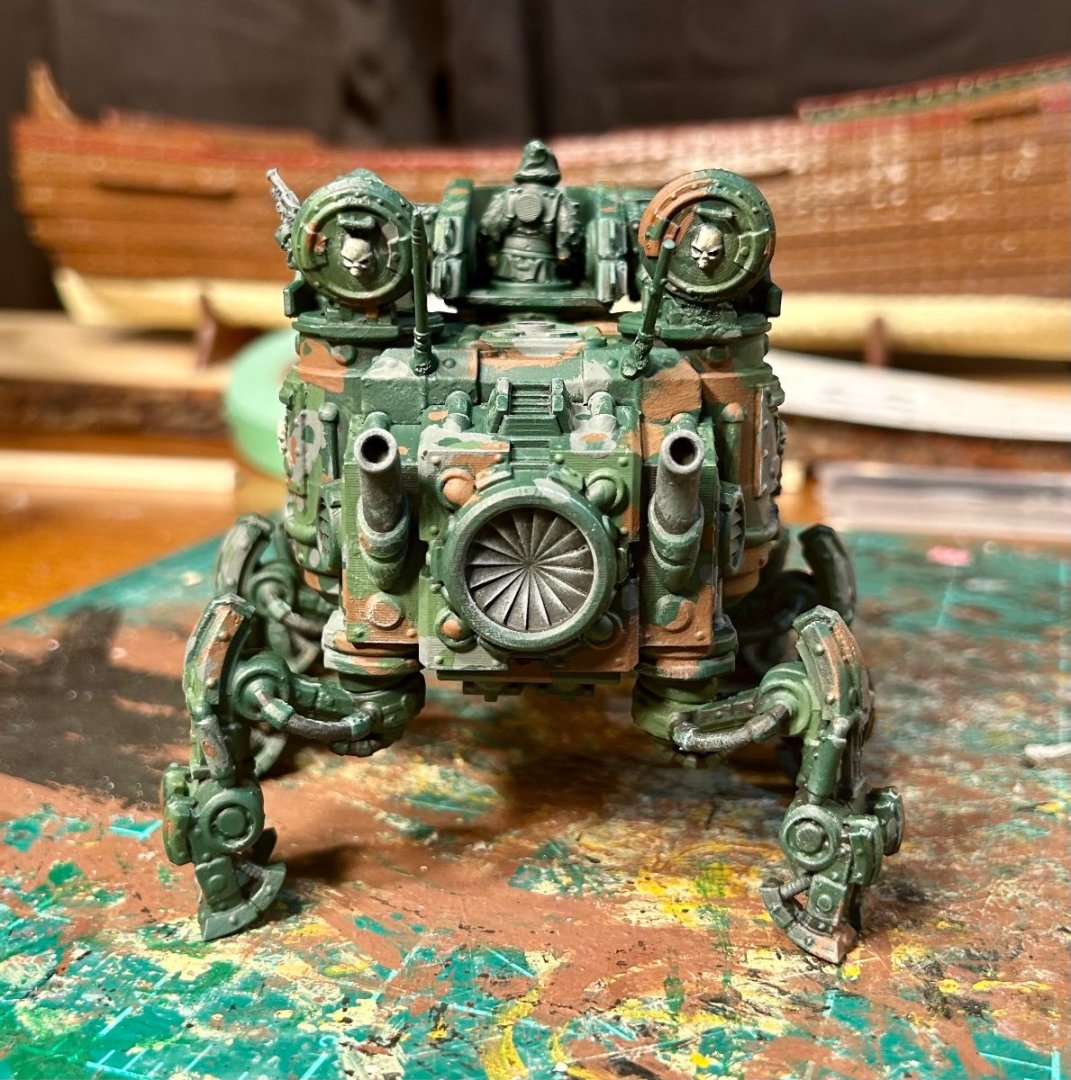
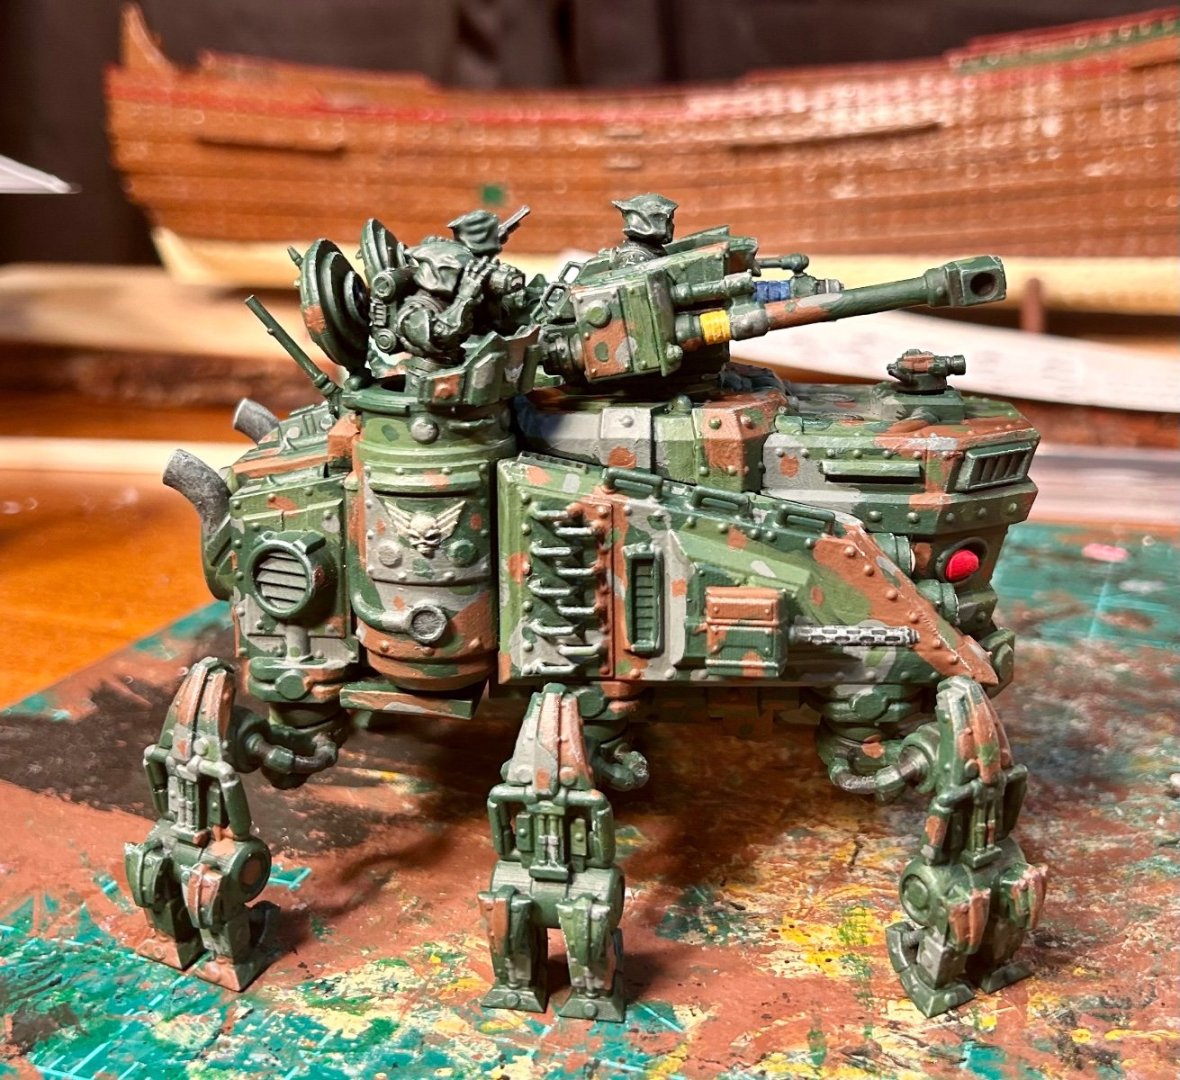
I’ve been on a wargaming/RPG miniature kick the last couple weeks. I needed to build something that is not a ship and that could be finished in a relatively short period of time, so I built something that is 40K-ish: I think I have about 15-20 hours in that. It should be noted that I am a little out of practice painting so this is not the best paint job that I have ever done, but it will do. It will be going in my curio cabinet now. I might paint another few miniatures after I finish Esther. Time to get back to our regularly scheduled program! This doesn’t look like much yet, but there is a windlass there:


-
Bamboo shaves down really well and holds reasonable strength.