GrandpaPhil
-
Posts
6,161 -
Joined
-
Last visited
Content Type
Profiles
Forums
Gallery
Events
Everything posted by GrandpaPhil
-
I use normal cereal or snack cake boxes for most of them. I used a thin corrugated cardboard box for the framing of my Solferino.
-
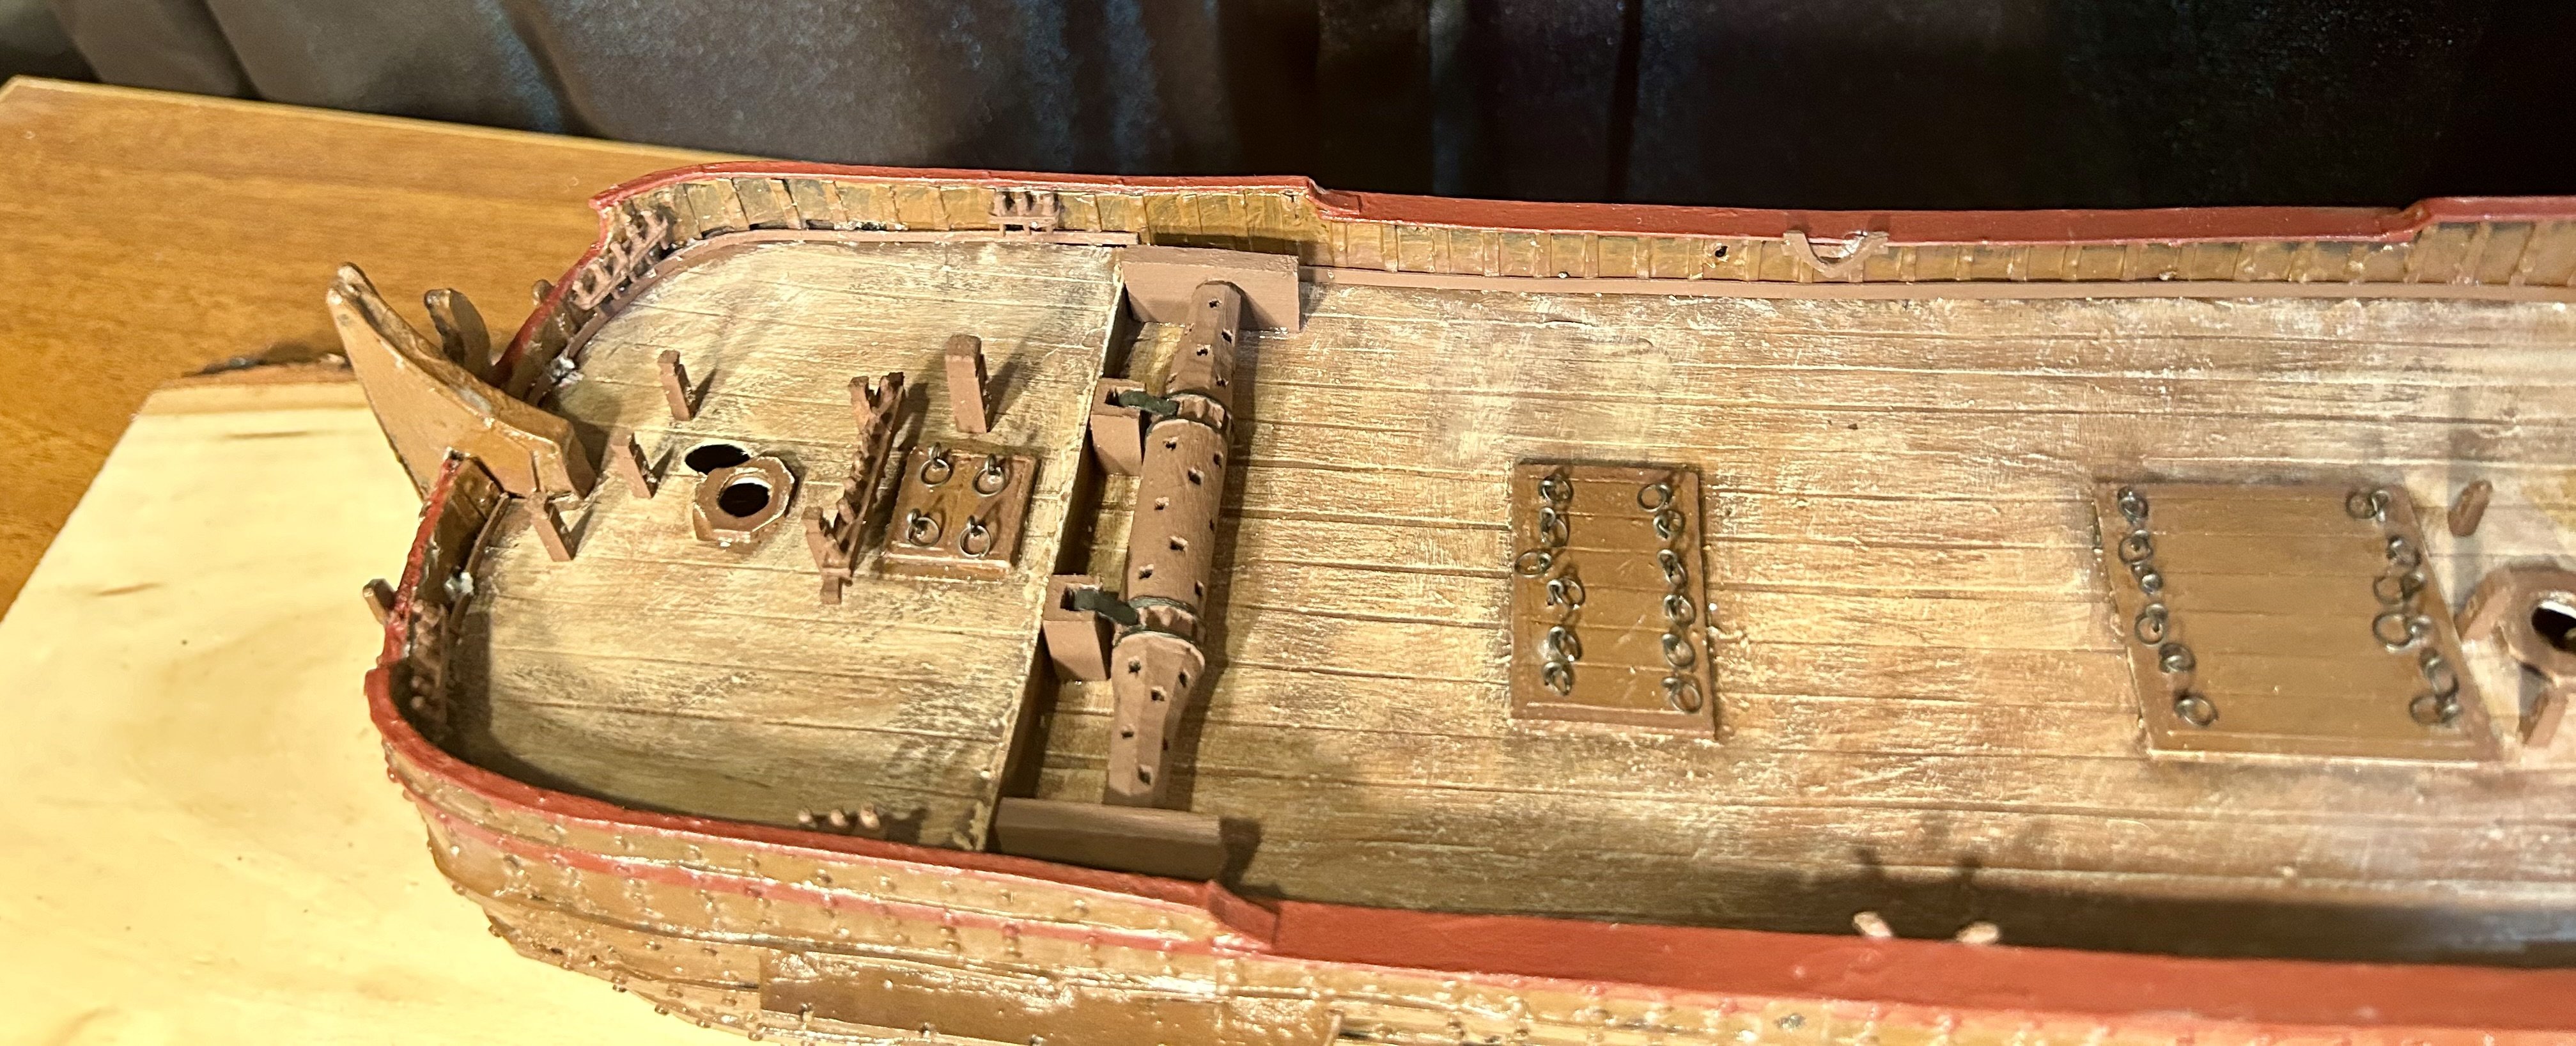
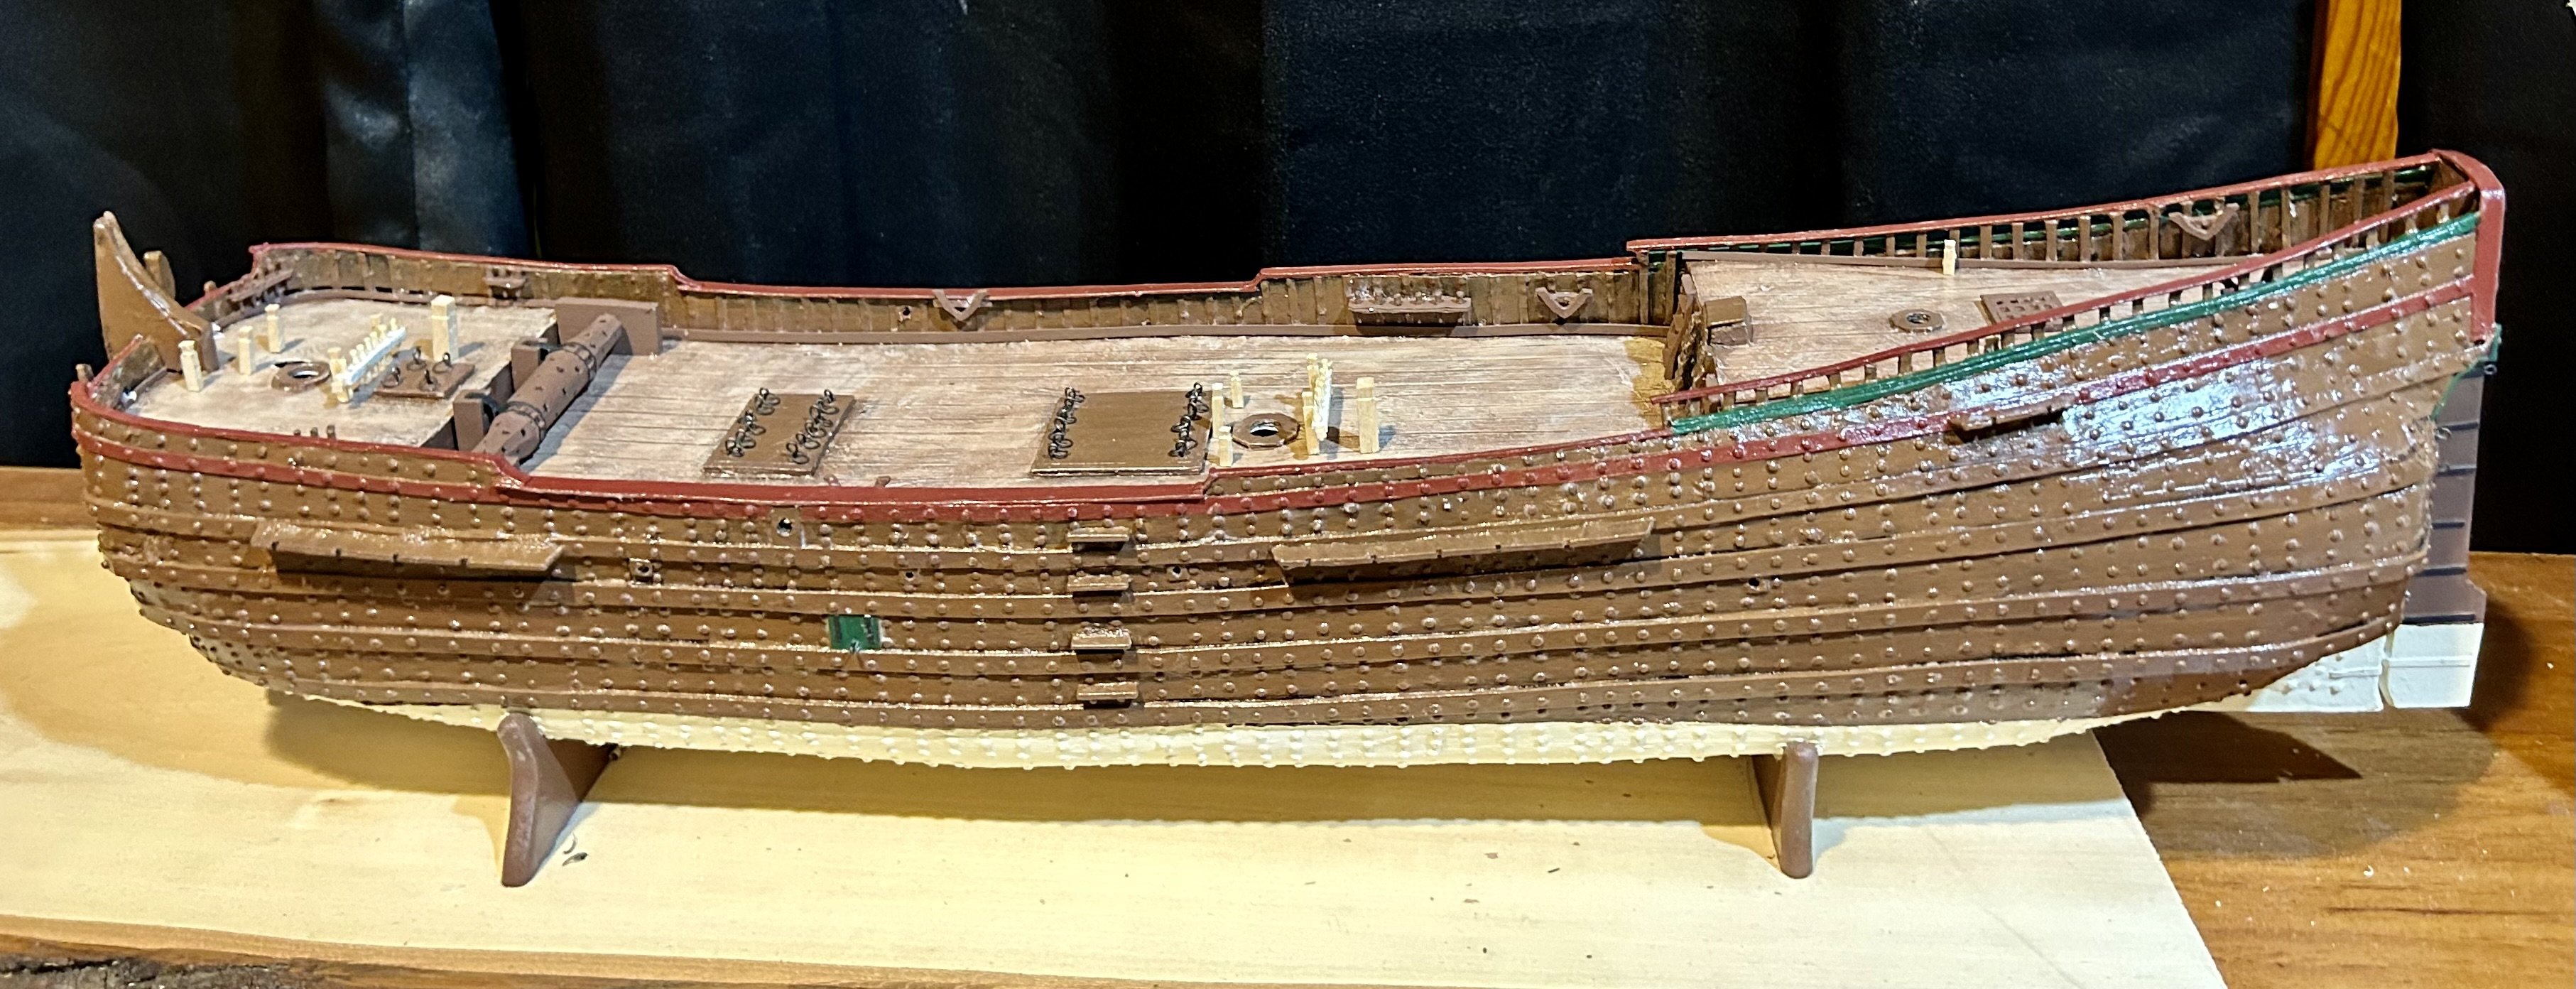
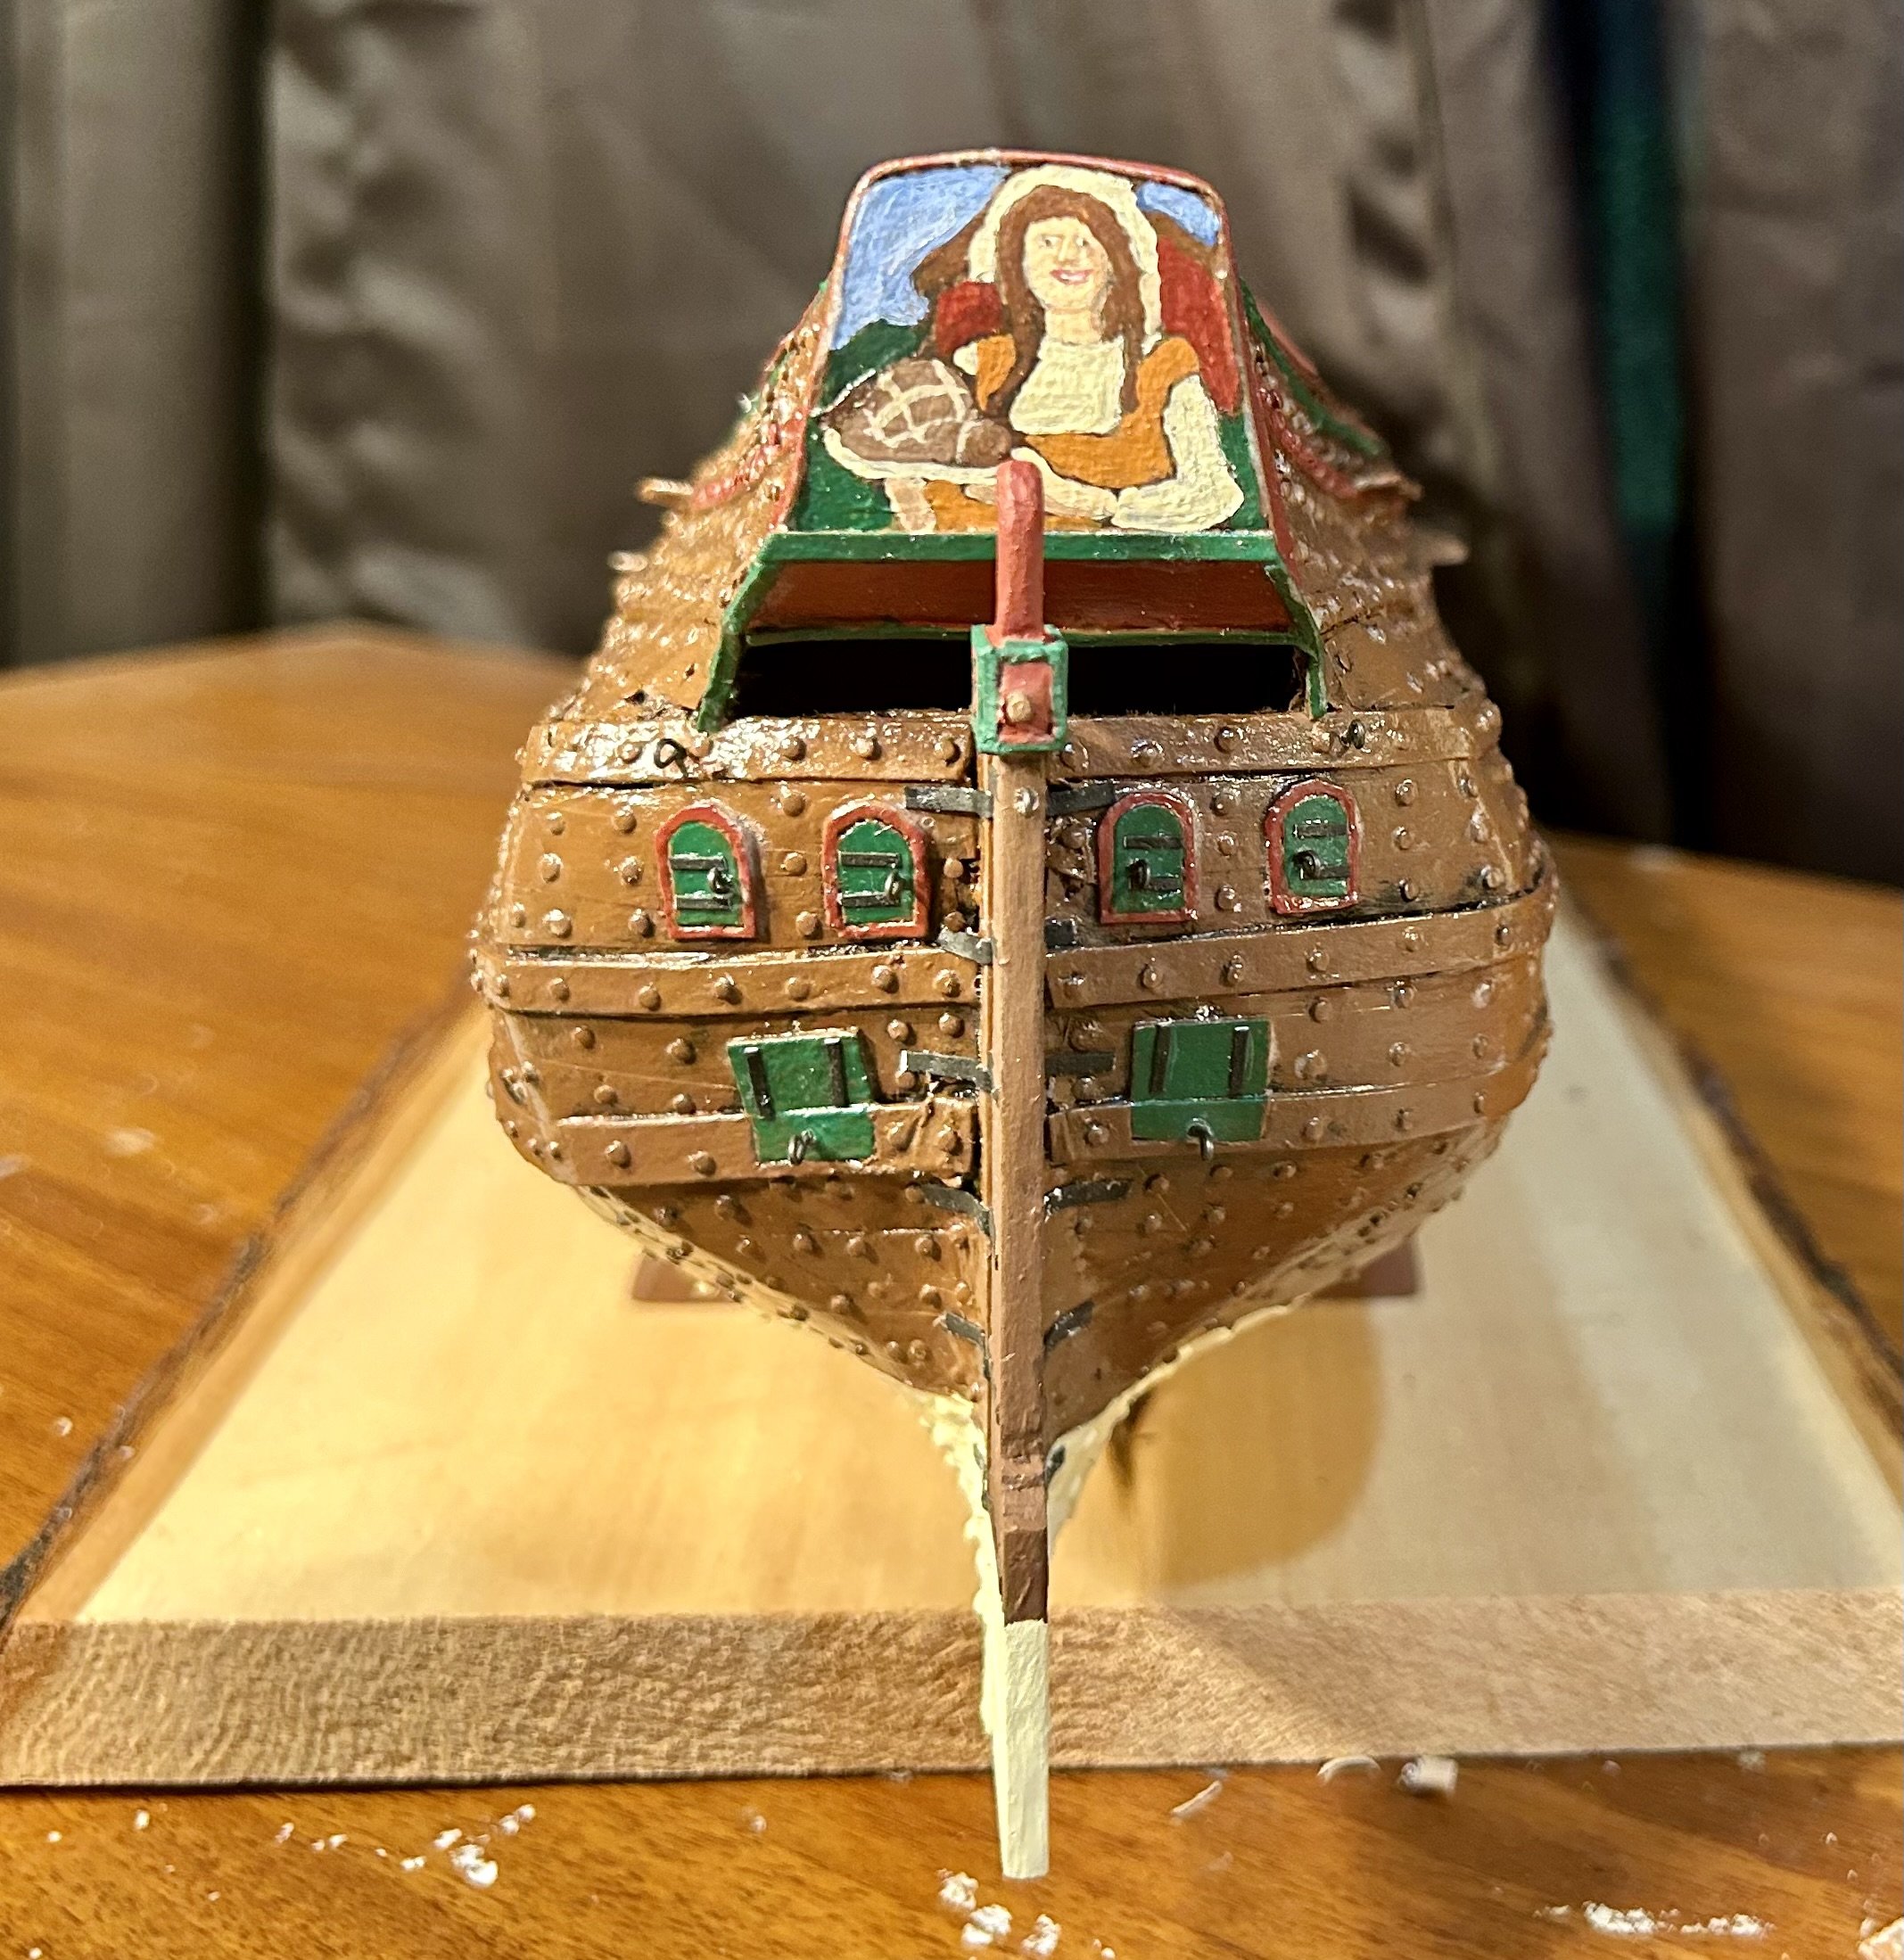
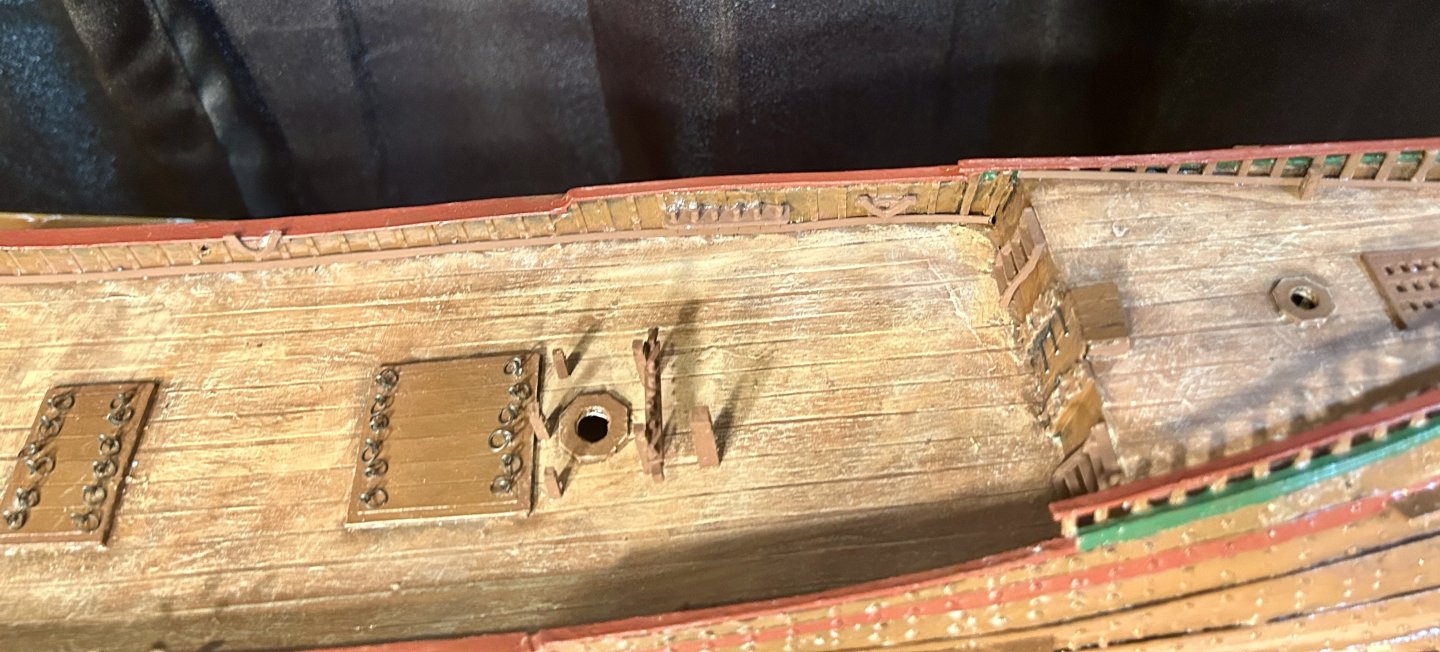
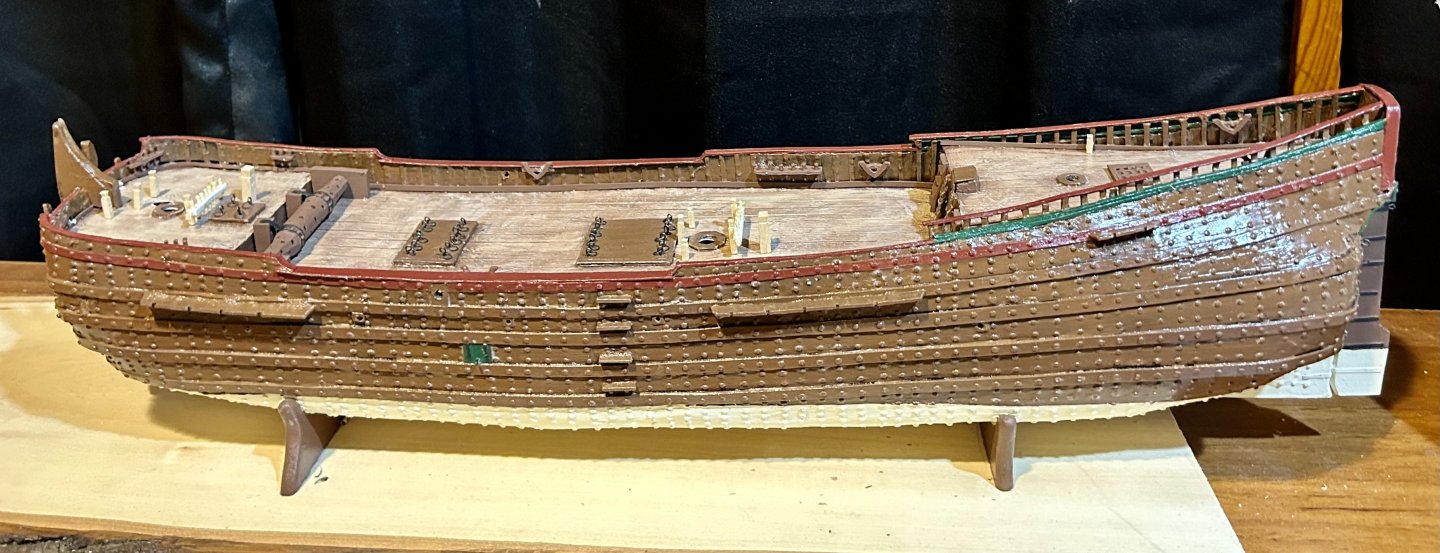
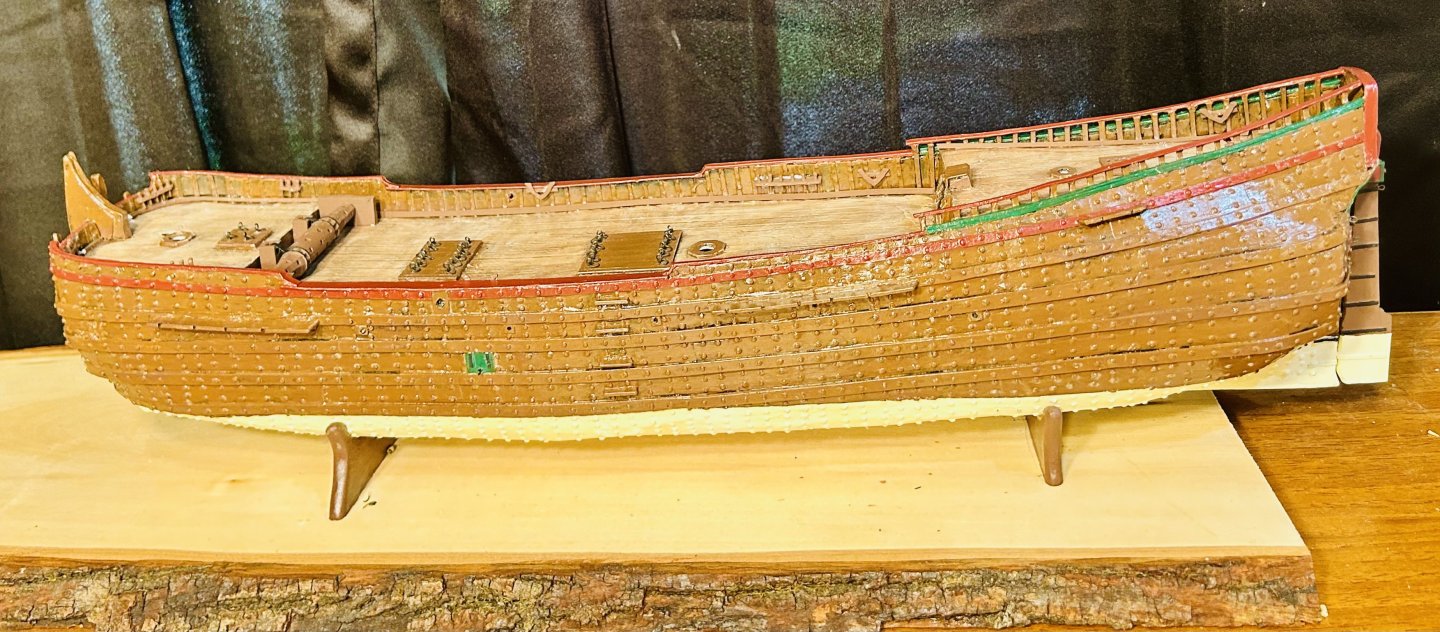
All primary fittings inside the bulwarks are complete and installed. I have two pieces to make for the hull, sheaves that one set of rigging lines run through. Then I need to complete all touch ups, seal the model and apply all weathering coats to make this ship look well used, but well cared for. I want this ship to look like some guy’s livelihood that he used to take care of his family. That is my goal. This looks like the 17th Century equivalent of an owner-operator’s Mack Truck to me and that’s the look I am going for. As soon as I figure out how I am going to rig this model, I will complete all of the rest of the eyebolts and other secondary fittings required to belay everything. The masts, sails and standing rigging are easy. It is tracing out all the running rigging and where to belay everything to that is difficult for me. More the belaying part than anything else.

-
They are like the old potato chip ad for me. You can’t just buy one. I have quite a few in my stash now and will probably buy more in the near future.
-
If you like transition era vessels, I strongly recommend Orel’s kits. They have a very nice line of late 19th century ships.
-
Can I use the belaying plan for a fluyt on a cat and stay approximately within historical bounds? The rigging appears similar. I figured it out. I was thinking too hard about it. This is a new model subject area for me. I did some more research. Everywhere lines go on the main rigging plan, I can find something to belay to.
-
- 3
-

-
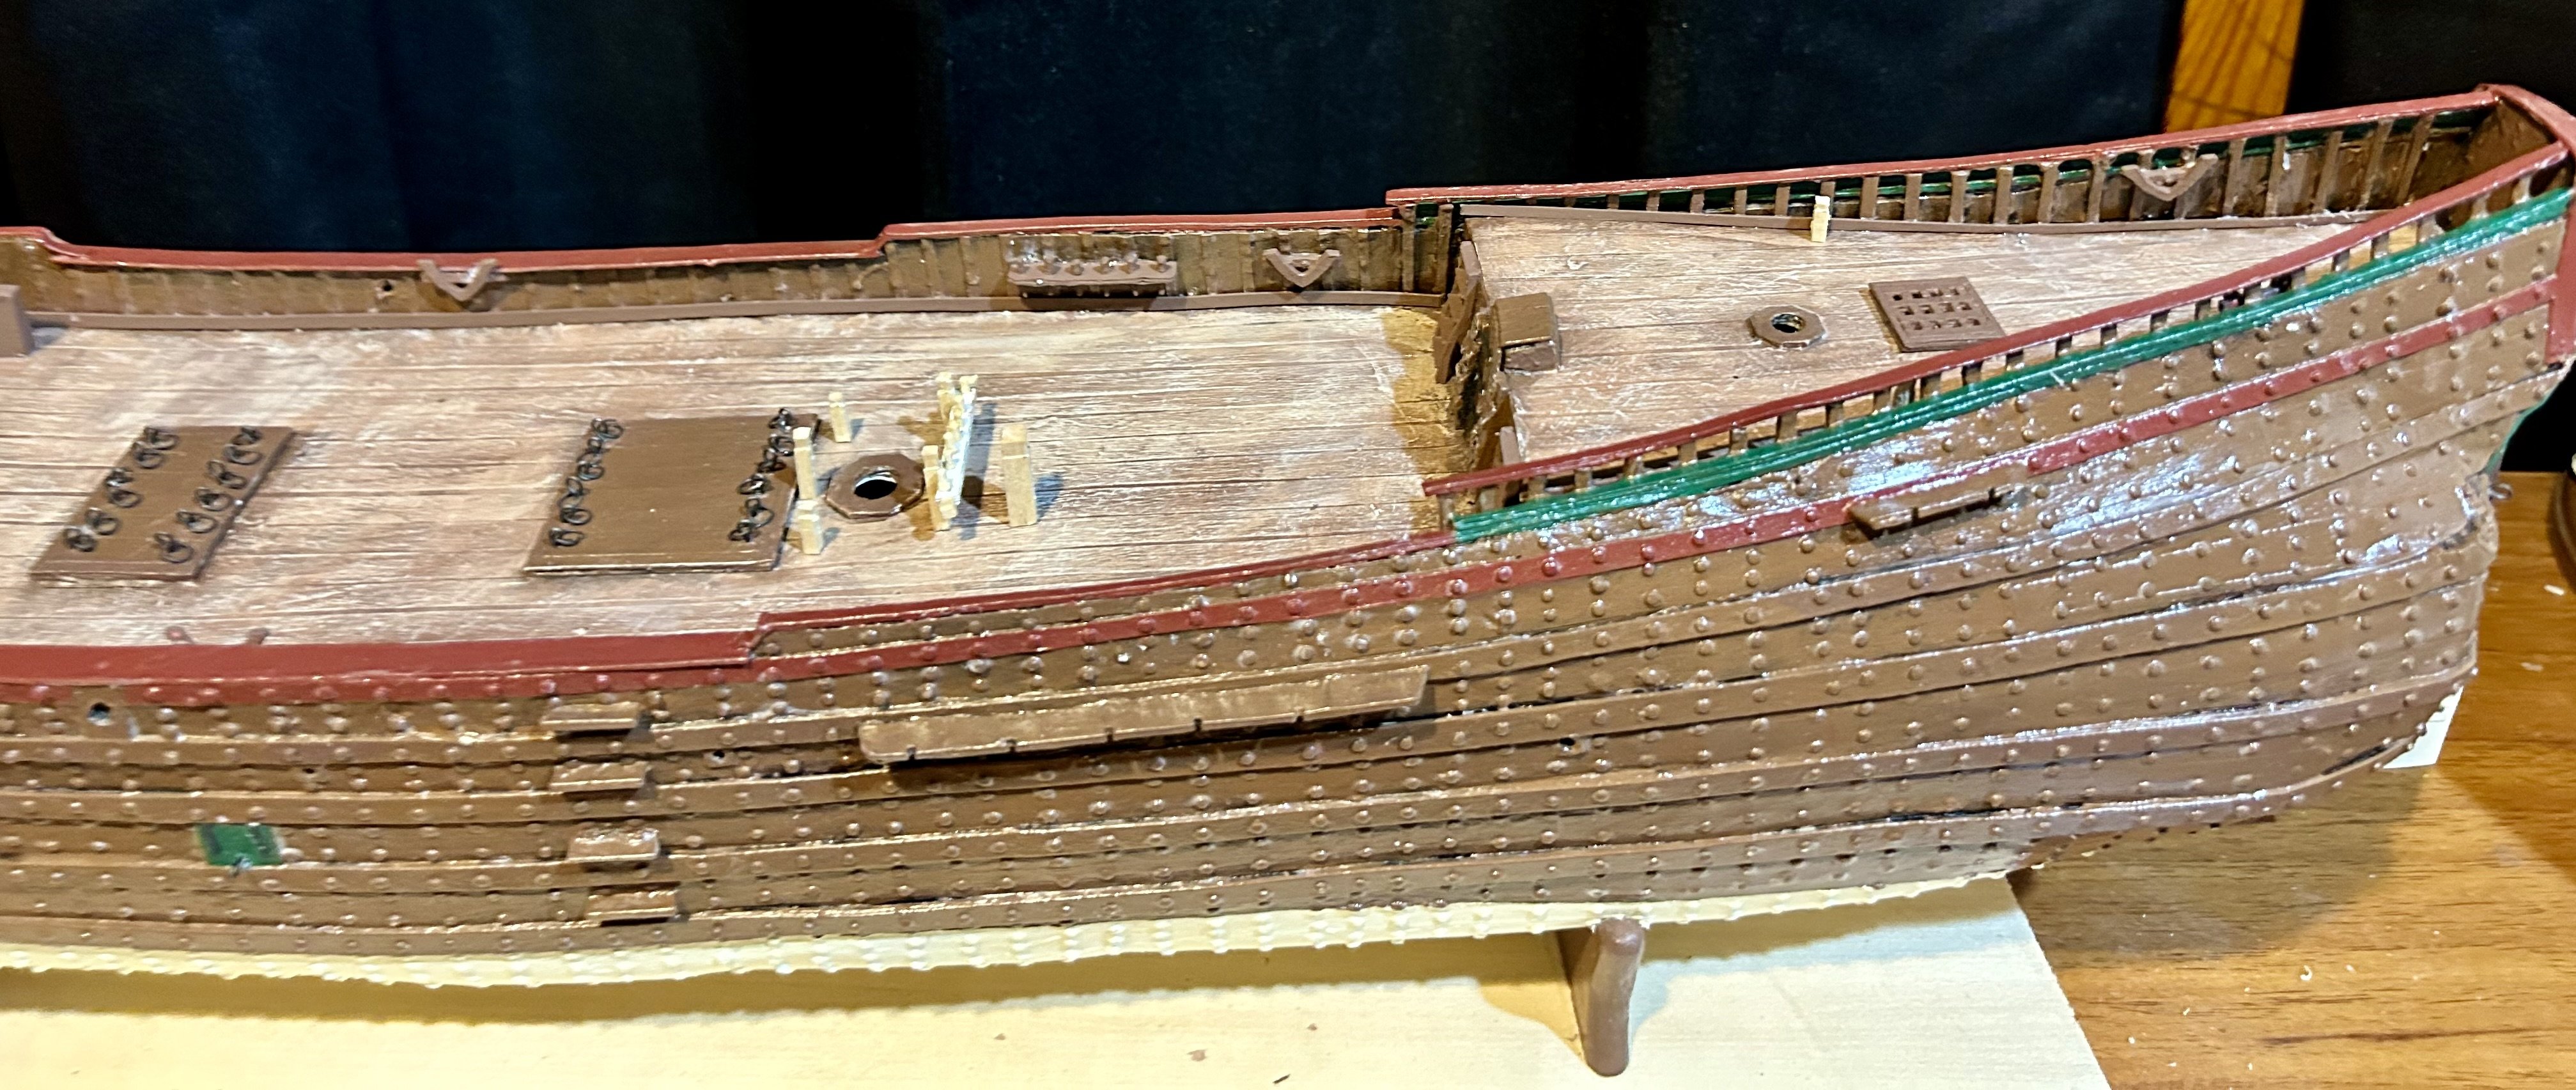
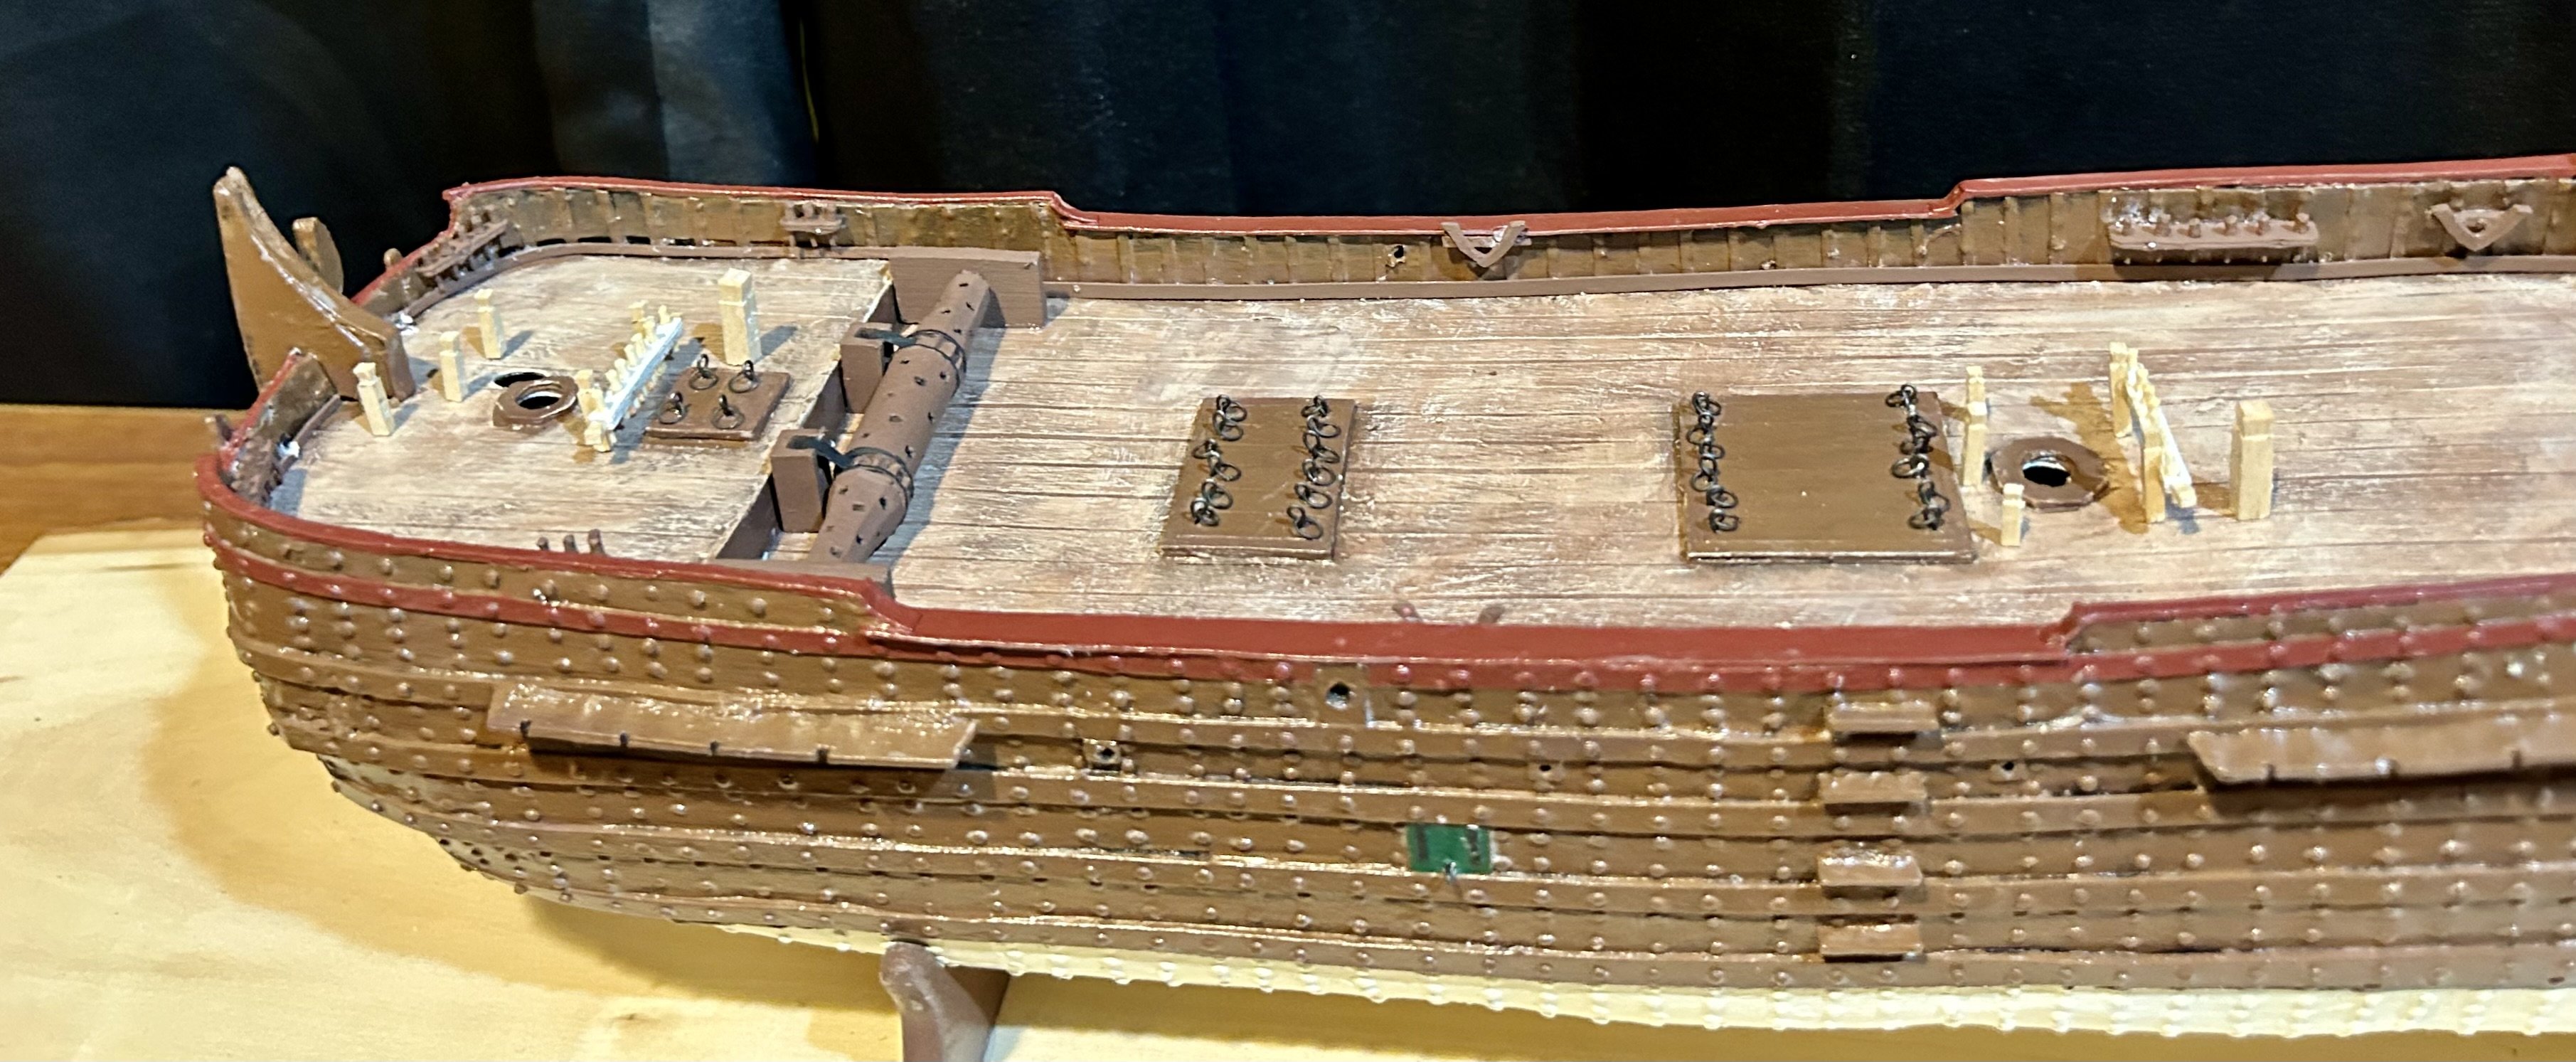
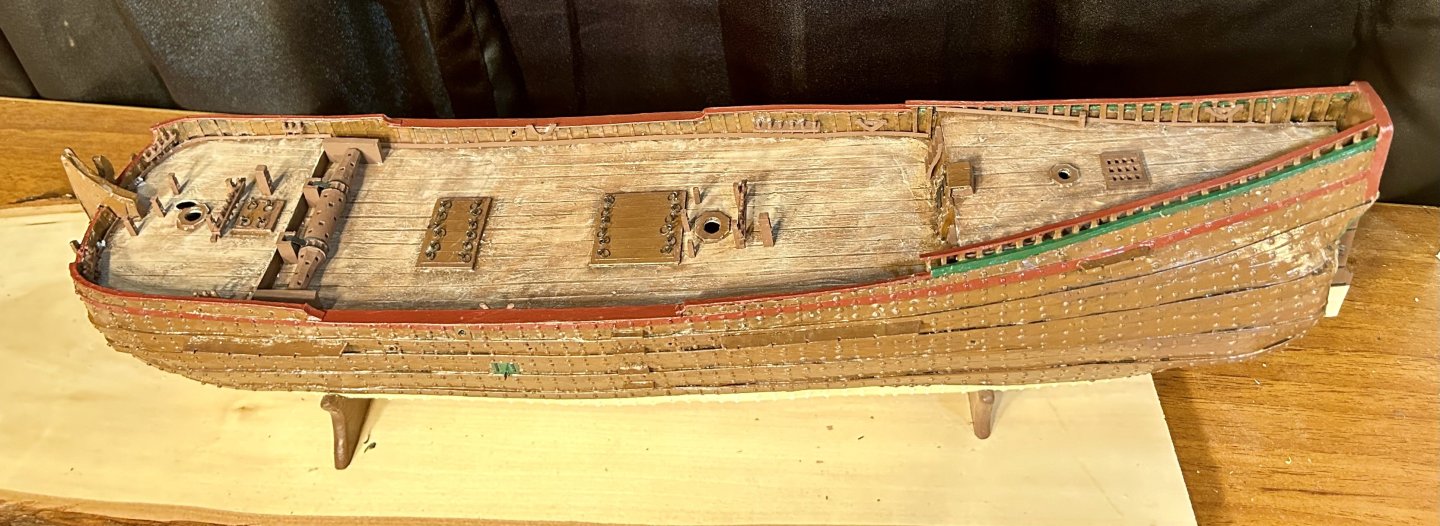
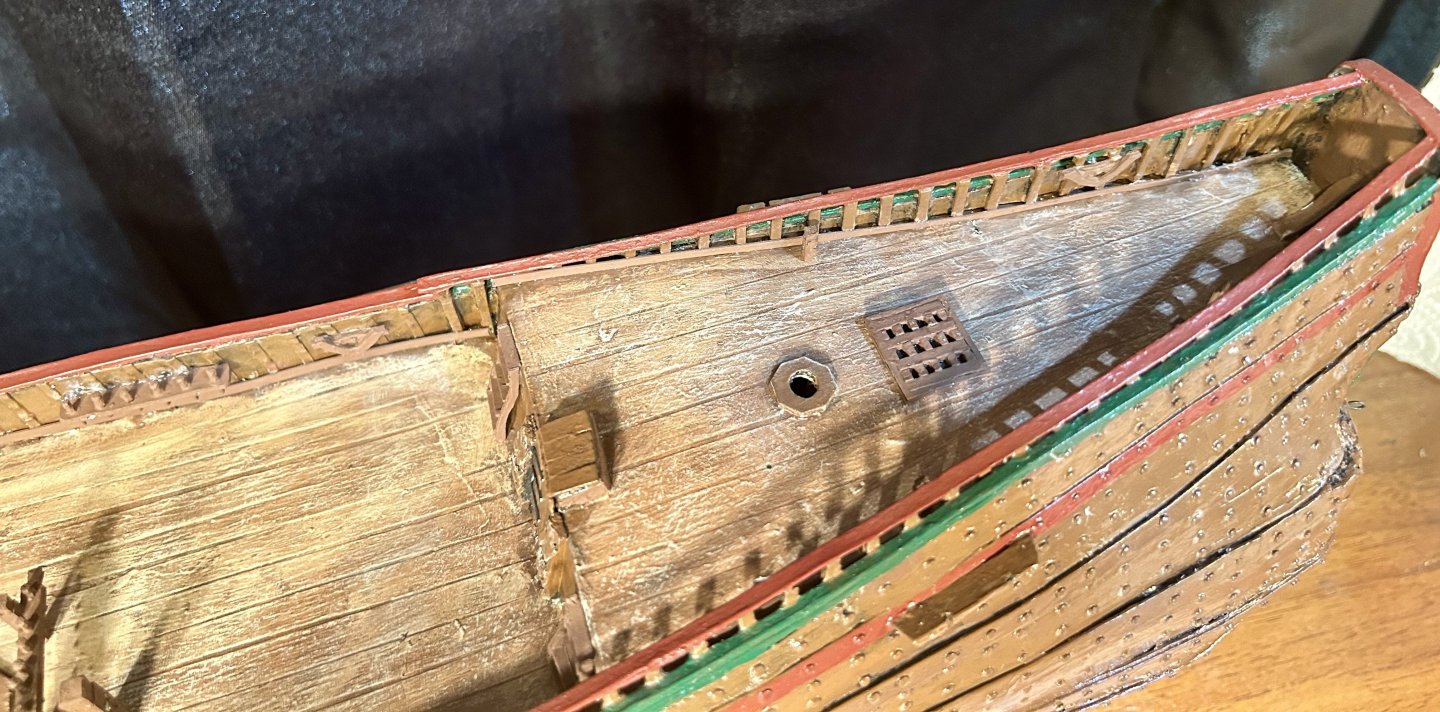
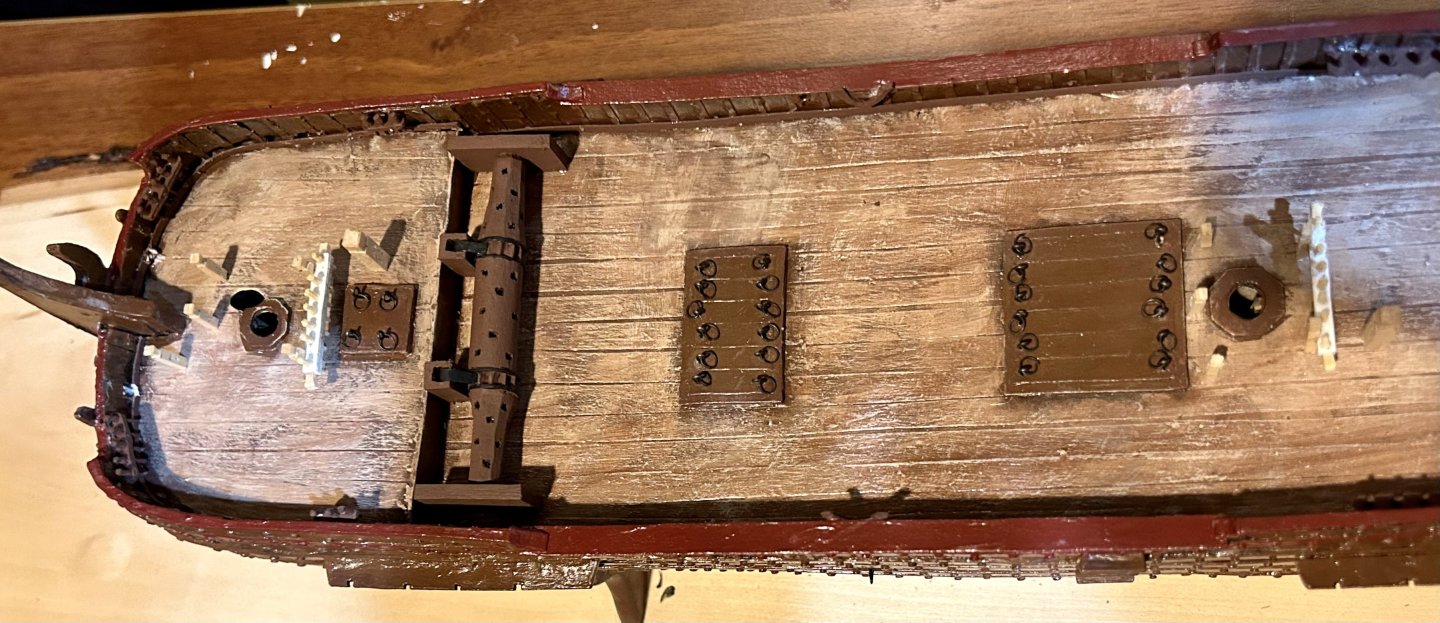
All deck fittings are now made! The bitts all have steel pins in them and are sitting in their holes right now They are not glued. They will get painted in the near future and permanently installed. Next I have a couple minor hull fittings, then I can touch up all paint and reseal/weather the entire model. After that I can get all hull rigging done, to include anchors, chainplates and deadeyes. Then there will be one last round of weathering/painting of the hull. After that it will be time to permanently install the model on its base.


-
I agree with @mtaylor. I am on my third or fourth copy of Zu Mondfeld’s book. It sits on my model table and is my quick go to (and my original starting point nearly 30 years ago if I must be honest). Of my entire library, it gets used the most.
-
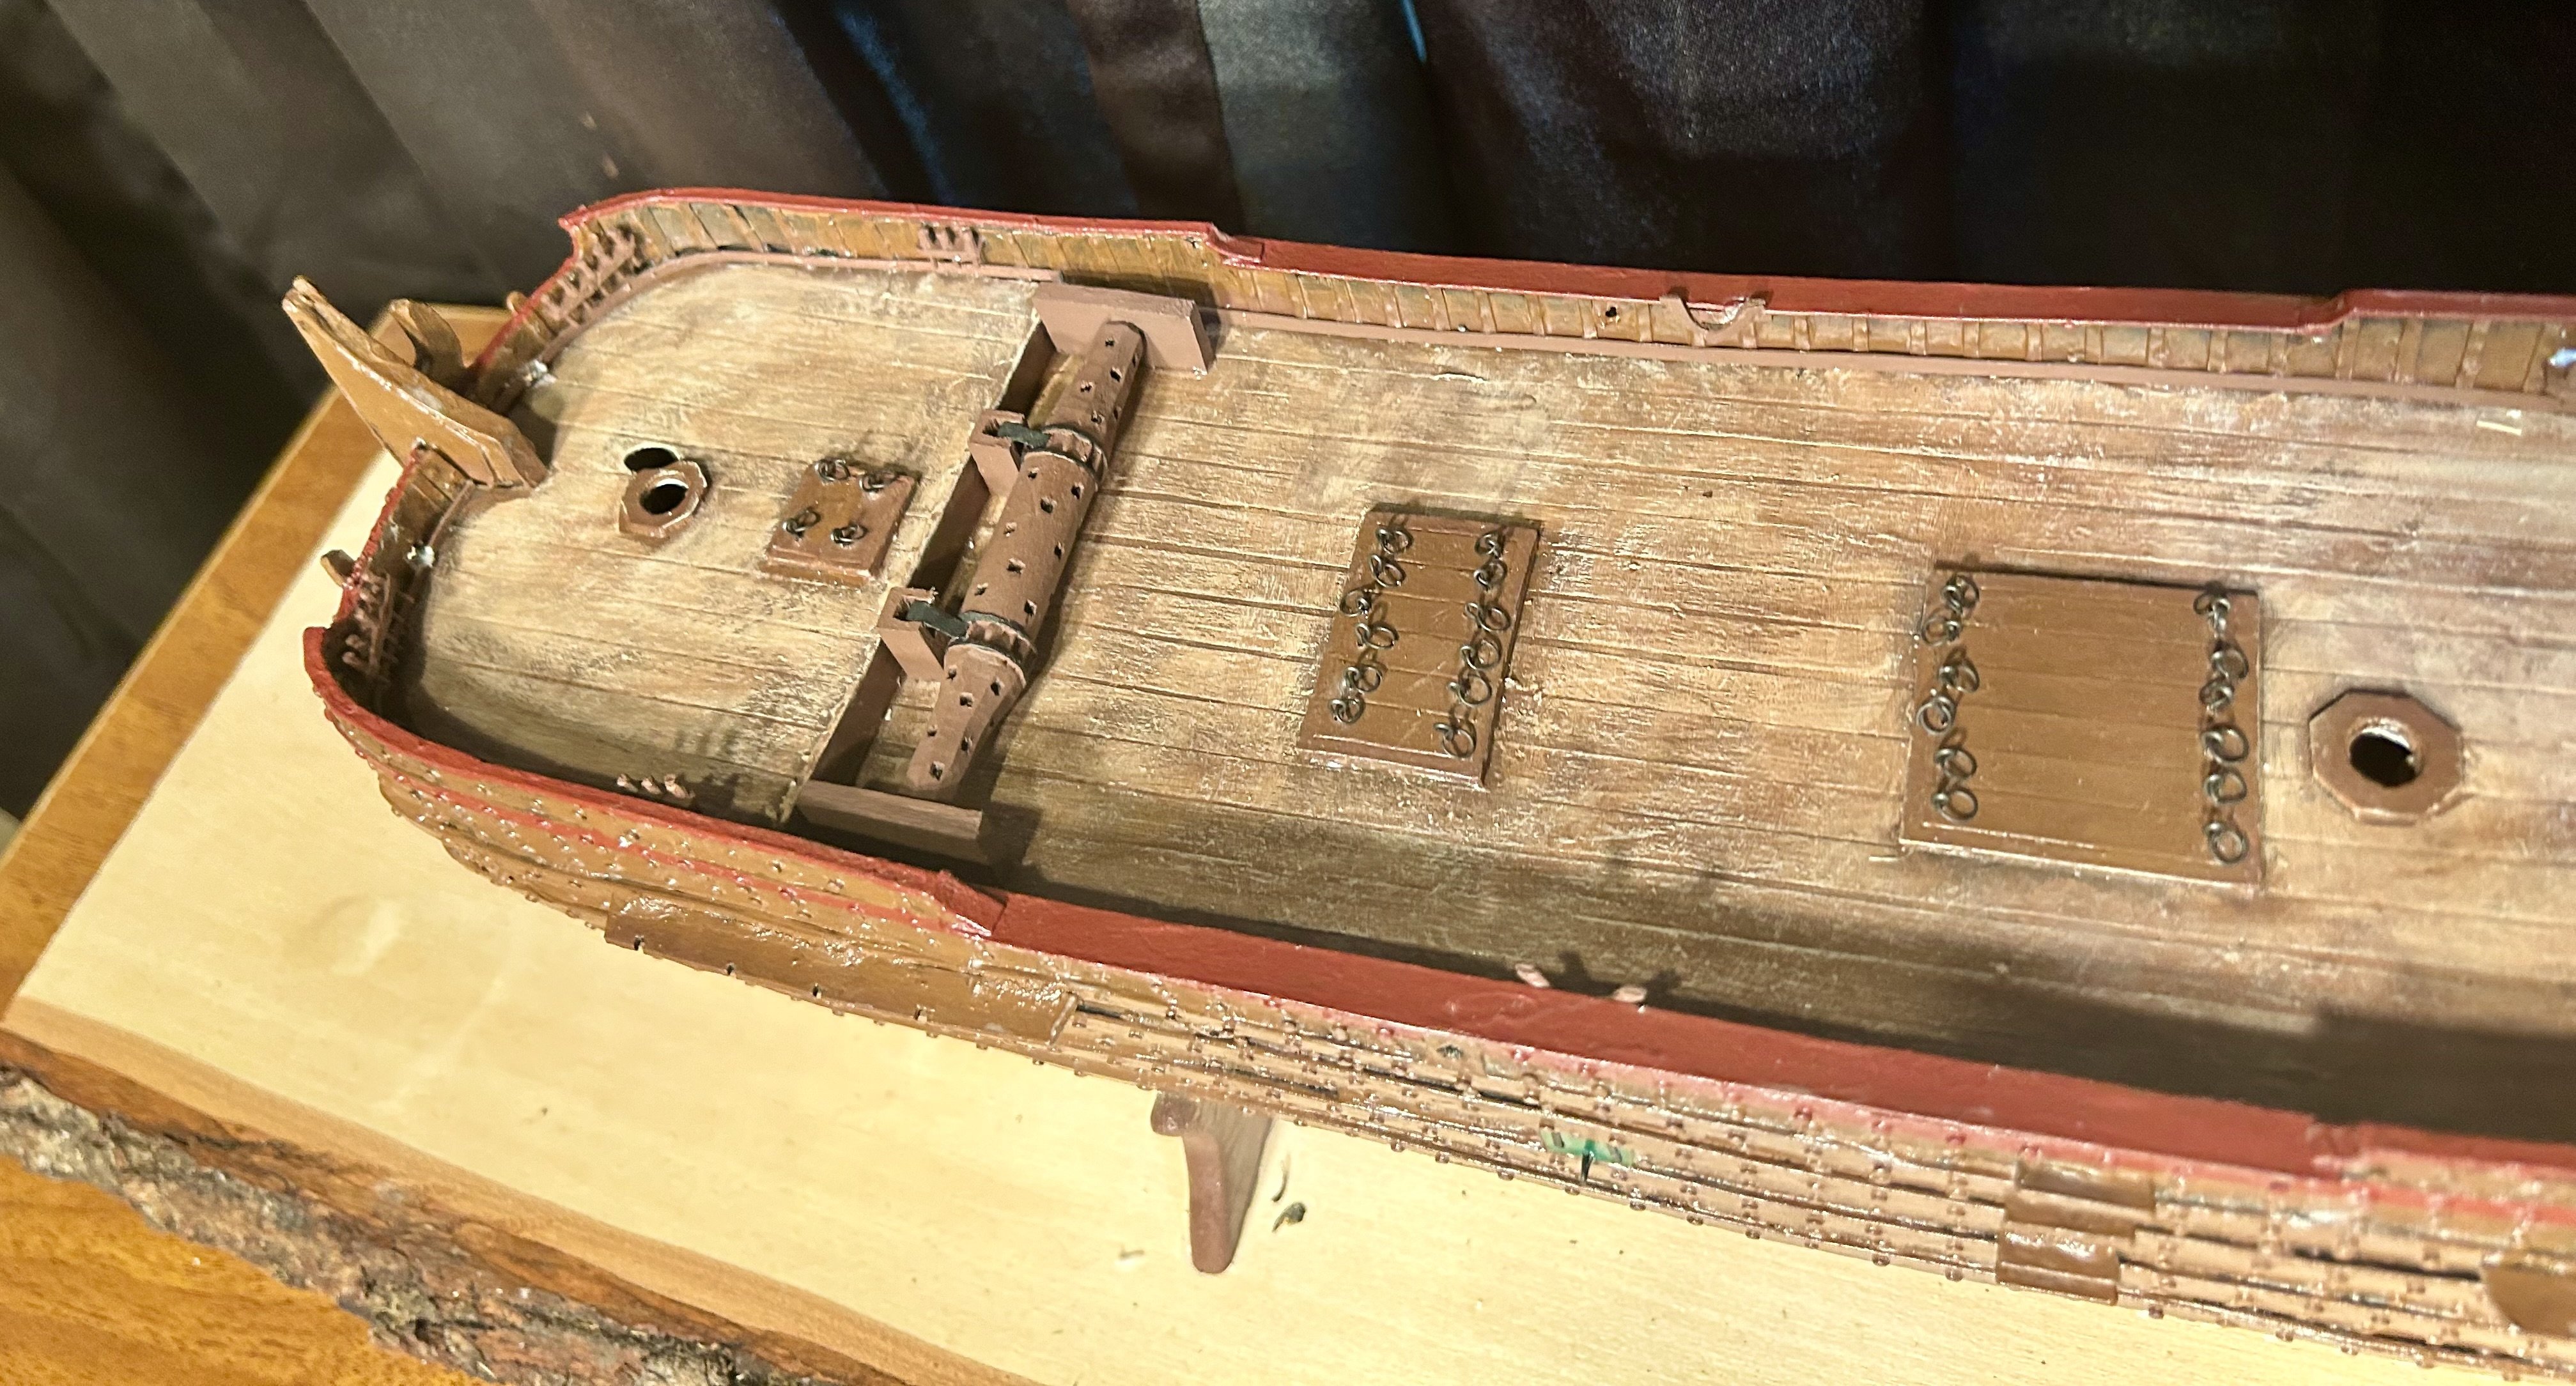
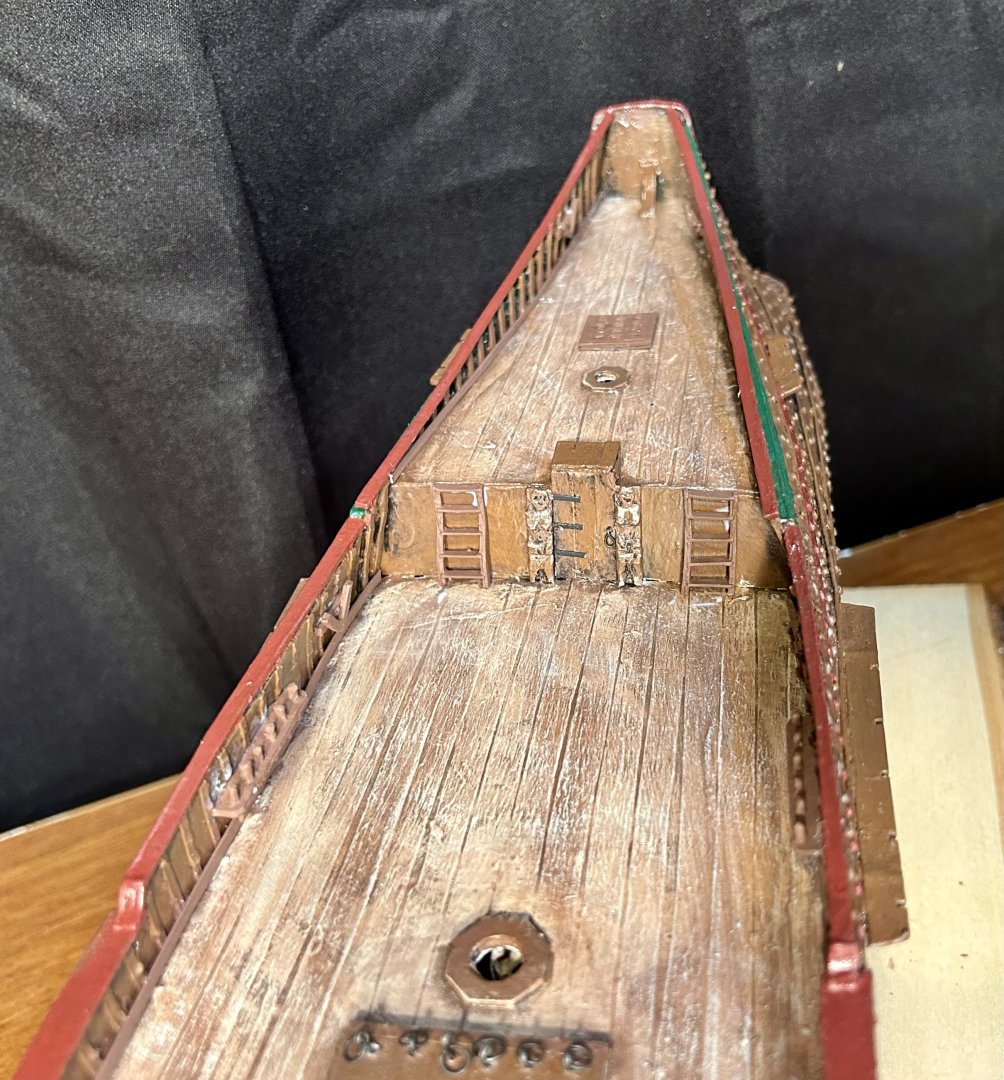
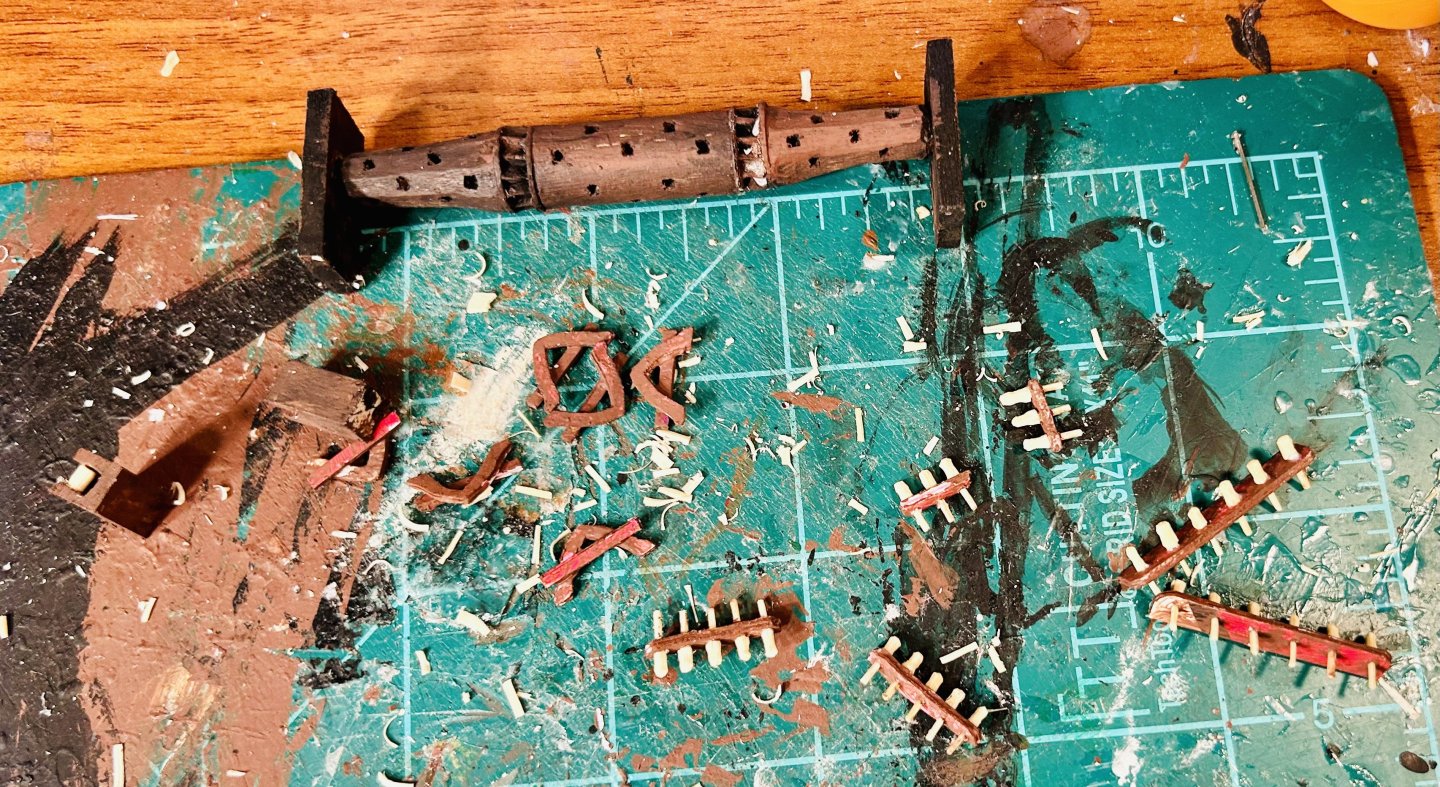
Ladders are installed: Fife rails are laminated up and drying: Next up will be all the bitts!
-
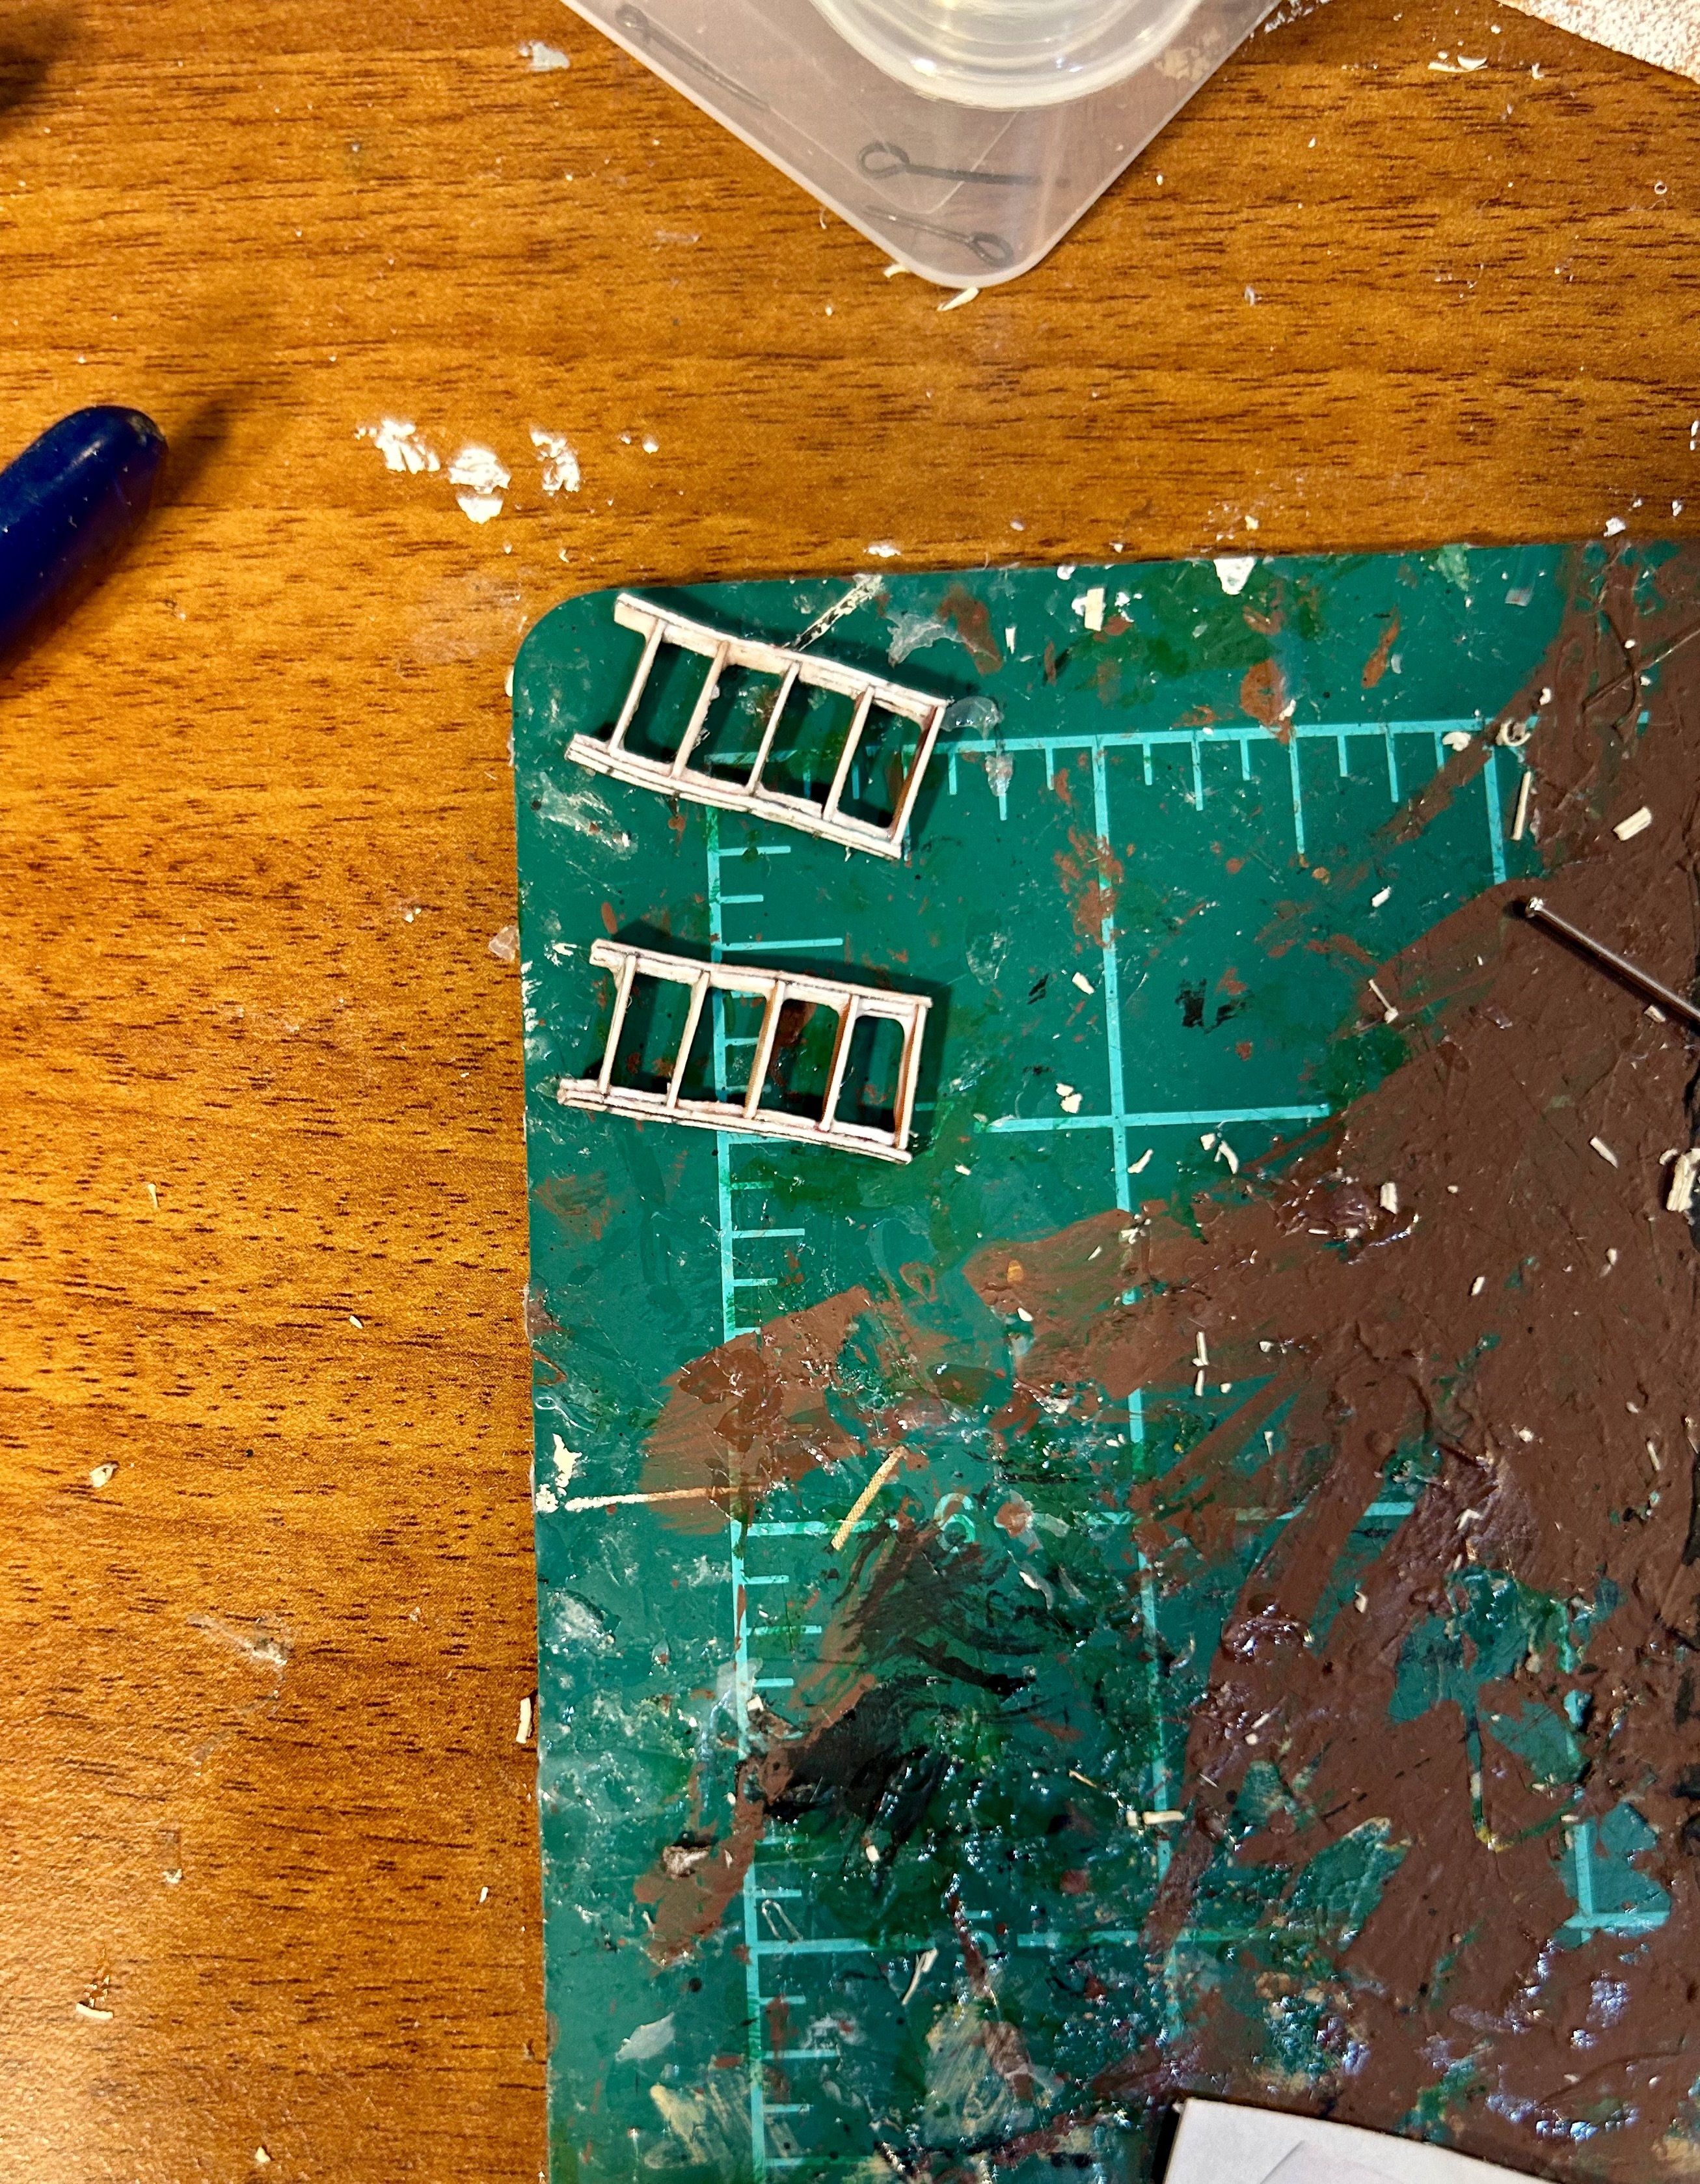
The ladders are made: Ladders are that one fitting type that gives me fits. They are the most difficult piece to make for me. I utilized the mimicry of Amati’s method for their kits that I learned about while building Revenge. I simulate having grooves cut in the side with card and slot the rungs in place. Those were the last difficult fittings that I needed to make. The sealant is currently drying on them. In the meantime I am working on the fife rails for the mast bitts. They will be 4 layers thick. Bitts are relatively easy to make. Once those are in place, I can touchup and seal the entire model. Then I will make anchors and add hull rigging. After that it is chainplates and deadeyes. I really want to make everything for this model like I did the Prince de Neufchatel, which is still my favorite build, but this one and Revenge are tied for a close second. All three of those models were me playing around and seeing what I am capable of. So, I will use dowel rods to make the deadeyes and wood strip to make the blocks.

-
replacing plastic mast and spars
GrandpaPhil replied to Frank Burroughs's topic in Plastic model kits
I like to use bamboo kitchen skewers and bamboo toothpicks for small masts and spars. -
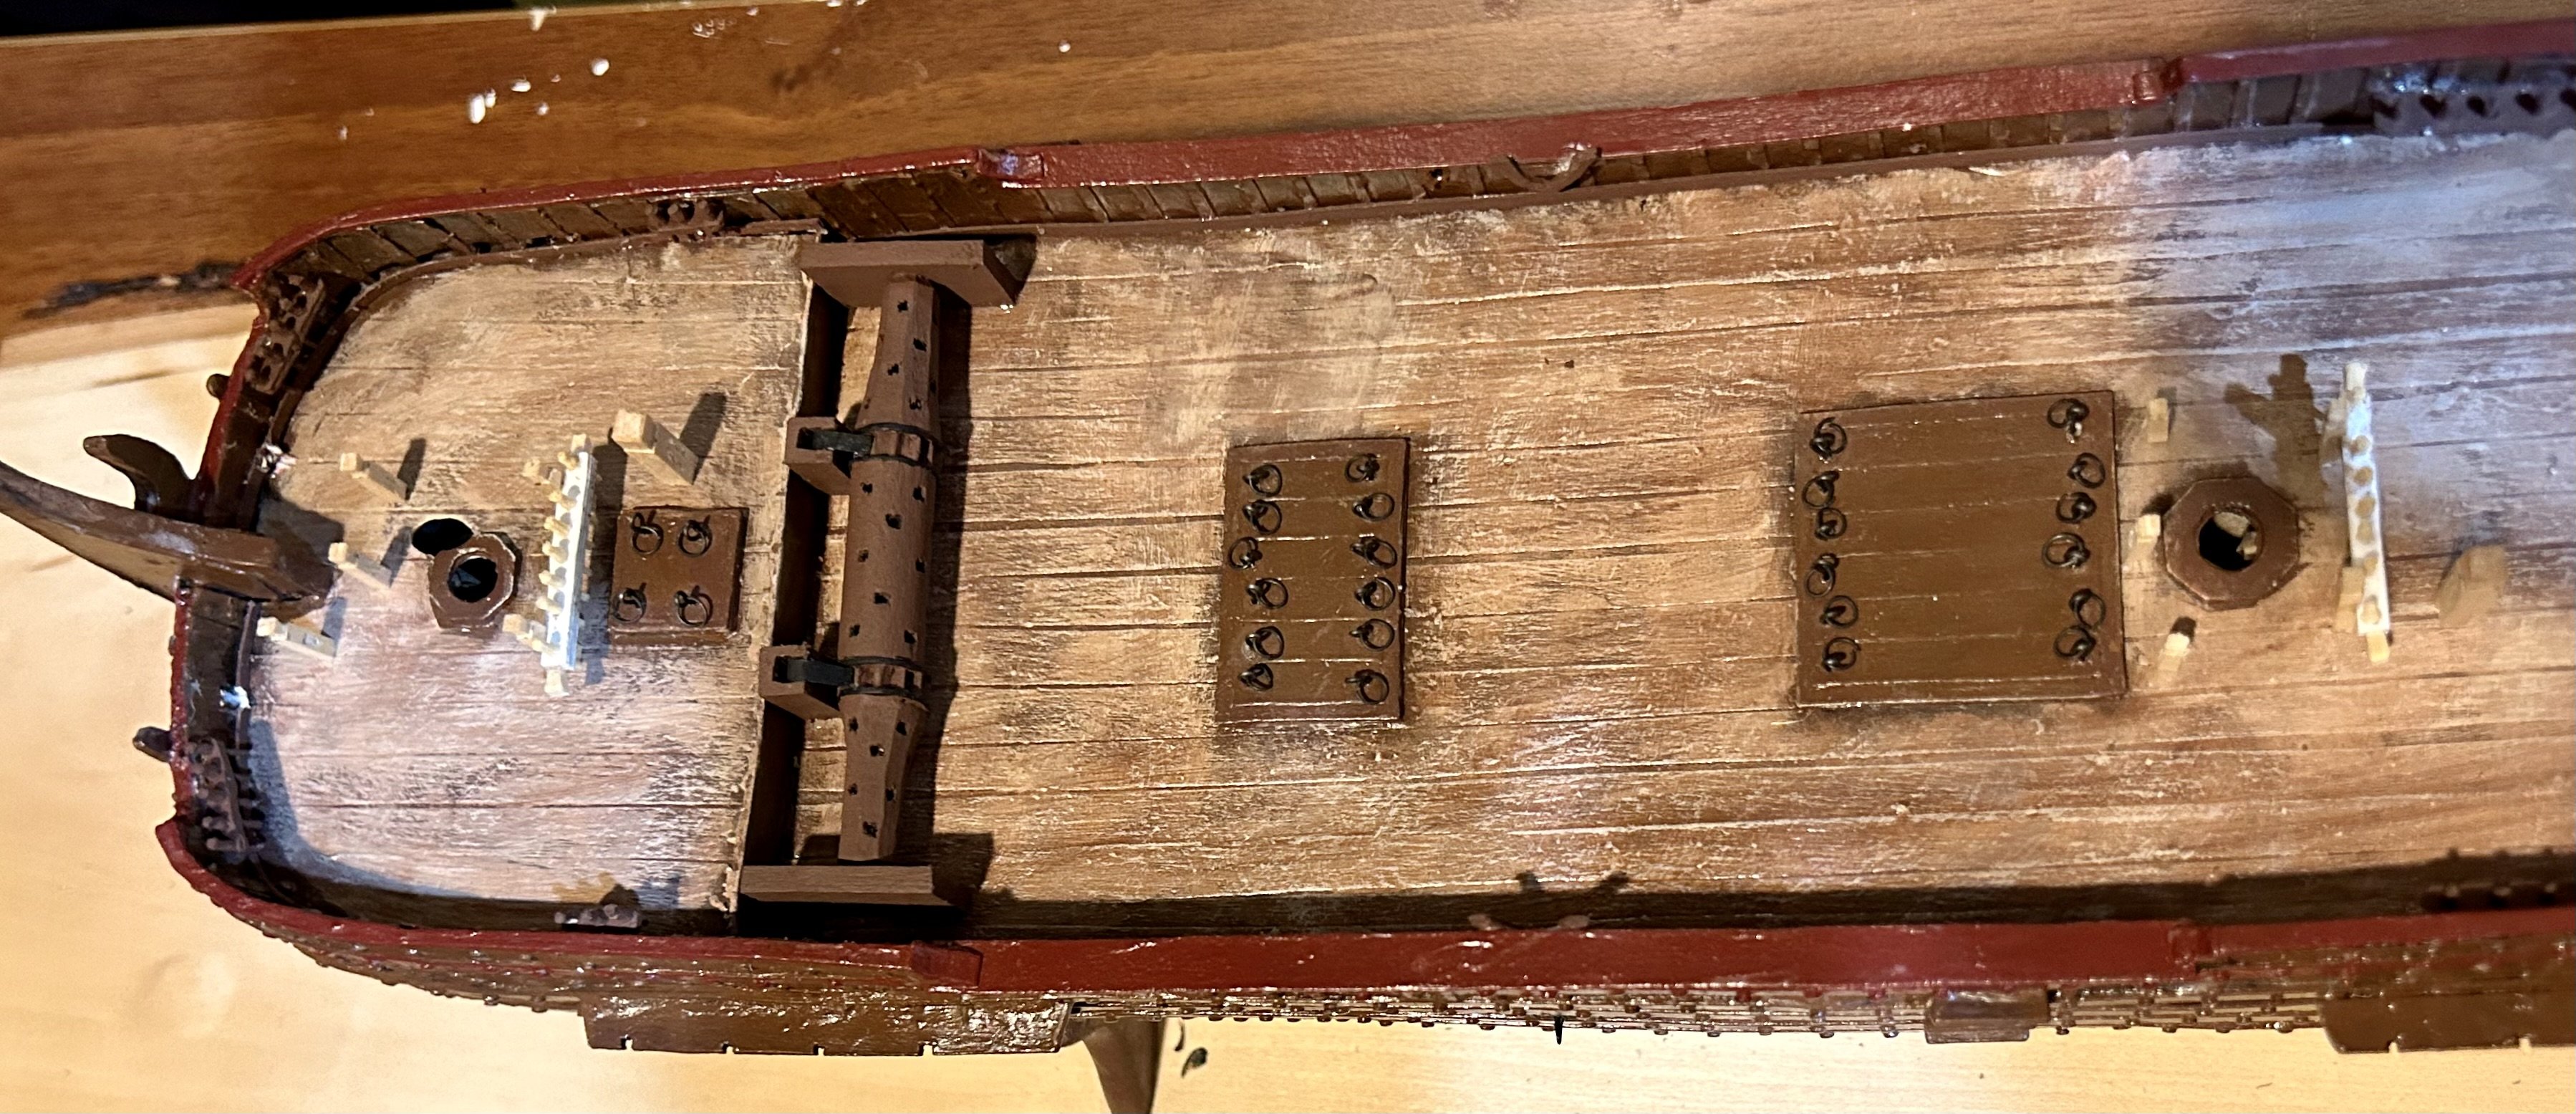
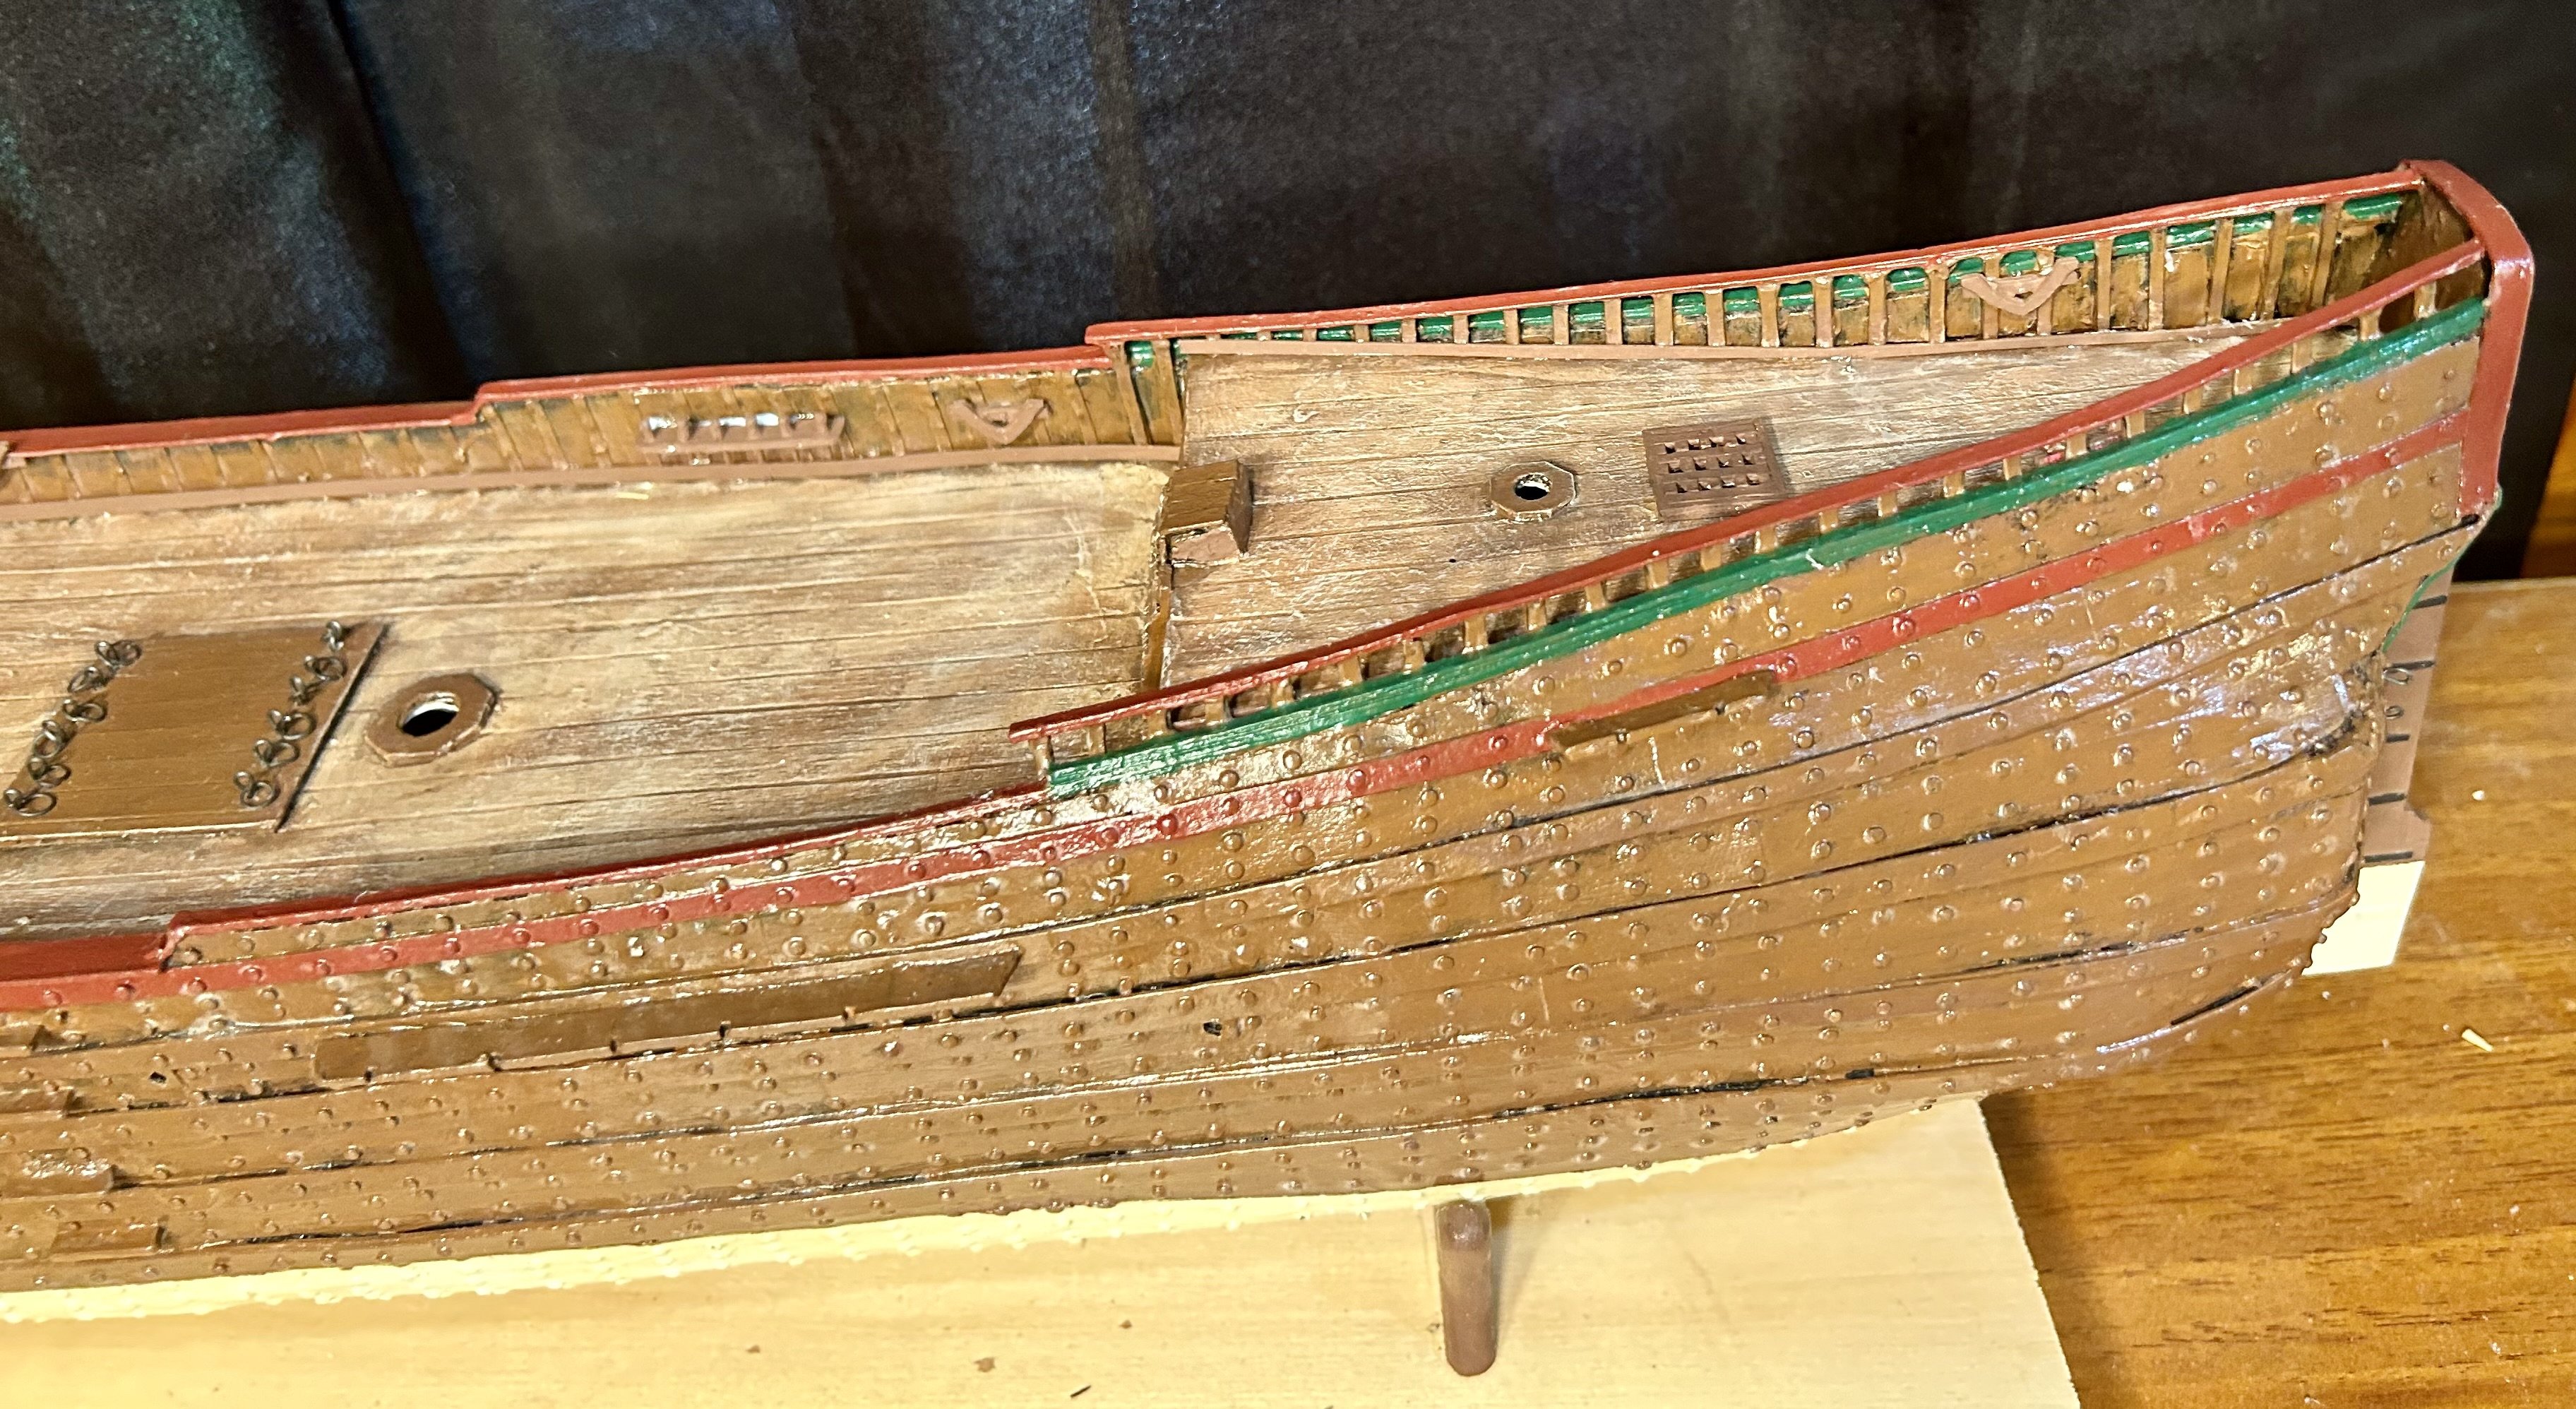
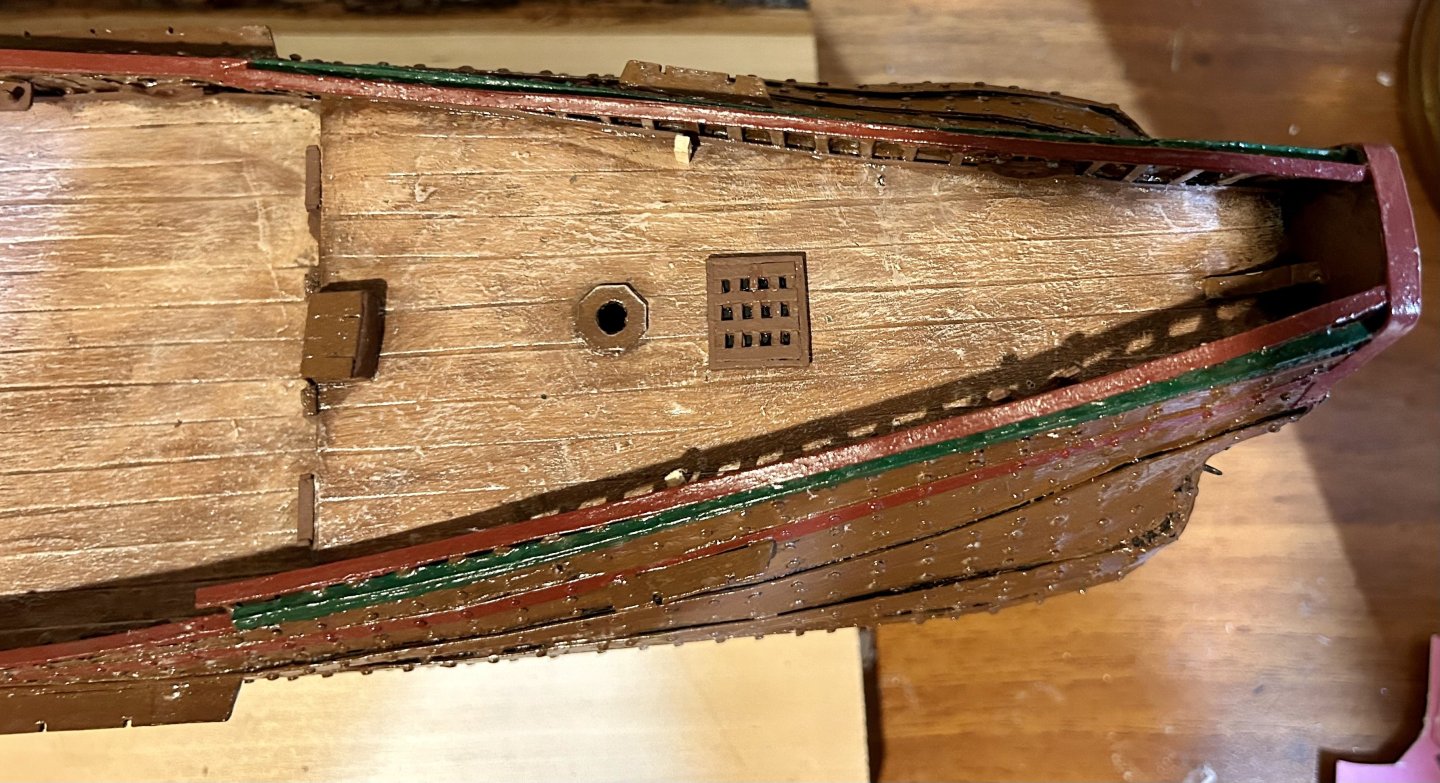
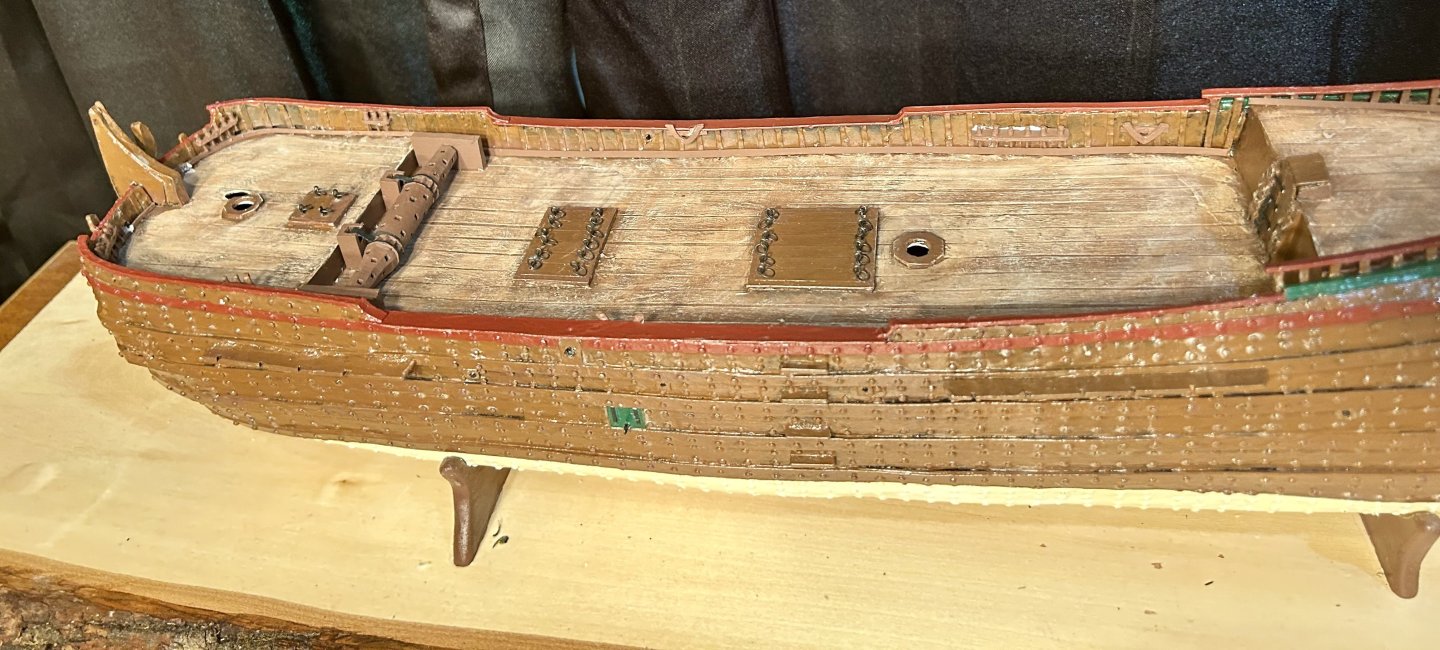
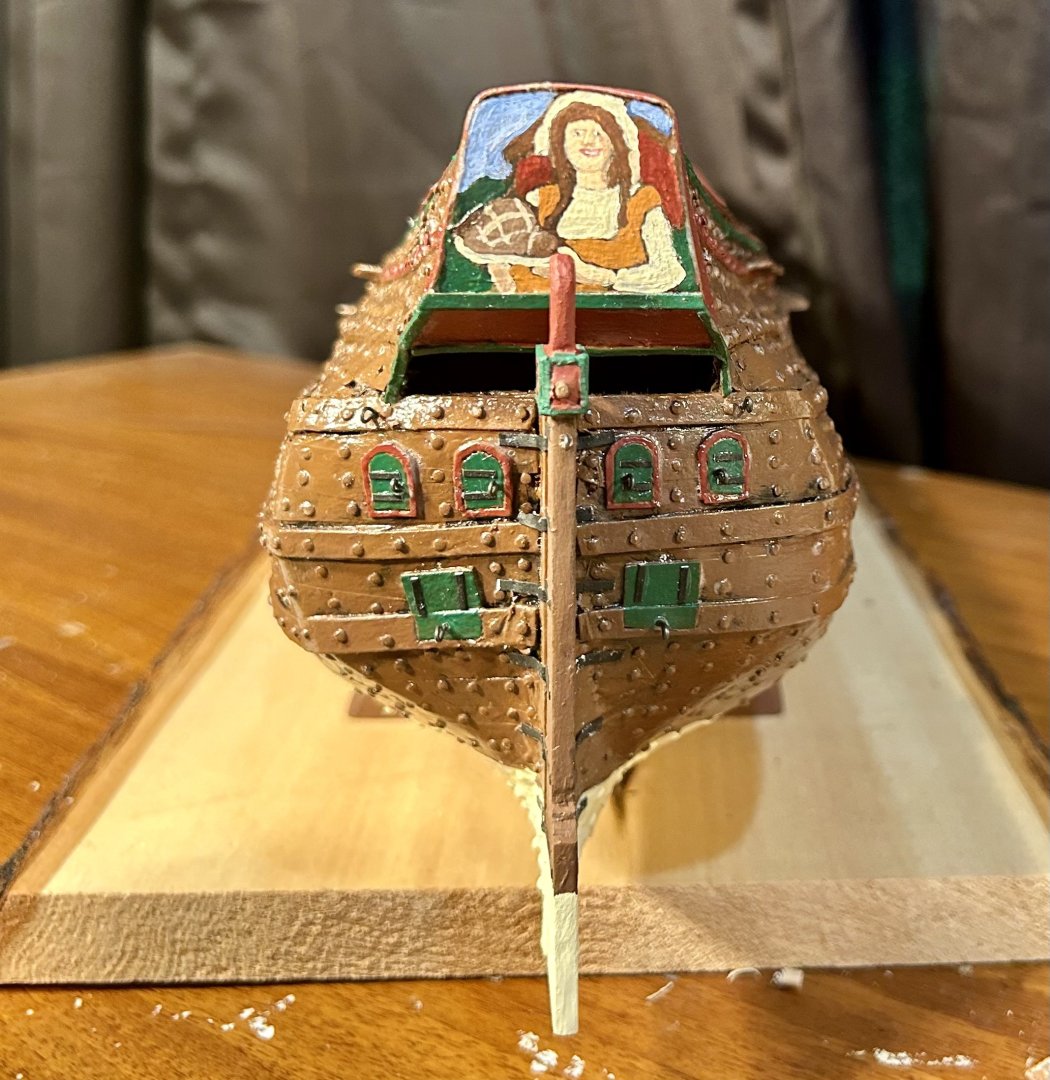
Working on detailing out the hull, deck and bulwarks: Windlass and added rings (handles) to the deck hatches. Stern with rudder. All new pieces still need sealed in. Still have two ladders and a handful of bitts with two fife rails to make. Once I make and install those, it will be time to touch up paint, seal the model and complete the weathering. Then it will be time for the hull rigging and some chain plates/deadeyes. I’ll use the same method I used for making deadeyes for the Prince de Neufchatel to make the deadeyes for this model. I would like to make actual chainplates for my deadeyes this time.


-
I like to use nonmetallic metal paint technique for bare metal. I start with a base coat of black and successively dry brush lighter shades of grey. Each time I go lighter, I dry brush with less paint. The last pass is a highlight coat with white.
-
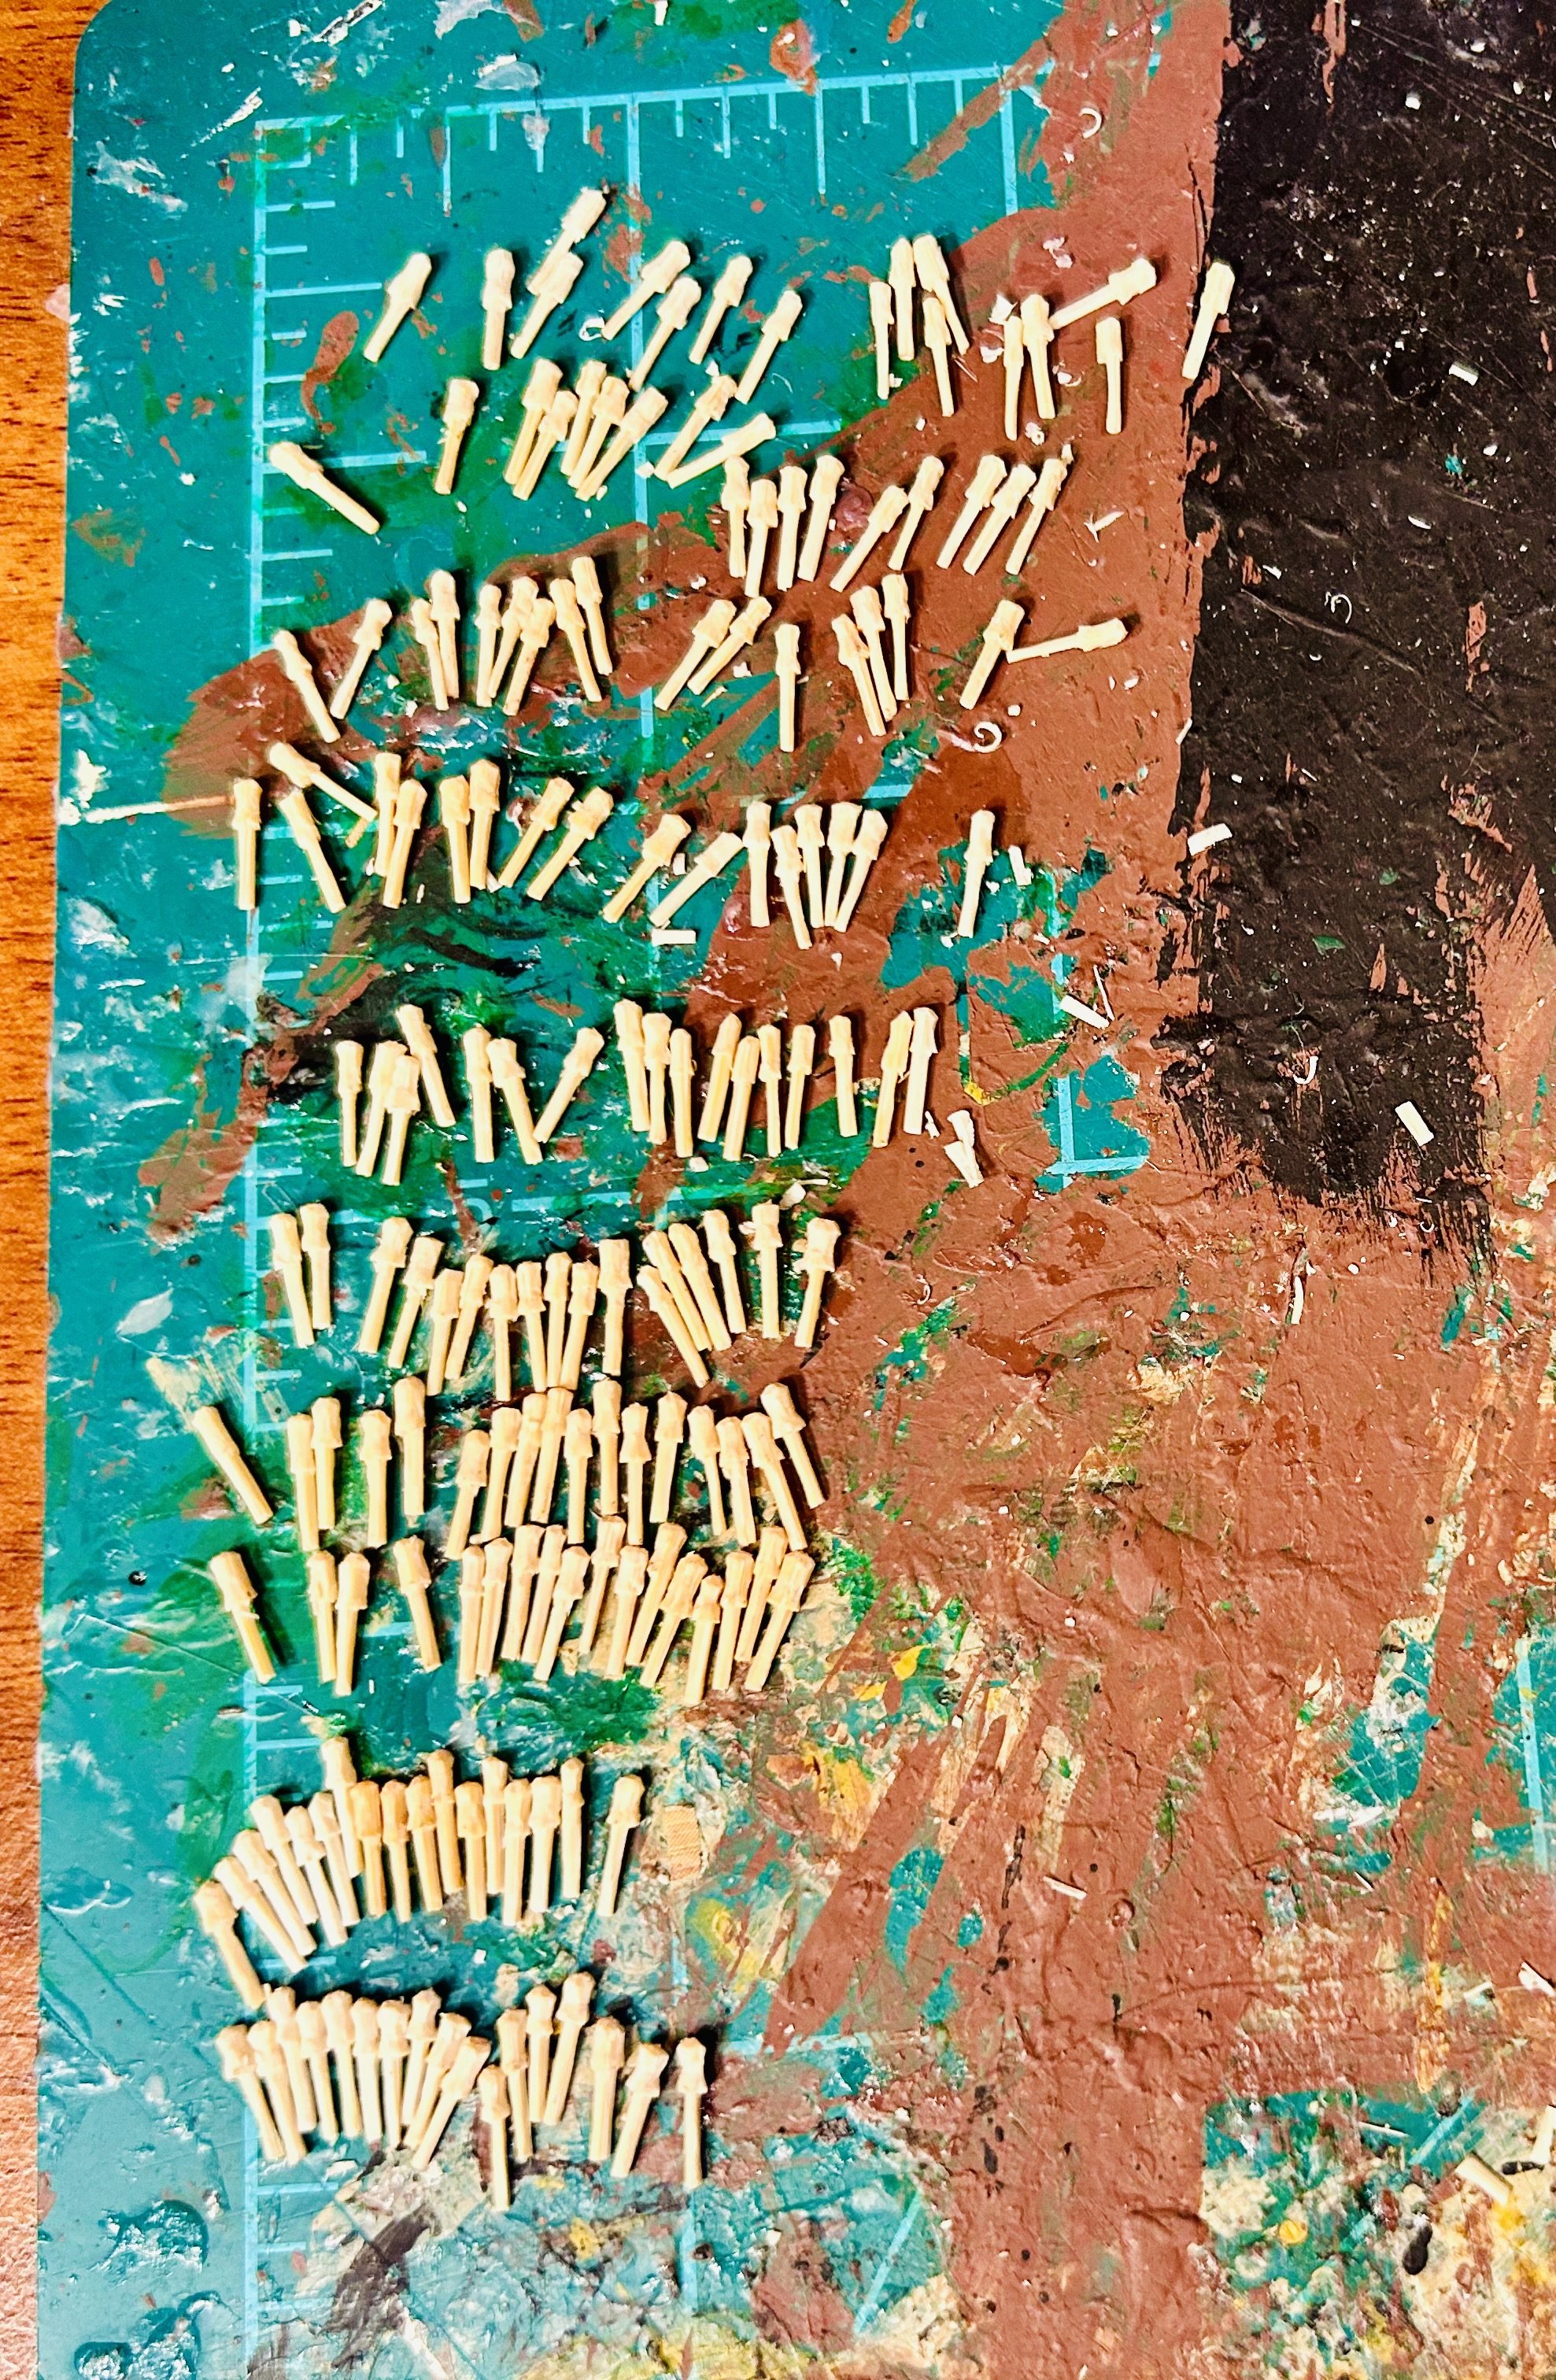
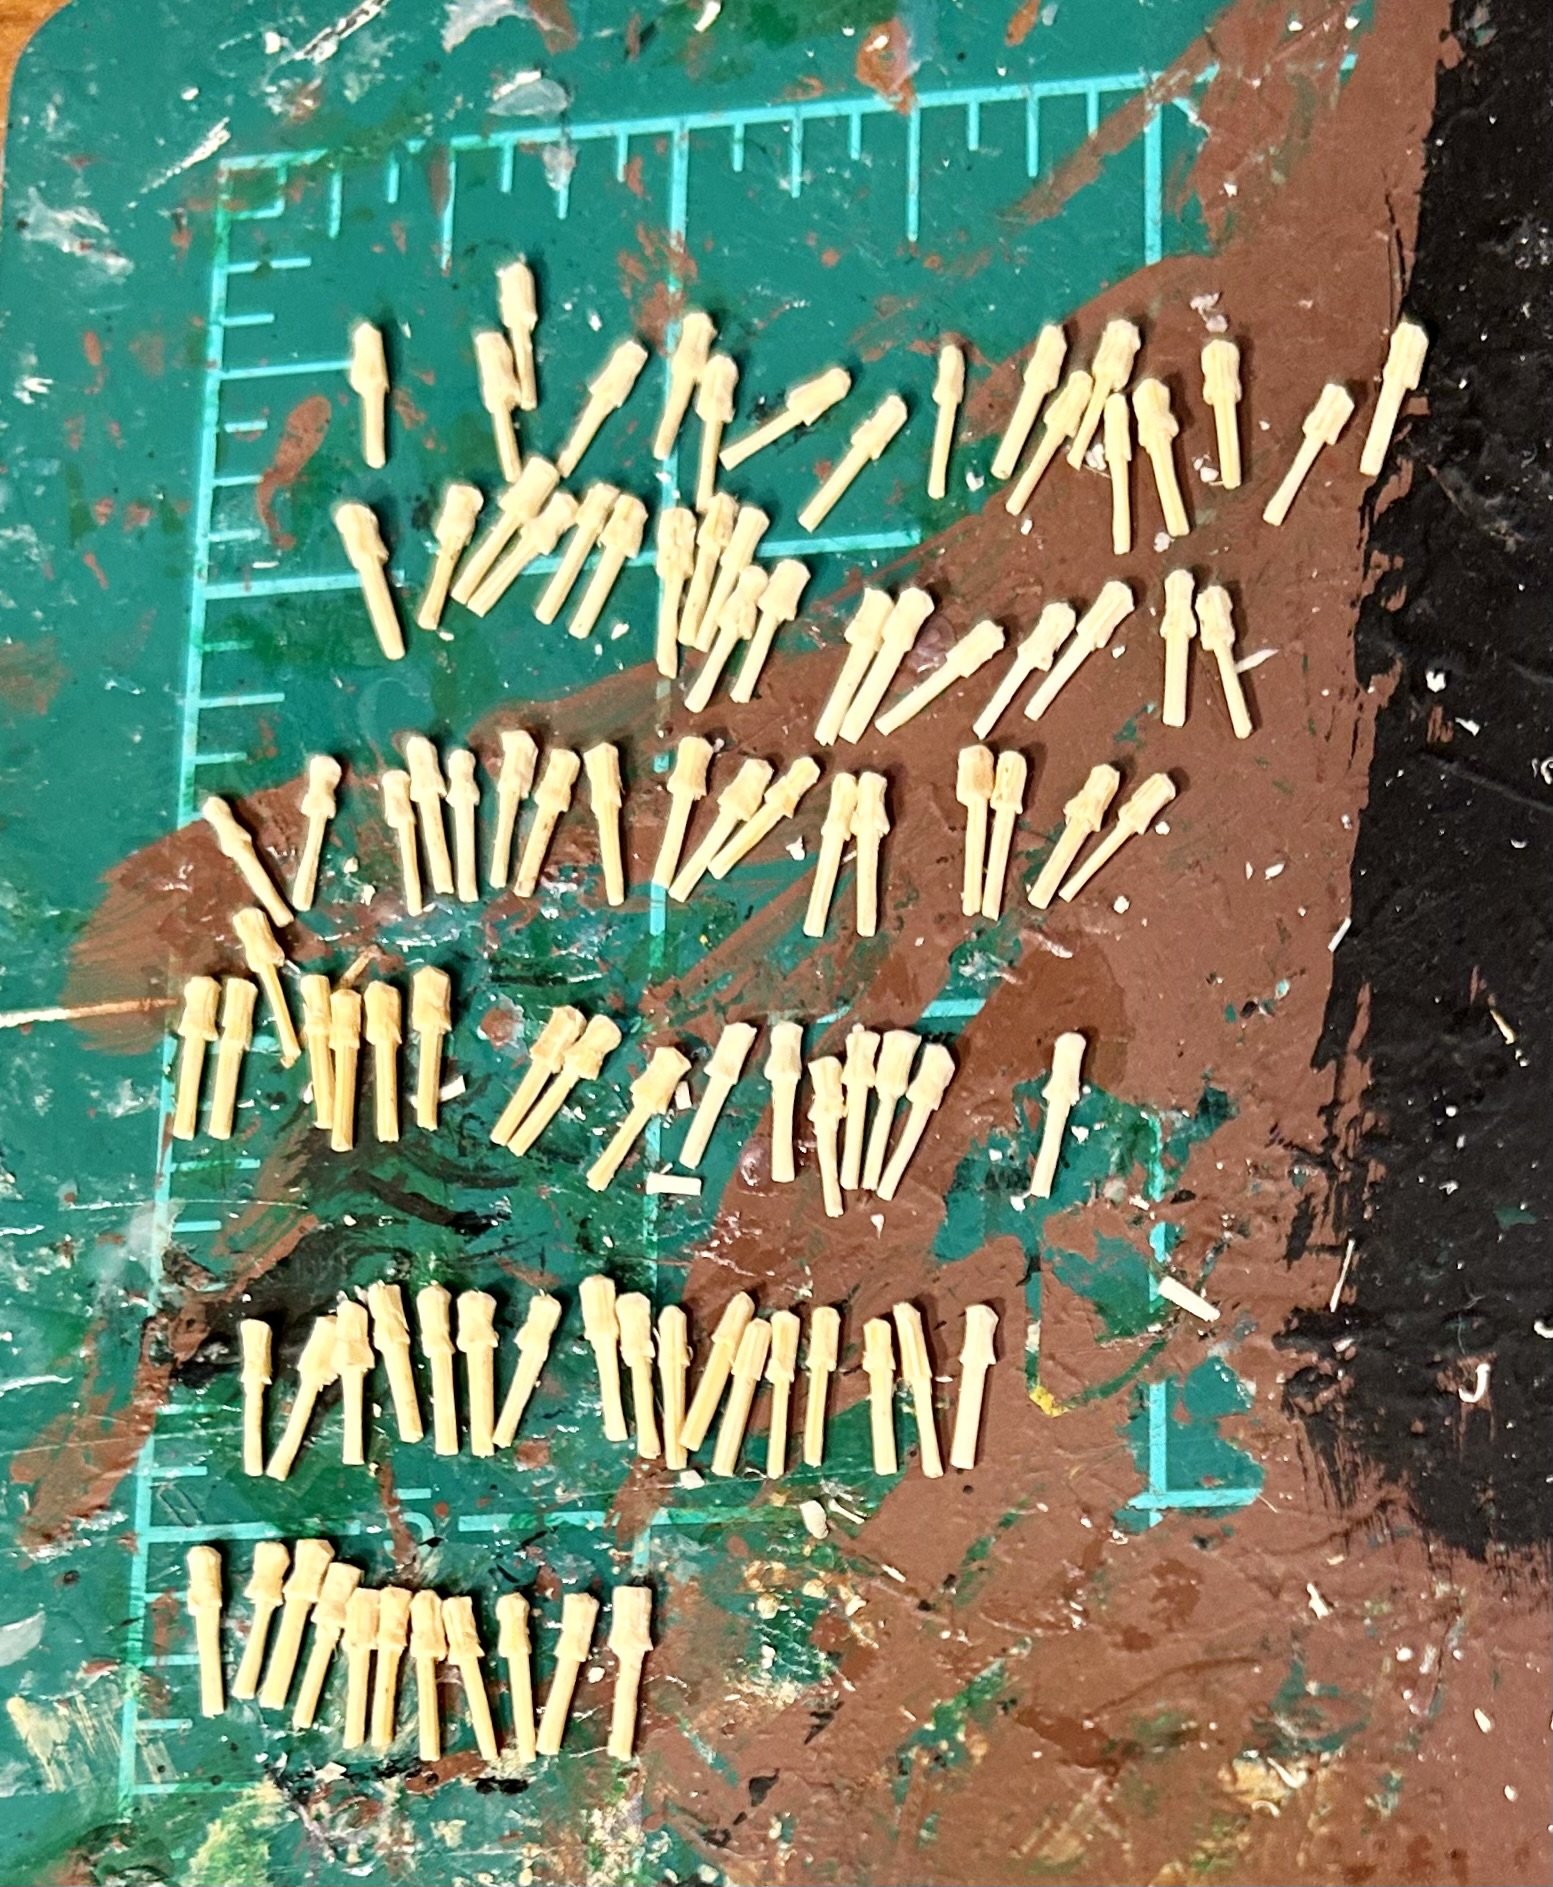
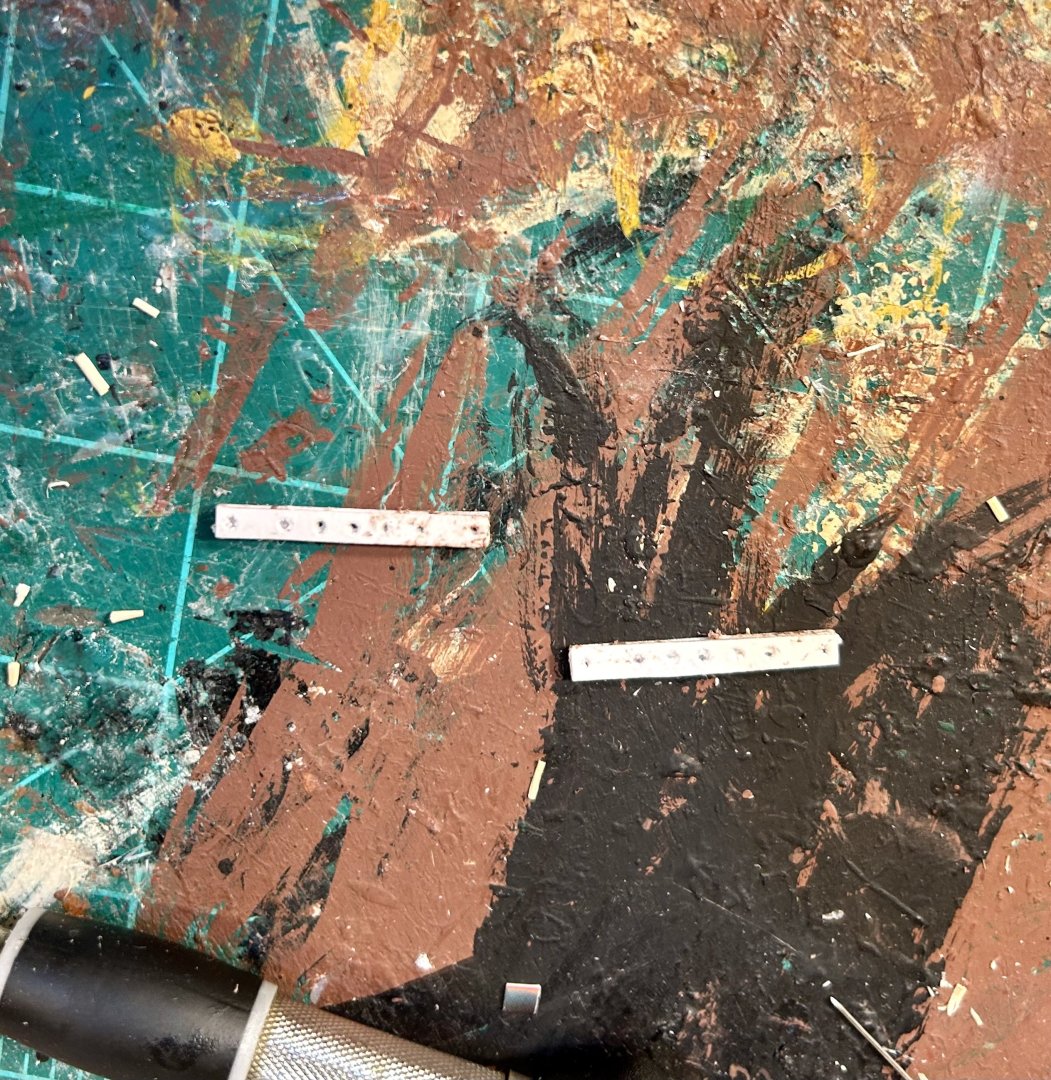
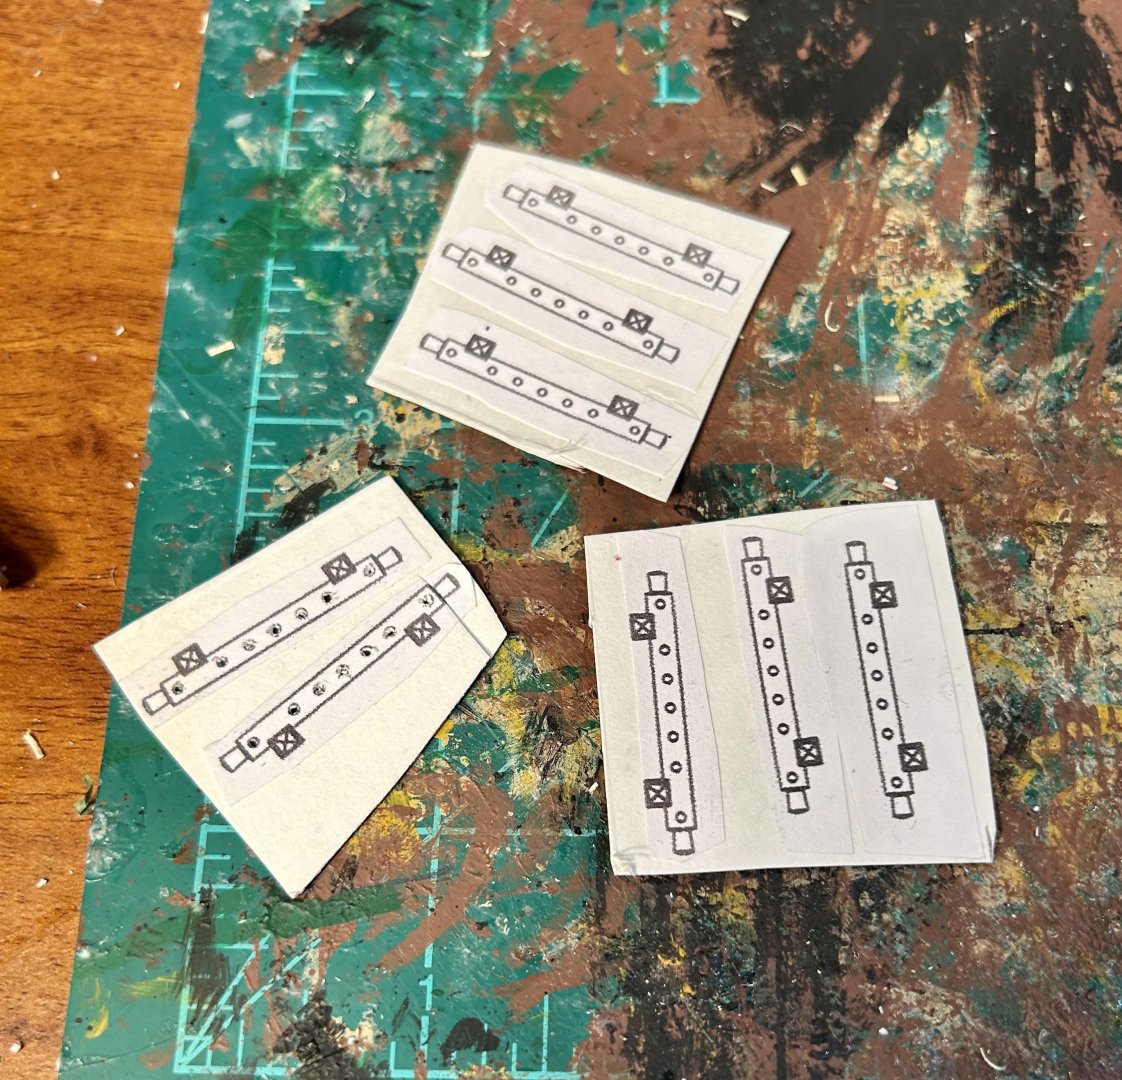
The next round of fittings just needs some paintwork and then they will be ready to install. The staghorns and pin racks are getting pinned to the bulwarks (attached with steel pins reinforcing them). I’m pretty happy with how the belaying pins turned out.
-
Here’s all 170 belaying pins for both Esther and Revenge (108 of them go to the Revenge):

-
"Sailing Memory" by thibaultron - Book Size Diorama
GrandpaPhil replied to thibaultron's topic in Non-ship/categorised builds
Ron, That would look really good in someone’s modeling library! Nice work! Looking forward to seeing how everything goes together! -
Agreed with the above. MSW is my happy place and my favorite place online. MSW has really helped me develop my model making skills and is my number one source of inspiration and ideas. Being an NRG member lets me support MSW and I enjoy reading the Journal. One of these days, I’m going to buy the $99 USB drive to get the rest of the NRG Journal issues.
- 70 replies
-
- 11
-
-
Welcome!
-
Very cool!
-
On an off white on many interior compartments is a pretty common practice because it does help to brighten up the work space a little bit and improve visibility.