


Valeriy V
-
Posts
917 -
Joined
-
Last visited
Content Type
Profiles
Forums
Gallery
Events
Posts posted by Valeriy V
-
-
52 minutes ago, KeithAug said:
Valeriy, Is the originals hull plated and riveted?
Yes, Keith, the ship's structure is riveted. Welding at that time was just beginning its journey in shipbuilding.
- Tony Hunt, Canute and Keith Black
-
 3
3
-
-
-
-
Hi all!
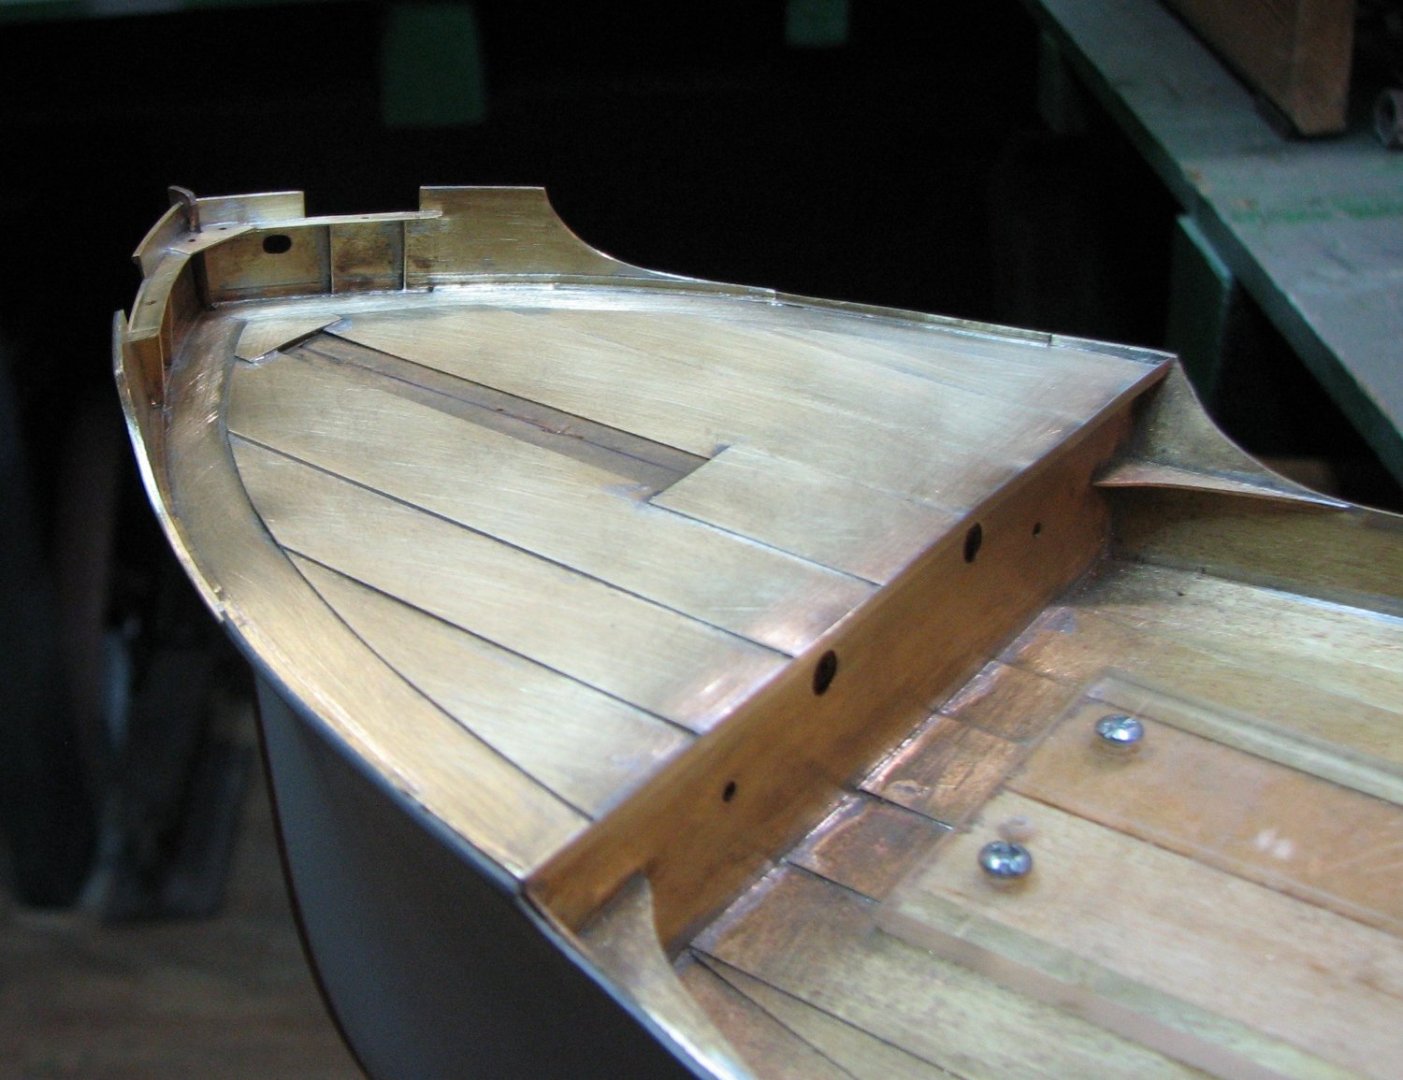
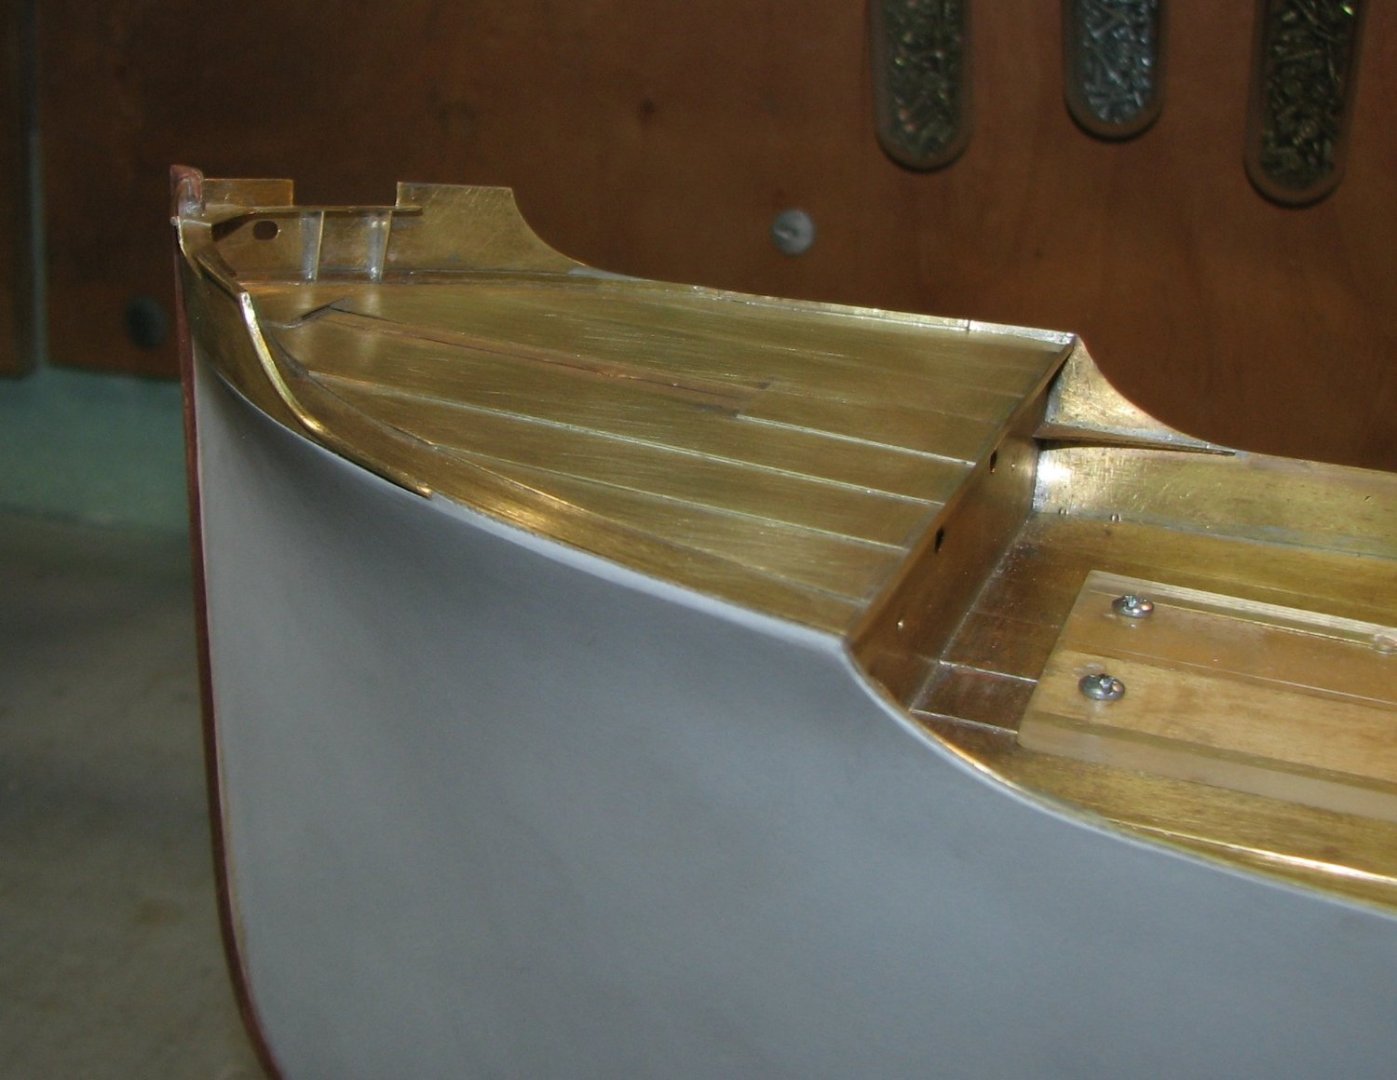
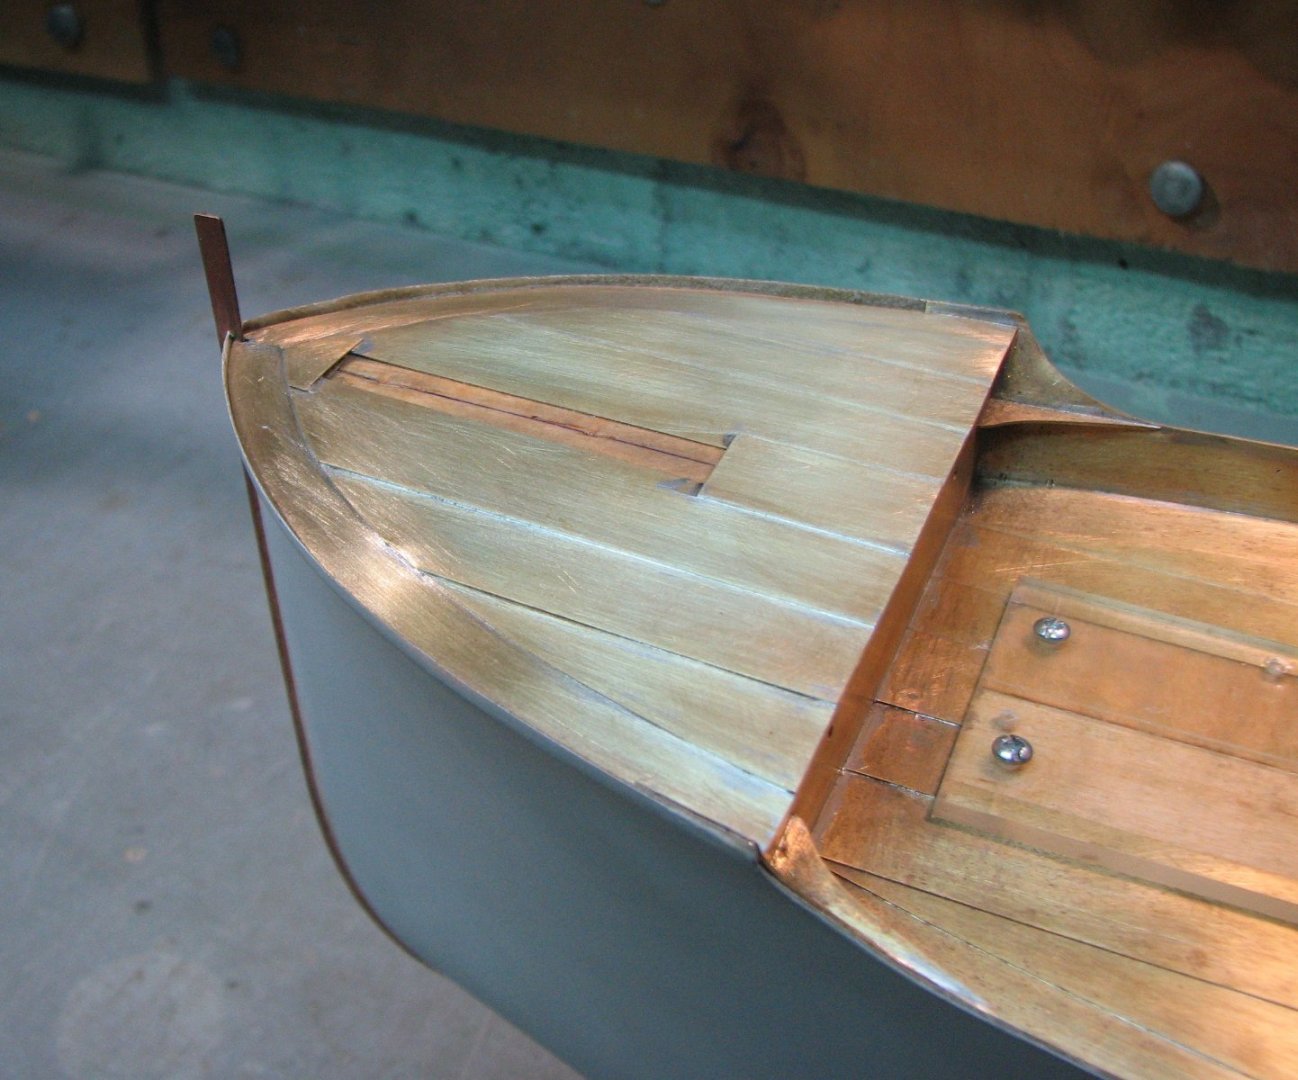
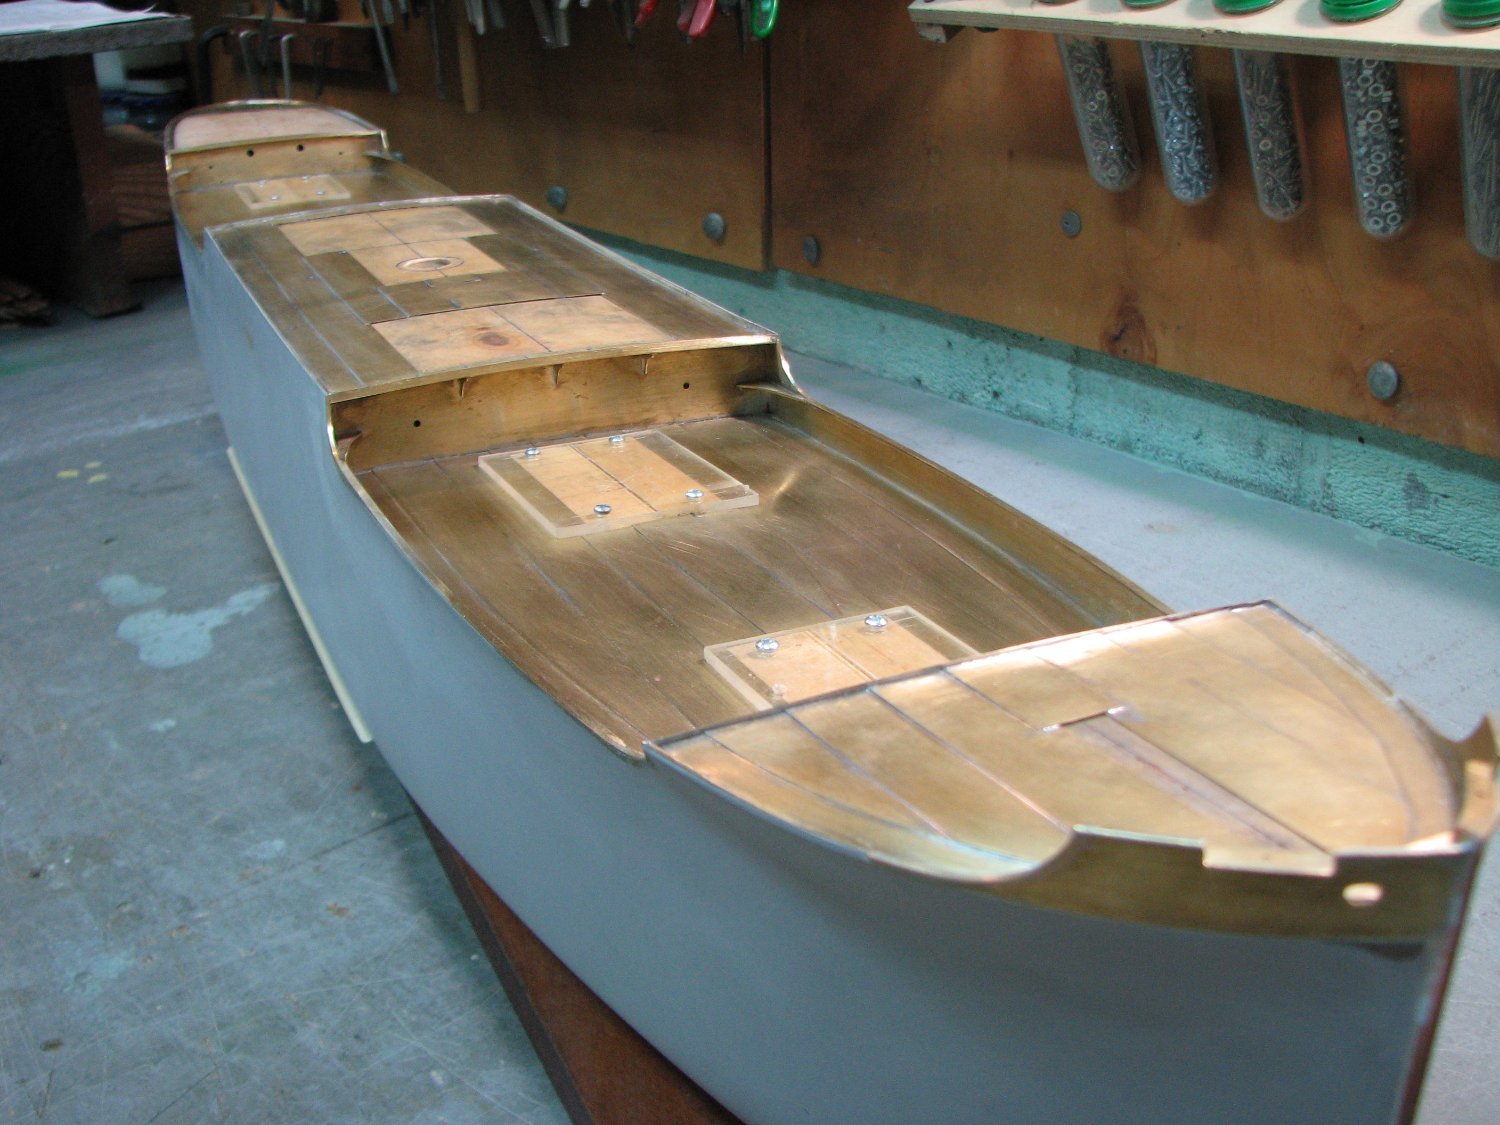
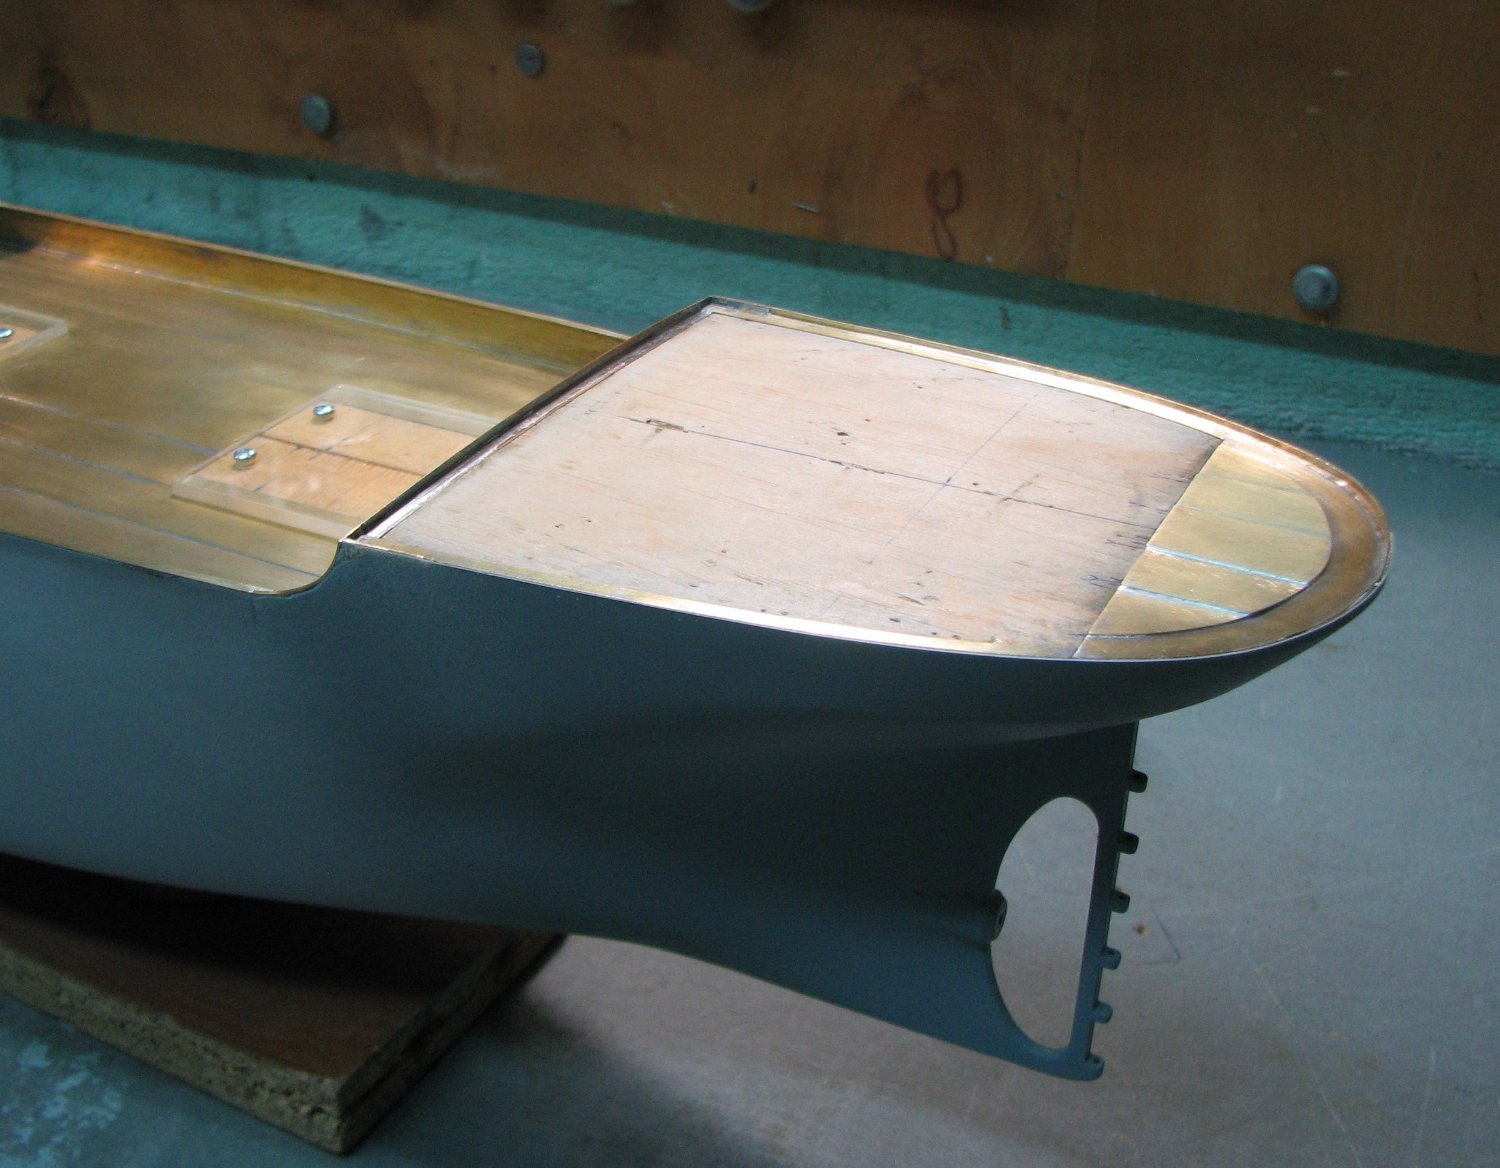
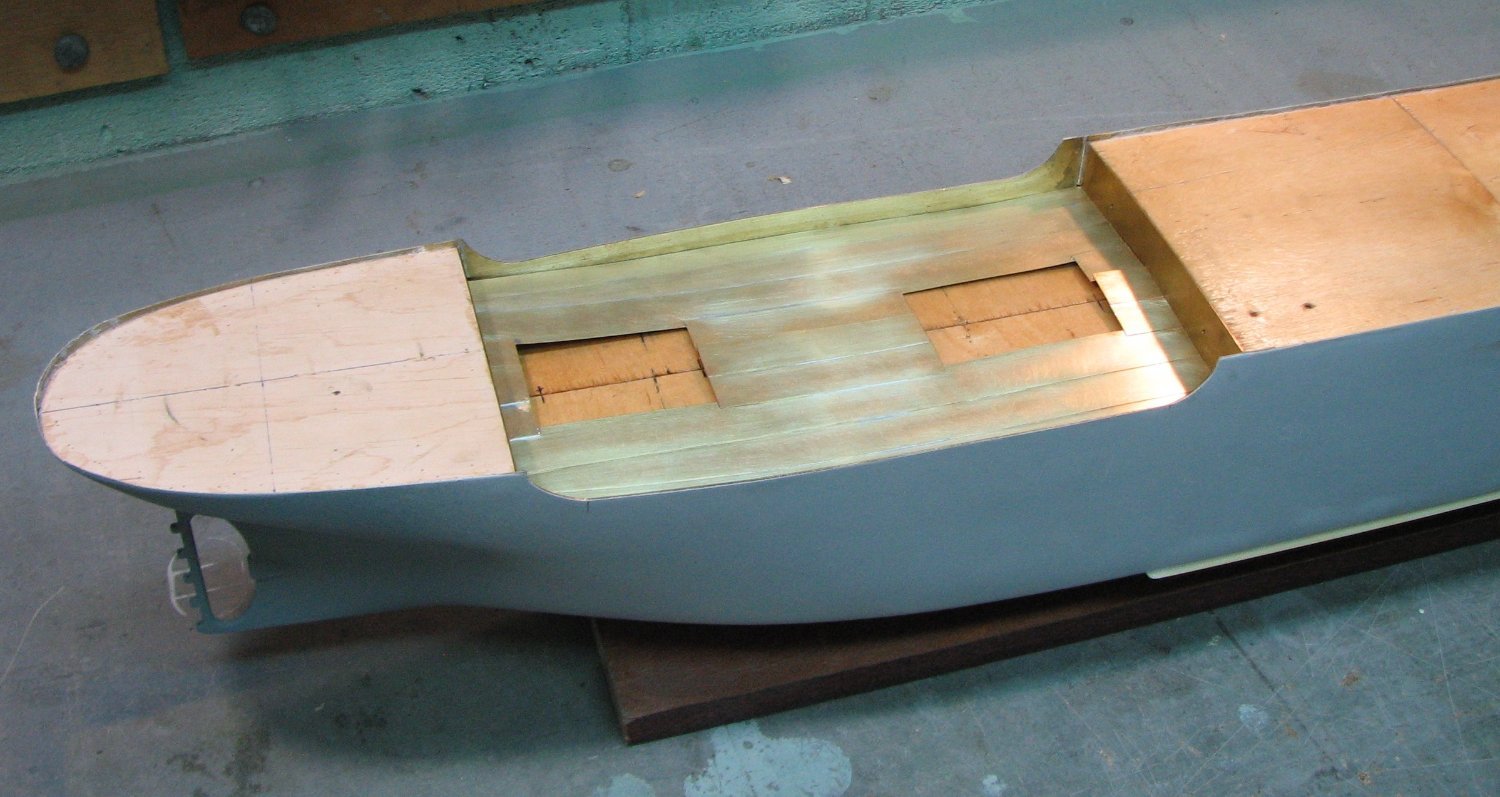
I finished covering the deck with metal.
Forecastle.
- NavyShooter, KORTES, Keith Black and 10 others
-
8
-
 5
5
-
10 hours ago, KeithAug said:
So that is one eye done. It turns out that the world is incredibly blue and bright.
The great news doesn't have to end, Keith!
")
I wish you a speedy successful recovery!
- FriedClams, druxey, Keith Black and 1 other
-
4
-
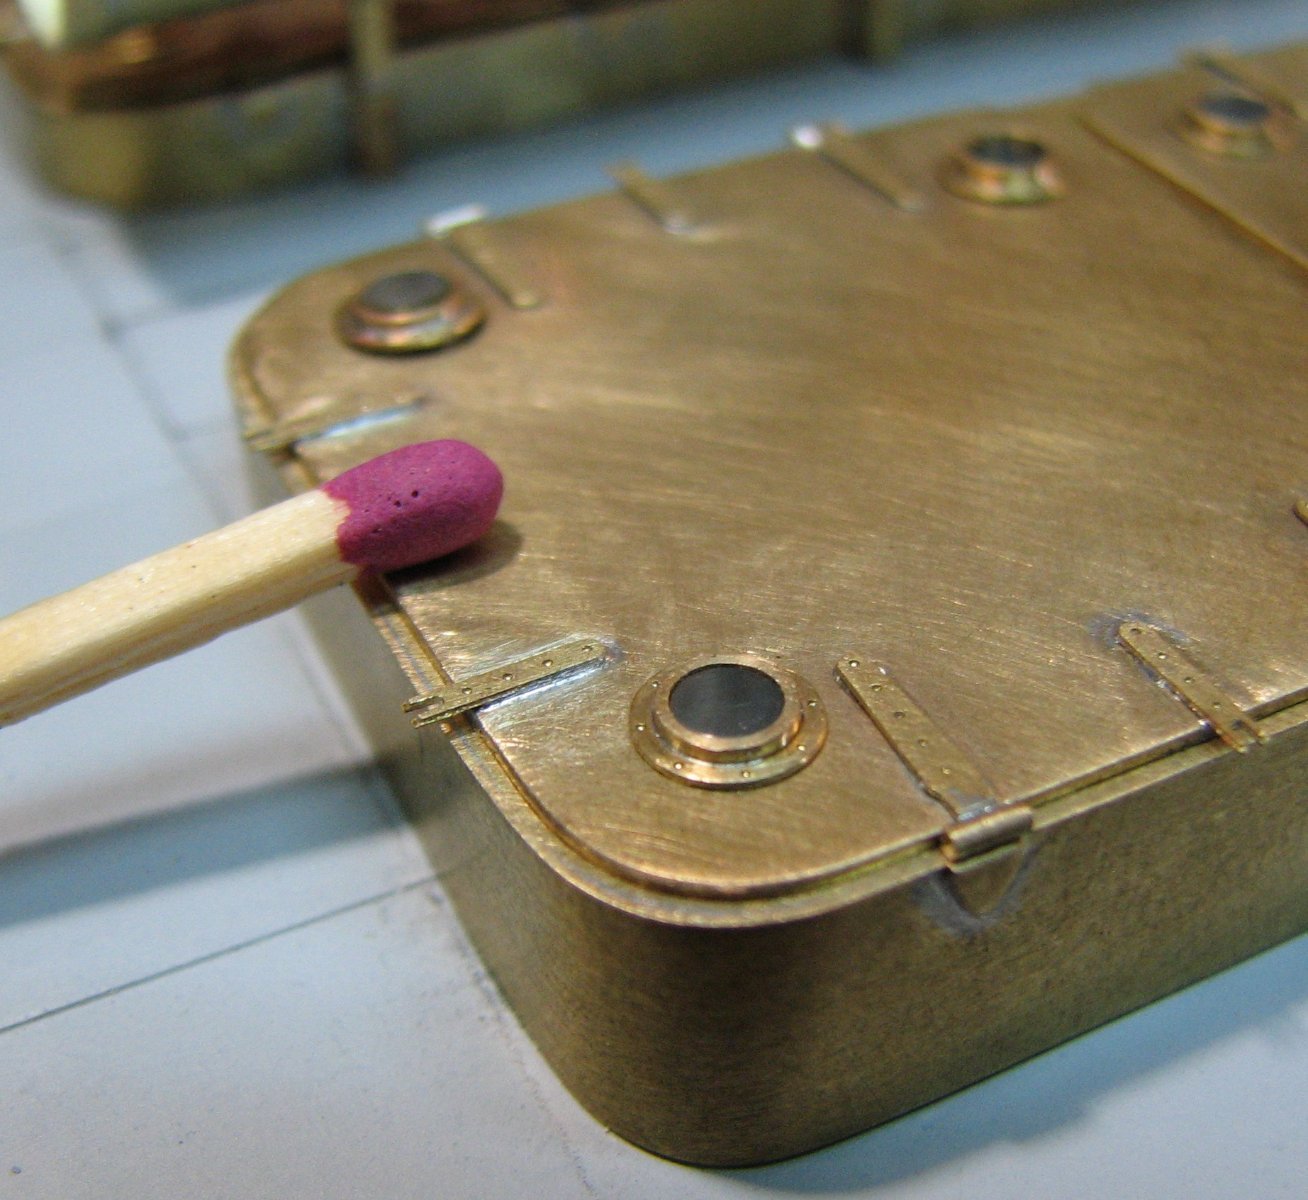
12 minutes ago, FlyingFish said:
You don't need that match any more - we believe you! Lovely soldering - and those parts are tiny!
Andy!
I'm already used to it and it will be difficult for me without it.
- mtaylor, Keith Black, FriedClams and 2 others
-
3
-
 2
2
-
17 minutes ago, amateur said:
Hi Valeriy,
what a beautiful work.
I have a question: your hatches show hinges on all dides, and post #130 shows ‘unhinged’ hinges. Was it possible to choose the direction in which these hatches opened? And also: the parts between the hinges, are those to bolt down the hatches while at sea?
Jan
Hi Jan!
Yes, that’s exactly it, the hatches could open to 2 opposite sides. A bracket between the hinges to tighten the lid in stormy conditions. I'll install bolts there later to tighten it down.- druxey, Keith Black, Ras Ambrioso and 4 others
-
7
-
30 minutes ago, ERS Rich said:
Well, at least “observed” mundane shipboard tasks……😎
It is interesting that according to the staffing schedule, these ships only had 2 officers. It is possible that they are both shown in the photo. Although the midshipman could have been a guest.
- Keith Black, Canute, mtaylor and 1 other
-
4
-
47 minutes ago, Roger Pellett said:
Valeriy,
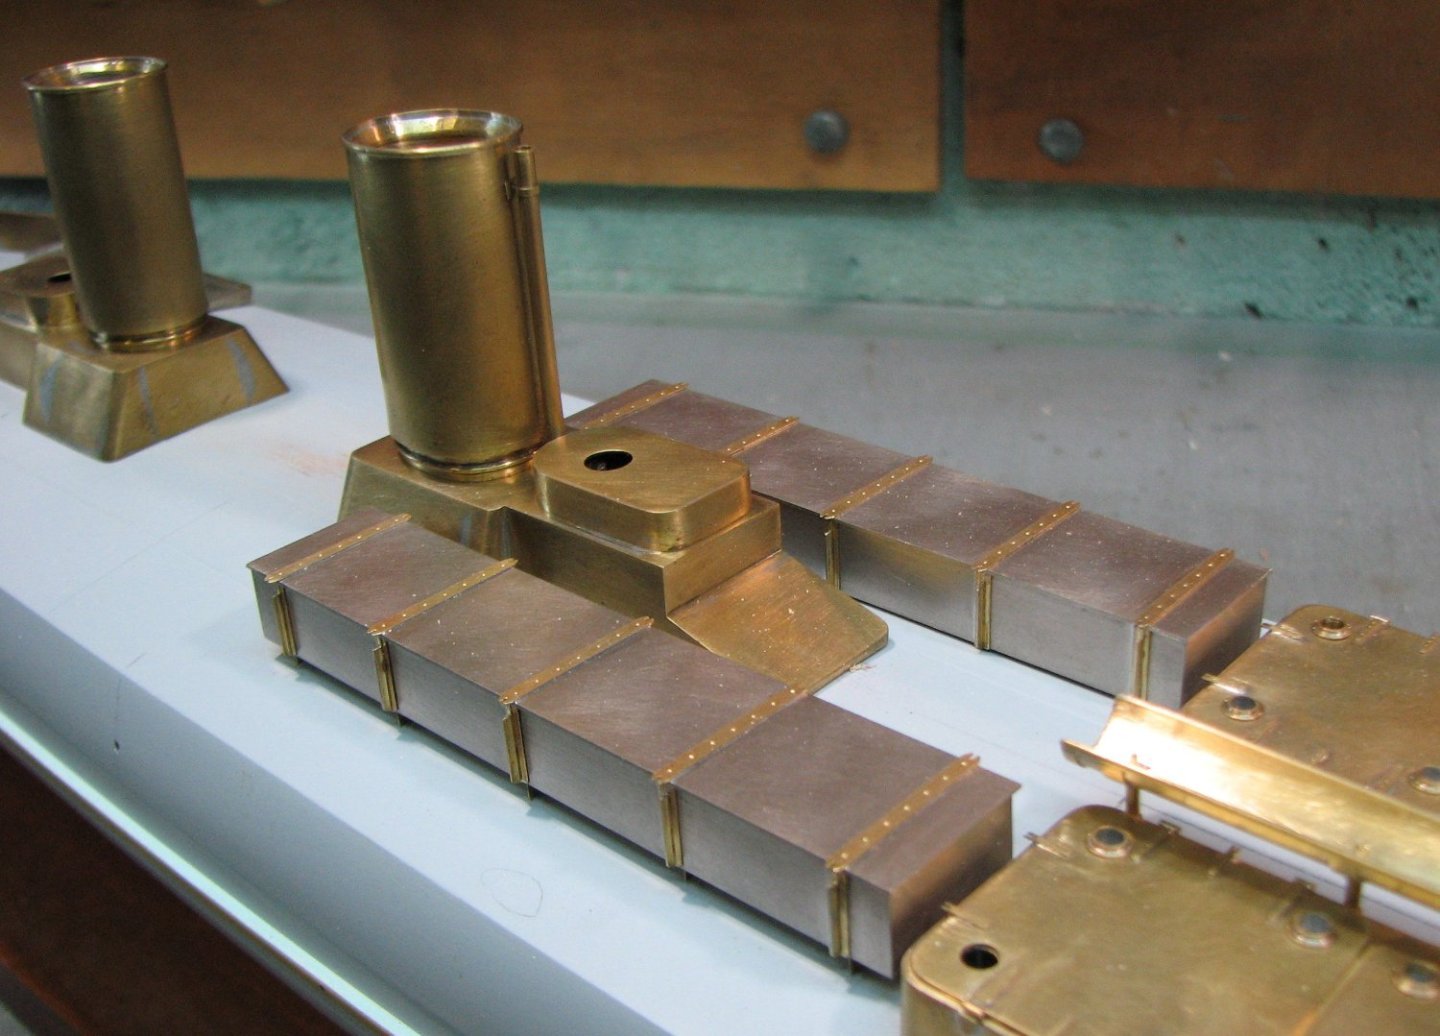
Aluminum torpedo boxes: An interesting use for what was then a relatively new refined metal. I don’t know about Europe but the first large scale Aluminum reduction plant was only built in the USA in 1891; seven years after Charles Hall developed the basic process. Was topside weight actually that much of a concern?
Roger
Yes, Roger! The problem of overload on these ships was big. Therefore, in every possible way they tried to lighten the structures.
- Canute, FriedClams, mtaylor and 1 other
-
4
-
5 hours ago, yvesvidal said:
You are pushing the perfection to use the same materials as on the prototype ship.
Yves
Yves, this is not entirely true. This is a color imitation using cupronickel.
")
- mtaylor, Keith Black, Canute and 1 other
-
4
-
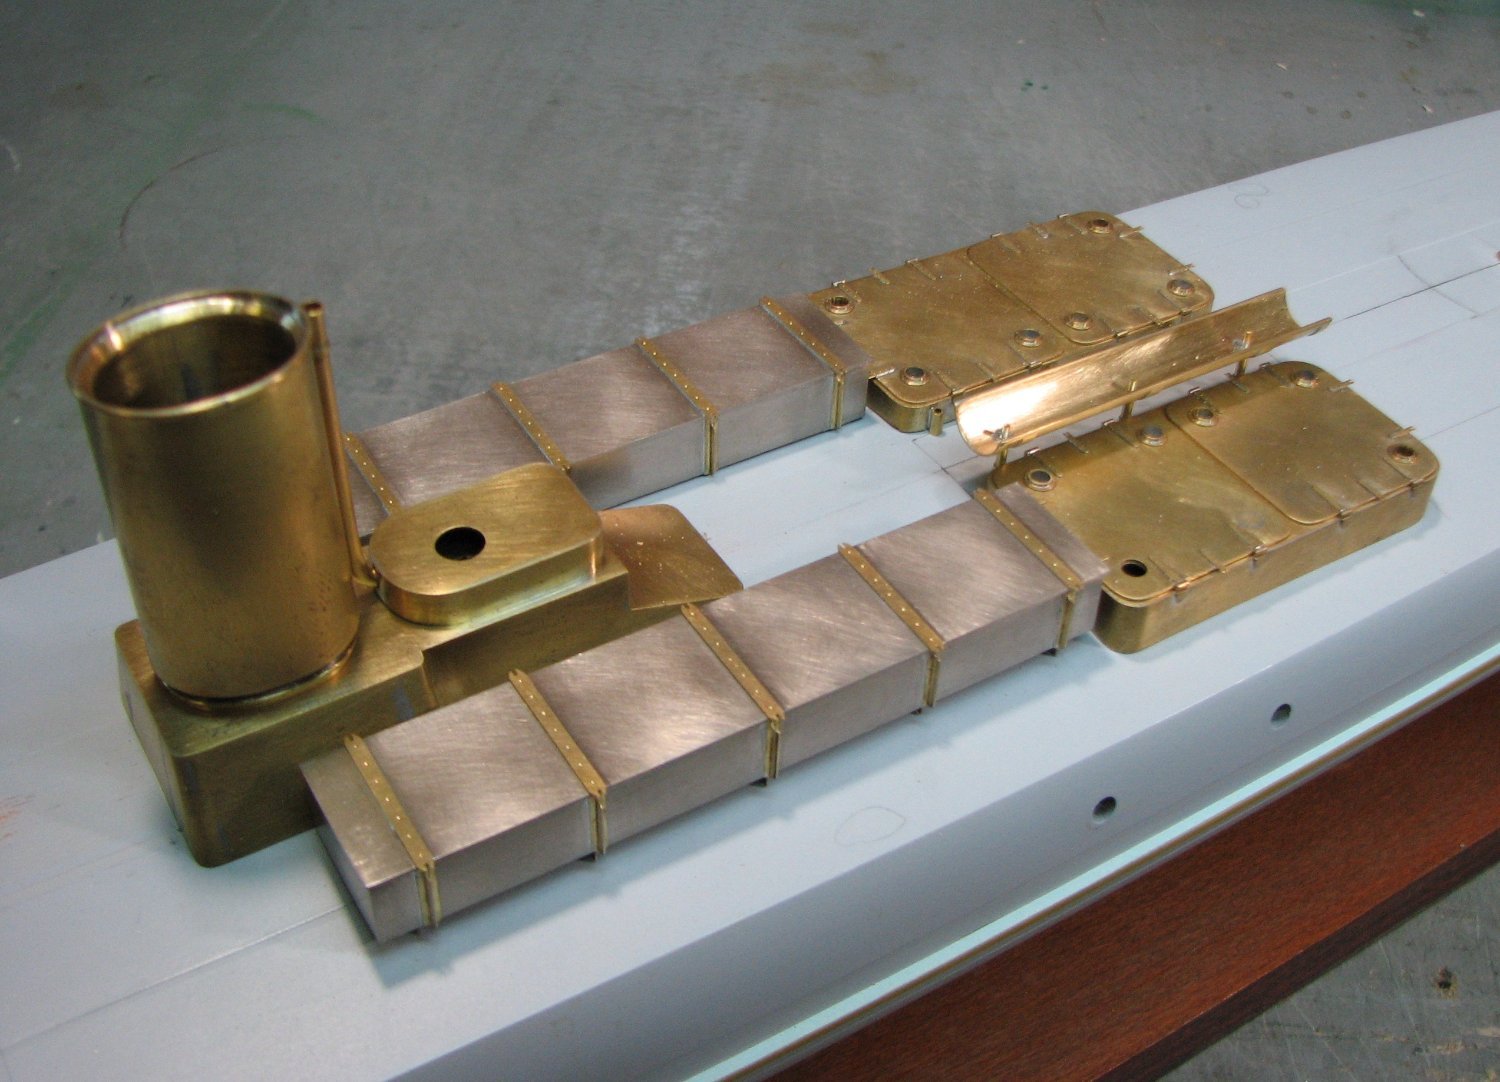
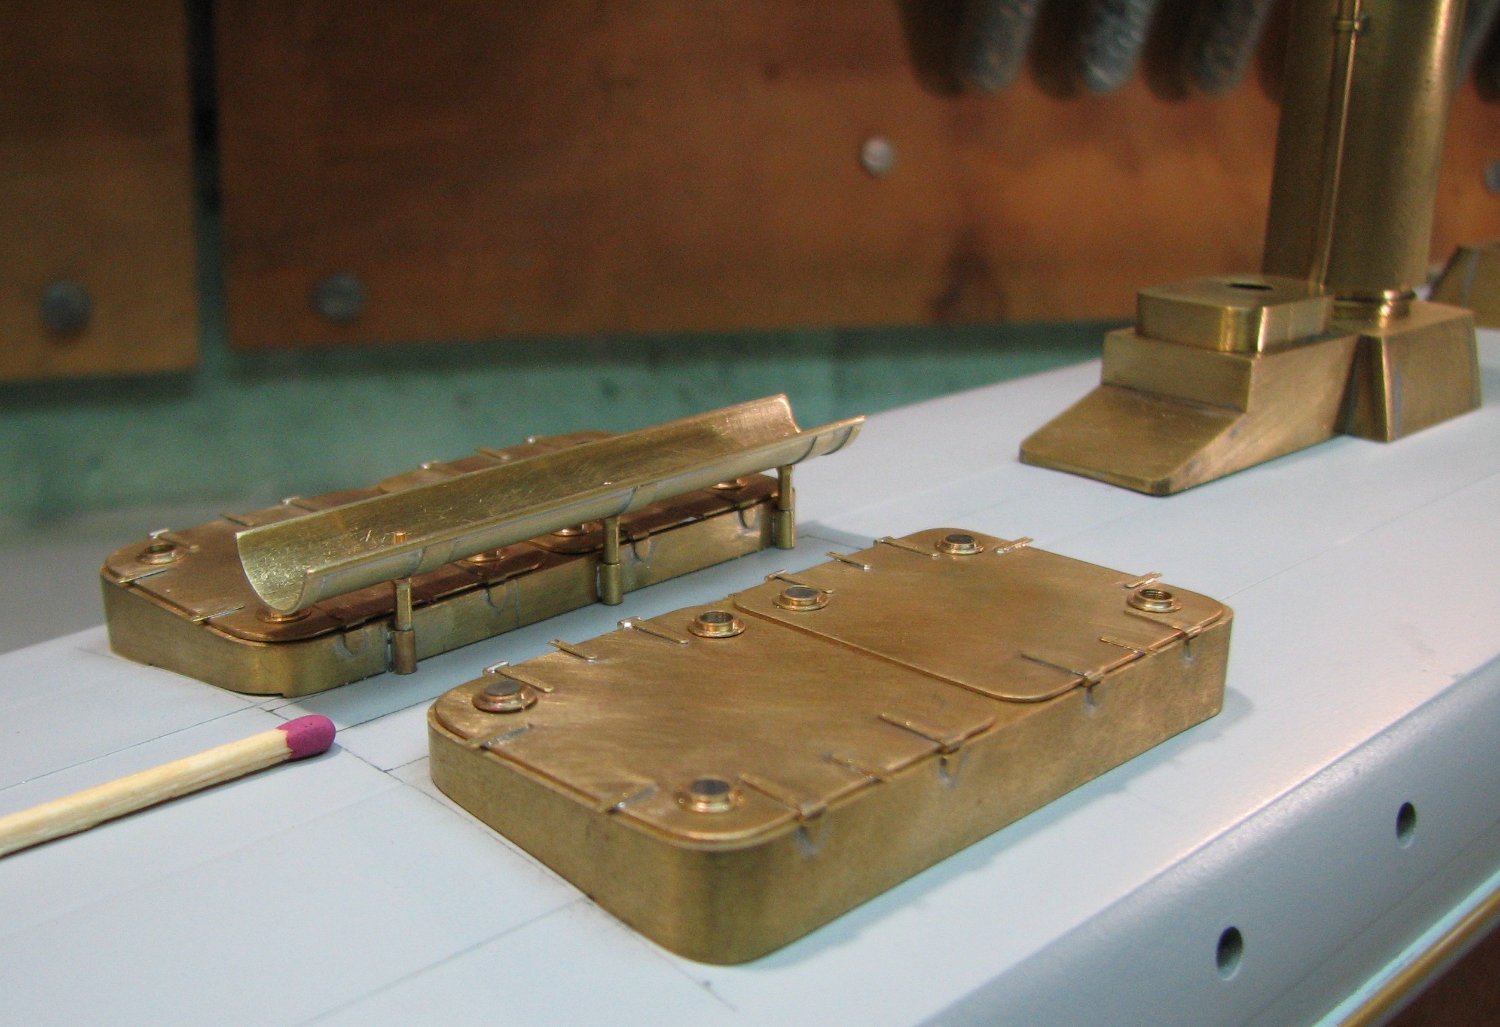
And now they are all posing together on the model’s hull.

- Ras Ambrioso, FriedClams, LEFEBVRE and 18 others
-
12
-
9
-
Boxes for spare torpedoes. On the ship they were made of aluminum alloys.

-
-
12 hours ago, KeithAug said:
Thanks again Valeriy. I sort of assumed you might be using different melting point solders and heat sinks - but your method is much easier.
Keith, i'm happy to help!
Yes, of course, the soldering method with solders of different melting temperatures is also good. I use it in rare cases when the main method does not help. And instead of a radiator, you can use an ordinary spring clamp that will secure the part from shifting.
- Ras Ambrioso, FriedClams, mtaylor and 5 others
-
8
-
44 minutes ago, KeithAug said:
It may be that I haven't prepared the surface correctly.
Yes, Keith, this is the only and main mistake when painting brass.
The metal must be perfectly free of grease.
If the parts are small, then I clean them by dipping them briefly into a solution of nitric acid or for a longer period into the solution NaOH.If the surface is large, then I use the method of painters in car repair shops - gasoline caloshes and a rubberized napkin.
All other solvents only spread the fat layer over the part but do not remove it.
I want to clarify that all this applies to the conditions in which I live.
- mtaylor, FriedClams, druxey and 8 others
-
11
-
29 minutes ago, KeithAug said:
Sorry Valeriy I should have been clearer. I was referring to the bulwark not the deck plates.
Keith, еverything is simple there too.
It is necessary to follow the principle of the order of soldering parts - from large parts to smaller ones. And then the larger parts do not have time to warm up by the time the small parts are already soldered.- Canute, mtaylor, Keith Black and 7 others
-
10
-
1 hour ago, KeithAug said:
It would be good if you were able to supply more detail on your build / soldering sequence. I'm interested in how you make the later joints without unsoldering the earlier work?
Keith!
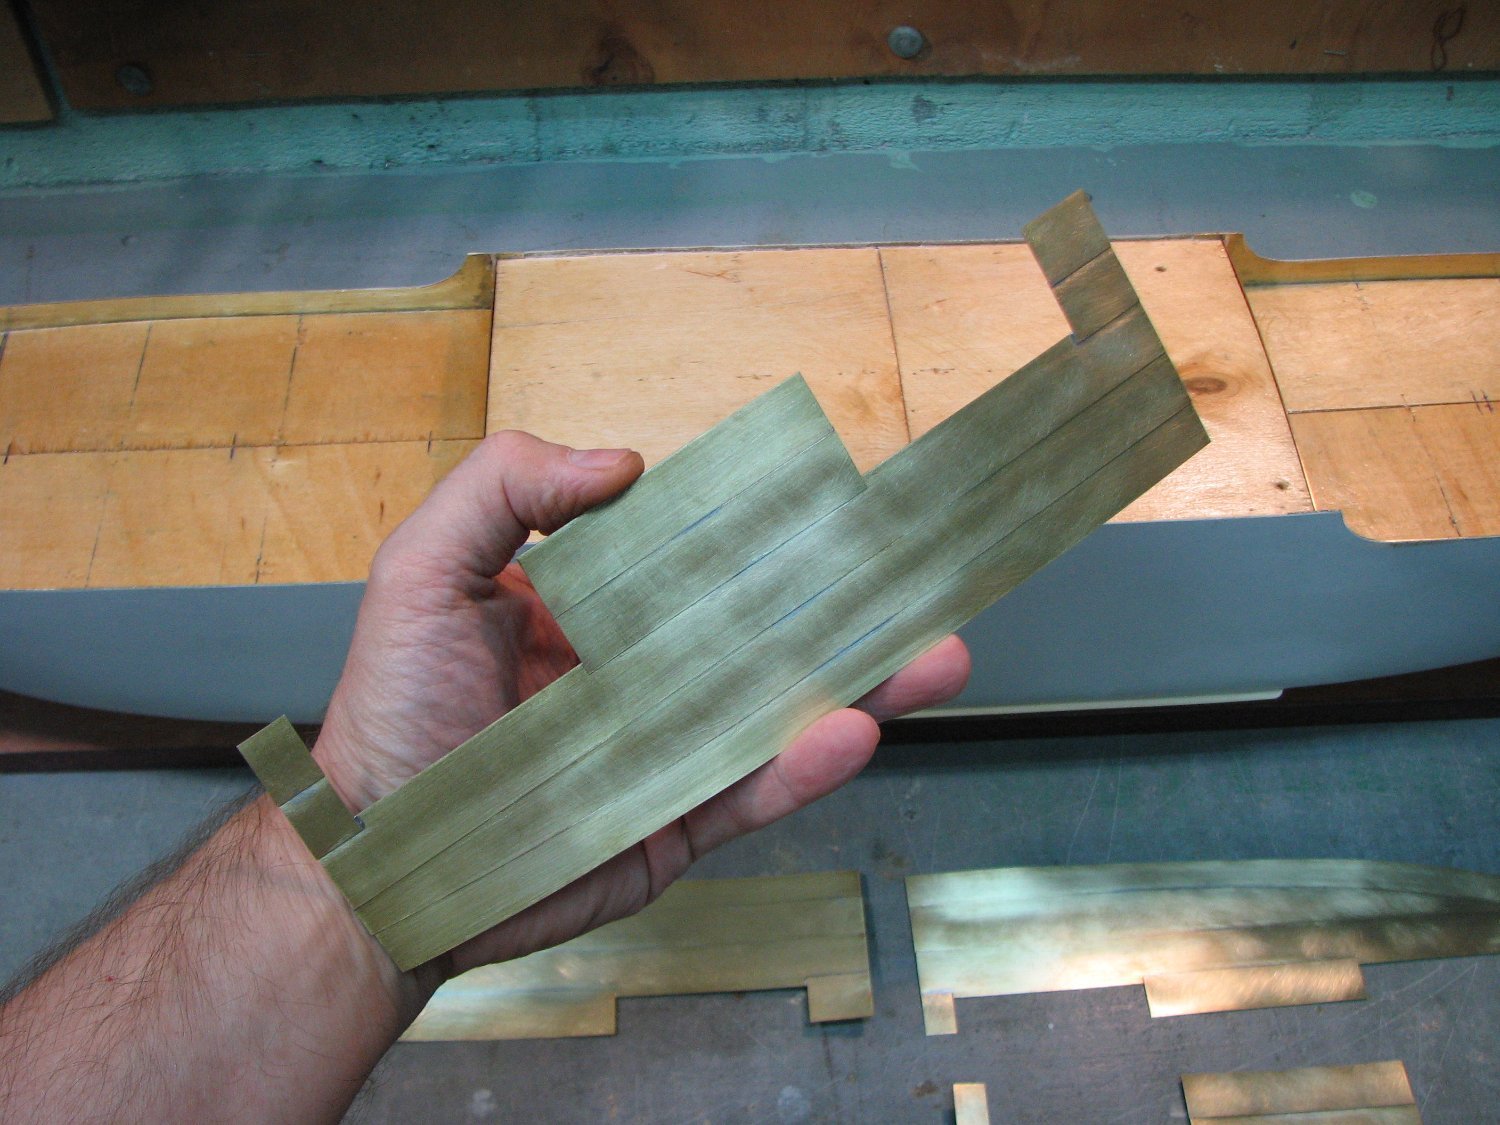
Soldering such large sheets of brass is quite boring and monotonous.

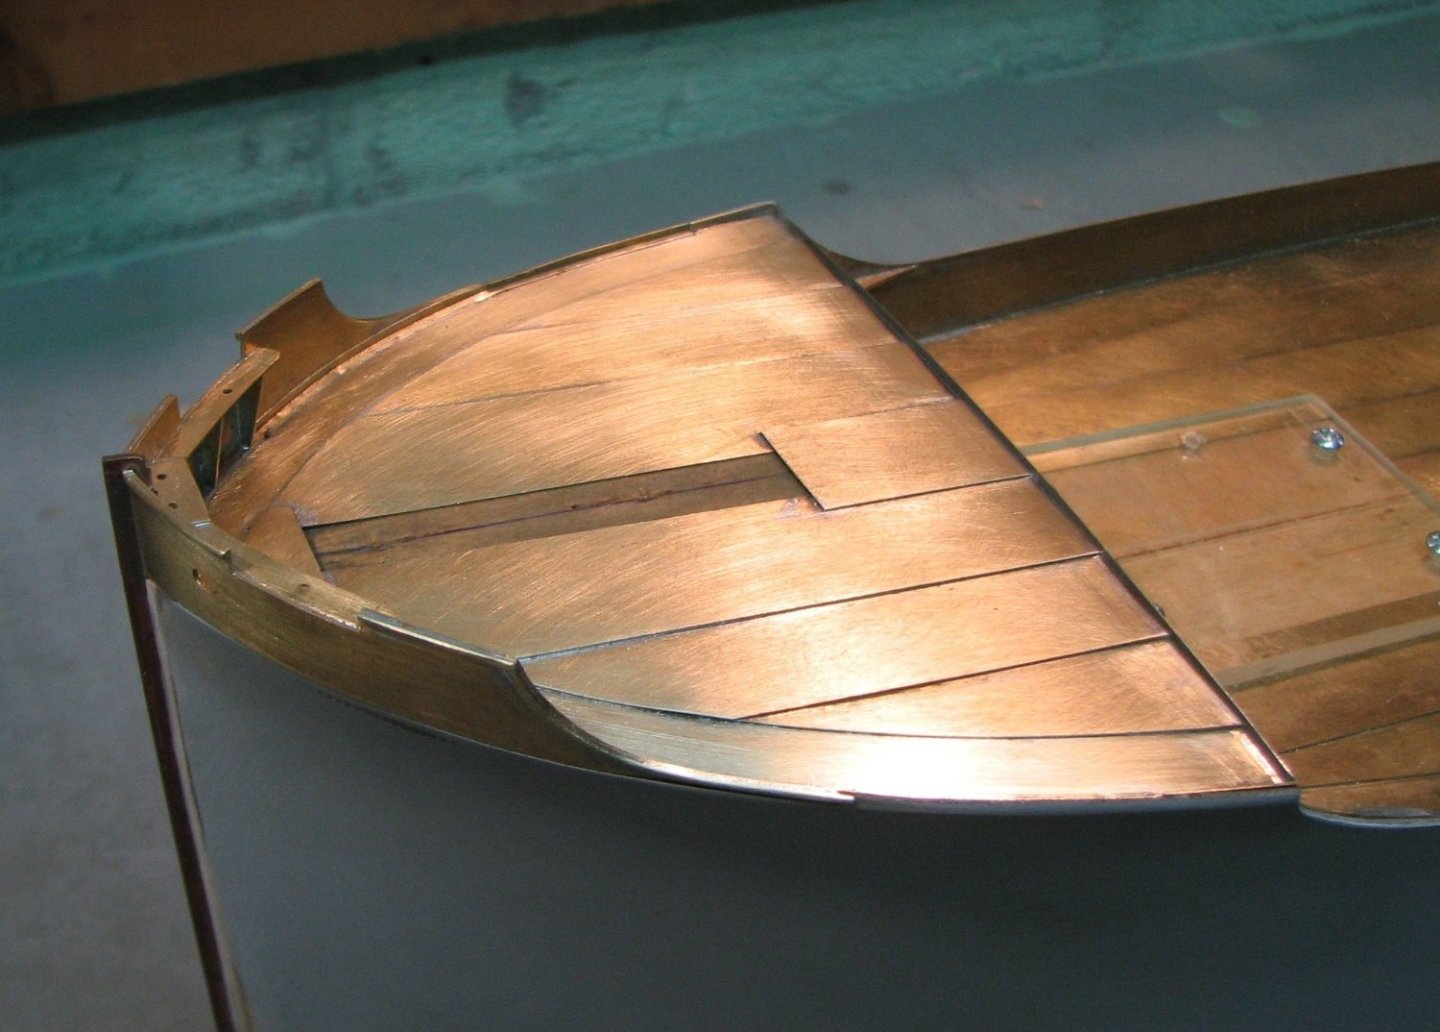
You can solder them in sequence one after another. The brass sheets are massive and do not have time to warm up enough for the previous seam to fall apart from overheating.
1 hour ago, KeithAug said:Also it would be interesting to know why you chose brass for the deck planks rather than something else e.g. very thin birch ply or even card?
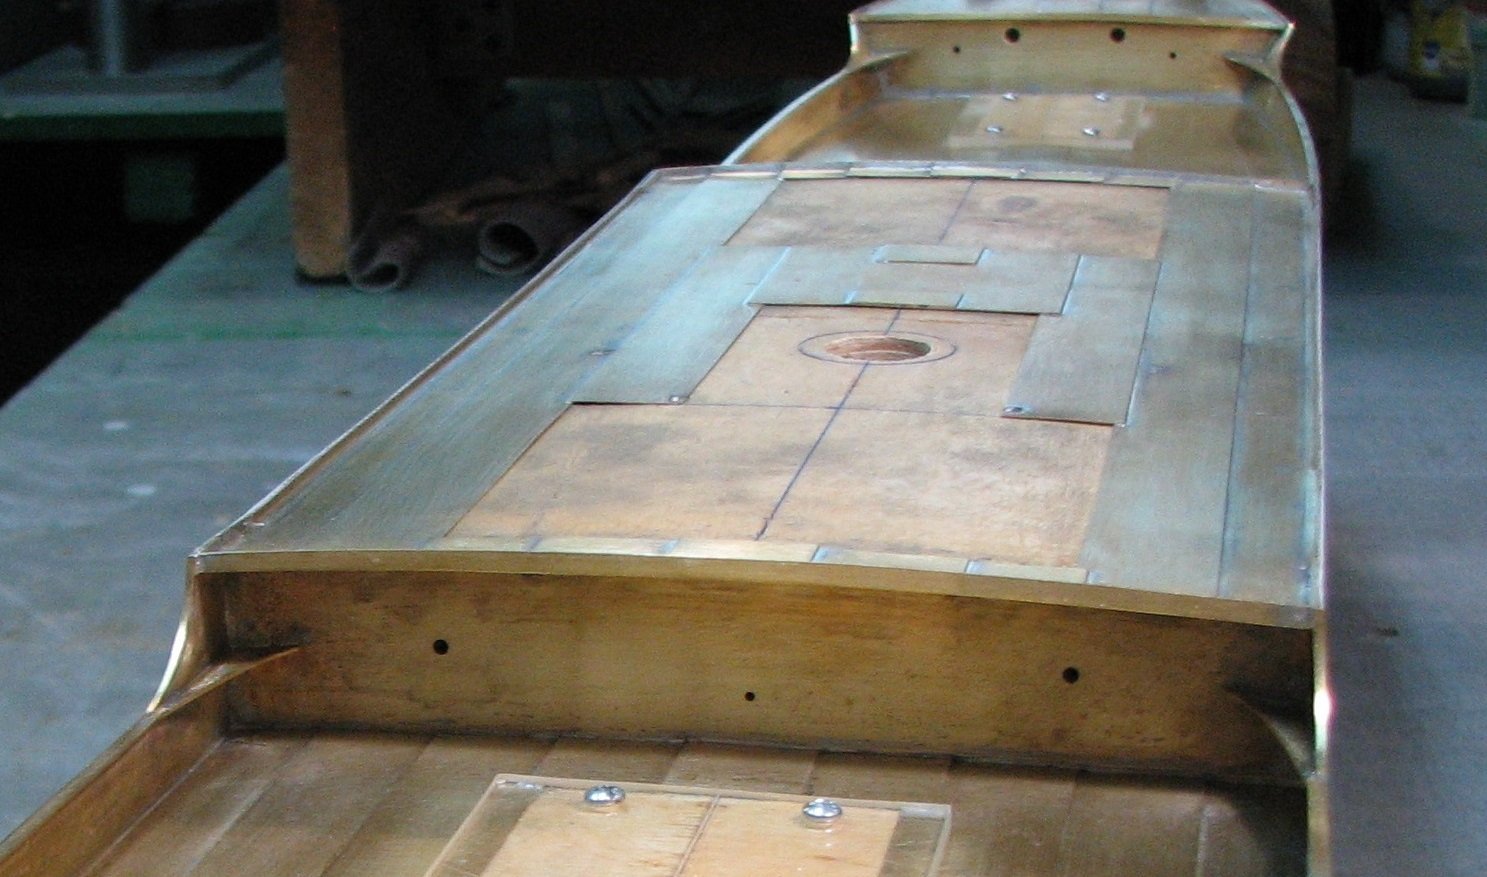
Everything is very simple here. The deck metal sheets were laid overlapping. Therefore, I need to show on the model steps with a height of approximately 0.2-0.3 mm.
Cardboard does not have the properties I need for modeling. Therefore I don't consider it as useful material.
Wood veneer with a thickness of 0.2-0.3 mm behaves like a sheet of paper. It has no rigidity and is very sensitive to changes in humidity.
- yvesvidal, NavyShooter, KORTES and 10 others
-
13
-
-
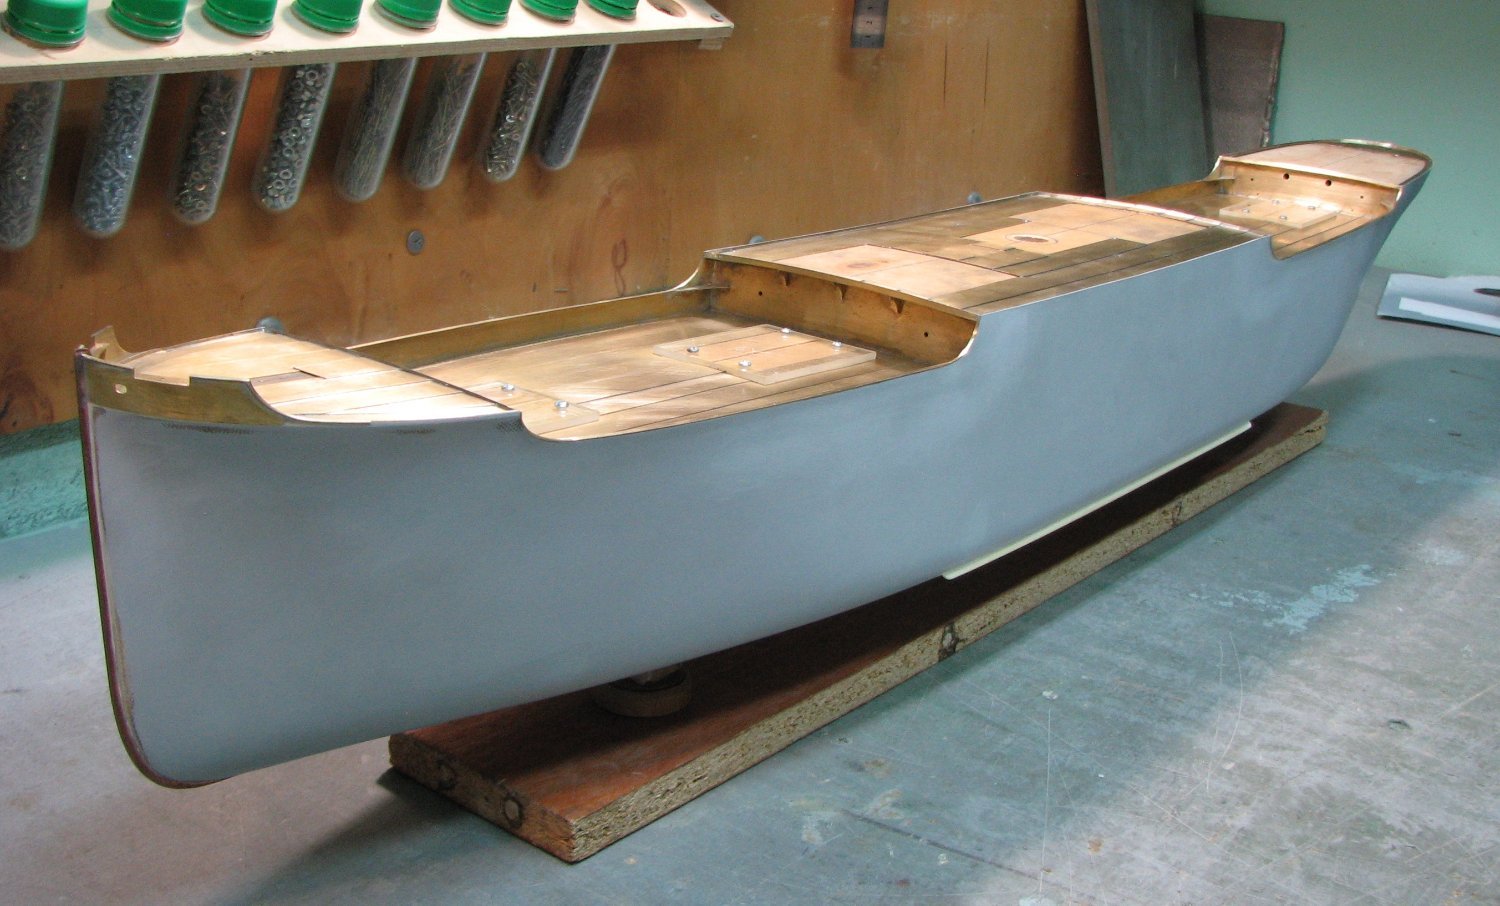
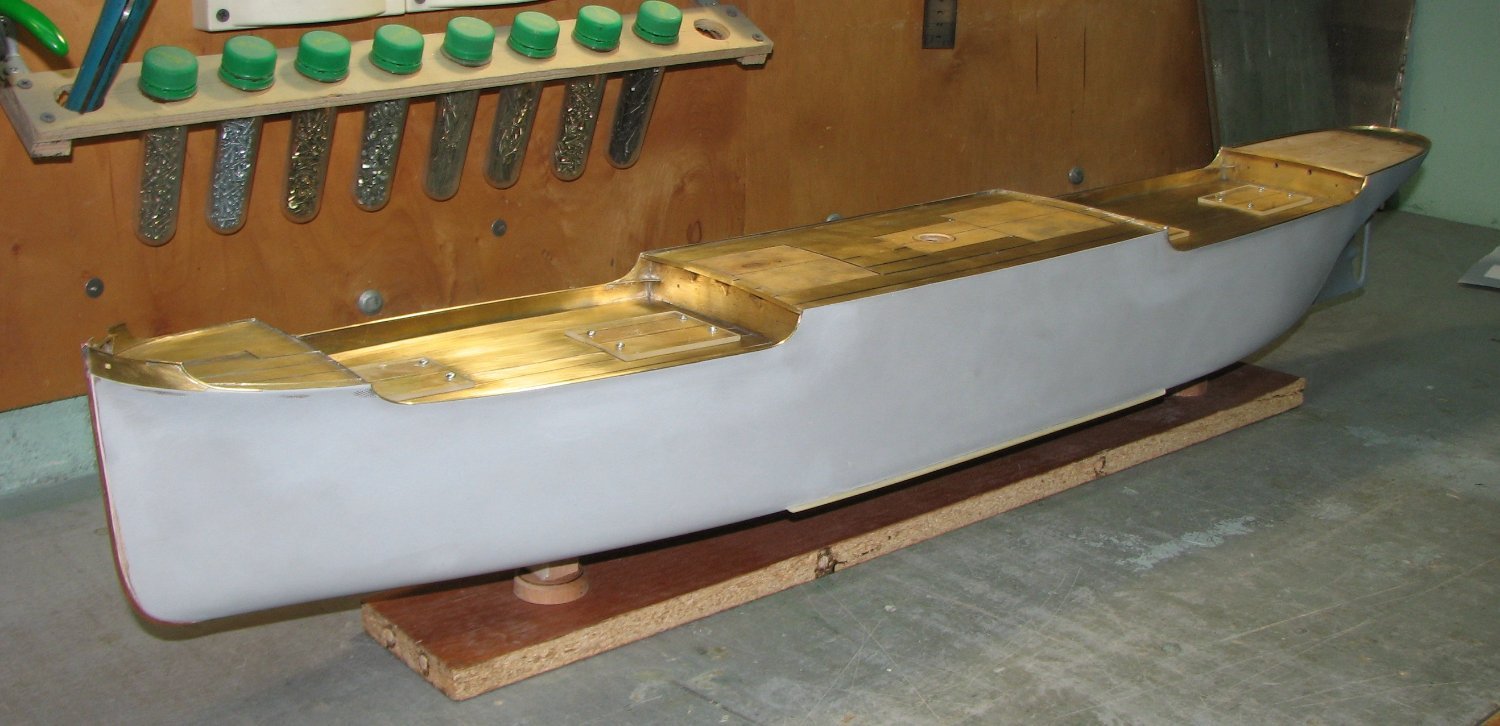
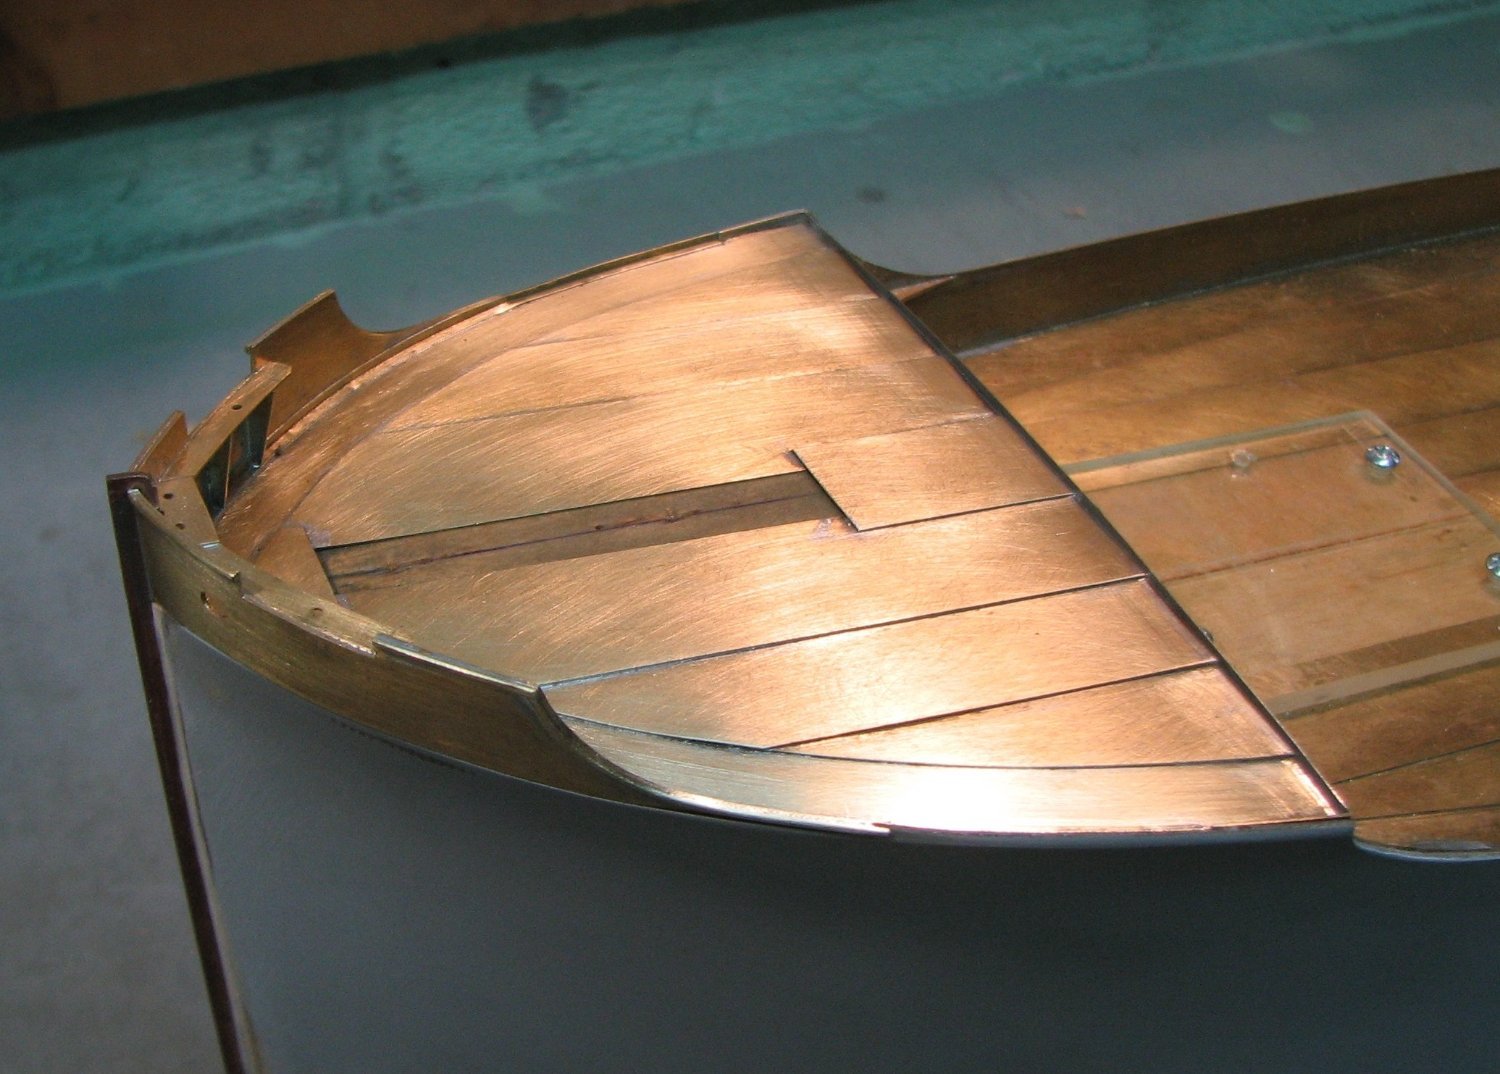
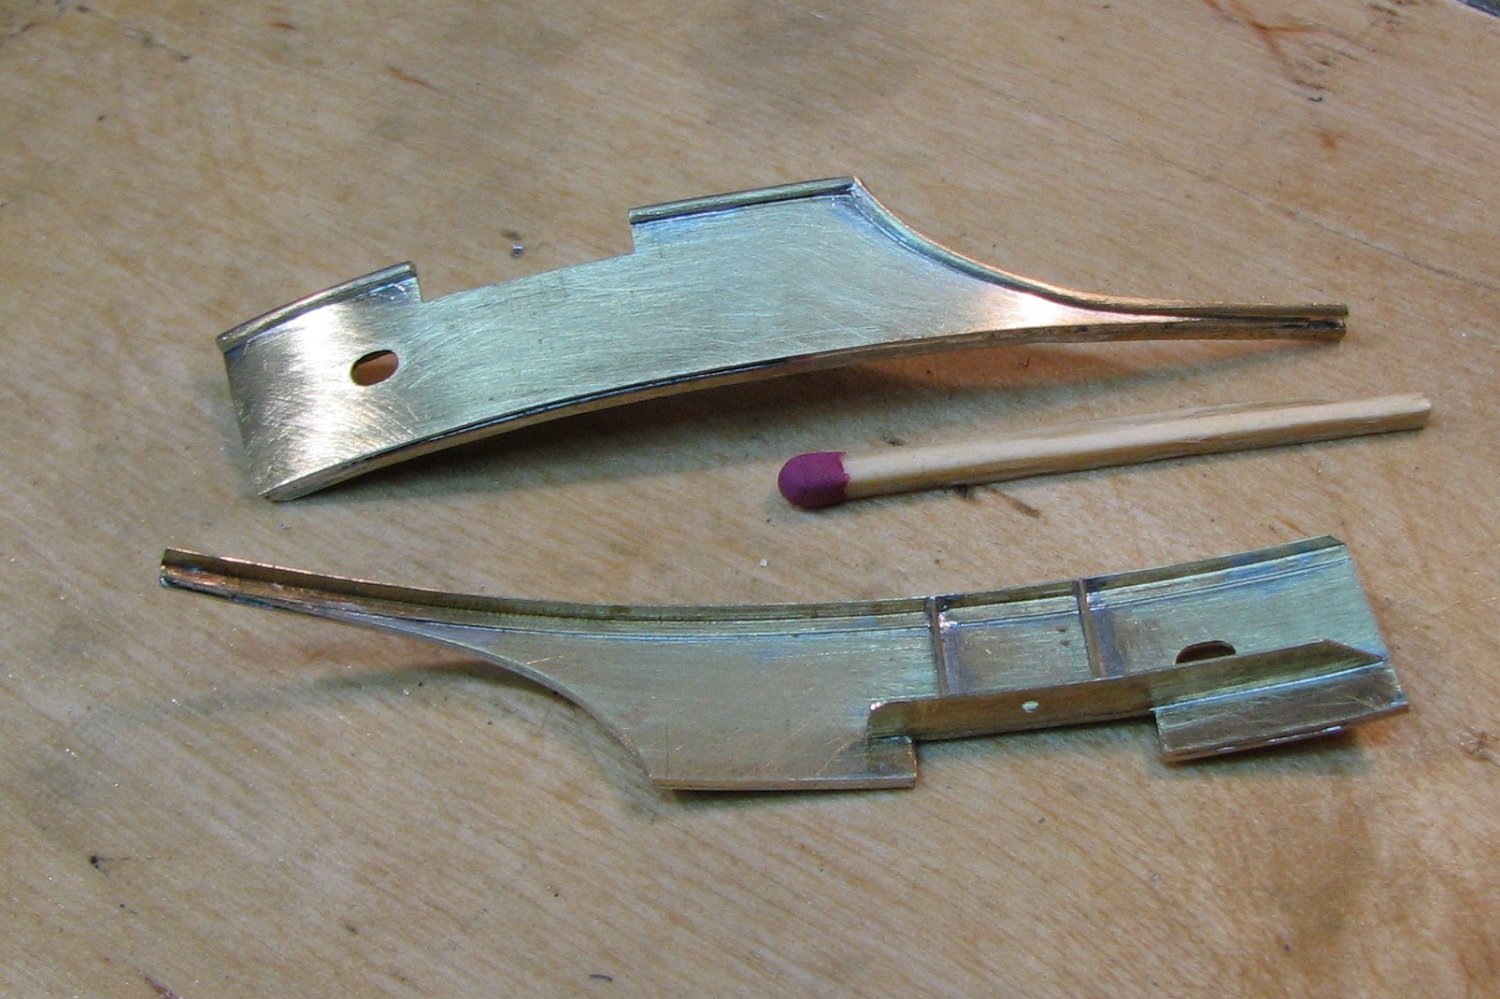
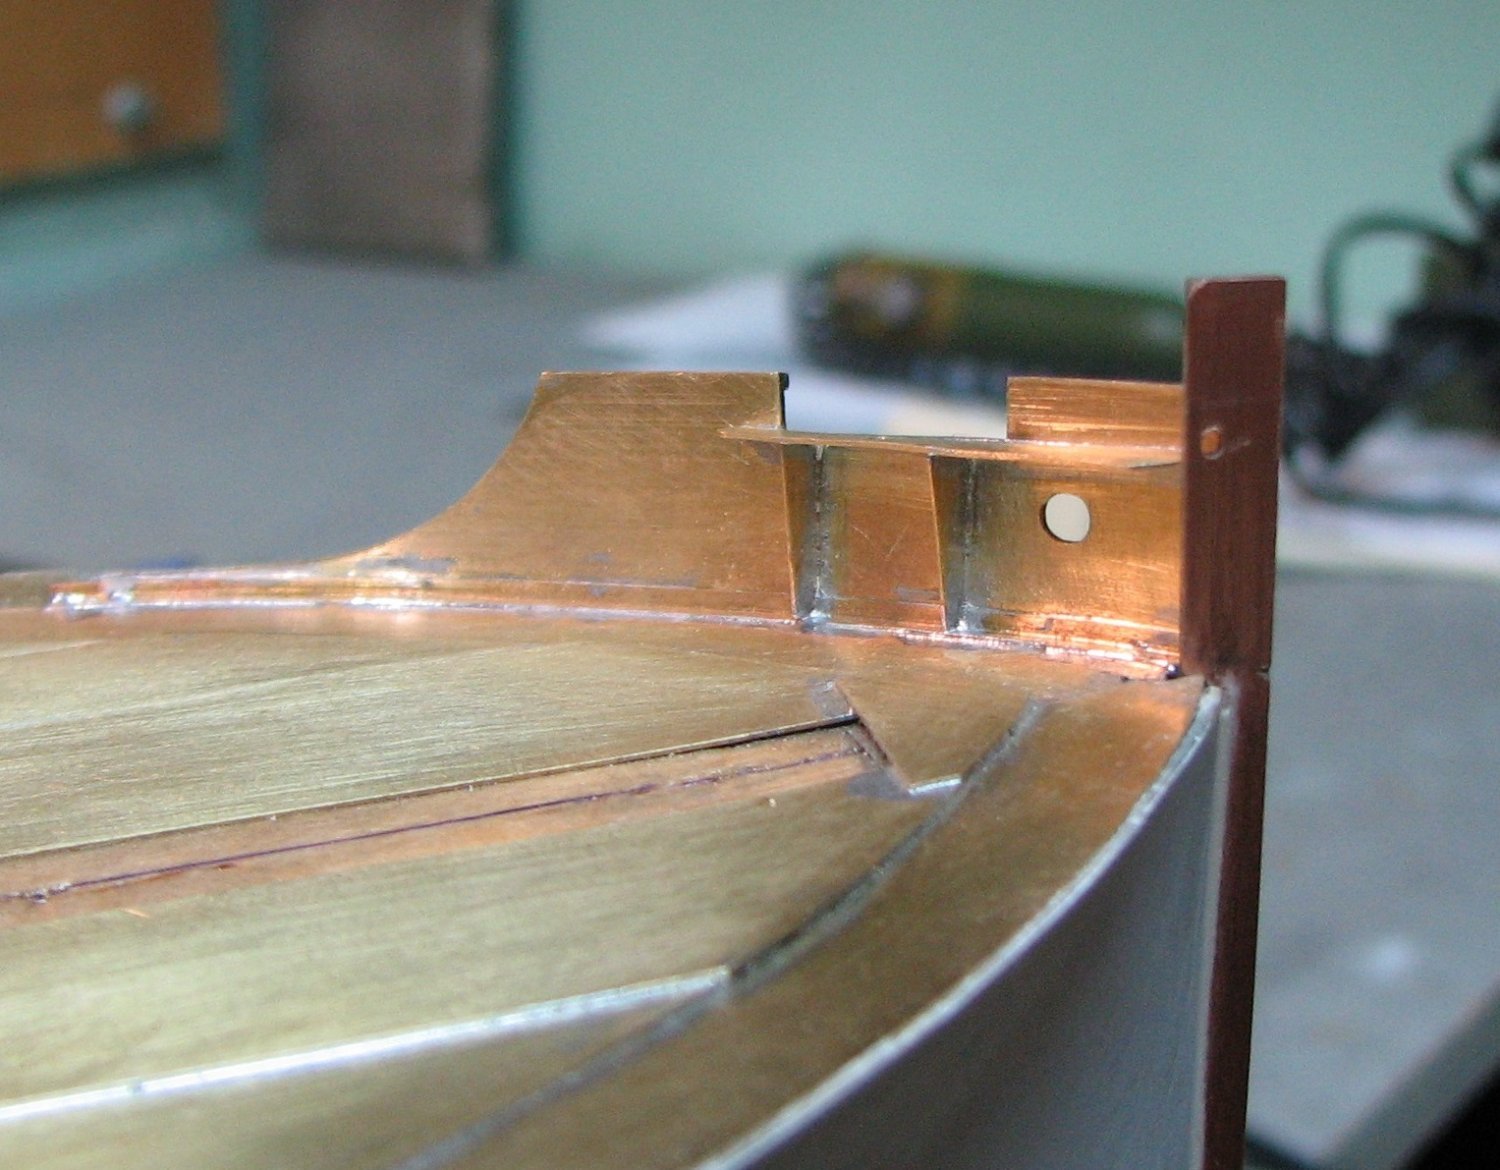
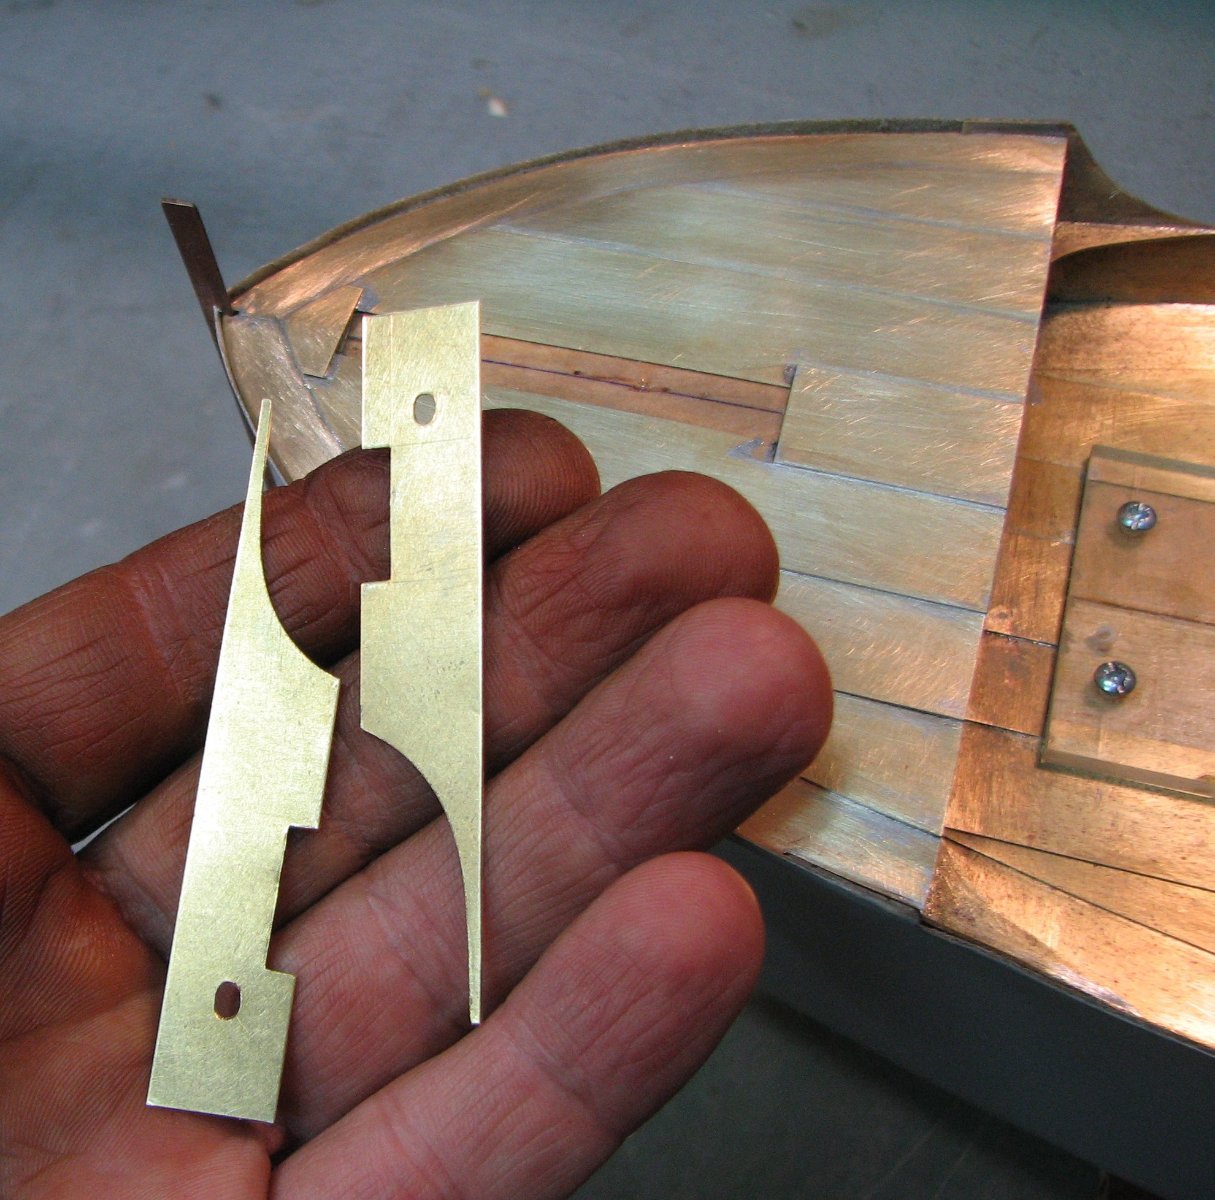
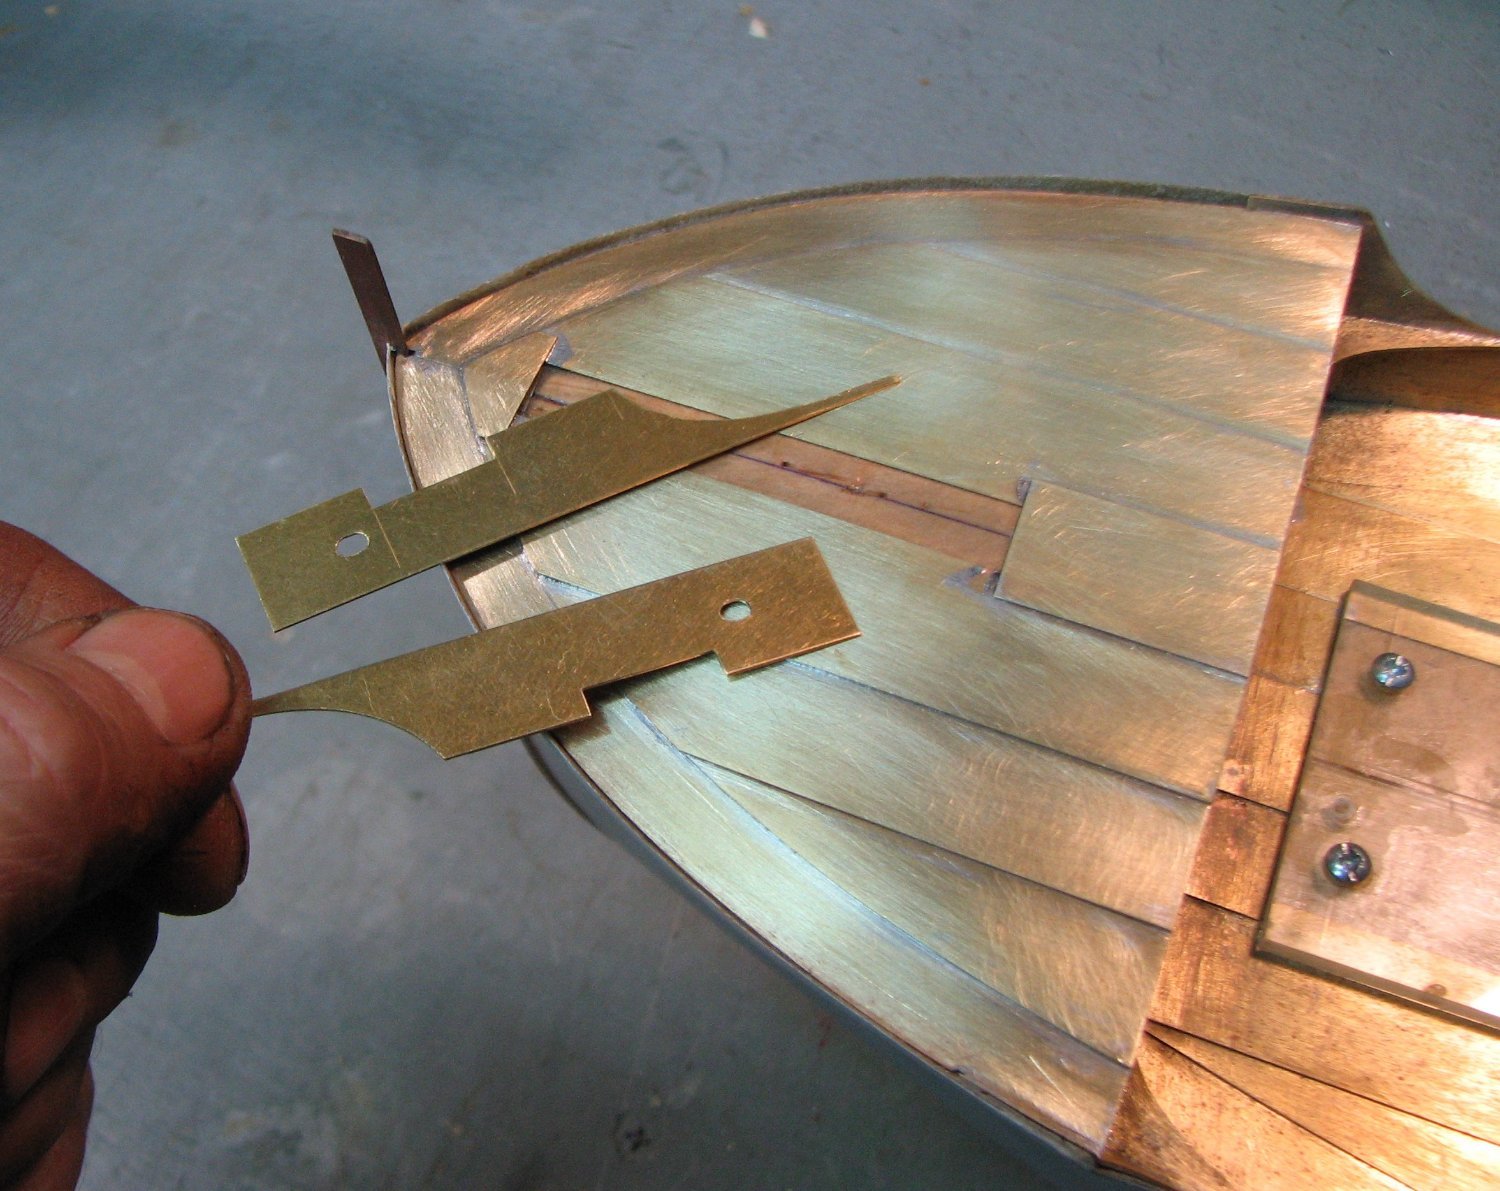
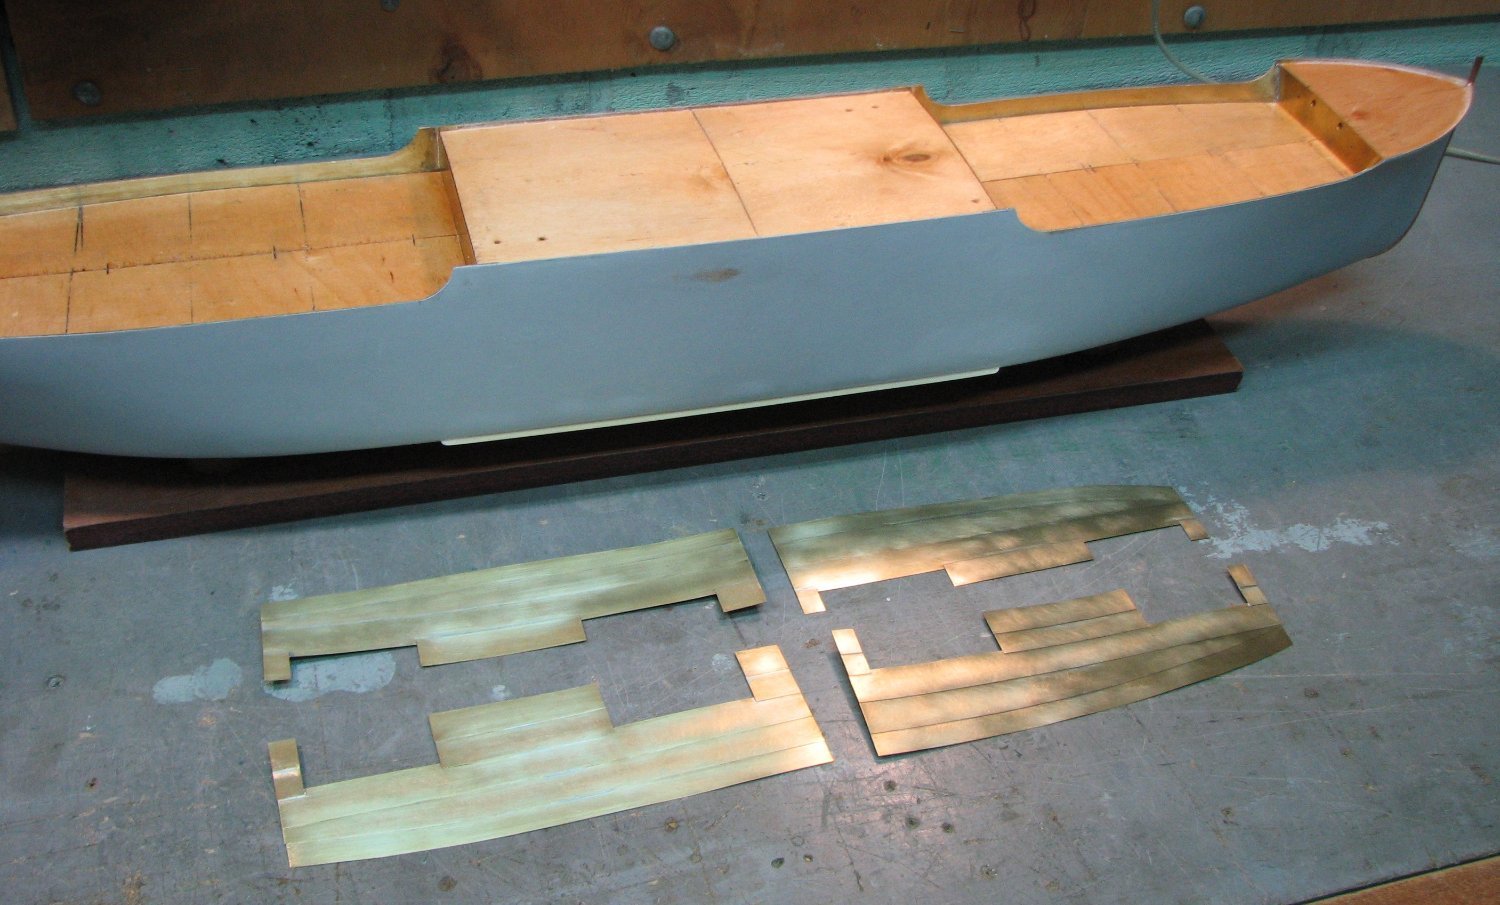
Brass blanks for the bulwark on the forecastle.


- Keith Black, druxey, mtaylor and 12 others
-
15
-
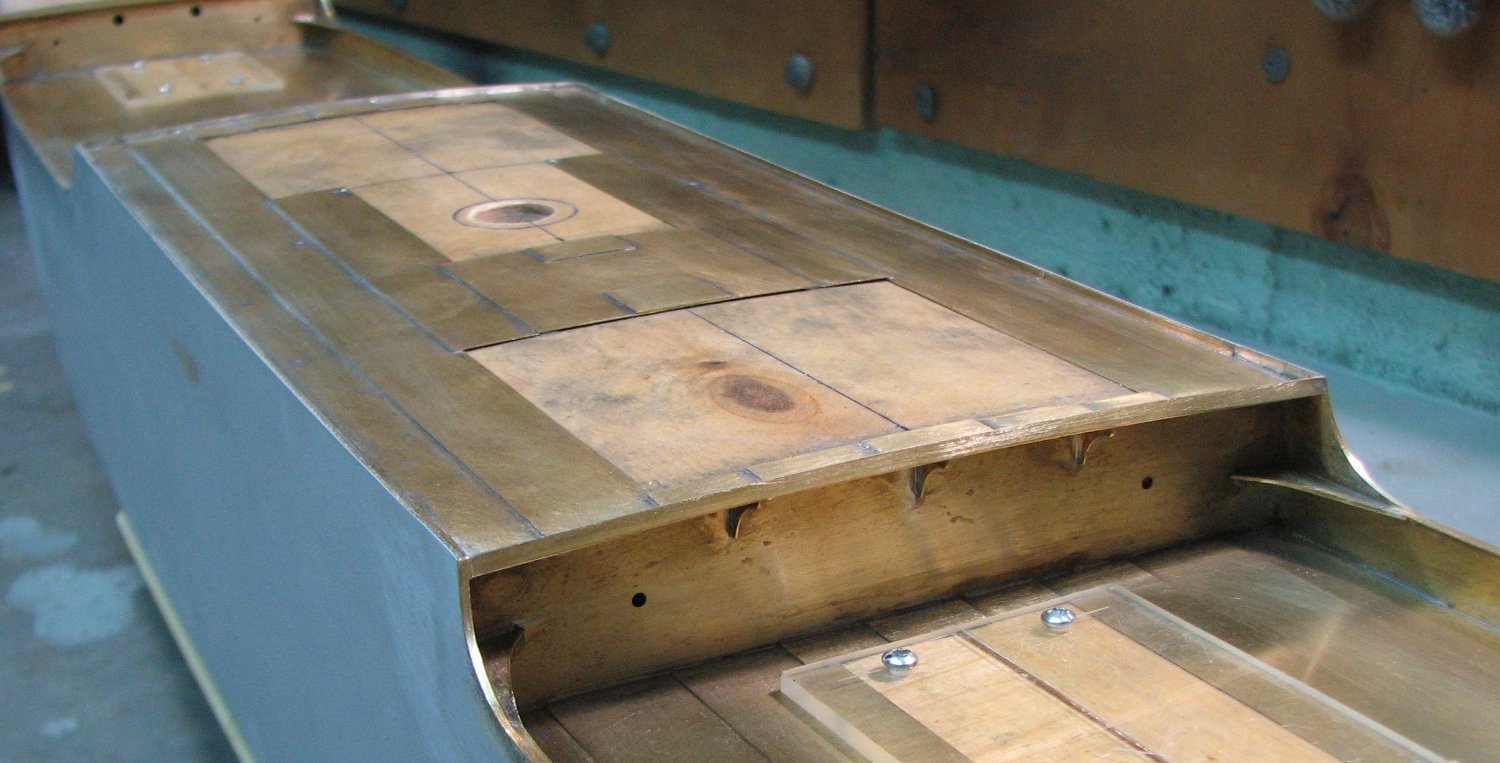
Thank you all for your attention to my topic!
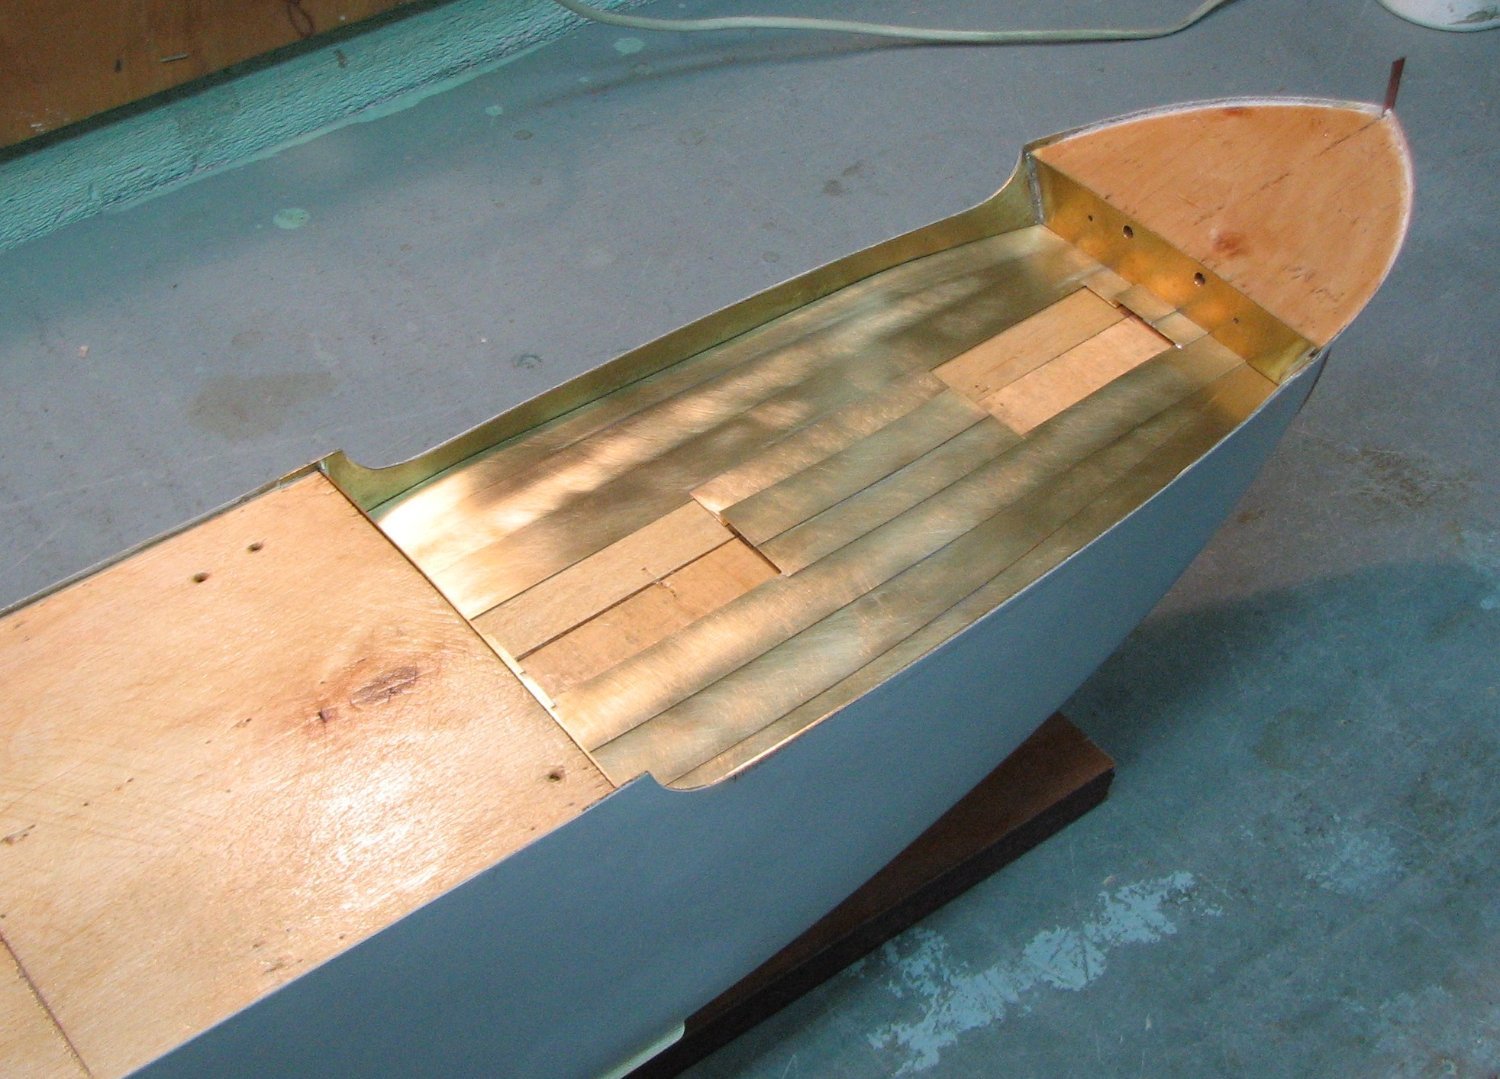
The process of laying brass on the deck continues. Now on the forecastle.
- wefalck, Ras Ambrioso, mtaylor and 6 others
-
9
-
Large body and many small details! It will be interesting, I will watch it with anticipation. Good luck in job!


- GrandpaPhil, Rik Thistle, mtaylor and 7 others
-
10
-
-


SS Blagoev ex-Songa 1921 by Valeriy V - scale 1:100 - Soviet Union
in - Build logs for subjects built 1901 - Present Day
Posted
Thank you, Nils! They are needed for the pillars of the navigation bridge. There are none in the aft part of the spardeck.