HOLIDAY DONATION DRIVE - SUPPORT MSW - DO YOUR PART TO KEEP THIS GREAT FORUM GOING! (83 donations so far out of 49,000 members - C'mon guys!)
×

Sea Hoss
-
Posts
420 -
Joined
-
Last visited
Content Type
Profiles
Forums
Gallery
Events
Everything posted by Sea Hoss
-
 Thanks for the comments guys, mek, I also thought of heat shrink. Your work looks very good. It looks like maybe you recieved a slightly larger scale chain than I did in my kit. I've found these things do vary. Even sliding on the smallest of heat shrink looked comically gigantic to me. I'm thinking of carefully applying a build up of black acrylic paint to the area to simulate at least some type of protection (?). I should have ordered a better chain. If it bothers me down the road, maybe I will. On to the masts!
- 101 replies
-
- 2
-

-
- emma c berry
- model shipways
- (and 1 more)
-
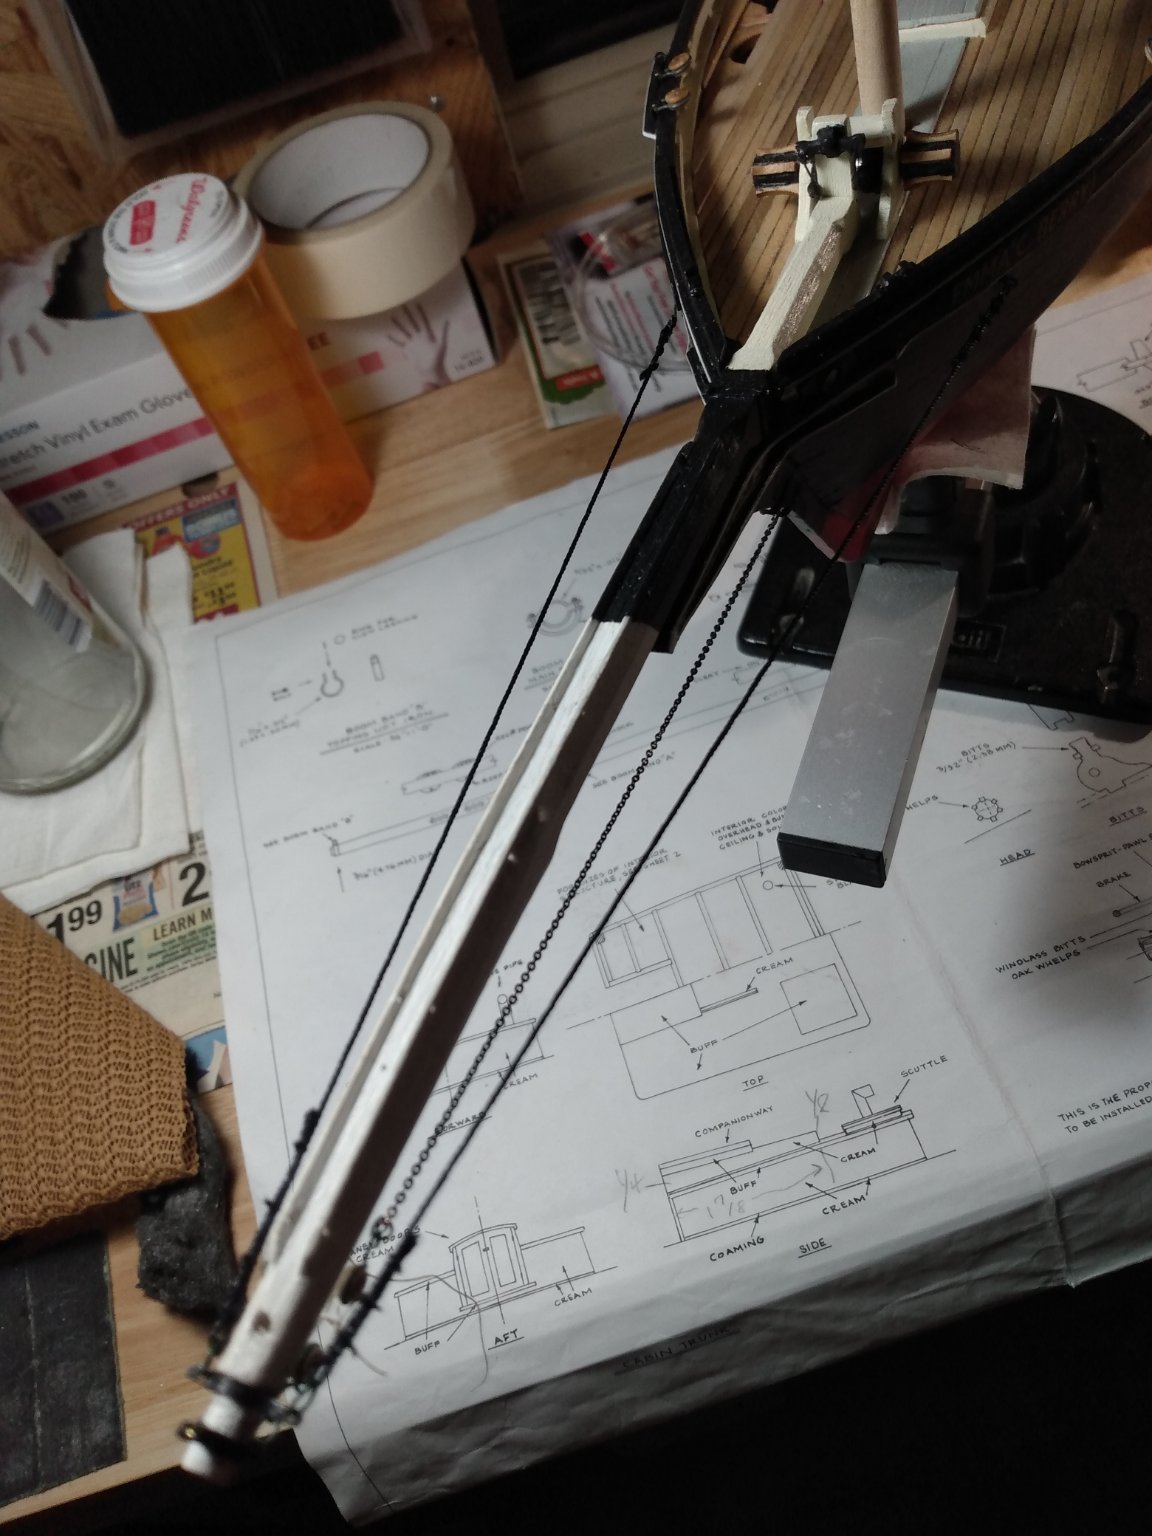
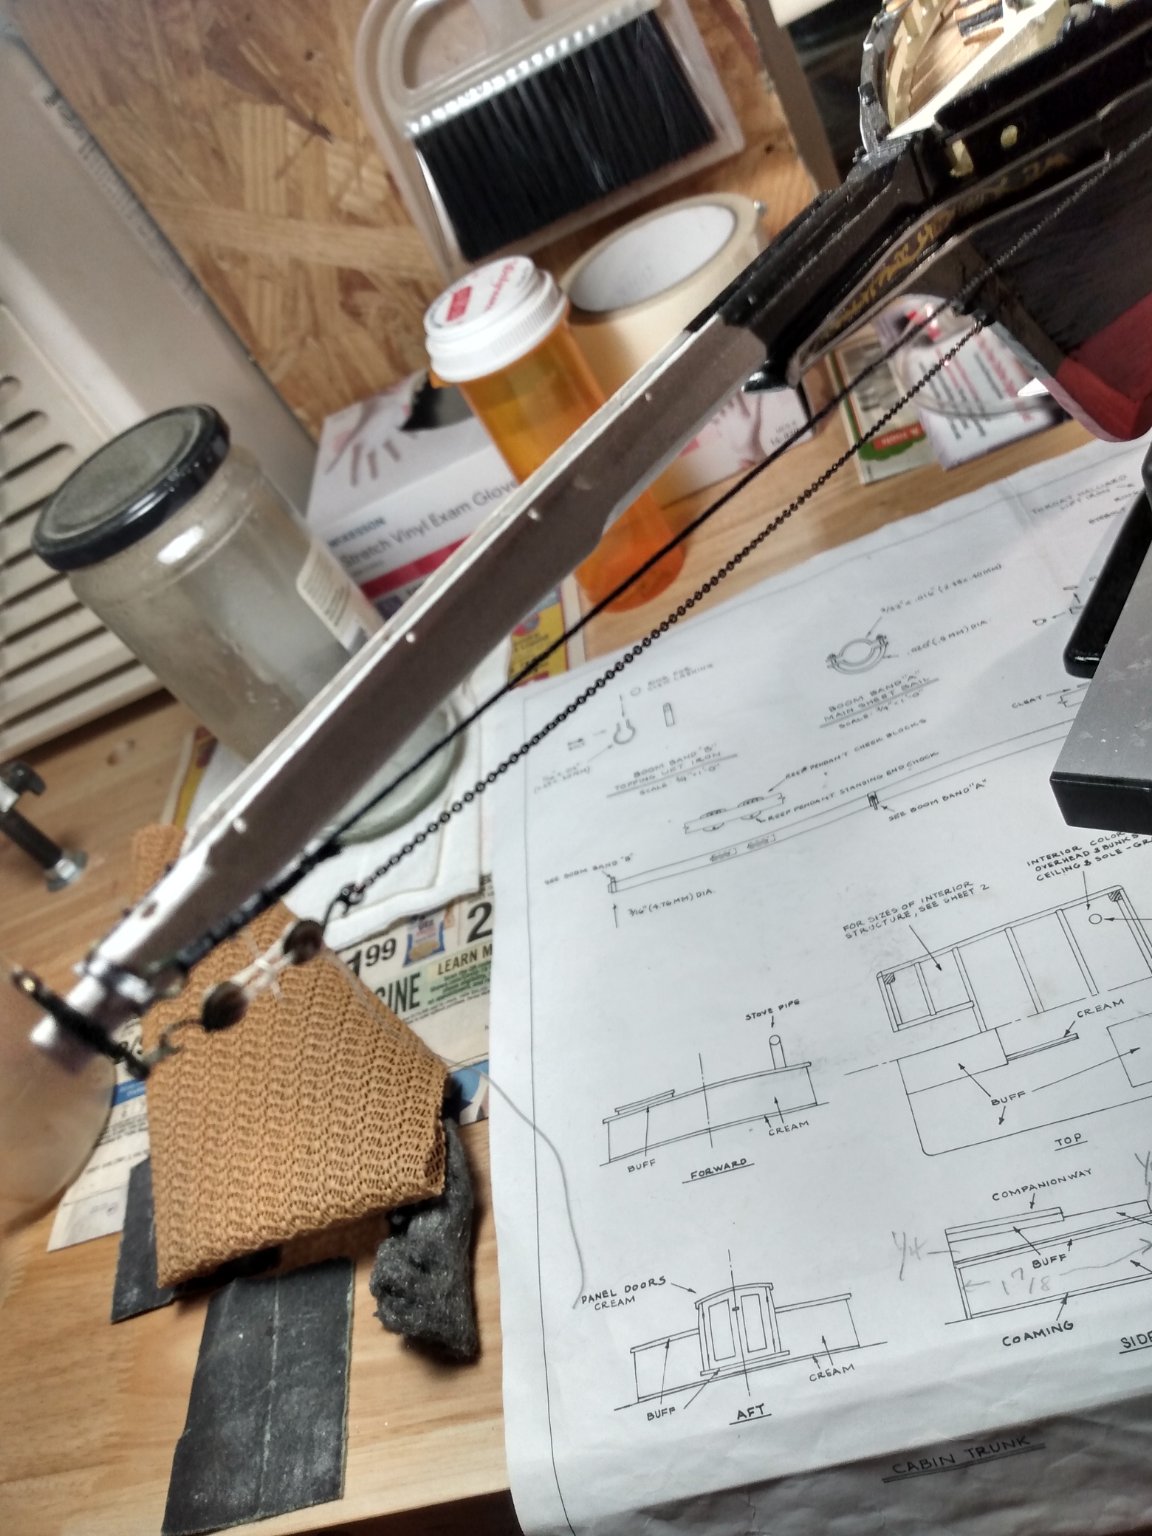
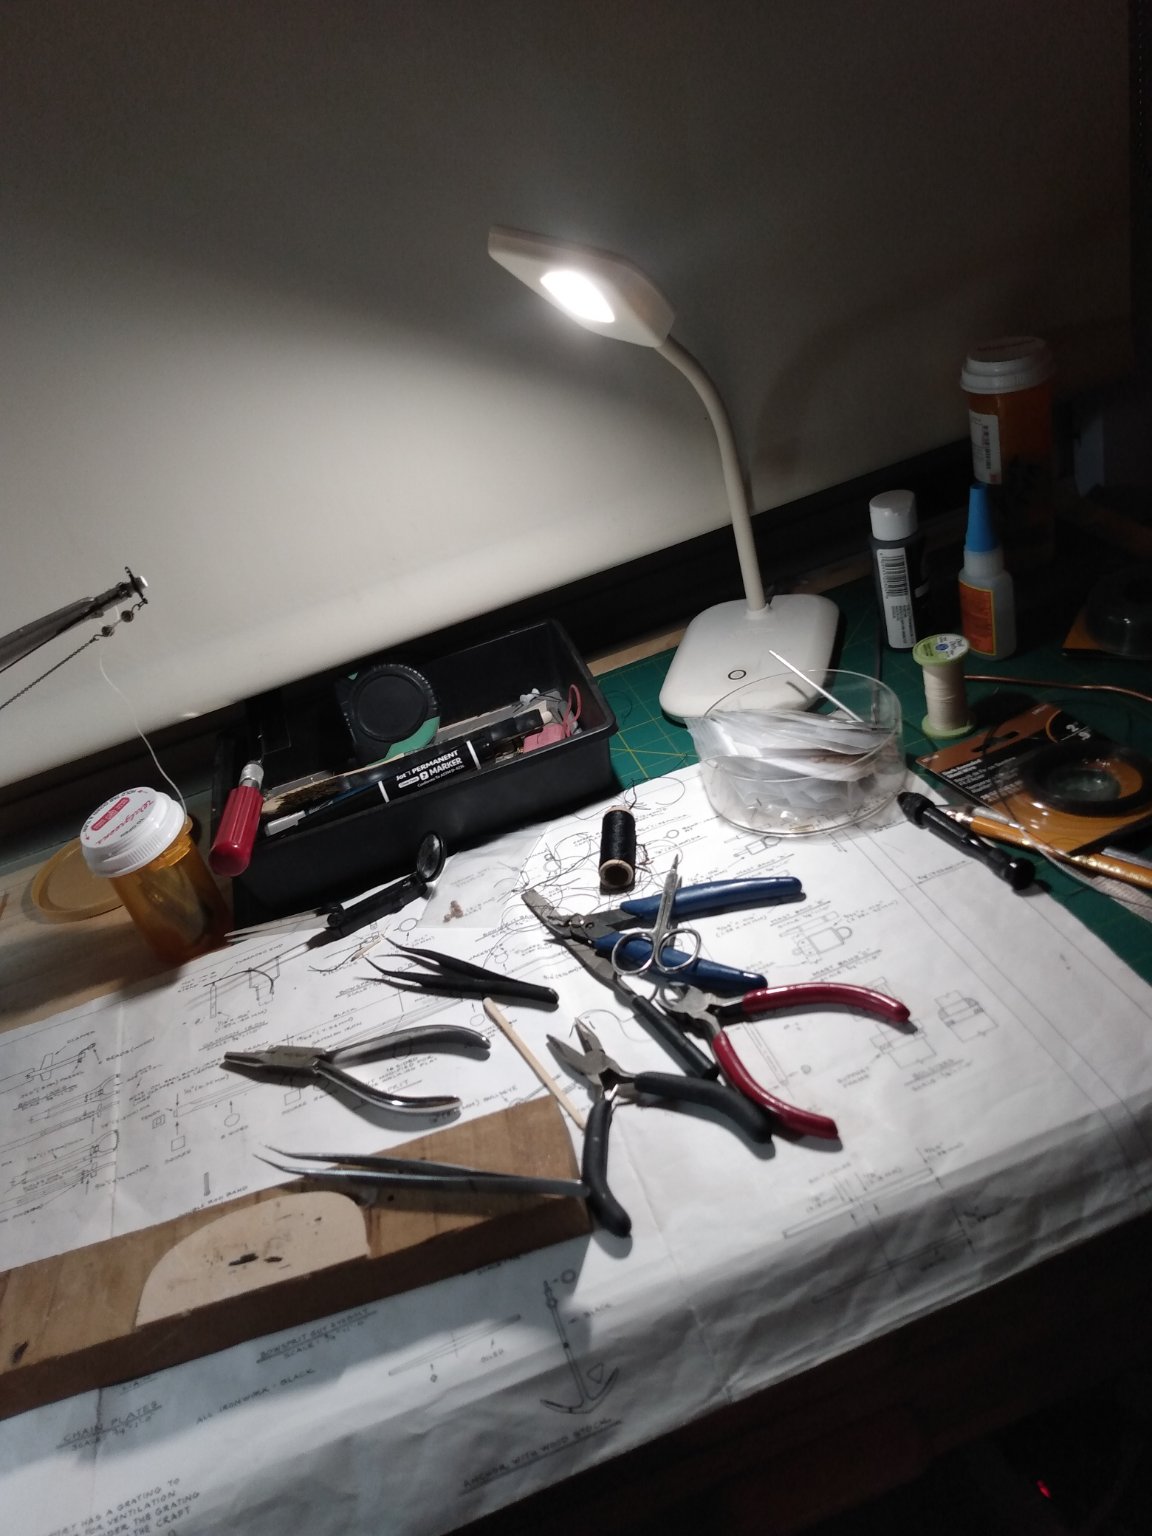
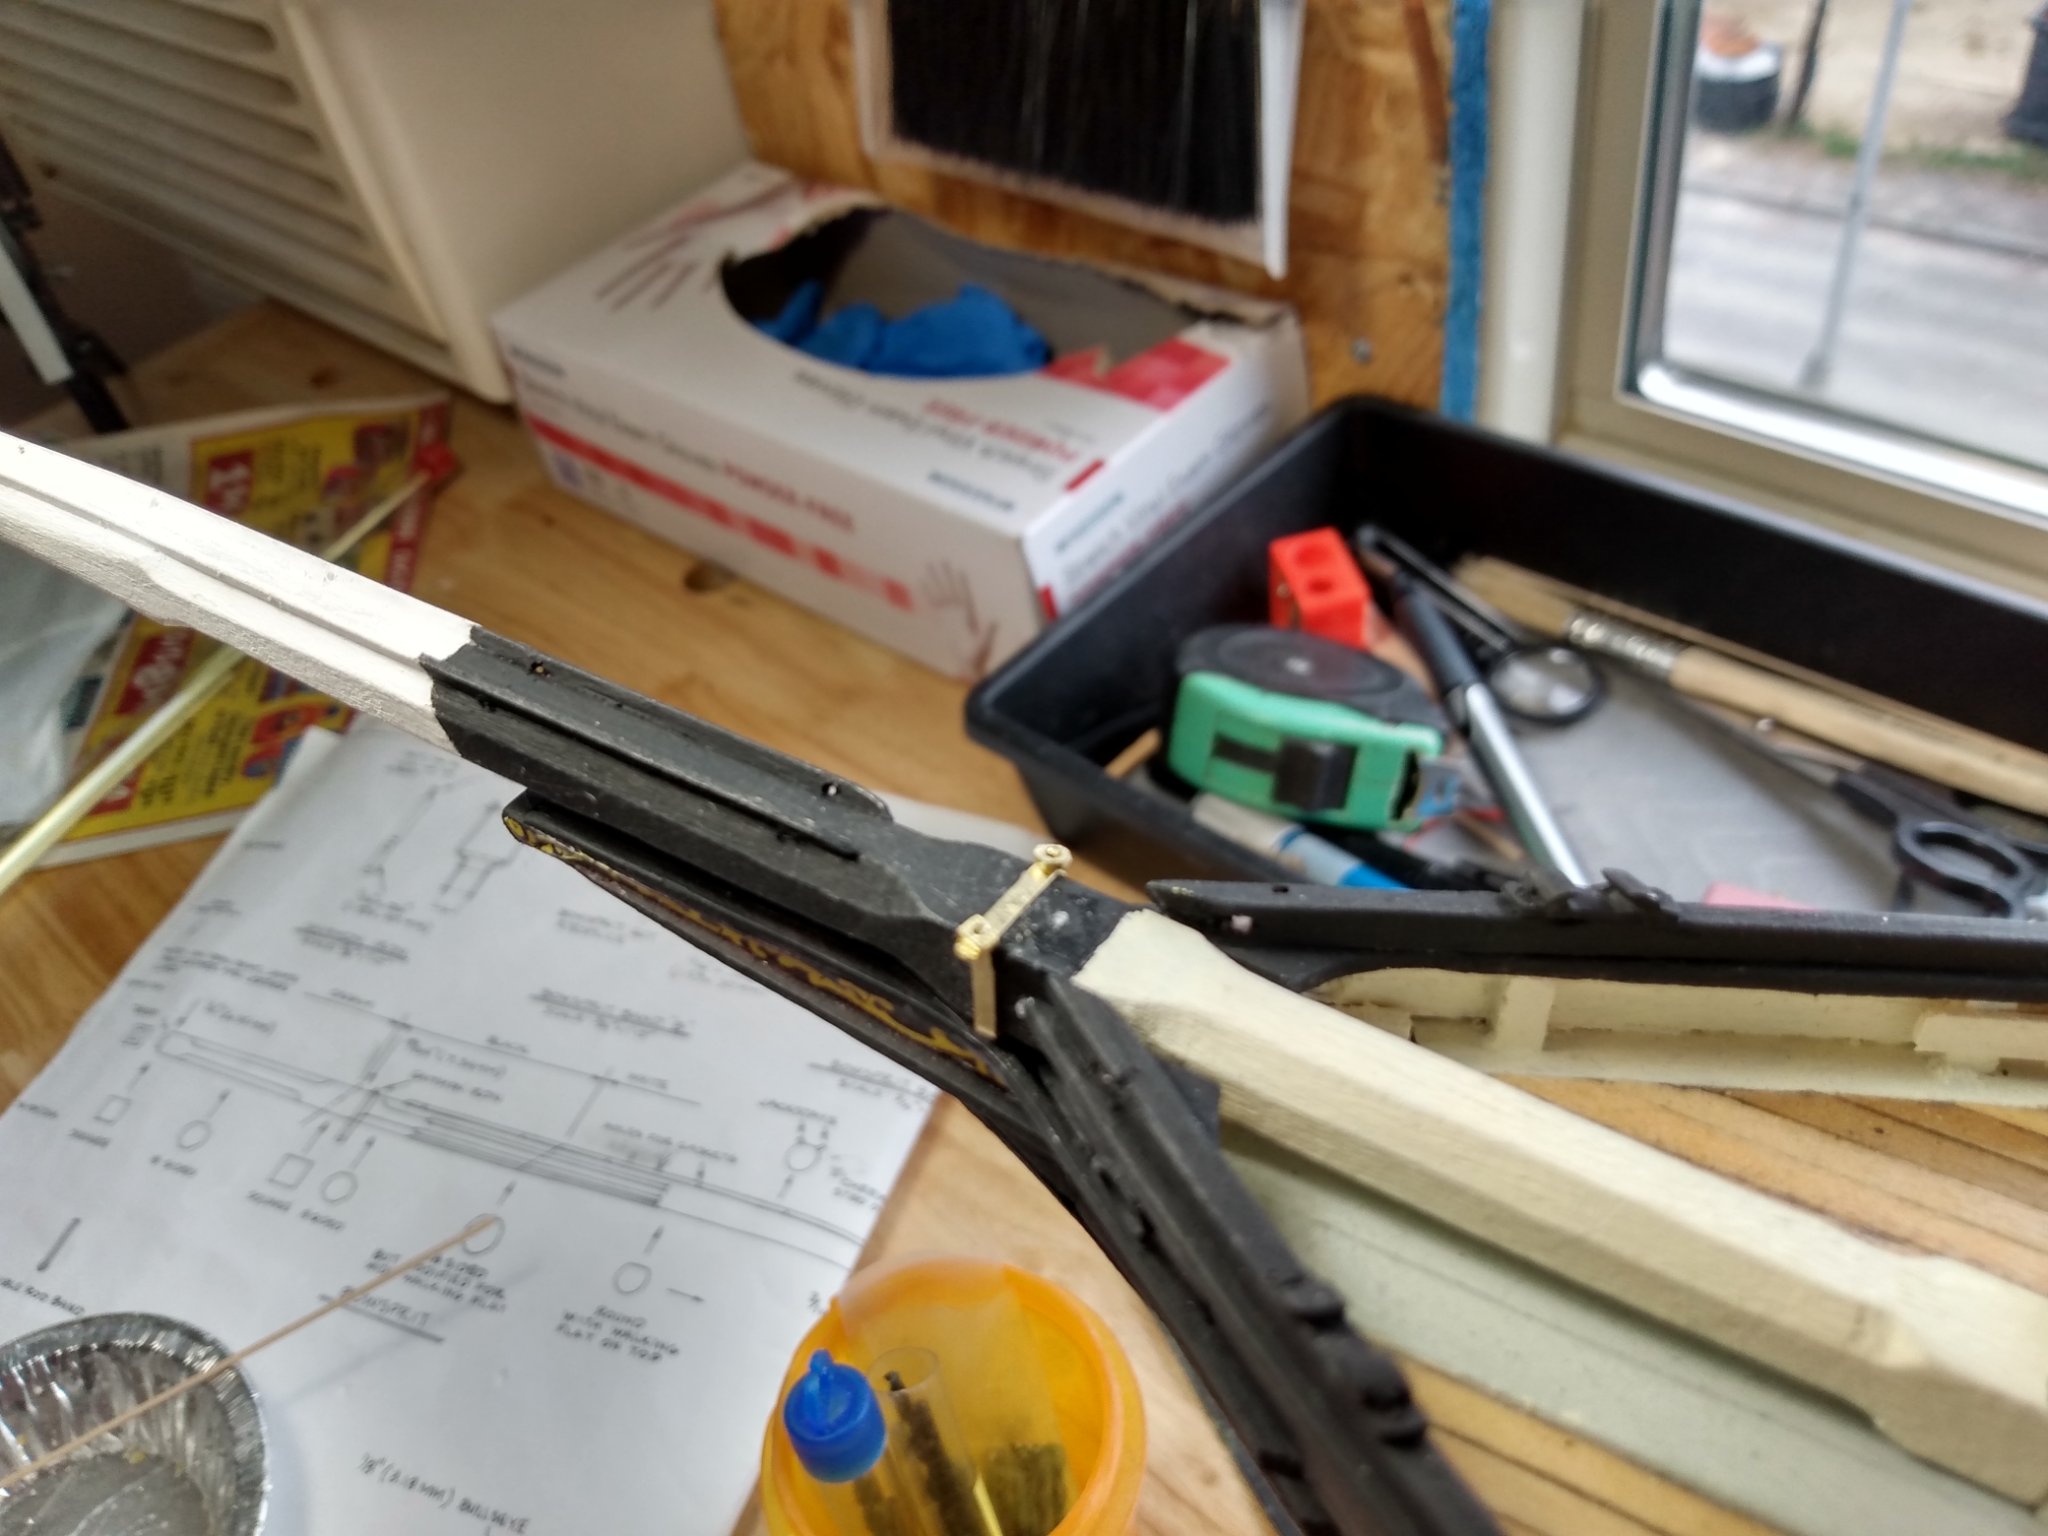
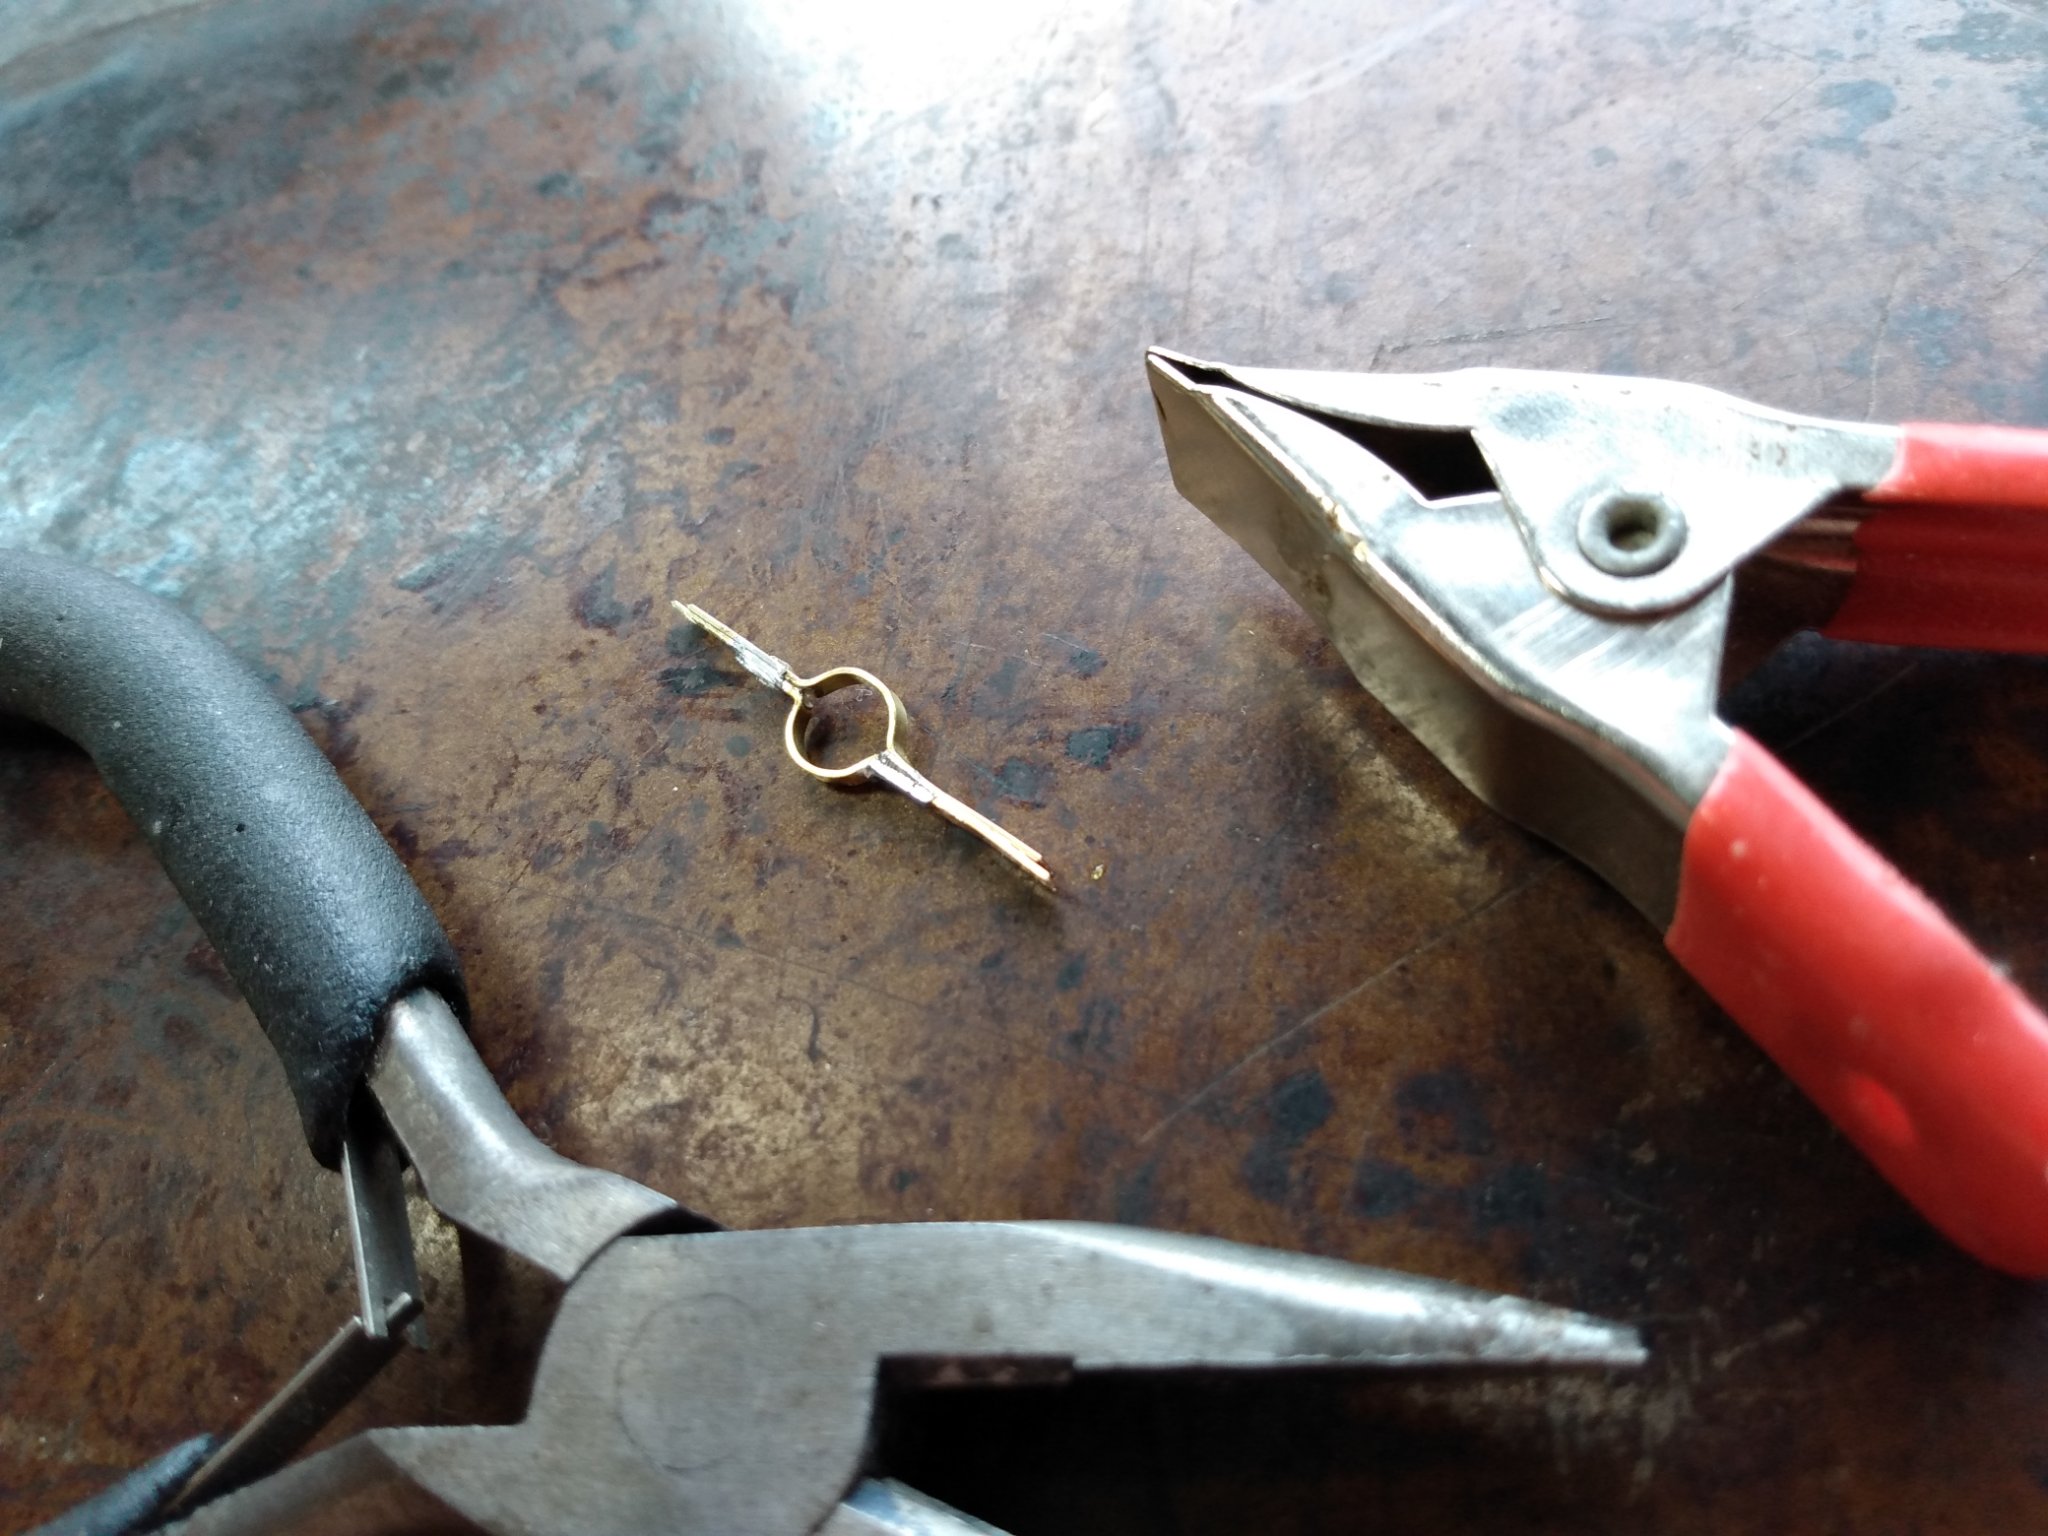
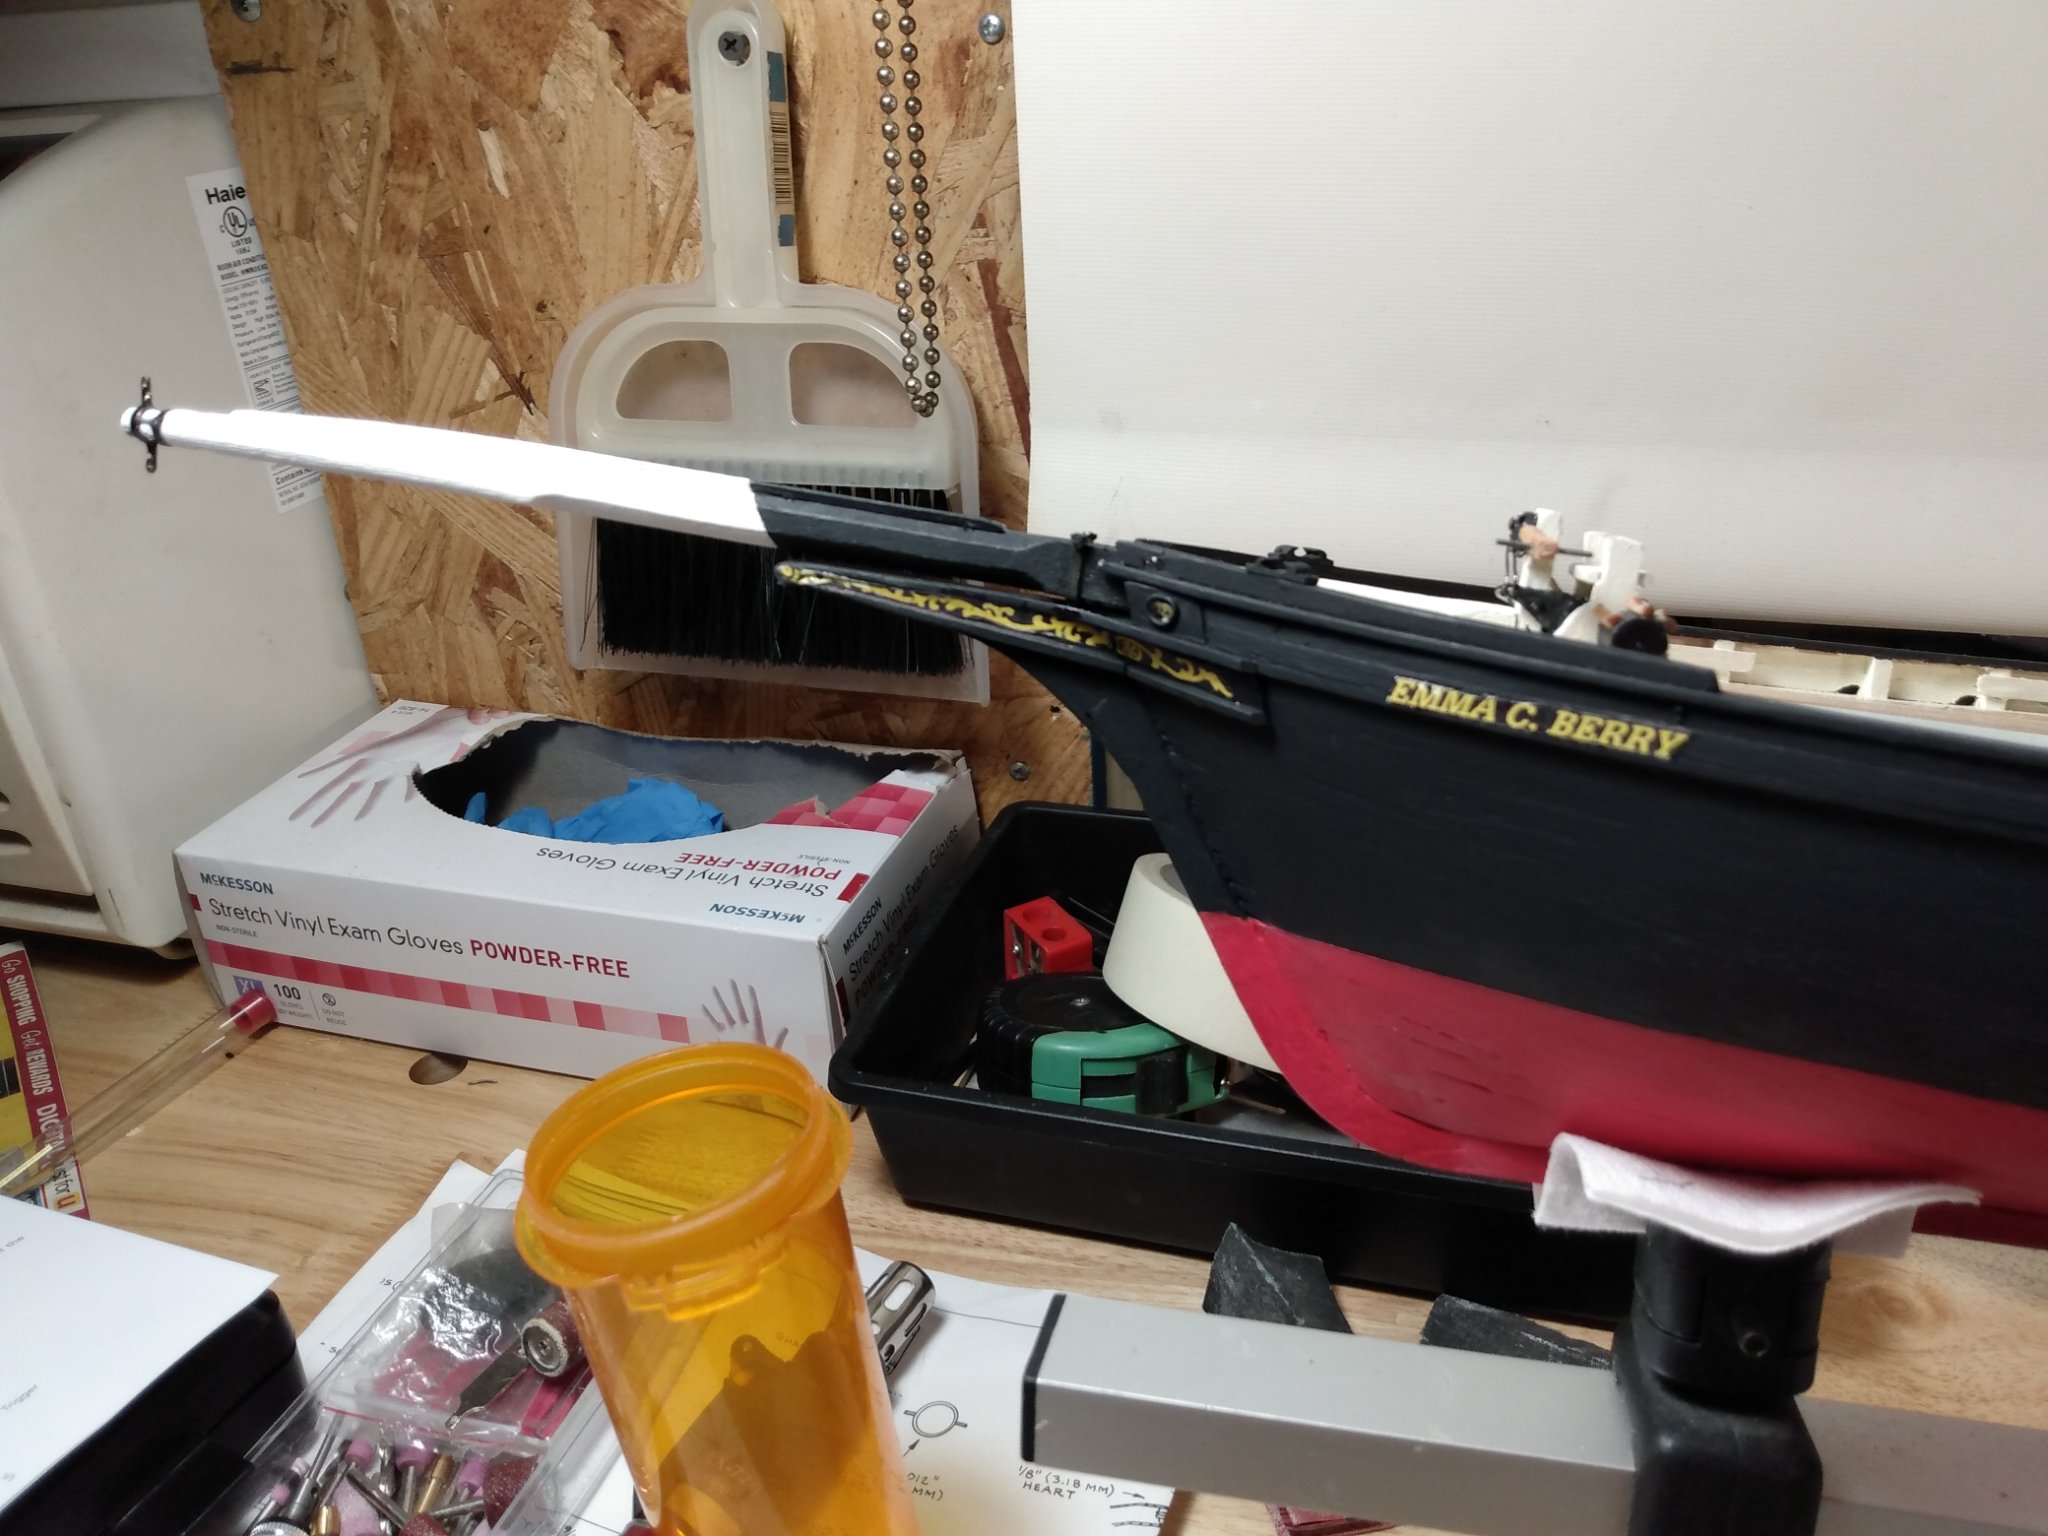
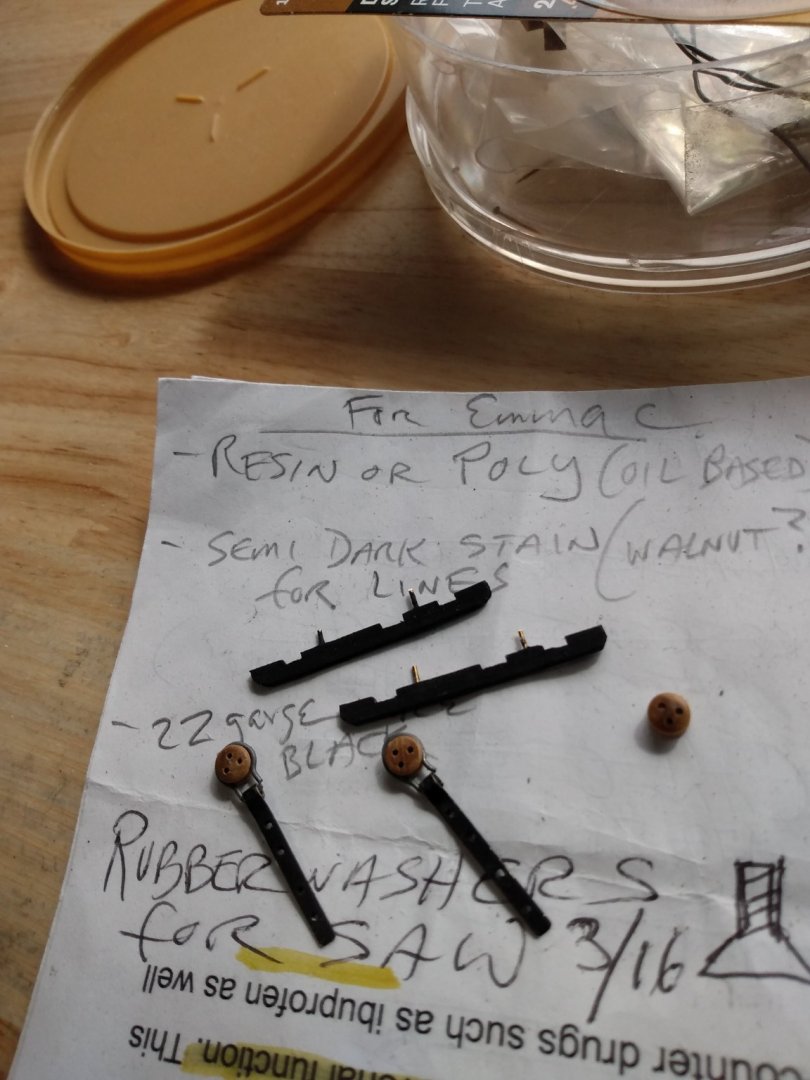
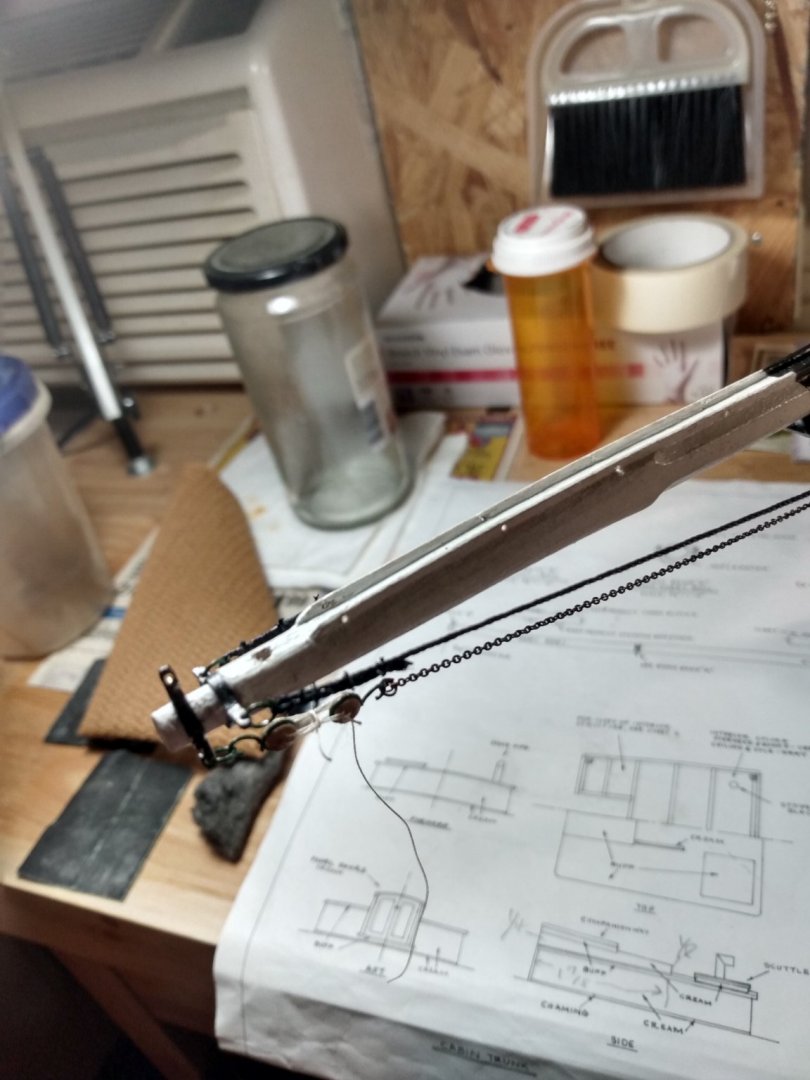
Hello modellers, been draggin my feet lately on constructing the bowsprit rigging. Had to finally just settle for putting something together that I could live with. I had considerable problems with the finer details of this rigging. First, the shackles that were required were just frustrating as hell to construct. To make them to the scale required proved impossible for me. I opted for rings with hooks. They look reasonable. Second, the chain supplied for the bobstay was a beast to deal with! I fought to even get 28 gauge wire through it to make the rings! I ended up using 1/8 deadeyes for the forward end with lanyard for adjustments. It looks accepable. As far as parcelling and serving the aft end, forget about it! Looked way too fat. And serving the chain without the parselling looked like crapolla. Oh well, just chain to the deadeyes. Also, I did get the chainplates and channels done. I wont permenently attach the chainplates until I can line them up in a straight line with the shrouds (made that mistake before). But all in all, I'm cool with the latest results. Now to clean up and regroup for the masts, boom and gaff. This, I will enjoy!


- 101 replies
-
- 7
-
-
- emma c berry
- model shipways
- (and 1 more)
-
Mr T, your rudder looks very nice! Your methods are also quite helpful. I wish now I took more care doing my rudder! But these models are after all a compilation of many parts and if we can get most of them right, we will have an attractive ship. I like your work.
-
Your coils look nice, I may use that method, thanks for the demo.
-
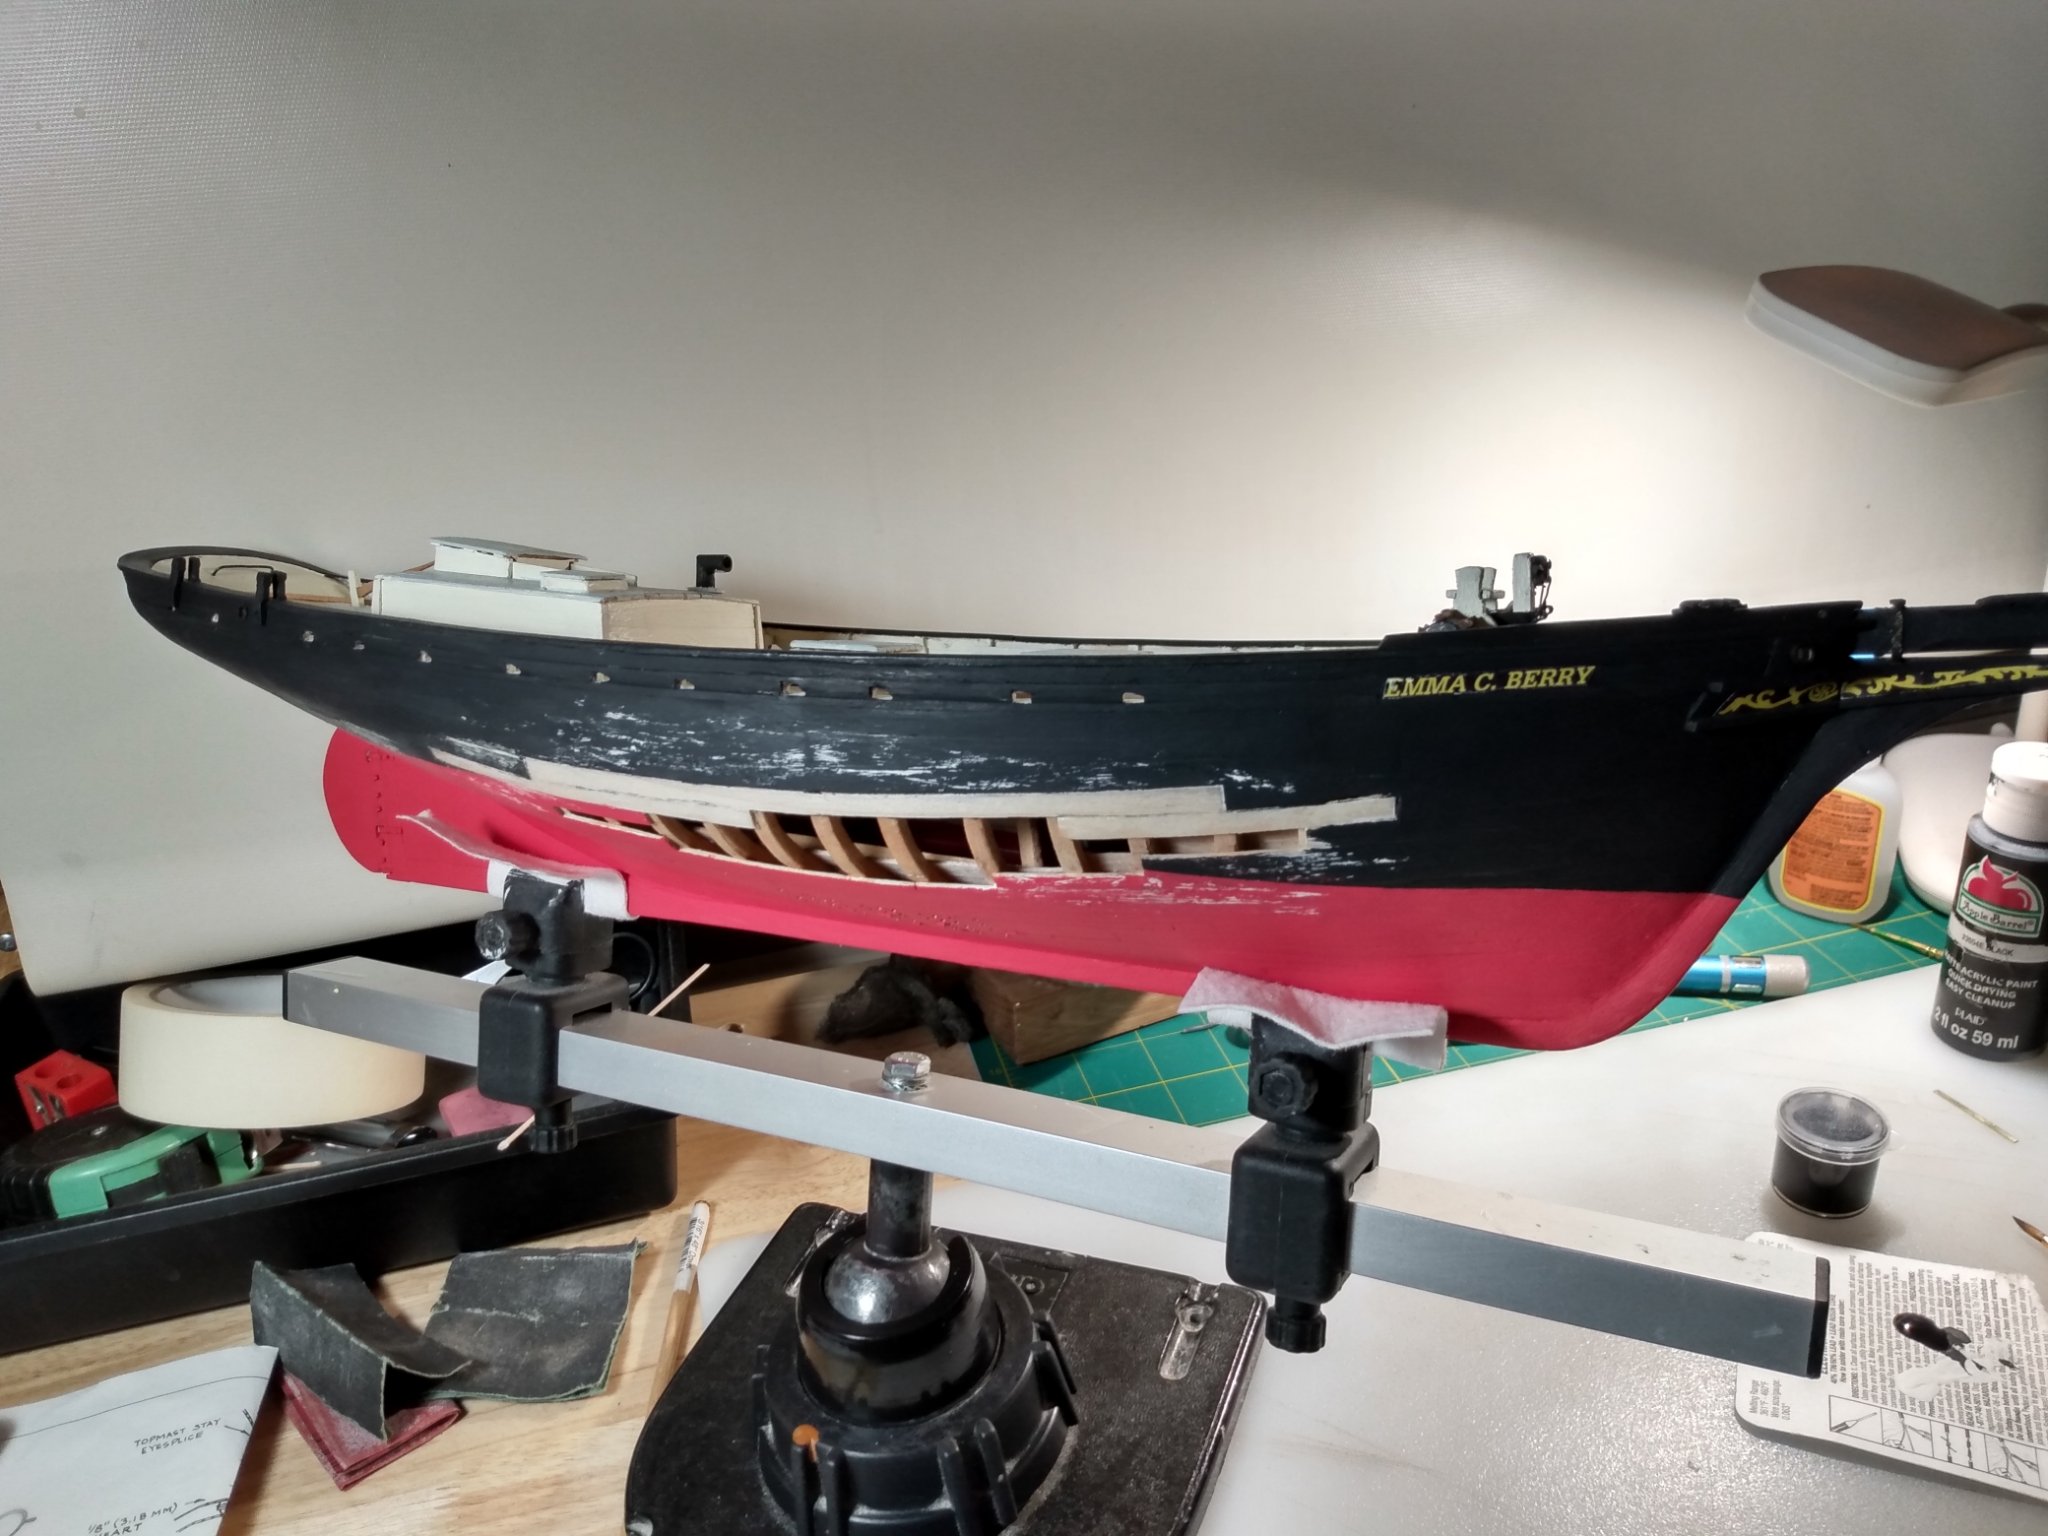
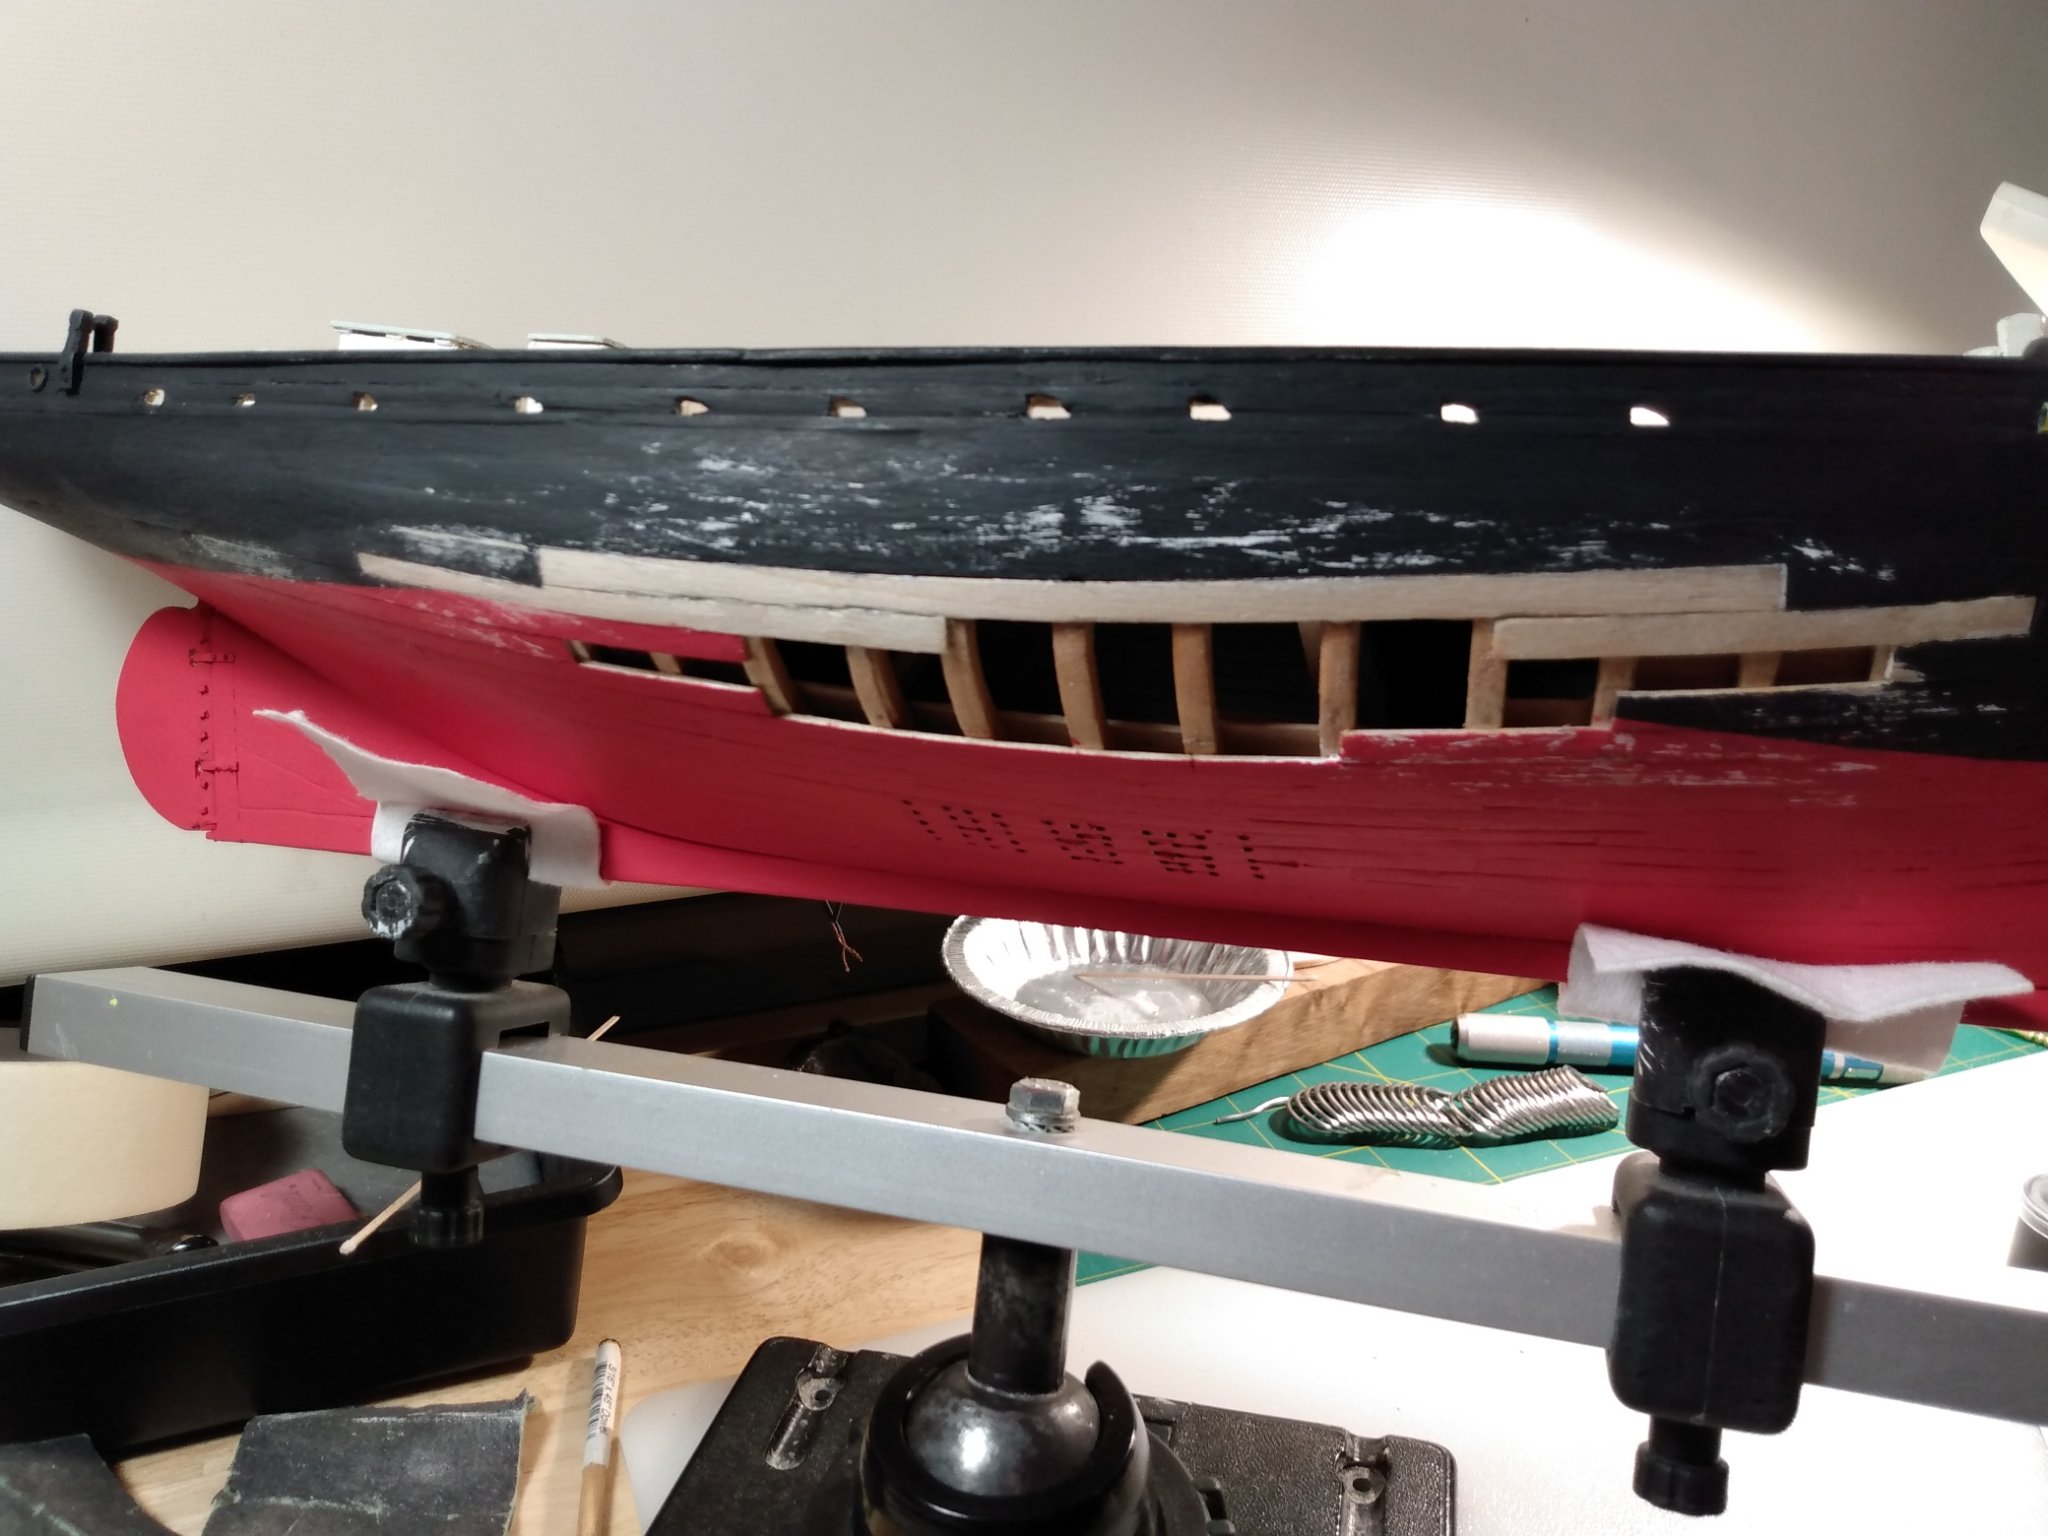
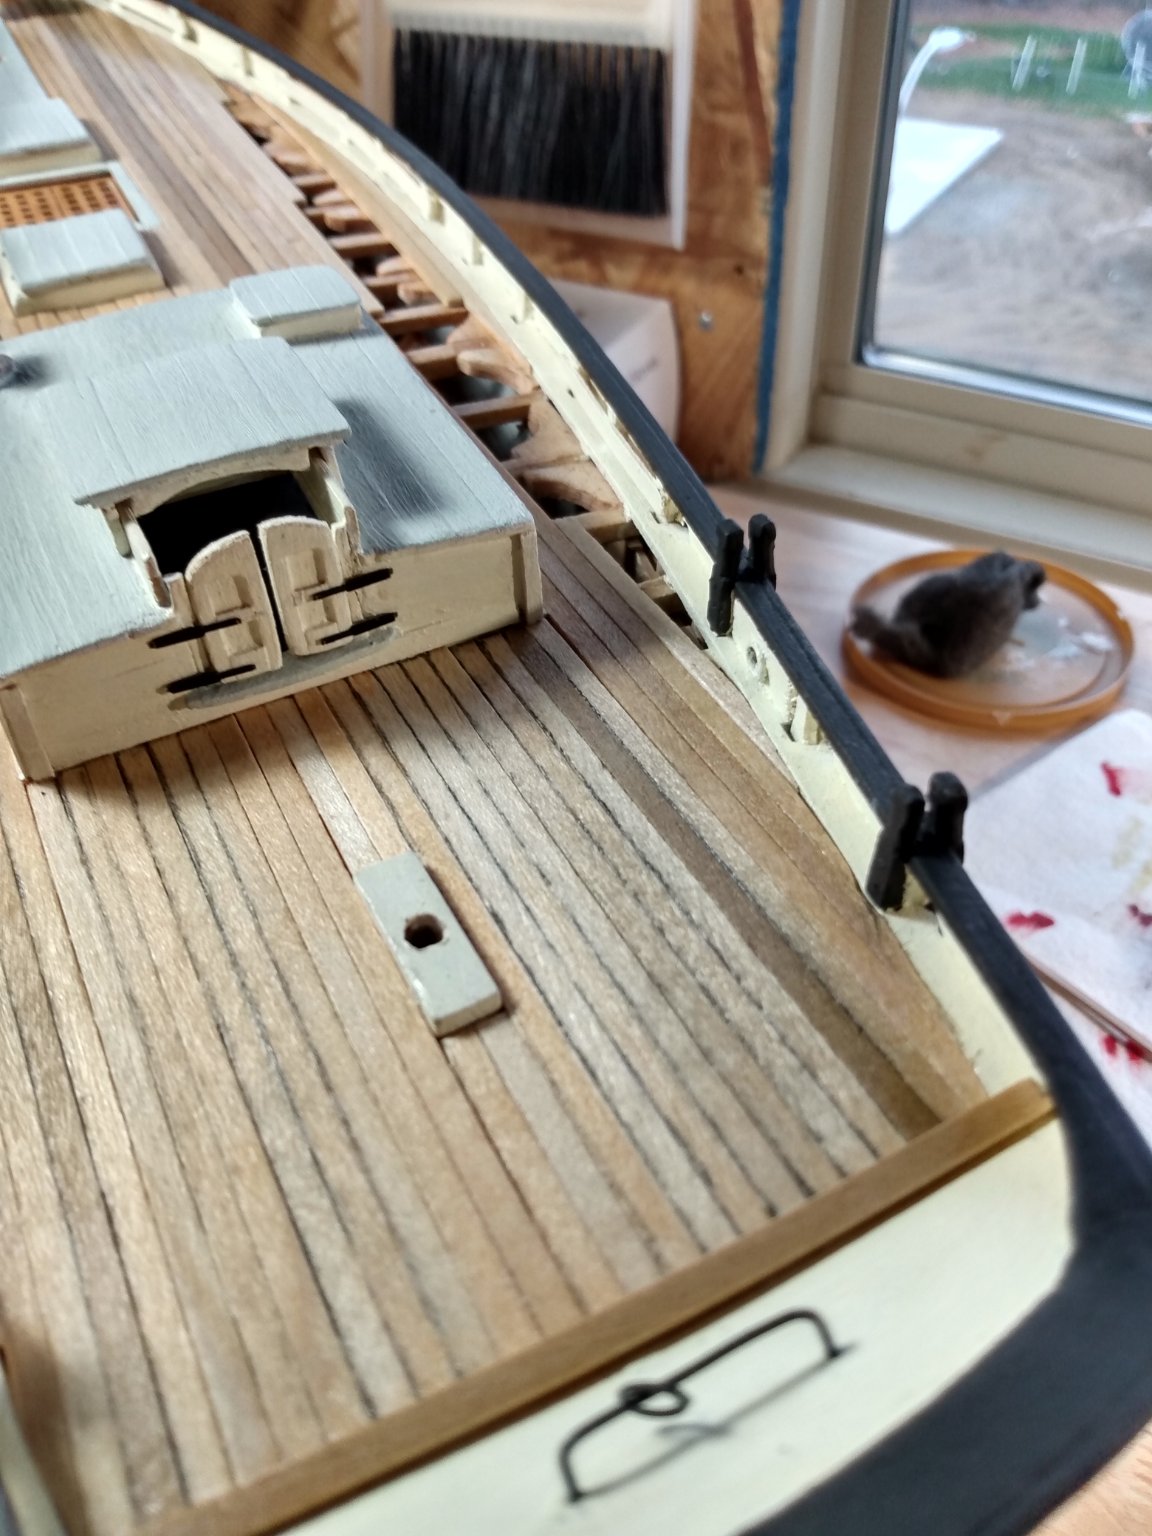
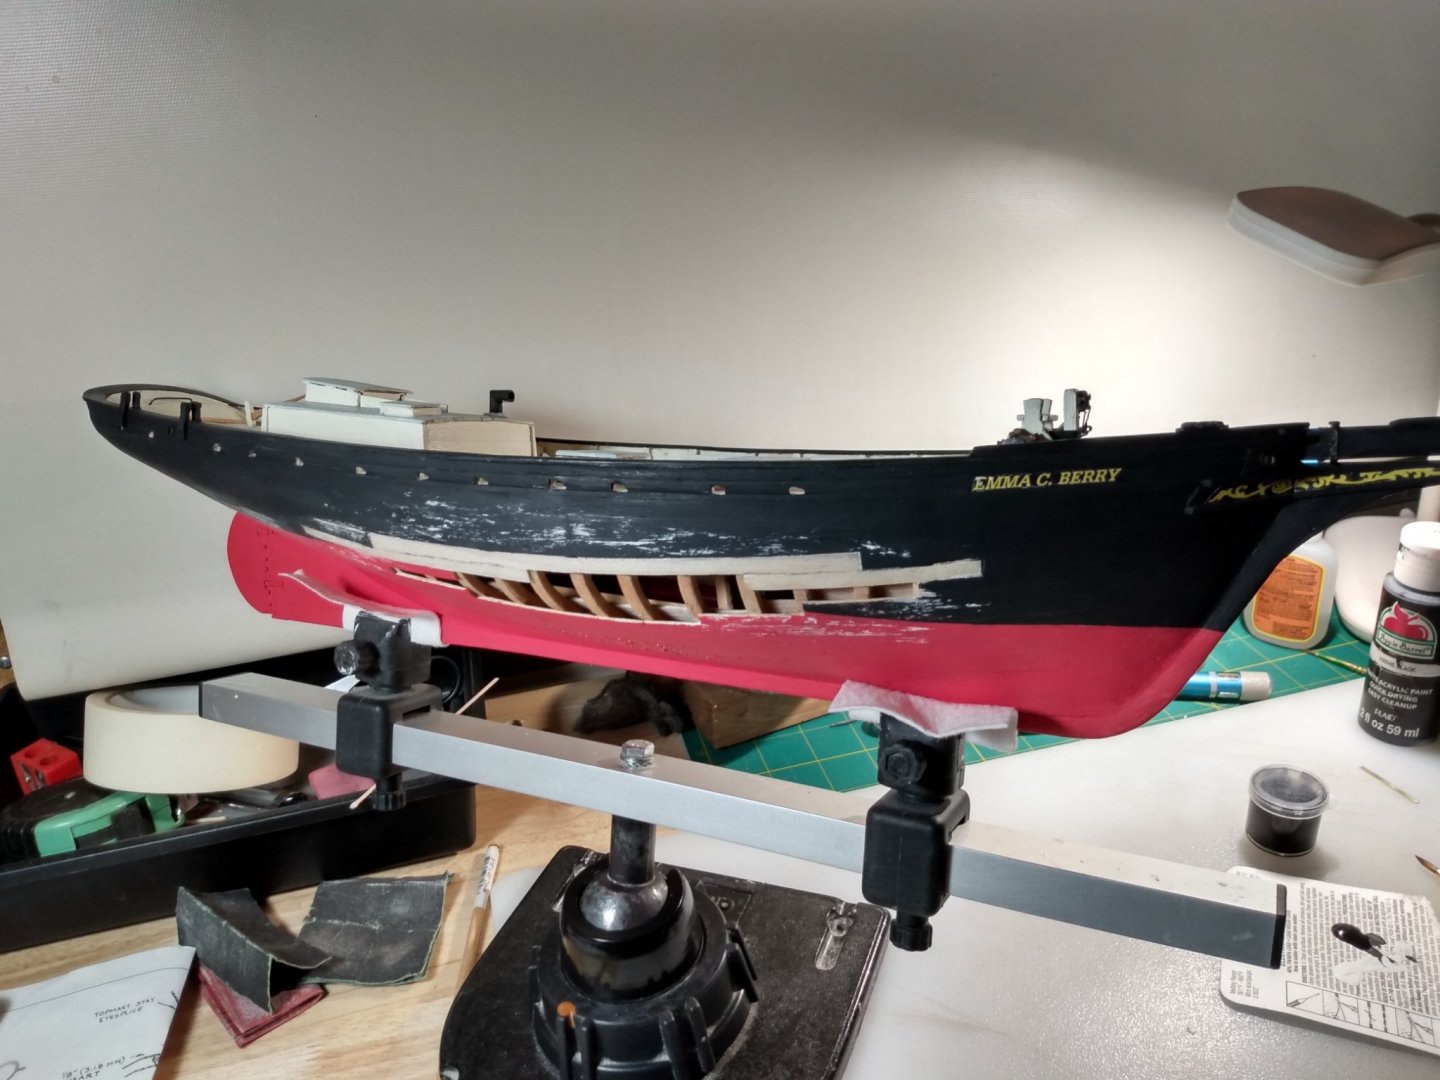
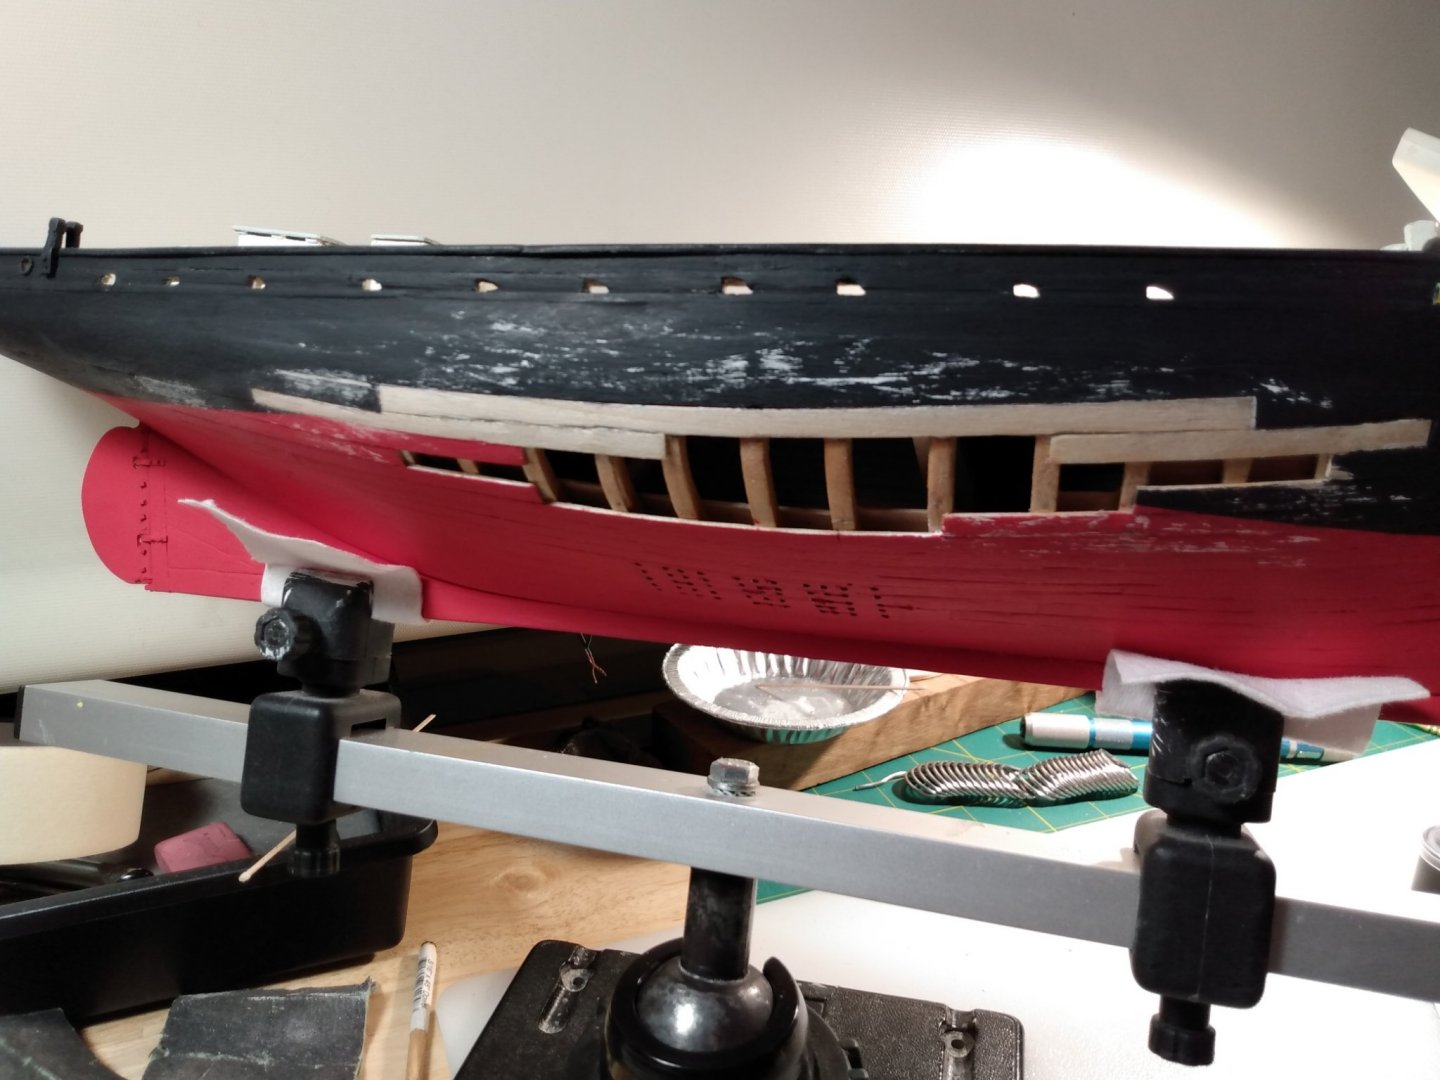
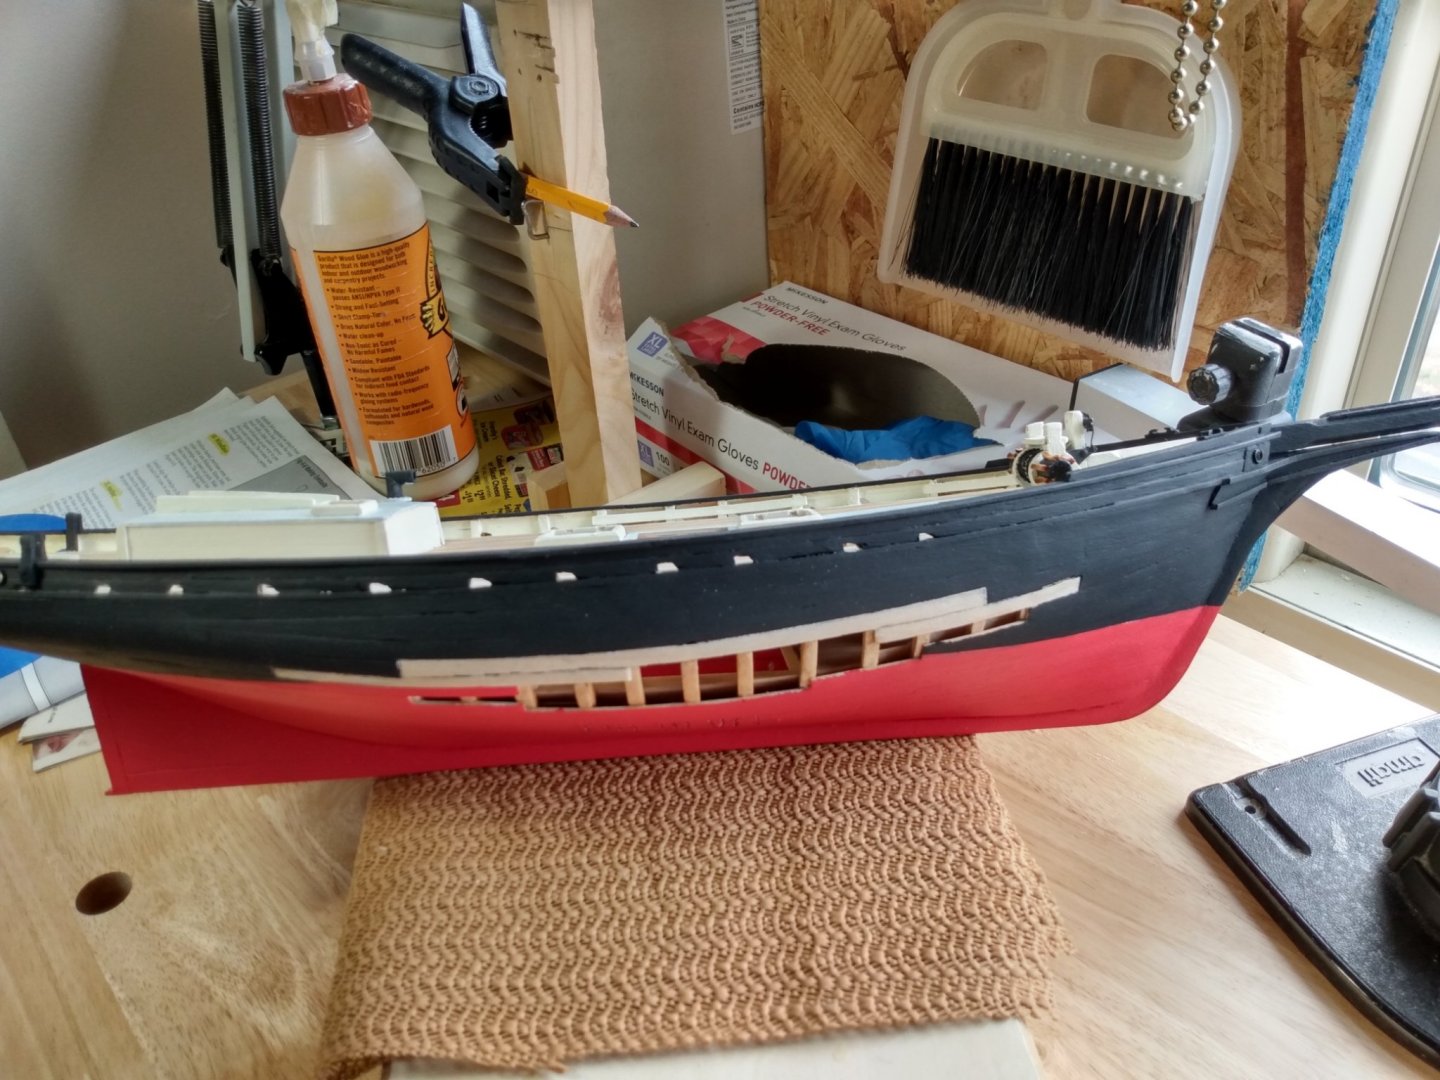
Thanks for the comments guys, yes Will as much as it rubbed me the wrong way, I purposely scratched and scuffed the open starboard side. I thought about it and came to realize that if ECB was in the yard to repair the hull planks, the damage would be somewhat more substantial. It wouldn'd be missing planks and replaced planks with all the surrounding area like new. But I got to finish the port side decently!
- 101 replies
-
- 3
-
-
- emma c berry
- model shipways
- (and 1 more)
-
I was looking at those, they do look frustrating!
-
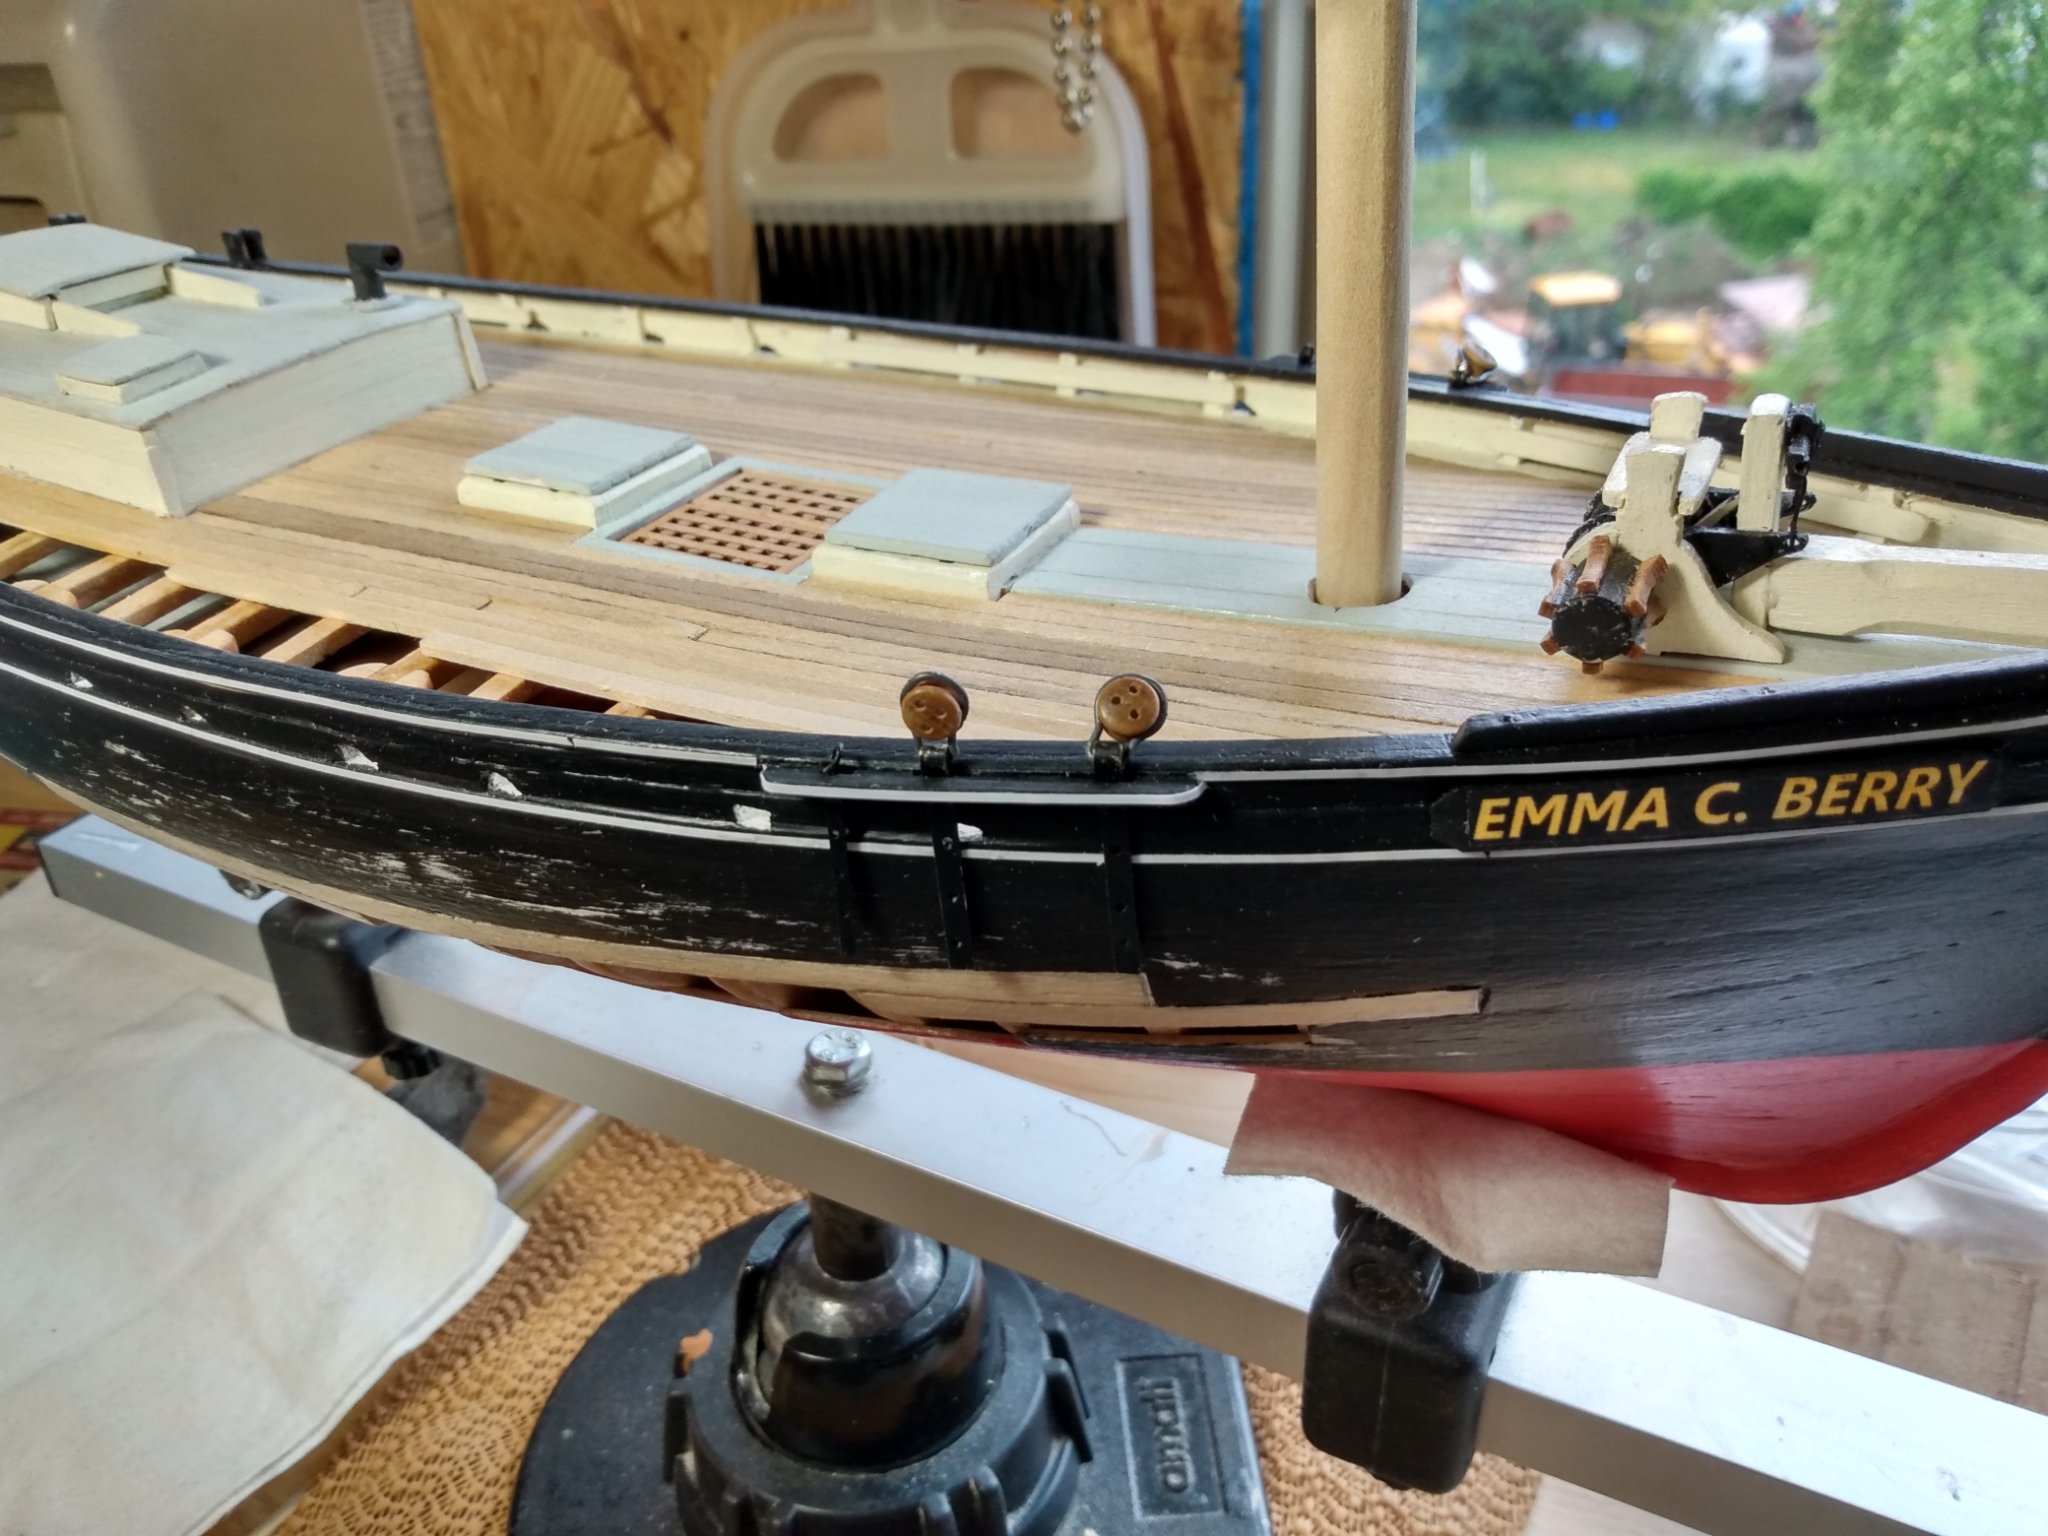
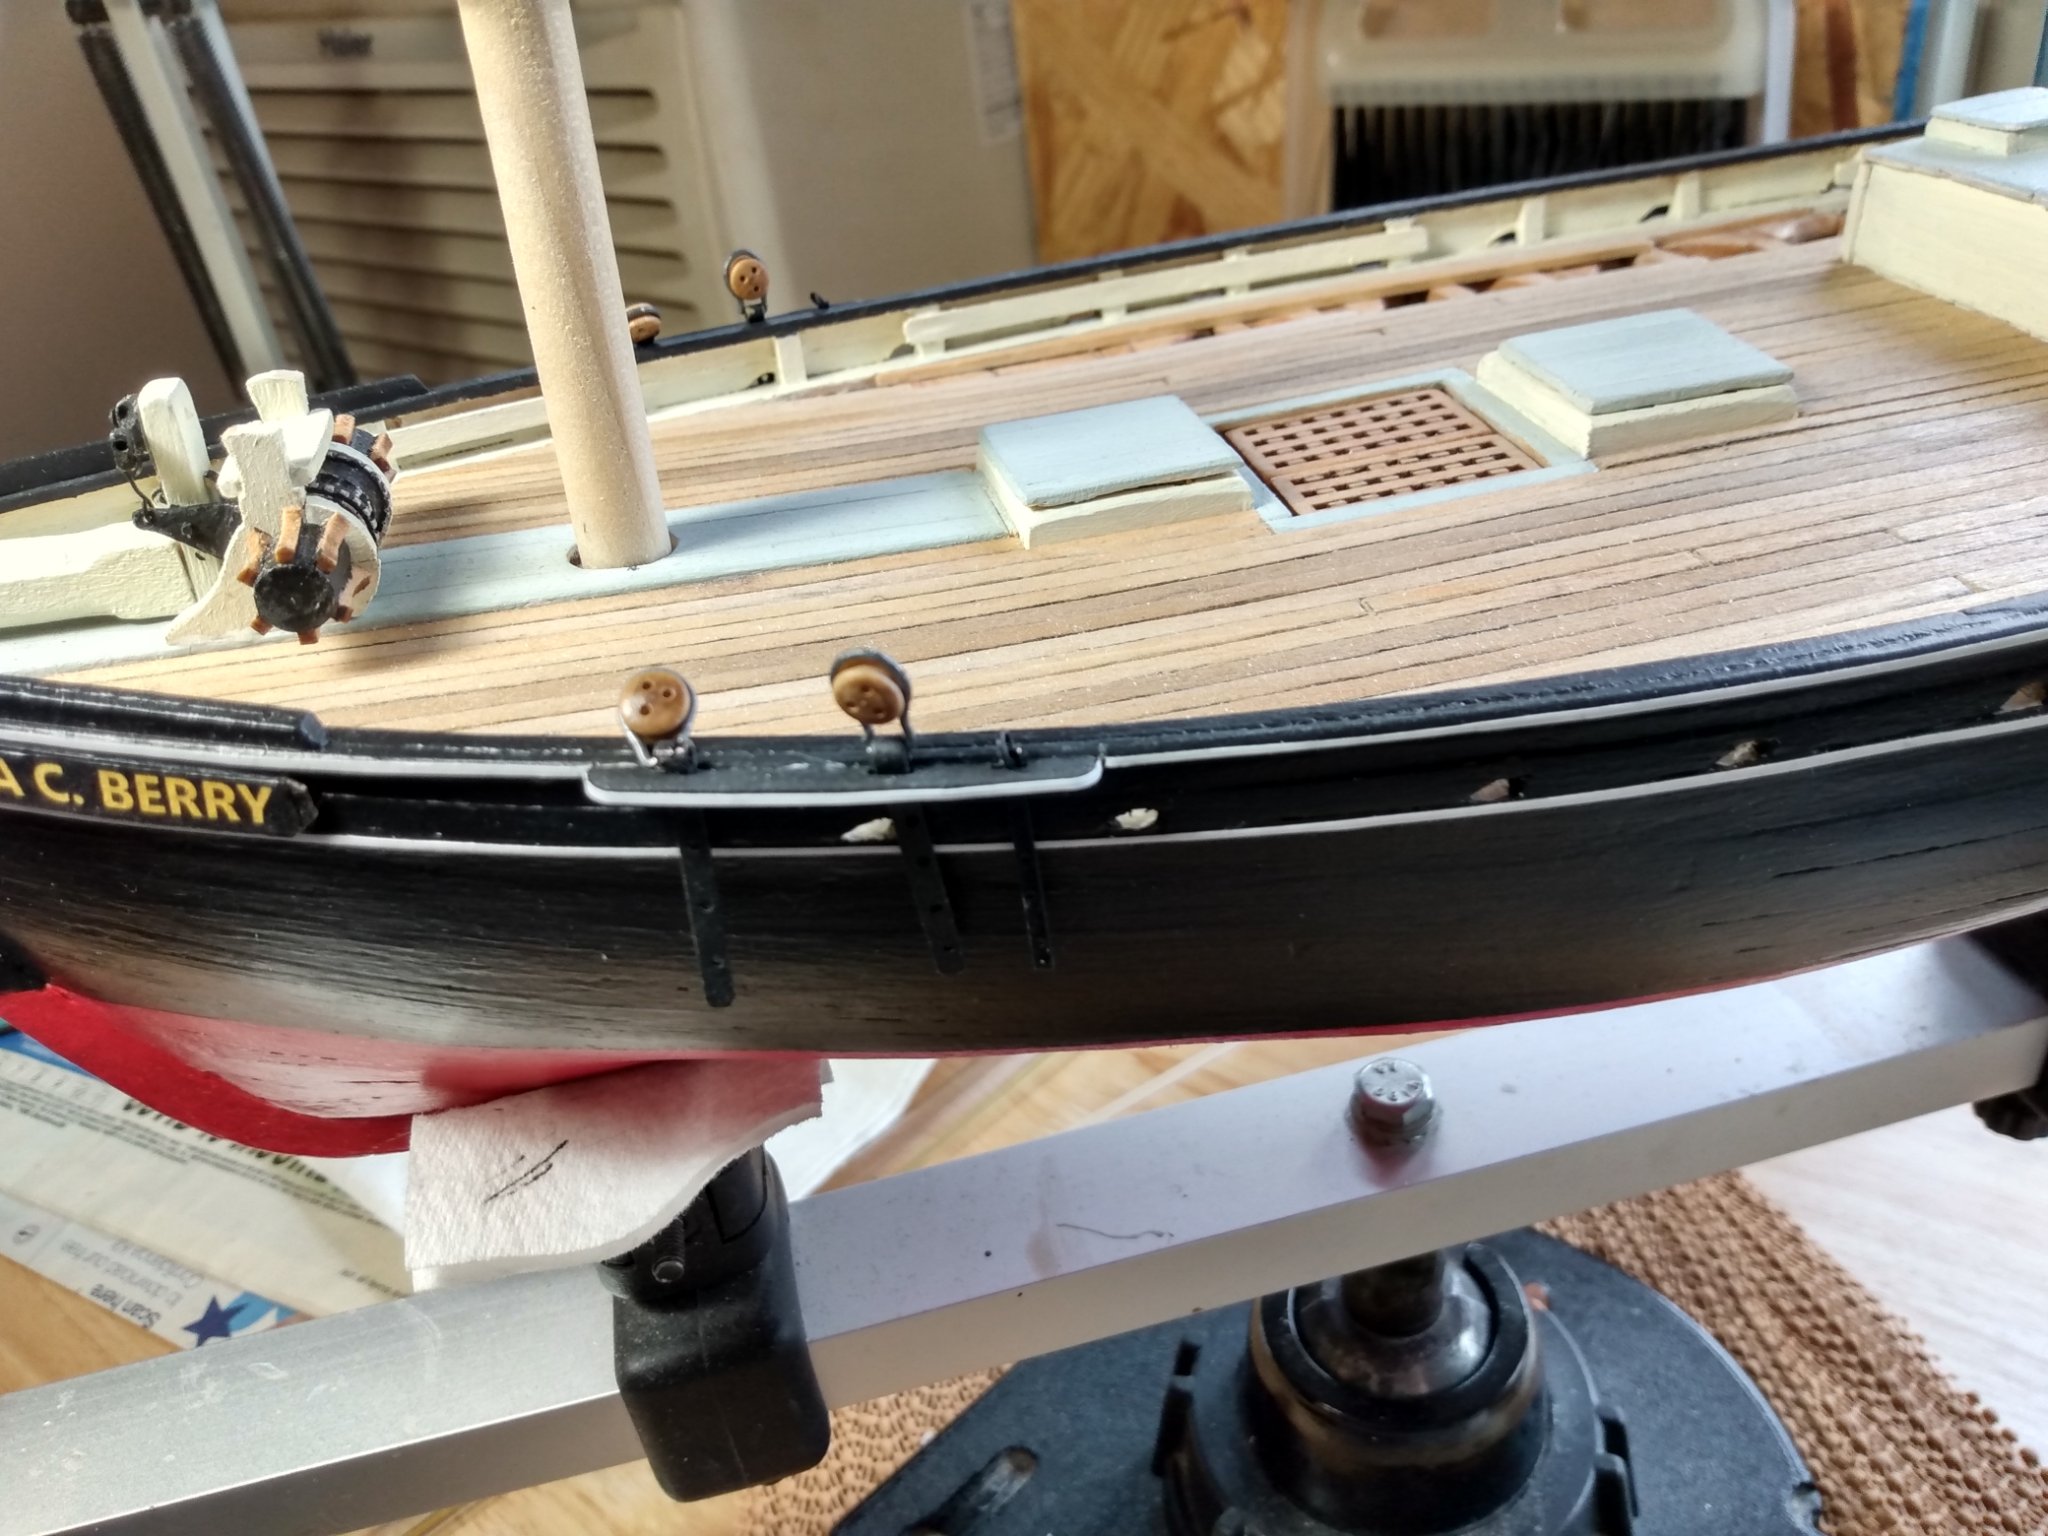
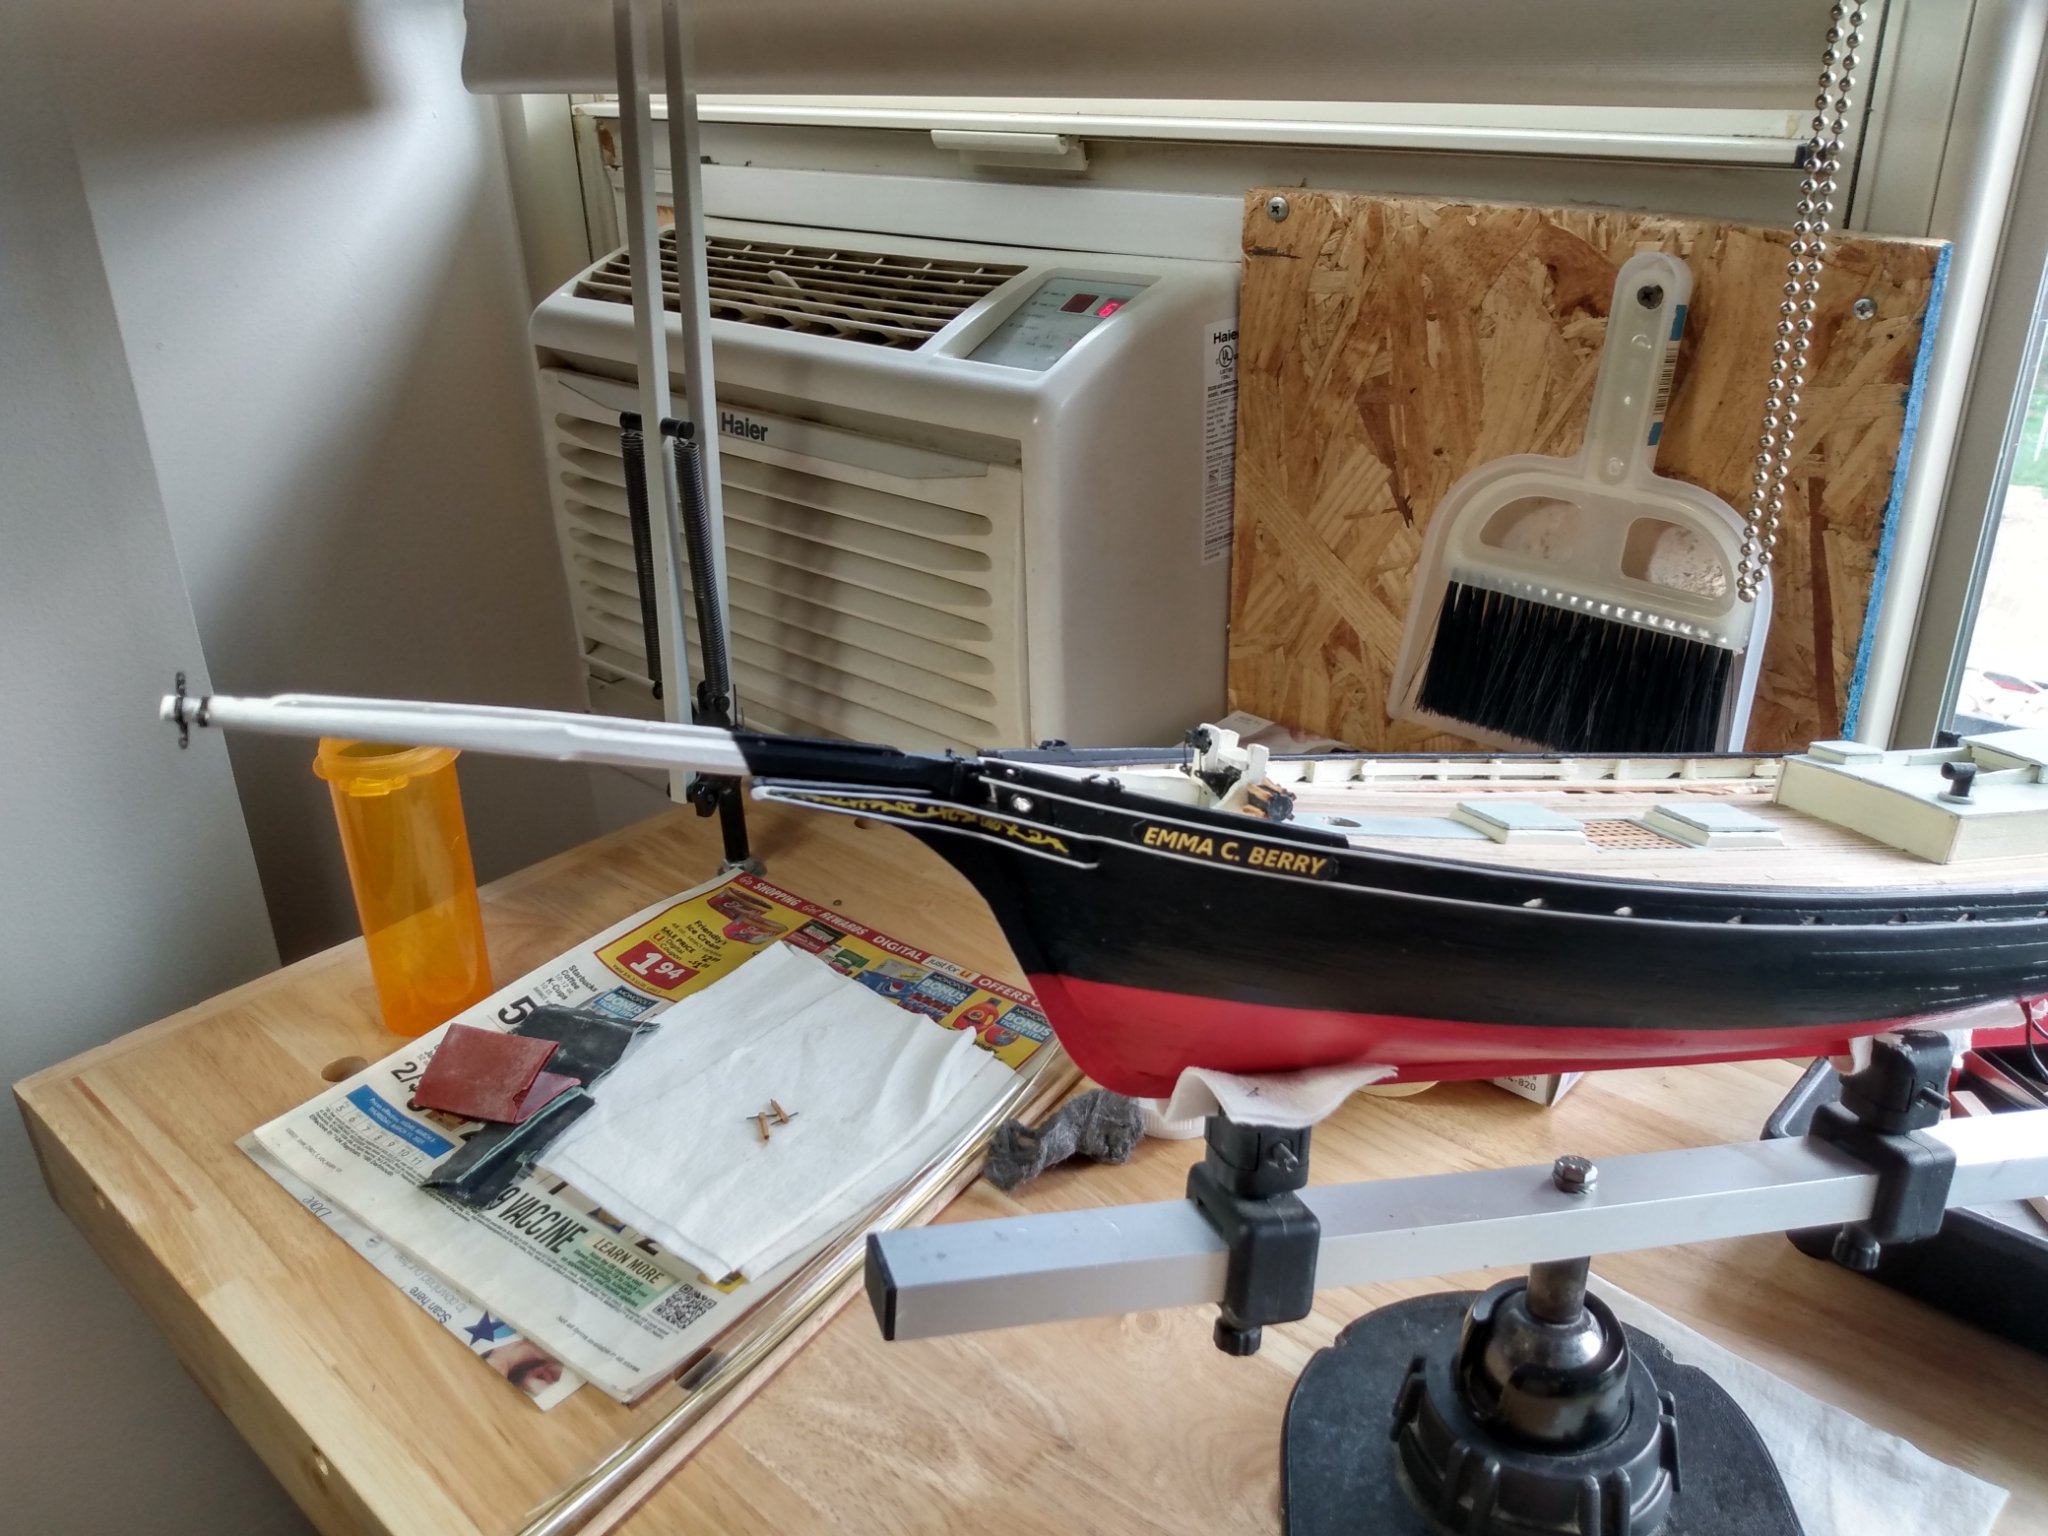
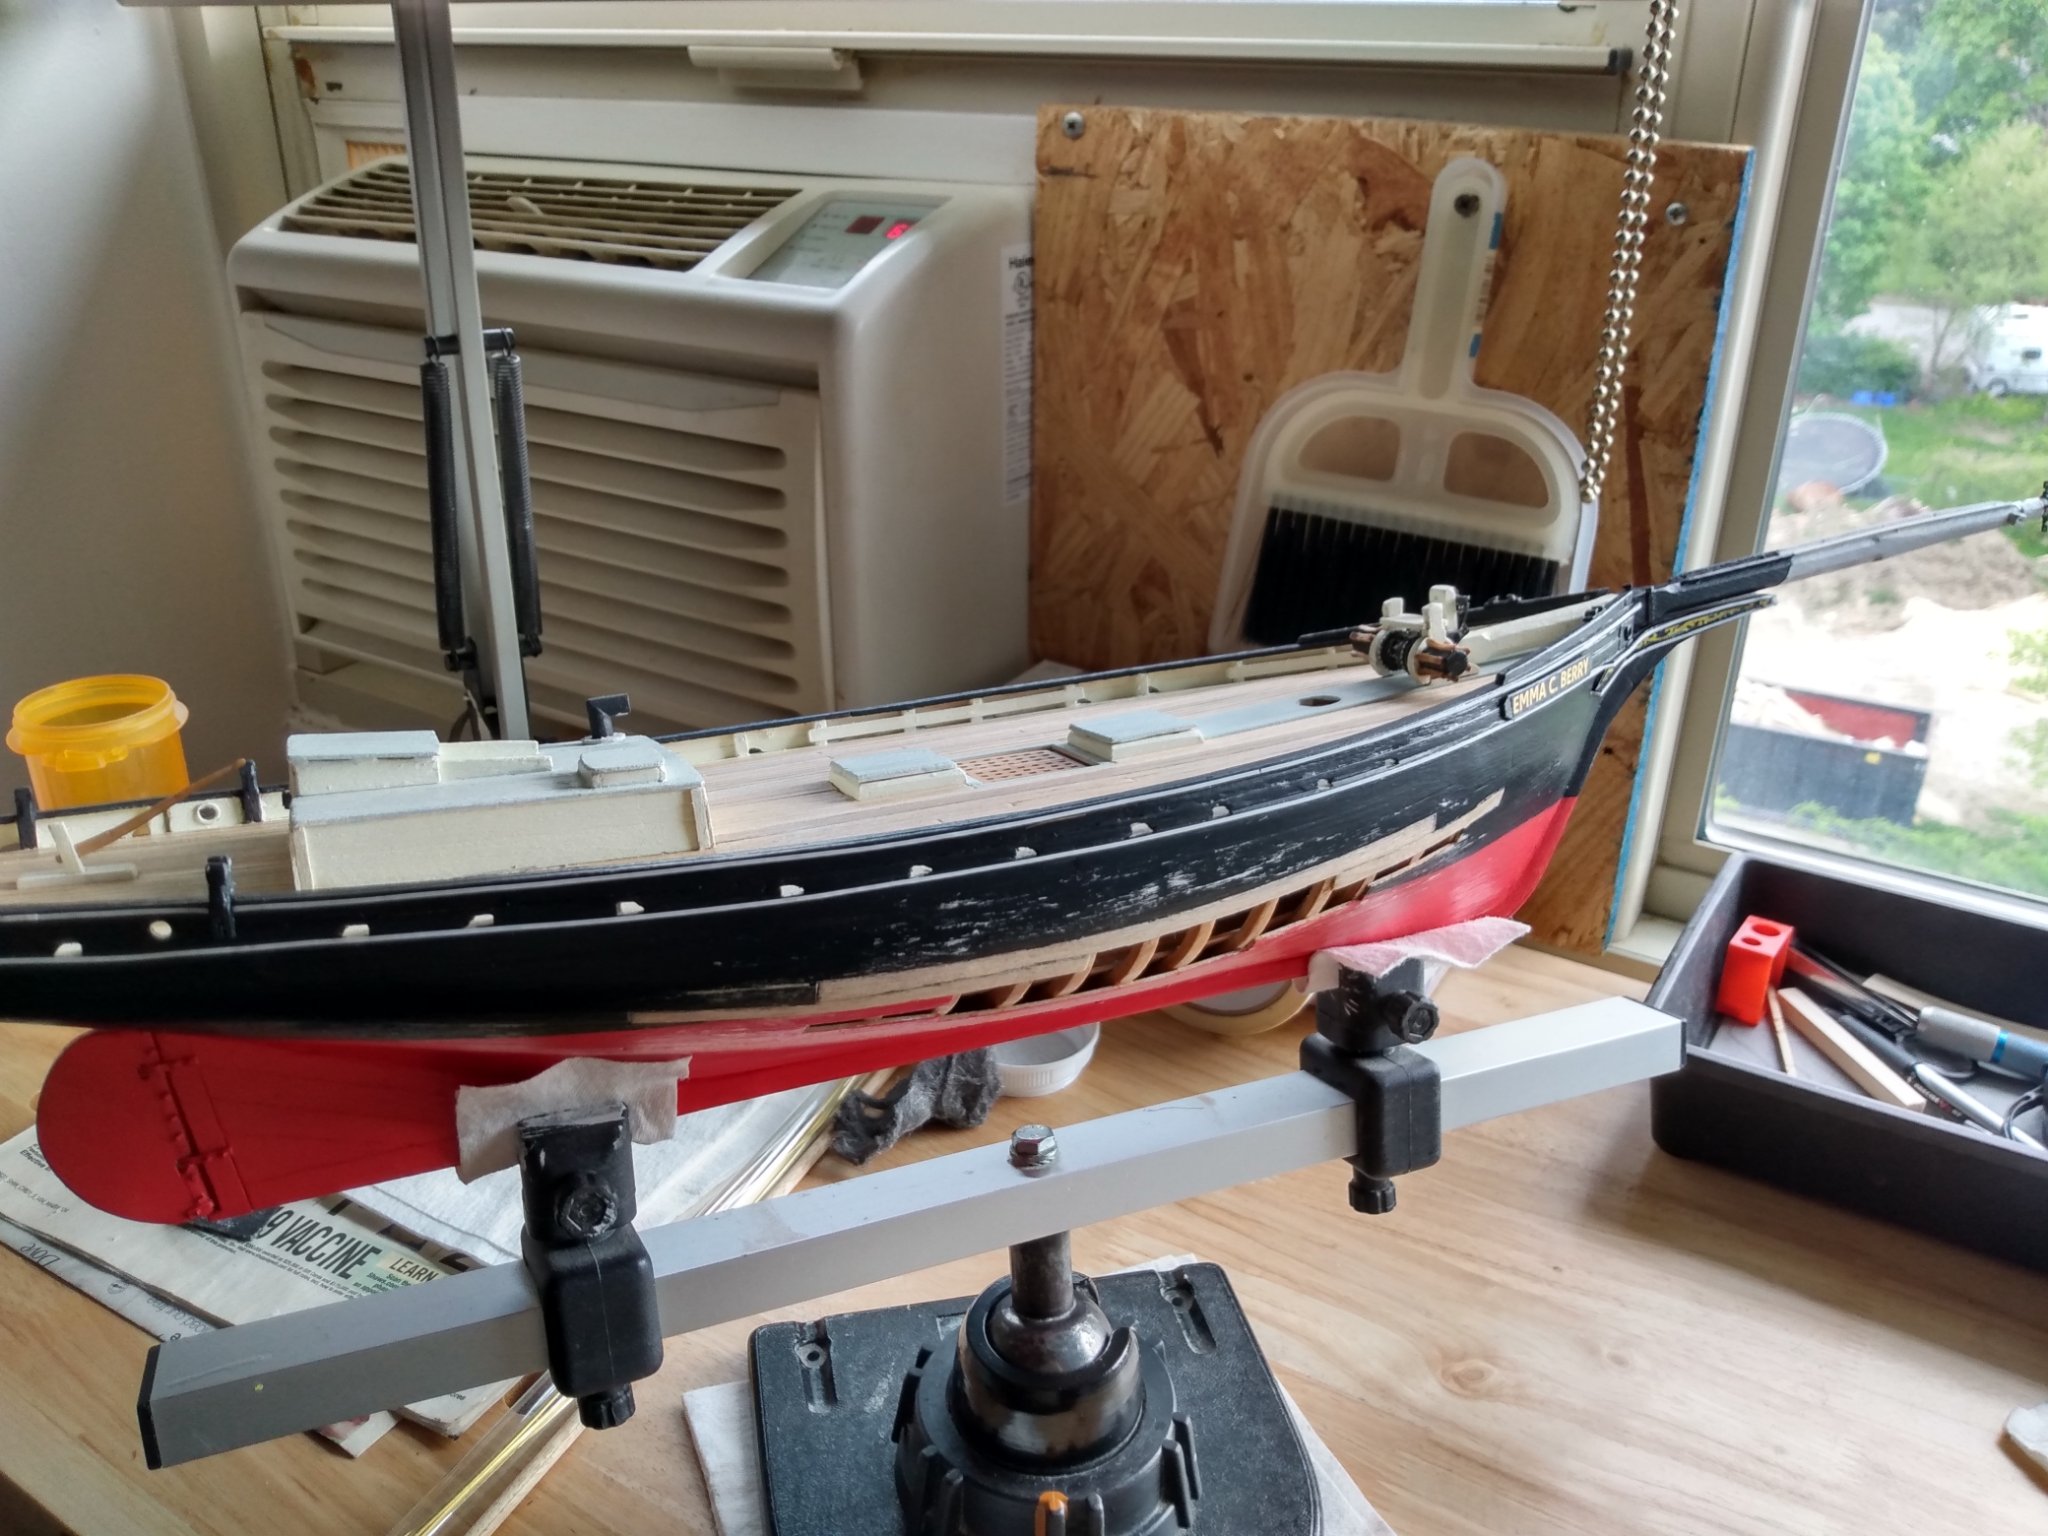
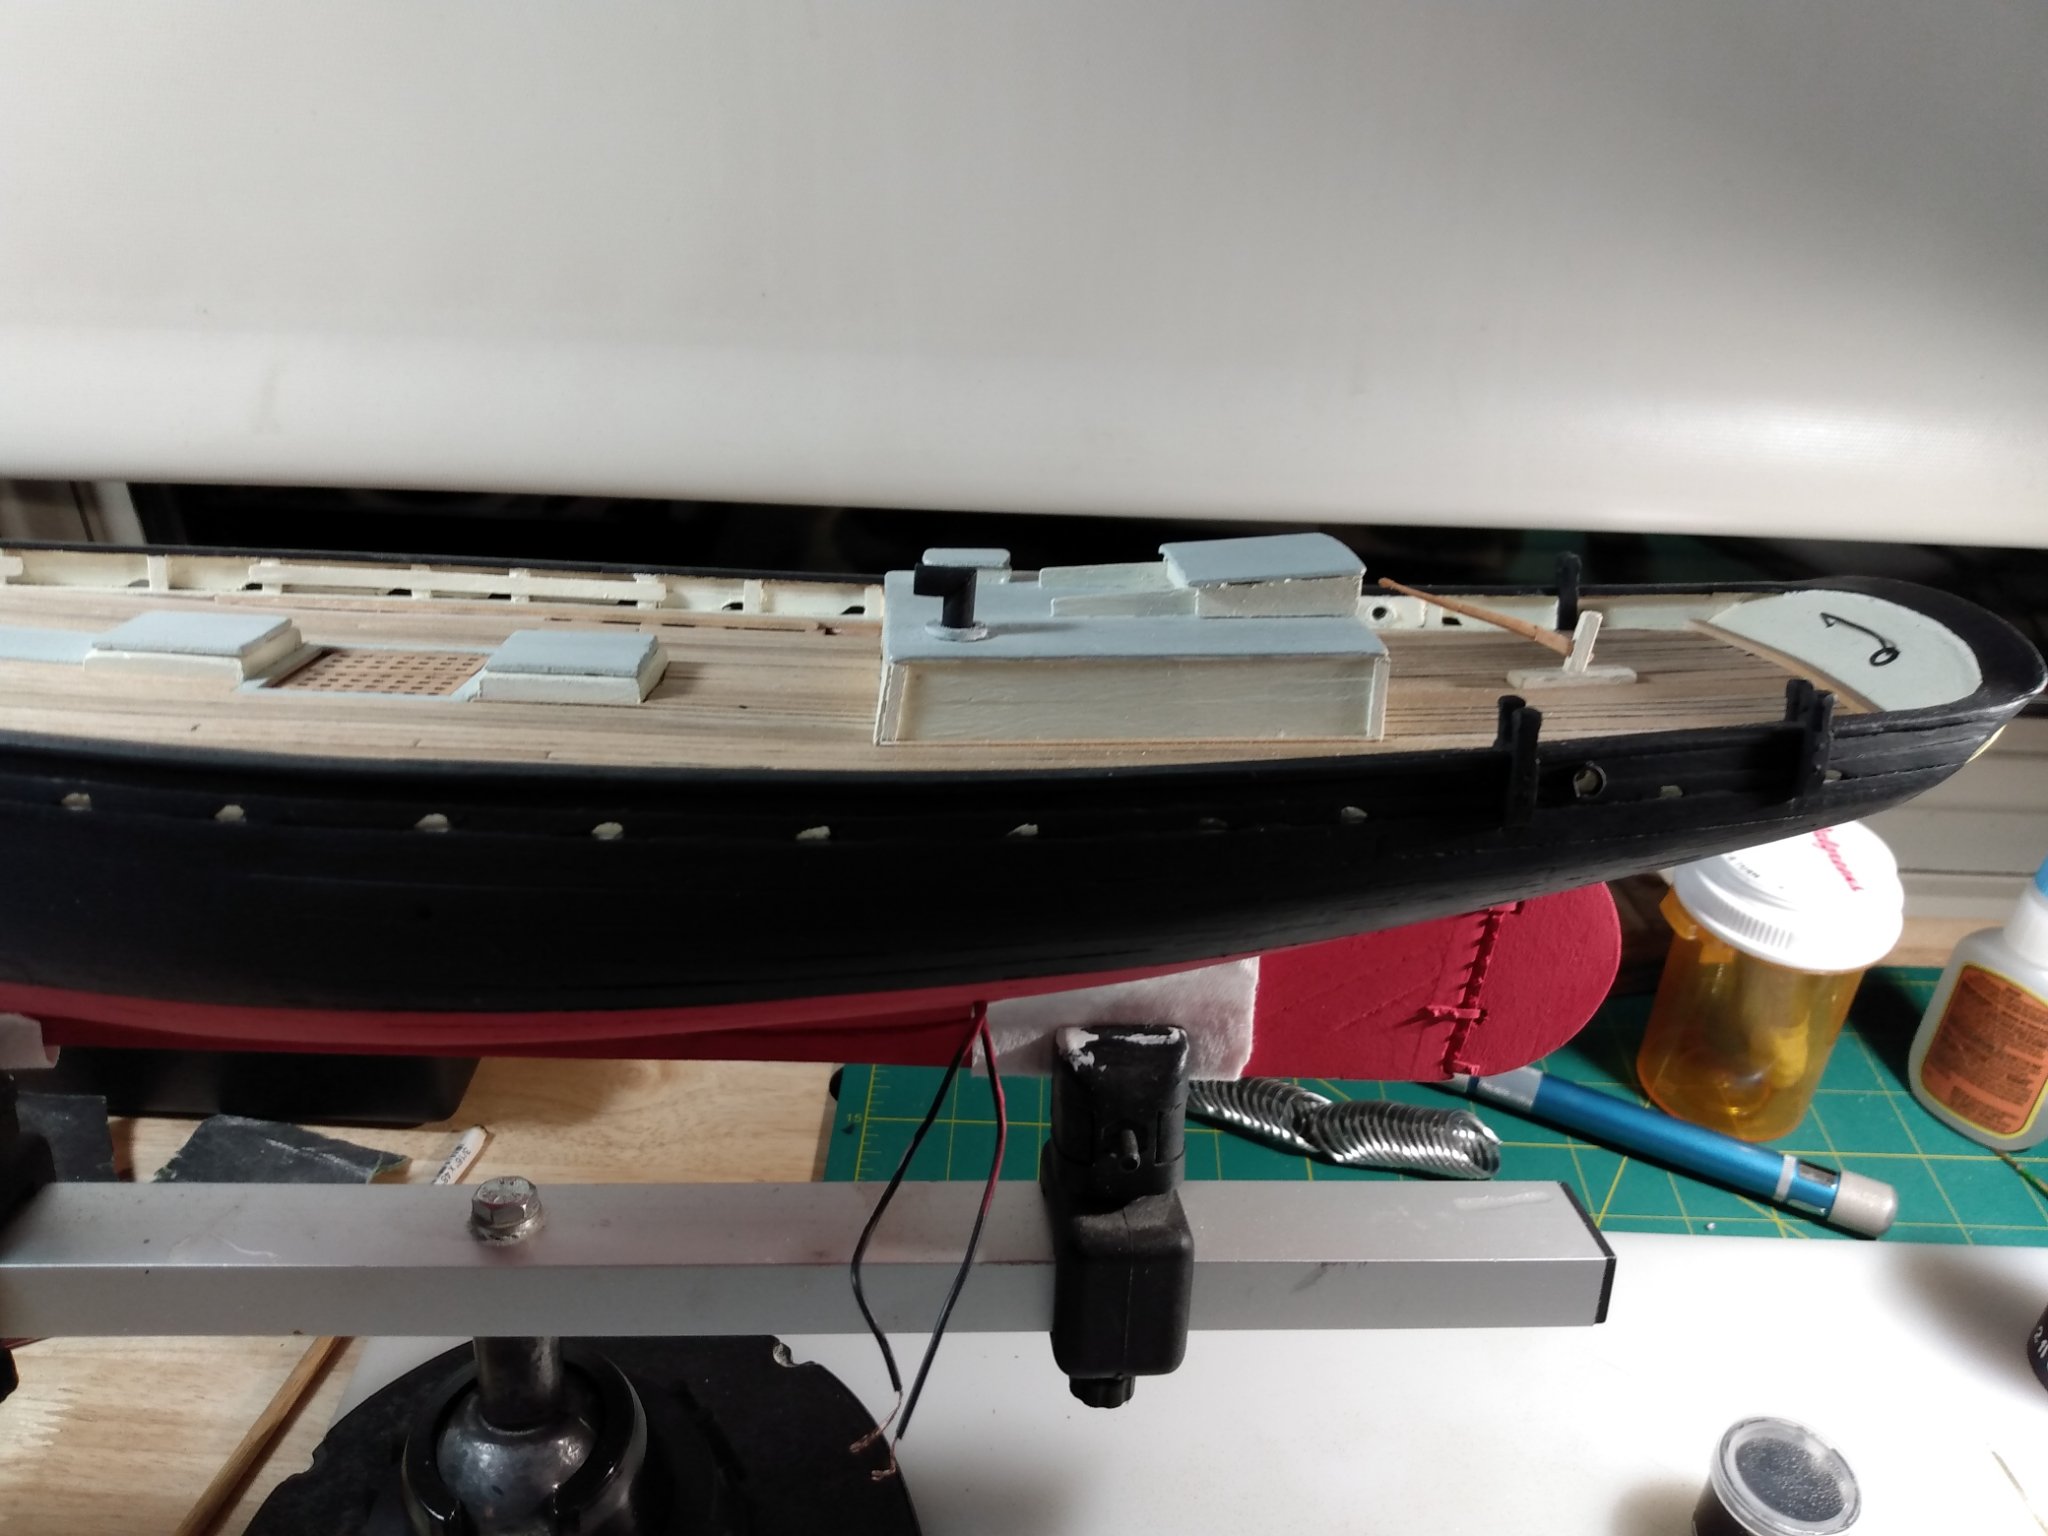
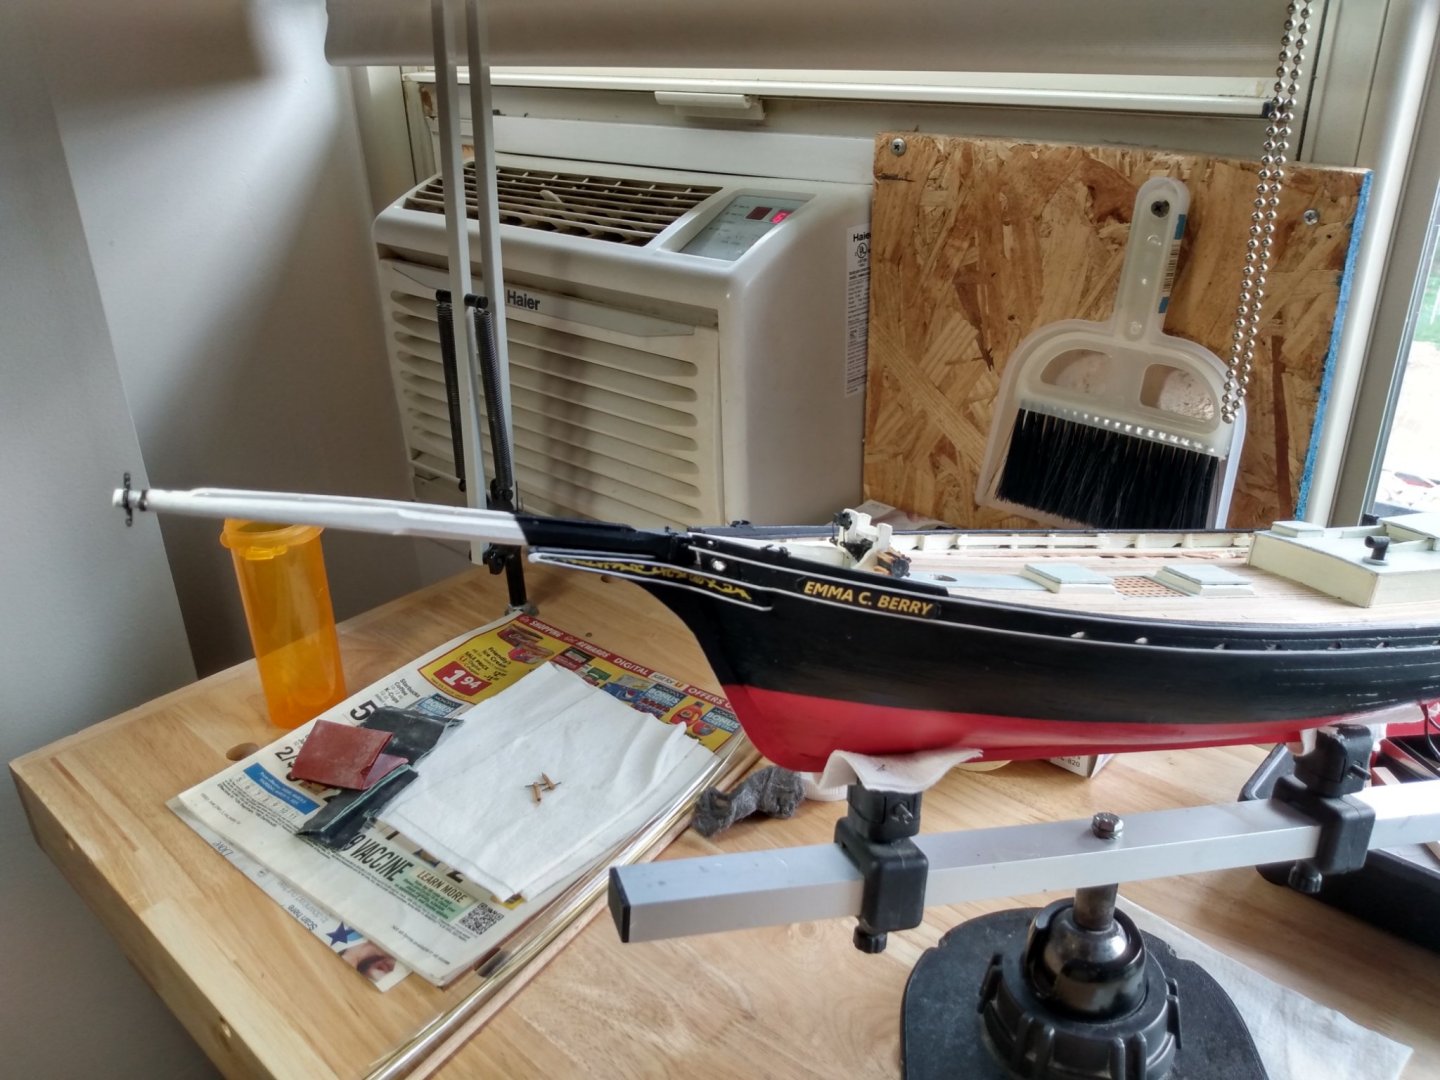
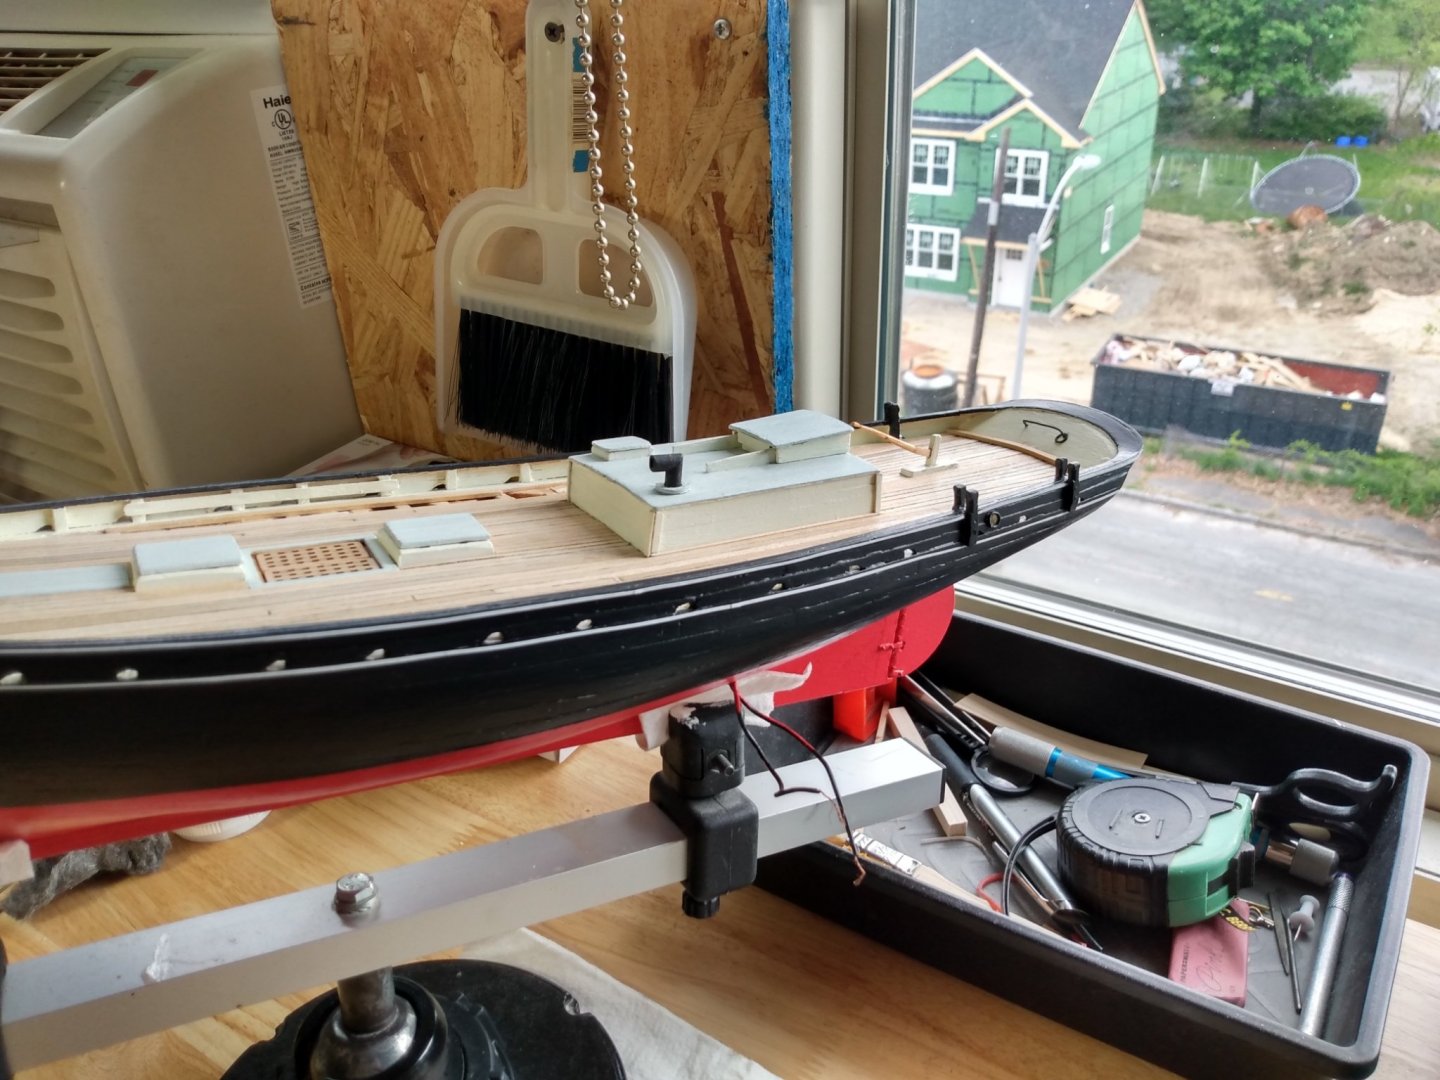
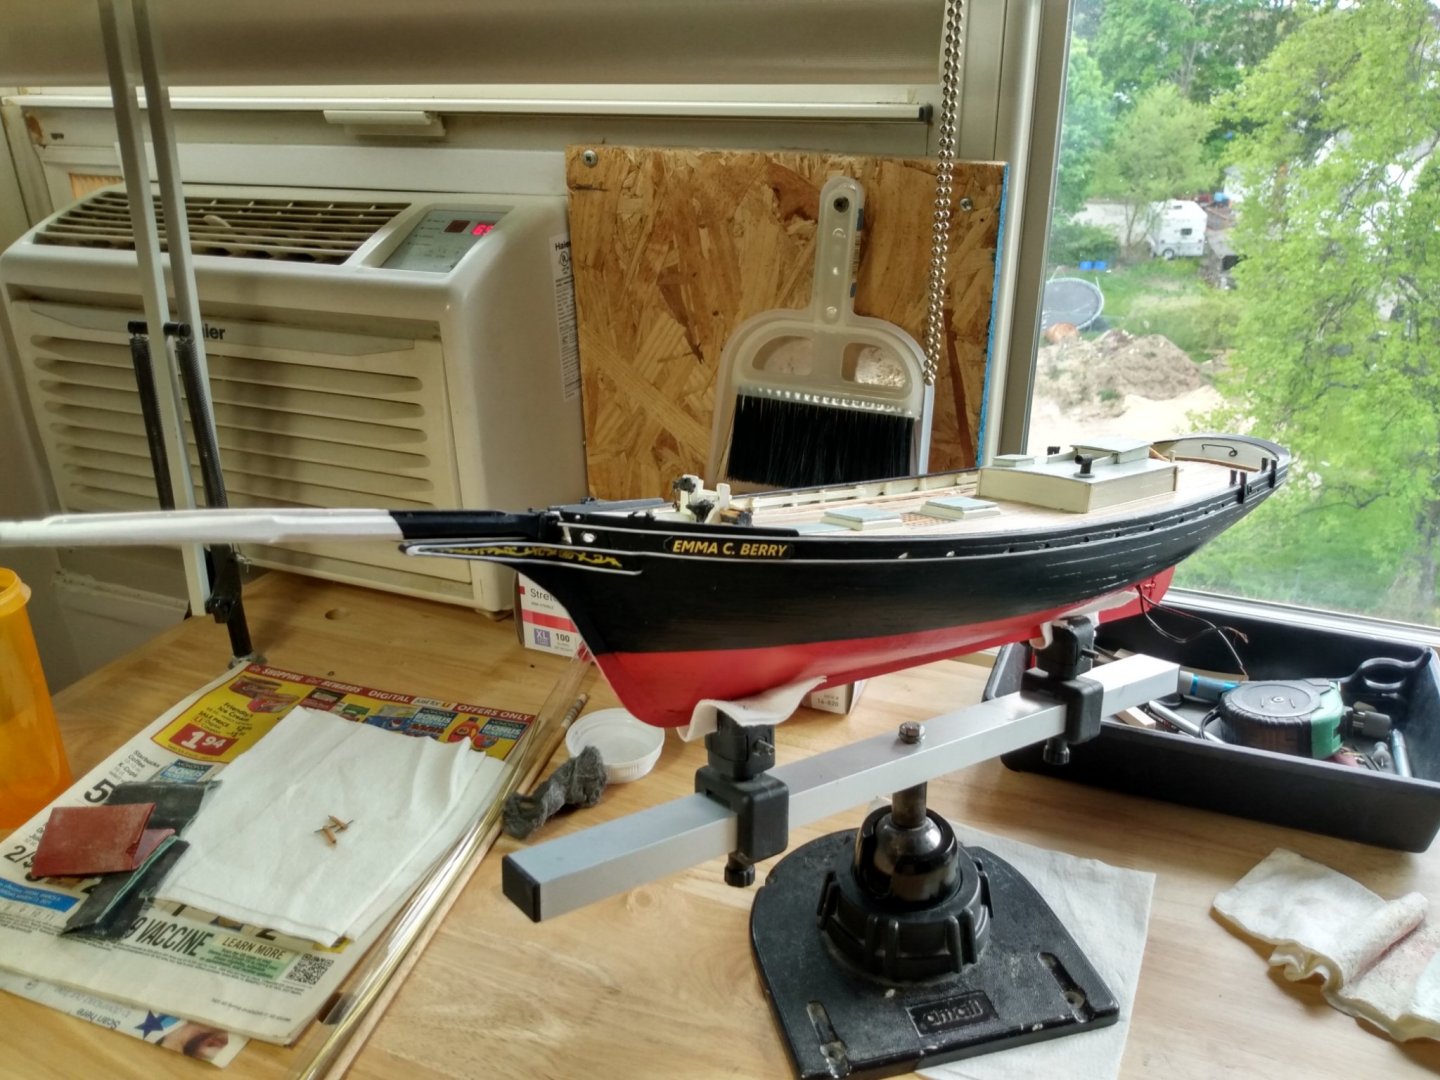
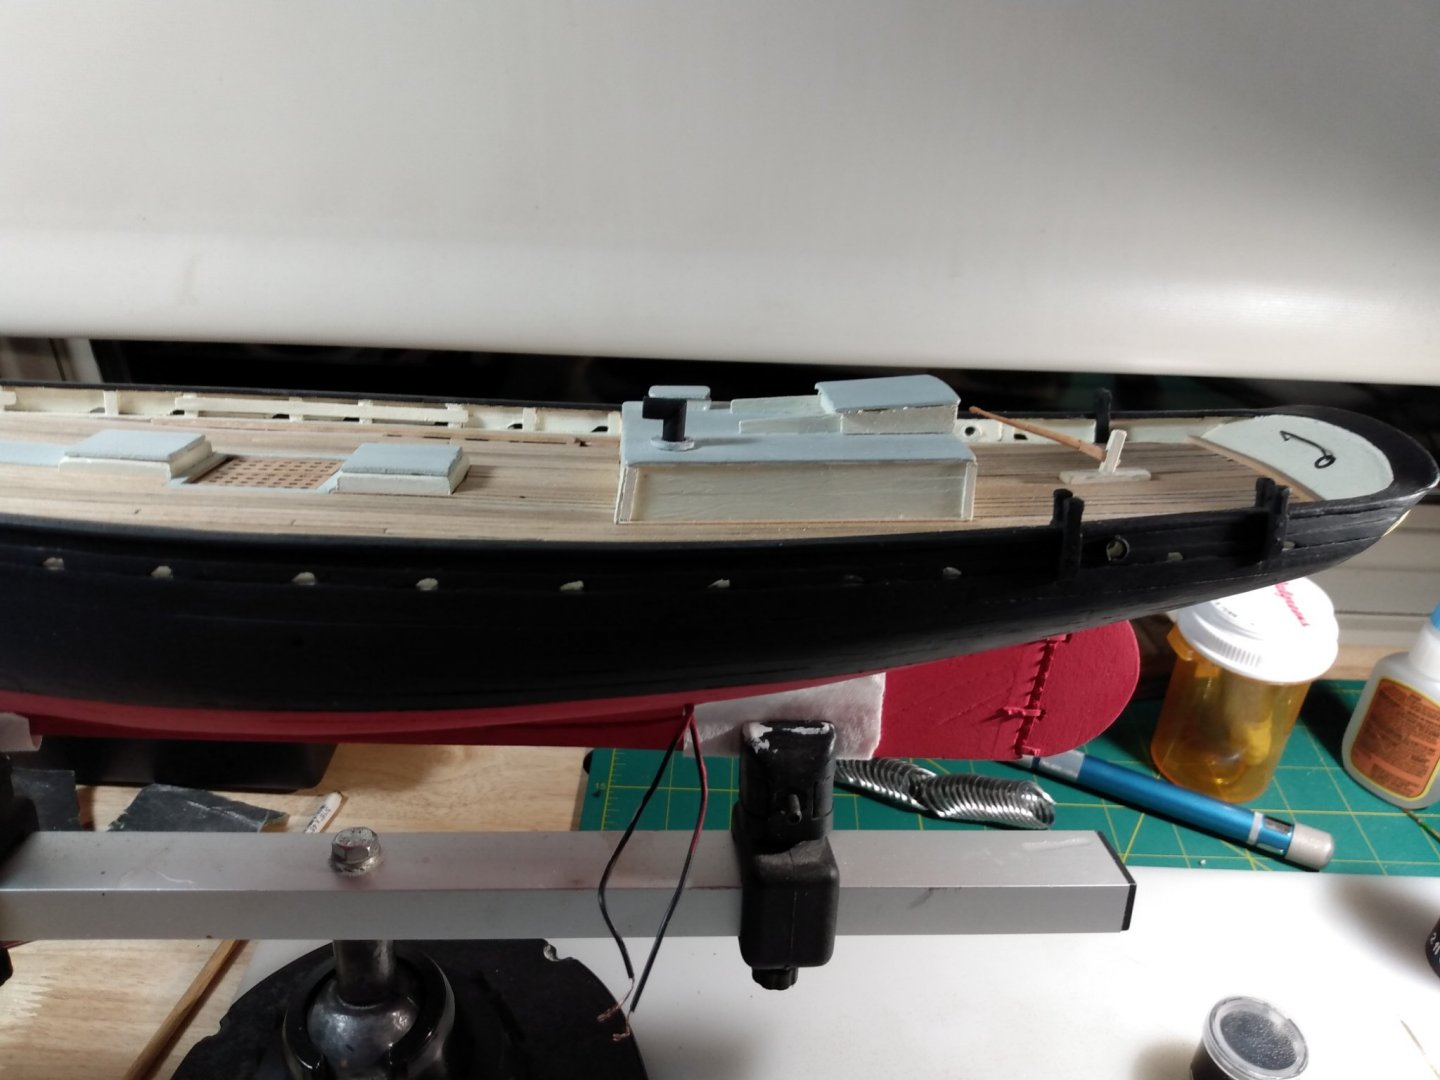
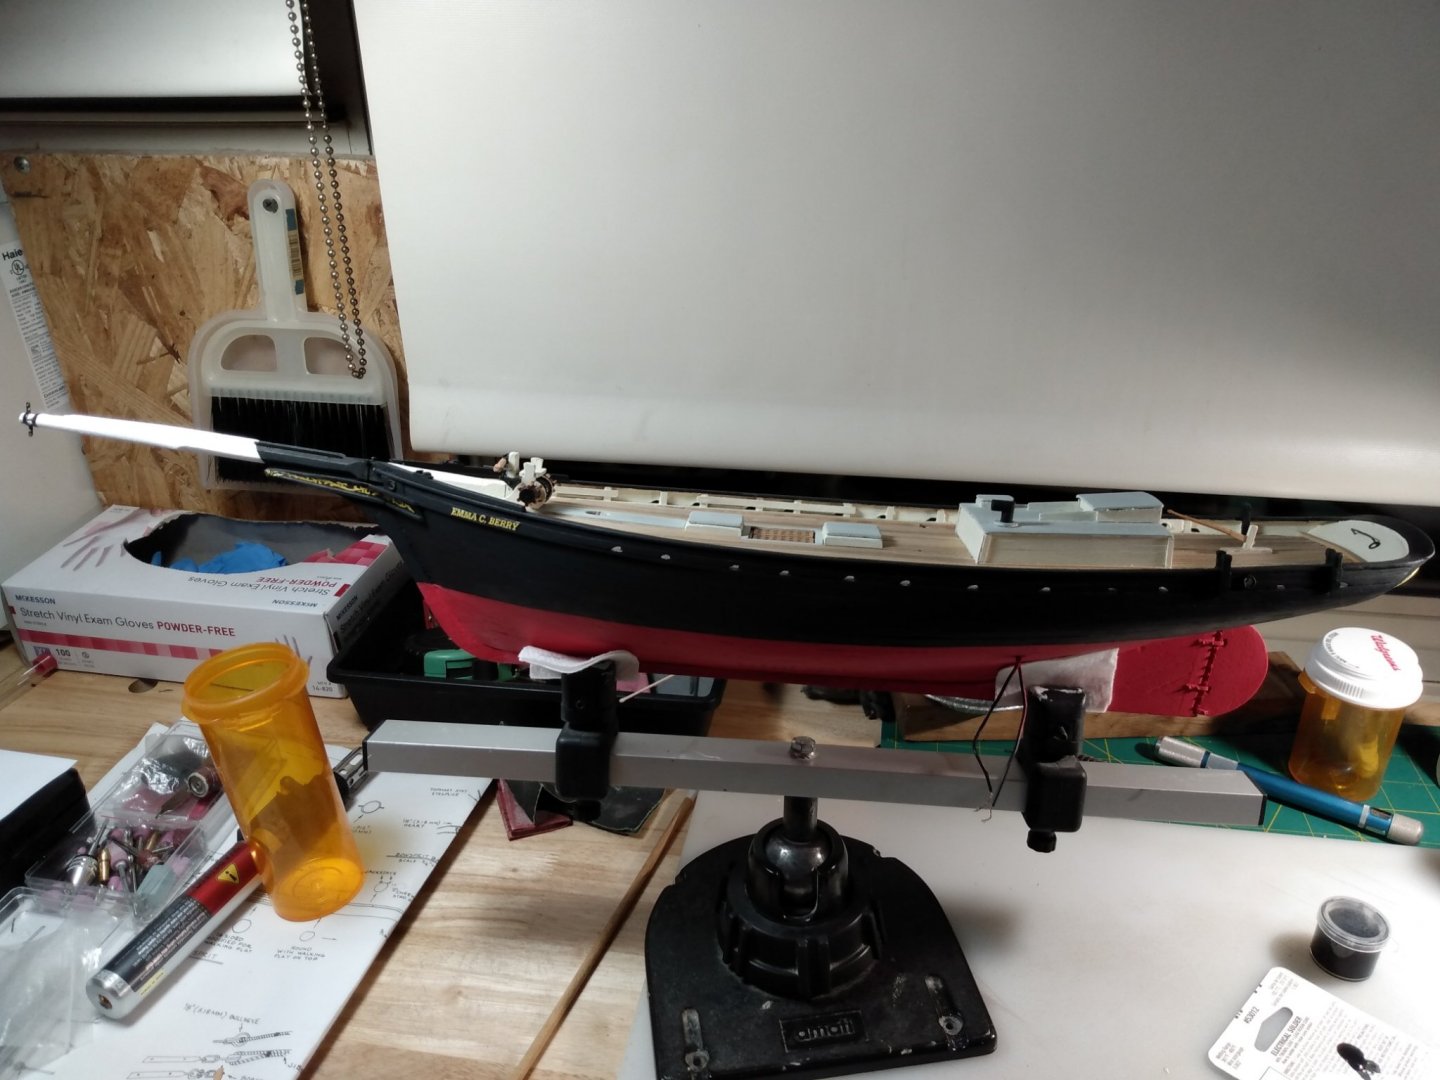
Hello all, got a bit more completed on ECB. Went over the hull and deck, fixing/ changing things that bothered me or just didn't look right. Repainted some areas and reprinted then mounted on 1/32 "boards" the bow name decals. I think they look much crisper now. Also, I applied the decorative striping on the outer edges of the covering boards and cap rail. I then applied two coats of matte polyurethane as a sealer. Next I am planning to rig the bowsprit and fab and install the chain plates, stem plates channels etc. I plan on doing as much as possible befor e permanently mounting her to the "slipway"base. Thanks for the comments and likes.


- 101 replies
-
- 9
-
-
- emma c berry
- model shipways
- (and 1 more)
-
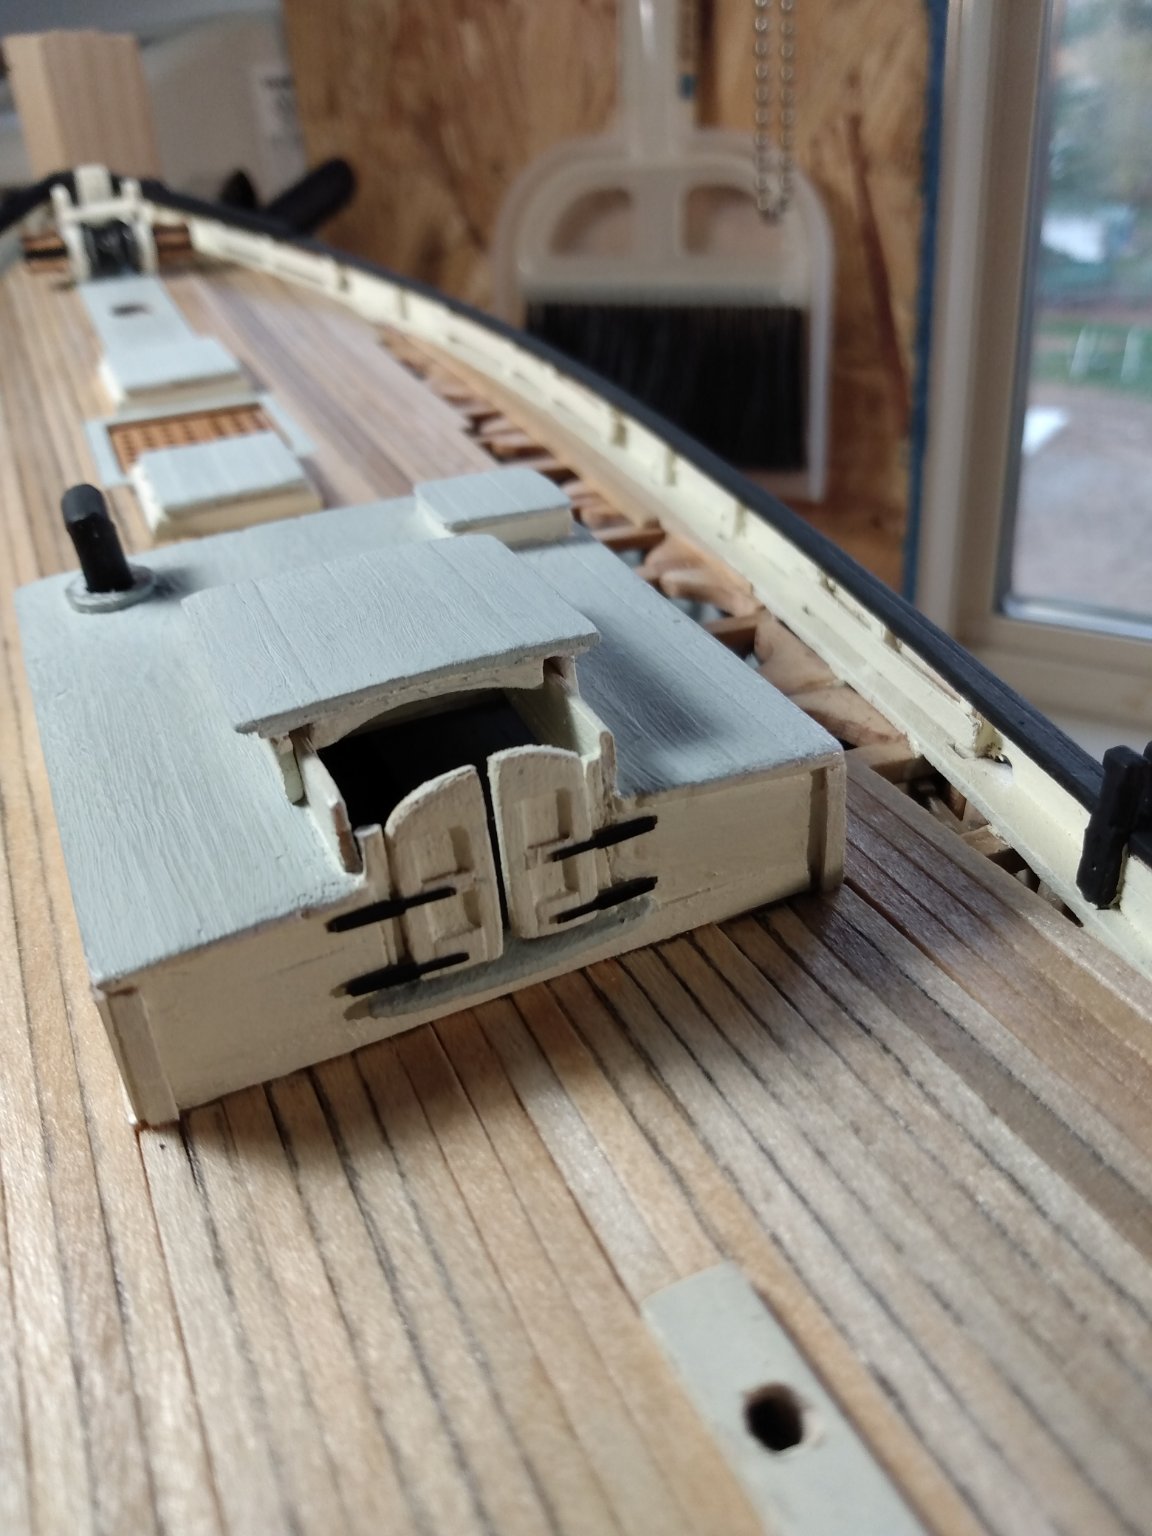
Beautiful hatches and tailboards! Great ideas on the fabbing, I wish I was following your build rather than being ahead, you have some nice methods of building Andrew.
- 161 replies
-
- 1
-
-
- Model Shipways
- Emma C Berry
- (and 1 more)
-
Your pumps look really good... That pinrail is very tricky huh? I remember taking three shots to get it done!
-
Ahoy there, thanks for the comments and likes. Got some more accomplished on The Emma. The rudder and tiller have been put together and installed. The bowsprit has been permenantly attached with the gammon iron, bowsprit guy and topmast stay bands. I decided to scuff up the "damaged" starboard side around the openned area. I thought if it is in the yard for repairs, the area should look beat up a bit. Still need to do some detailed painting like the accent striping etc.


- 101 replies
-
- 7
-
-
- emma c berry
- model shipways
- (and 1 more)
-
Lookin good, you're leaving a lot of planks off the open side huh? Interesting...
-
Nice looking hatches! This is going to be a great looking model.
-
It looks very good, carving at that scale is tough.
-
Fine work there. I was thinking about a stove way back but I ended up gluing the cabin to the frames. Now I wish I built the cabin so it could be removed to expose all the nifty work down there. Oh well, live and learn (sometimes).
-
I like how you did your shackles, I shall do the same.
-
Thank you Mr T. and all others, how's yours coming along?
-
Thanks for the info Yves, would a variable resistor work here?
-
Hey Will, thanks for the tip on the model rr lights. They have lots of useful stuff for ship modelling also huh? The construction is across the street. I believe it will be a duplex residential building. How I dealt with the led situation is to reach in and brush on some yellow occre paint, it toned them down and added a more realistic yellow glow like you'd get from lanterns.
- 101 replies
-
- 2
-
-
- emma c berry
- model shipways
- (and 1 more)
-
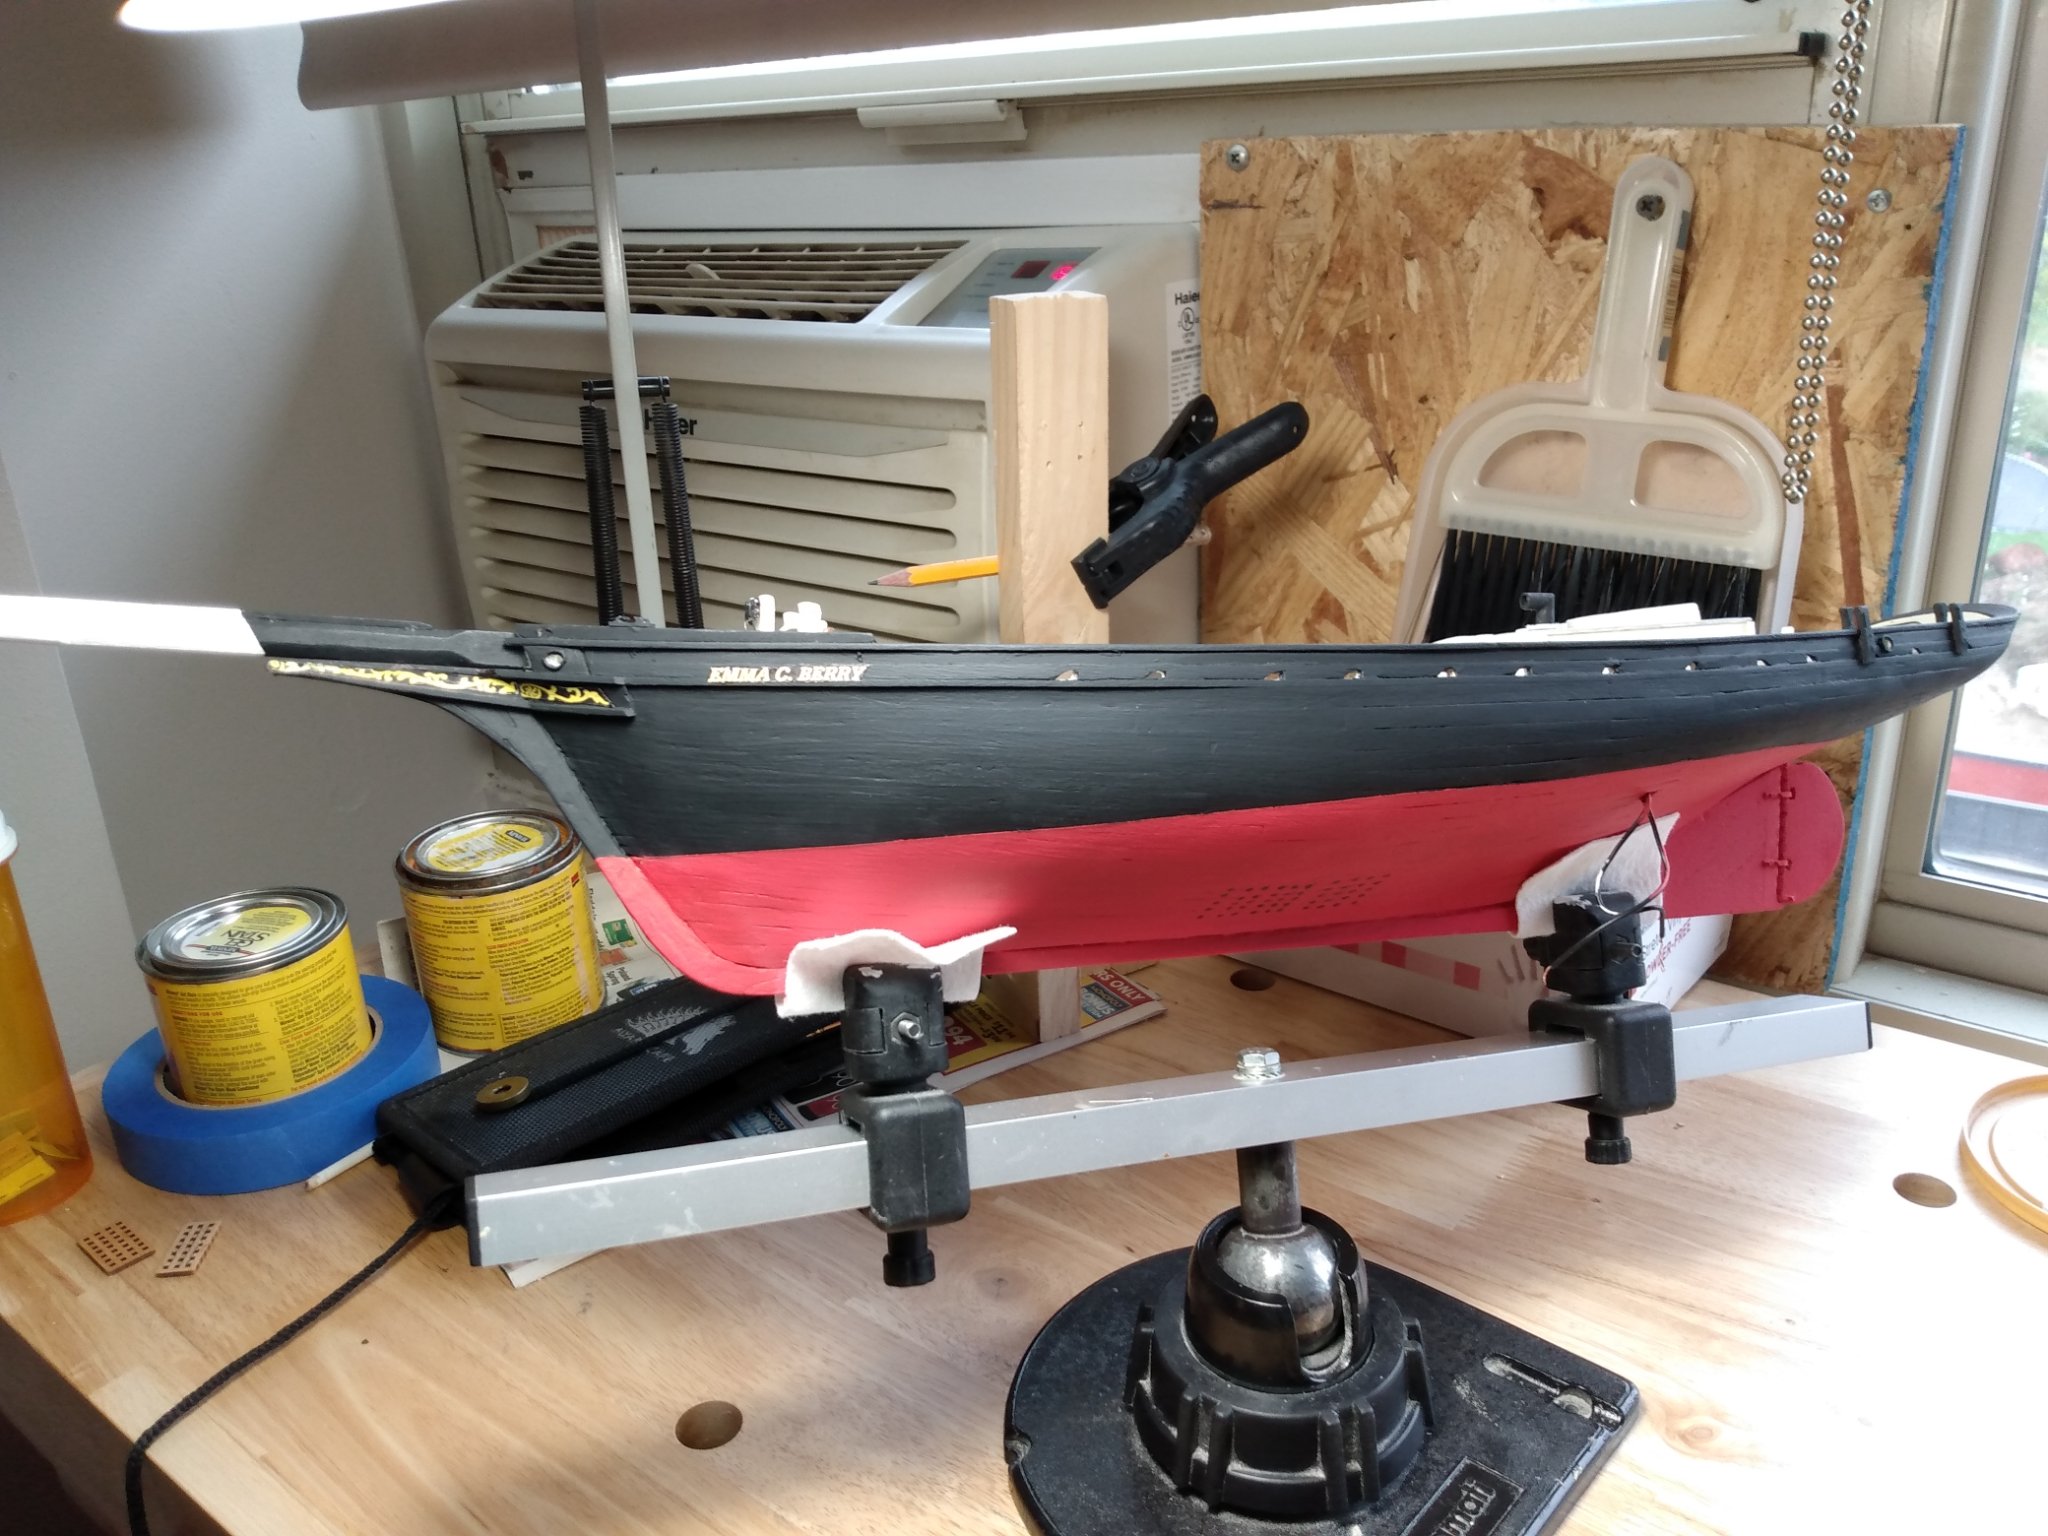
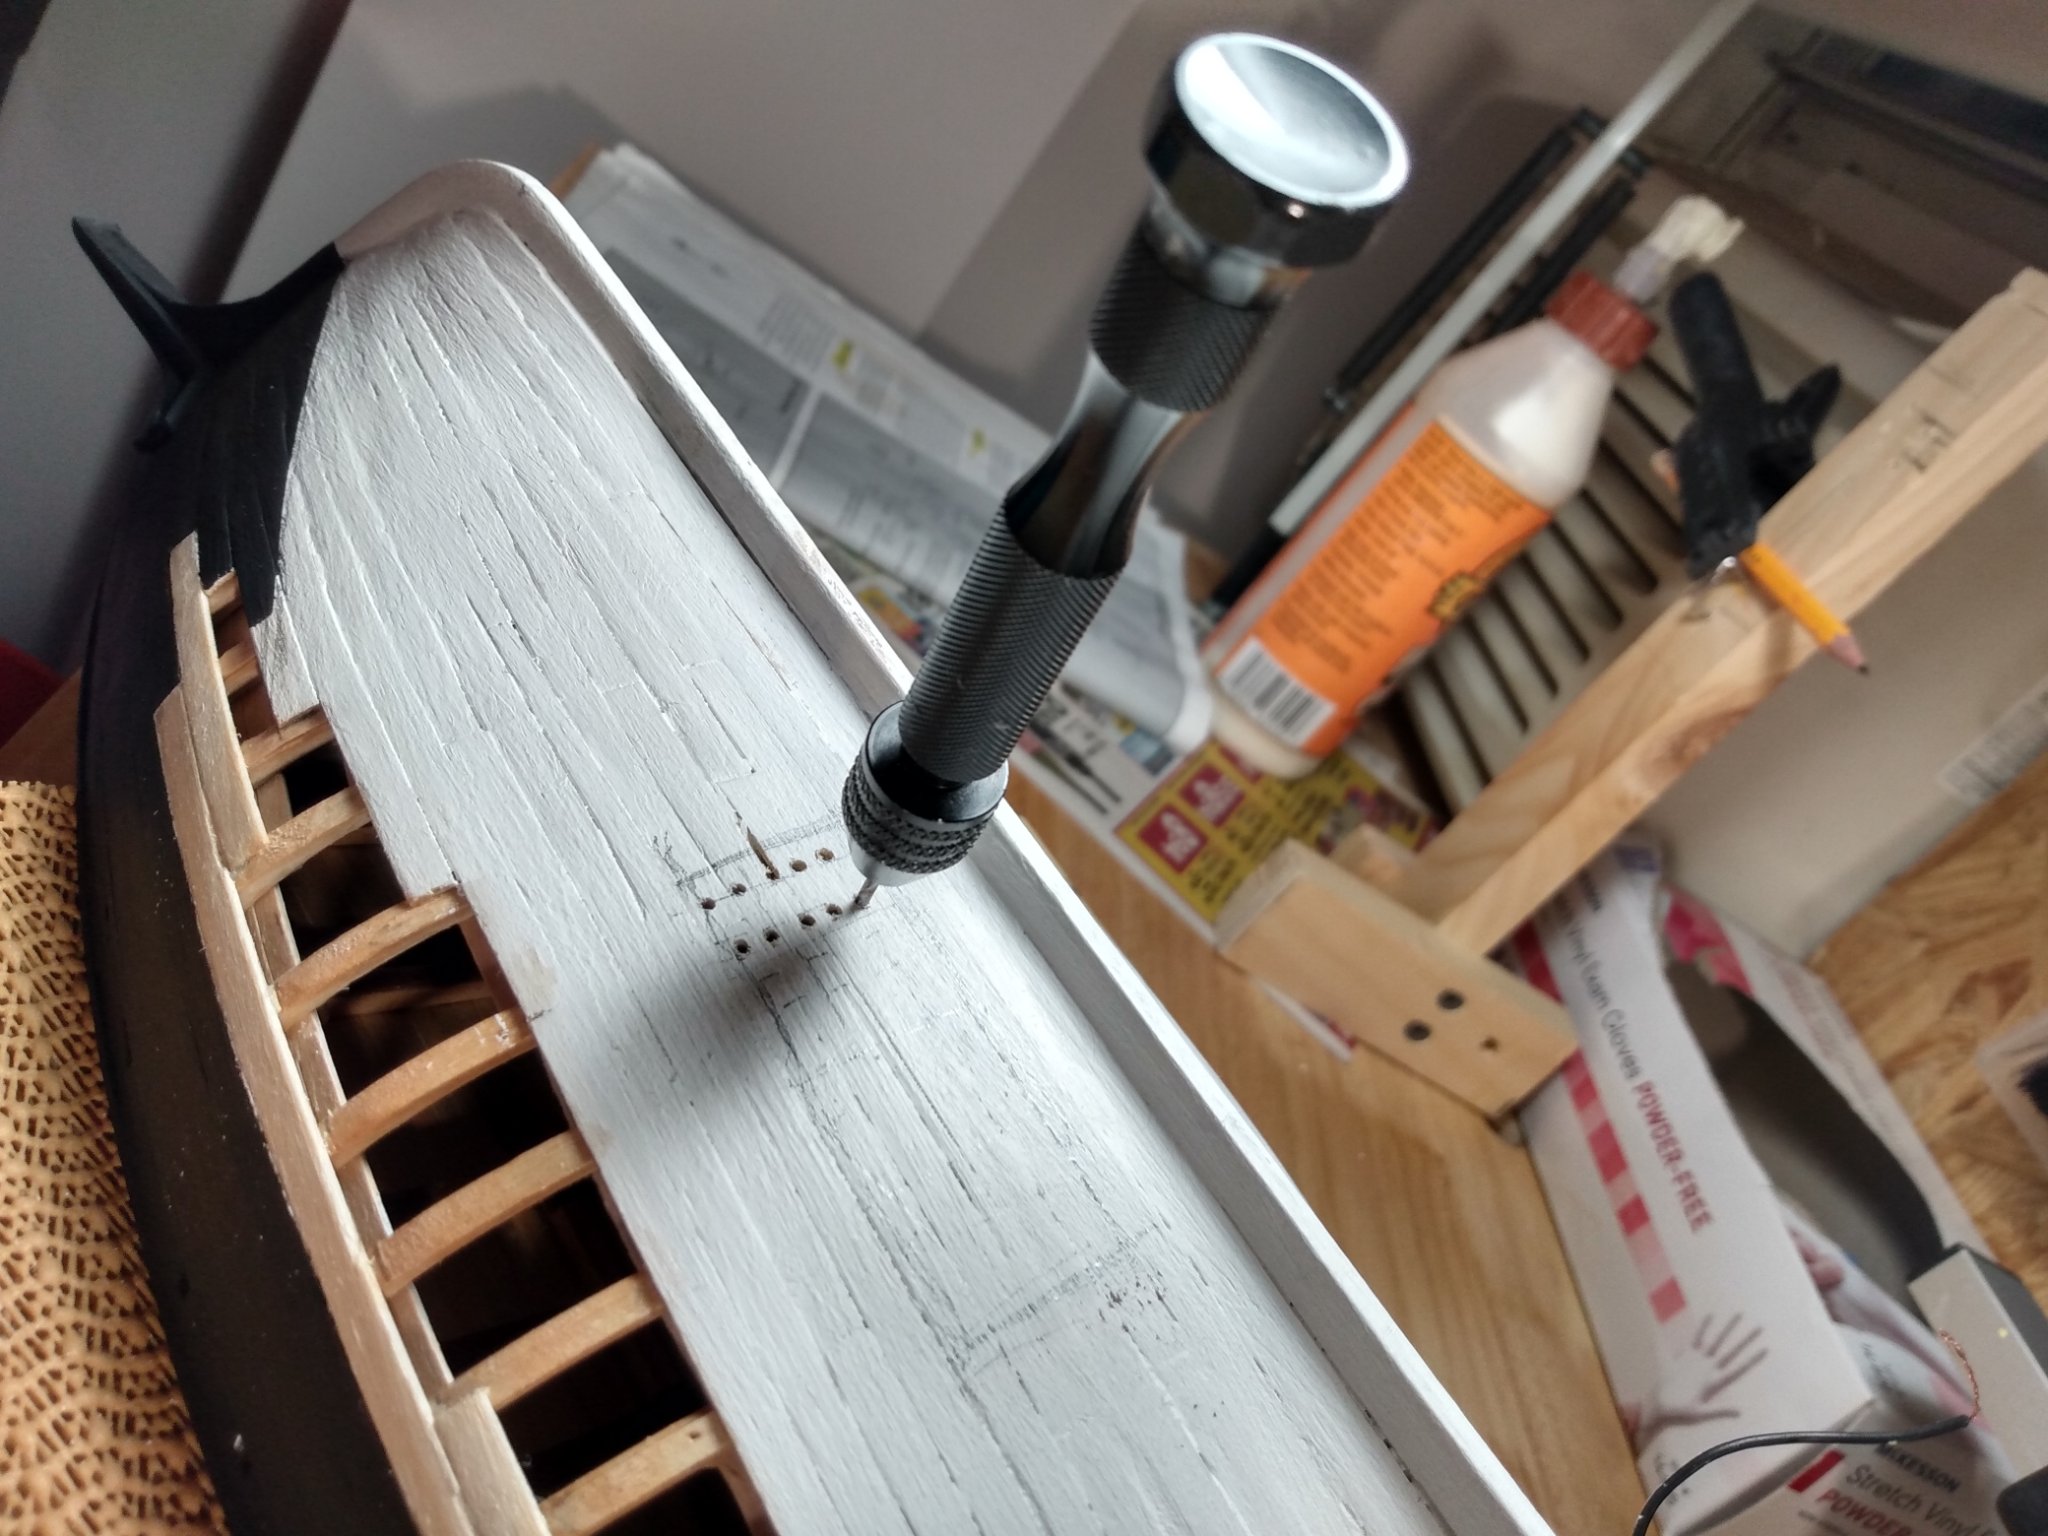
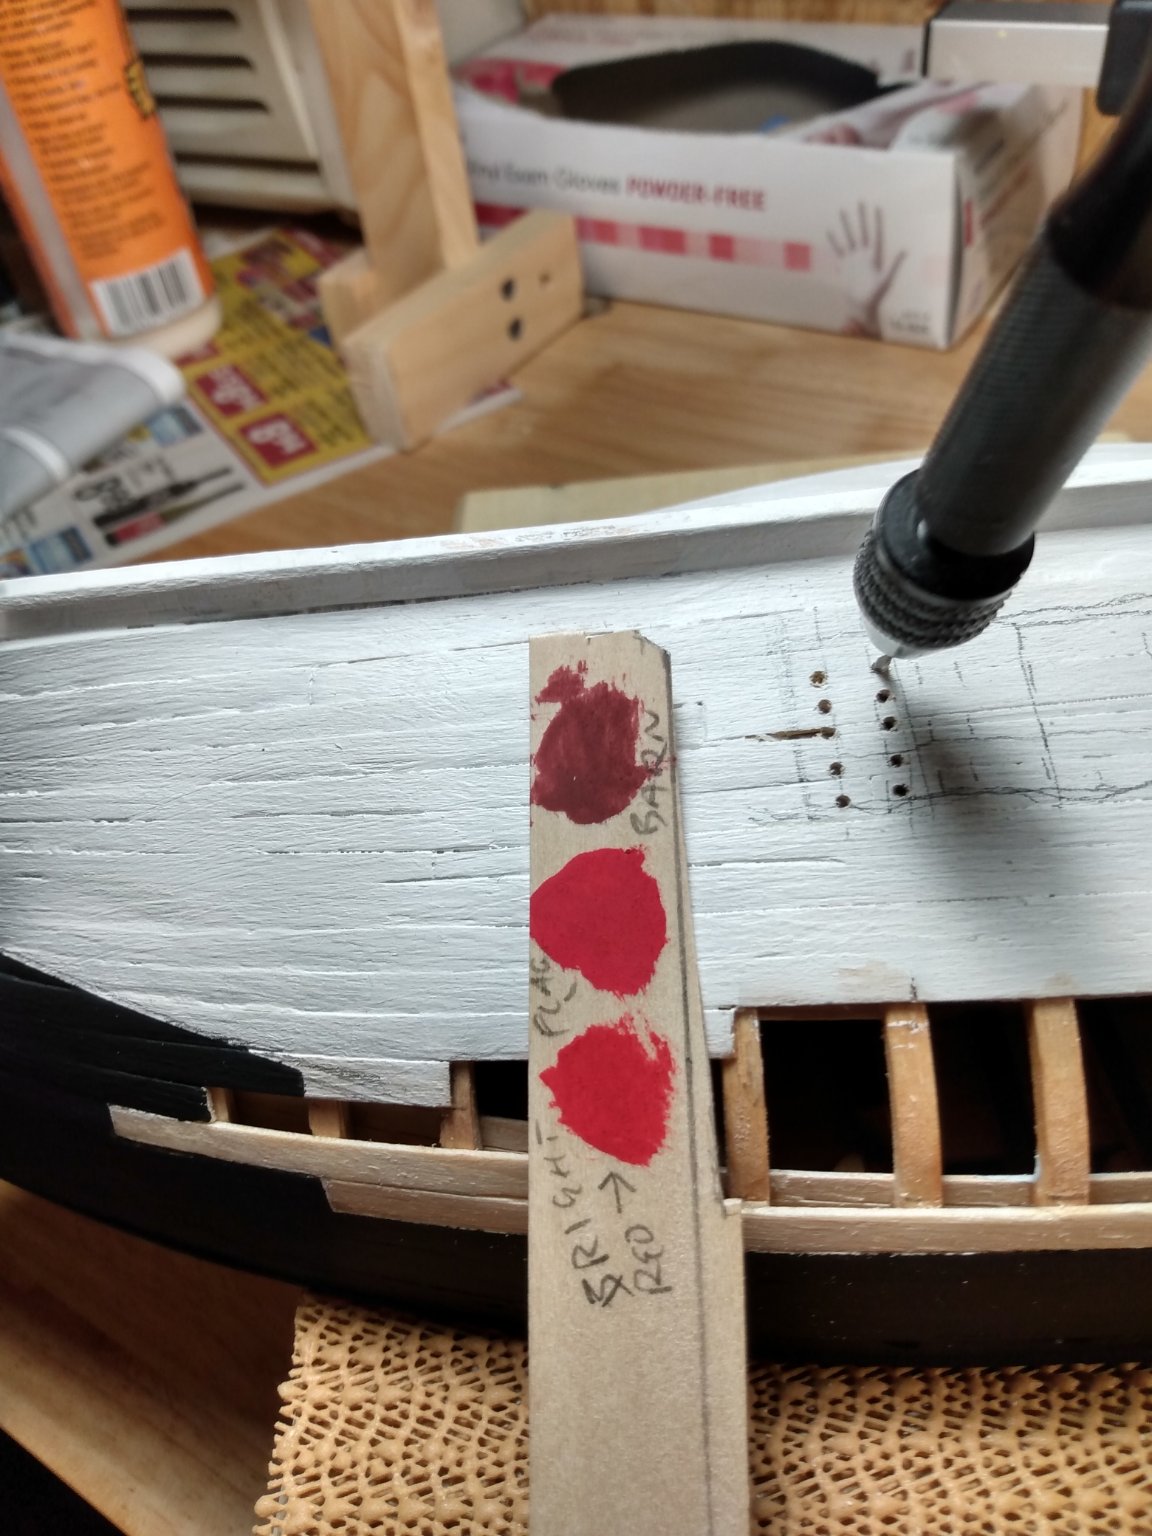
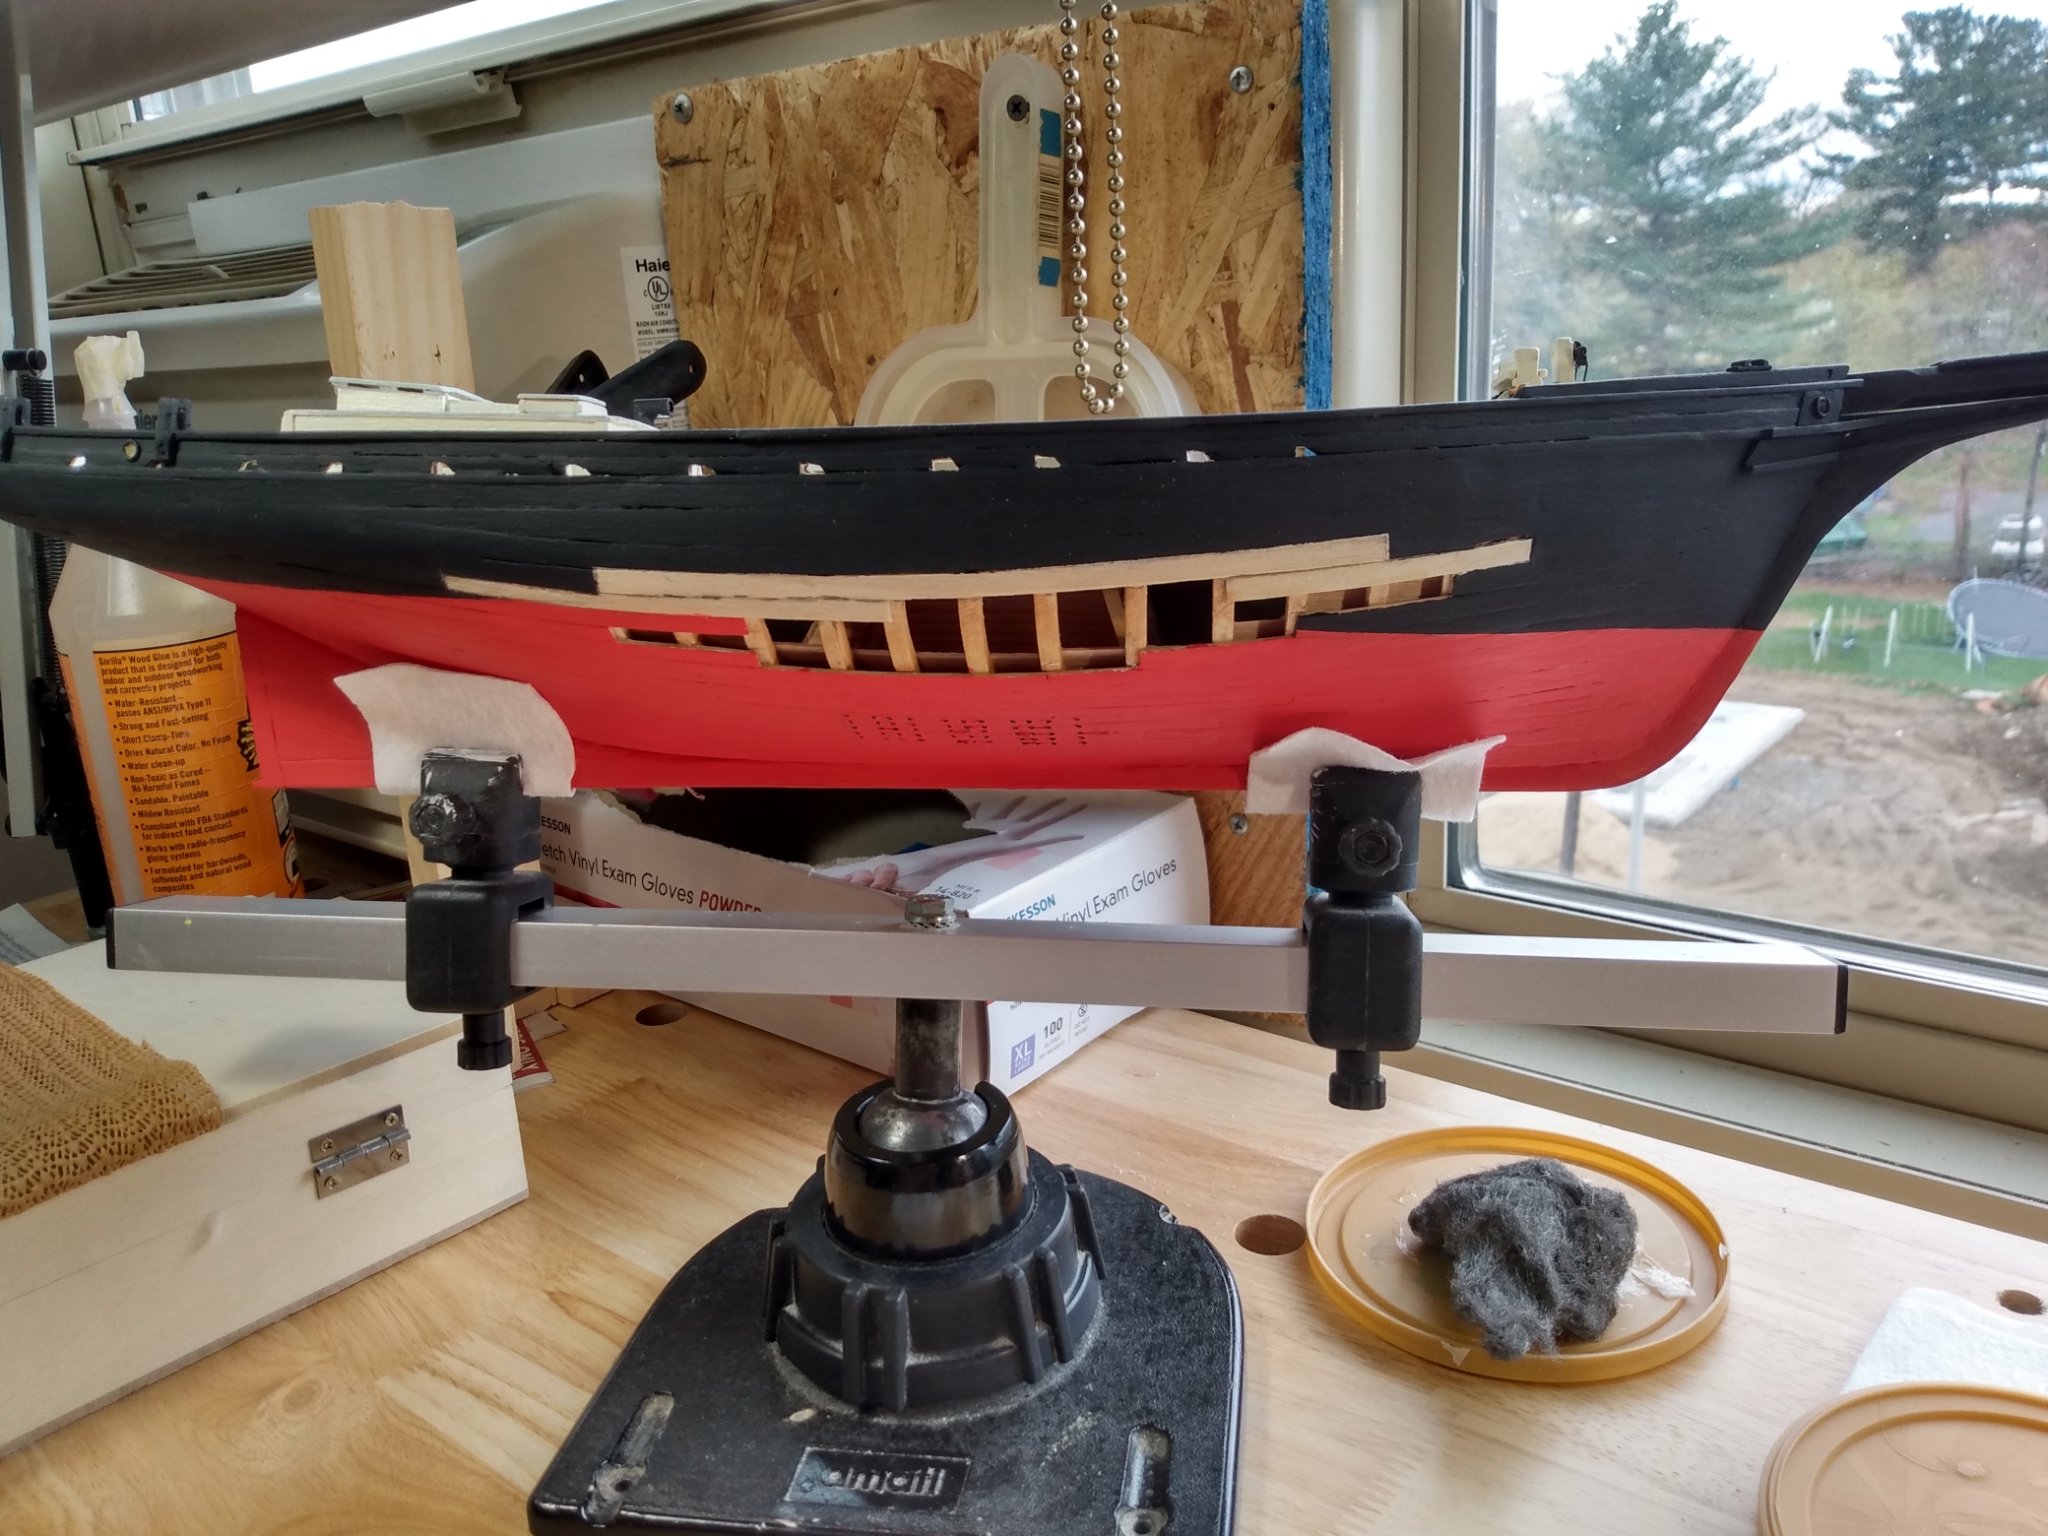
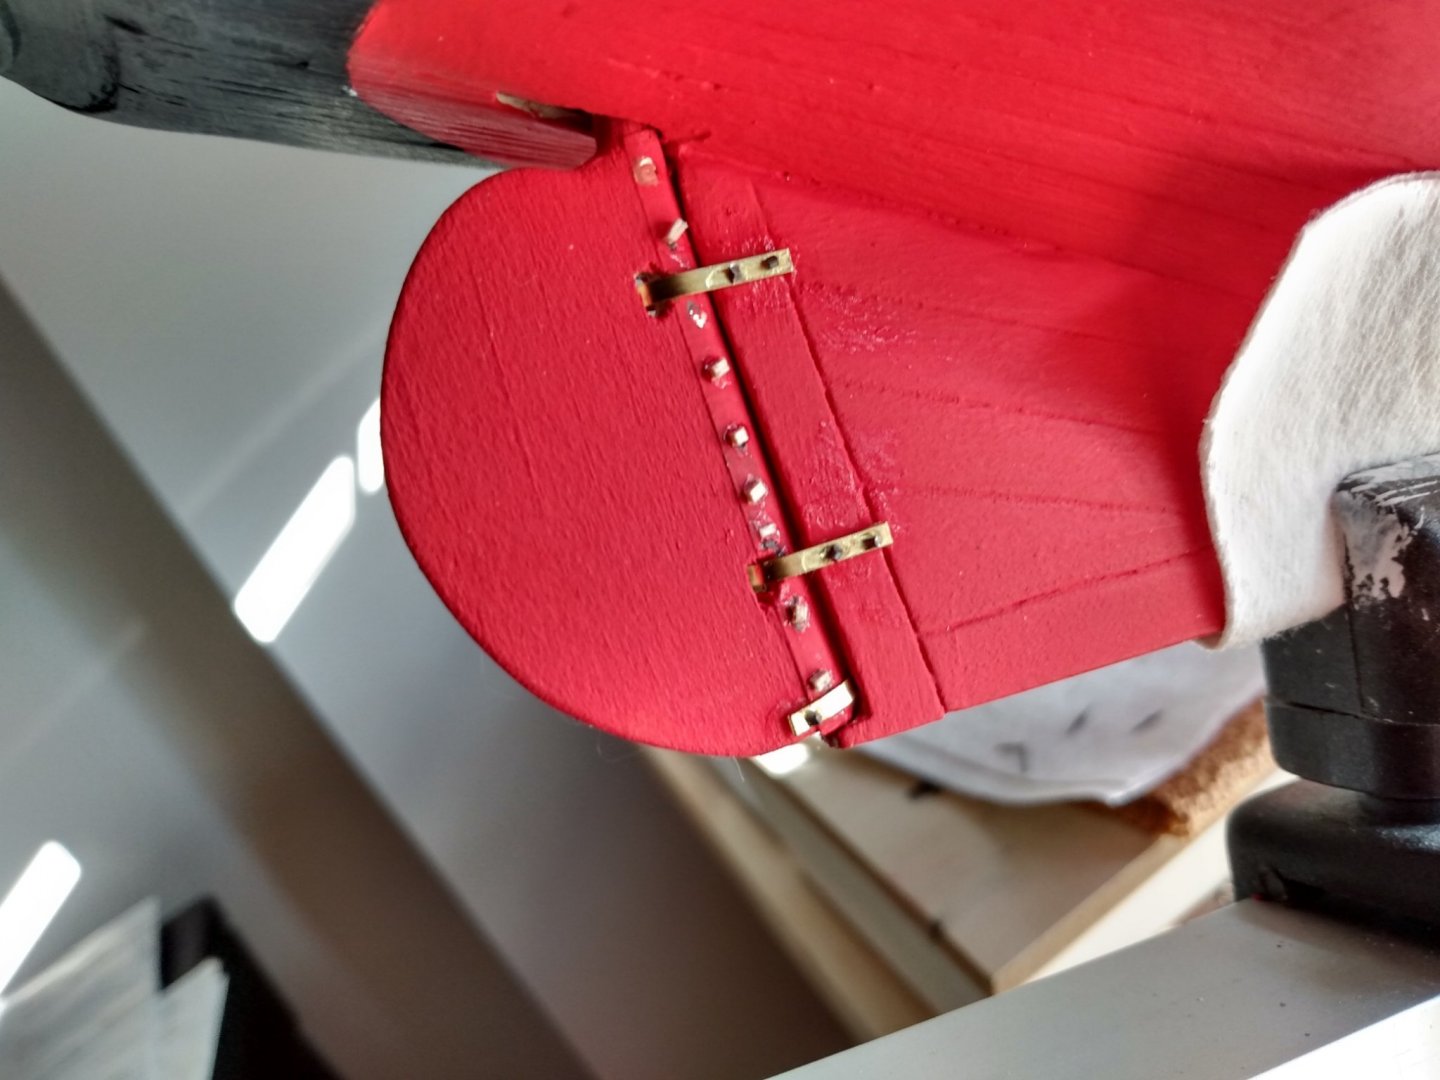
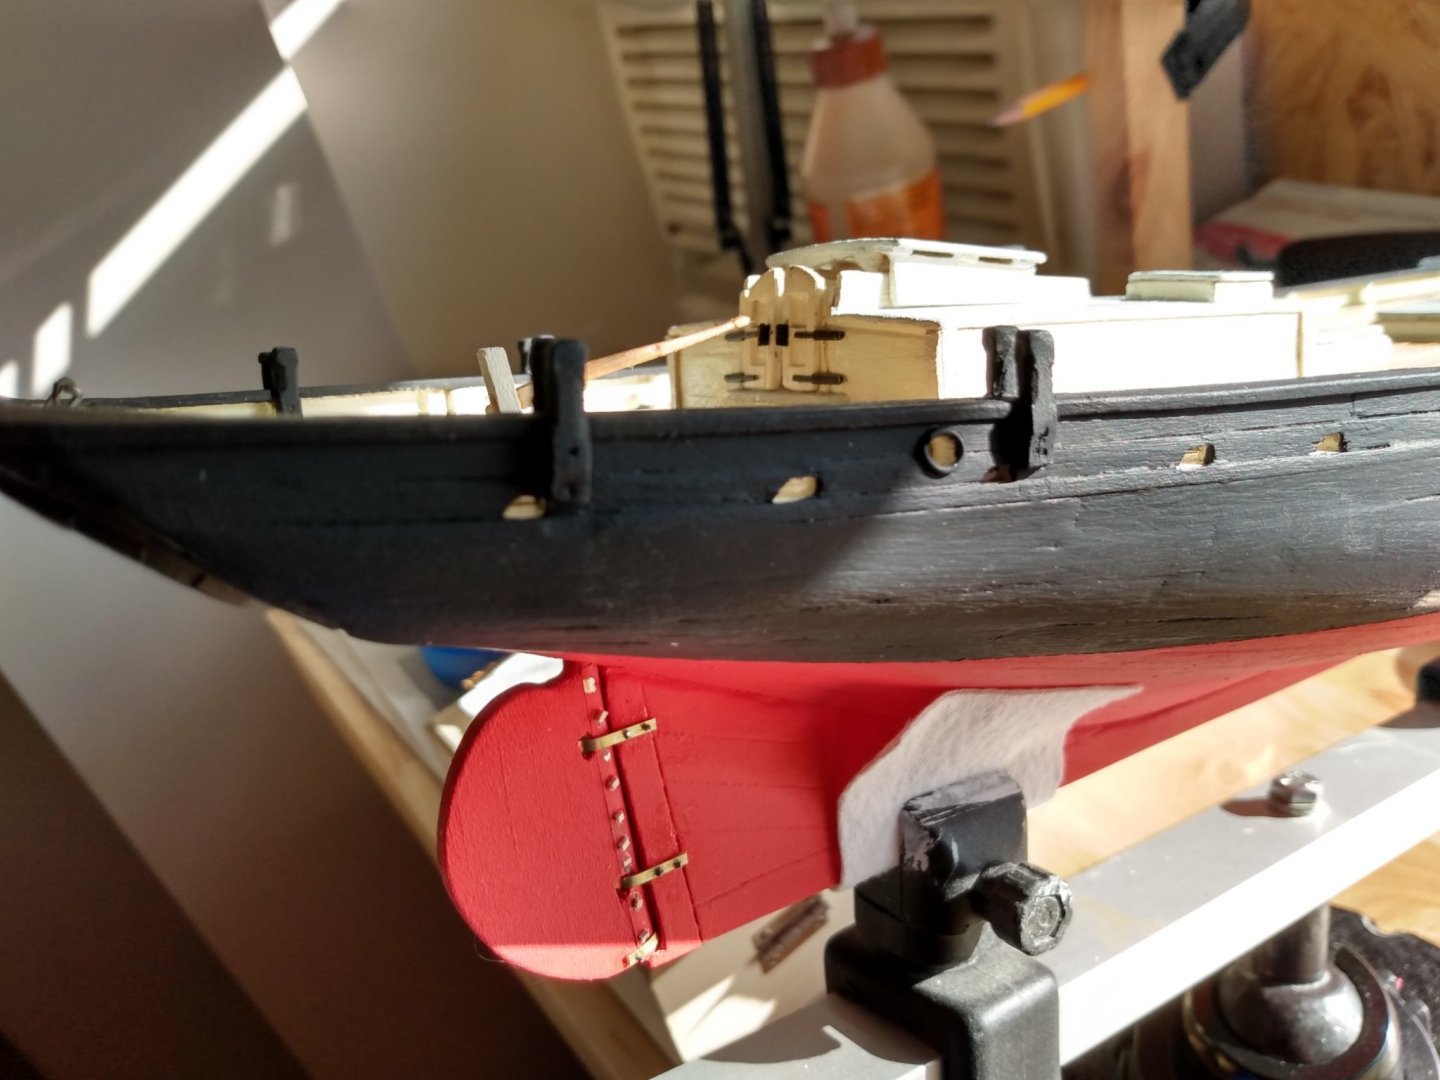
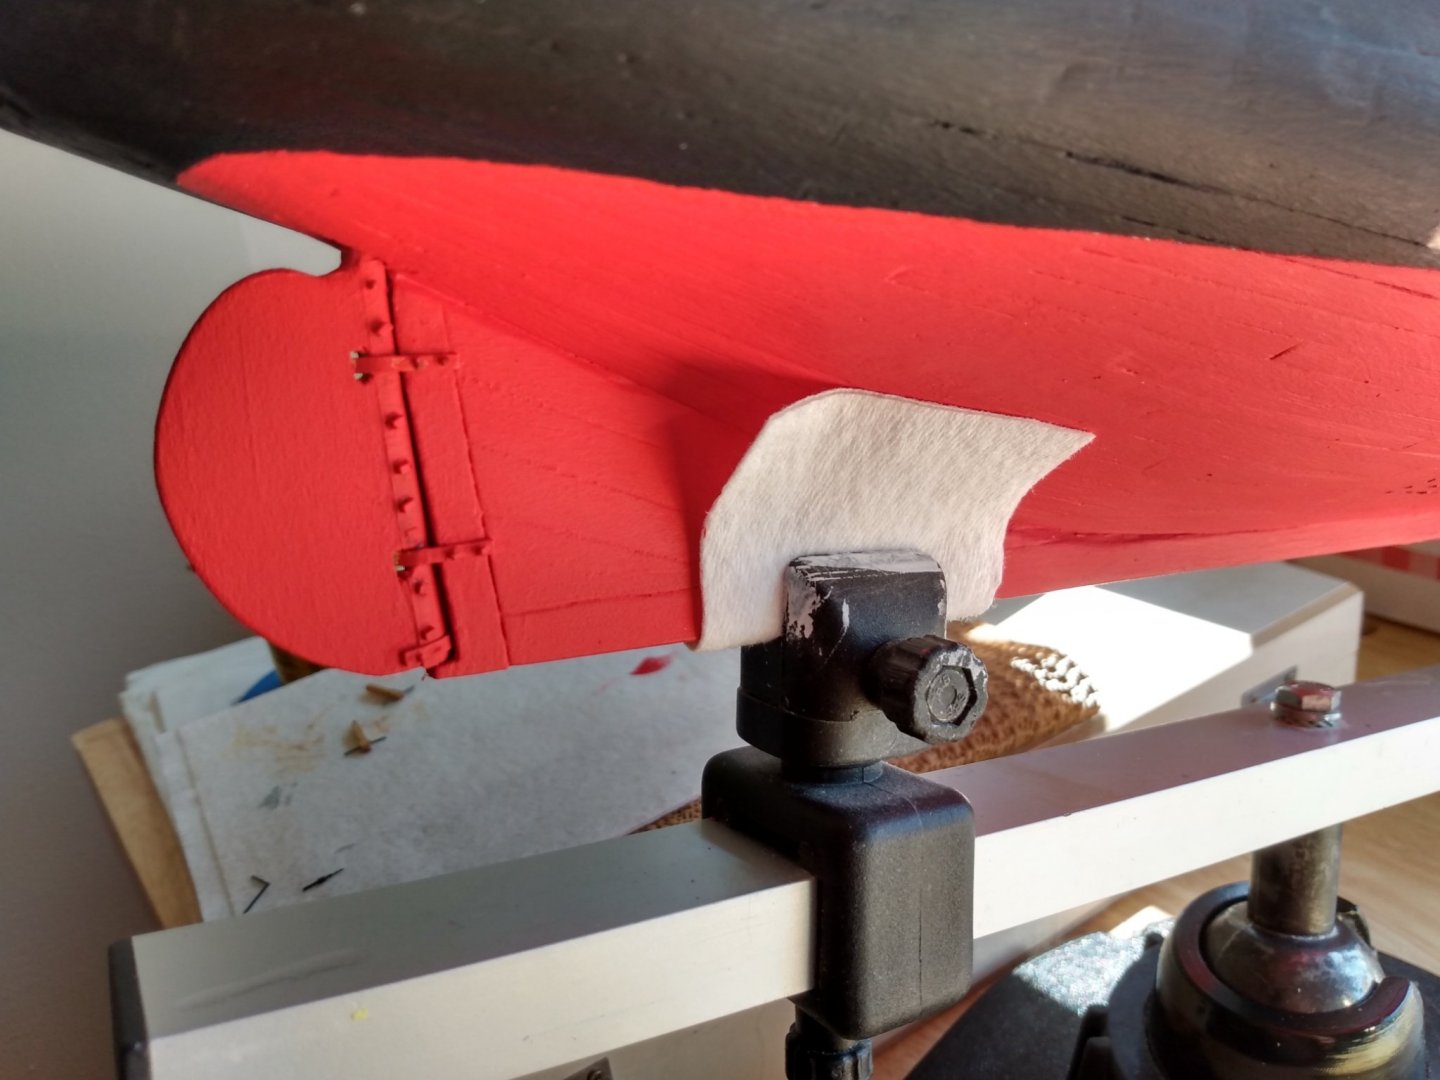
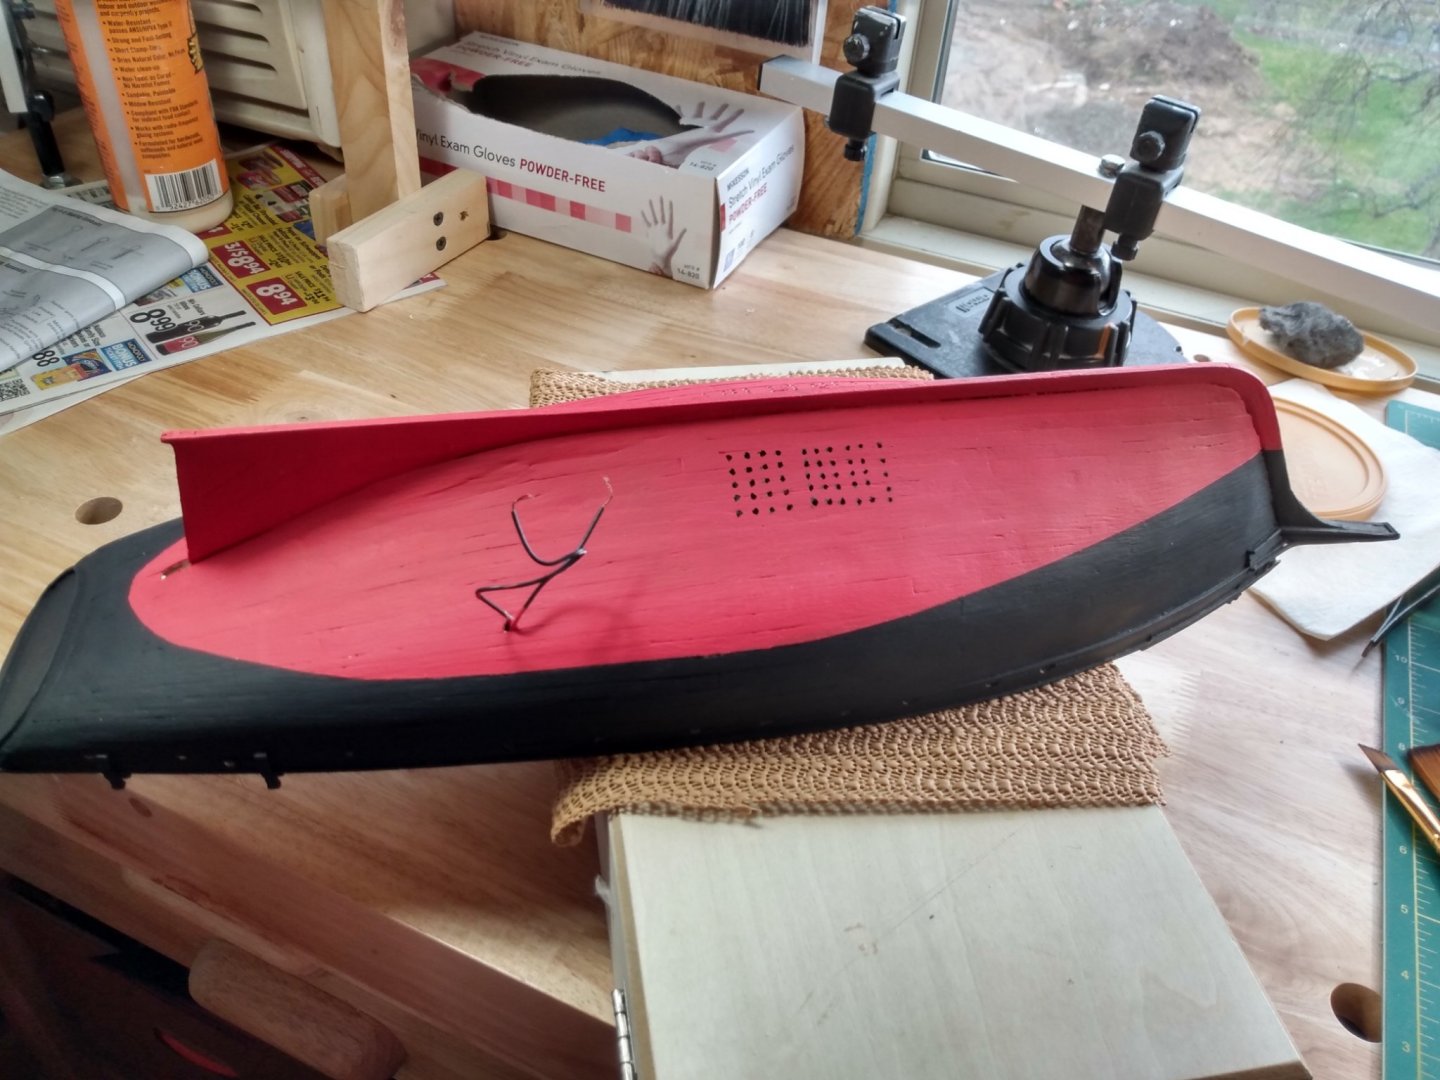
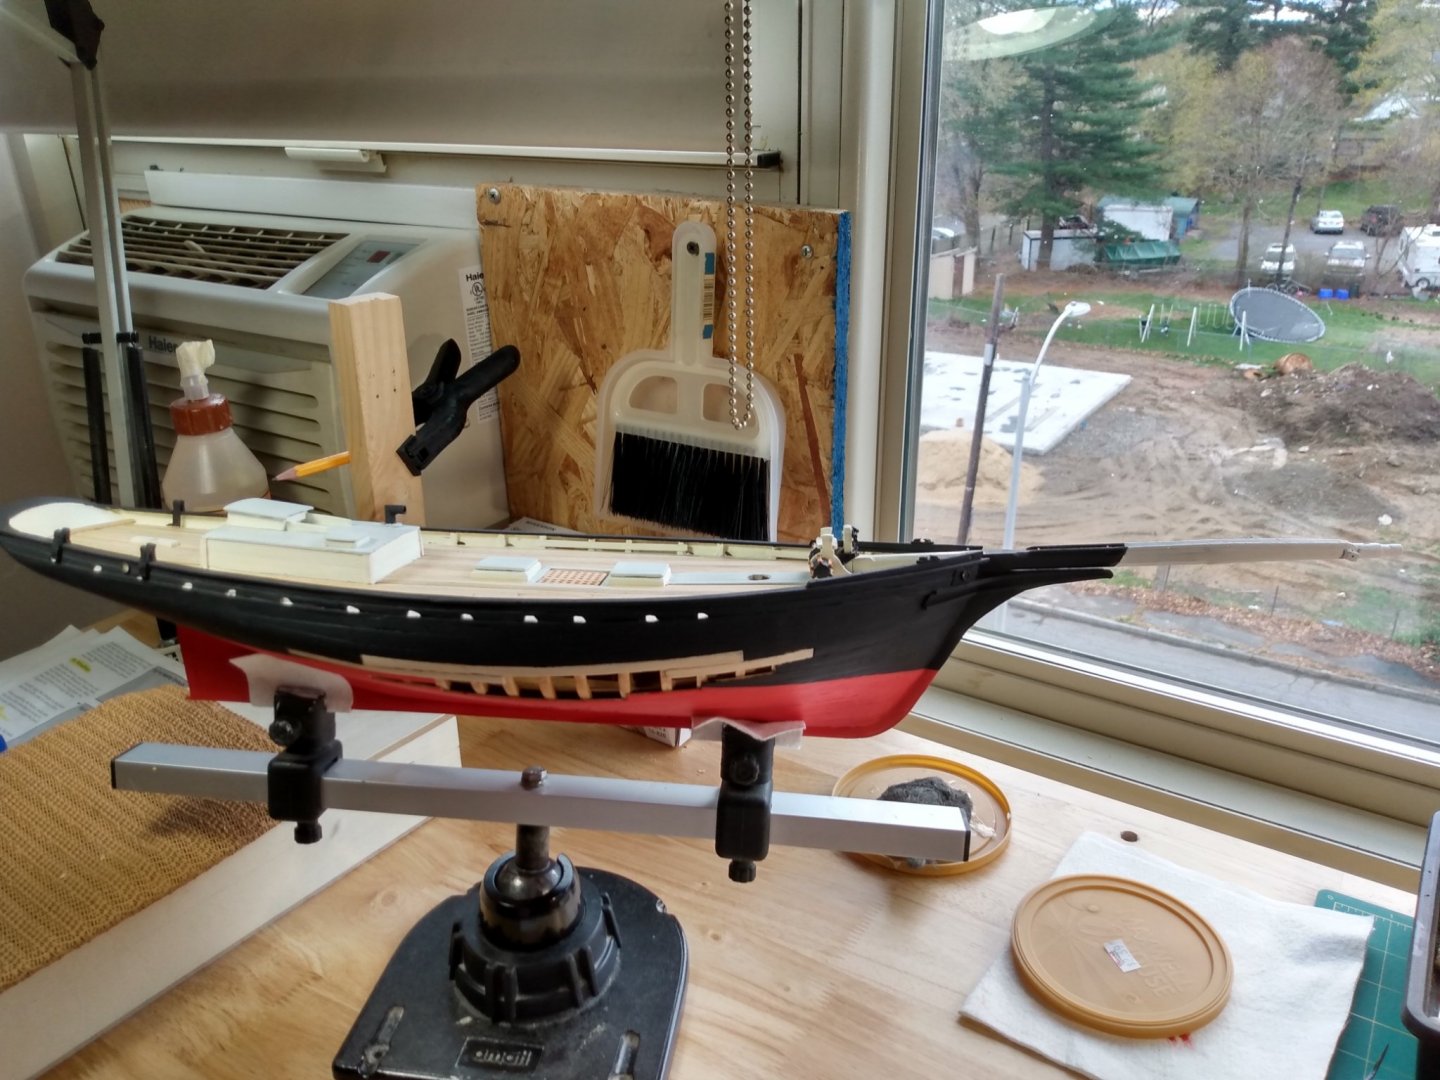
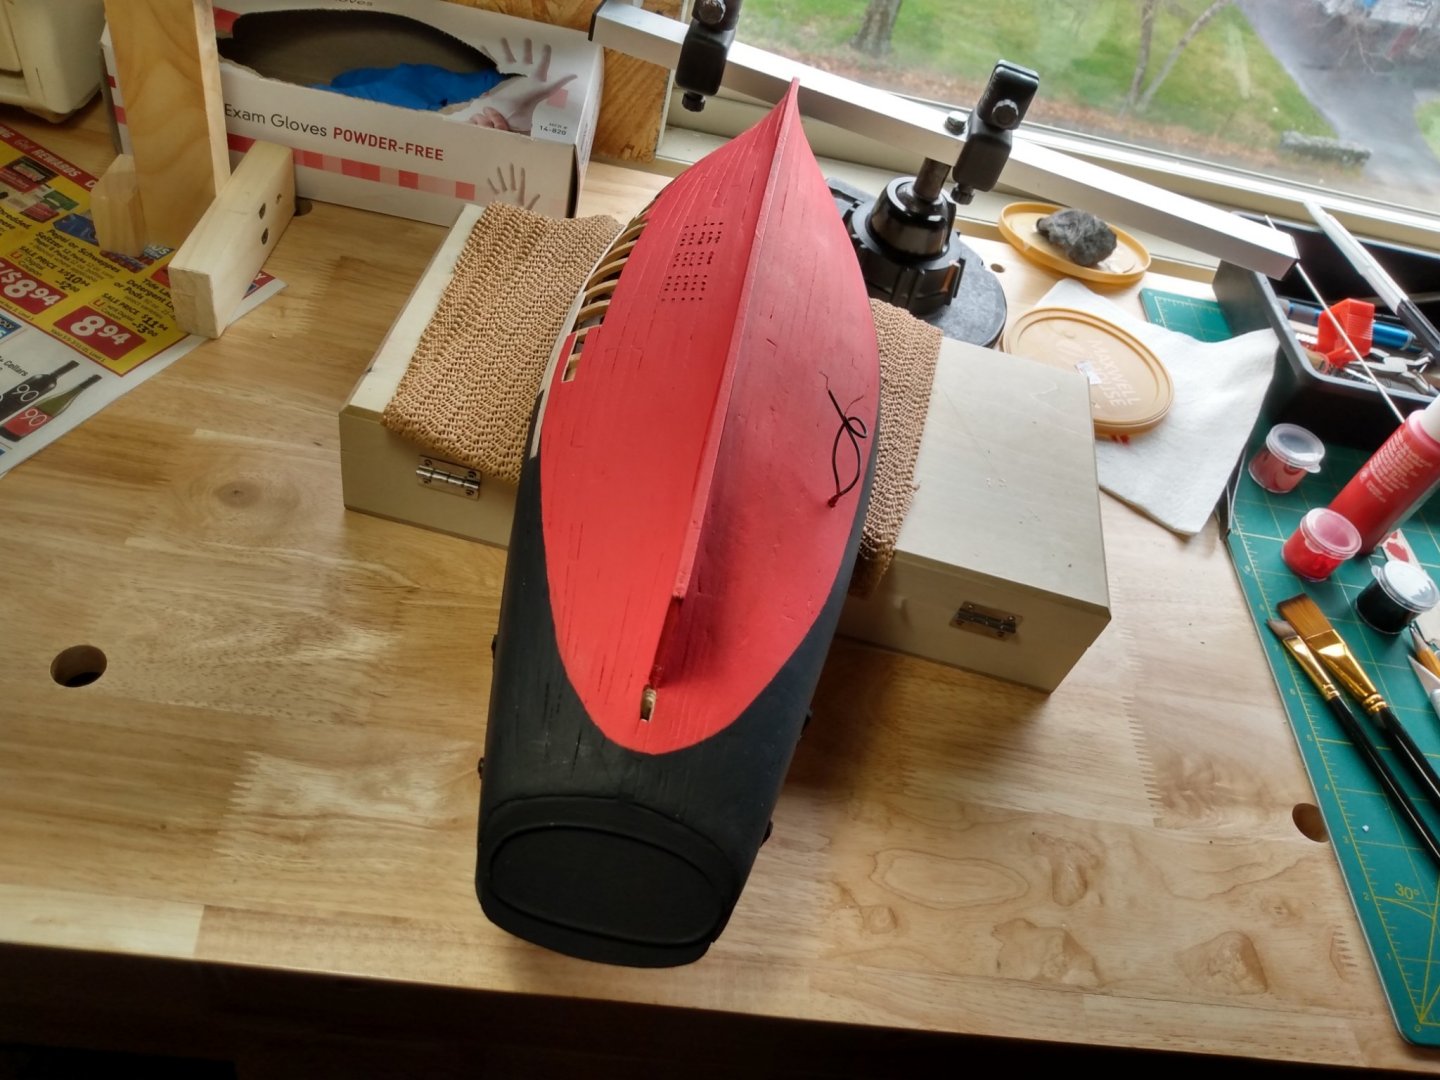
Got quite a bit more done, drilled in the flooding holes for the wet well, (it seemed so wrong). Then I applied the red bottom paint bellow the waterline. Added the double cabin doors with hinges made from brass strips. Then something I almost forgot, the boom horse on the transom. After a thorough and tedious search for painting boo boos, I touched up all the errors that I could find, I'm sure there'll be more! Next up will be permenantly attaching the bowsprit and fabbing up the various bands and hardware.


- 101 replies
-
- 6
-
-
- emma c berry
- model shipways
- (and 1 more)
-
Looking great...good move going for the Syren wheel kit! Looks so much better than the cast kit supplied. Wish I did the same.