HOLIDAY DONATION DRIVE - SUPPORT MSW - DO YOUR PART TO KEEP THIS GREAT FORUM GOING! (83 donations so far out of 49,000 members - C'mon guys!)
×

Sea Hoss
-
Posts
420 -
Joined
-
Last visited
Content Type
Profiles
Forums
Gallery
Events
Everything posted by Sea Hoss
-
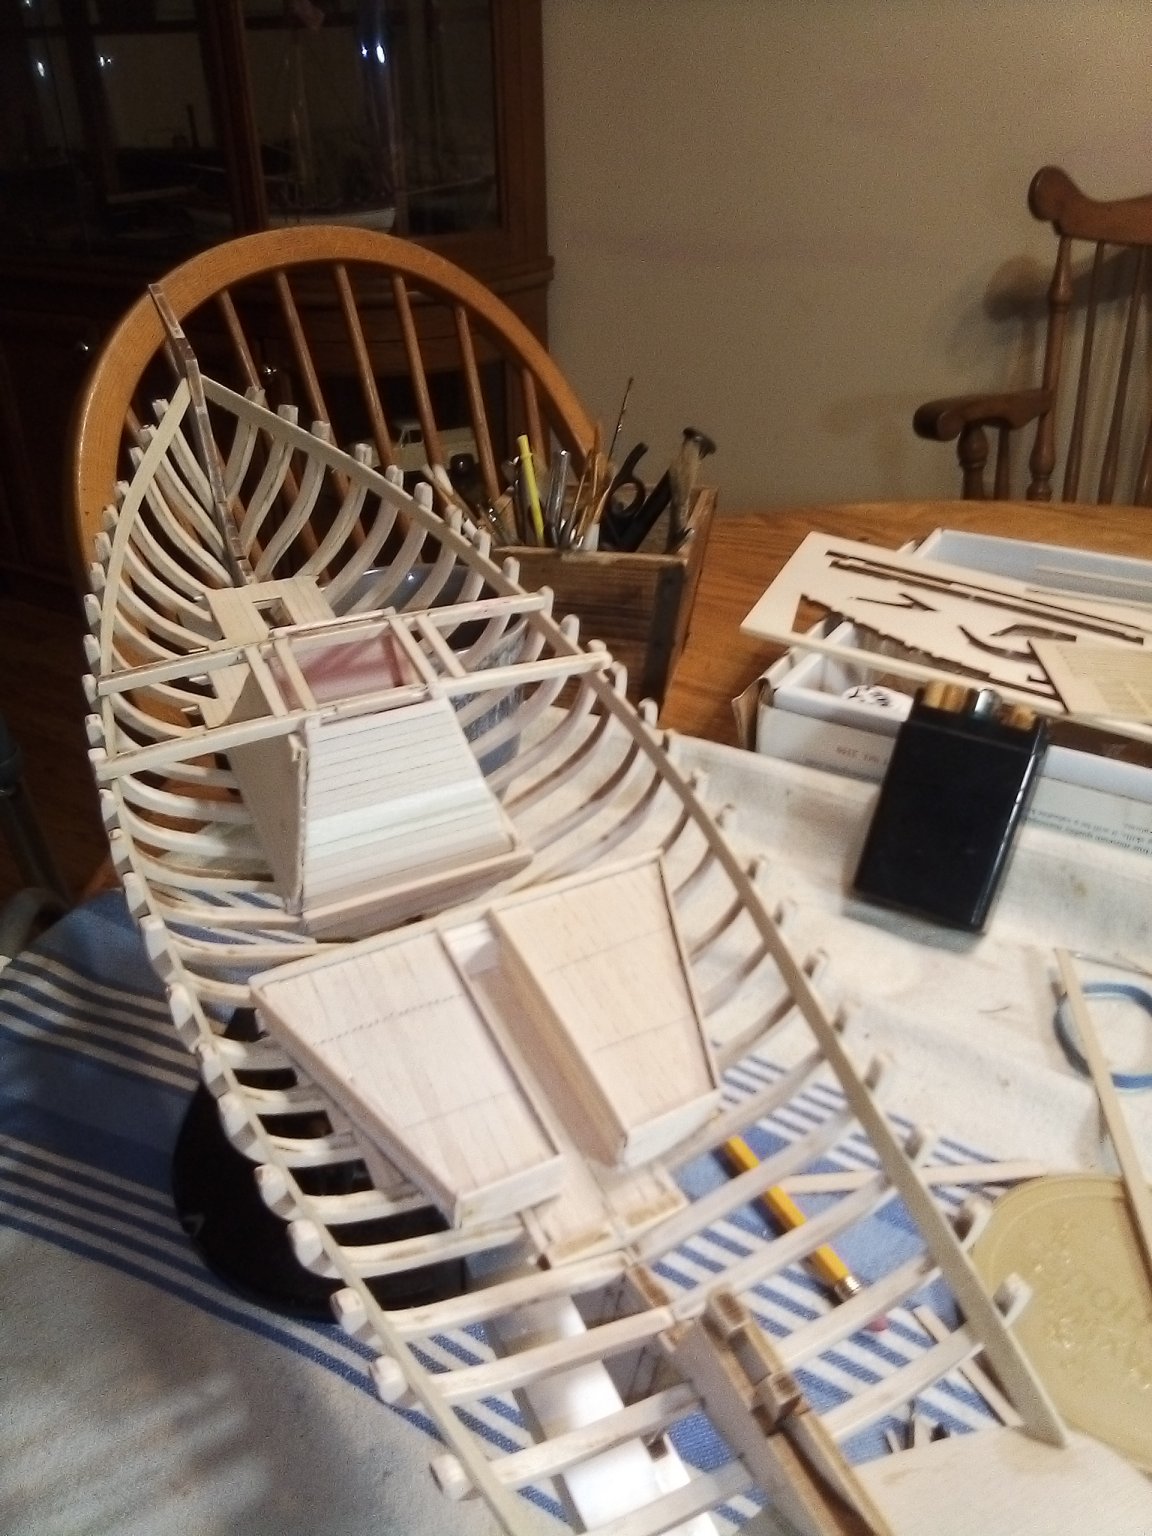
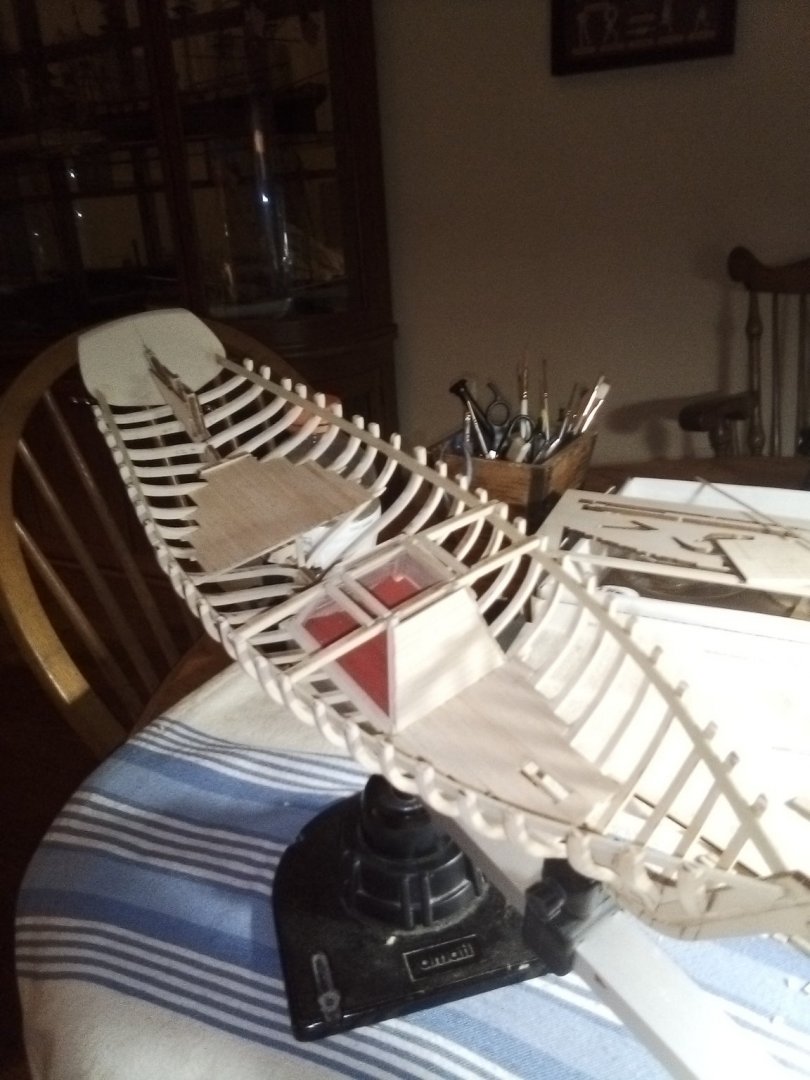
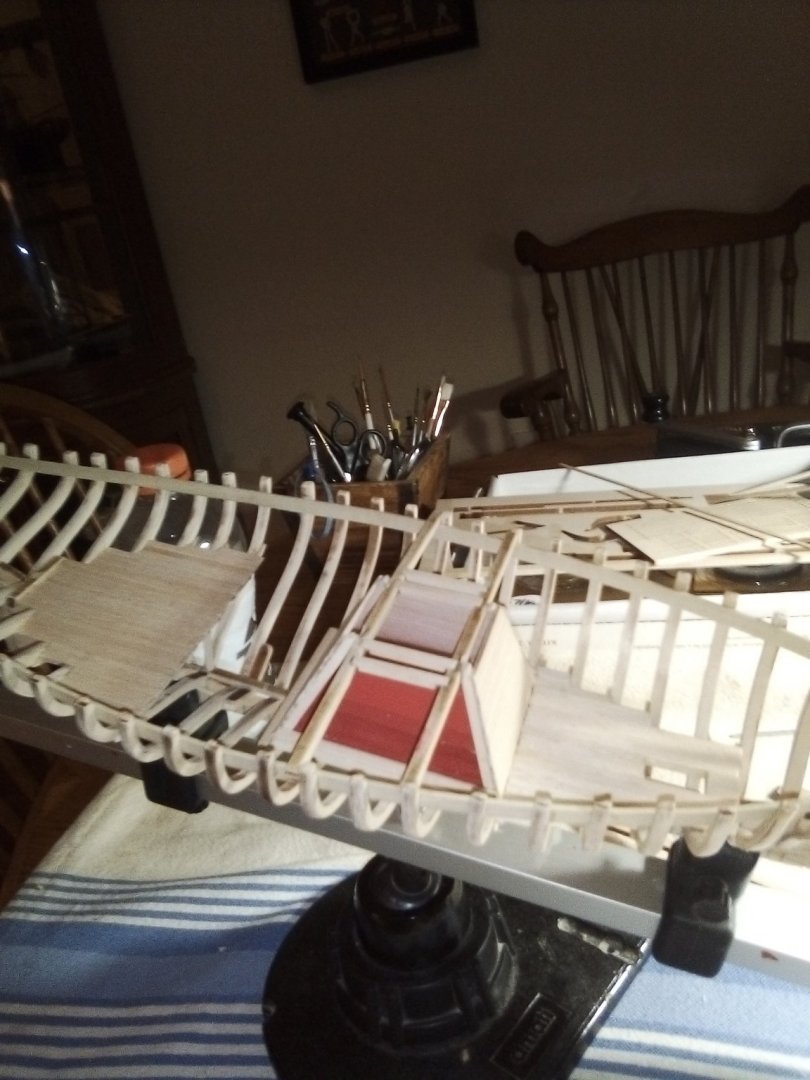
 Been working on The Emma C. slowly but surely. Stained interior areas that will remain that way, started on the ceiling planking as described in the manual.
- 101 replies
-
- 3
-

-
- emma c berry
- model shipways
- (and 1 more)
-
Thank Yves and Mr. T, also for the likes all! Yes Yves, sometimes hard to get the ball rolling again...But I find once I get started on a build again, the hours blaze by and I find that it's 2AM! Looking forward to see both of your build logs to resume. Also I must add; pardon most of my picture's quality, my phone is junk and therefore, the camera is too. I should buy a decent digital camera in the future.
- 101 replies
-
- 1
-
-
- emma c berry
- model shipways
- (and 1 more)
-
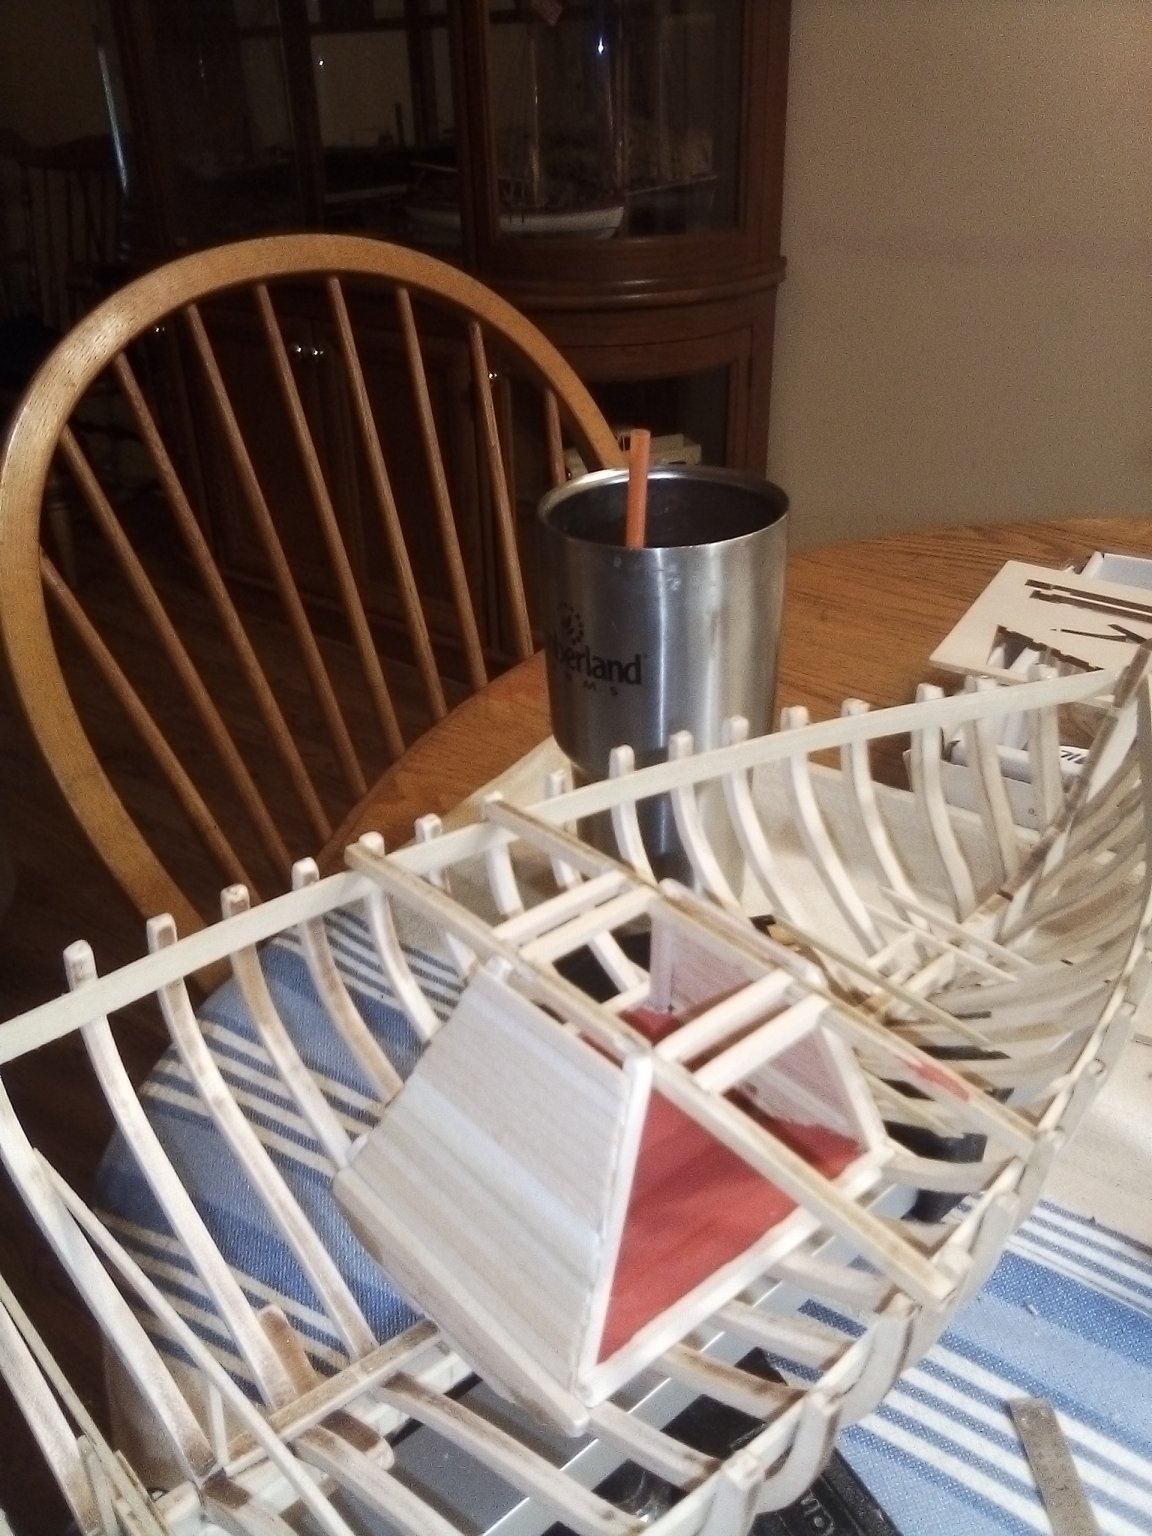
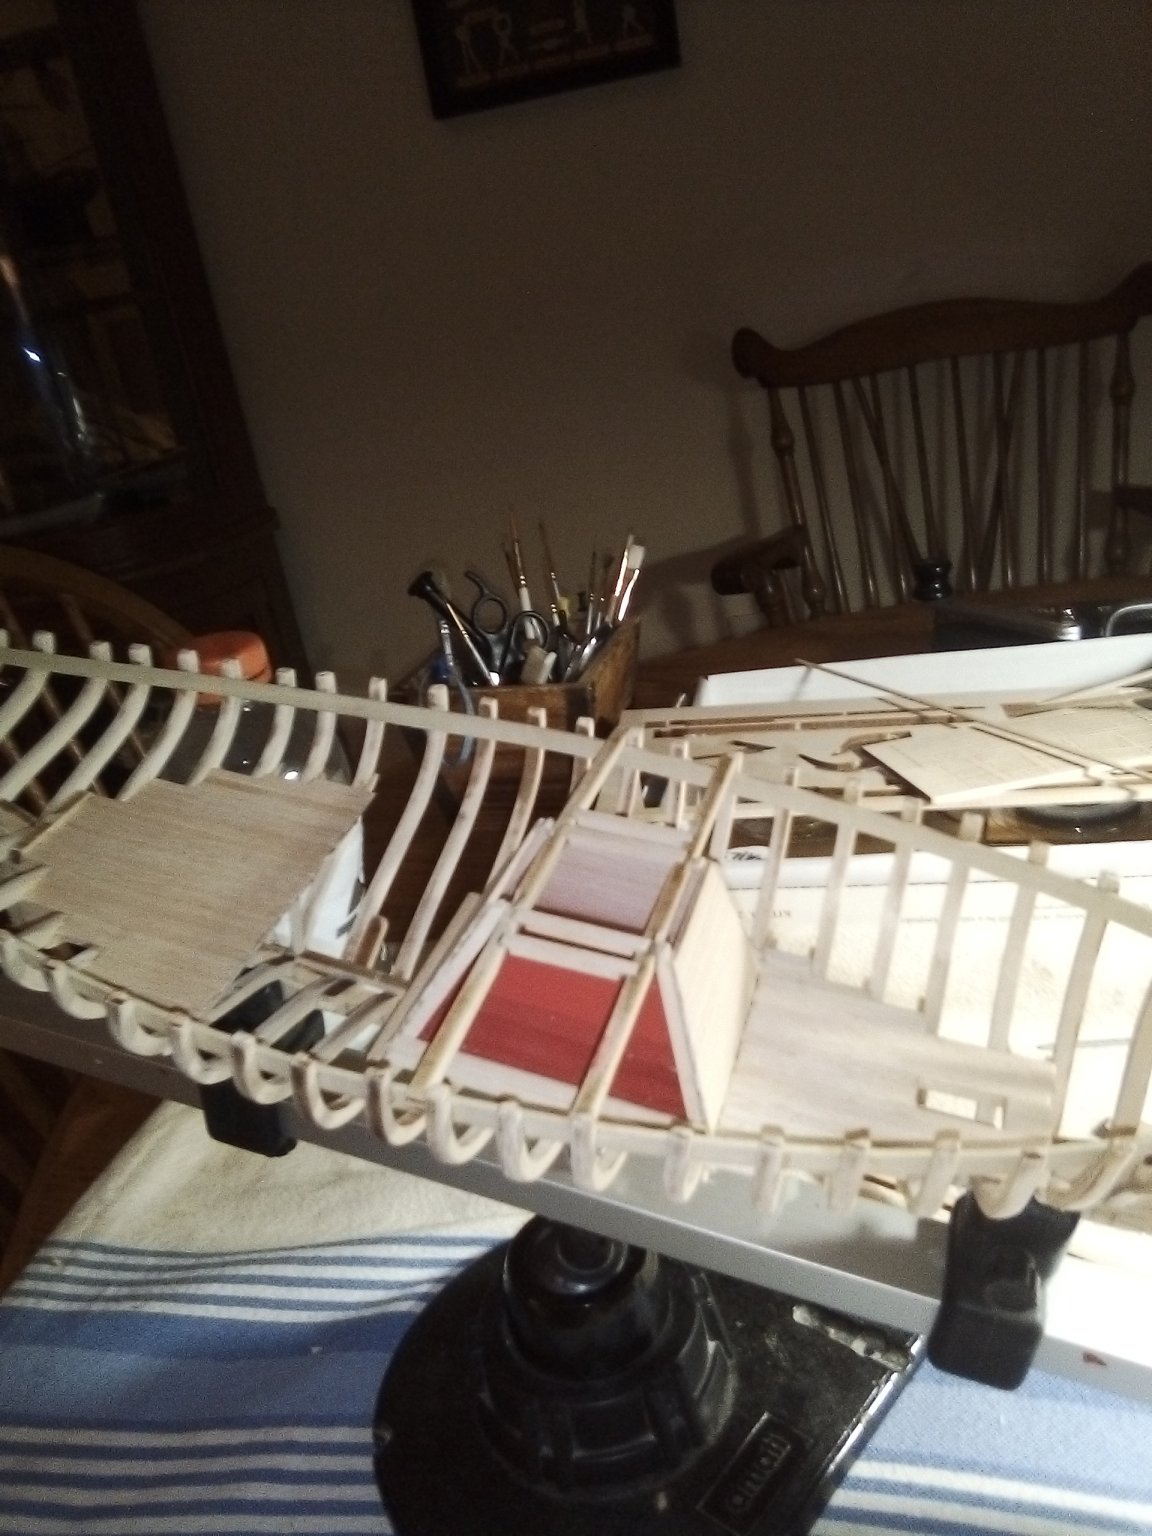
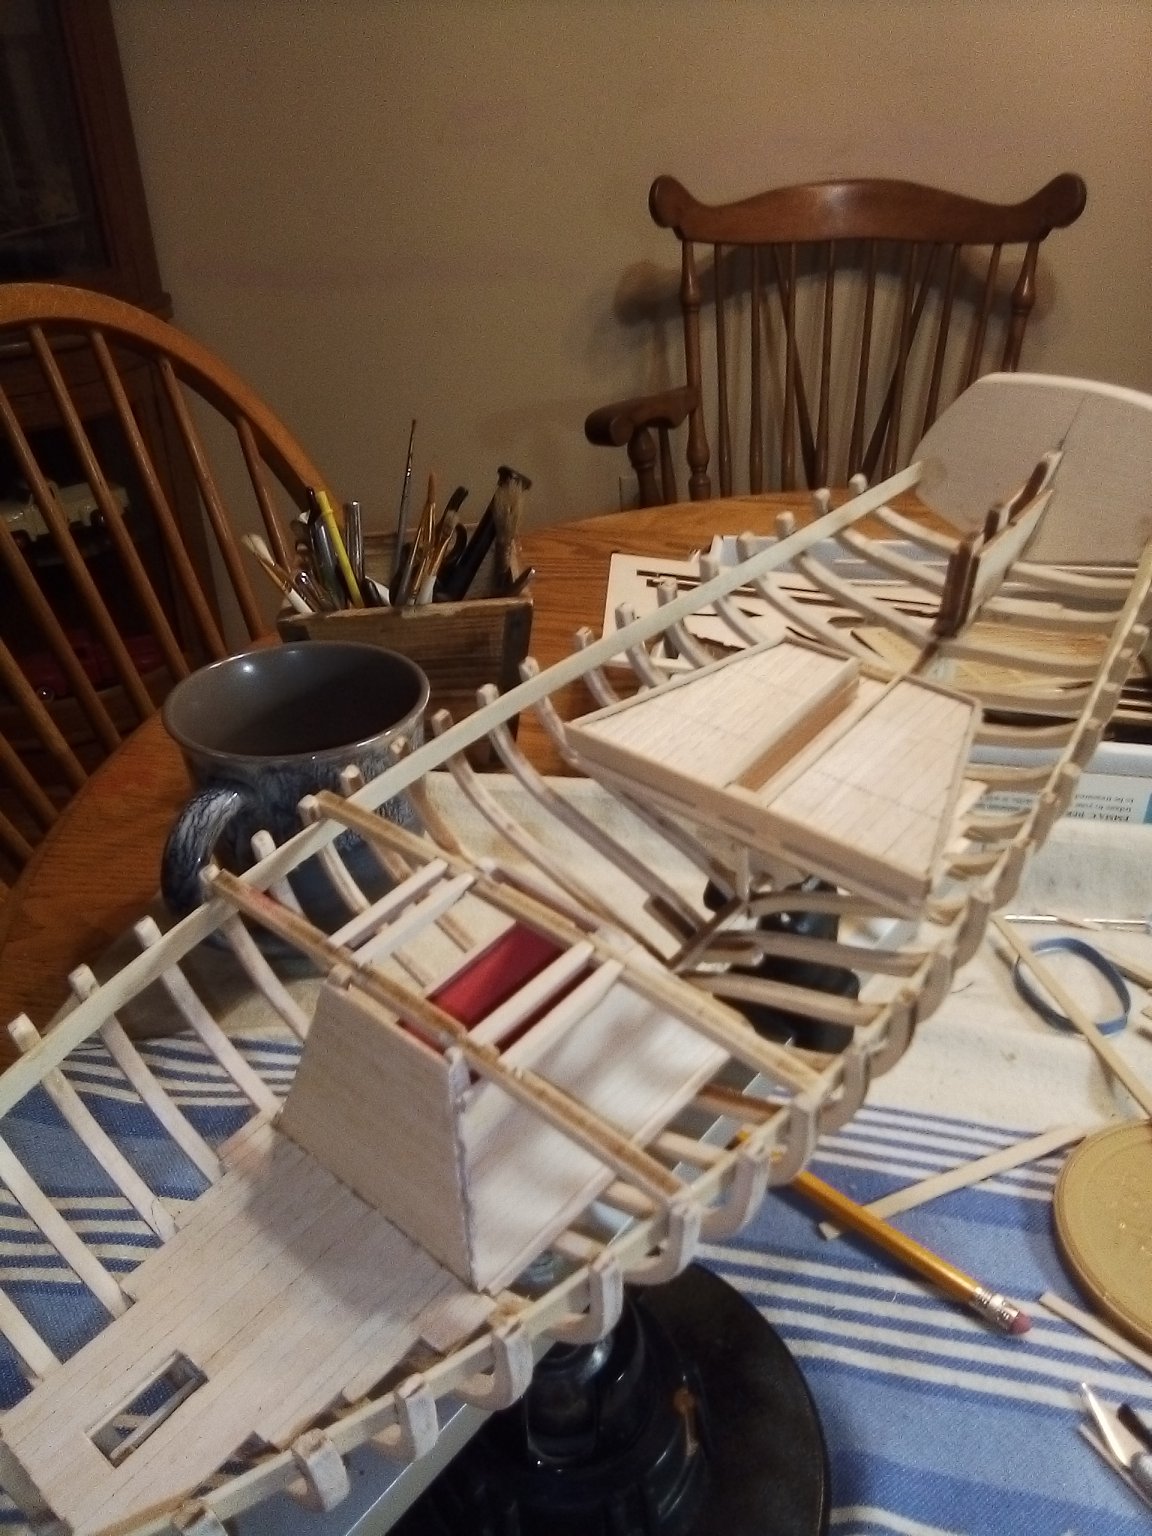
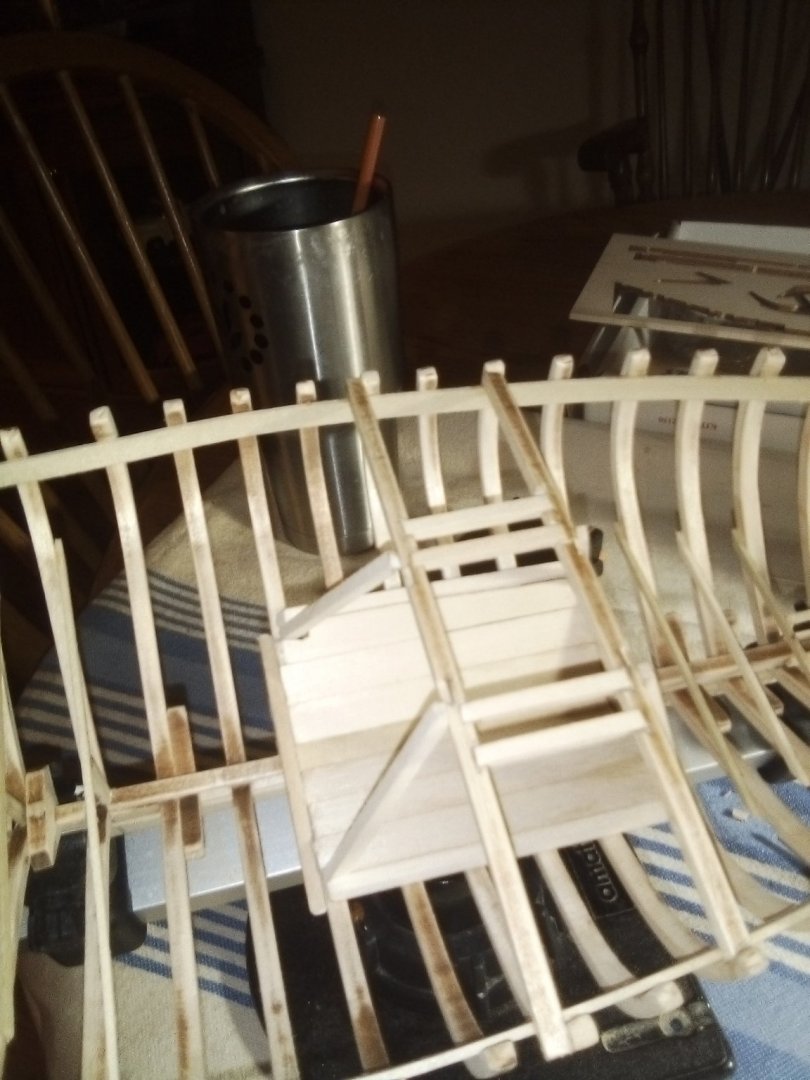
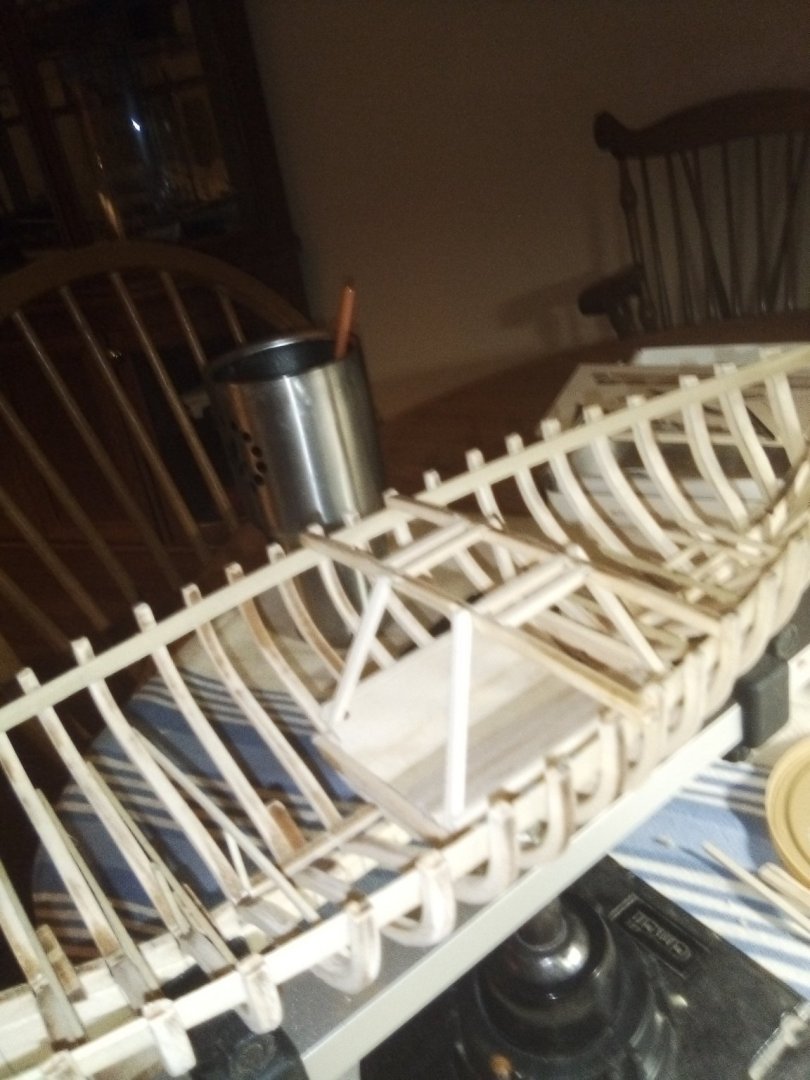
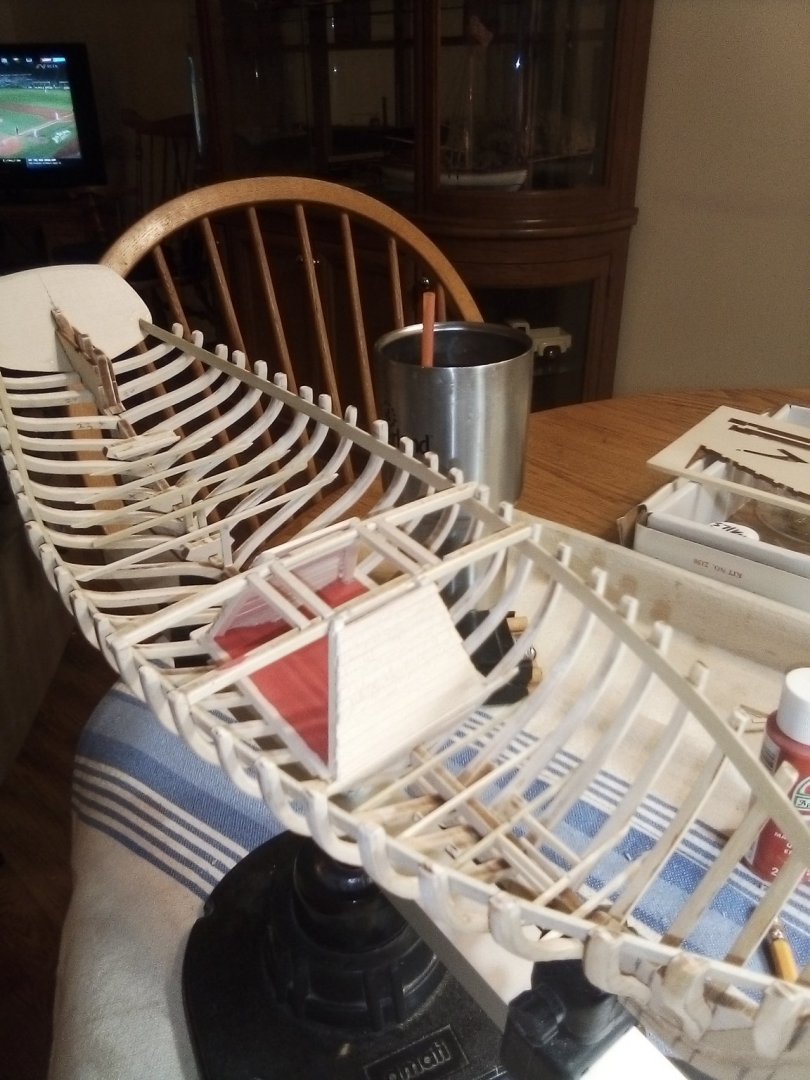
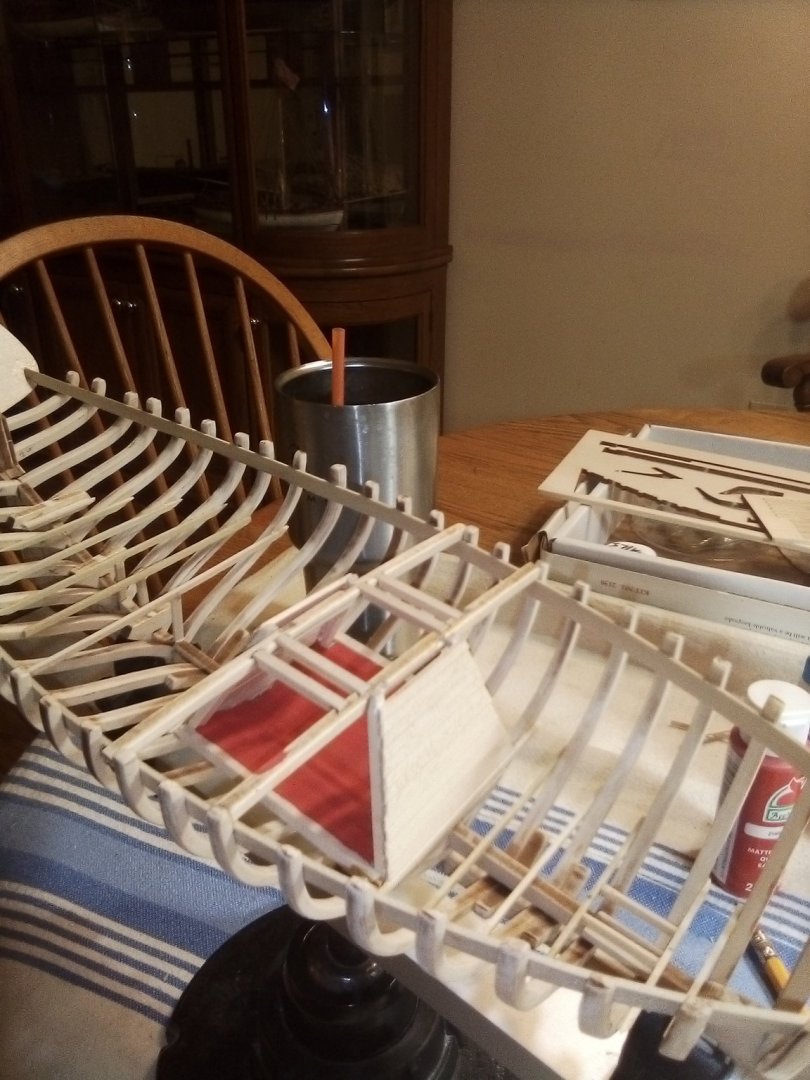
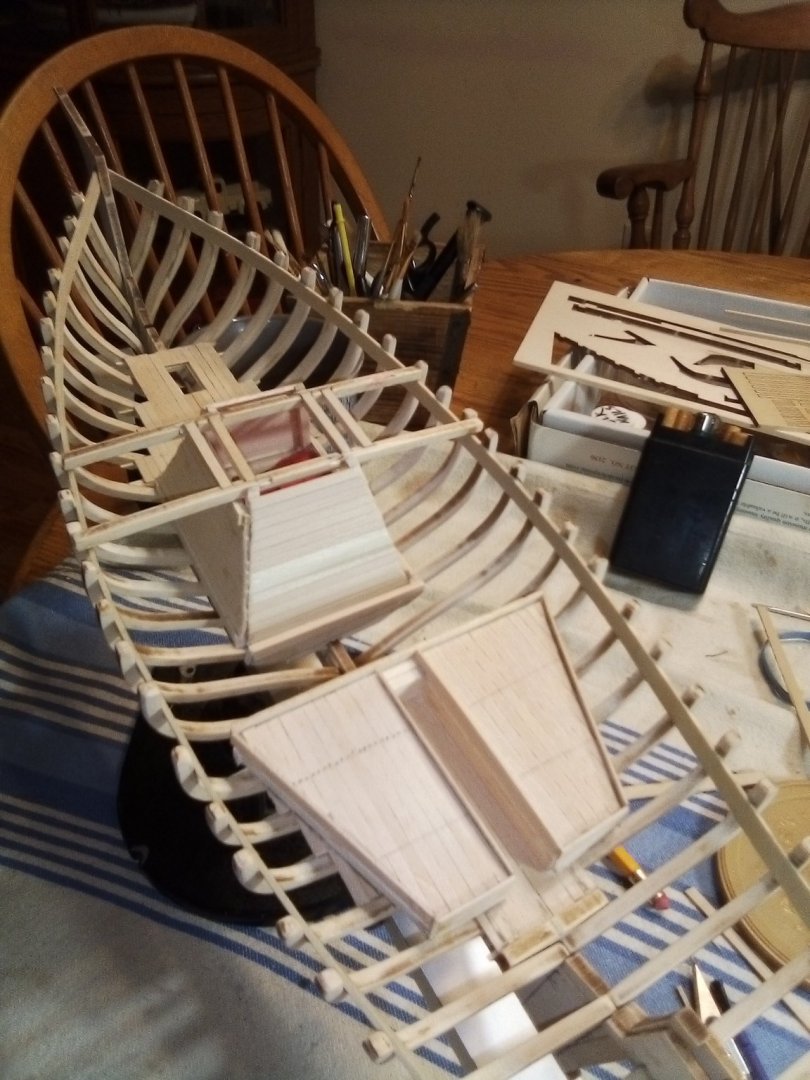
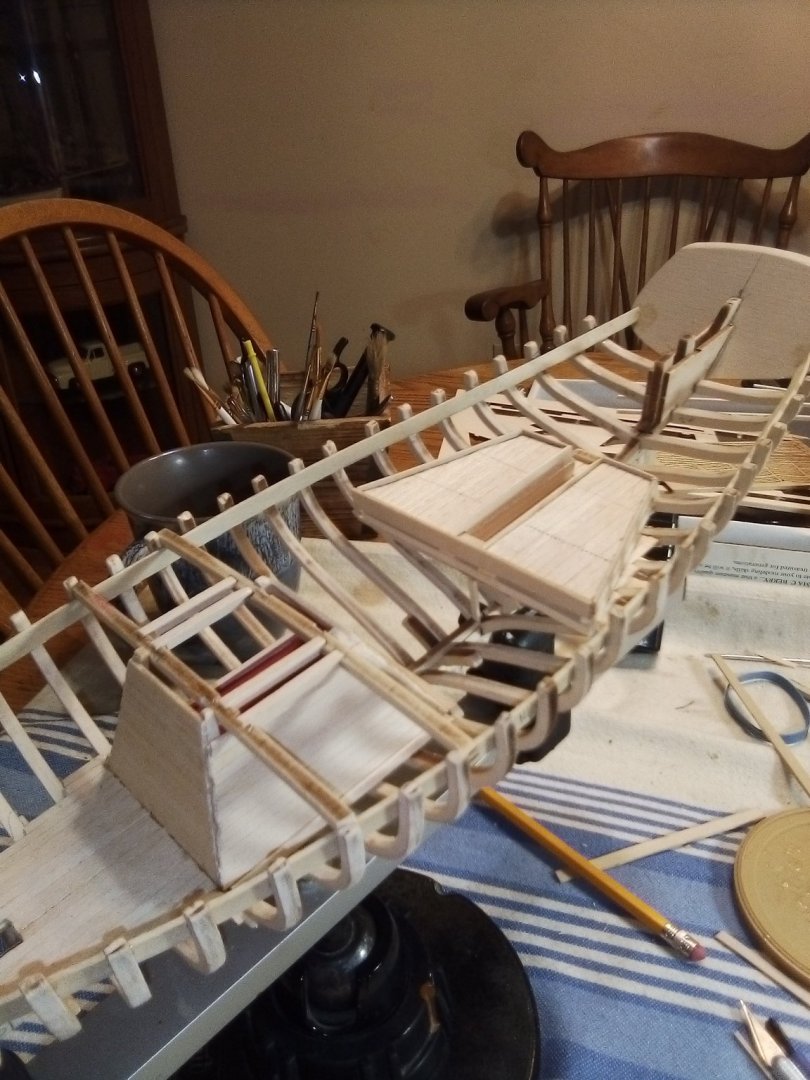
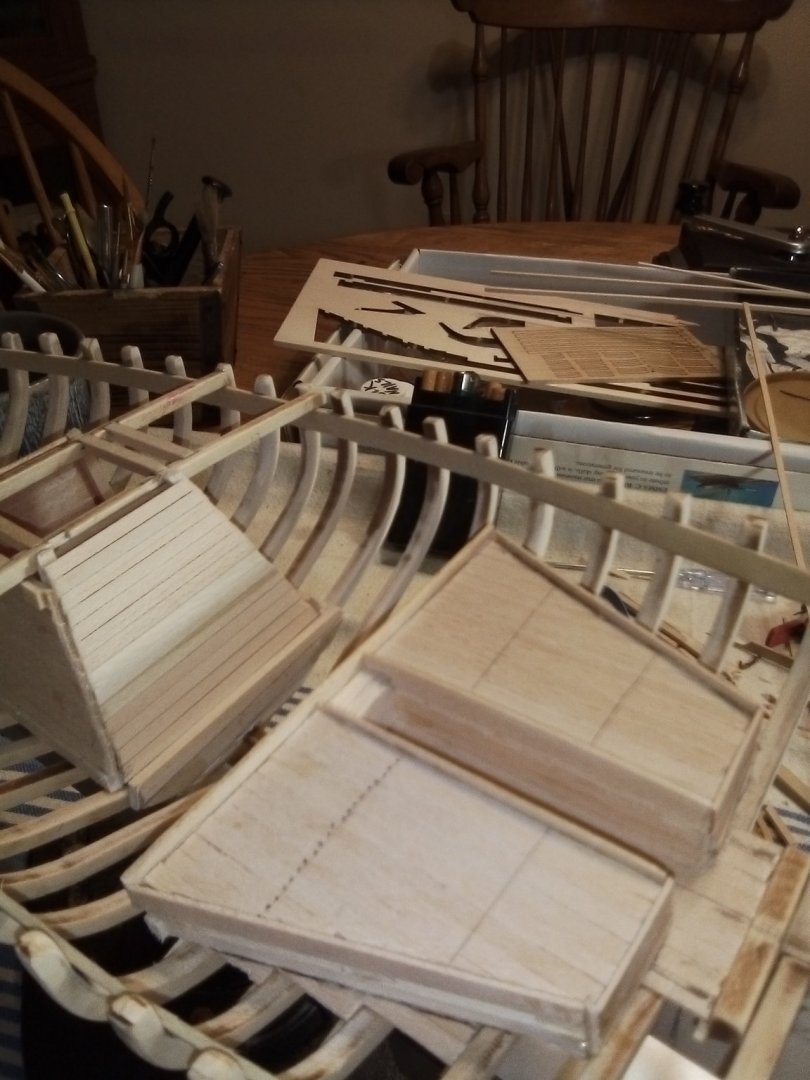
More done on ECB, wet well installed, left the starboard side open where the look through will be located. The forecastle sole is in with a cut out for the mast. Cabin sole and bunks are in also. Next up, ceiling planks then paint the interior before framing the deck. This is a fun little model, lots of detail crammed in.


- 101 replies
-
- 8
-
-
- emma c berry
- model shipways
- (and 1 more)
-
From what I can see, you are certainly at least "an advanced beginner". Looks great so far!
-
I don't know, but you will find out here!
-
Thanks all for the comments and likes...turangi, I am also following your work on ECB.
- 101 replies
-
- 1
-
-
- emma c berry
- model shipways
- (and 1 more)
-
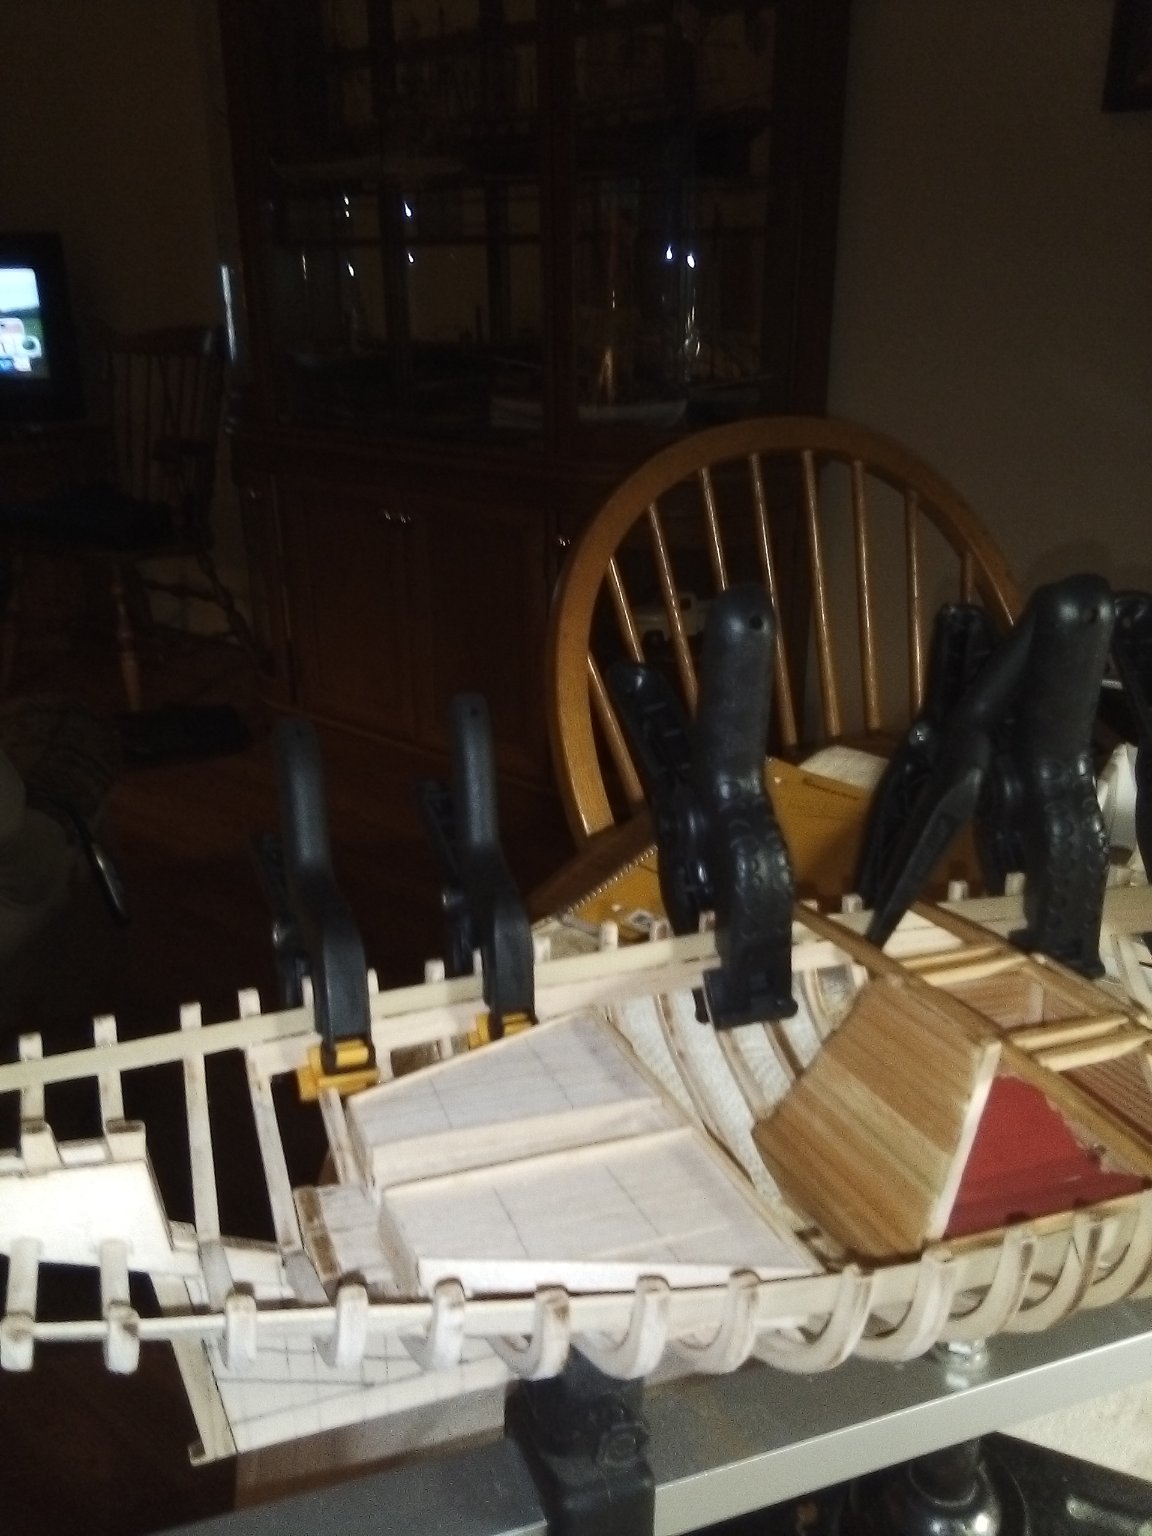
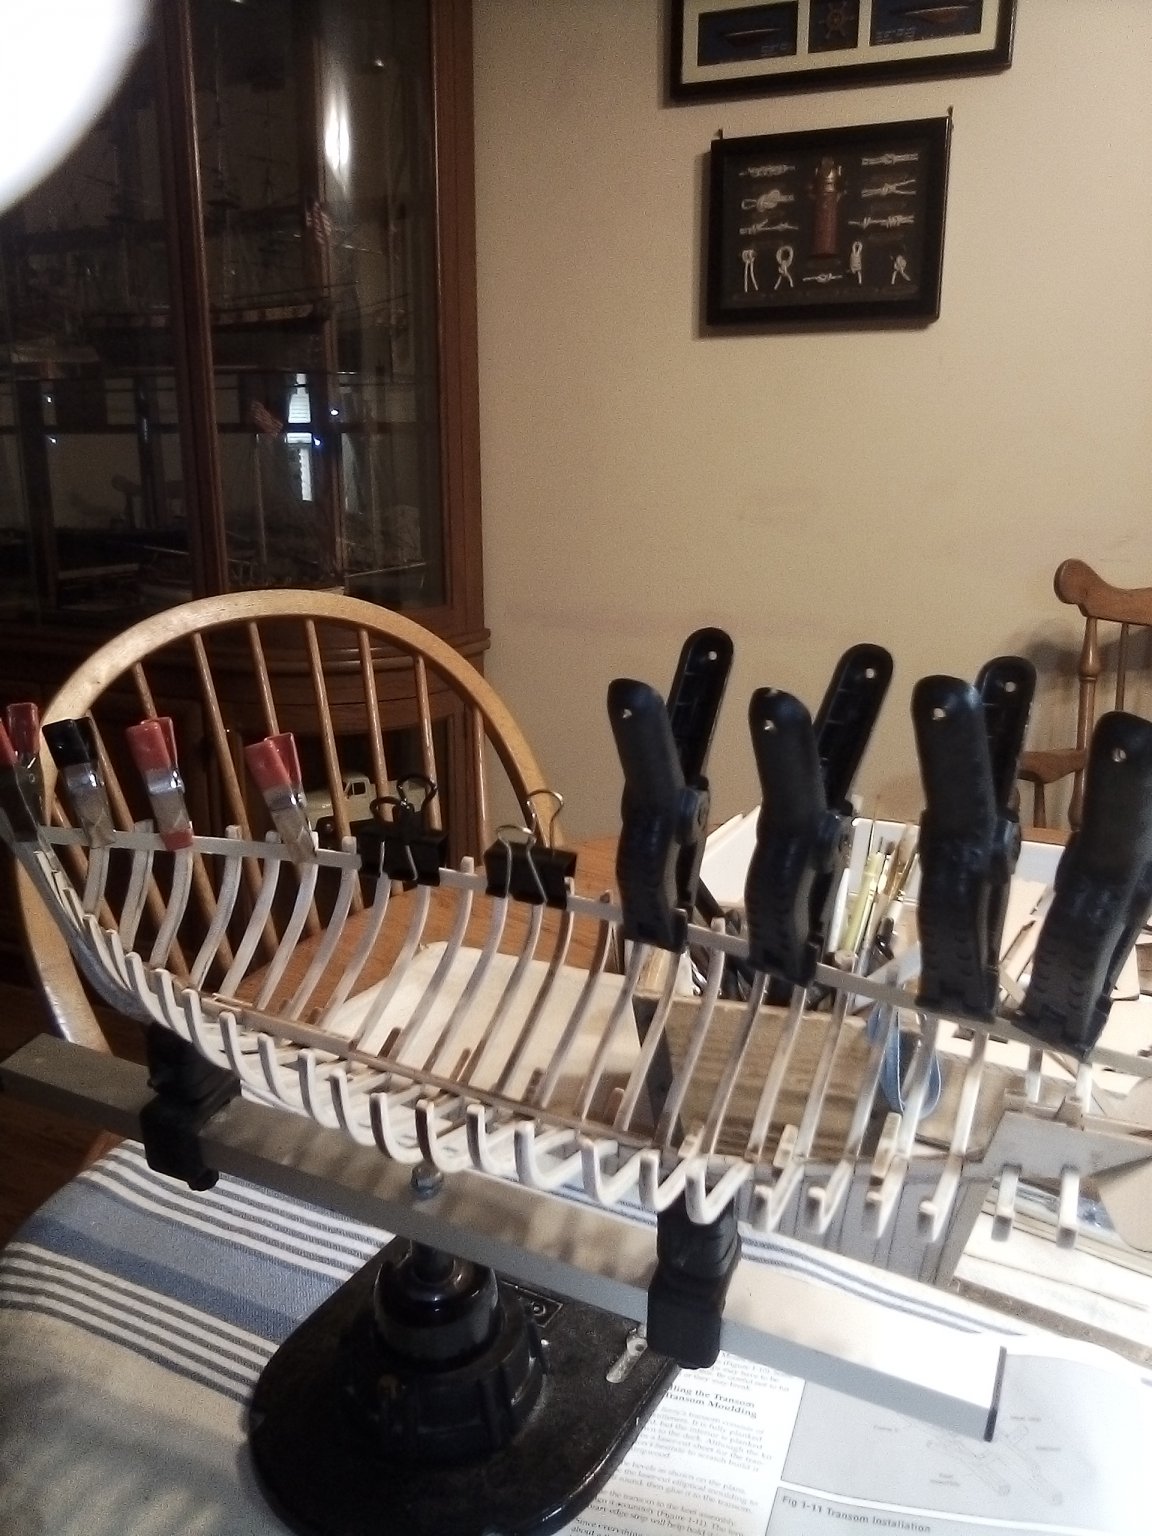
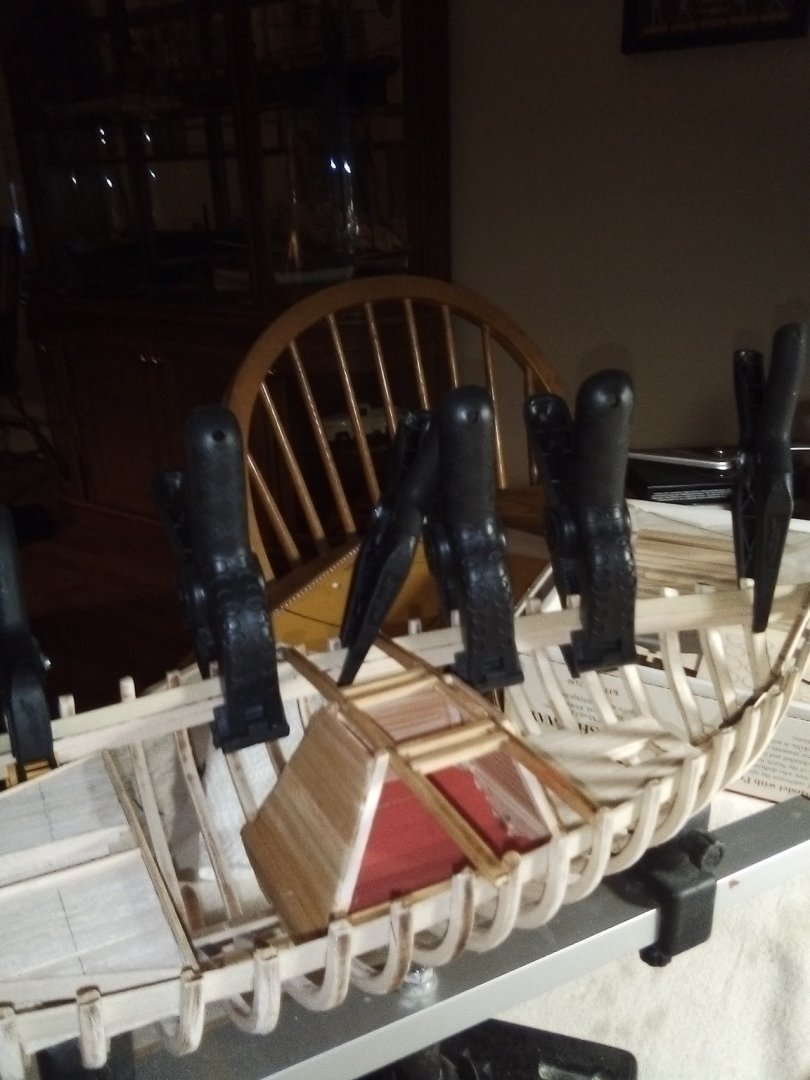
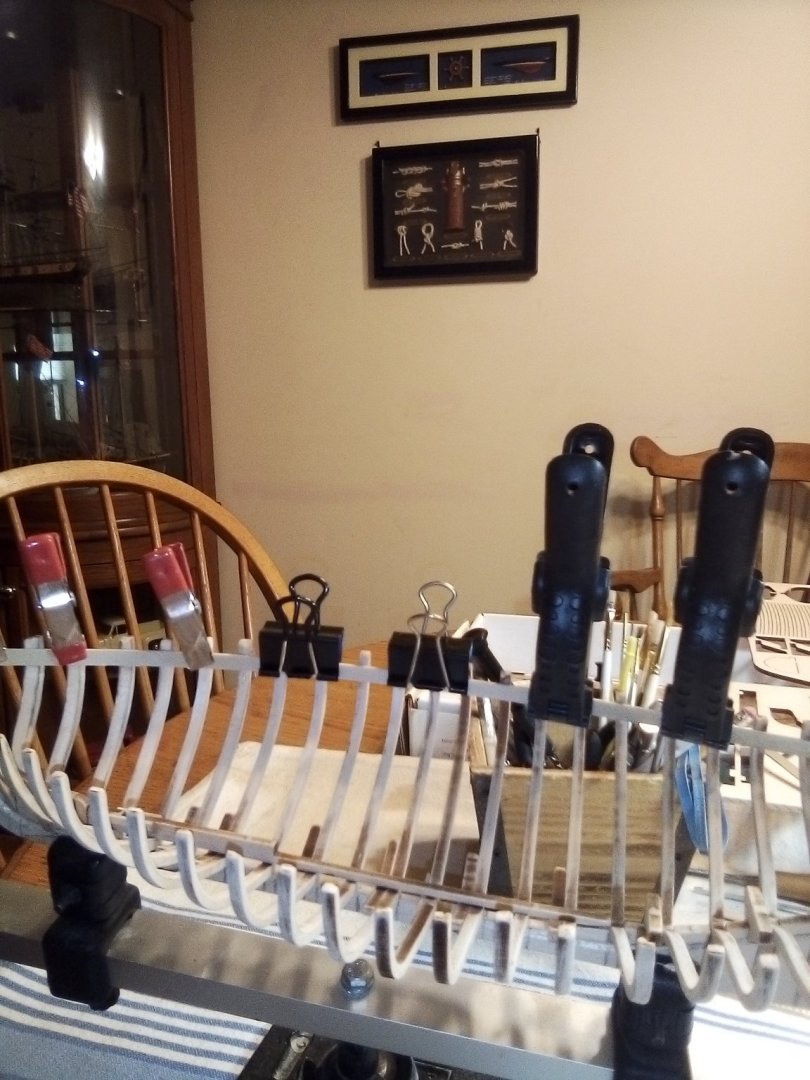
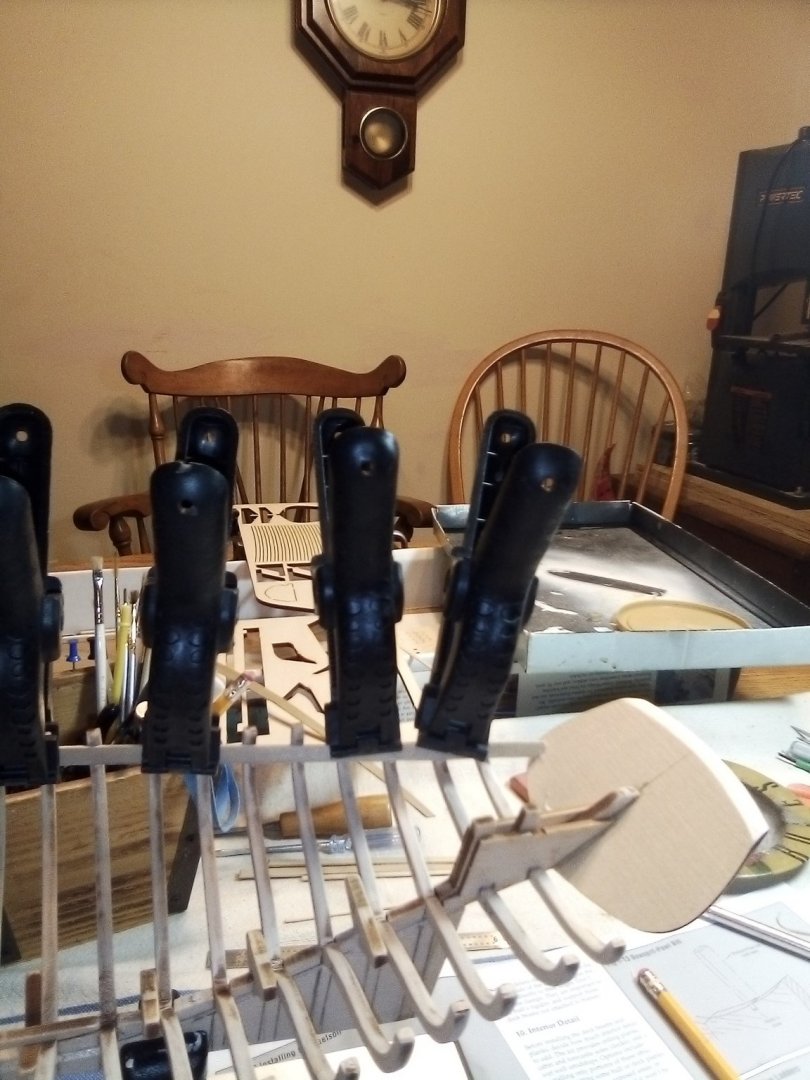
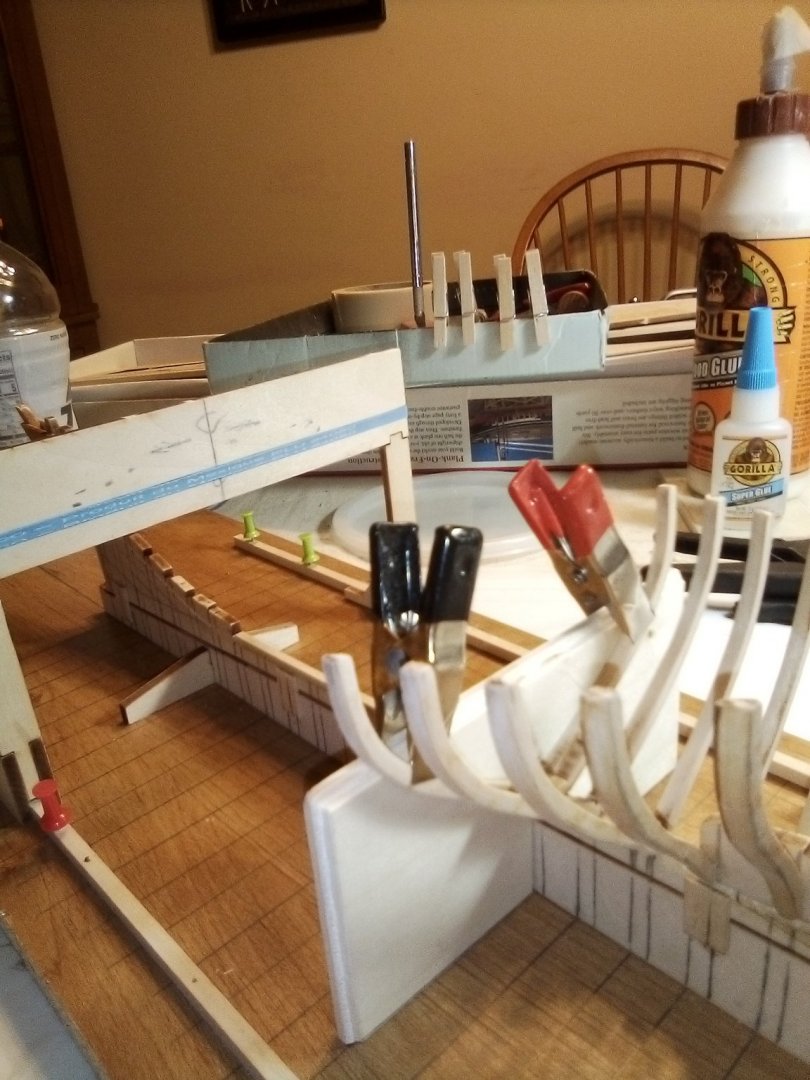
Waiting now for the glue to grab, began thinking of the next step: the interior details, cabin floor and bunks, wet well (this should be troublesome), but fun to figure out, forward floor and whatever else I can accomplish while the hull is open. Used an array of clamps, somewhat tricky!

- 101 replies
-
- 9
-
-
- emma c berry
- model shipways
- (and 1 more)
-
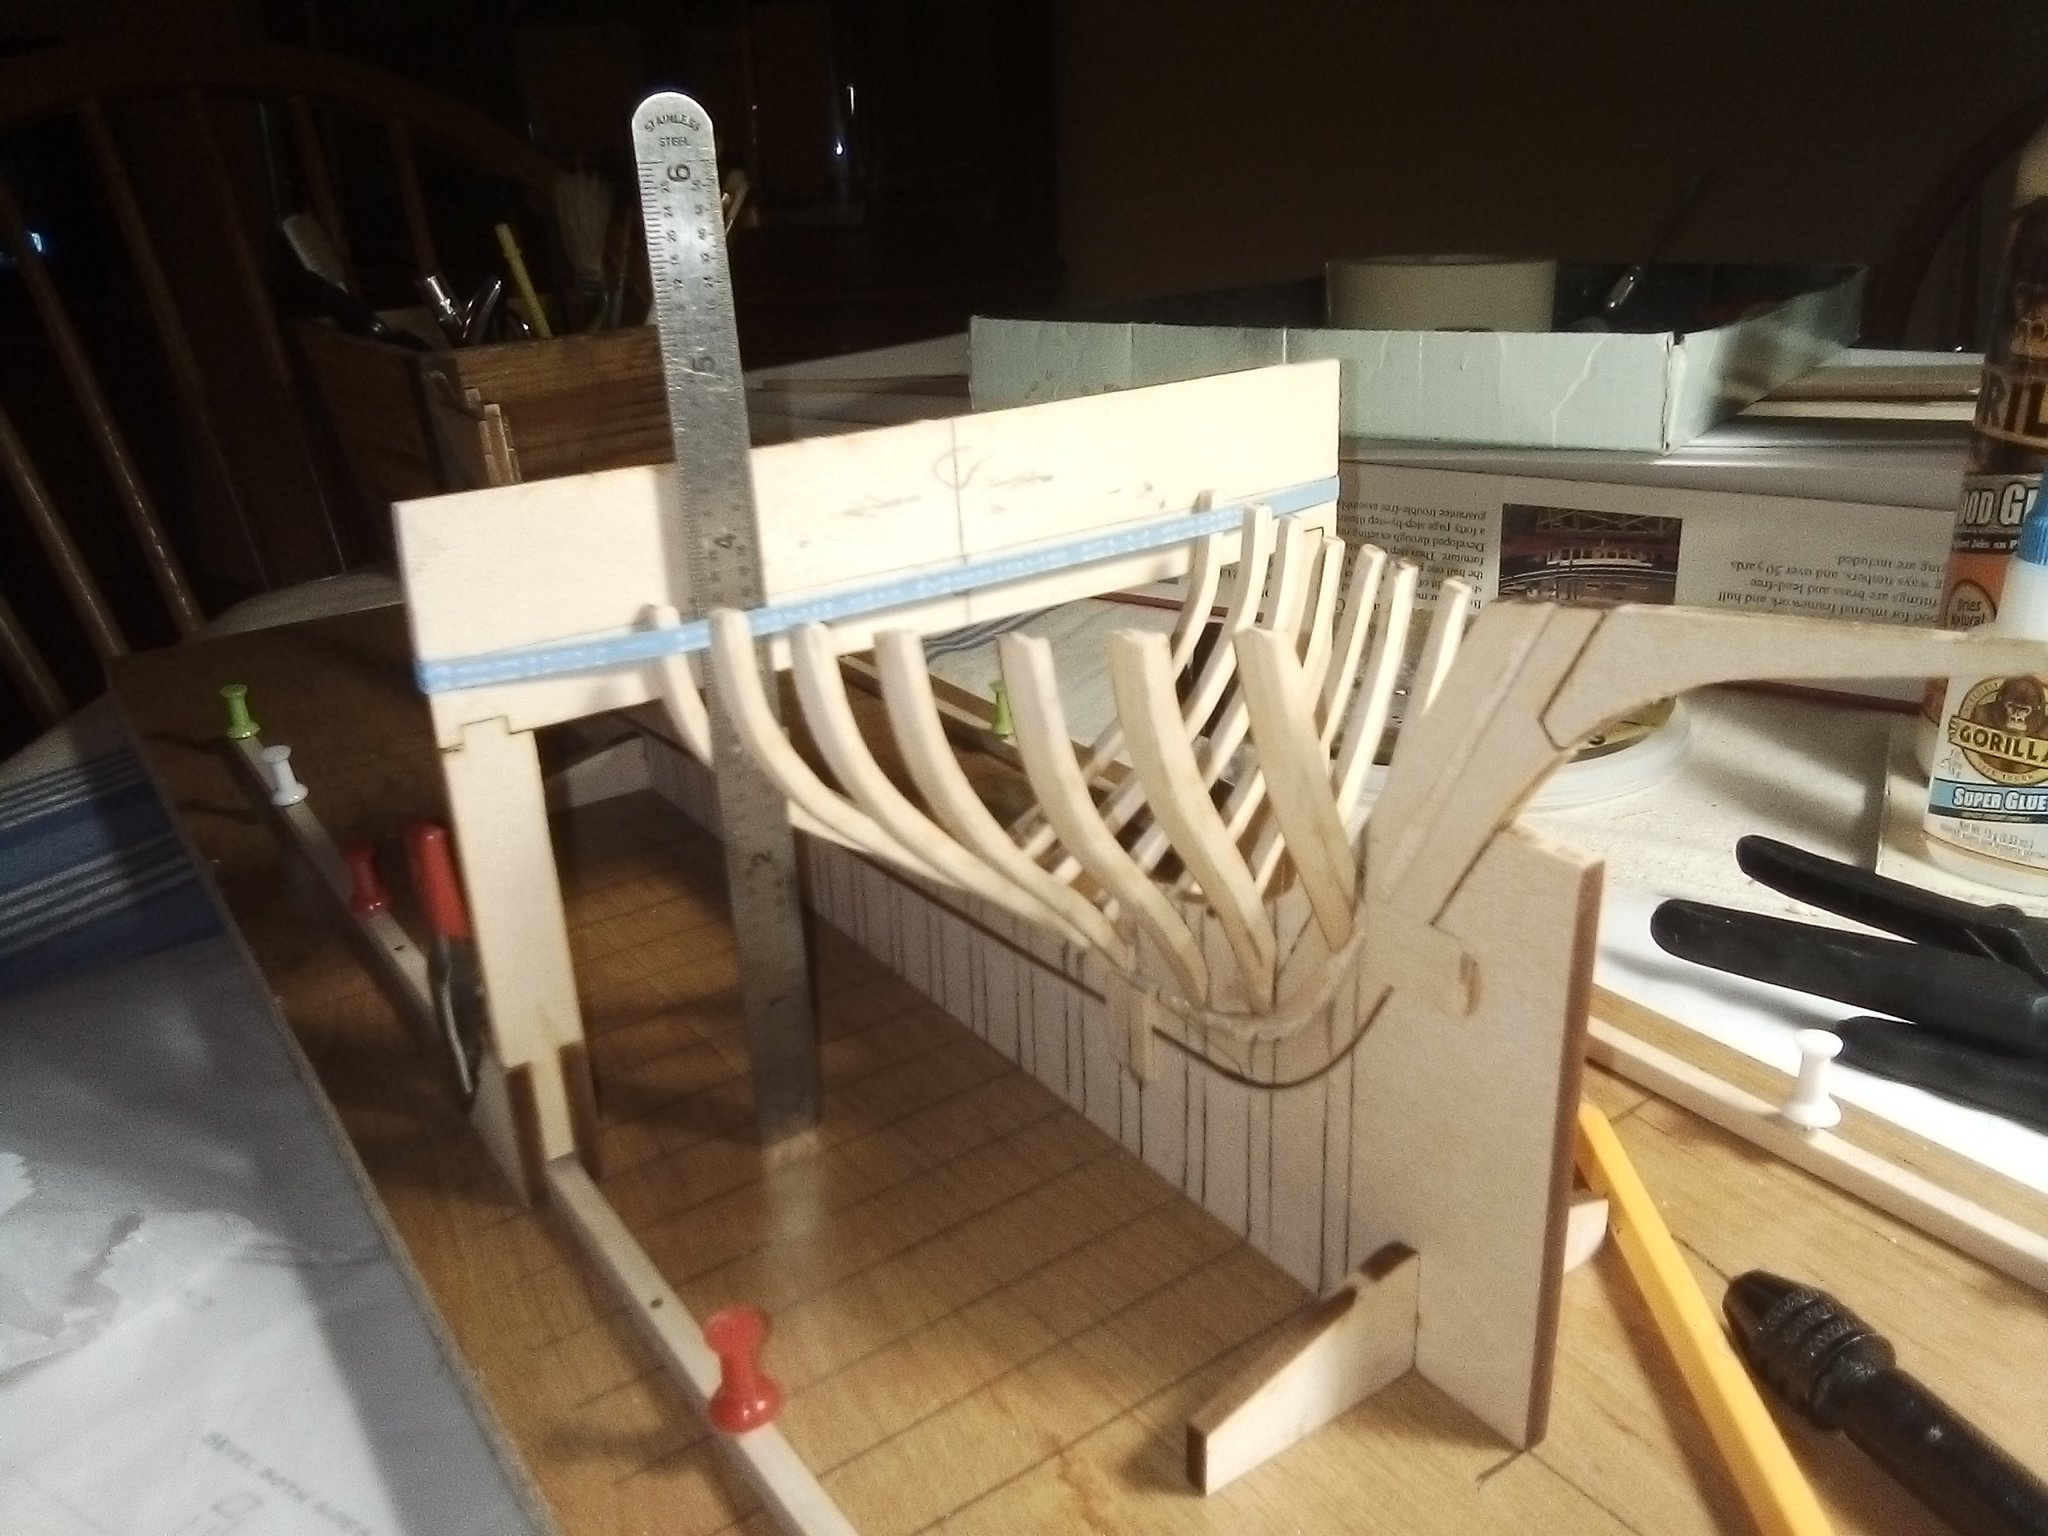
Getting the clamps ready to install. Having measured and marked the frames for their placement, went ahead and glued and clamped the starboard one in place.
- 101 replies
-
- 3
-
-
- emma c berry
- model shipways
- (and 1 more)
-
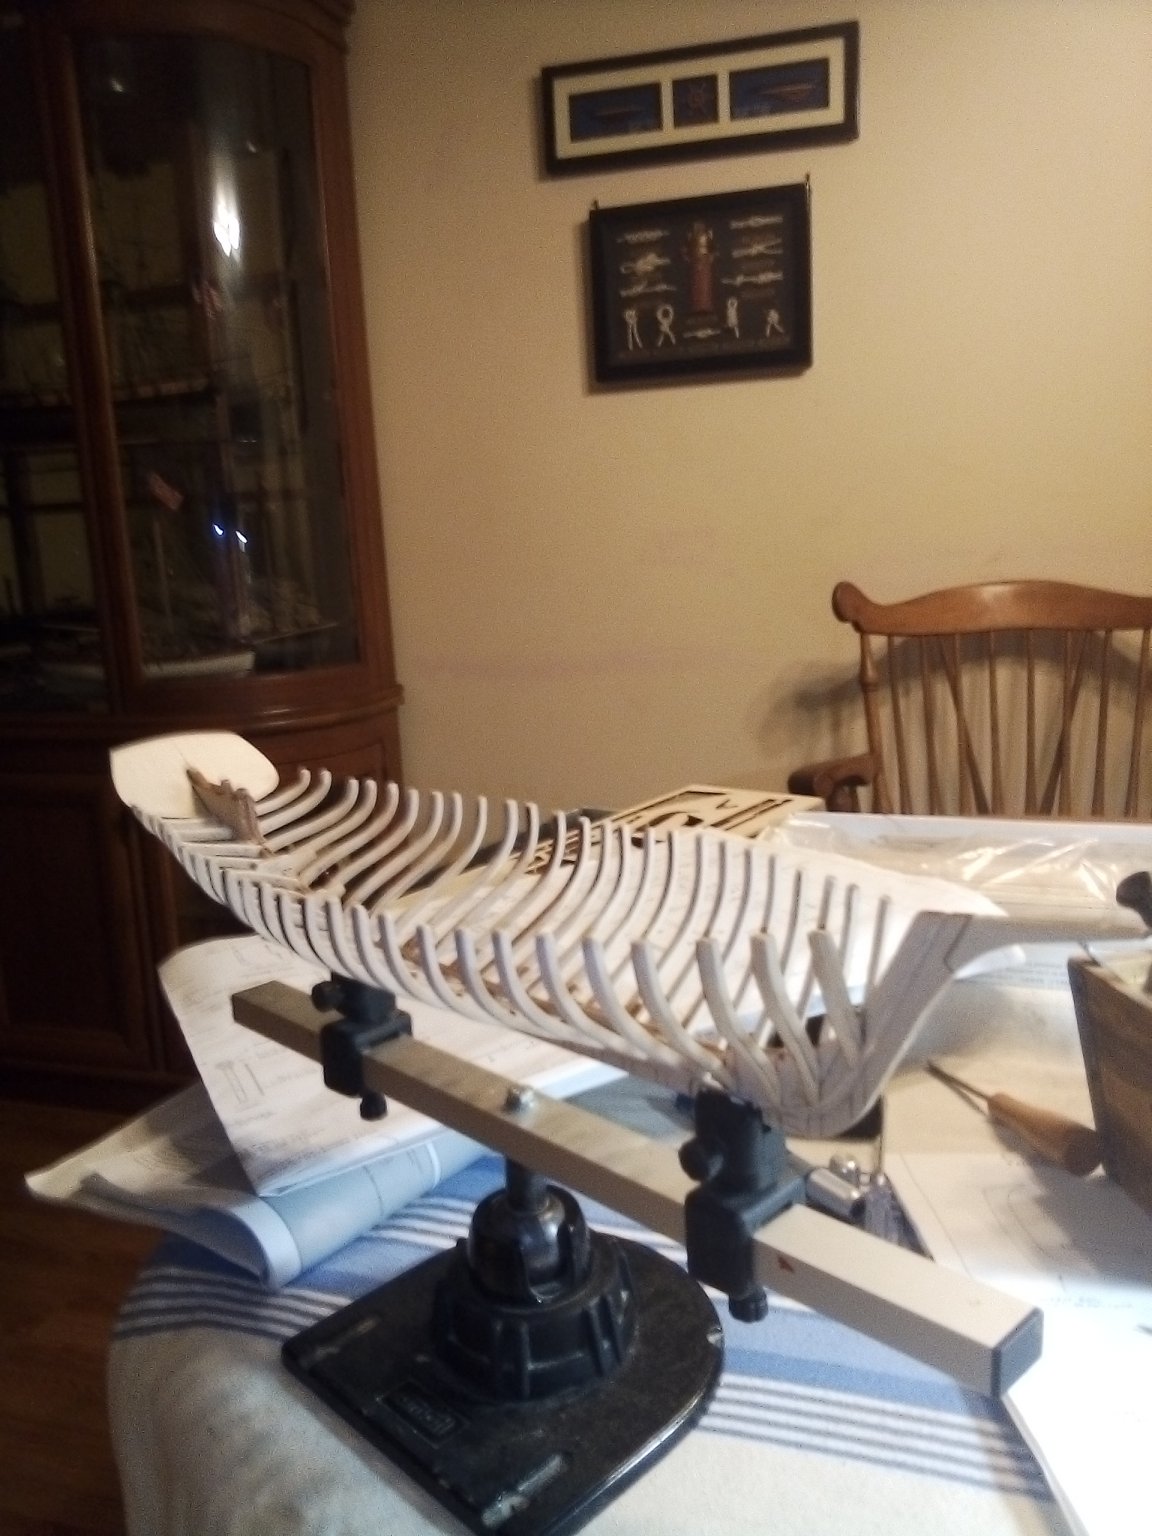
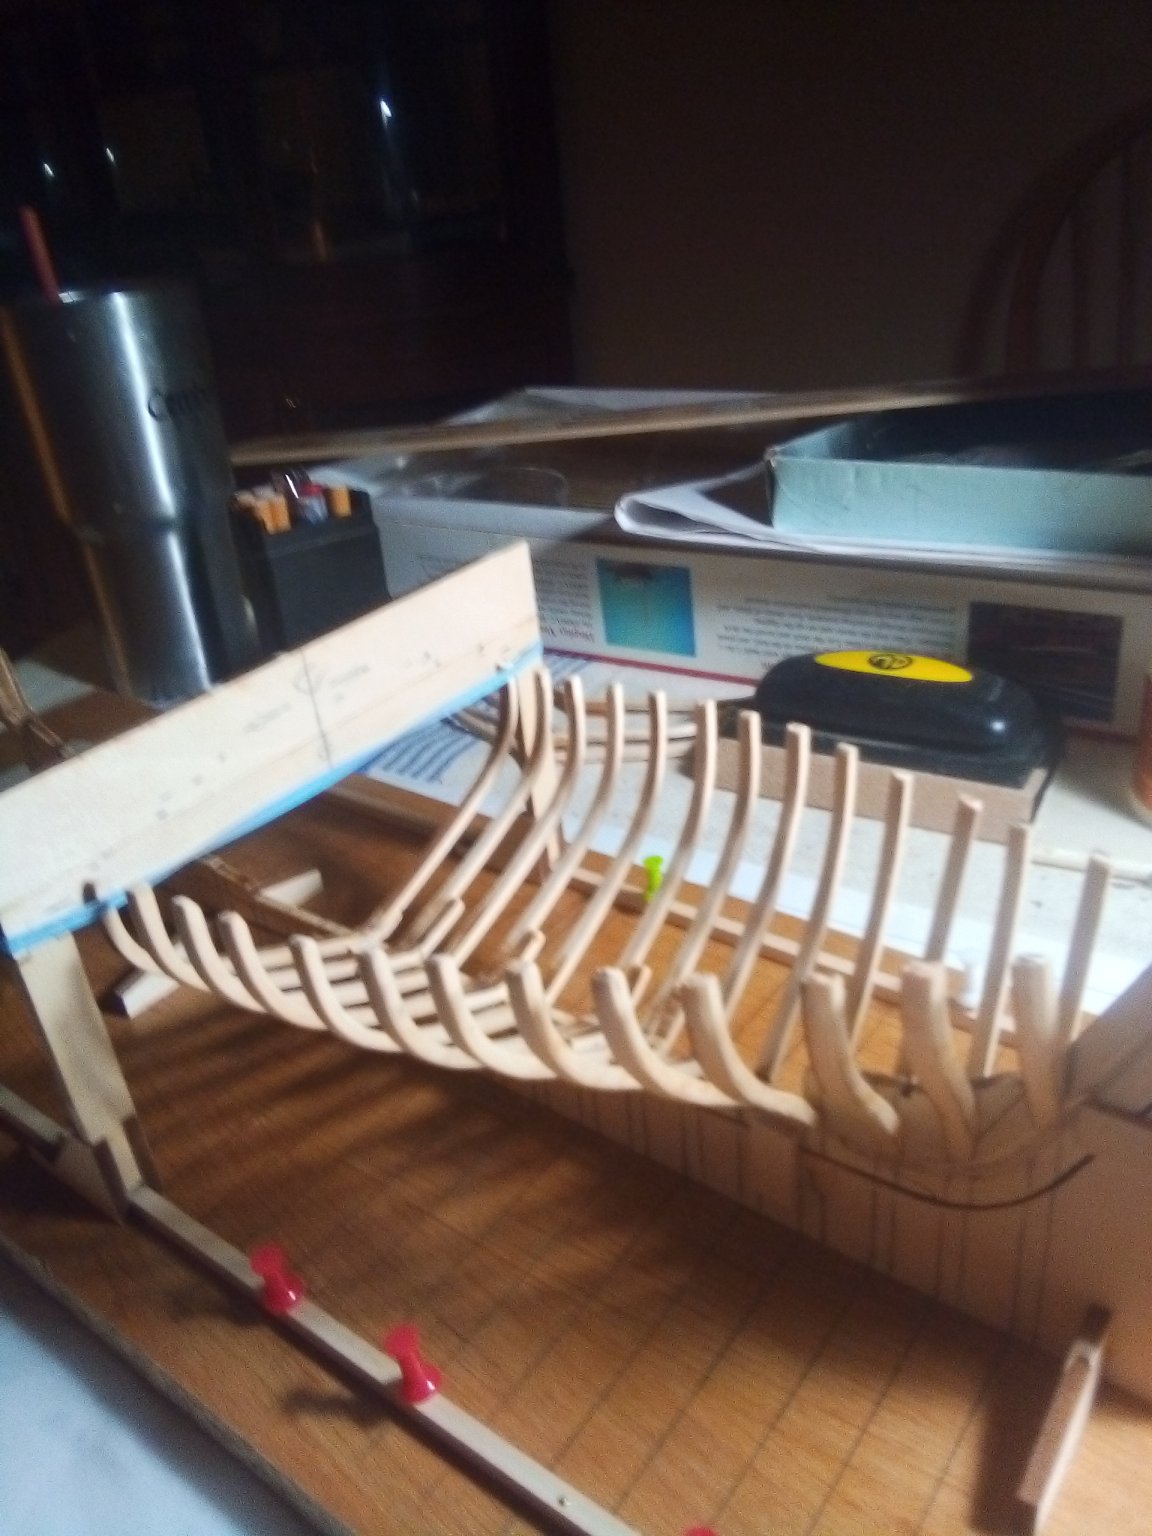
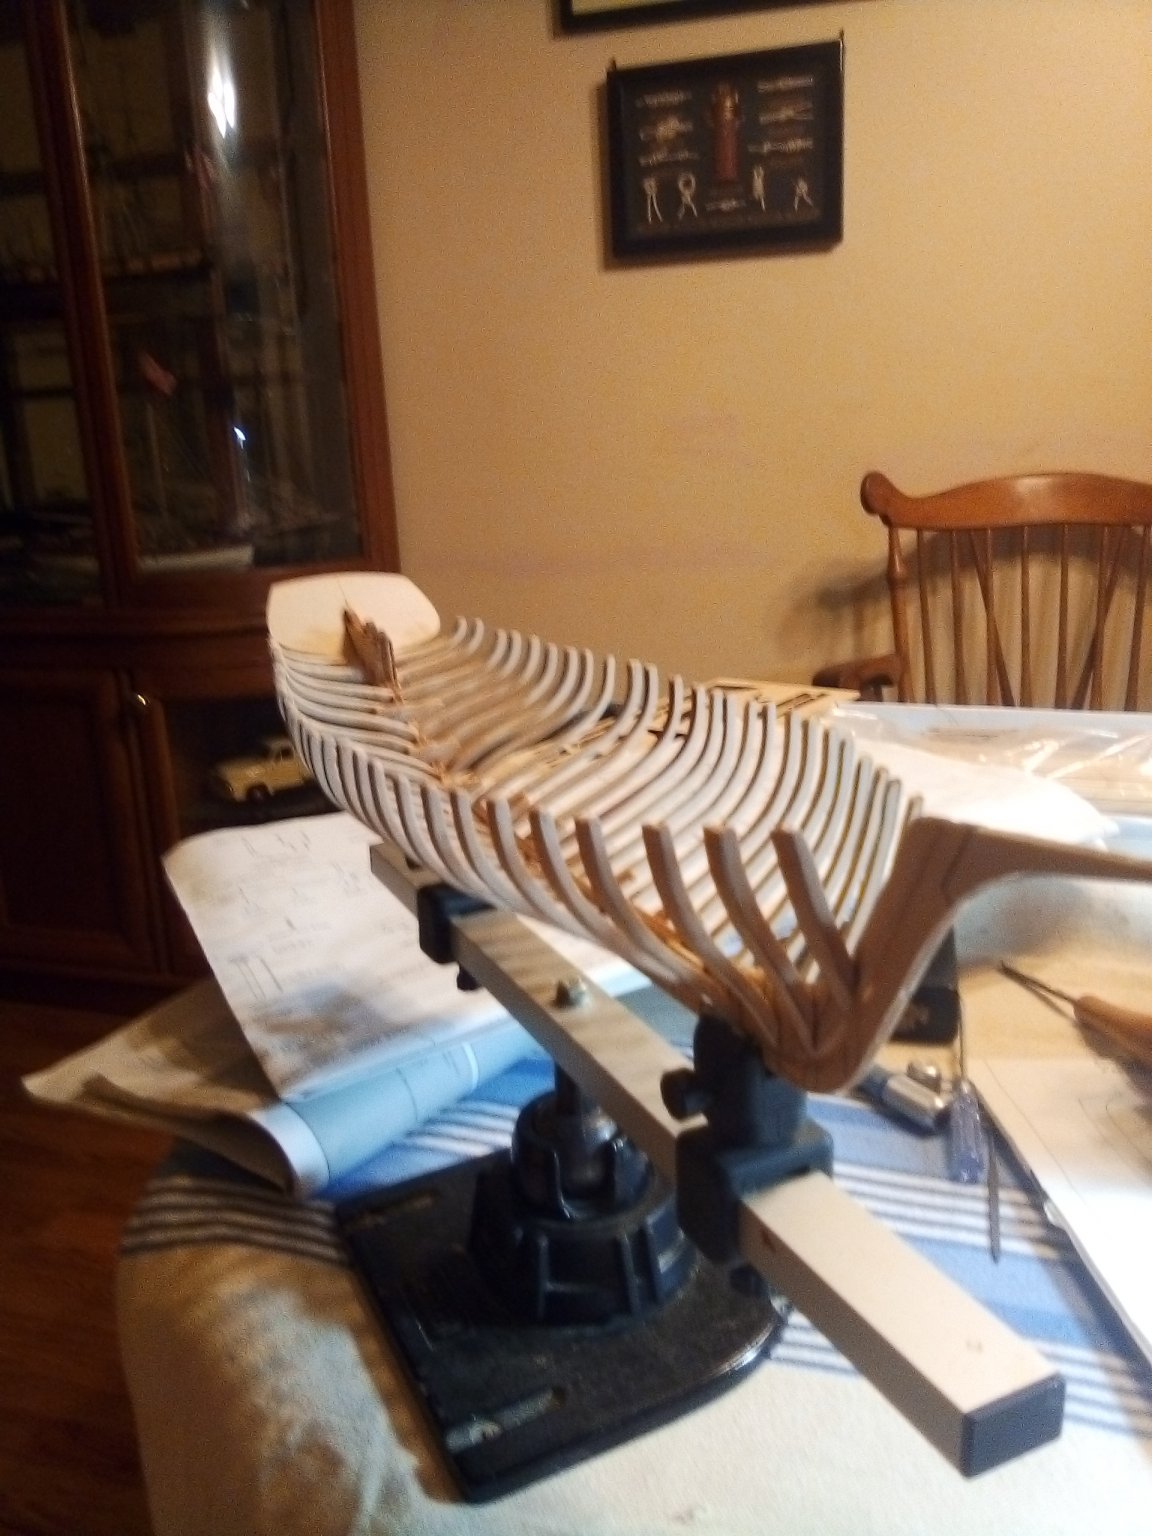
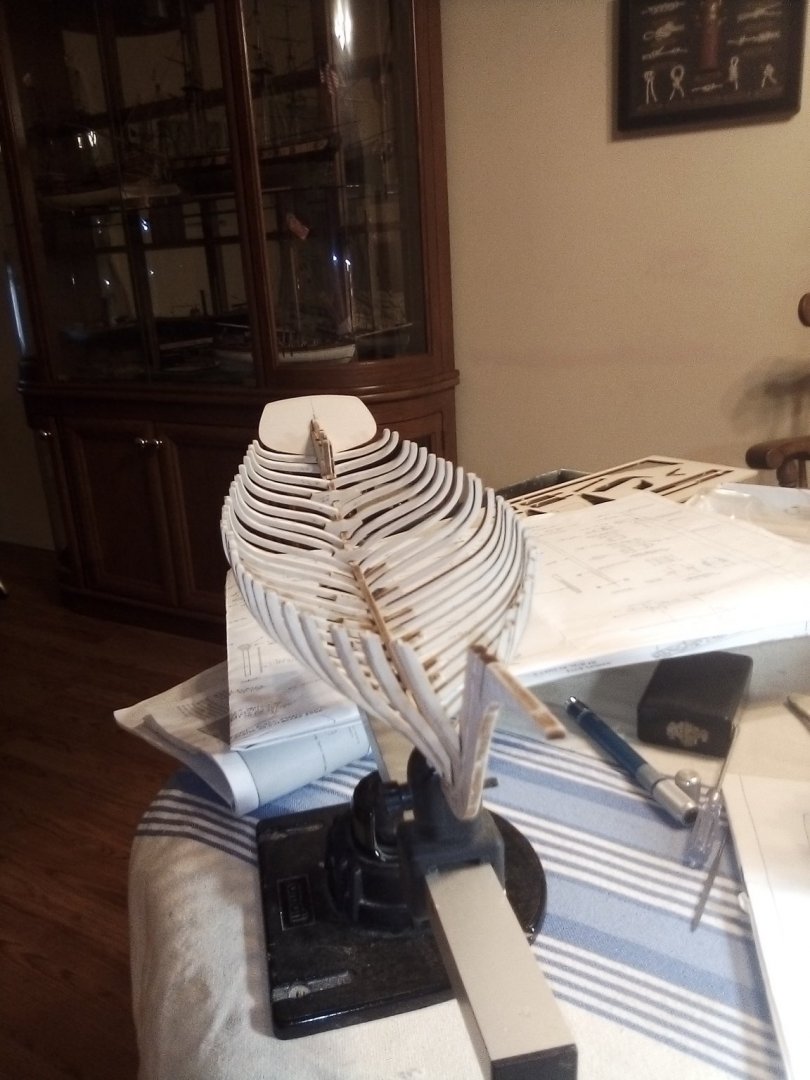
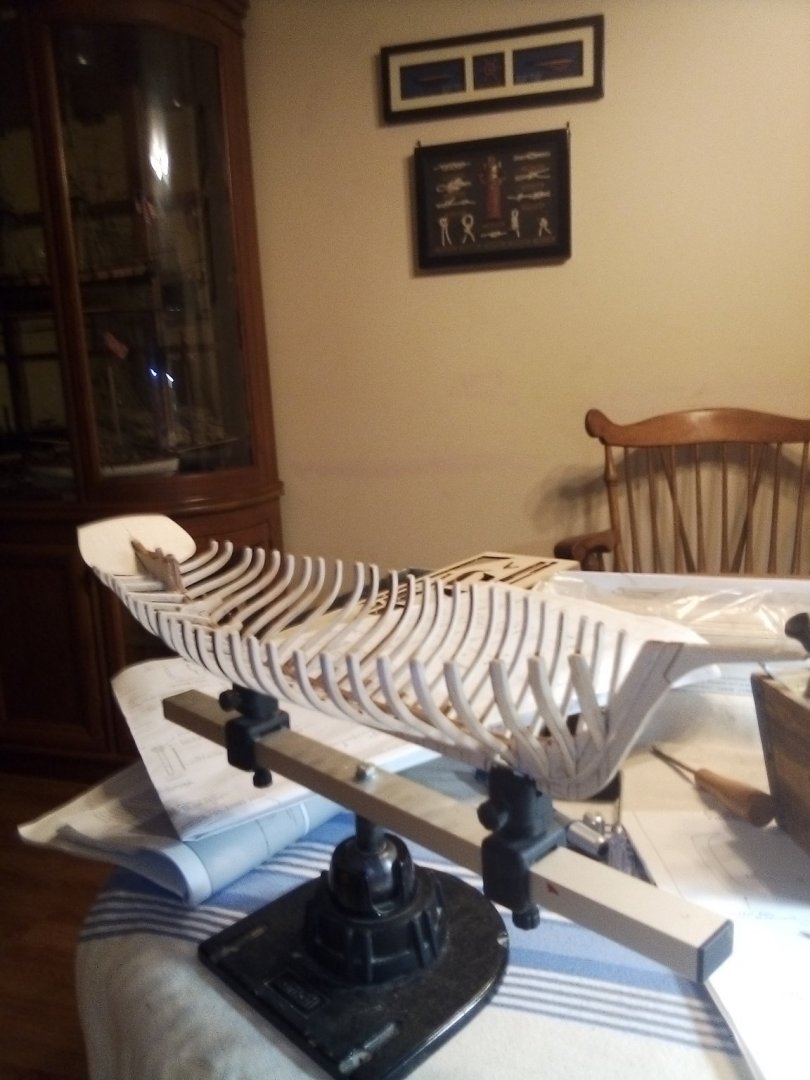
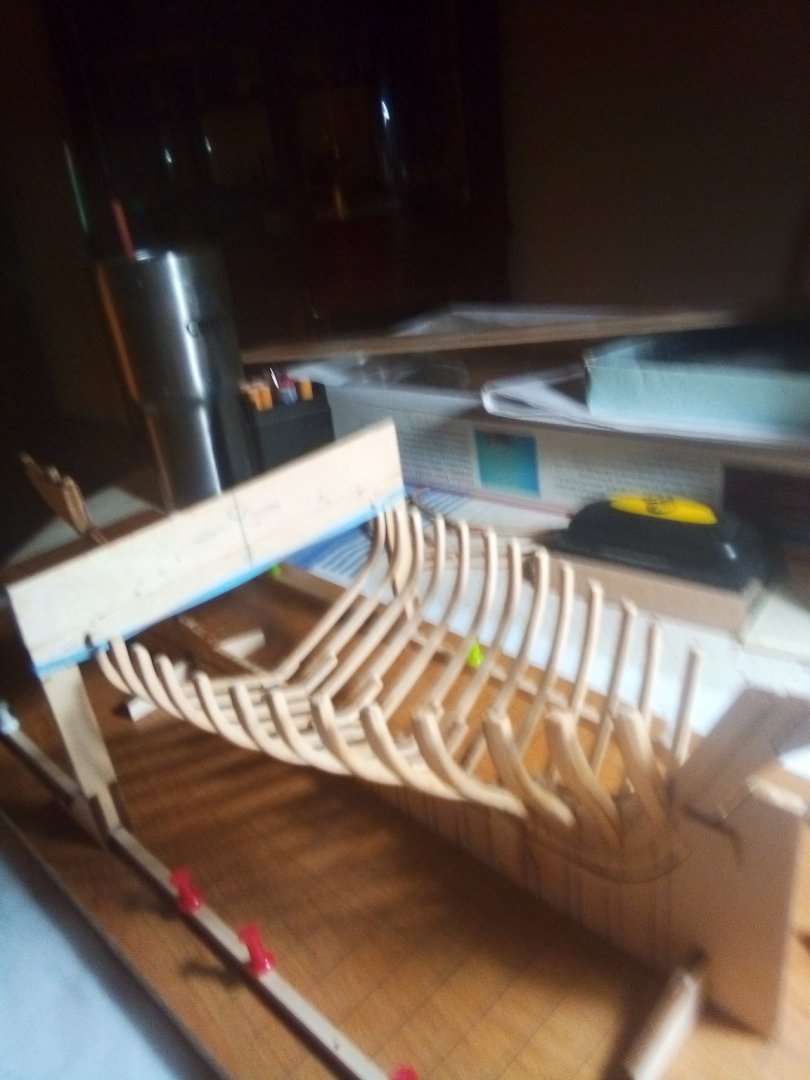
All frames have been beveled and installed. Transom shaped and beveled then attached to horn timber-knee-box block unit.
-
Haven't posted for a little while but I have been working on her here and there. For my first real POF attempt, this kit is not for beginners! The manual is not very easy to follow... I realized soon that most of the build will require constant referral to the plans. But that's cool, the plans have lots of info. Many detail shots of the trickier areas. So, bust out the measuring tools and get in that mode of thinking. So, the frames are beveled and installed.


- 101 replies
-
- 6
-
-
- emma c berry
- model shipways
- (and 1 more)
-
Looks great!
-
I have also started Emma C. Berry a short while ago. I am now ready to begin on the frame work. Thank you for pointing out the problems that you encountered at this phase. I shall try to keep them in mind to avoid the problems. I will watch with interest as you progress and maybe gain some insight what is to come...
-
Great job! So much detail... The sail is perfect and mounting it on the whale is genius!
-
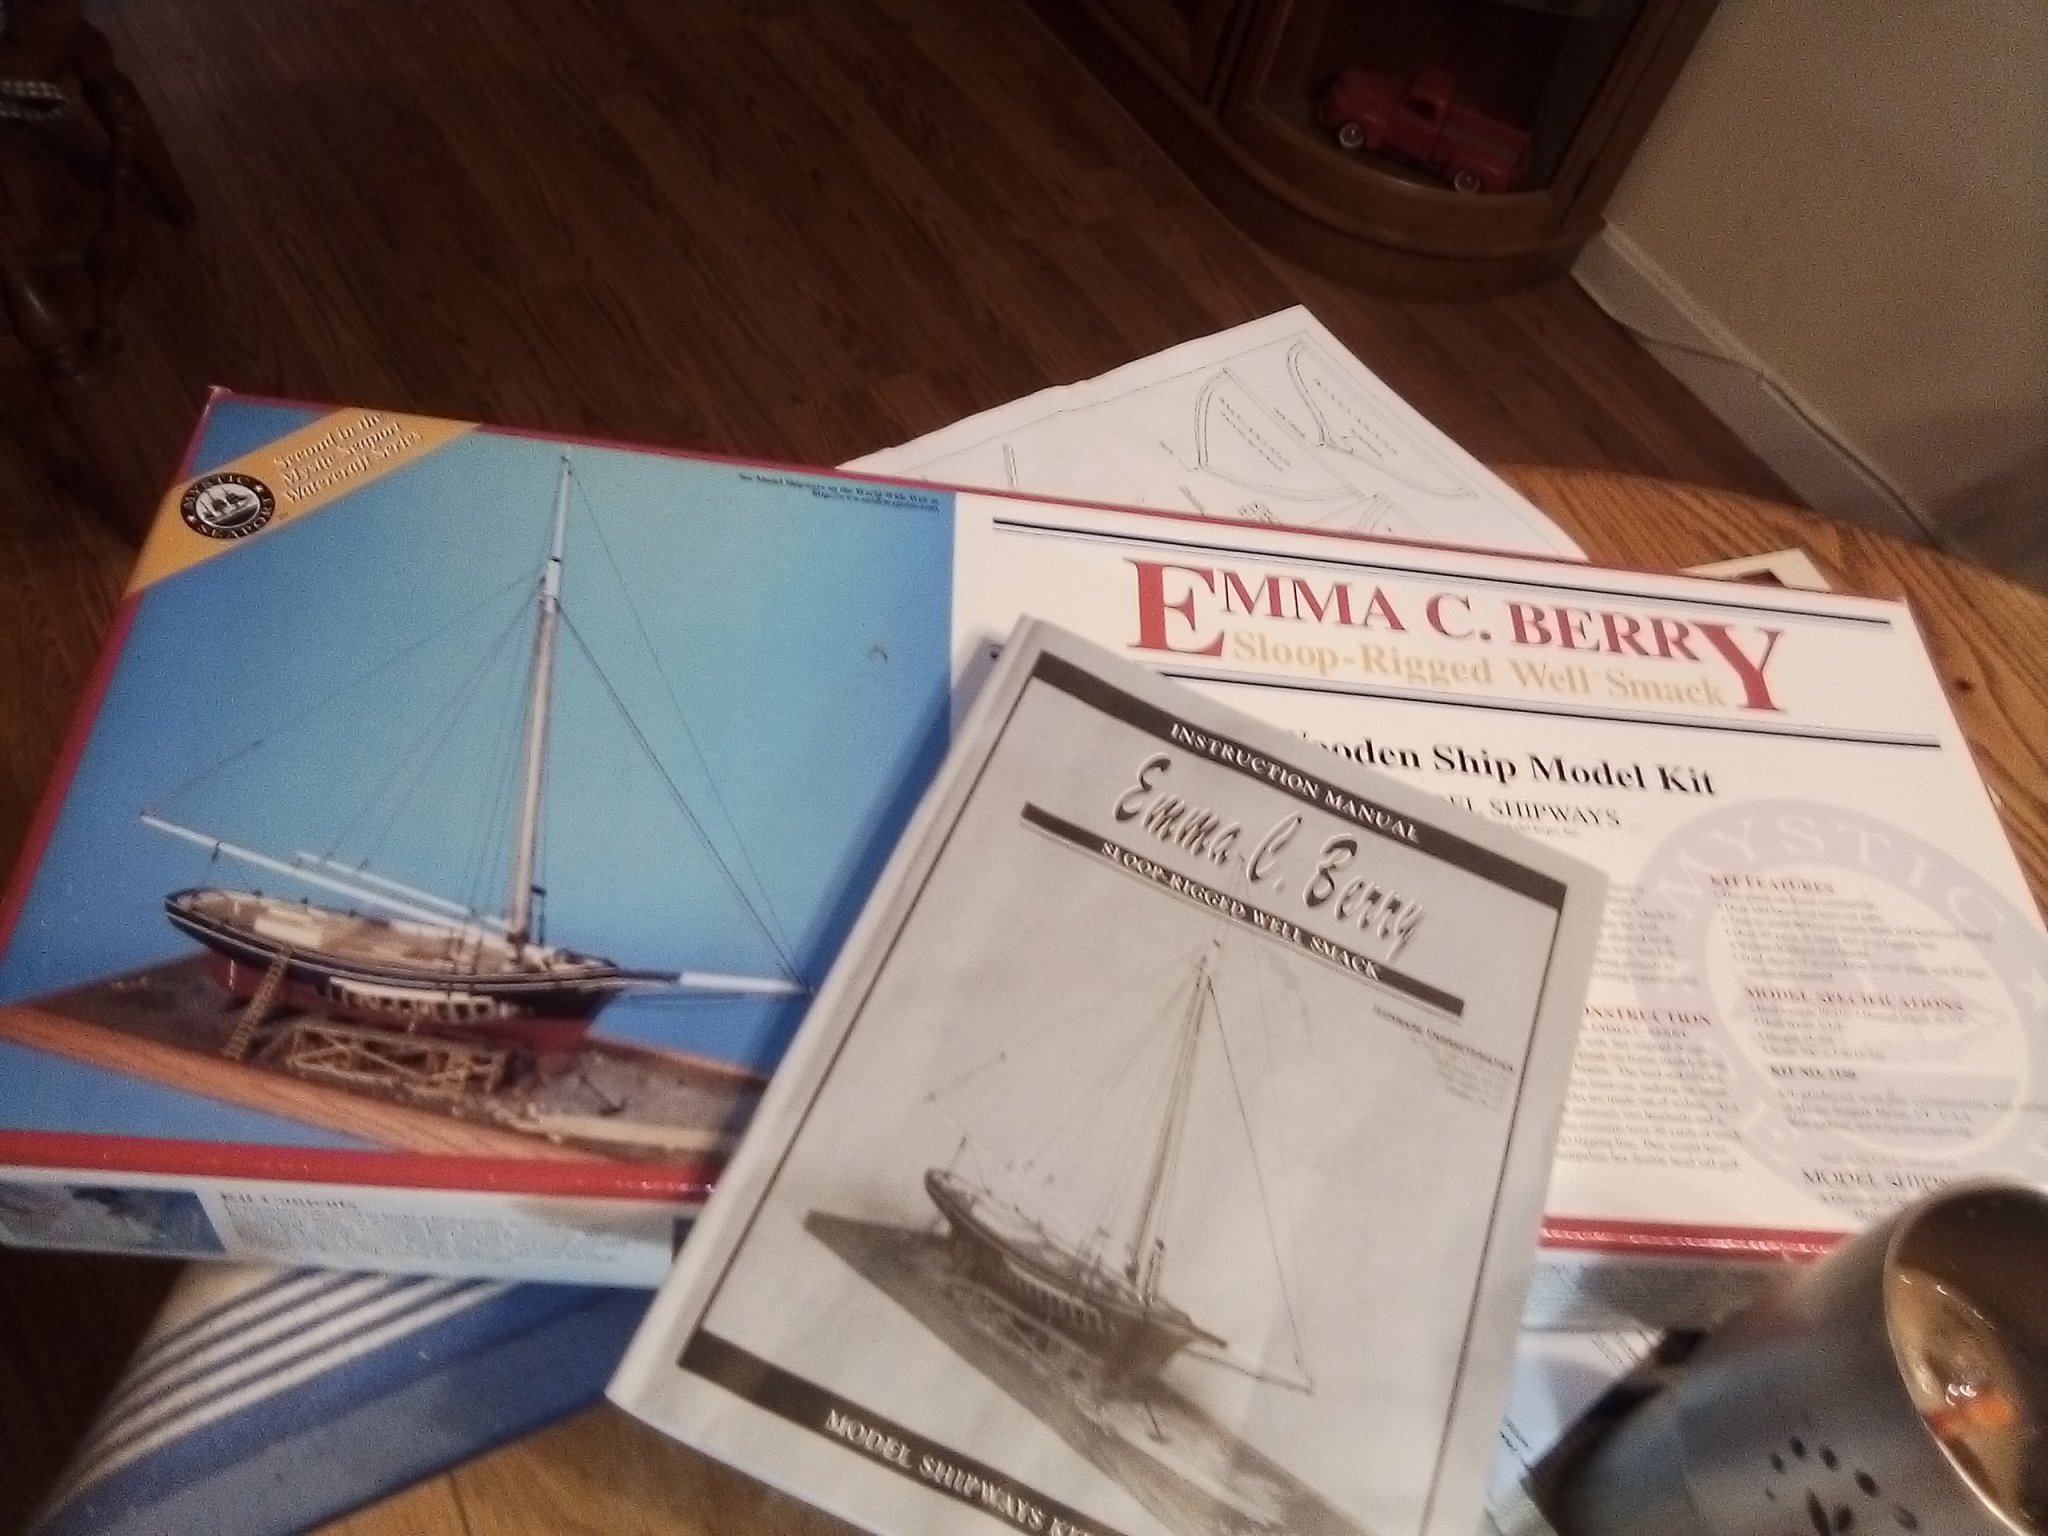
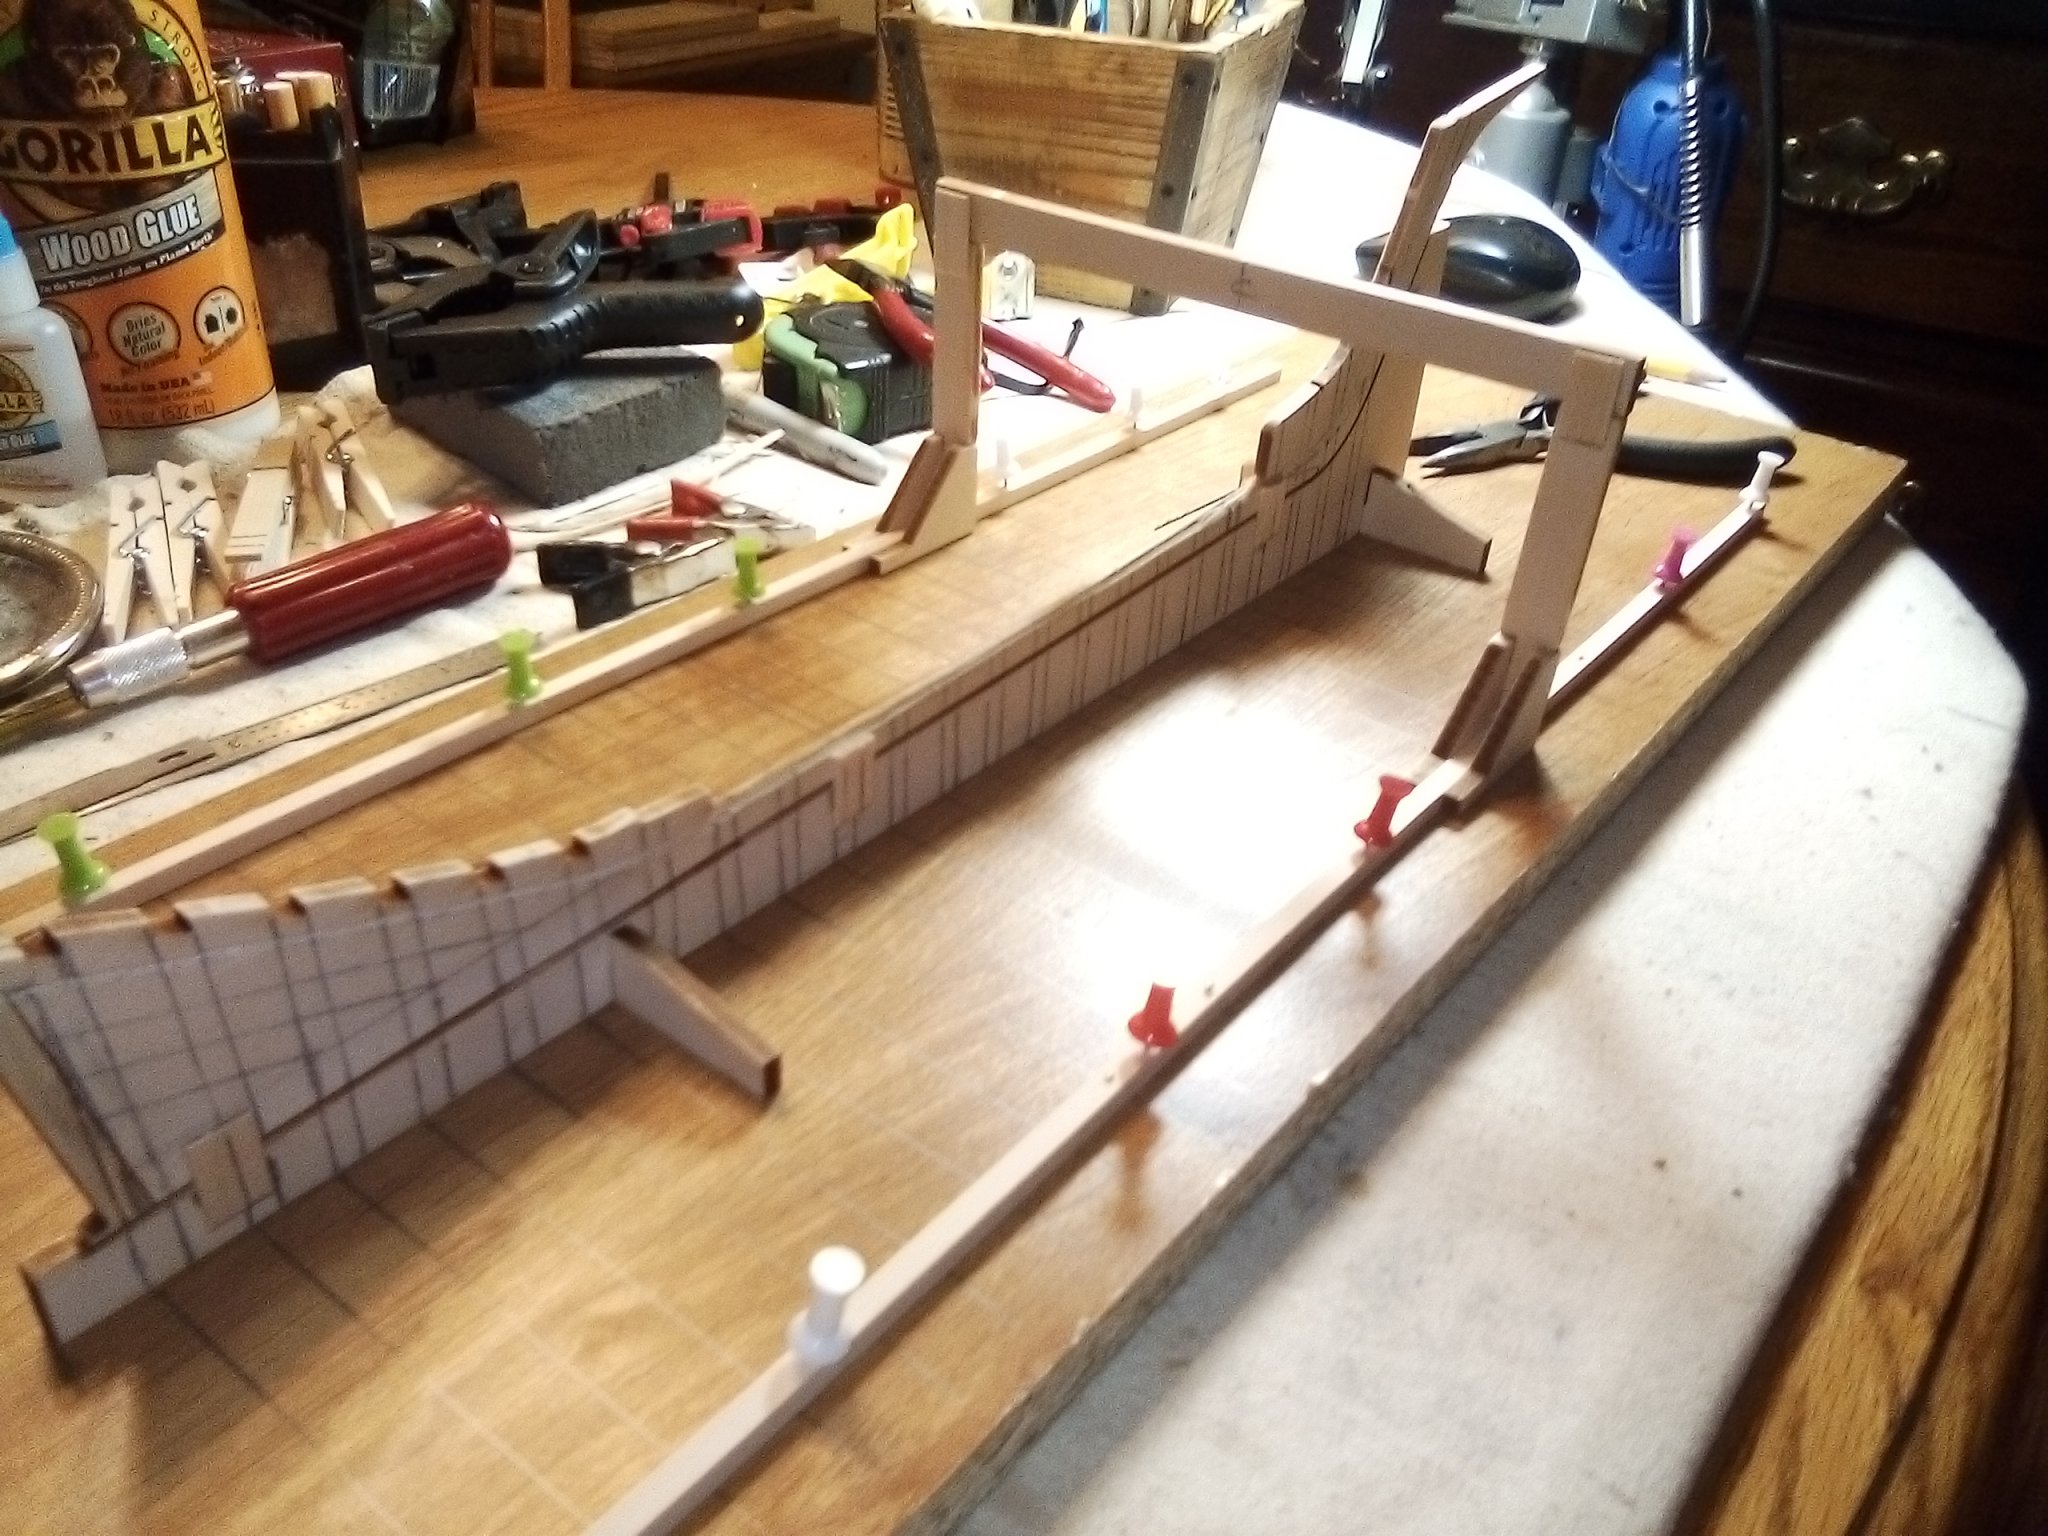
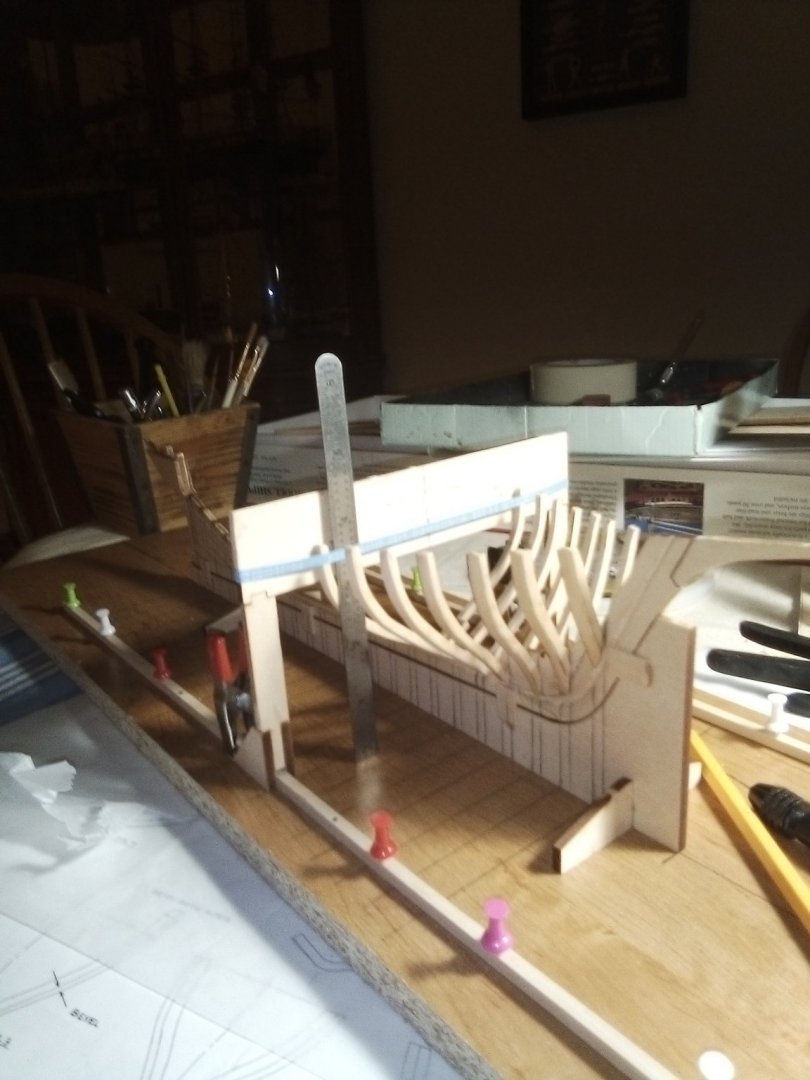
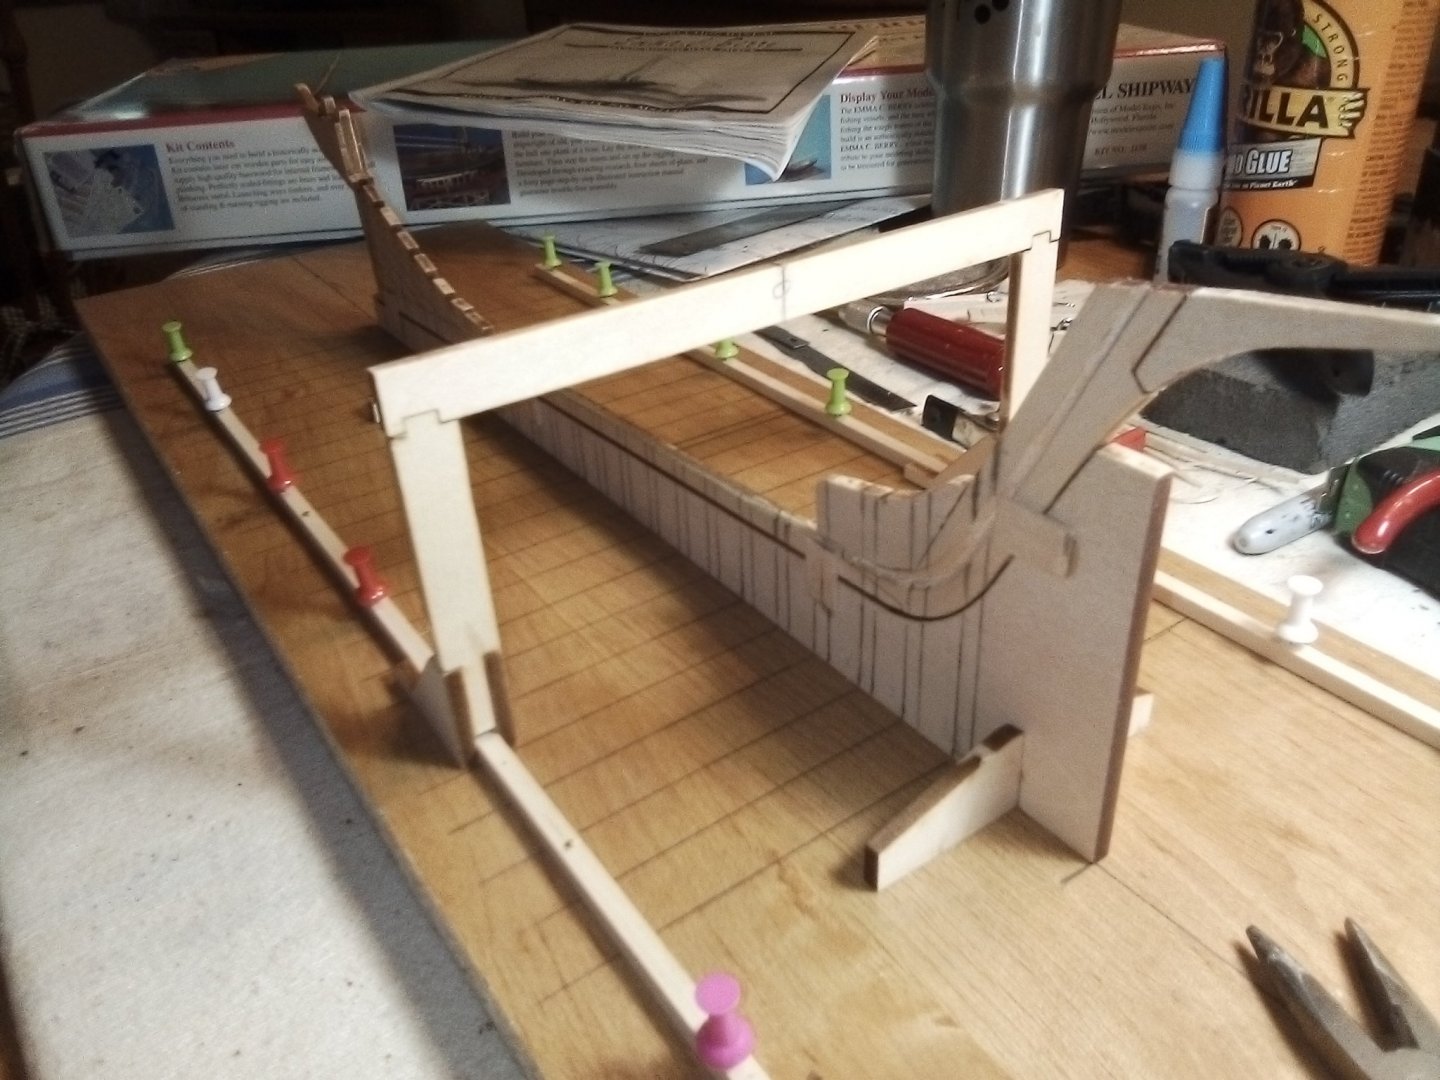
Had to shelf my USS Essex, too many missing parts and directions! Frustrating! Picked The Emma C. Berry for a good price and thought it is a good scale and very sexy ship. She was built and launched down the way in Noank, Conn. in 1866. Known as a "Noank Smack" fishing vessel. Got to it building the keel/skeg section, then putting together the build board and keel support unit with the frame clamp fixture. Ready to start the frames!


- 101 replies
-
- 6
-
-
- emma c berry
- model shipways
- (and 1 more)
-
Roter Löwe 1597 by Ondras71
Sea Hoss replied to Ondras71's topic in - Build logs for subjects built 1501 - 1750
Fantastic work! Looks perfect, this build is great. -
Just looked this build over again (I'm getting ready to dig into my little USS Essex solid hull version with determination!) this model came out great! There's so much detail! My model is ancient...boxed in 1957! got it on ebay for $15. I know by looking over yours that I'm missing a lot of parts and pieces. It's going to be a sort of 3/5 ths hull mounted on a backboard of some type. just to hang on a wall. So I wont get crazy withit, just for fun till I pick up a kit that will take some real time and attention to detail (and probably more tools!). Great job though!
- 360 replies
-
- 1
-
-
- sultana
- model shipways
- (and 1 more)
-
Yes, I would sand the deck down till it feels smooth to your fingers. You can also throw on some light stain if desired, some do, some don't. I usually put on a couple coats of satin polycrylic by Minwax. Leaves a little sheen but not too glistening. Then I would generally hit it a little with 00 steel wool. This also seals the wood to moisture. This is a great model to begin a long learning but highly satisfying hobby. I'll enjoy your progress on her.
- 13 replies
-
- 1
-
-
- model shipways
- katy of norfolk
- (and 1 more)
-
ancre La Jacinthe 1823 by guraus - Scale 1:48
Sea Hoss replied to guraus's topic in - Build logs for subjects built 1801 - 1850
Beautiful work! -
That's how we do it, adapt and overcome!
-
Very clean and sharp!
-
Your model looks great! First build of this type, you did a nifty job.