HOLIDAY DONATION DRIVE - SUPPORT MSW - DO YOUR PART TO KEEP THIS GREAT FORUM GOING! (Only 13 donations so far - C'mon guys!)
×


VTHokiEE
-
Posts
1,528 -
Joined
-
Last visited
Content Type
Profiles
Forums
Gallery
Events
Everything posted by VTHokiEE
-
 I hope you take the plunge someday; for me at least I decided the only way I was going to learn was jumping in with both feet (we’ll see how it goes but I think it’ll work out… probably with some stages of extreme frustration, but the payoff is worth it).
 -
I think that’s the best solution. I don’t have any on hand so I tried the black glue experiment.
-
One of these:
-
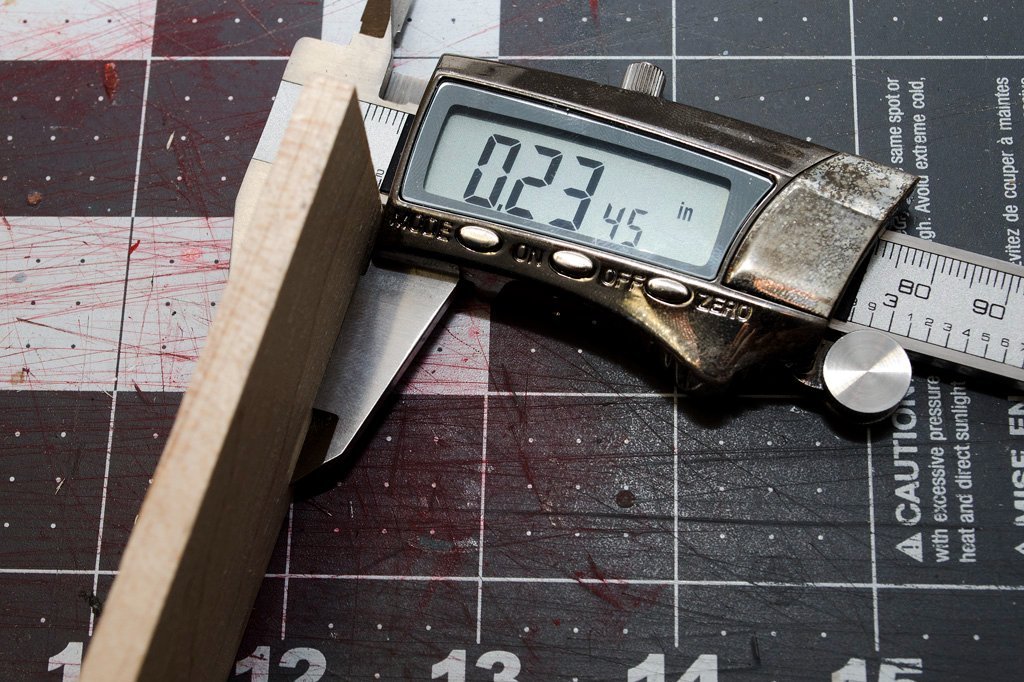
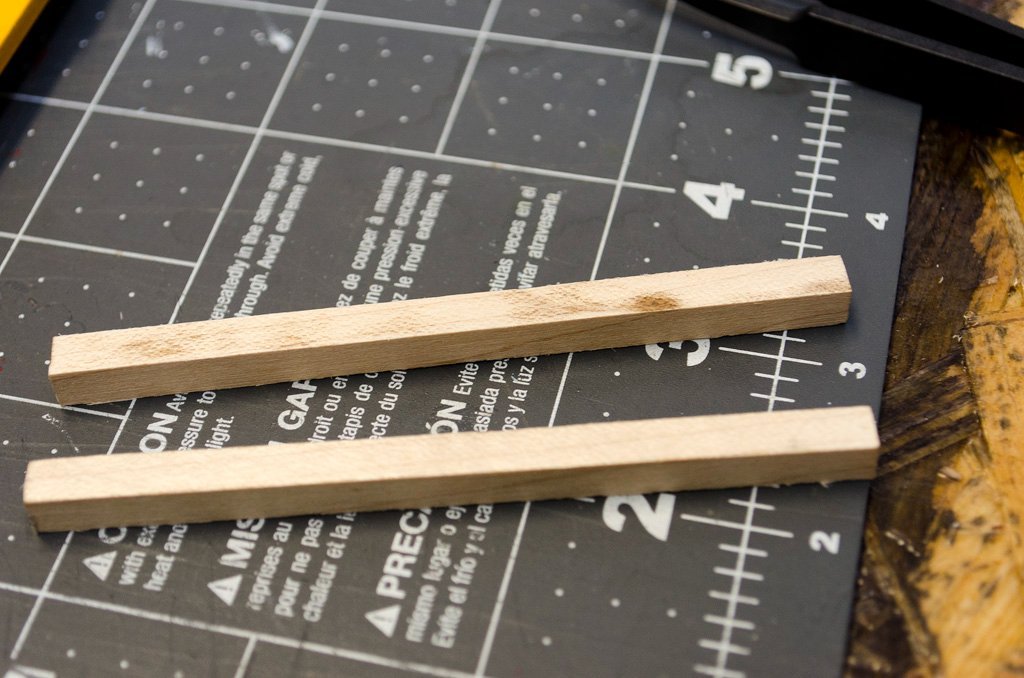
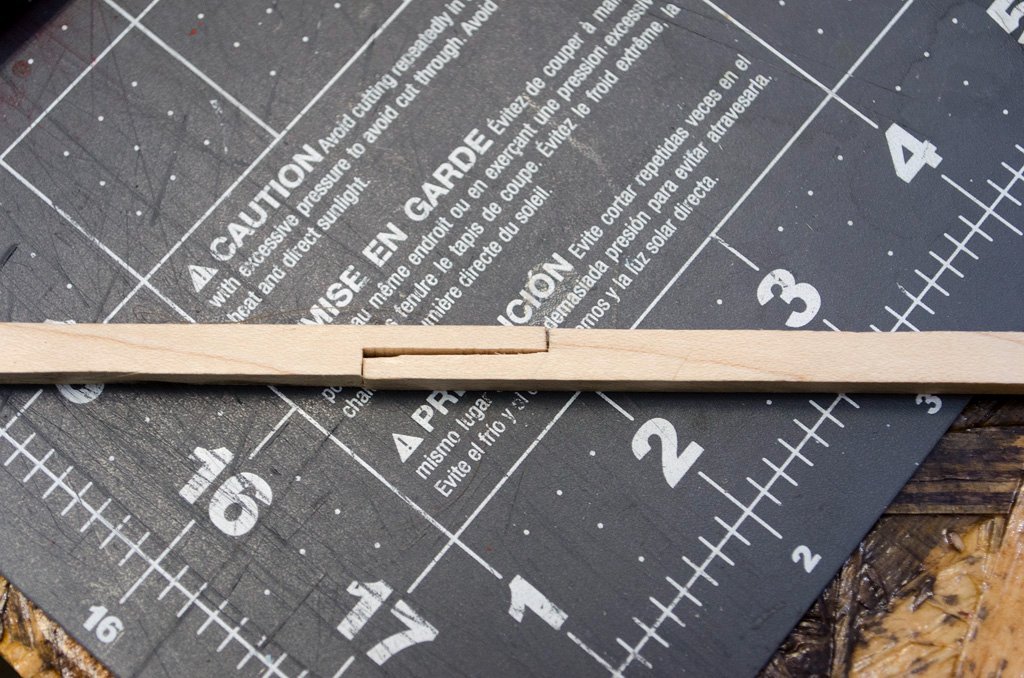
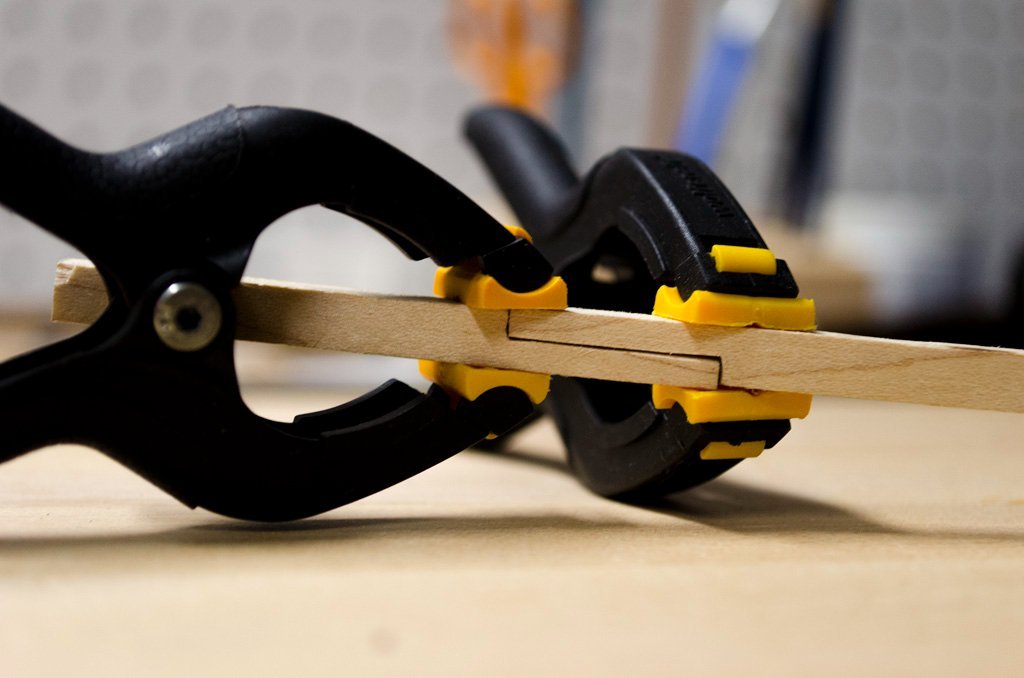
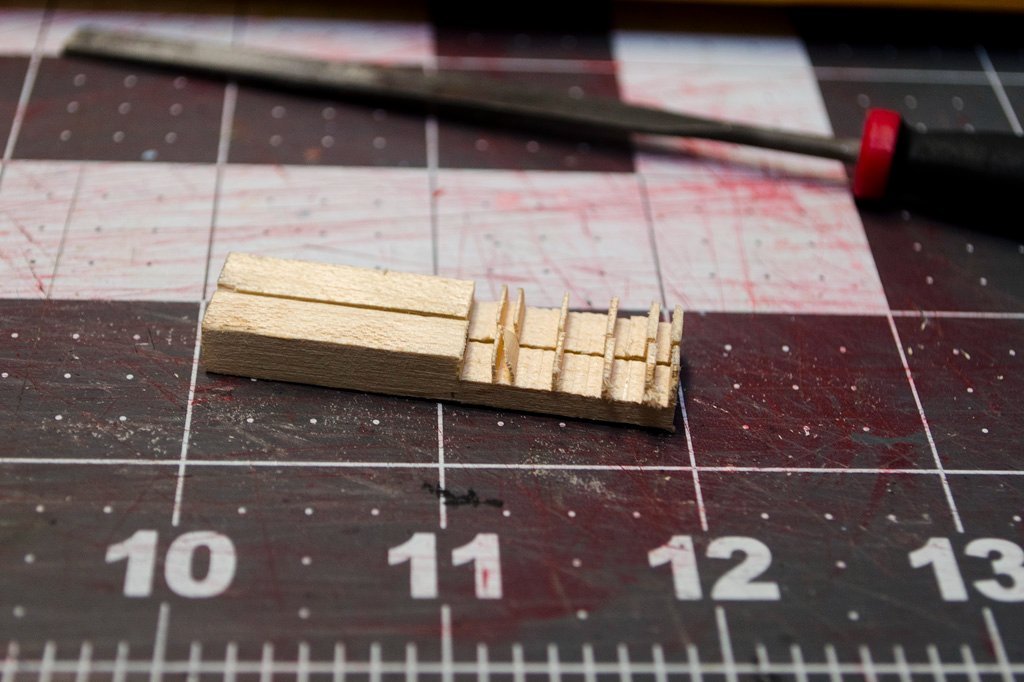
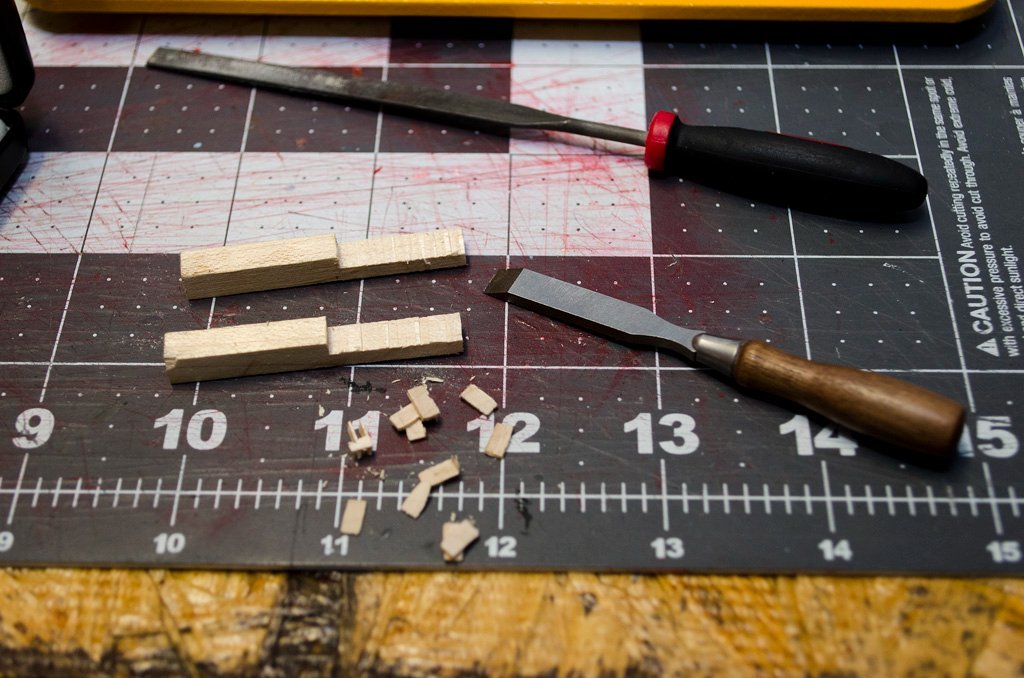
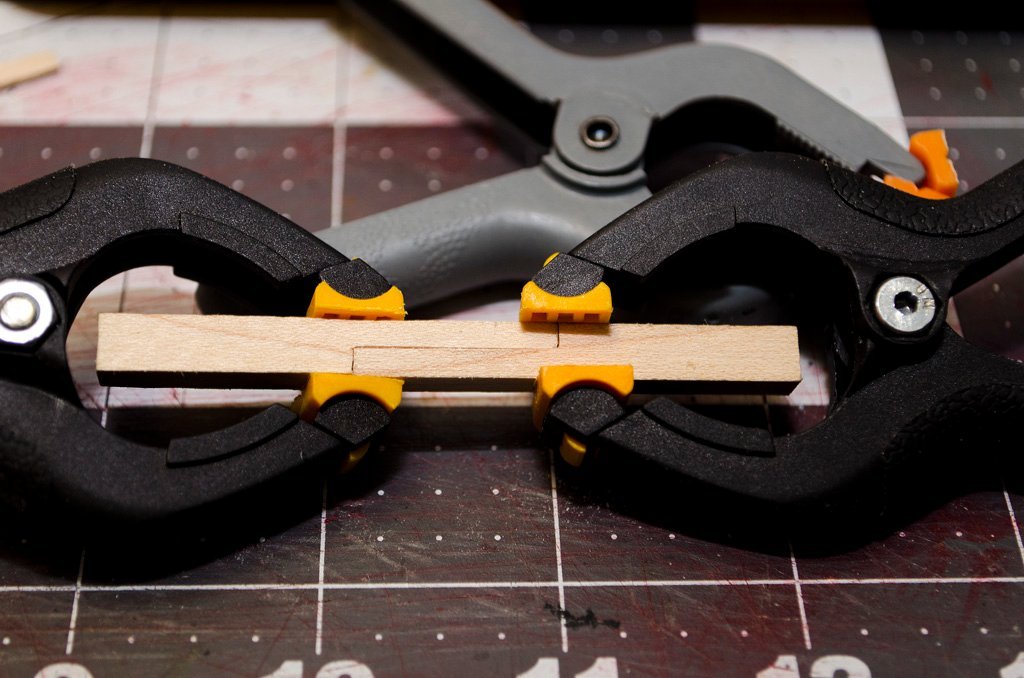
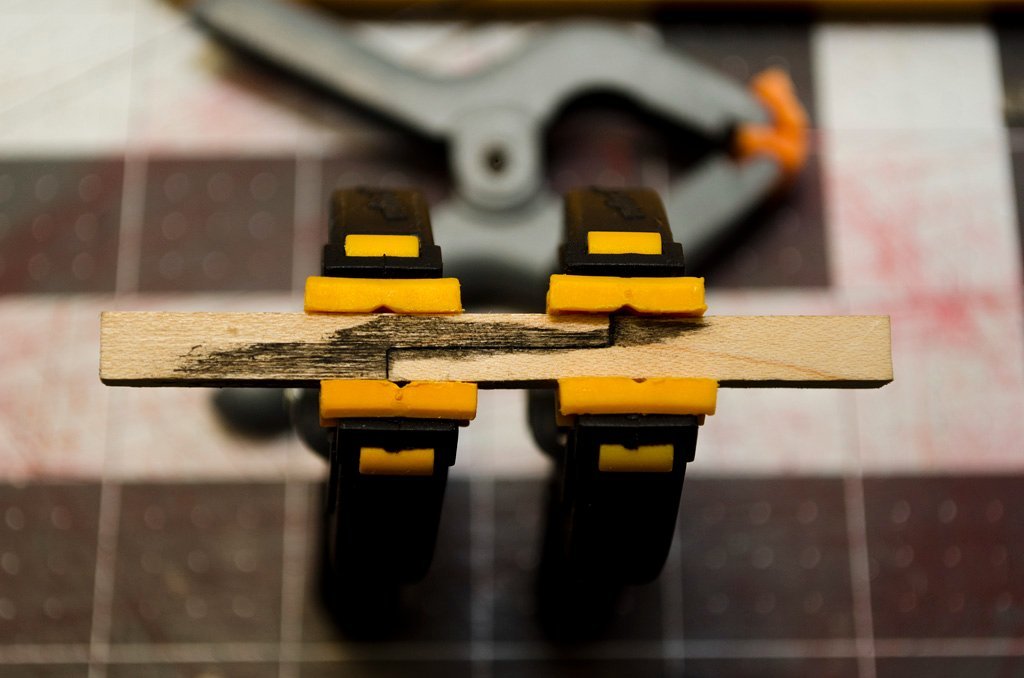
As previously stated this entire build is a huge learning curve for me so before I jump into my nicely milled wood I decided to attempt to build a "throw away" keel from some hard maple that I have. I made my first attempt at "milling" some lumber with my Byrnes saw; I came in a little under the 1/4" that I was aiming for but it should be close enough for what I want to do with it - practice. First up I cut two equally sized strips to create the keel joint - so far so good. Next I set the saw blade to half the thickness and start chopping away - way too fast. As will be learned later I needed to take much slower "strokes" through the blade. Since this didn't work (and with uh oh and confusion in my head) I decided to chop off the joint and try again this time with a razor saw (because I certainly am much steadier and more accurate that my saw 🙄). Hmmm improvement, but I need more practice keeping my blade straight - so back to the table saw. Finally things started clicking and I can build off this. The joint isn't perfect yet - I need to sand the ends perpendicular before moving to the saw (at least for these pieces), but confidence is back on the rise. I am struggling a little with is how to set the blade to a height accurately, but this left some room for filing everything down nicely. Of course I then proceeded to destroy the piece by attempting to glue the pieces together with glue mixed with black paint. Oh well, not a perfect ending, but I'm learning. I'll probably attempt a few more before moving into the real deal - but this is a lot of fun. When I get a keel put together with the cedar I'll be back, until then thanks for checking in.

-
Thanks Greg and OC - I'm excited for it. Thanks for the heads up; realistically I need to learn how to be proficient with many of my tools. I have my finger's crossed that there is some Alaskan Cedar left for everyone else by the time I'm through, I'm going in with a do it over until you get it right mantra.
-
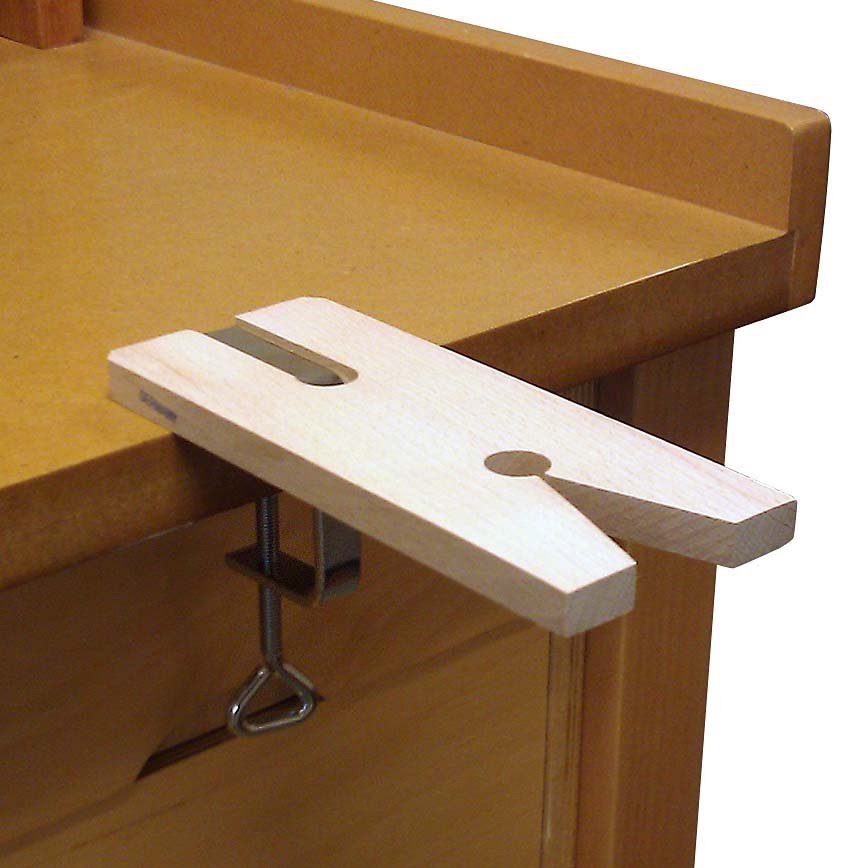
Thank you for the advice. I do have a jeweler's saw and a bench pin (but my darn homemade benchtop is too thick for the clamping jaw on it...doh, so I'll be chiseling out a spot for it in the near future). Based on reading the intro to TFFM Vol. 1 I have a some sharpening tools on my Christmas list. Unfortunately, so far my procurement department has rejected POs for milling machines, cnc machines and other exotic toys - my justifications even to myself are weak at the moment, but maybe someday 🙂.
-
I suppose that brings me to reason #2 that I choose the Echo cross section. I have purchased the Triton plans, but as I said I have no idea what I'm doing so I didn't really know how to fit that out once I did the initial framing. Admiralty Models very generously has the Echo cross section plans available on their website: http://www.admiraltymodels.com/Tips.html along with some PowerPoint slides and PDFs that I pray will help enlighten me along the way.
-
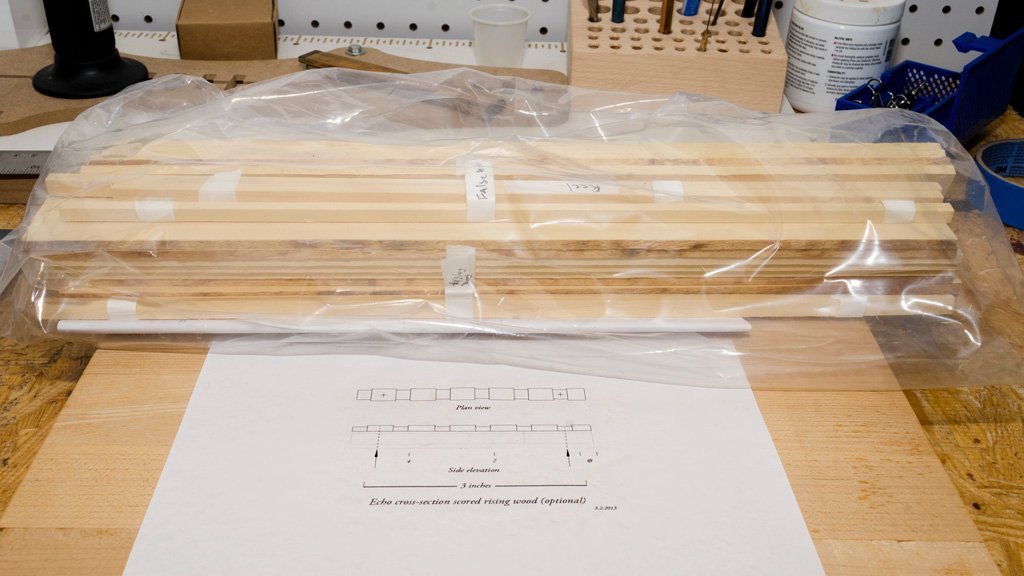
I've long been interested in attempting a scratch build but I was simultaneously hesitant because I over analyze everything and couldn't get past finding lumber of the correct dimensions - enter Modeler's Sawmill. I finally threw caution the the wind and inquired if @Joe V could put together an Echo framing package for me in Alaskan Yellow Cedar - The smell is incredible. I choose the Echo cross section (tricky framing and all) because my end goal is to attempt an admiralty style fully framed hull and I thought the skills developed in this build "should" put me on a path towards that goal. I have picked up the TFFM series to help me along though the first volume is most applicable for the initial framing portion of the build. If this goes well I plan on fully fitting out the build, but we'll make that final call when I get there. My power tools are limited (Byrnes Saw and Disc sander...I can see the usefulness of a spindle sander for touching up the frames but workshop space is limited so I'll see what I can do without one) so this build will progress at a leisurely pace (that pace is also do to the fact that I have no idea what I'm doing so please, any tips pointers and corrections are welcomed). I have printed out the keel plans and away we go (I see some mention of using a table saw to cut out the keel joint - I assume this is done by taking slow swipes and creating the joint through the blade's kerf? I can't envision a safe way to accomplish this otherwise). Wish me luck! PS - If I can remember I'll try to include some pictures of my failed attempts at parts so that anyone following along can see that if I can do this then you can too.
-
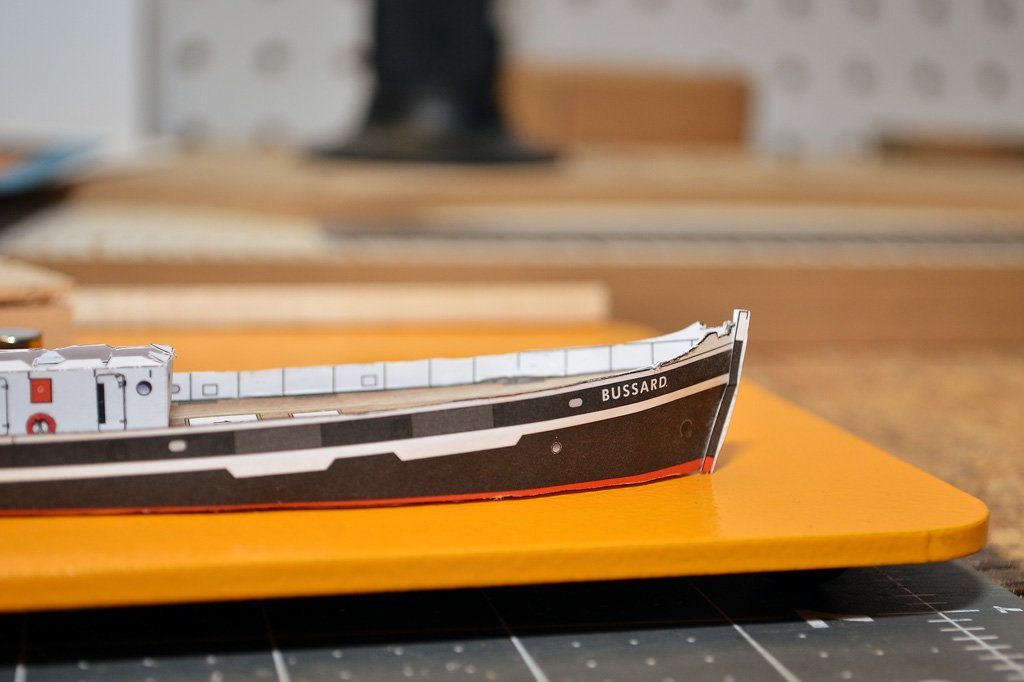
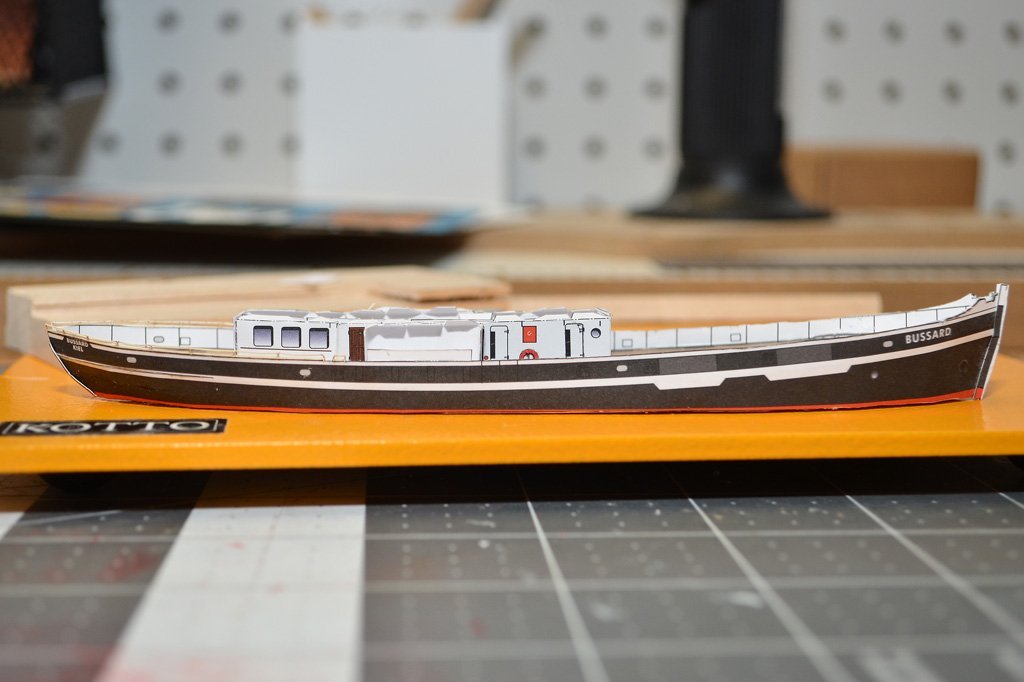
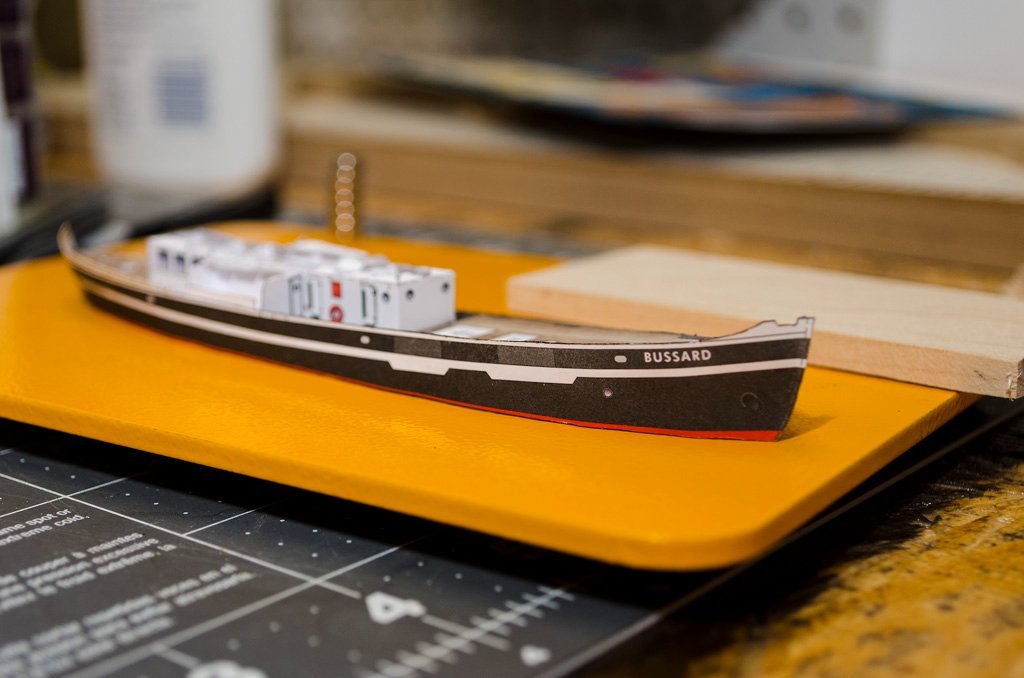
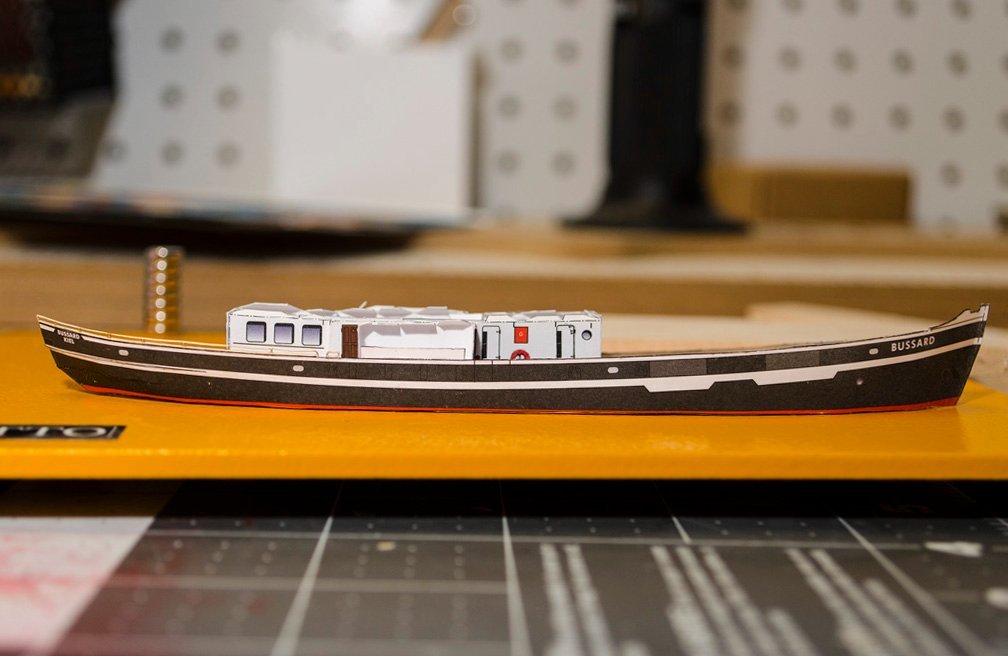
I finished the step and here is how it is coming together. It is passable from a distance but I will be doing some paint touch-up (but I don't know if that will improve things or not depending how close I get on color so I've been hesitant to do it). However if you get close (as these pictures show) well...😬 Card modeling is tough stuff... The model actually shows better in these pictures than in life I think the more I look at them. Truthfully I'm bummed at where I'm at, I had higher hopes but here we are. I'm going to do my best to push forward and continue trying to make each step better than the one before it but this step was rough 🙂.
- 24 replies
-
- 11
-

-
Thanks! I can see why @ccoyle wanted to use a wood blank for the hull on one of his builds. I'll have to think about how I'll approach the hull if I do something like this again. I have some other kits, but they are larger scale (and hopefully I'll be better for prepared for them).
-
Ugh - I wasn't precise enough adding the side planking and the inner walls aren't aligning. I tried to trim one down and we'll see how that turns out... this is tricky stuff and I may be making a mess of it sadly.
-
Your build is very nice and someday I would love to attack it as a challenge, but I don't think I have the patience/time/skill yet. That being said I don't think I would be as drawn to the build if it was dialed down and simplified (will I have the same sentiment when I finally tackle the project? that remains to be seen).
- 1,784 replies
-
- 2
-
-
- winchelsea
- Syren Ship Model Company
- (and 1 more)
-
Yes, at least some of the Master Korabel kits do this. Here is a review of one kit: The one word of caution is that precutting planks requires a fair amount of precision in the build so that they align correctly. I think a much more complicated kit by CAF model also does: I hope that helps your search some. EDIT: The Royal Barge Kit from Syren also has precut planks, but I believe that is also a more advanced kit: https://syrenshipmodelcompany.com/royal-barge-kit.php
-
Looking great! Can’t wait to see her with the ship’s boats.
-
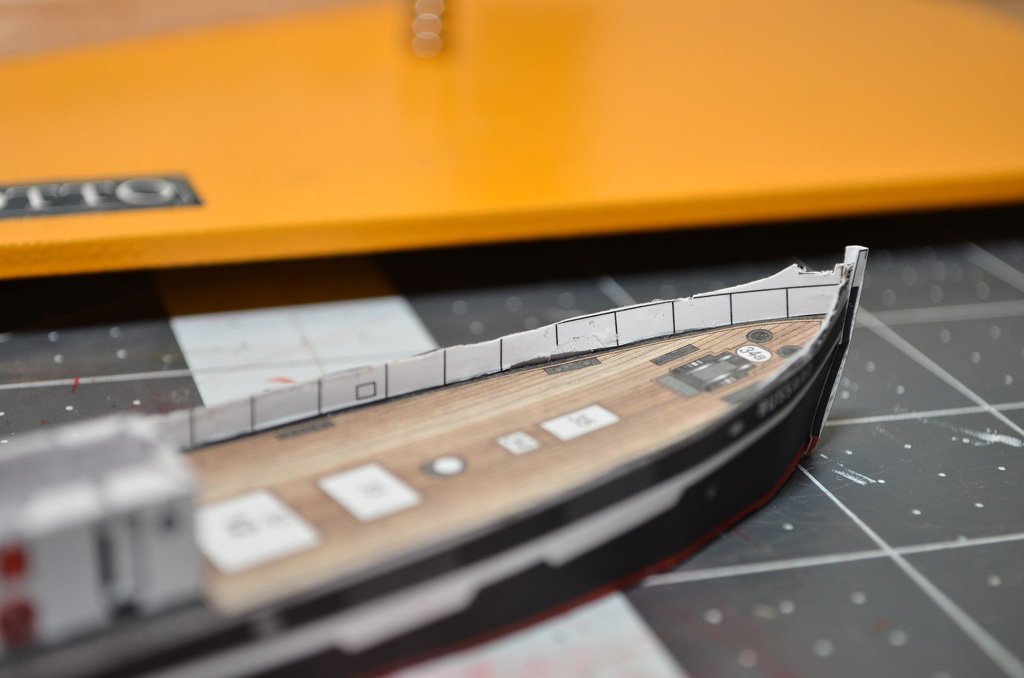
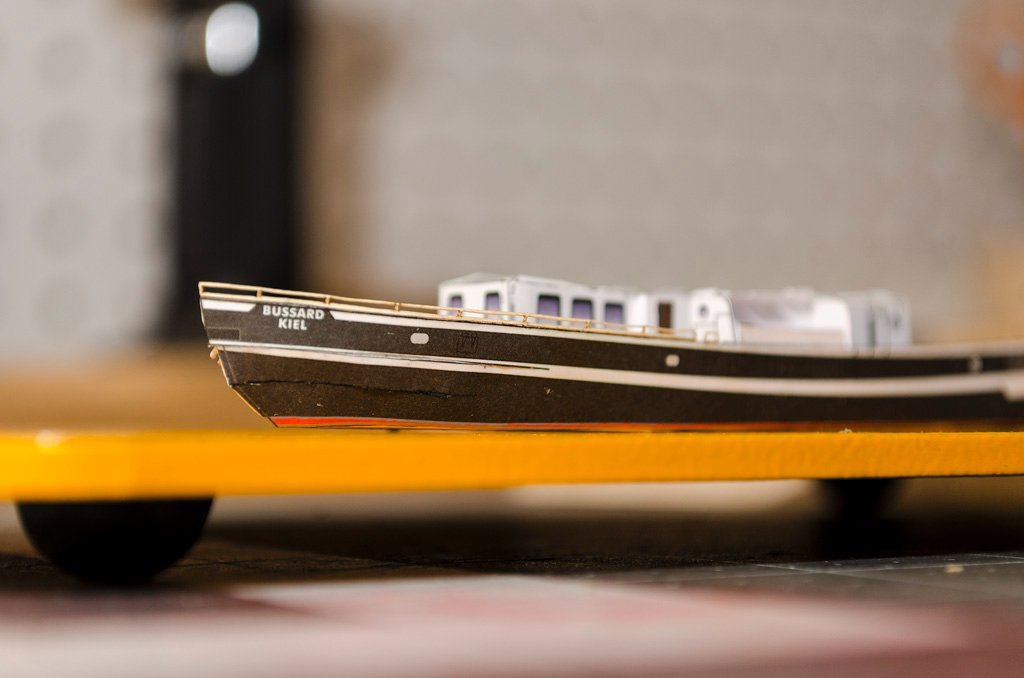
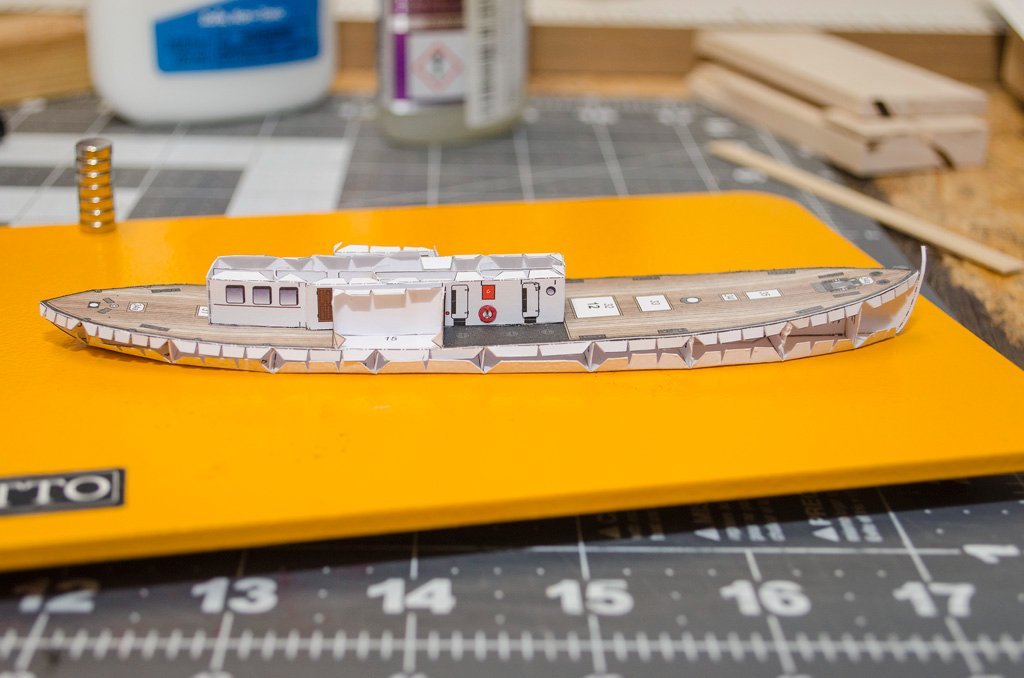
I stared at the printed railing, then at the laser cut railing, then back at the printed railed.. muttered some choice words and cut the printed railing off and glued on the laser cut railings. I think it came out decently - I wiped some white glue on the railing to attempt to harden the frail structure. The stern was split into three sections (unlike the single section at the bow) and fitting the curve created a bump, not certain exactly how to overcome this yet (it almost would've been better to be a separate piece maybe? I'm not thrilled with how the stern planking came together (and I'm currently trying to fix the gap on the white strip), but it's not bad. I'll have to see if I can get the other side a little better.
-
Glad to have you aboard! I finished step 2 and I have to admit this is tricky stuff - I misaligned the deck and had some issues squaring the cabins when I installed them. I should have used some thin strip wood (or something to better align everything before installation. Also - this laser cut detail is crazy! I'm attempting to install a railing on at the moment before planking one of the sides - 😬. There is a bit of a learning curve working here I'm finding.
-
Looking very nice! I couldn't quite "see" the shape after the single plywood piece was installed previously, but wow, now that you've done a handful it really is looking beautiful.
-
I haven’t built this specific model for next steps but have you thinned the deadwood past the bearding line? It would be something to consider before going too much farther. I think dry fitting the deck and installing that would be pretty soon as well. Amati seems to have a video series on the Lady Nelson on their website that may help as well.
-
Love to have you aboard just remember the season if this turns into a horror film 😉. I thought I’d be able to handle the bending from building a handle of metal models in the past. Sadly, (and I should have known) this is not quite the case, but I’m learning with every part I do. I’ll most likely post updates at the end of each step (and hopefully each step will show some improvement on the last ha!).
-
I was impressed before, but now that I'm trying to tackle a card model myself I am speechless. Can't wait to see how to tackle the gap.
-
Thank you! No, not the Cheerful. I’ll throw a log up when I get a little farther a long with my card model that I’m experimenting with.
- 436 replies
-
- 2
-
-
- vanguard models
- alert
- (and 1 more)
-
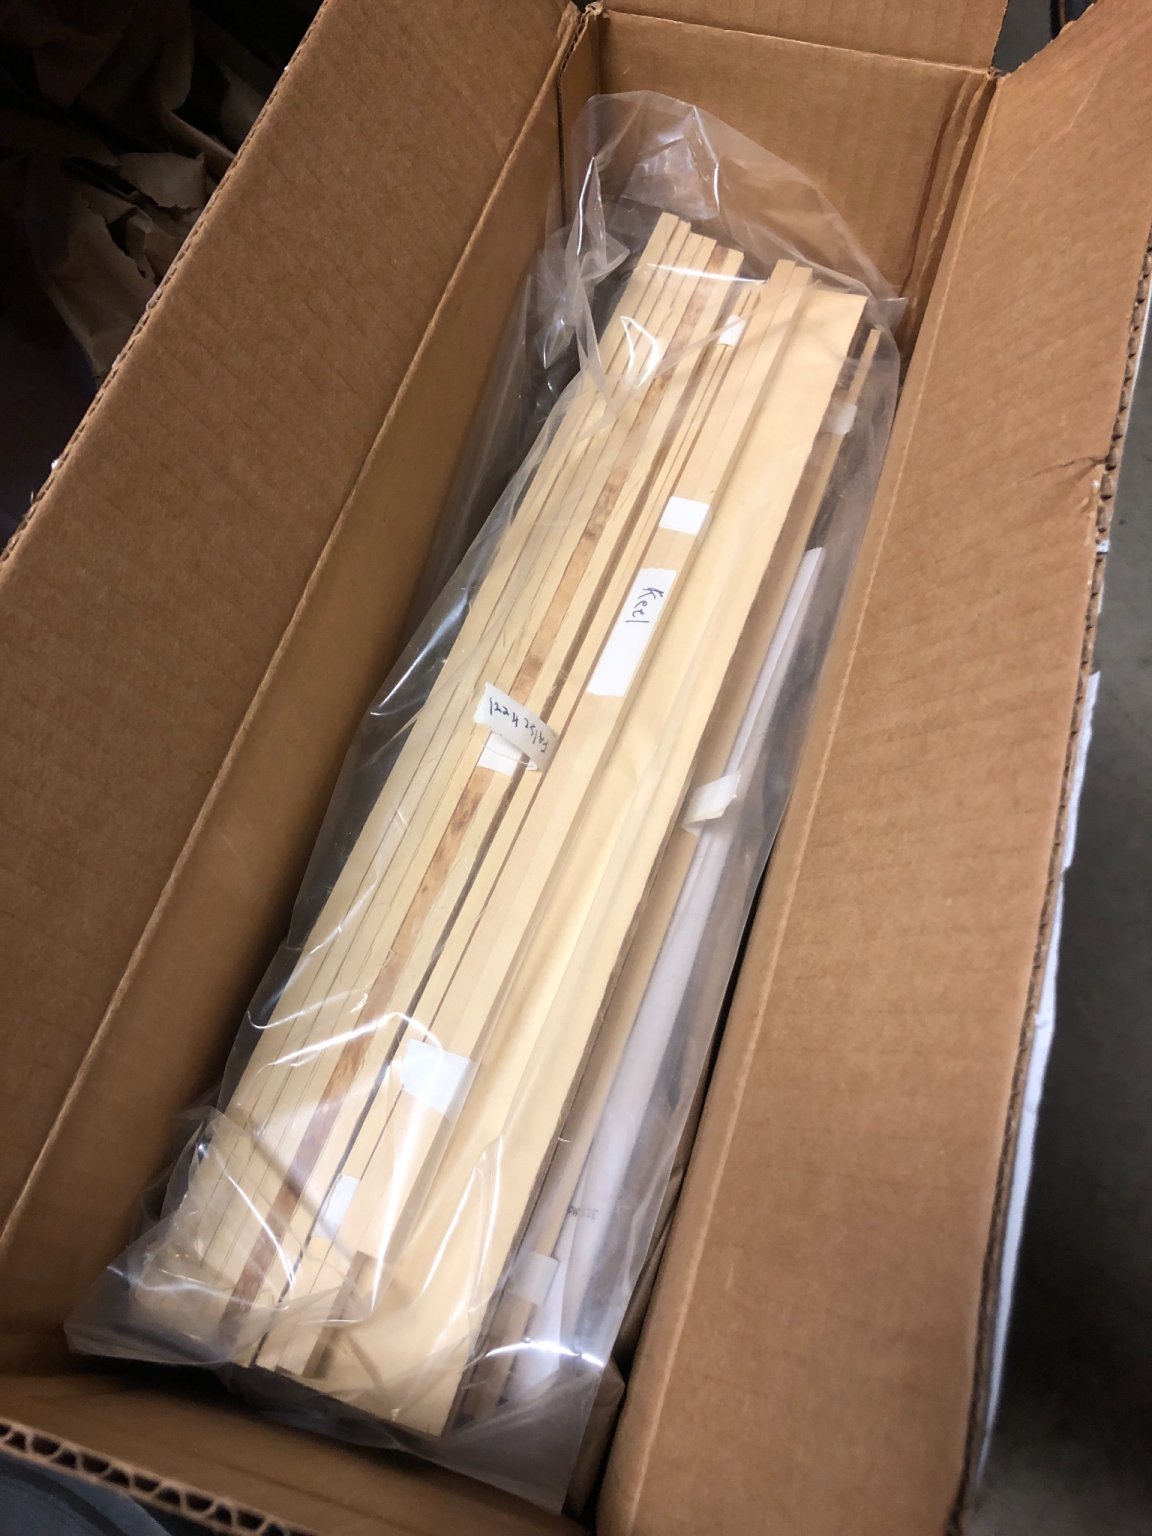
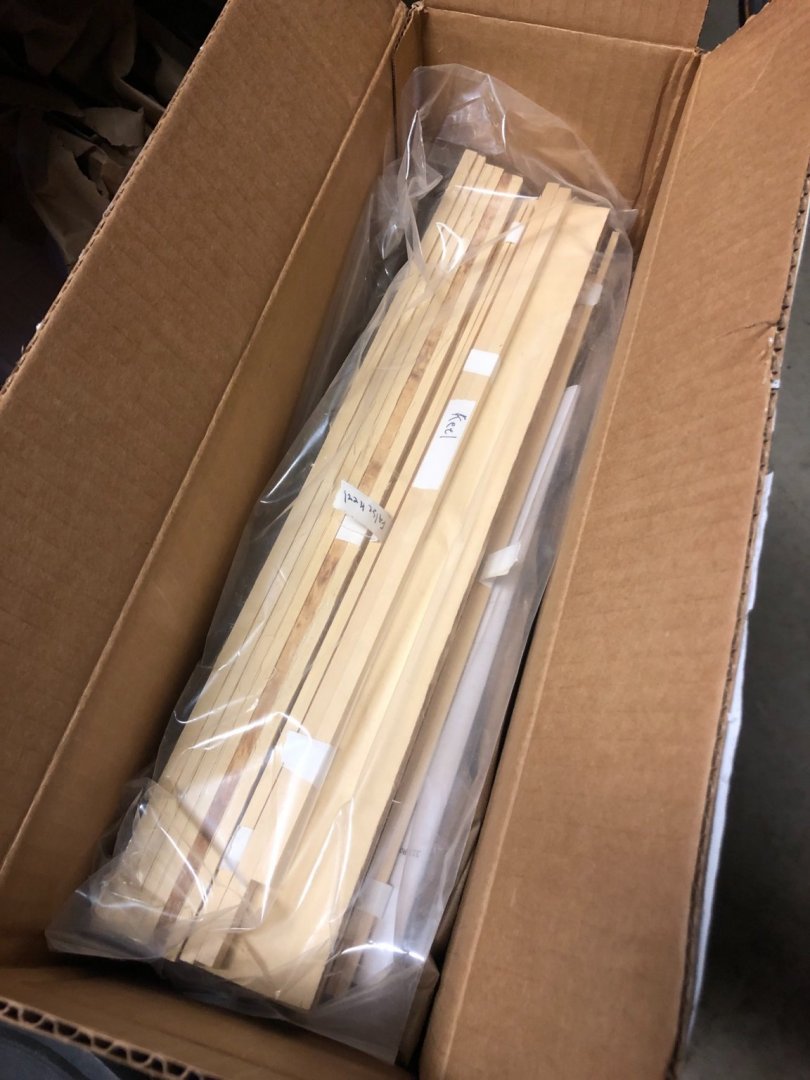
Thanks! All I can say is step one of my next project arrived today 😬:
- 436 replies
-
- 6
-
-

-
- vanguard models
- alert
- (and 1 more)
-
These look incredible. My older brother used to paint miniatures; unfortunately I’m cursed with shakey hands but it has been something I’ve been working on.
-
…how have I never thought about doing this… thank you for the tip! What a great idea.
- 129 replies
-
- 1
-
-
- Bounty Jolly Boat
- Artesania Latina
- (and 1 more)