HOLIDAY DONATION DRIVE - SUPPORT MSW - DO YOUR PART TO KEEP THIS GREAT FORUM GOING! (Only 24 donations so far out of 49,000 members - C'mon guys!)
×


VTHokiEE
-
Posts
1,528 -
Joined
-
Last visited
Content Type
Profiles
Forums
Gallery
Events
Everything posted by VTHokiEE
-
 That’s a very valid concern, you only want the slightest amount of CA (I apply mine with a needle that I stuck in a dowel) but even so that’s a very valid concern.
 -
You've got a very nice build on your hands there! Do you think you could pre-drill the hole for the nail to avoid splitting the stern post? Another possible alternative is to use a nail for the first hole (along with some glue) and then trim the second nail down so its more for looks than anything else?
- 129 replies
-
- 2
-

-

-
- Bounty Jolly Boat
- Artesania Latina
- (and 1 more)
-
It may not be optimal, but I have yet to actually wipe-on wipe-on poly, I have only brushed it on. I have only sometimes wiped it off as well. I suppose what I'm really getting at is to be careful not to overthink it. I'm certain that you can find a way to apply any of the recommendations above and I'm equally certain that it will look nice when you're finished. You could give a few different options a try on some spare wood to see about how to best apply them, but I think (based on what was detailed here) is that anything one person recommends to fit the bill will likely be countered with a different product. I've also read about people having issues applying certain oils (staying tacky for a seemingly excessive amount of time) and then people applying the exact same oil wonderfully. Good luck with your choice, try not to get bogged down it in too much though.
-
Thank you, I certainly will. I have two Seahorse kits in the stash and I wanted to get a feel for this before considering those. I assume it will take a few tries to learn what precision cuts need to in order to make the whole thing come together.
-
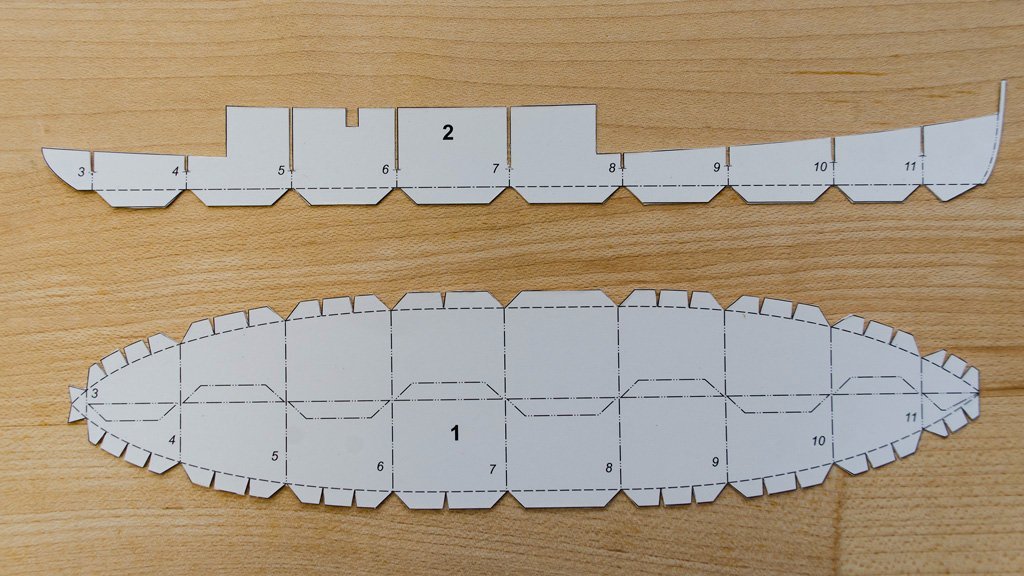
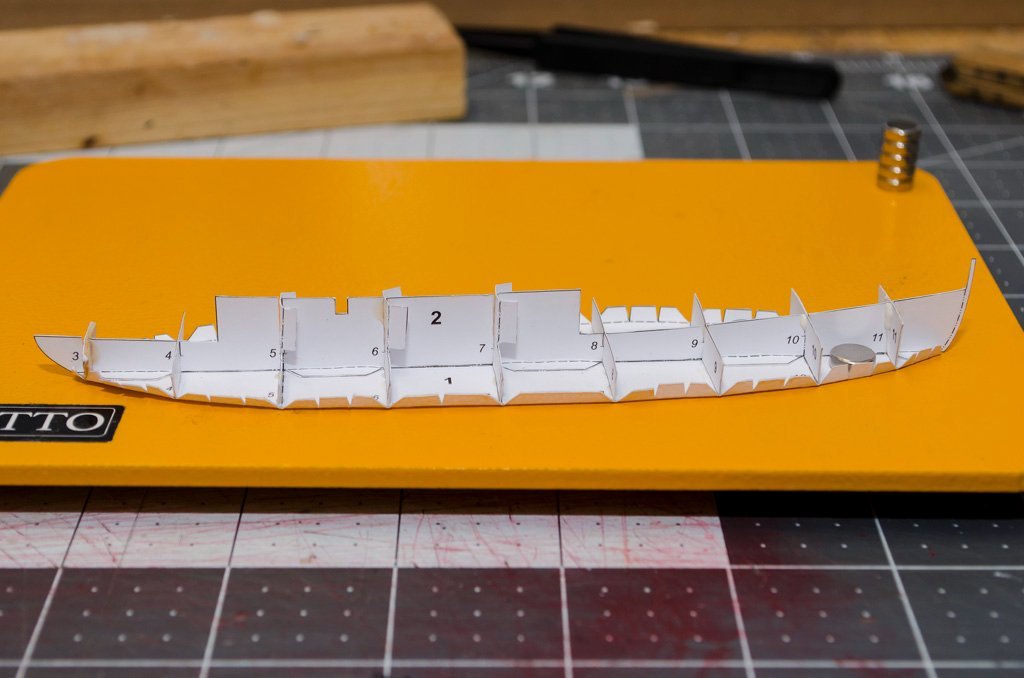
Cutting these parts out certainly makes me nervous. I tried to get fancy and add 1/32" basswood to the bulkheads to give some additional gluing surface for the deck. It didn't go as planned so I deep sixed that thought for this build. I'm certain that I will encounter issues as I go, but it should be a nice enjoyable learning experience. I have finished placing the bulkheads now. I stumbled into using my quad hands base as a building play form at the moment so that I can use magnets to try and keep everything flat (another we'll see how this goes experiment).
- 24 replies
-
- 13
-
-
Is there a side by side comparison of shellac and polyurethane? I had never realized some viewed it as a plastic or synthetic look. Eventually I’ll have to do the comparison myself but was curious if anyone had a link. Thanks!
-
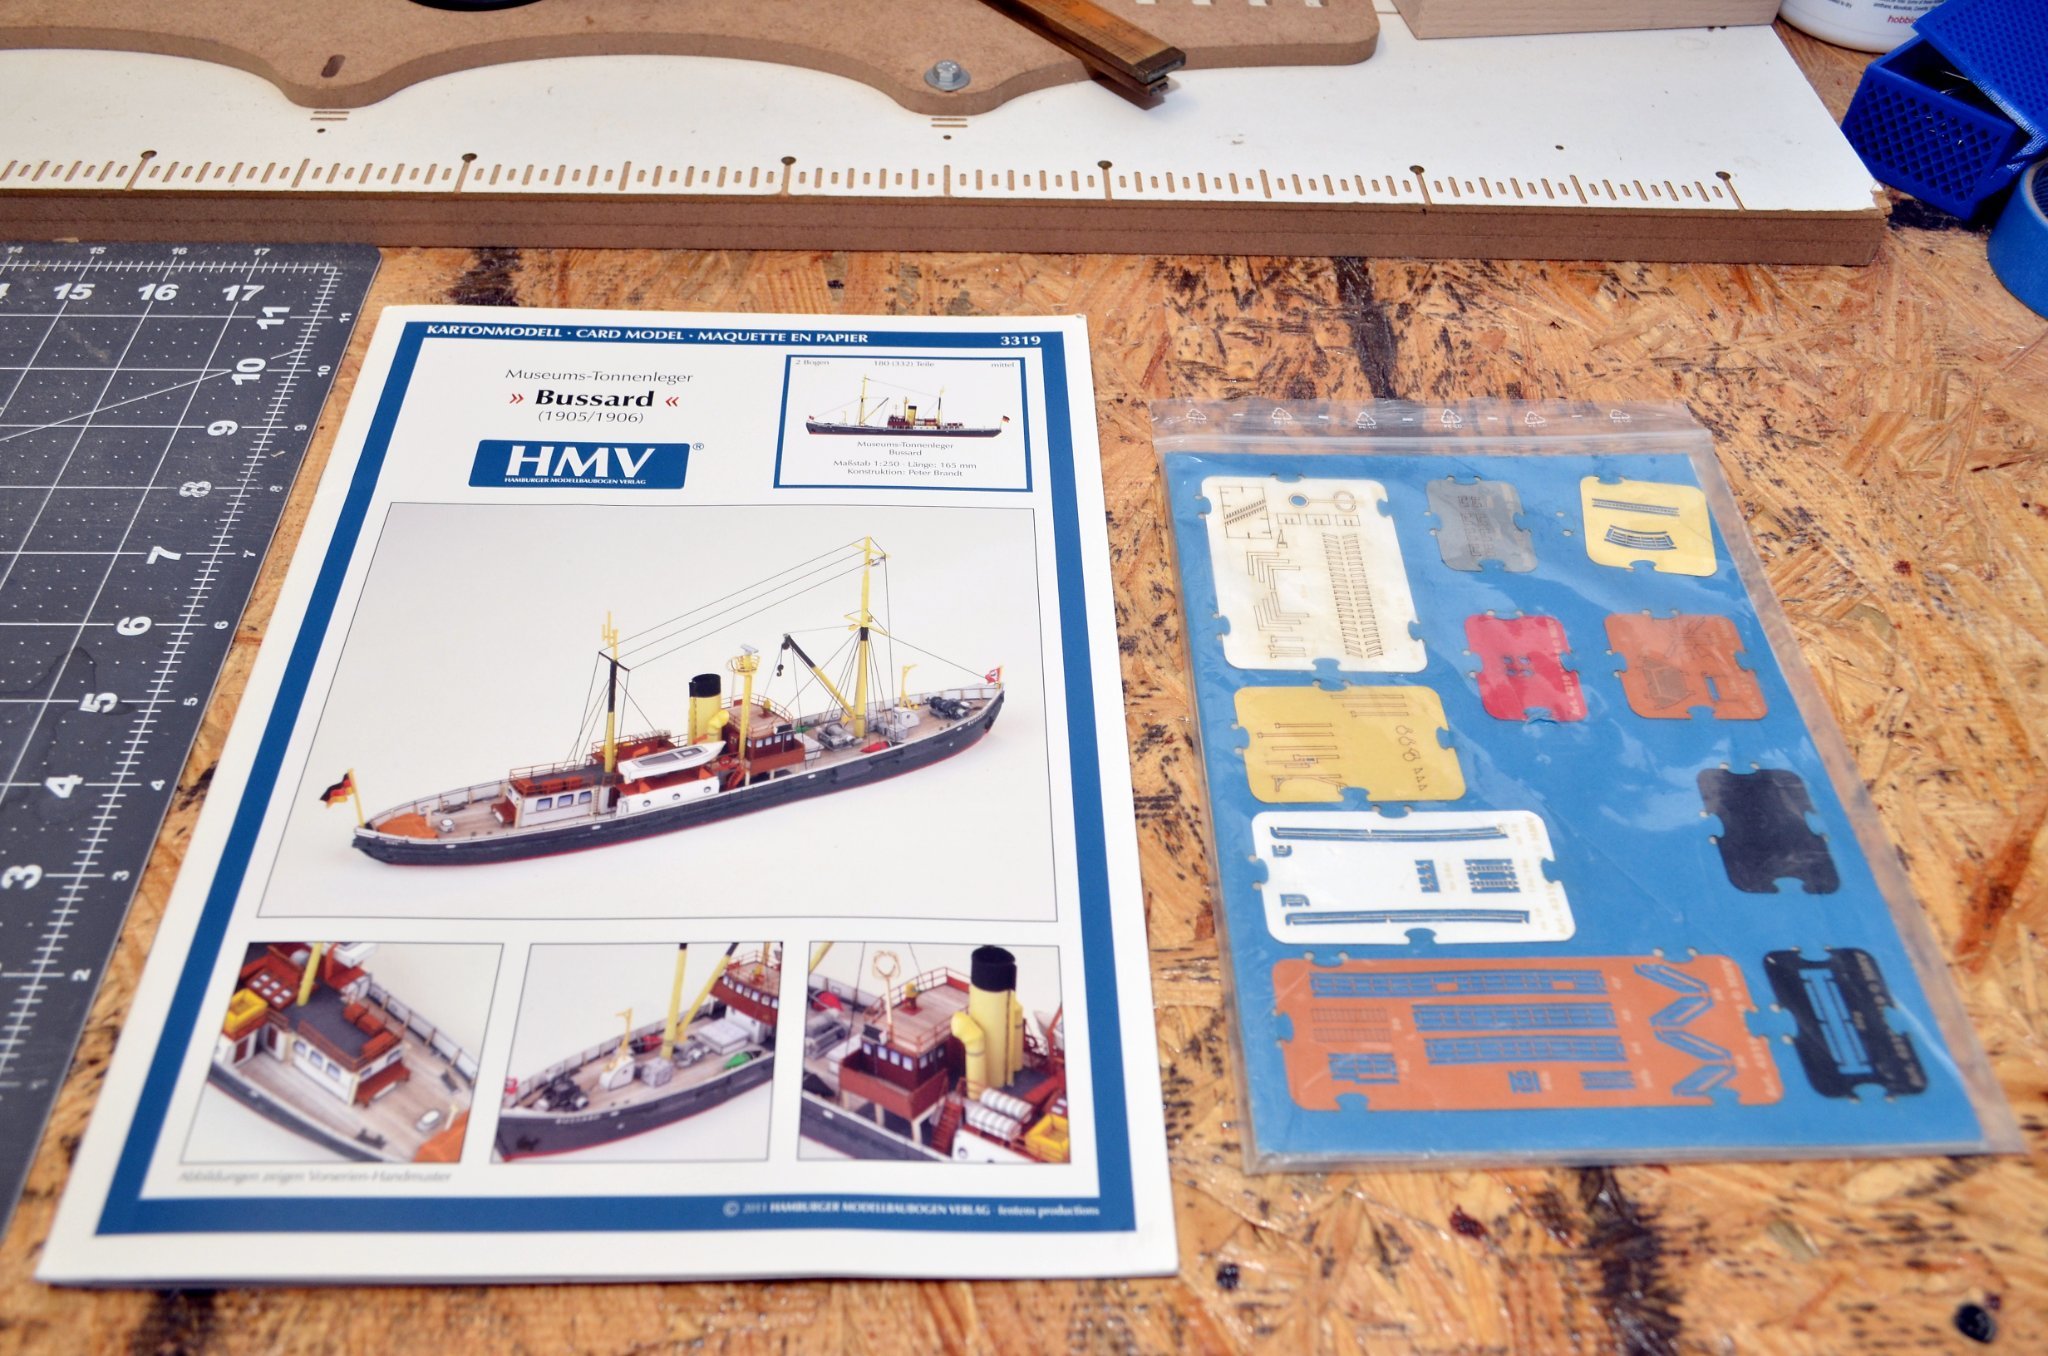
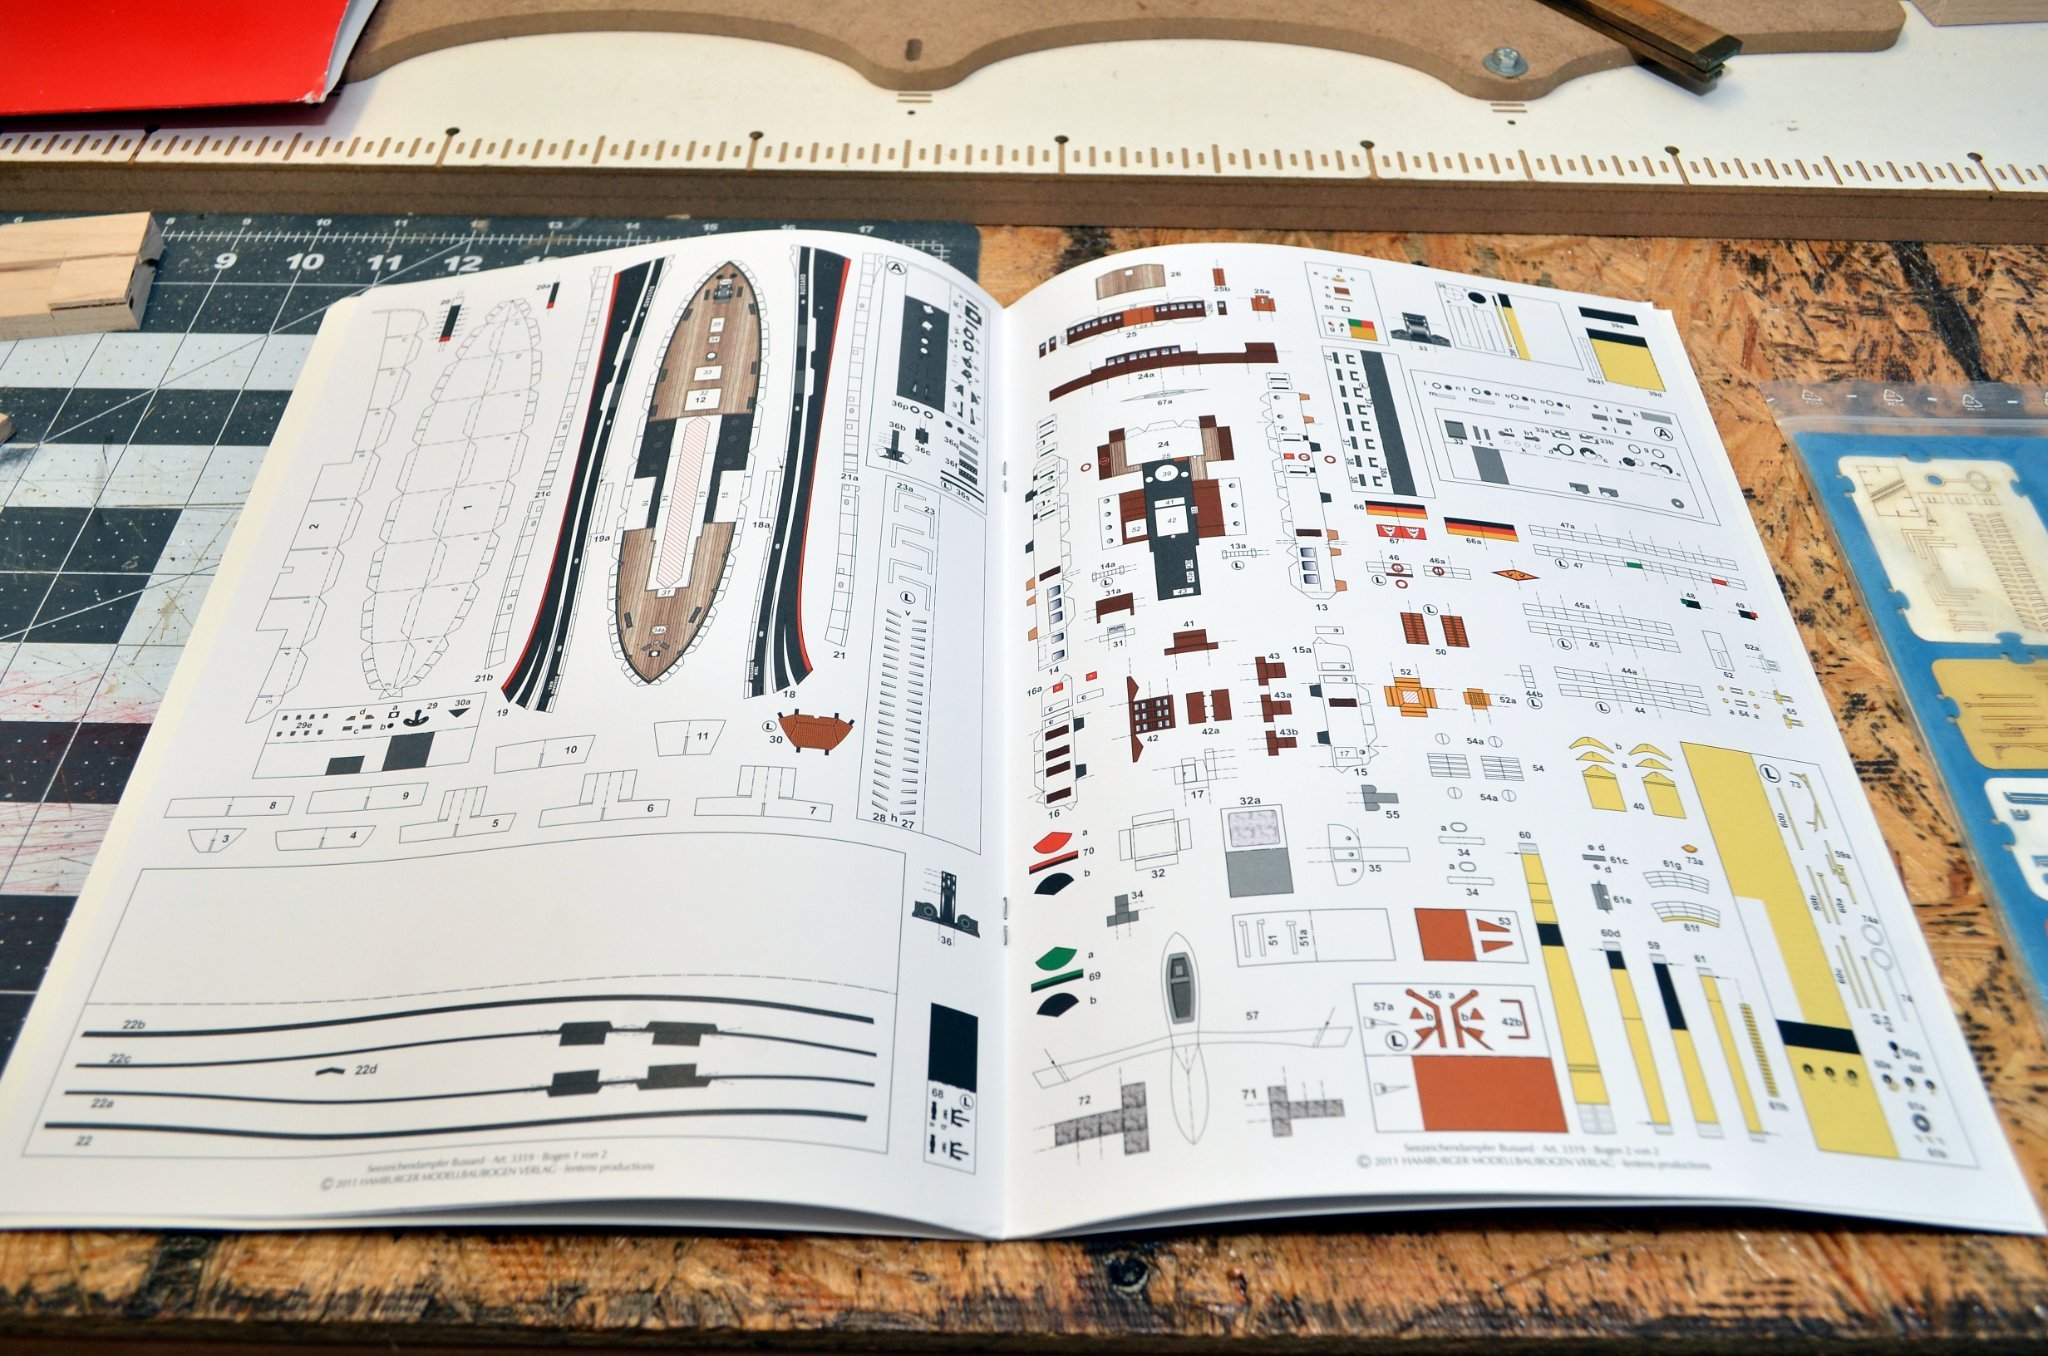
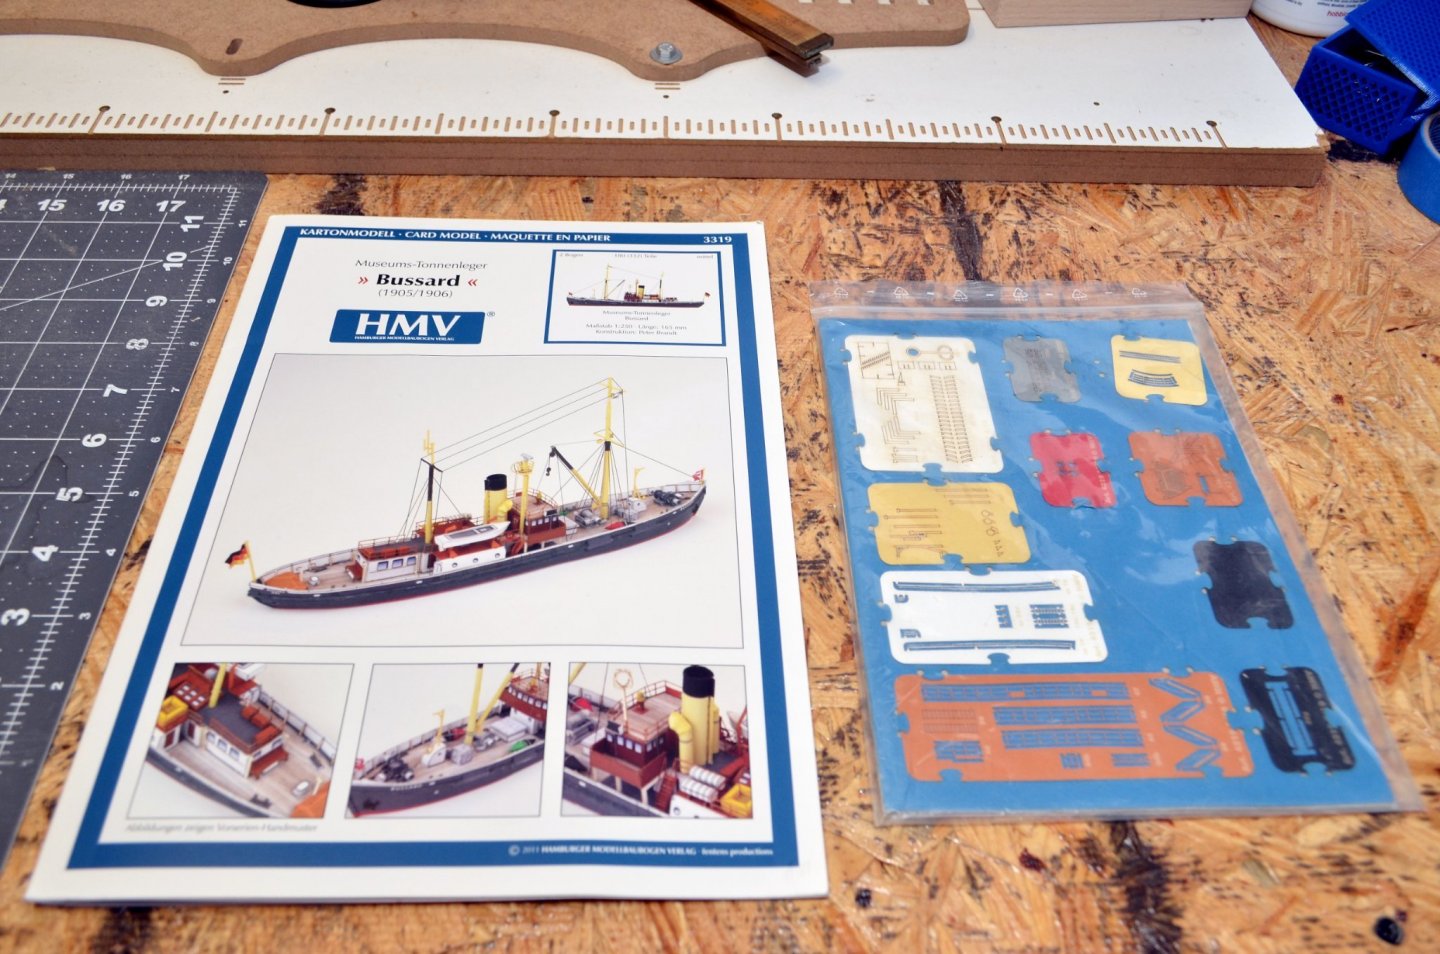
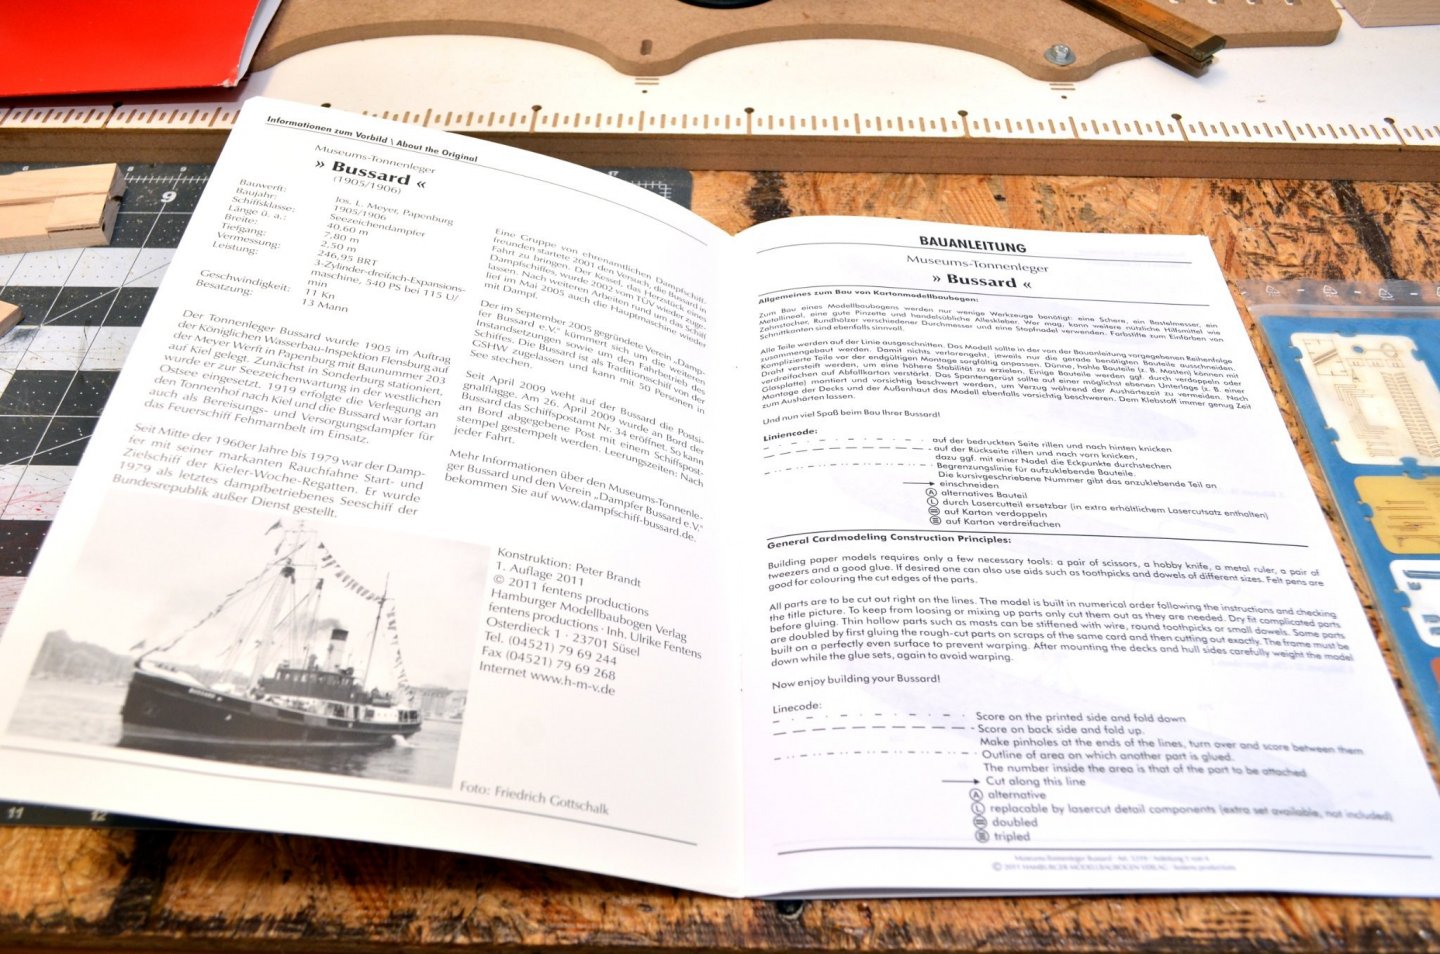
I've seen some interesting card models built on this site and succumbed to picking up a few. I've built a few free models with so-so success, but hopefully I'll have a little more success with HMV's Bussard. I choose this model mainly because I could get it easily with the laser cut detail kit (and I think it was supposed to be an easier kit 🤞). The details on the ship in the manual are all in German, but I was able to read up on the ship after translating a link from the manual (www.dampfschiff-bussard.de) and a few other details from another link (https://de.zxc.wiki/wiki/Bussard_(Schiff,_1906)) some pictures here: https://commons.wikimedia.org/wiki/Category:Bussard_(ship,_1906)?uselang=en and finally the last link https://www.kiel.de/de/kultur_freizeit/museum/_museumsbruecke/tonnenleger_bussard.php. According to https://www.kiel.de/de/kultur_freizeit/museum/_museumsbruecke/tonnenleger_bussard.php: "The "Bussard" was commissioned by the Royal Hydraulic Engineering Inspection Flensburg on the Jos. L. Meyer shipyard built in Papenburg and delivered in 1906. The 40-meter-long special ship cost 224,000 gold marks, an impressive sum for that time. Initially stationed in Sønderborg, from 1919 the eastern Baltic Sea from Kiel became the operational area of the ship, which had the task of maintaining the navigation marks and thus securing shipping traffic. Until the middle of the 20th century, the light buoys were operated with gas and had to be filled regularly. In addition, the "Bussard" took over supply trips for the lightship "Fehmarnbelt"." Finally, a few pictures of the kit before I attack it with my knife 😁.

- 24 replies
-
- 11
-
-
I’m not certain if this is accurate you can still get it from (who I believe is) the manufacturer at: https://sigmfg.com/products/sig-silkspan-tissue I don’t know that this would help in the UK though due to shipping costs.
-
Thank you, it really was a nice kit and eventually I’ll be giving the Capstan a go. In your log you mention covering the exposed areas of the Hull before mounting. Is that mainly for reducing dust? And did you mean a sheet cut to fit at the top?
-
Thanks OC; I’m currently mulling over what to do next. @ccoyle has really been tempting me with his card models so I may try my hand at one of those before kicking off a longer term project again.
-
Thank you! I think the end result came out very nicely but I have to admit that I wasn’t thrilled with the basswood at time. It can fuzz with sanding and dents but it was also easy to cut.
-
Sorry to hear about your troubles Glenn; that sounds quite disheartening but I'm glad that to see that you're using it as a learning experience (quite inspirational actually - I don't want to think of how I would deal with it 🙂).
-
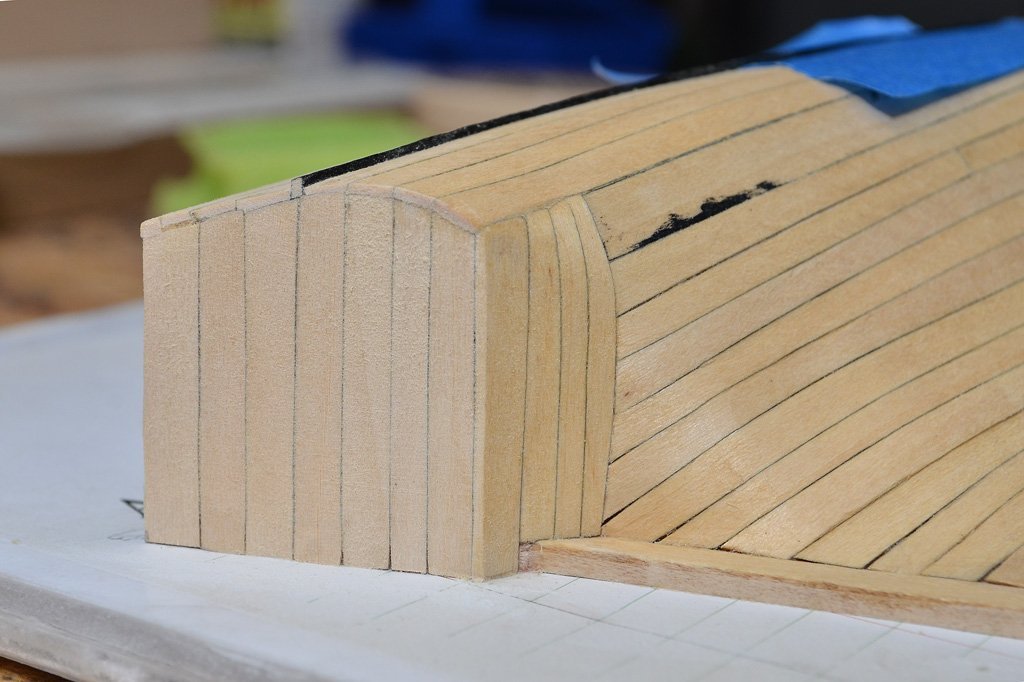
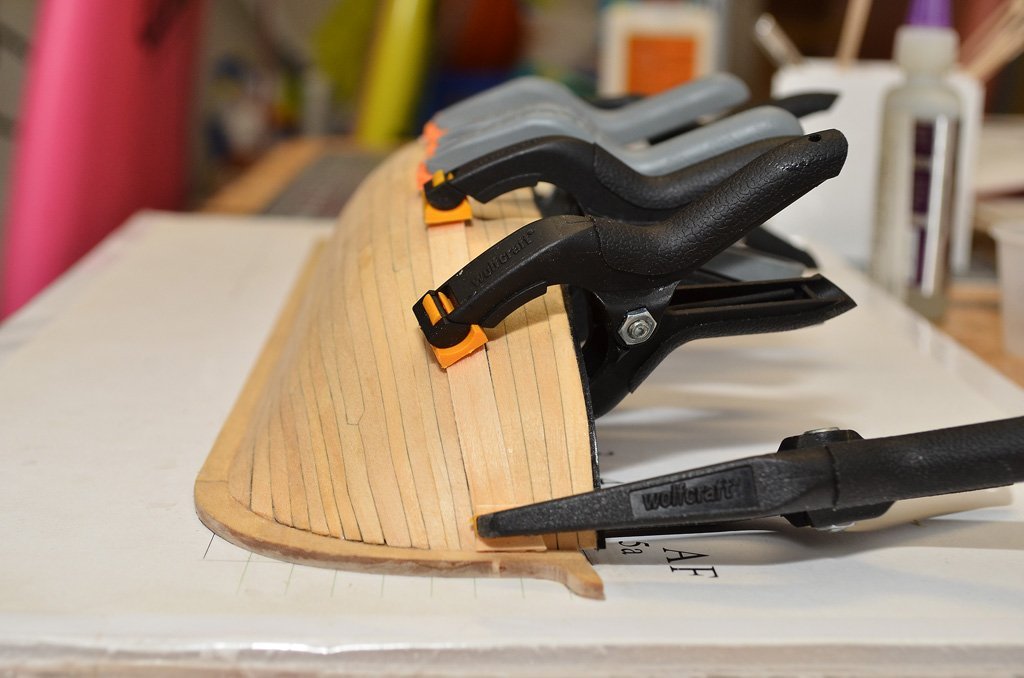
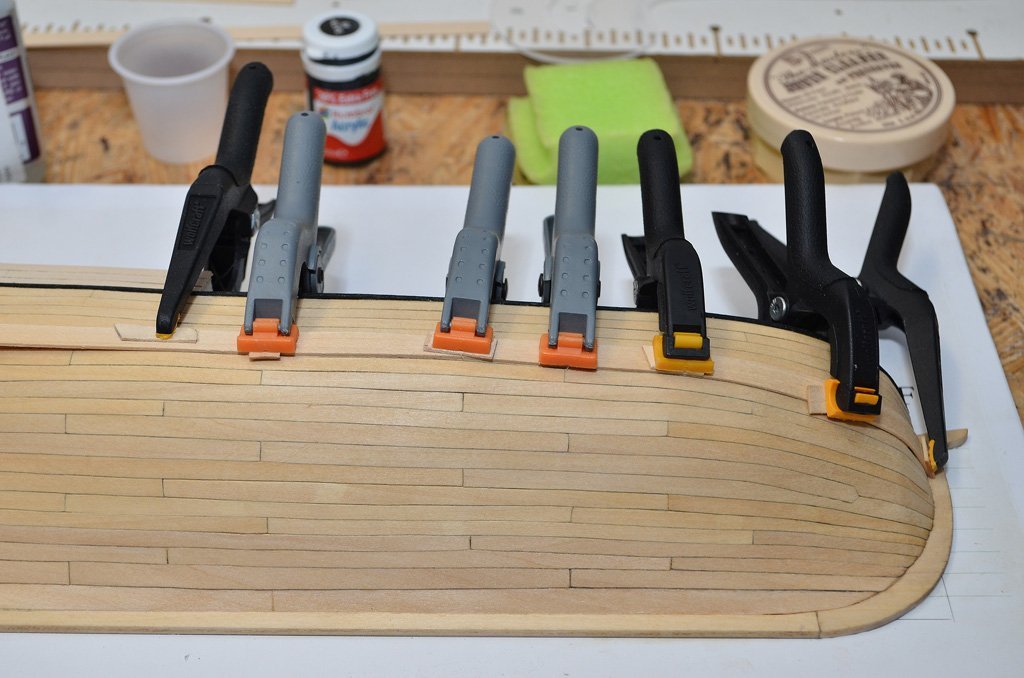
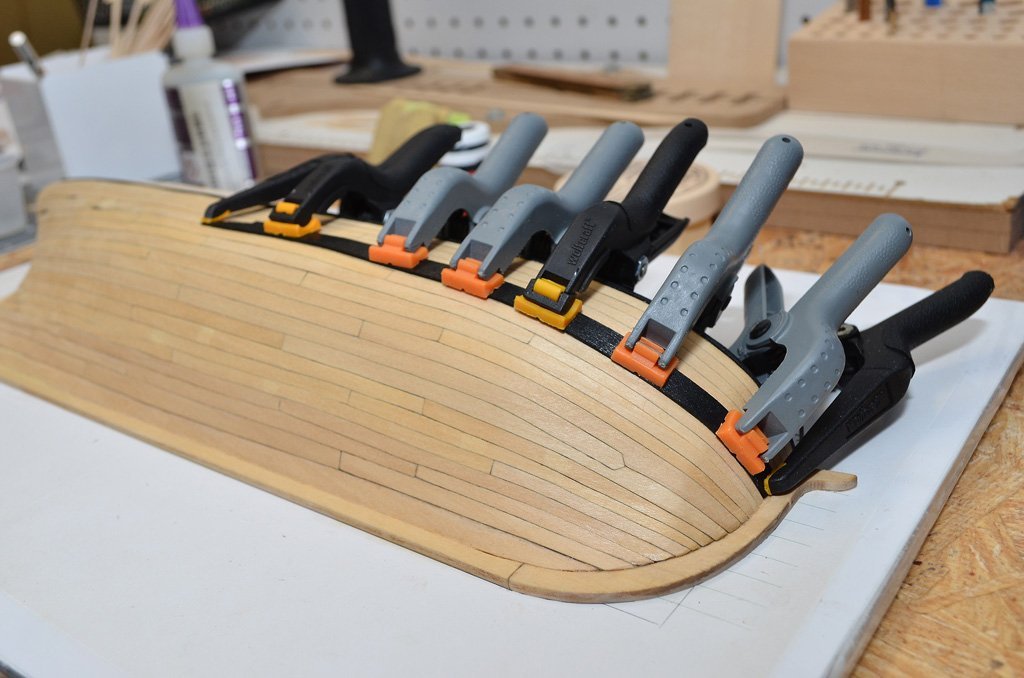
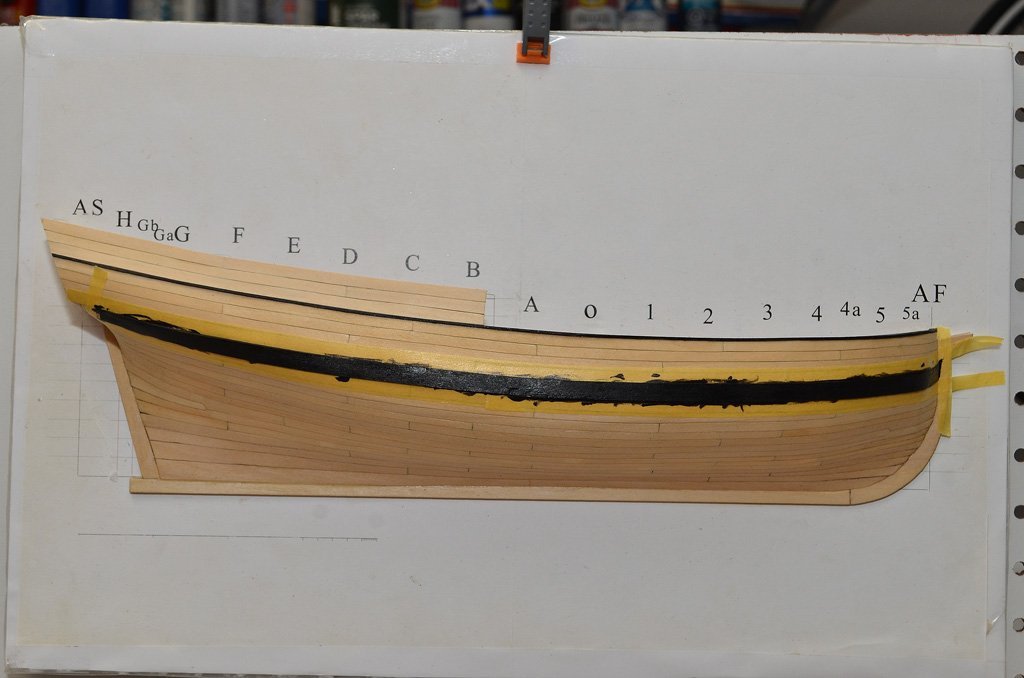
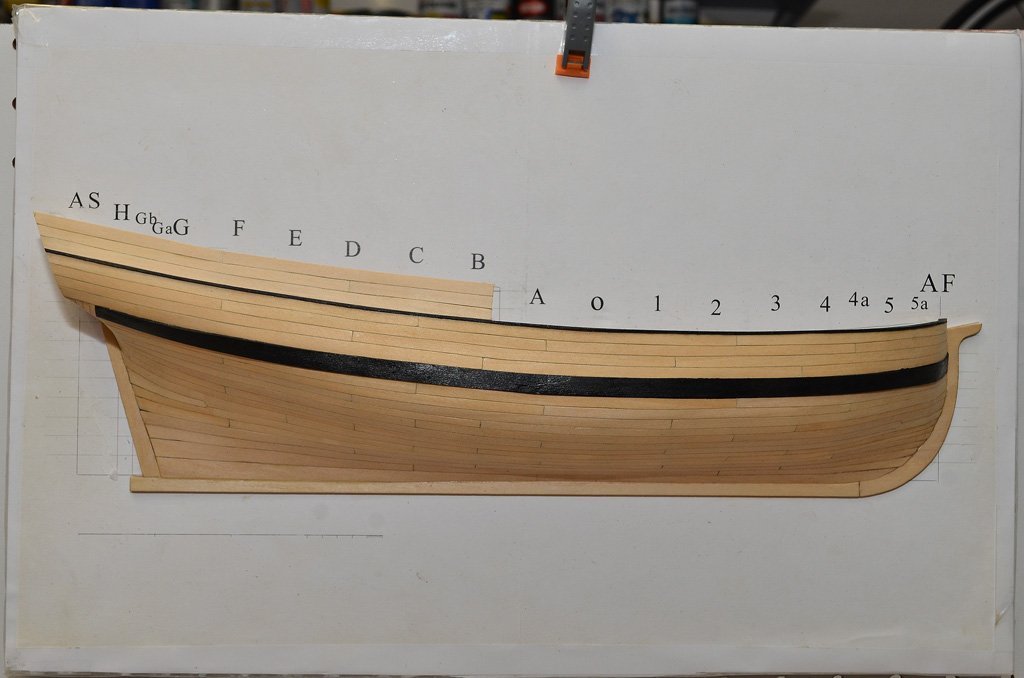
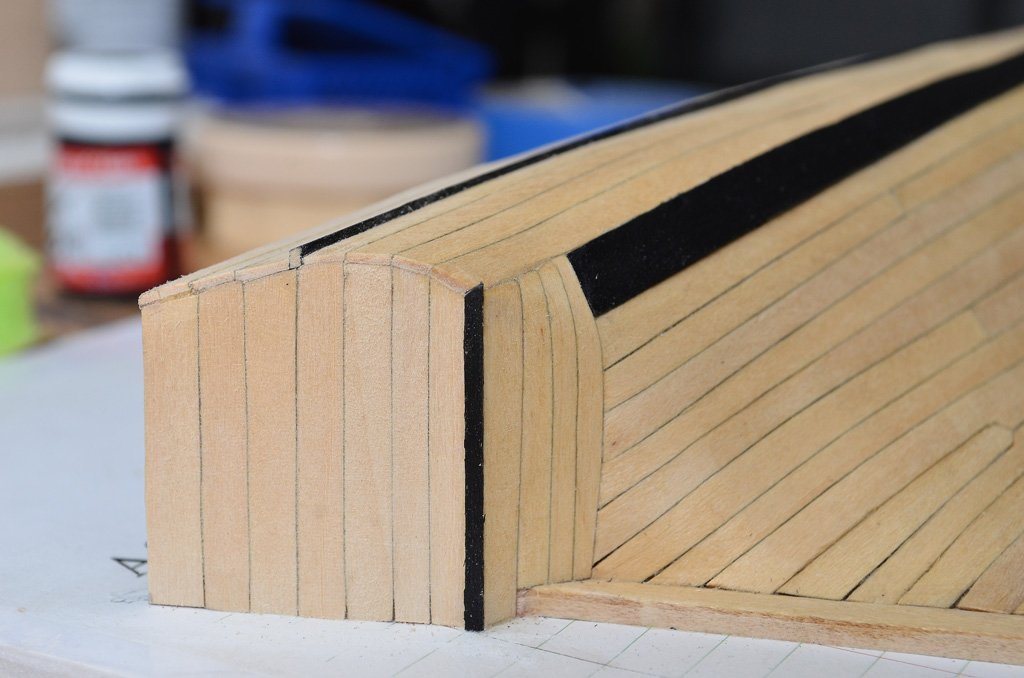
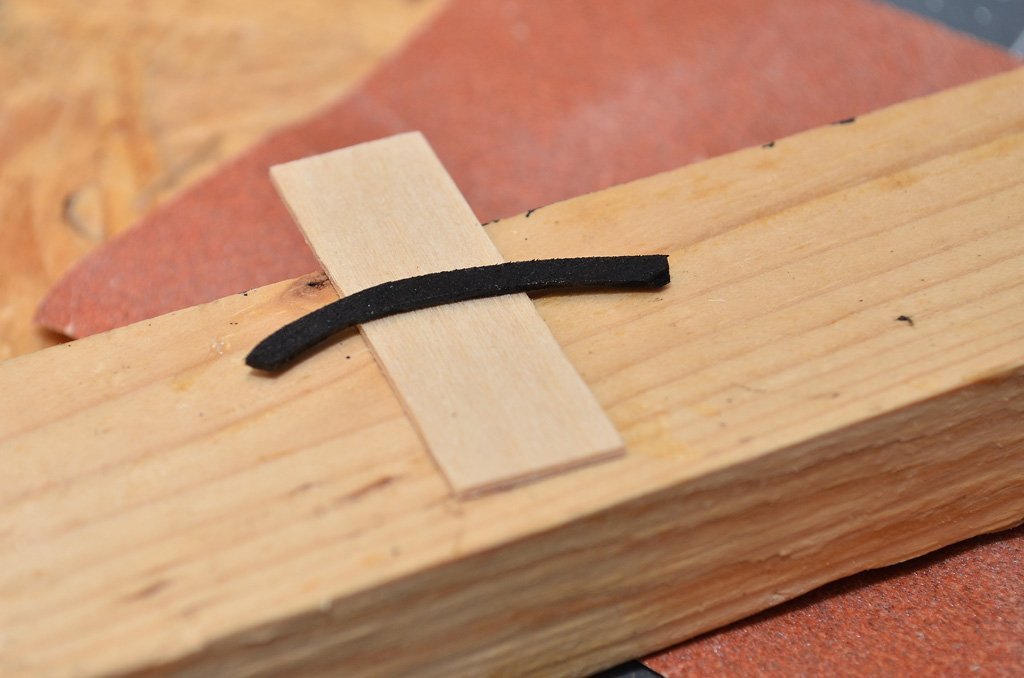
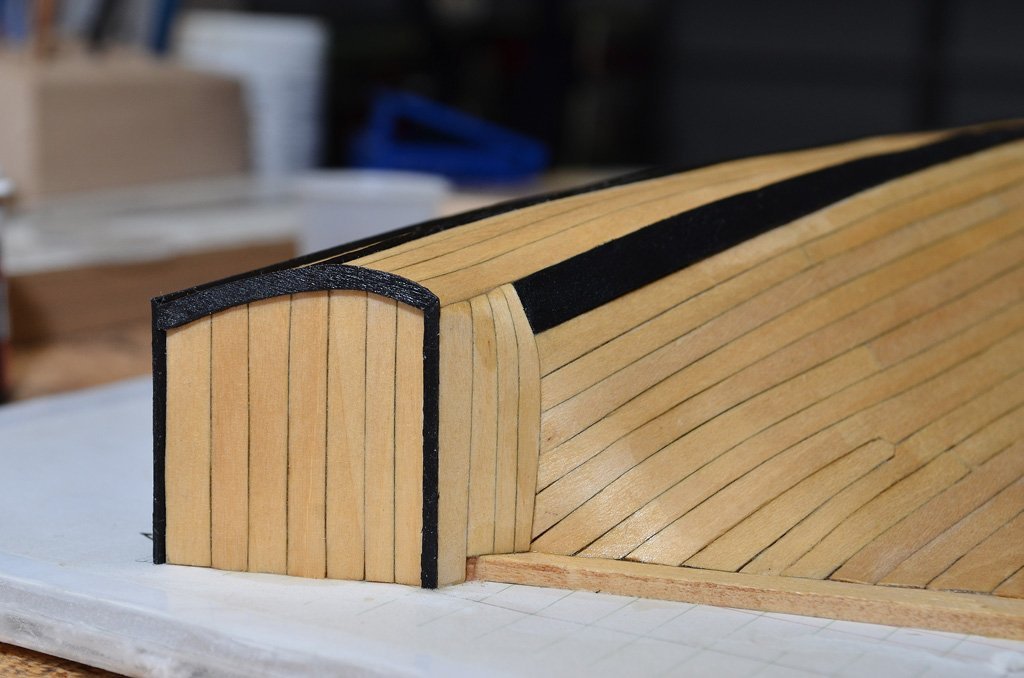
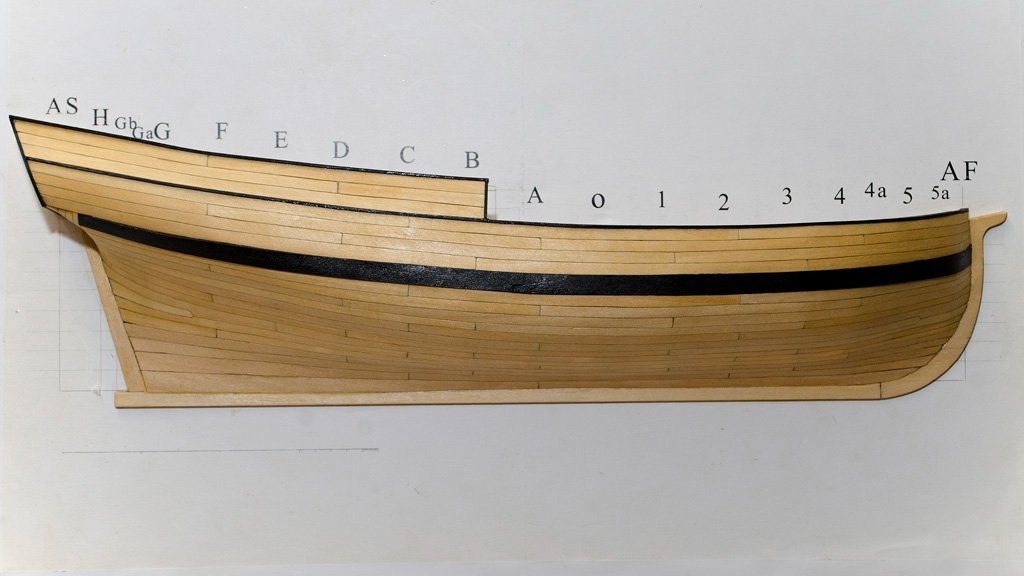
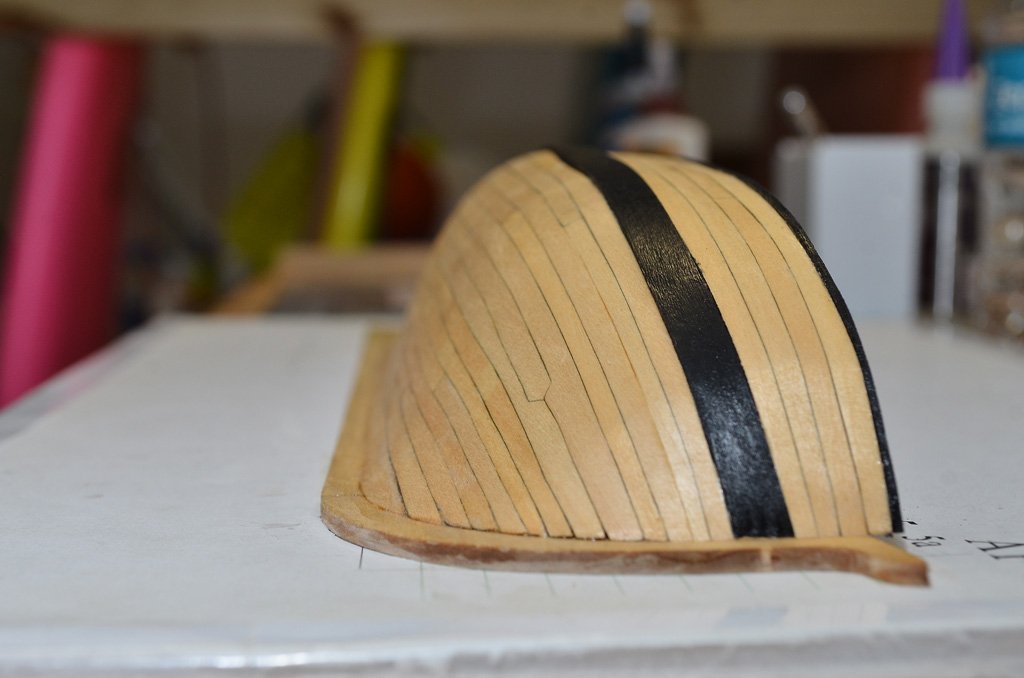
I'm a little surprised to find myself "finished" with the half hull (I still have to take it off the building board). I did notice one final "error" that I made in my build to watch out for. If you notice in the following picture I planked the transom short of the planks on the hull. I went back and forth and tried to look at every picture I could find to determine which was the right way and of course I missed a great picture further along in the instructions that showed I did it wrong. Not a big deal, but boy did I make my life a little harder placing the "decorative" pieces later. Please ignore any waves that you see - fairing is the such a critical step in a single planked hull and I'm glad that I saw the consequences here instead of a future build. I did paint the wales before gluing them on, but after fitting them (What paint job doesn't need a little touch up?) Due to the fact that I planked my transom "differently" I had to cover the ends of the planks differently and this gave me fits. The directions details one piece that is bent, I needed a lateral bend and it simply wasn't working so I split the piece in two. I think I made the following piece 3 or 4 times after trying to bend a single piece 5/6 times 😁. In the end I got there though. Here is the final reveal: Big thanks to @tlevine and the NRG for putting this kit together (and thank everyone who followed along!). I found it highly instructional and I'm very glad to have worked through it. There are a few areas in the instructions that I wish had a little more detail (placing the counter, planking the transom) but it was a learning experience and I learned a lot. Be very careful about wet basswood and clamps though (oh the dents! - thankfully most came out after applying some water but I typically places some scrap basswood in between the clamps and the wet basswood).


- 54 replies
-
- 14
-
-
Greetings! Reporting aboard from Florida.
VTHokiEE replied to Luord's topic in New member Introductions
Welcome from another Floridian; hope to see a picture or two of your lightning eventually. I’d like to scratch build one for my mother one day. -
I built the Vanguard Alert as my first planked ship model. I highly recommend it, there are great logs to follow and Chris is really responsive to any questions or needs. The instructions are top notch but there are some nautical terms/concepts that I greatly benefited from that partially working on the NRG planking kit before tackling the Alert (mainly the initial bearding line and thinning out the deadwood). Side note - you might want to simply read through the original build log for the NRG half Hull to understand some concepts (like bearding lines) if you don’t have any experience.
-
MSW’s HMS Triton Build in Shapr3d
VTHokiEE replied to Justin P.'s topic in CAD and 3D Modelling/Drafting Plans with Software
Very neat, looks like you’re really getting the hang of it. -
Very exciting Glenn! Looking forward to this; I have it on my radar as well.
- 840 replies
-
- 3
-
-
- winchelsea
- Syren Ship Model Company
- (and 1 more)
-
Ah I see, if you enjoy the contrast go for it. I believe that historically the the same color as the rope would have been used, but the contrast is pretty neat 🙂. You can add your NRG number in your profile and message moderator James H if it doesn't show Good luck with the rest of your build - such a cool ship.
-
Looking good so far! I'm curious what made you decide to switch to seizing with black? This makes a lot of sense to me.
-
Have you looked at Meshmixer at all? I recall having some success repair stl file with it (but it was hit or miss). I also had some success loading stls into FreeCAD and doing some conversion work in there (but FreeCAD did get bogged down on bigger files).
-
I've only used FDM printers (I envision getting a SLA printer in the not too distant future) and this may be no real help to you but I have had "similar" experiences with FDM prints when I tried to push to far for the machine. On files that I got from others I would frequently go through each layer and it usually became abundantly clear what was causing the failure - now fixing it was usually another matter. Anyway, I'll step back into the peanut gallery to watch your progress to hopefully help speed me along when I eventually get one as well.
-
I think it depends on what exactly you mean by "complete," but Vanguard and Syren do a very good job regardless of definition. Vanguard Models (https://vanguardmodels.co.uk/) has some pretty stellar manuals and kits (for a beginner I would consider the working vessels Zulu and Fifie - https://vanguardmodels.co.uk/product-category/vanguard-model-kits/ Syren Ship Model Company (https://syrenshipmodelcompany.com/) also has great kits and manuals but I believe they target a more intermediate to advanced modeler. The founder/designer for both of these companies posts on the forum and both are very helpful you if you run into any issues.
-
https://thenrgstore.org/collections/books-and-practicums
-
Thanks! I recall enjoying your build. I rechecked your log and I think my counter issue stems from the initial placement which fairing added more of a curve to that desired (I think). I think it’s probably good enough for this, but I prefer how yours came out and I’ll have to keep an eye of that in the future.