


VTHokiEE
-
Posts
1,528 -
Joined
-
Last visited
Content Type
Profiles
Forums
Gallery
Events
Everything posted by VTHokiEE
-
 I must say, I’m glad that it’s not only me 😃. I had thought about leaving it but it would annoy me (at least I think it would) so why not fix it while I’m here. I’ll take a look through the PowerPoint. I assumed using thick material was so that it could be sanded to shape instead of bent, Interesting.
 -
Ever have one of those days when you build the entire frame and everything looks good, but then (after you checked the treenail arrangement twice but have the frame facing the wrong way) drill the treenail pattern backwards on the fourth frame? Sigh… thankfully deconstructing the frame and redoing the chocks isn’t that tricky/wasteful. Looking forward to the next frame - Does anyone have any suggestions for shaping the special case toptimbers? I have gone through a few different methods in my head but none seem effective (trying to stretch the shape in photoshop and gluing it to the side of the frame). Thanks for any tips!
-
My understanding is that if the planks would become less than half the original width a drop plank should be used to prevent this. From what I’ve read/seen this is more of an art than a science. You look at the flow of the lines from several directions and see if you think it looks good. When you think it looks good go away from the model for a little while and then come back and see if you still think so. Good luck!
-
I had issues trying to transfer the Wale markings as well. In the end I believe that I was able to get close on one of the lines and then marked off the other side based off the lower initial line. A reasonable amount was done by eye and standing directly over the hull and referencing other pictures. I ended up with something that was close enough in the end.
-
For me the most useful tool for plank bending has been a small travel iron. For other bending boiling water and wrapping around something cylindrical helps, or even clamp it on the model and let it cool and dry.
-
That’s really exciting! I’ve looked at that kit more than once so I’ll certainly be following along.
- 42 replies
-
- 1
-

-
- BlueJacket Shipcrafters
- Swampscott Dory
- (and 2 more)
-
You did a great job (and I still really like that blue). Looking forward to seeing whatever you tackle next.
-
Does anyone have a copy of the Hayling Hoy from Seawatch that they’d be willing to part with? It seems like a nice entry into a fully framed scratch build. Thanks! EDIT: Seawatch reopened so I have ordered a copy from there.
-
Looks great! Such a cool build and you did a great job on it. Looking forward to your next project as well.
-
It’s looking good Bob, don't be too hard on yourself; my scrap pile is constantly growing. I’m not as eloquent in my writing about it yet though 😂.
-
From my experiences with Mara you really have to tighten it (especially that first side). If you've watched any videos using cotton thread you probably want to spin it significantly more. Keep at it though!
-
Access Denied Error?
VTHokiEE replied to Moonbug's topic in Using the MSW forum - **NO MODELING CONTENT IN THIS SUB-FORUM**
I do get that error sometimes, doesn't appear to have any rhyme or reason from my admittedly brief investigation into it. -
NAIAD 1797 by Bitao - 1:60
VTHokiEE replied to Bitao's topic in - Build logs for subjects built 1751 - 1800
I always enjoy seeing your work, it is beautiful! -
Not yet, I did get so far as to put the plans and instruction book in my cart but didn’t pull the trigger. I’m currently working on a scratch cross section first. I may do a kit I have on hand after before jumping into the scratch lightning but I would like to do one in the near future.
-
I have a thought (it is entirely up to you whether it is good or bad as I'm undecided) but if you really don't want to back track your best bet might be to paint below the waterline (I have no clue if this would be historically accurate or not so it may not be something that you want to do). If you did cover up the lower belts of planking with paint then you could potentially fit a drop plank or two in order to correct that curve at the bow then sand/fill/etc below the waterline and paint it so that the planking down there is hidden. I'm aware this is much easier said than done (and you could still add drop planks to correct the curve without painting and learn from it going forward). Good luck whichever way you end up going with it.
-
How is the lightning coming along? Would love to see any updates.
-
I really like that color scheme, looks great!
- 42 replies
-
- 1
-
-
- BlueJacket Shipcrafters
- Swampscott Dory
- (and 2 more)
-
New Member Introduction and Need Some Advice
VTHokiEE replied to Artisan's topic in New member Introductions
I'm not certain if they would work on scale (and I have no experience with the barnd) but I believe Blue Jacket sells some Civil War and WWII (not certain about WWI) era kits. -
Do you do this in sections as you build the frame? I can’t quite visualize how to drill on one side when I need >5” to fit the entire frame in a vise.
-
Very cool project; where you able to track down plans? Very interested in your research behind the project as well as your work.
- 30 replies
-
- 3
-
-

-
- small
- clinker built
- (and 2 more)
-
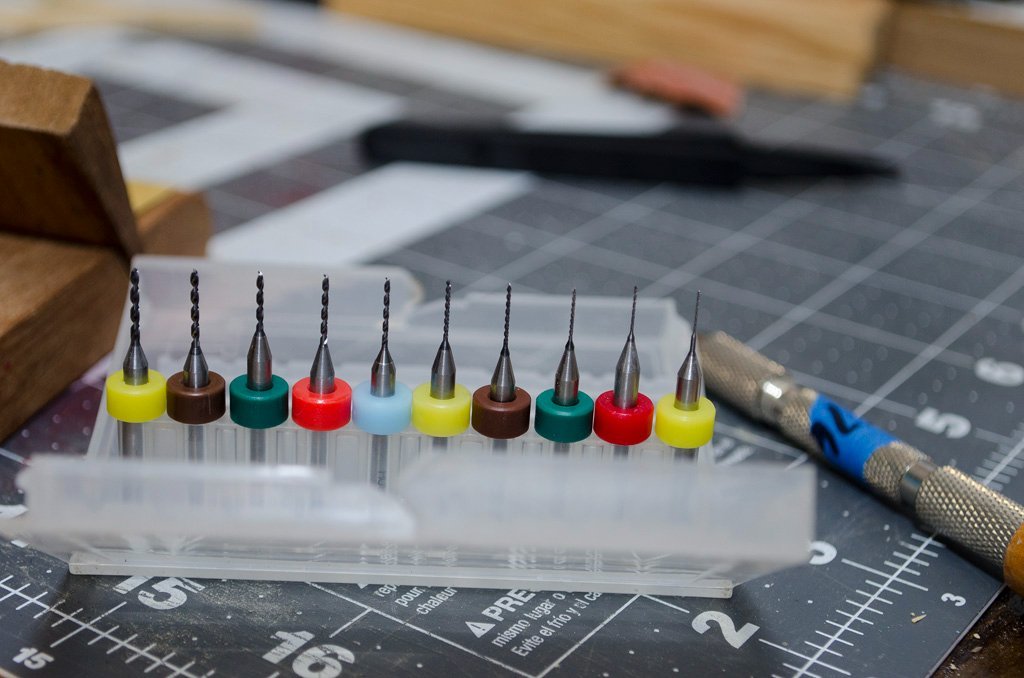
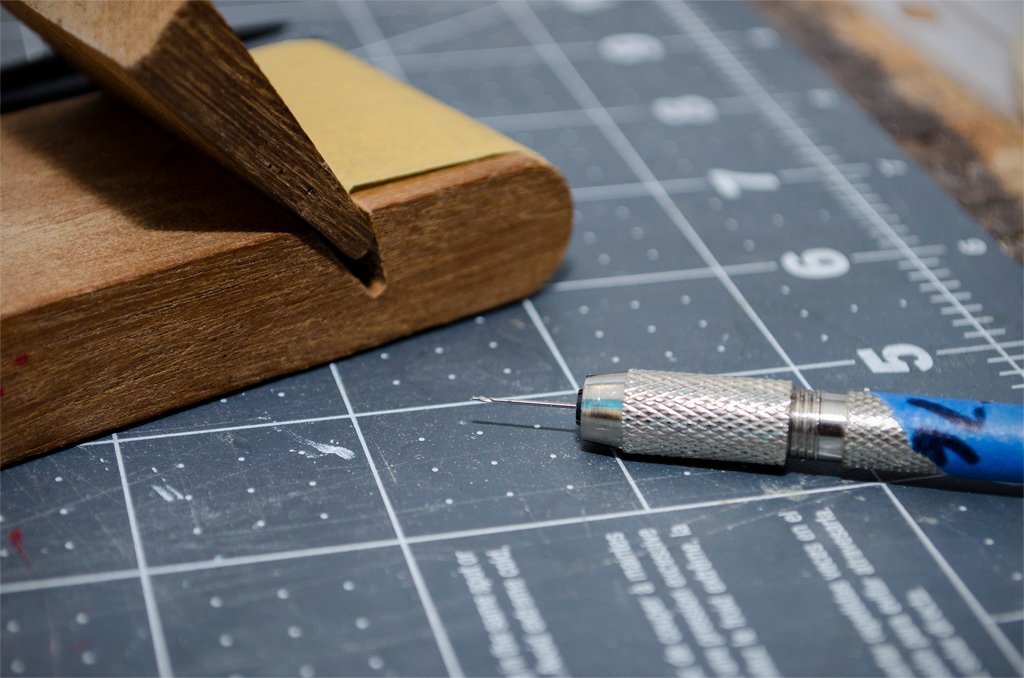
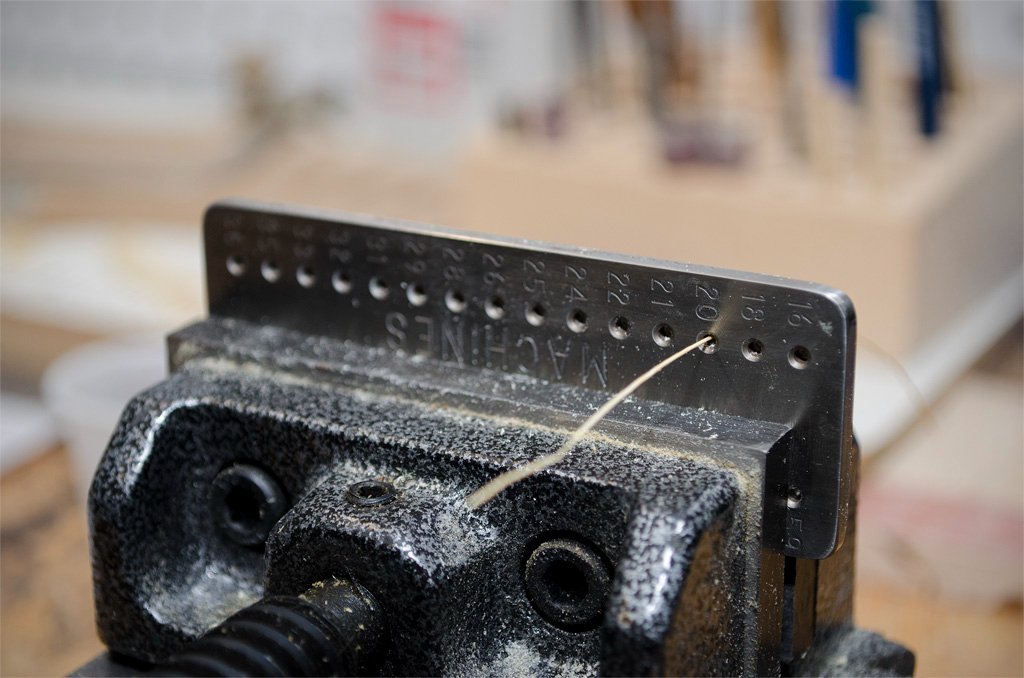
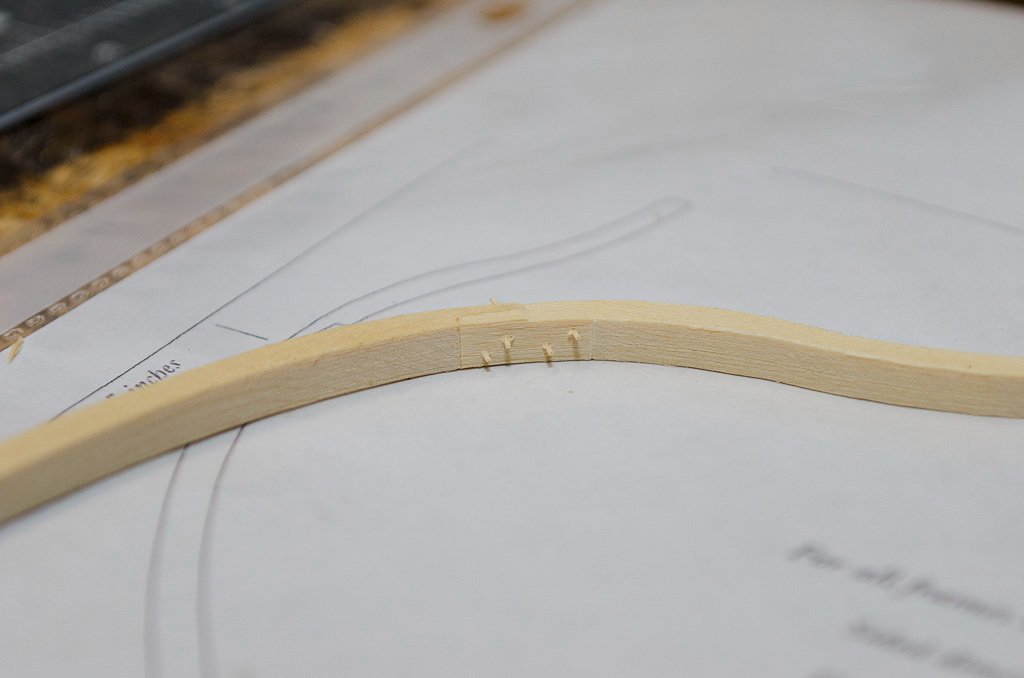
A brief foray into drilling small holes by hand for beginners (I'm pretty certain this is all common knowledge that I learned for myself unfortunately) and then a few more picture of tree nailing to go along. I had purchased a few sets of PCB micro drill bits and have become very frustrated used them by hand. My main issue is that when you use them by hand they don't seem to clear the wood all the way through and instead leave "screw-like" traces. I then inevitable try to pull them out to clear the hole and snap the bit off. I believe this would be resolved if I had a drill press and a clamping system that allowed me to hold the entire frame, which I do not so I was left searching for an alternative. I realized that I needed to get some HSS drill bits and soon after that I realized that I was uncomfortable trusting any set on Amazon to actually live up to the specified sizes. In the end I ordered several 75 and 76 gauge bits from McMaster-Carr and so far they are working like a charm (I really only needed the 76, but in my worry I grabbed some 75 as well). These are the cheap PCB bits that I'm about to swear off for hand drilling: and here is a picture of one of my 76 gauge HSS bits in a pin vise: I finally feel more confident drilling holes and would recommend the switch to anyone in a similar situation. Hopefully my PCB bit saga (which surely have their place, but not at the end of my pin vices) will help someone in the future. And a few more pictures to go along with the build. With any luck I'll be finishing up my second frame shortly, but I don't intend to raise any until they are all completed. In the back of my mind I keep thinking that I'll end up redoing the first one in the end as hopefully my skill will increase as I move along (that's the hope anyway) and its a very visible frame being on the end.
-
I think many people try to group them by color. Are you planning on painting below the waterline white? If so maybe count how many planks you need to cover that distance (probably at the stern?) and see if you can get closely colored planks for that section. Assuming you paint the rest white it doesn’t matter after that. I wouldn’t get too hung up on it though, it’ll look good regardless.
- 362 replies
-
- 3
-
-
-
- Amati
- Lady Nelson
- (and 2 more)
-
I would use a razor saw or a hobby knife and then fit and finish with some form of sanding (files, paper, sticks, etc).
- 362 replies
-
- 2
-
-
- Amati
- Lady Nelson
- (and 2 more)
-
Things like this are builder's choice in my opinion depending on what you're building for. I used full length planks the first time, I don't regret it but I would do it more historically accurate next time. The shorter plank lengths may even be easier to work with.
- 362 replies
-
- 4
-
-
- Amati
- Lady Nelson
- (and 2 more)